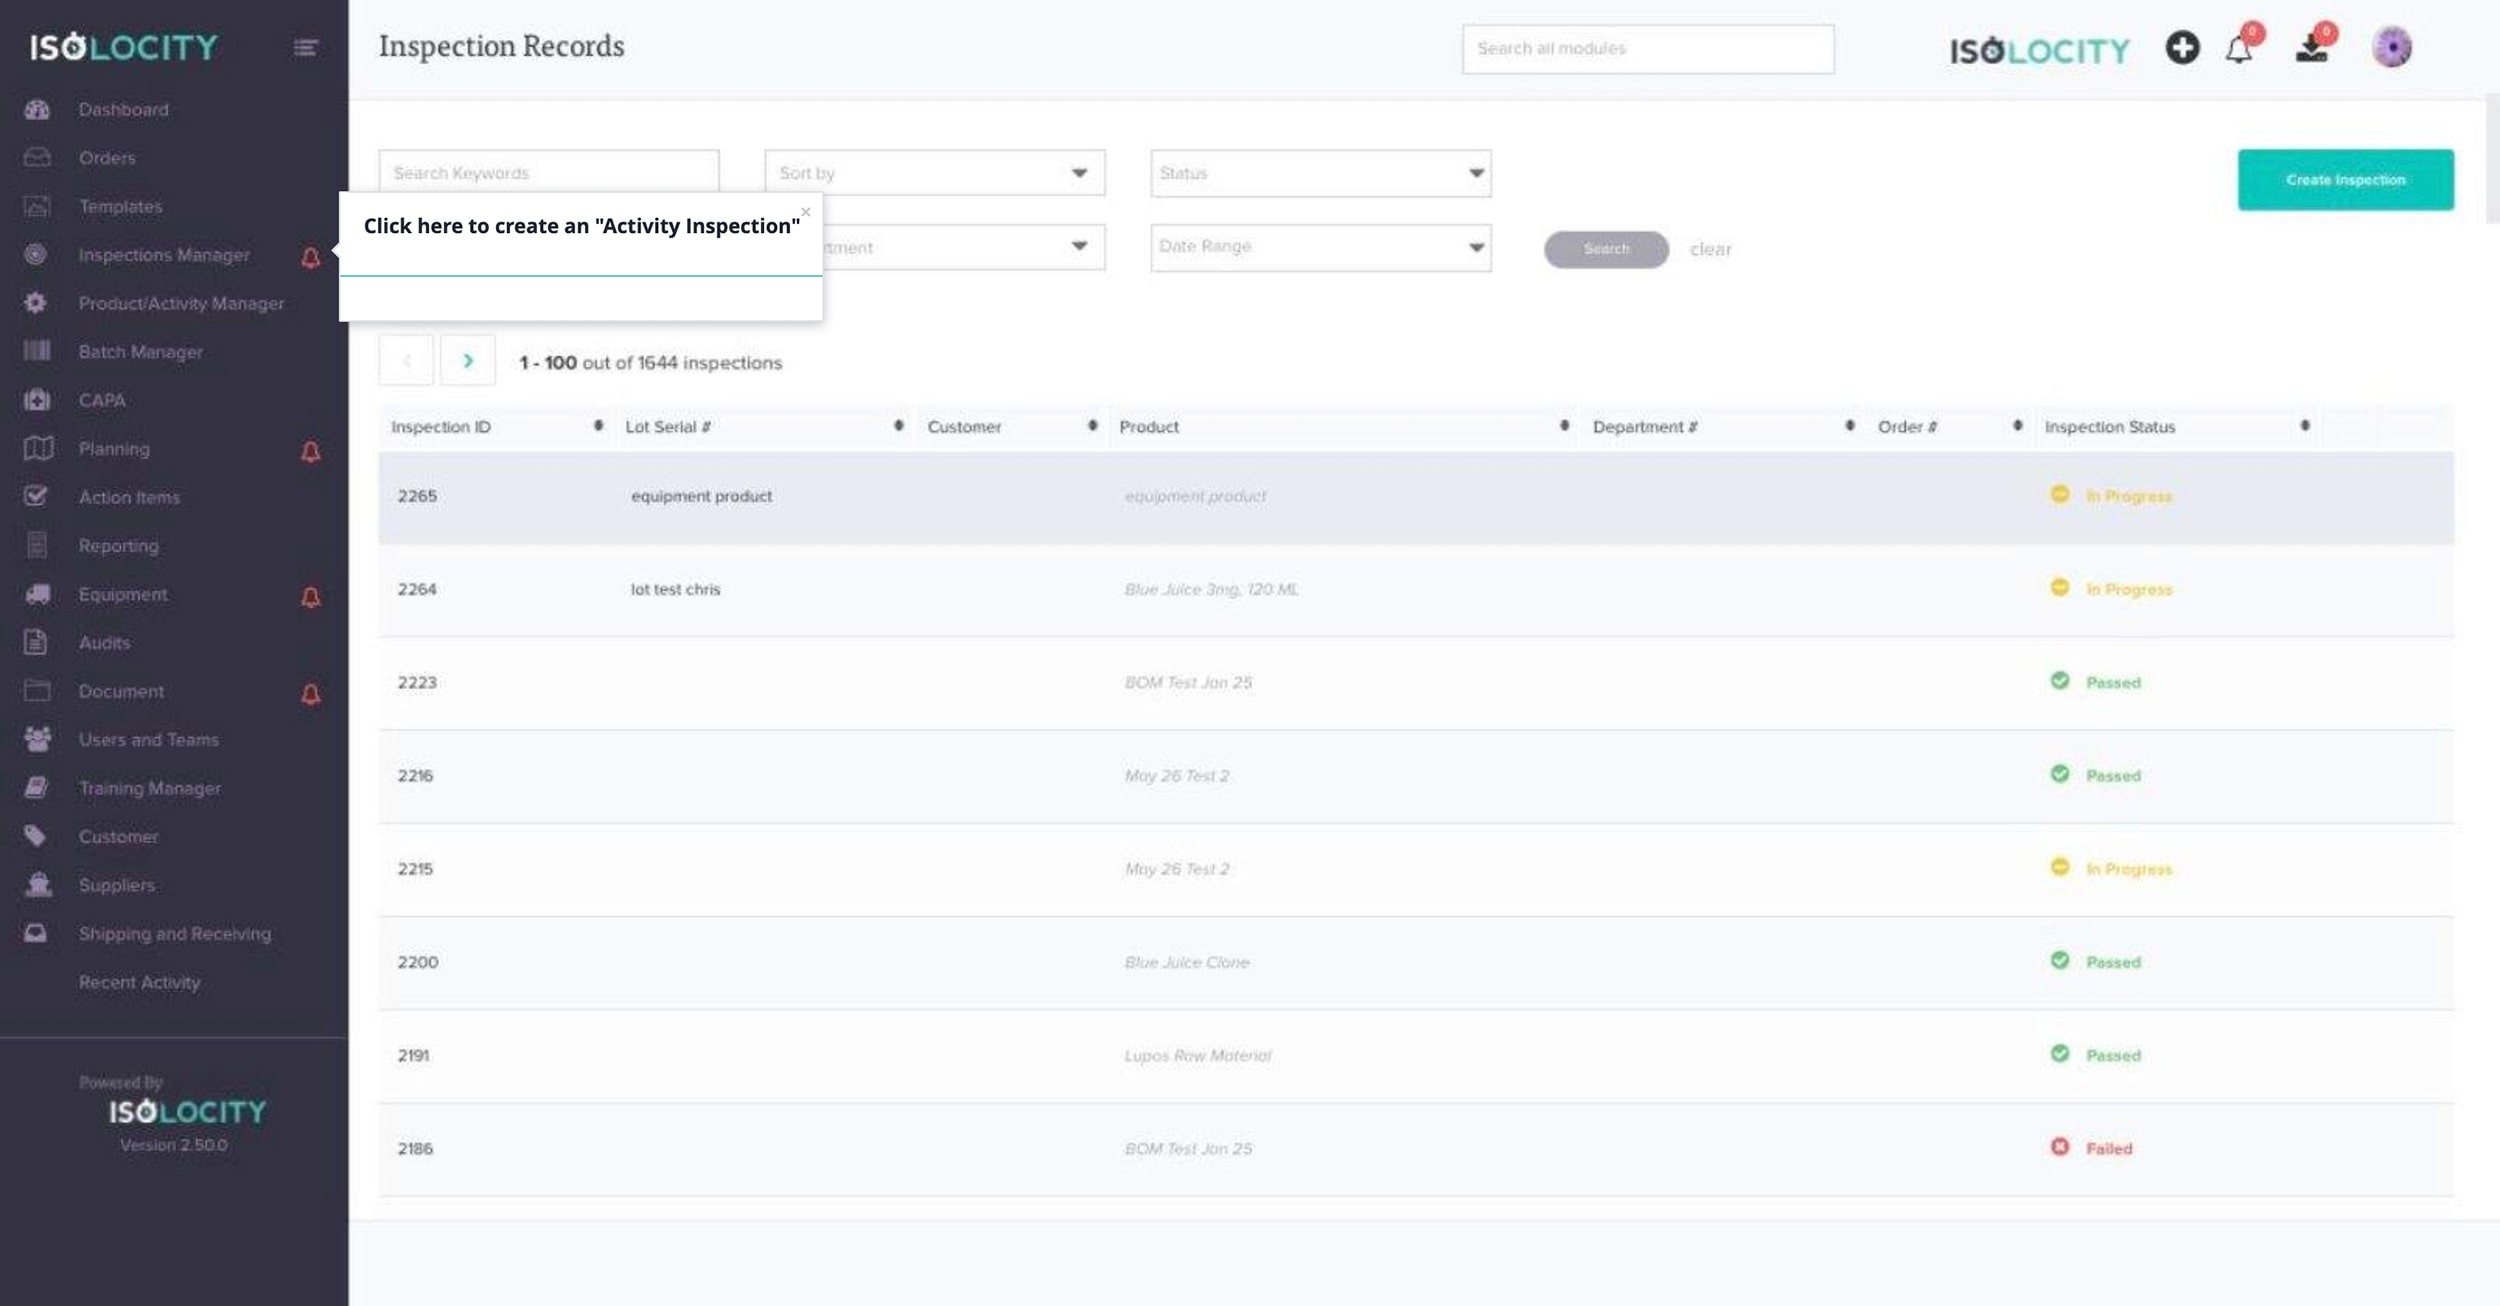
Add an Activity Inspection
Step #1
Click here to create an “Activity Inspection”
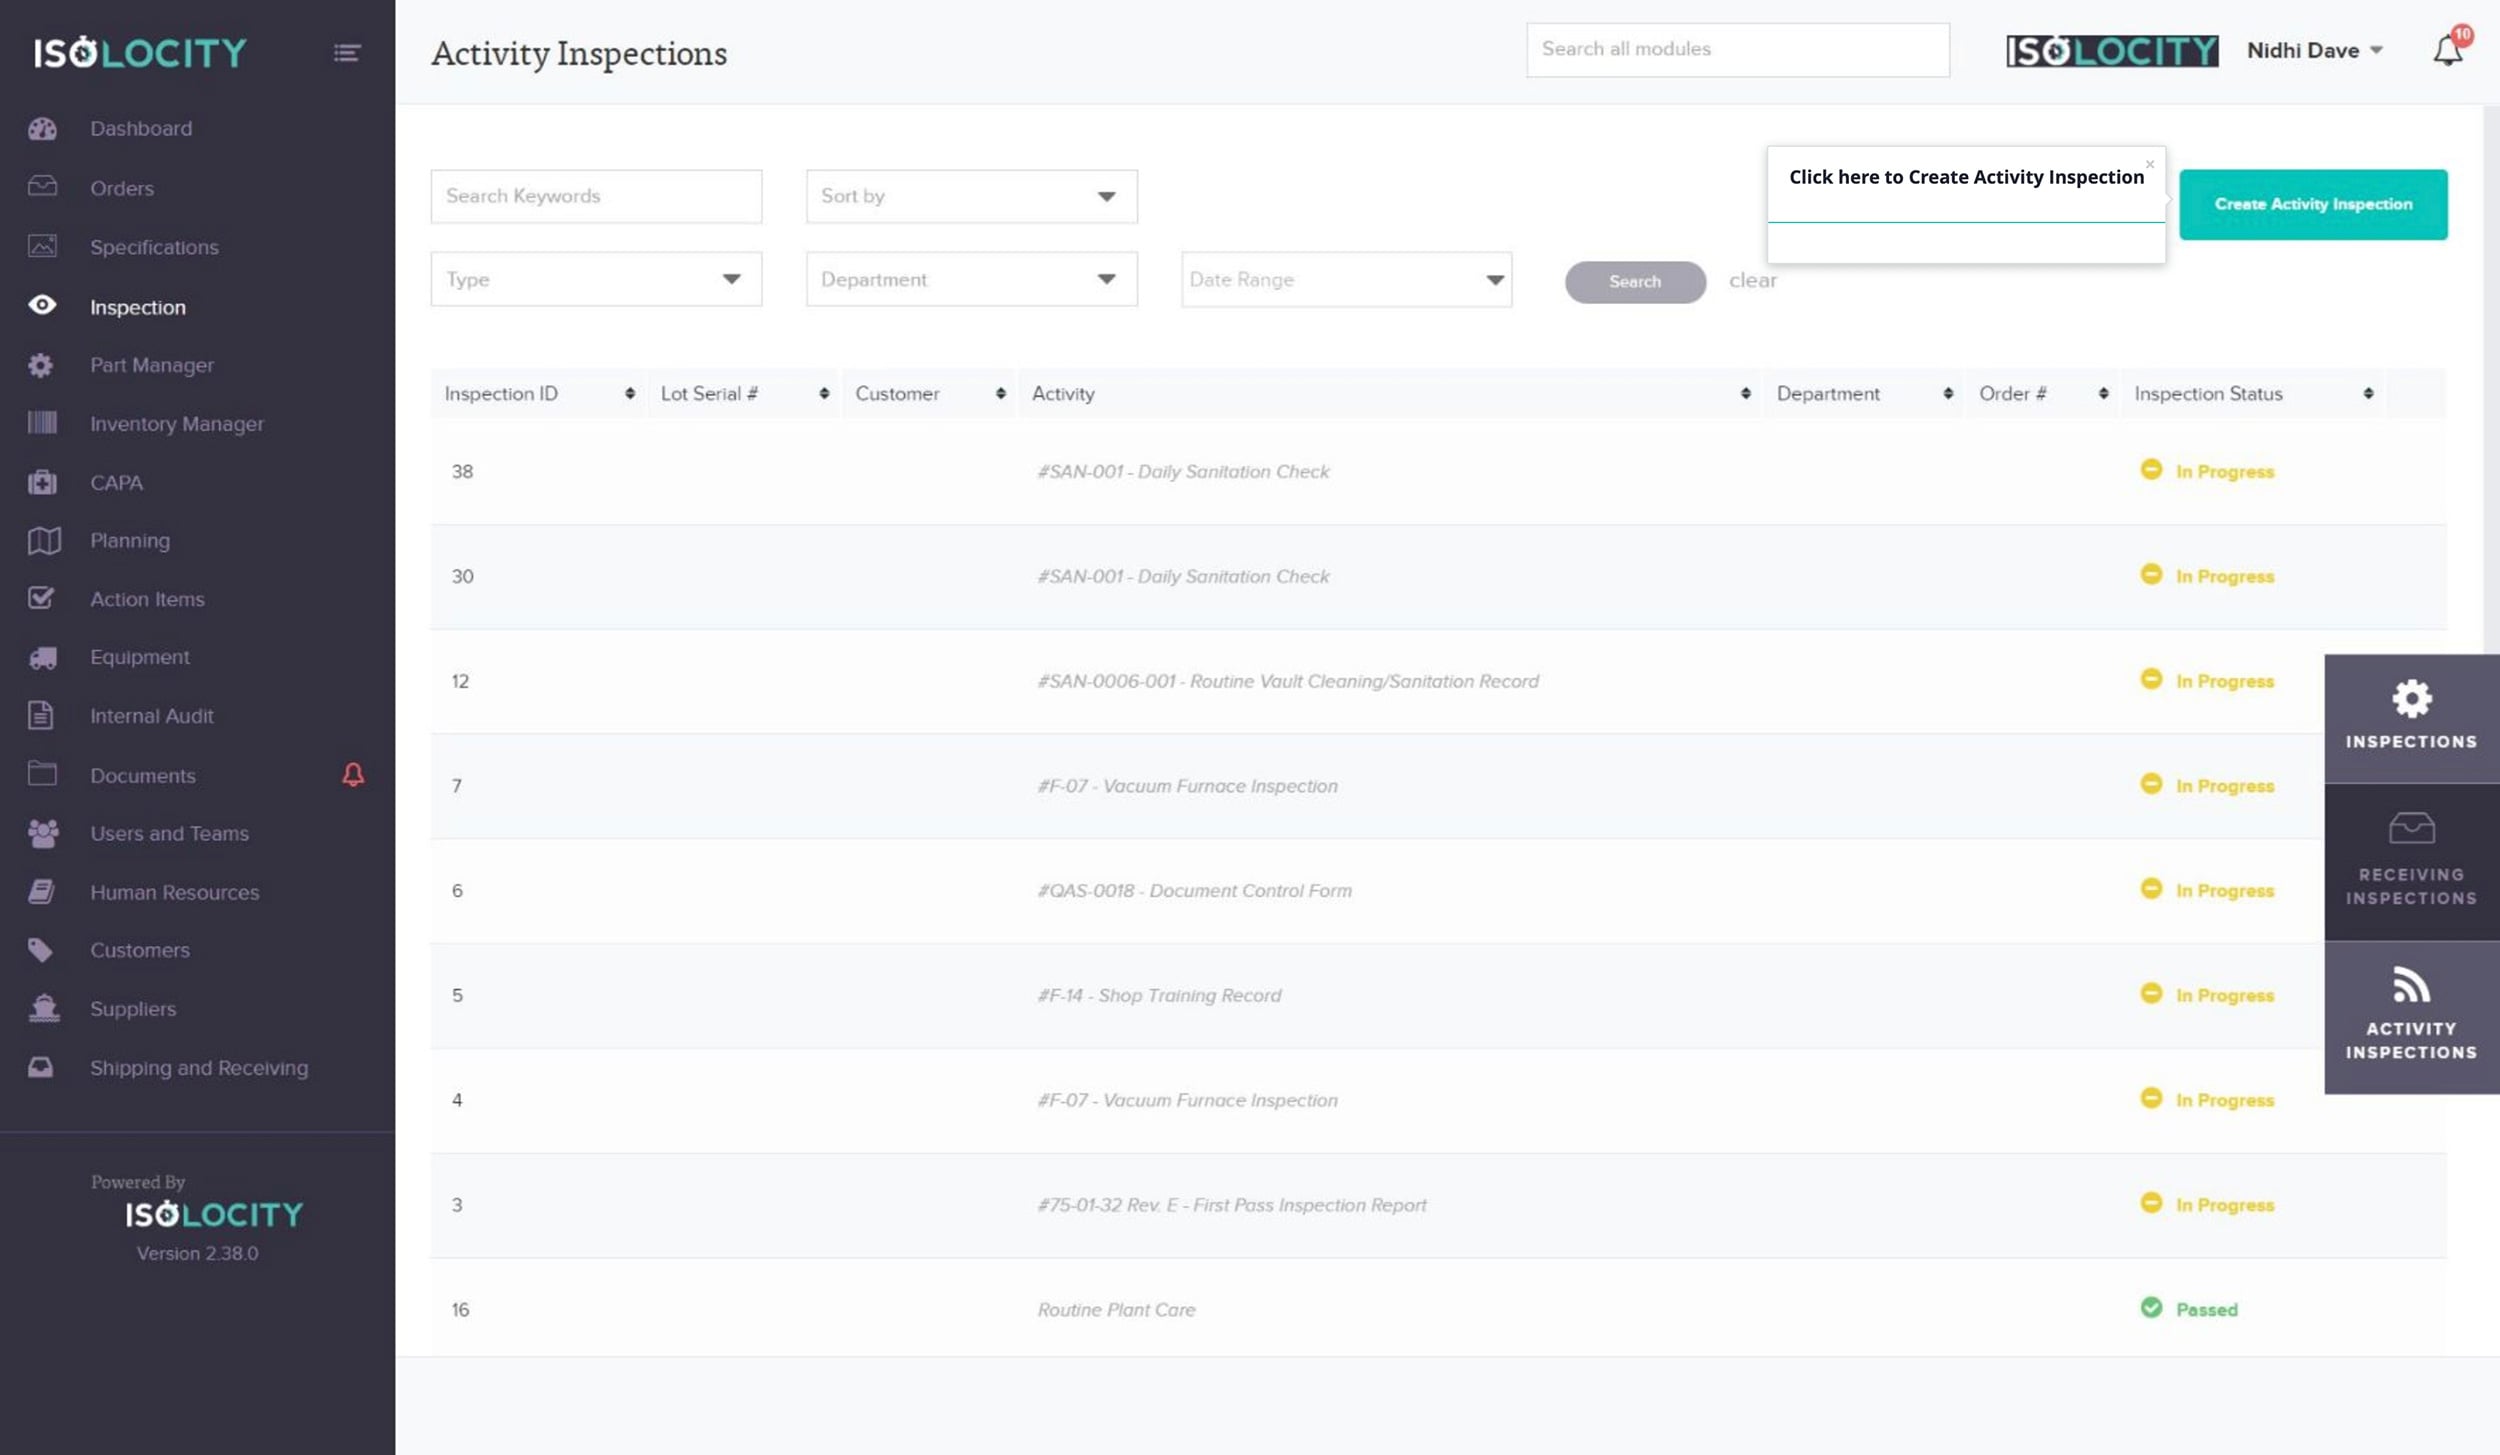
Step #2
Click on the “Activity Inspection” tab.

Step #3
Click here to Create Activity Inspection
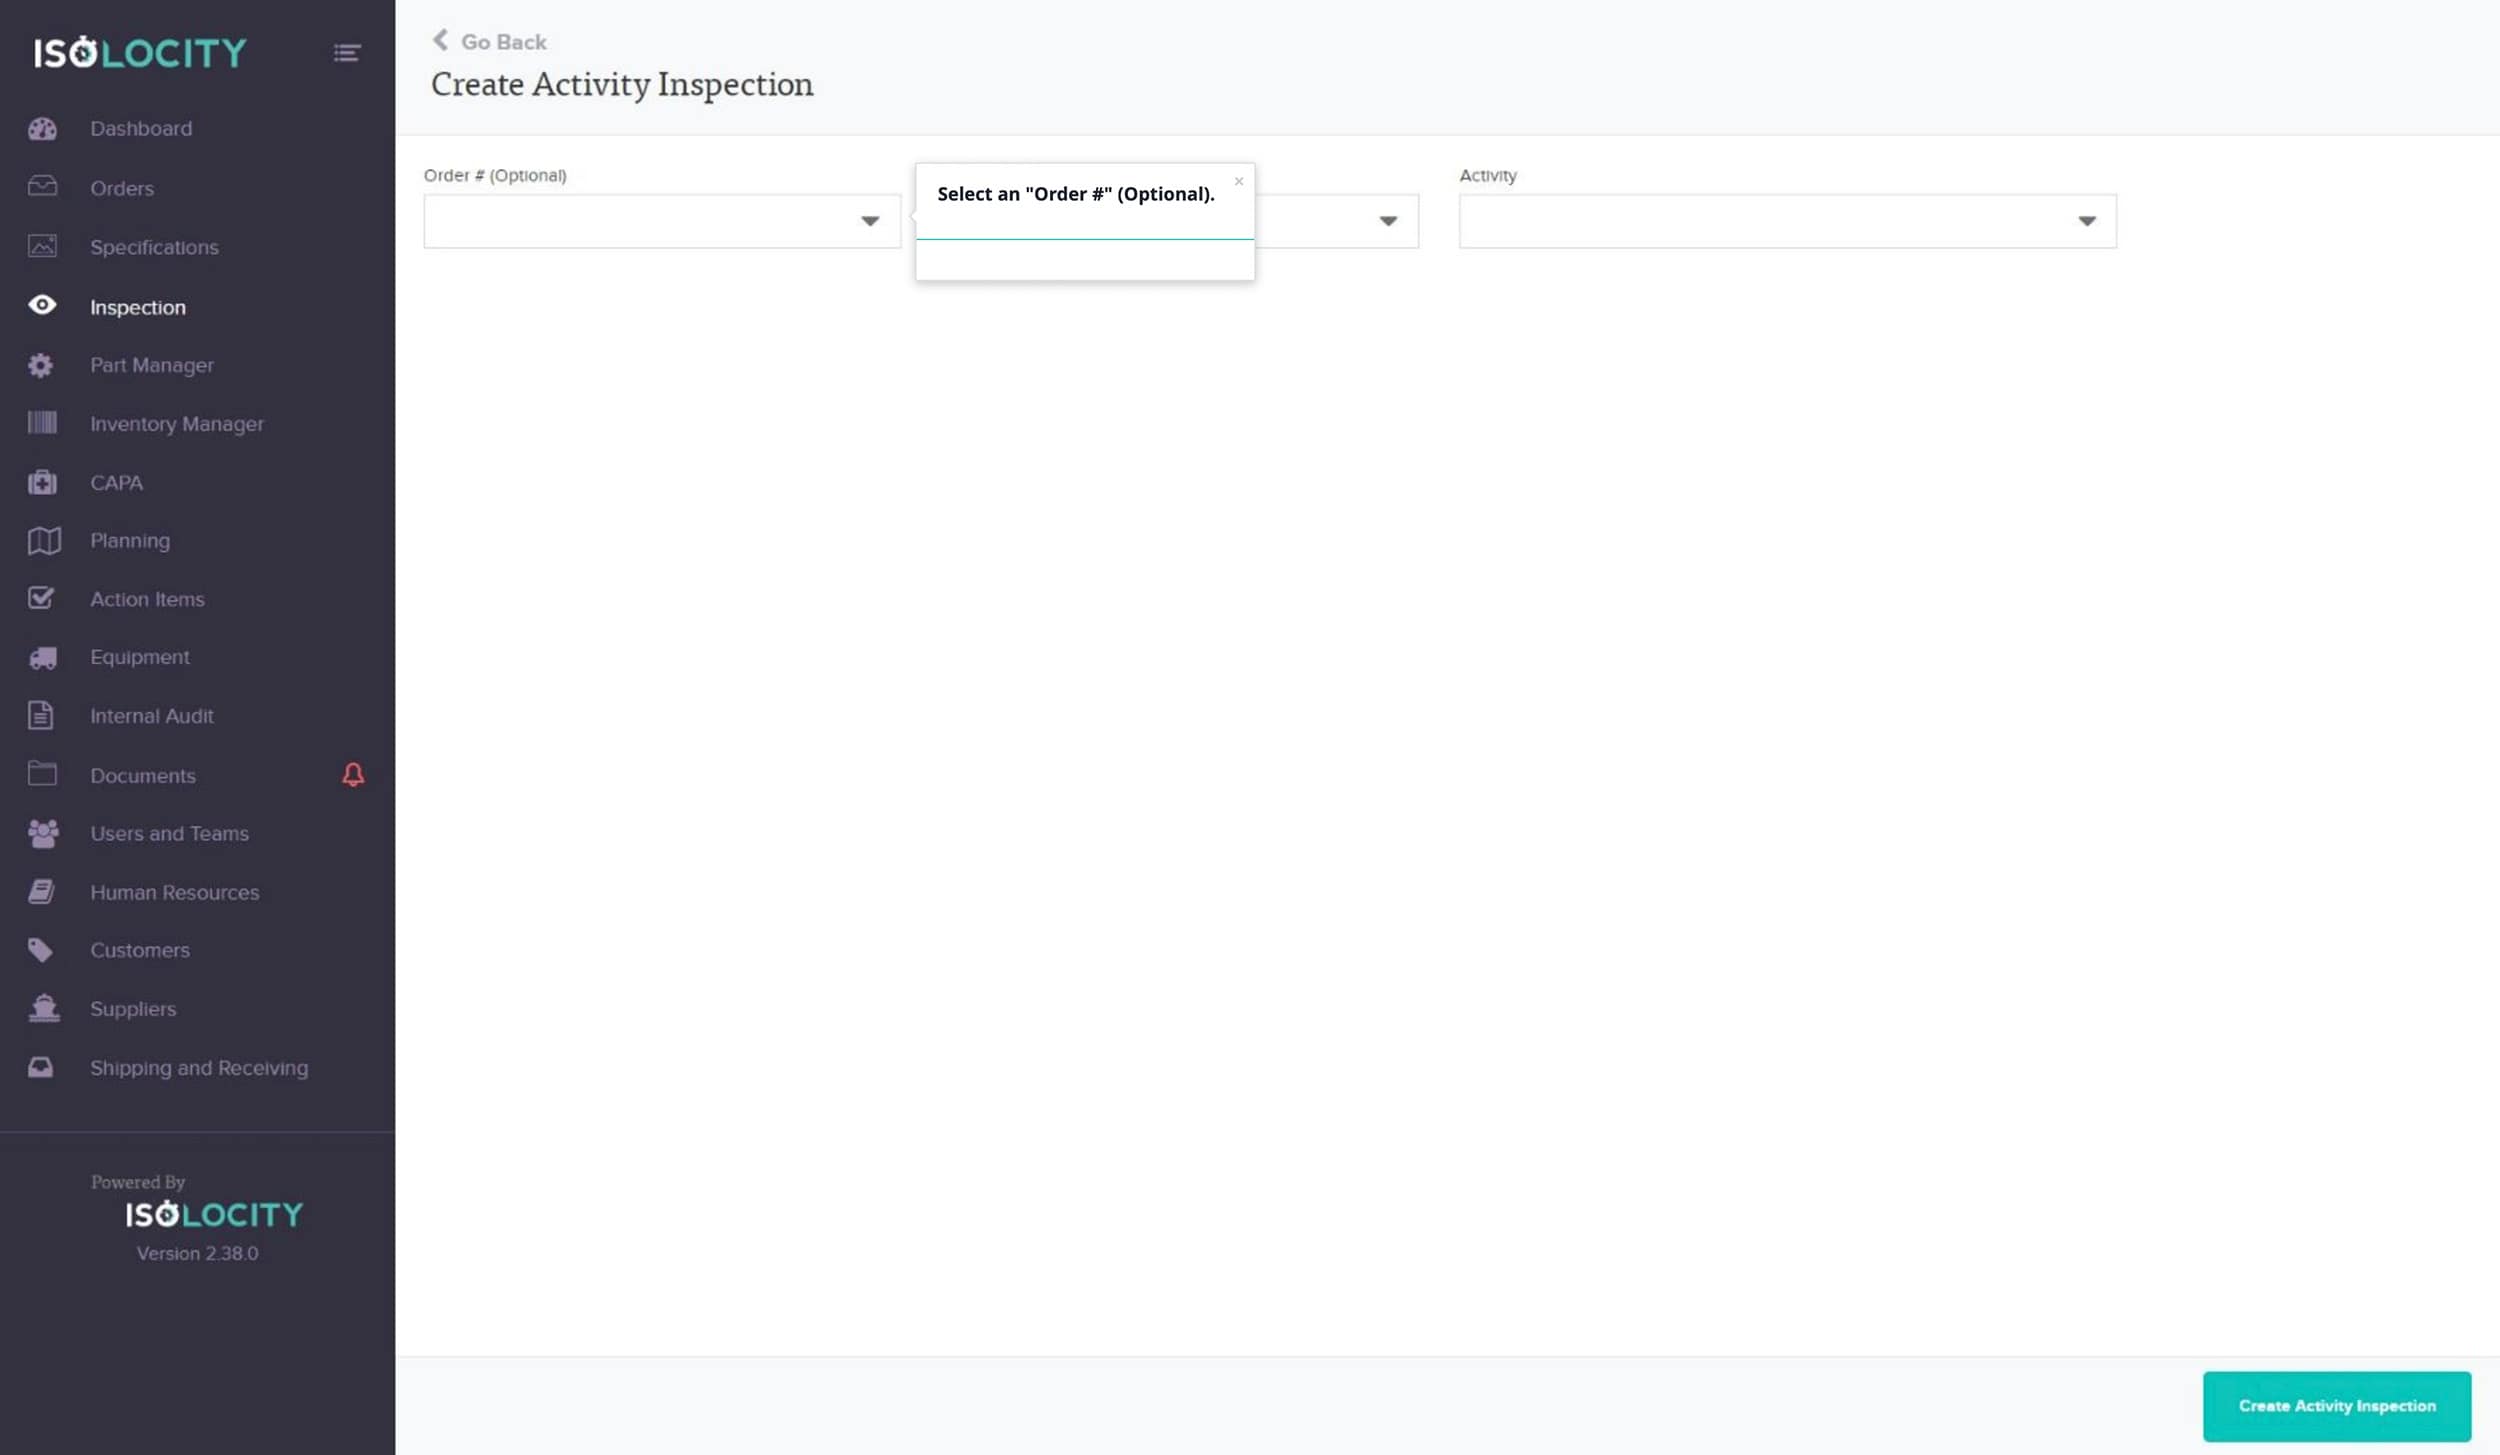
Step #4
Select an “Order #” (Optional).
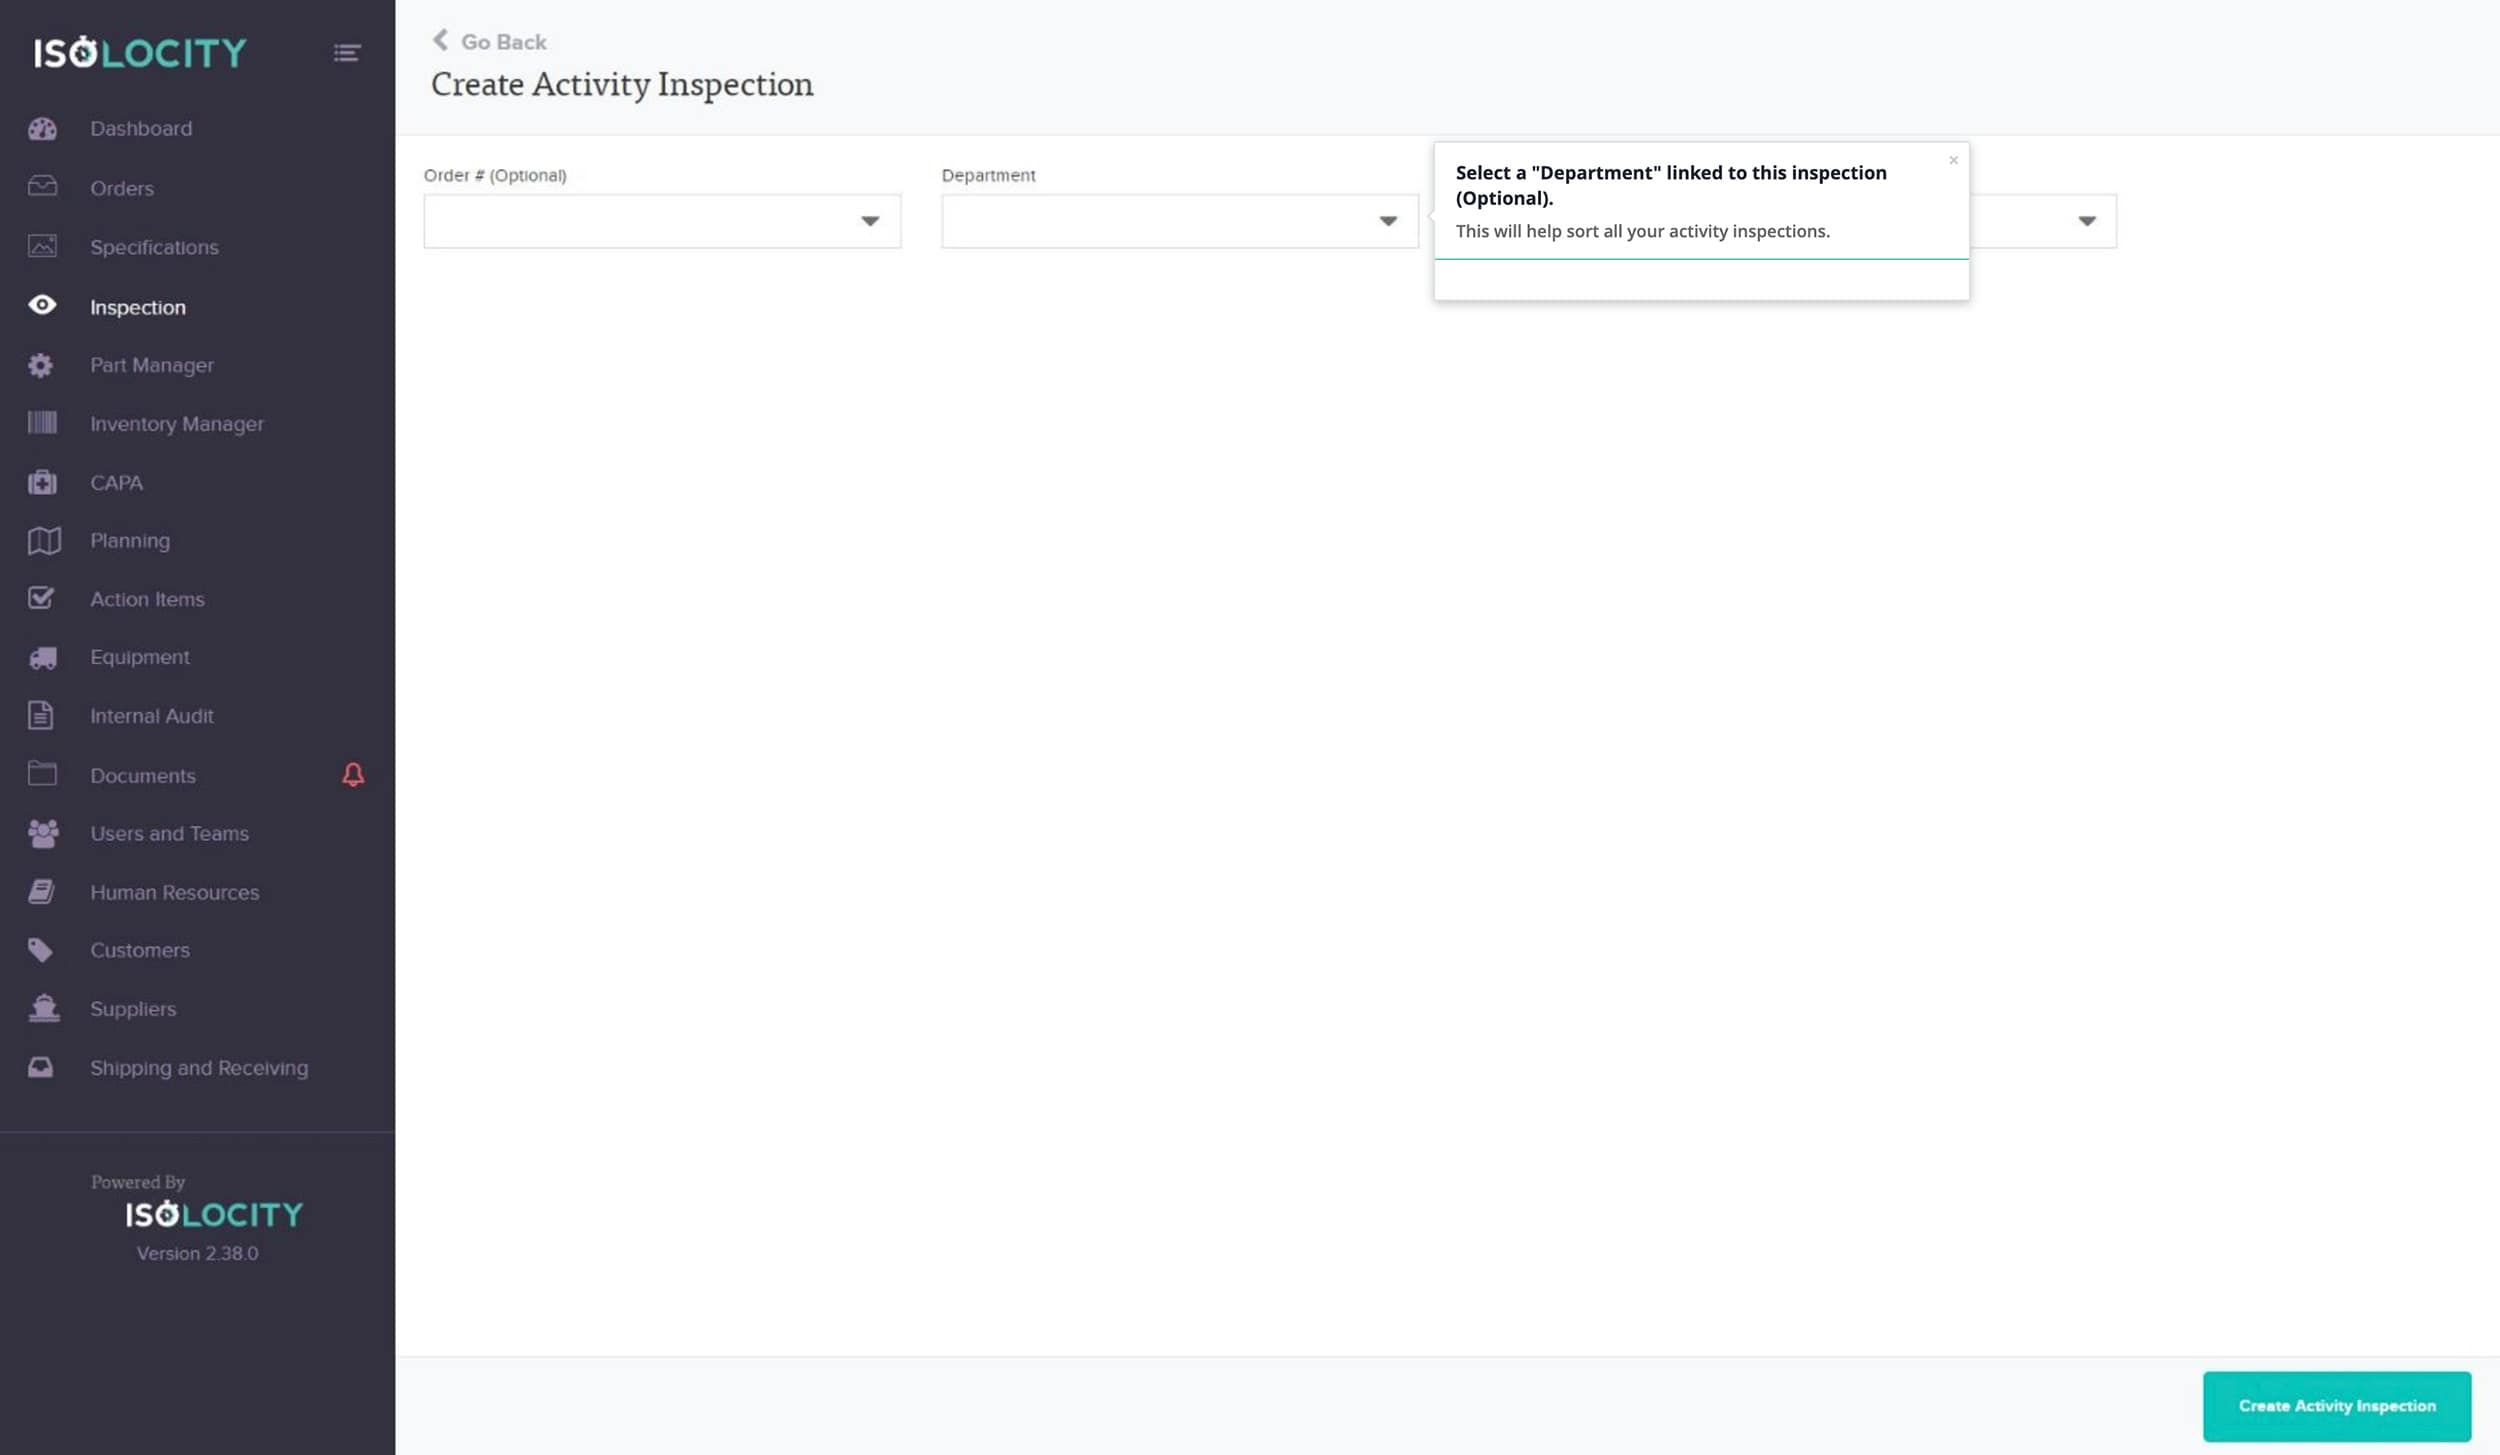
Step #5
Select a “Department” linked to this inspection (Optional).
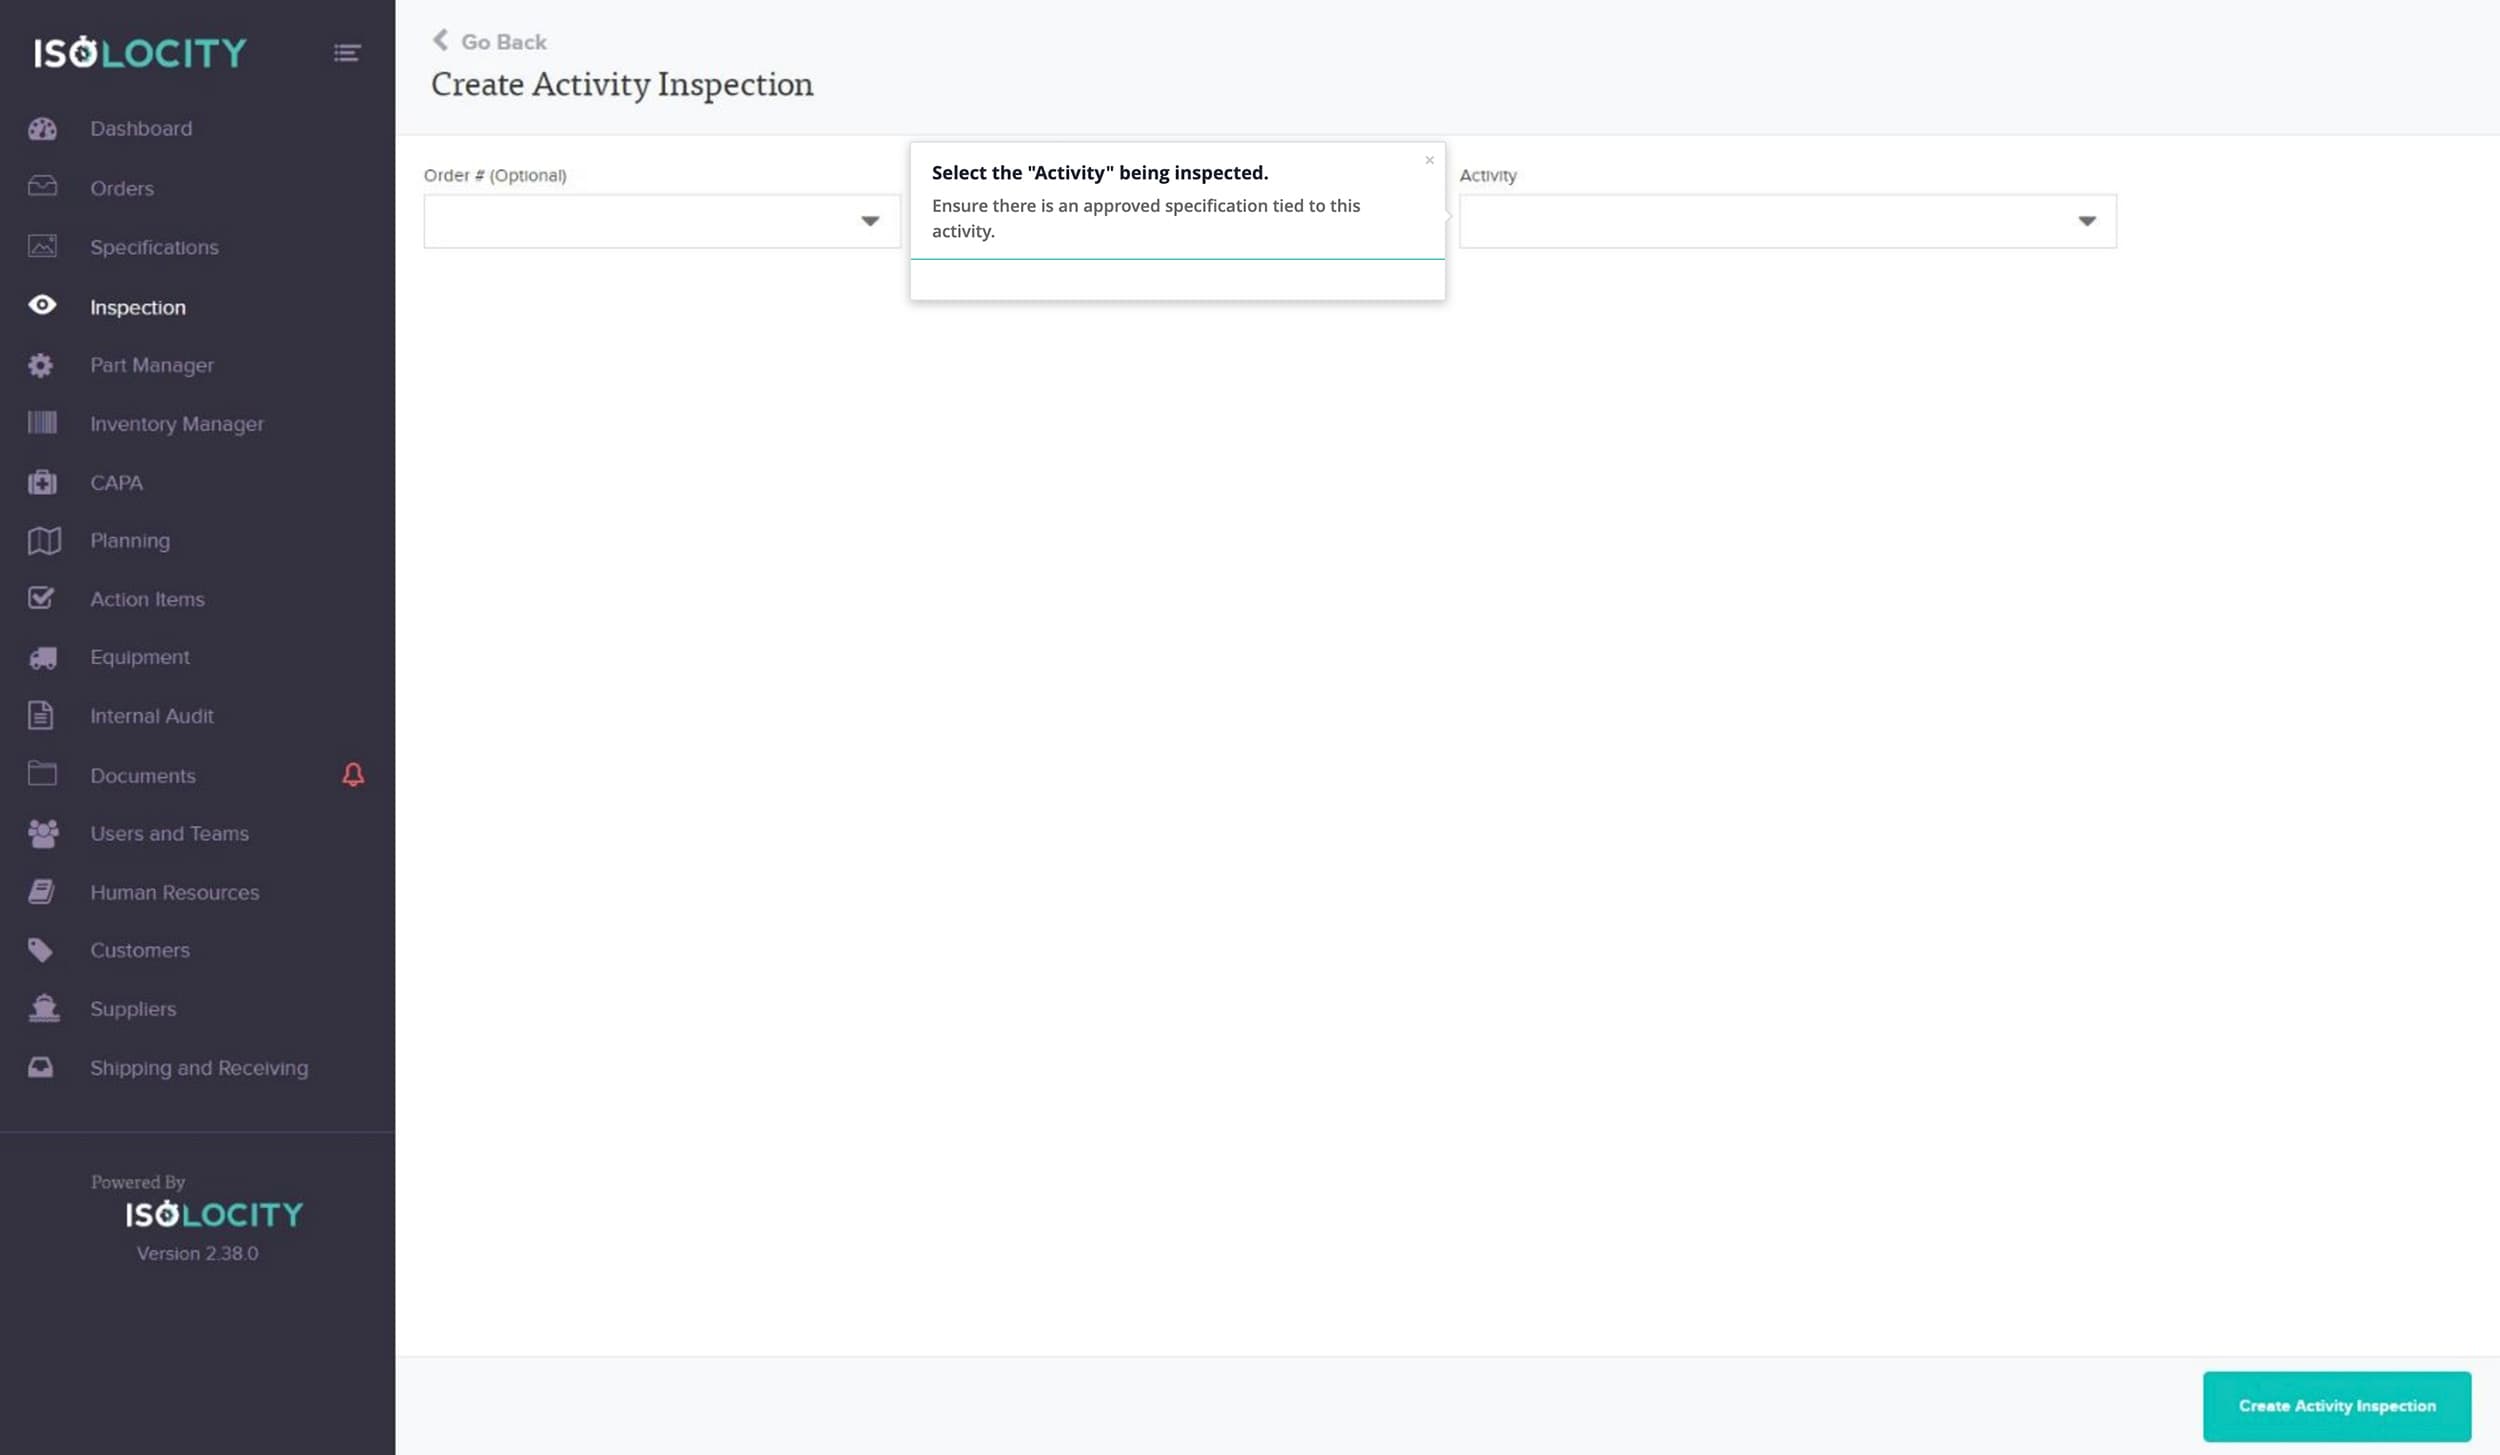
Step #6
Select the “Activity” being inspected.
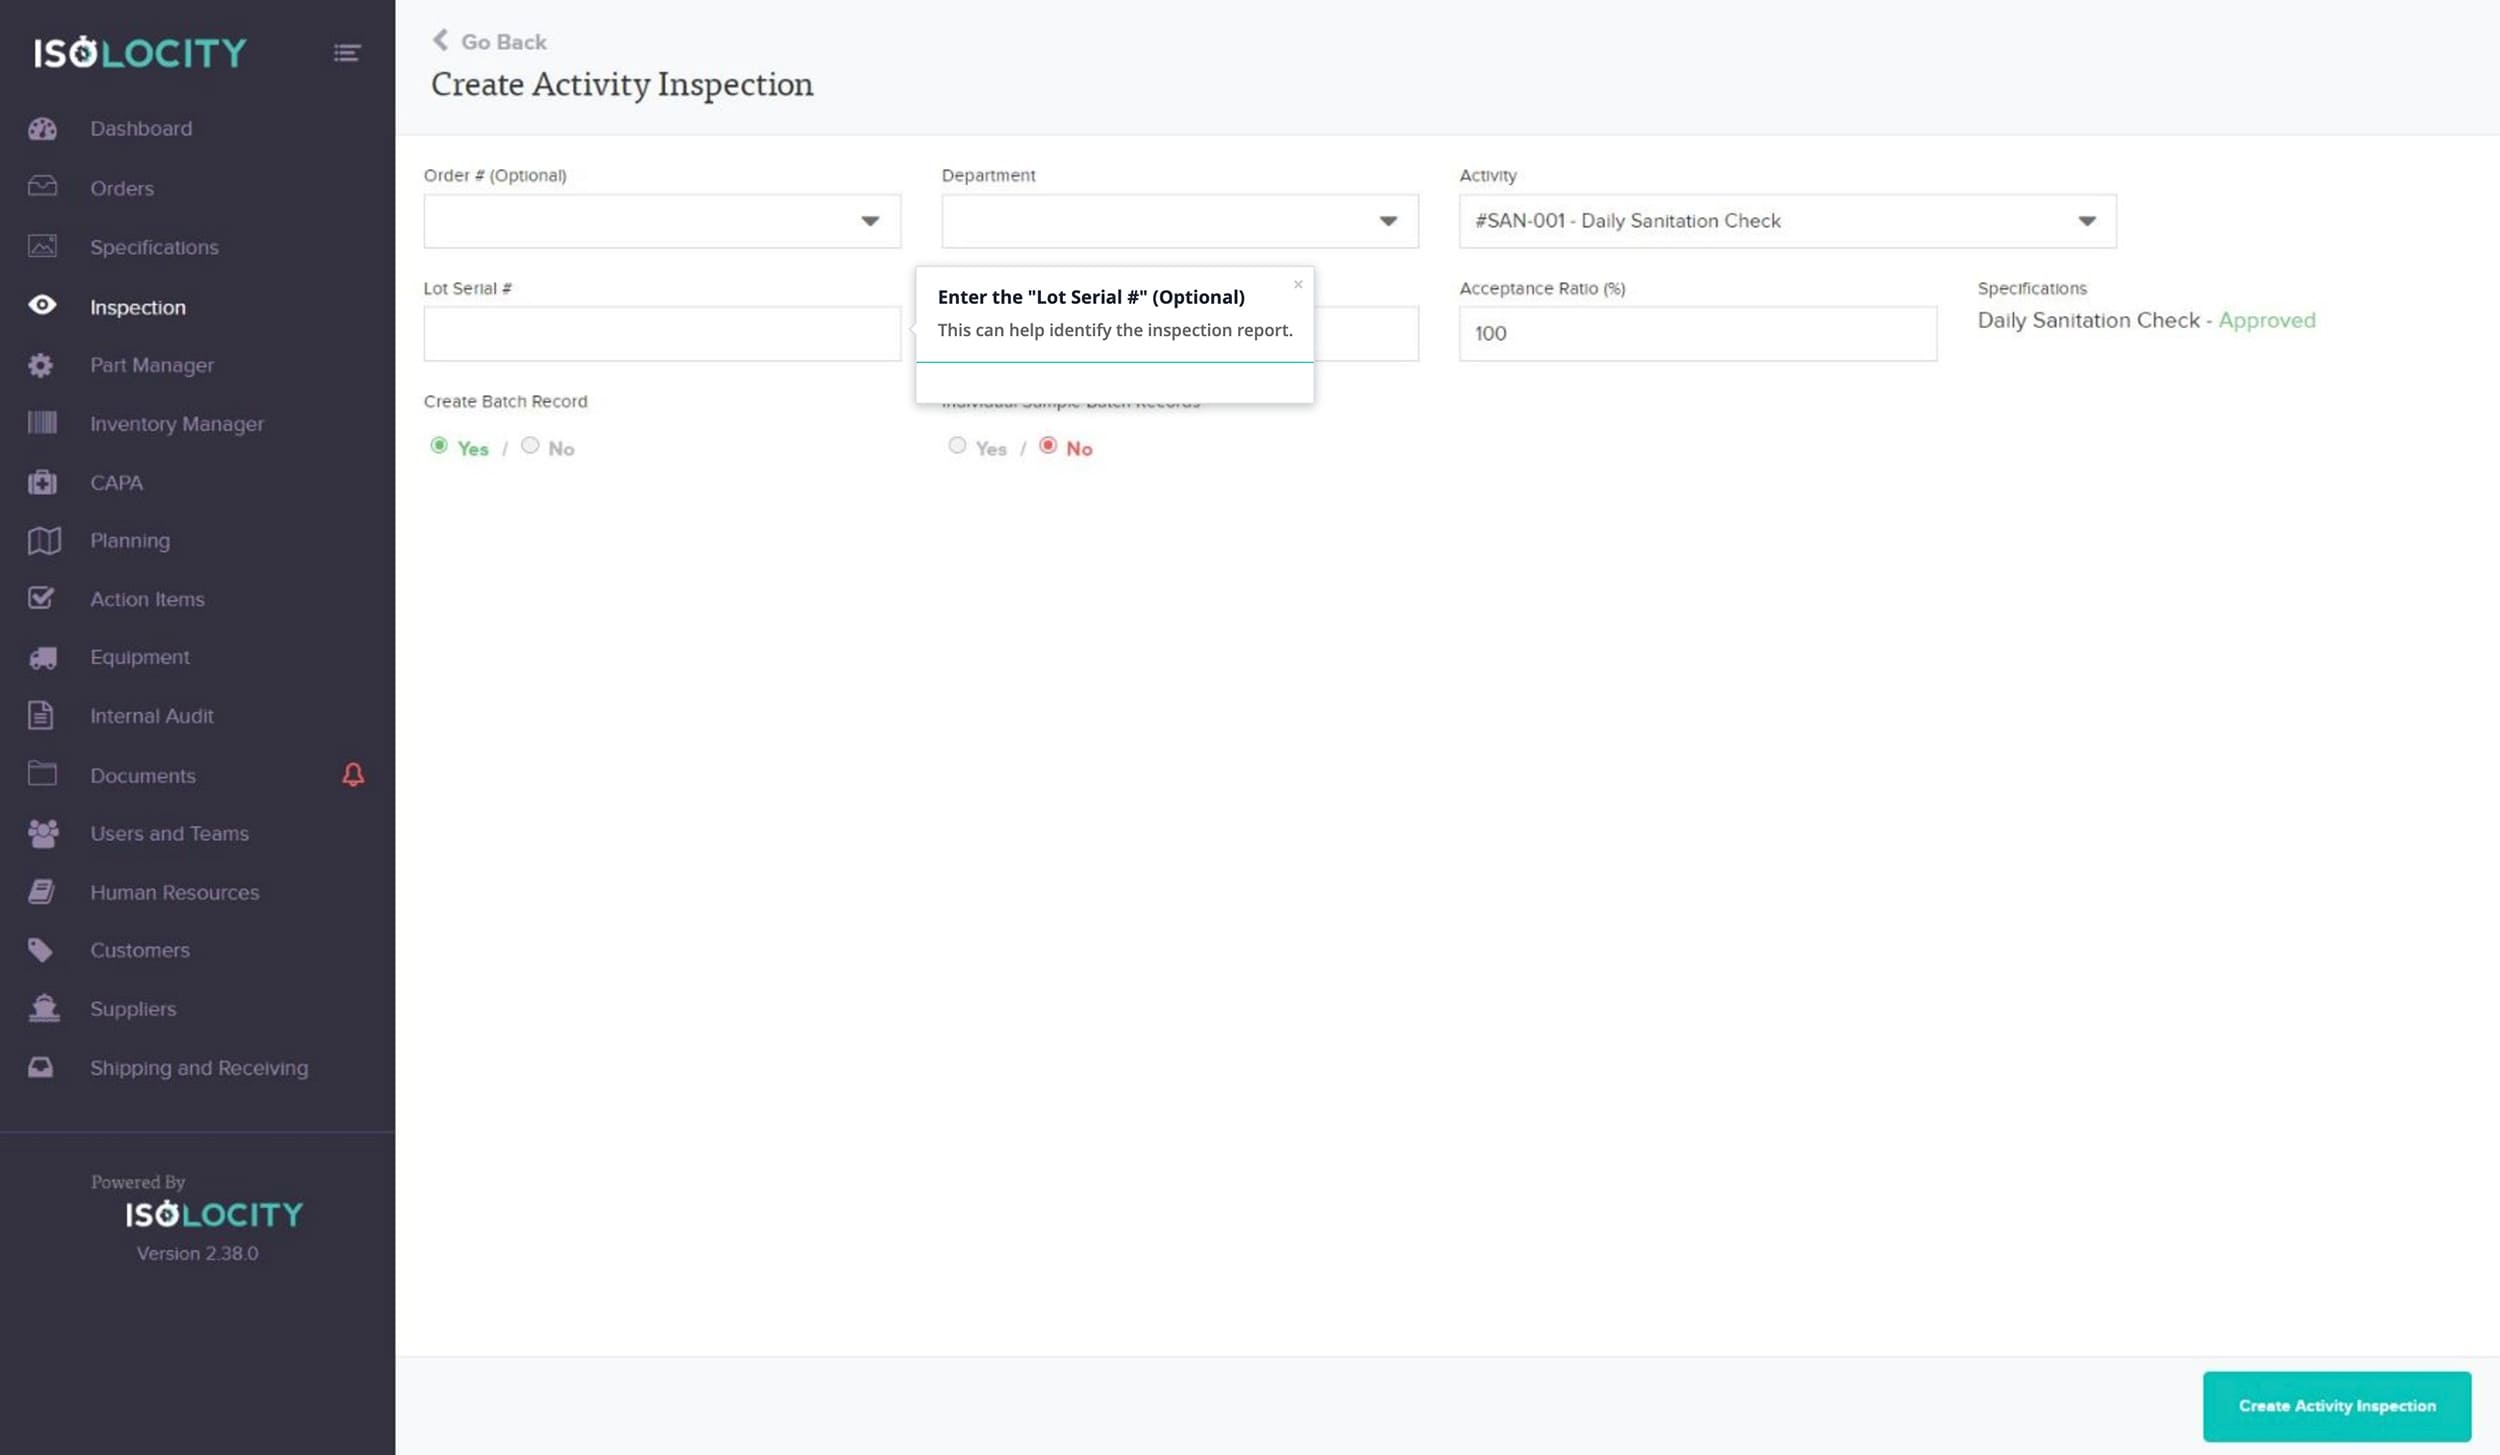
Step #7
Enter the “Lot Serial #” (Optional)
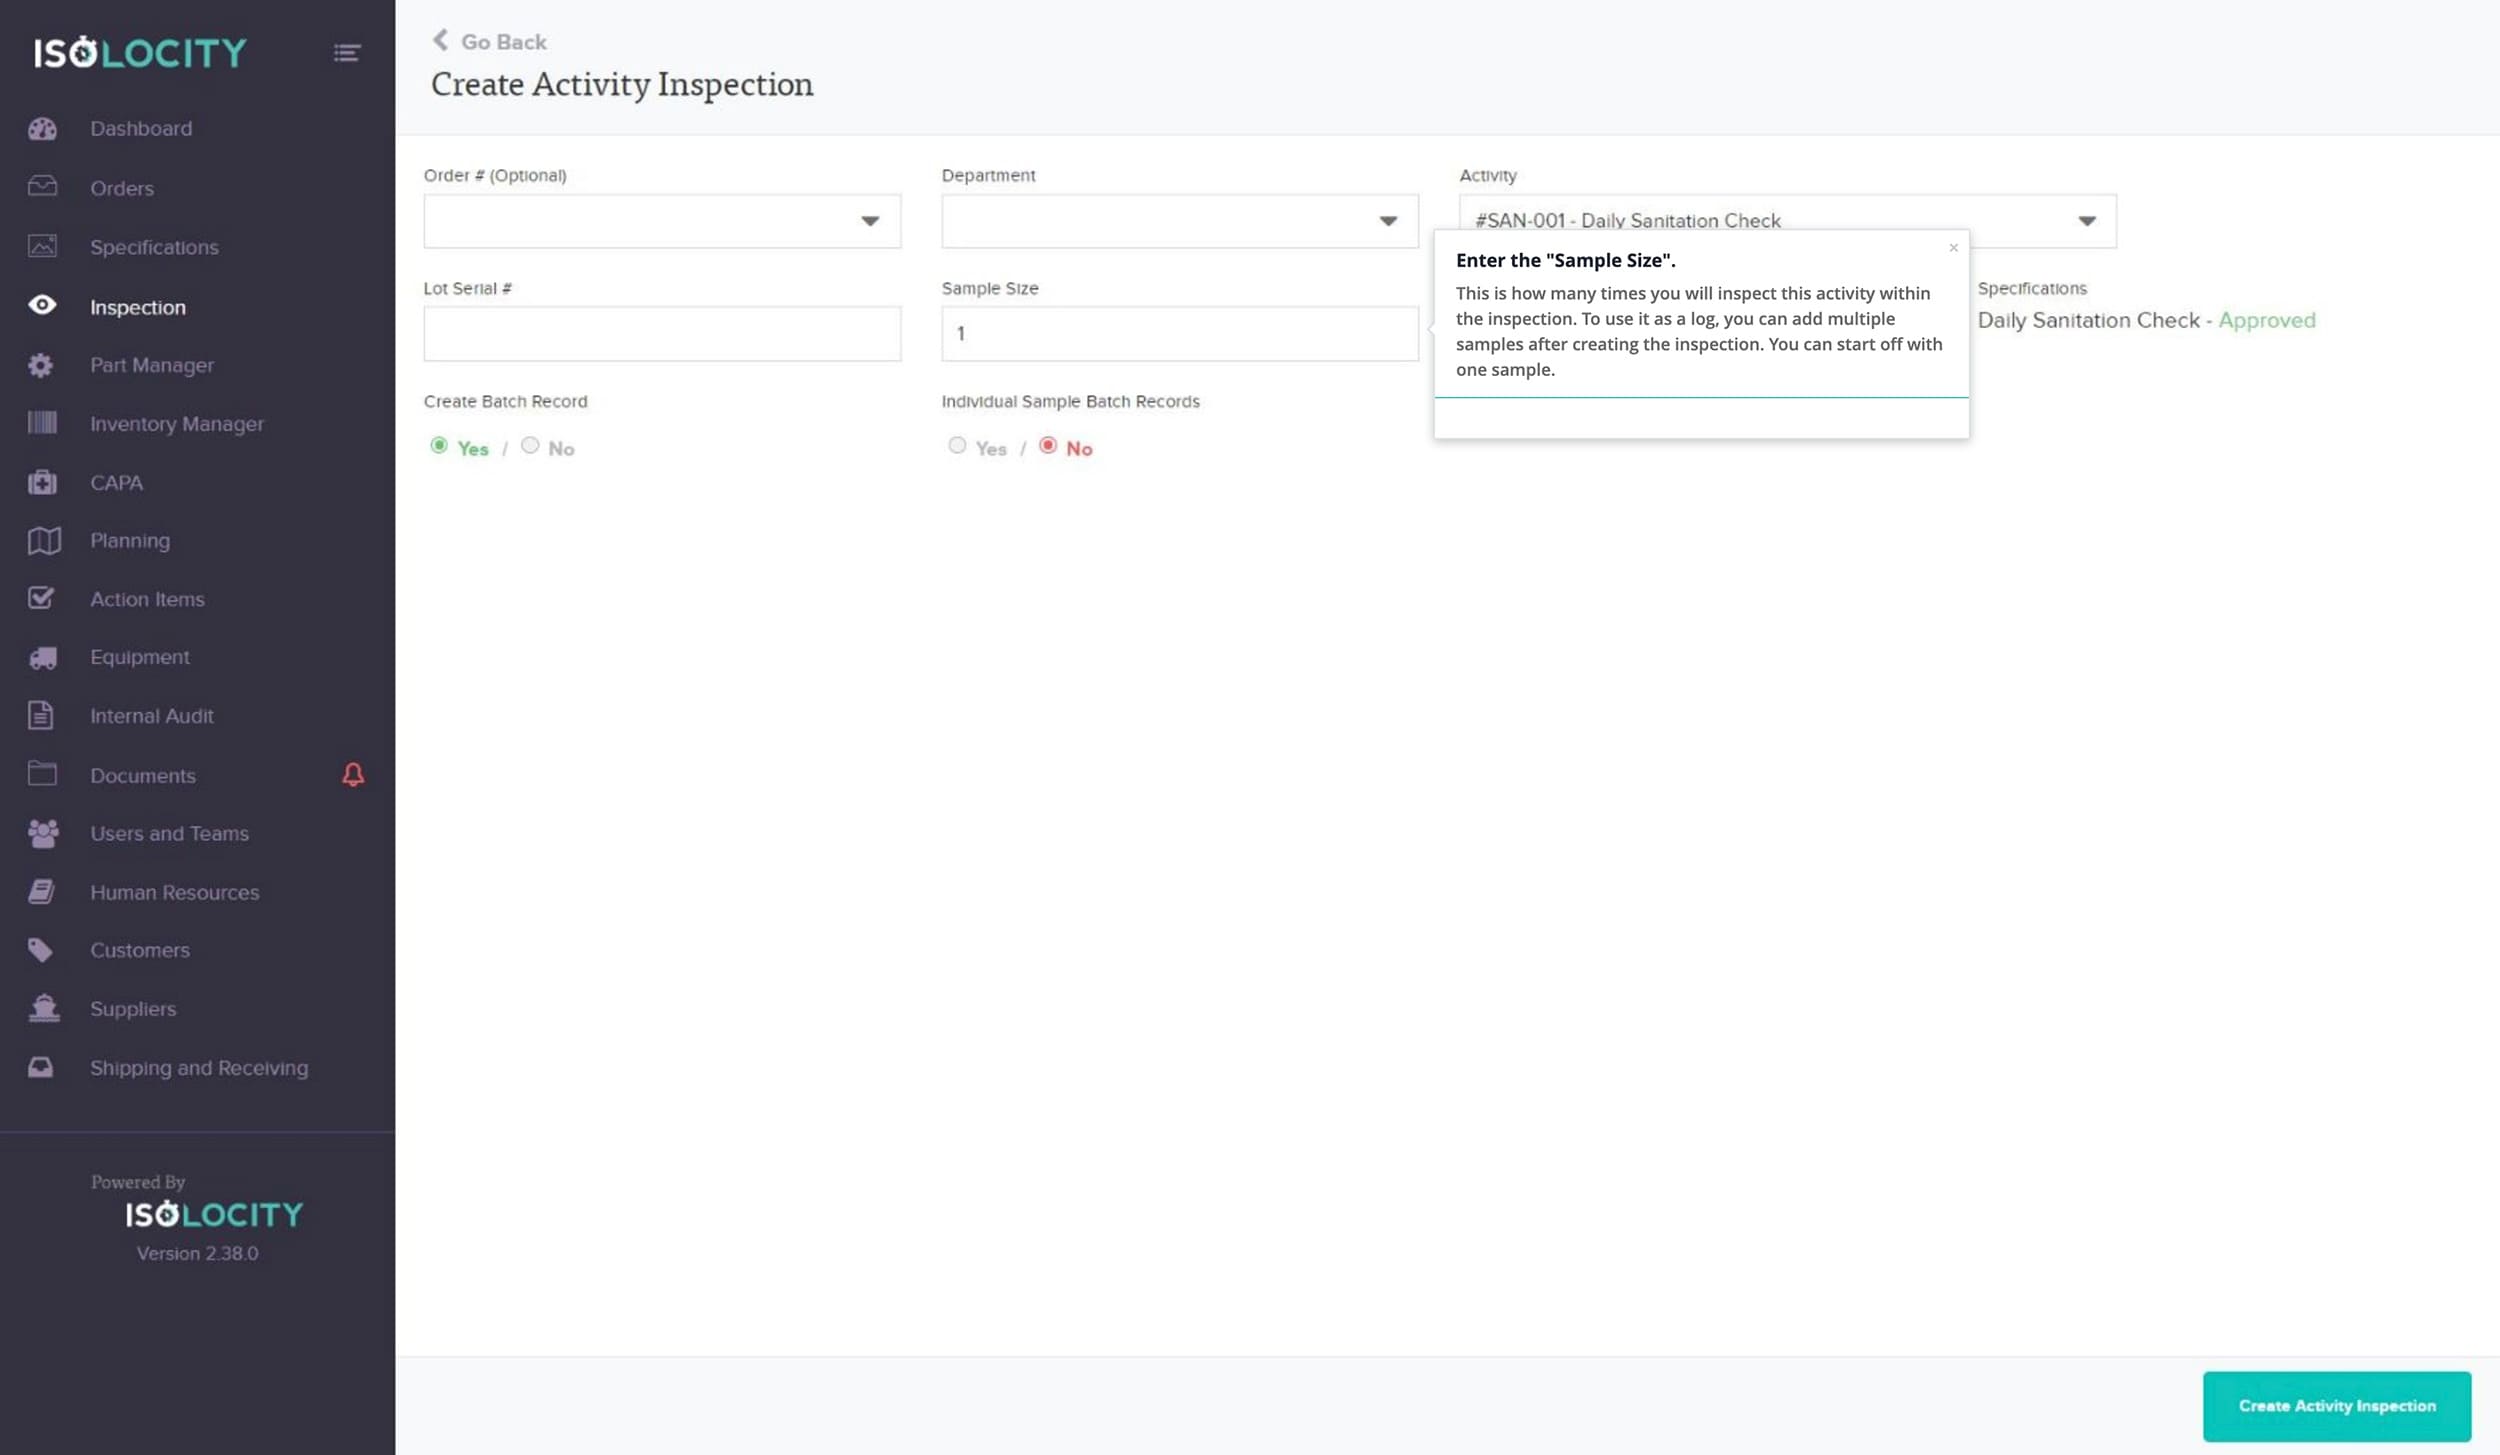
Step #8
Enter the “Sample Size”.
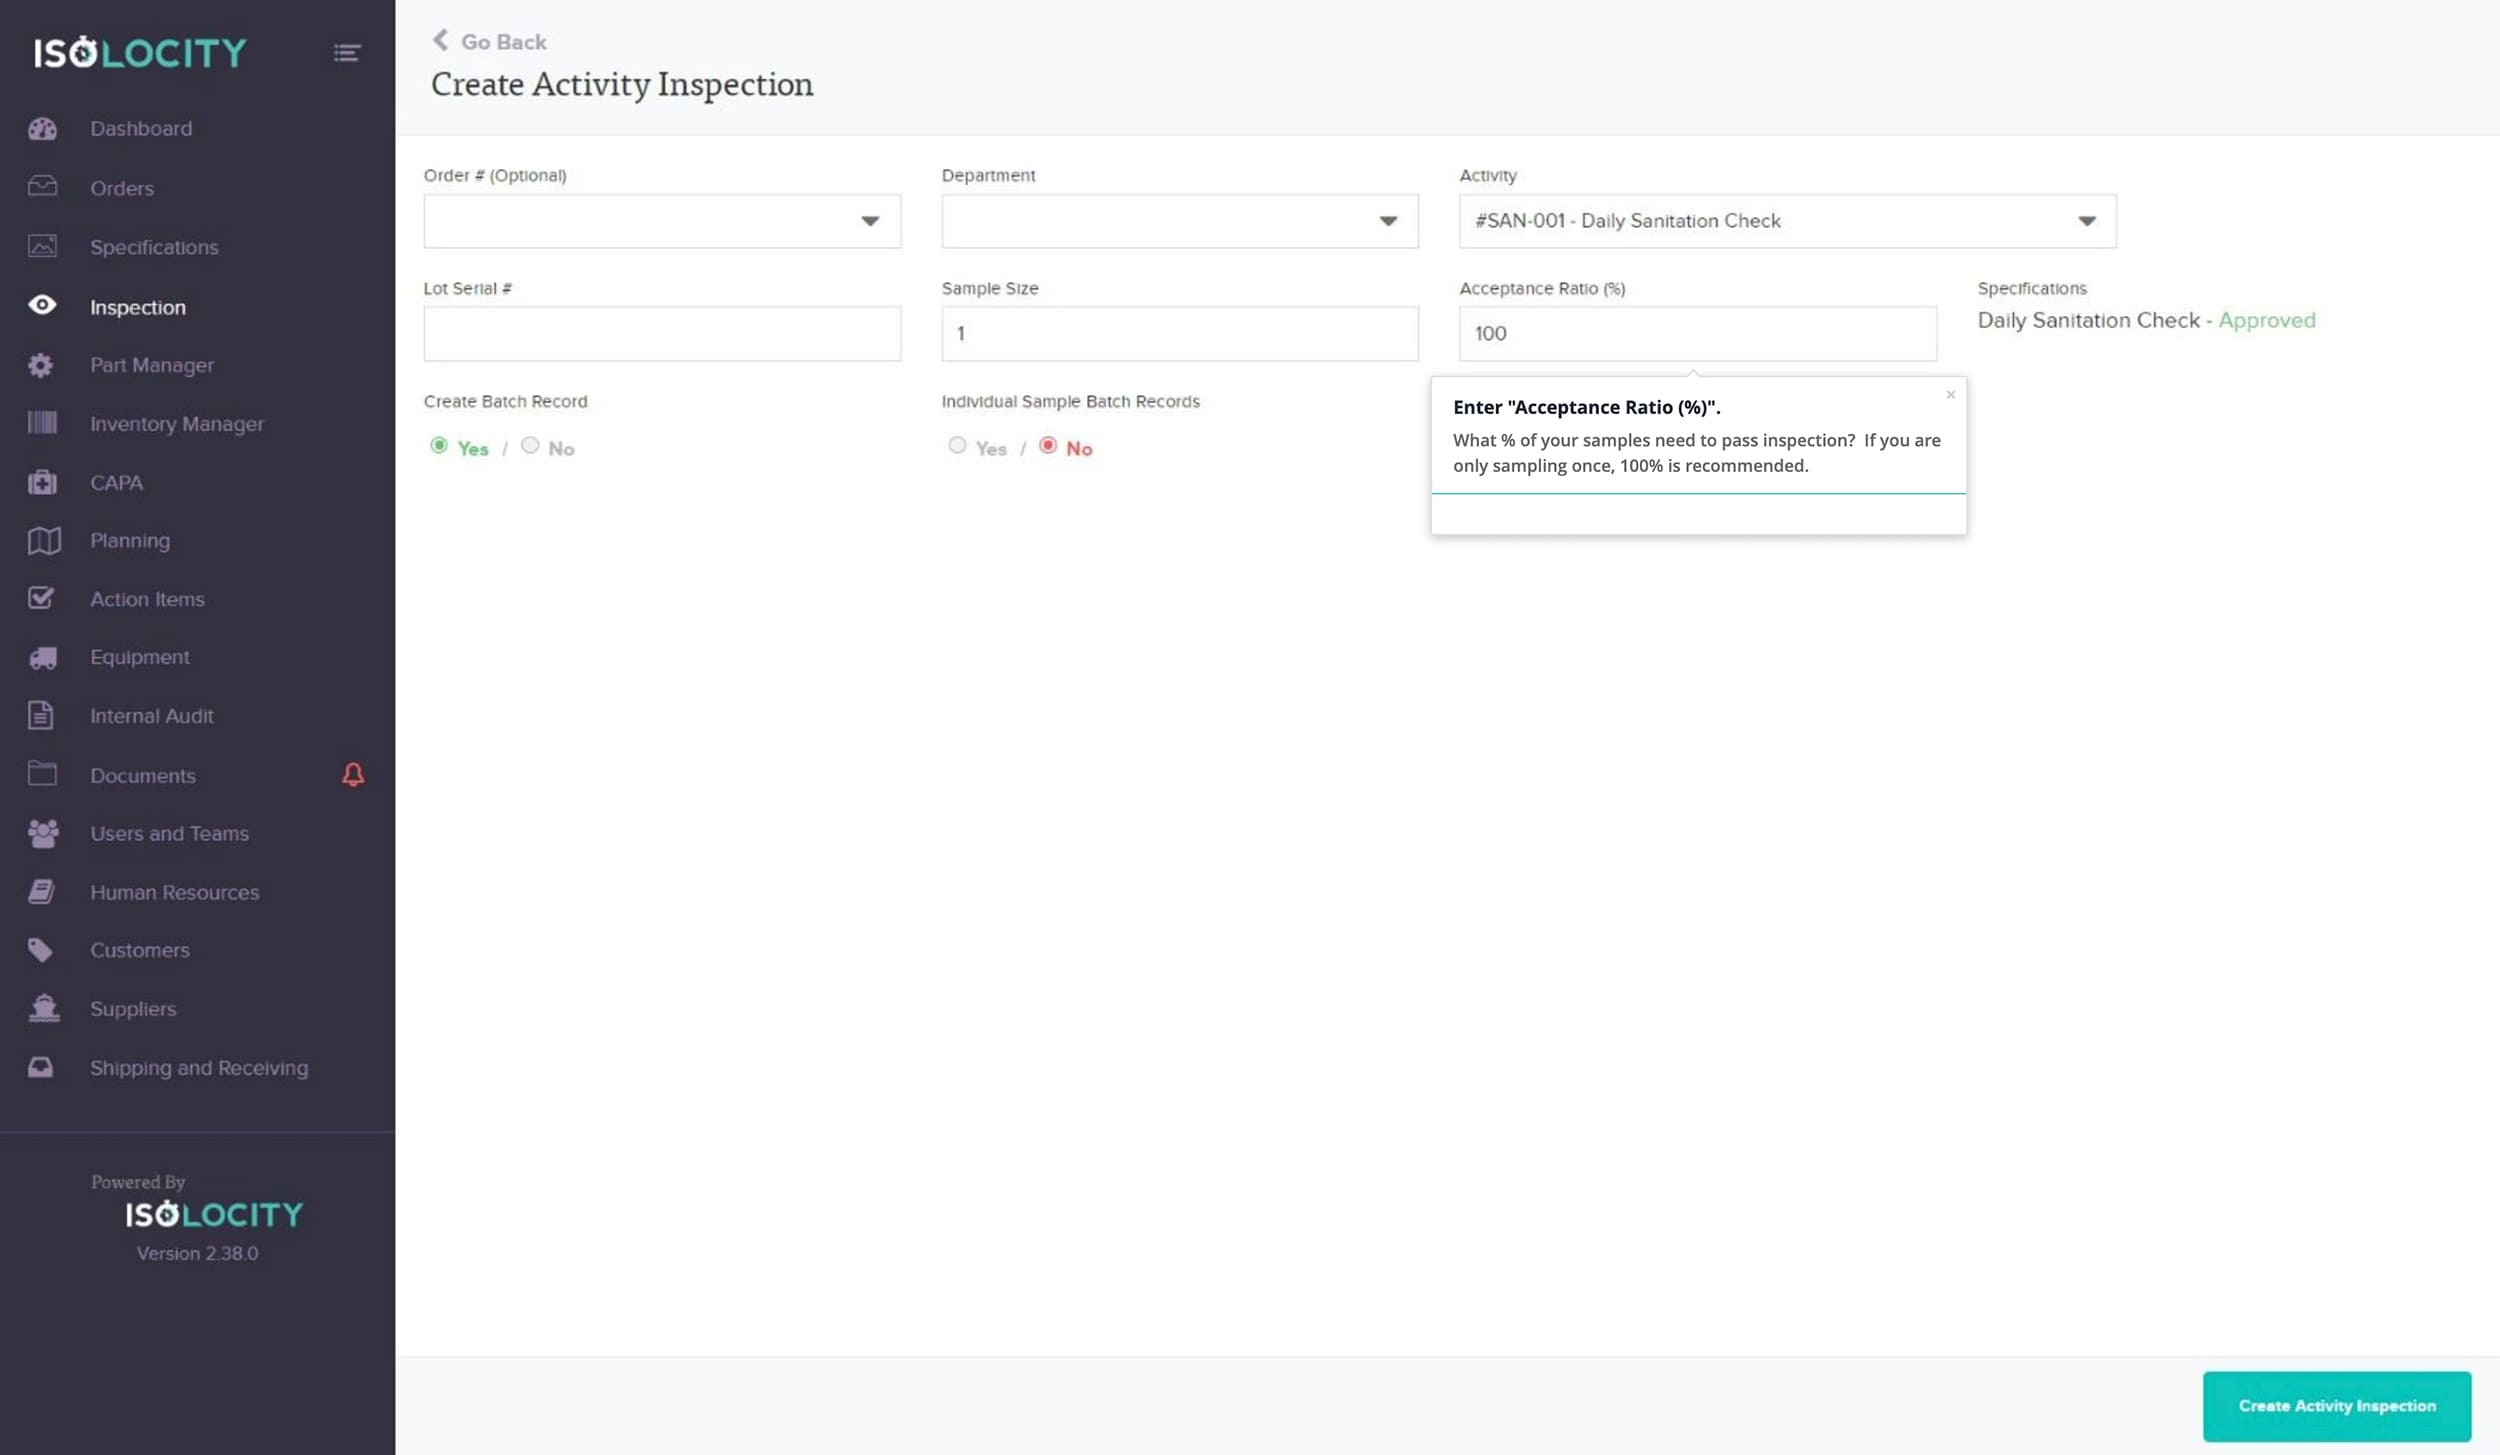
Step #9
Enter “Acceptance Ratio (%)”.
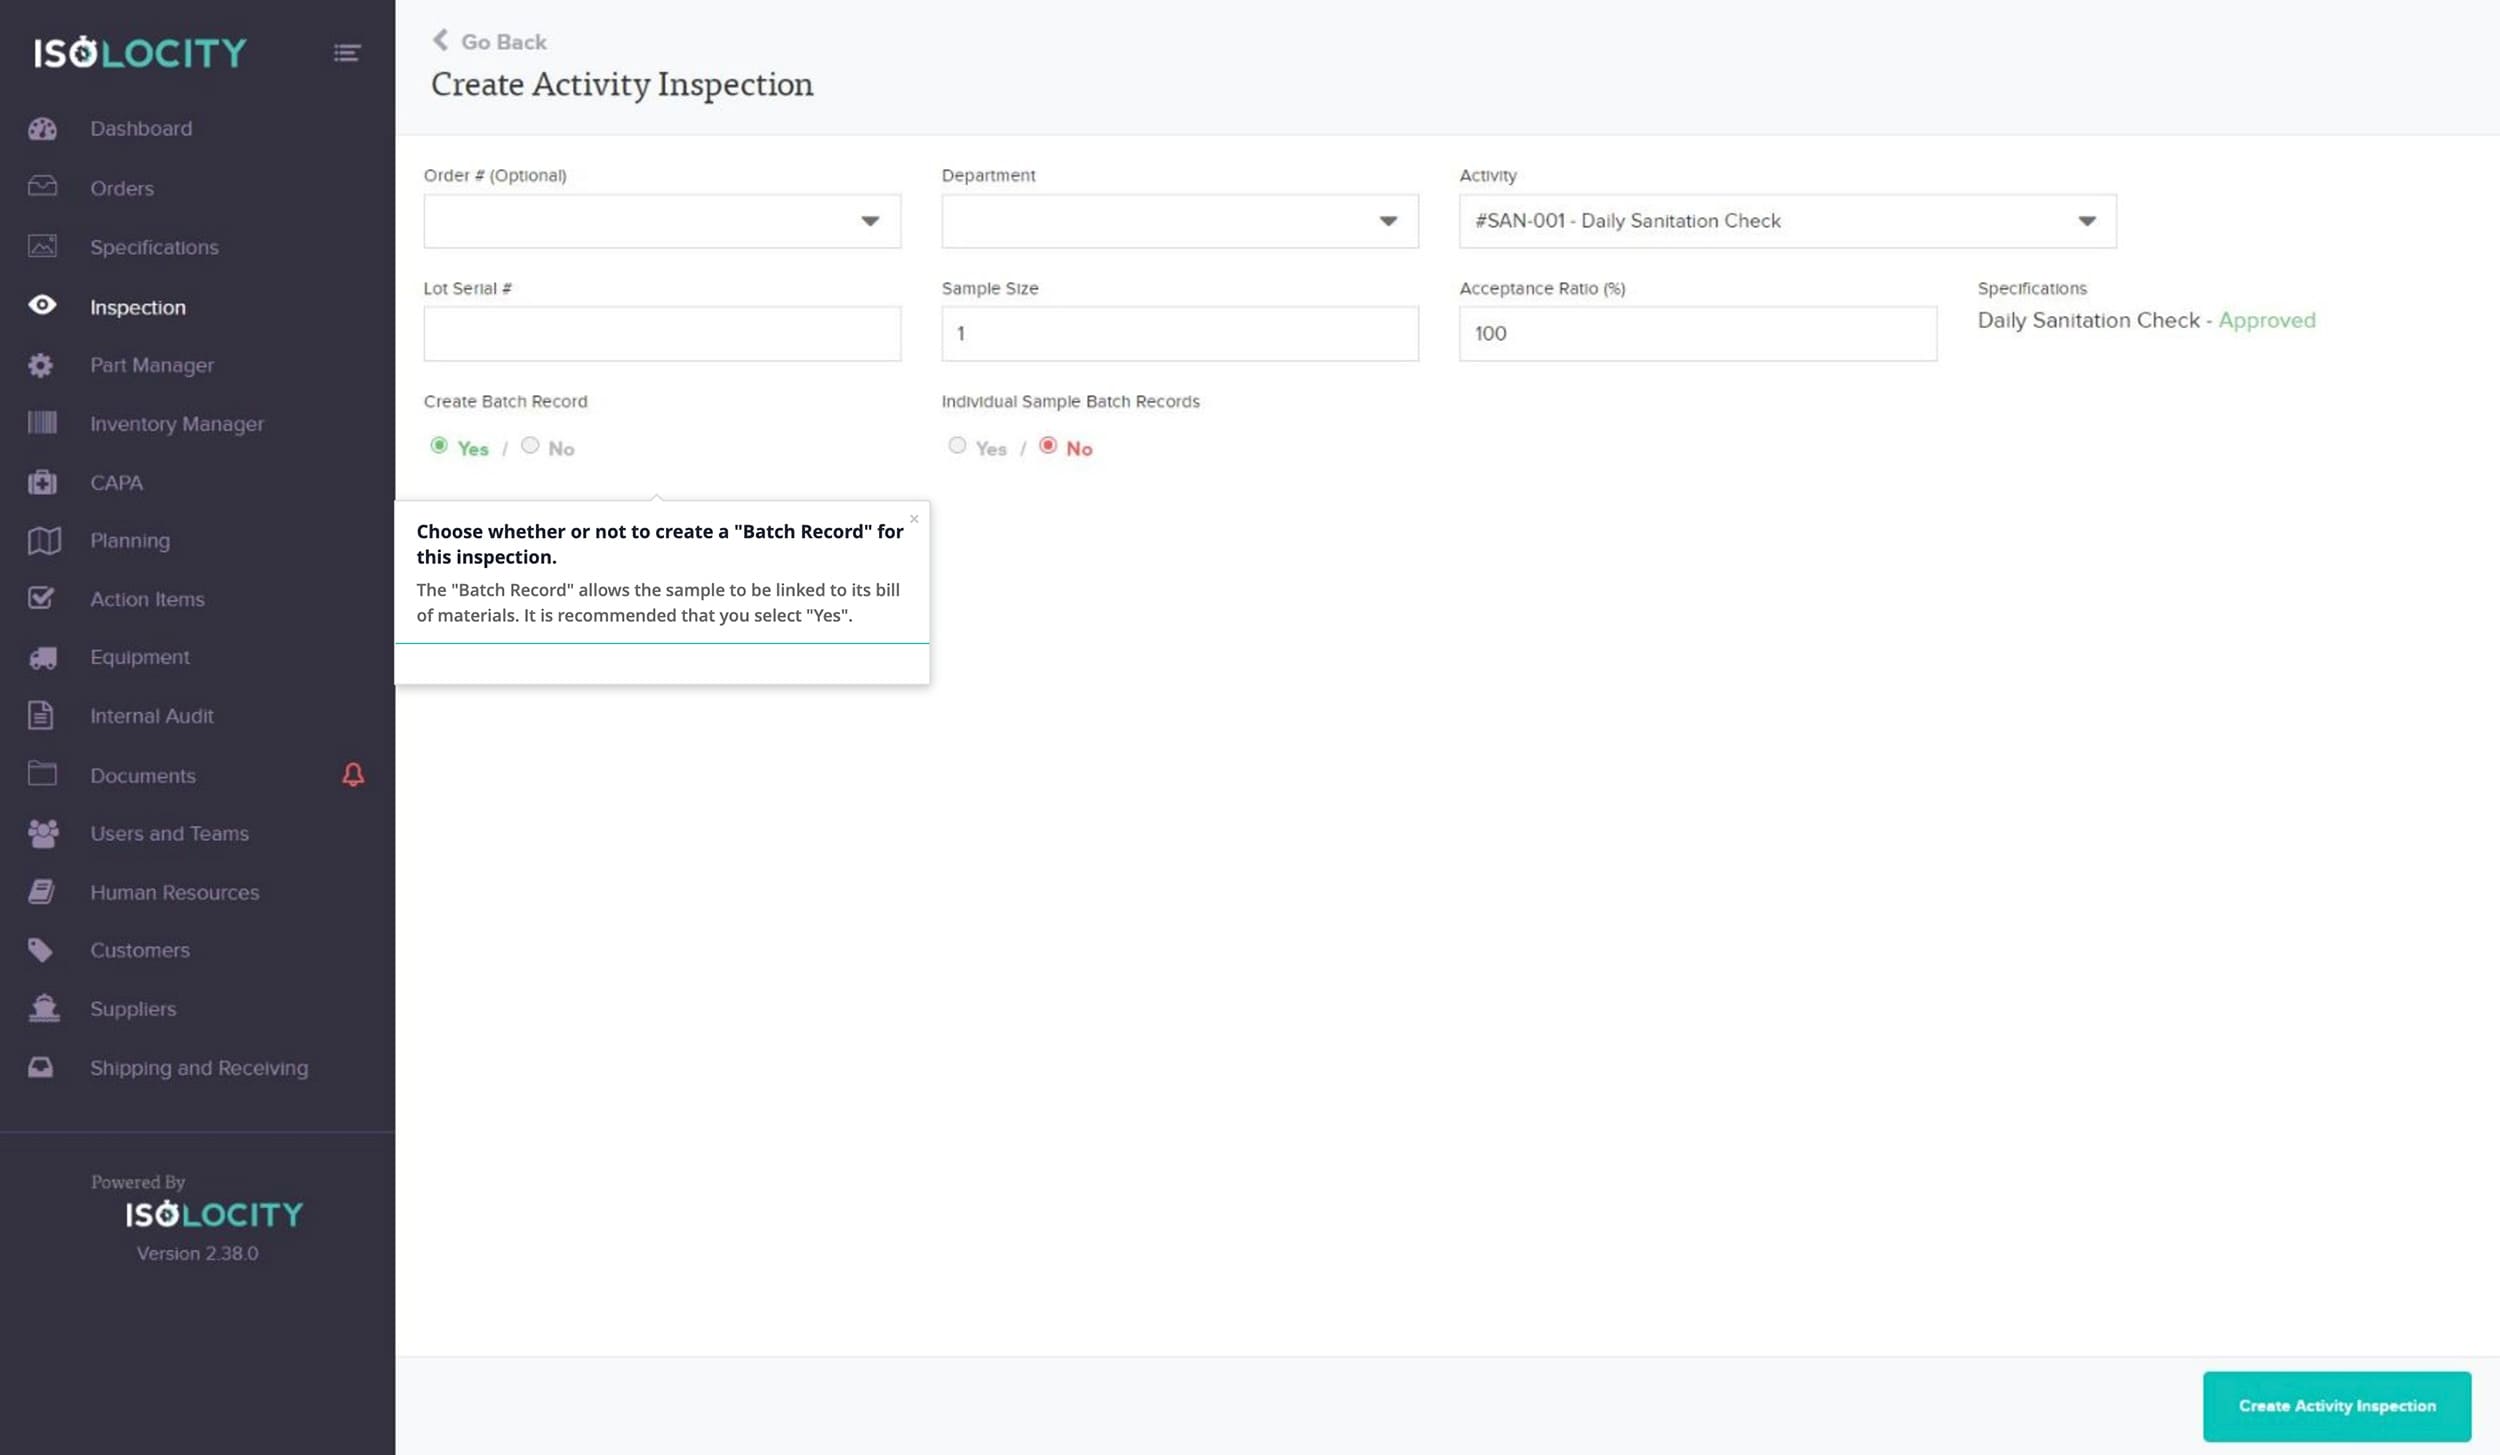
Step #10
Choose whether or not to create a “Batch Record” for this inspection.
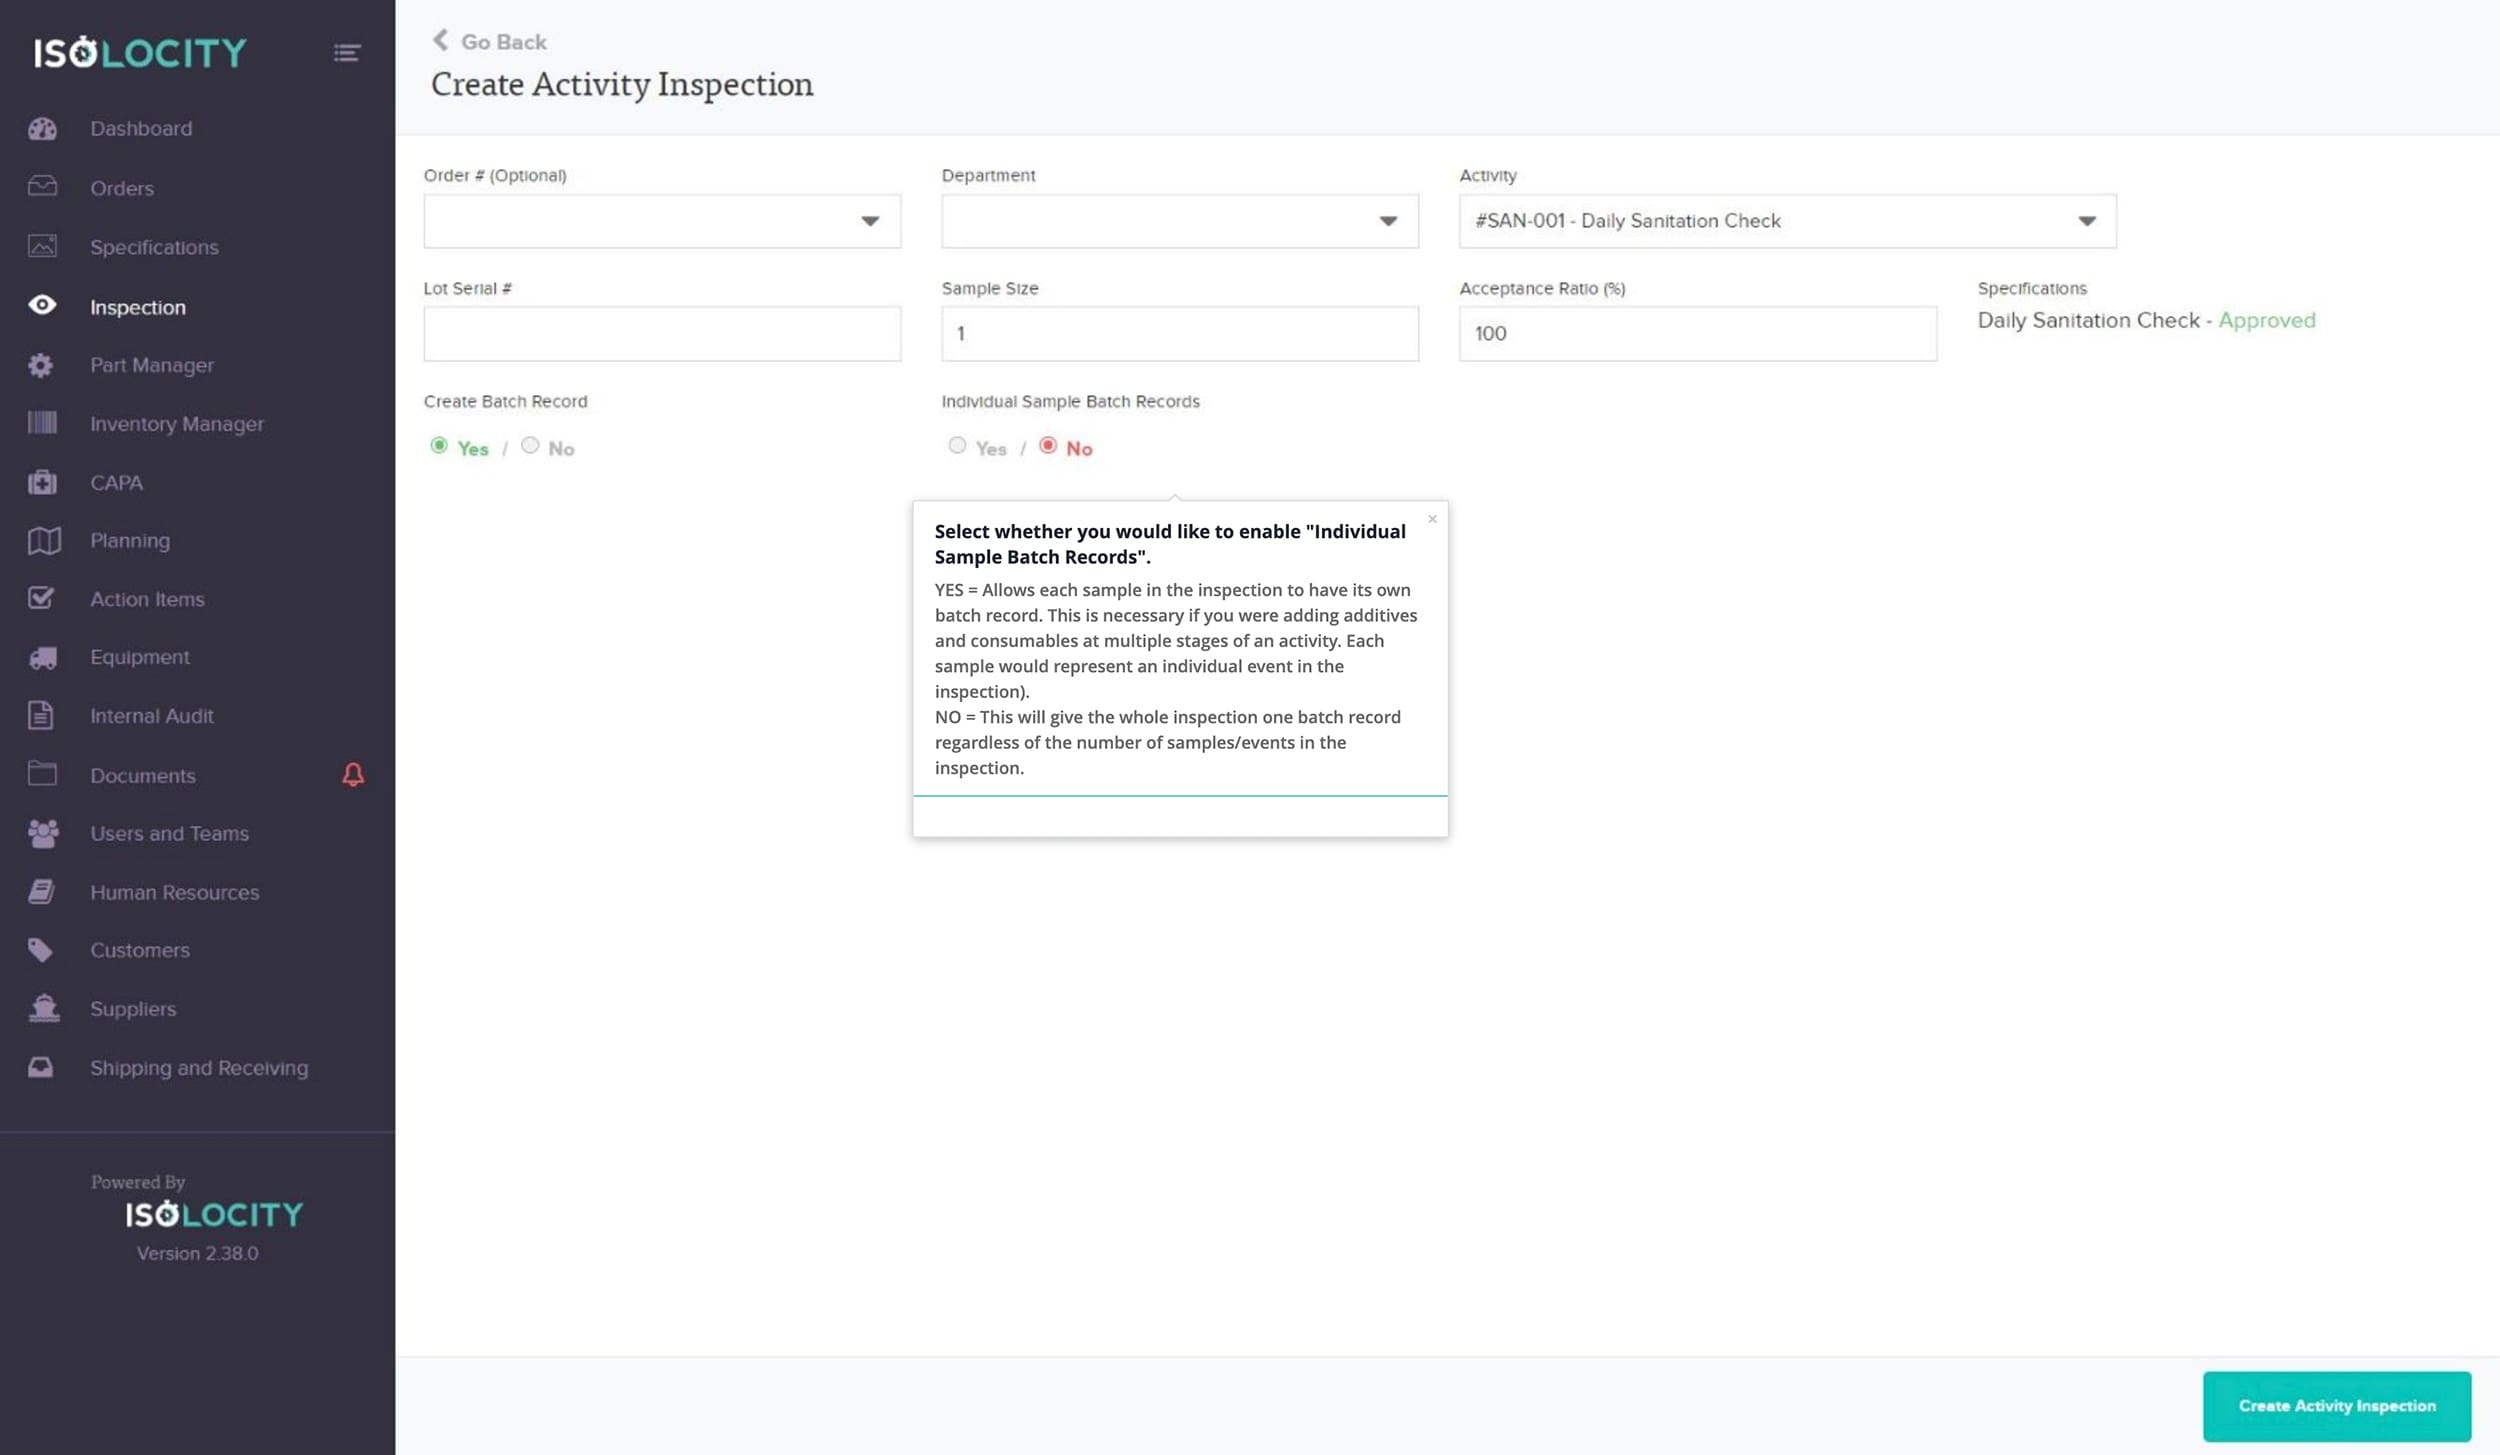
Step #11
Select whether you would like to enable “Individual Sample Batch Records”.
Step #12
Click here to create the Activity Inspection.

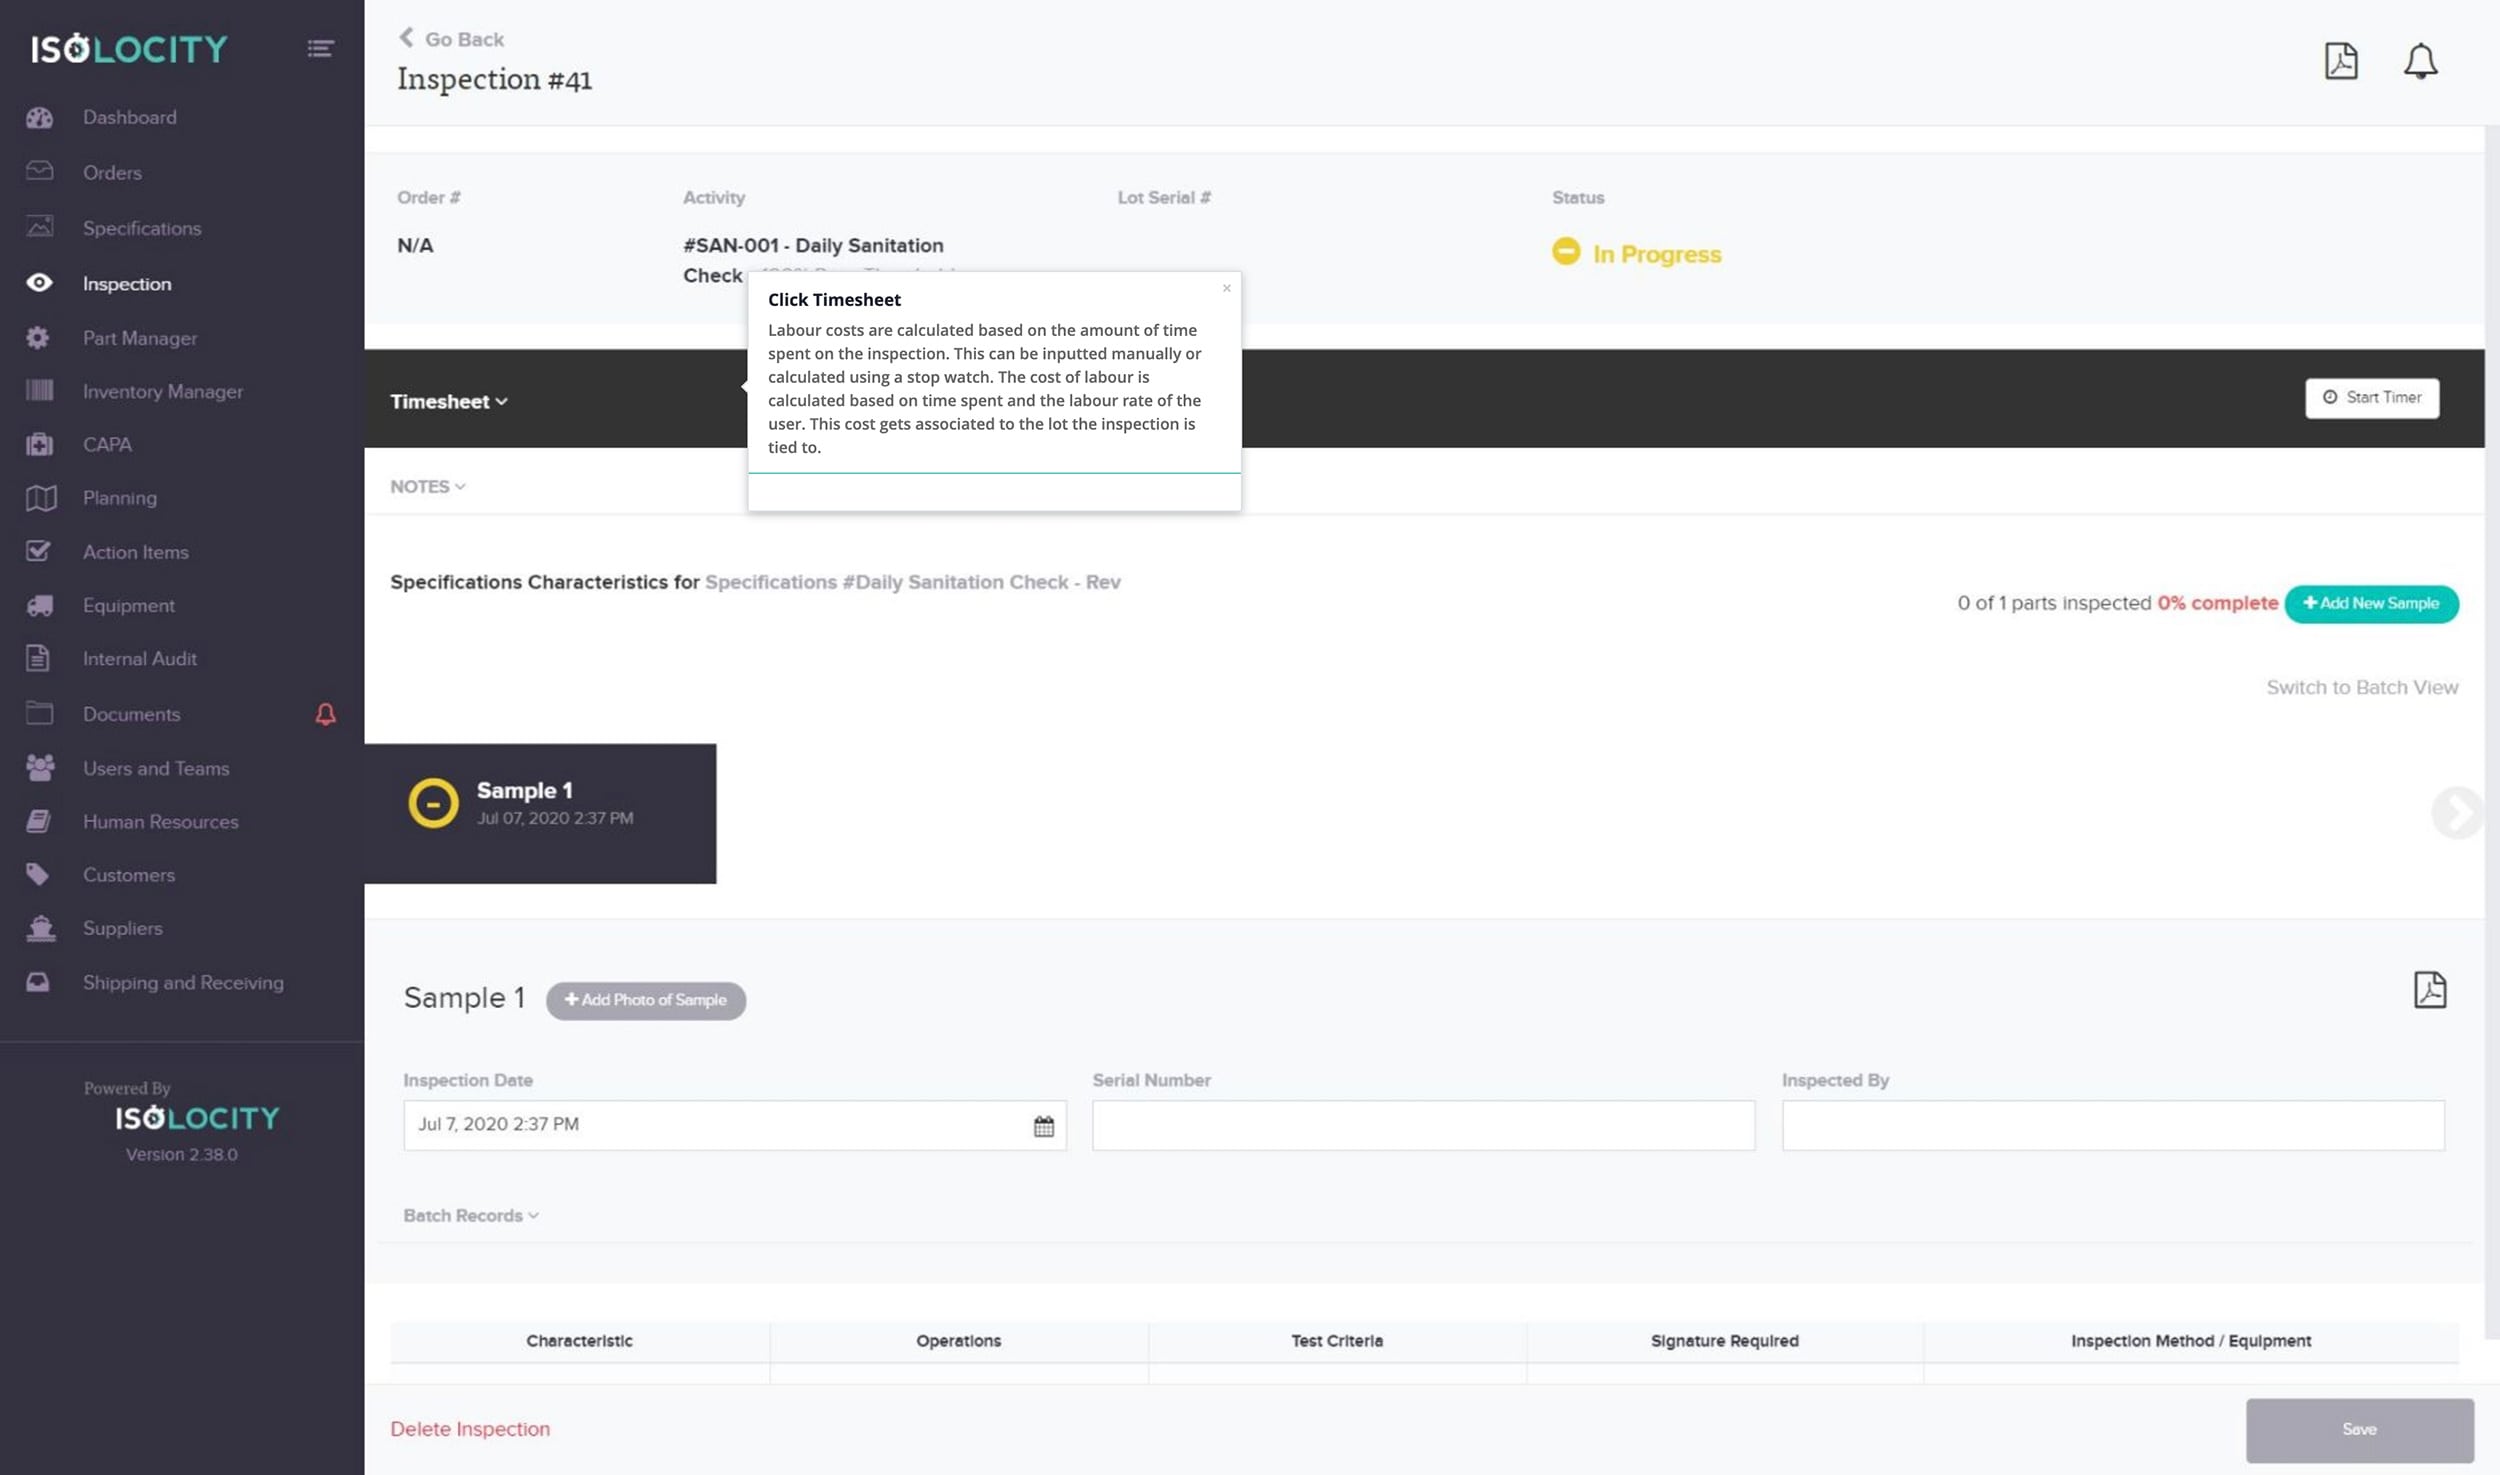
Step #13
Click Timesheet
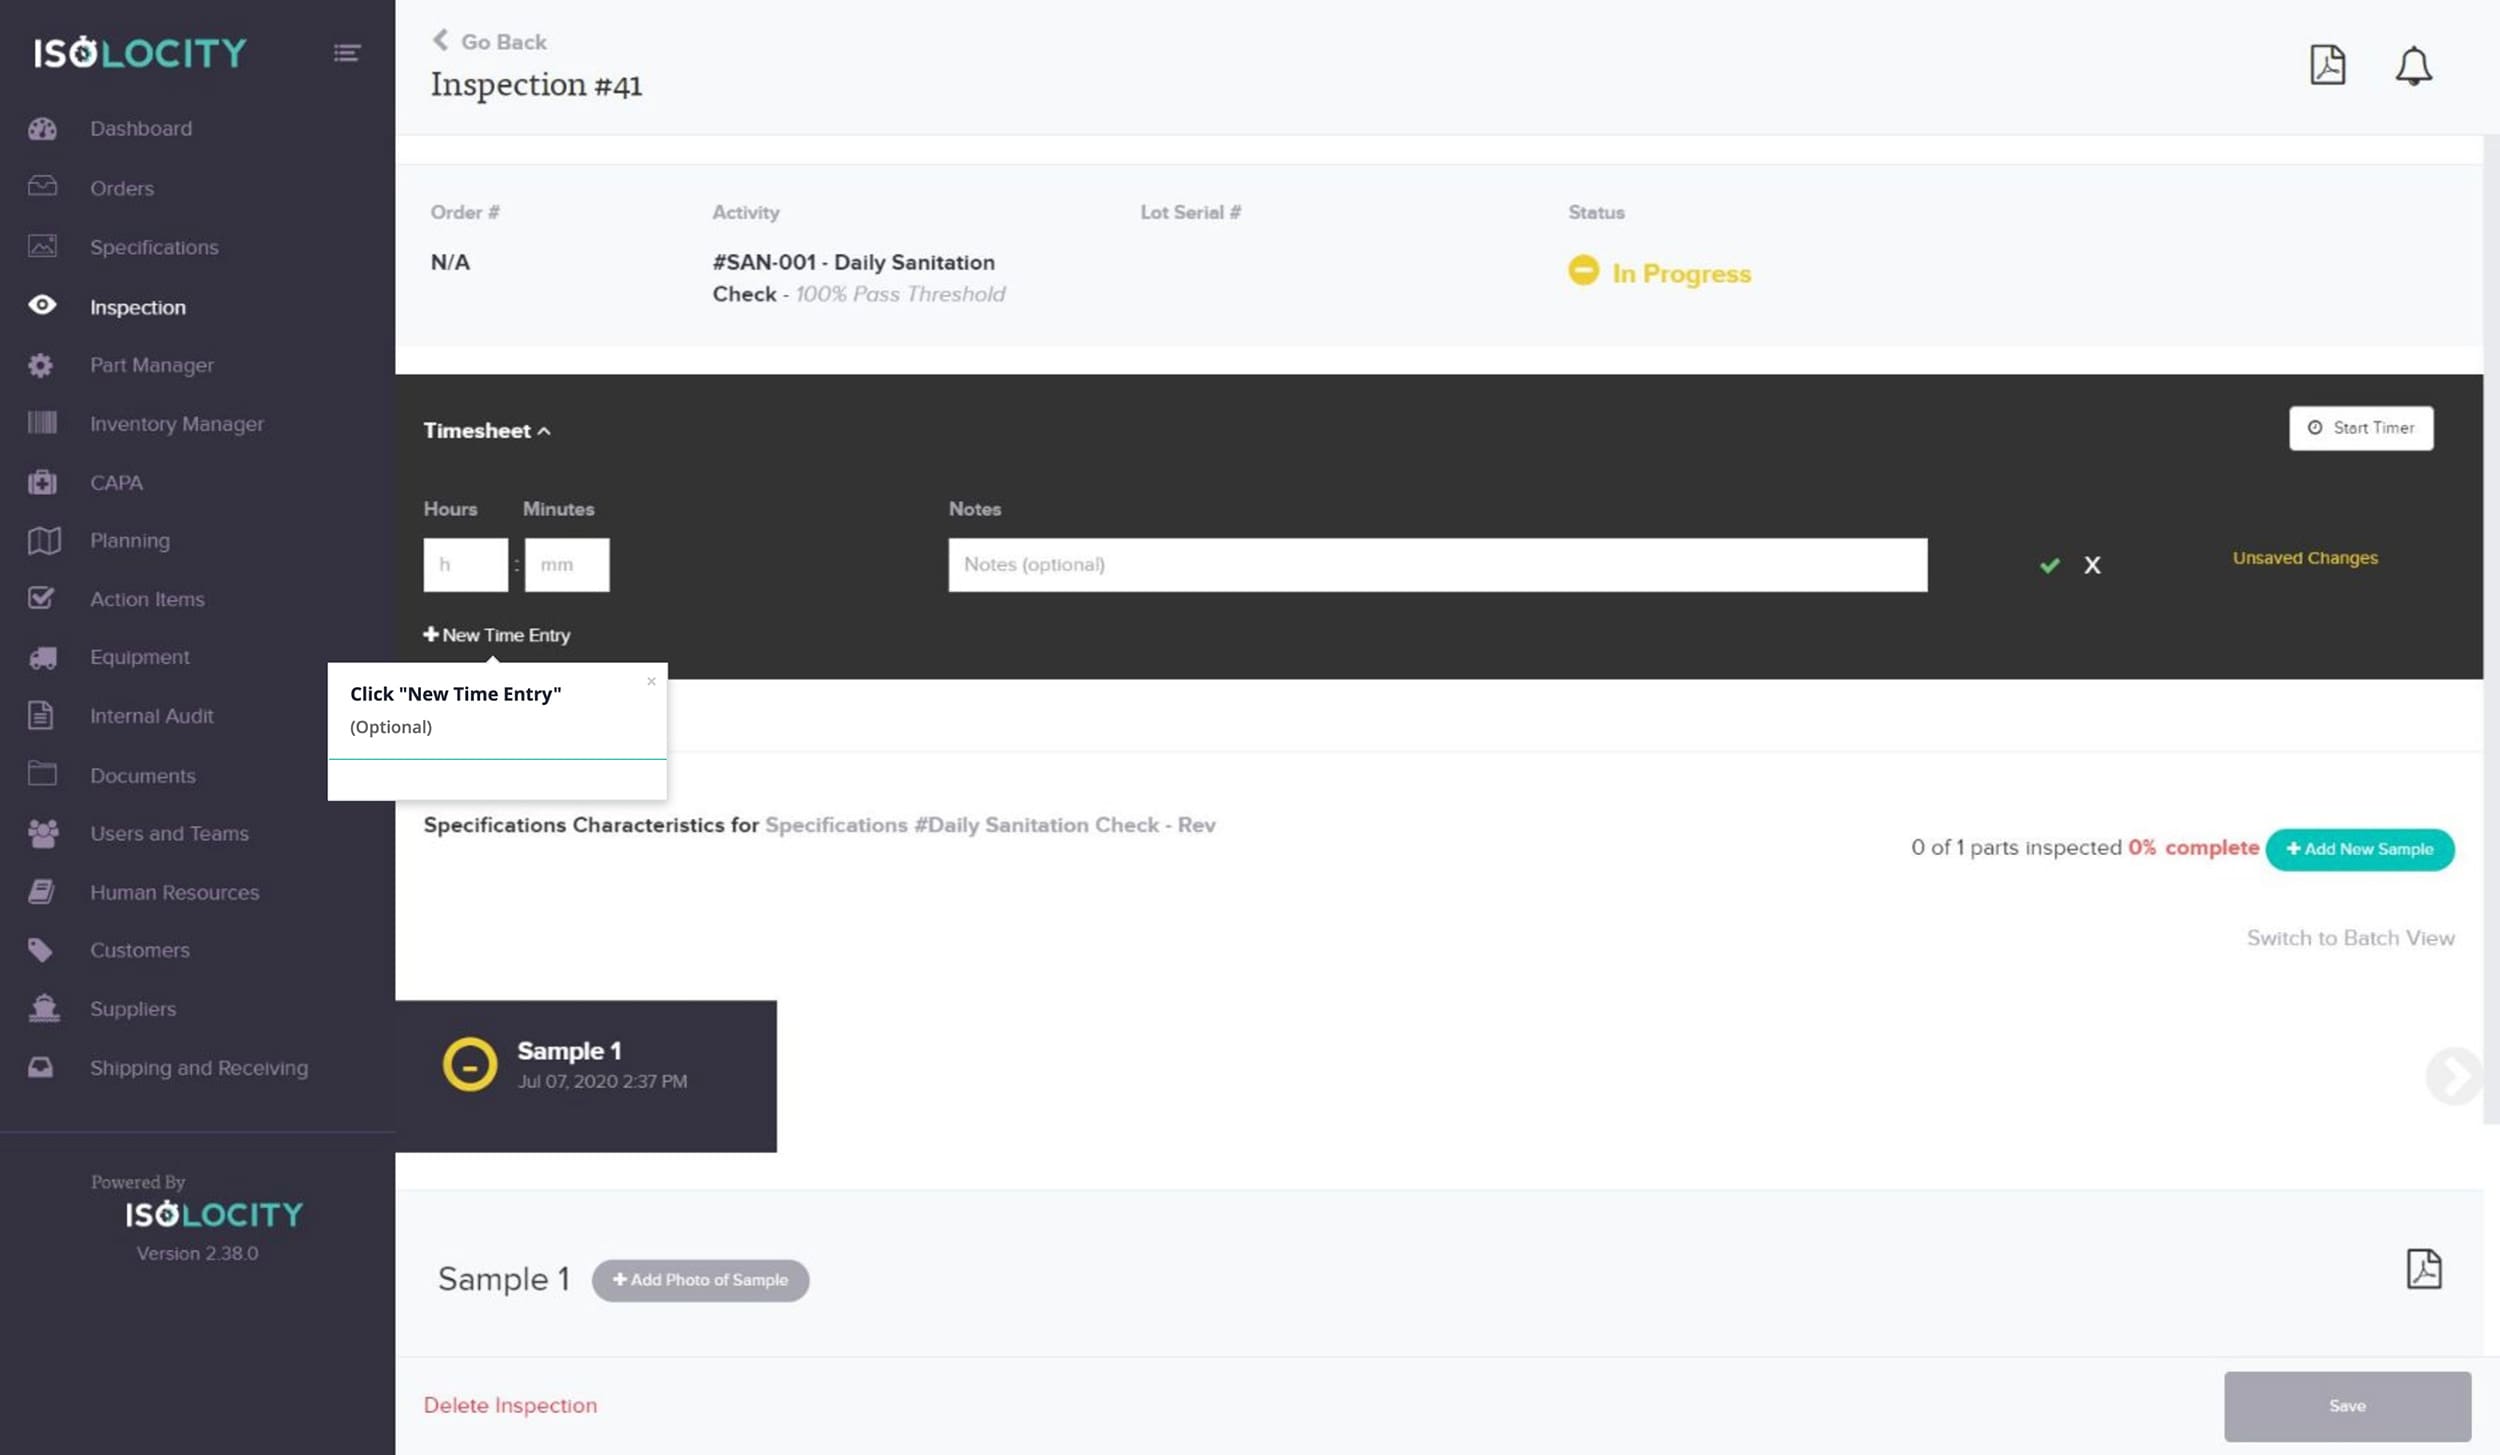
Step #14
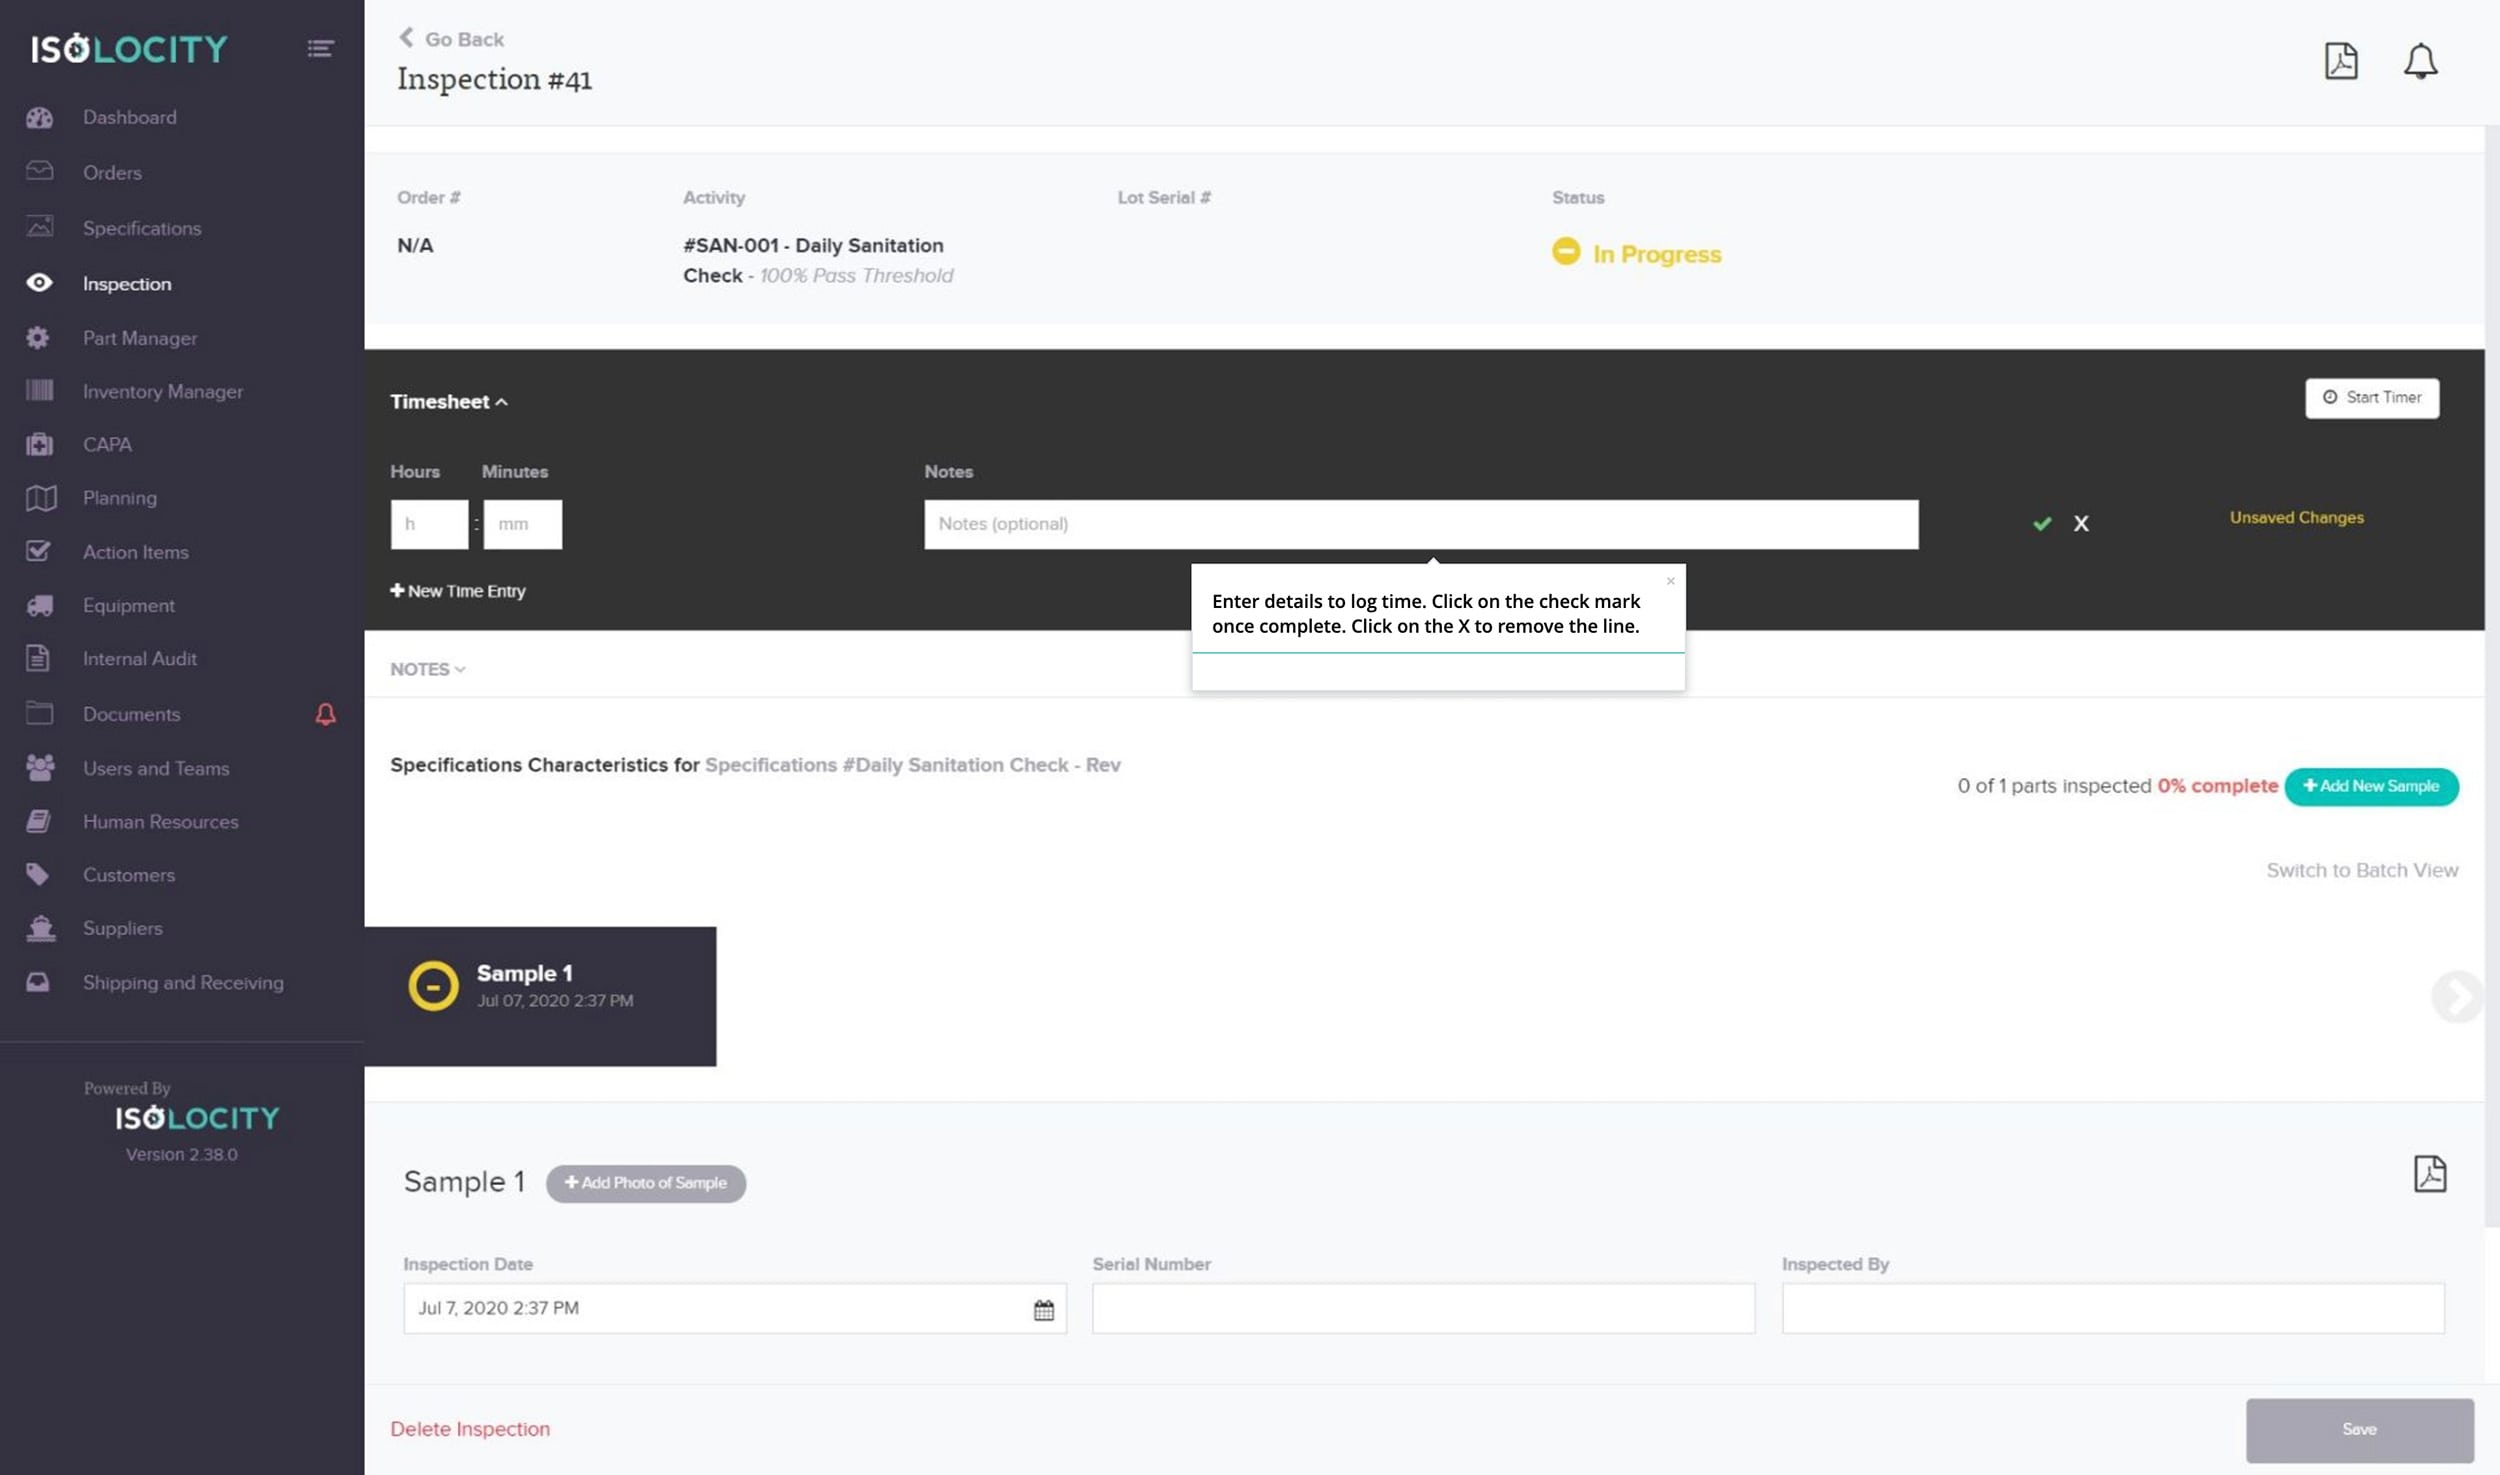
Click “New Time Entry”
Step #15
No Title
Step #16
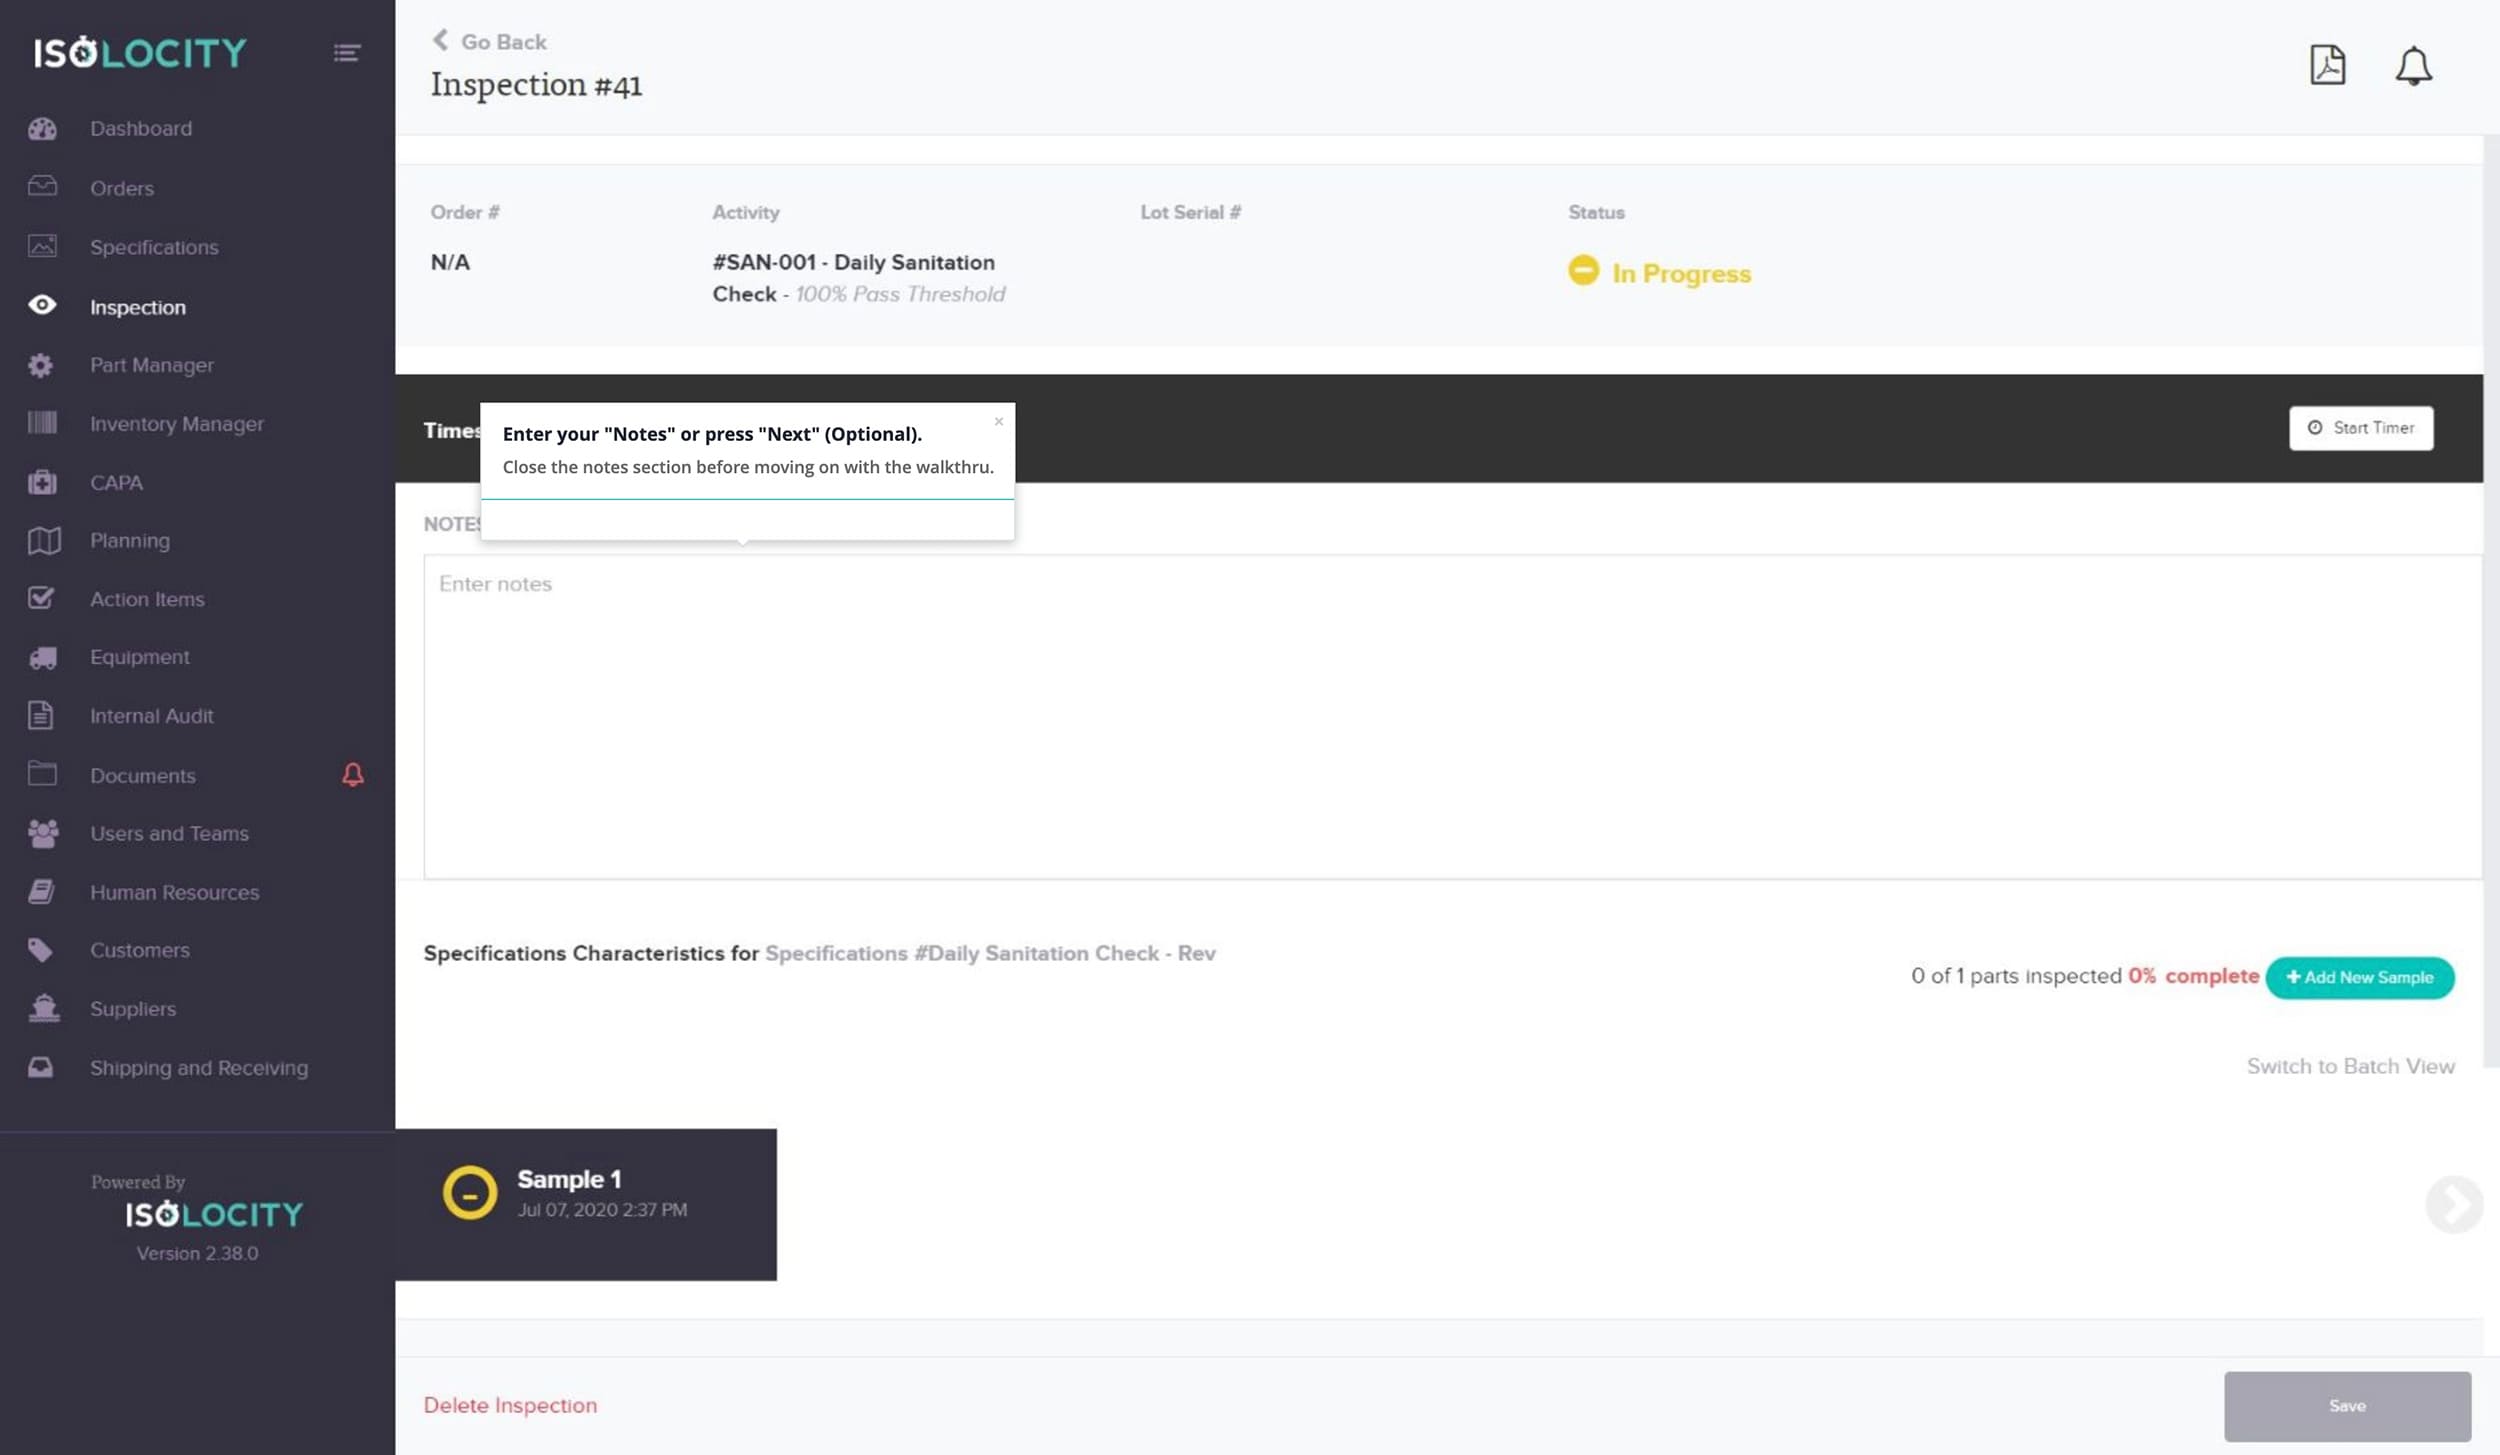
Click on the arrow key to add notes associated with this inspection (Optional).
![]()
Step #17
Enter your “Notes” or press “Next” (Optional).
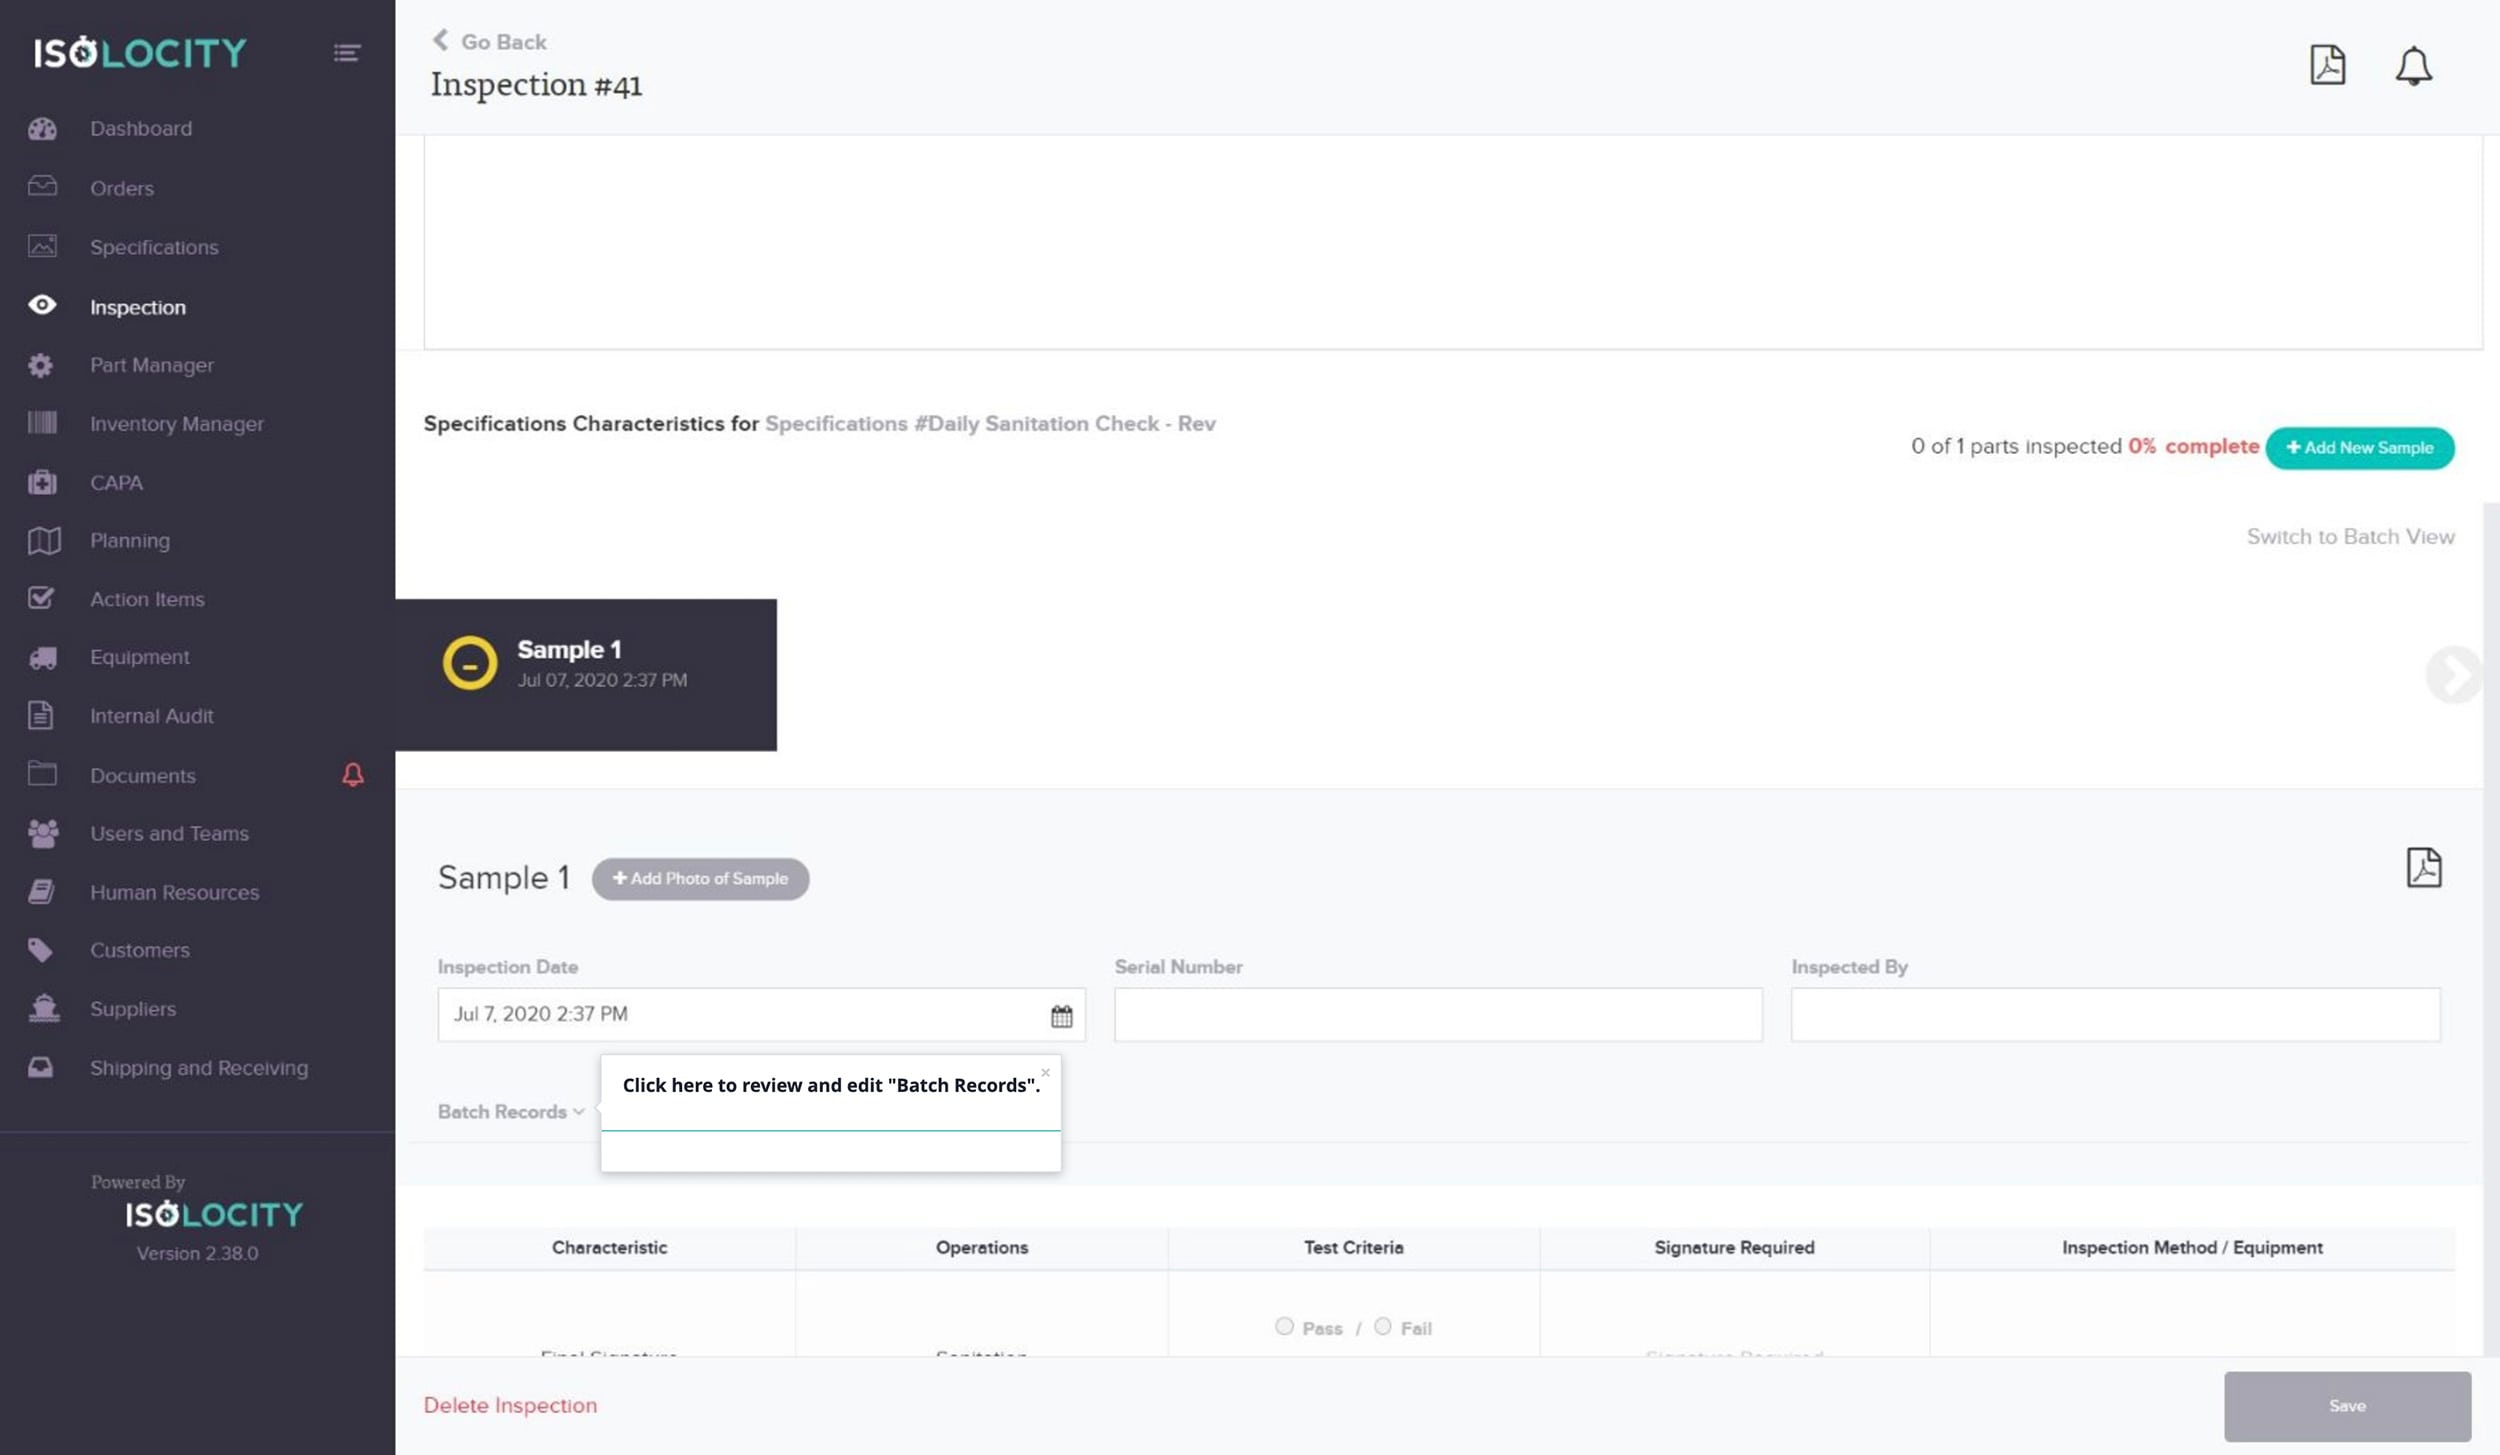
Step #18
Click here to review and edit “Batch Records”.
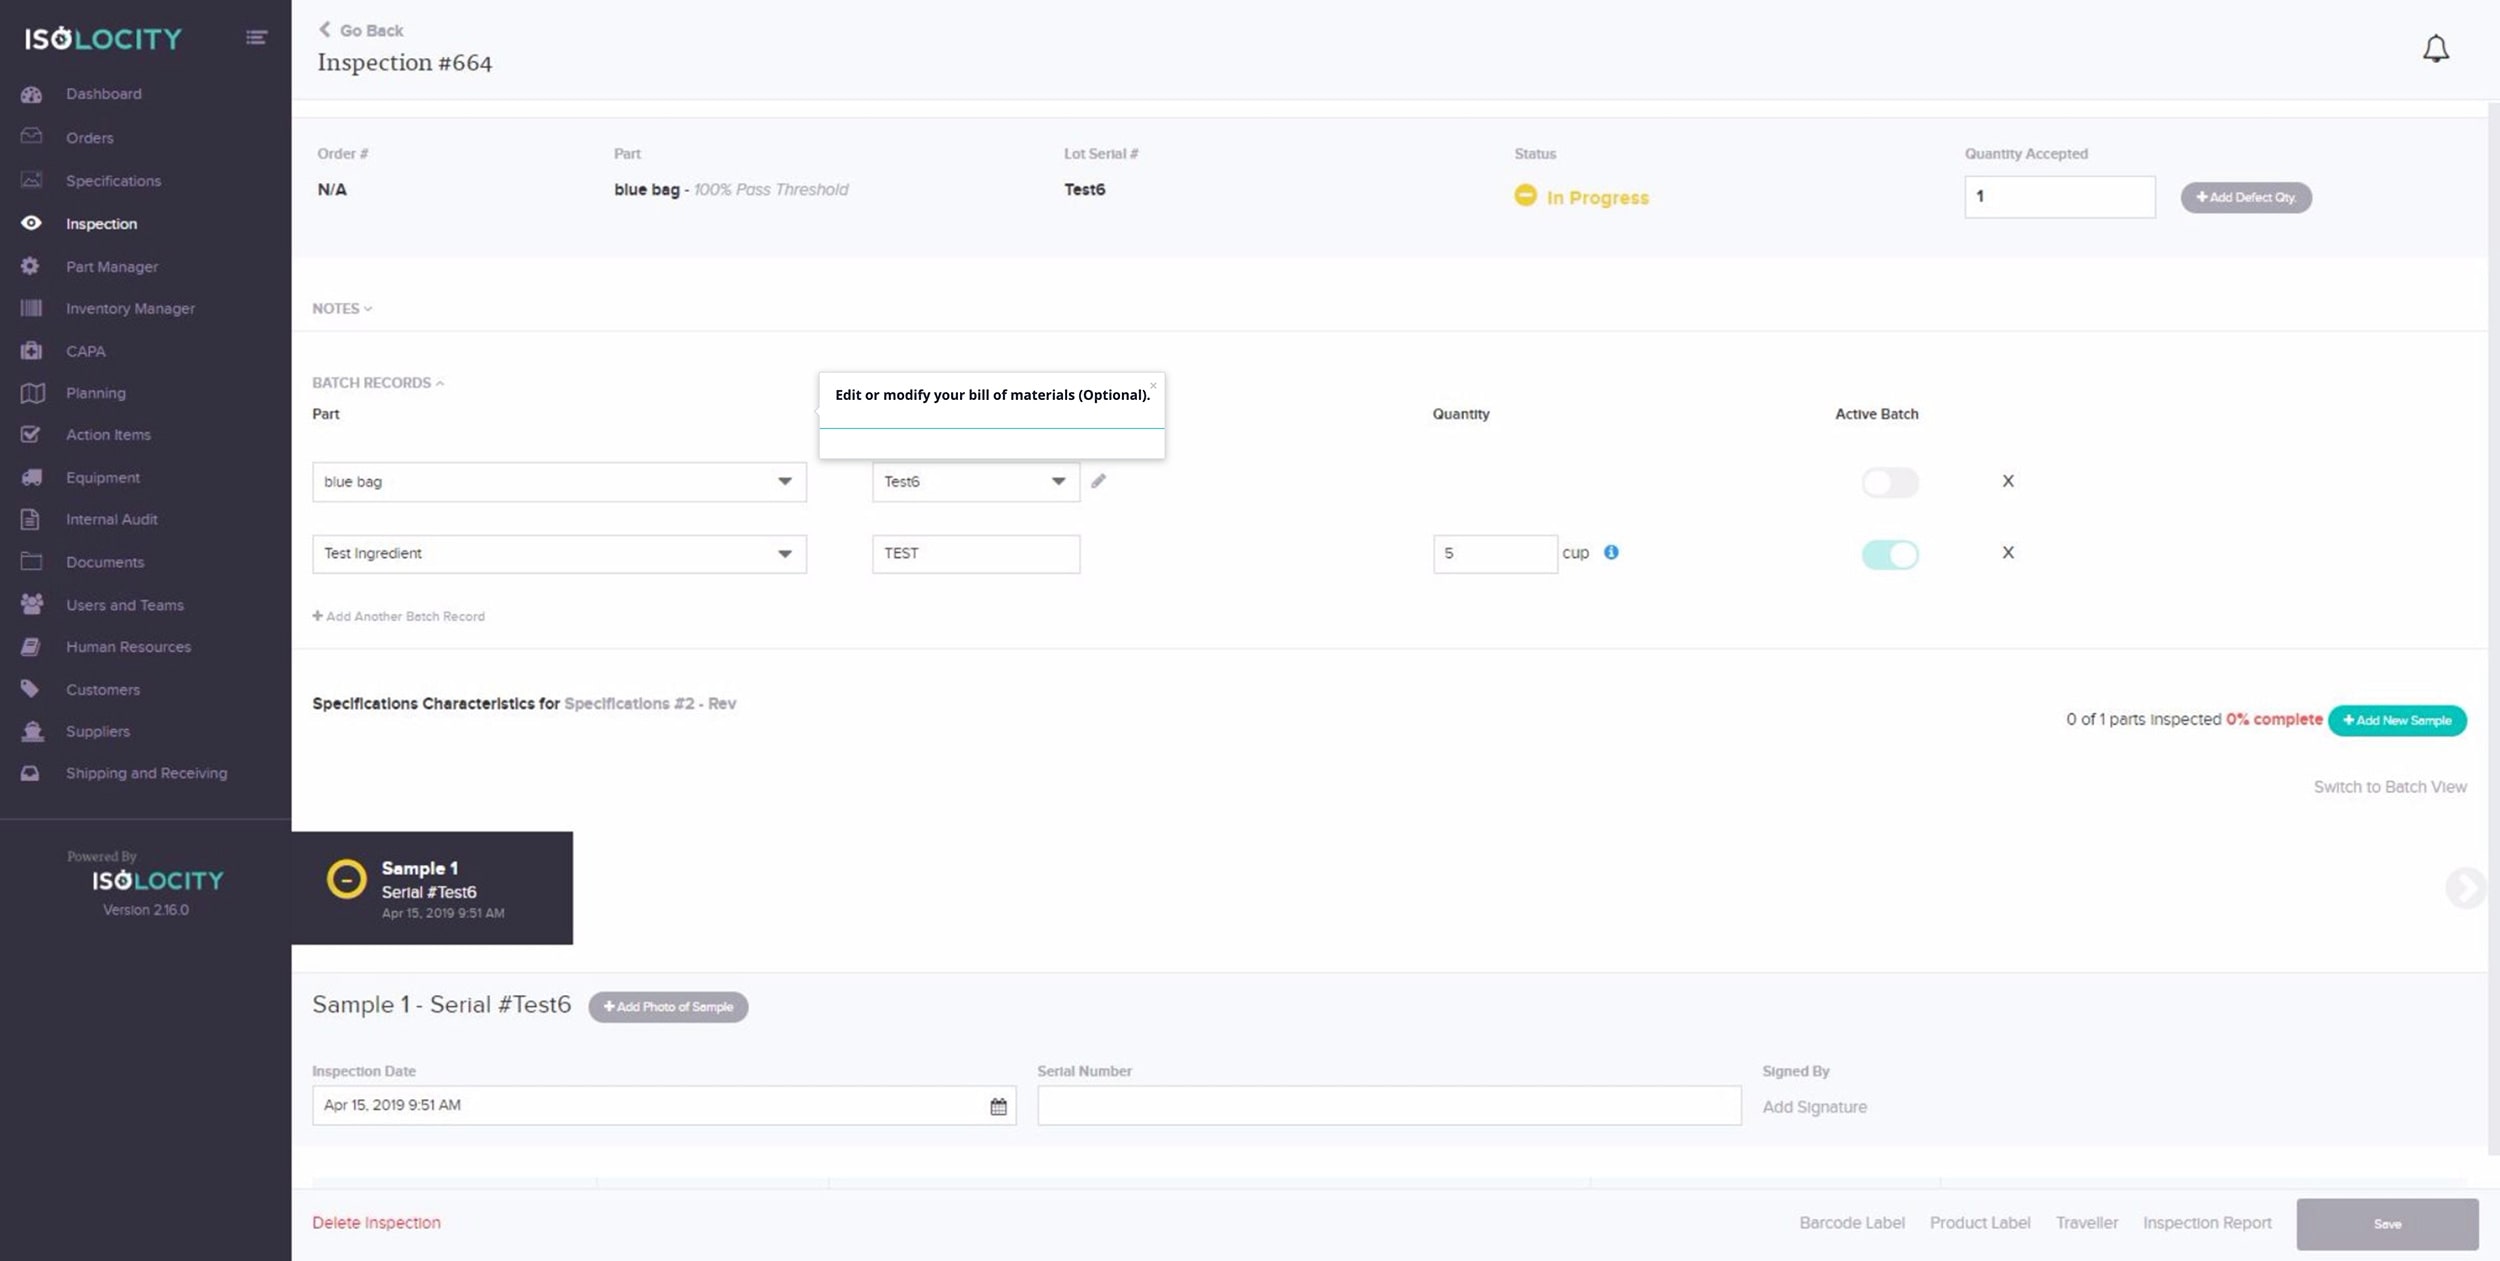
Step #19
Edit or modify your bill of materials (Optional).
Step #20
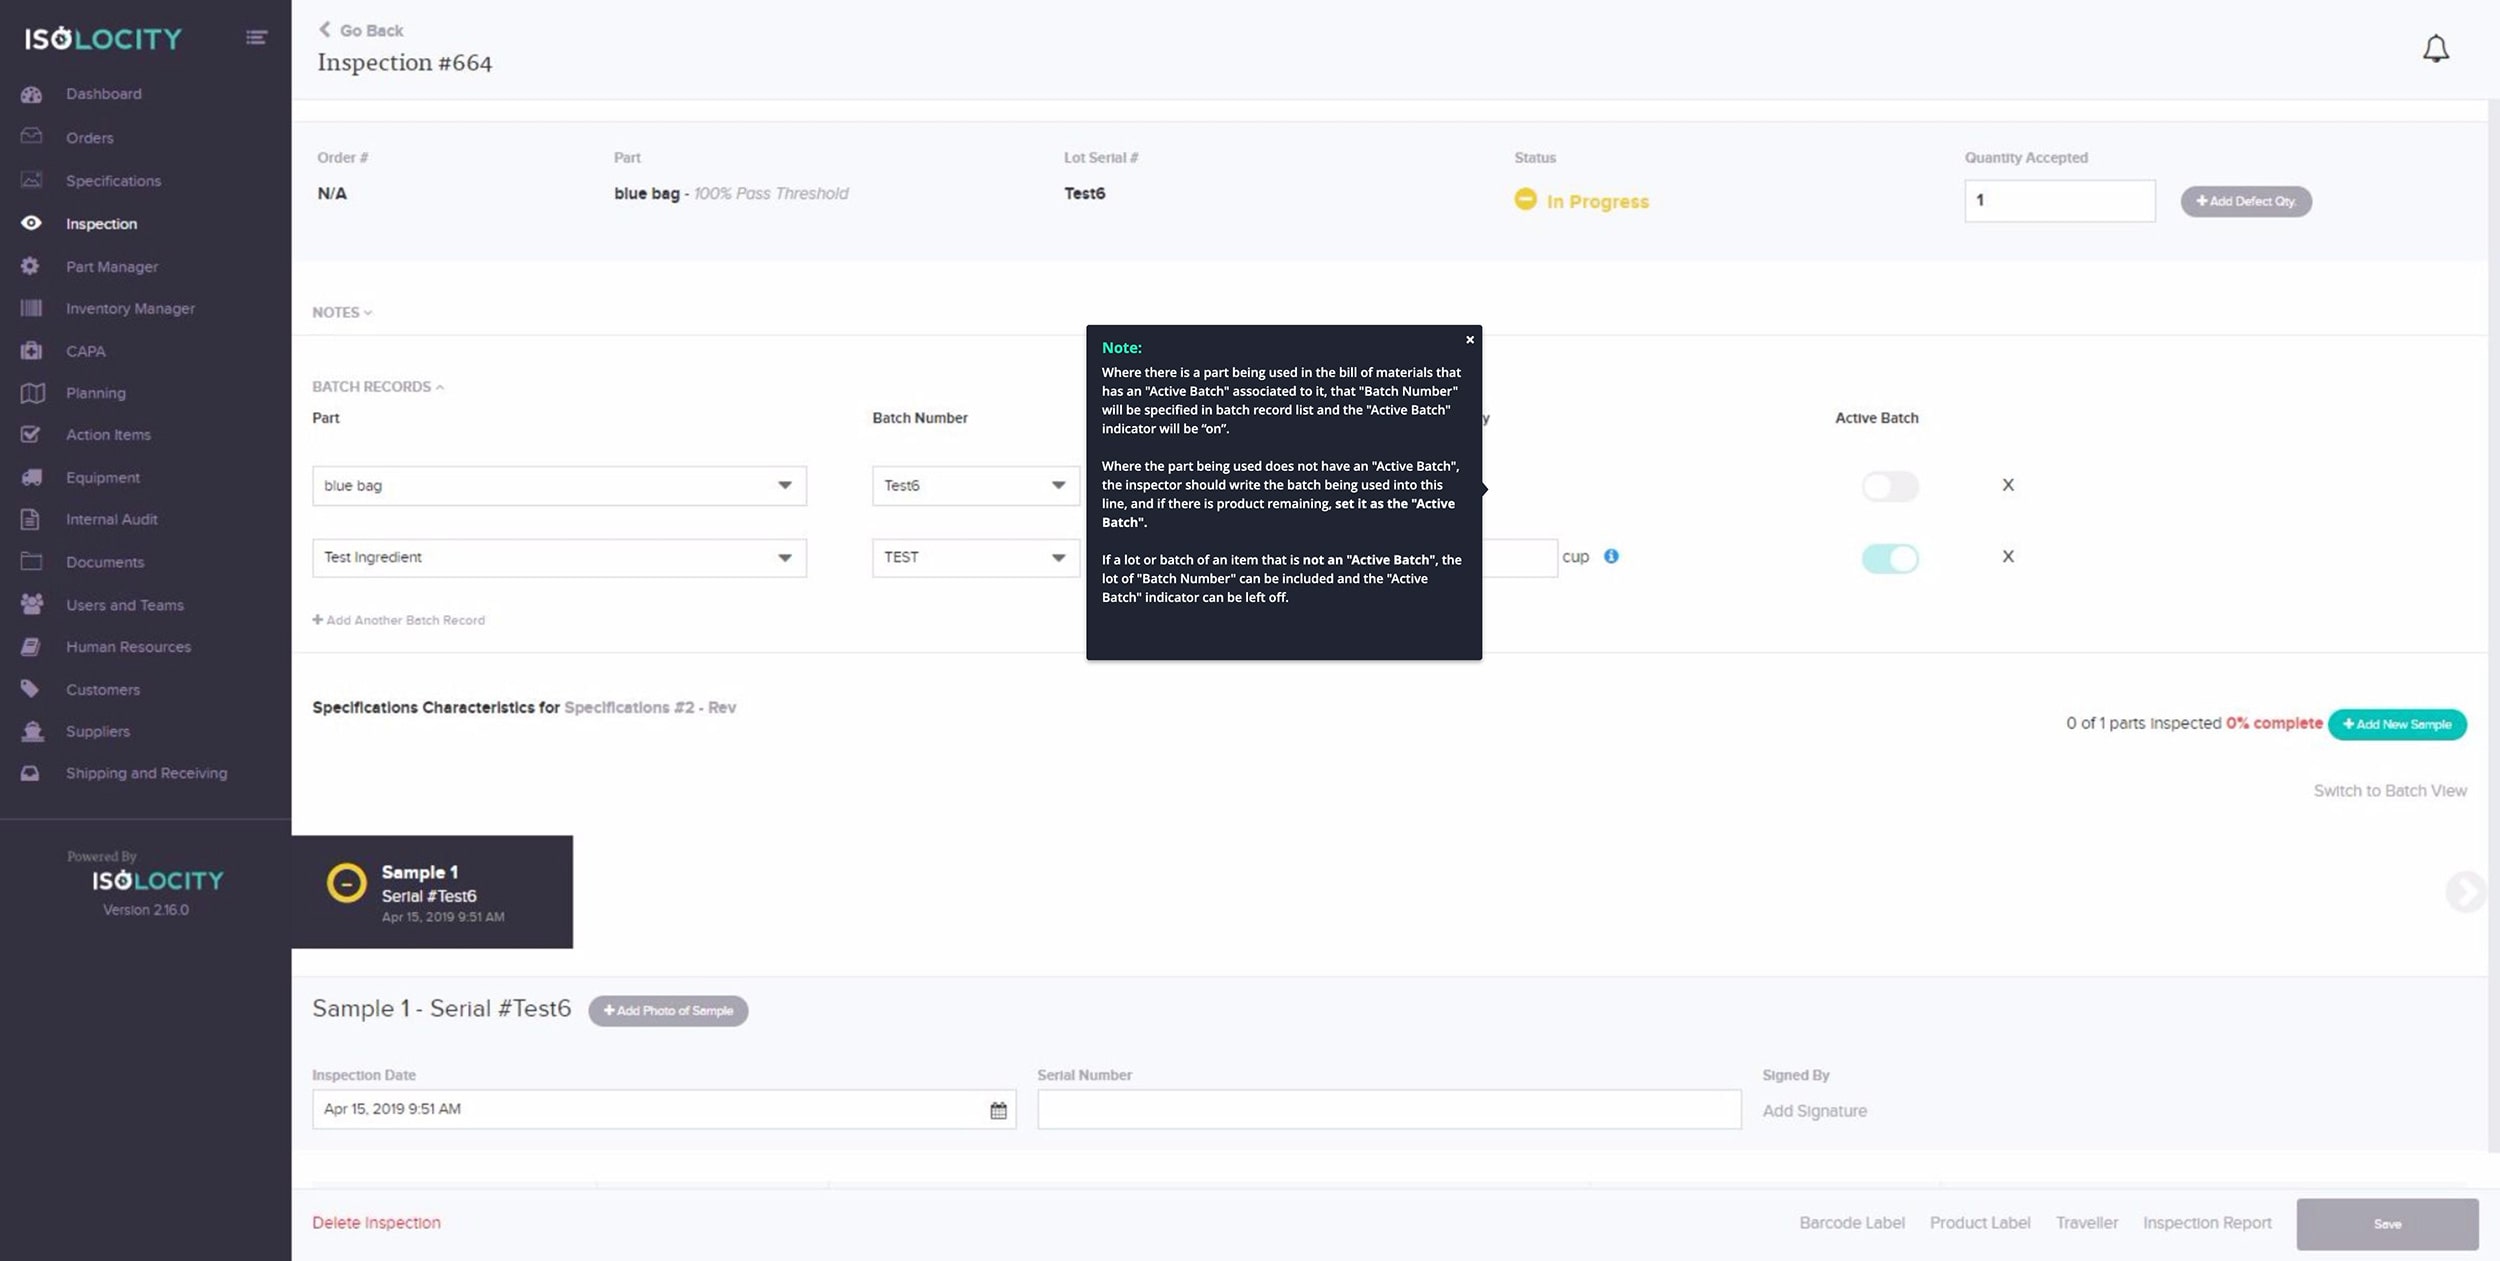
Note:
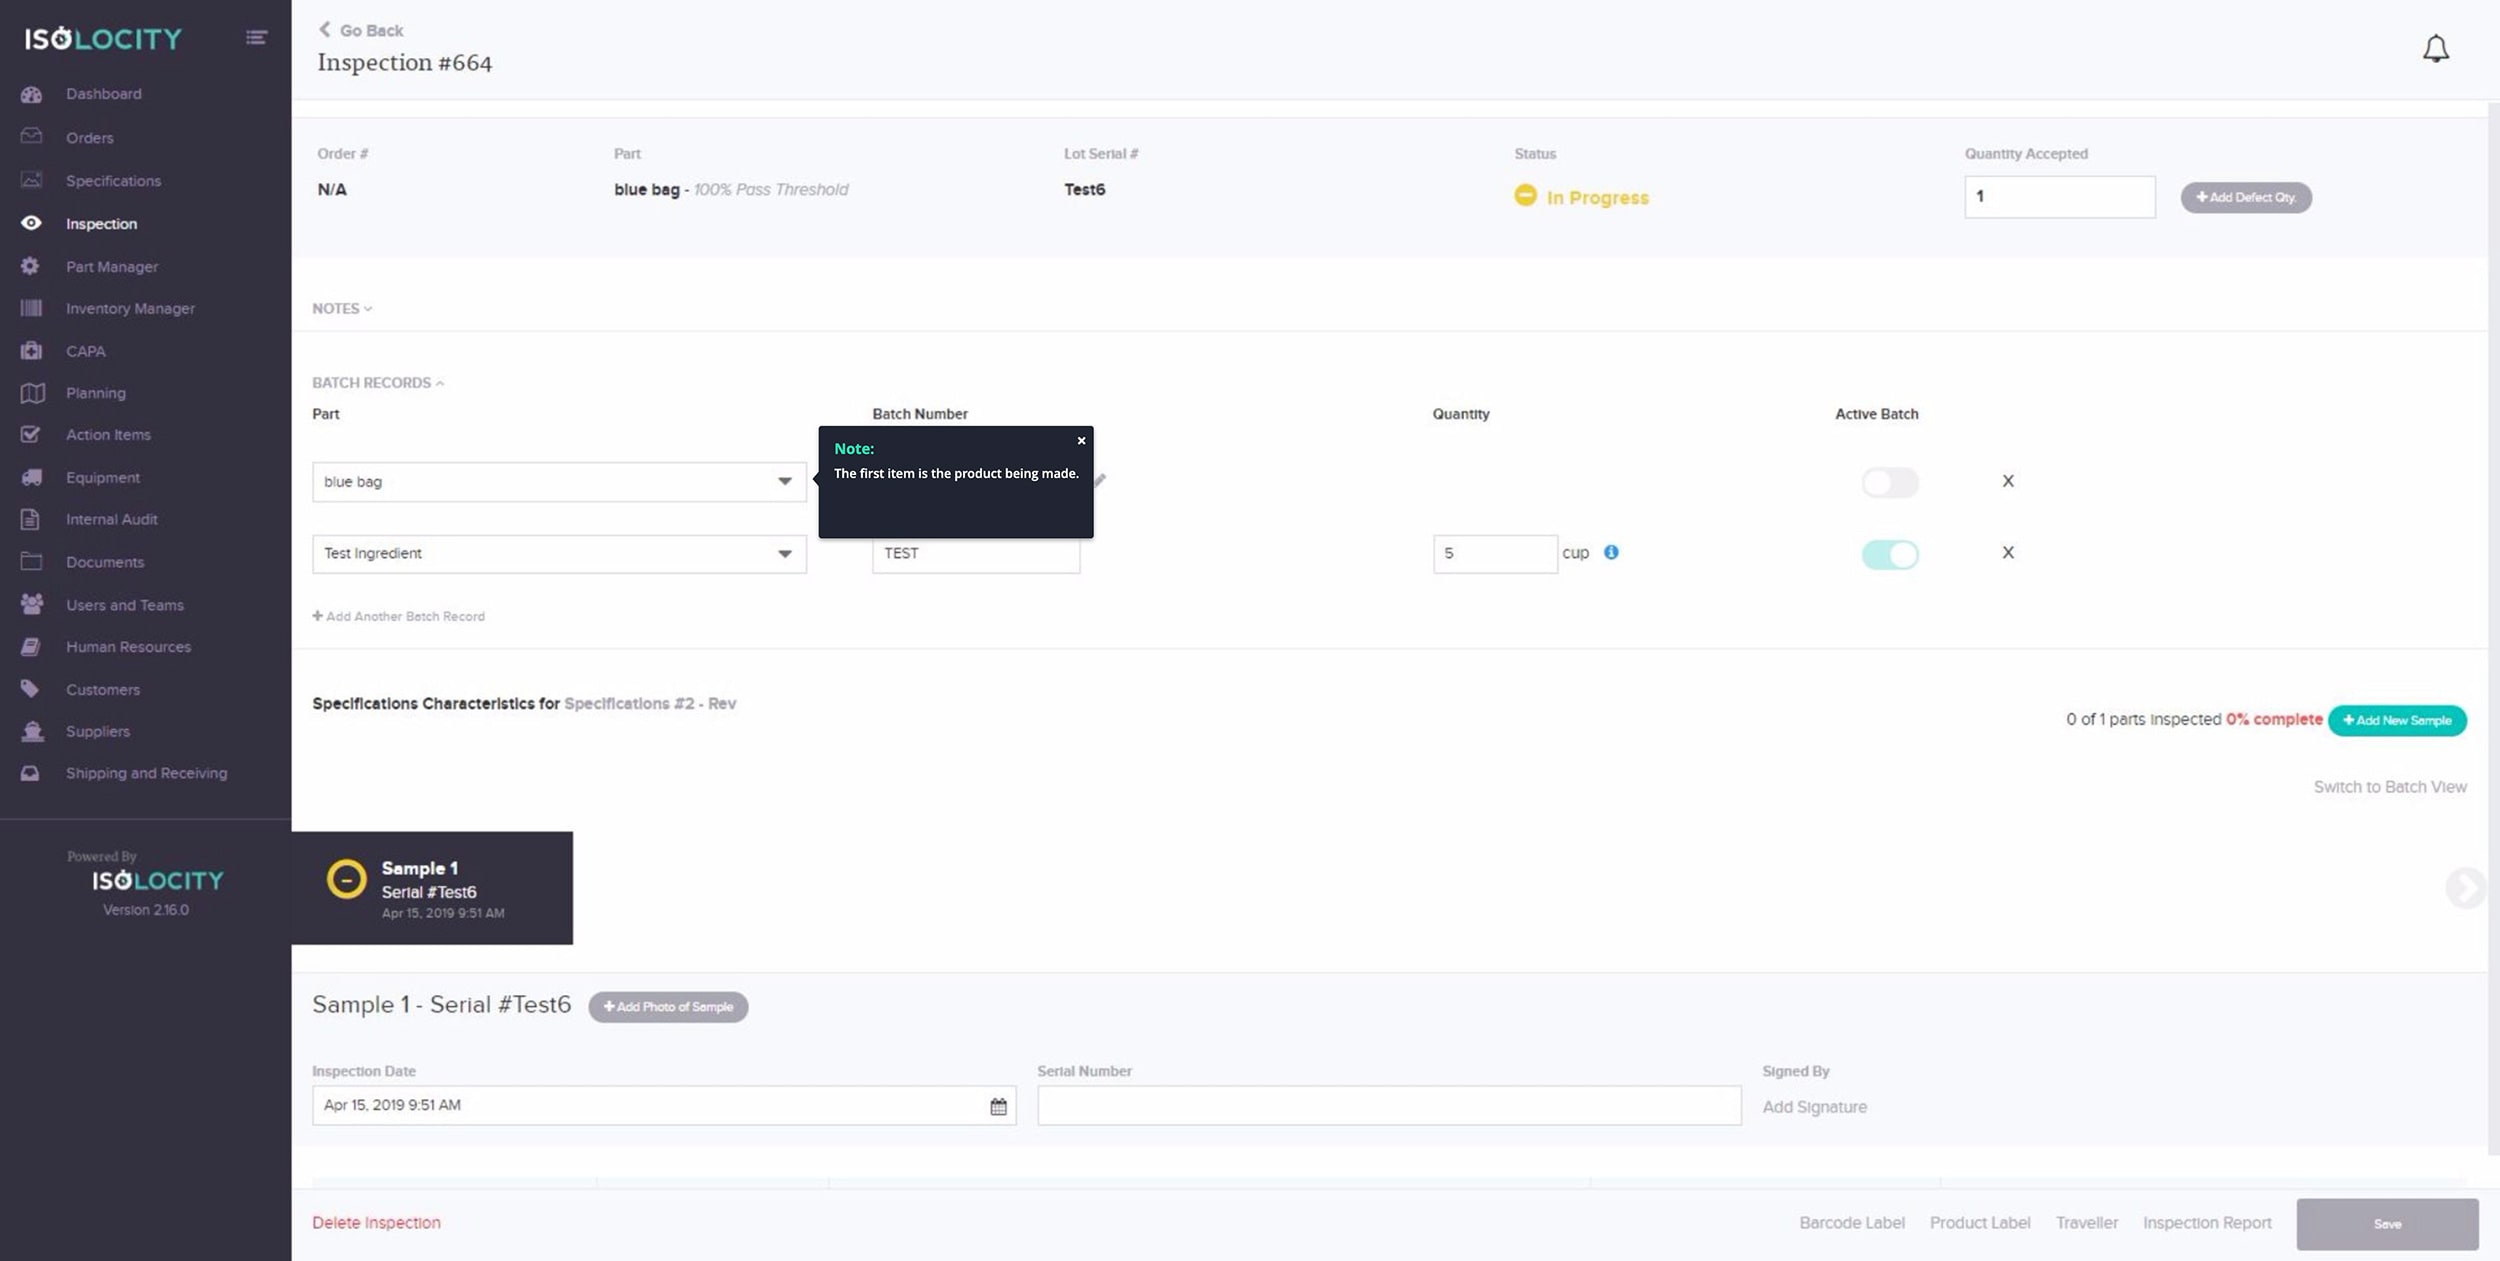
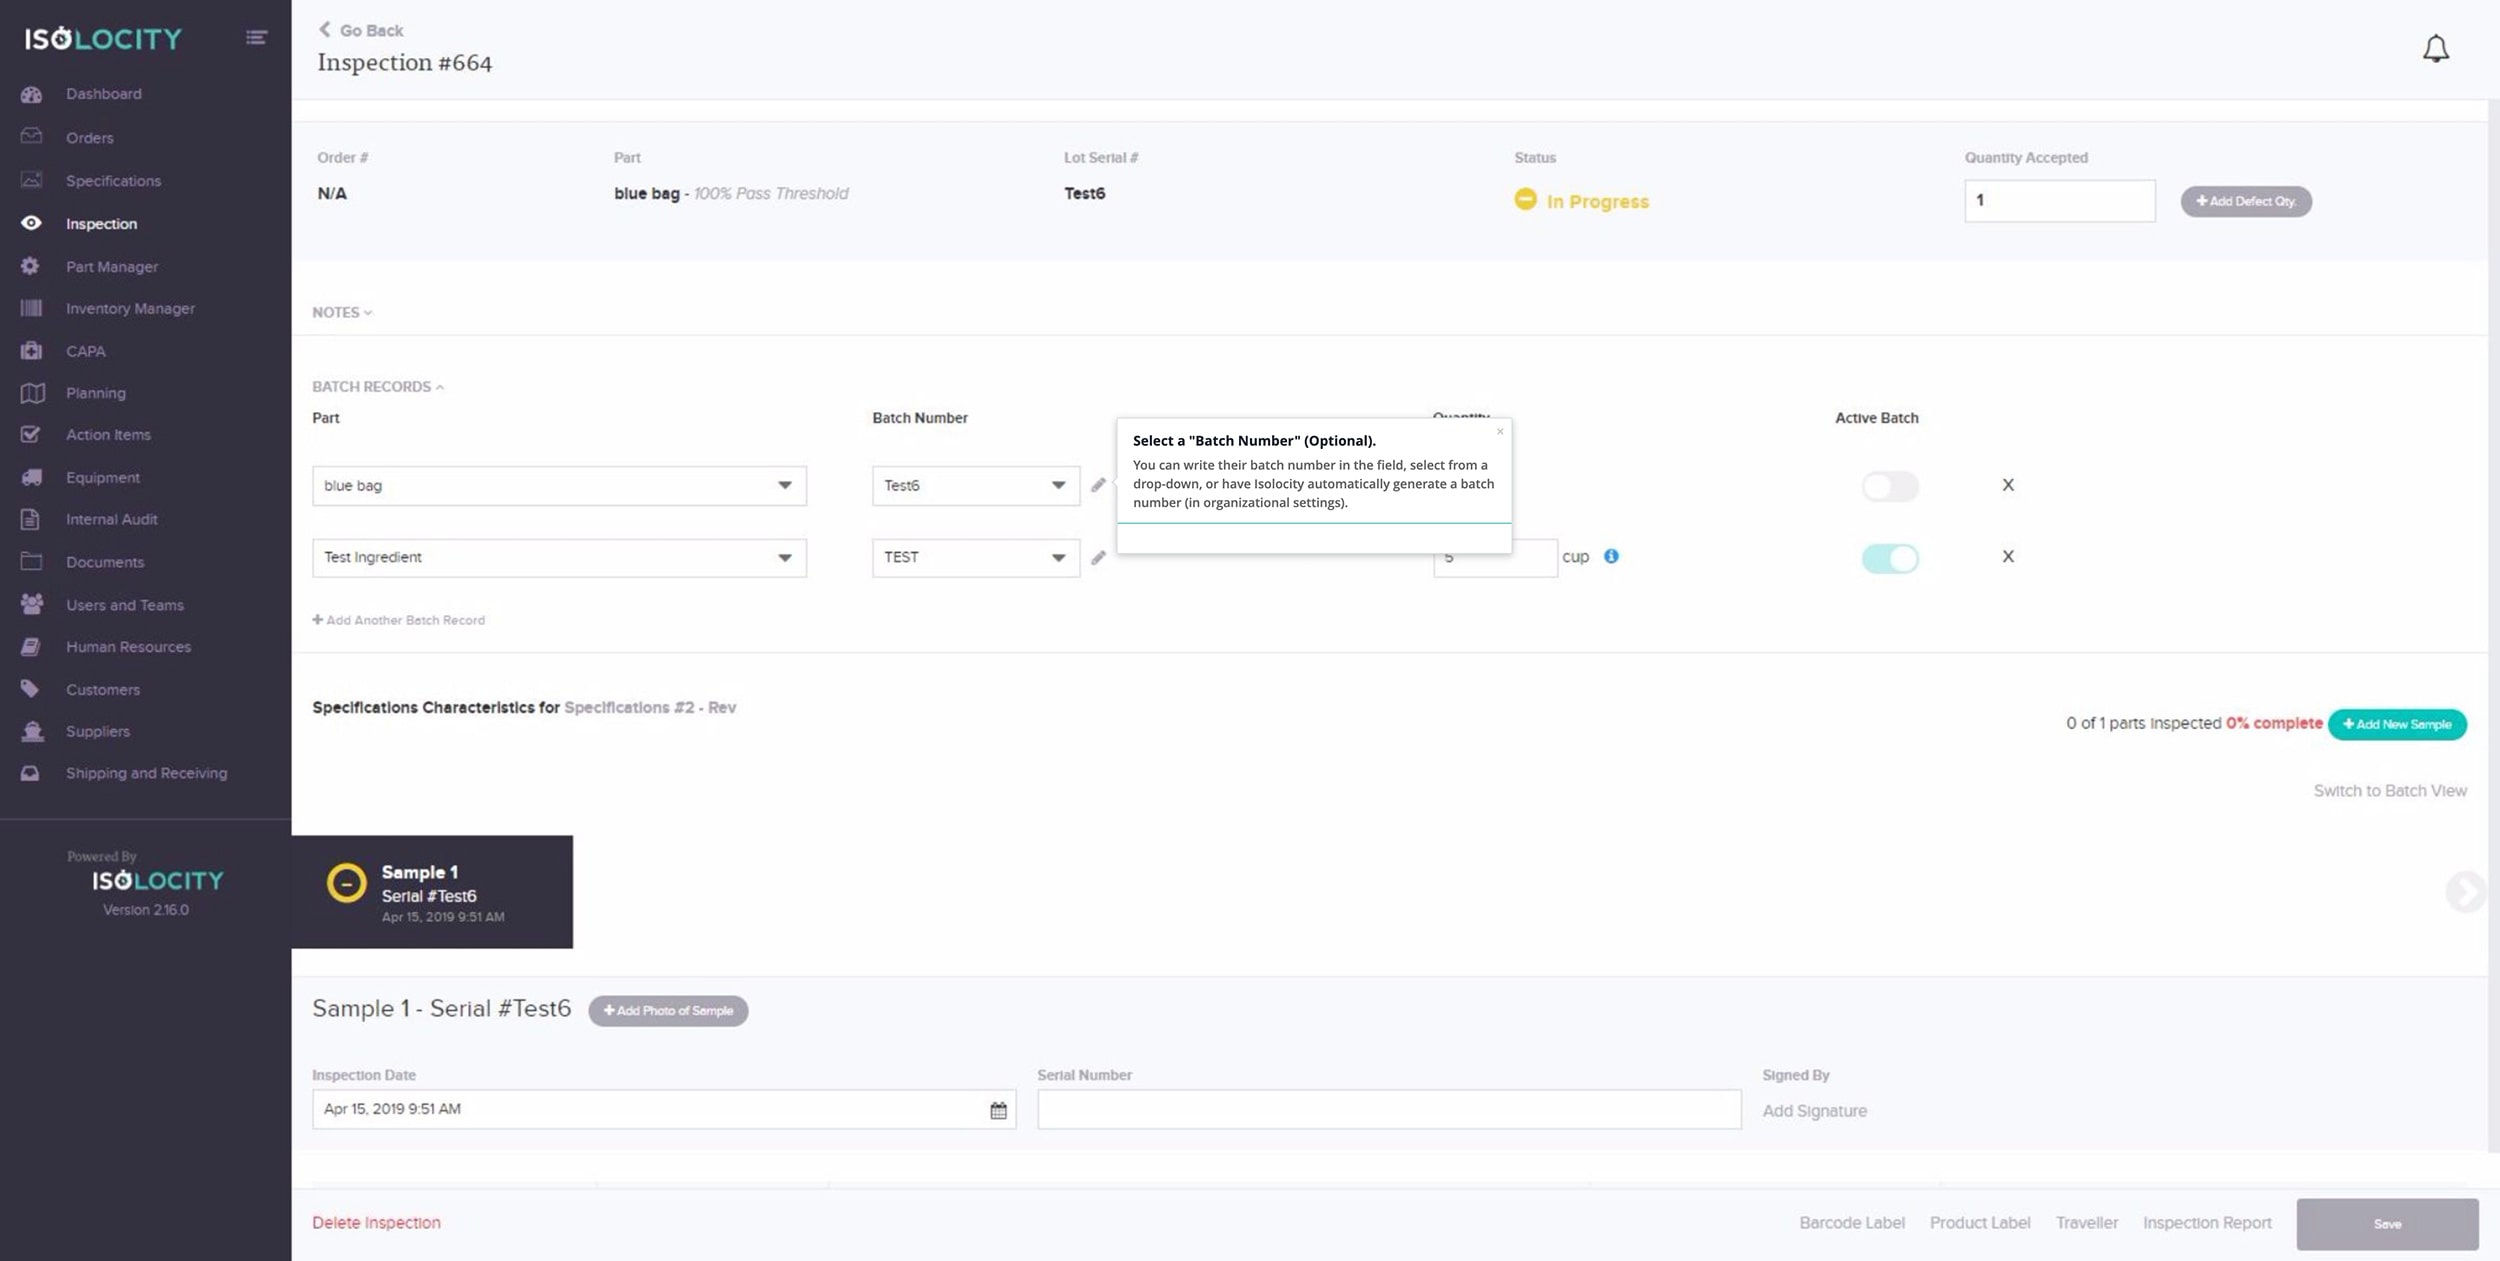
Step #21
Select a “Batch Number” (Optional).
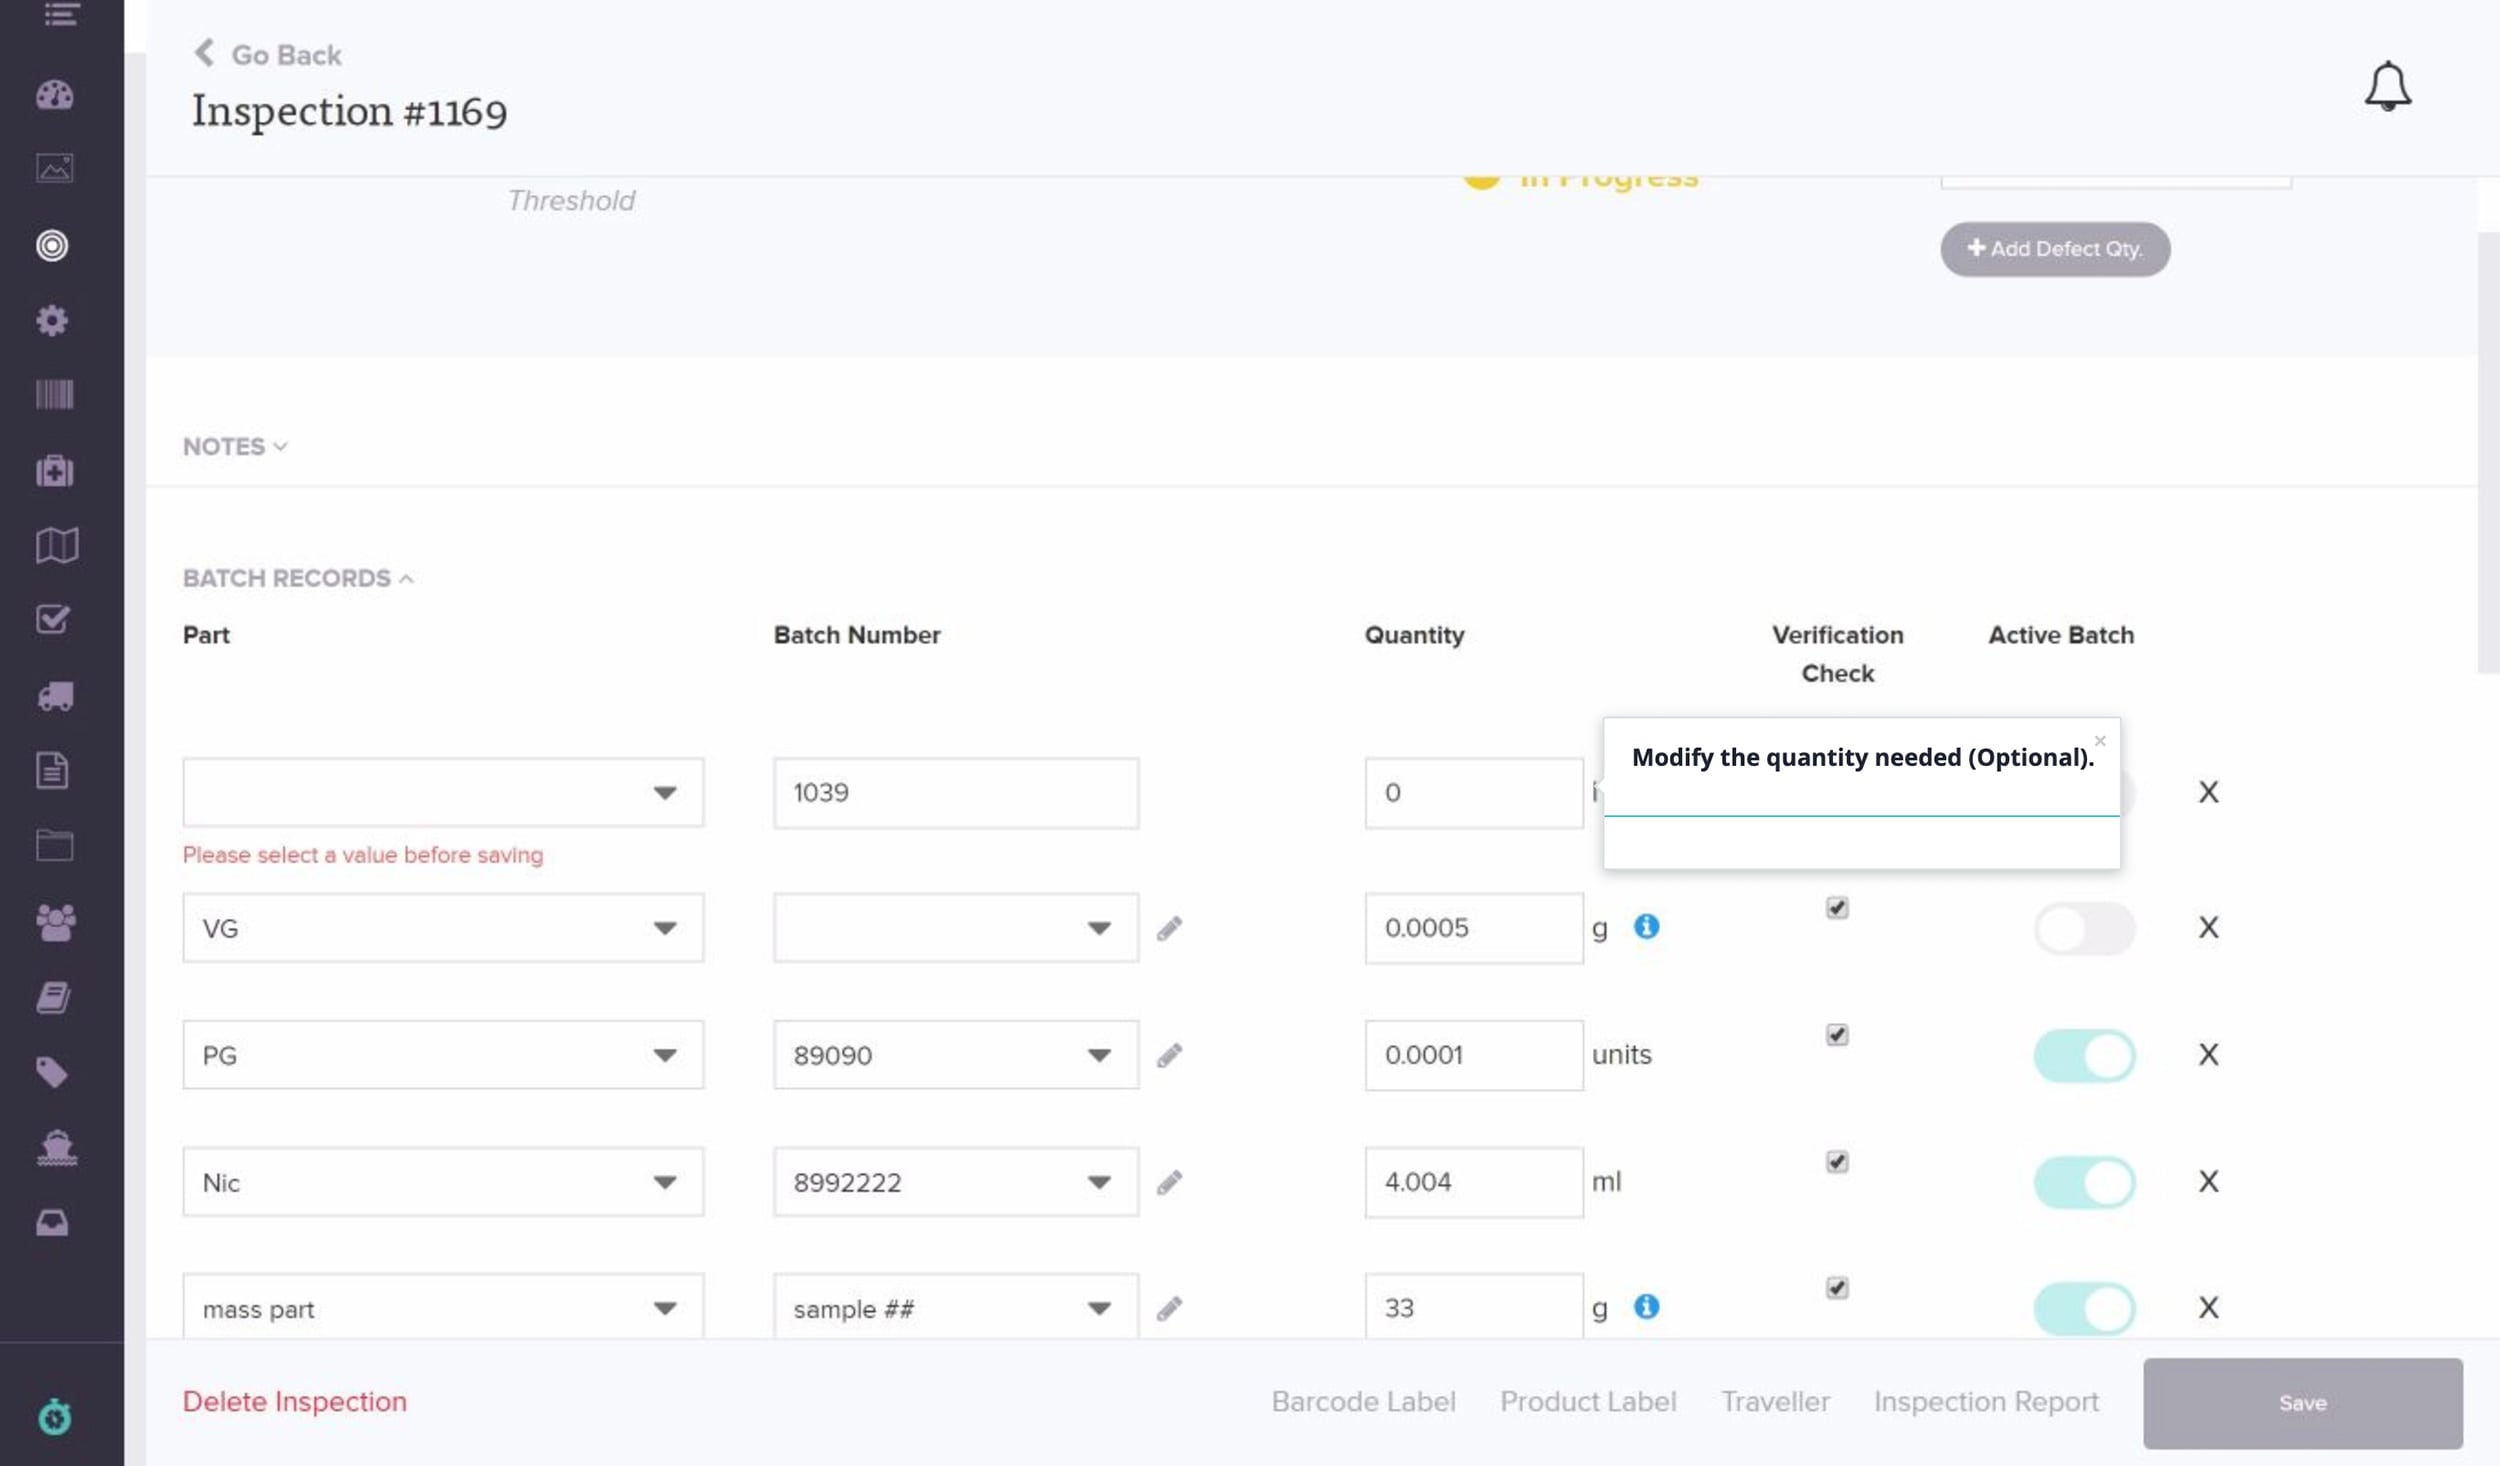
Step #22
Modify the quantity needed (Optional).
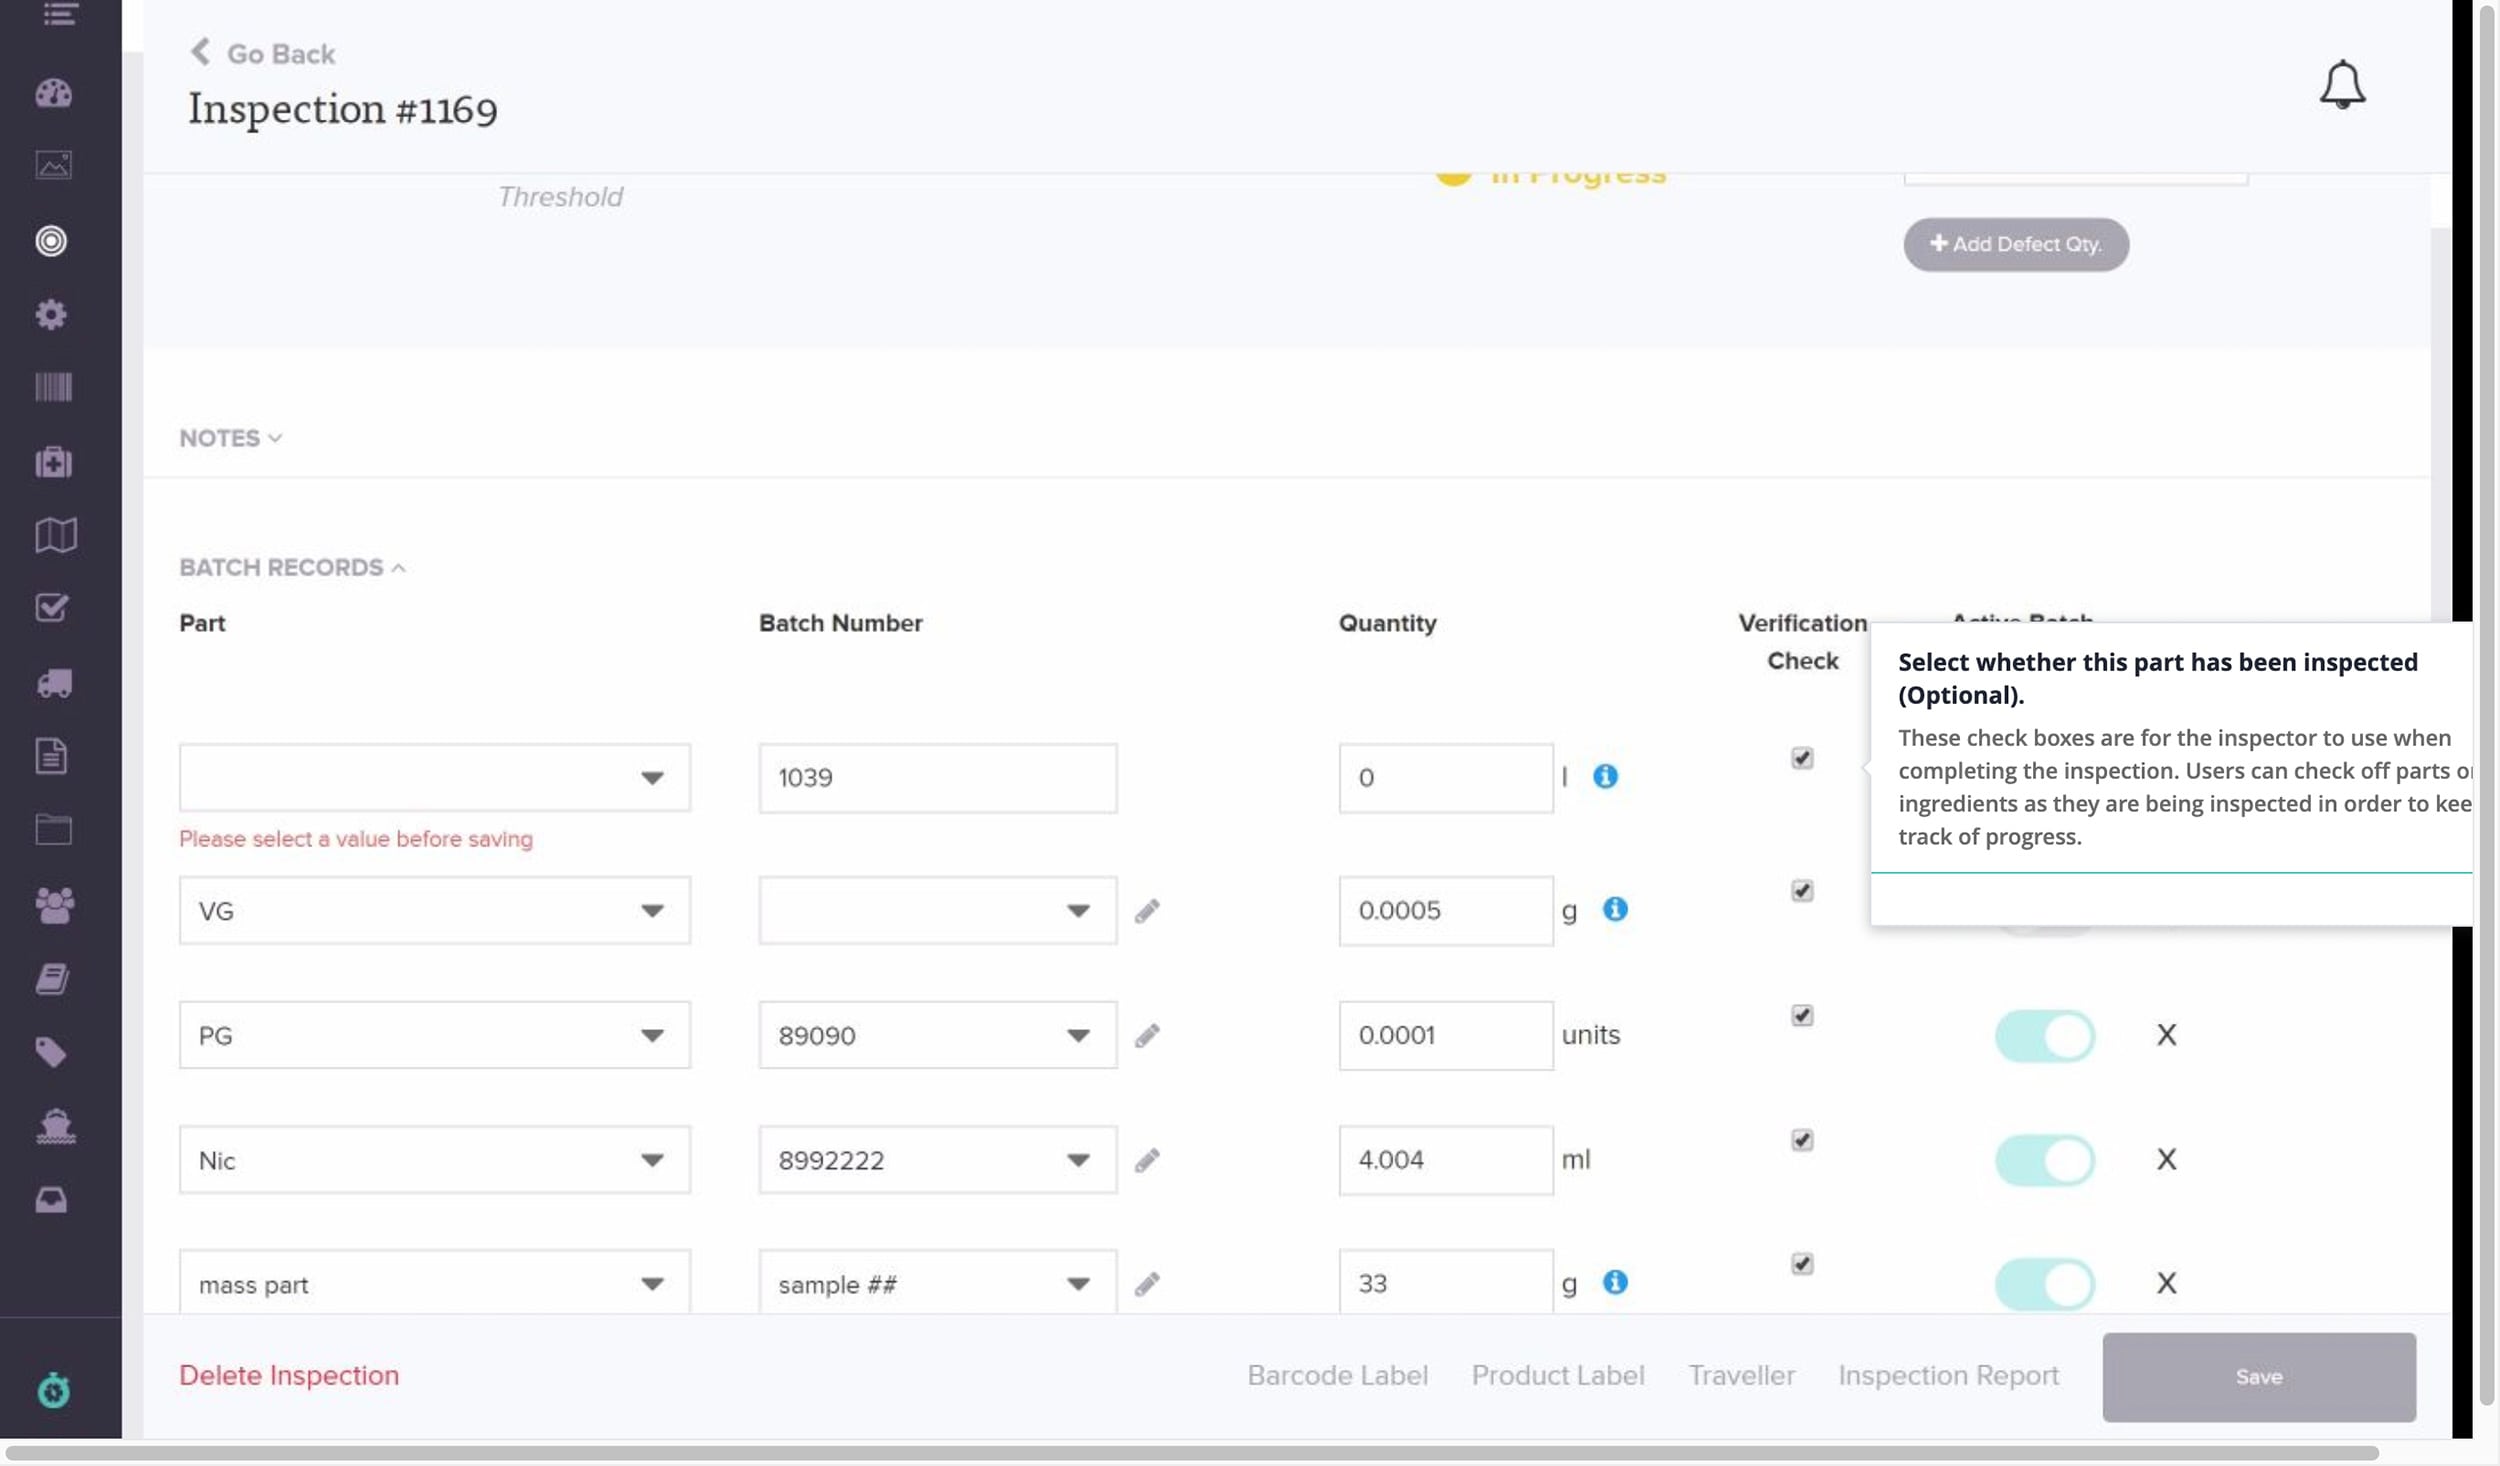
Step #23
Select whether this part has been inspected (Optional).
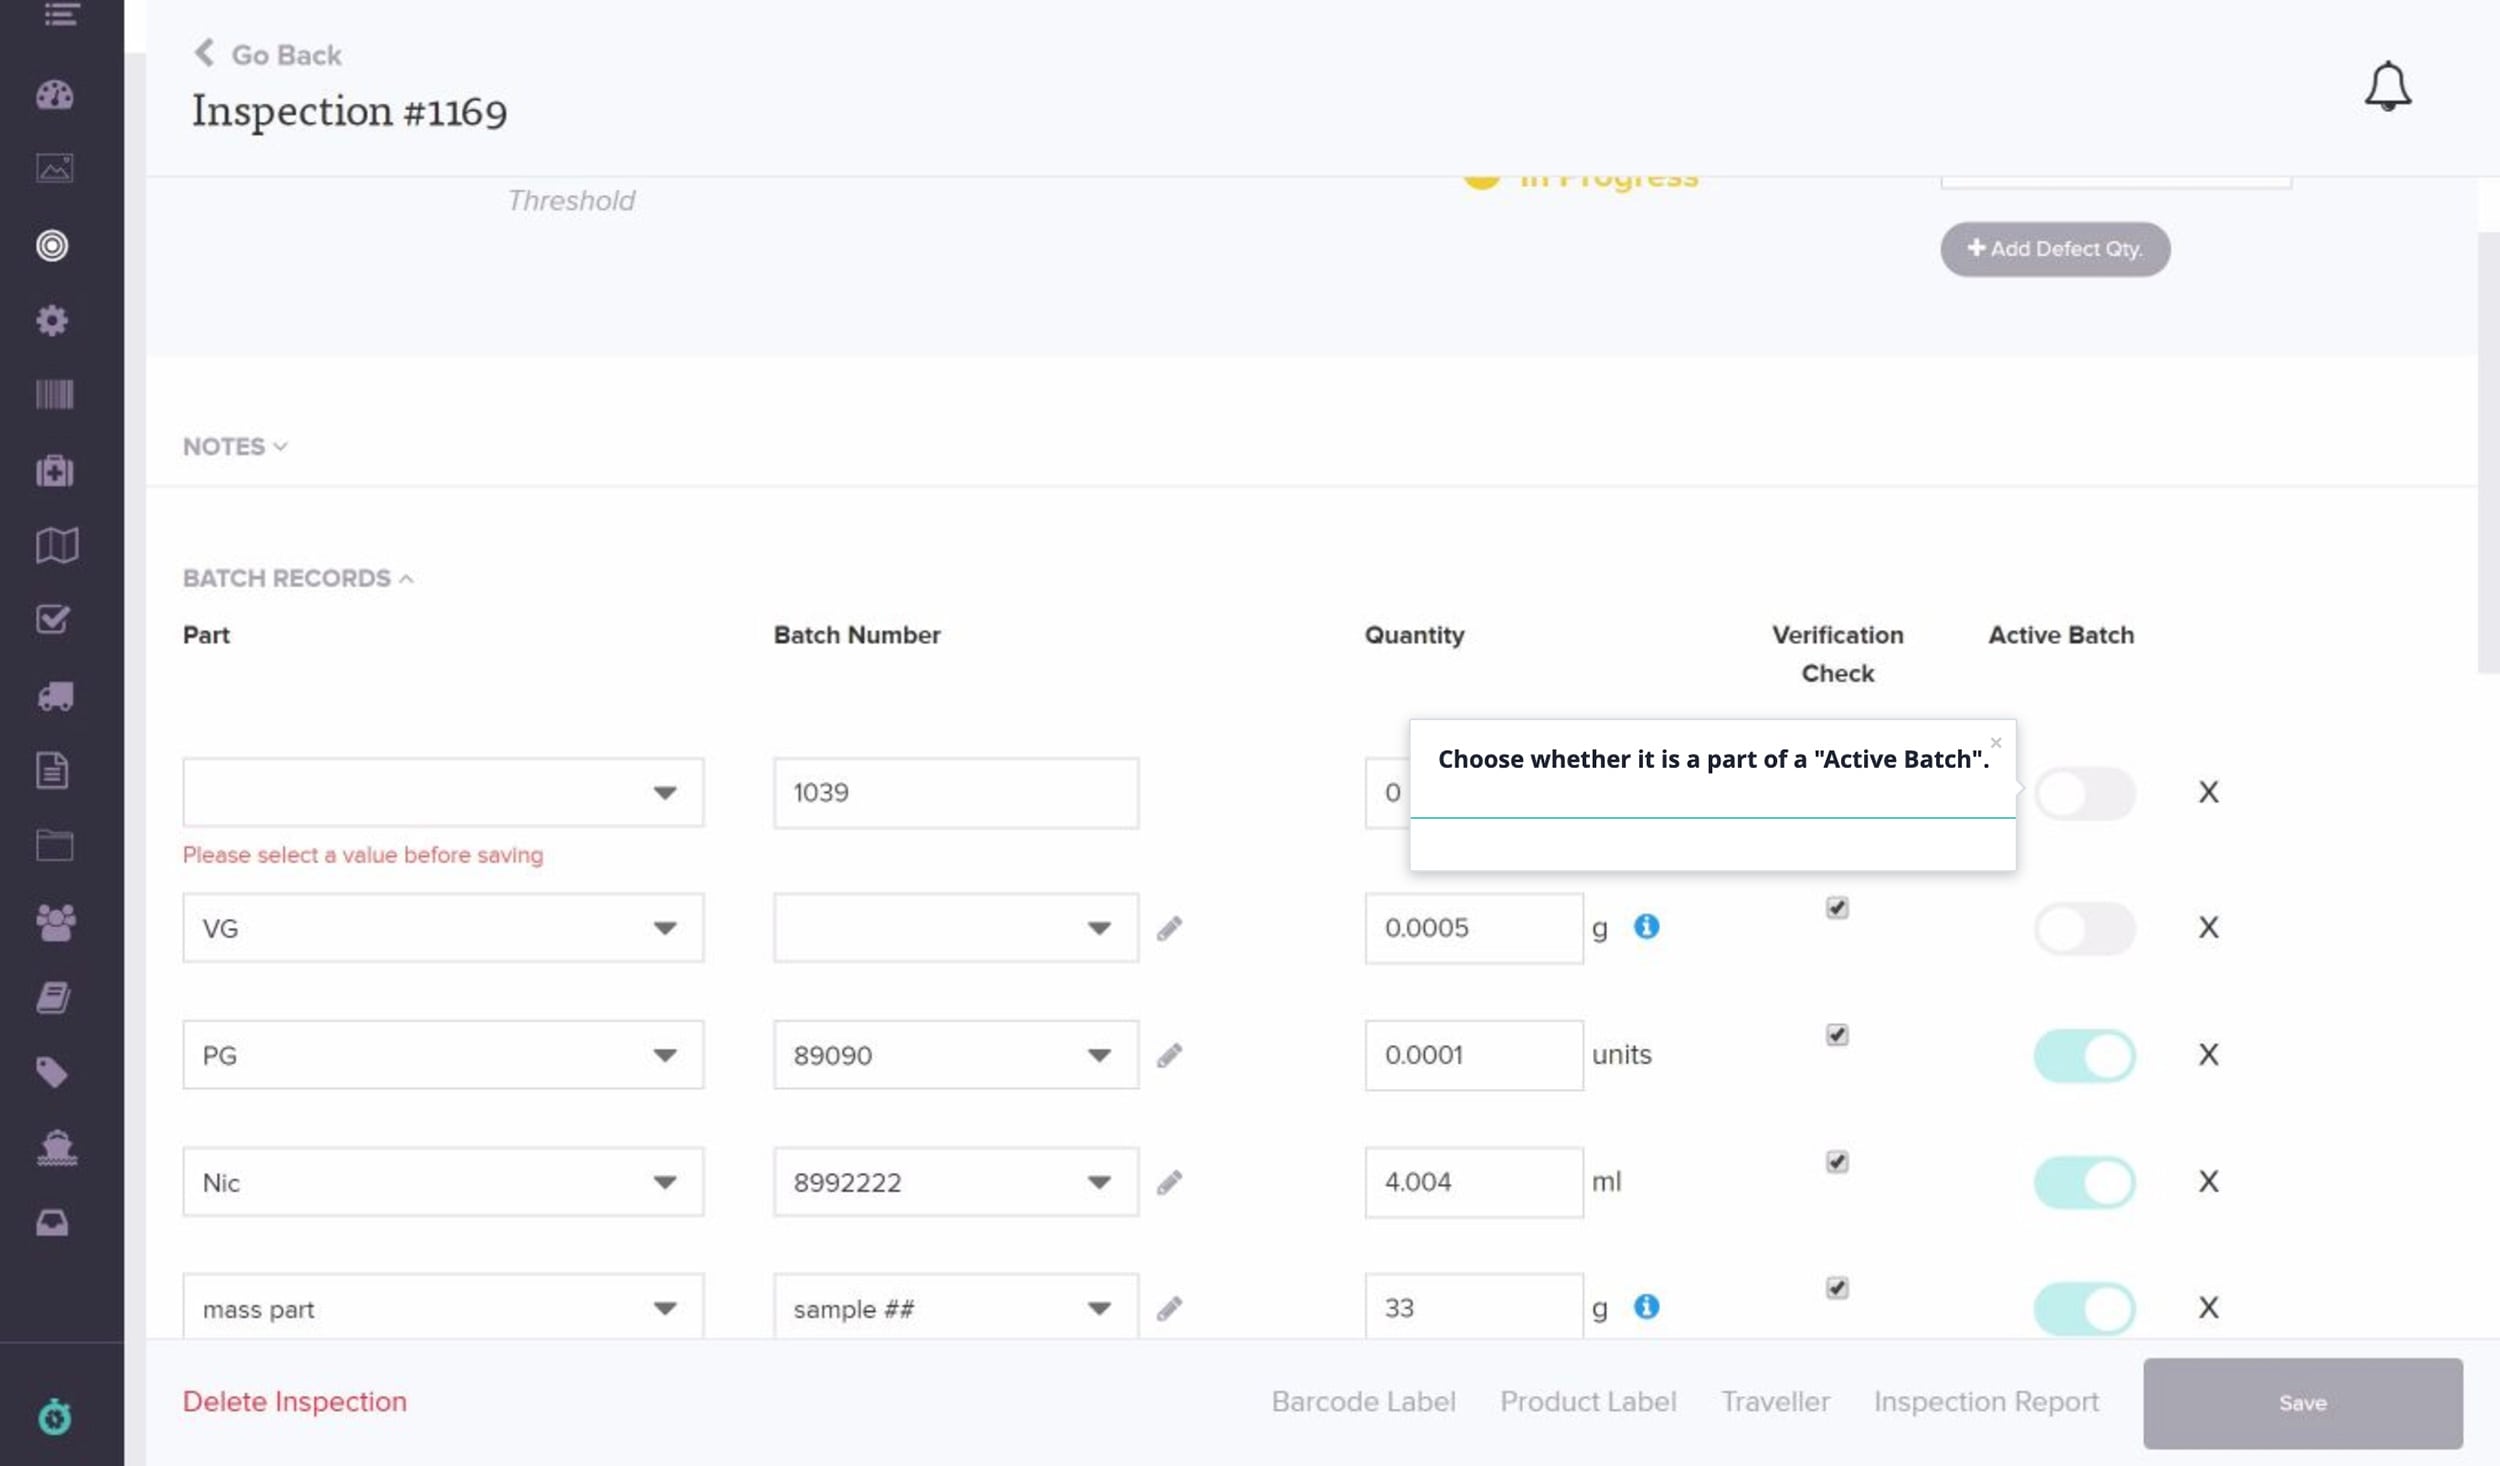
Step #24
Choose whether it is a part of a “Active Batch”.
Step #25
Note:
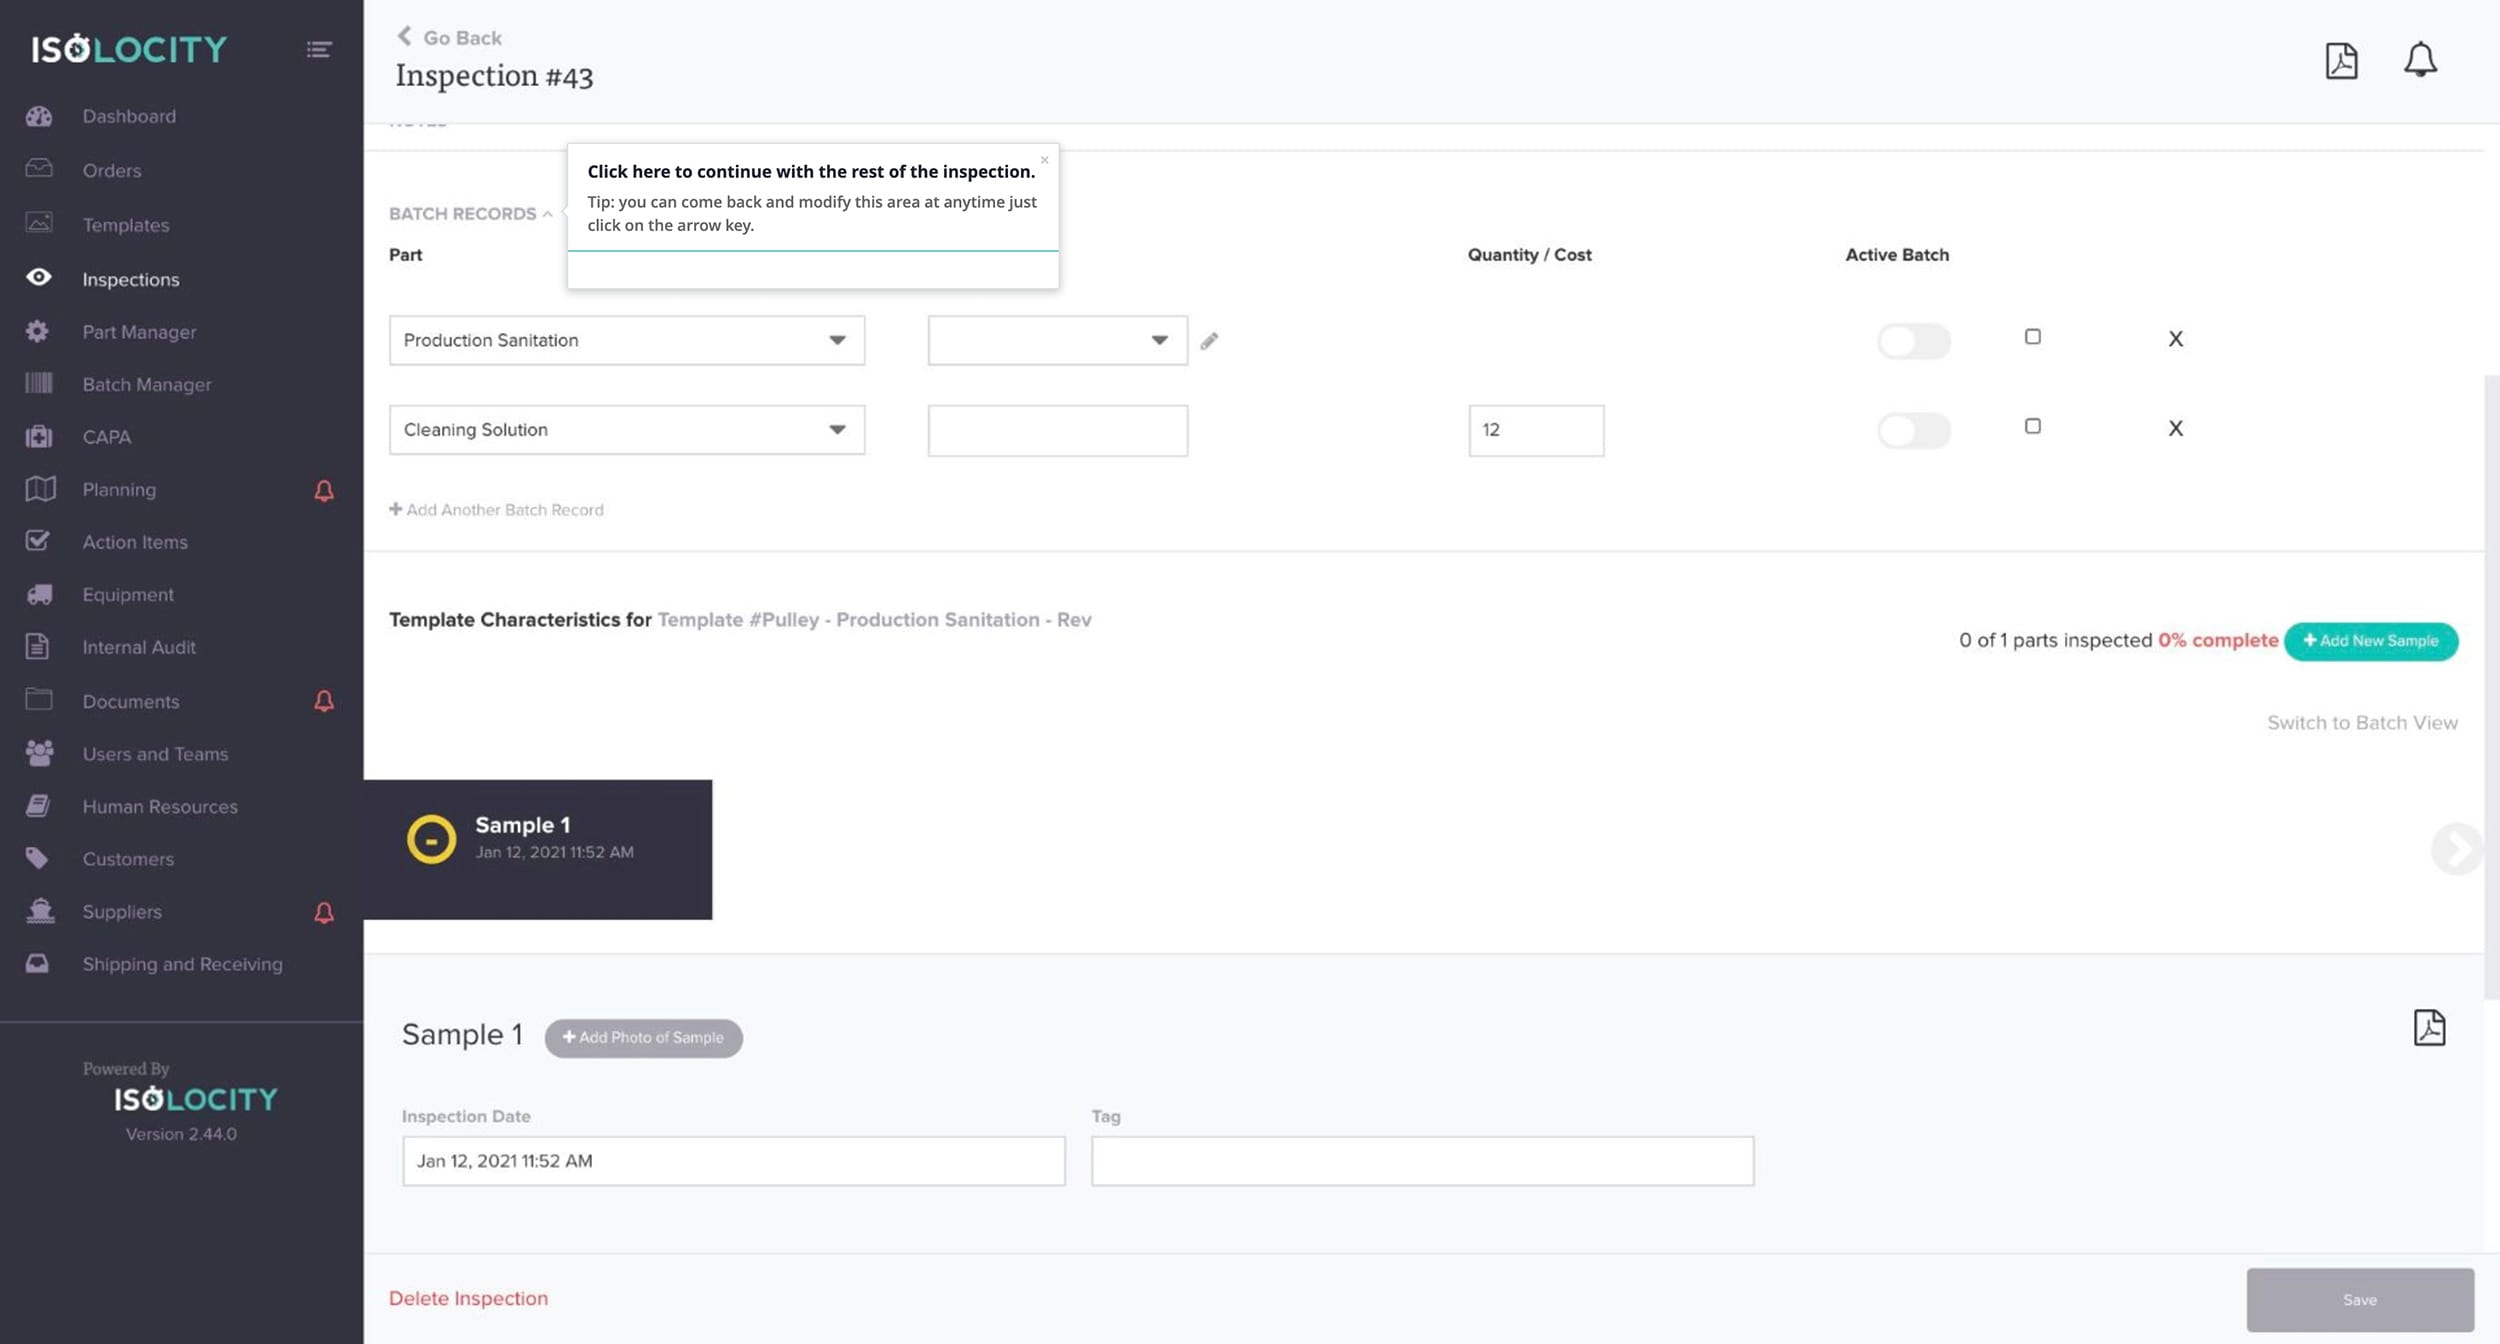
Step #26
Click here to continue with the rest of the inspection.
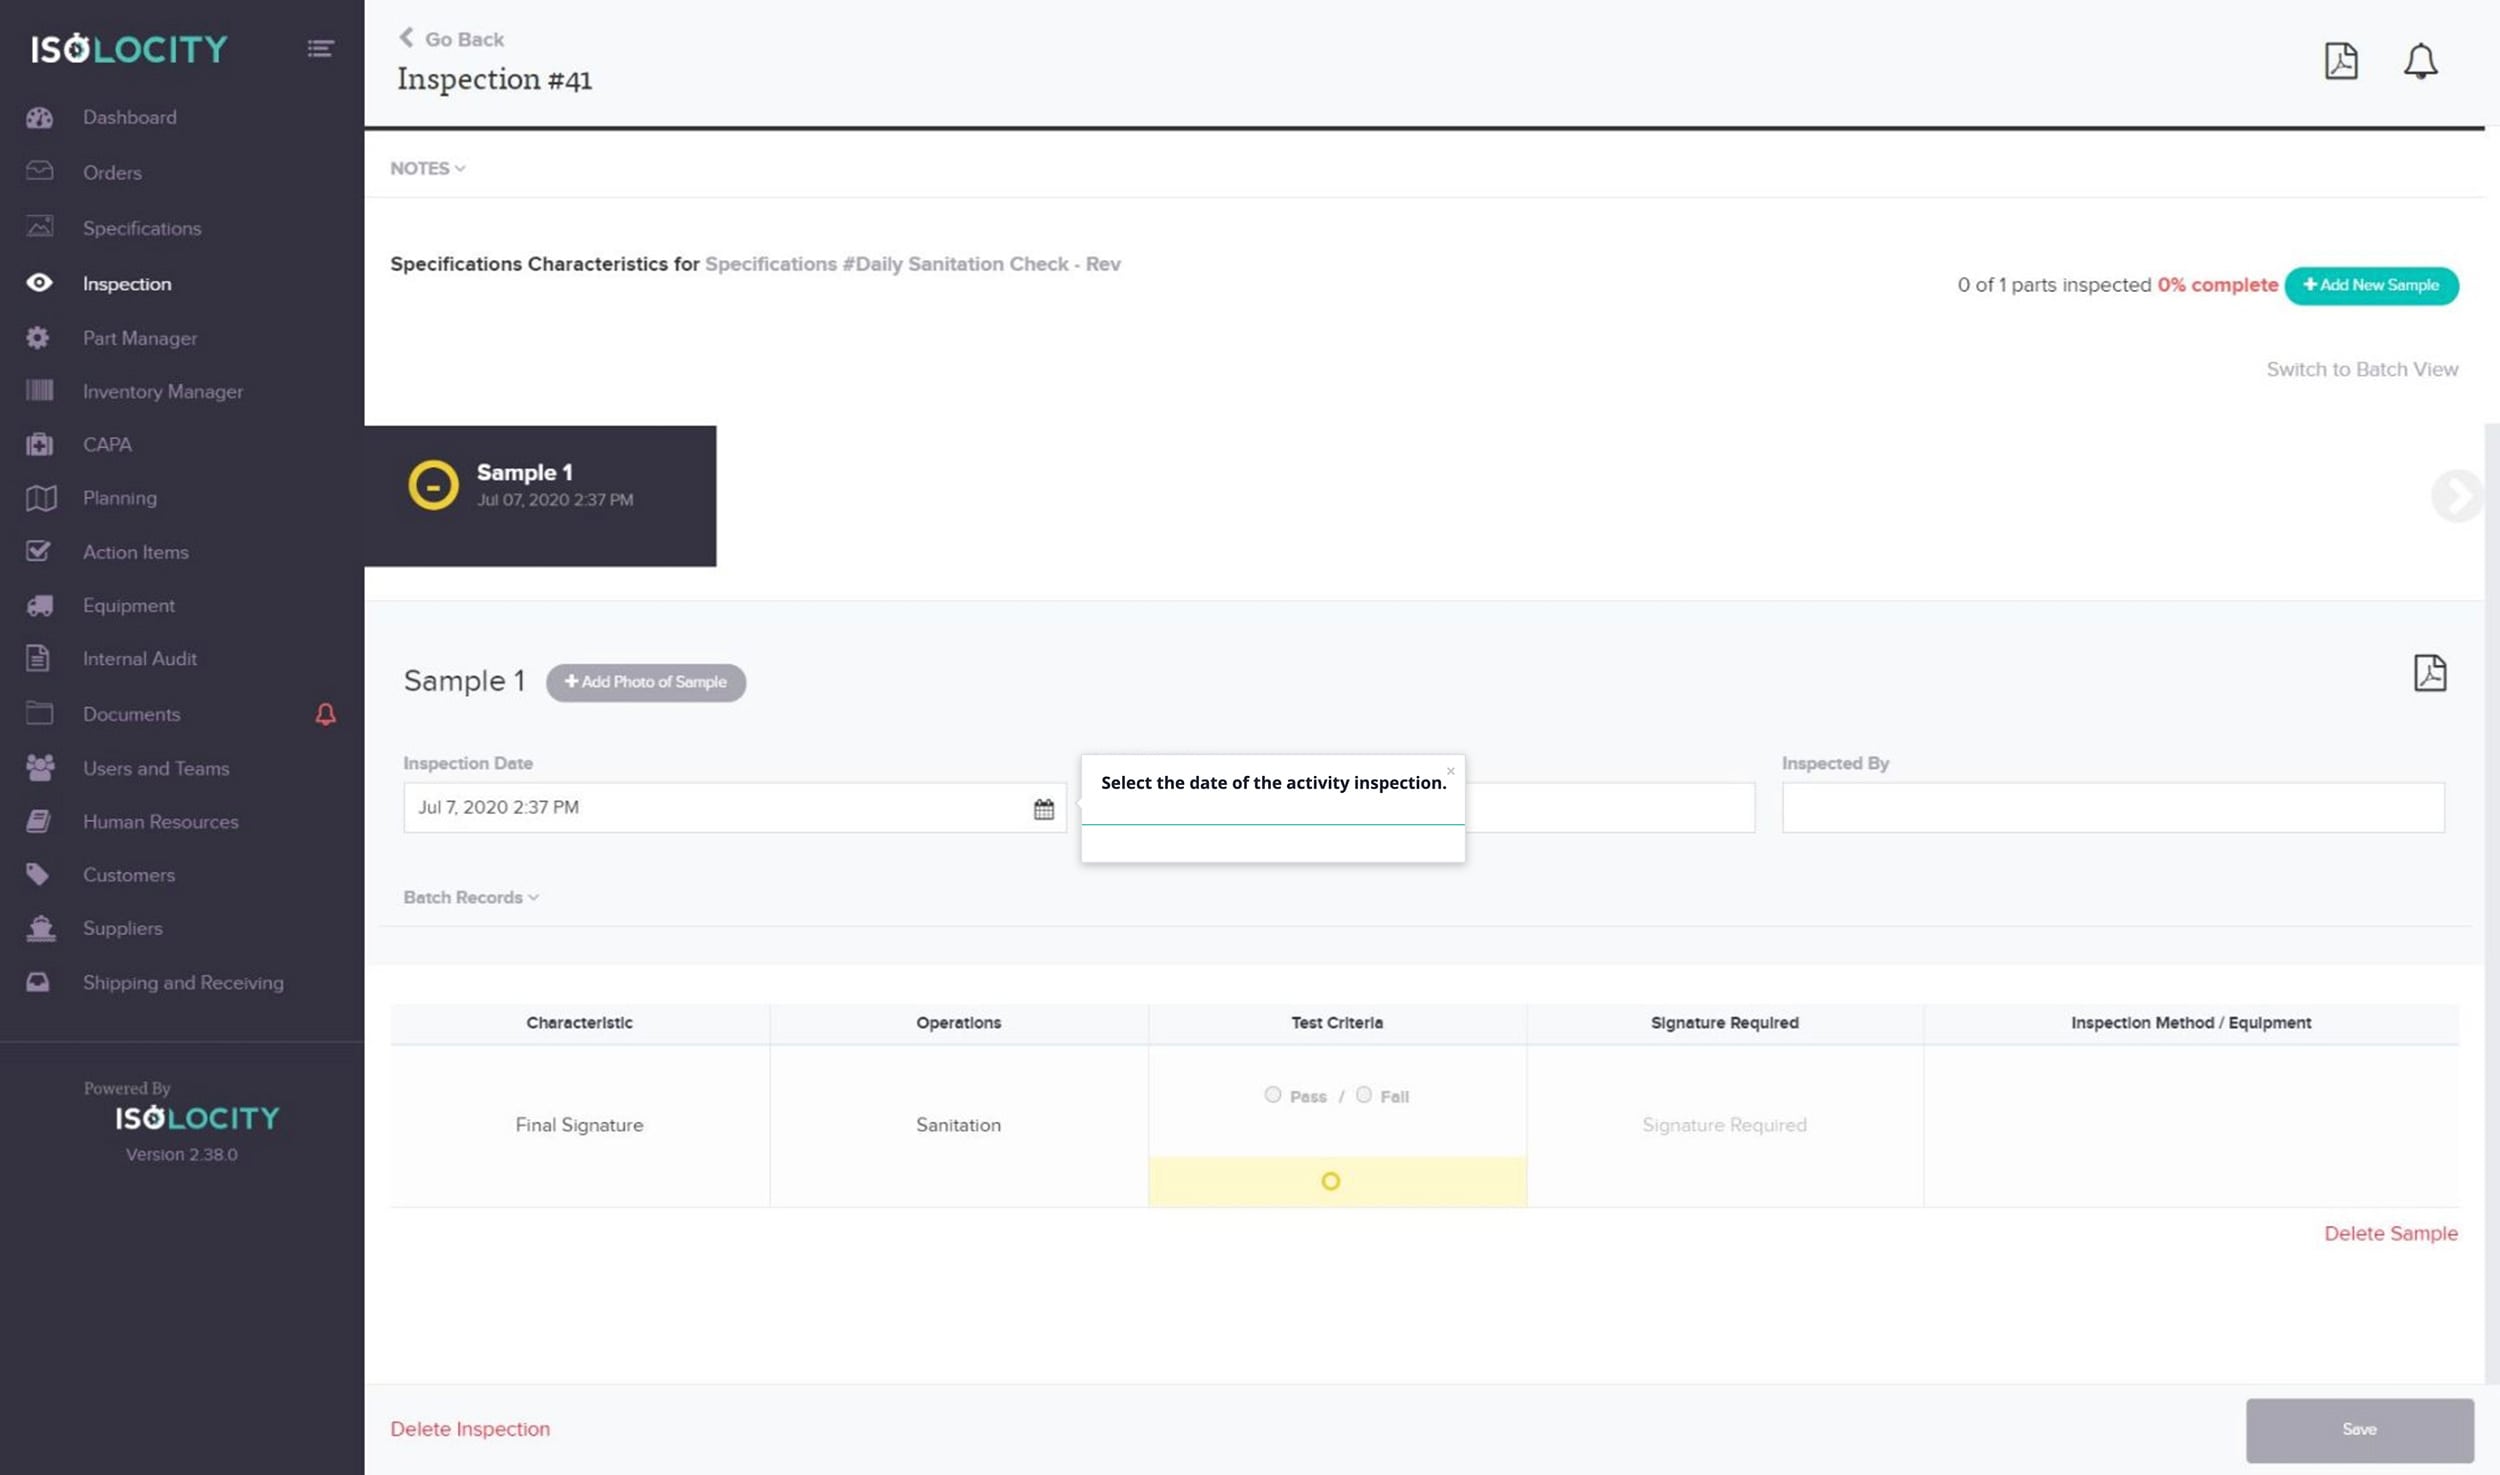
Step #27
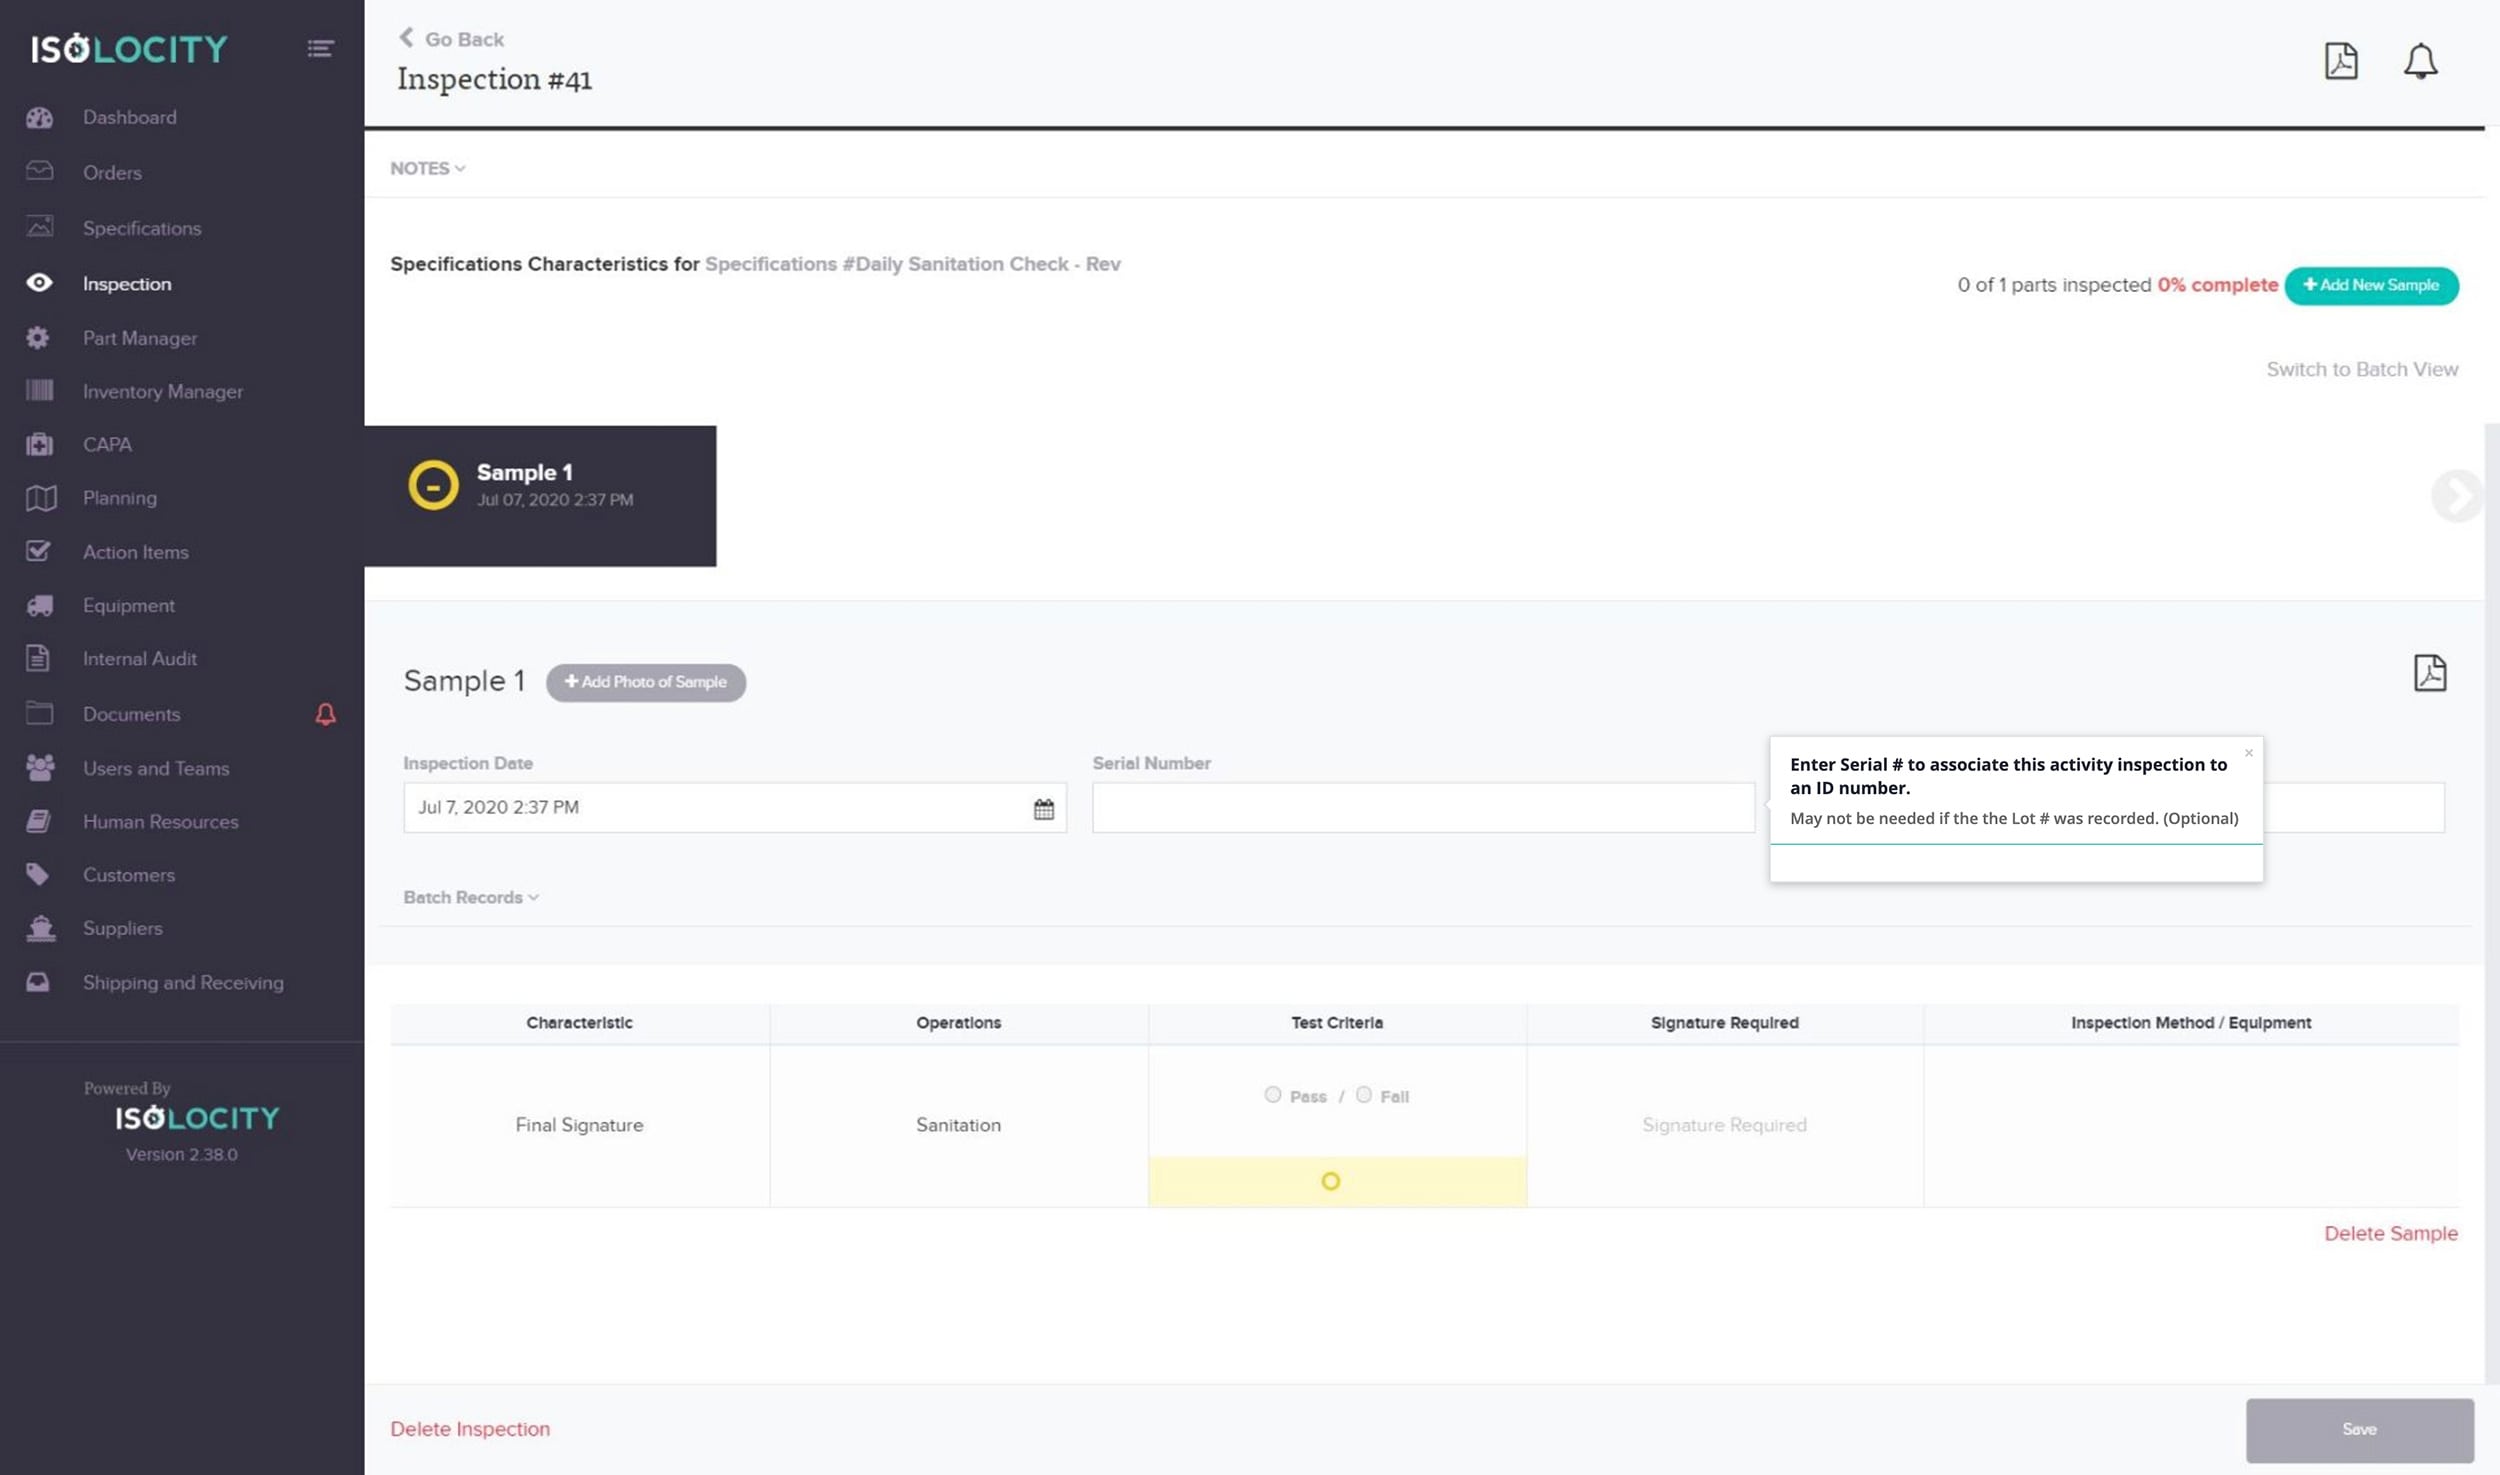
Select the date of the activity inspection.
Step #28
Enter Serial # to associate this activity inspection to an ID number.
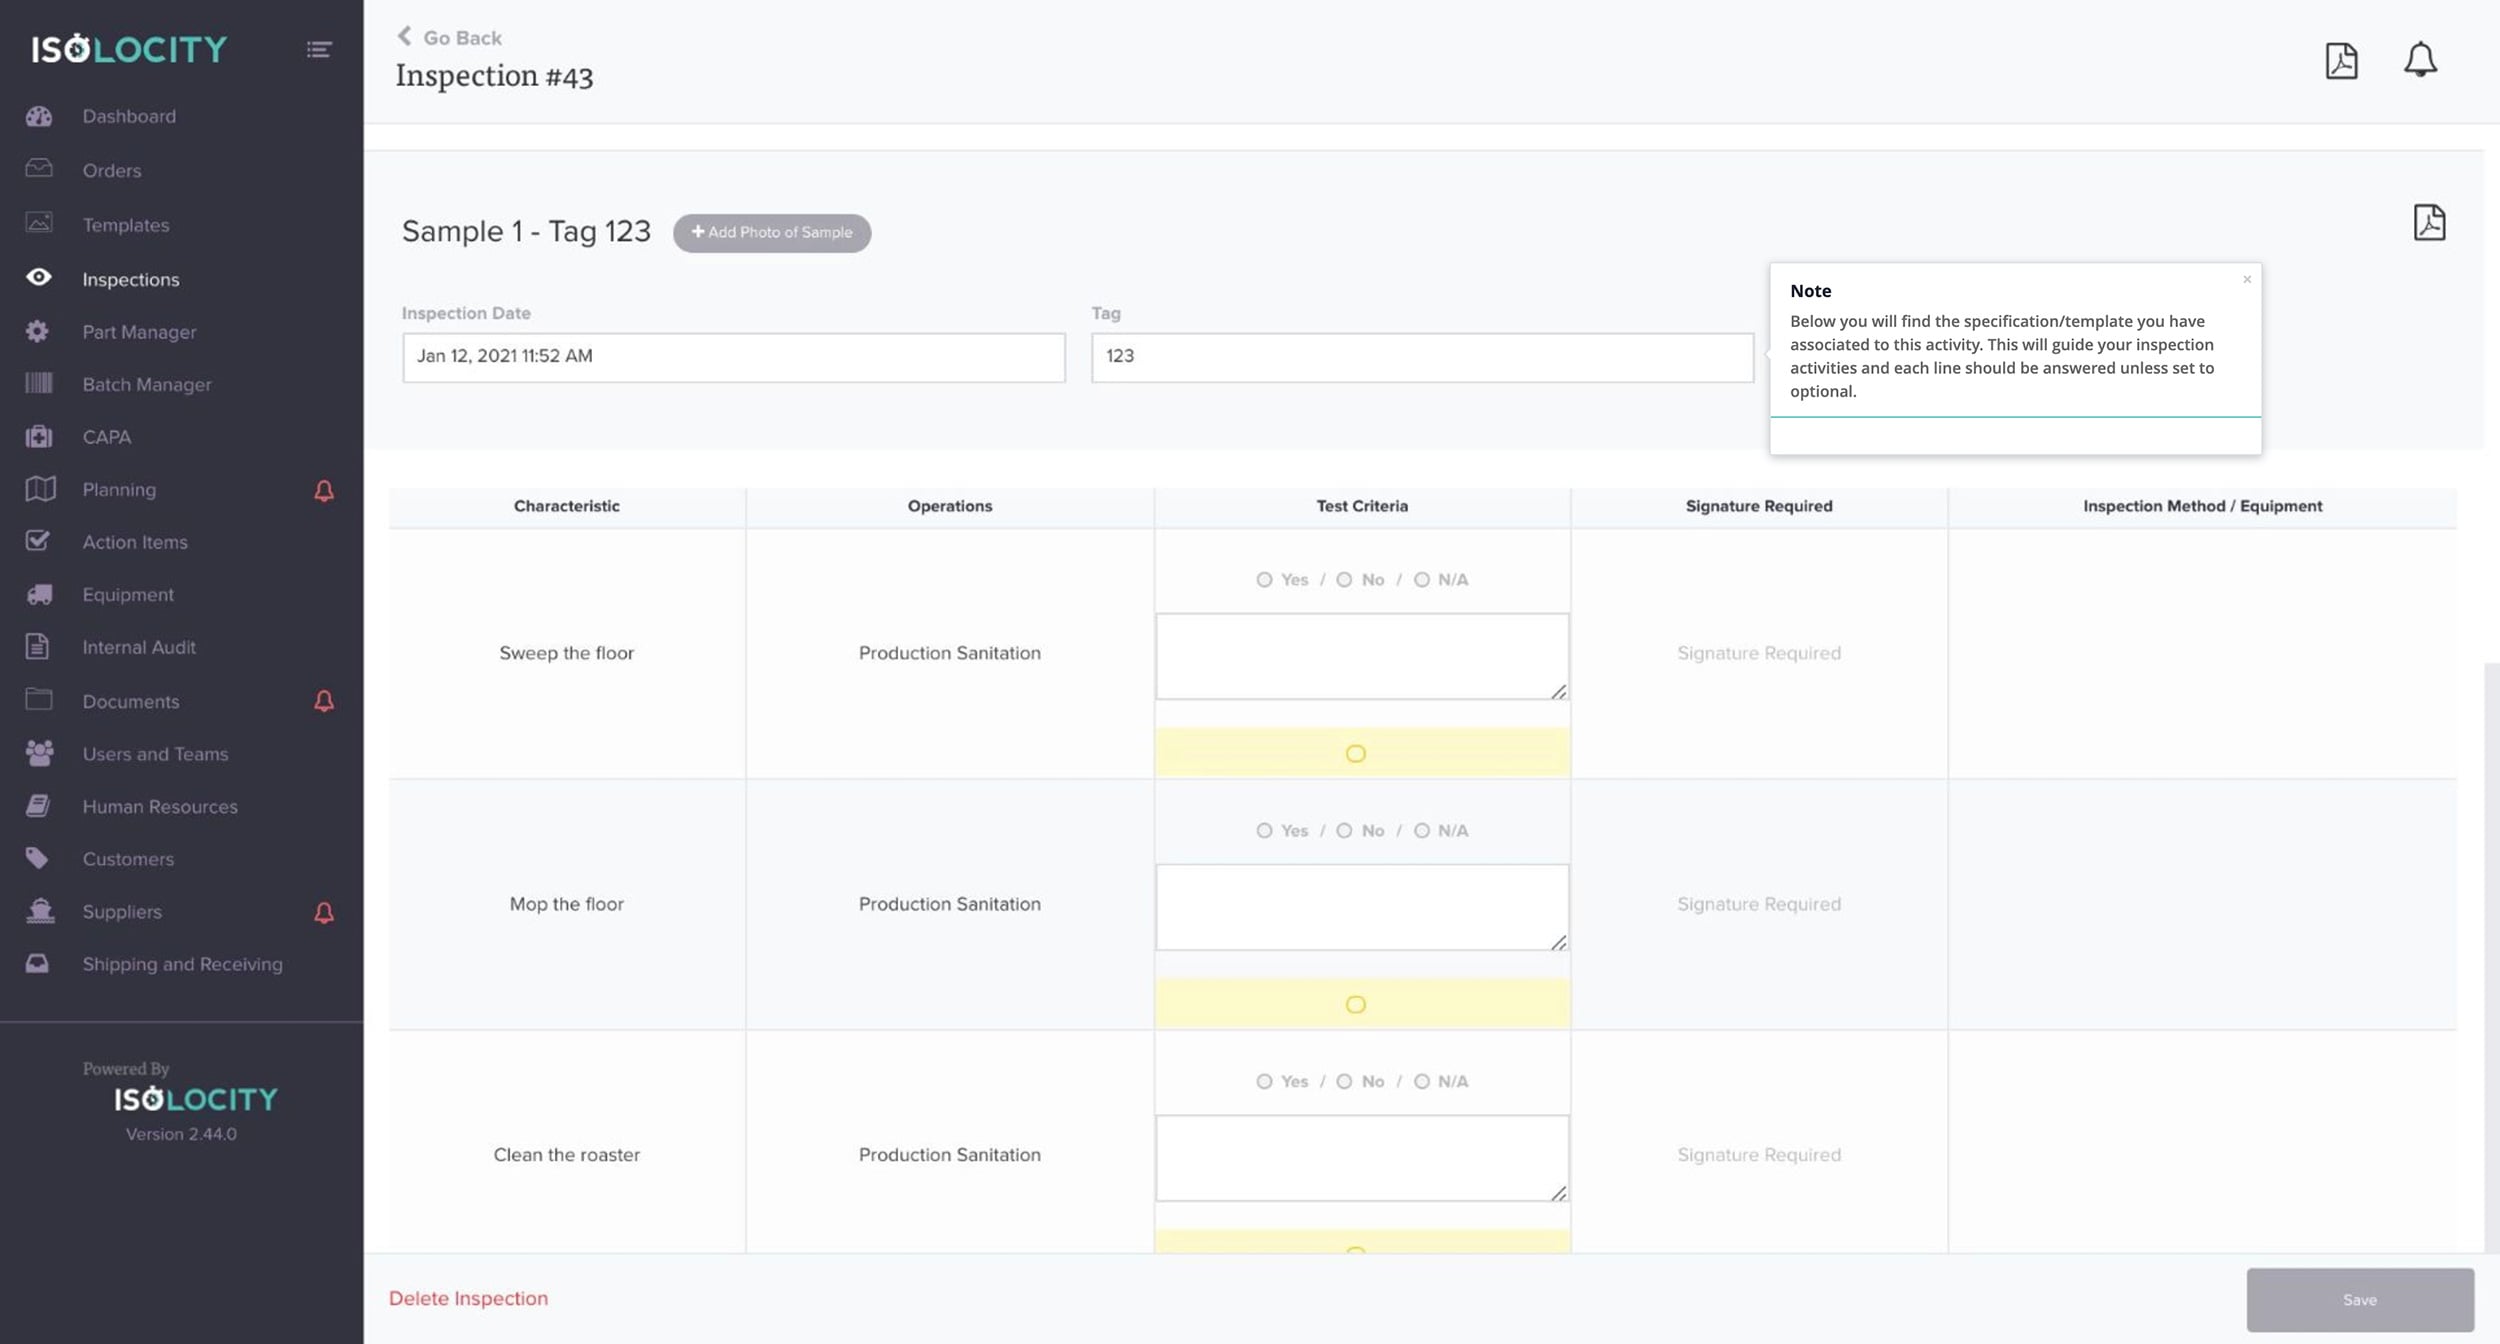
Step #29
Note
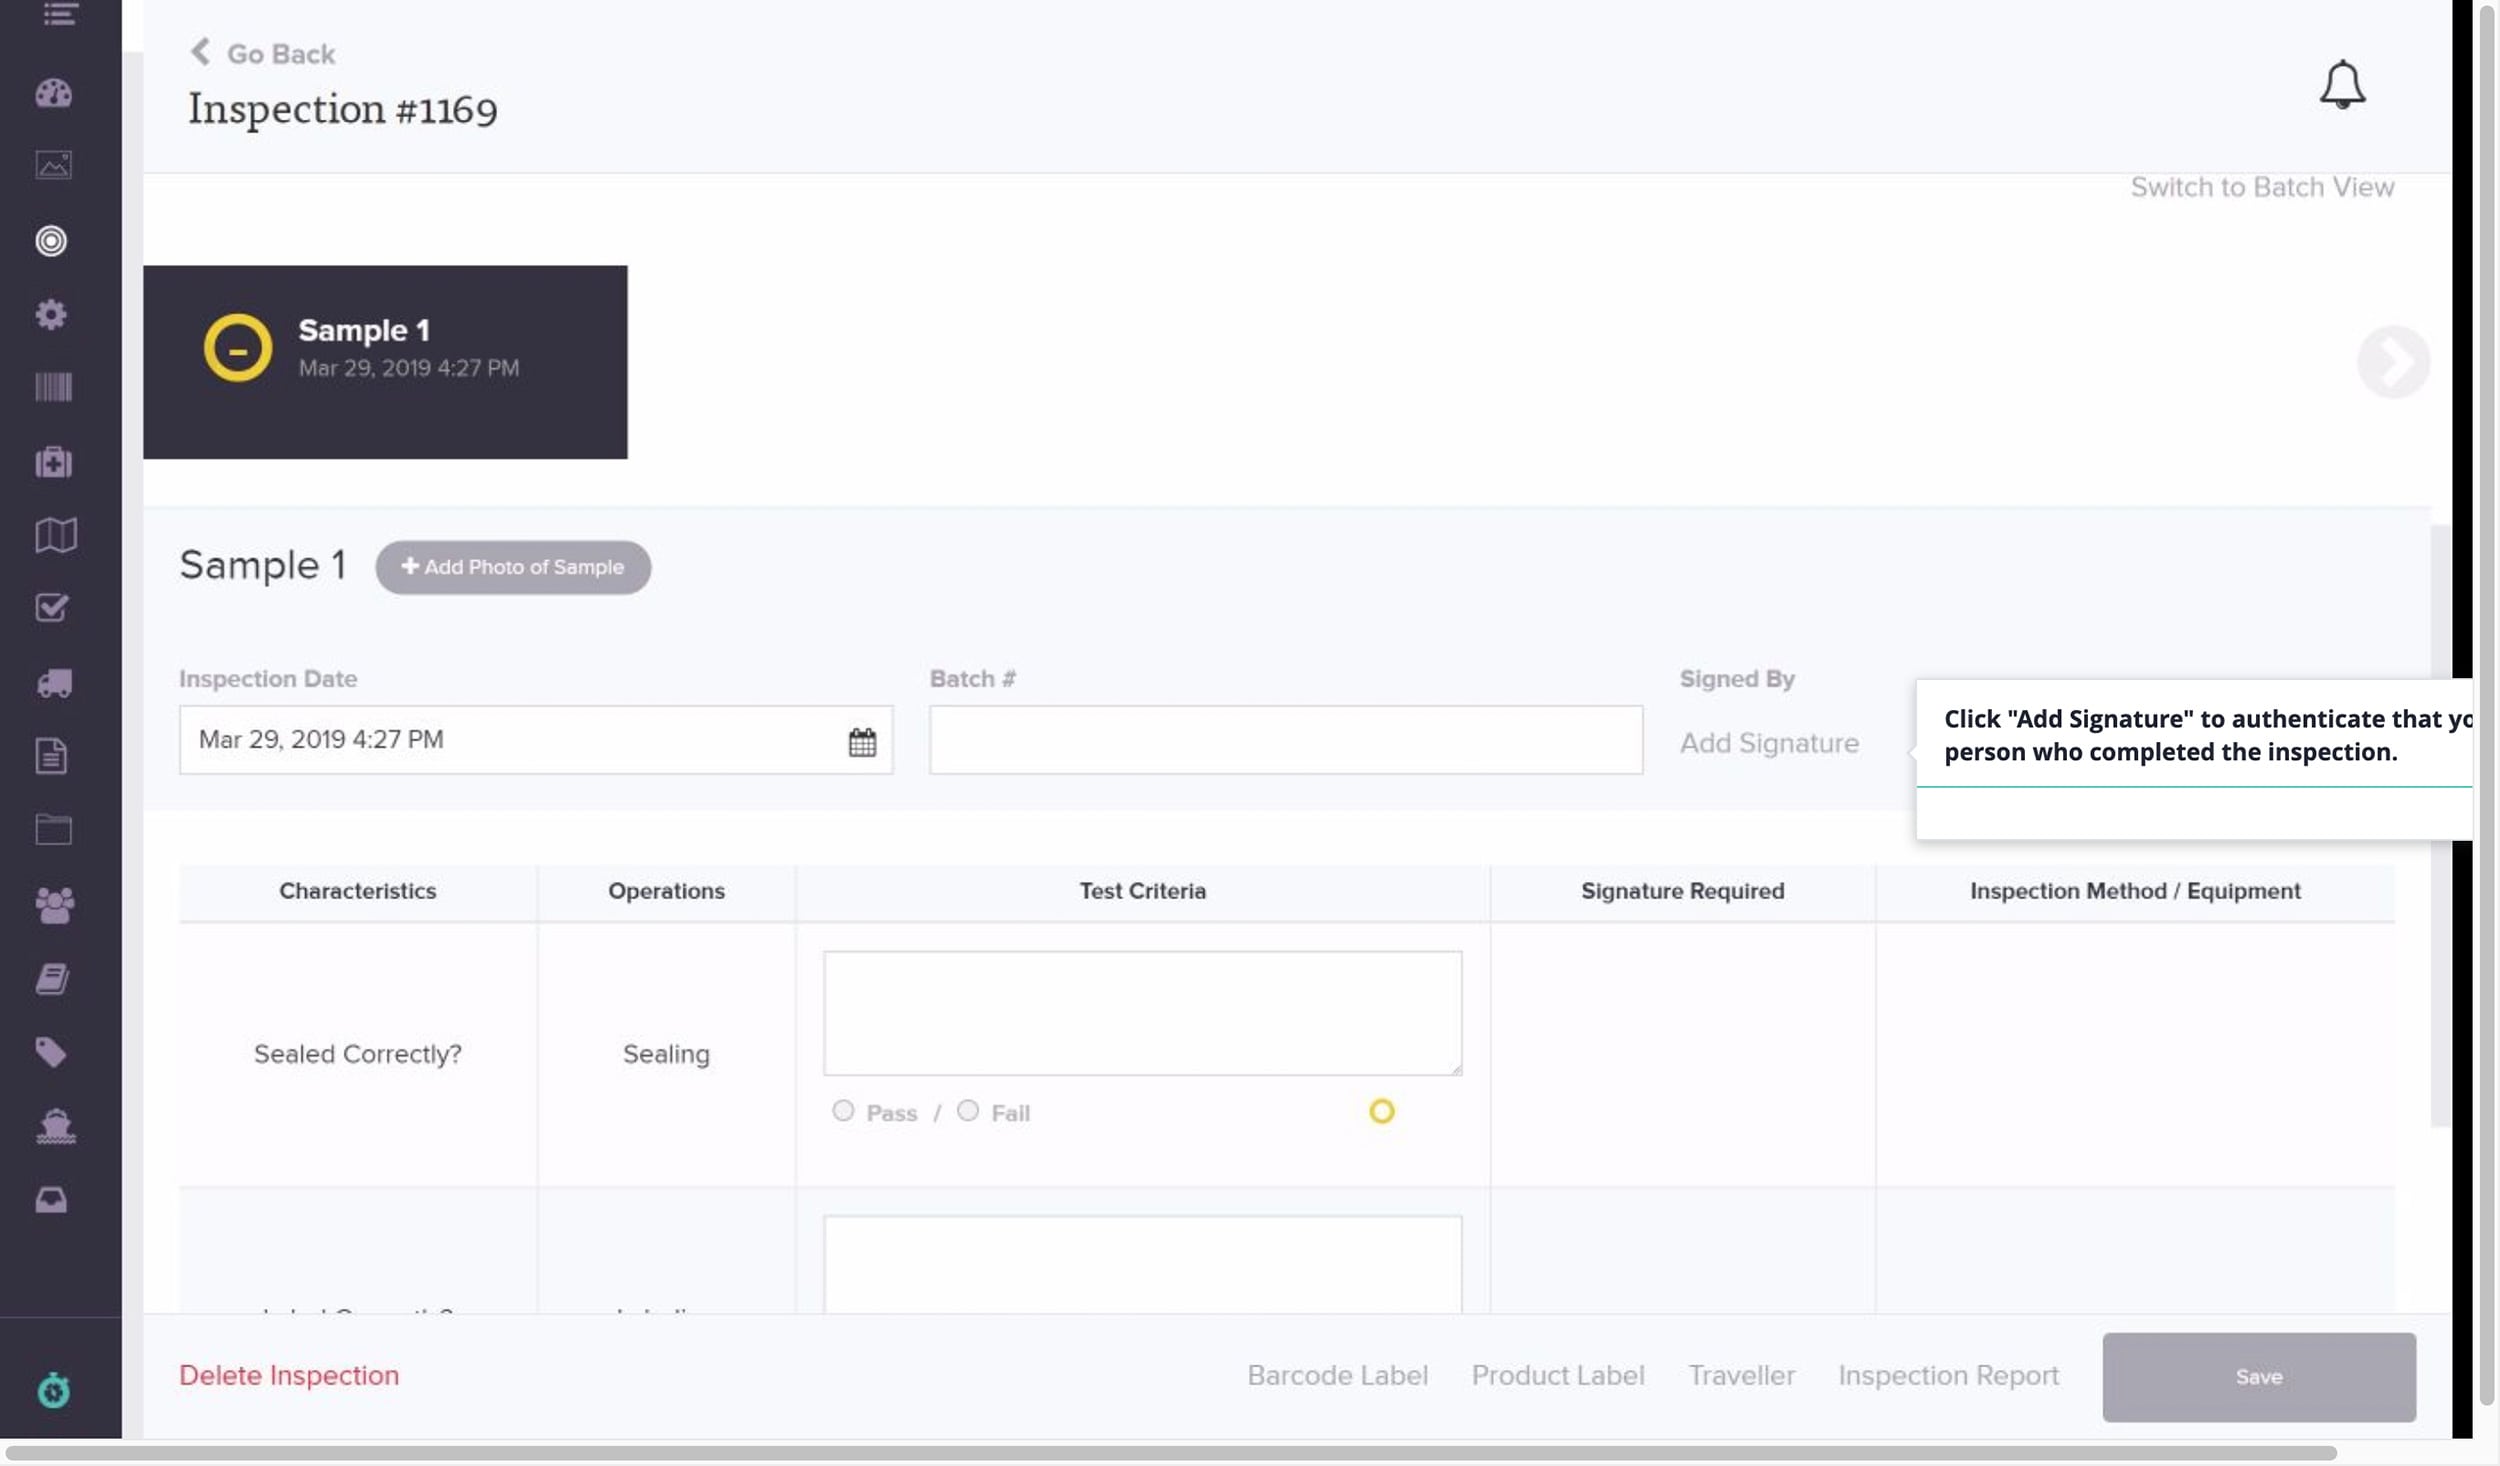
Step #30
Click “Add Signature” to authenticate that you are the person who completed the inspection.
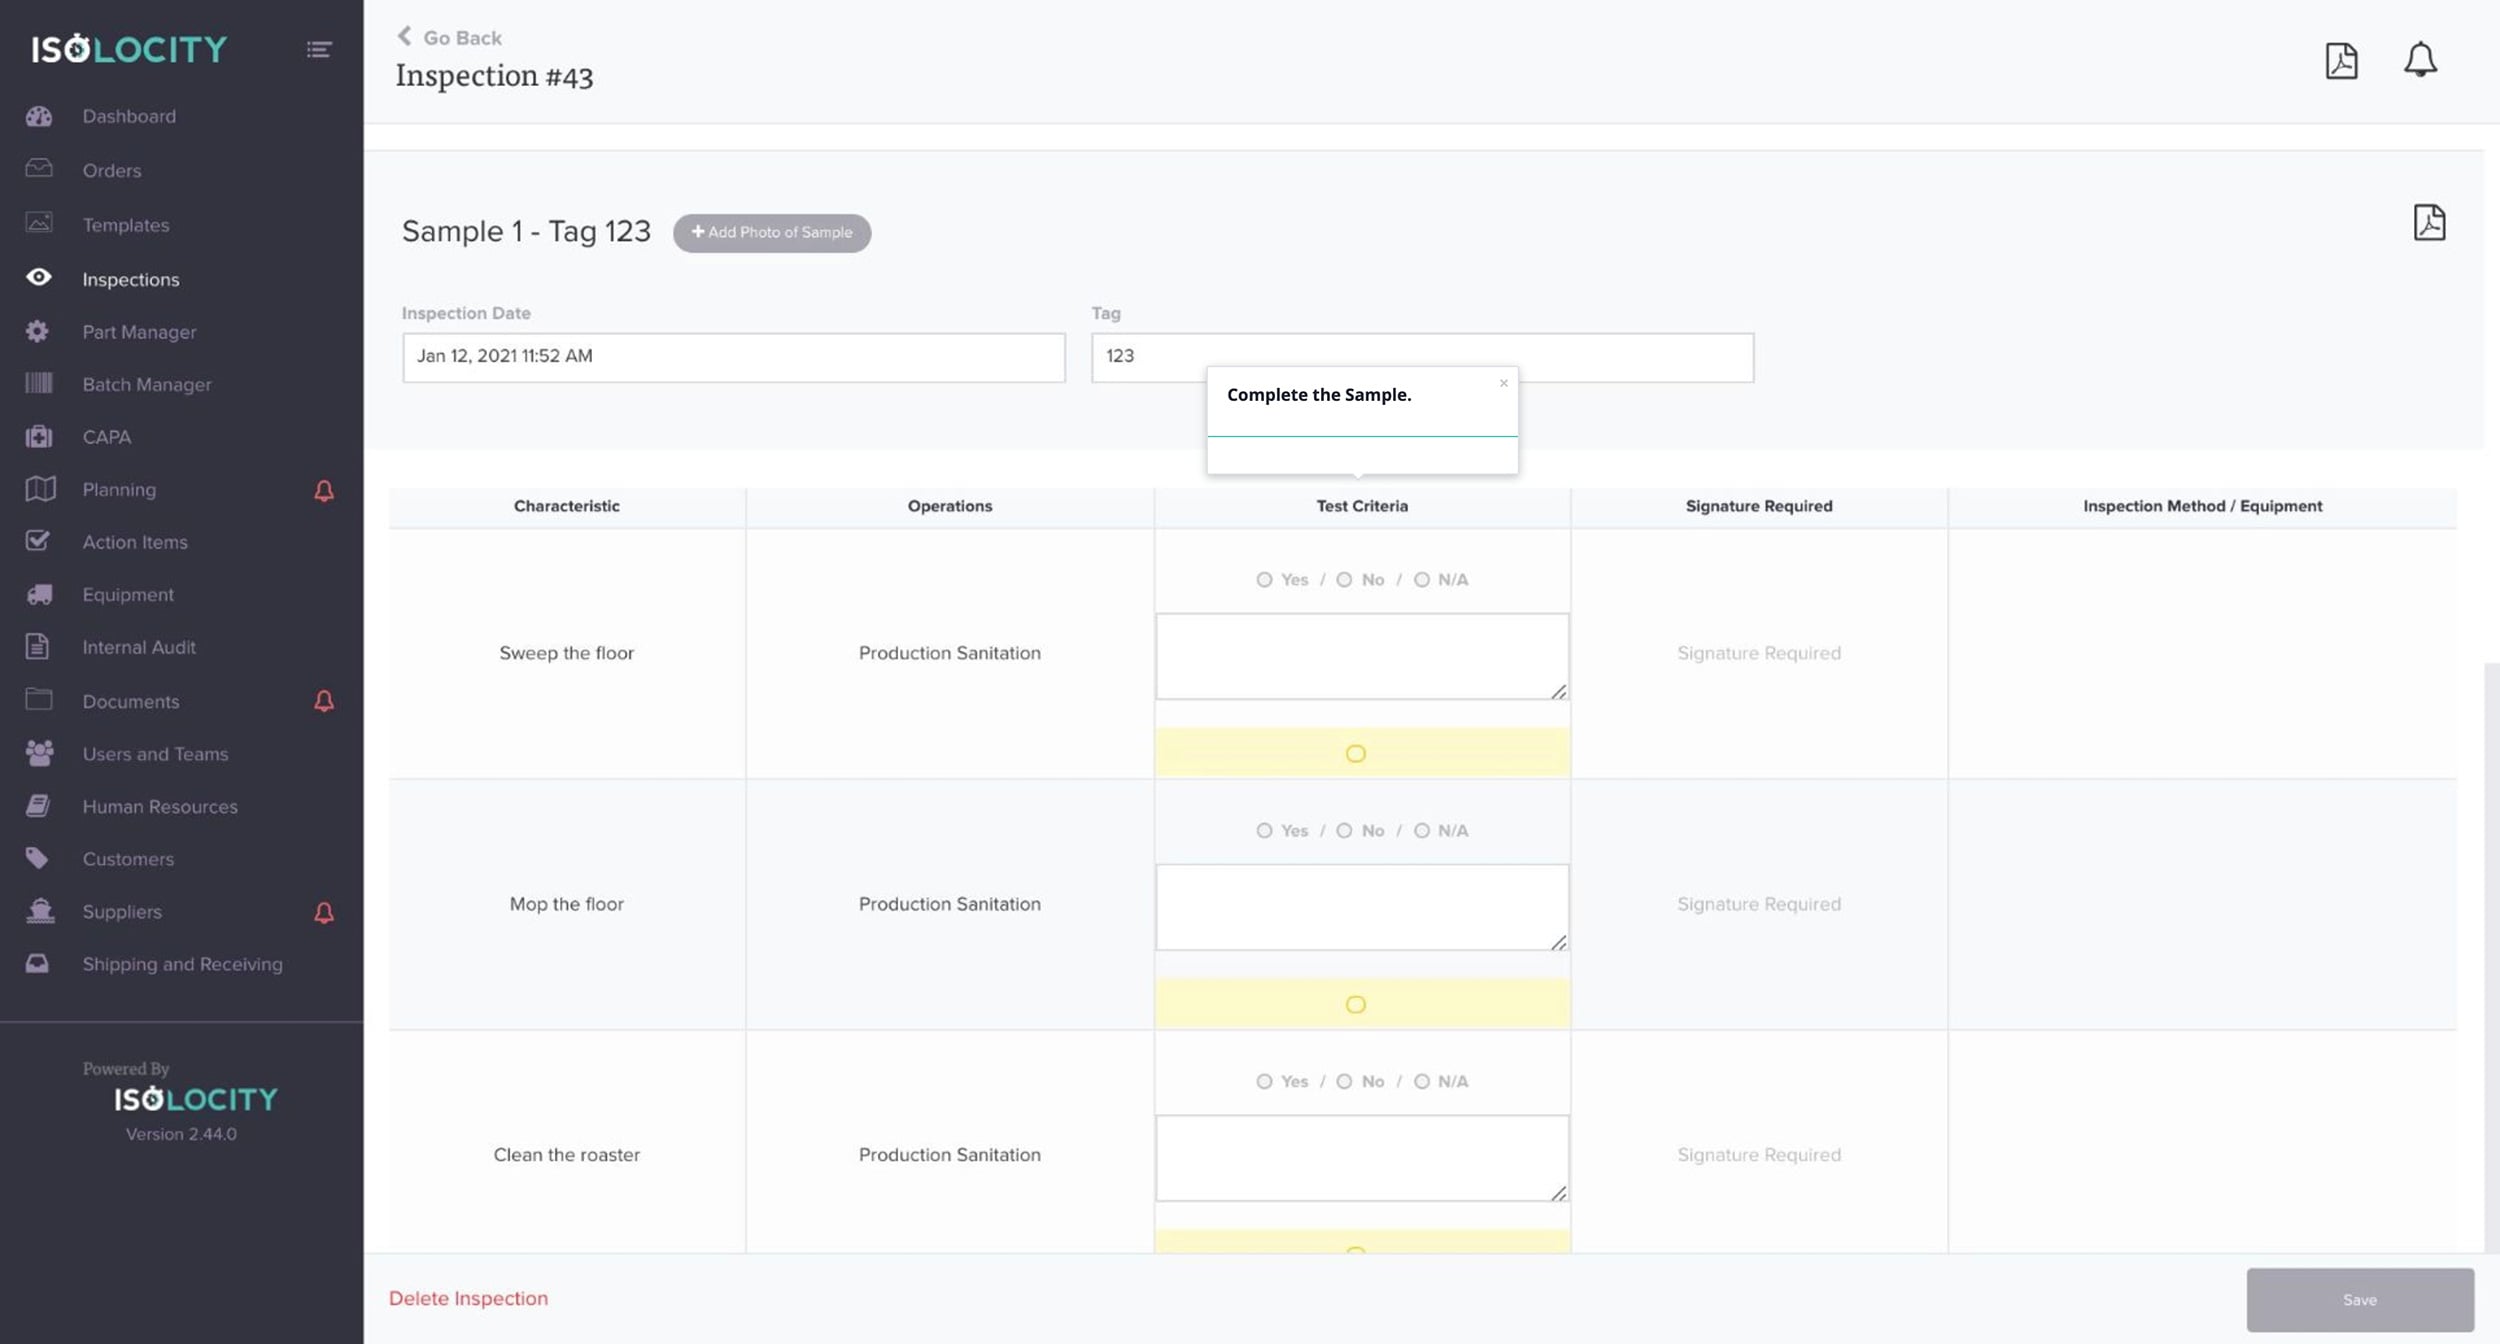
Step #31
Complete the Sample.
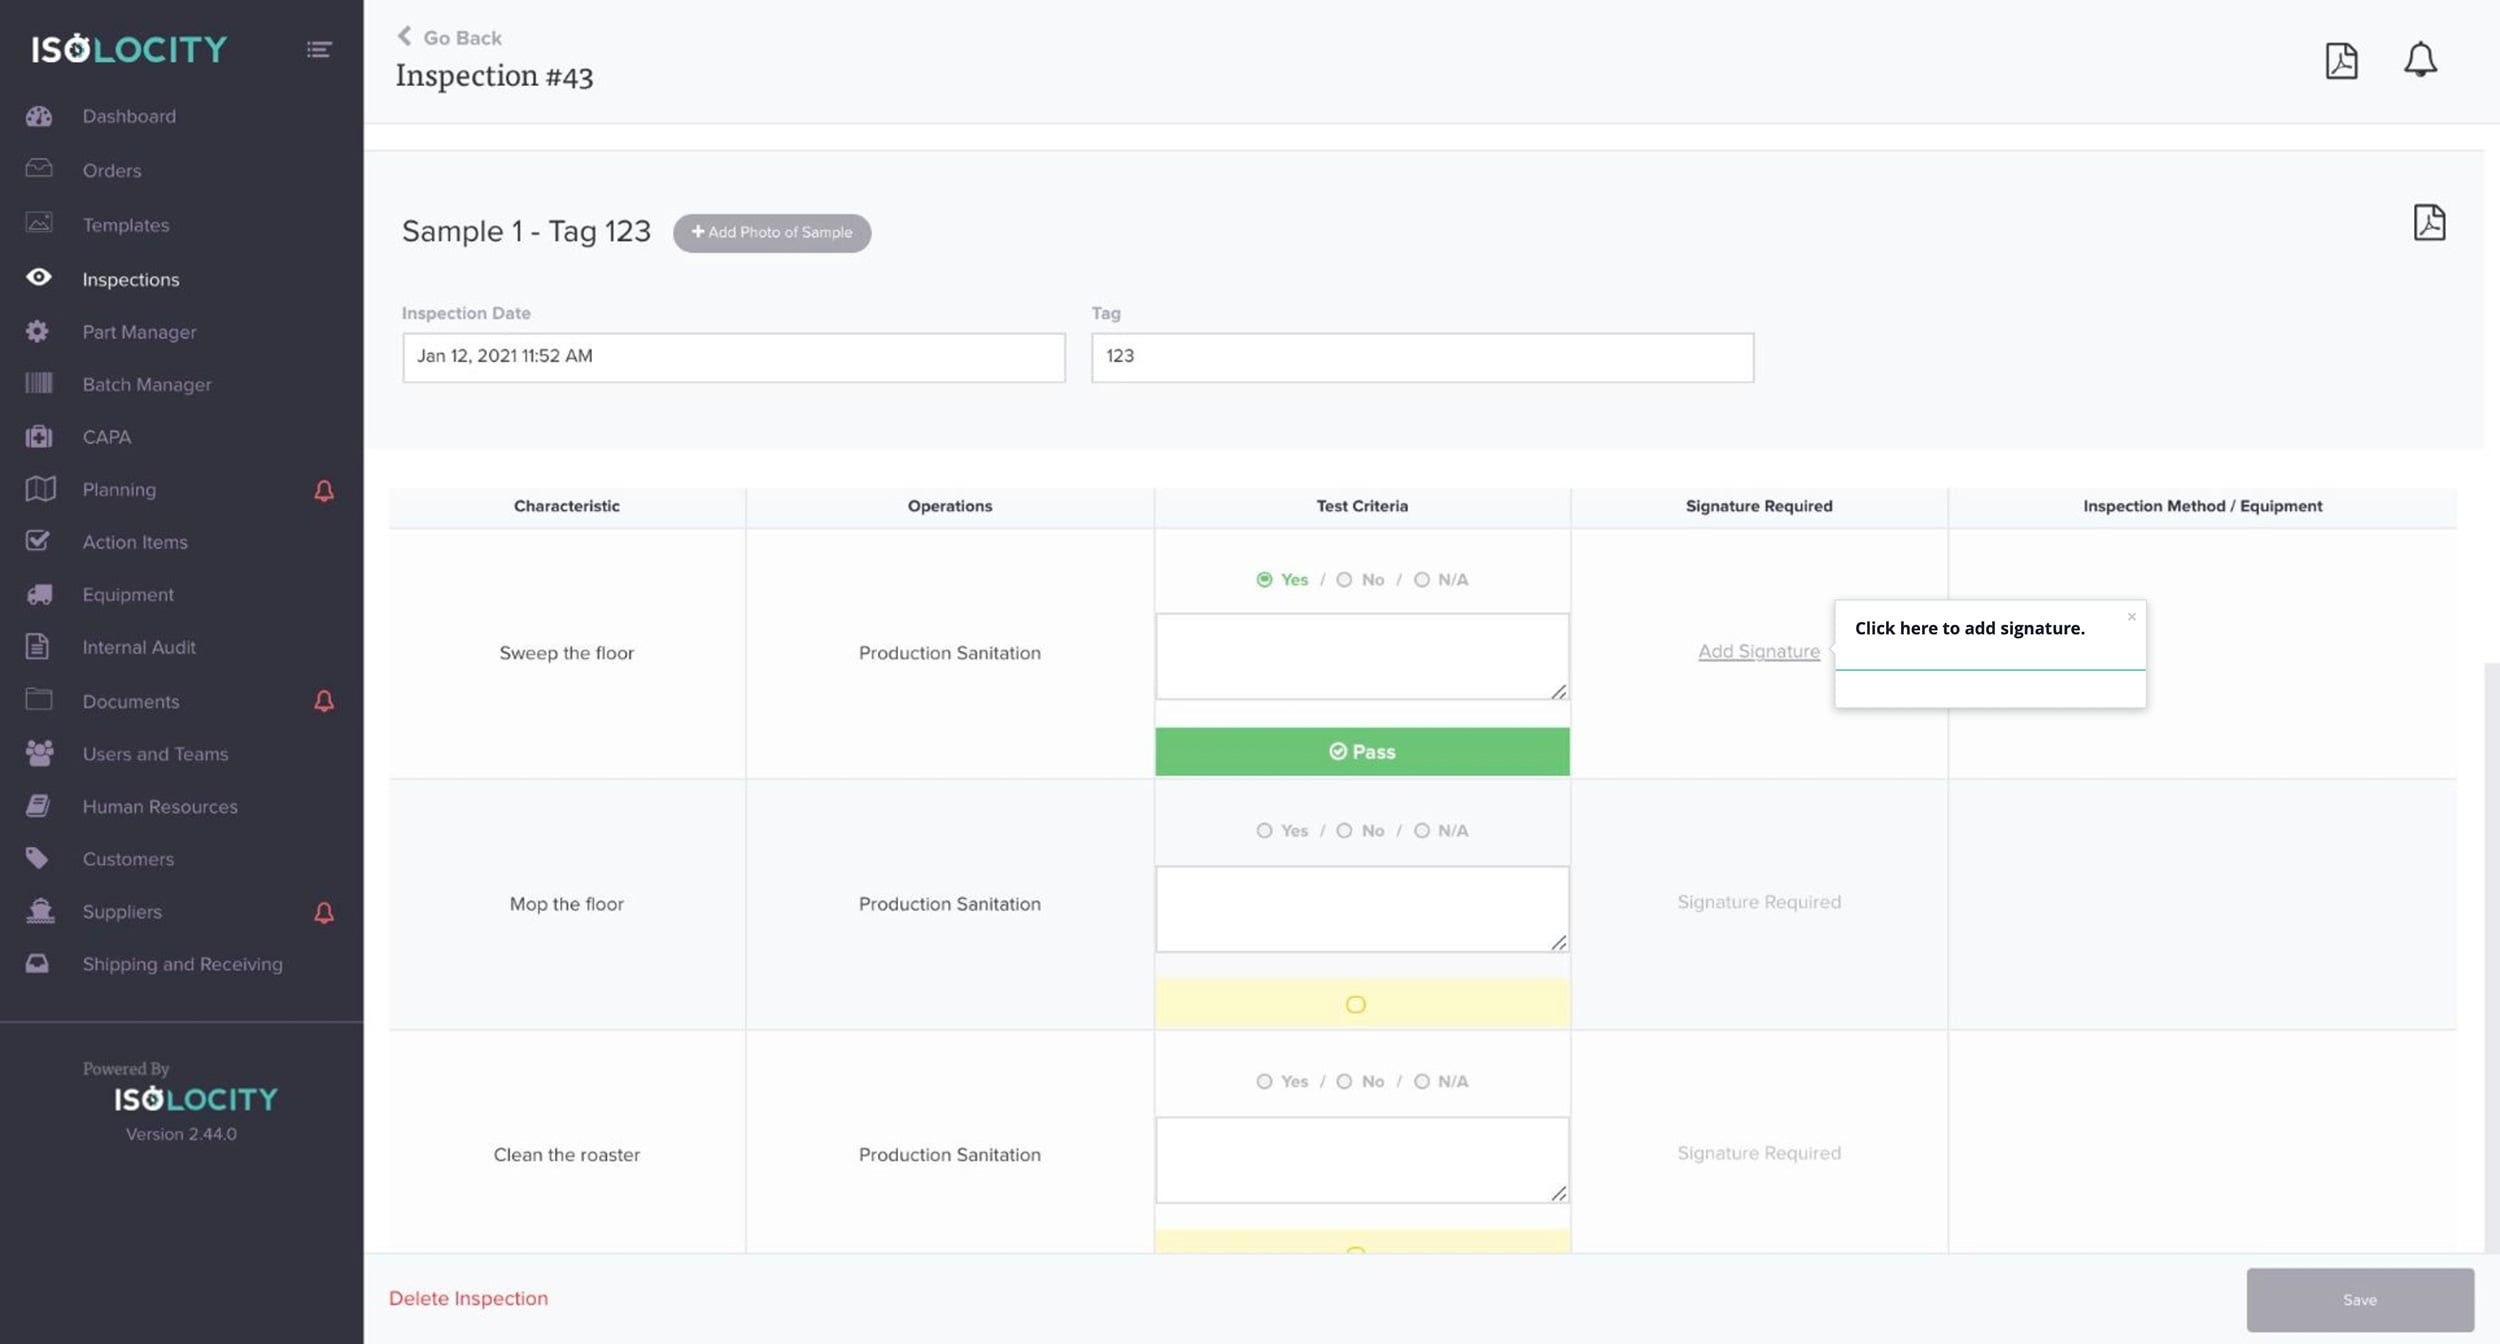
Step #32
Click here to add signature.
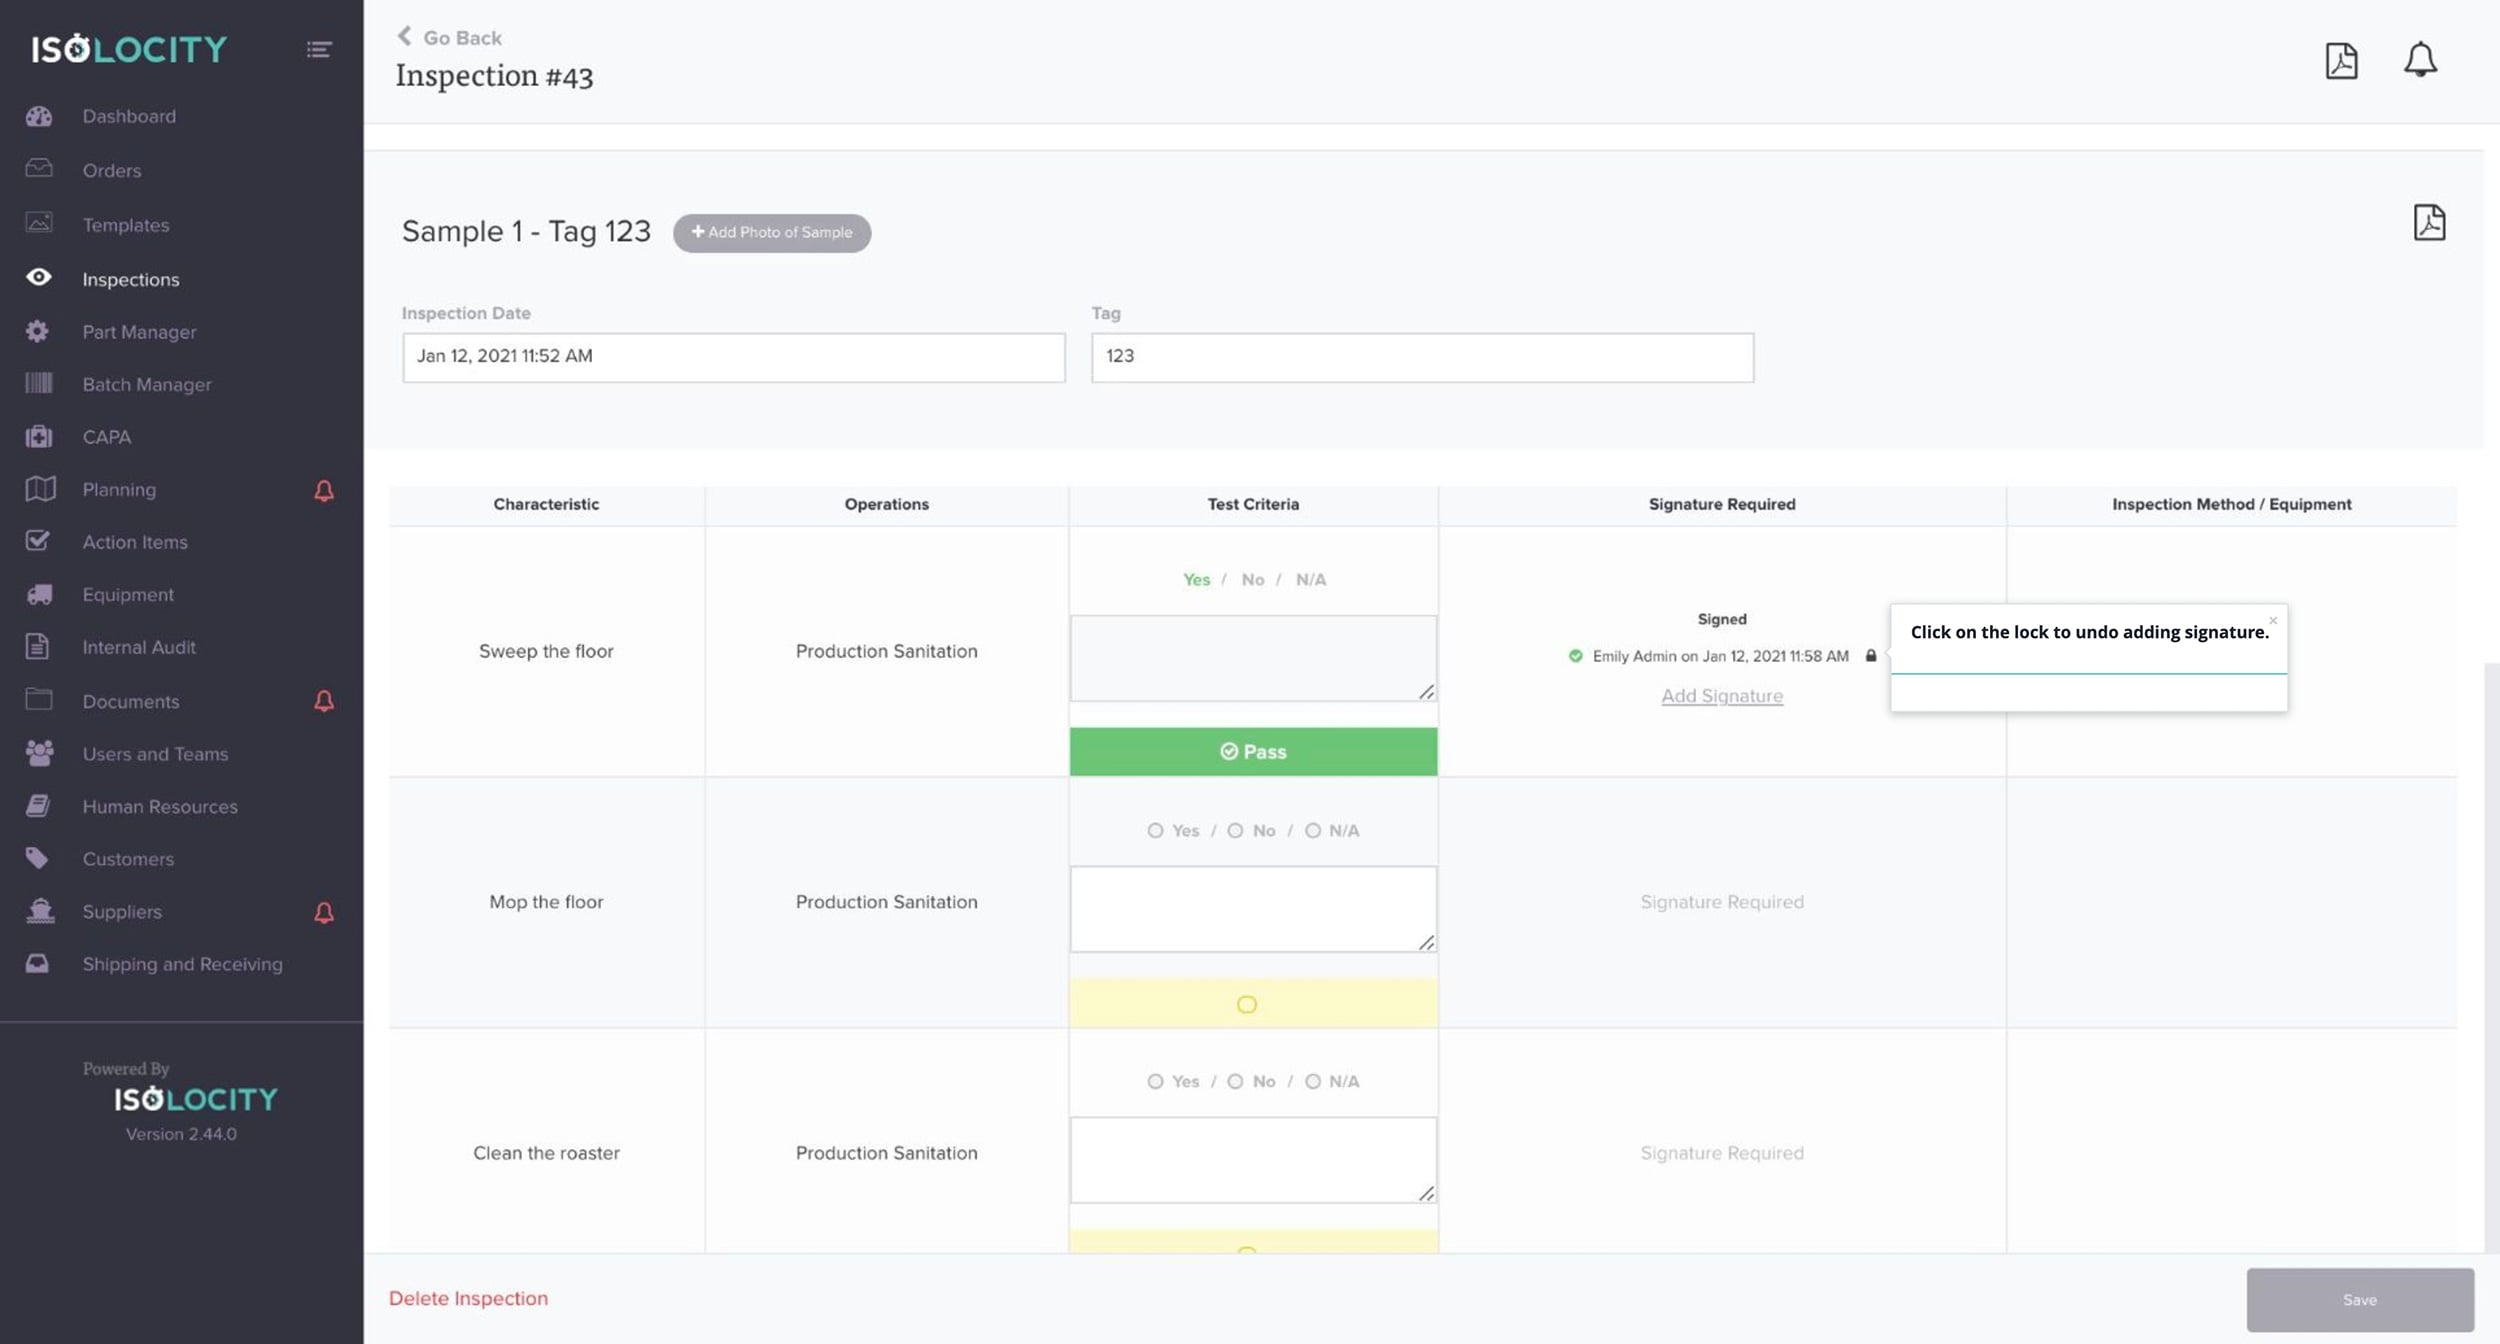
Step #33
Click on the lock to undo adding signature.
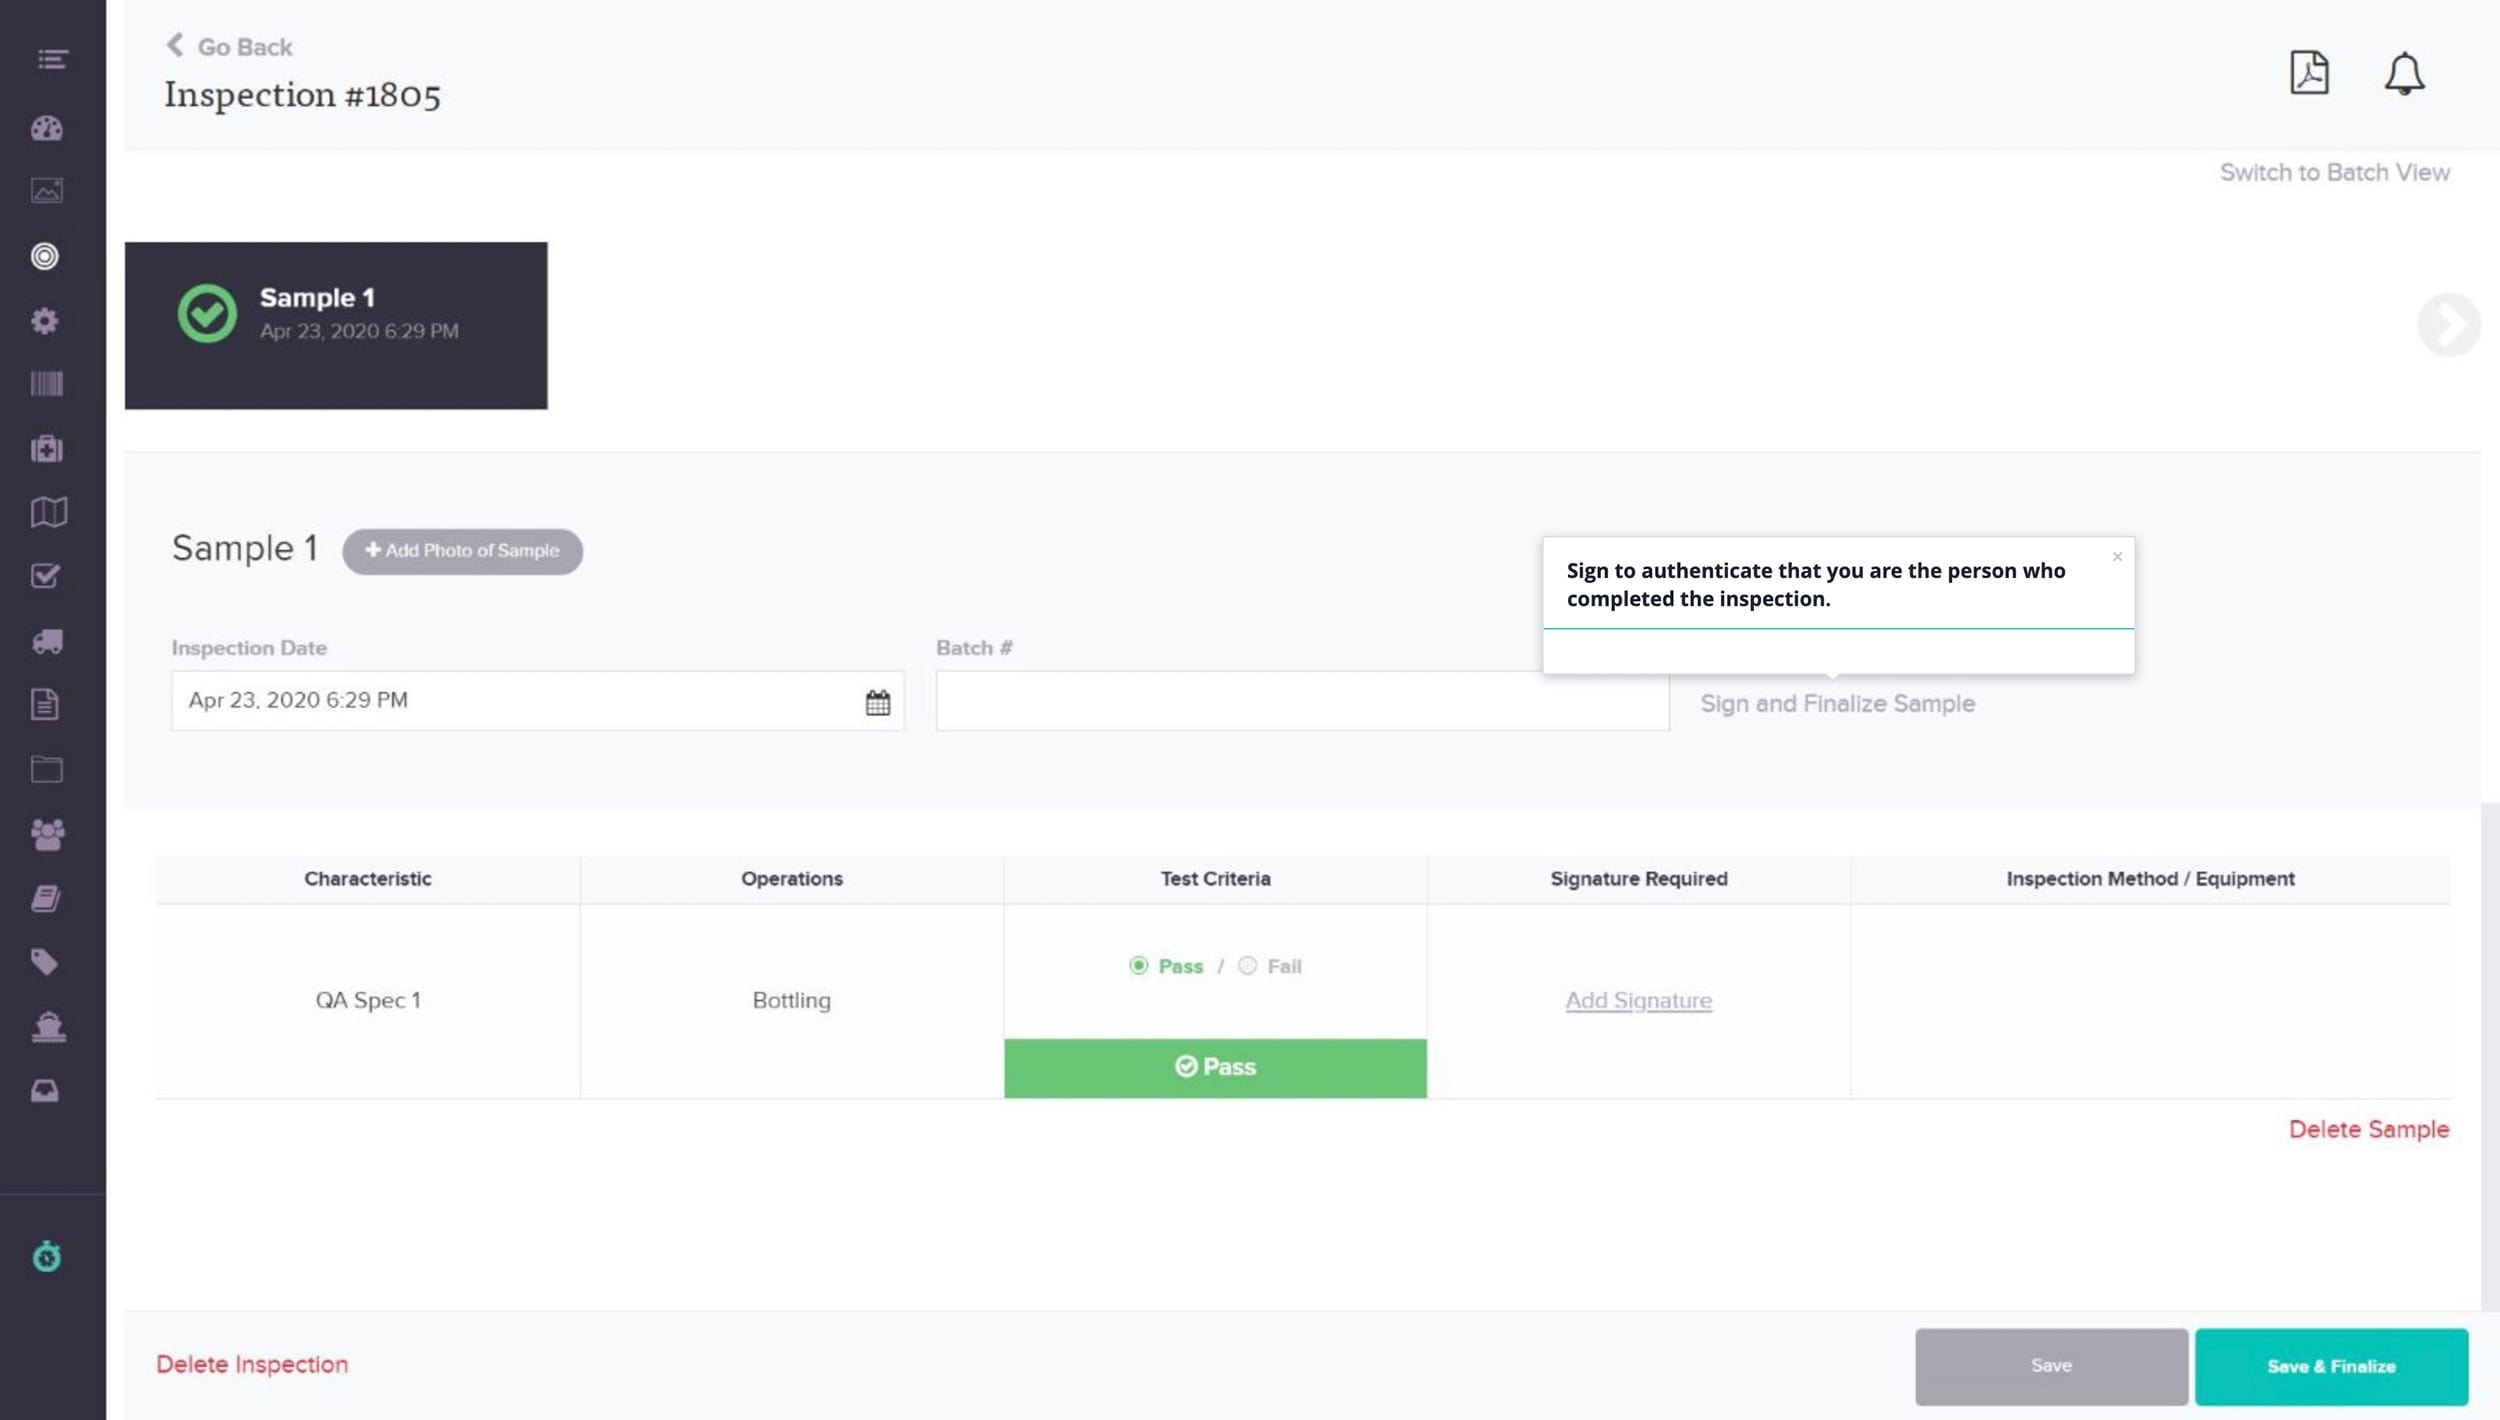
Step #34
Sign to authenticate that you are the person who completed the inspection.
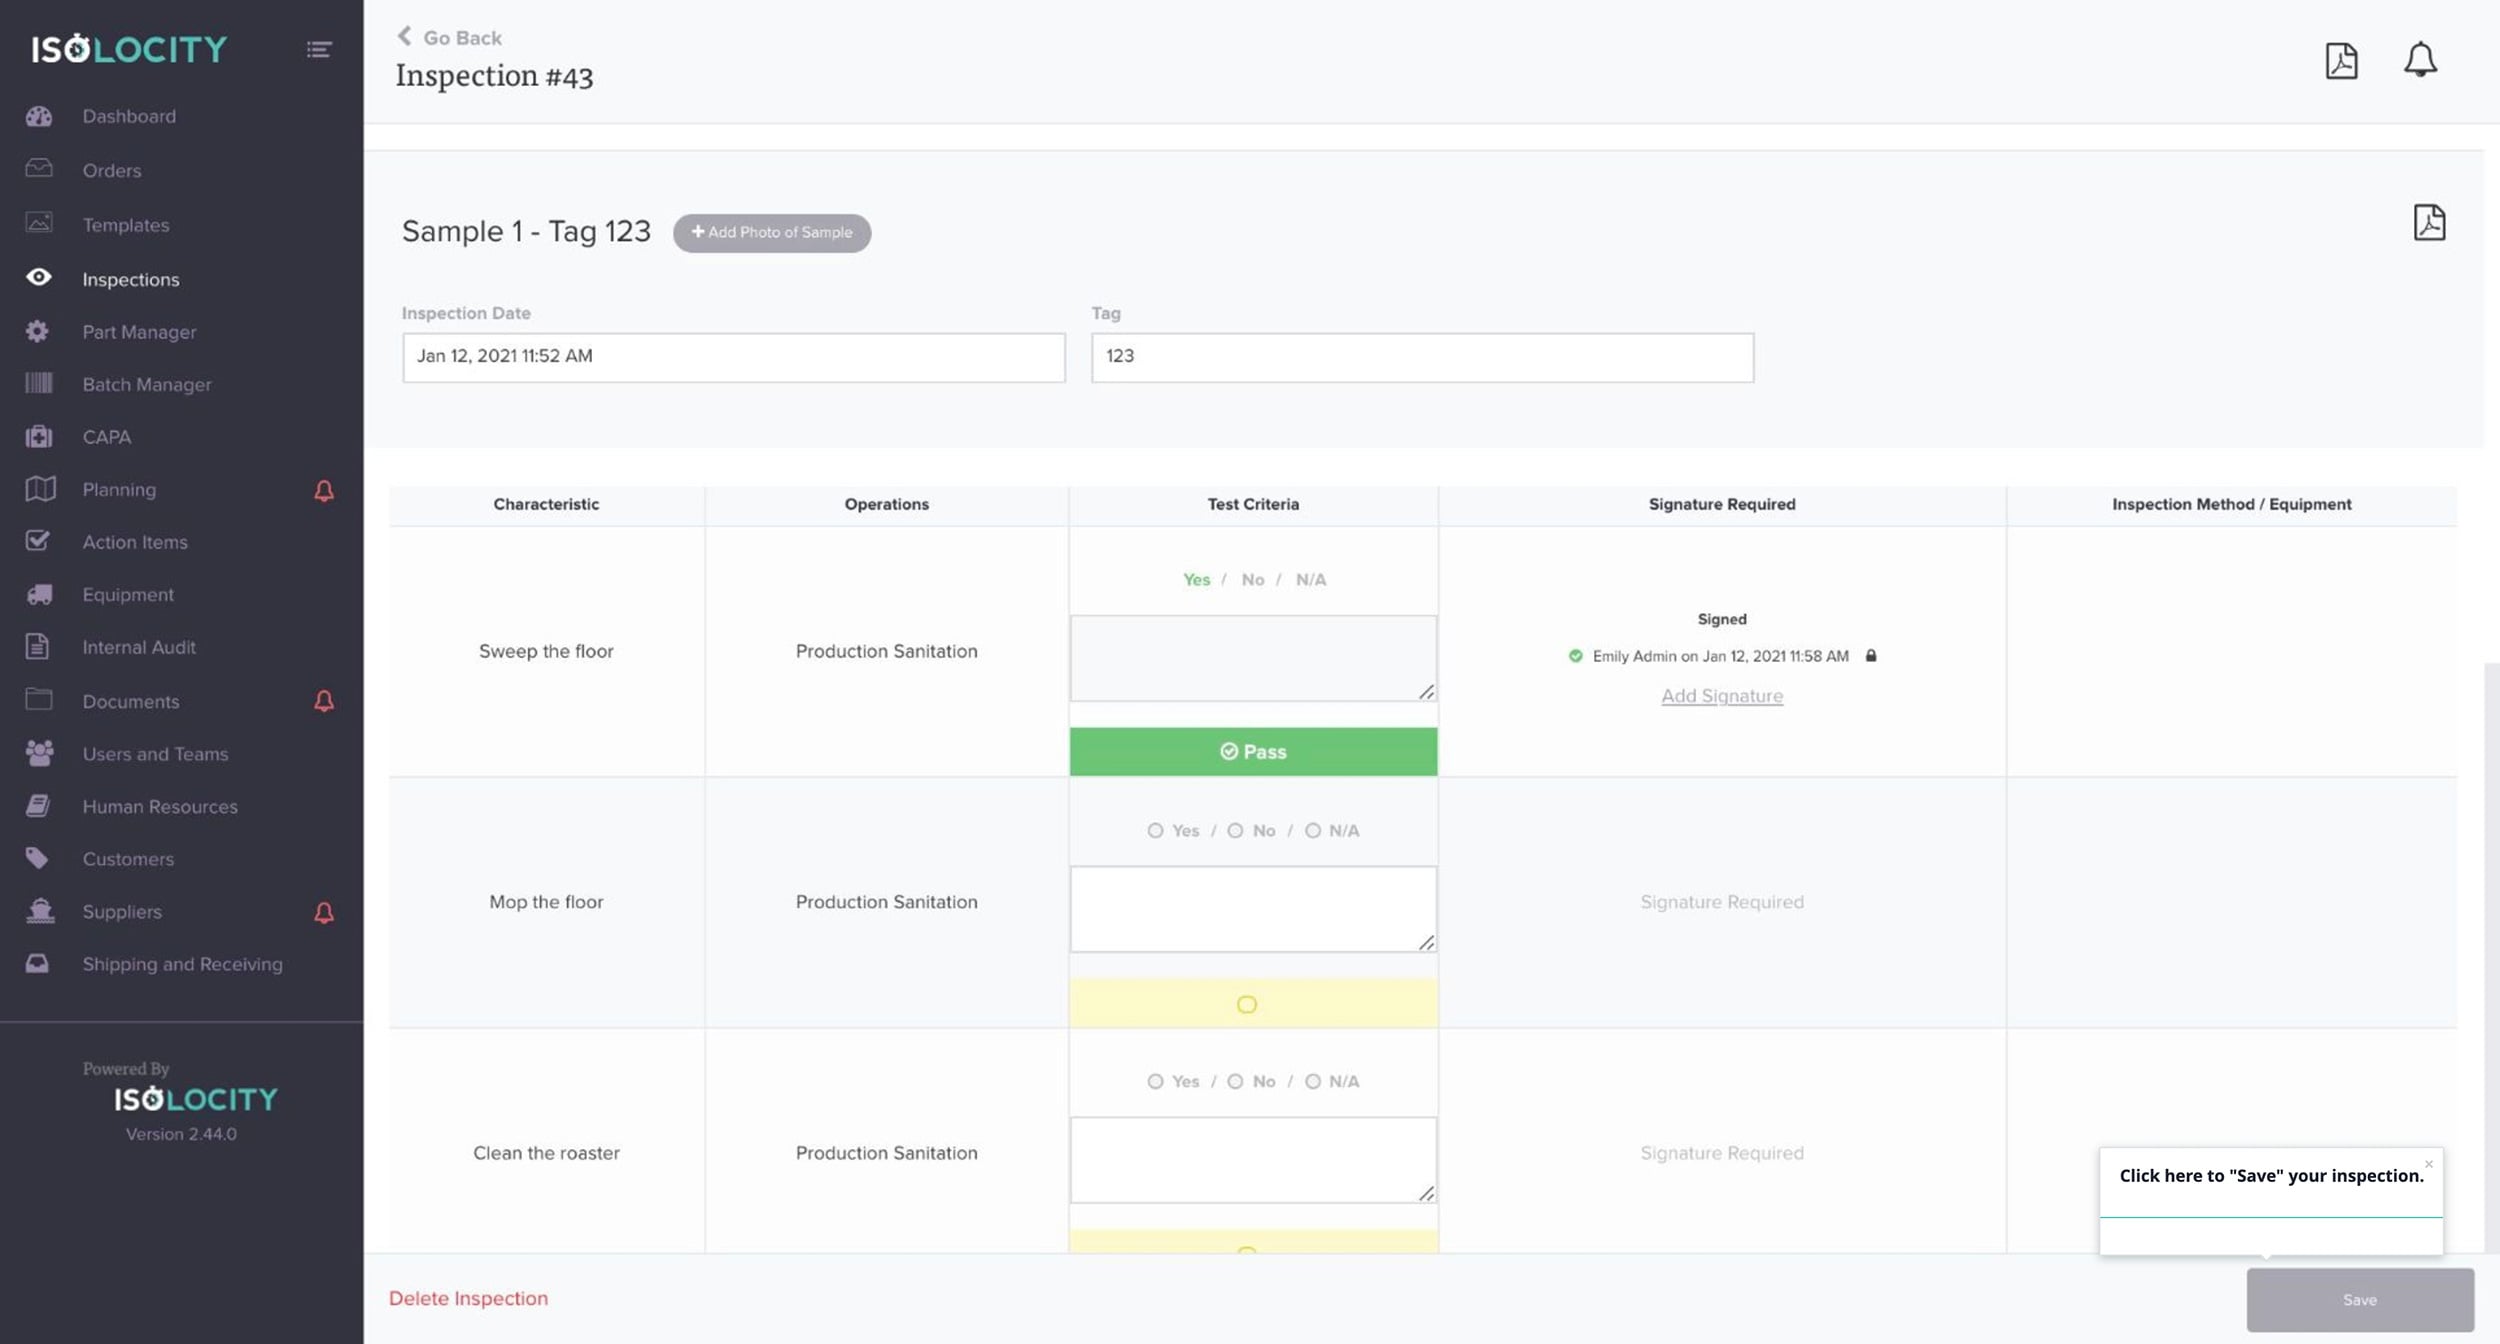
Step #35
Click here to “Save” your inspection.
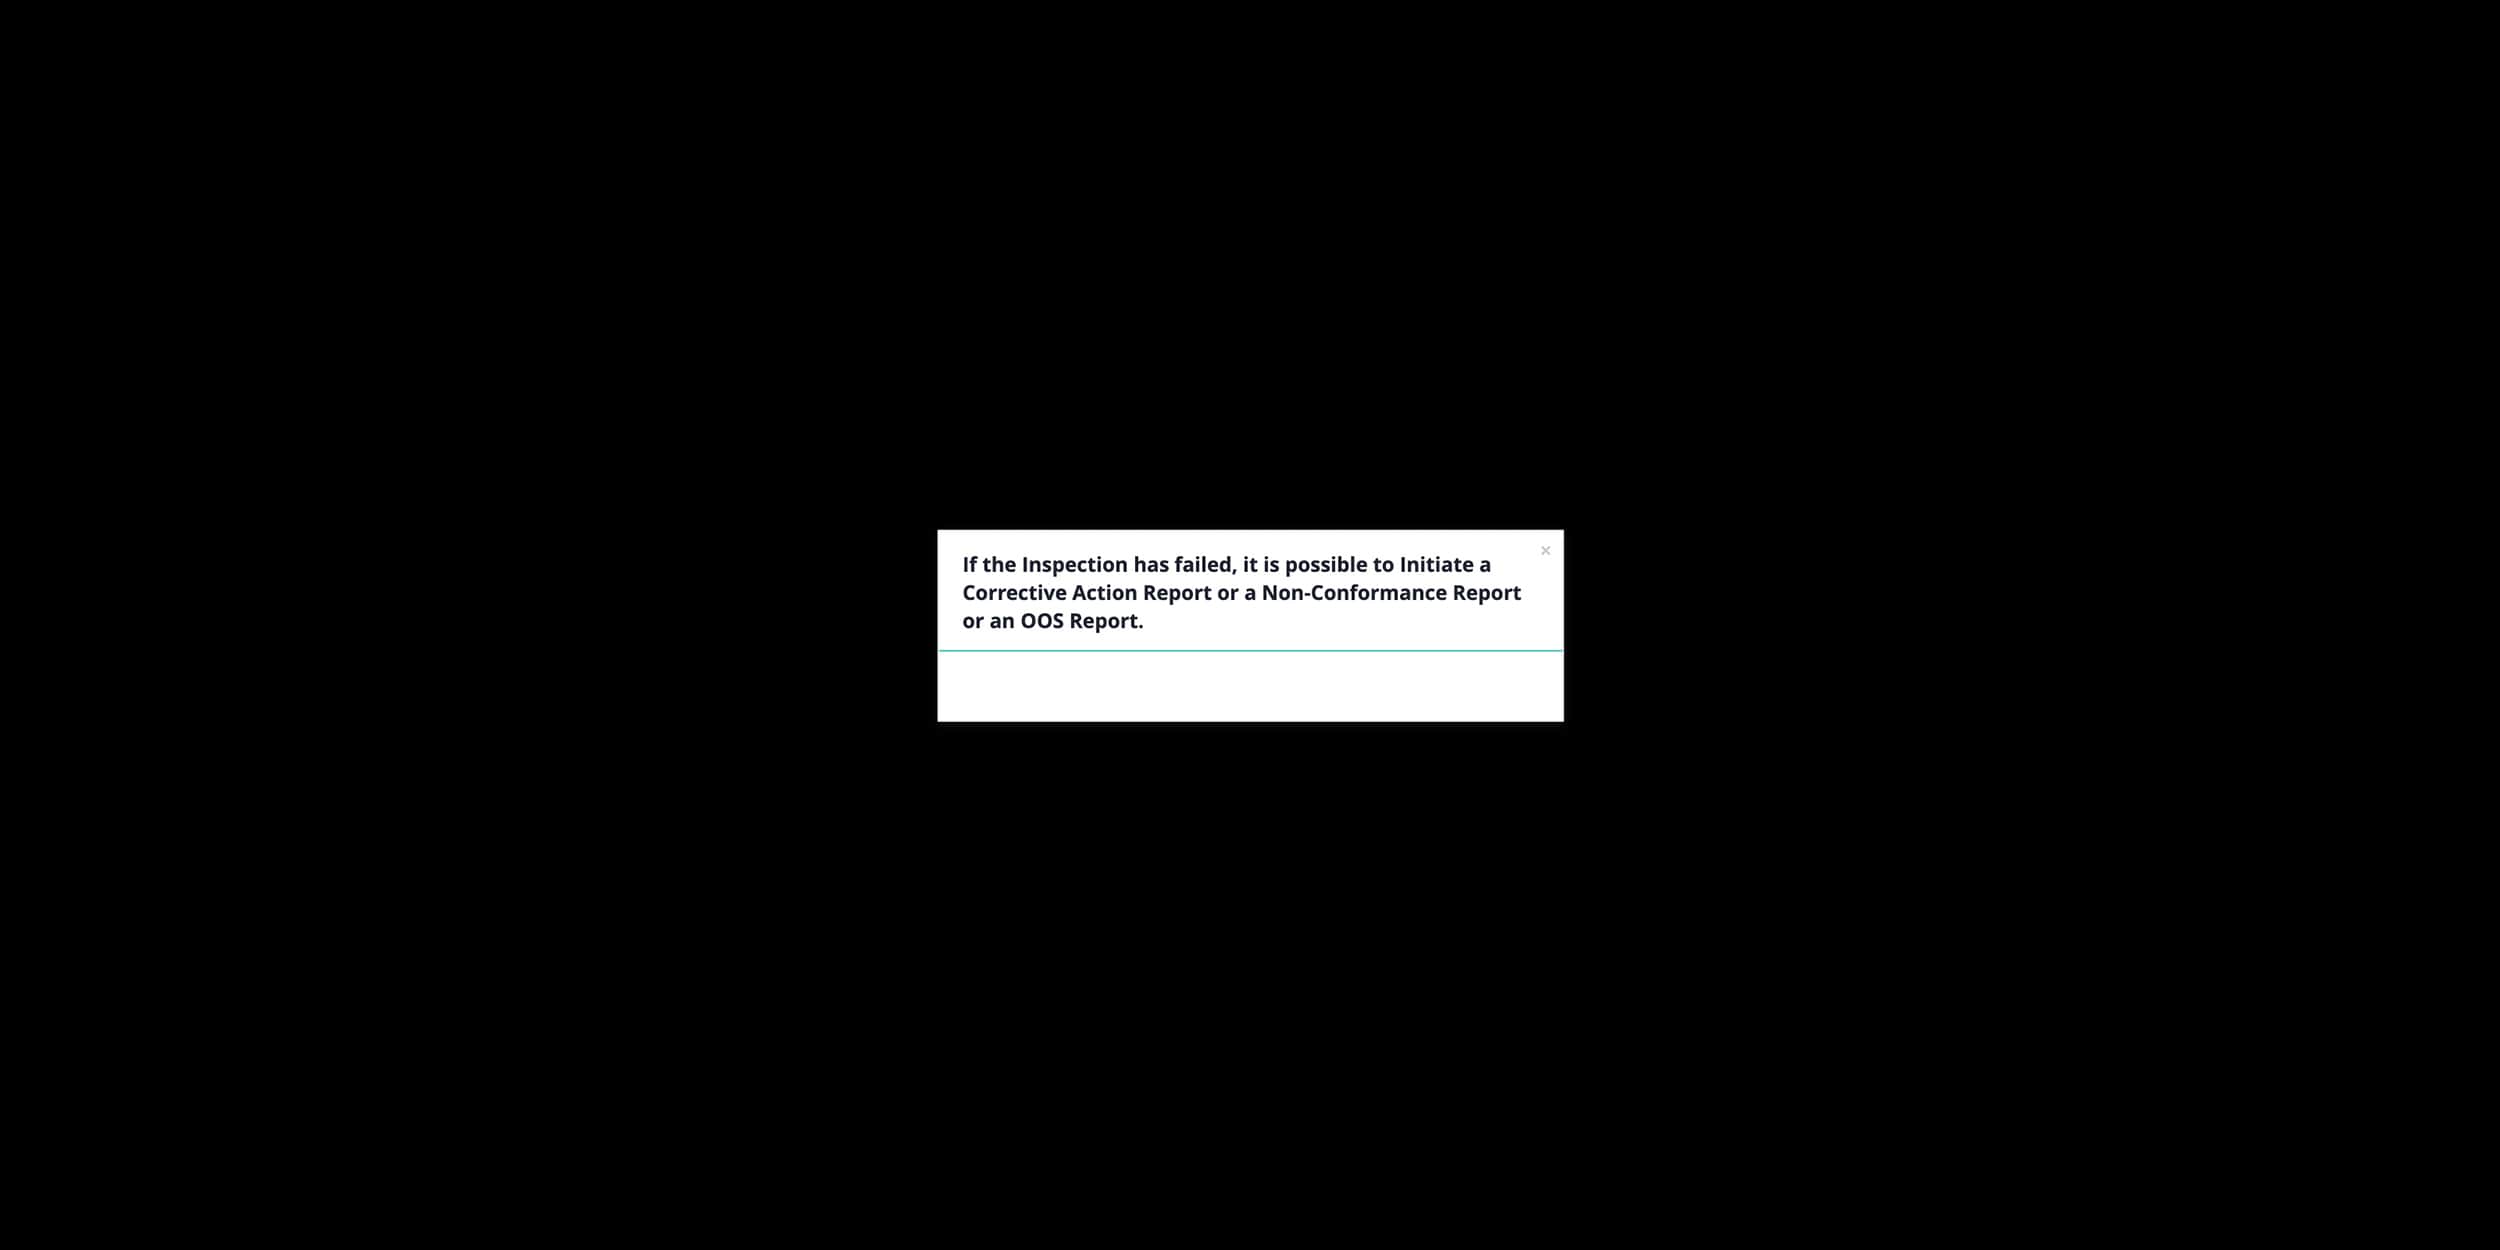
Step #36
If the Inspection has failed, it is possible to Initiate a Corrective Action Report or a Non-Conformance Report or an OOS Report.
Step #37
Click the PDF icon
![]()
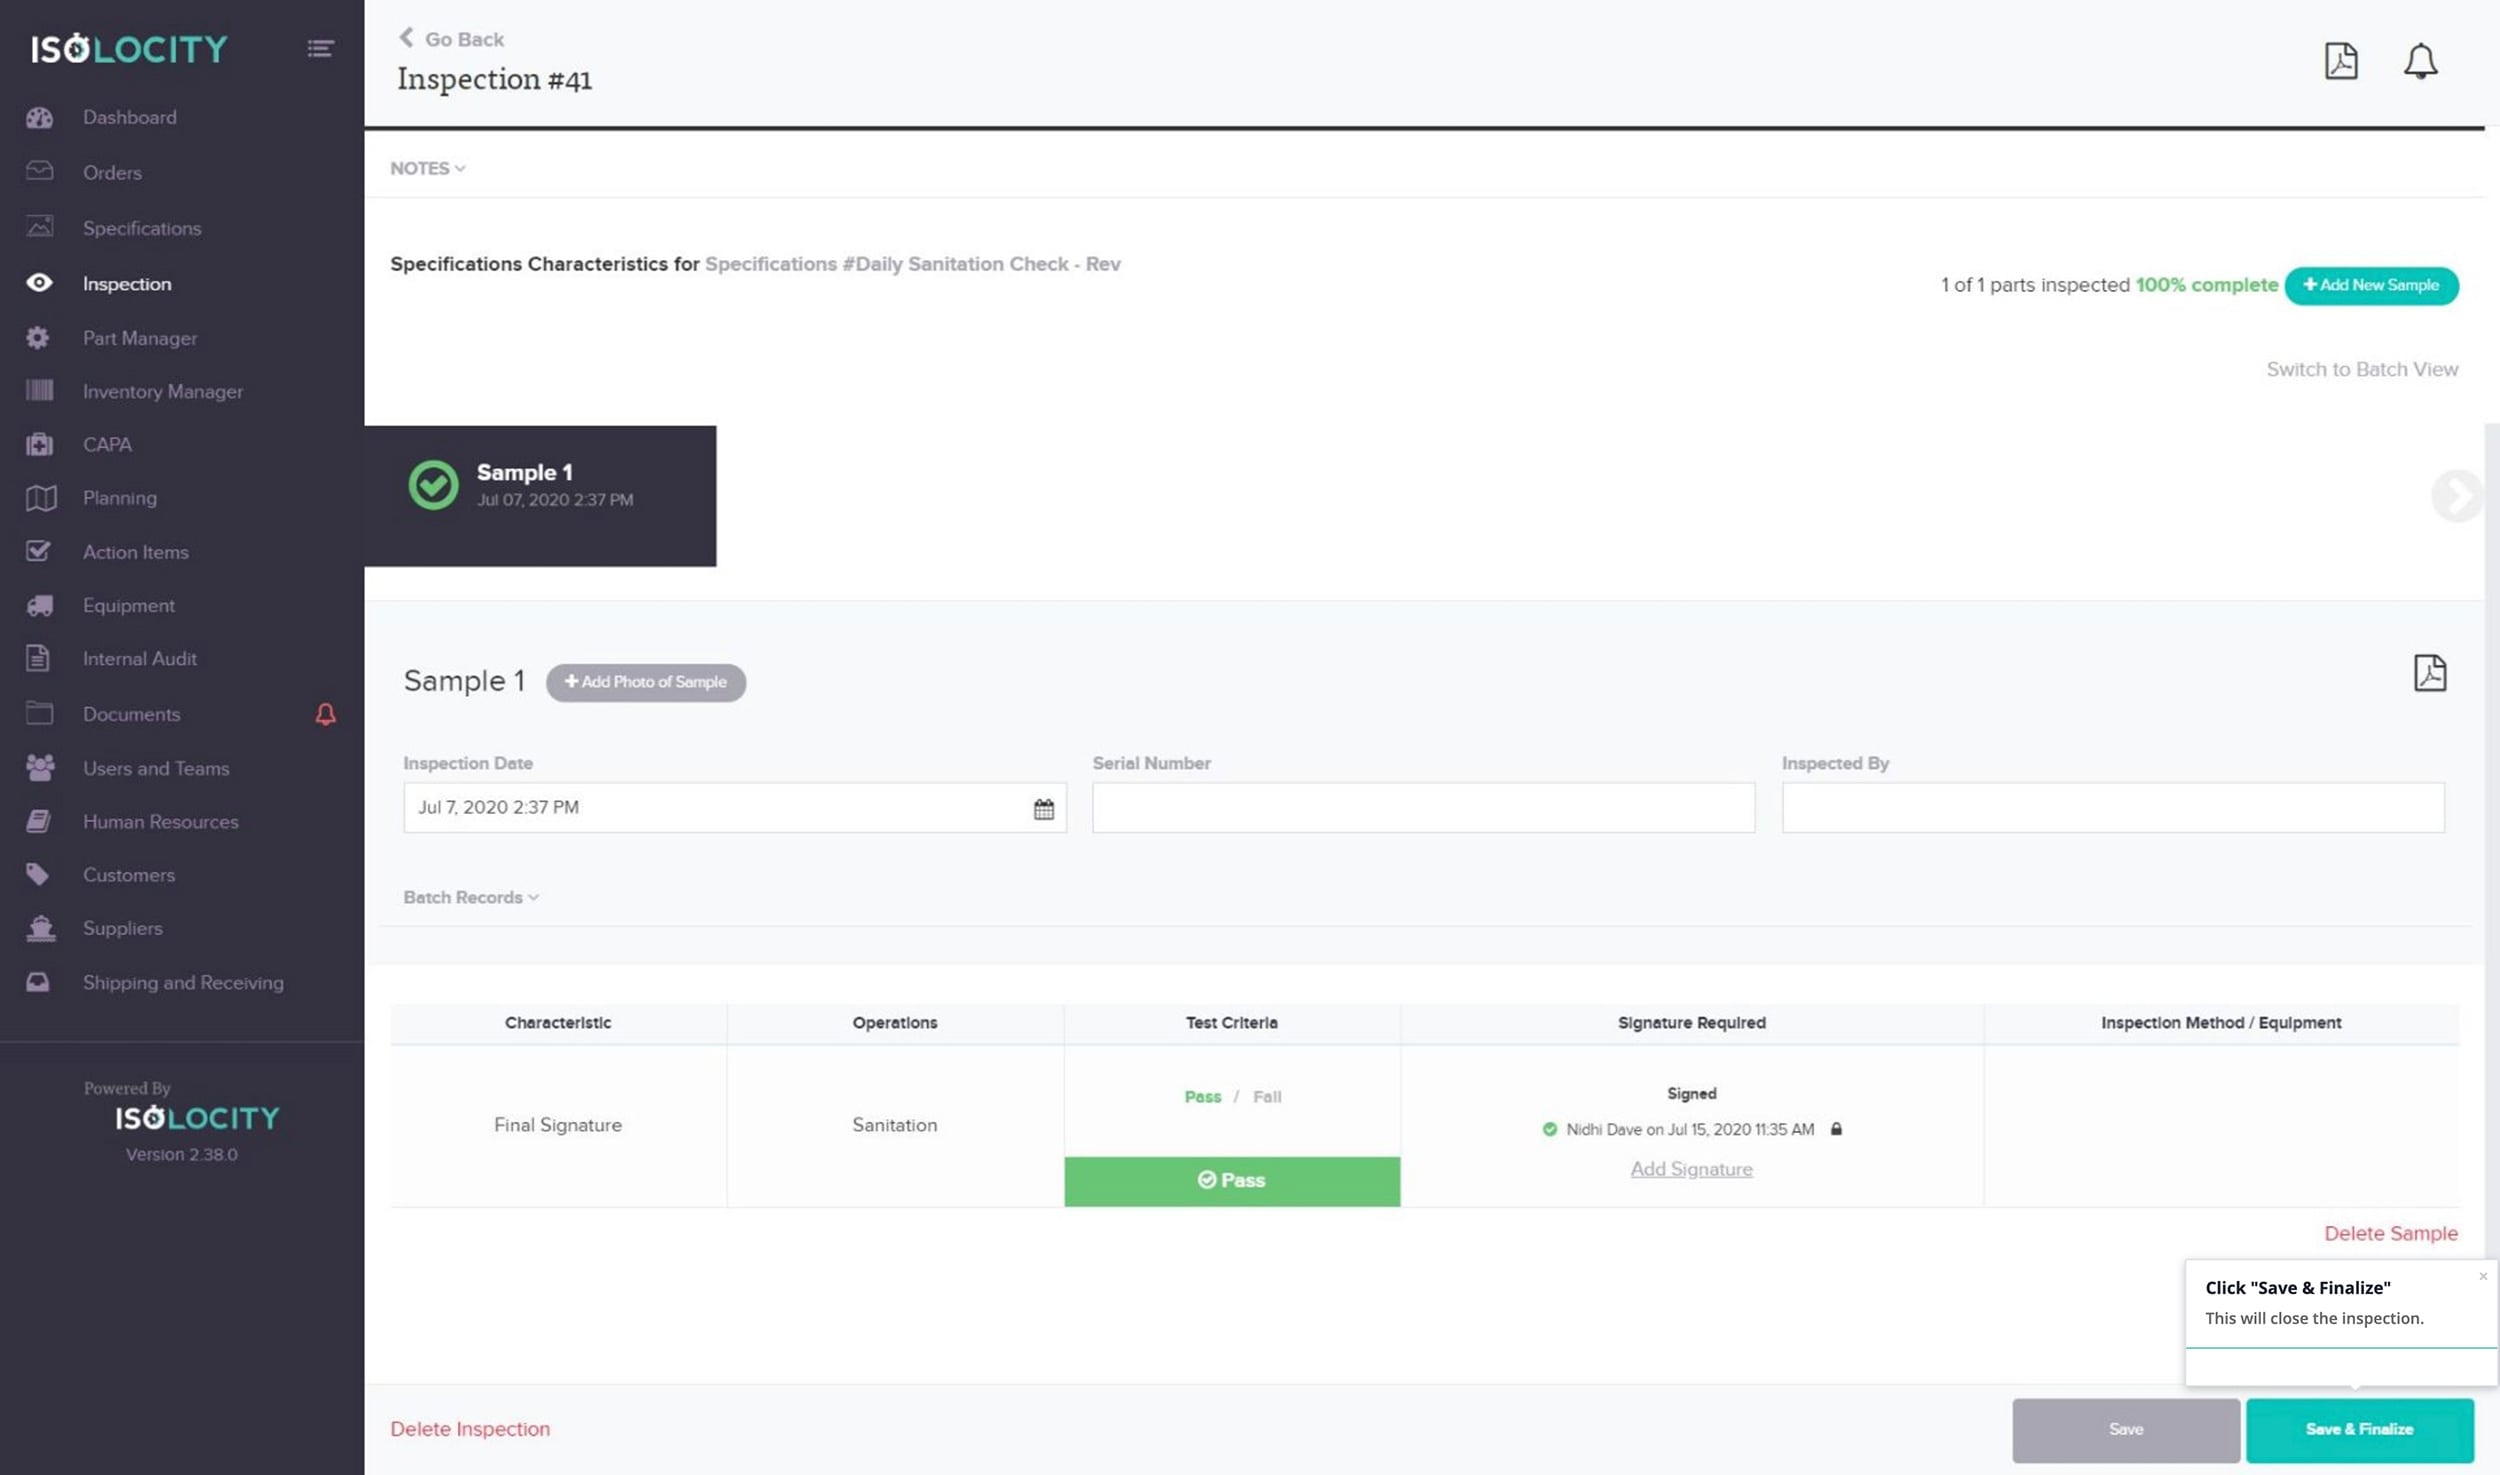
Step #38
Click “Save & Finalize”
Step #39
Click “Re-open Inspection”
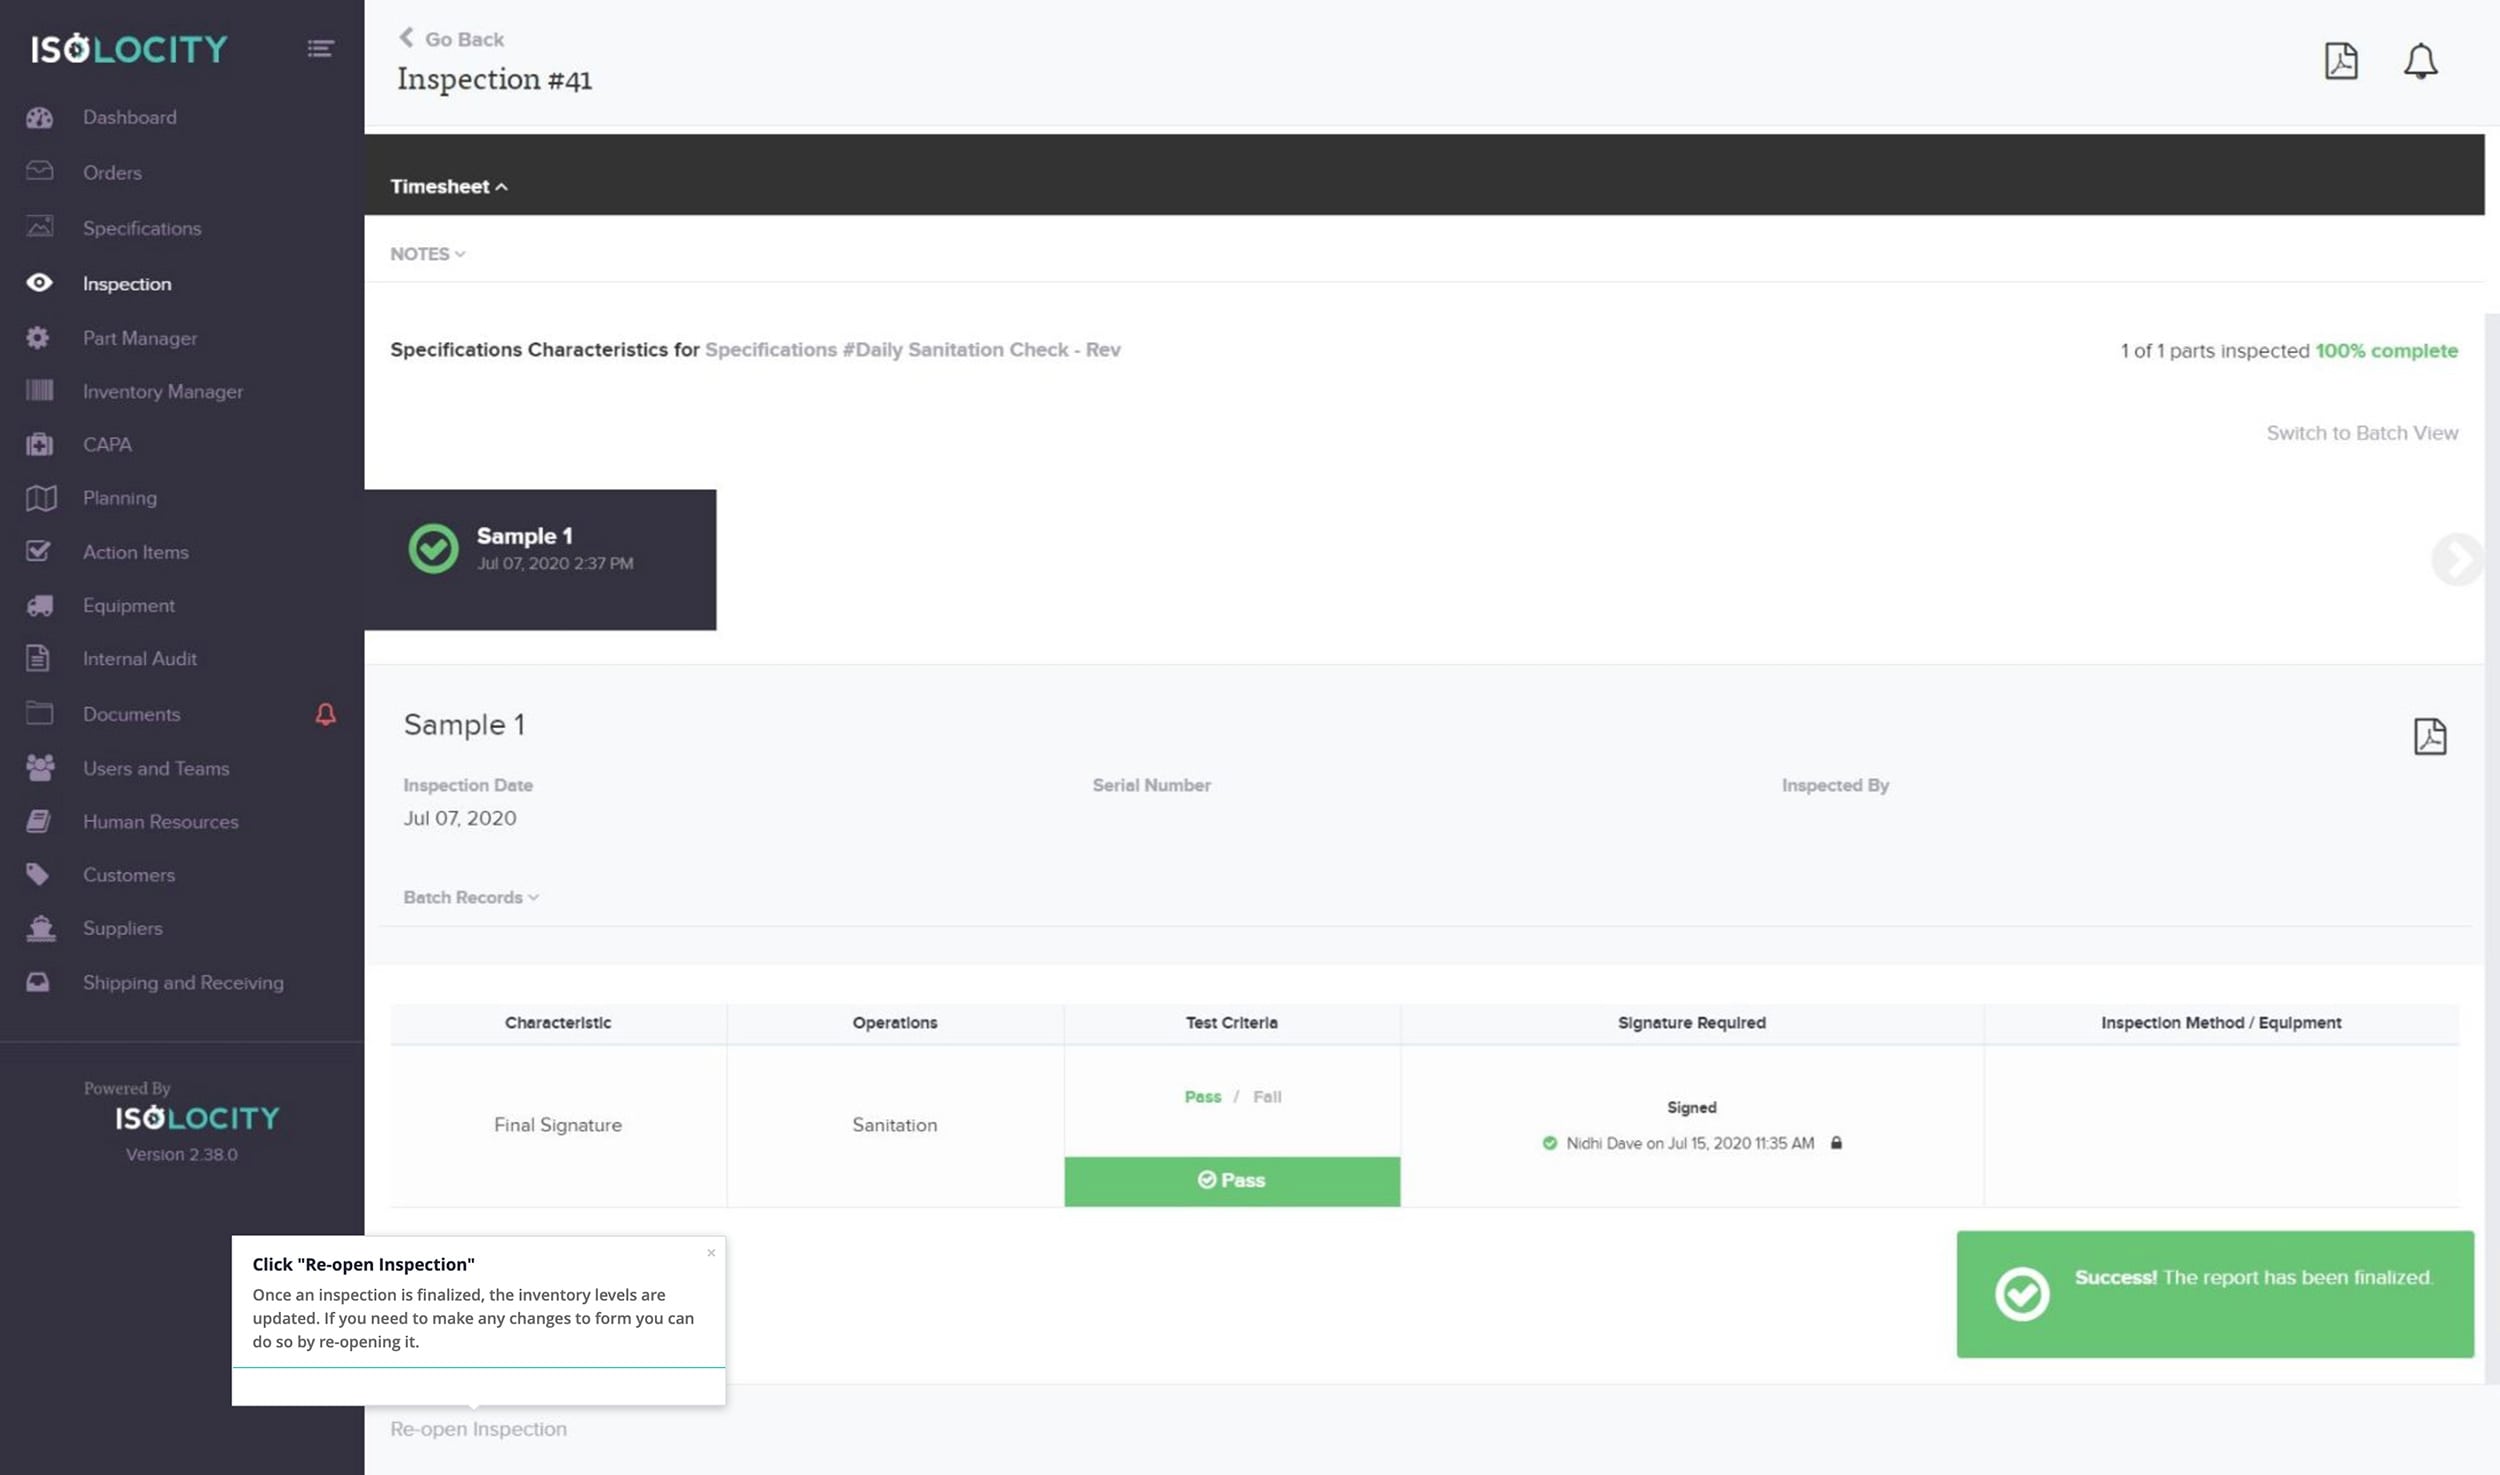
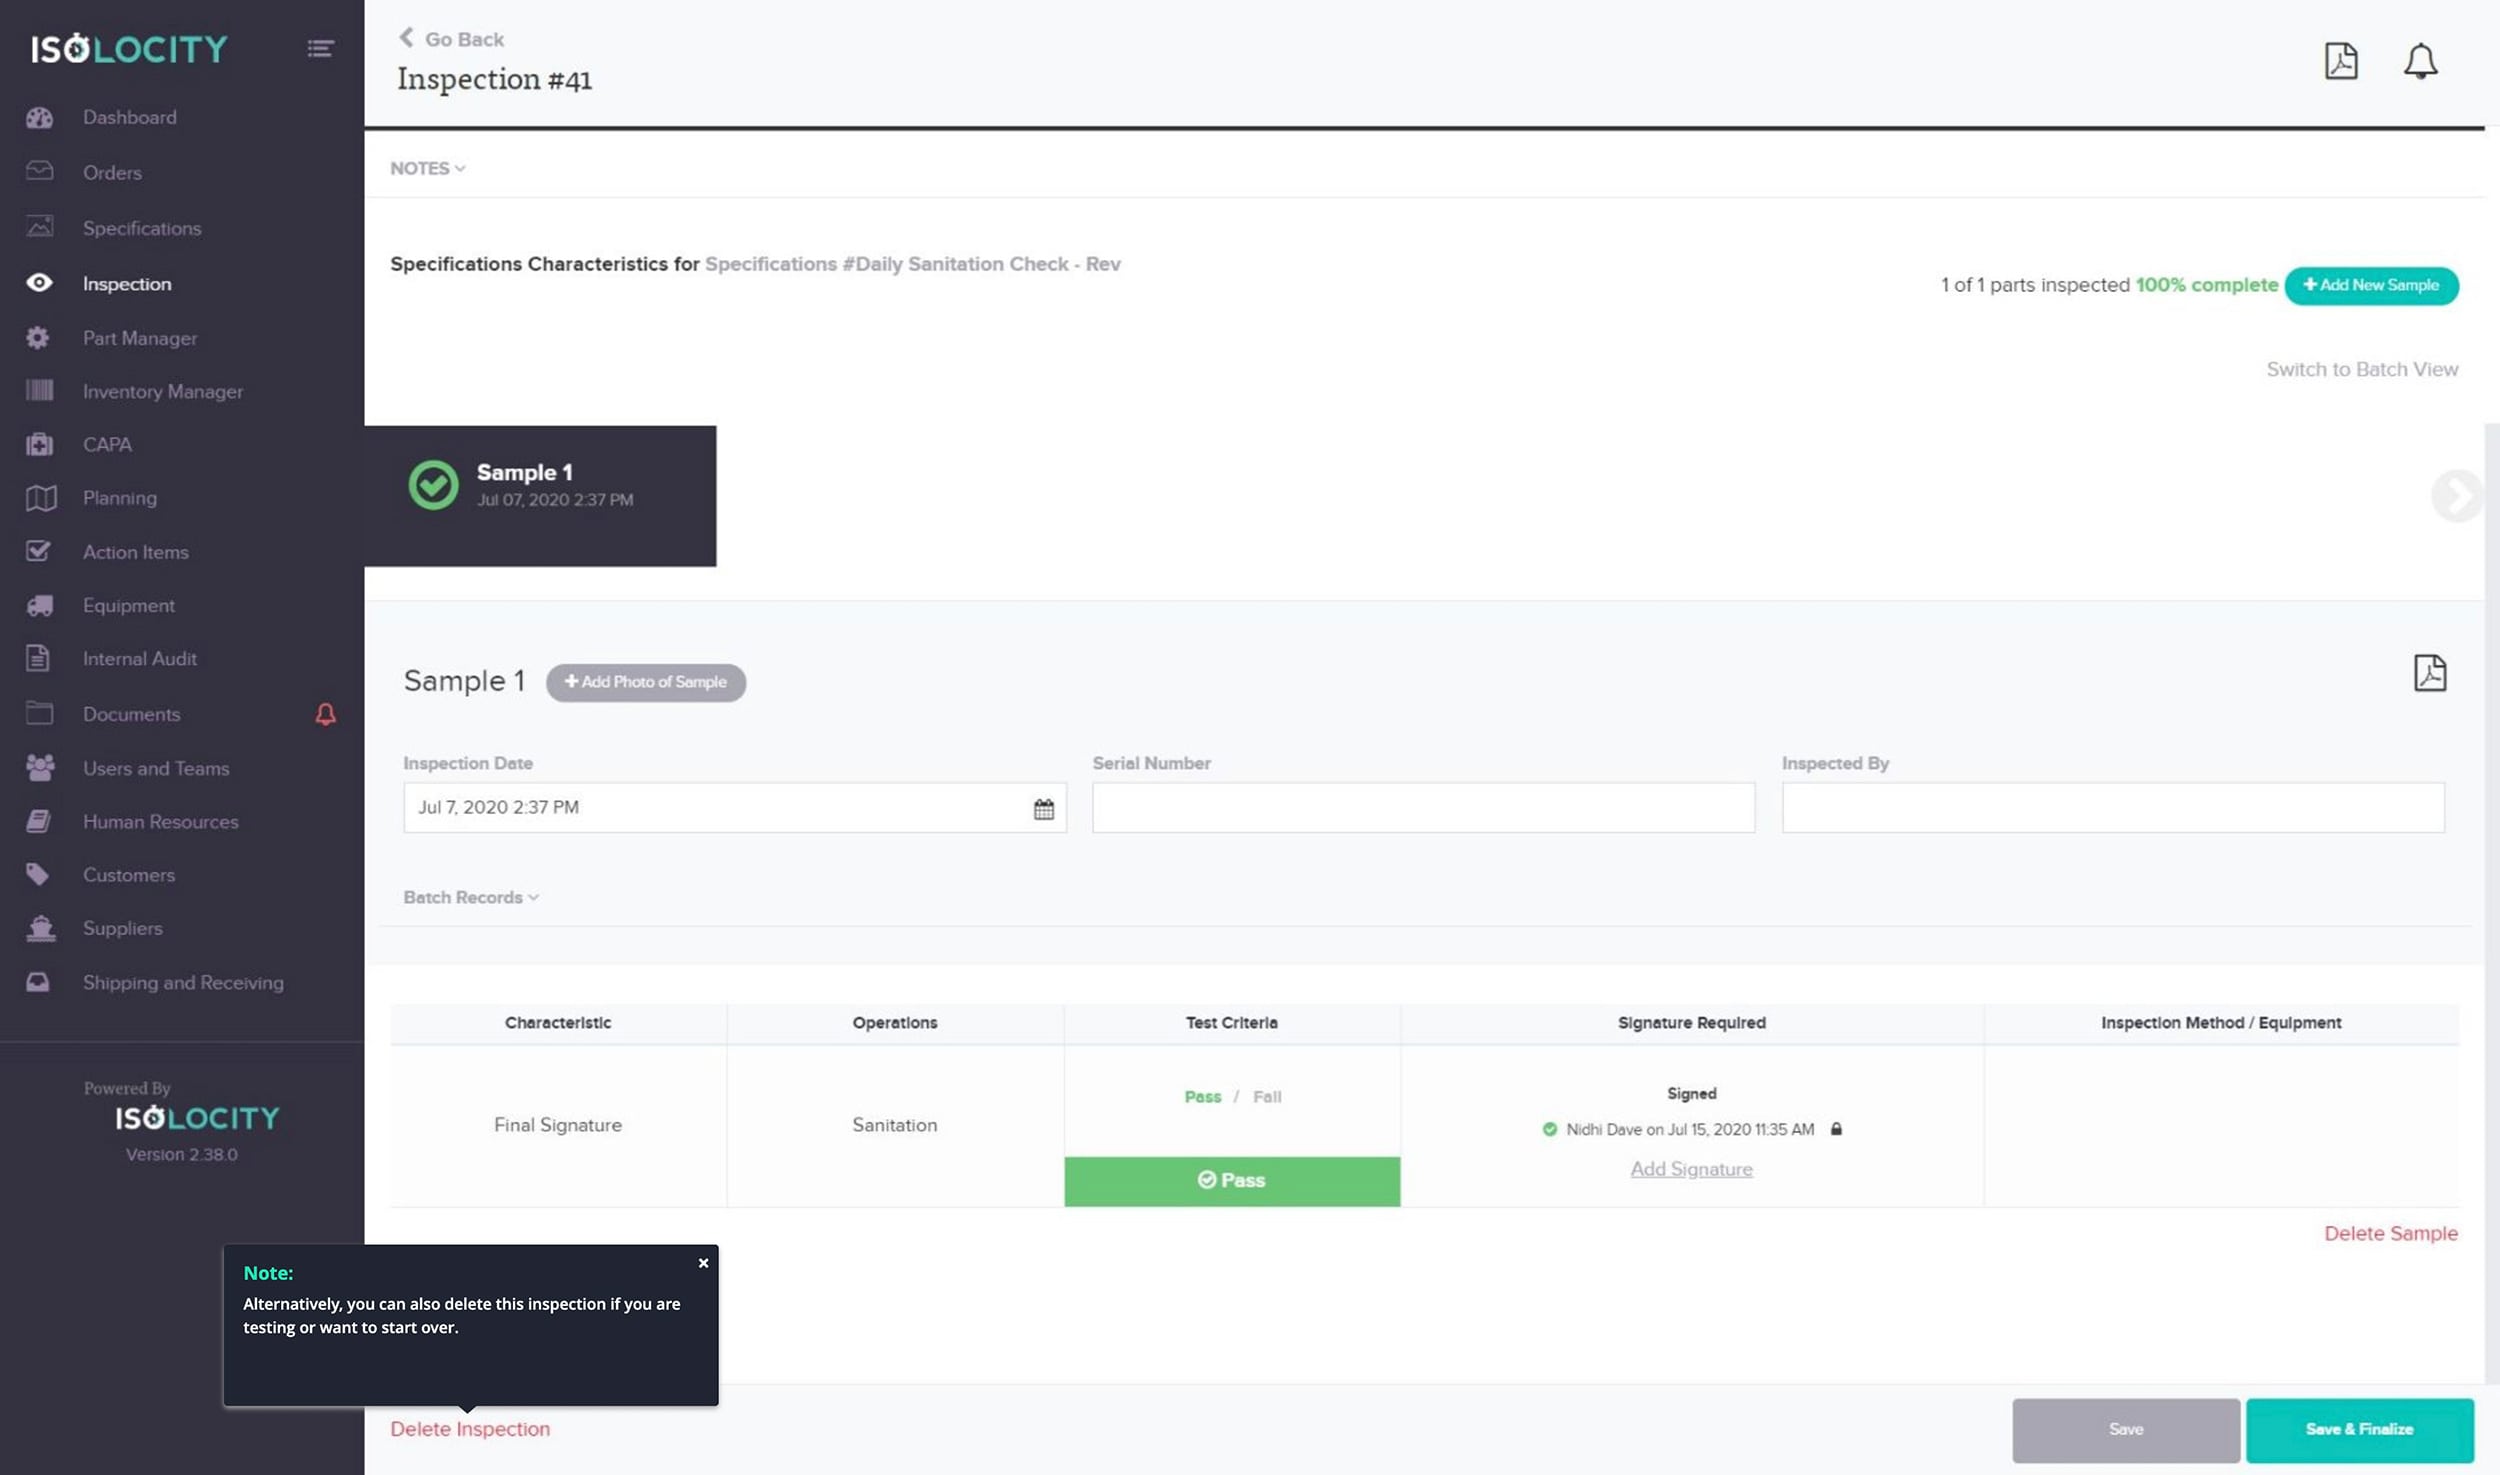
Step #40
Note:
Step #41
Click on the clock to see your activity.
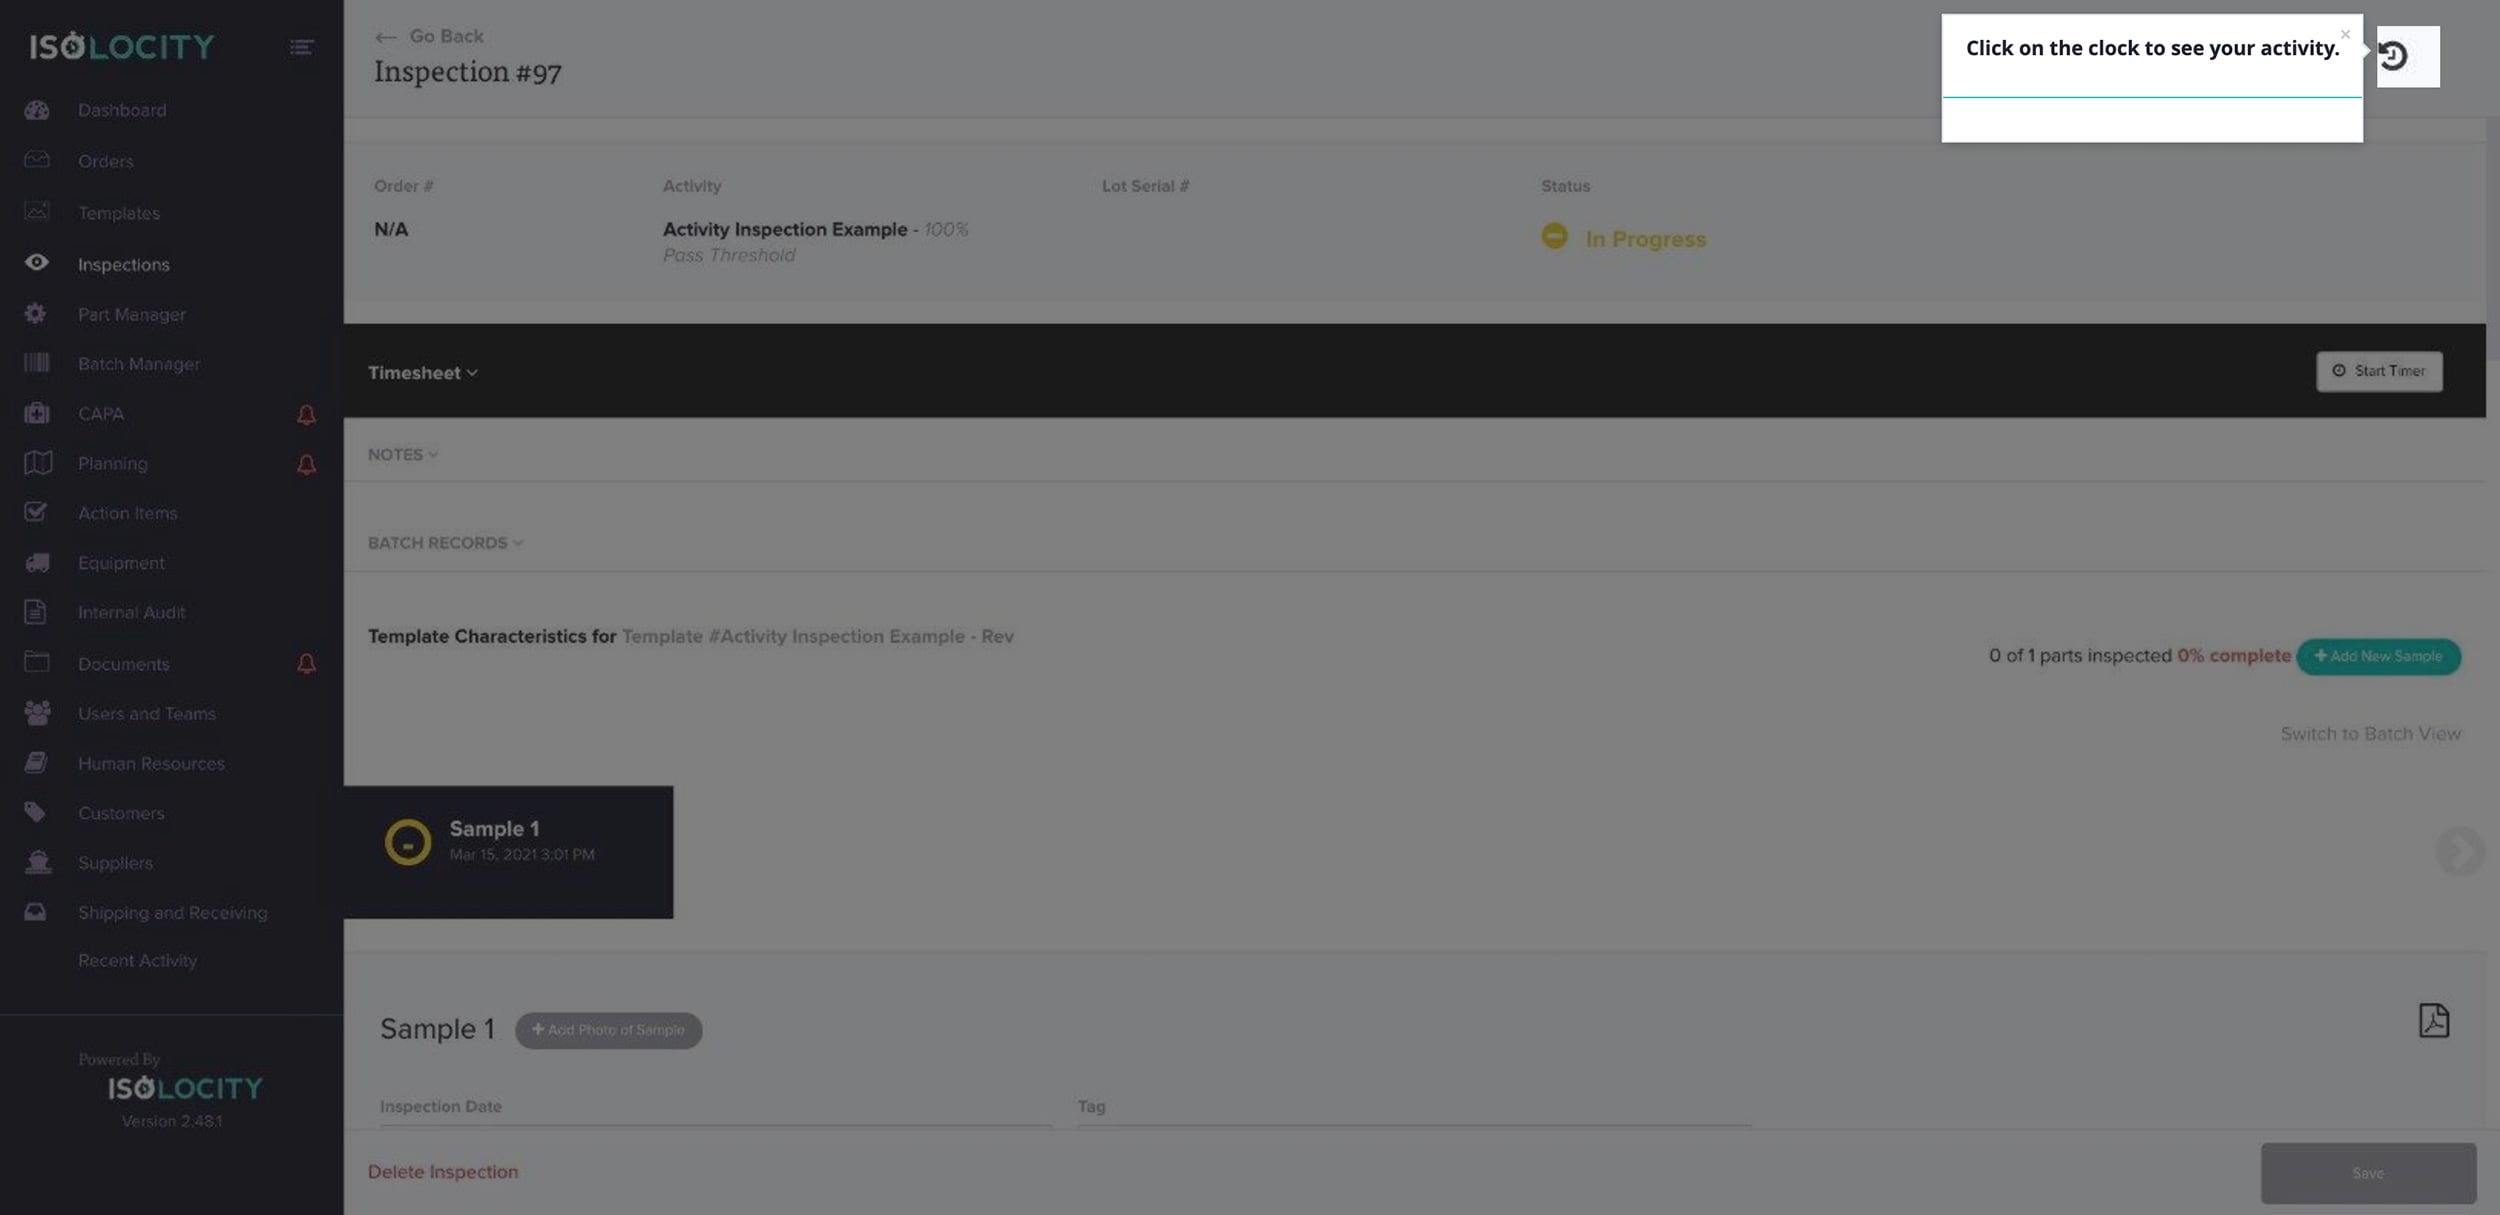
Step #42
The activity tracker shows all activity for this report.
![]()
Step #43
Activities can be searched by key word or date range.
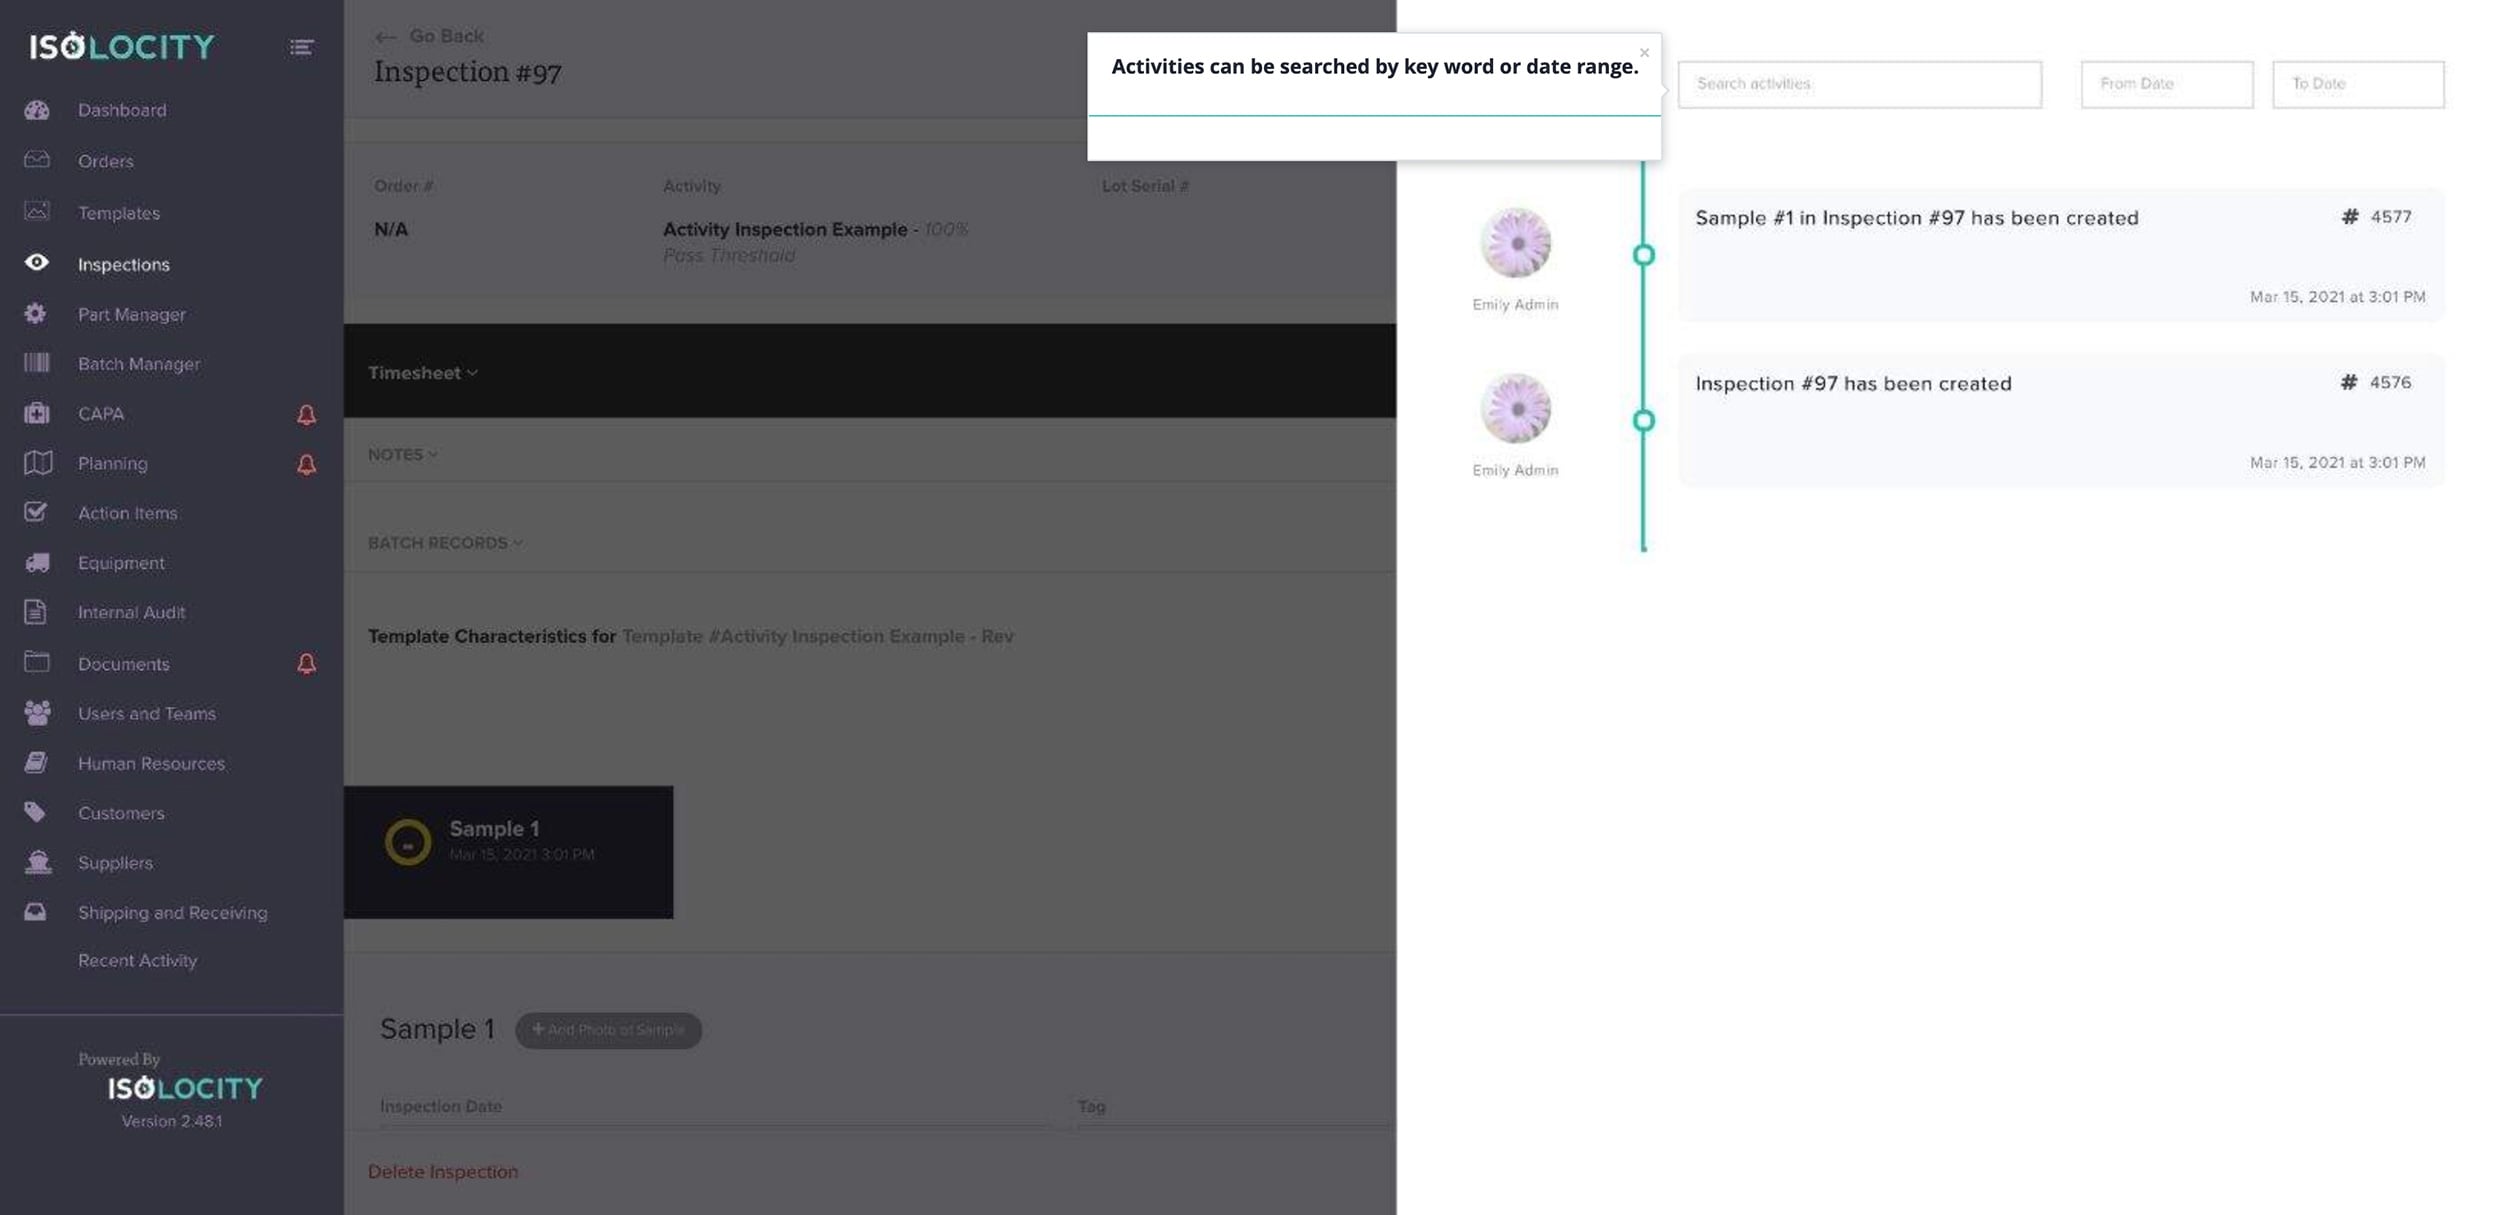
Step #44
The user, the action and the date/time is tracked and recorded here.

Step #45
Click on the blank space to go back to the report.
![]()


