Adding a New Complaint
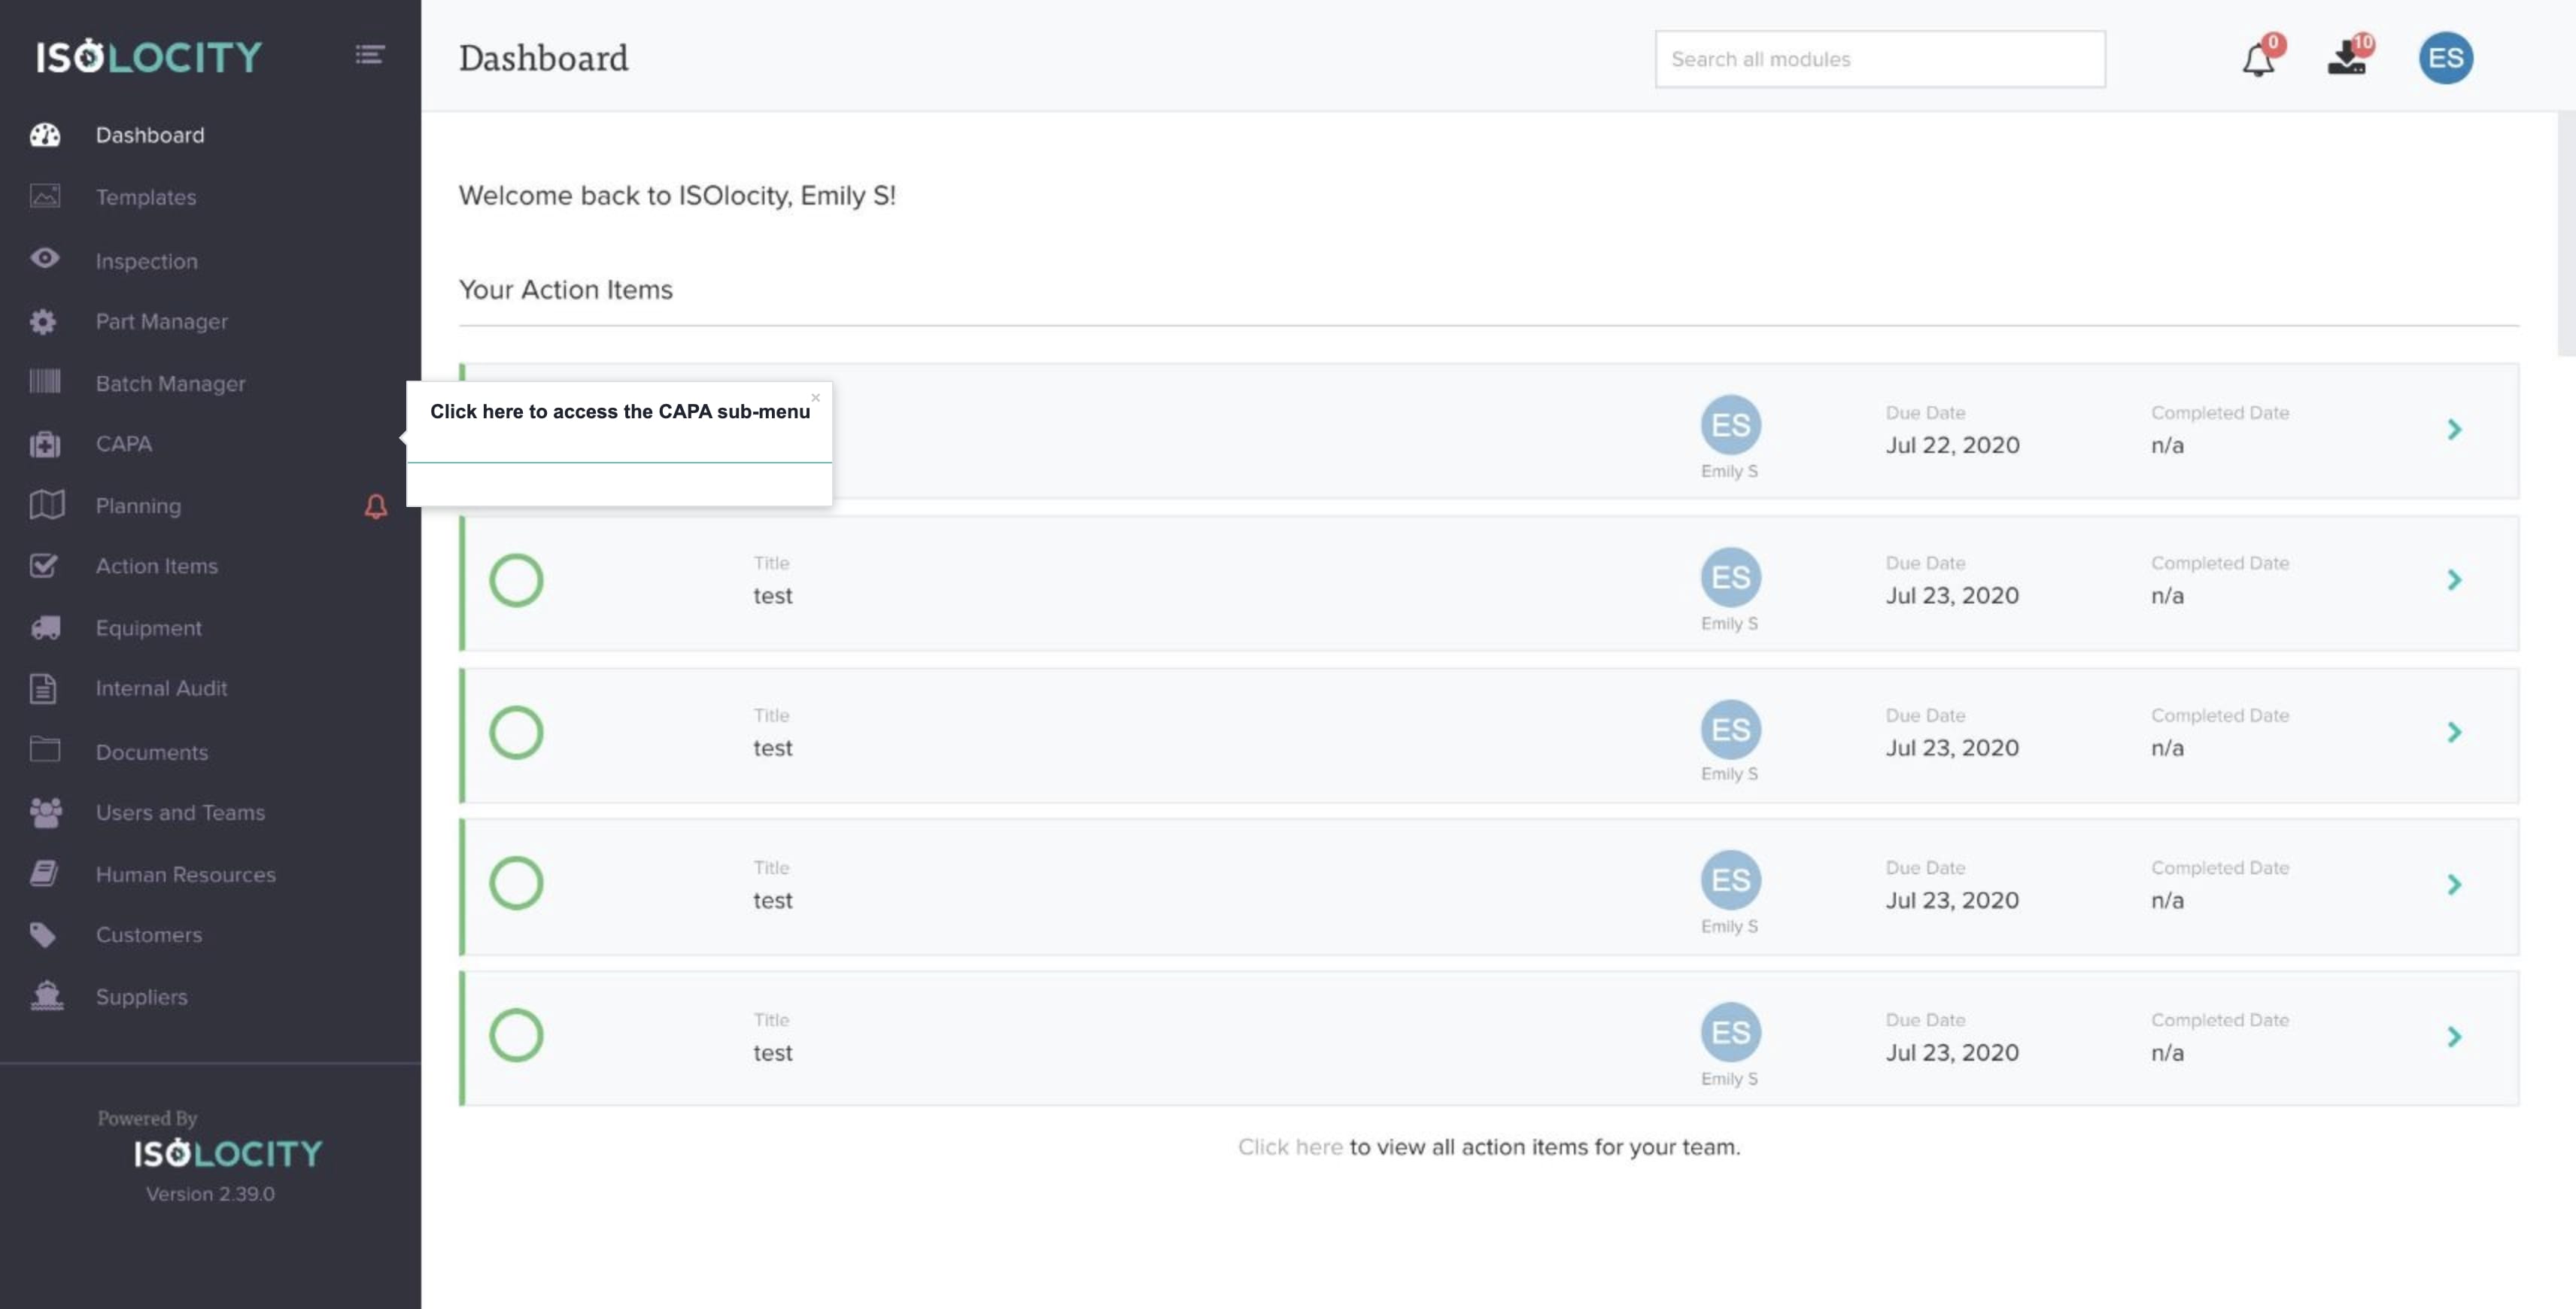
Step #1
Click here to access the CAPA sub-menu
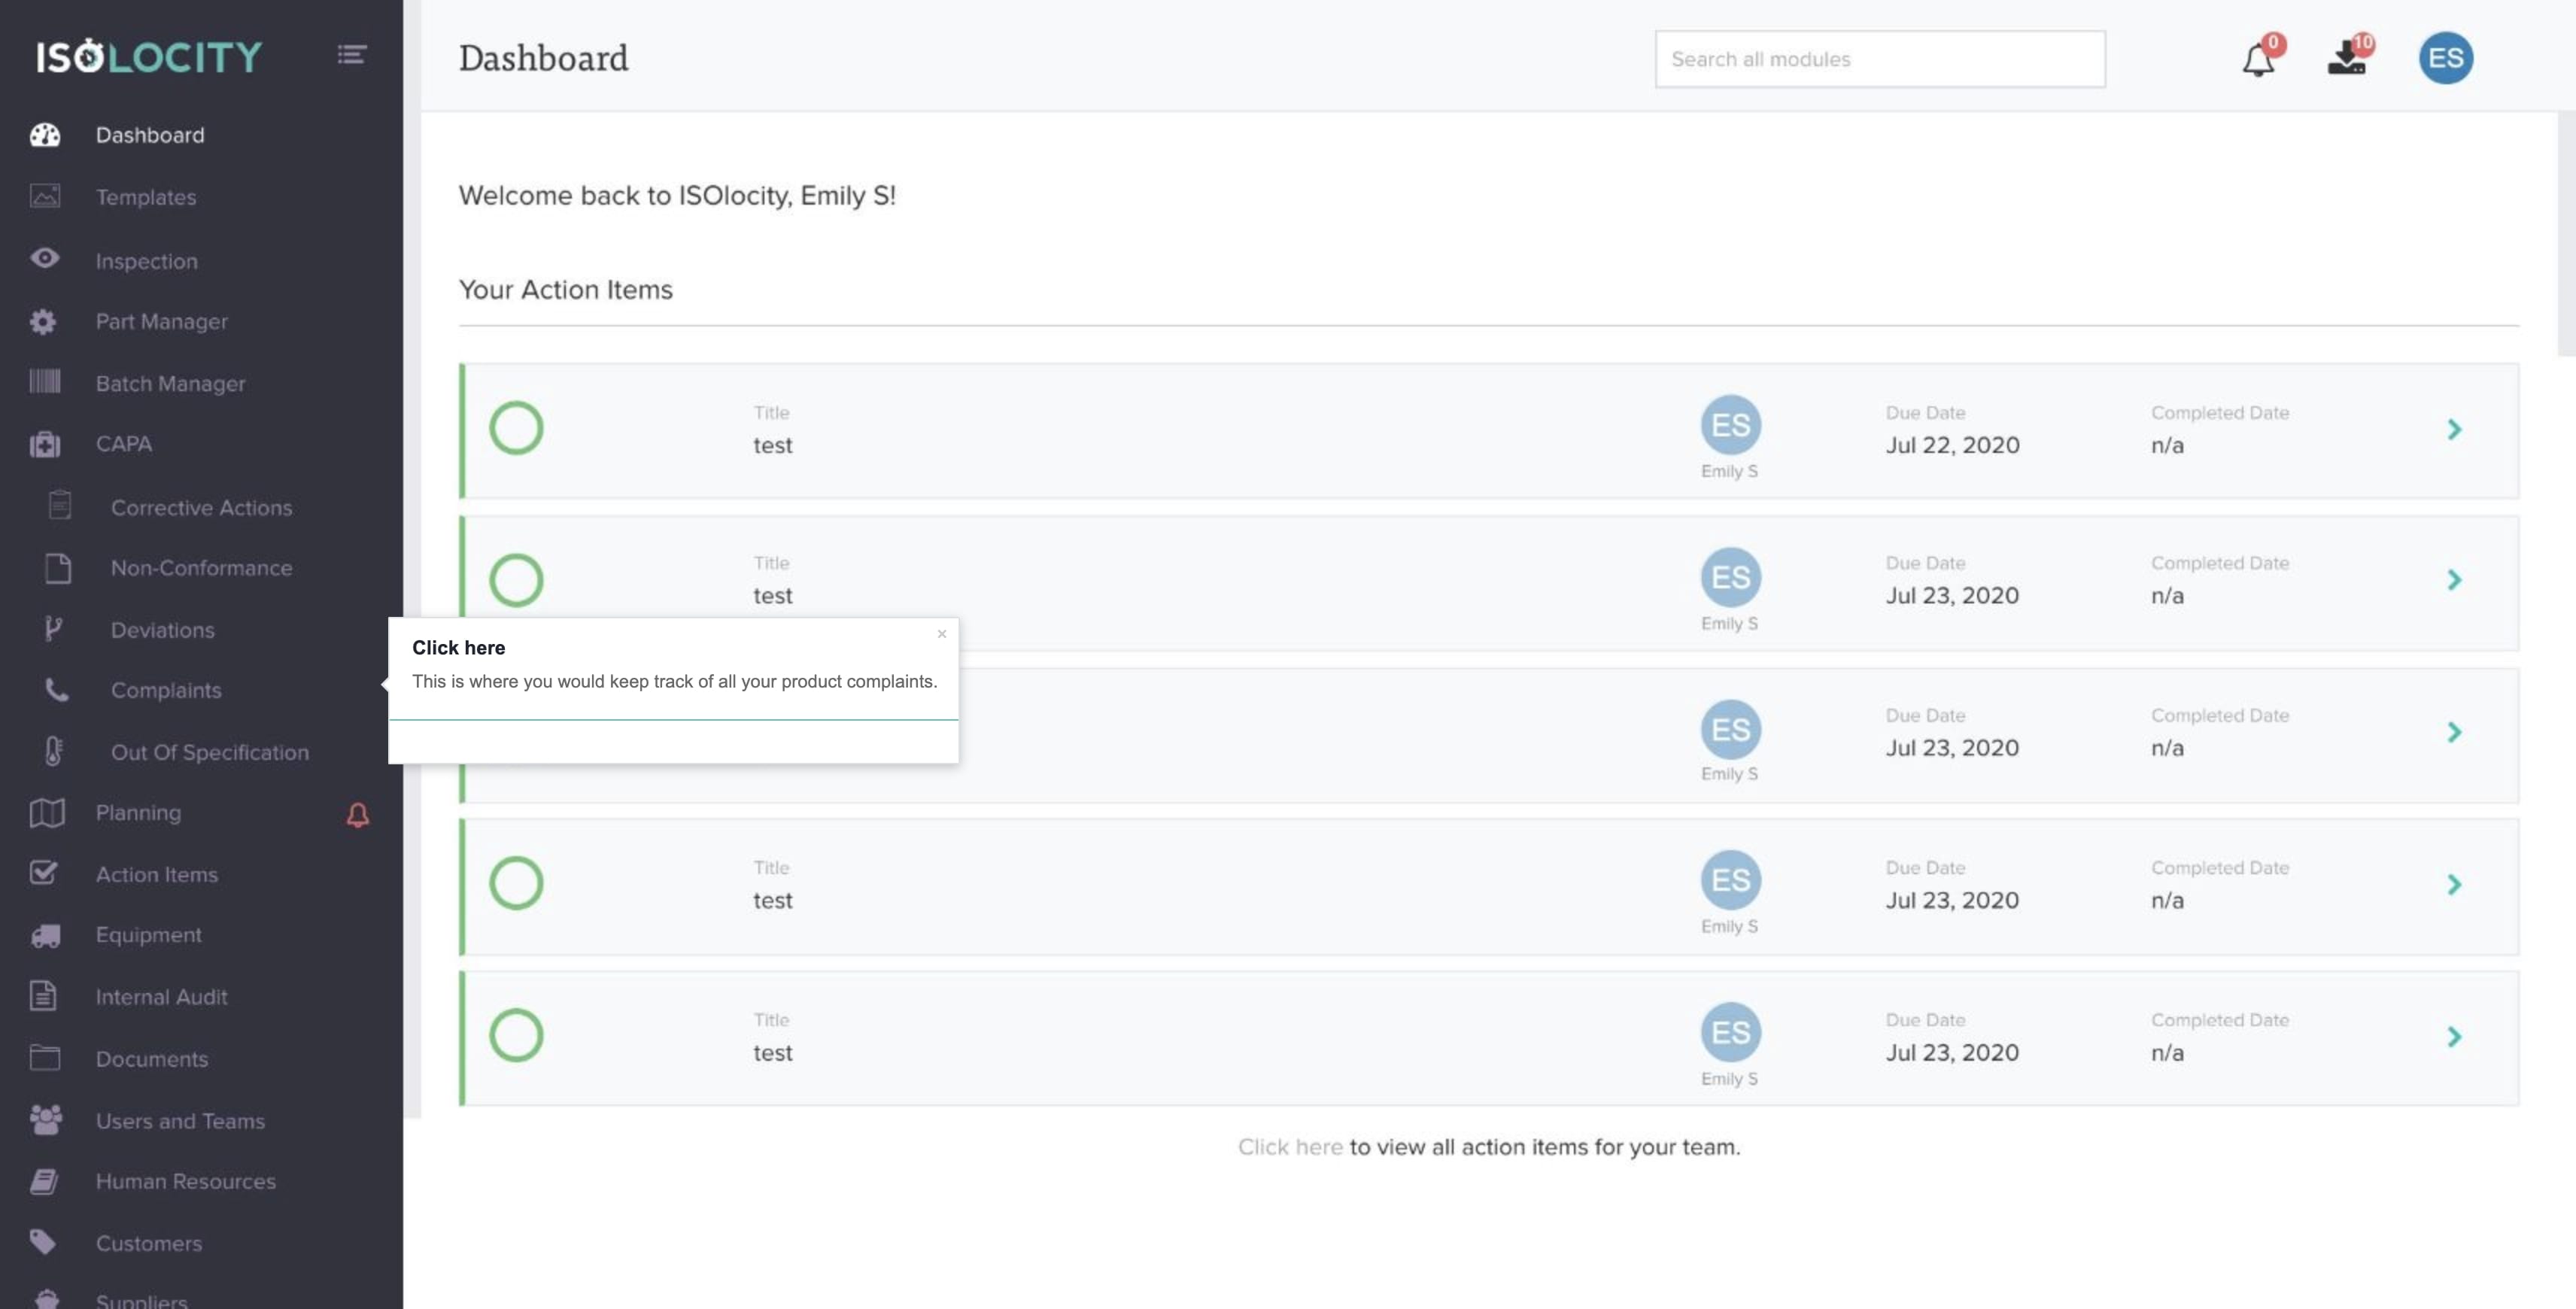
Step #2
Click here
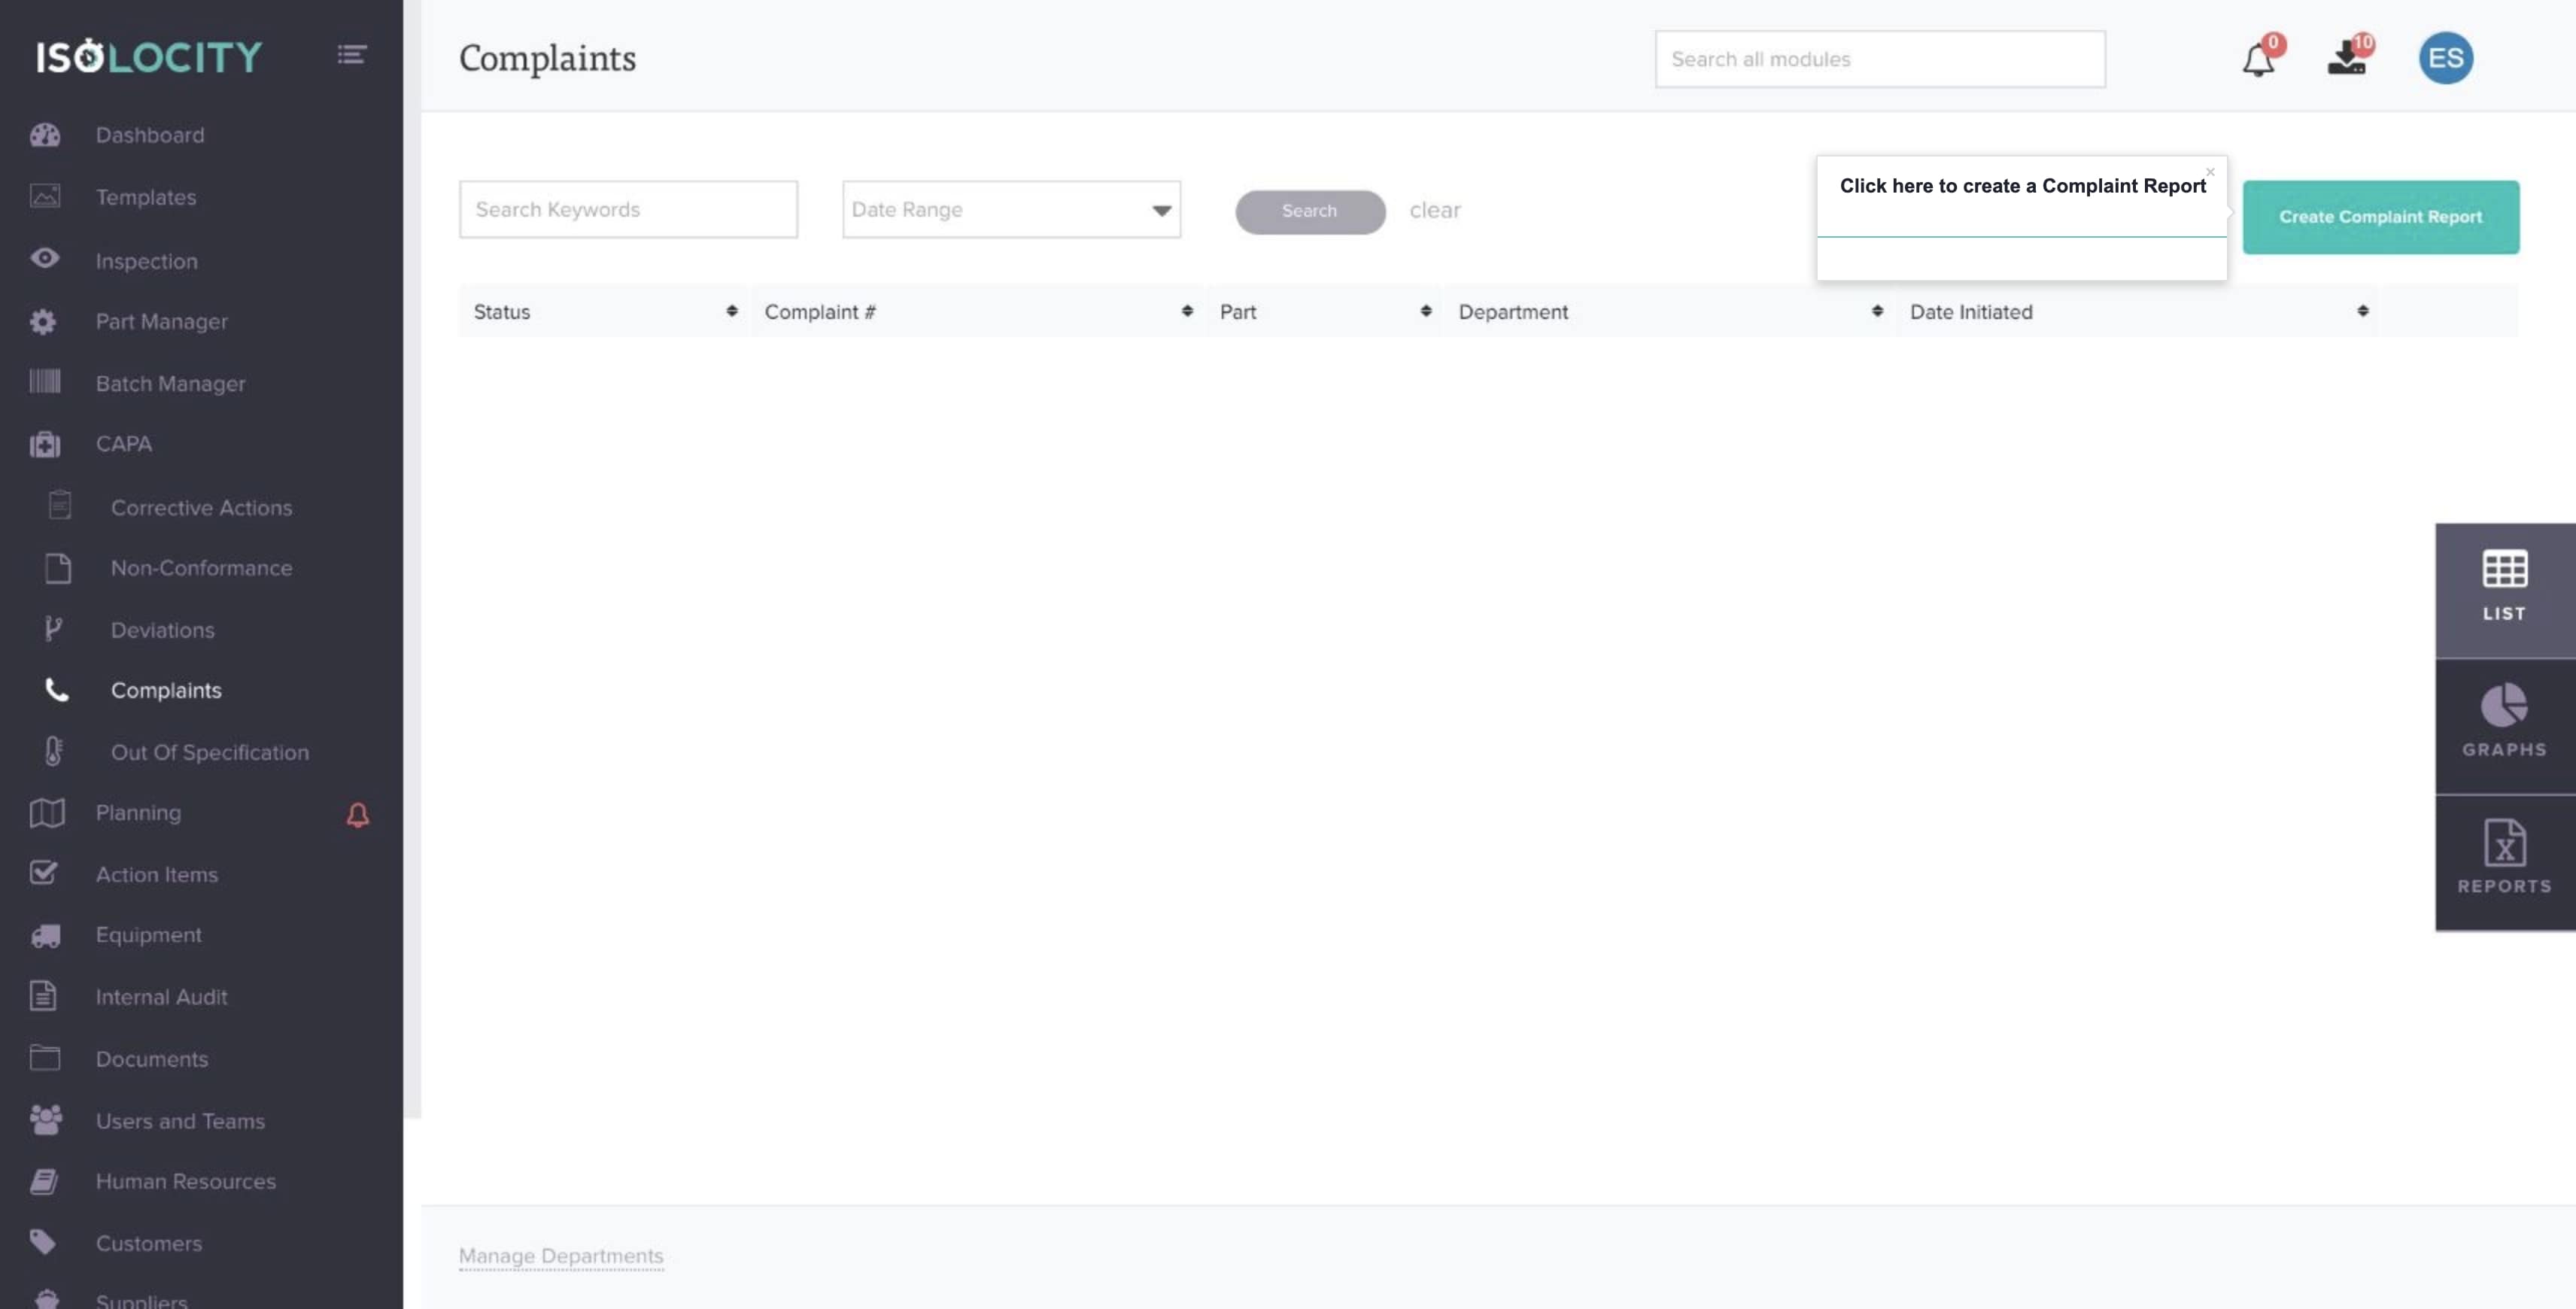
Step #3
Click here to create a Complaint Report
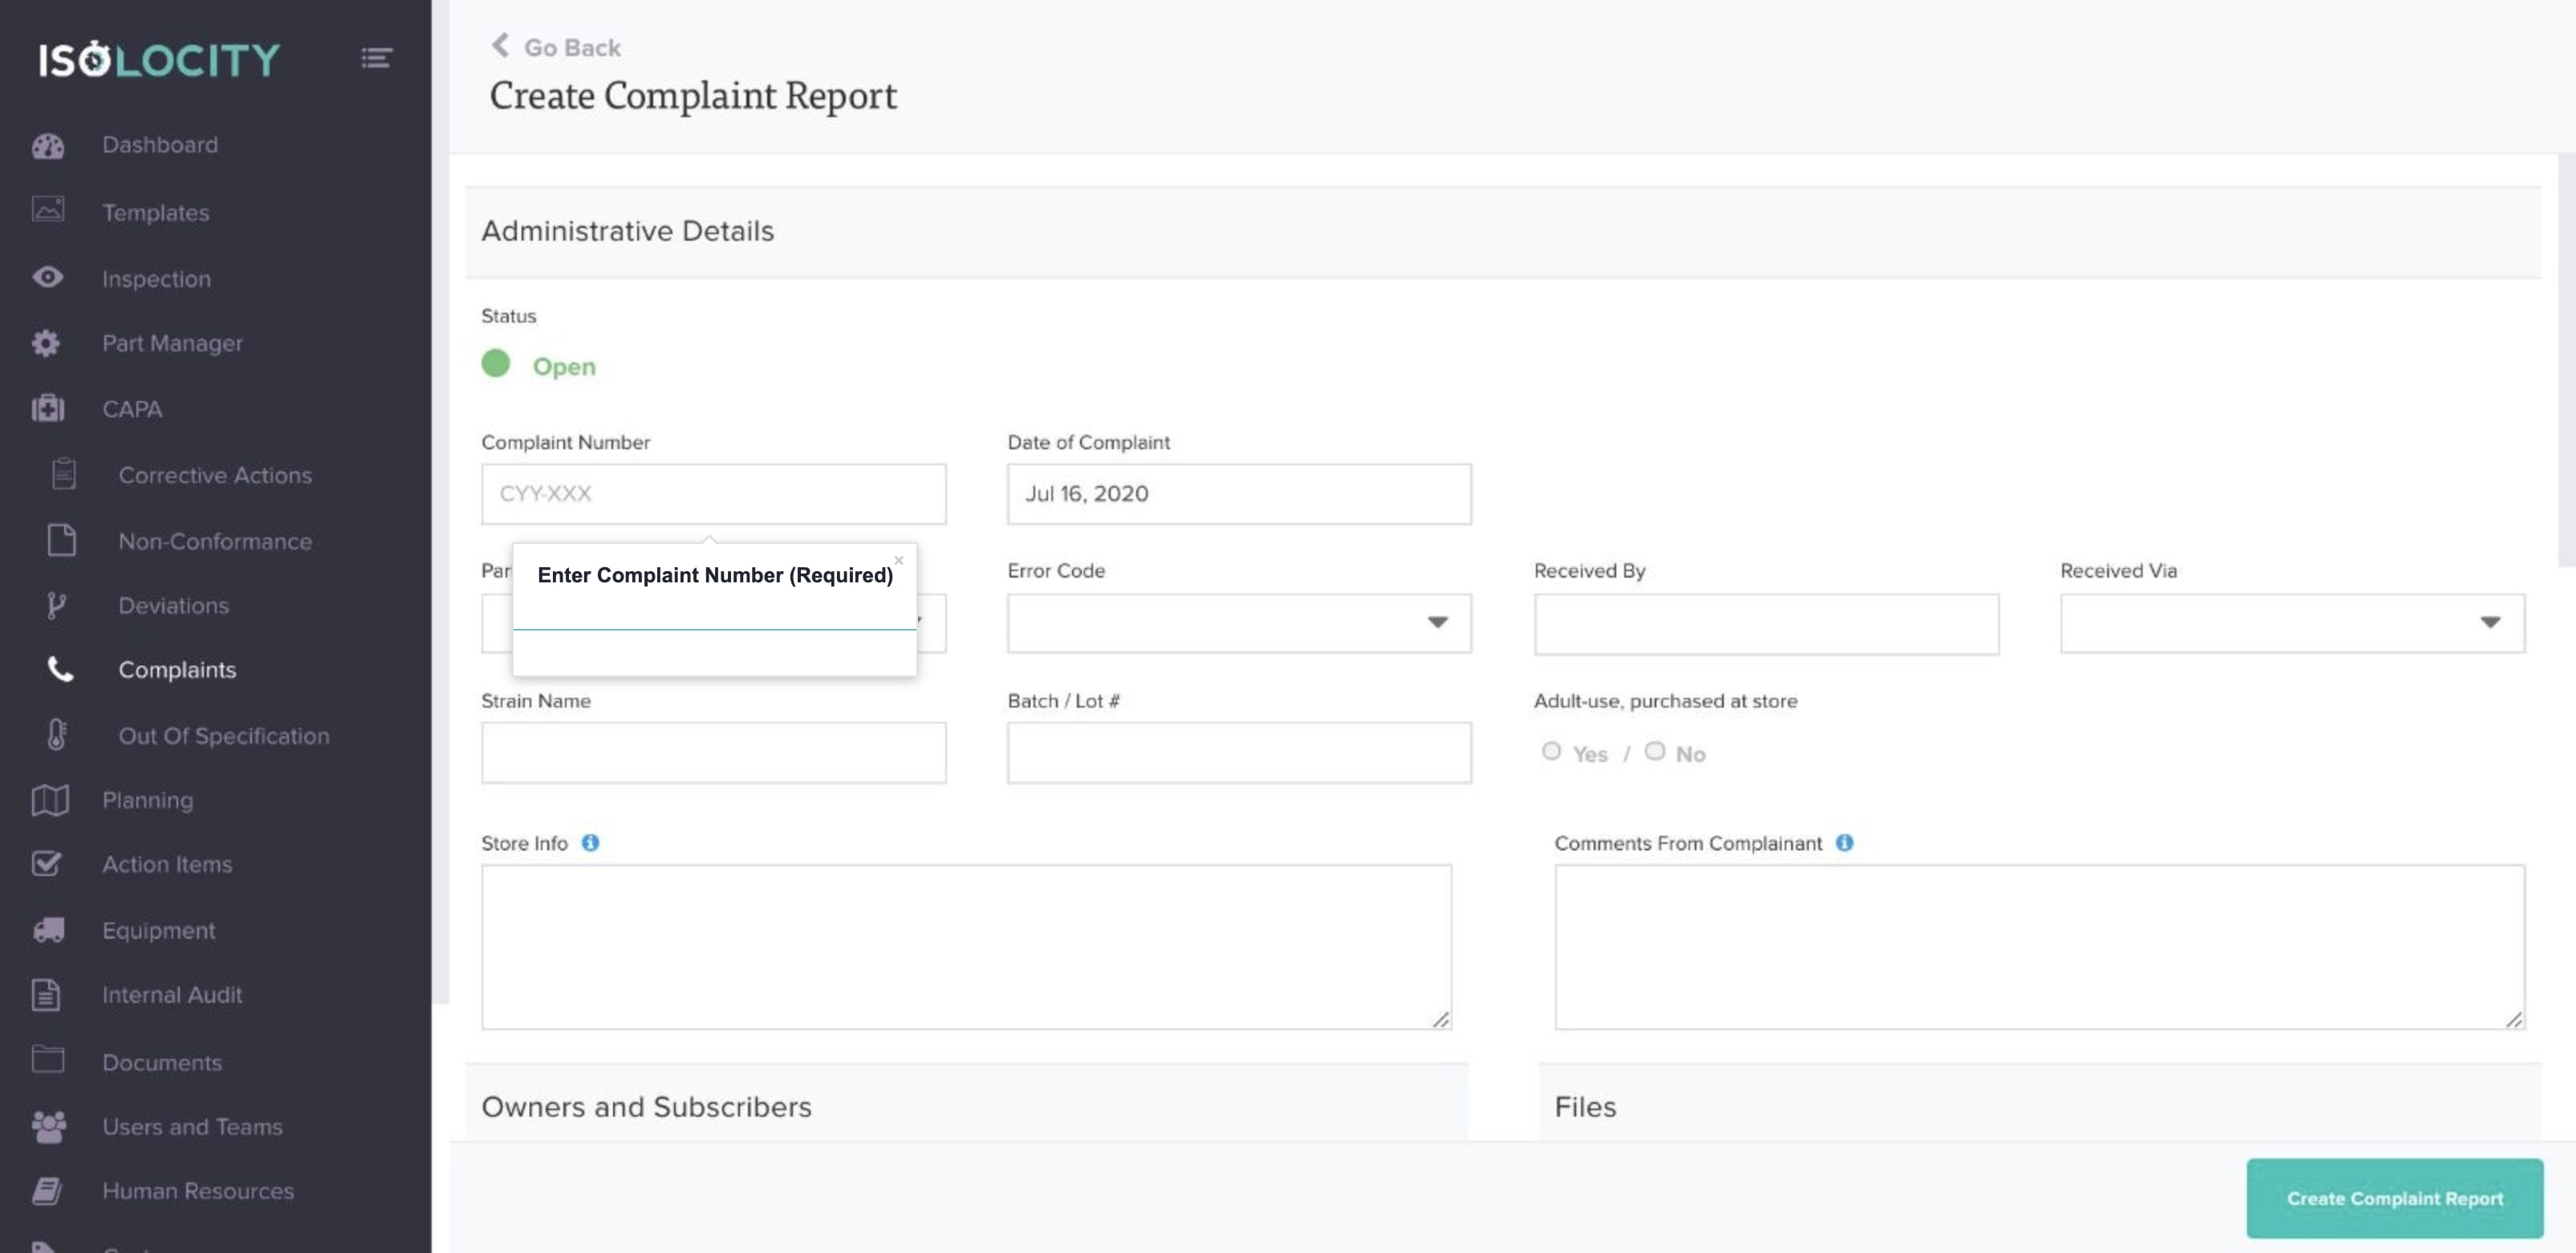
Step #4
Enter Complaint Number (Required)
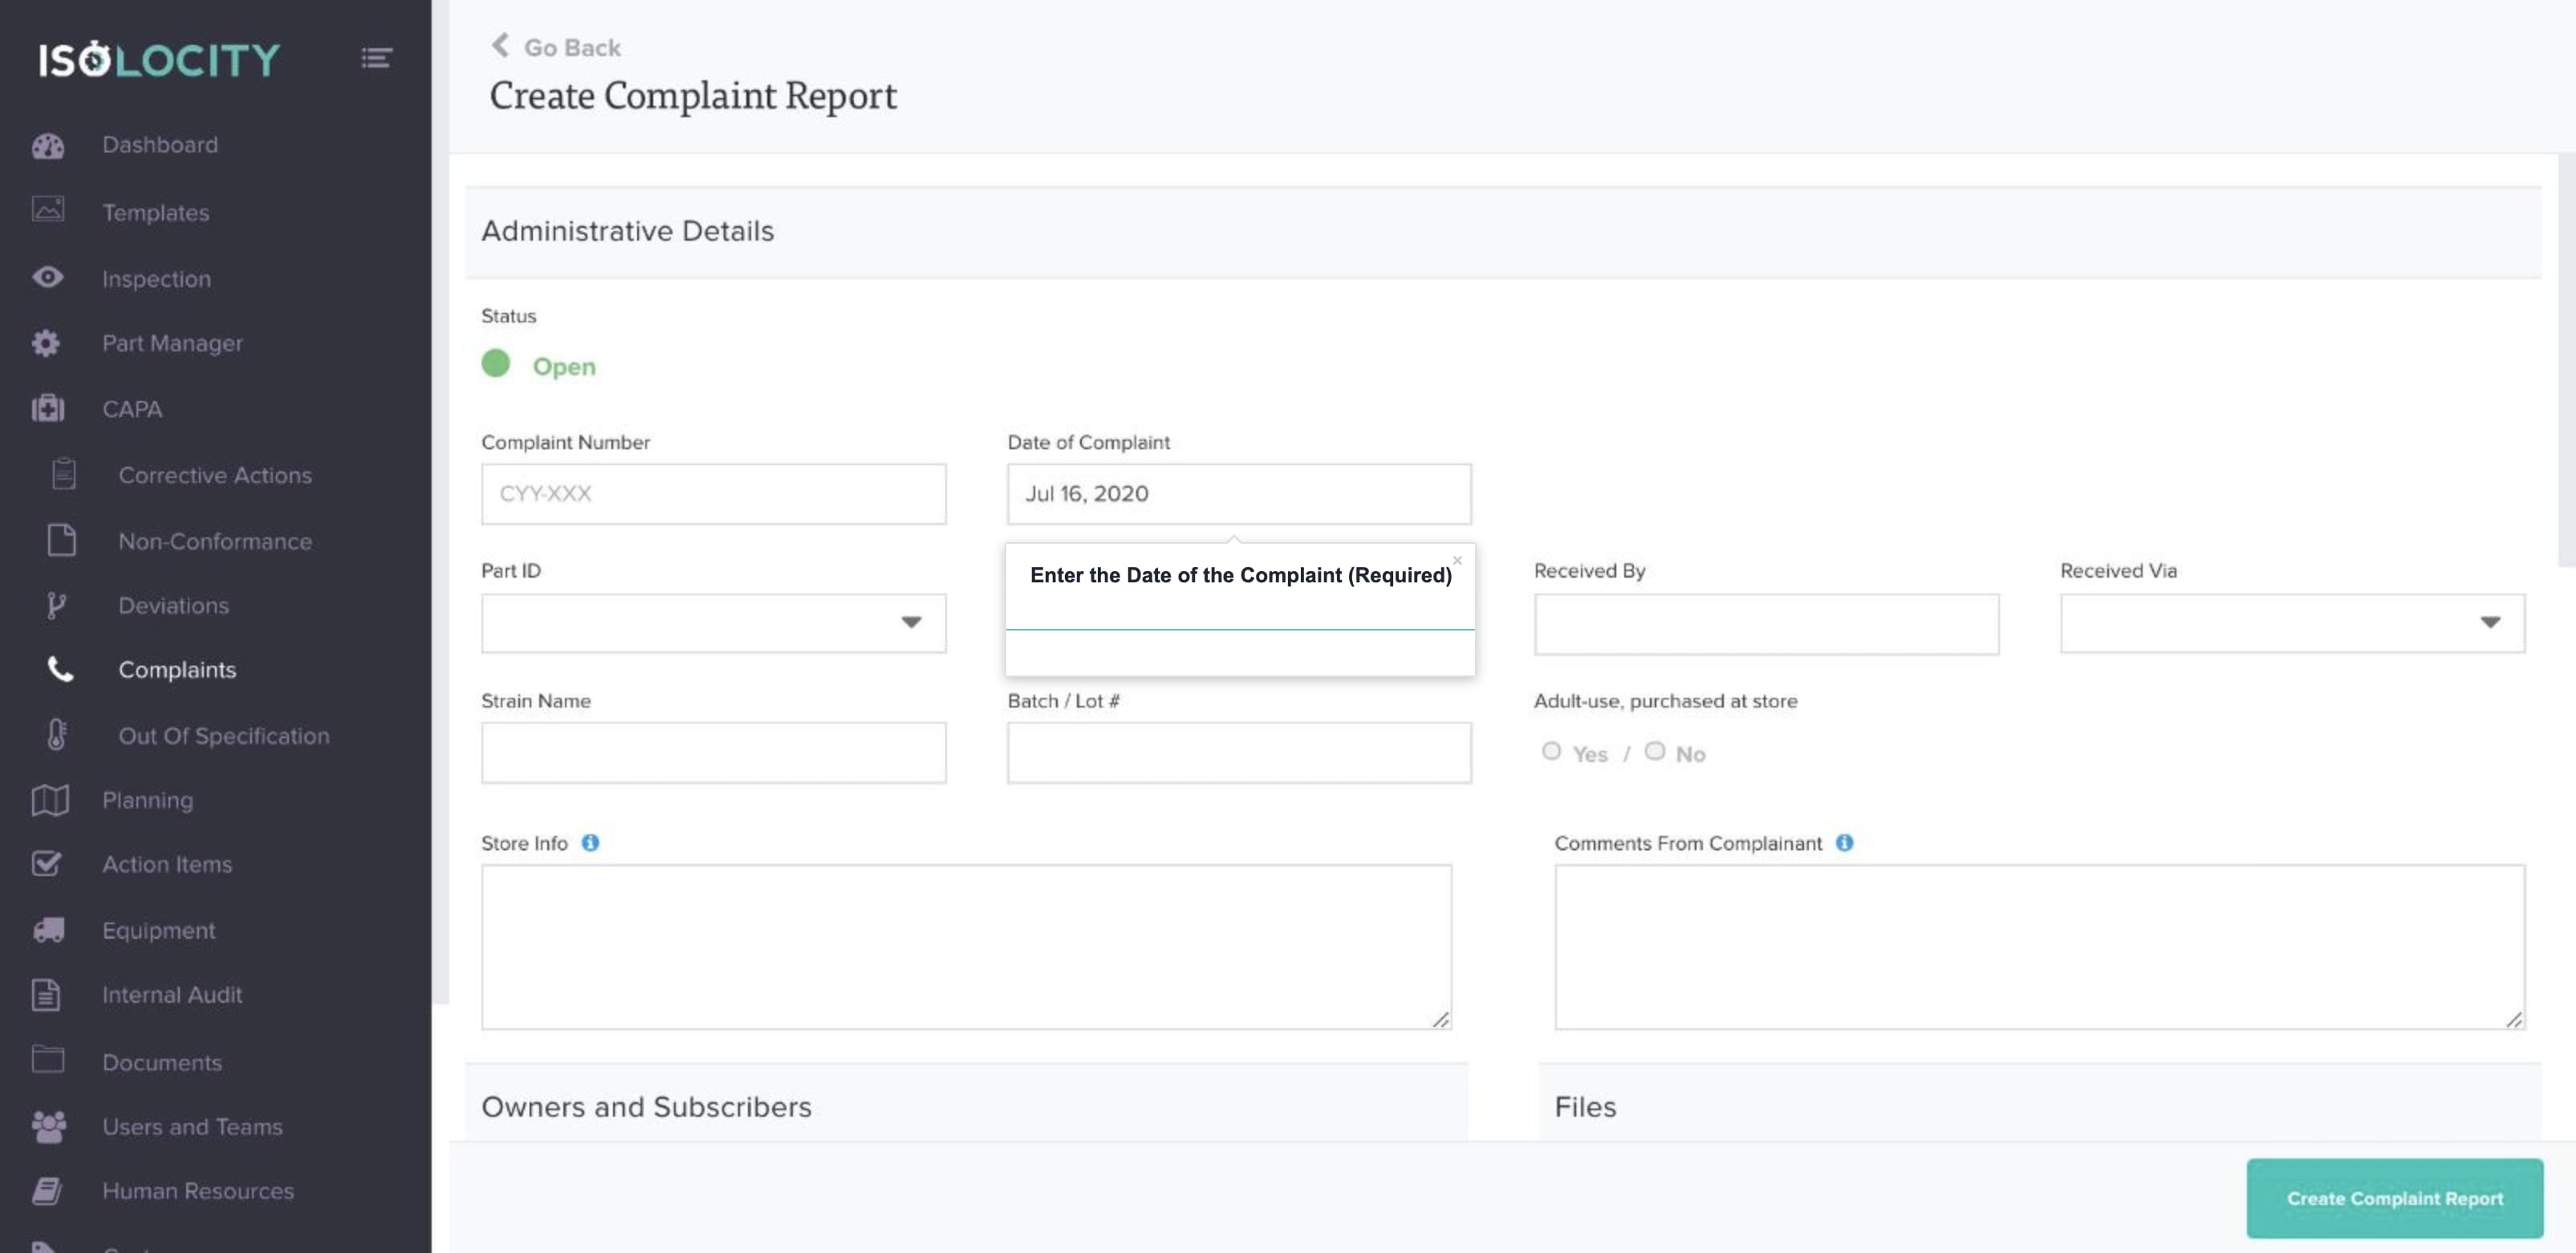
Step #5
Enter the Date of the Complaint (Required)
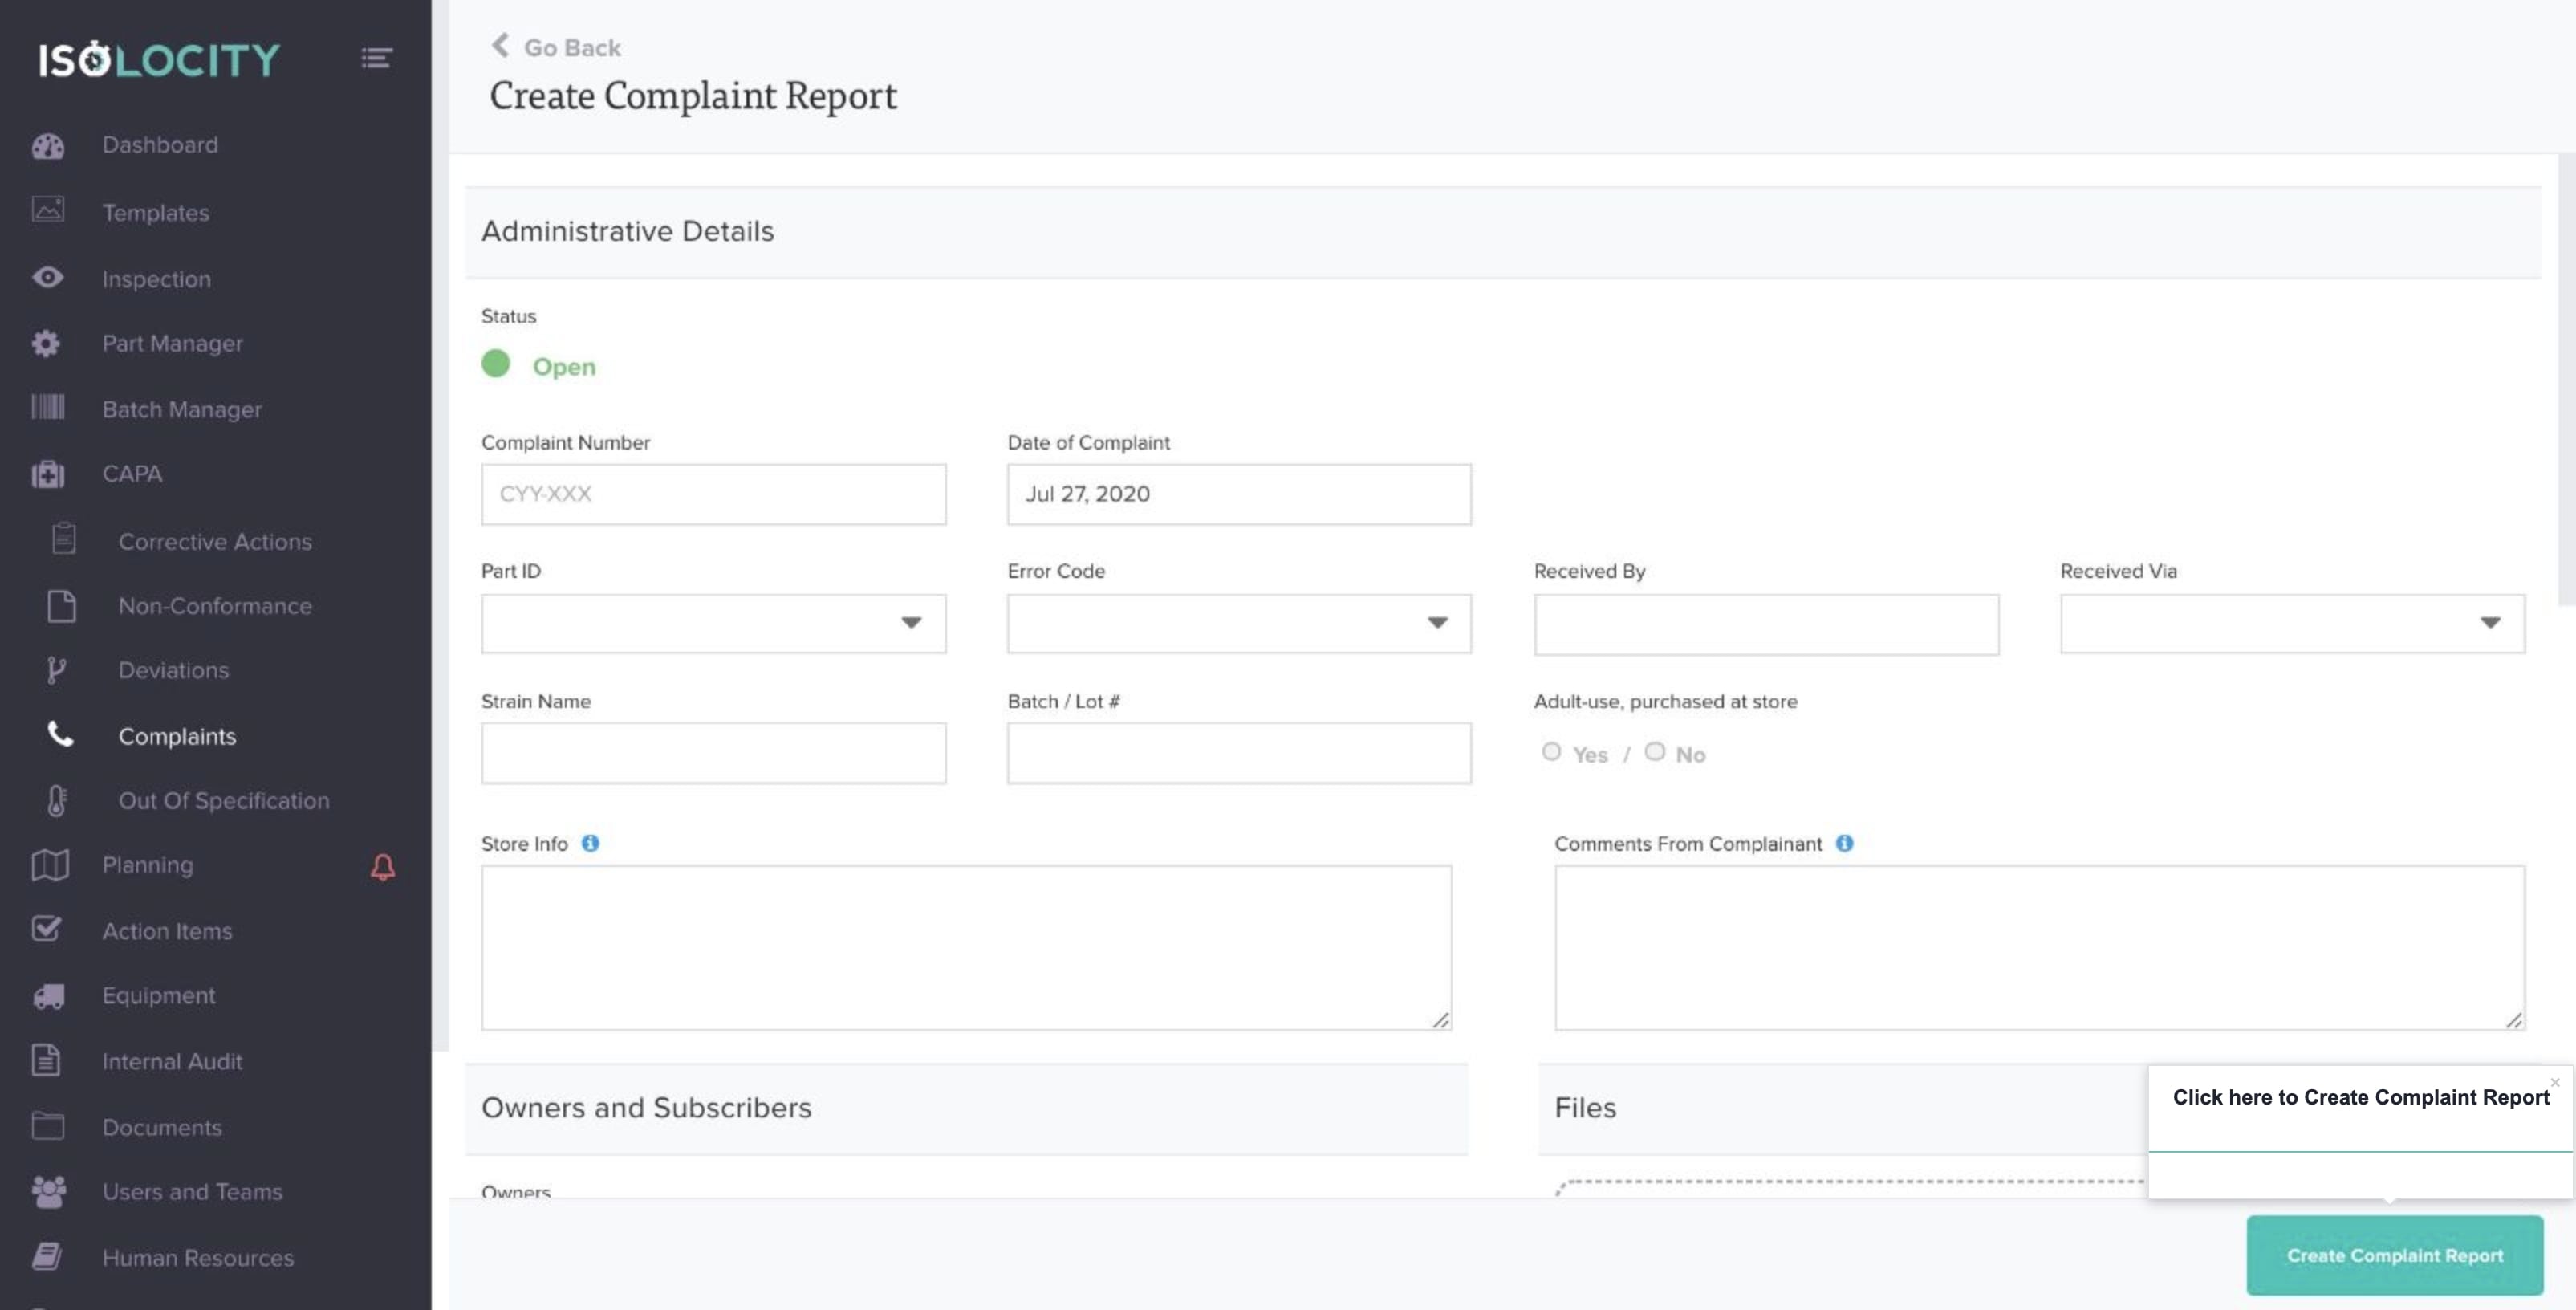
Step #6
Click here to Create Complaint Report
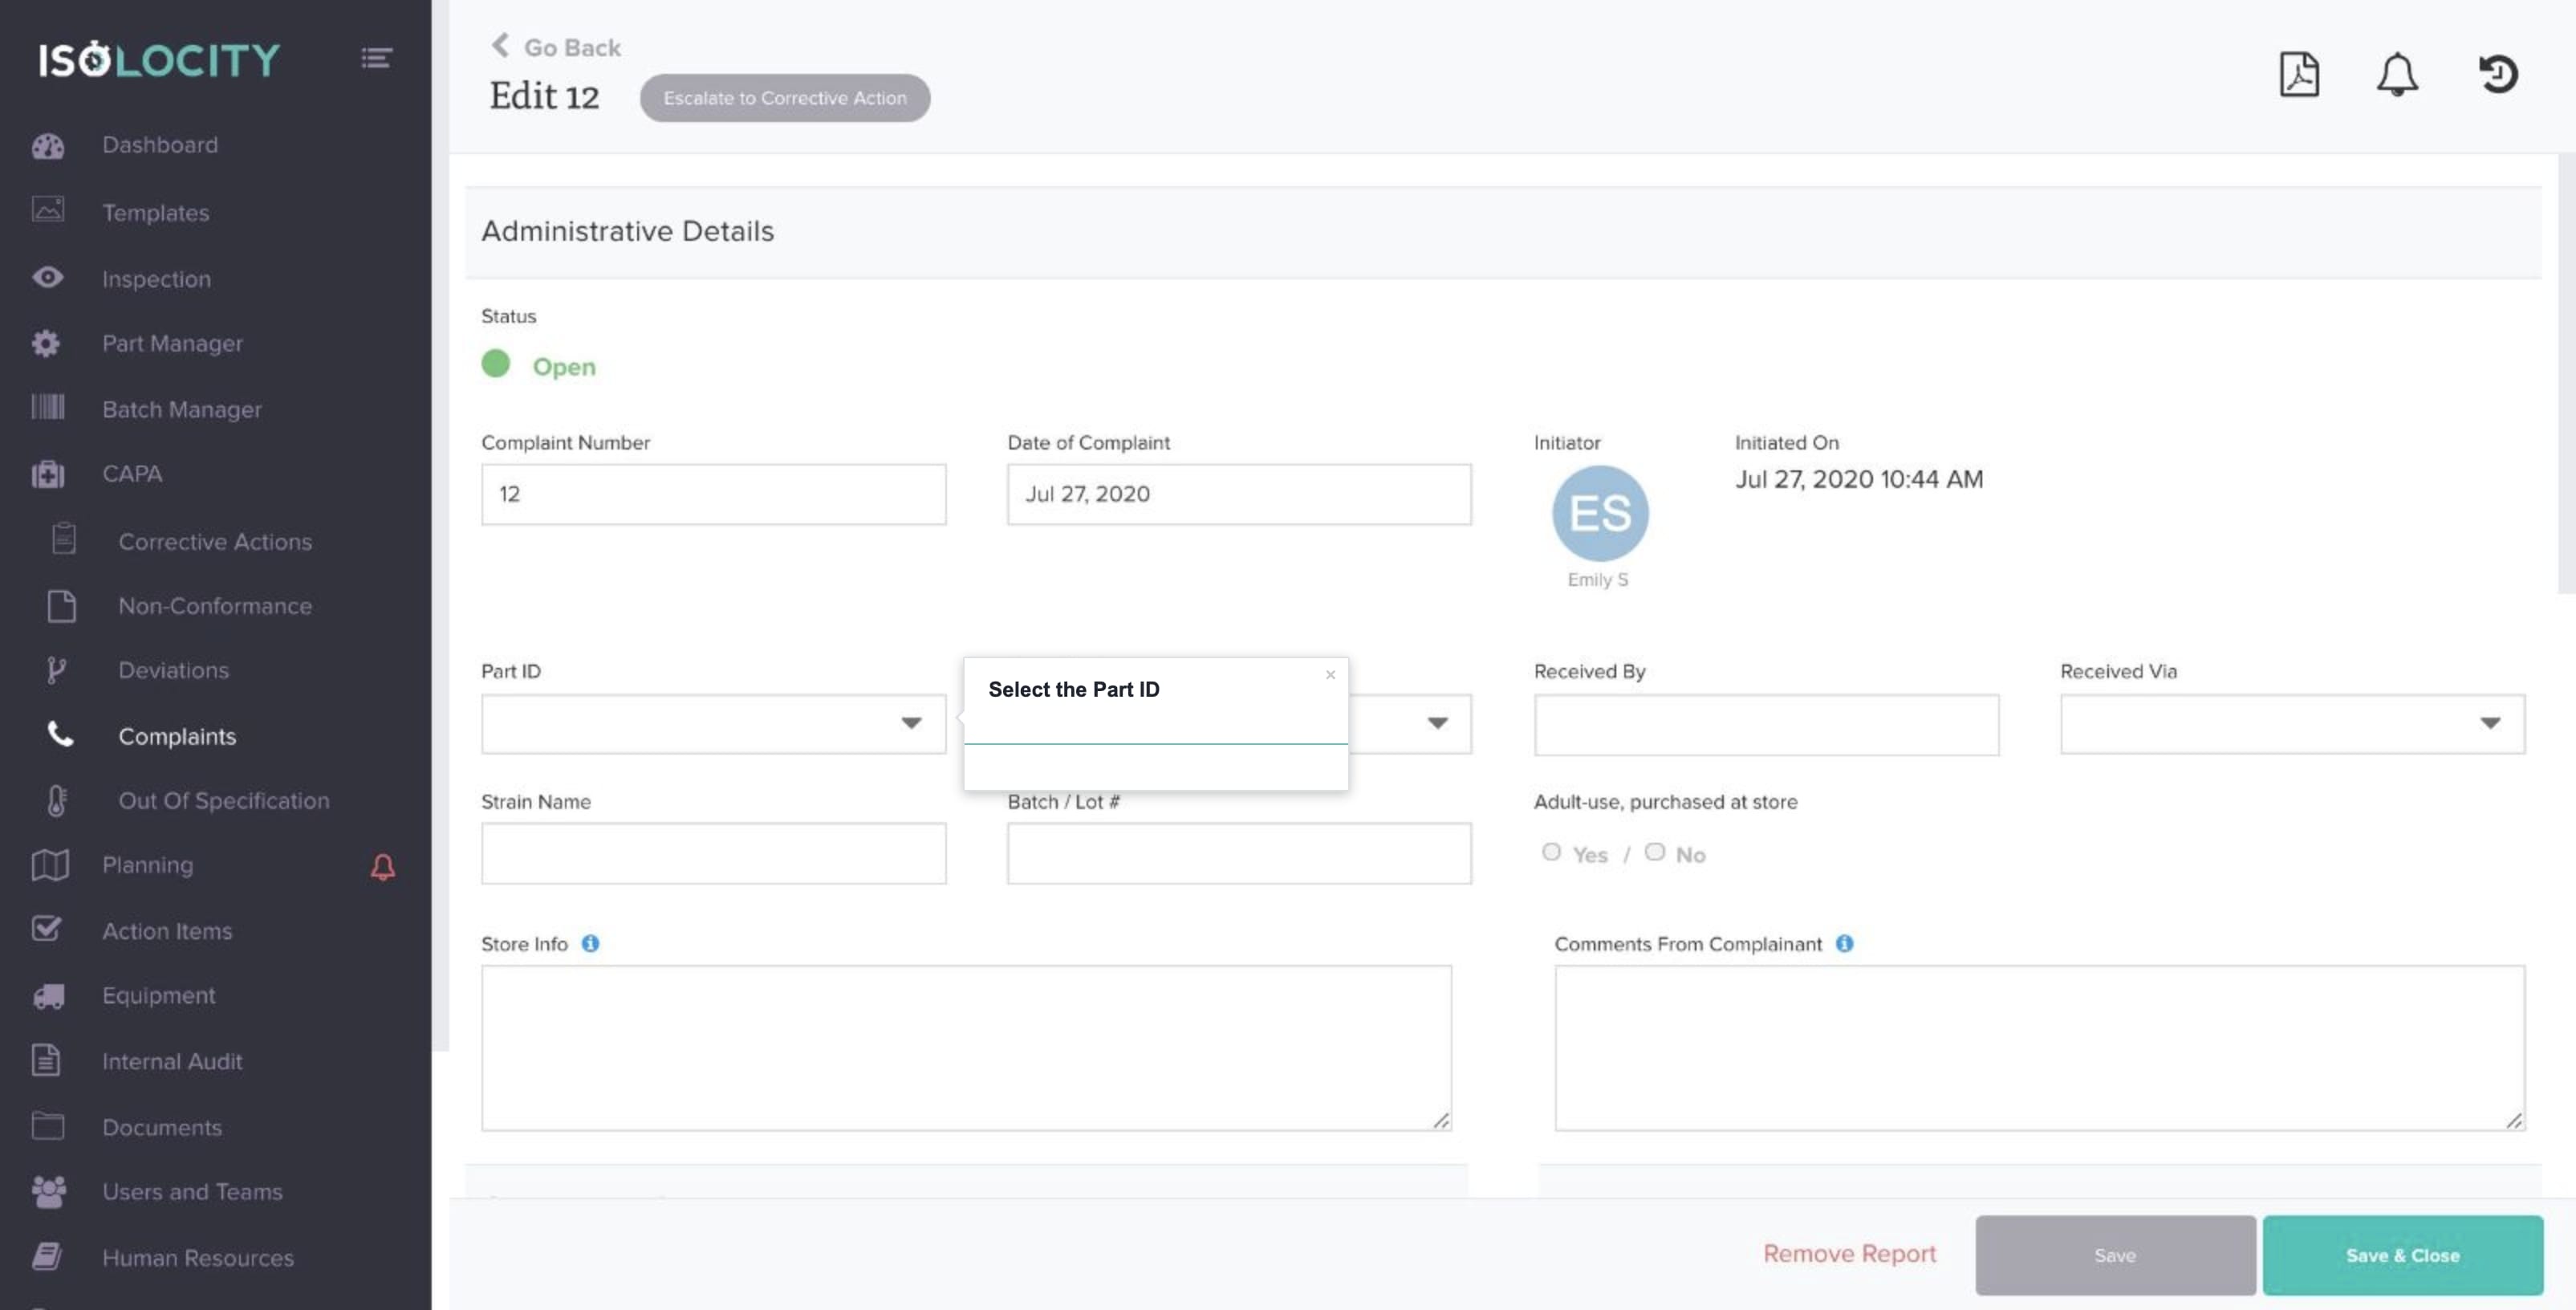
Step #7
Select the Part ID
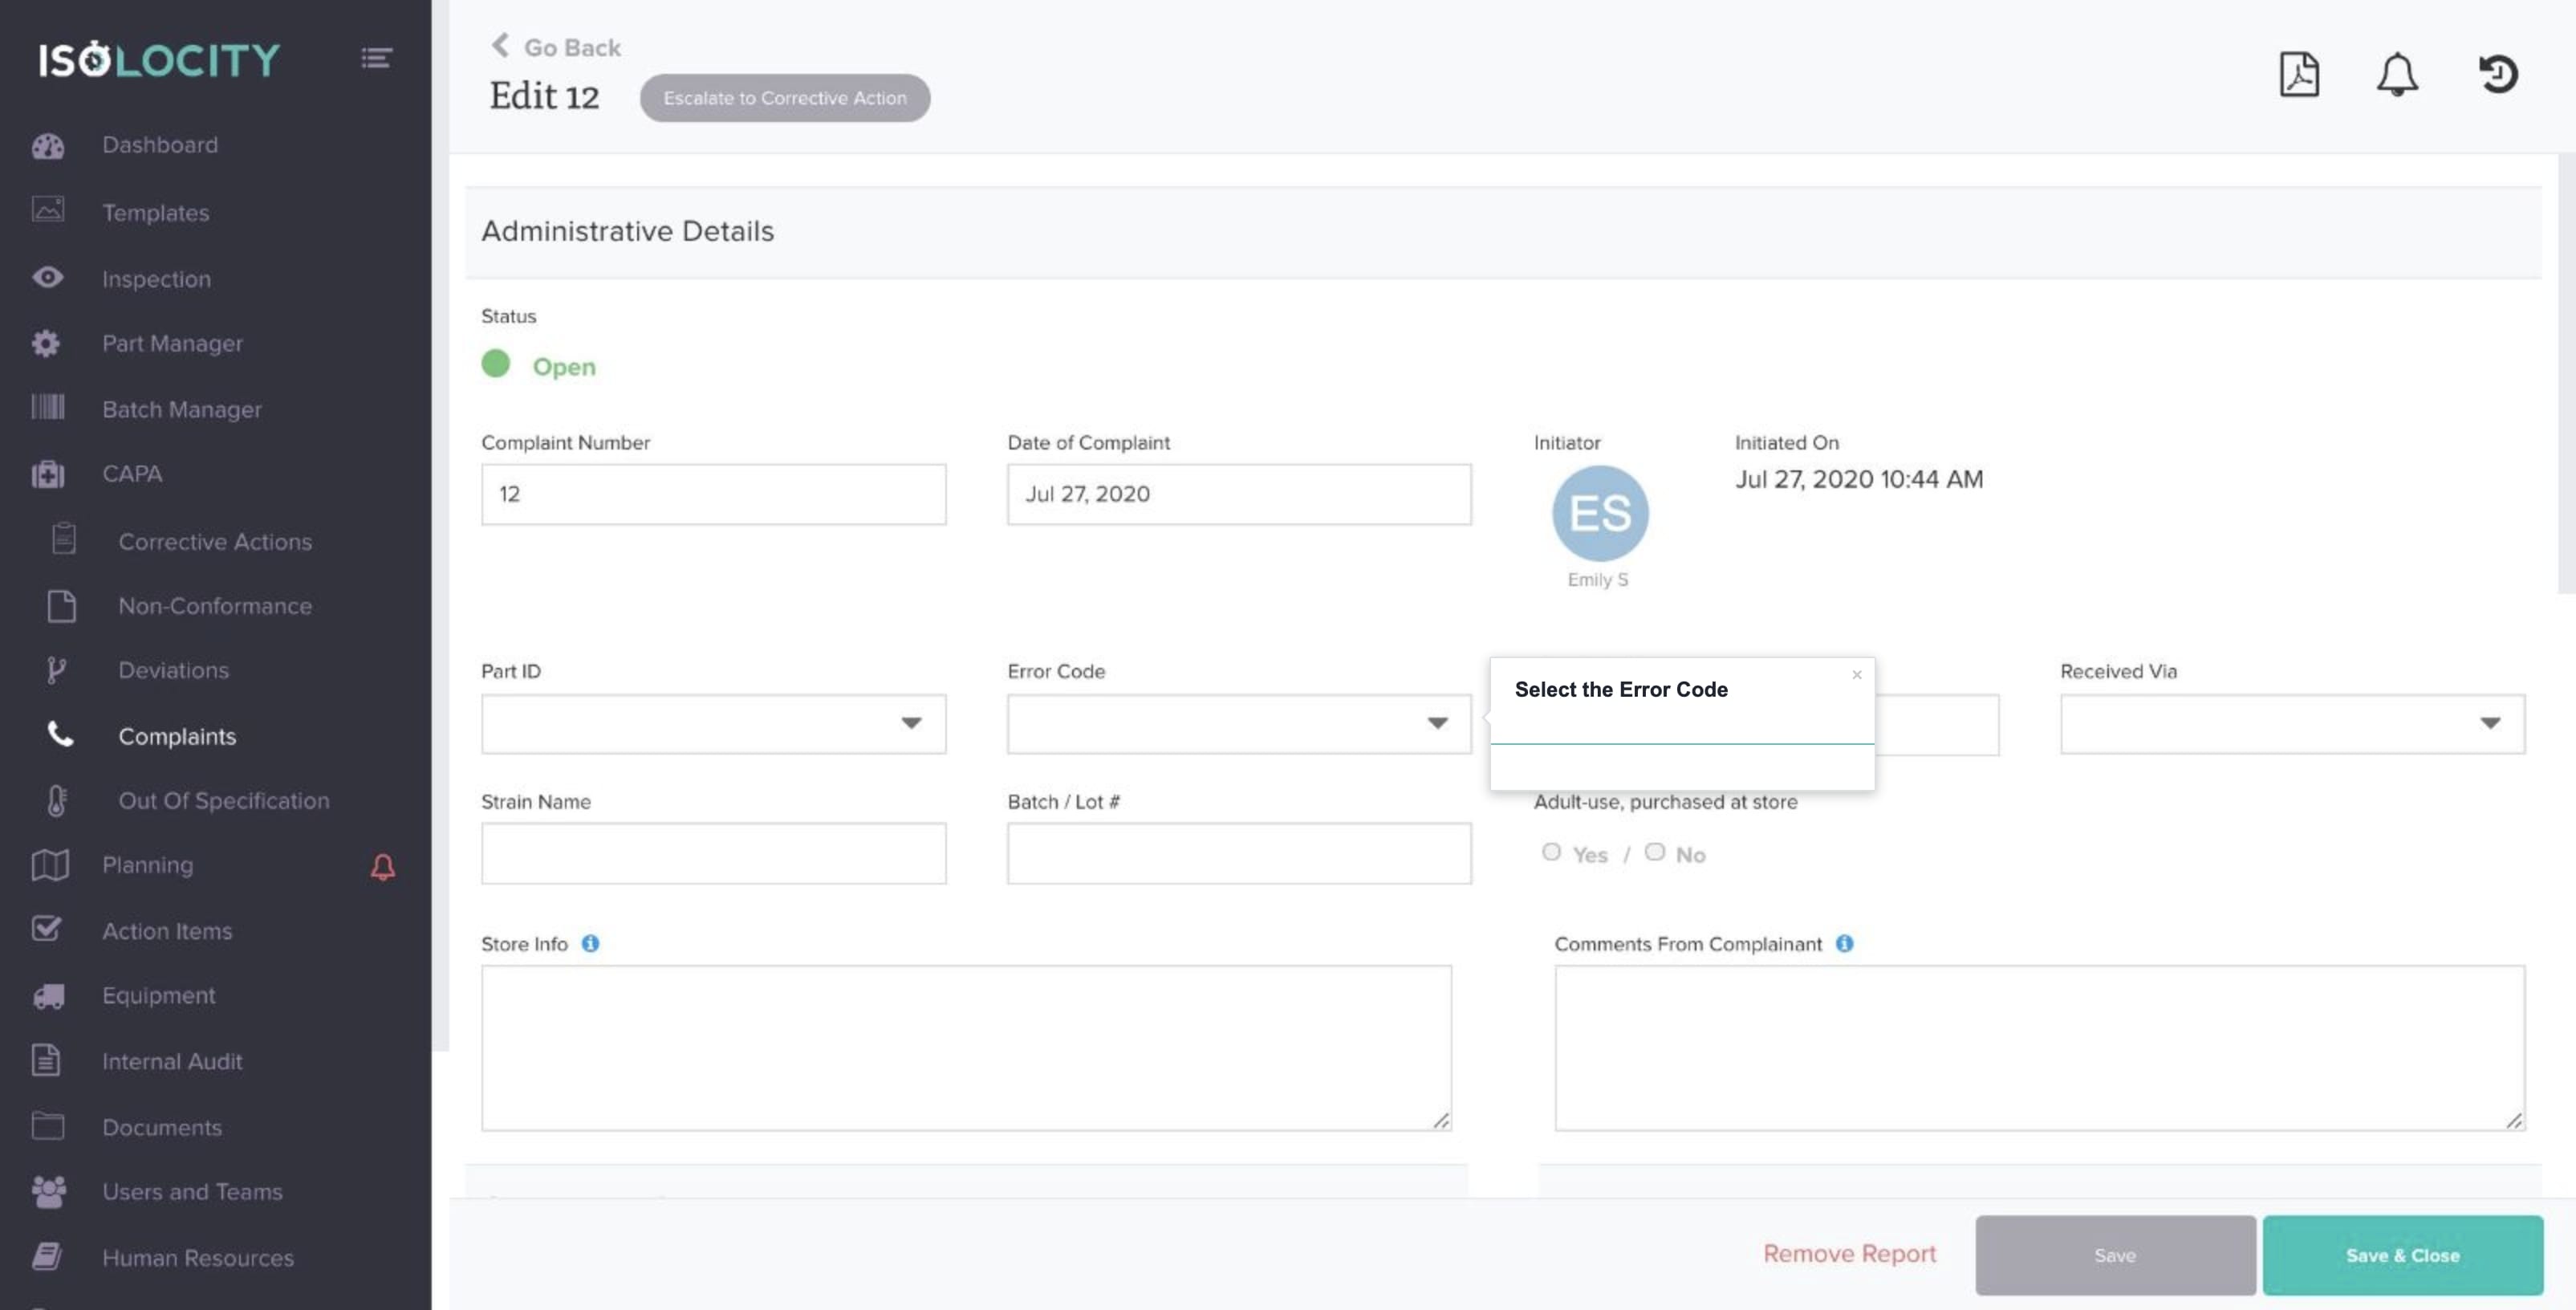
Step #8
Select the Error Code
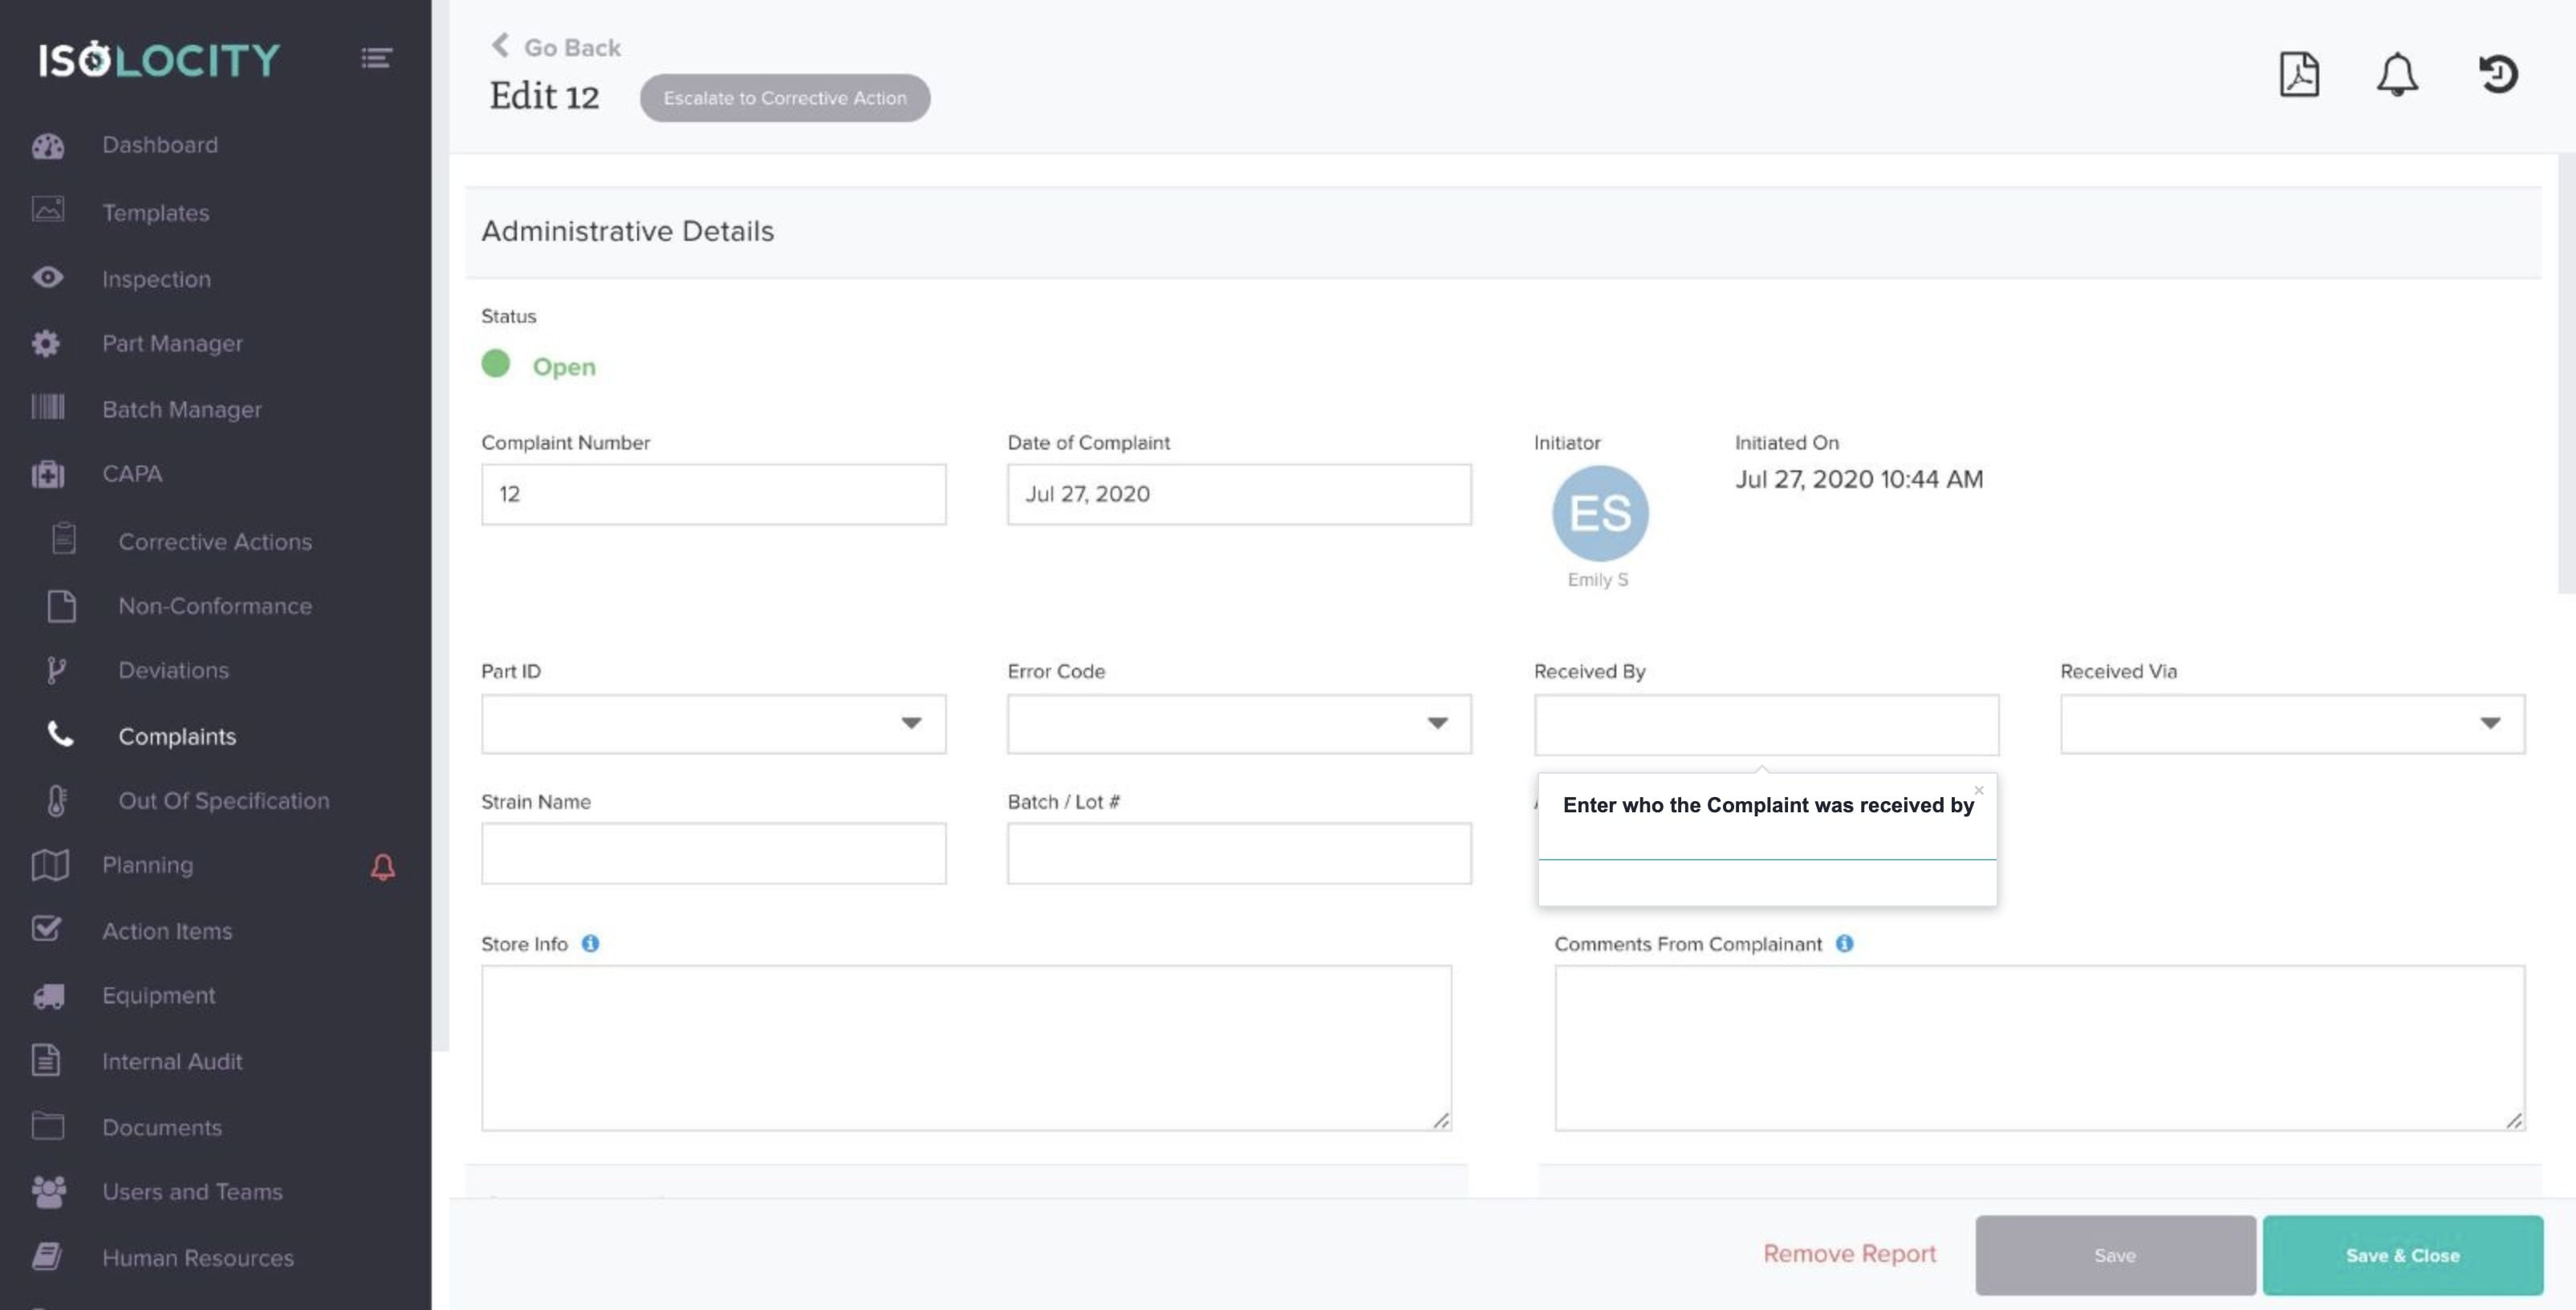
Step #9
Enter who the Complaint was received by
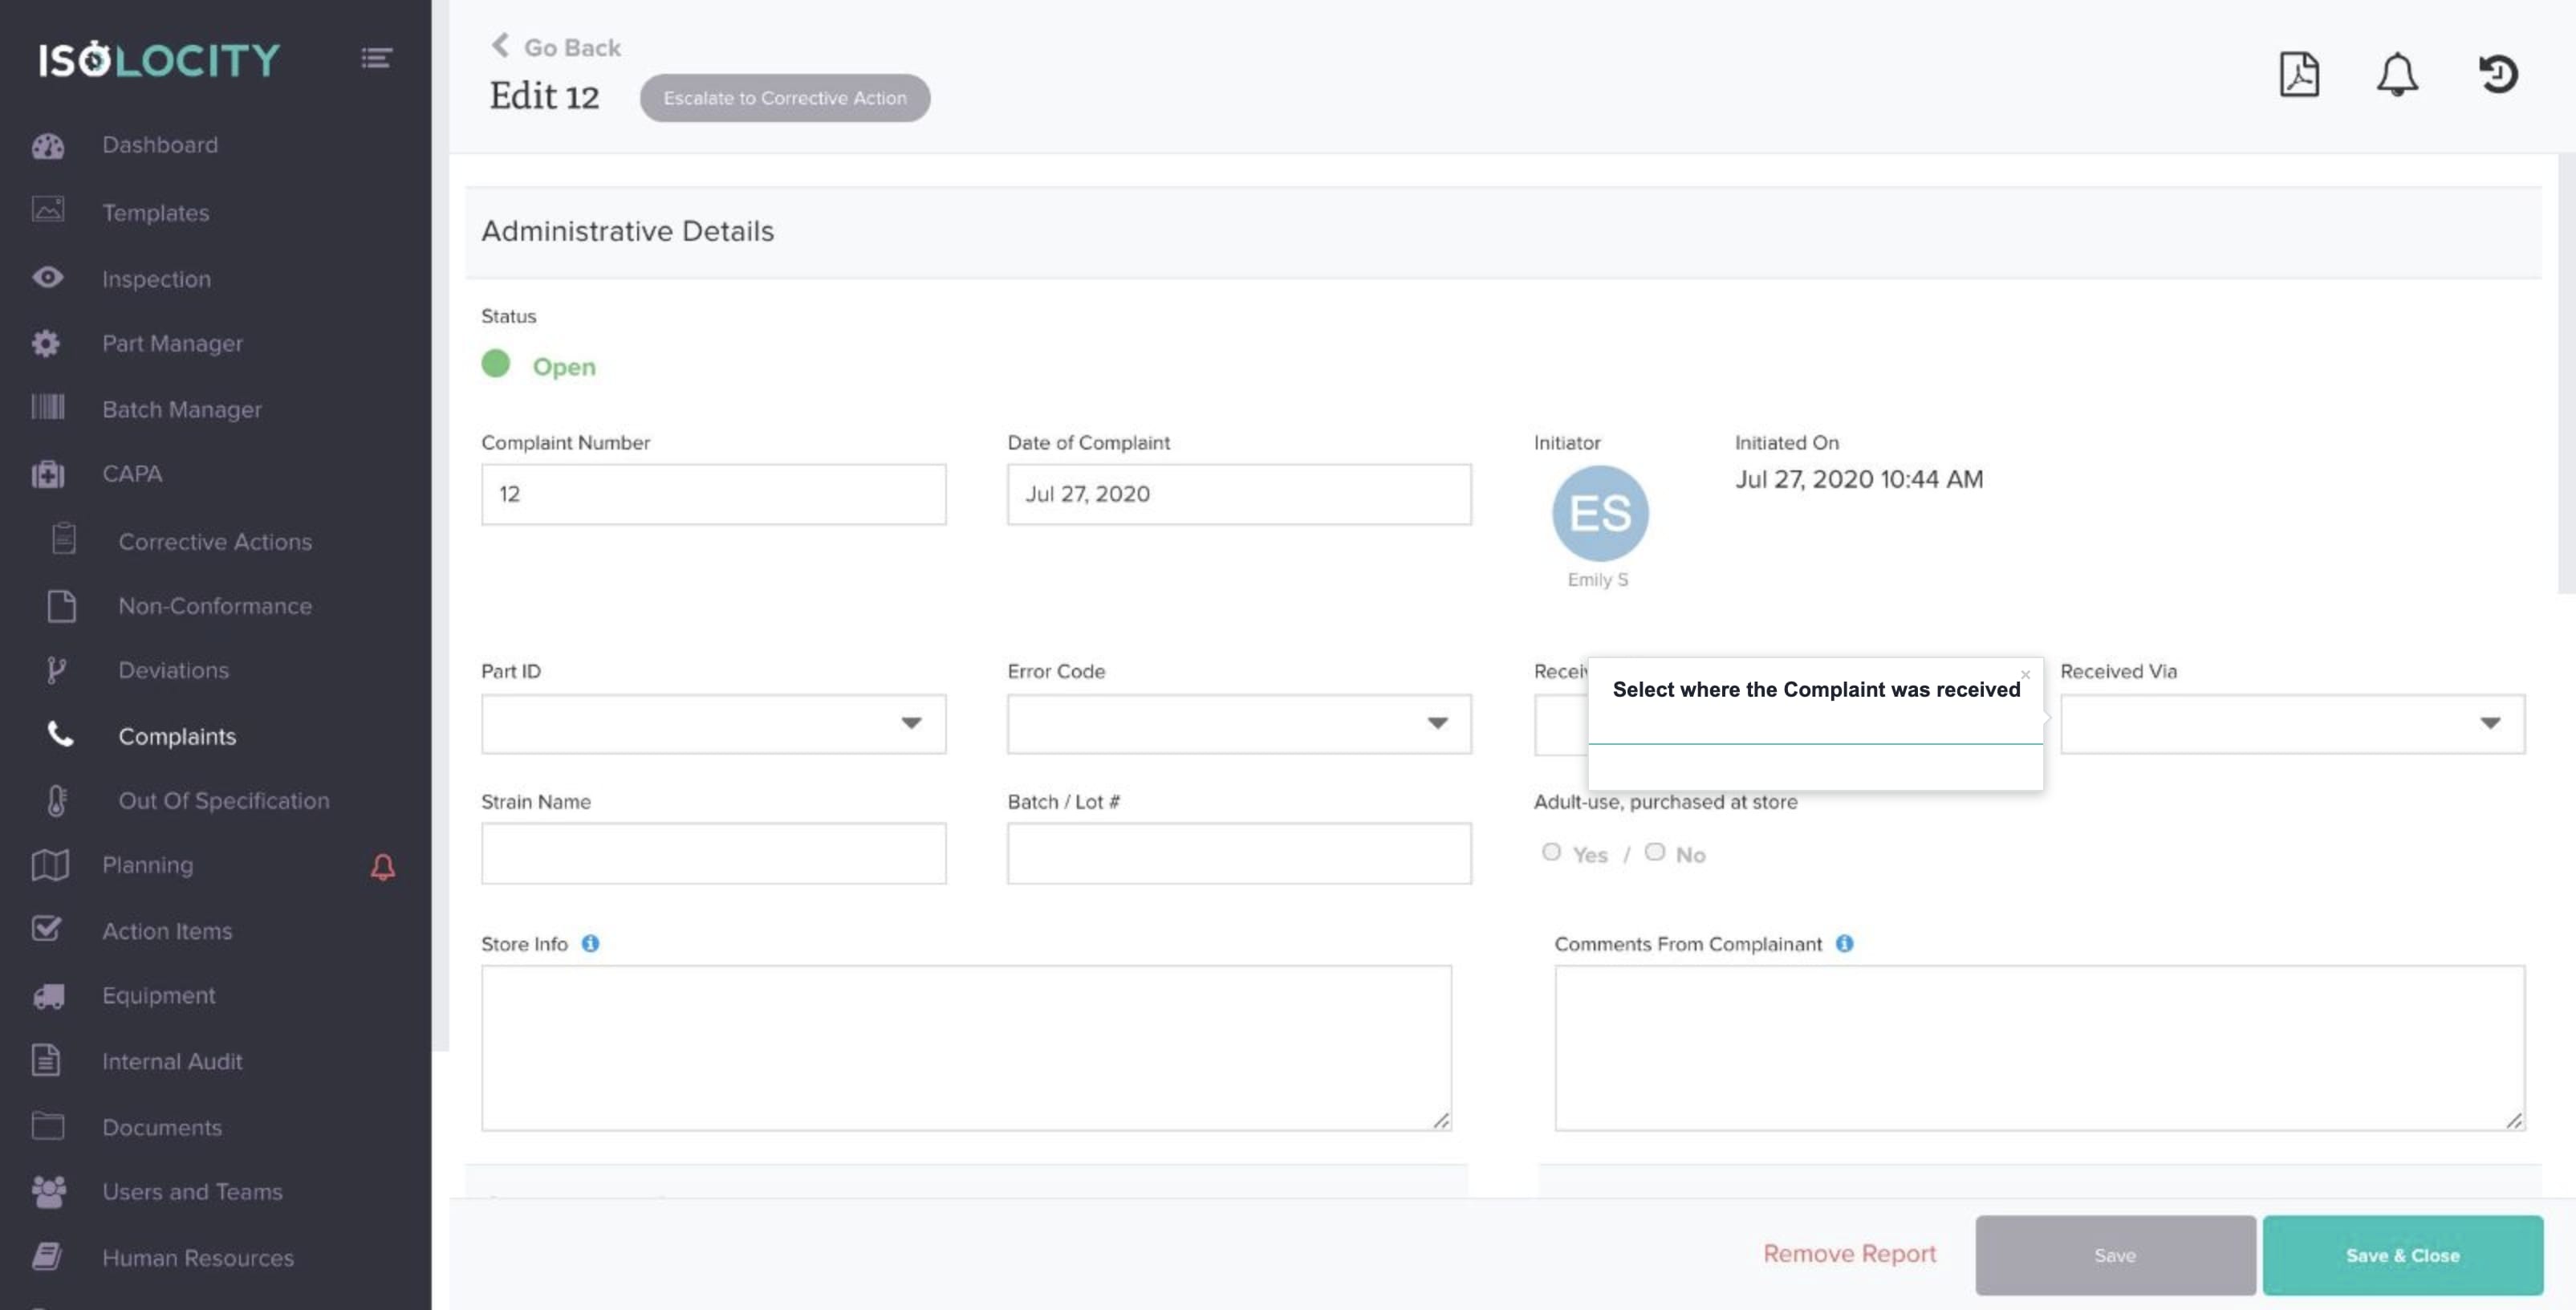
Step #10
Select where the Complaint was received
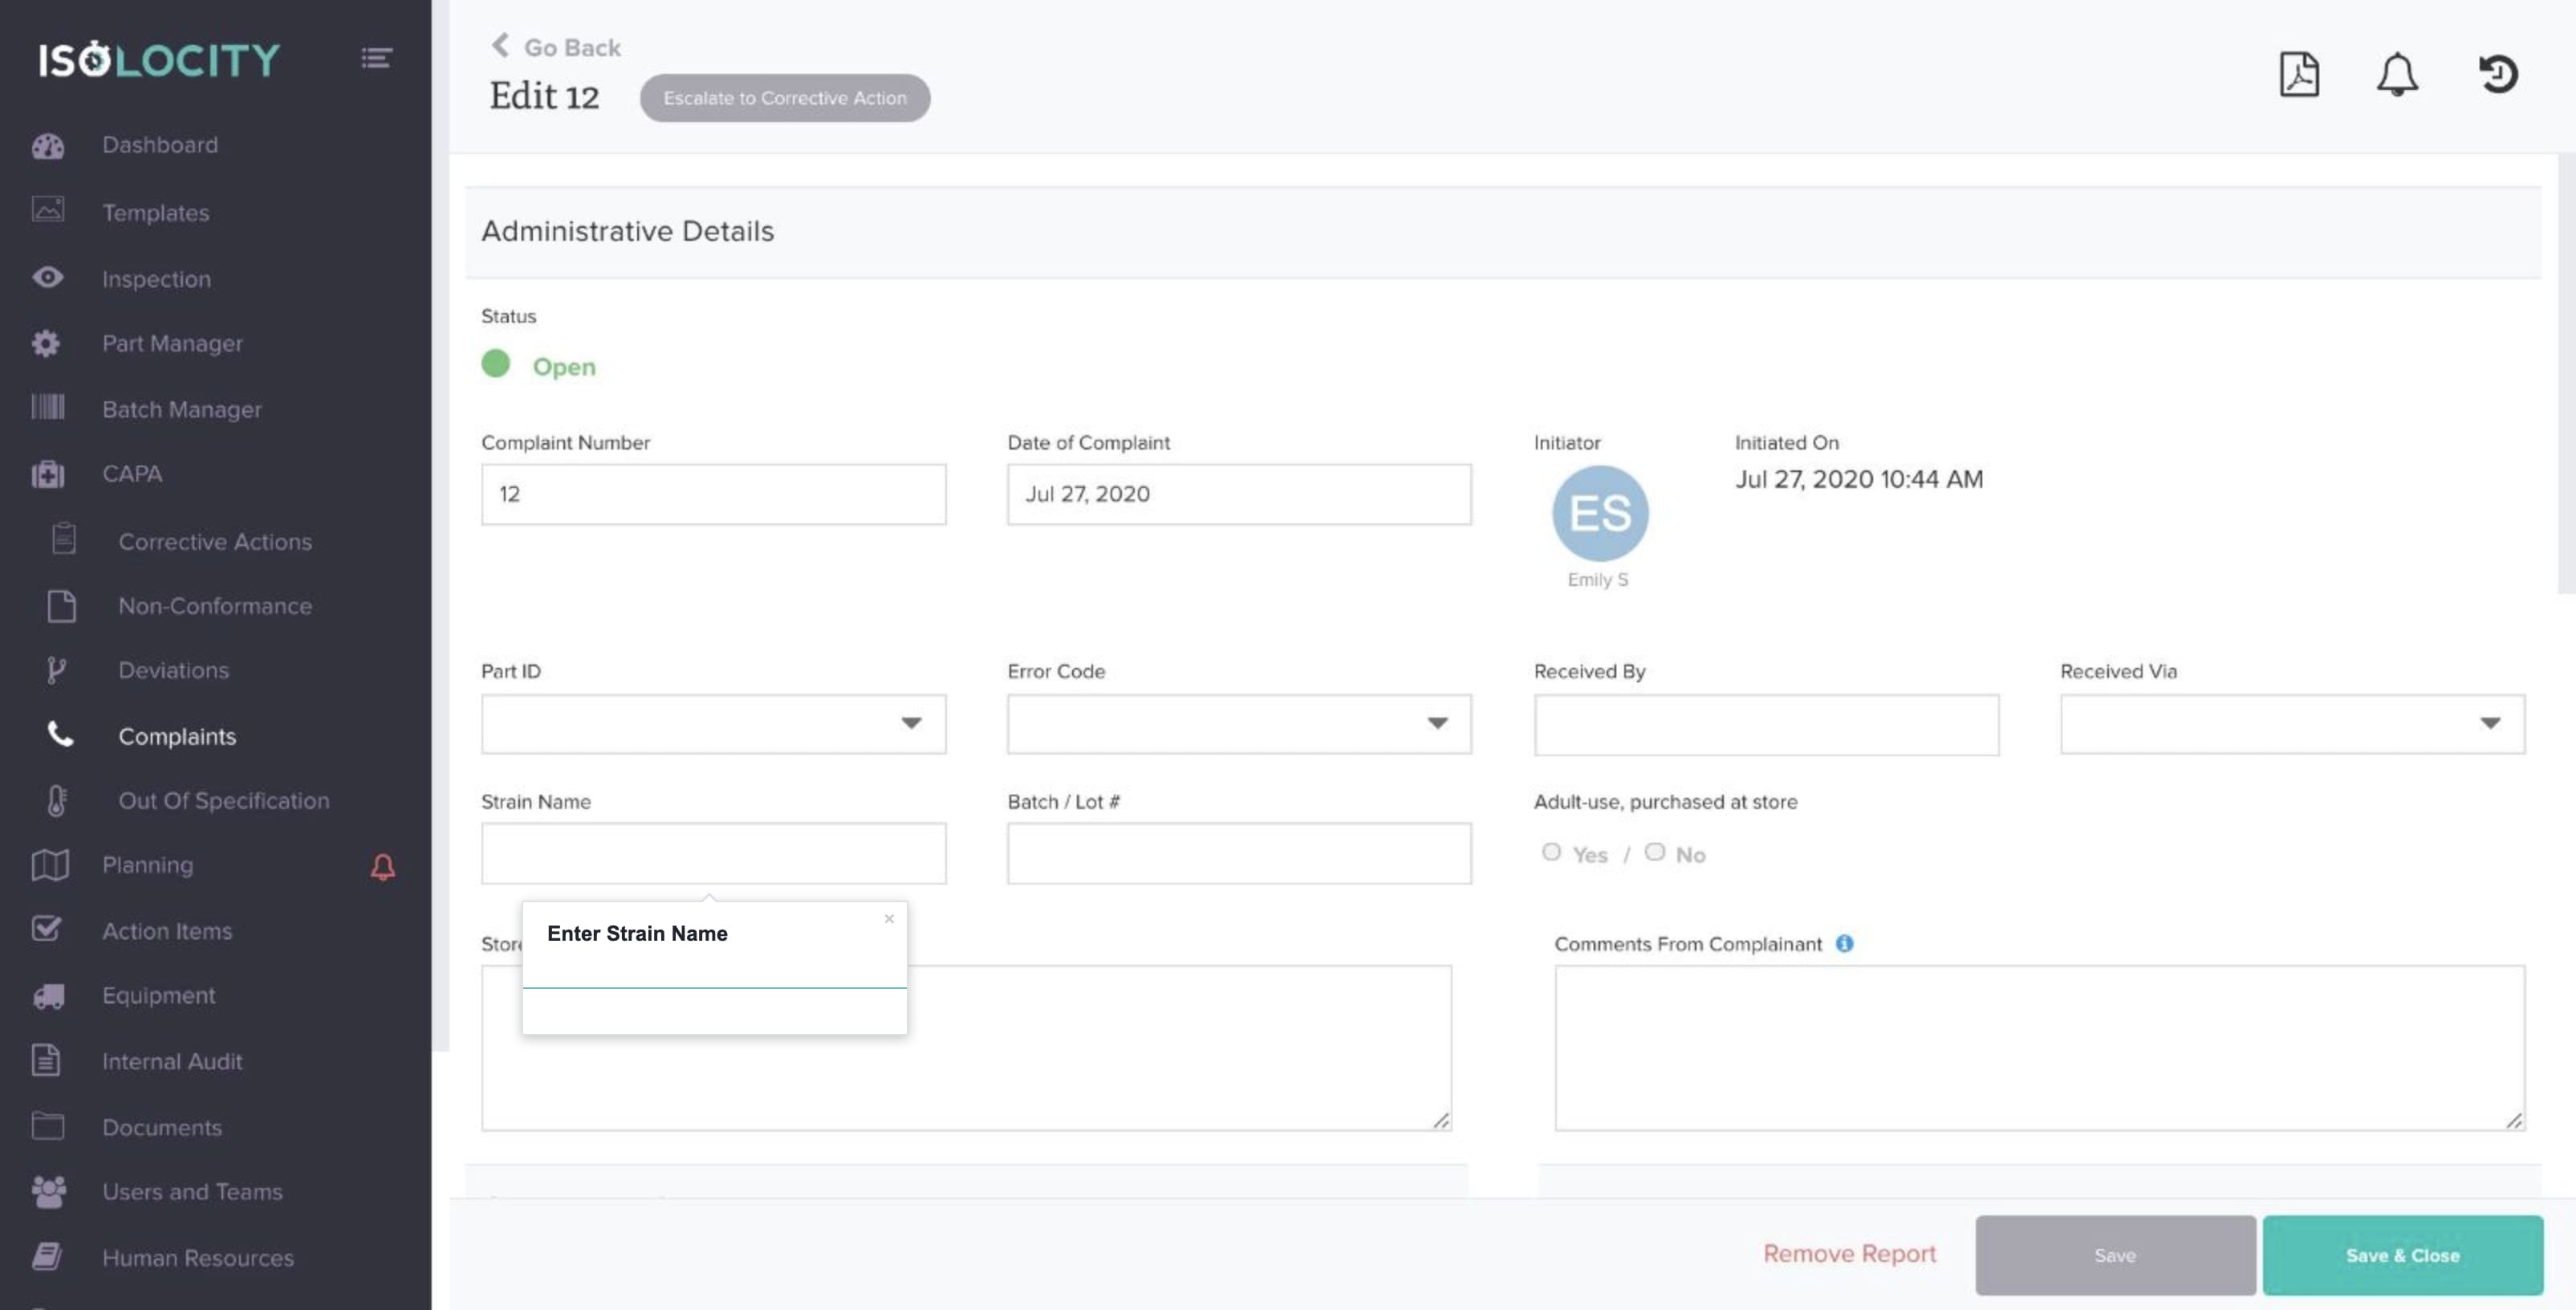
Step #11
Enter Strain Name
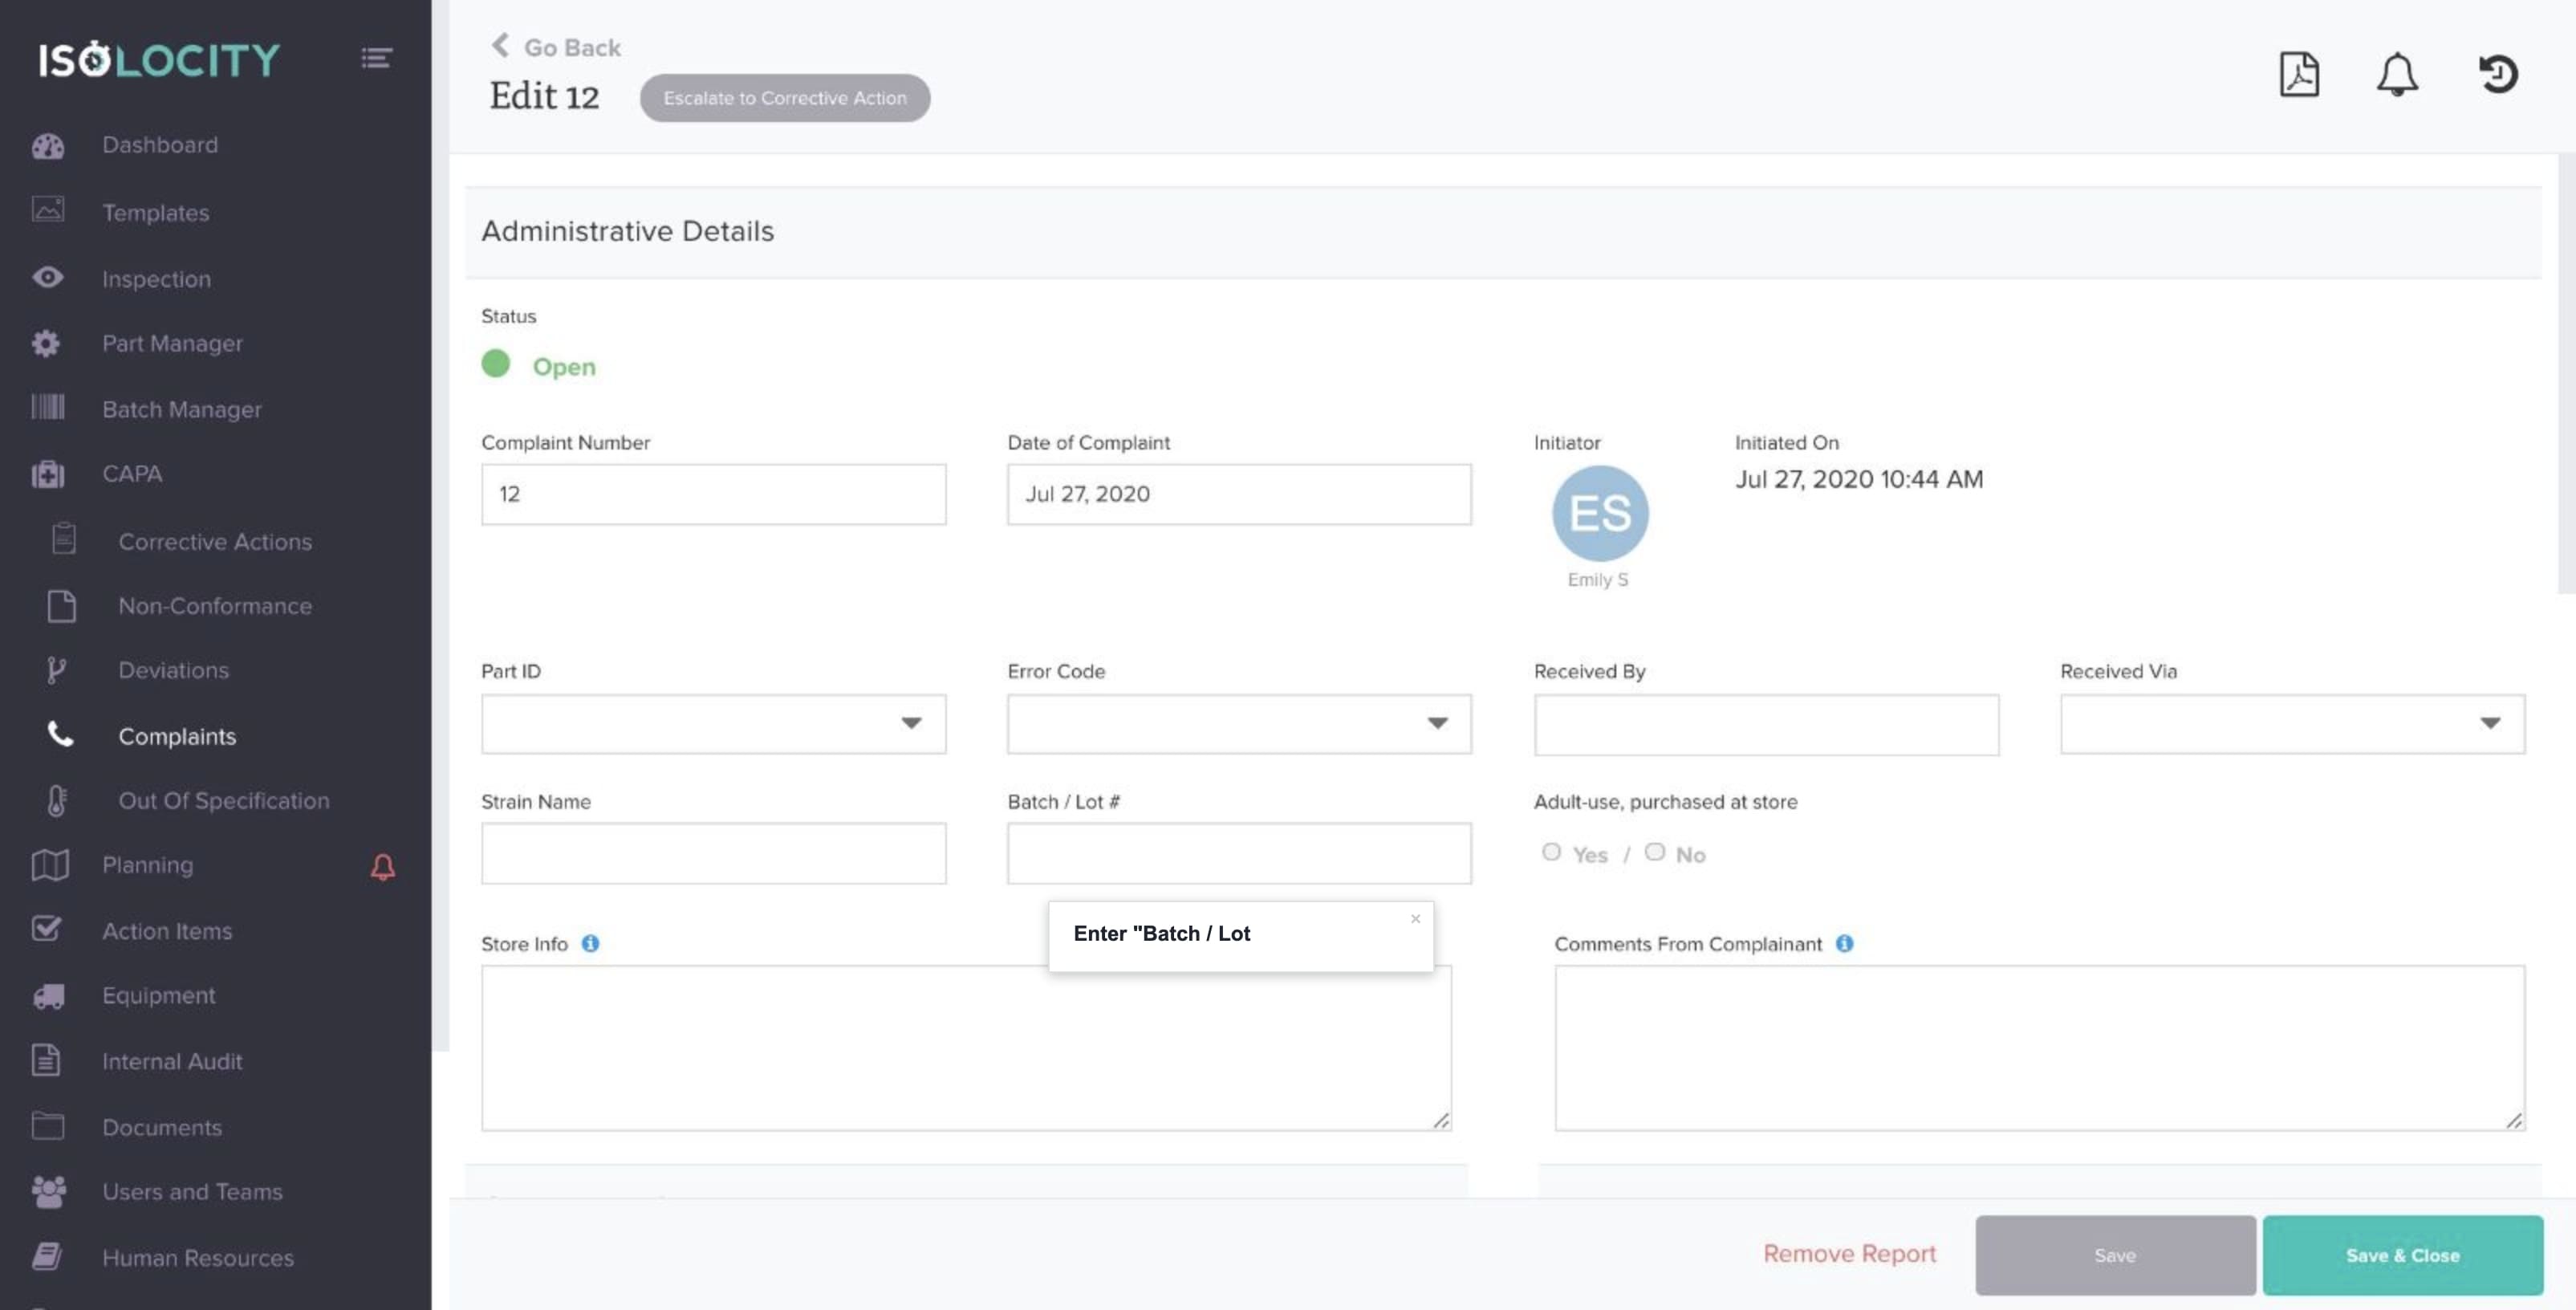
Step #12
Enter “Batch / Lot #”
Step #13
Click Yes or No to indicate if the strain was purchased at a store
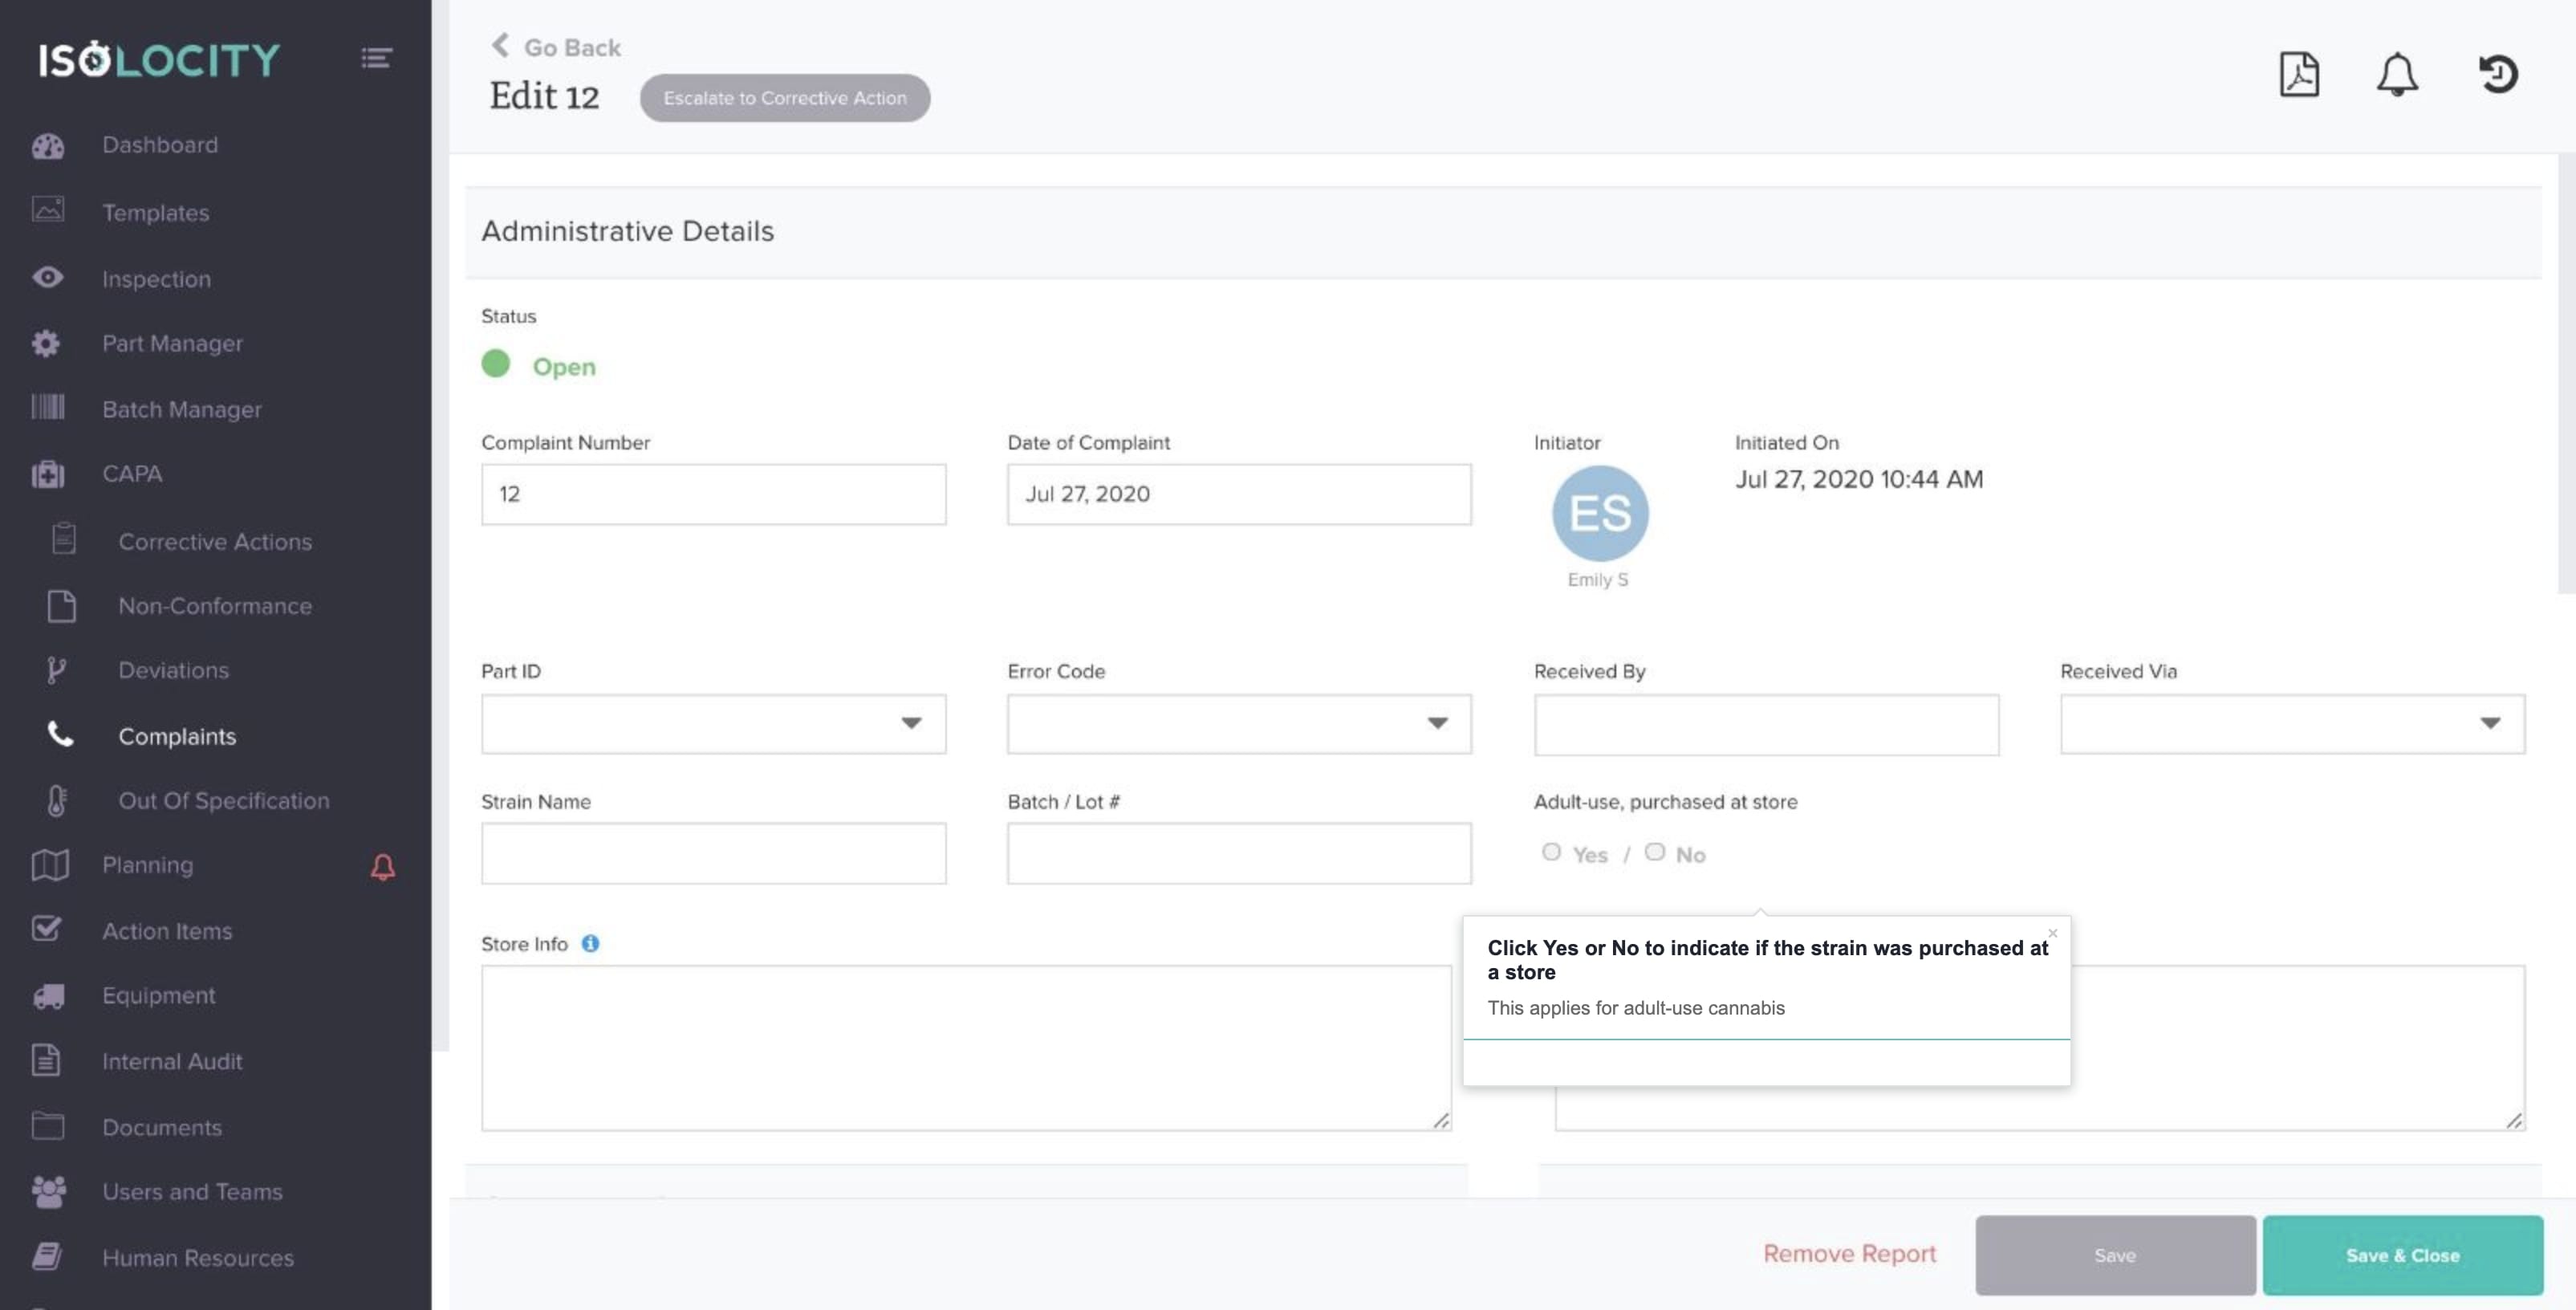
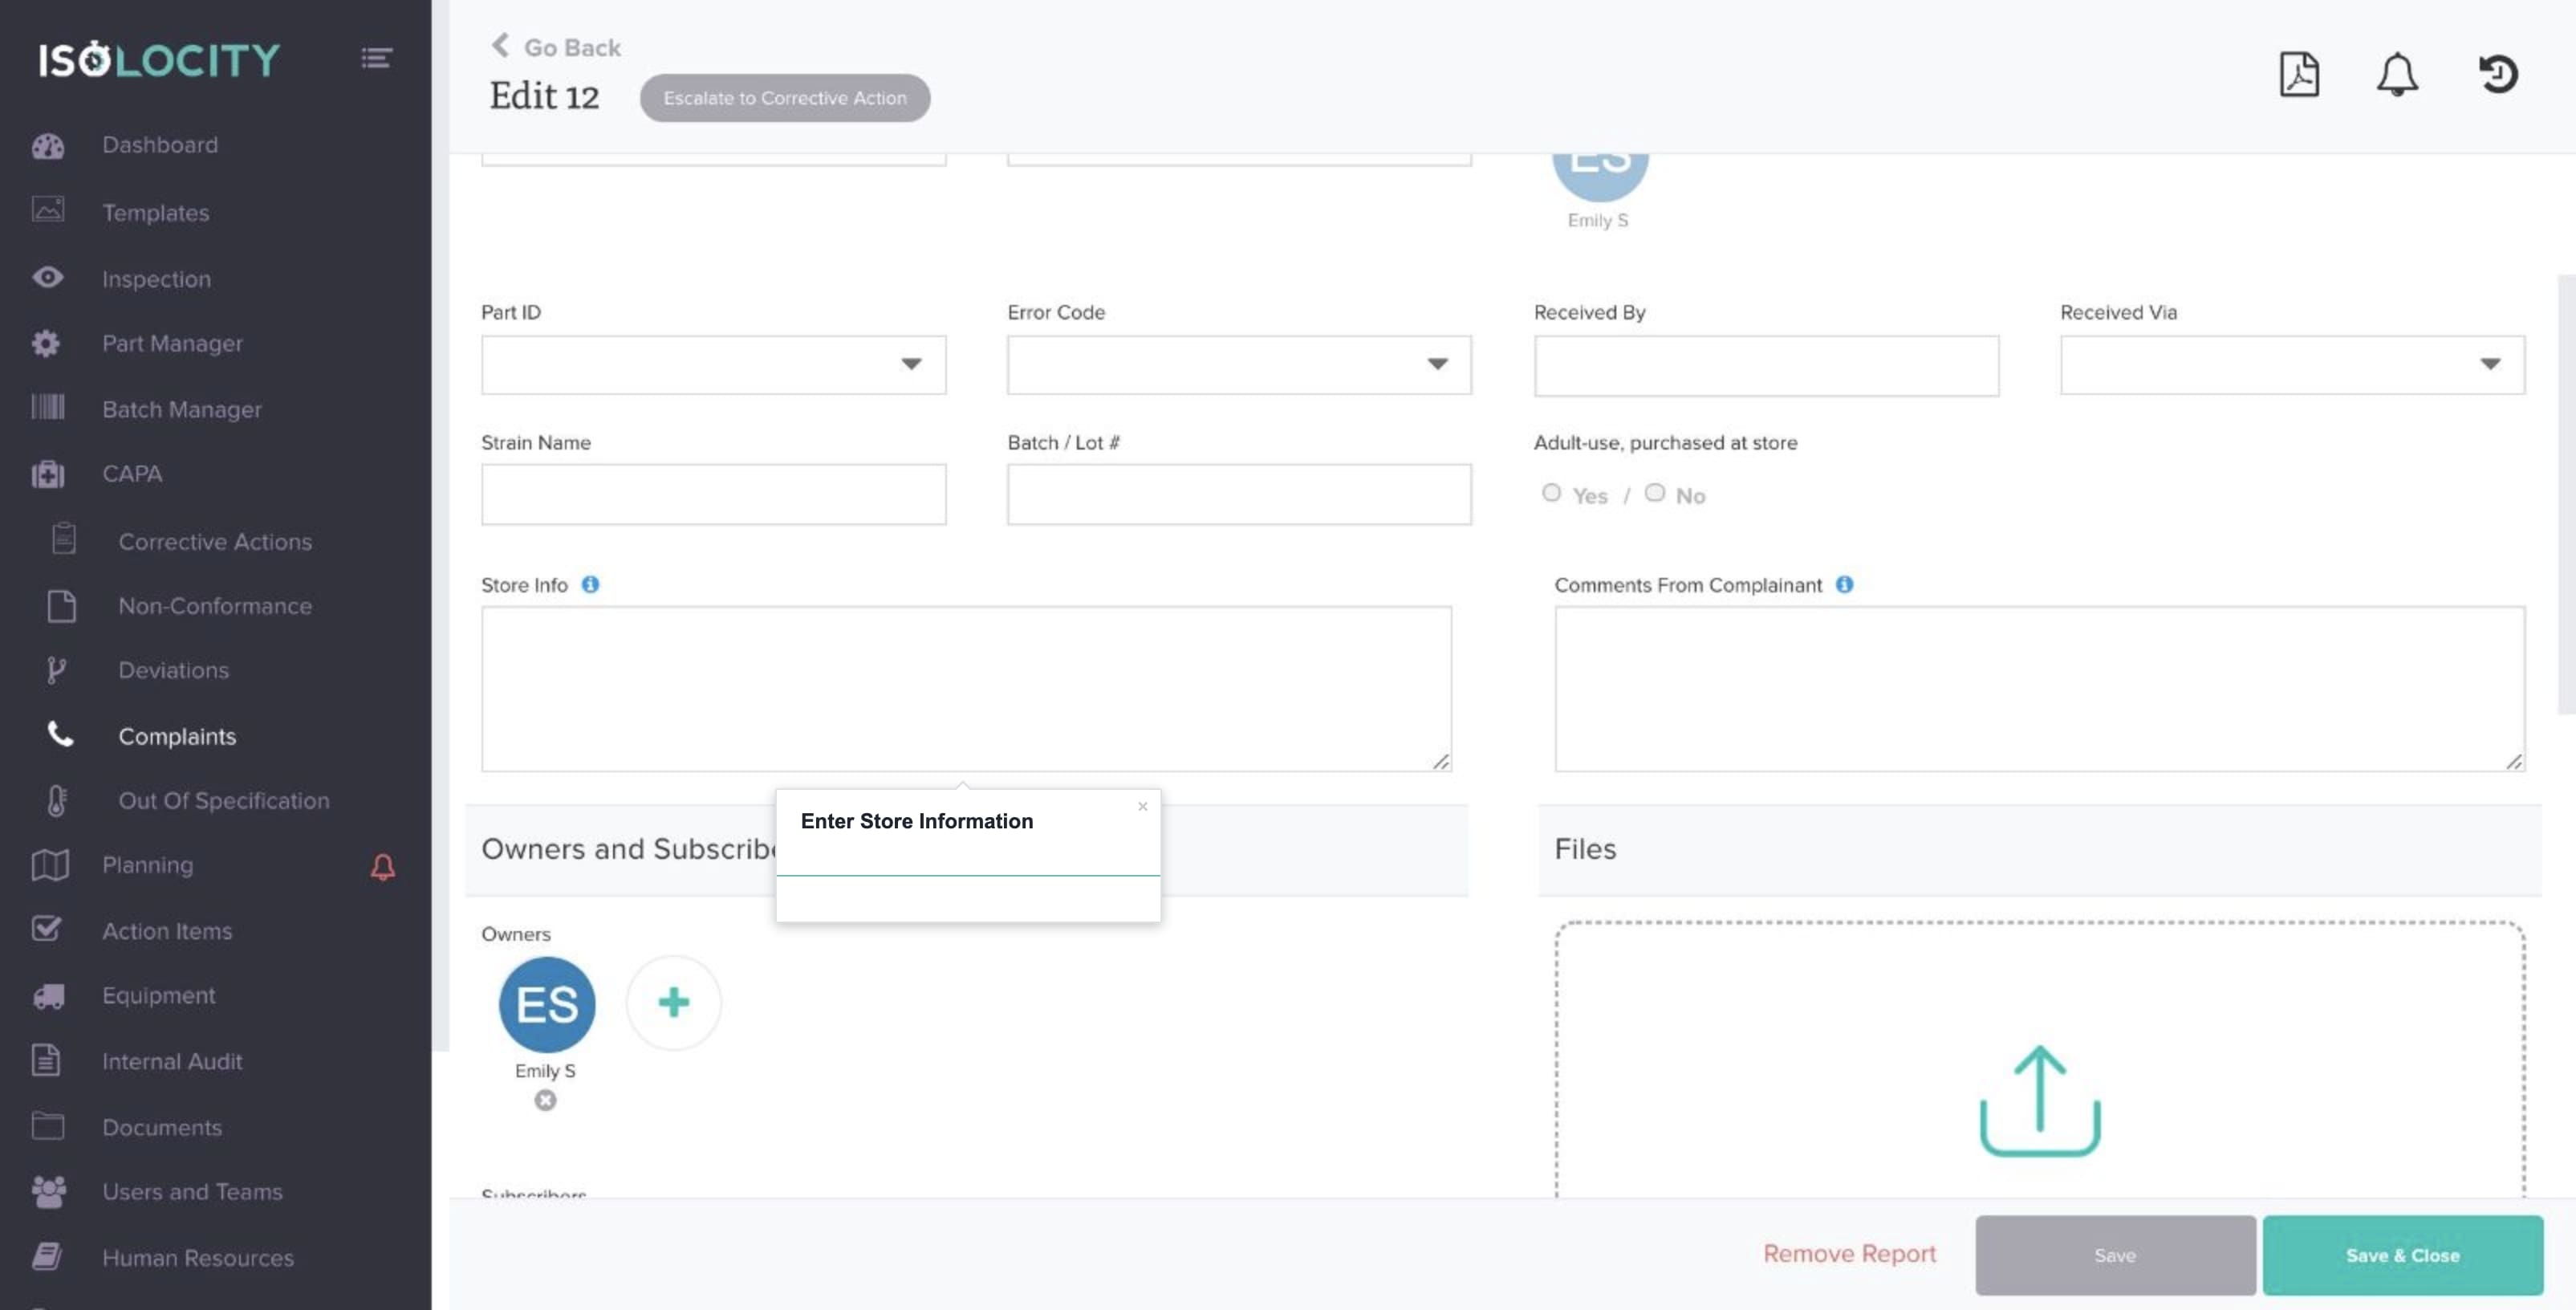
Step #14
Enter Store Information
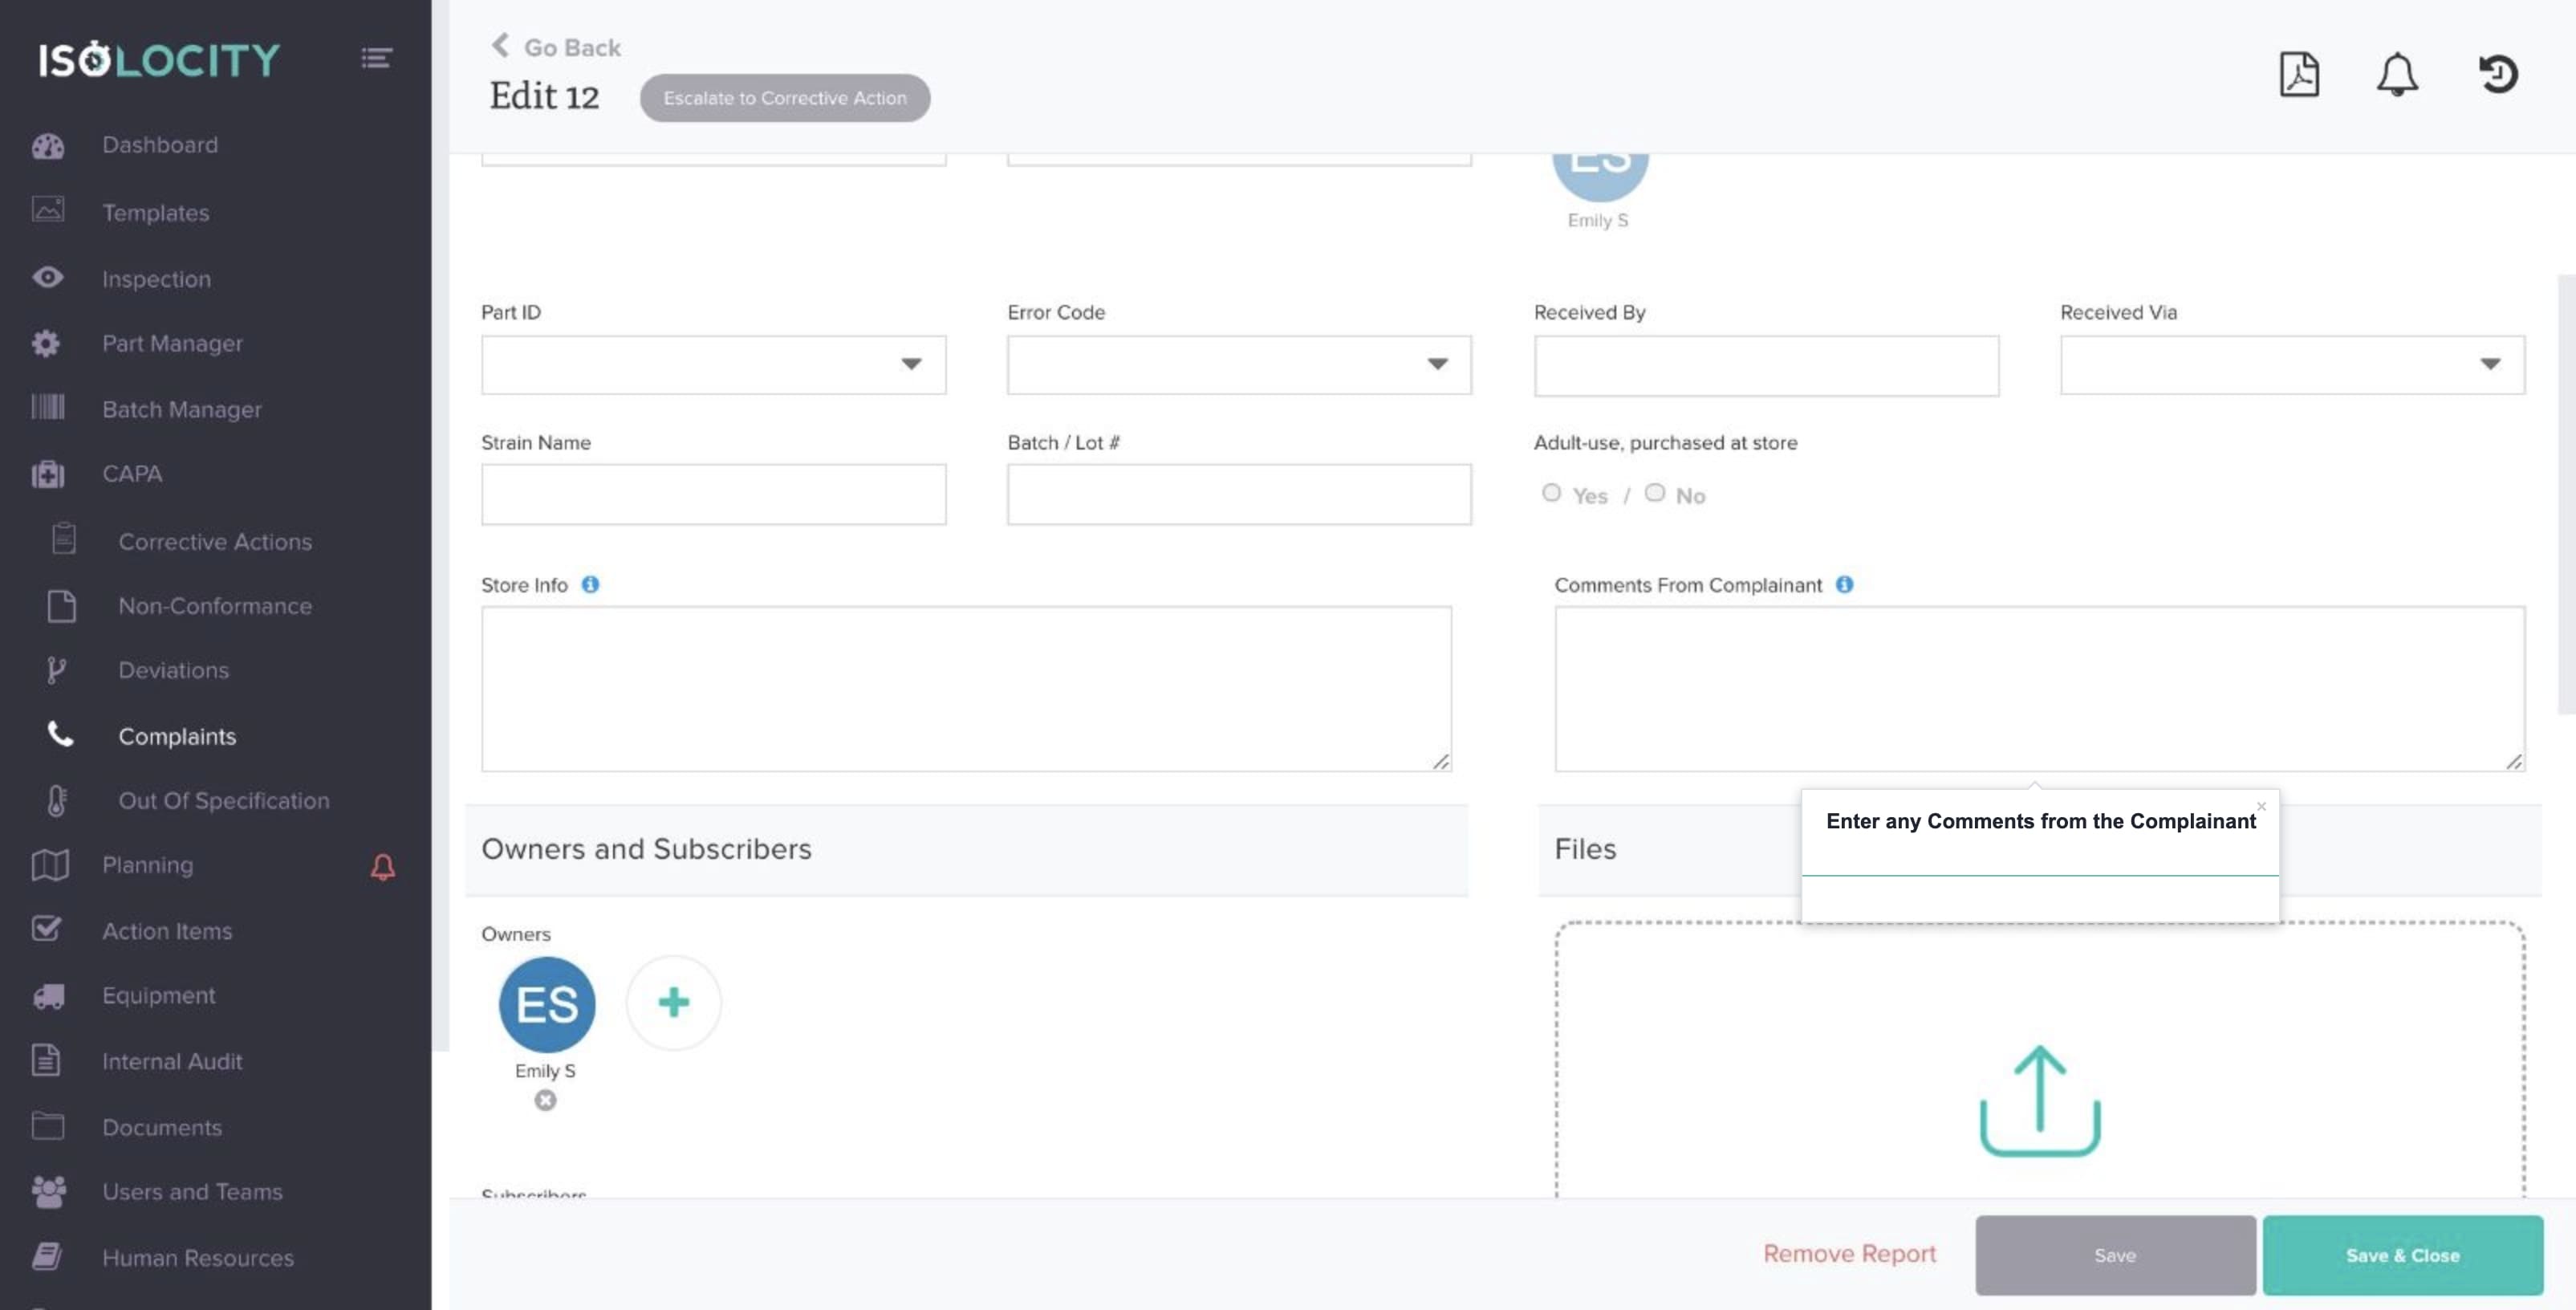
Step #15
Enter any Comments from the Complainant
Step #16
Add an “Owner” to this report
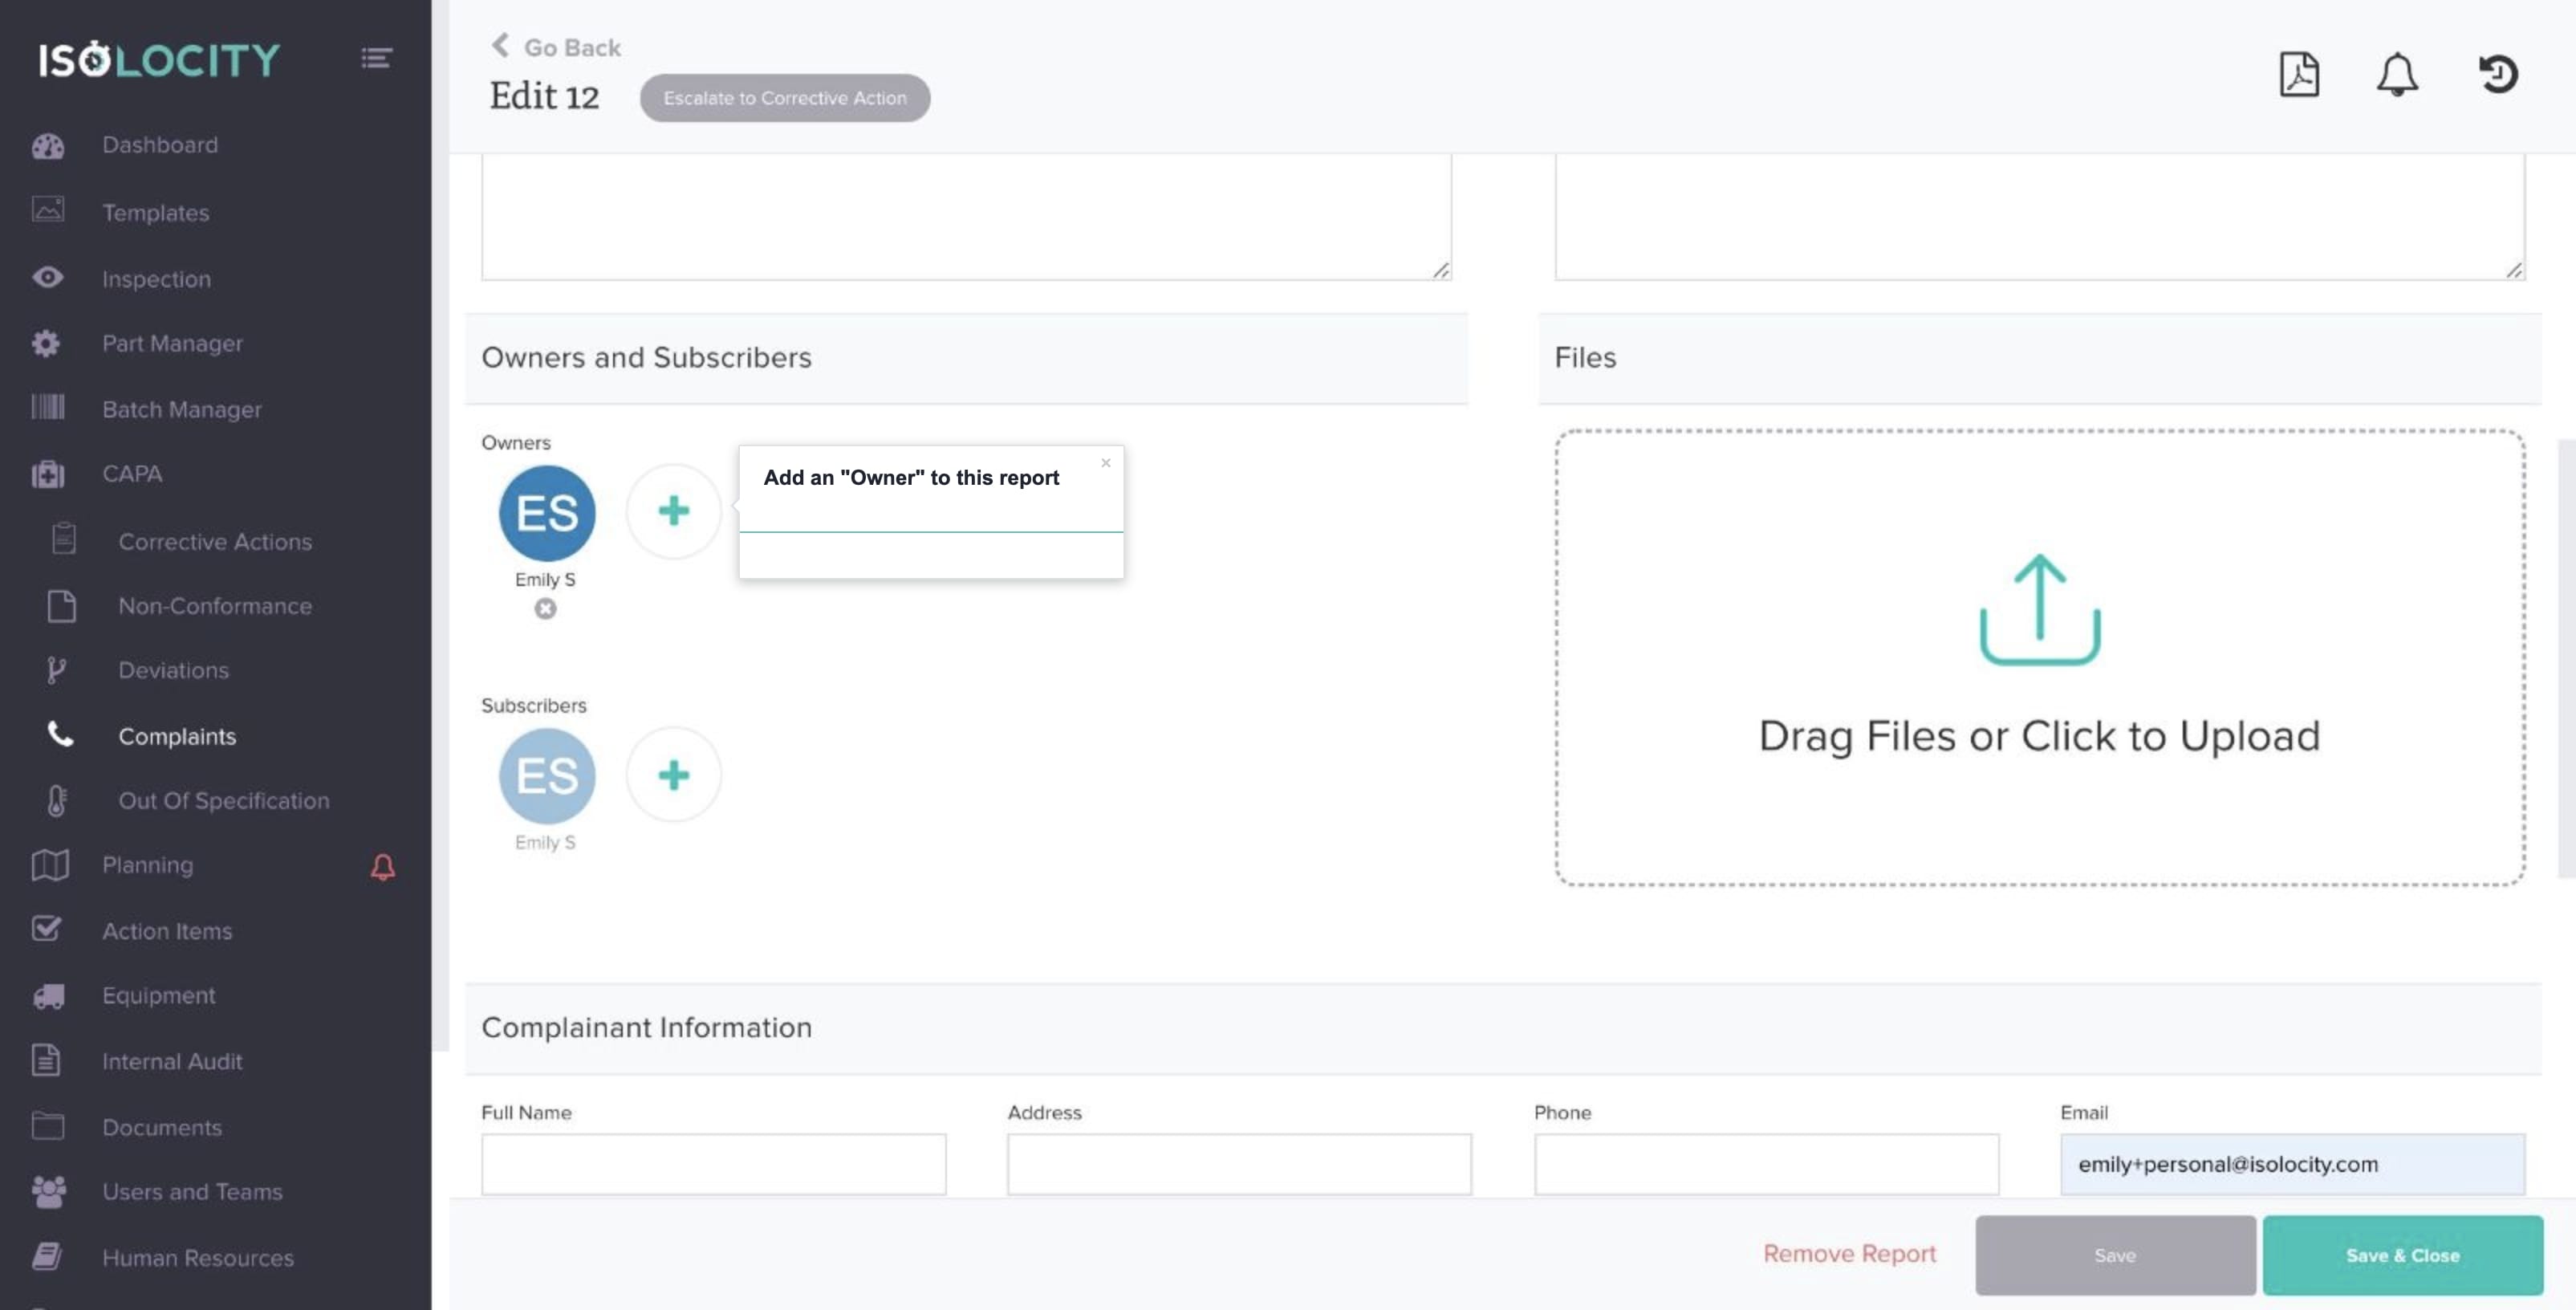
Step #17
Add a “Subscriber”
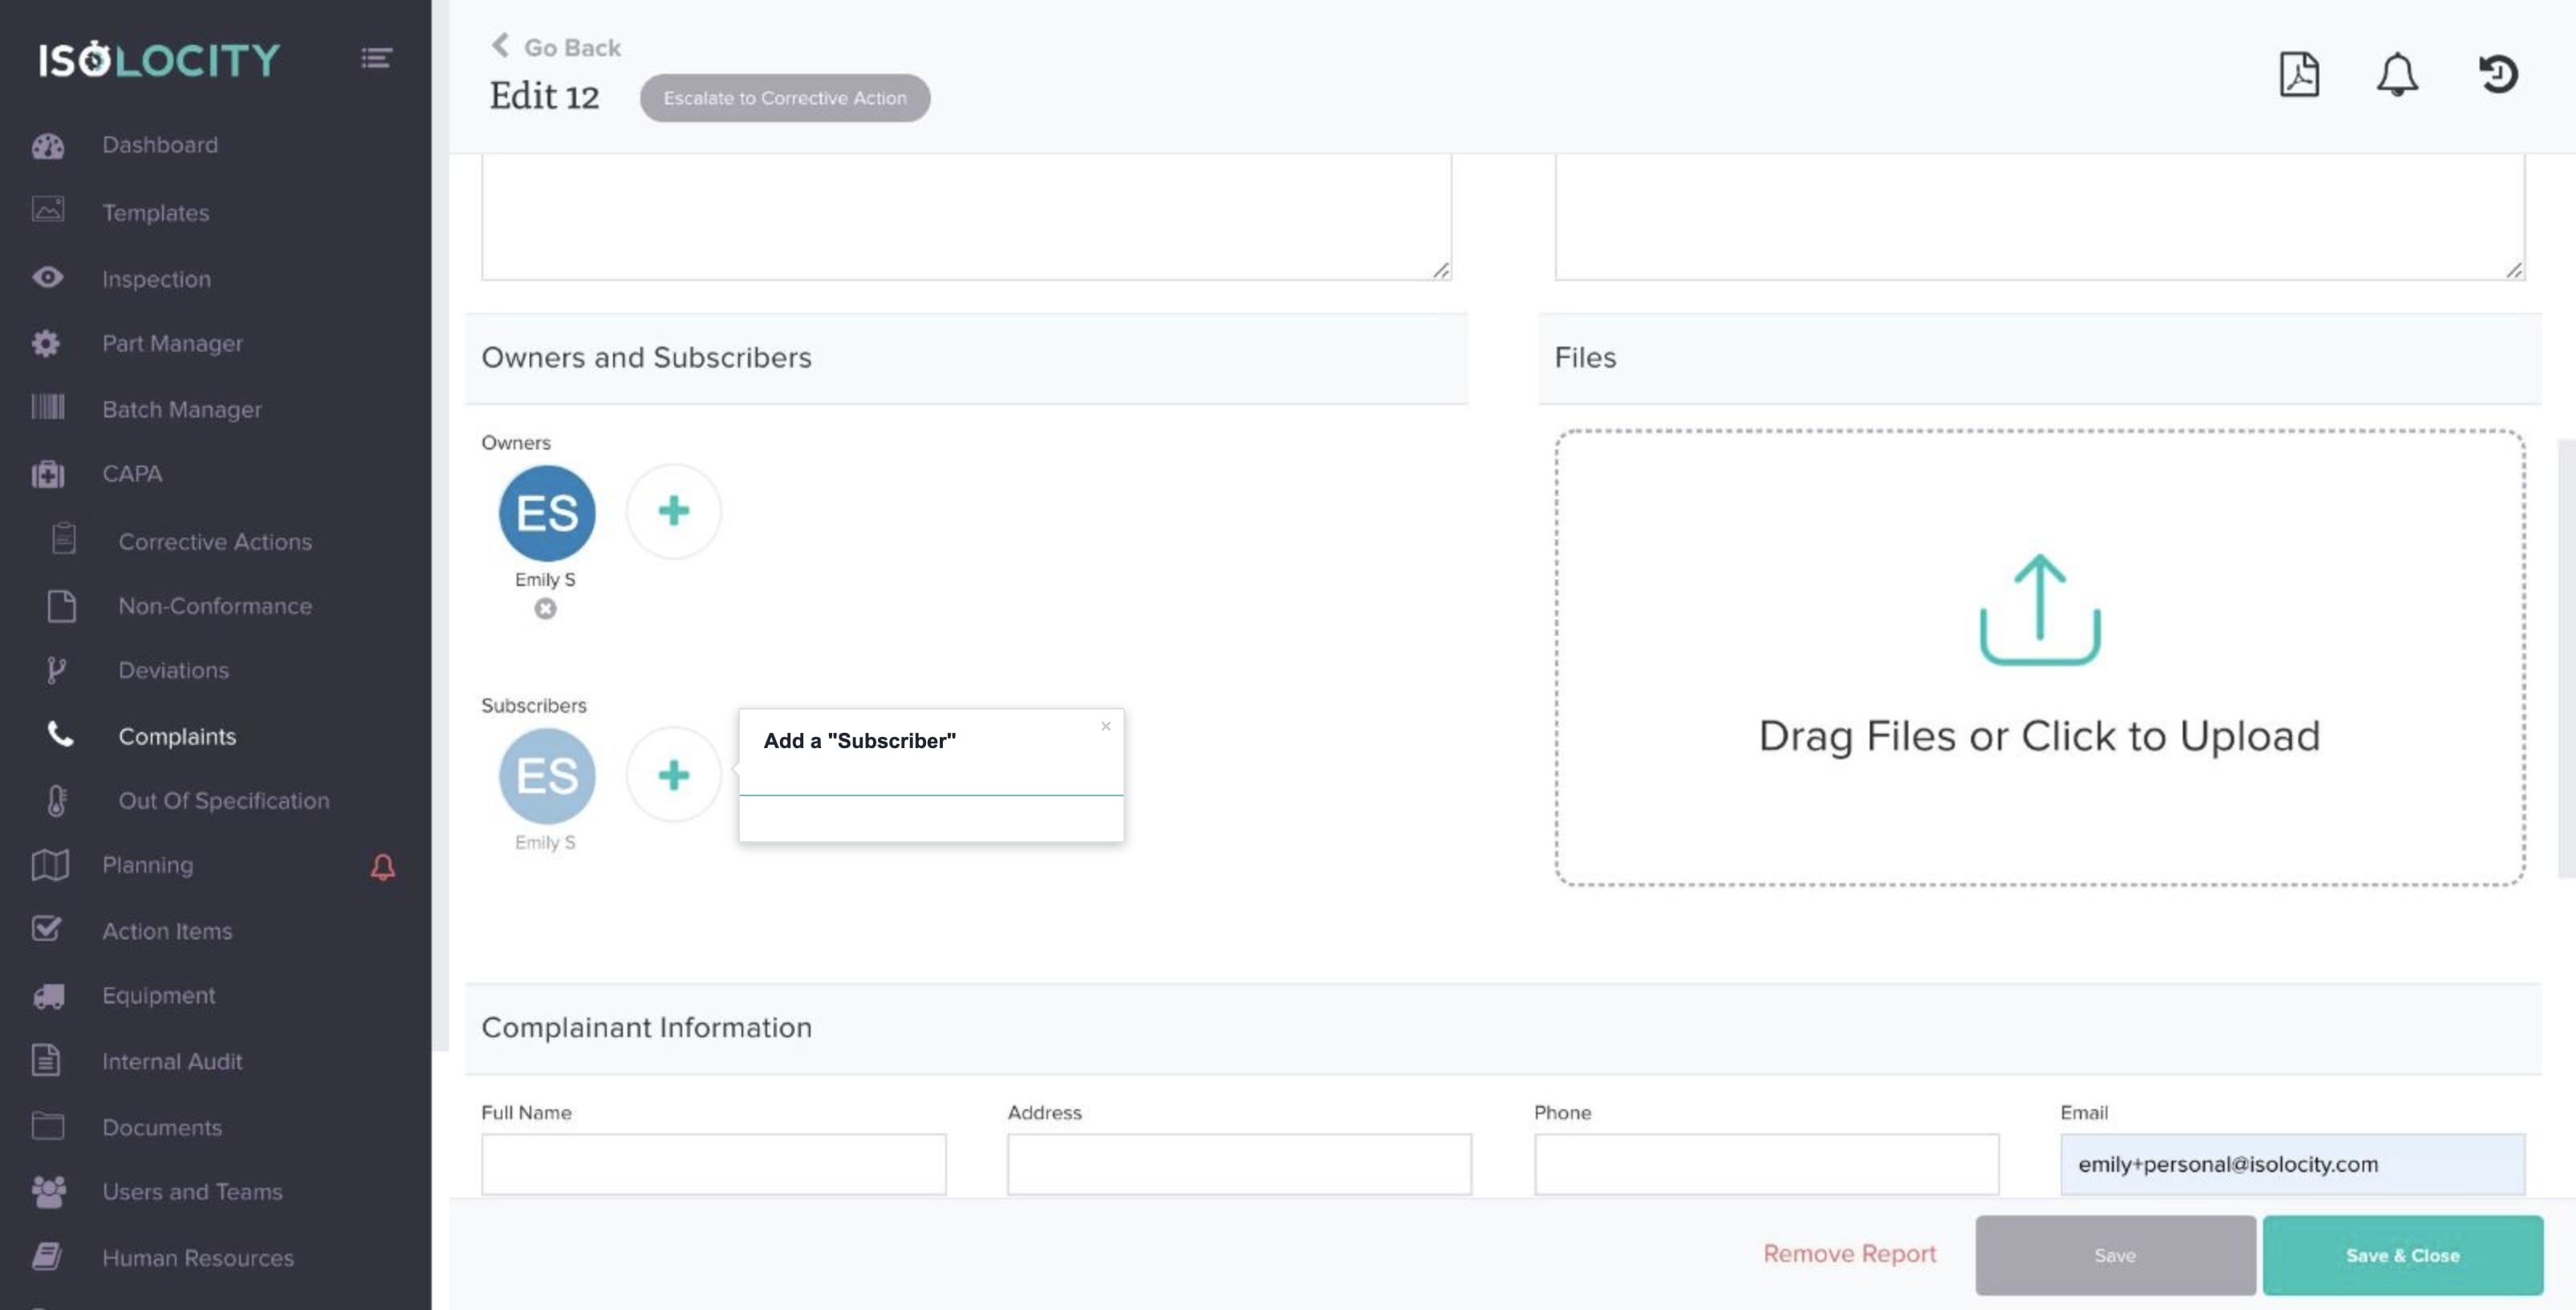
Step #18
Upload any files associated with the Complaint

Step #19
Enter the Complainant’s Full Name

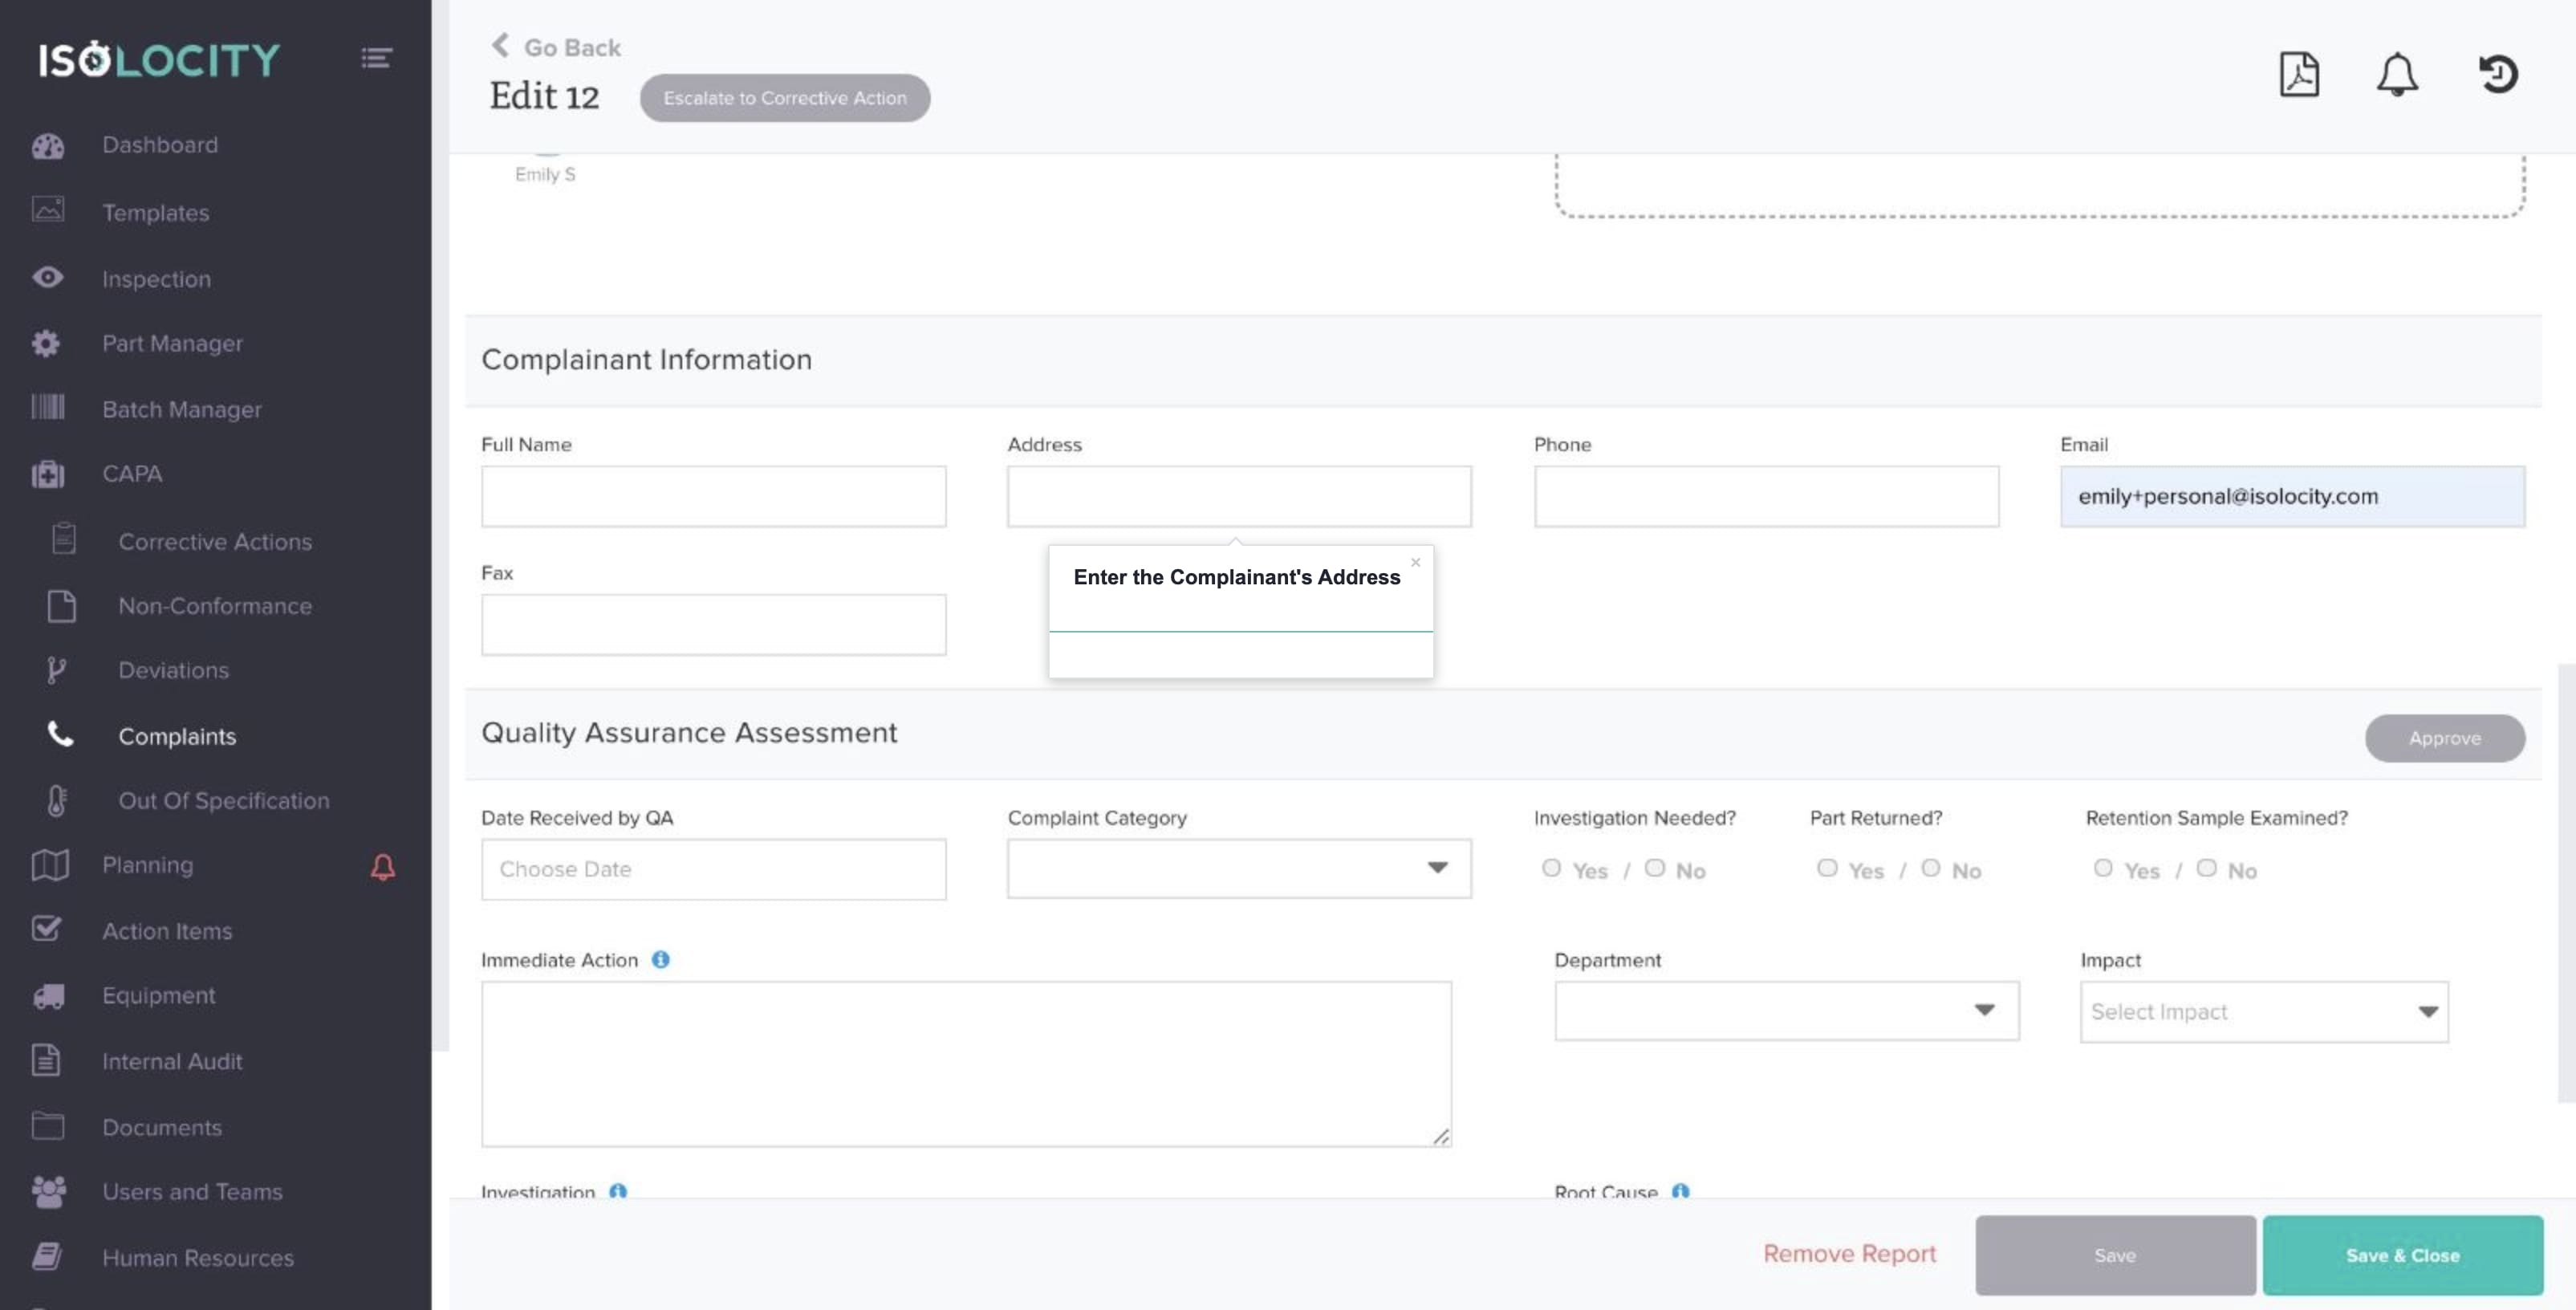
Step #20
Enter the Complainant’s Address
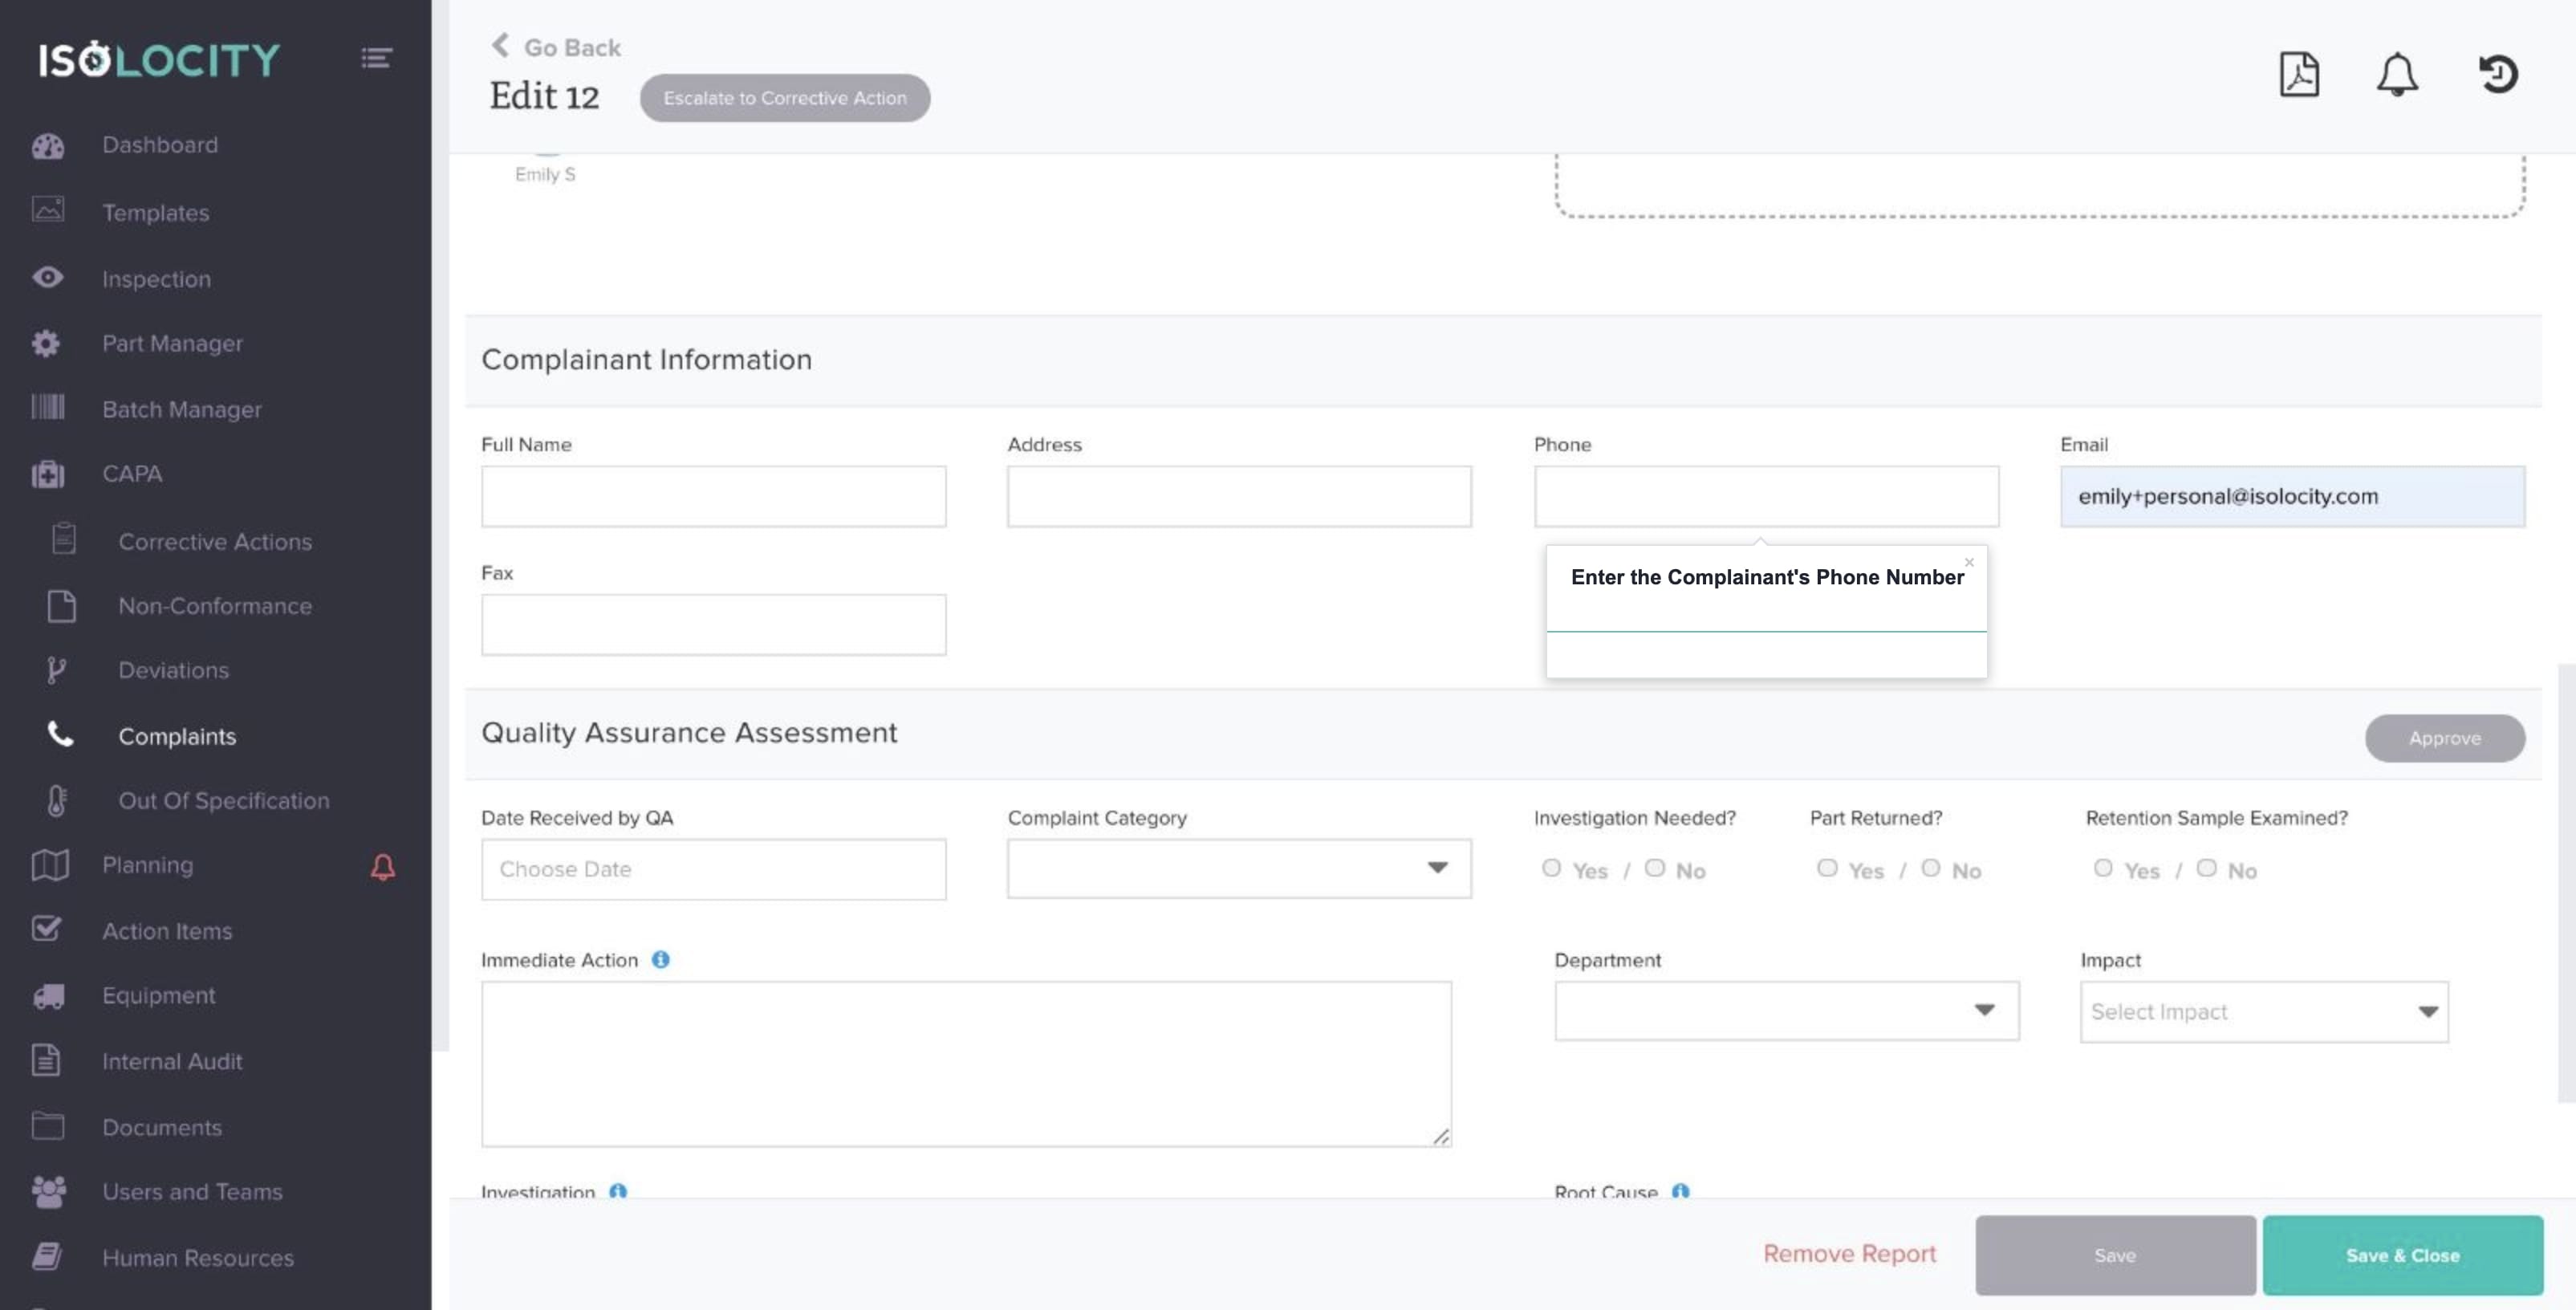
Step #21
Enter the Complainant’s Phone Number
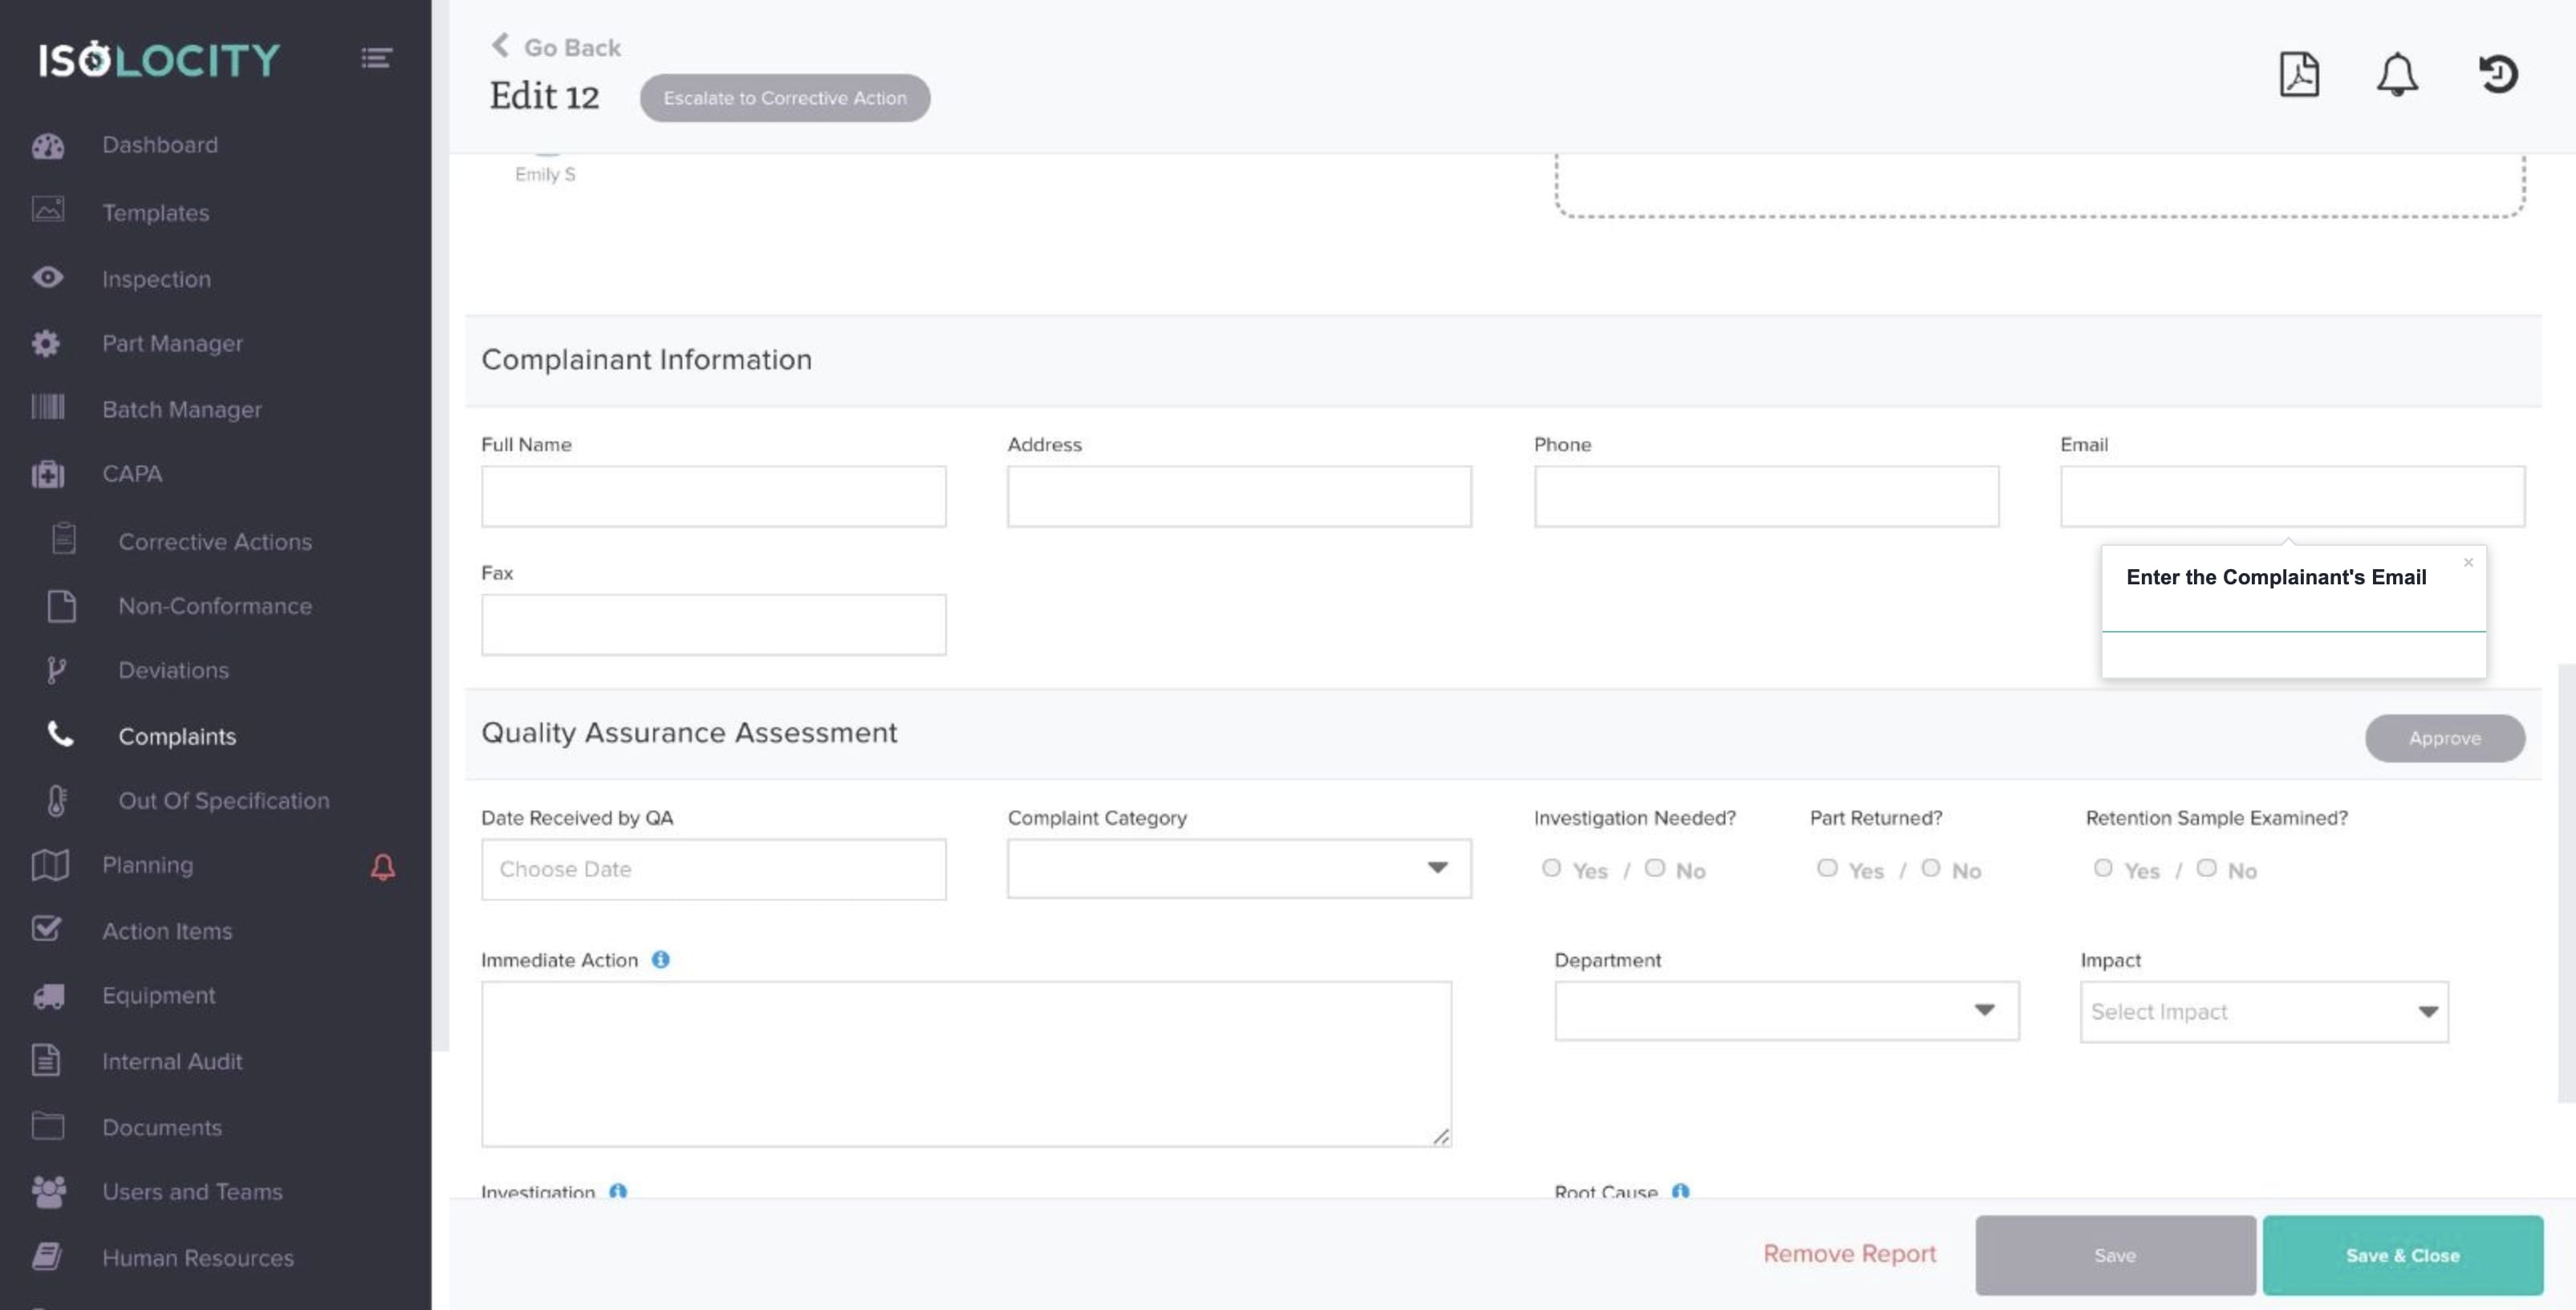
Step #22
Enter the Complainant’s Email
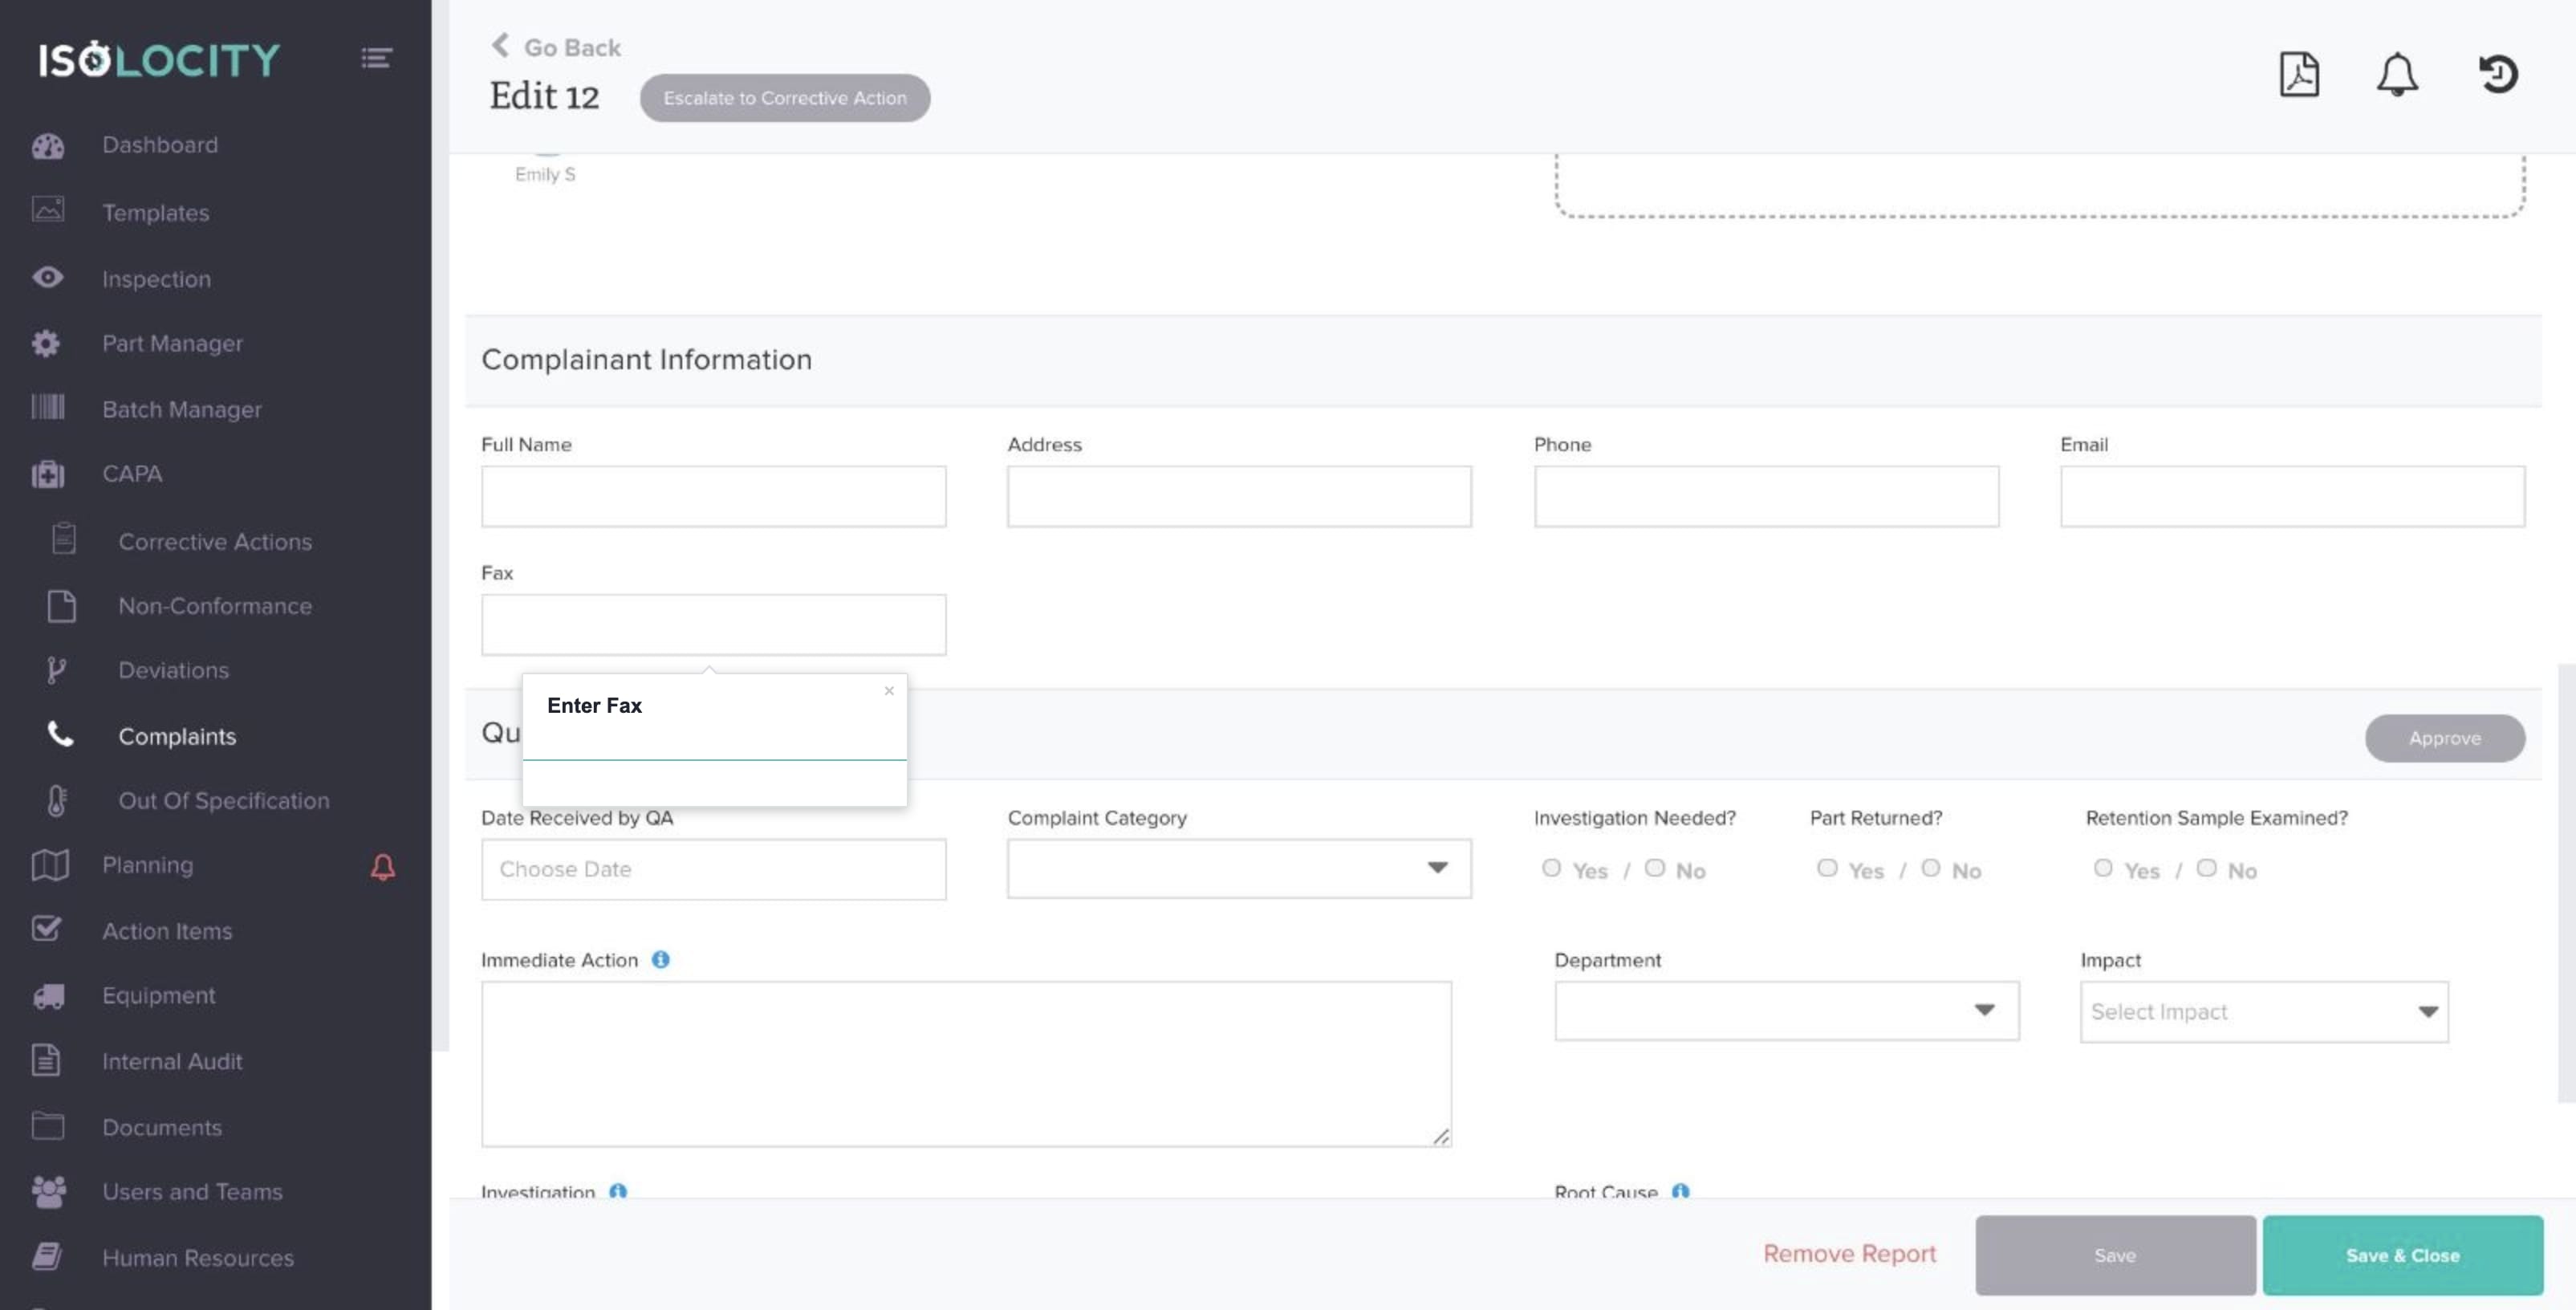
Step #23
Enter Fax
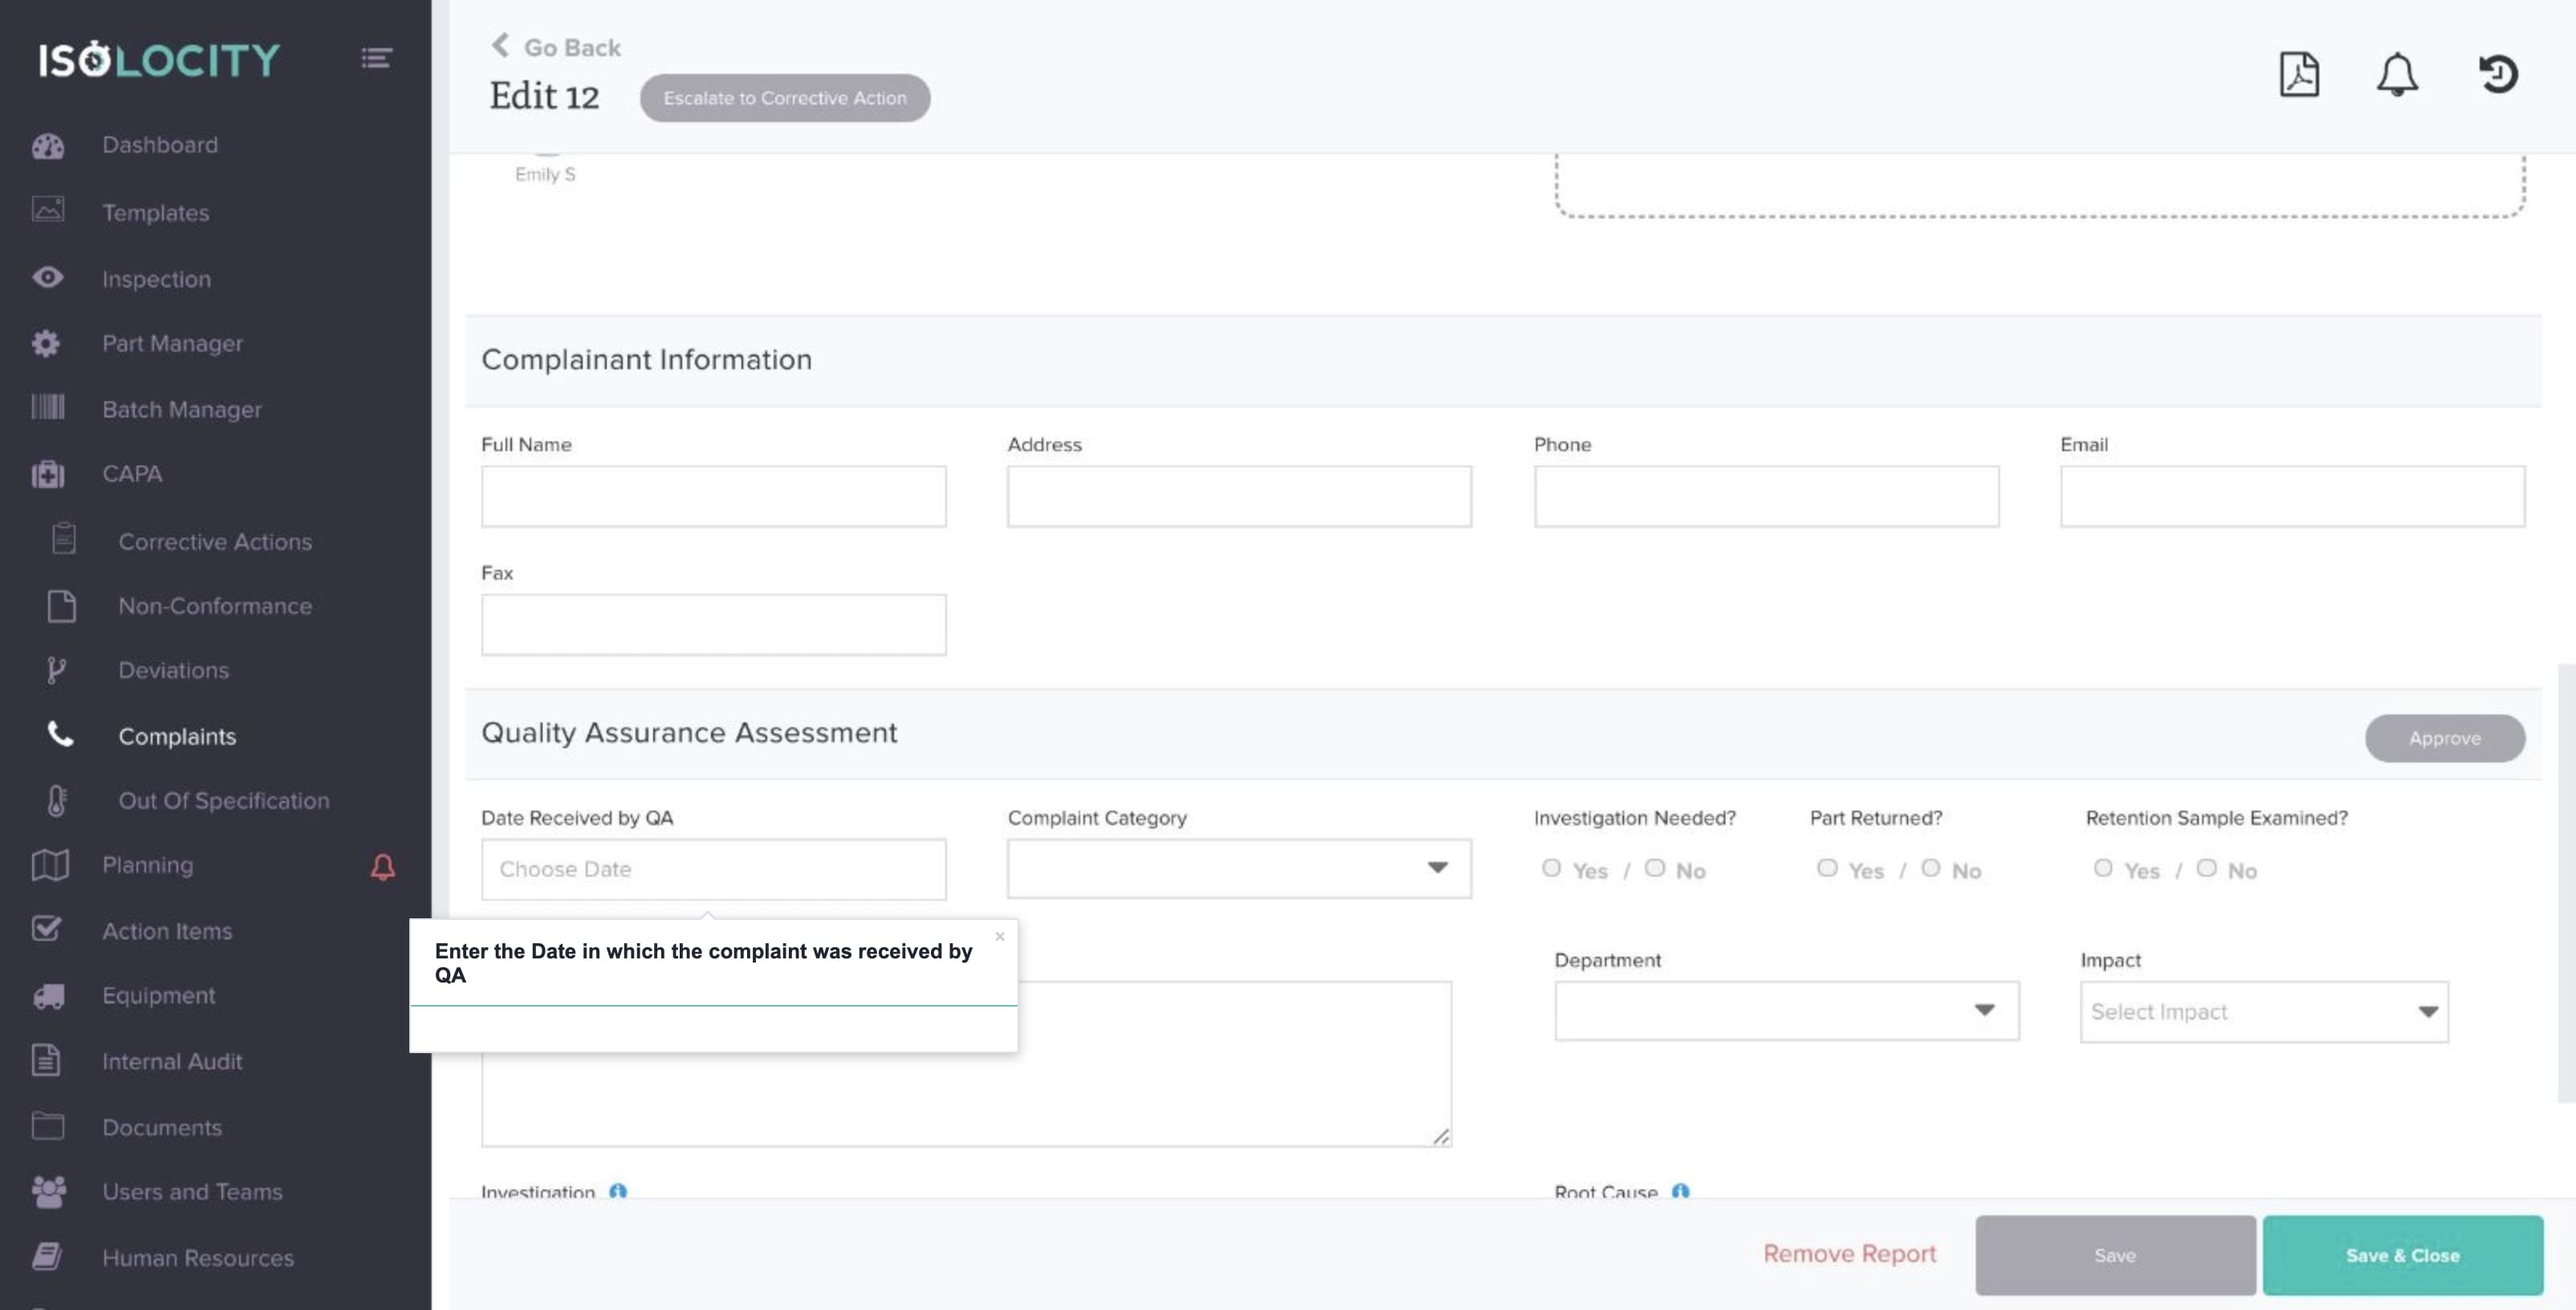
Step #24
Enter the Date in which the complaint was received by QA
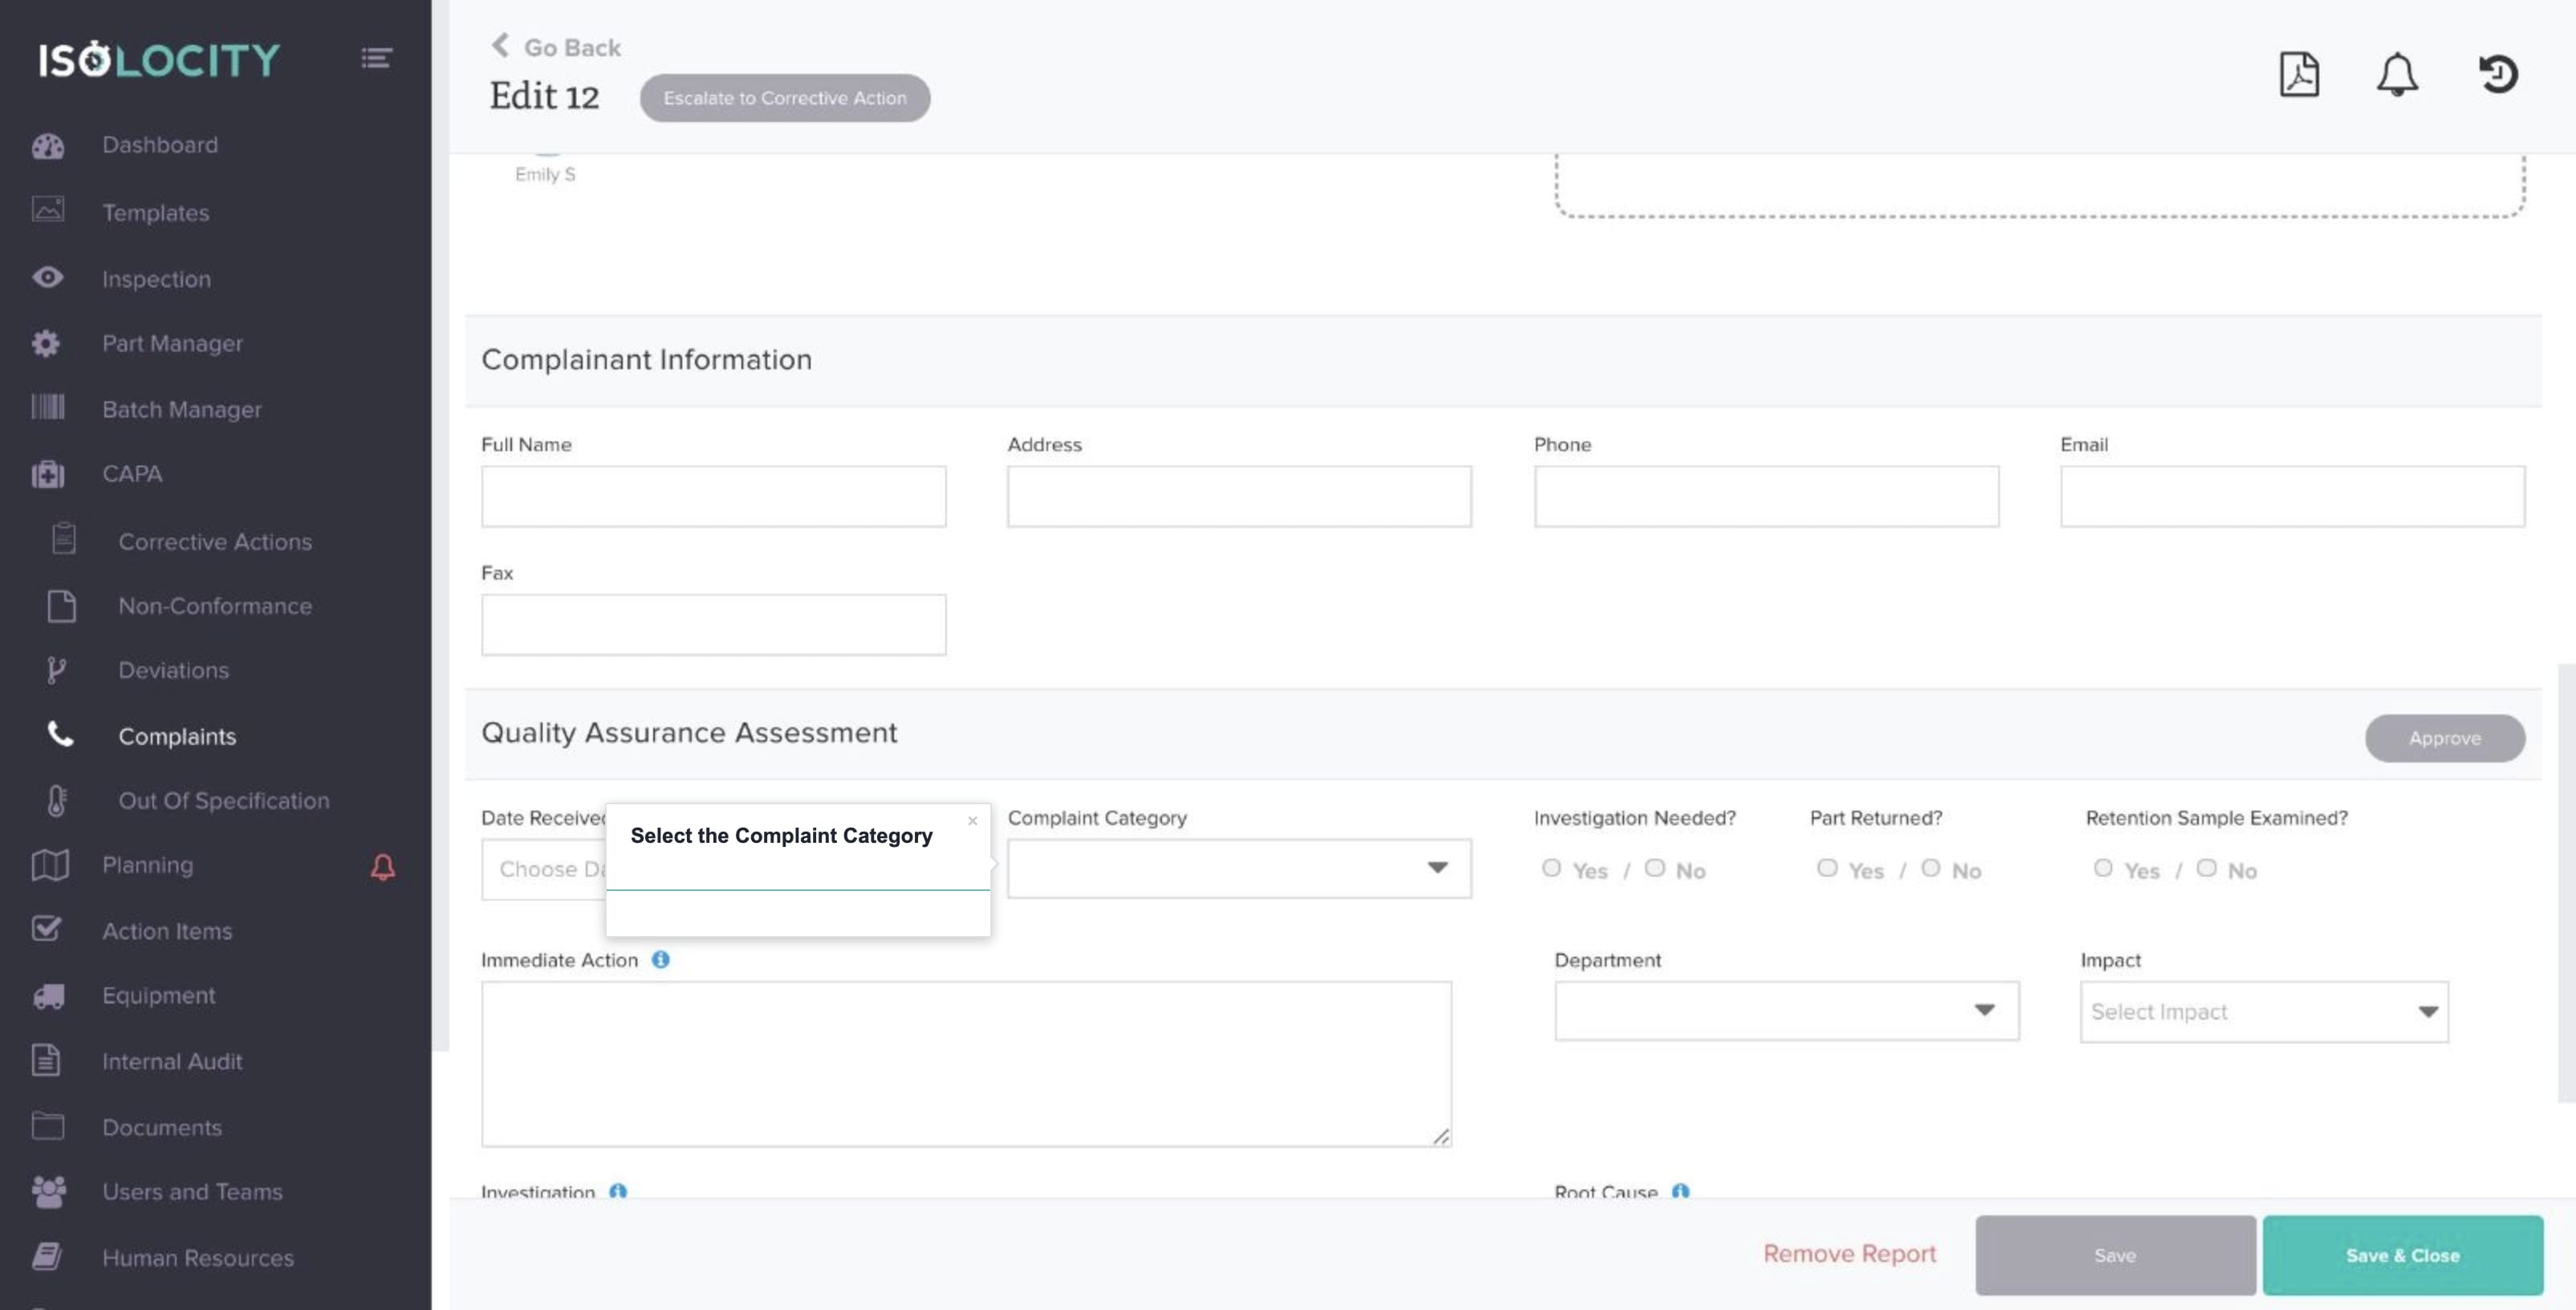
Step #25
Select the Complaint Category
Step #26
Is an Investigation Needed?

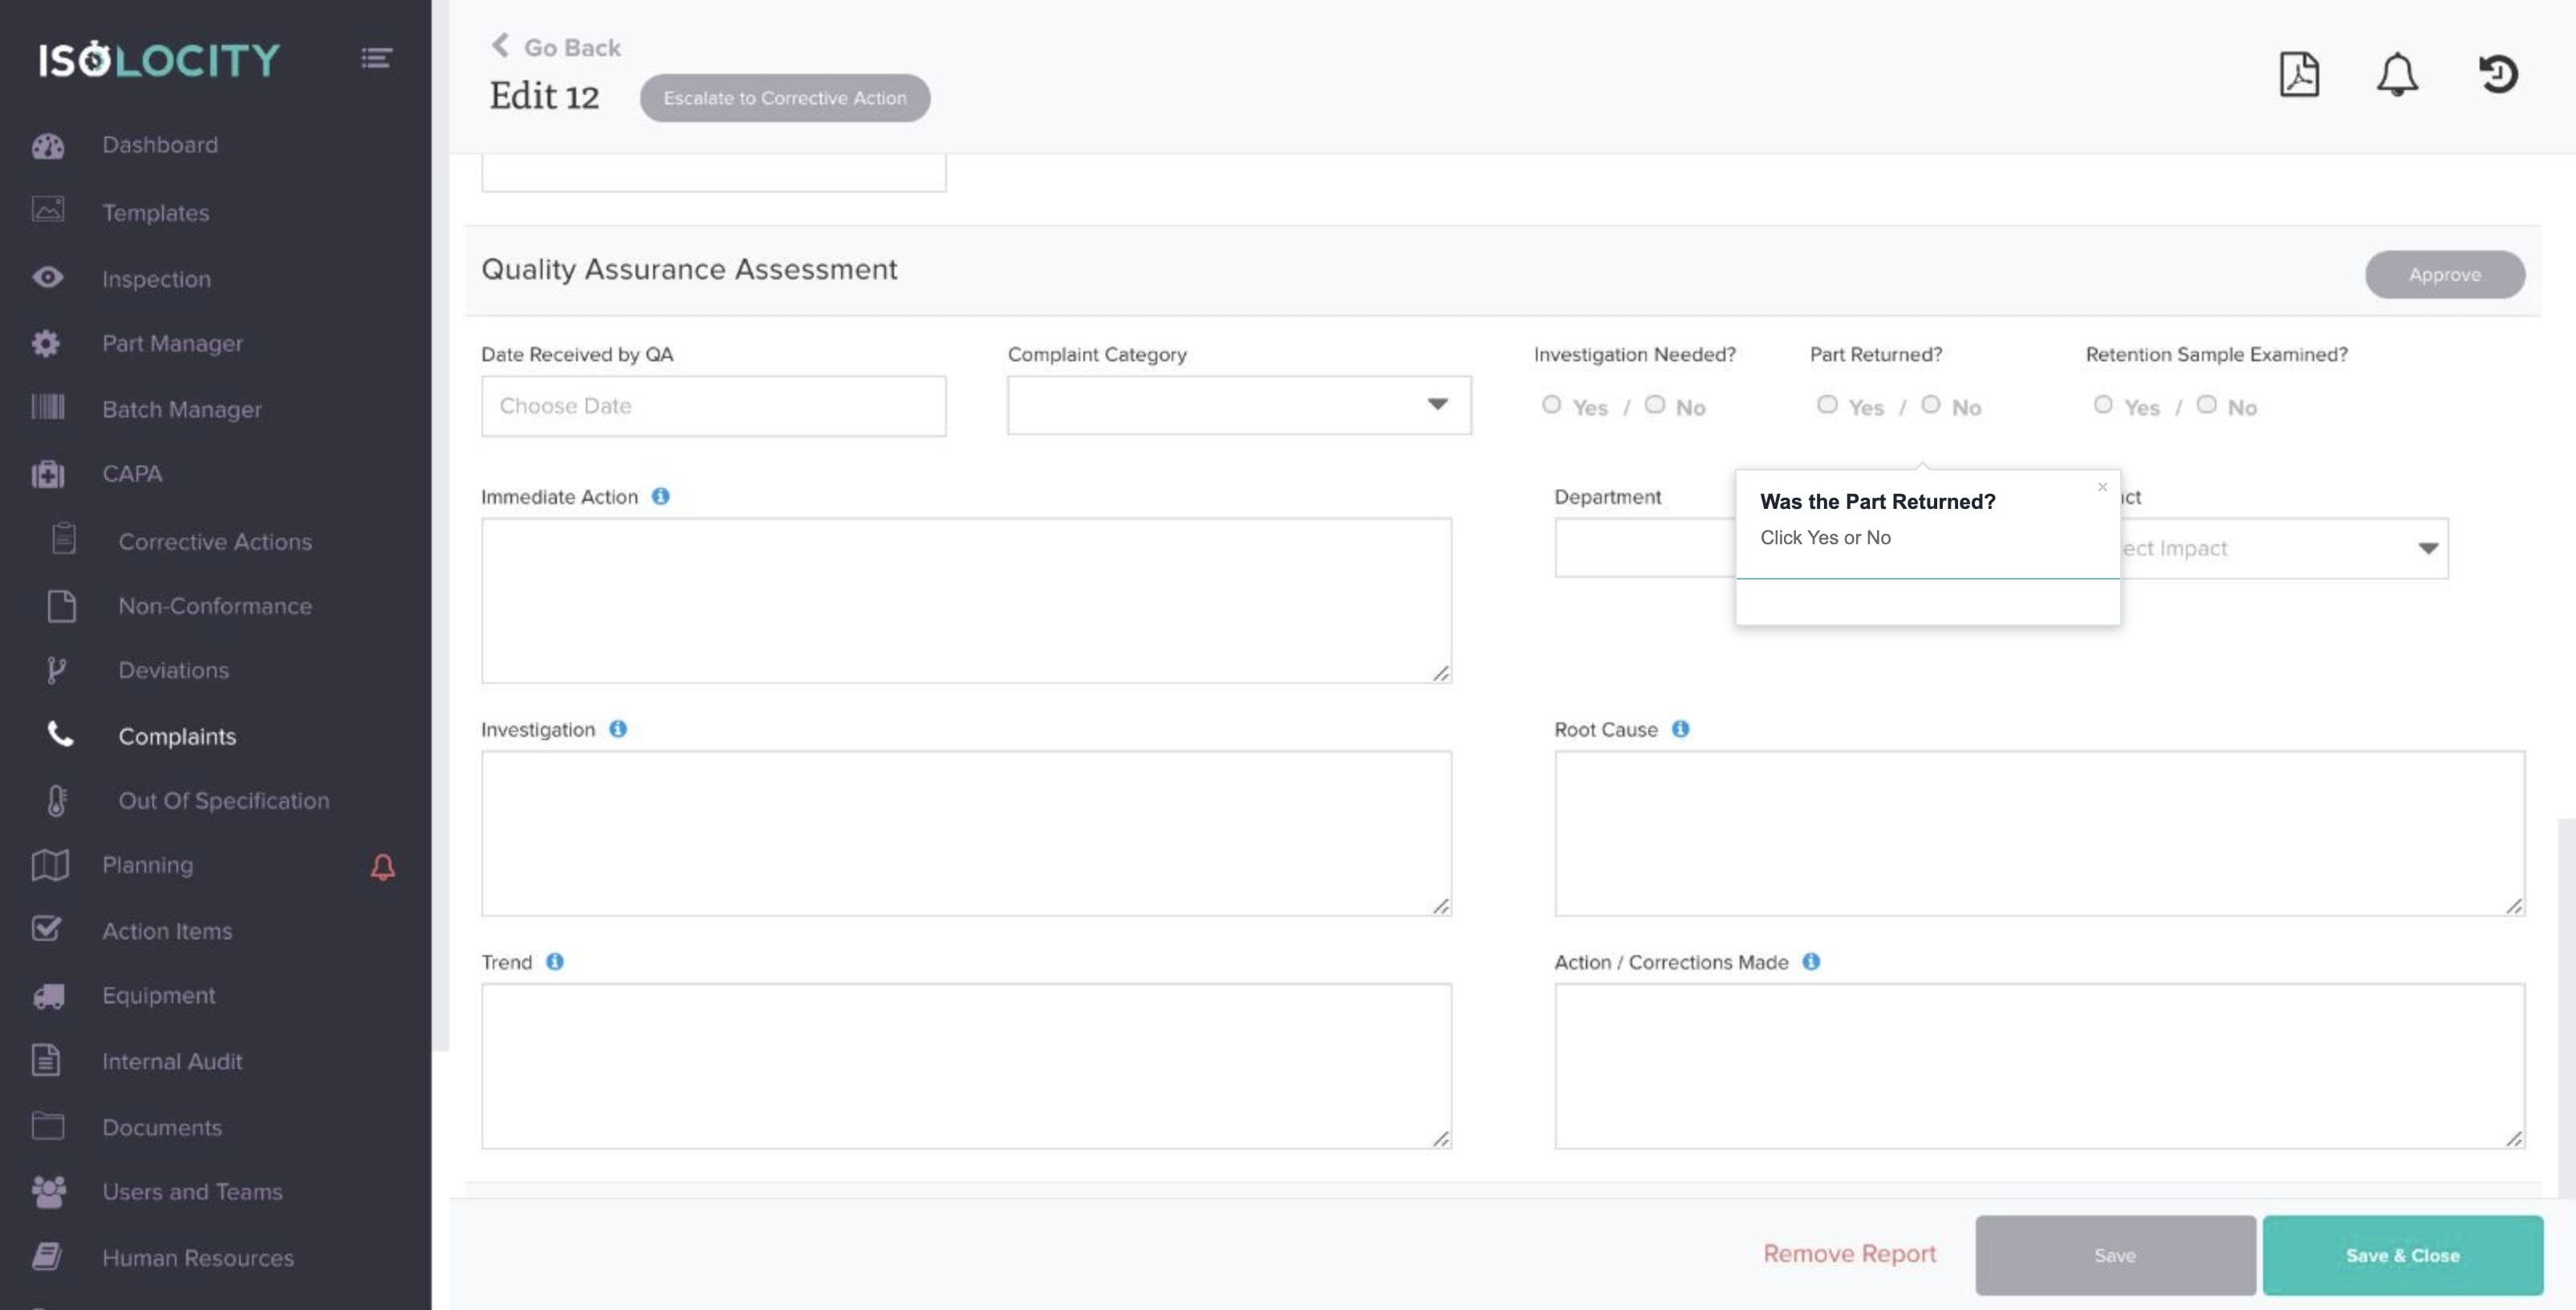
Step #27
Was the Part Returned?
Step #28
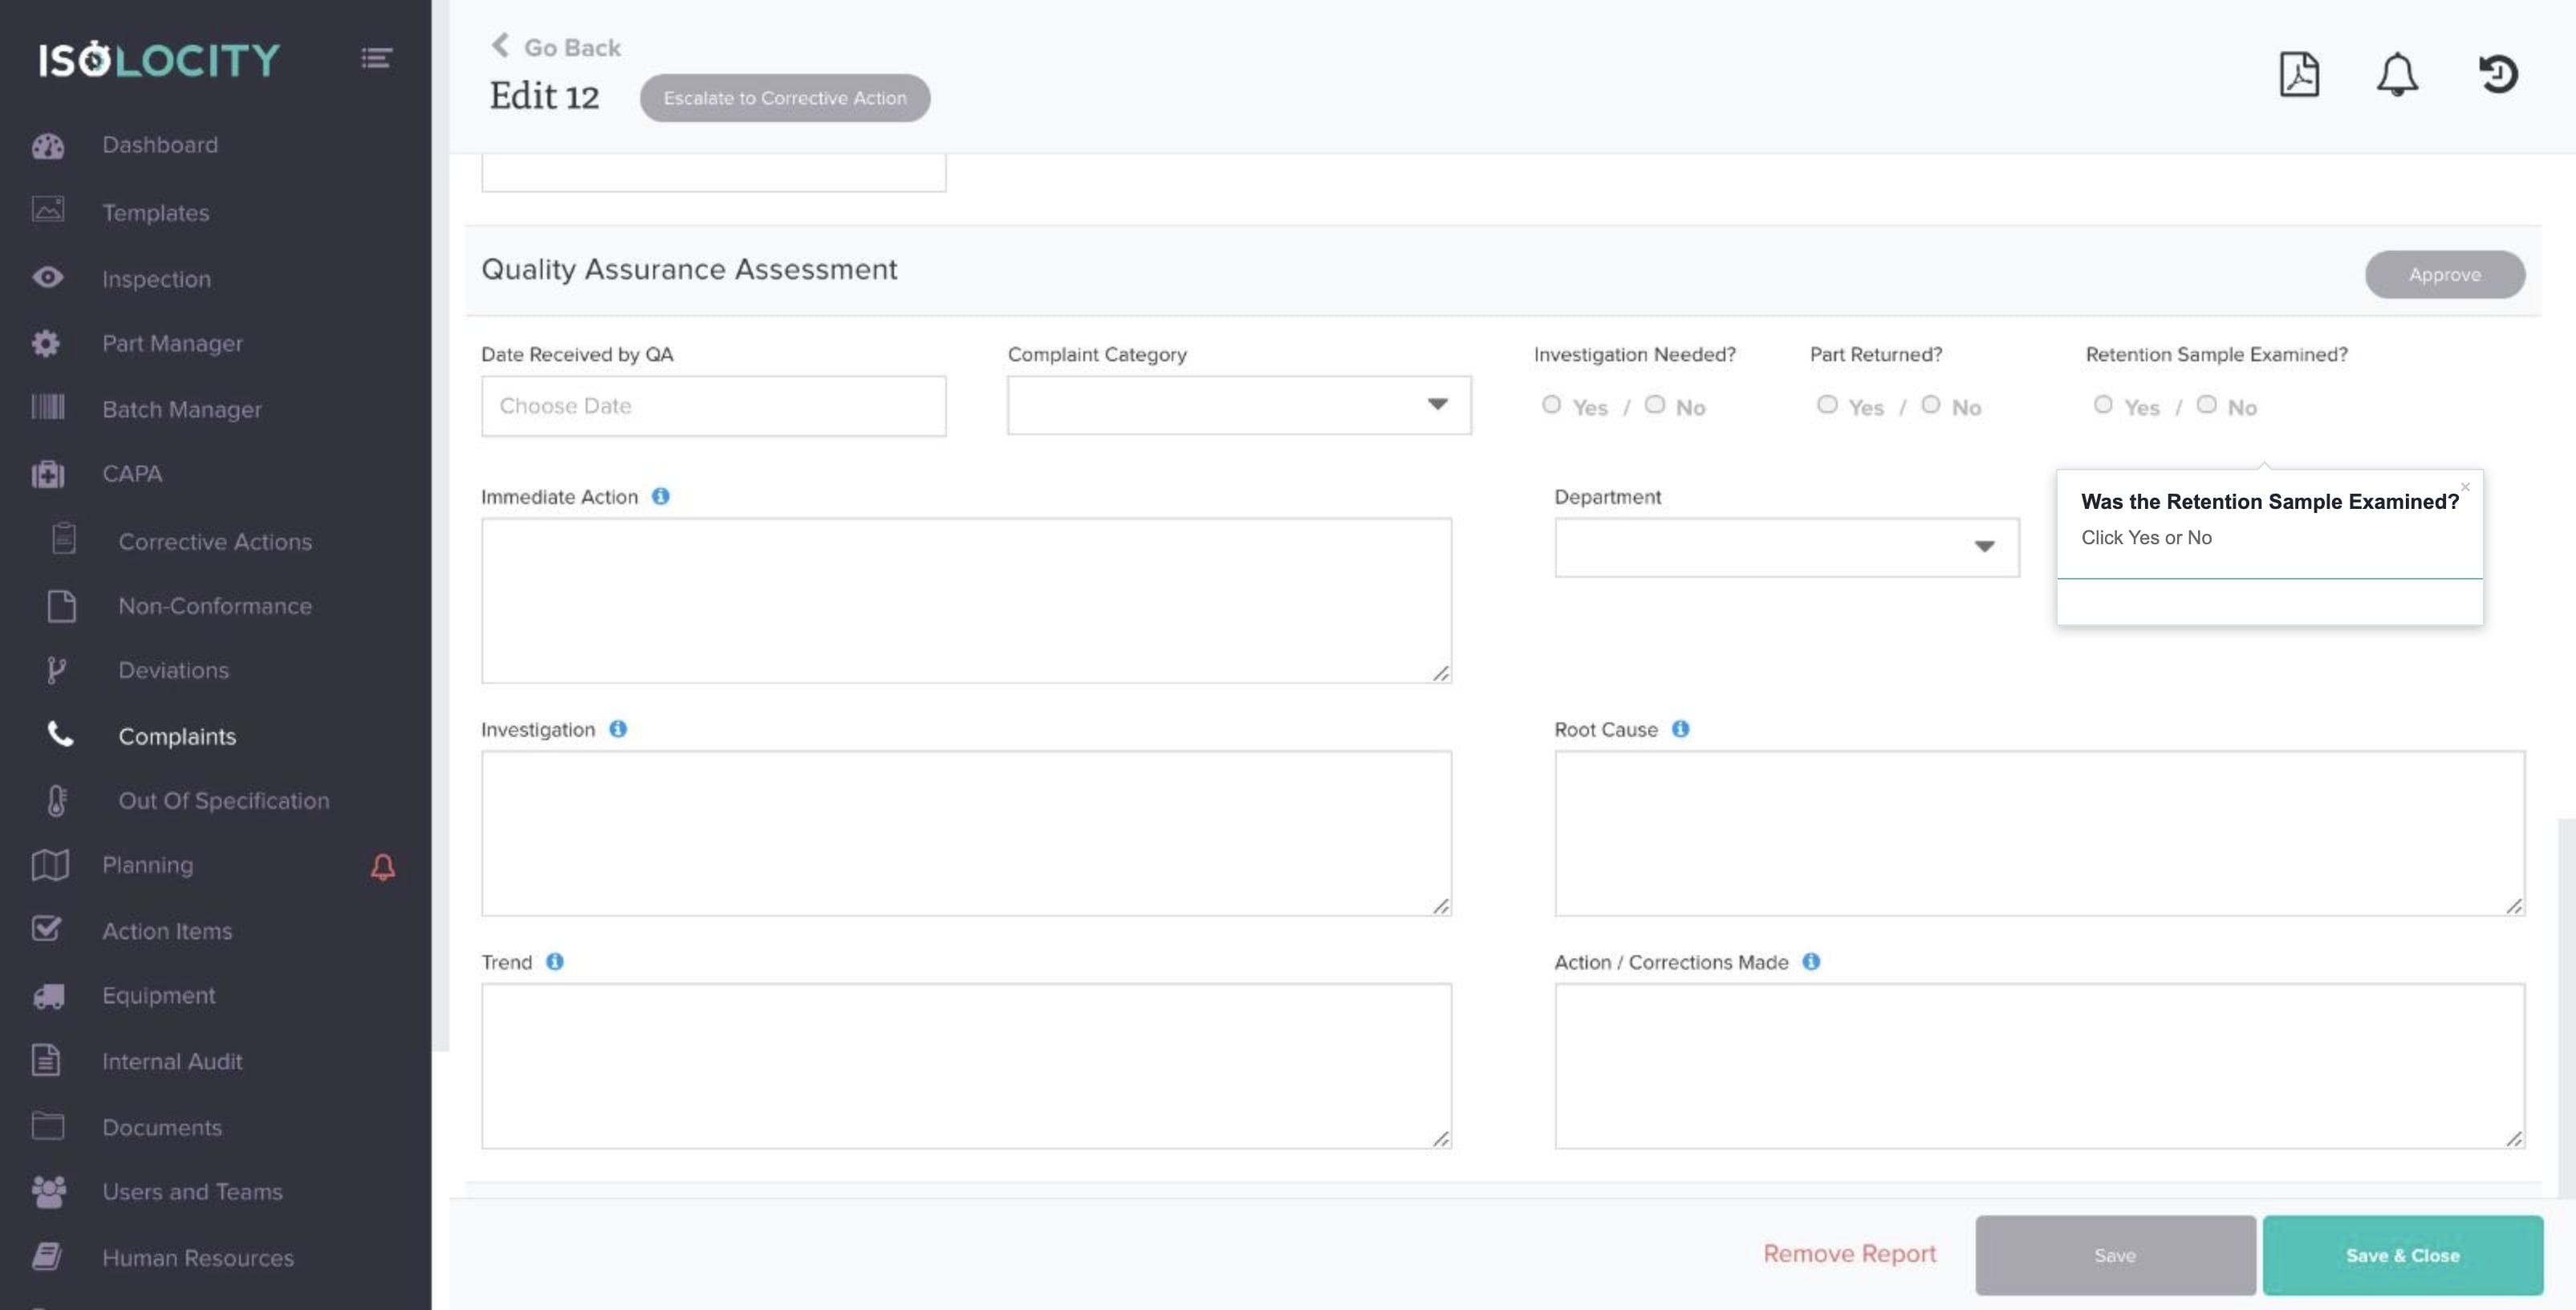
Was the Retention Sample Examined?
Step #29
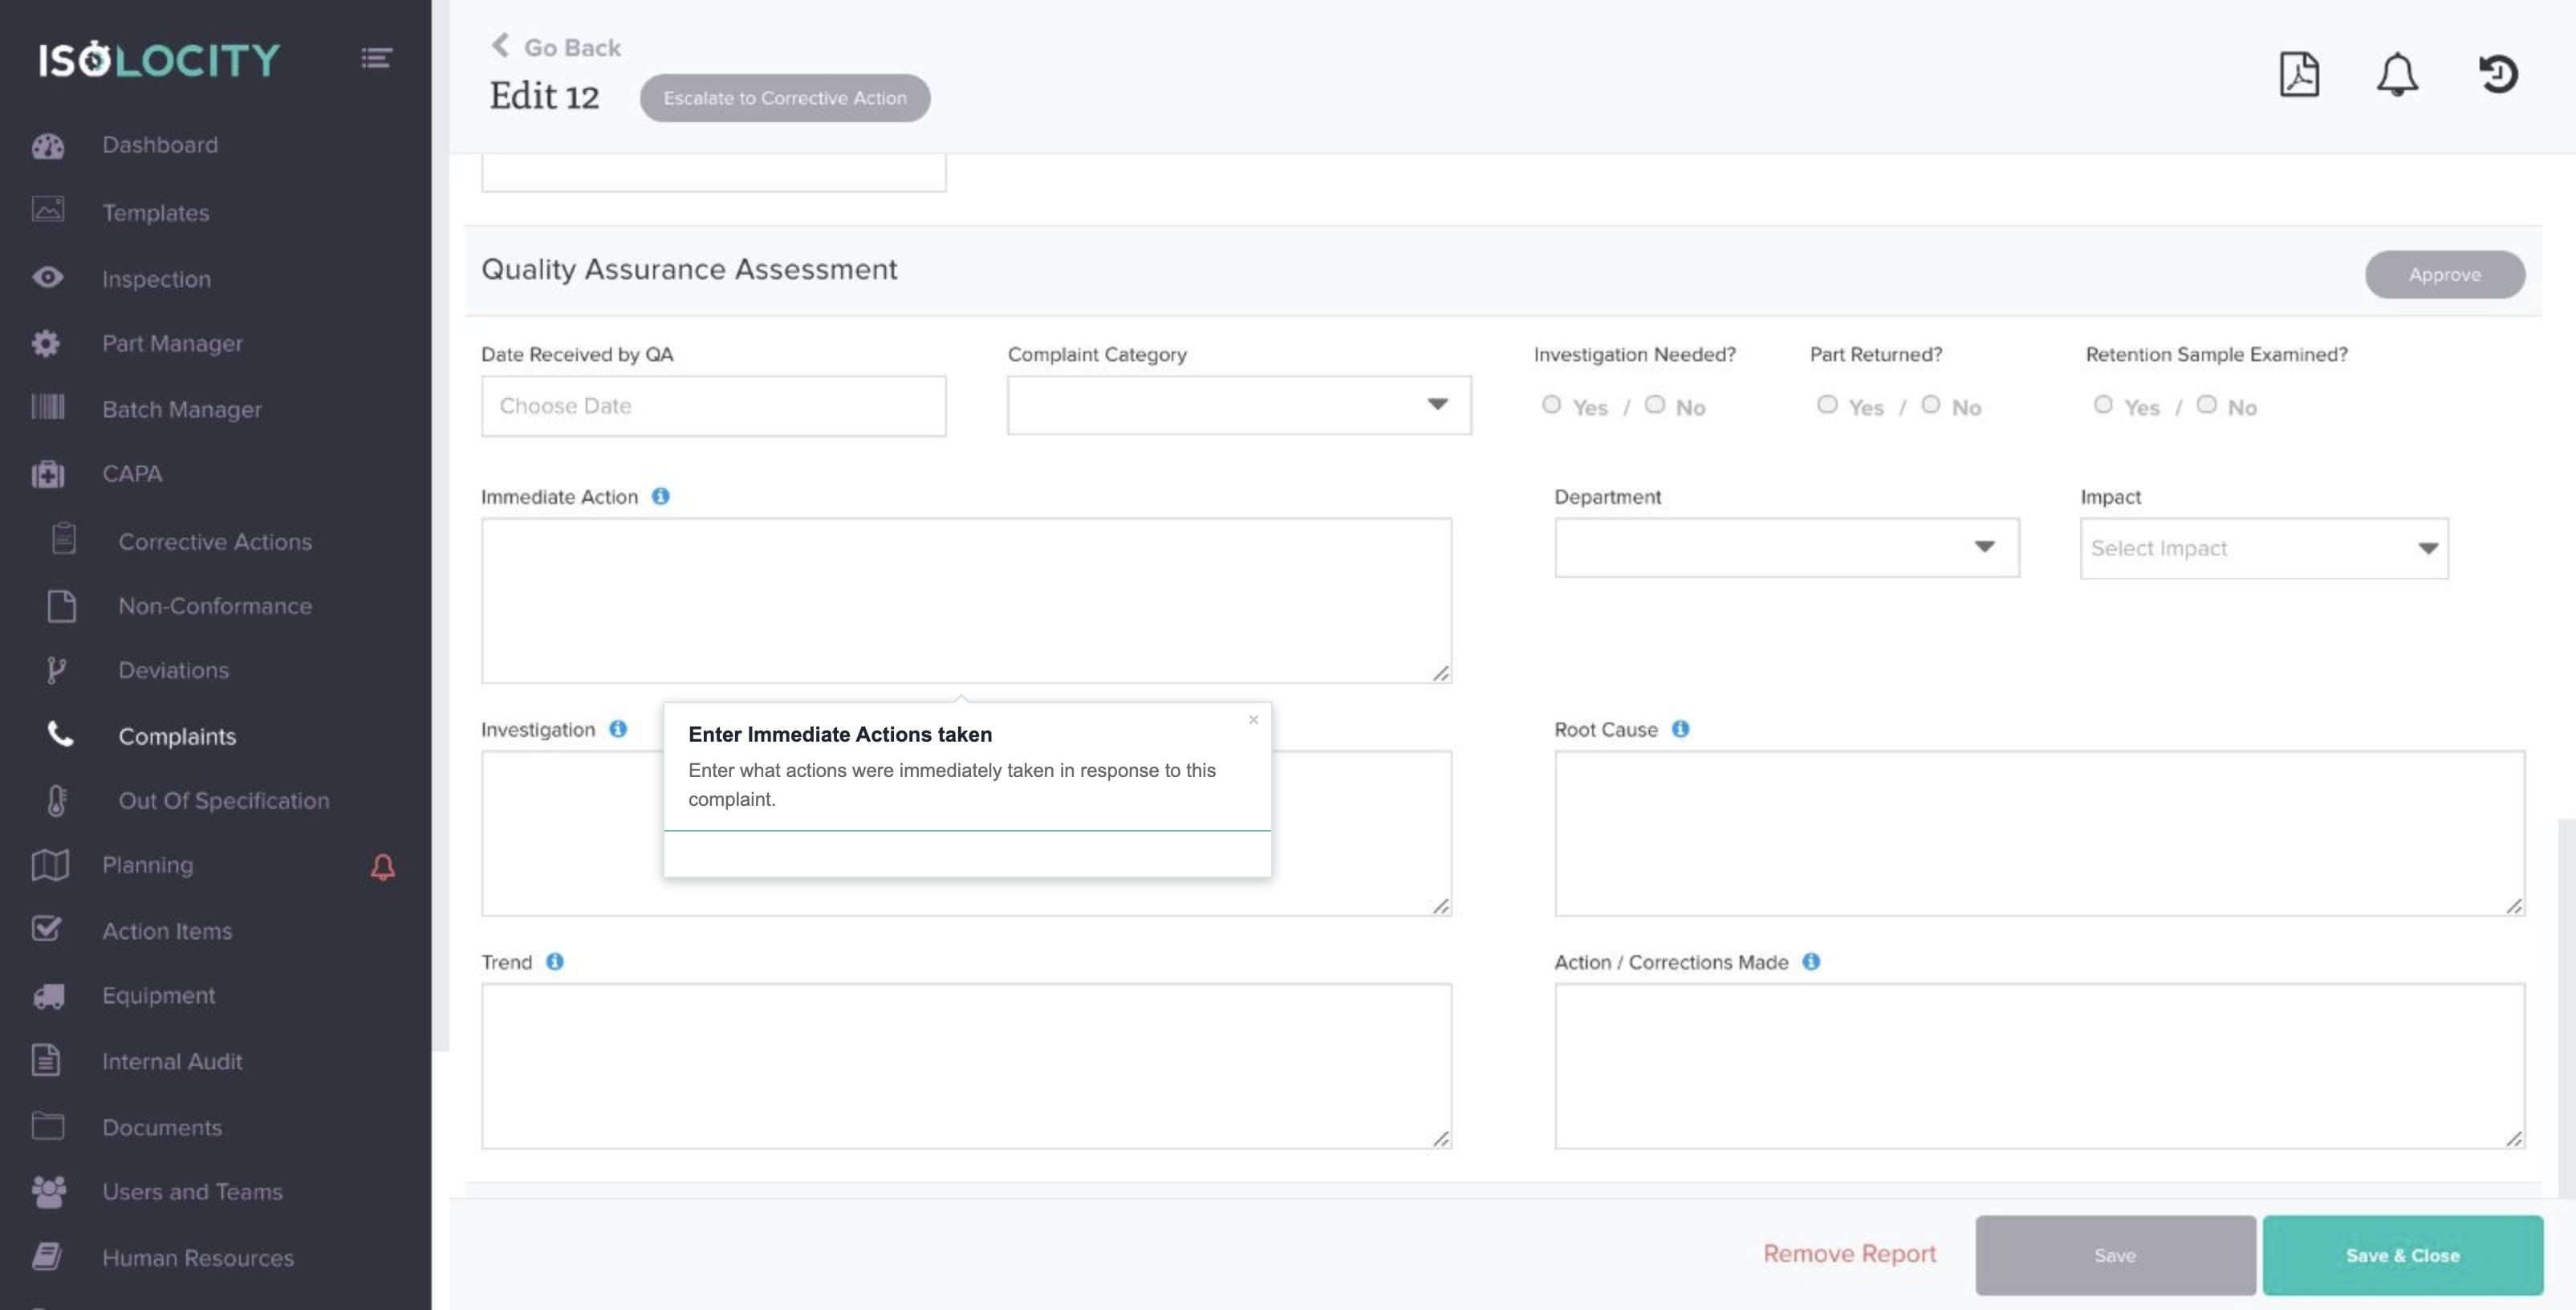
Enter Immediate Actions taken
Step #30
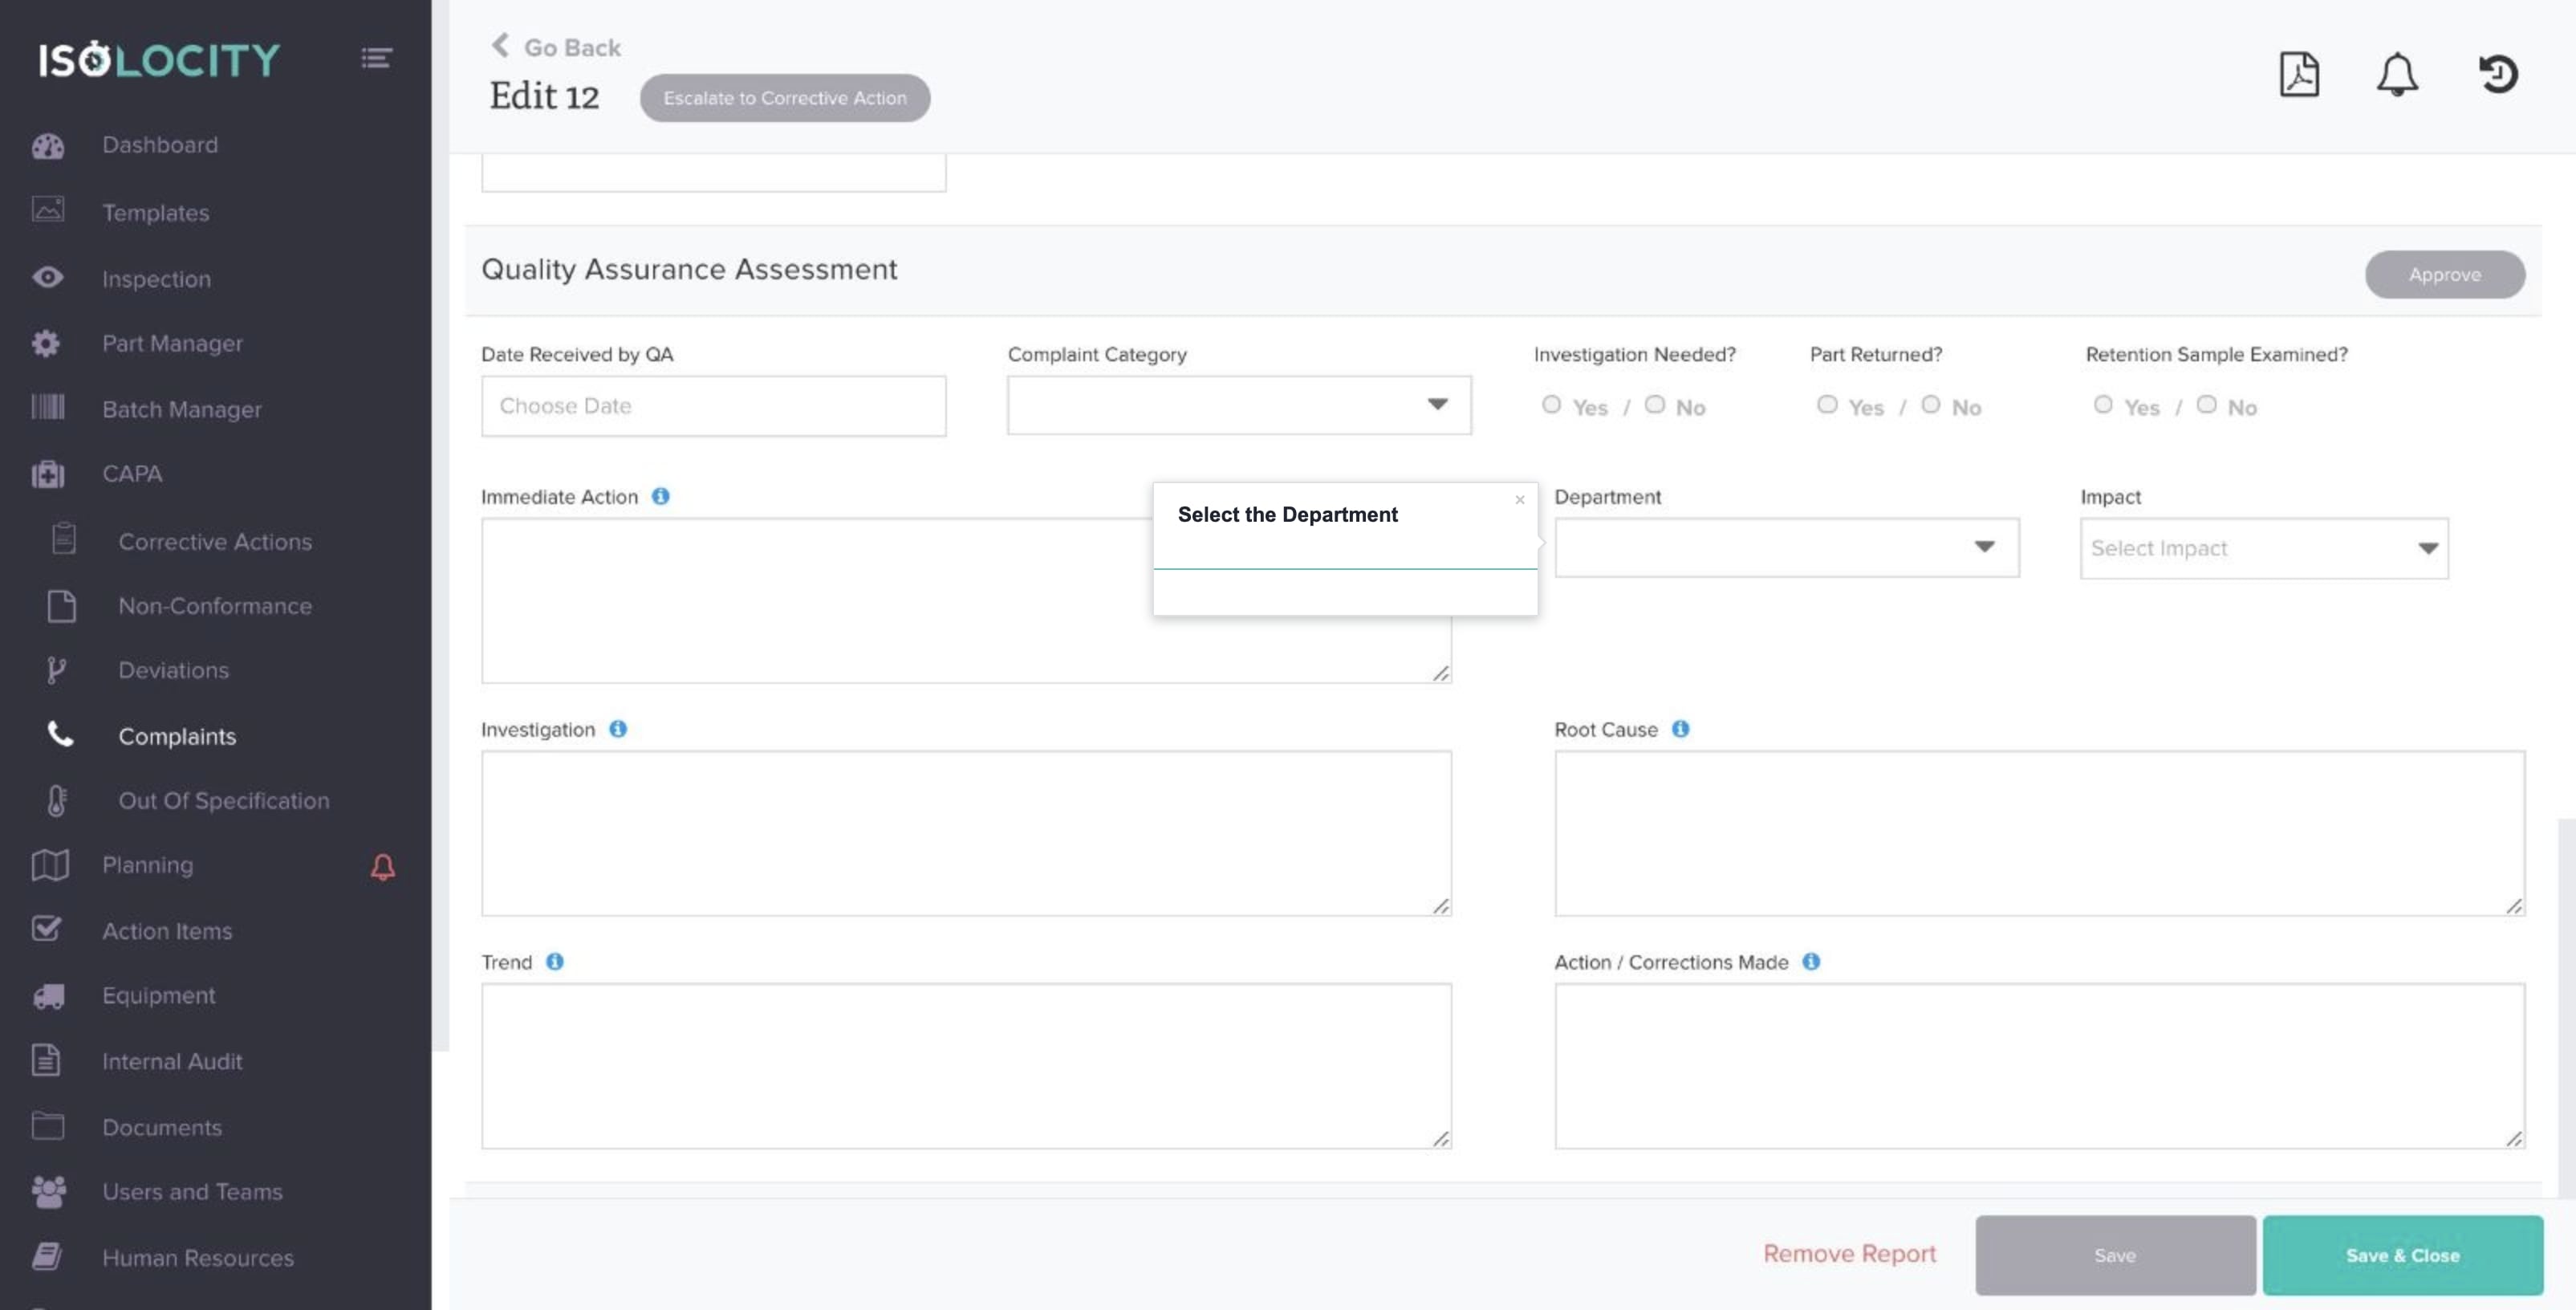
Select the Department
Step #31
Select the Impact

Step #32
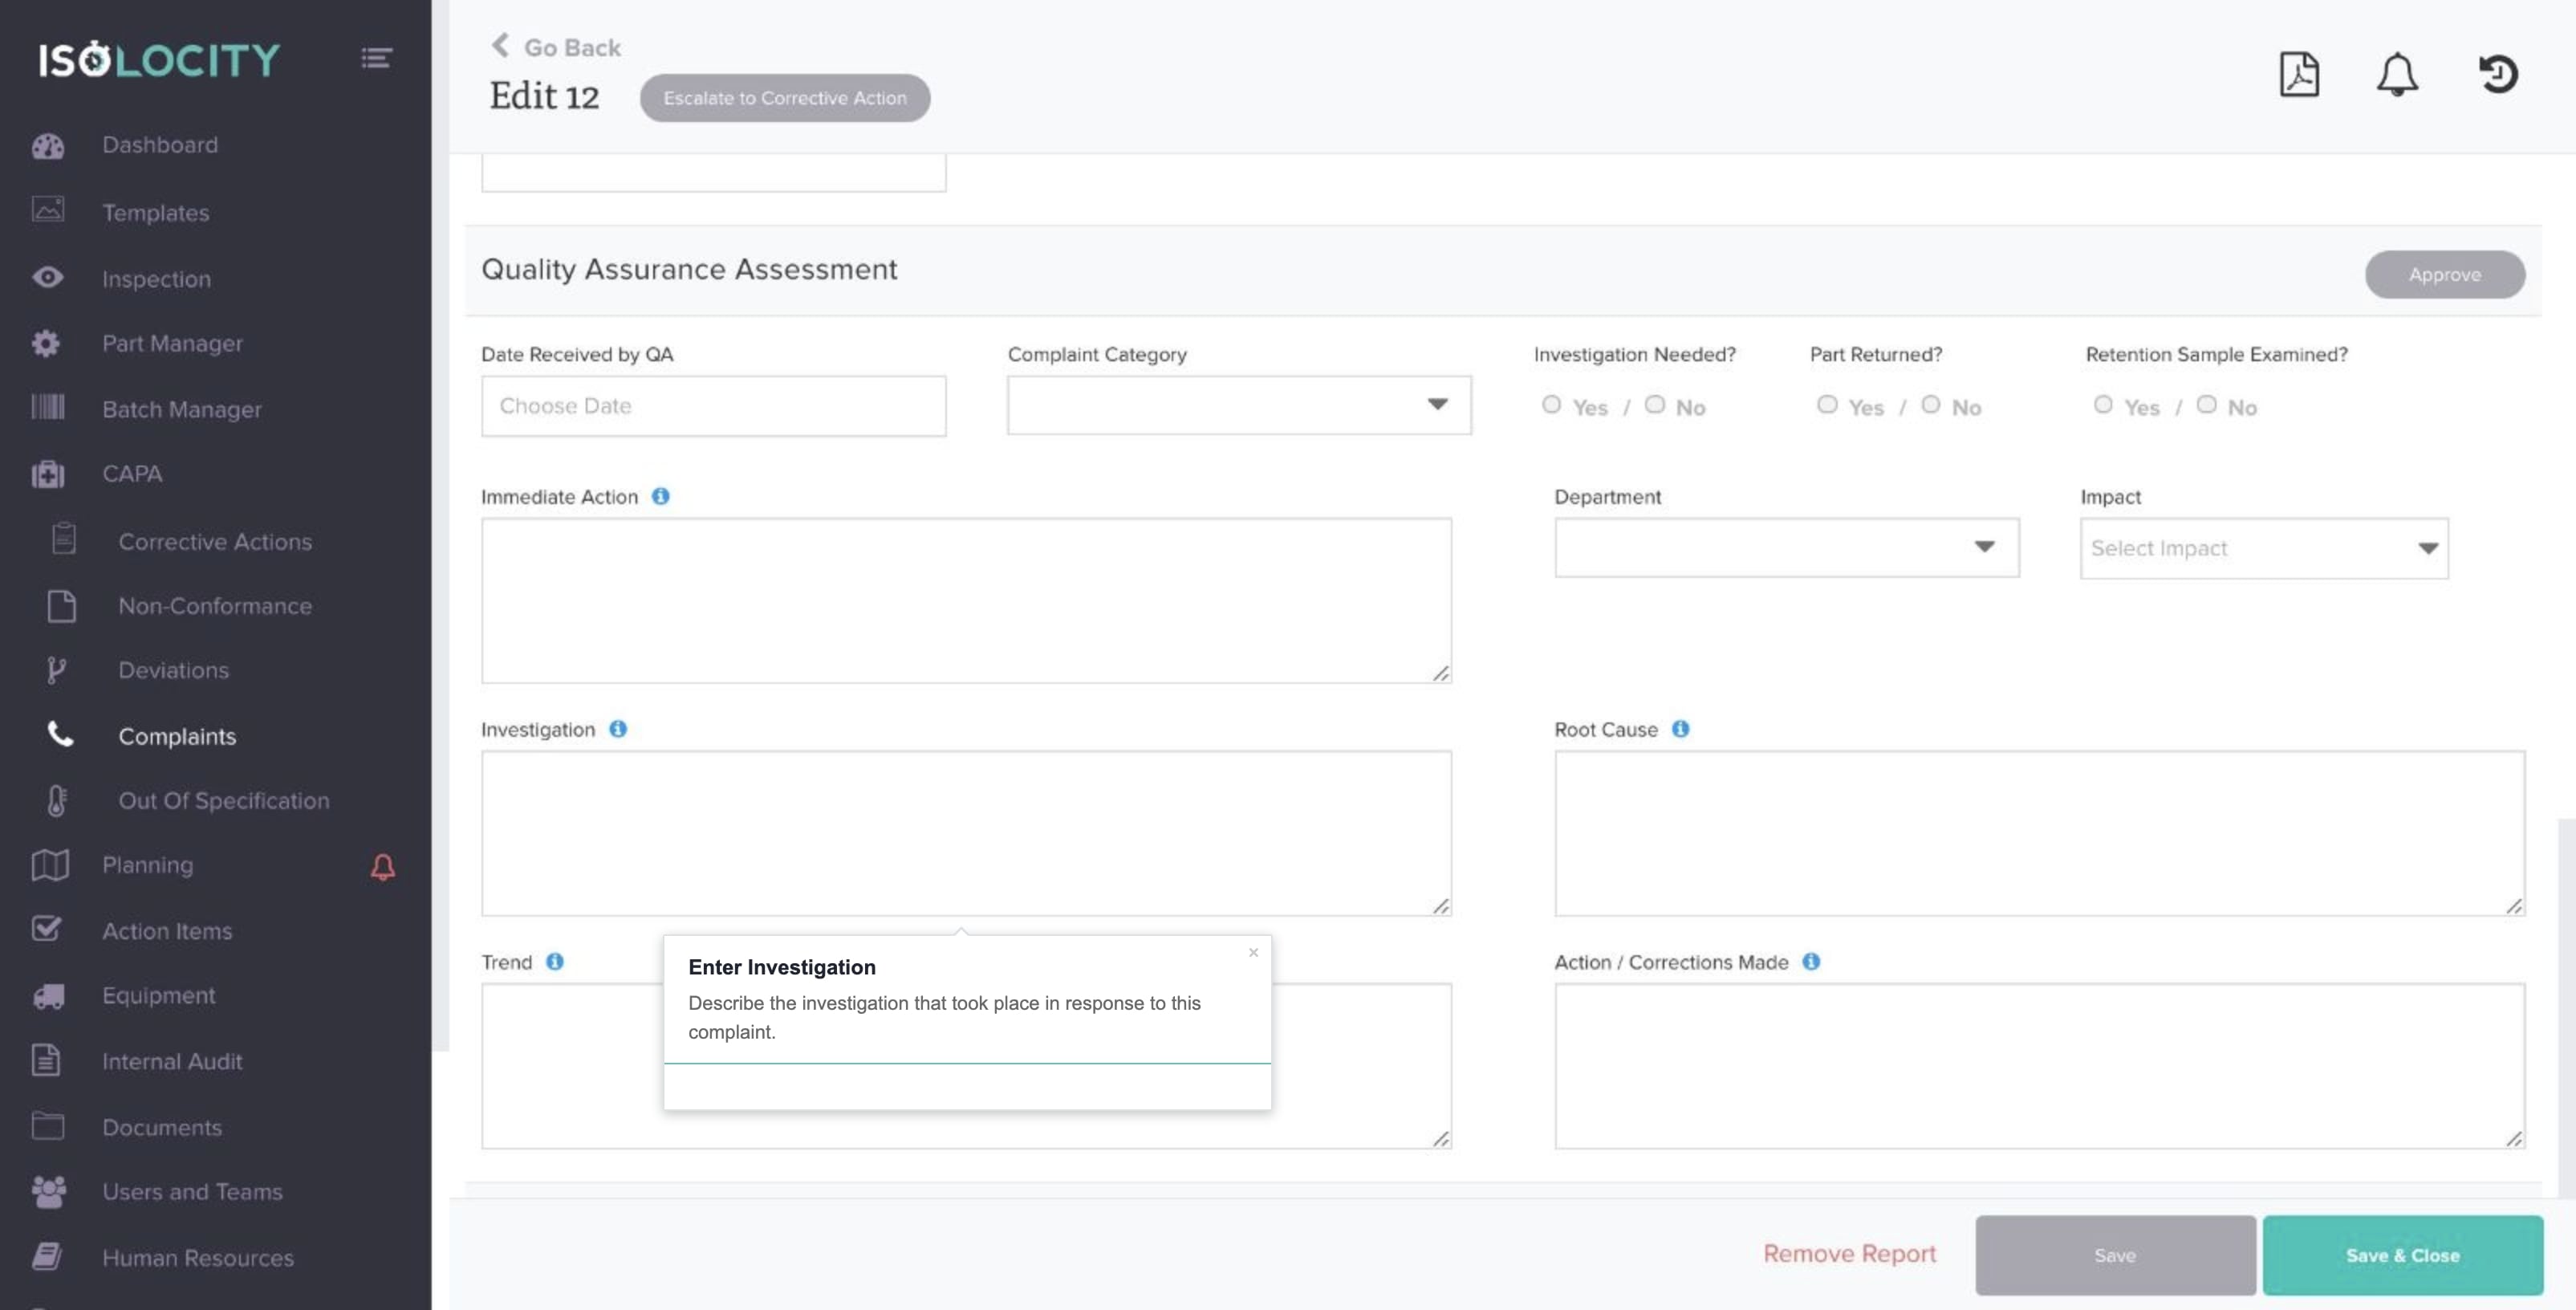
Enter Investigation
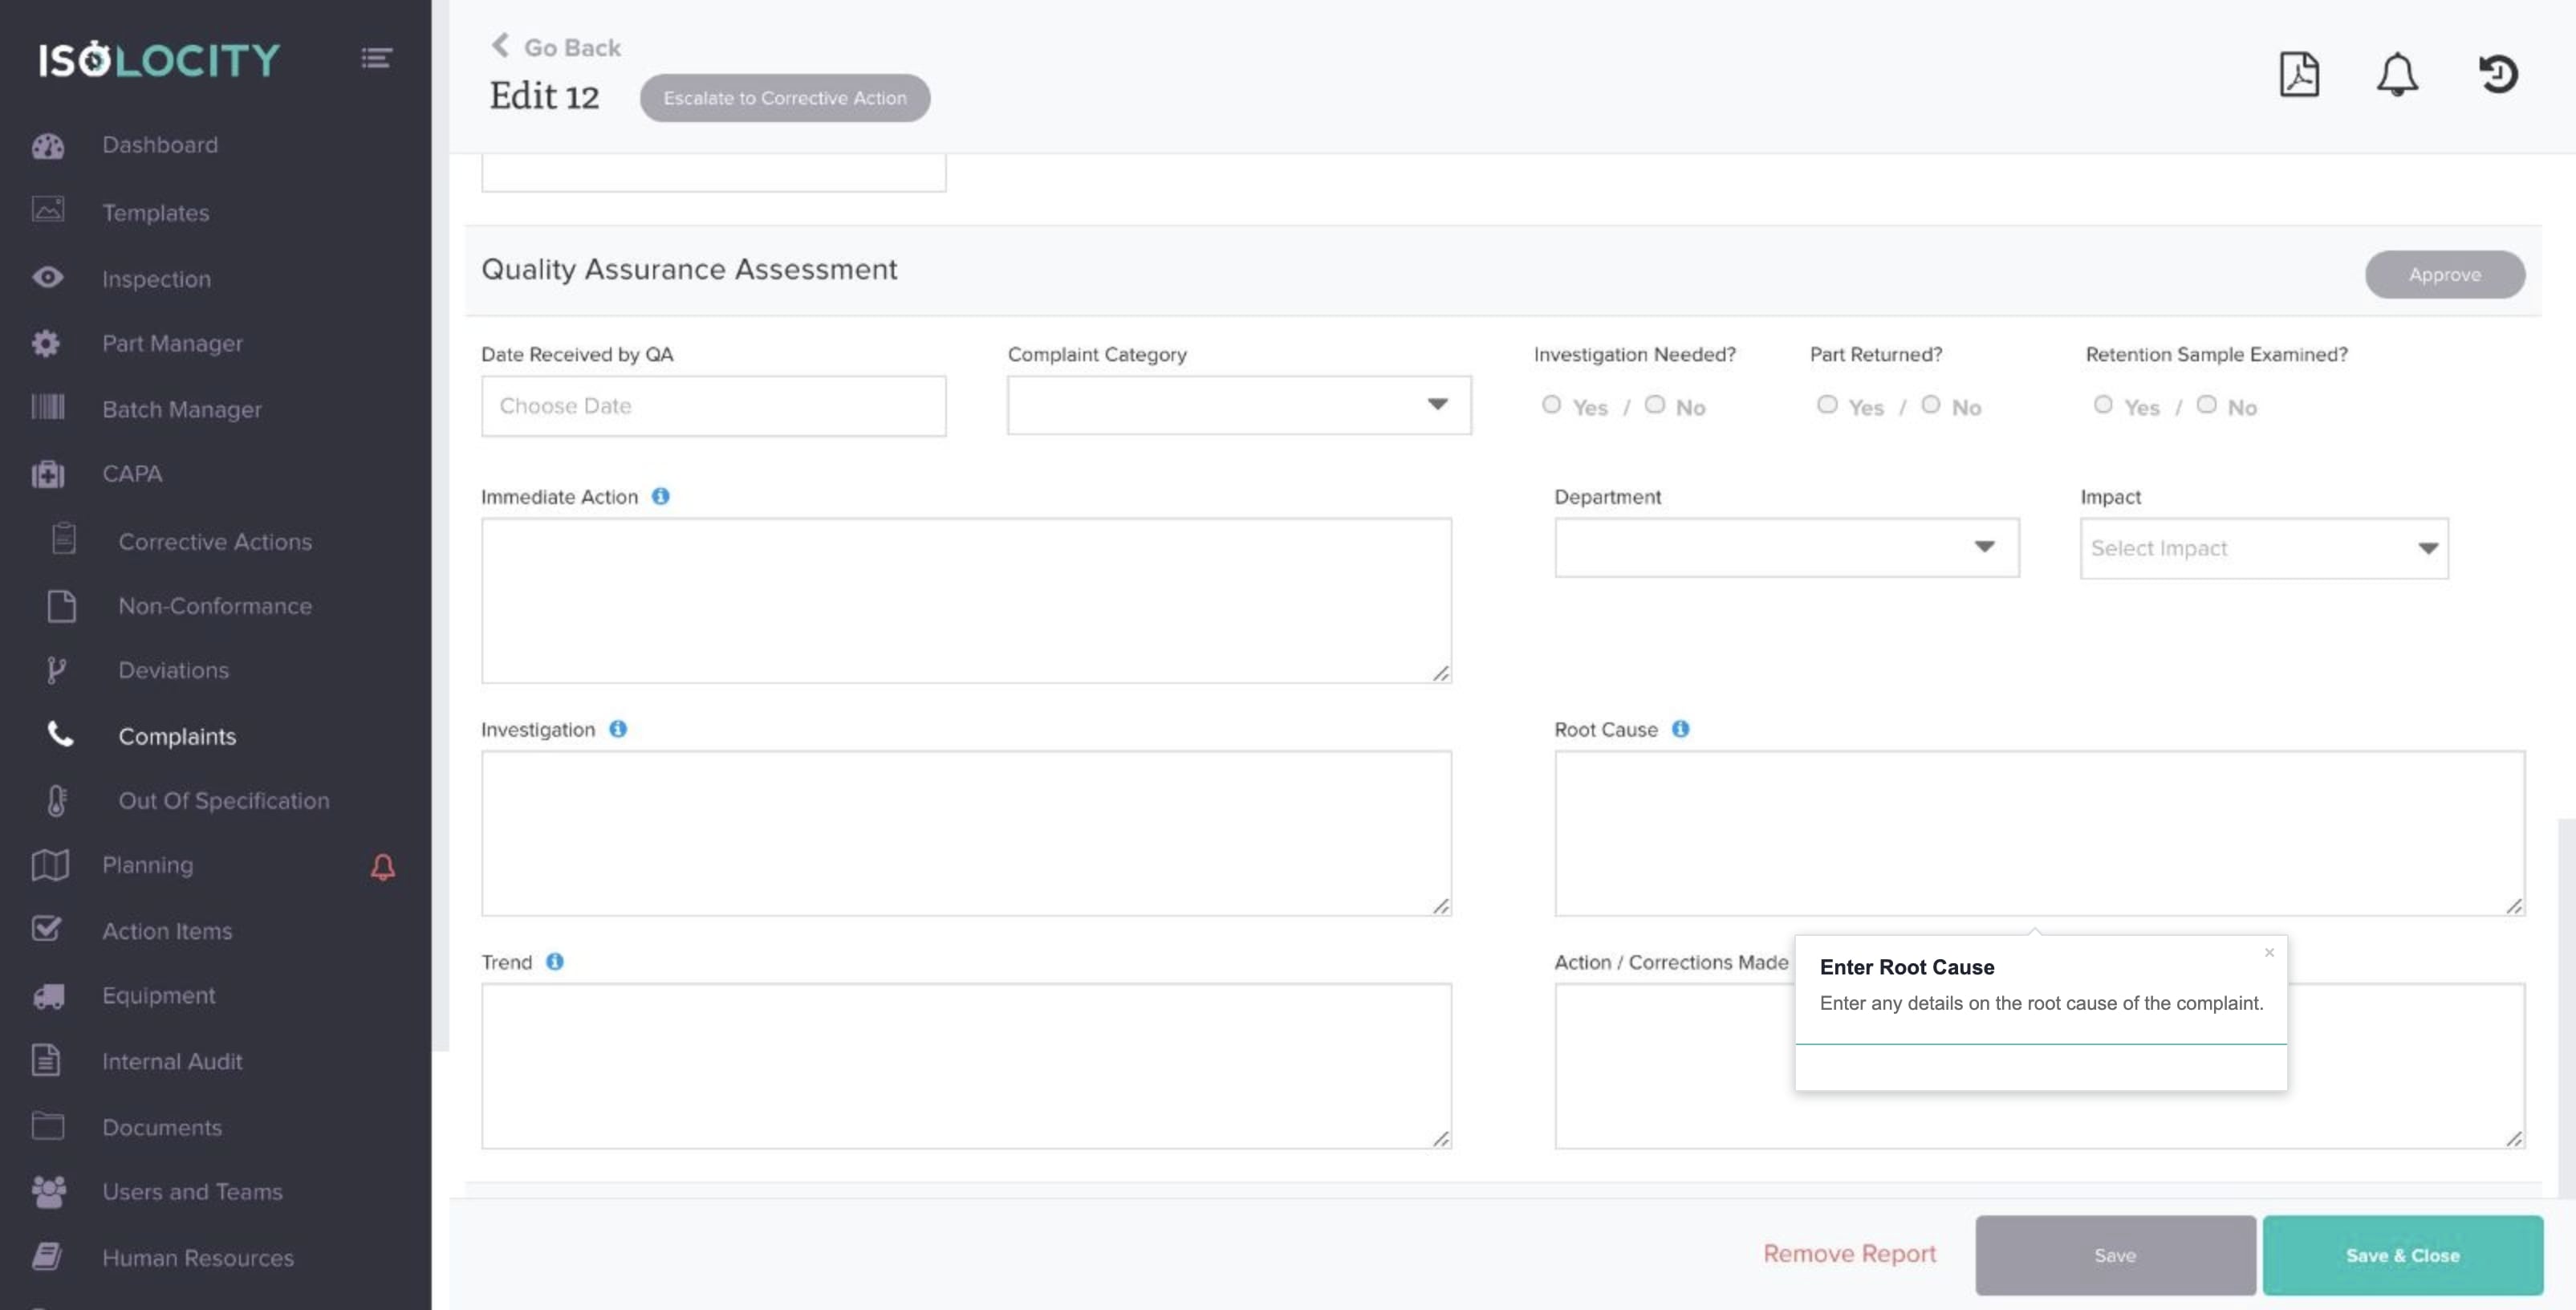
Step #33
Enter Root Cause
Step #34
Enter the Trend
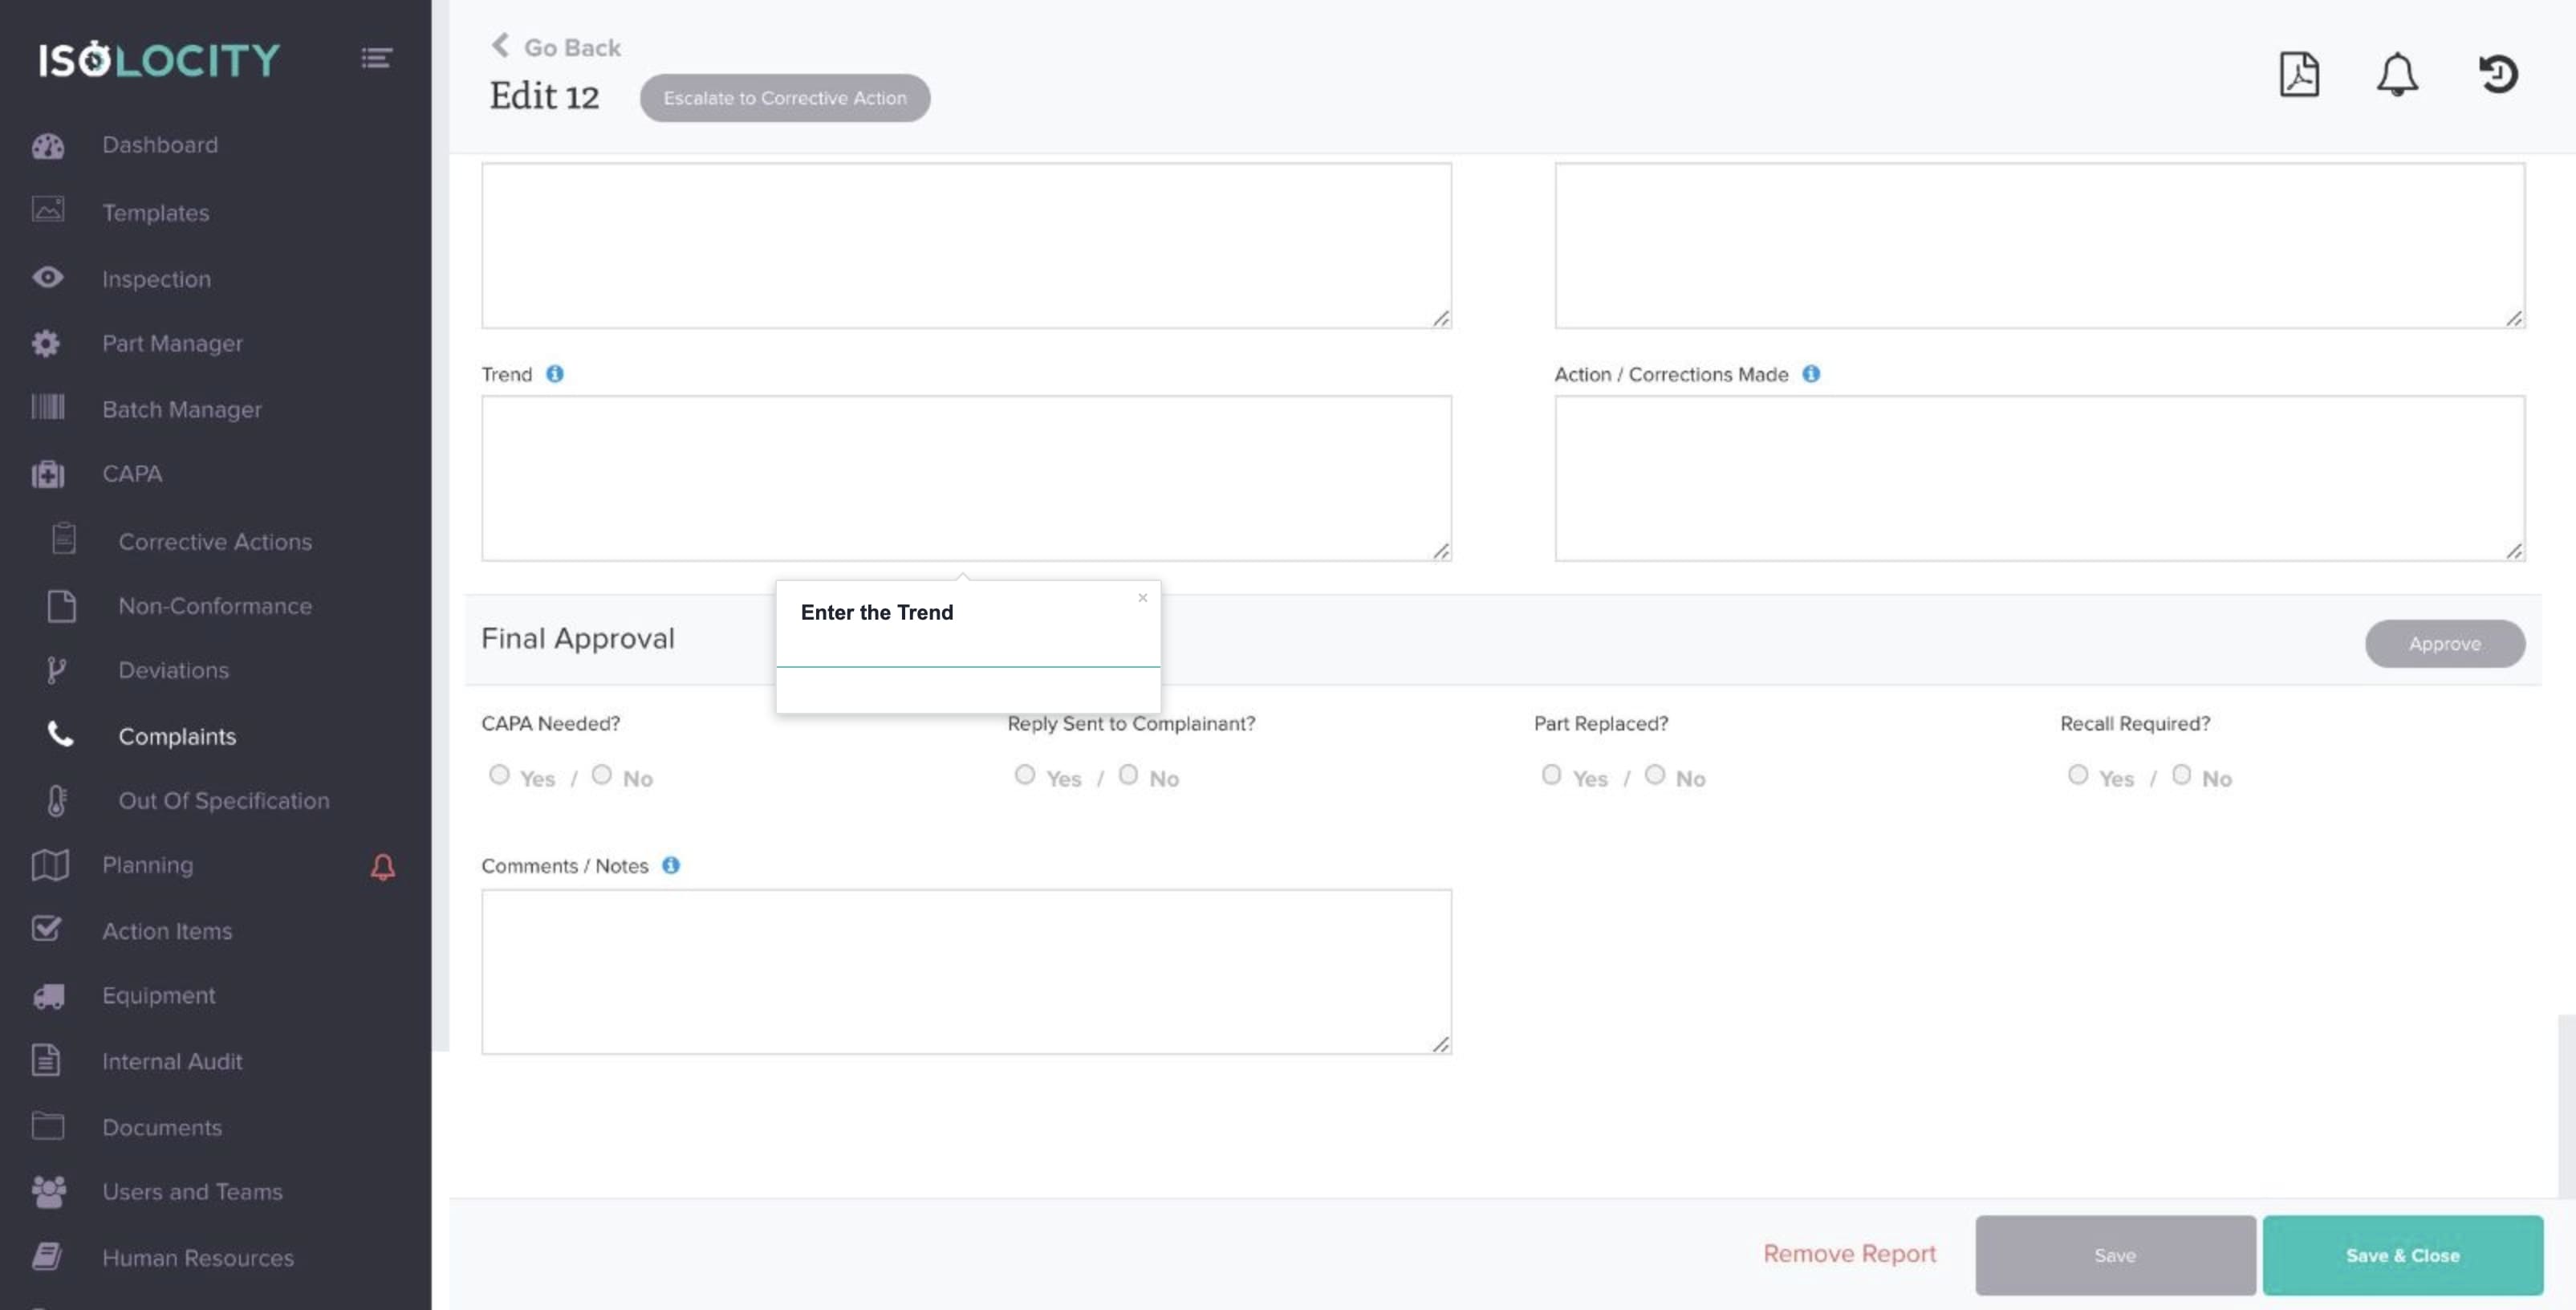
Step #35
Enter the Action/Corrections Made

Step #36
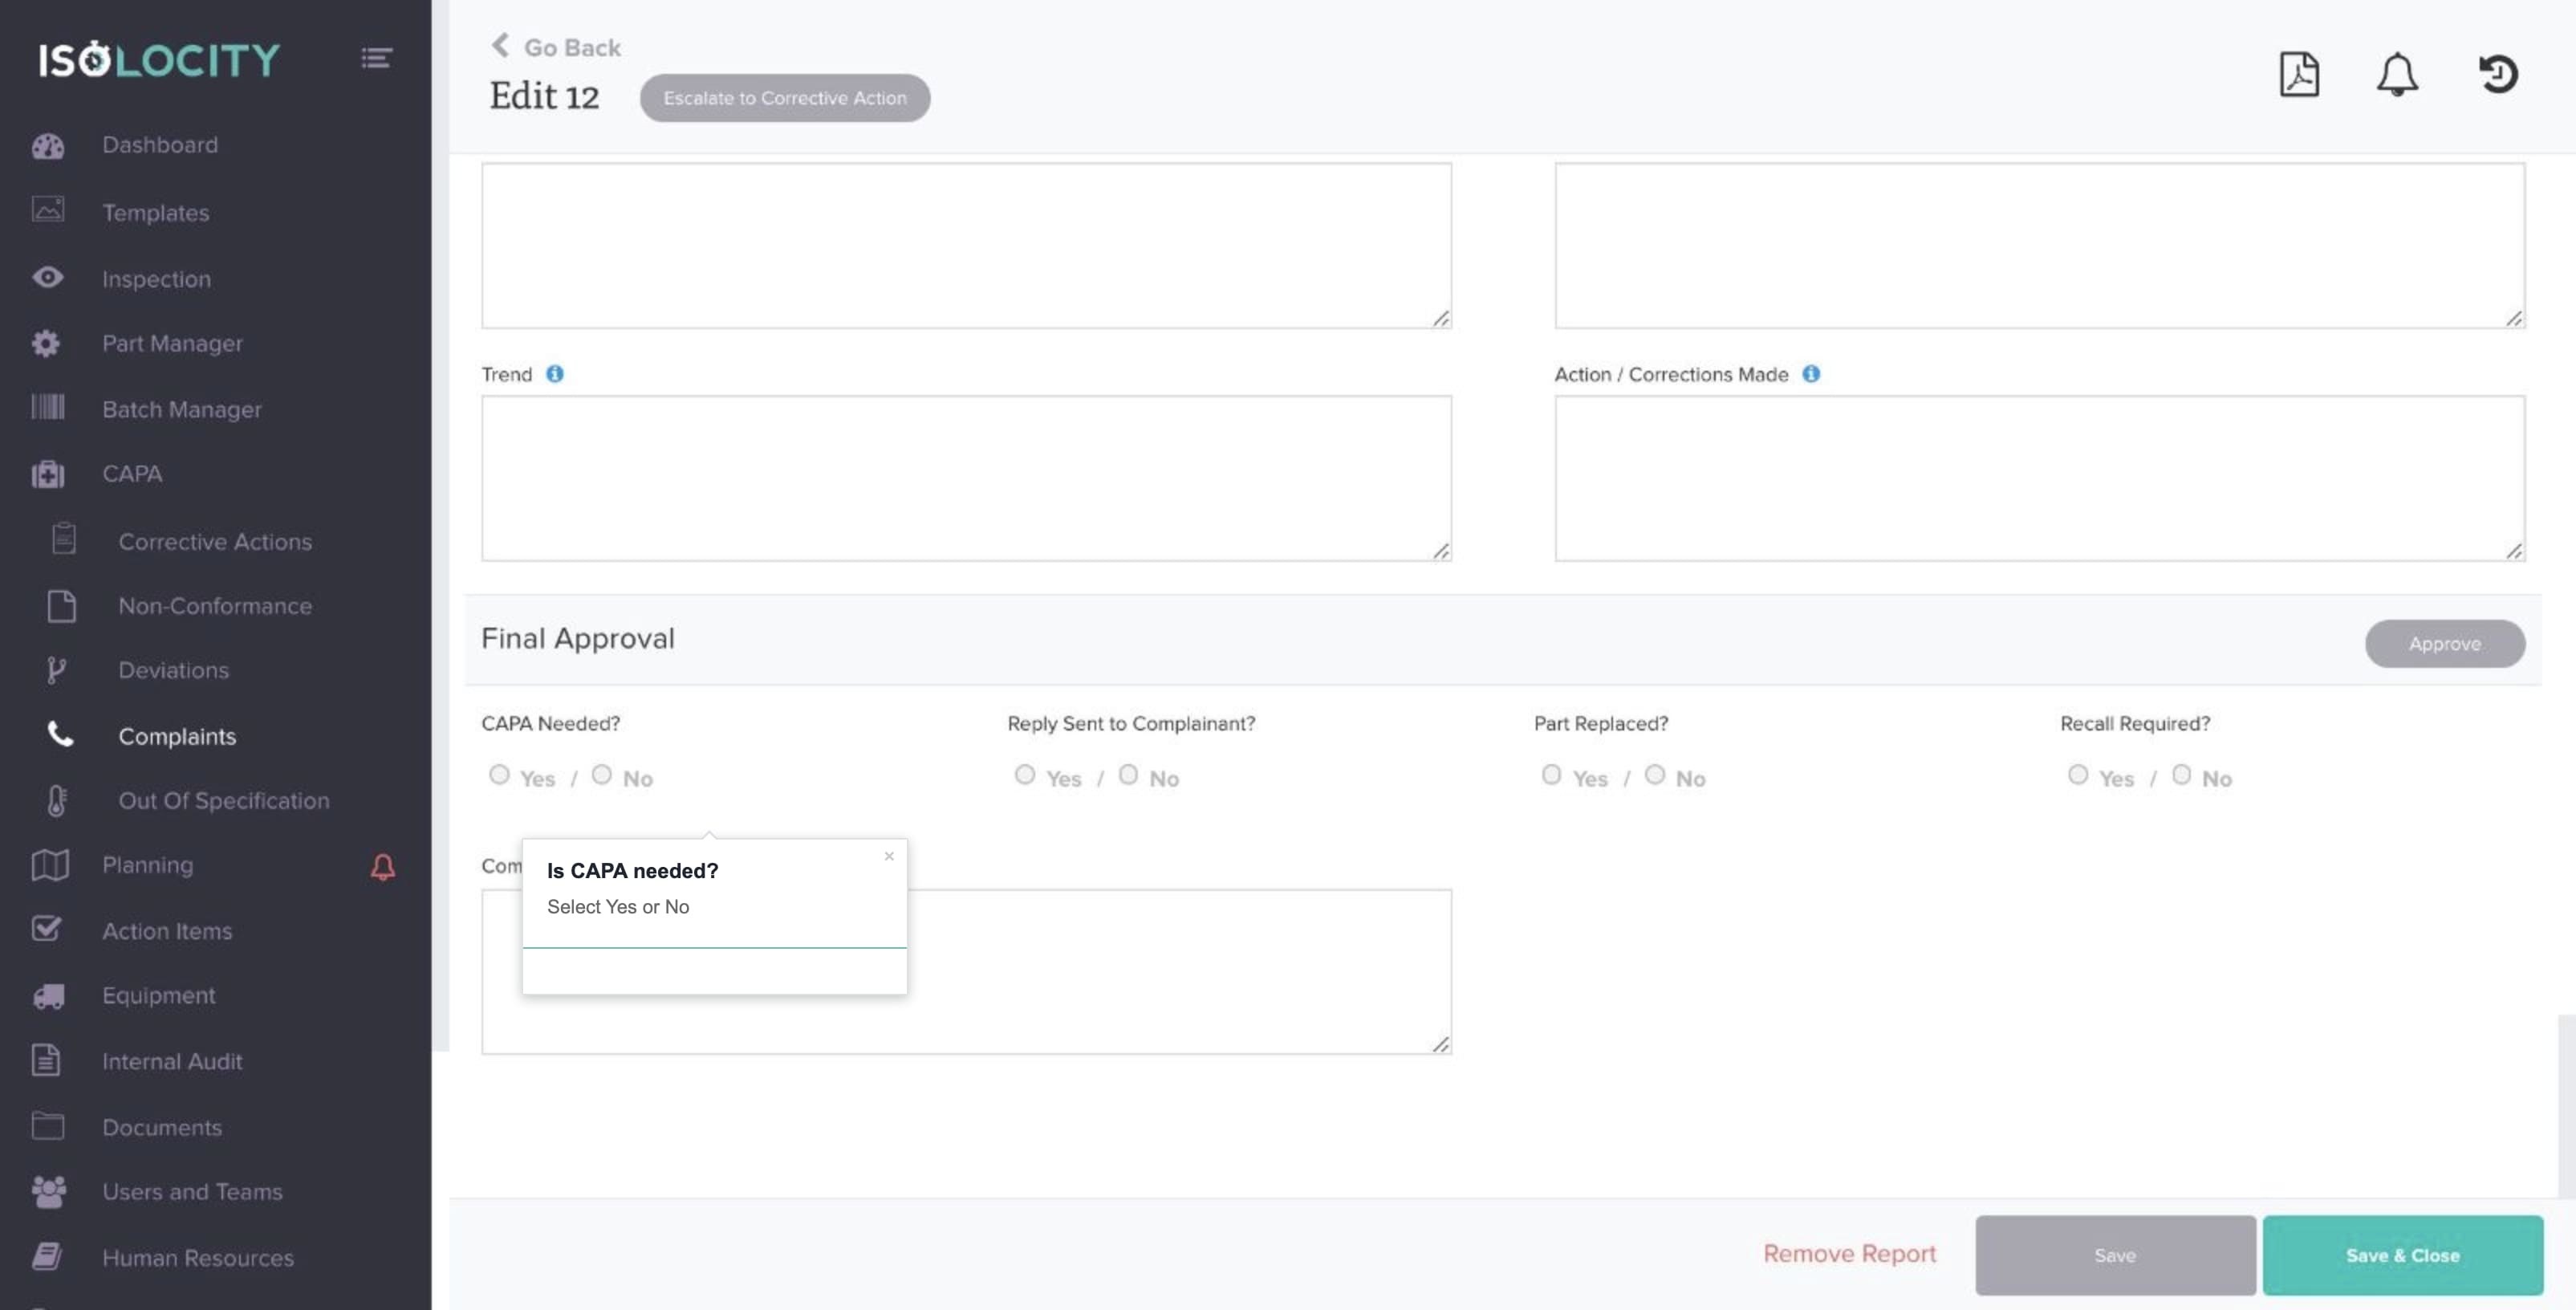
Is CAPA needed?
Step #37
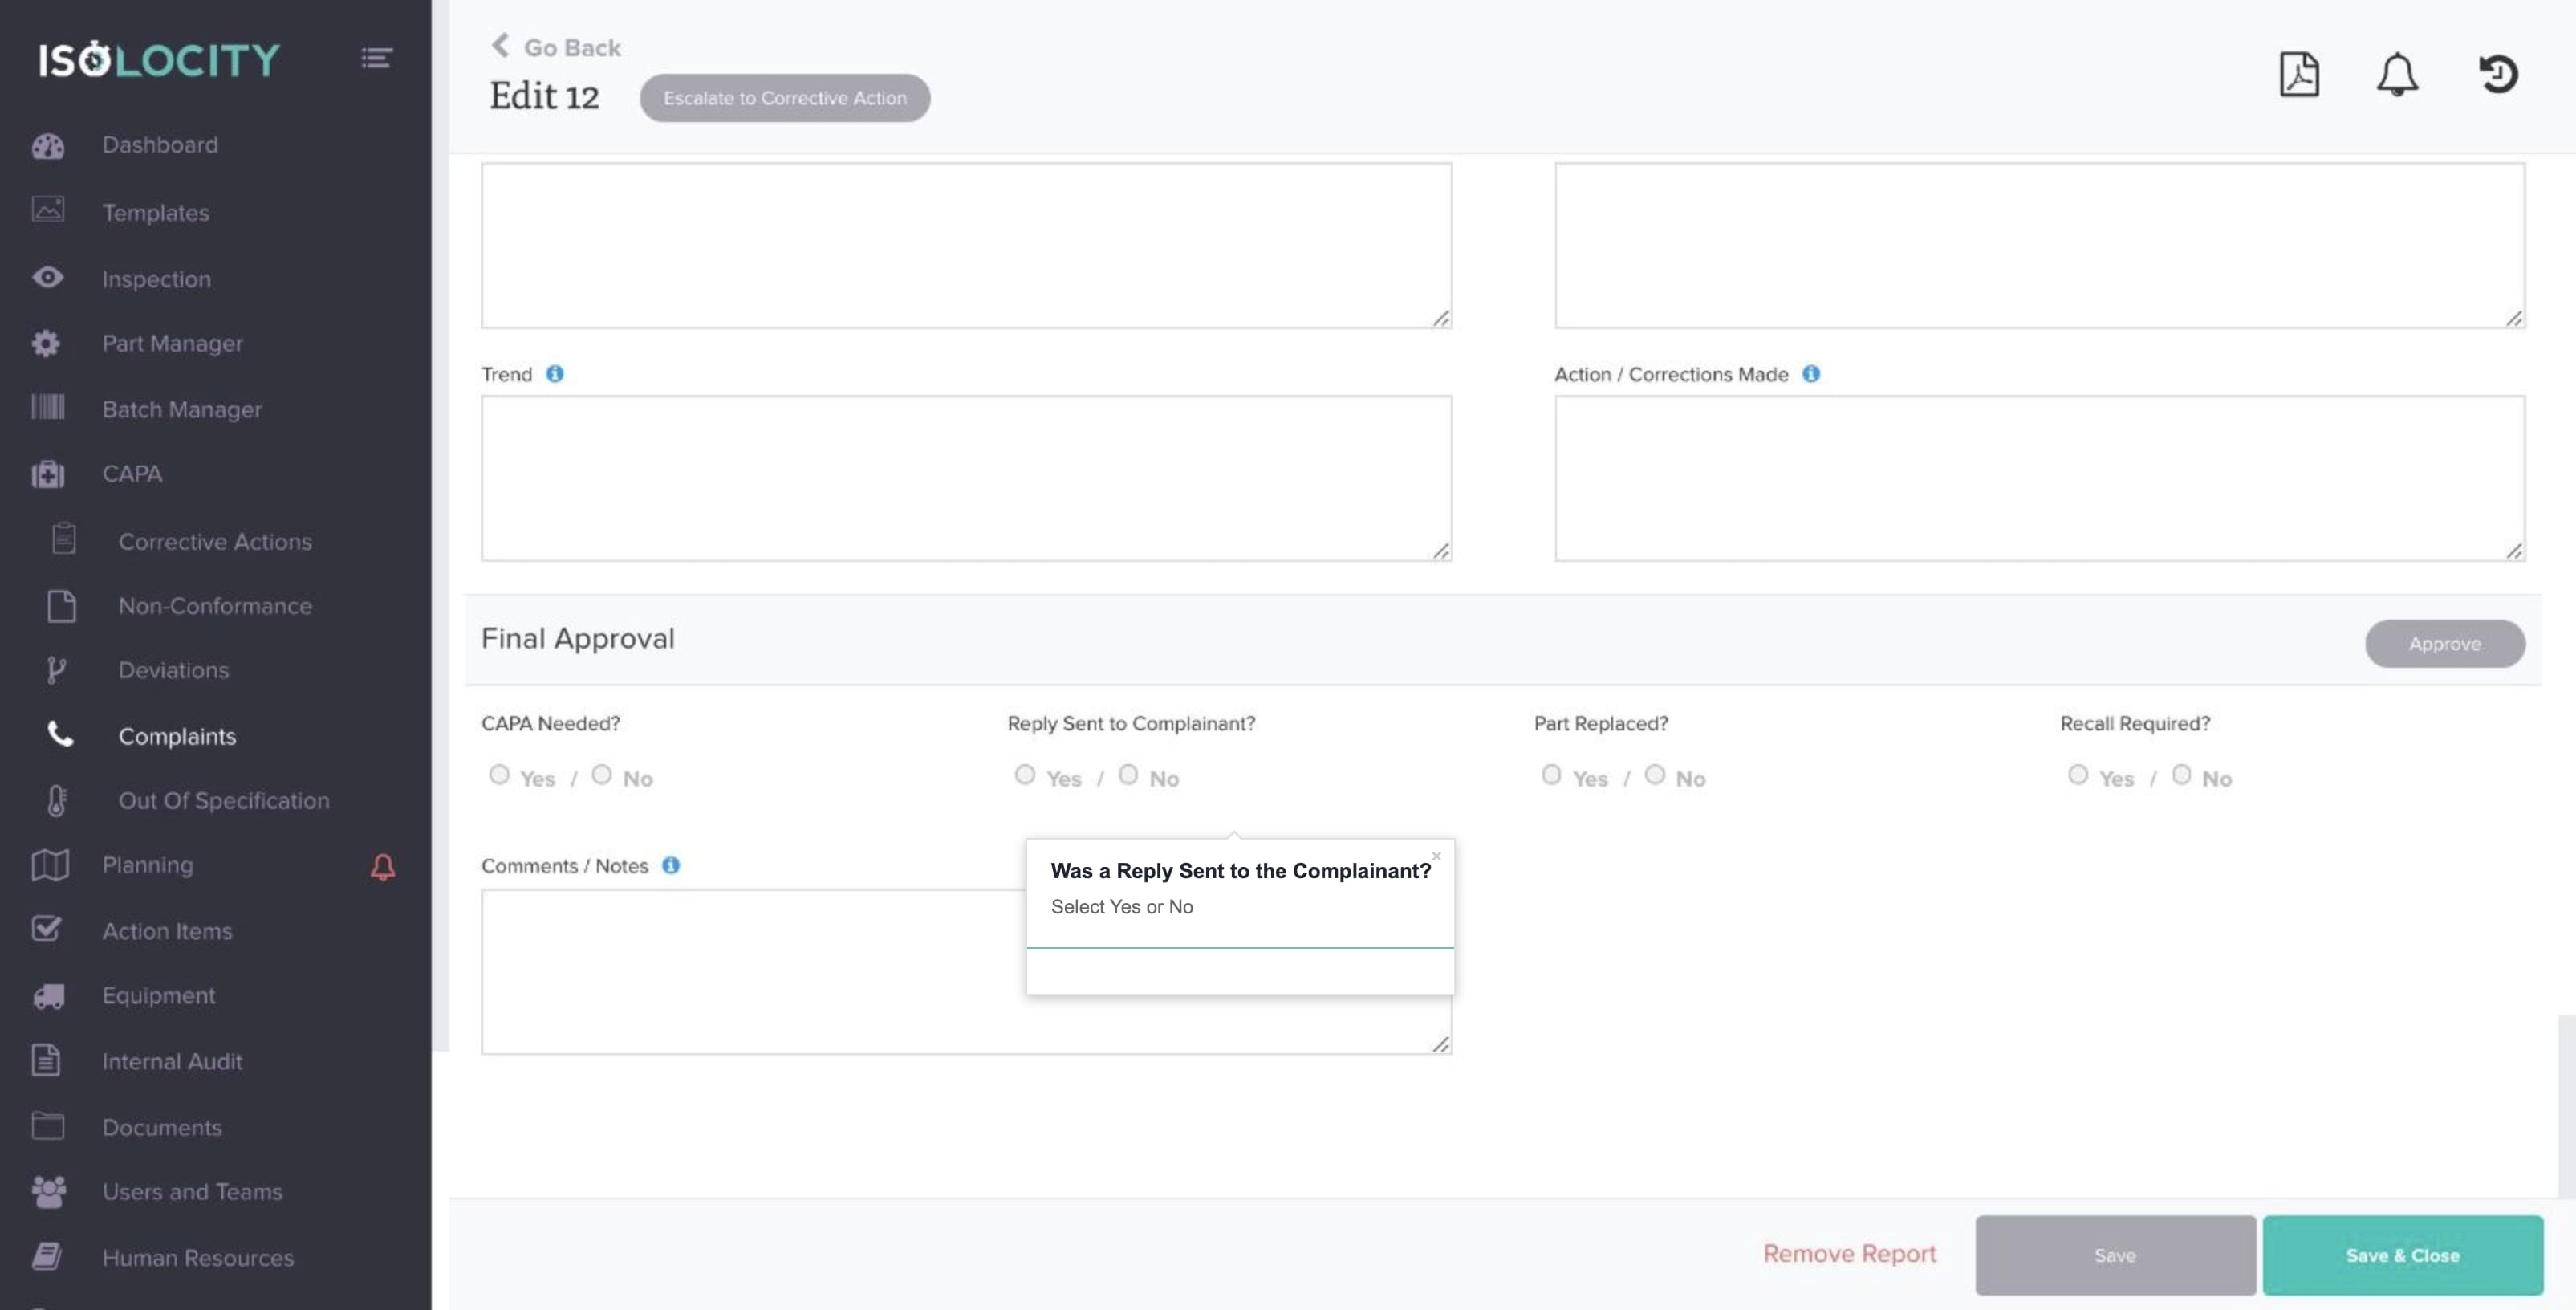
Was a Reply Sent to the Complainant?
Step #38
Was the Part Replaced?
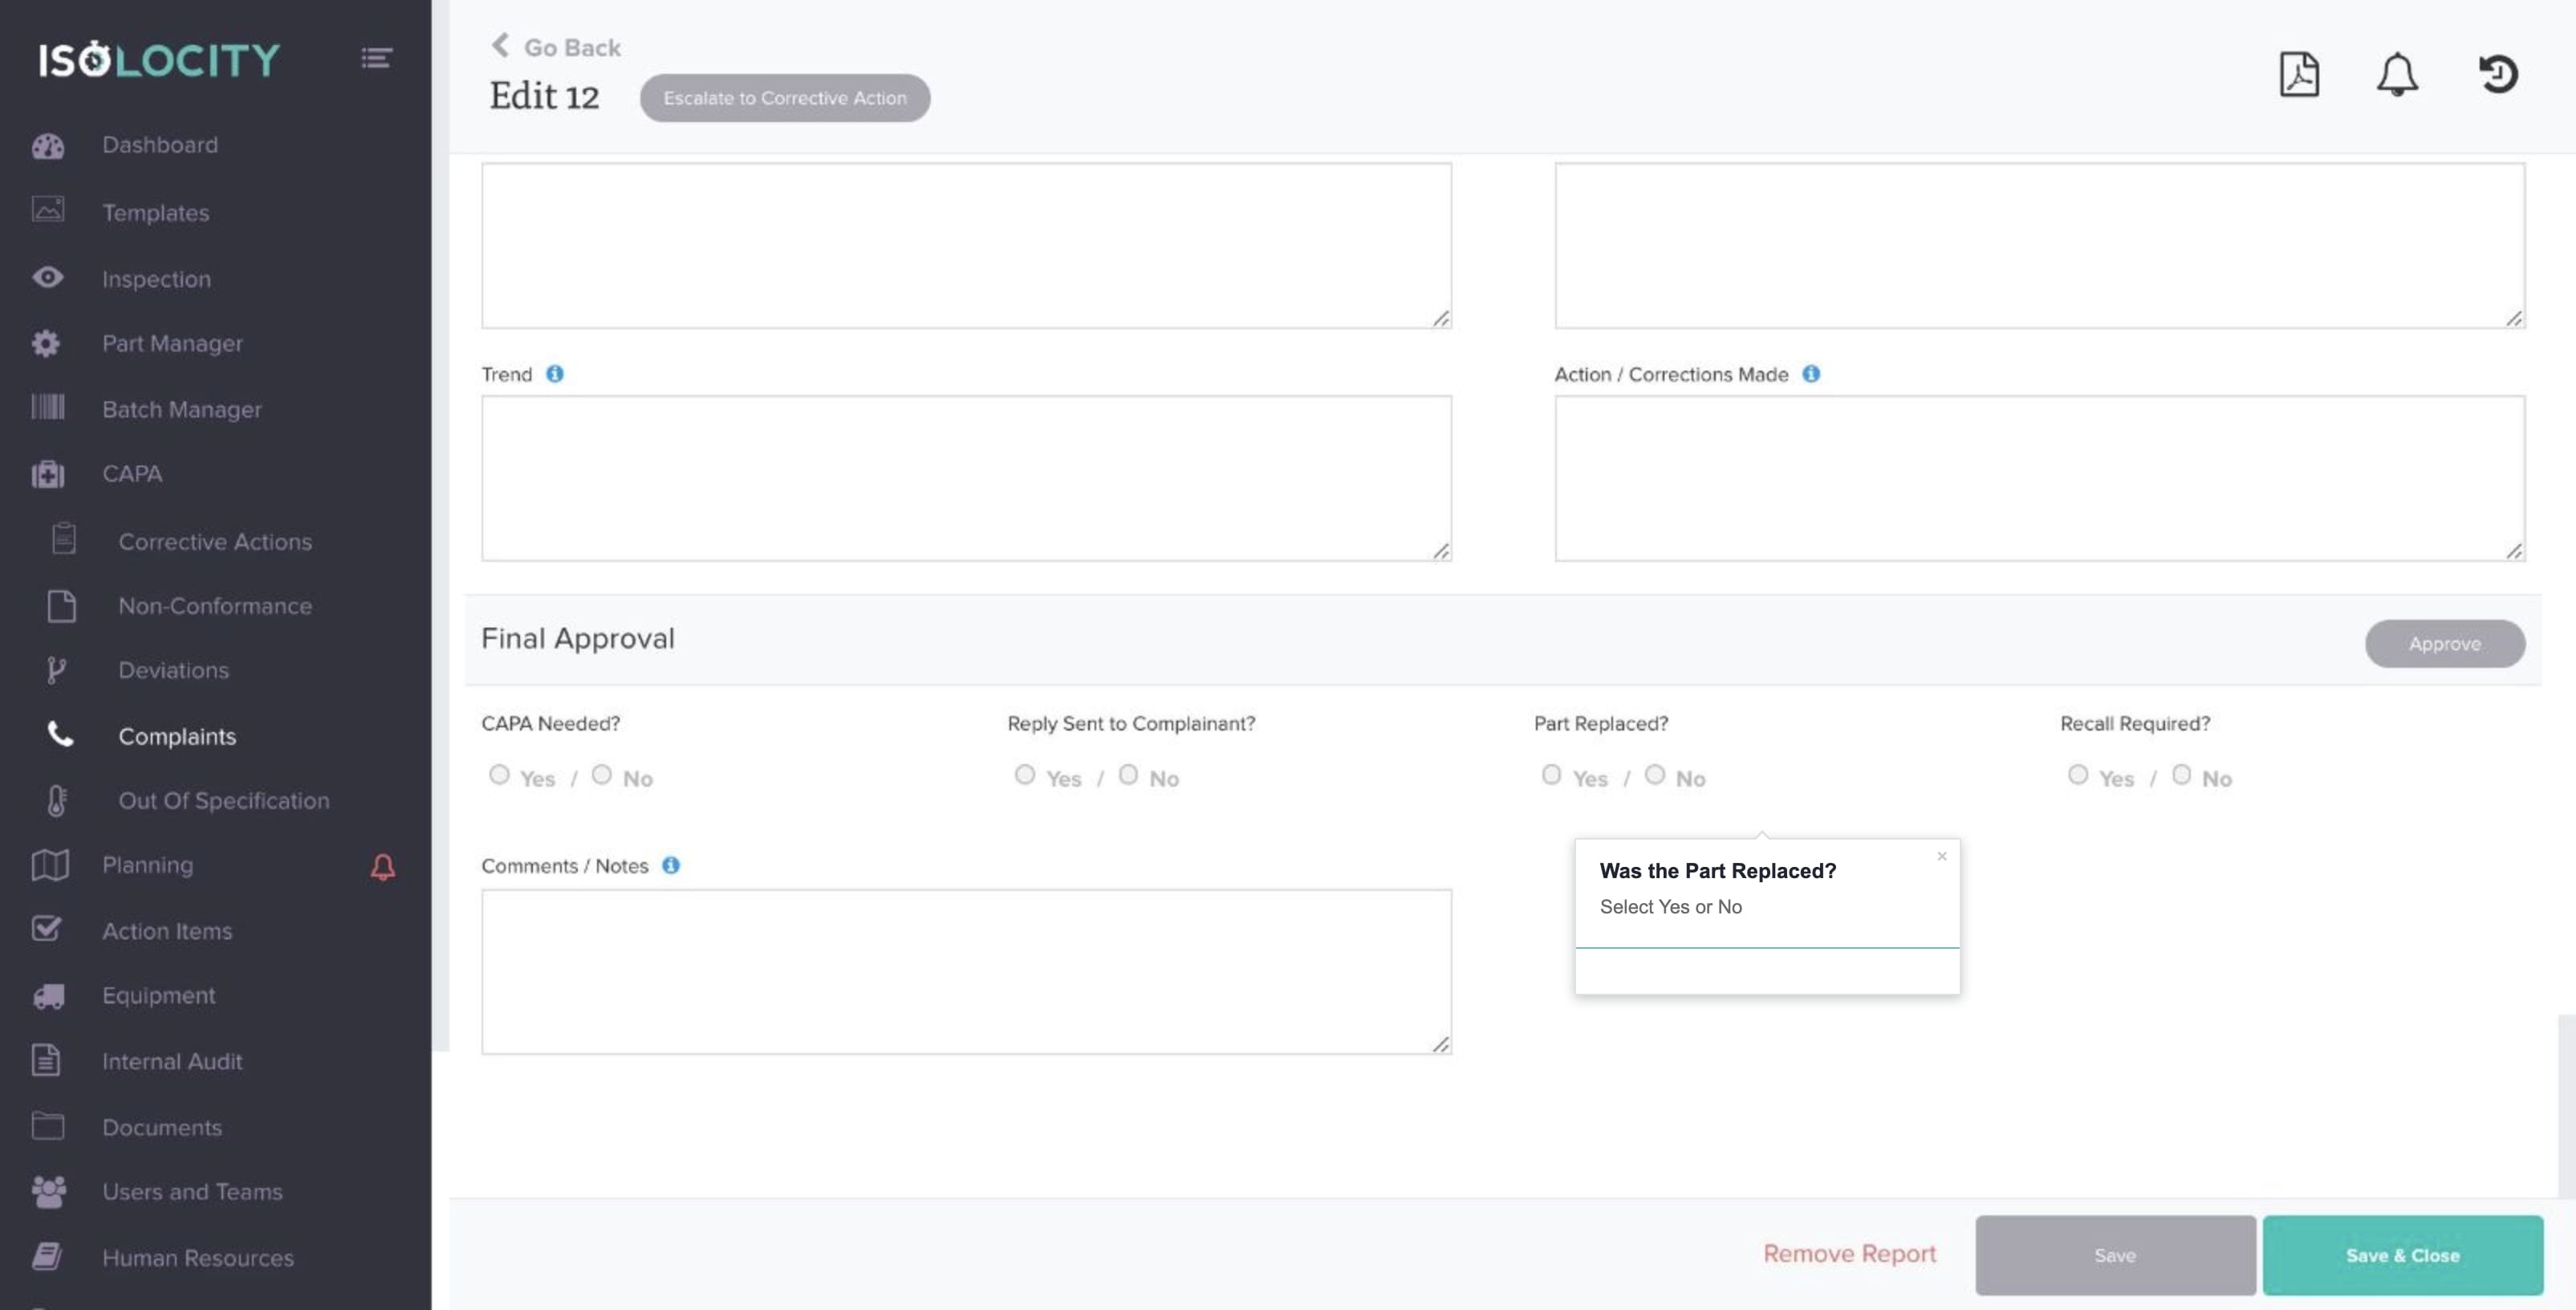
Step #39
Was a Recall Required?
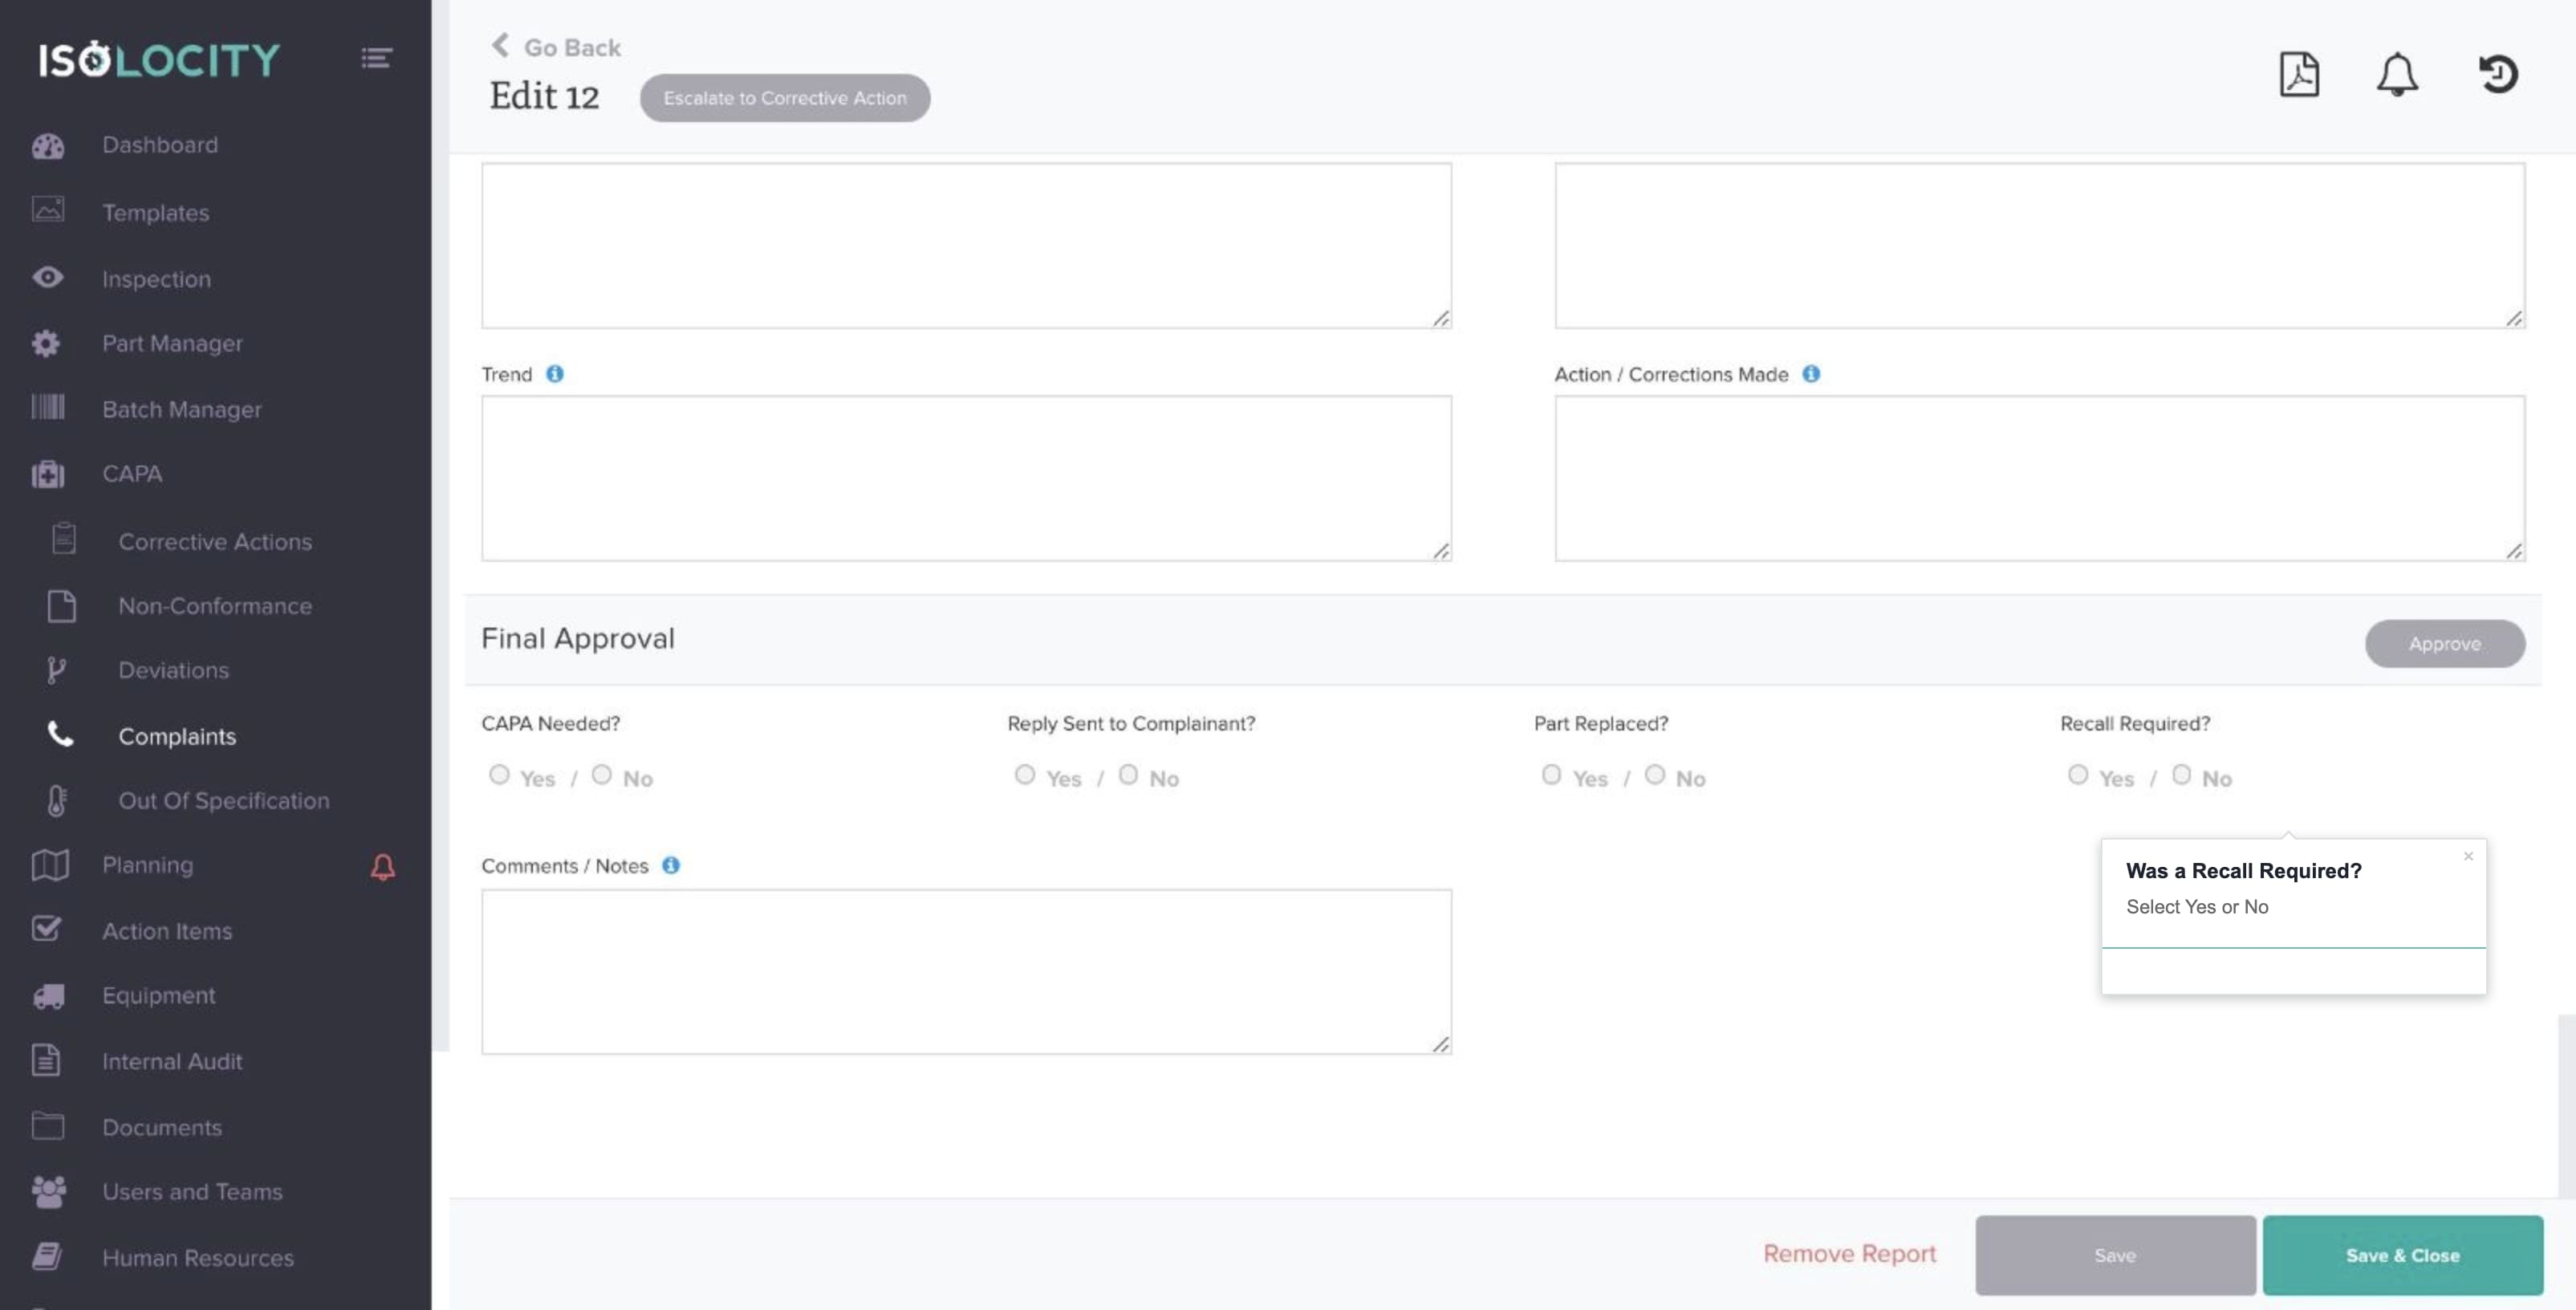
Step #40
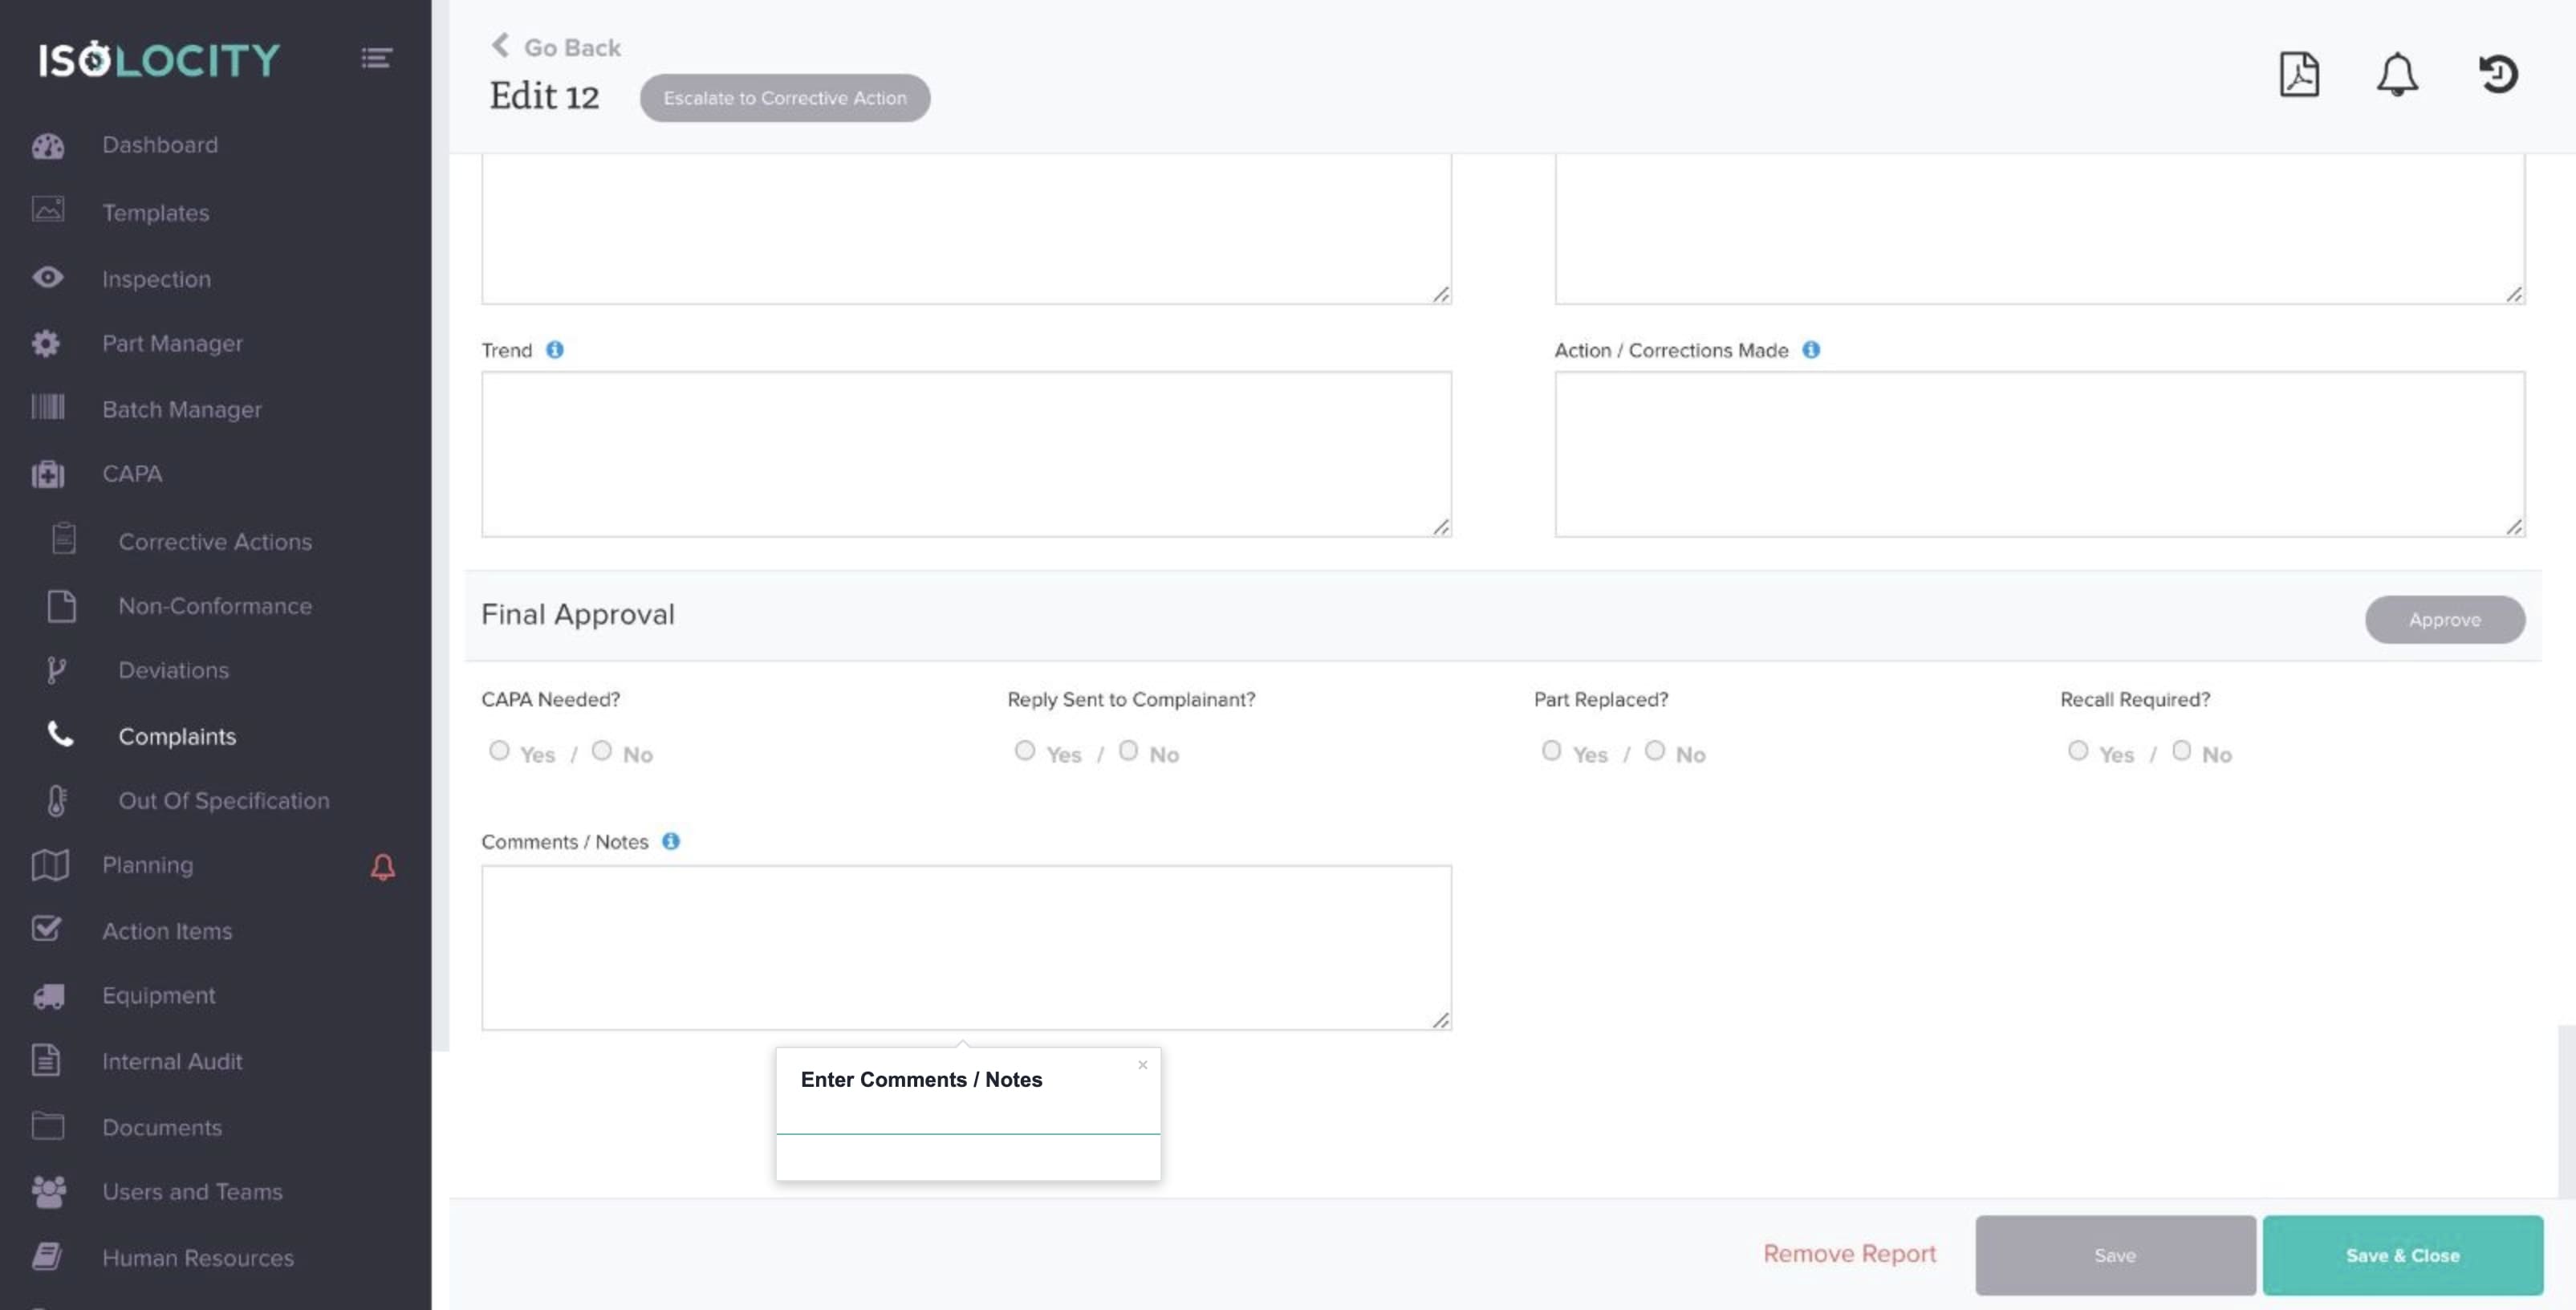
Enter Comments / Notes
Step #41
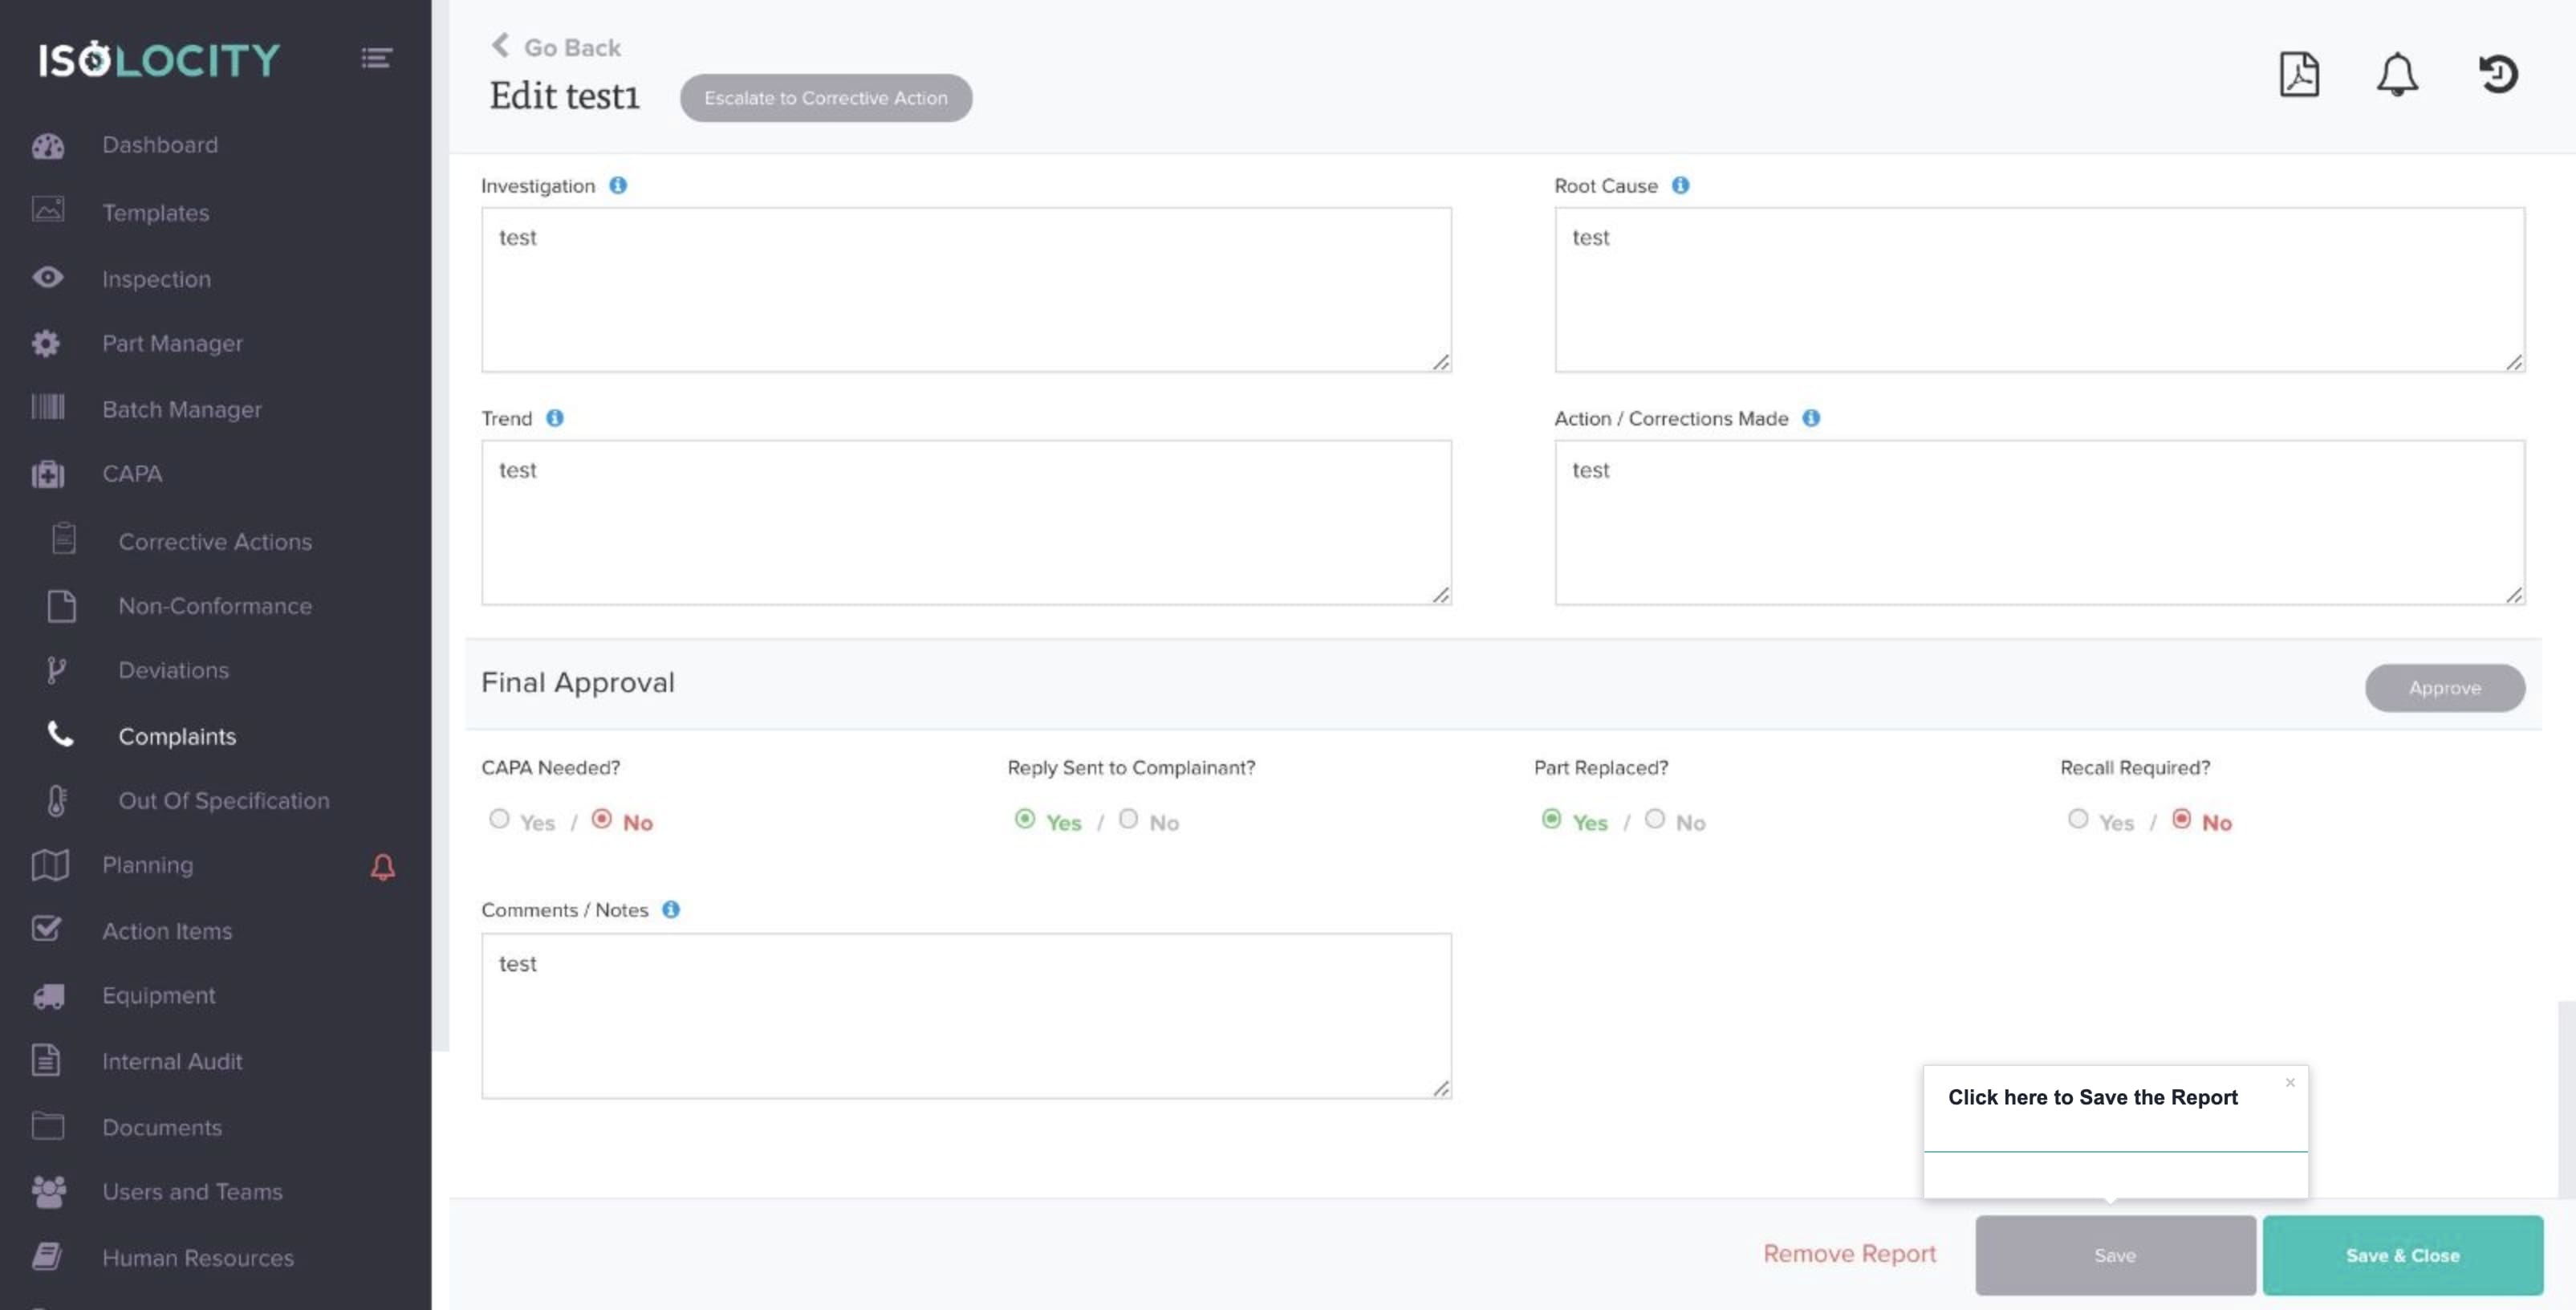
Click here to Save the Report
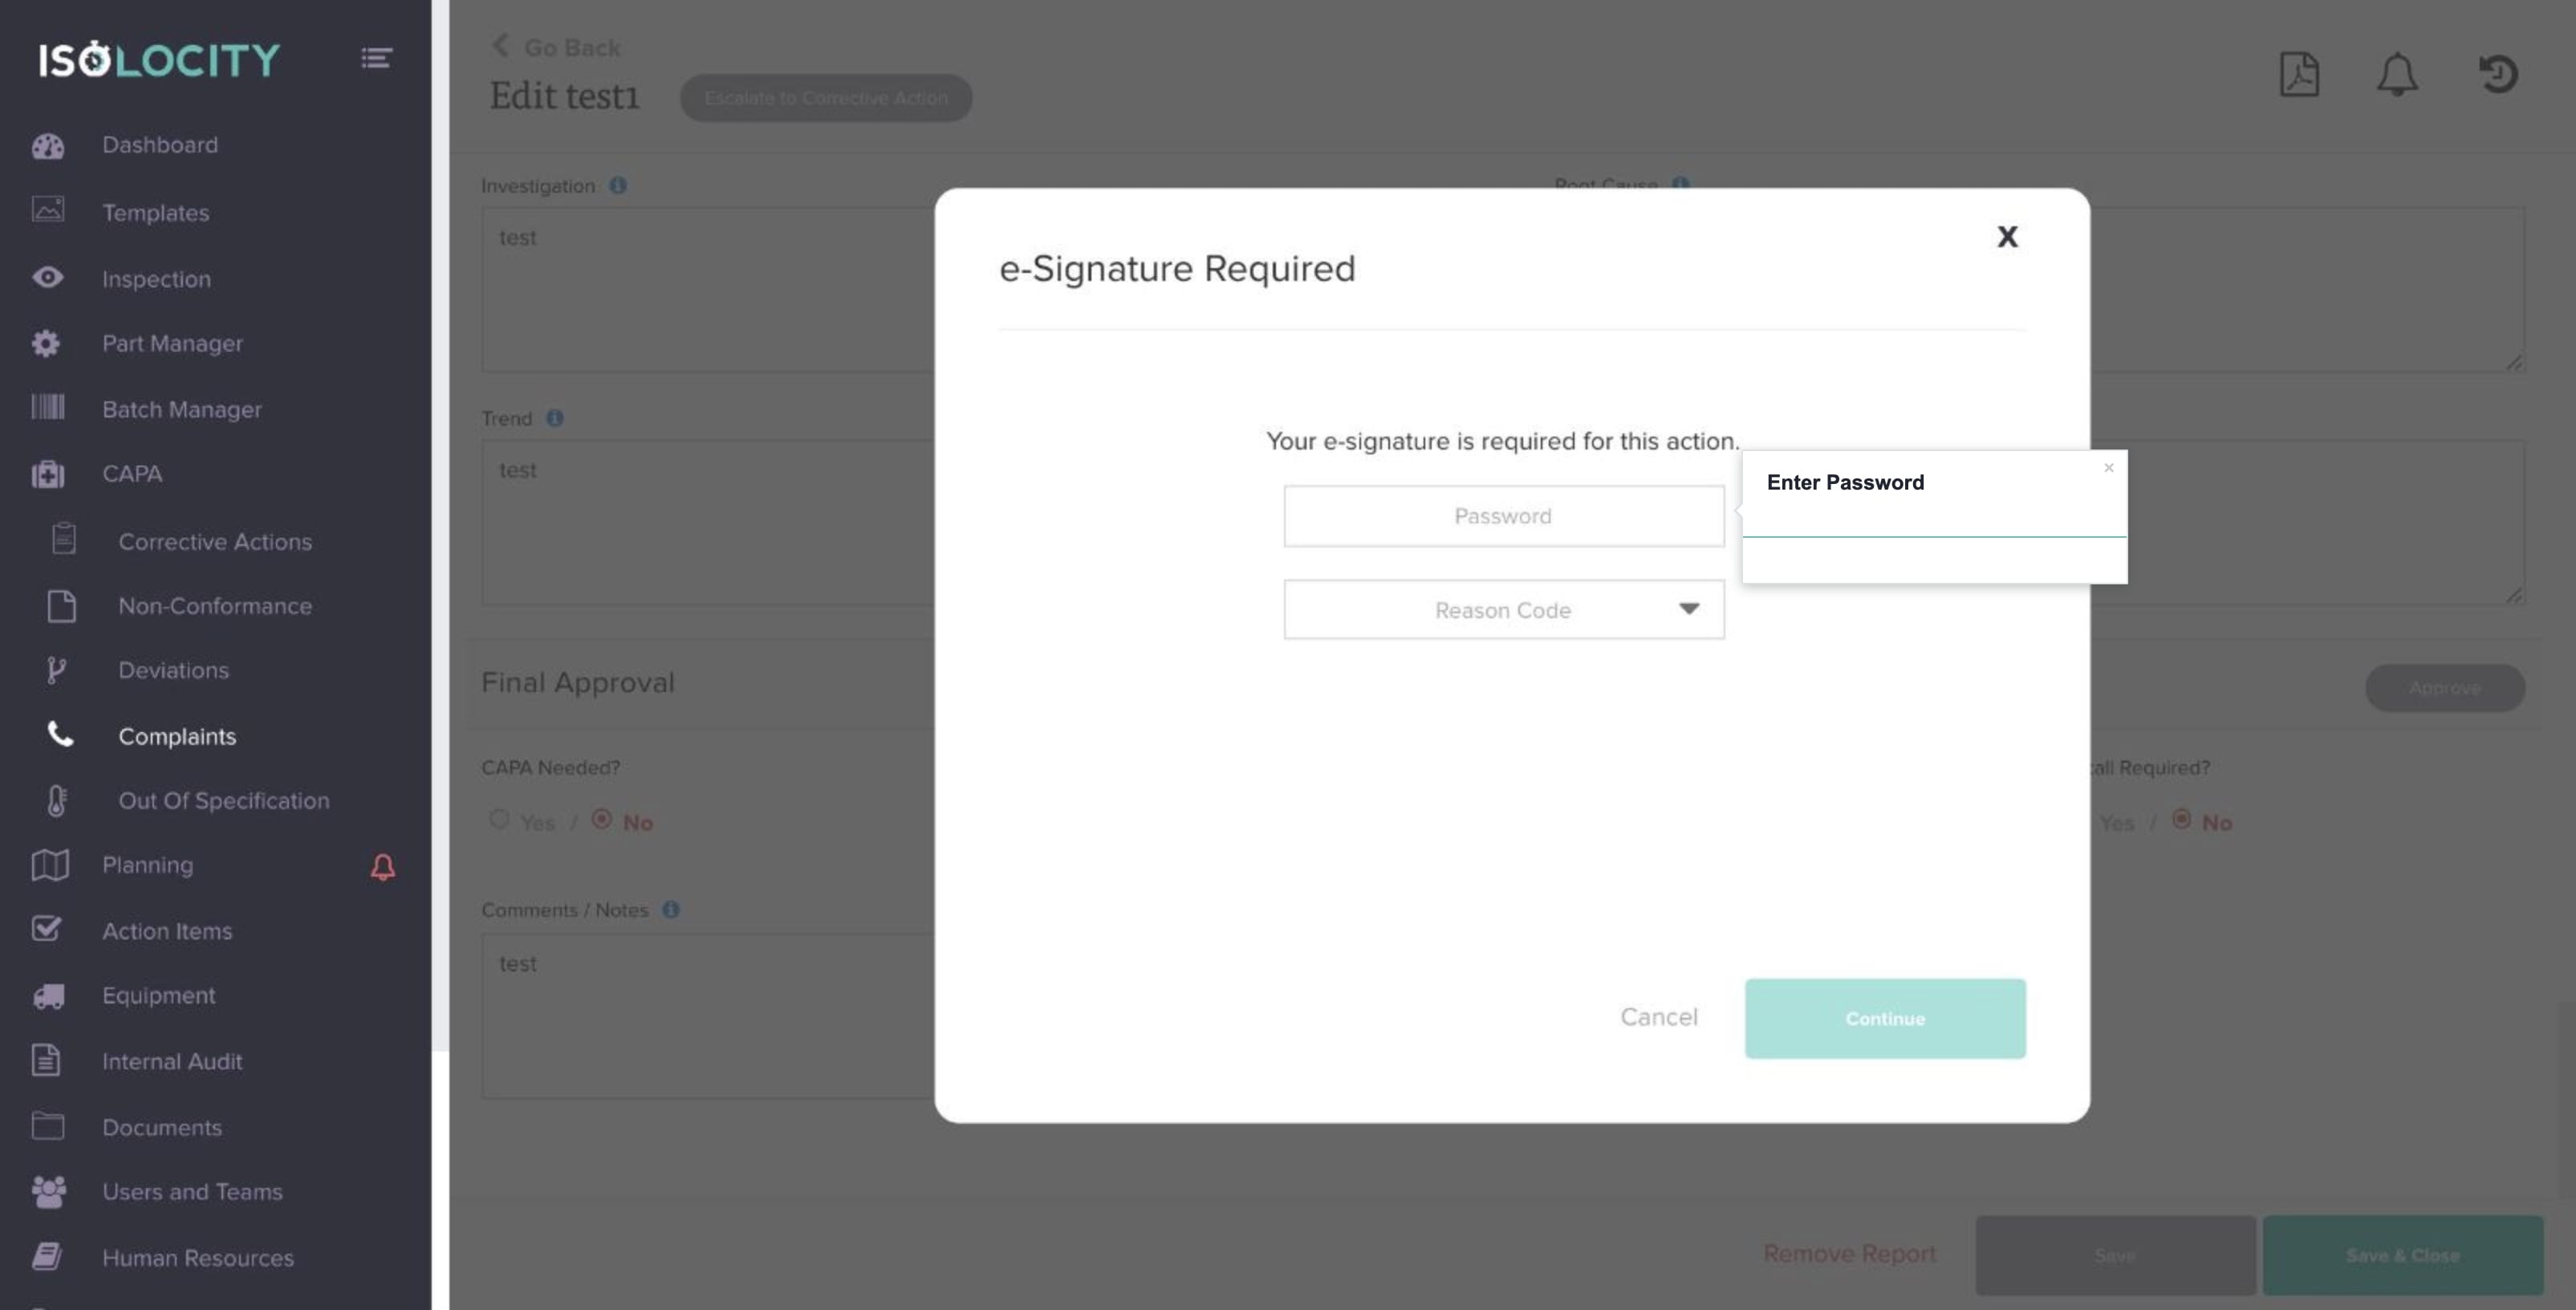
Step #42
Enter Password
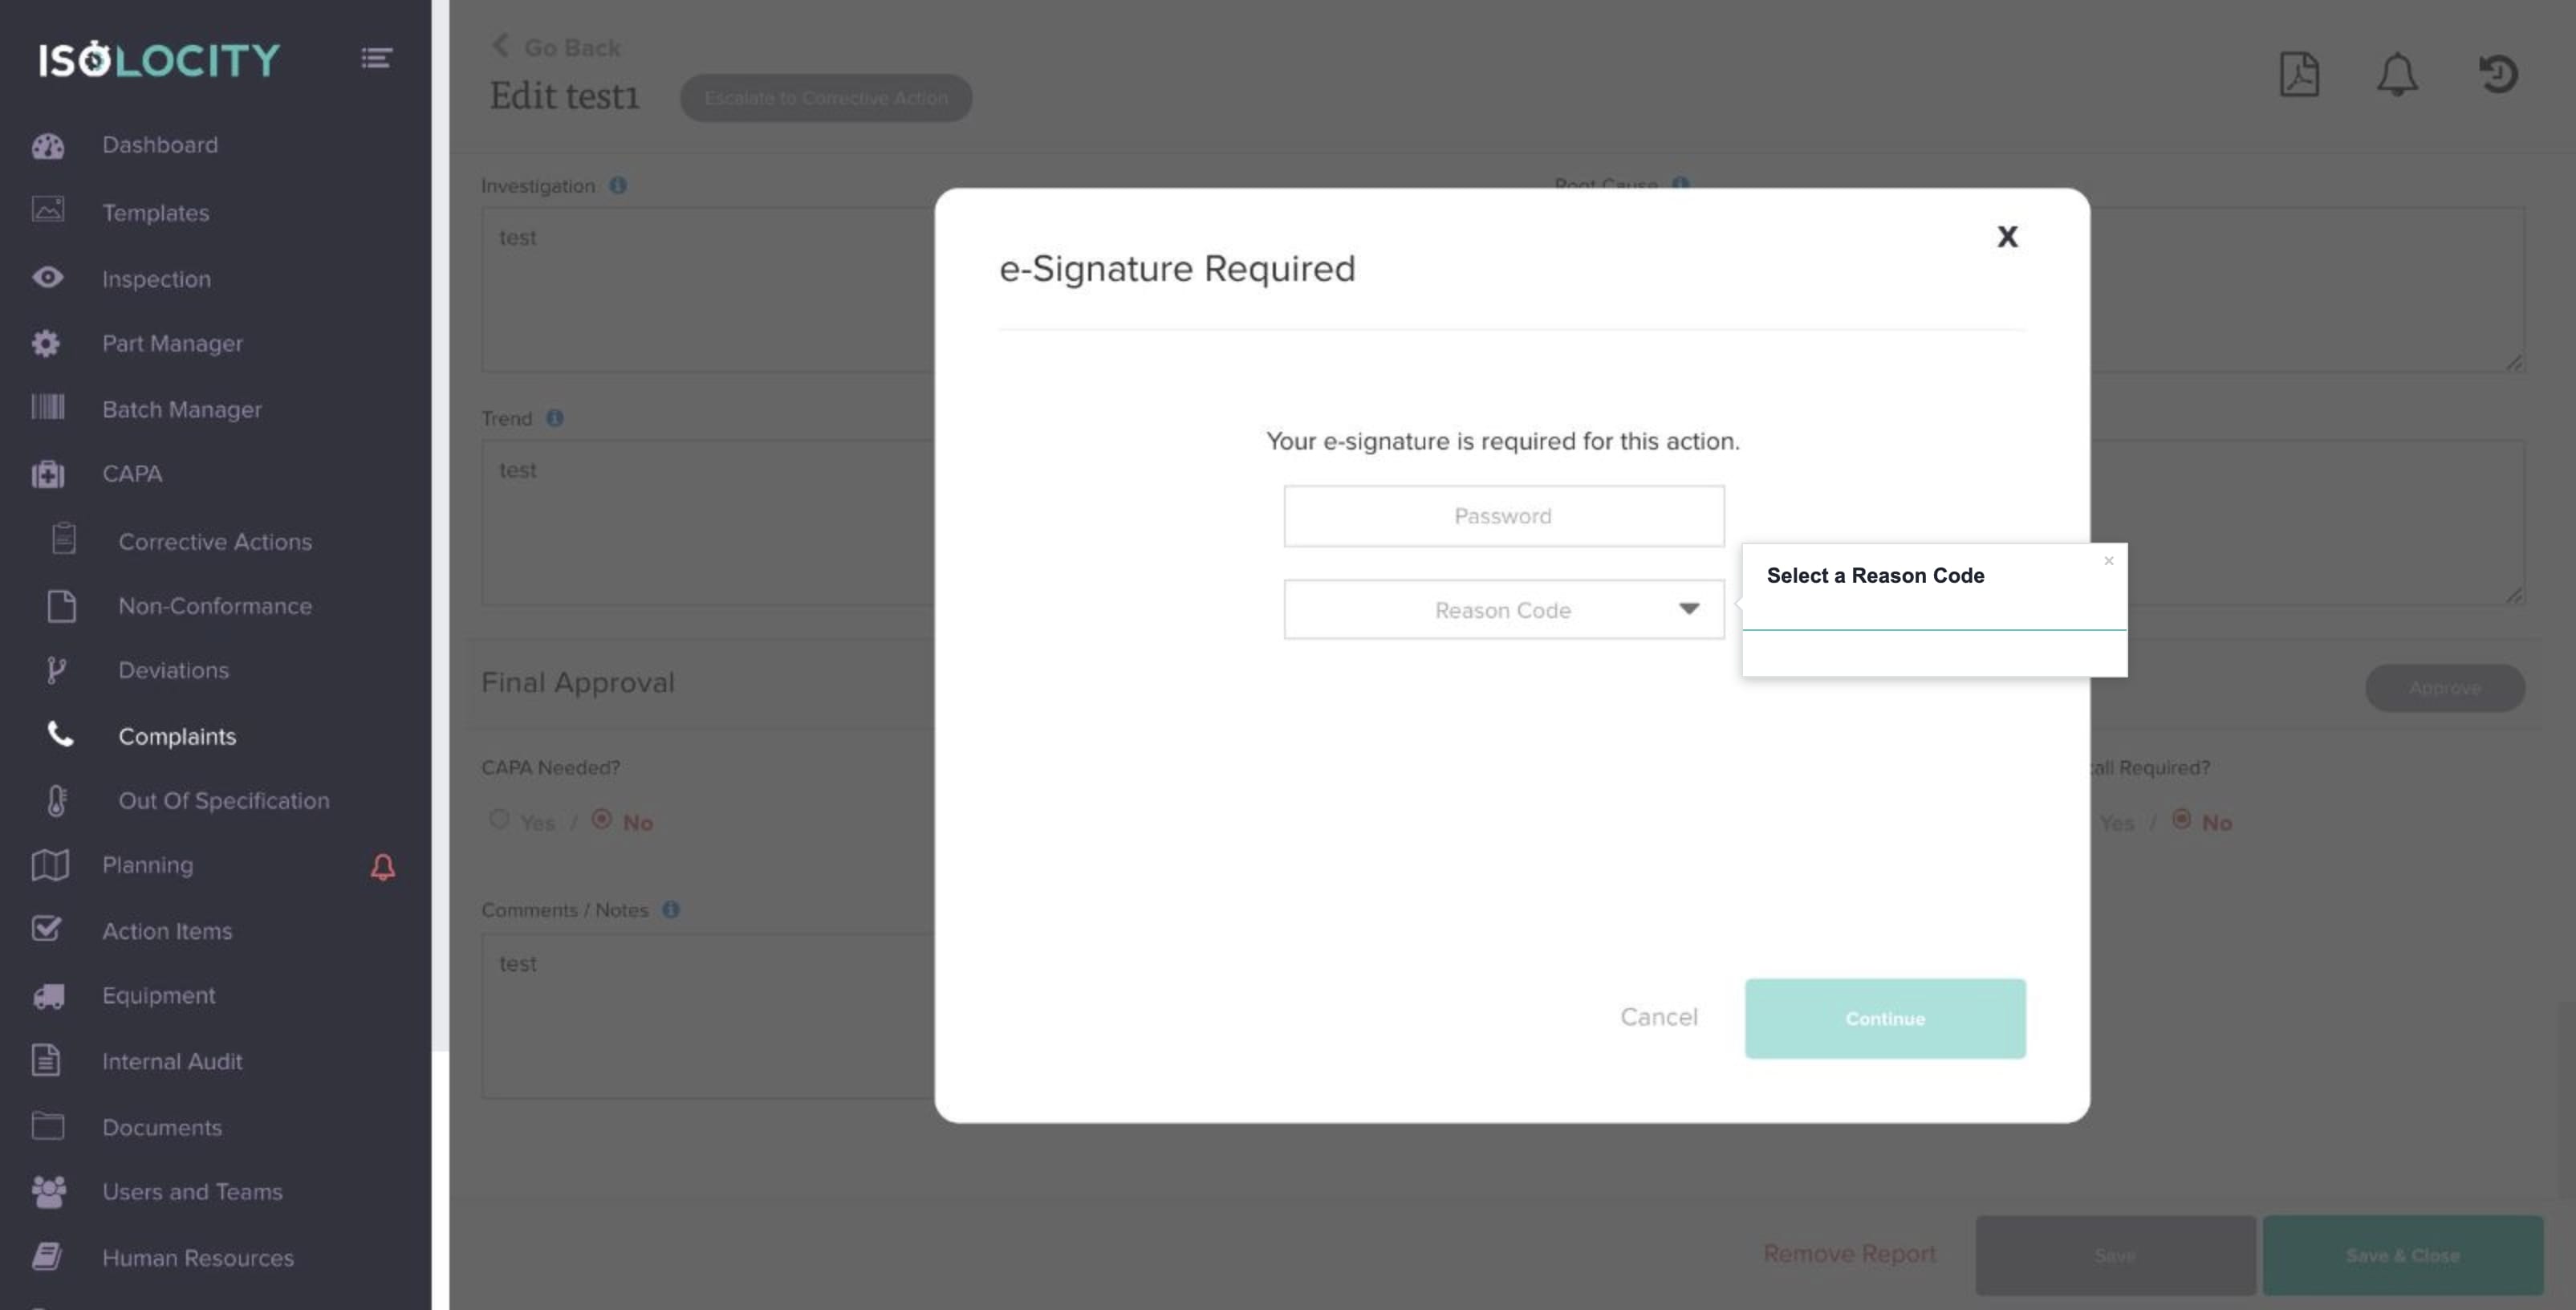
Step #43
Select a Reason Code
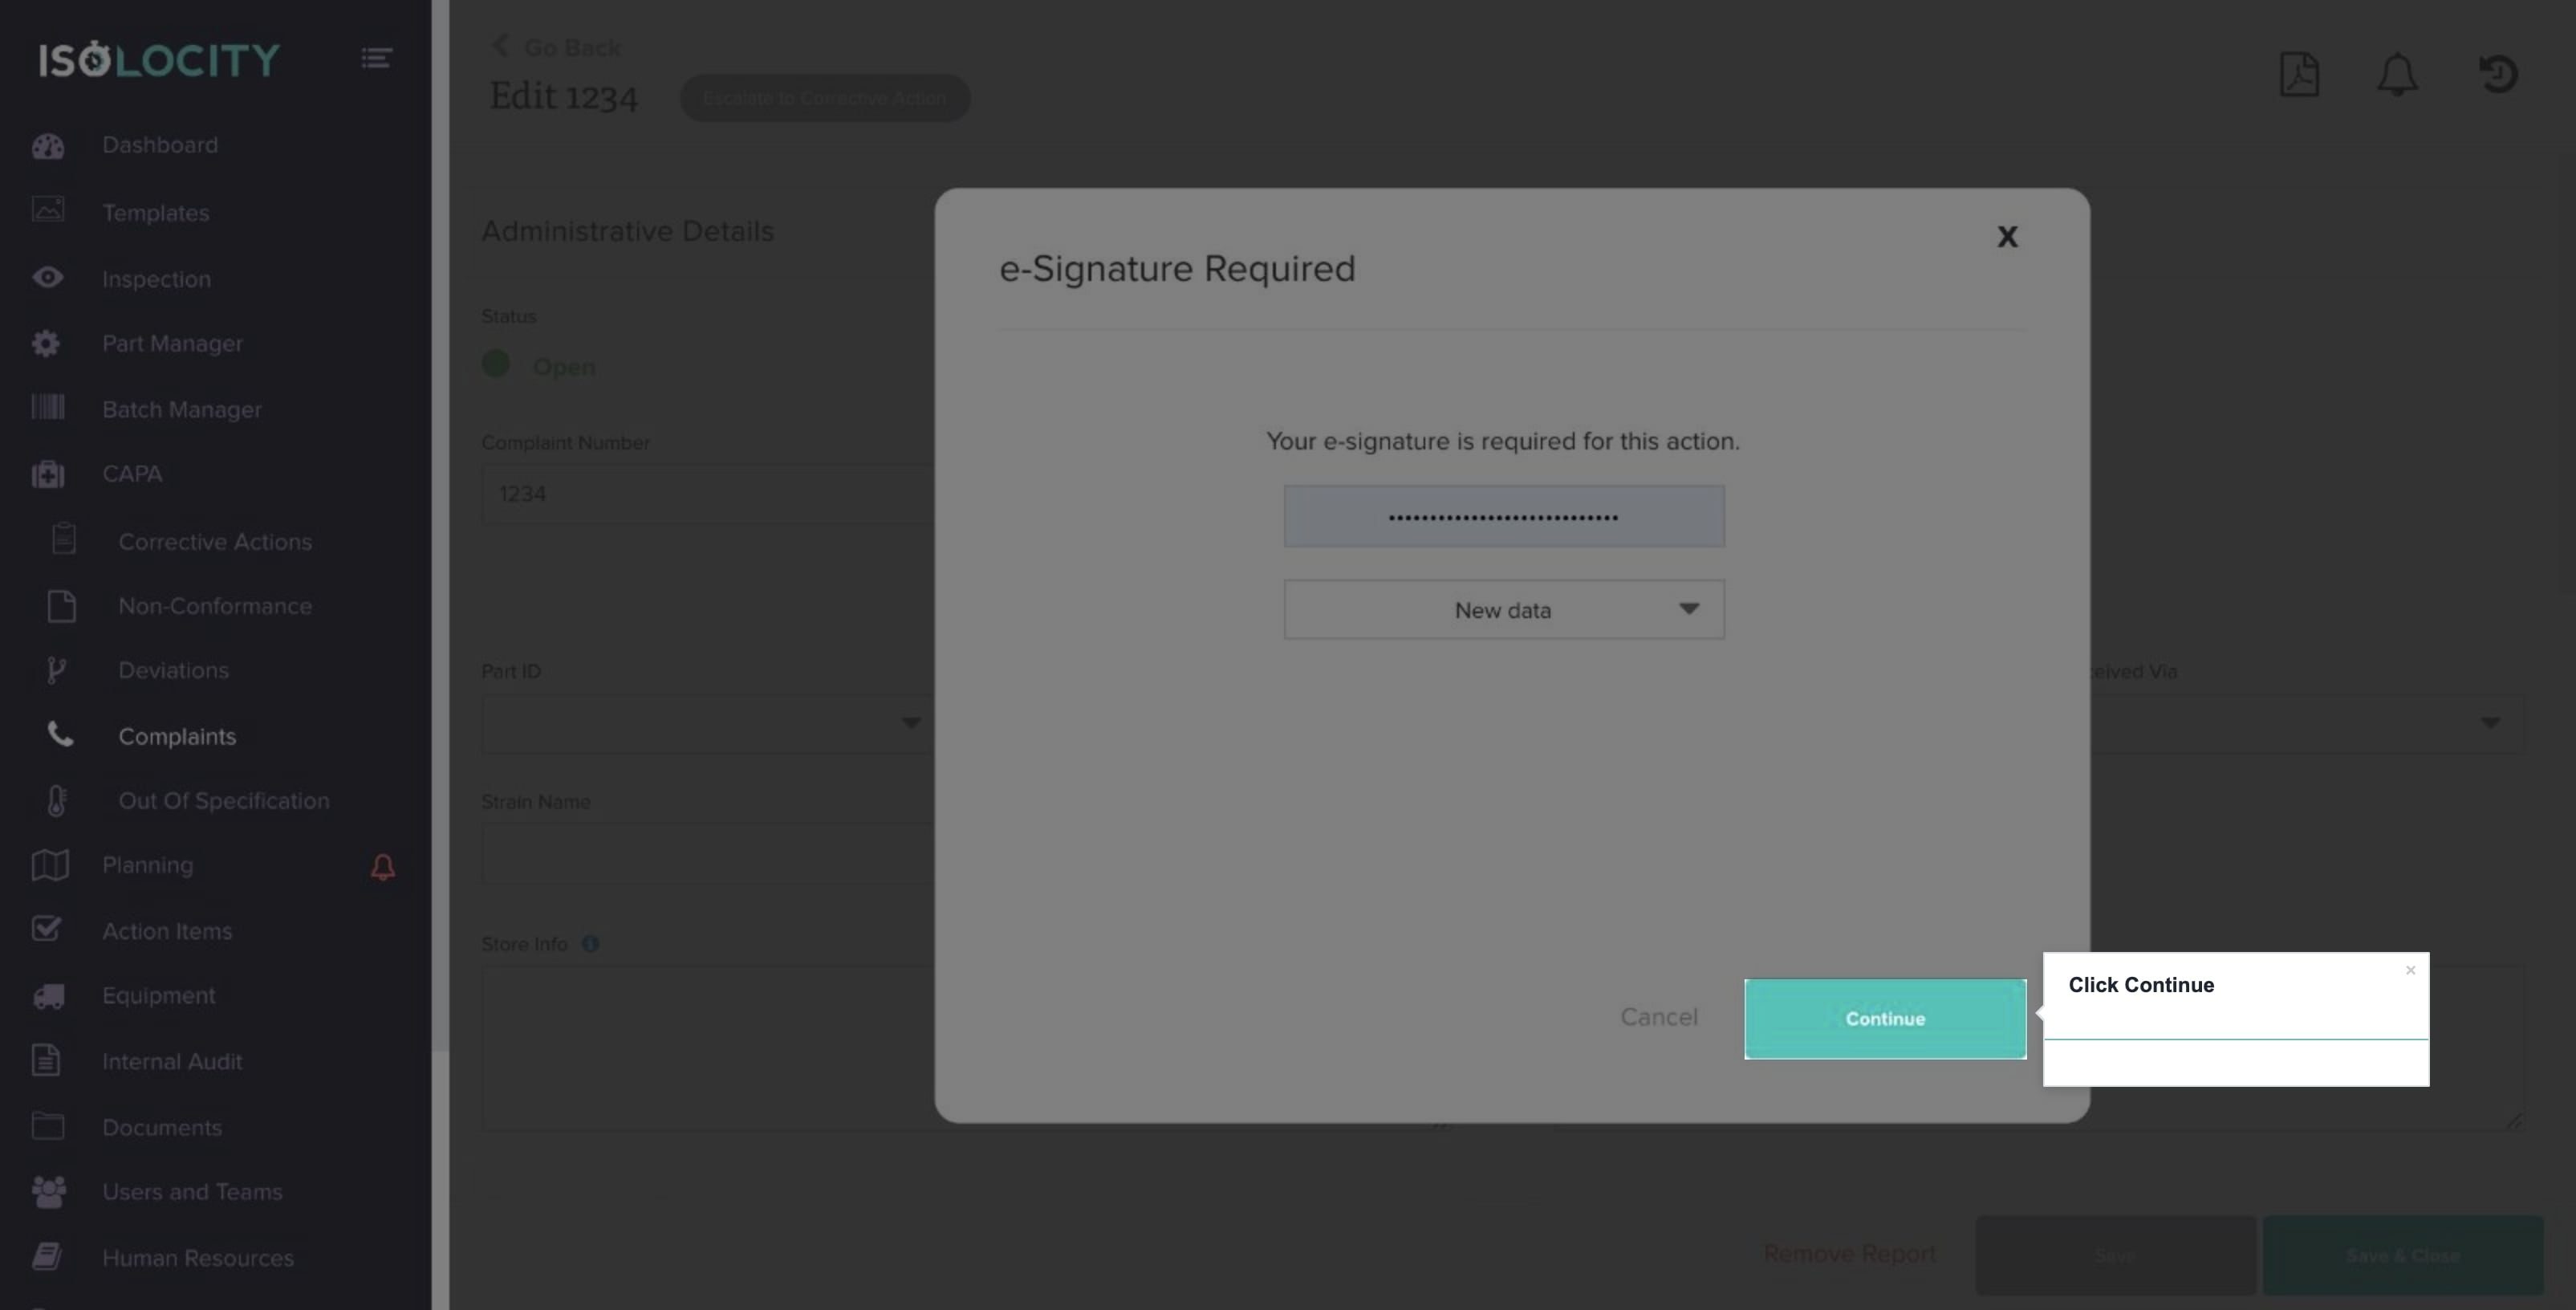
Step #44
Click Continue
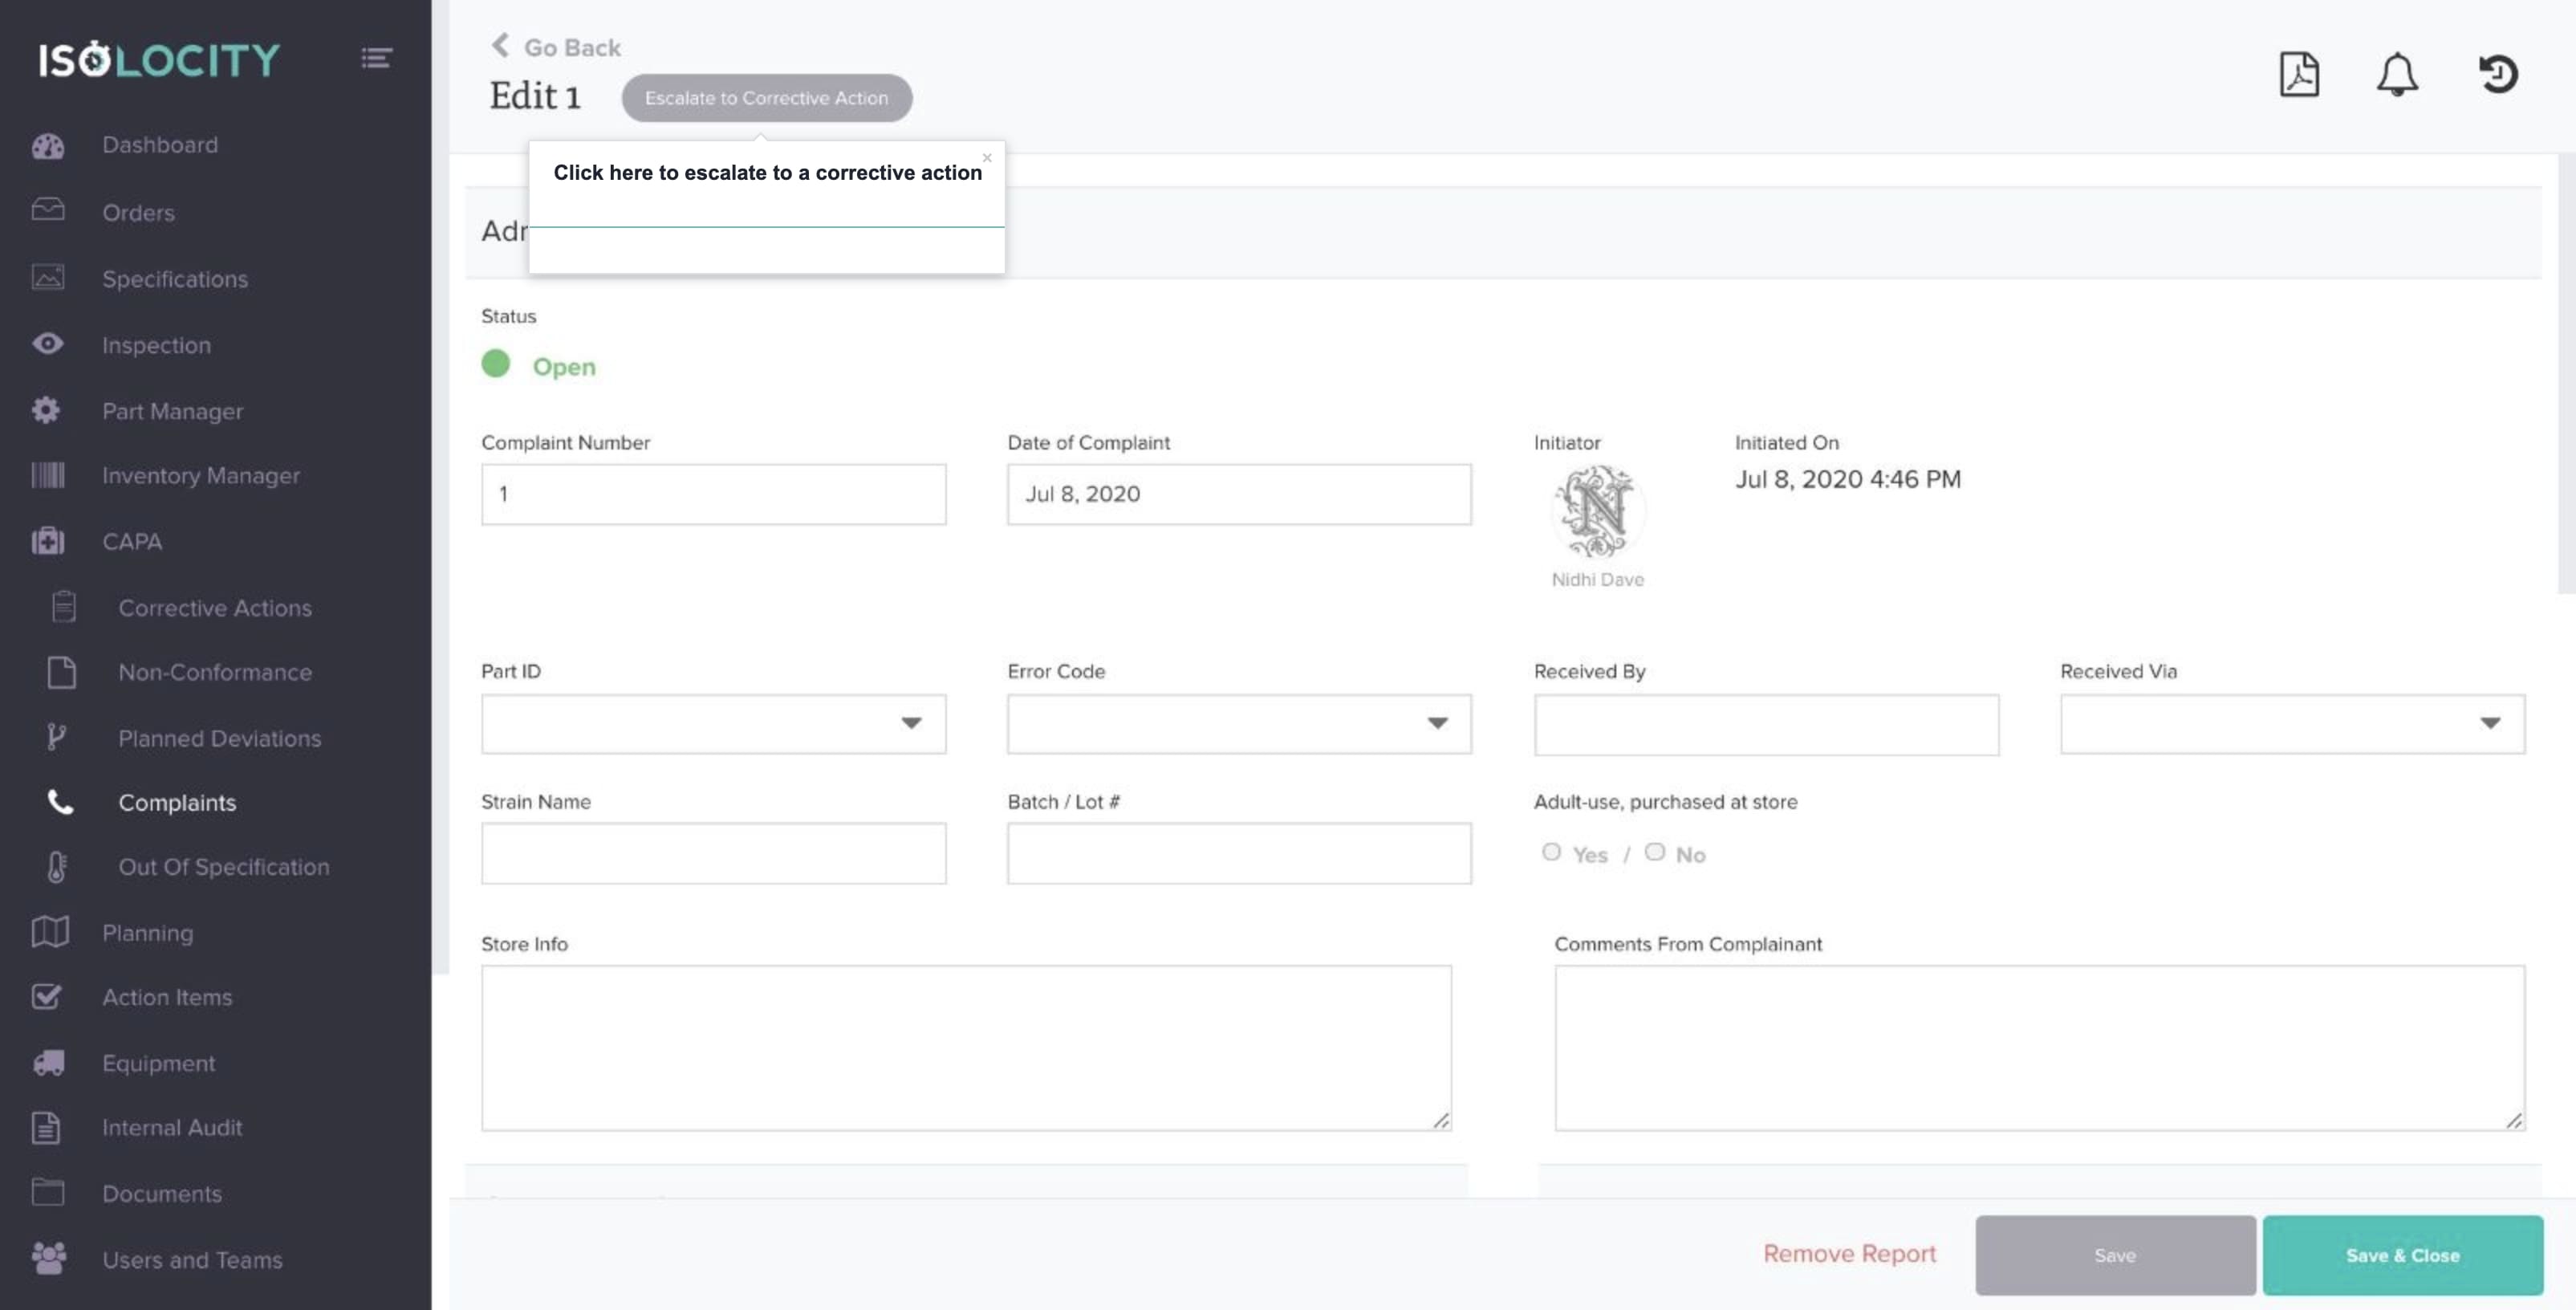
Step #45
Click here to escalate to a corrective action
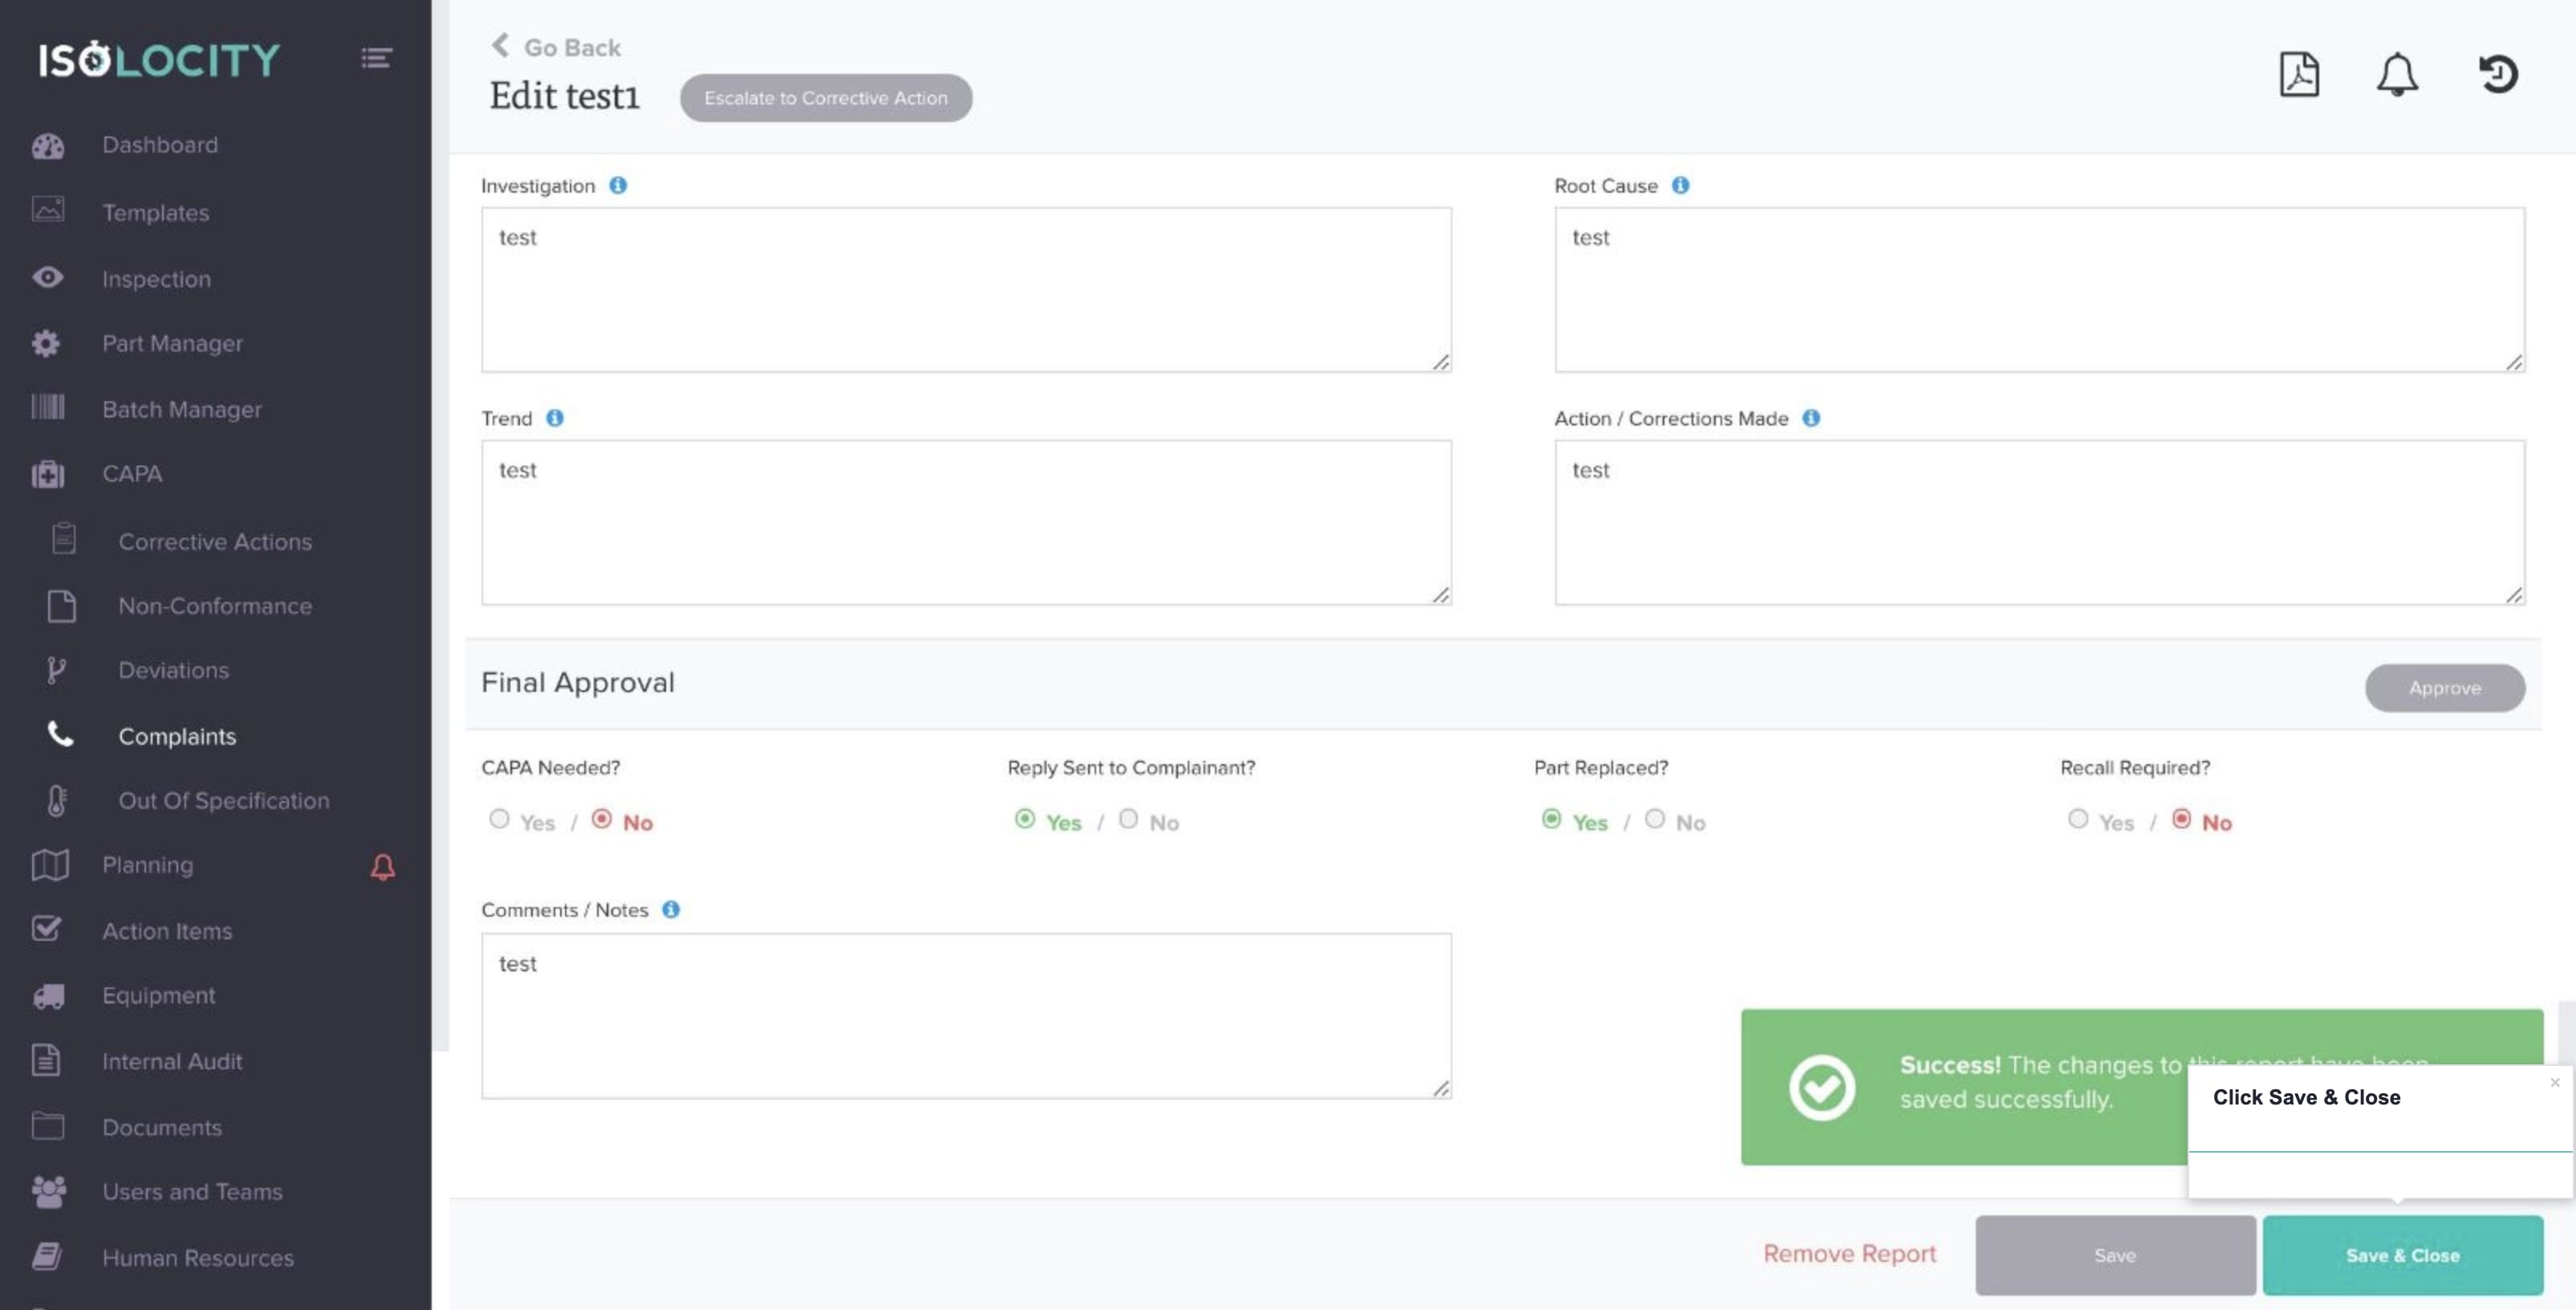
Step #46
Click Save & Close
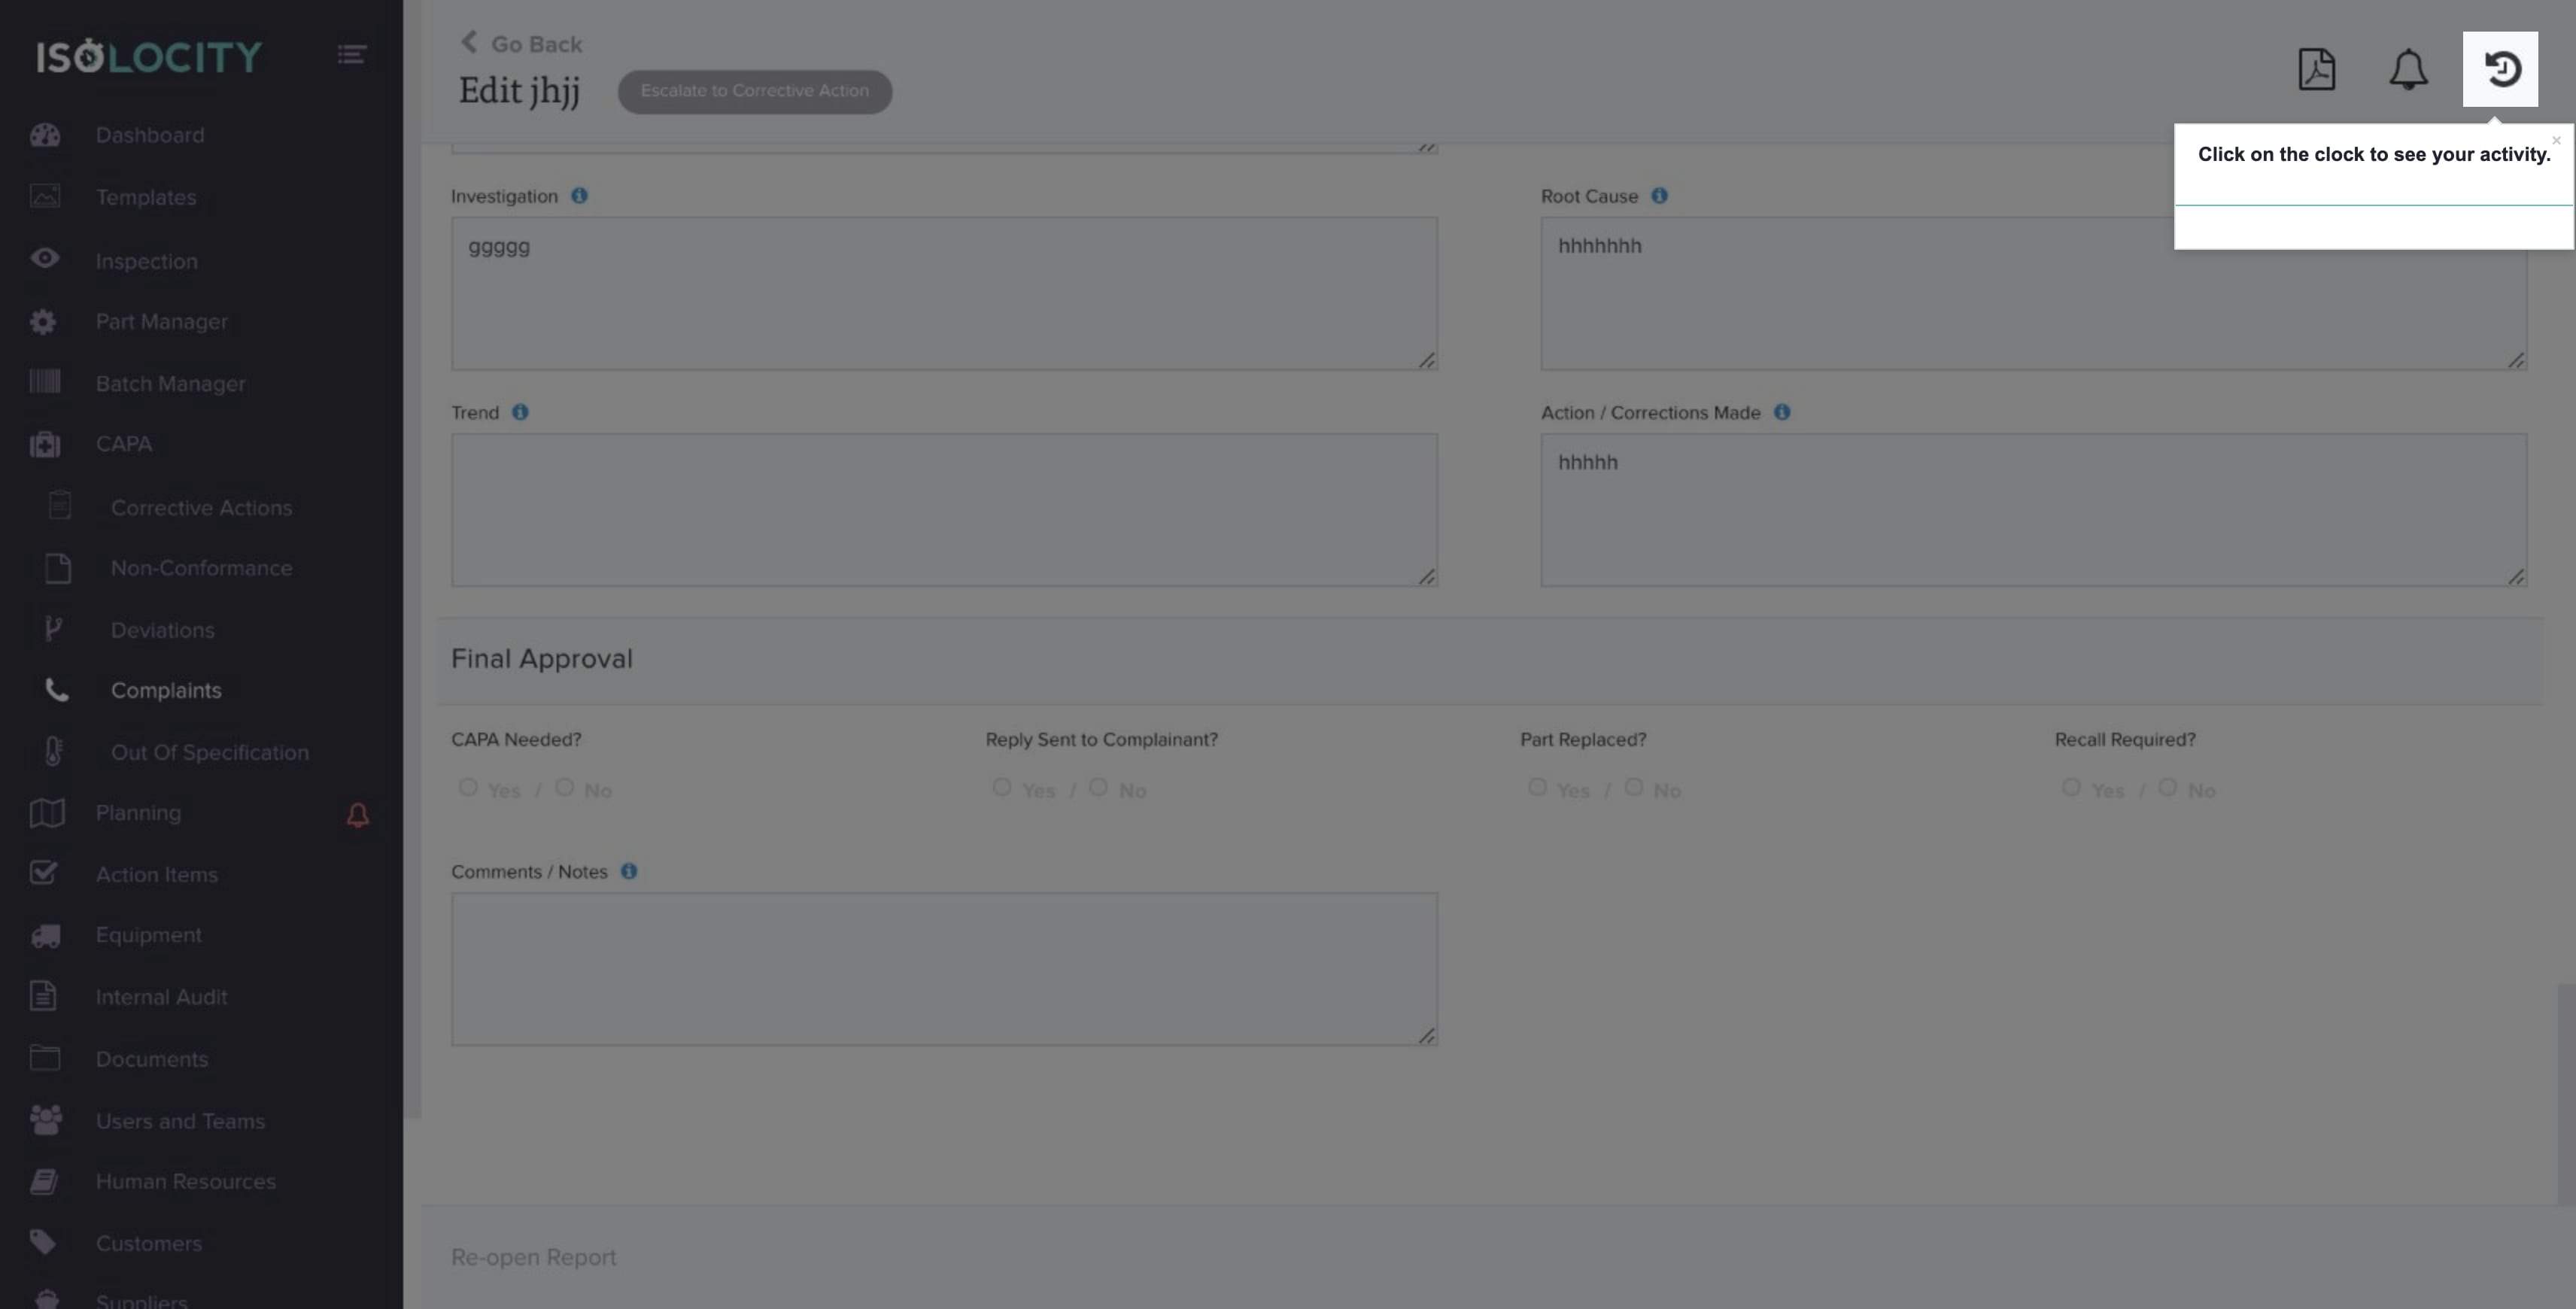
Step #47
Click on the clock to see your activity.
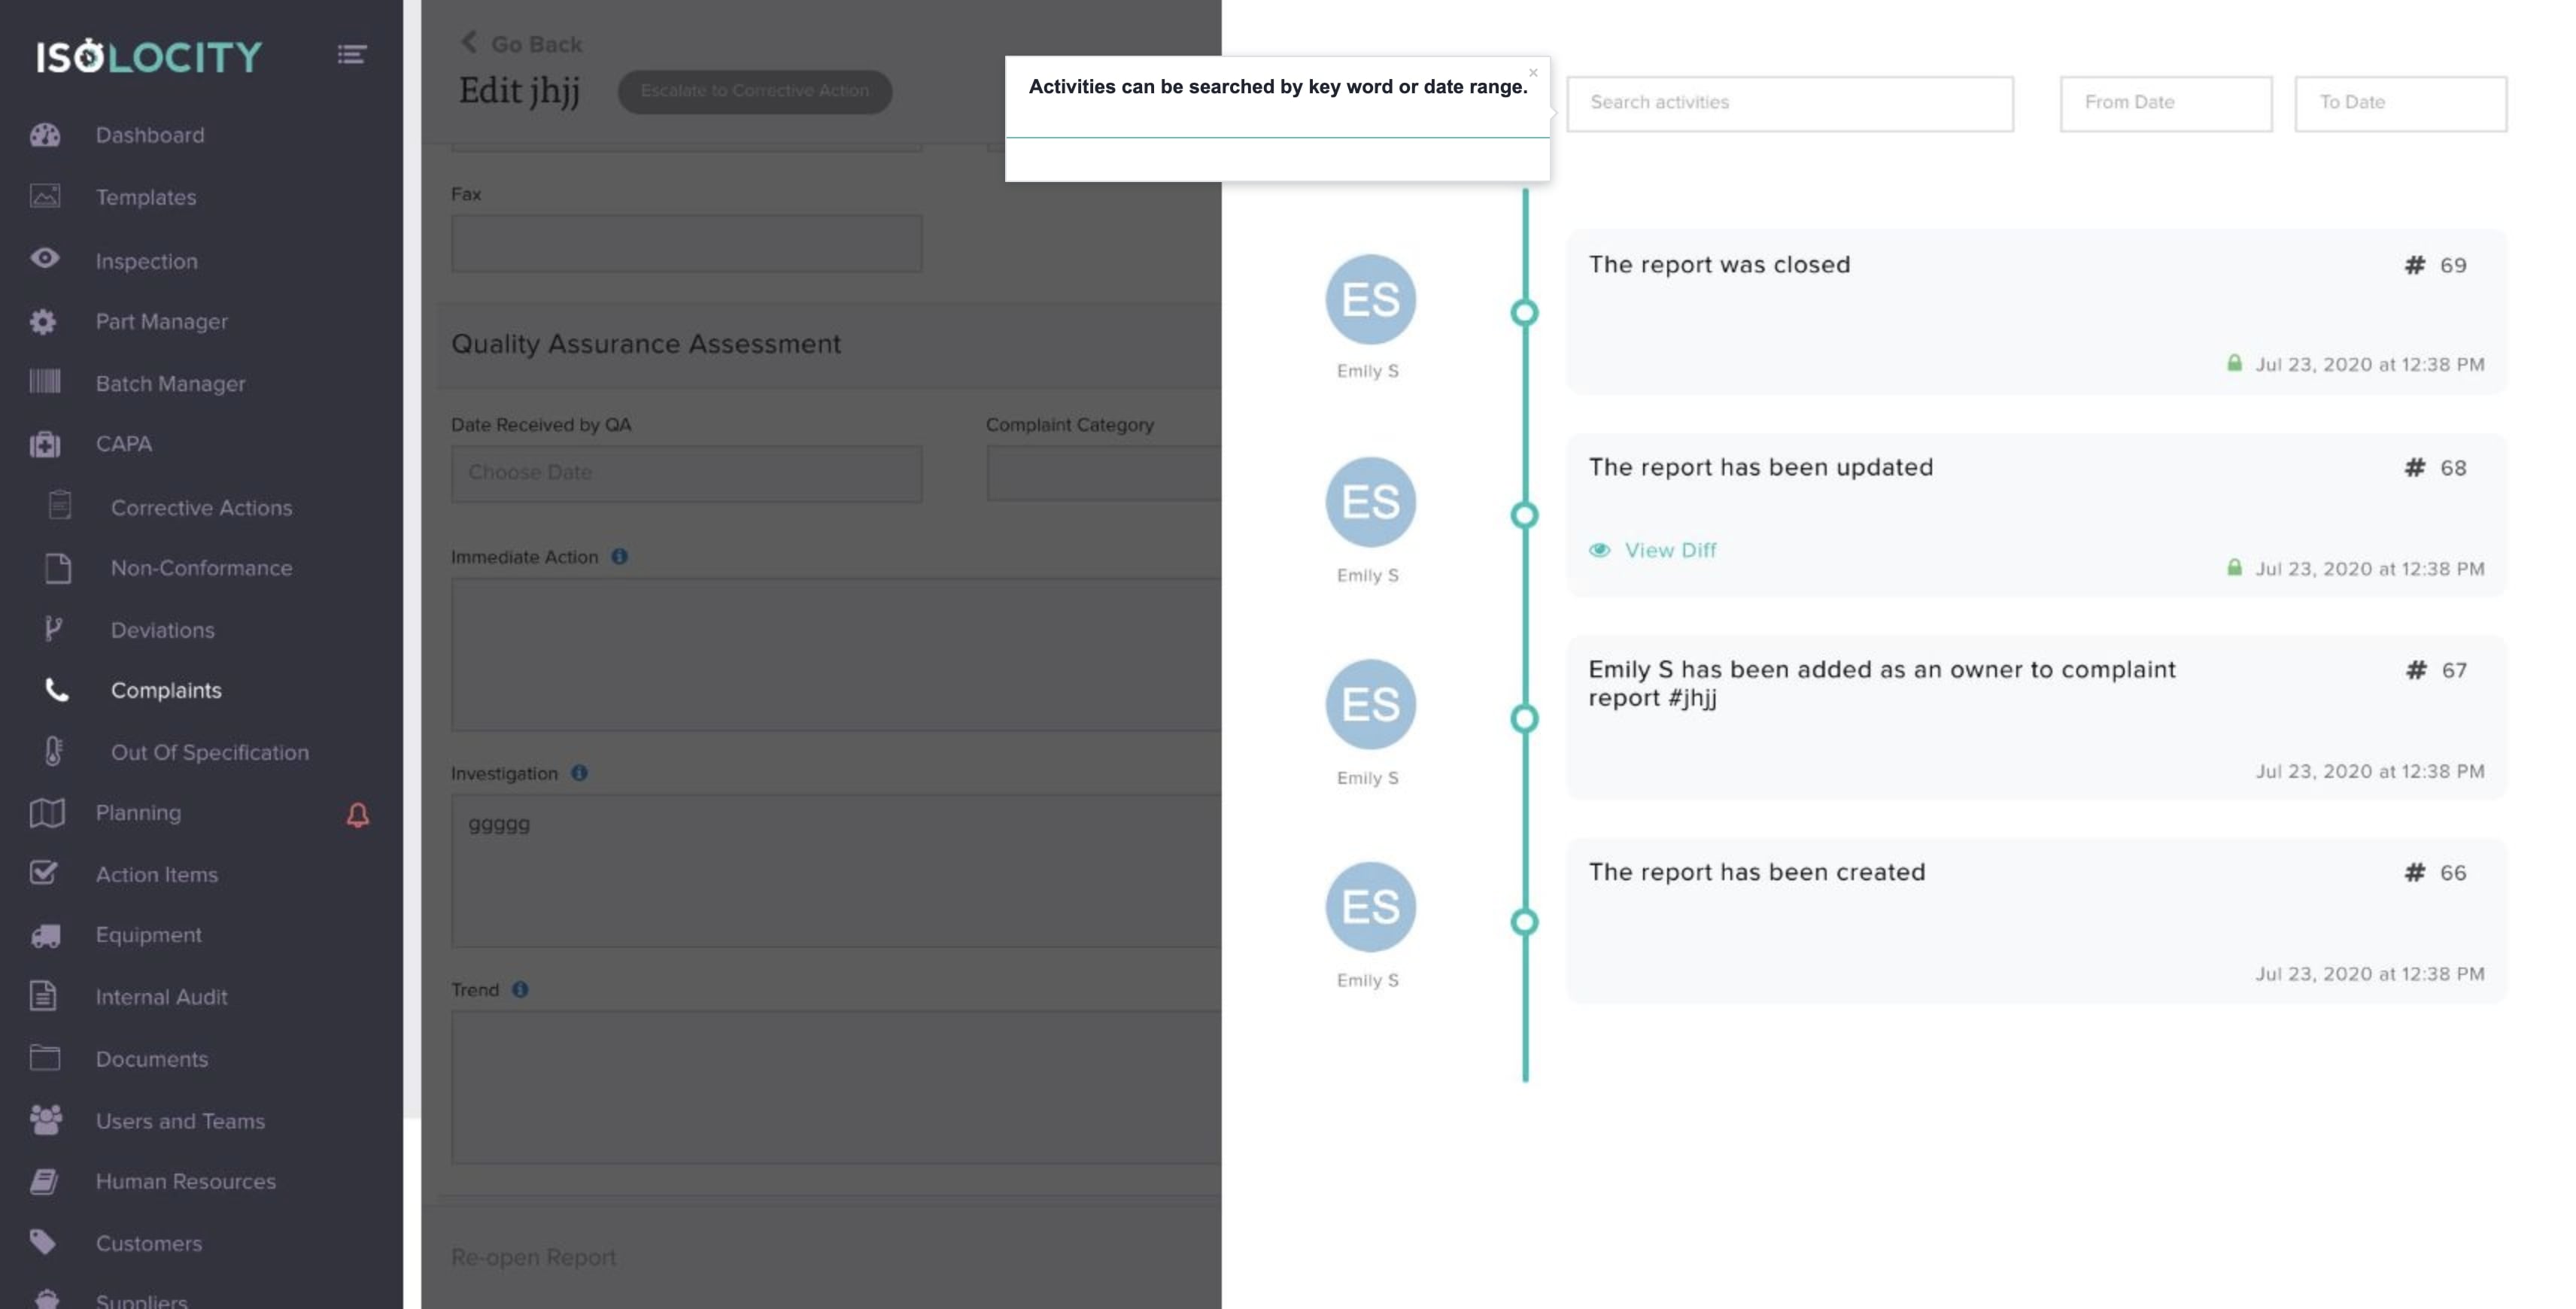
Step #48
The activity tracker shows all activity for this report.
![]()
Step #49
Activities can be searched by key word or date range.
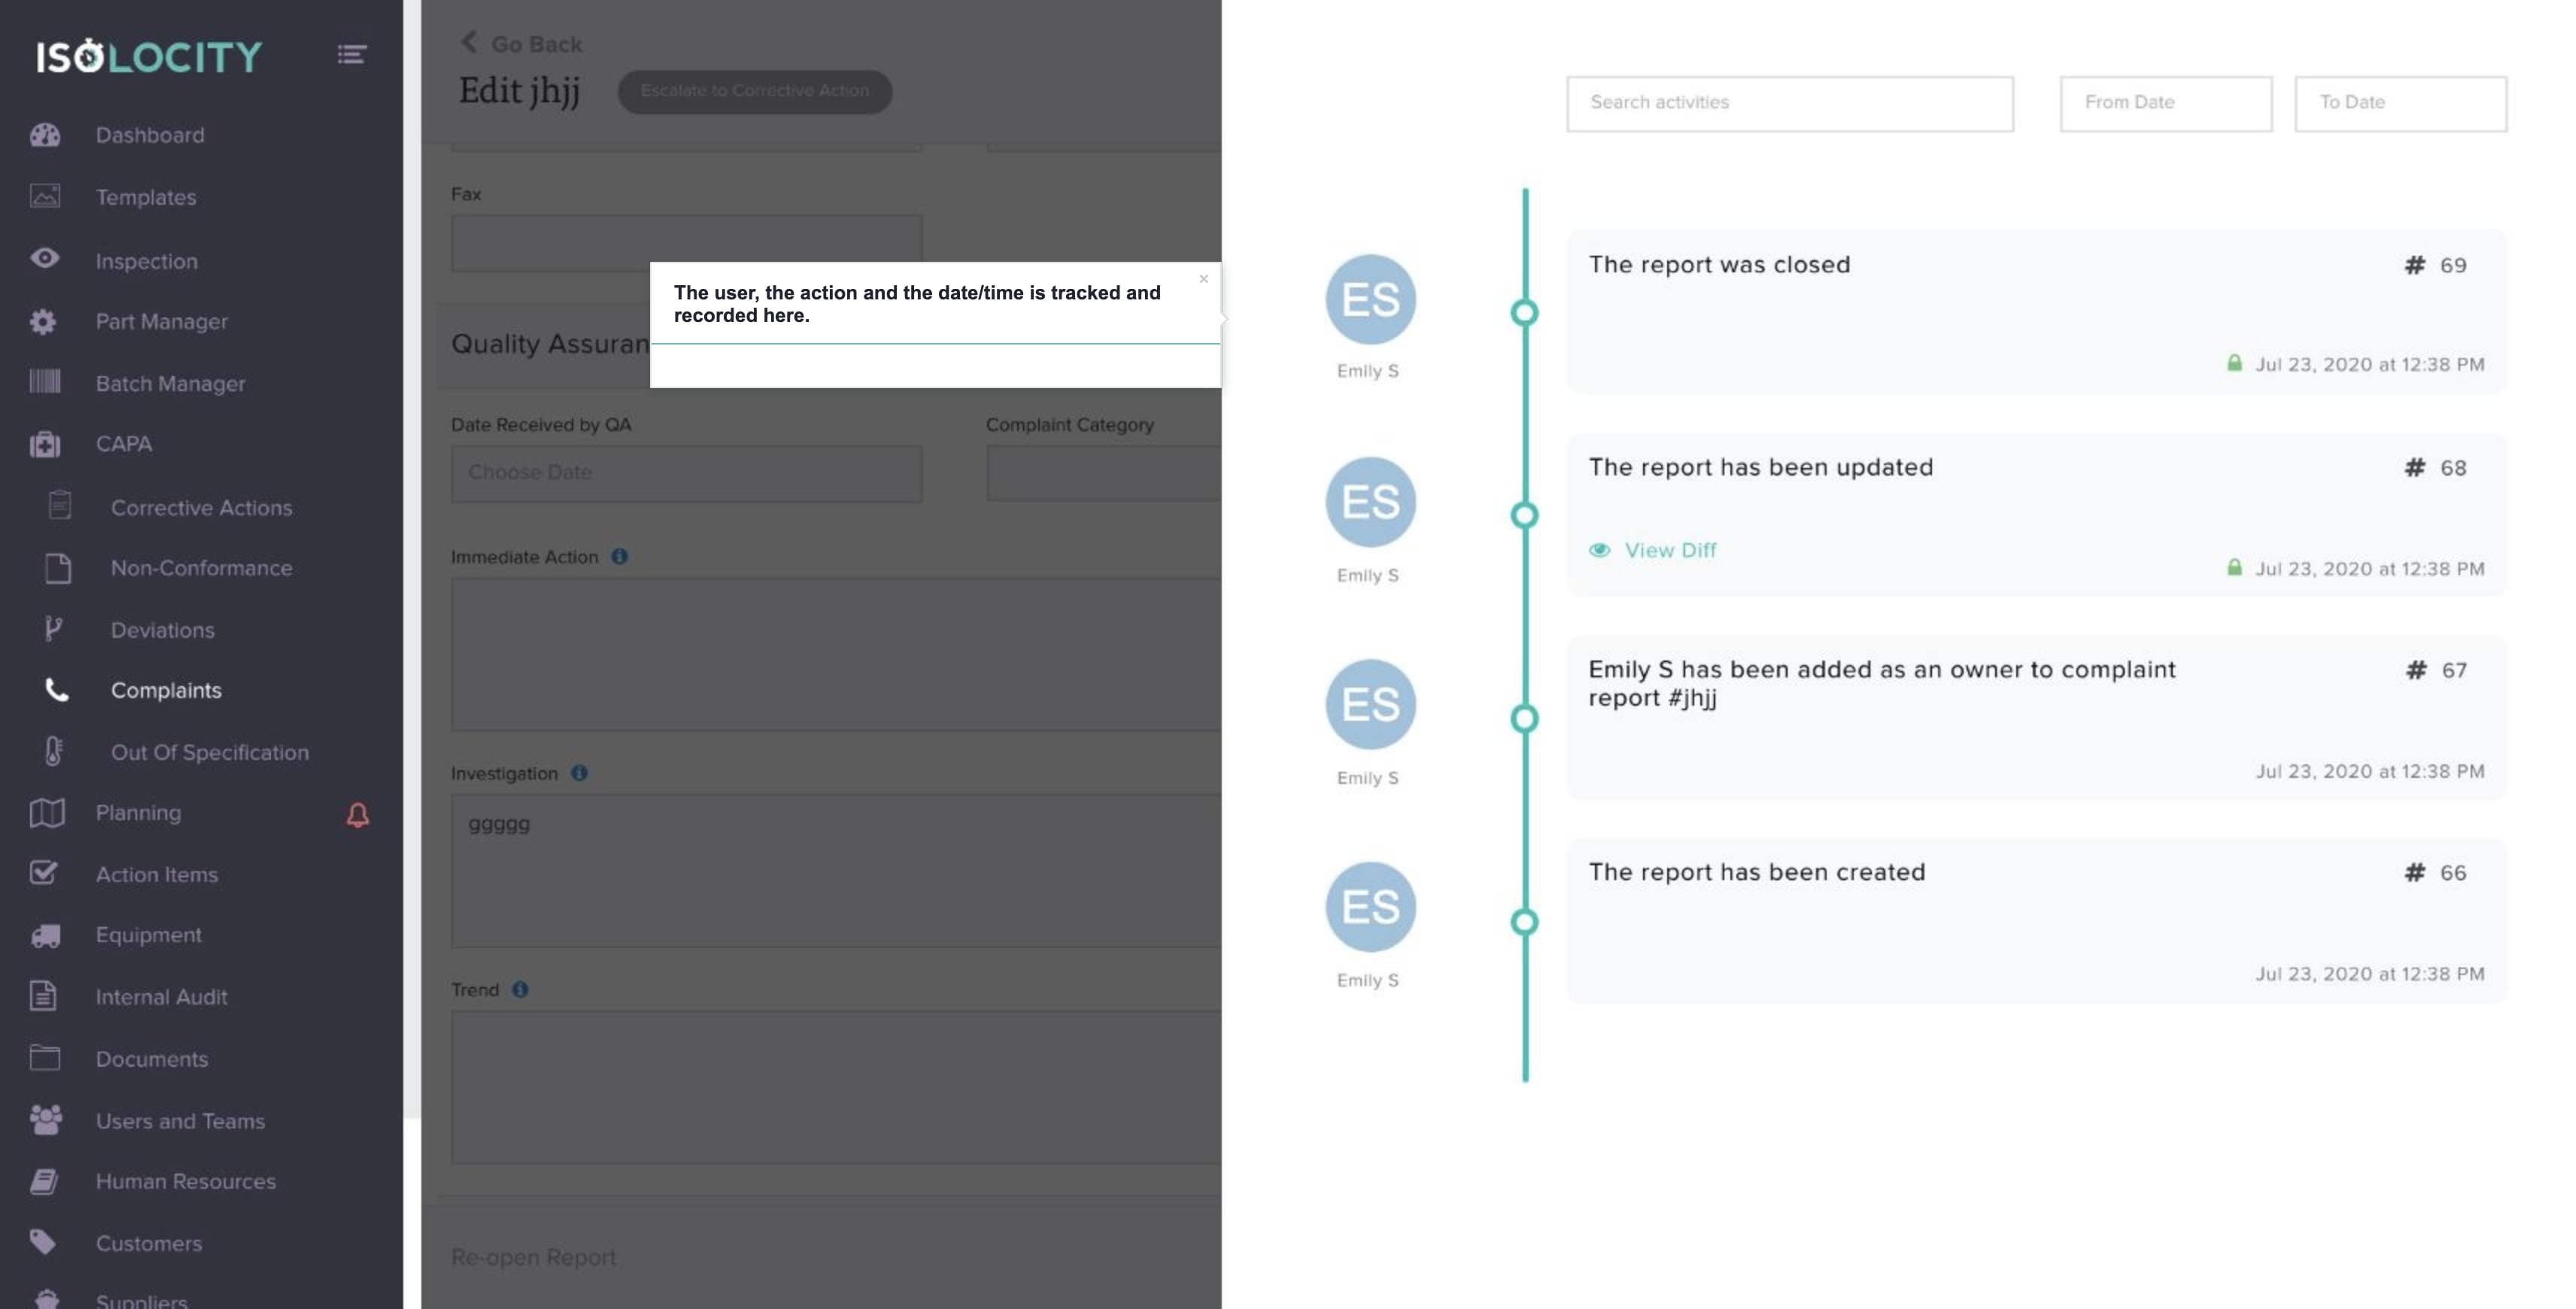
Step #50
The user, the action and the date/time is tracked and recorded here.
Step #51
Click on the blank space to go back to the report.
![]()
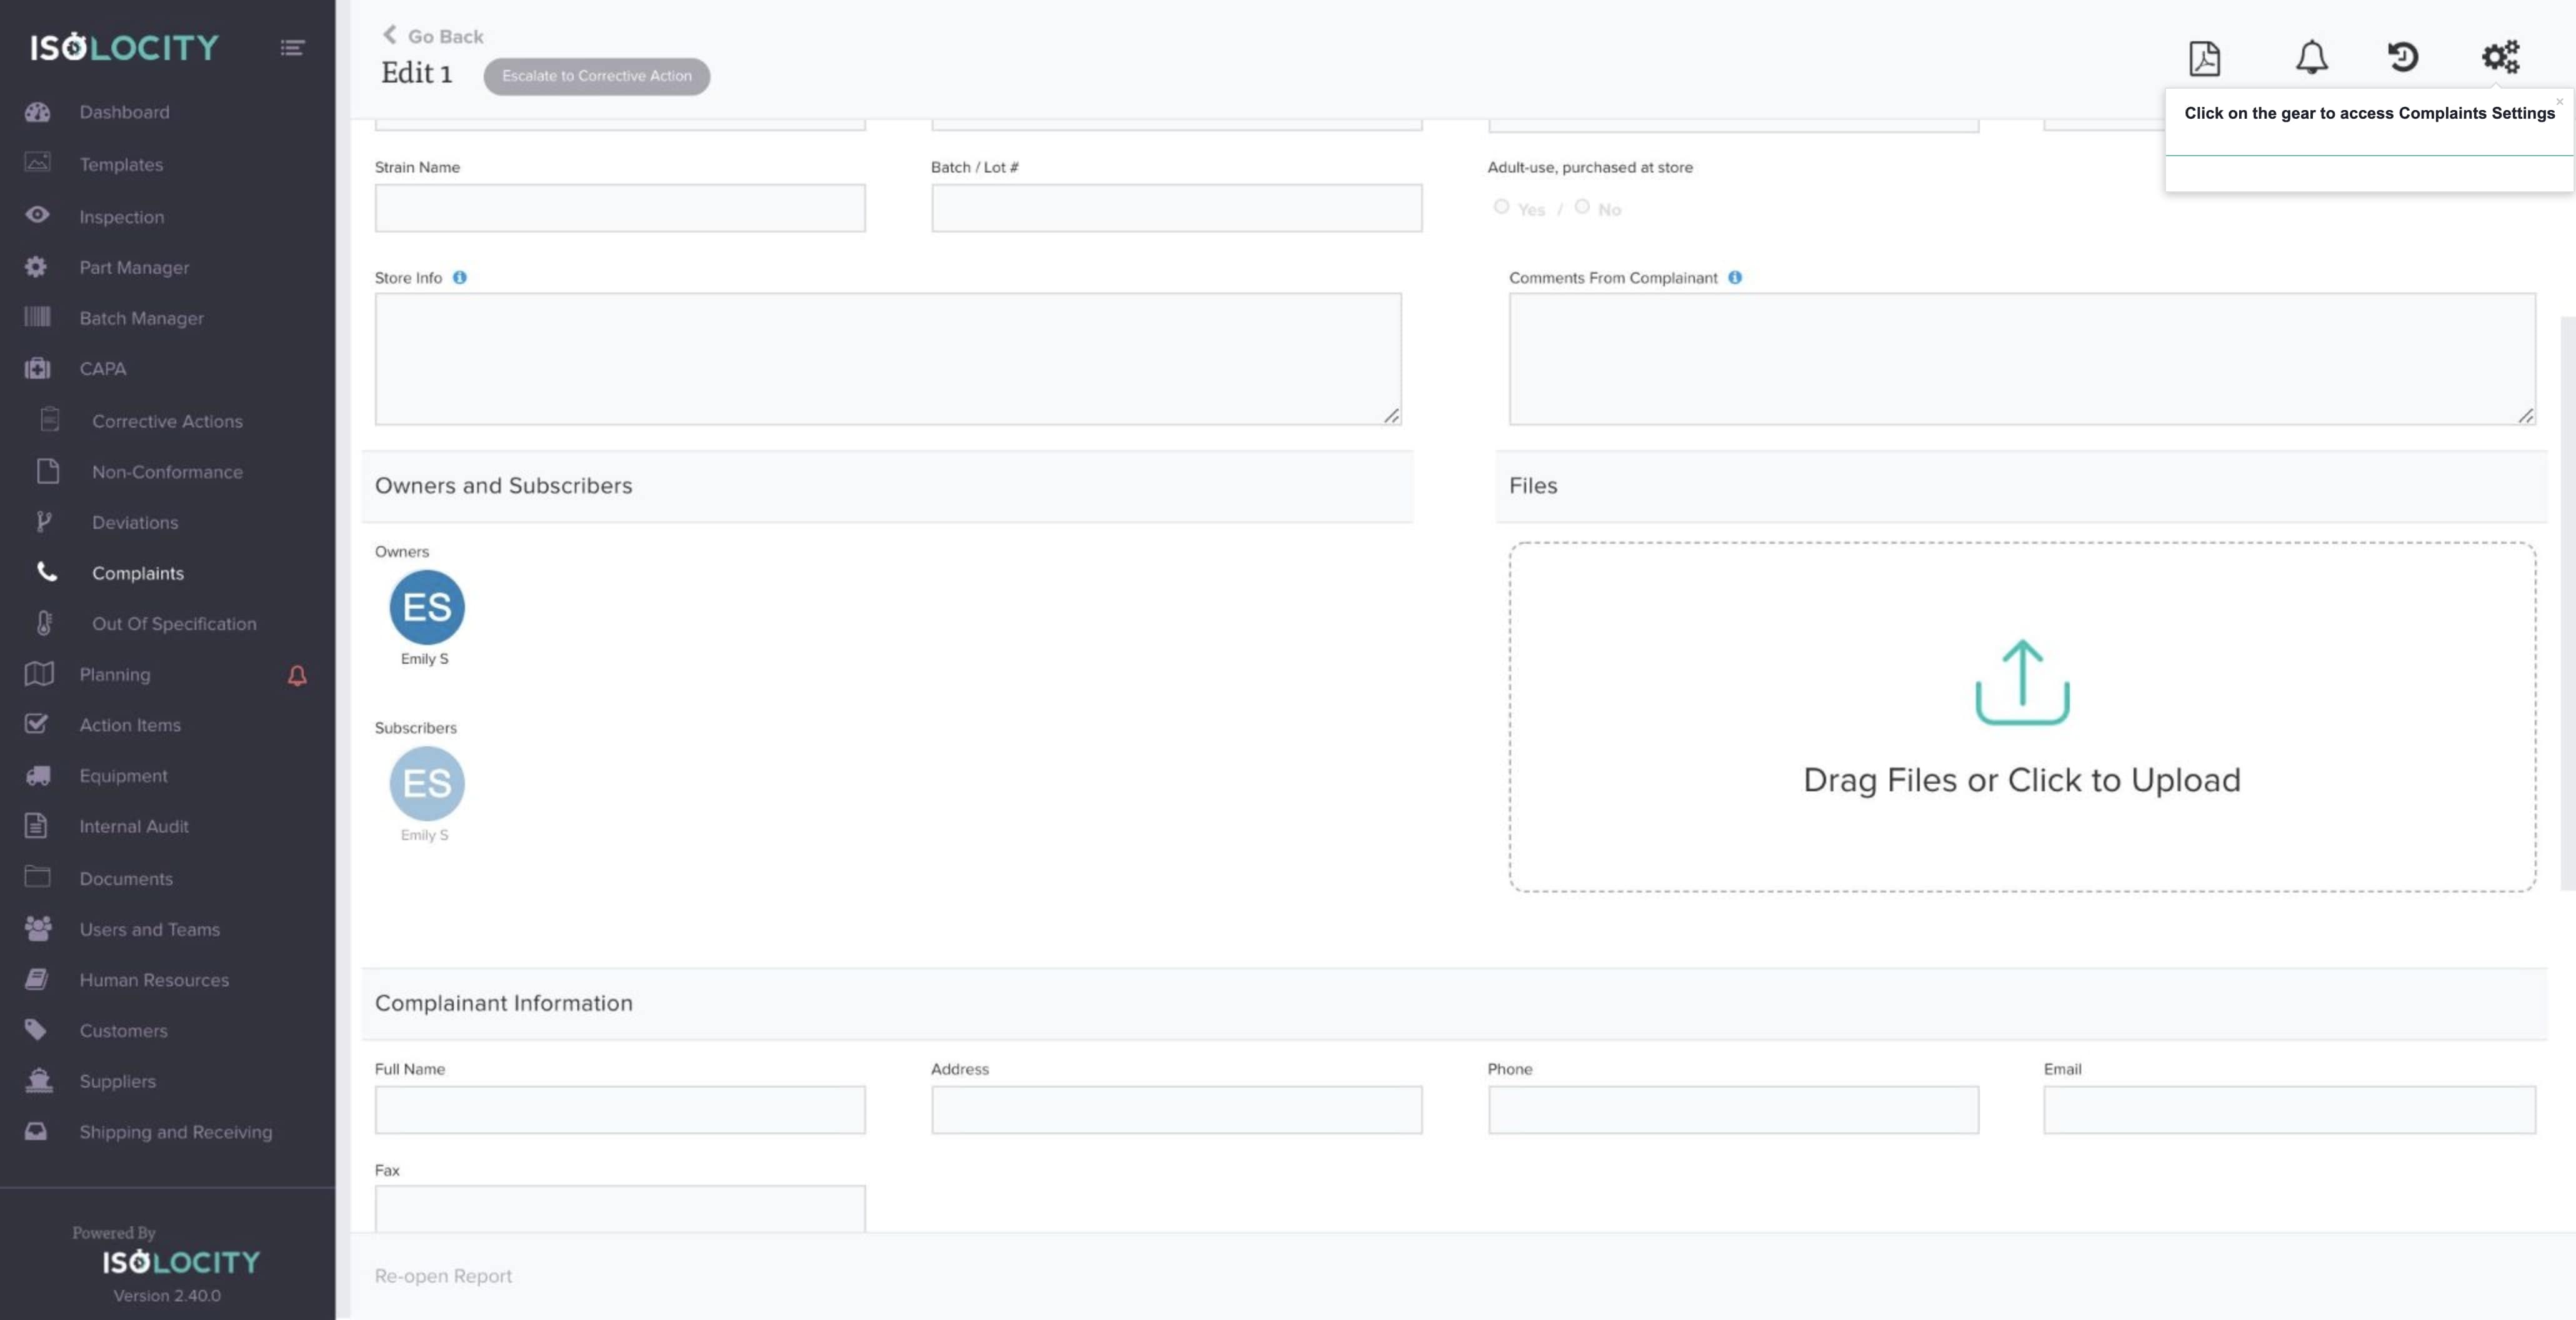
Step #52
Click on the gear to access Complaints Settings
Step #53
Enter “Form Name” (Optional).
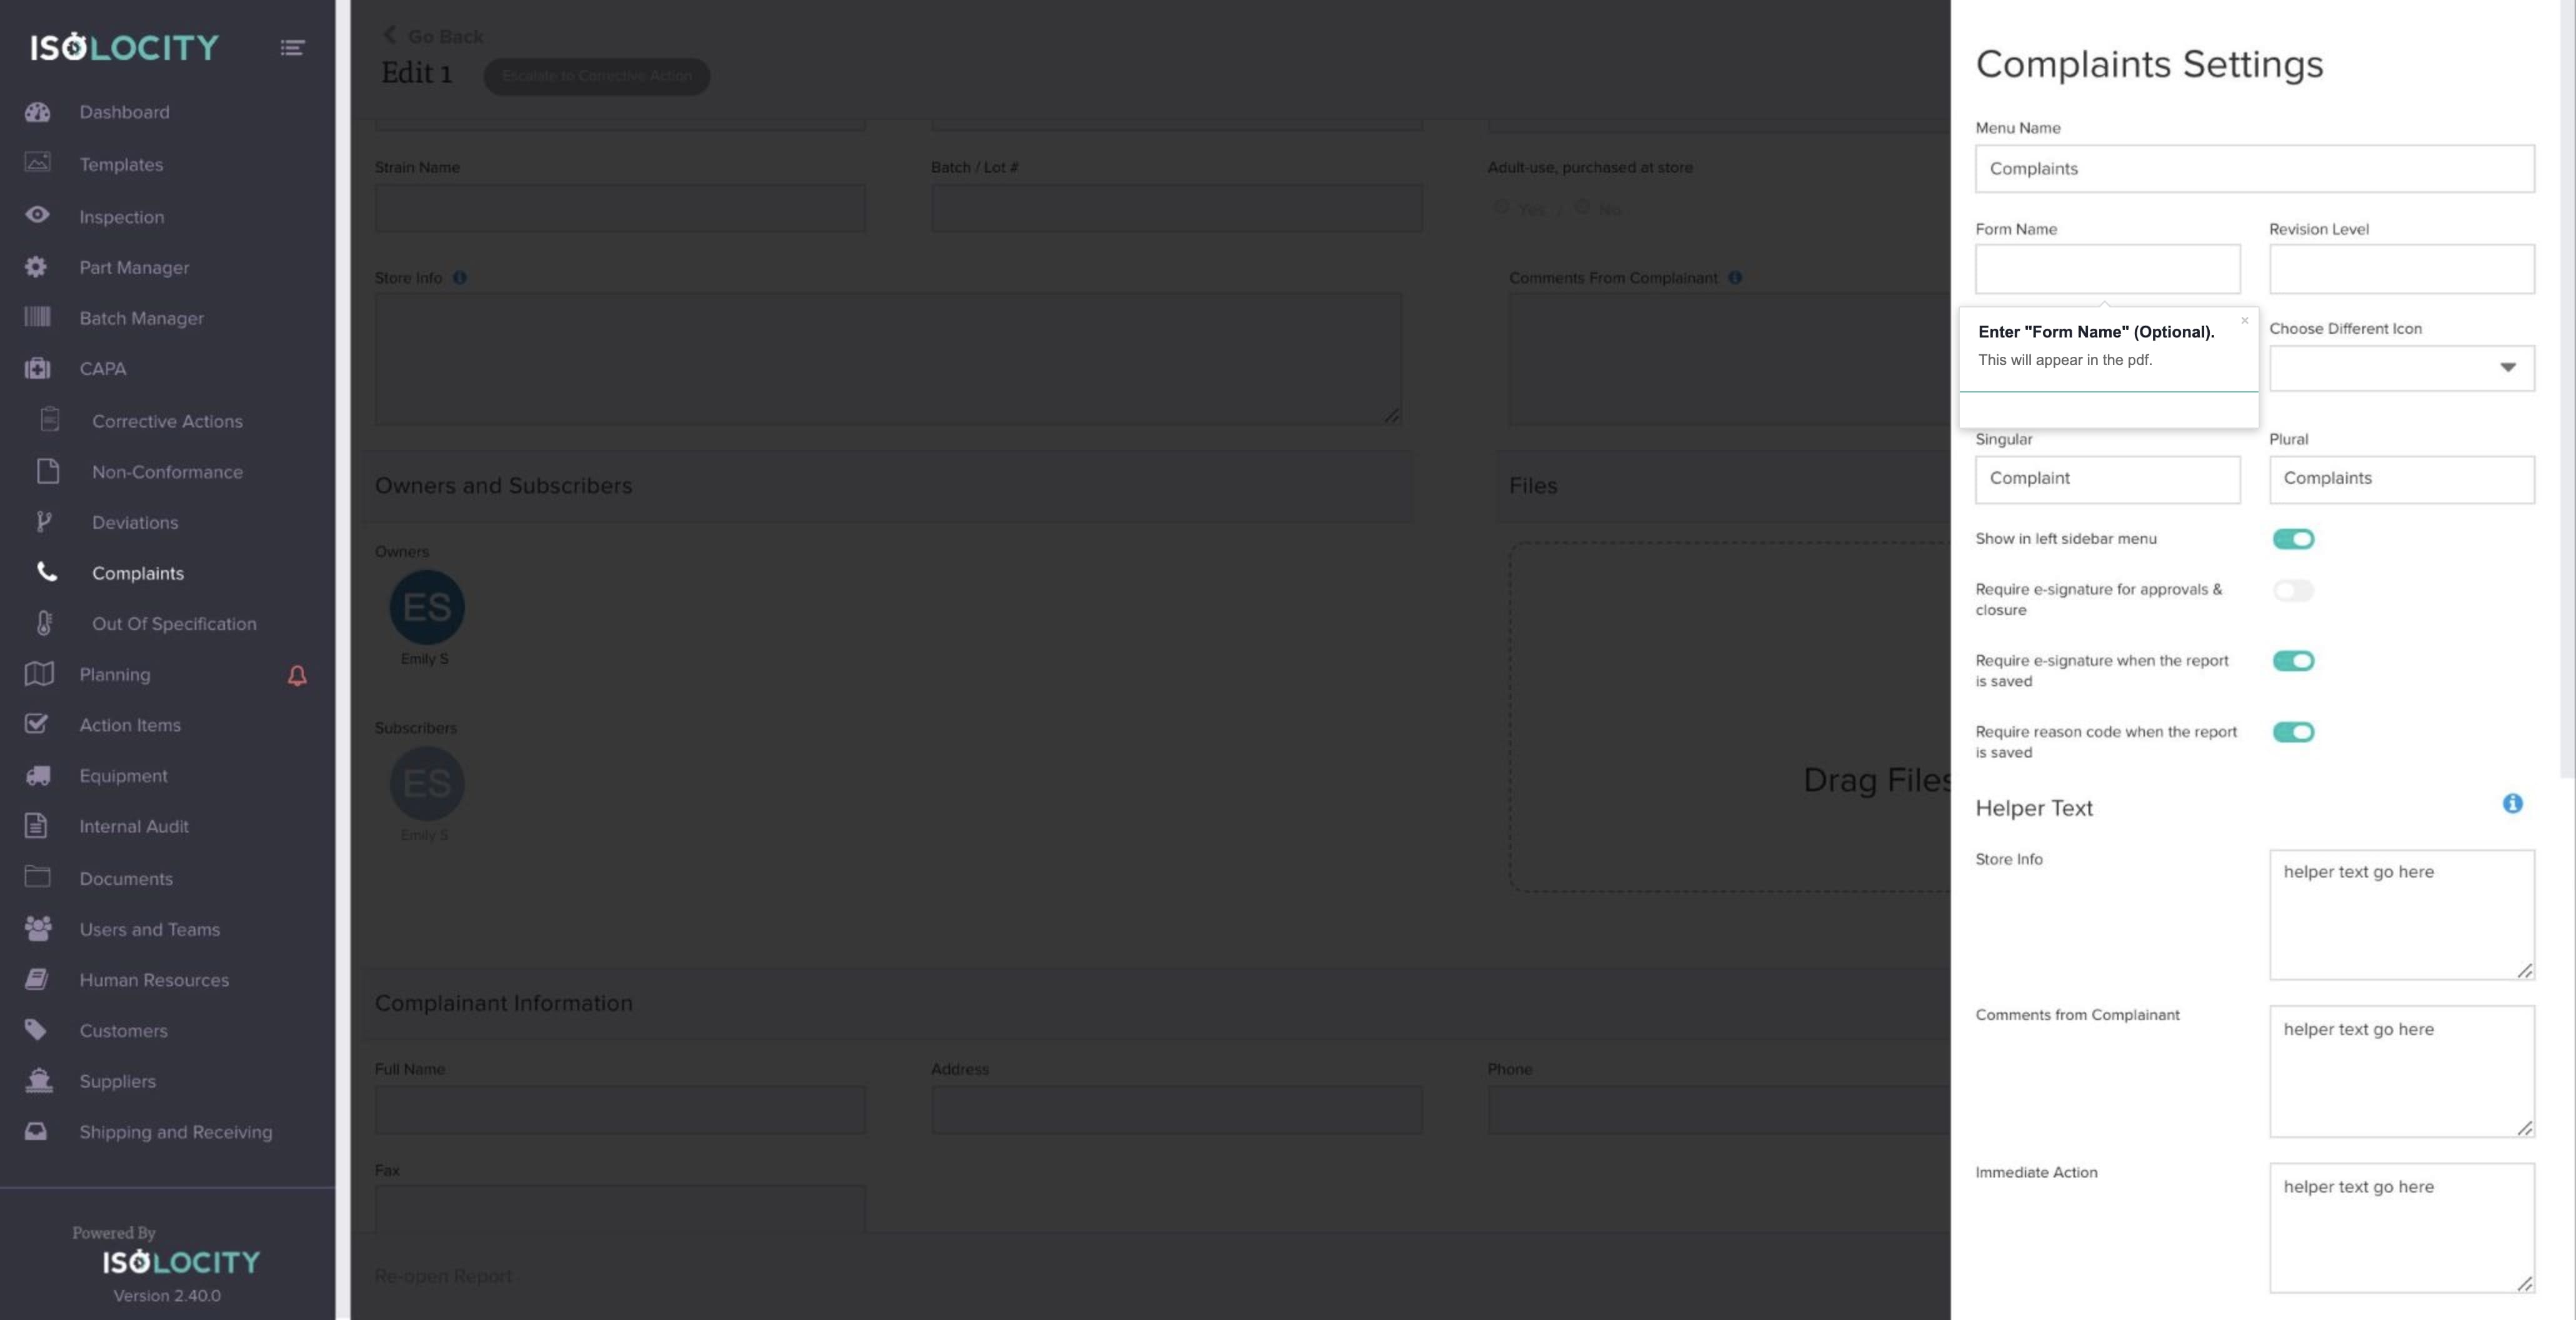
Step #54
Enter “Revision Level” (Optional).

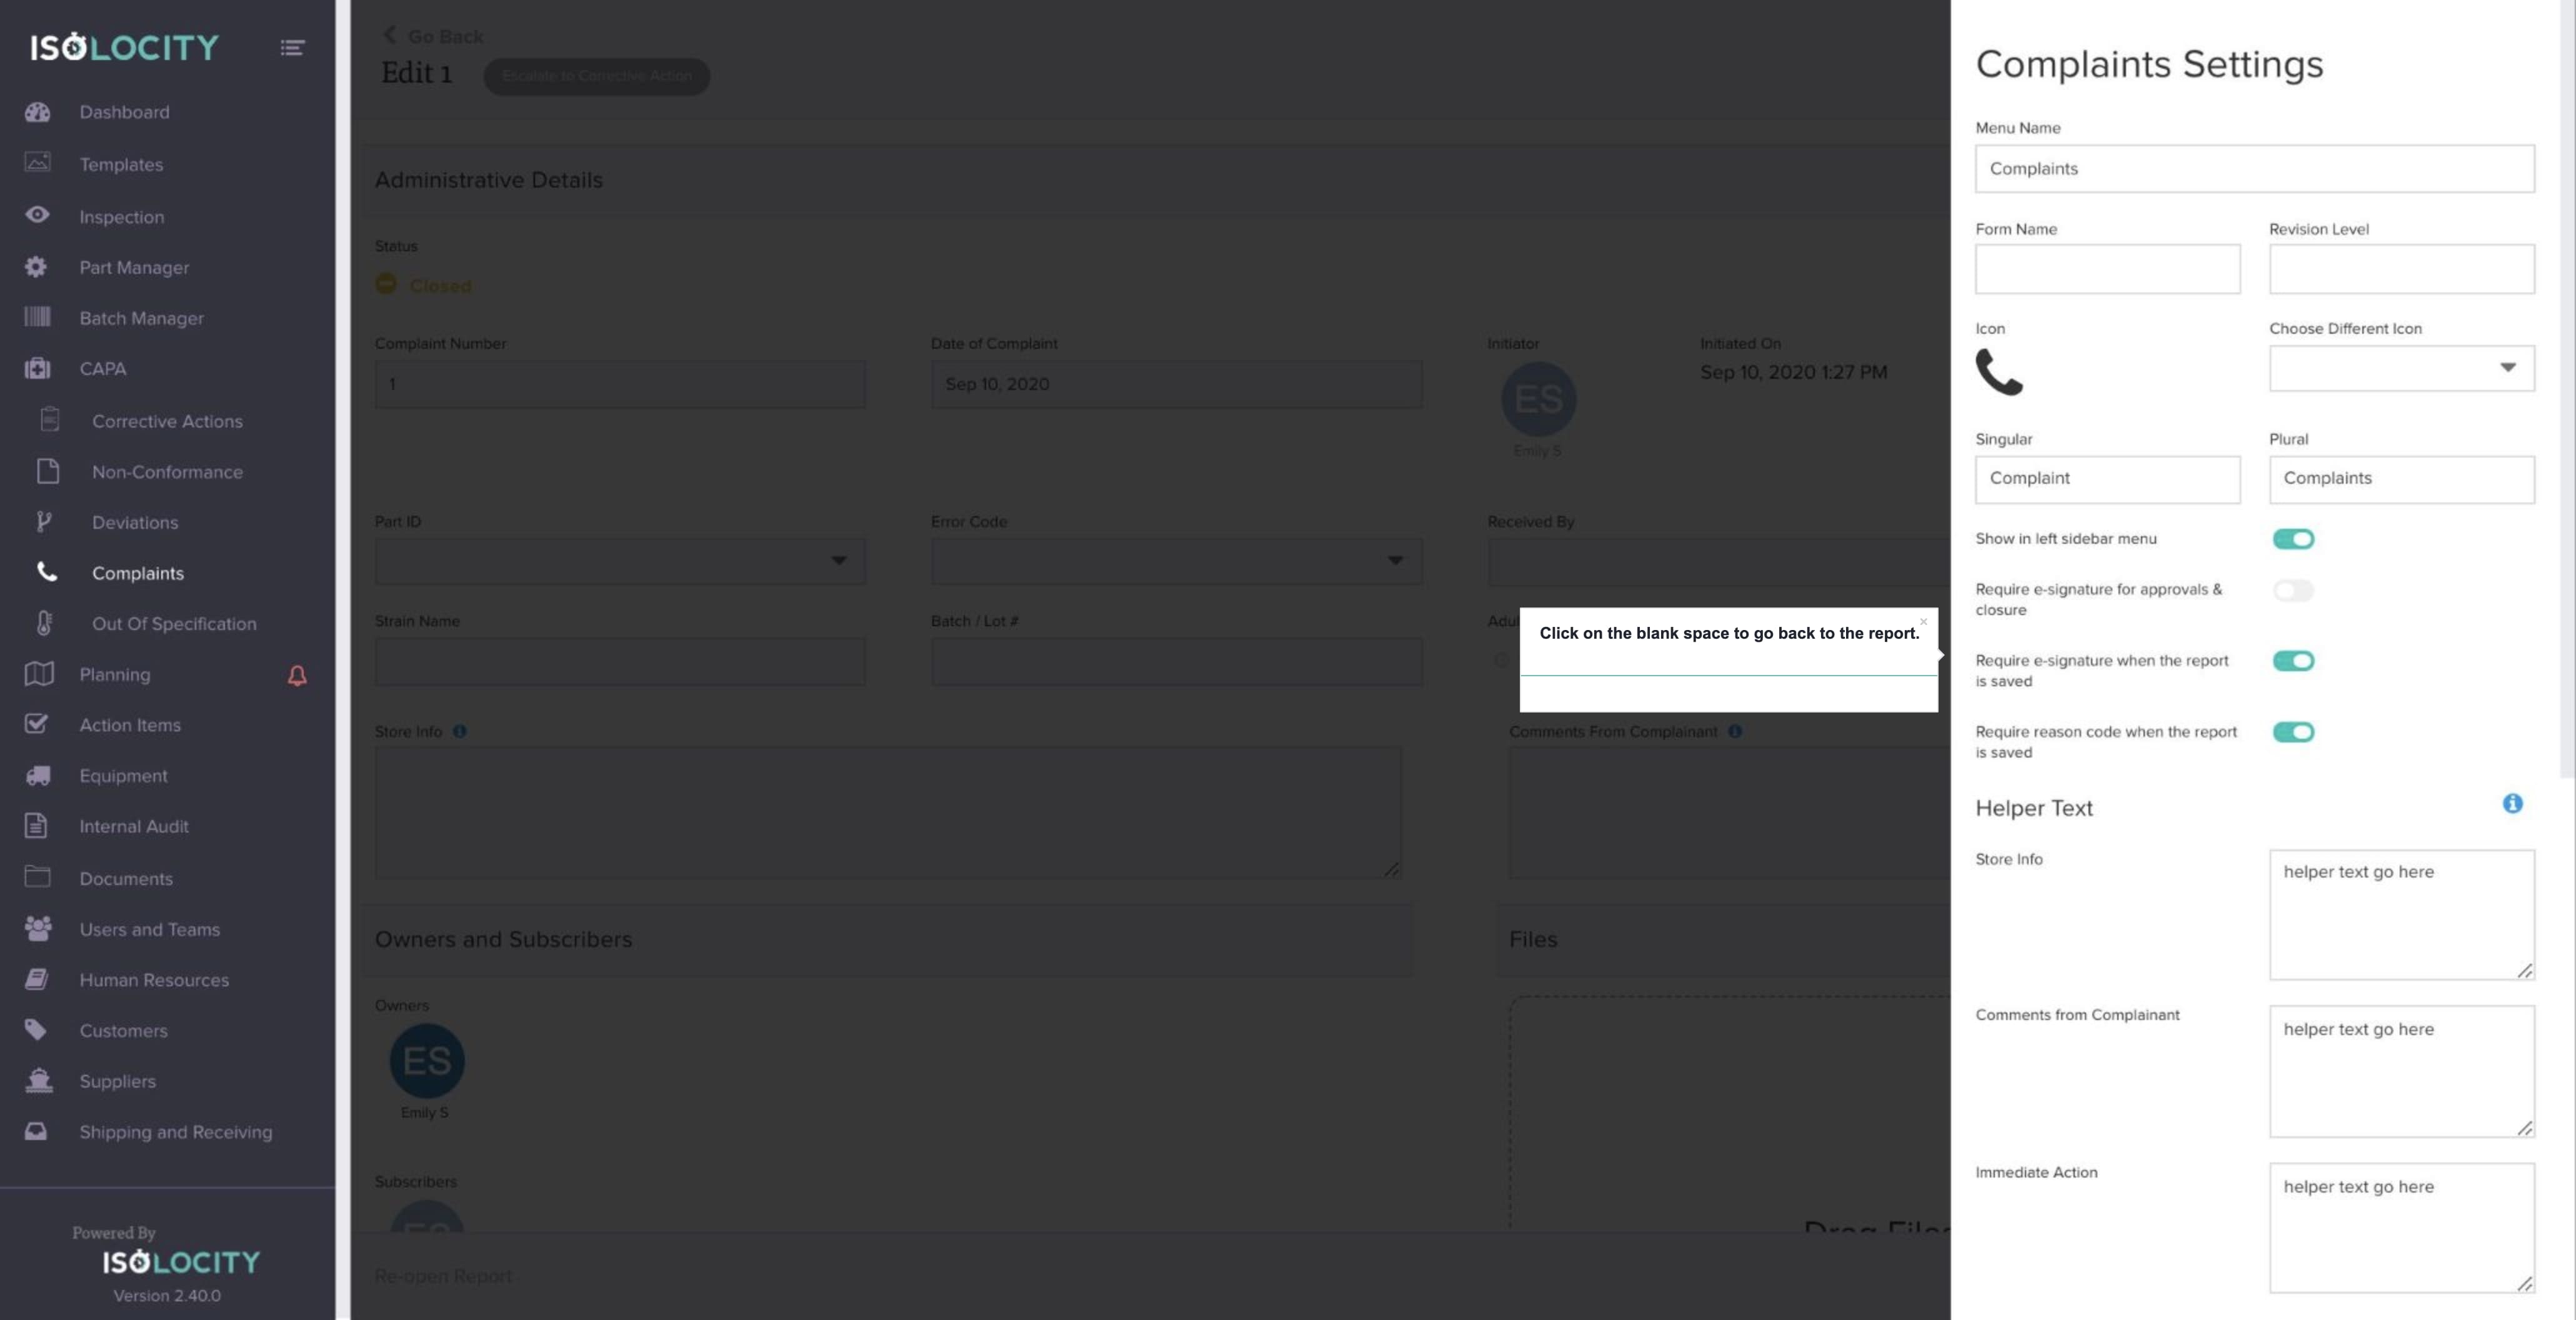
Step #55
Click on the blank space to go back to the report.
Step #56
Click here to download your report


