Adding A New Inspection
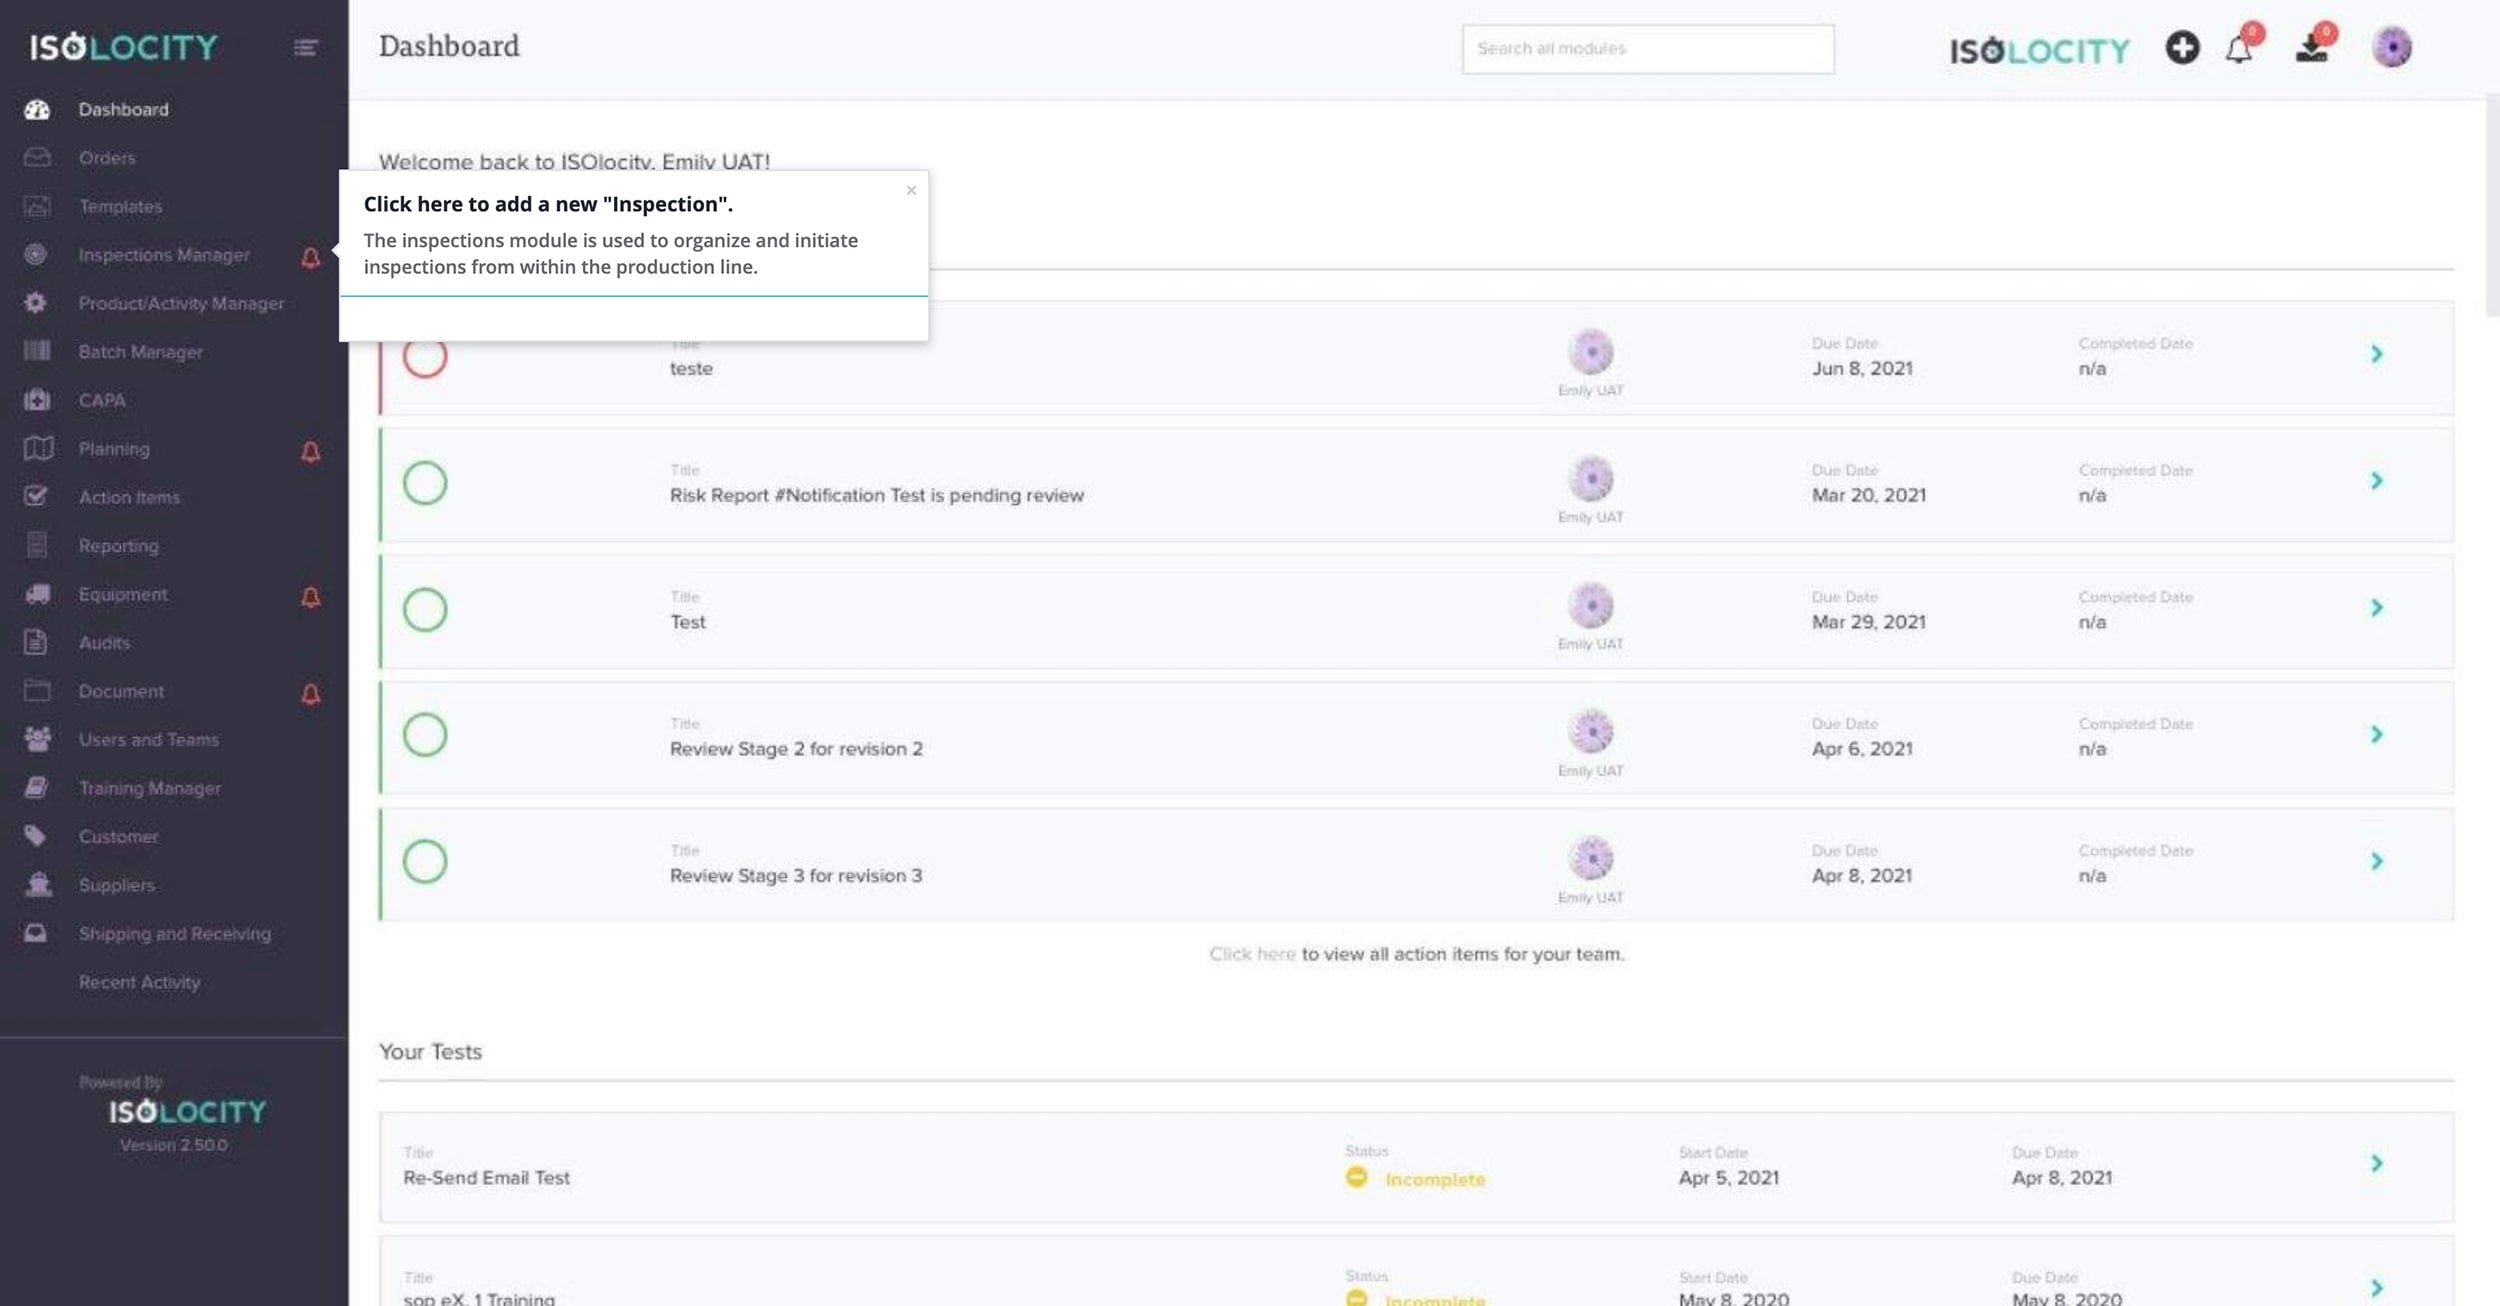
Step #1
Click here to add a new “Inspection”.
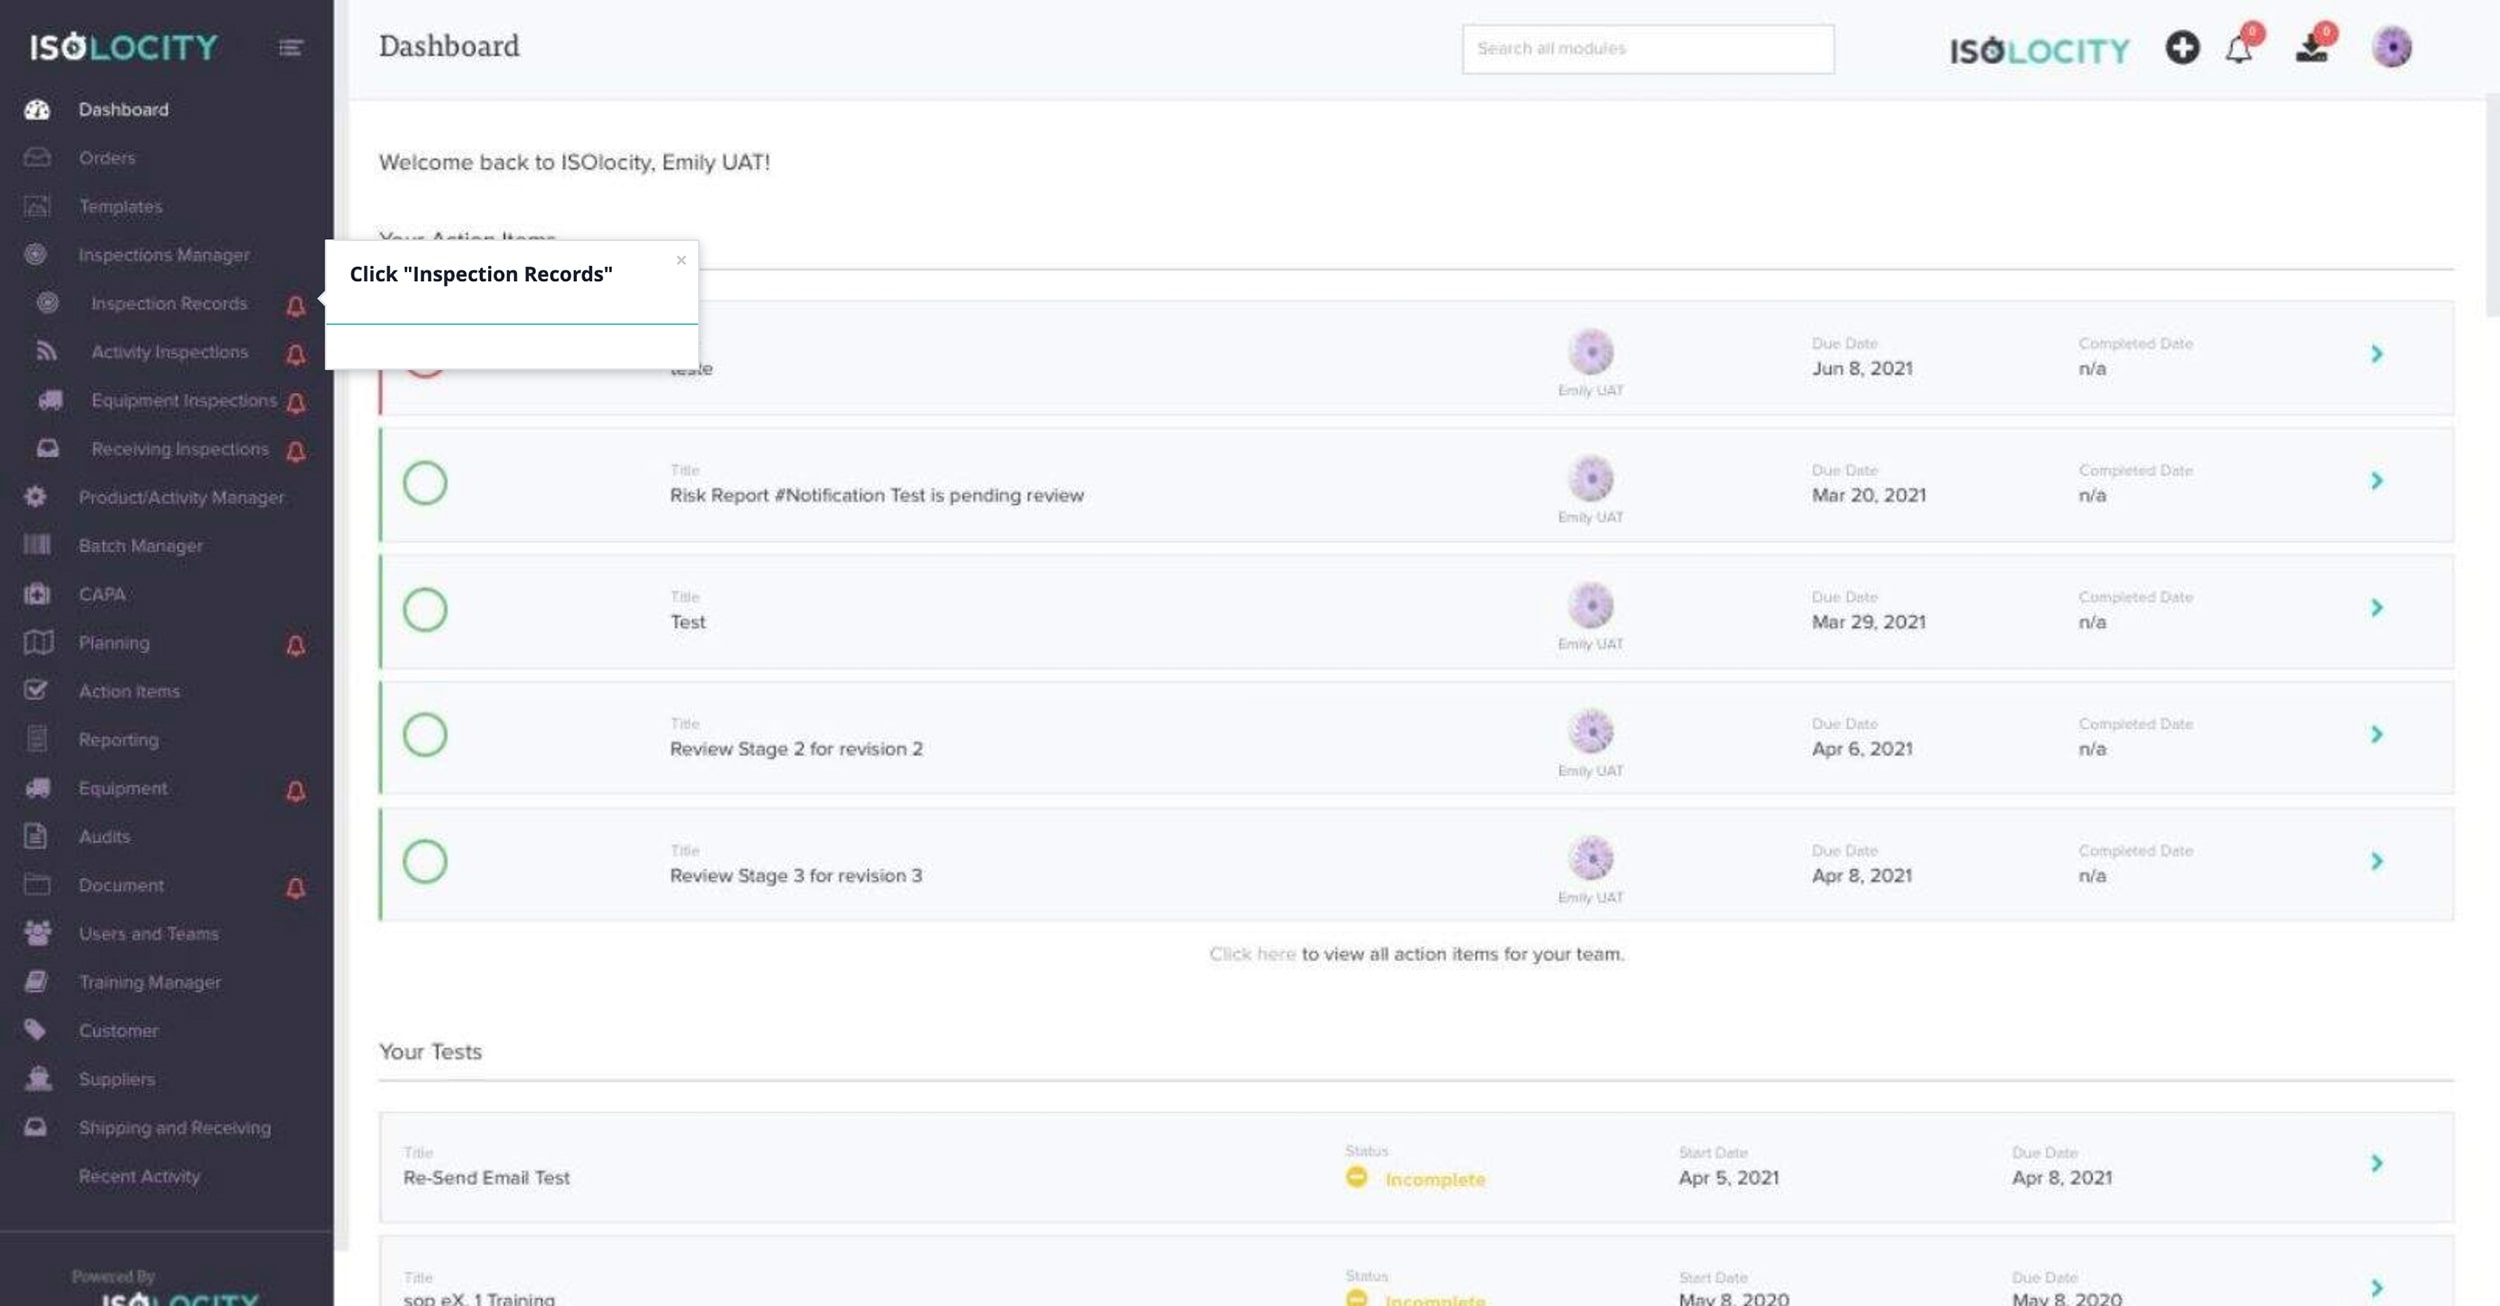
Step #2
Click “Inspection Records”
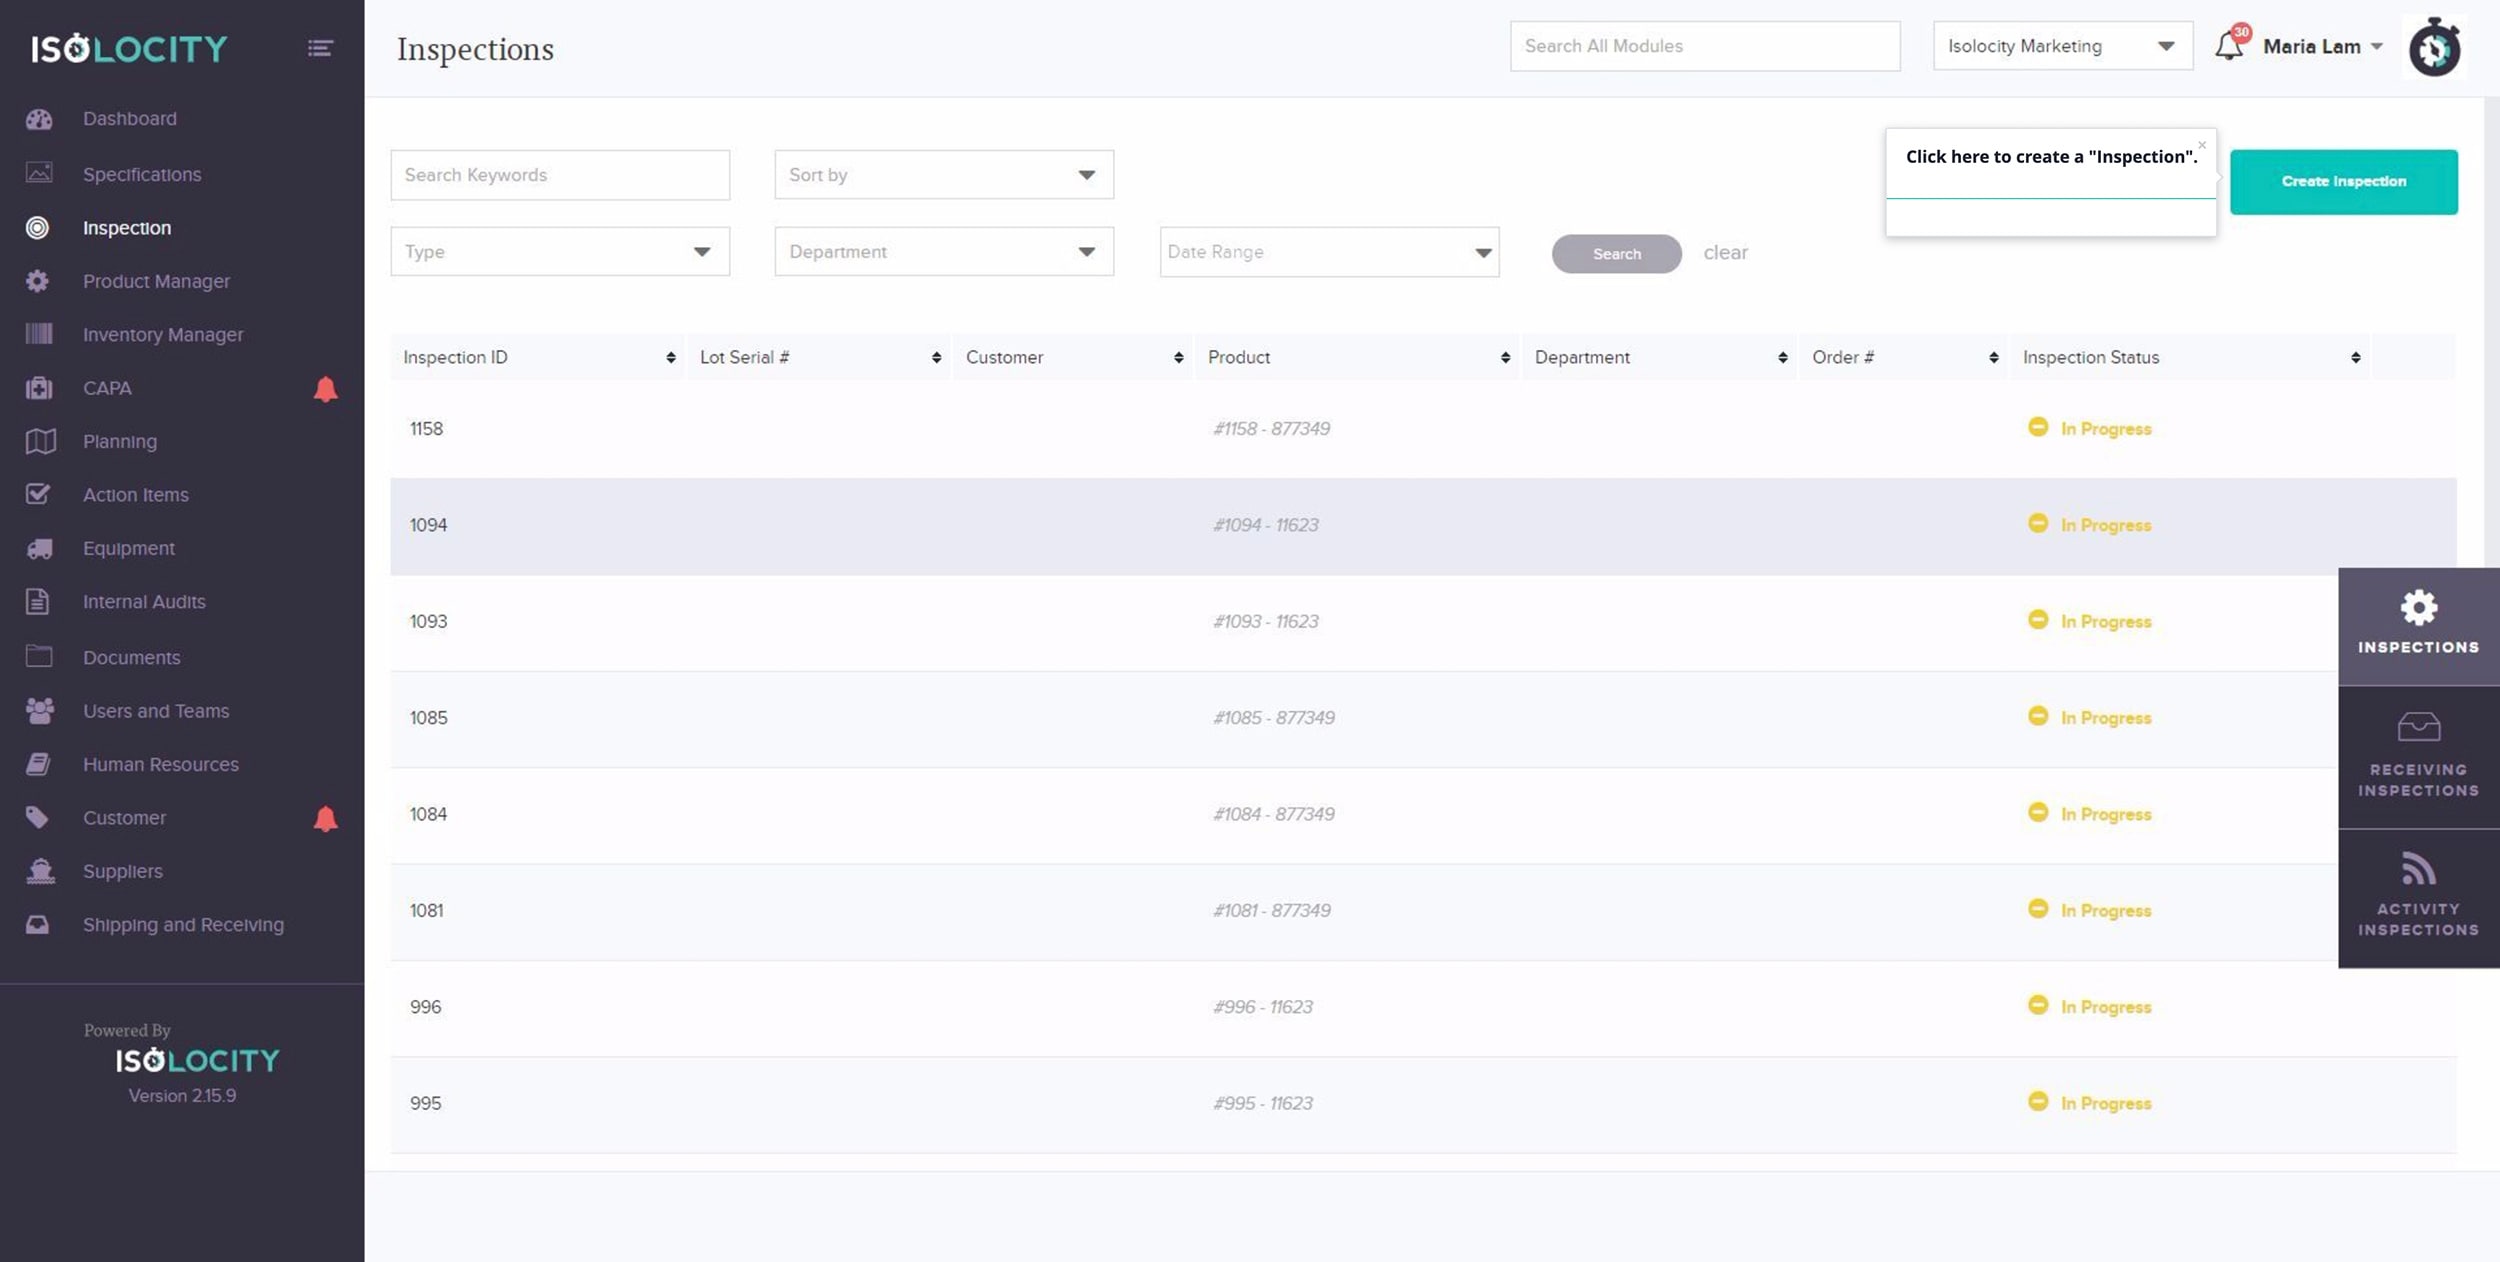
Step #3
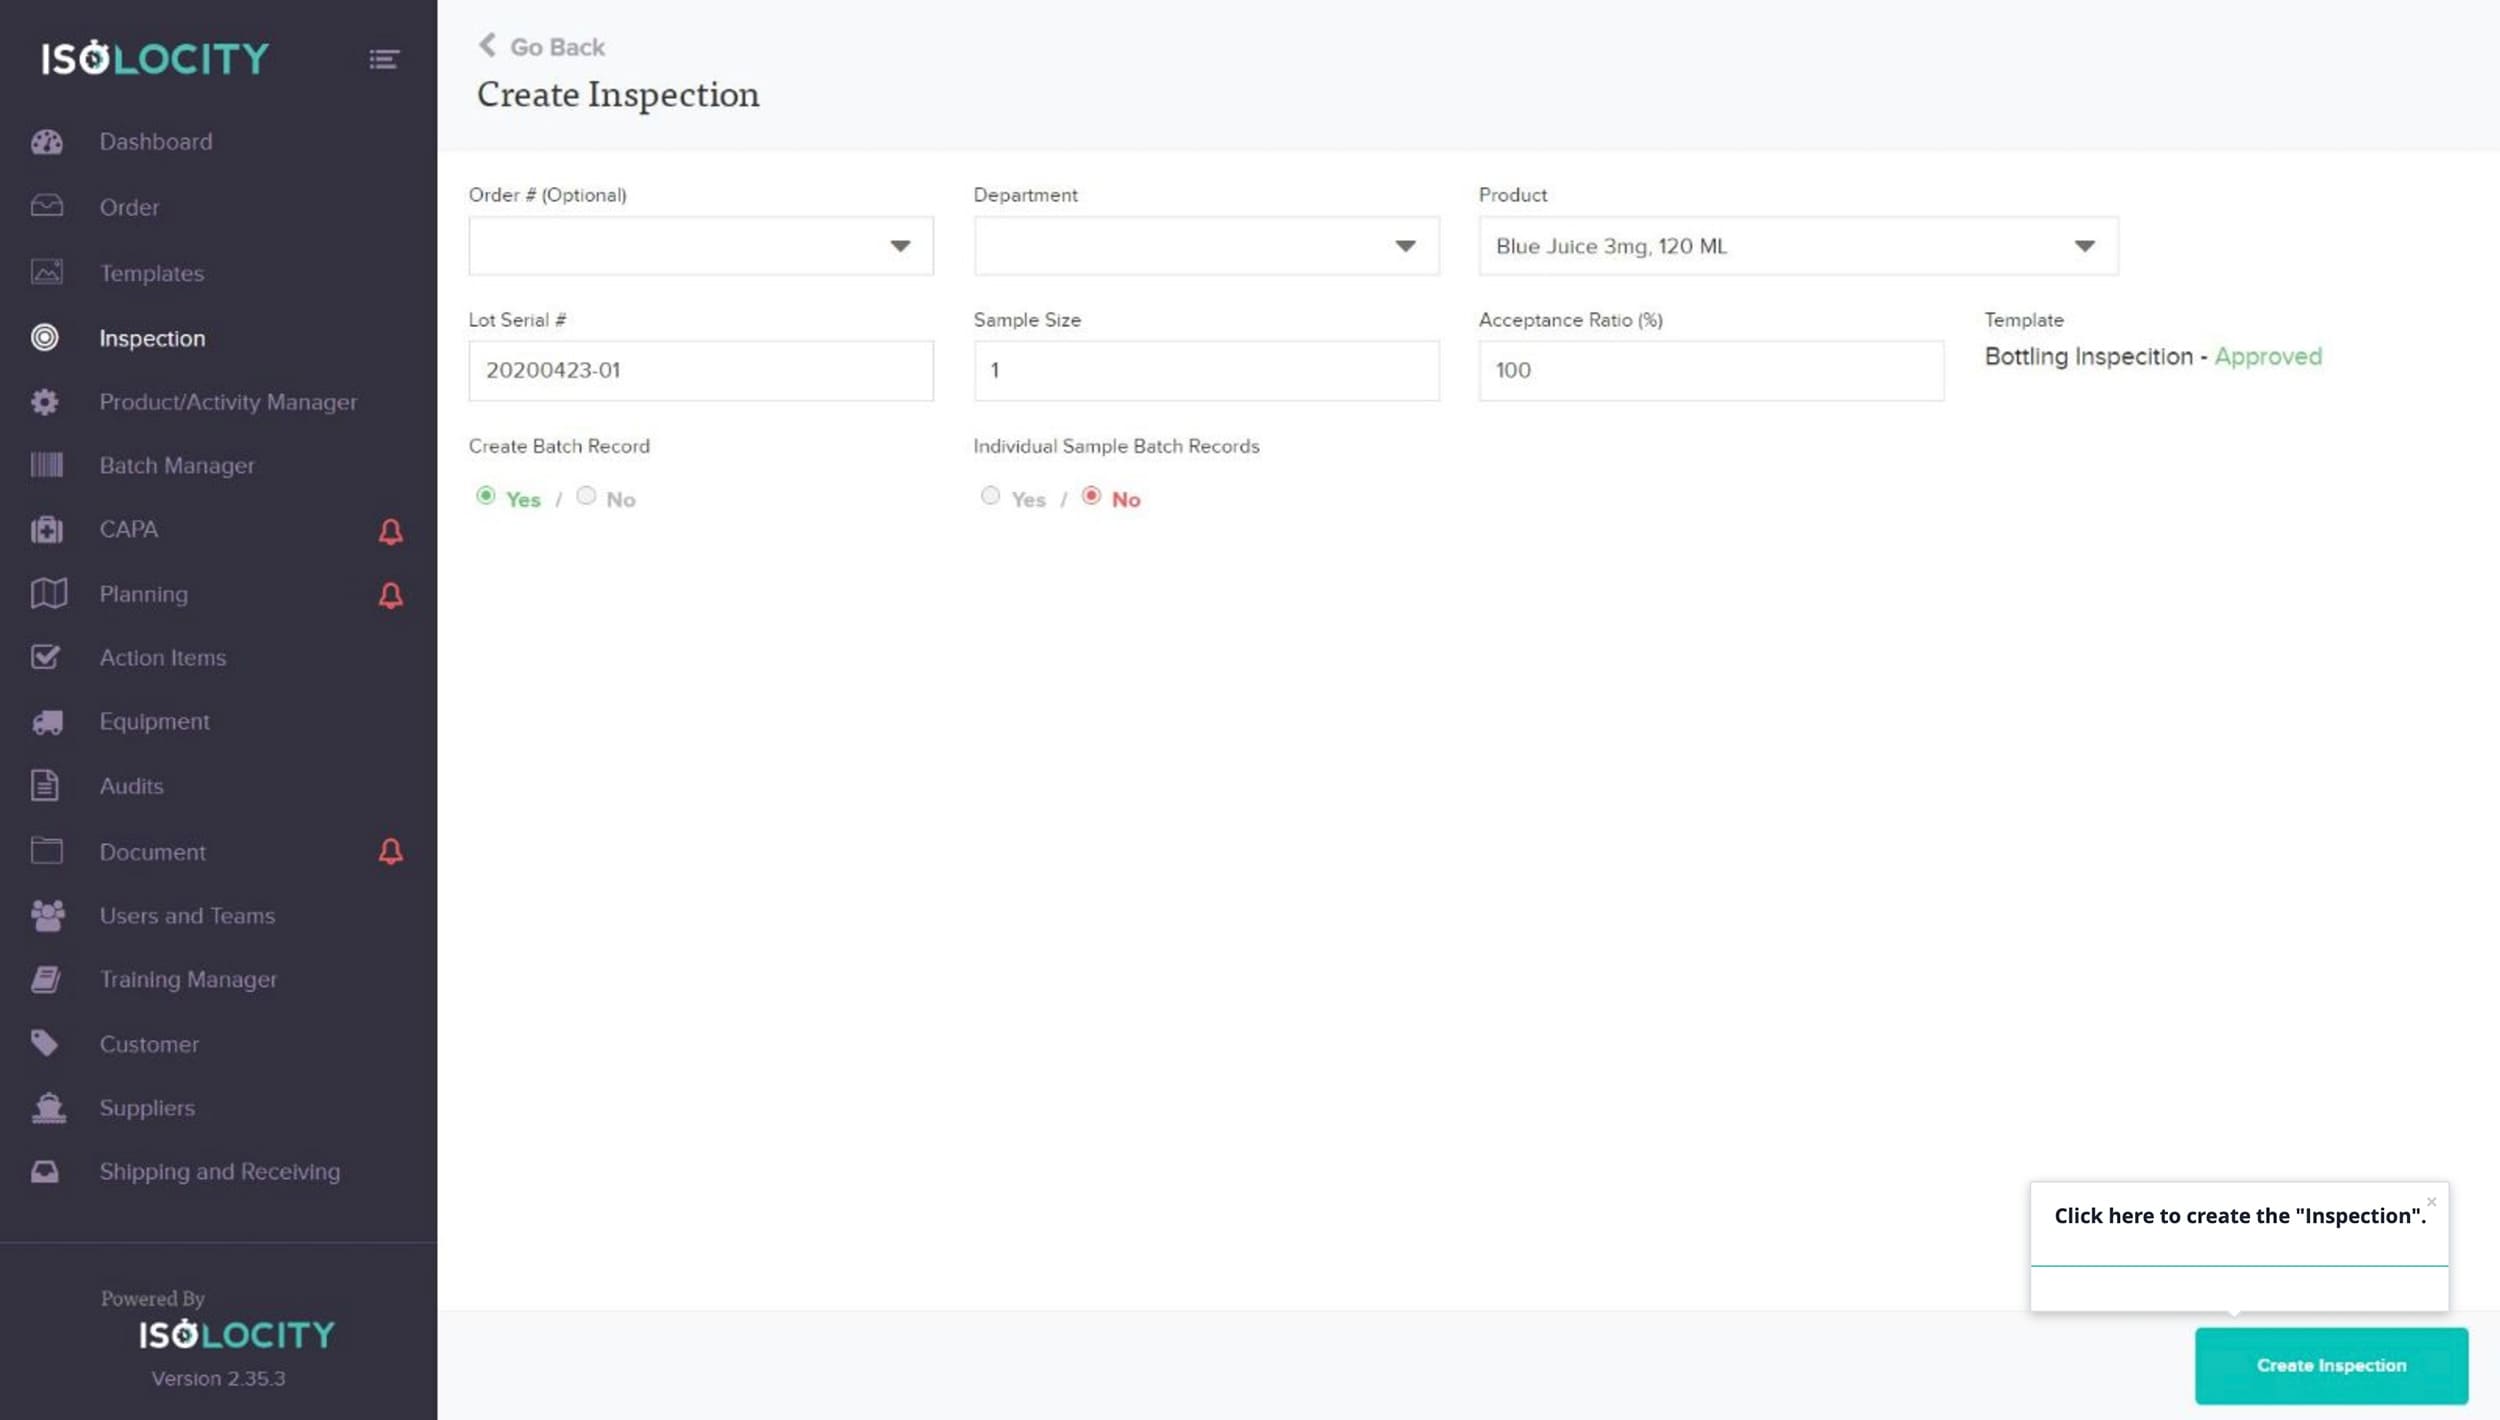
Click here to create a “Inspection”.
Step #4
Select a “Order #” (Optional).

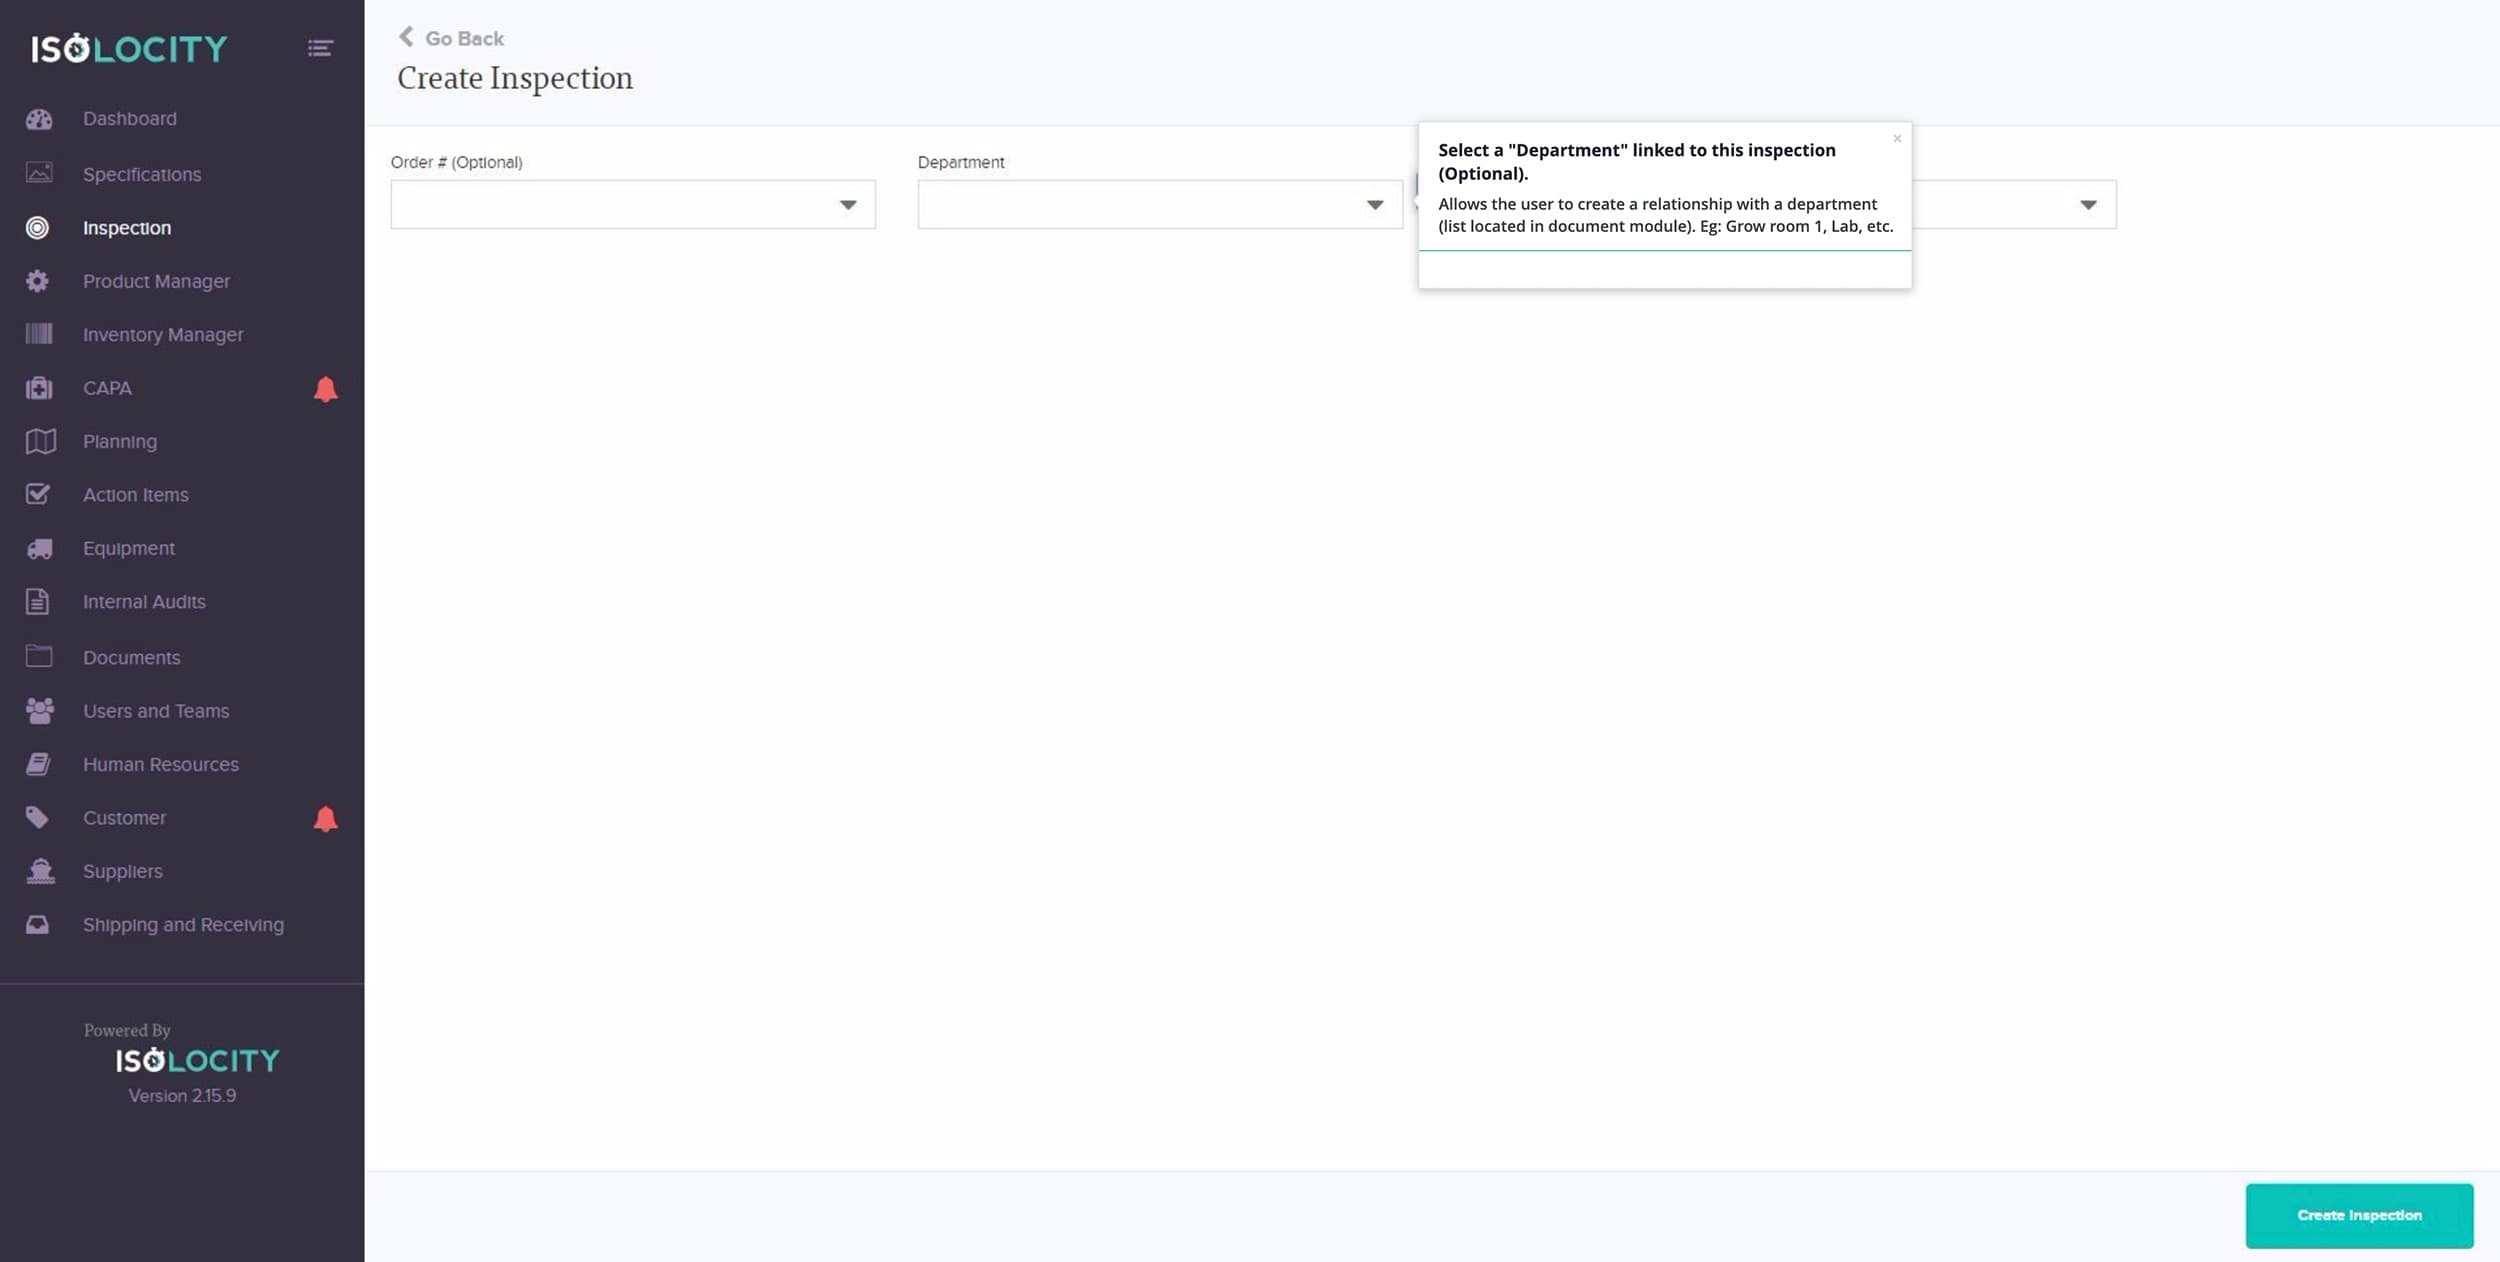
Step #5
Select a “Department” linked to this inspection (Optional).
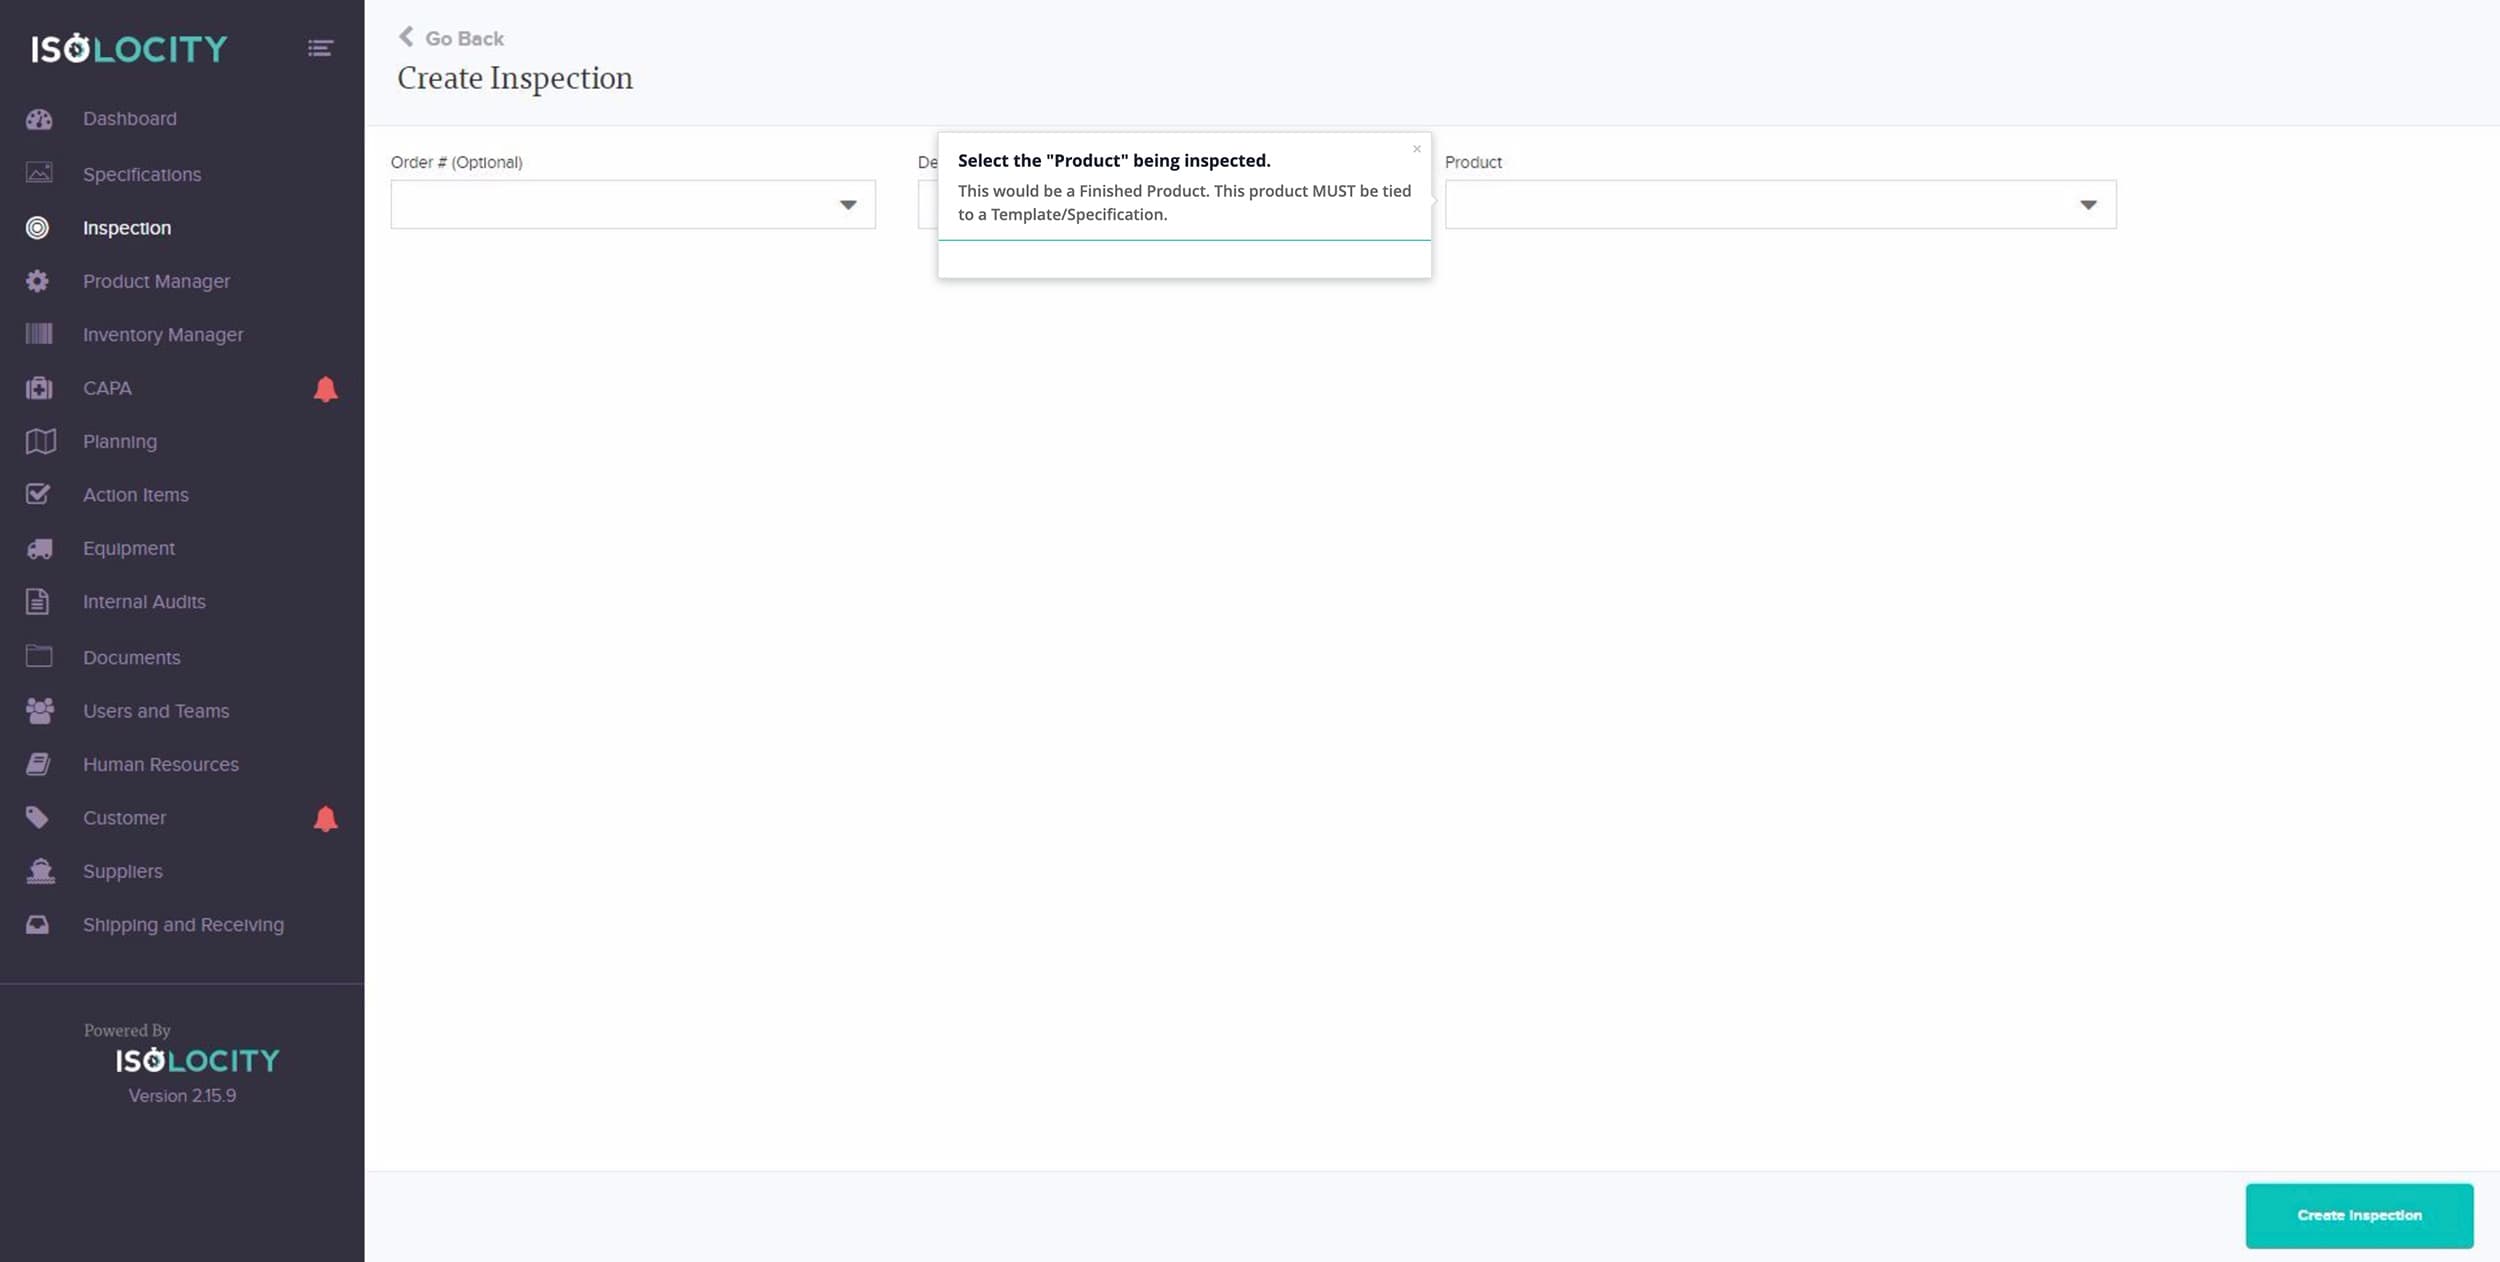
Step #6
Select the “Product” being inspected.
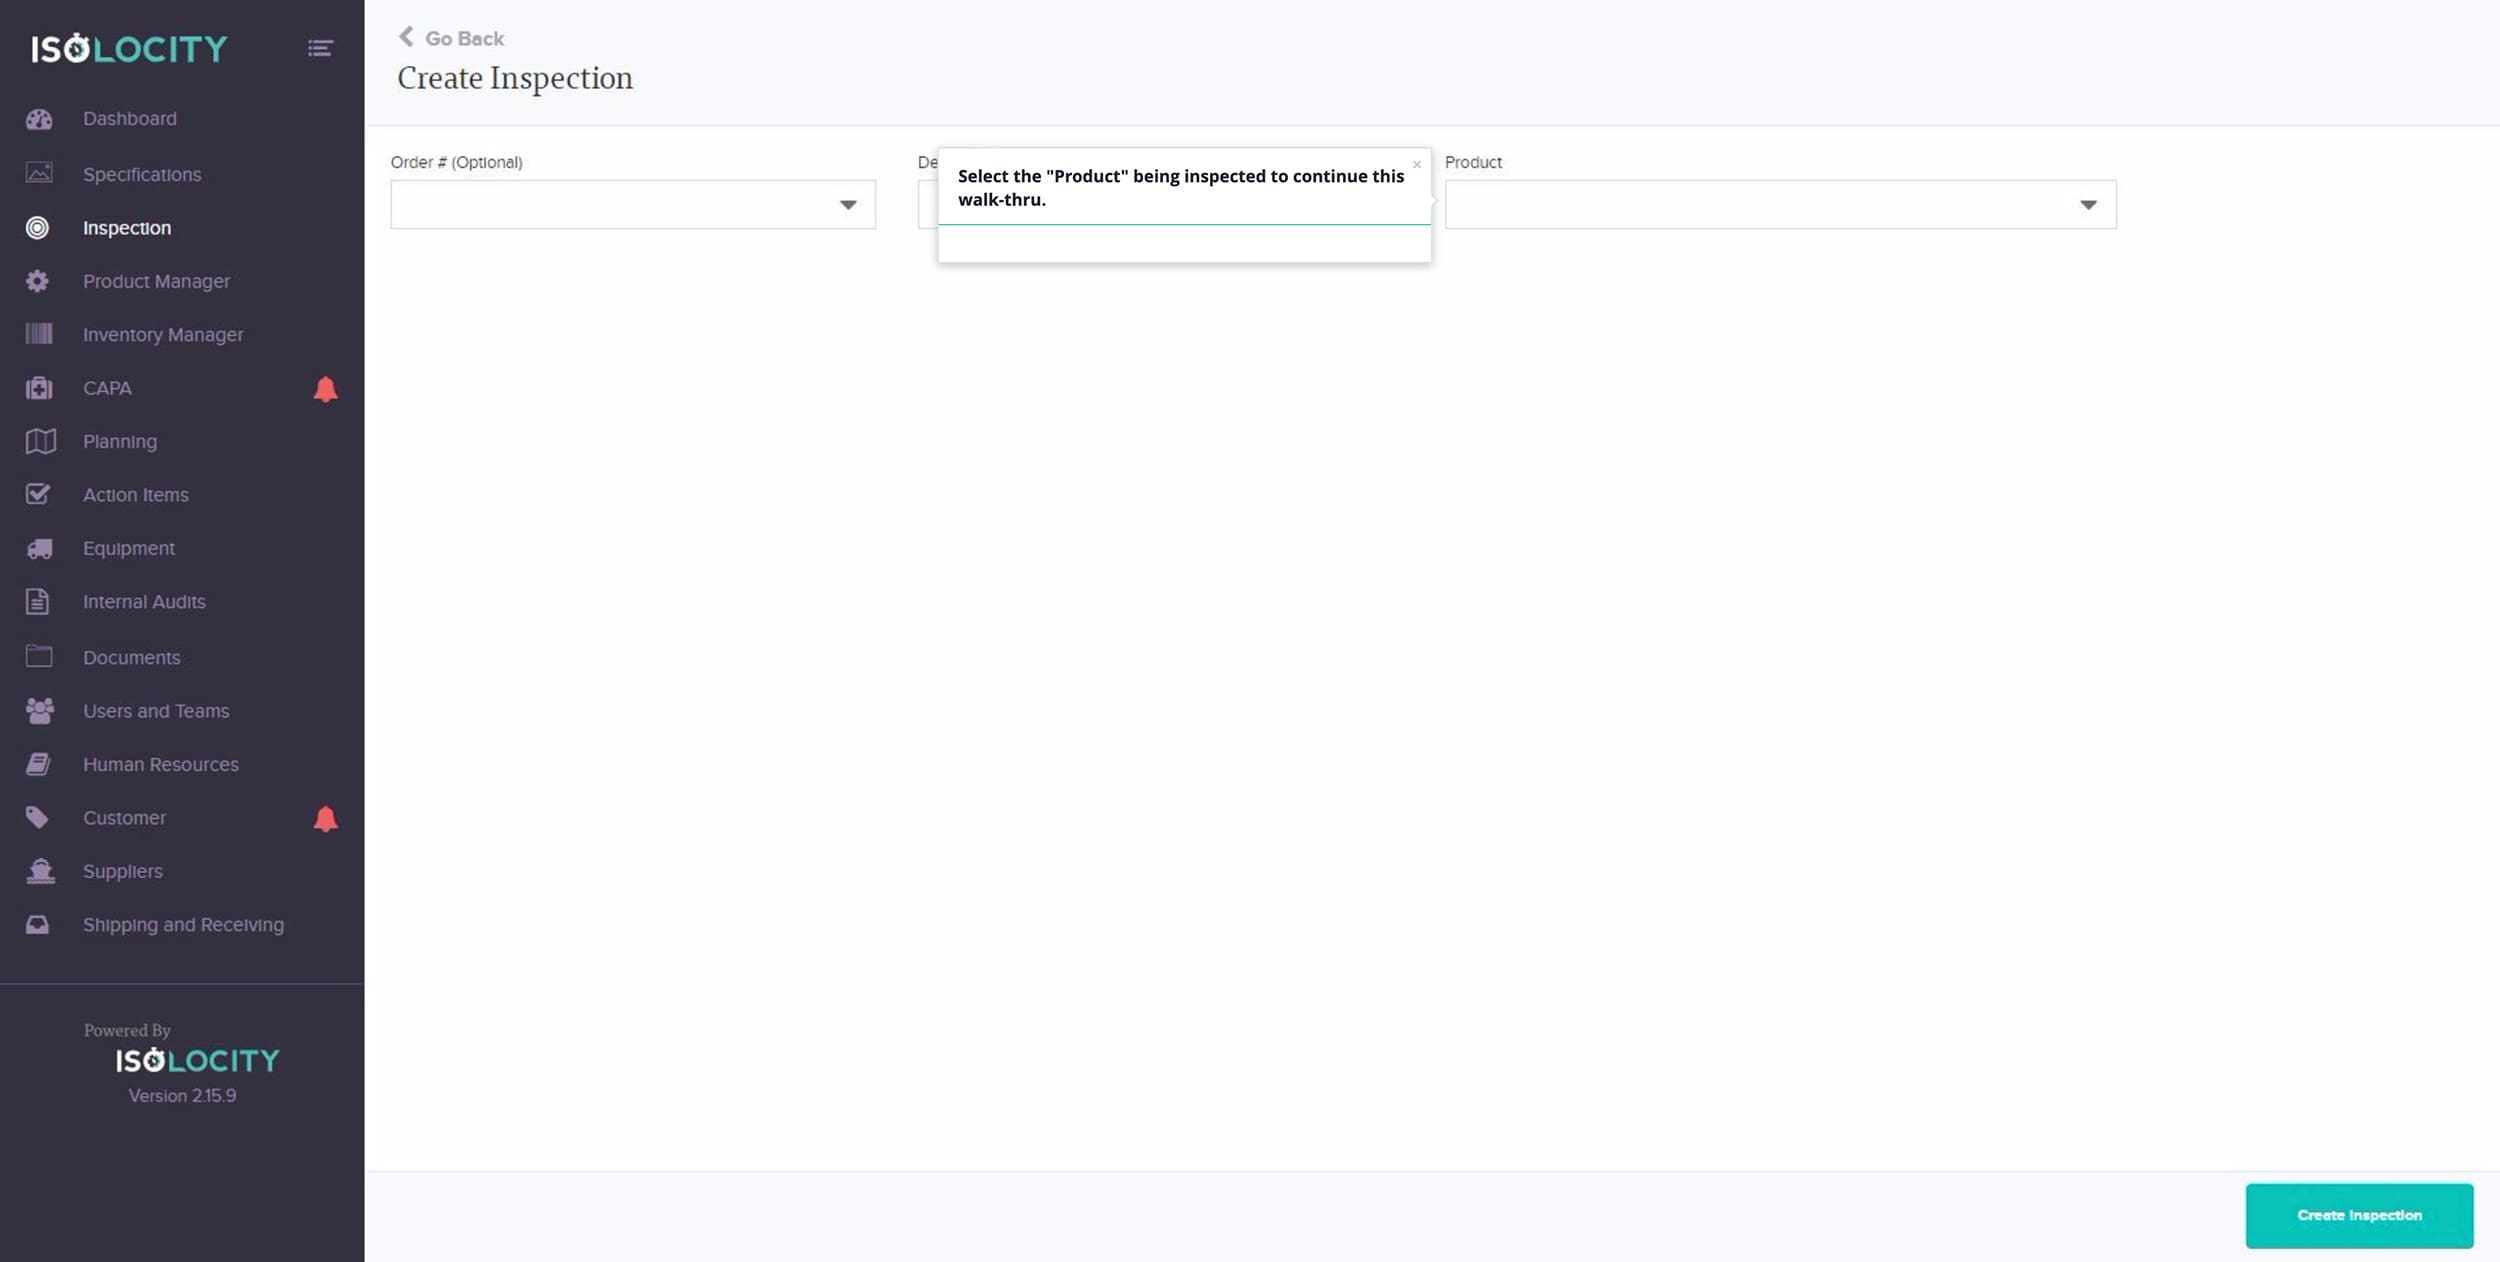
Step #7
Select the “Product” being inspected to continue this walk-thru.
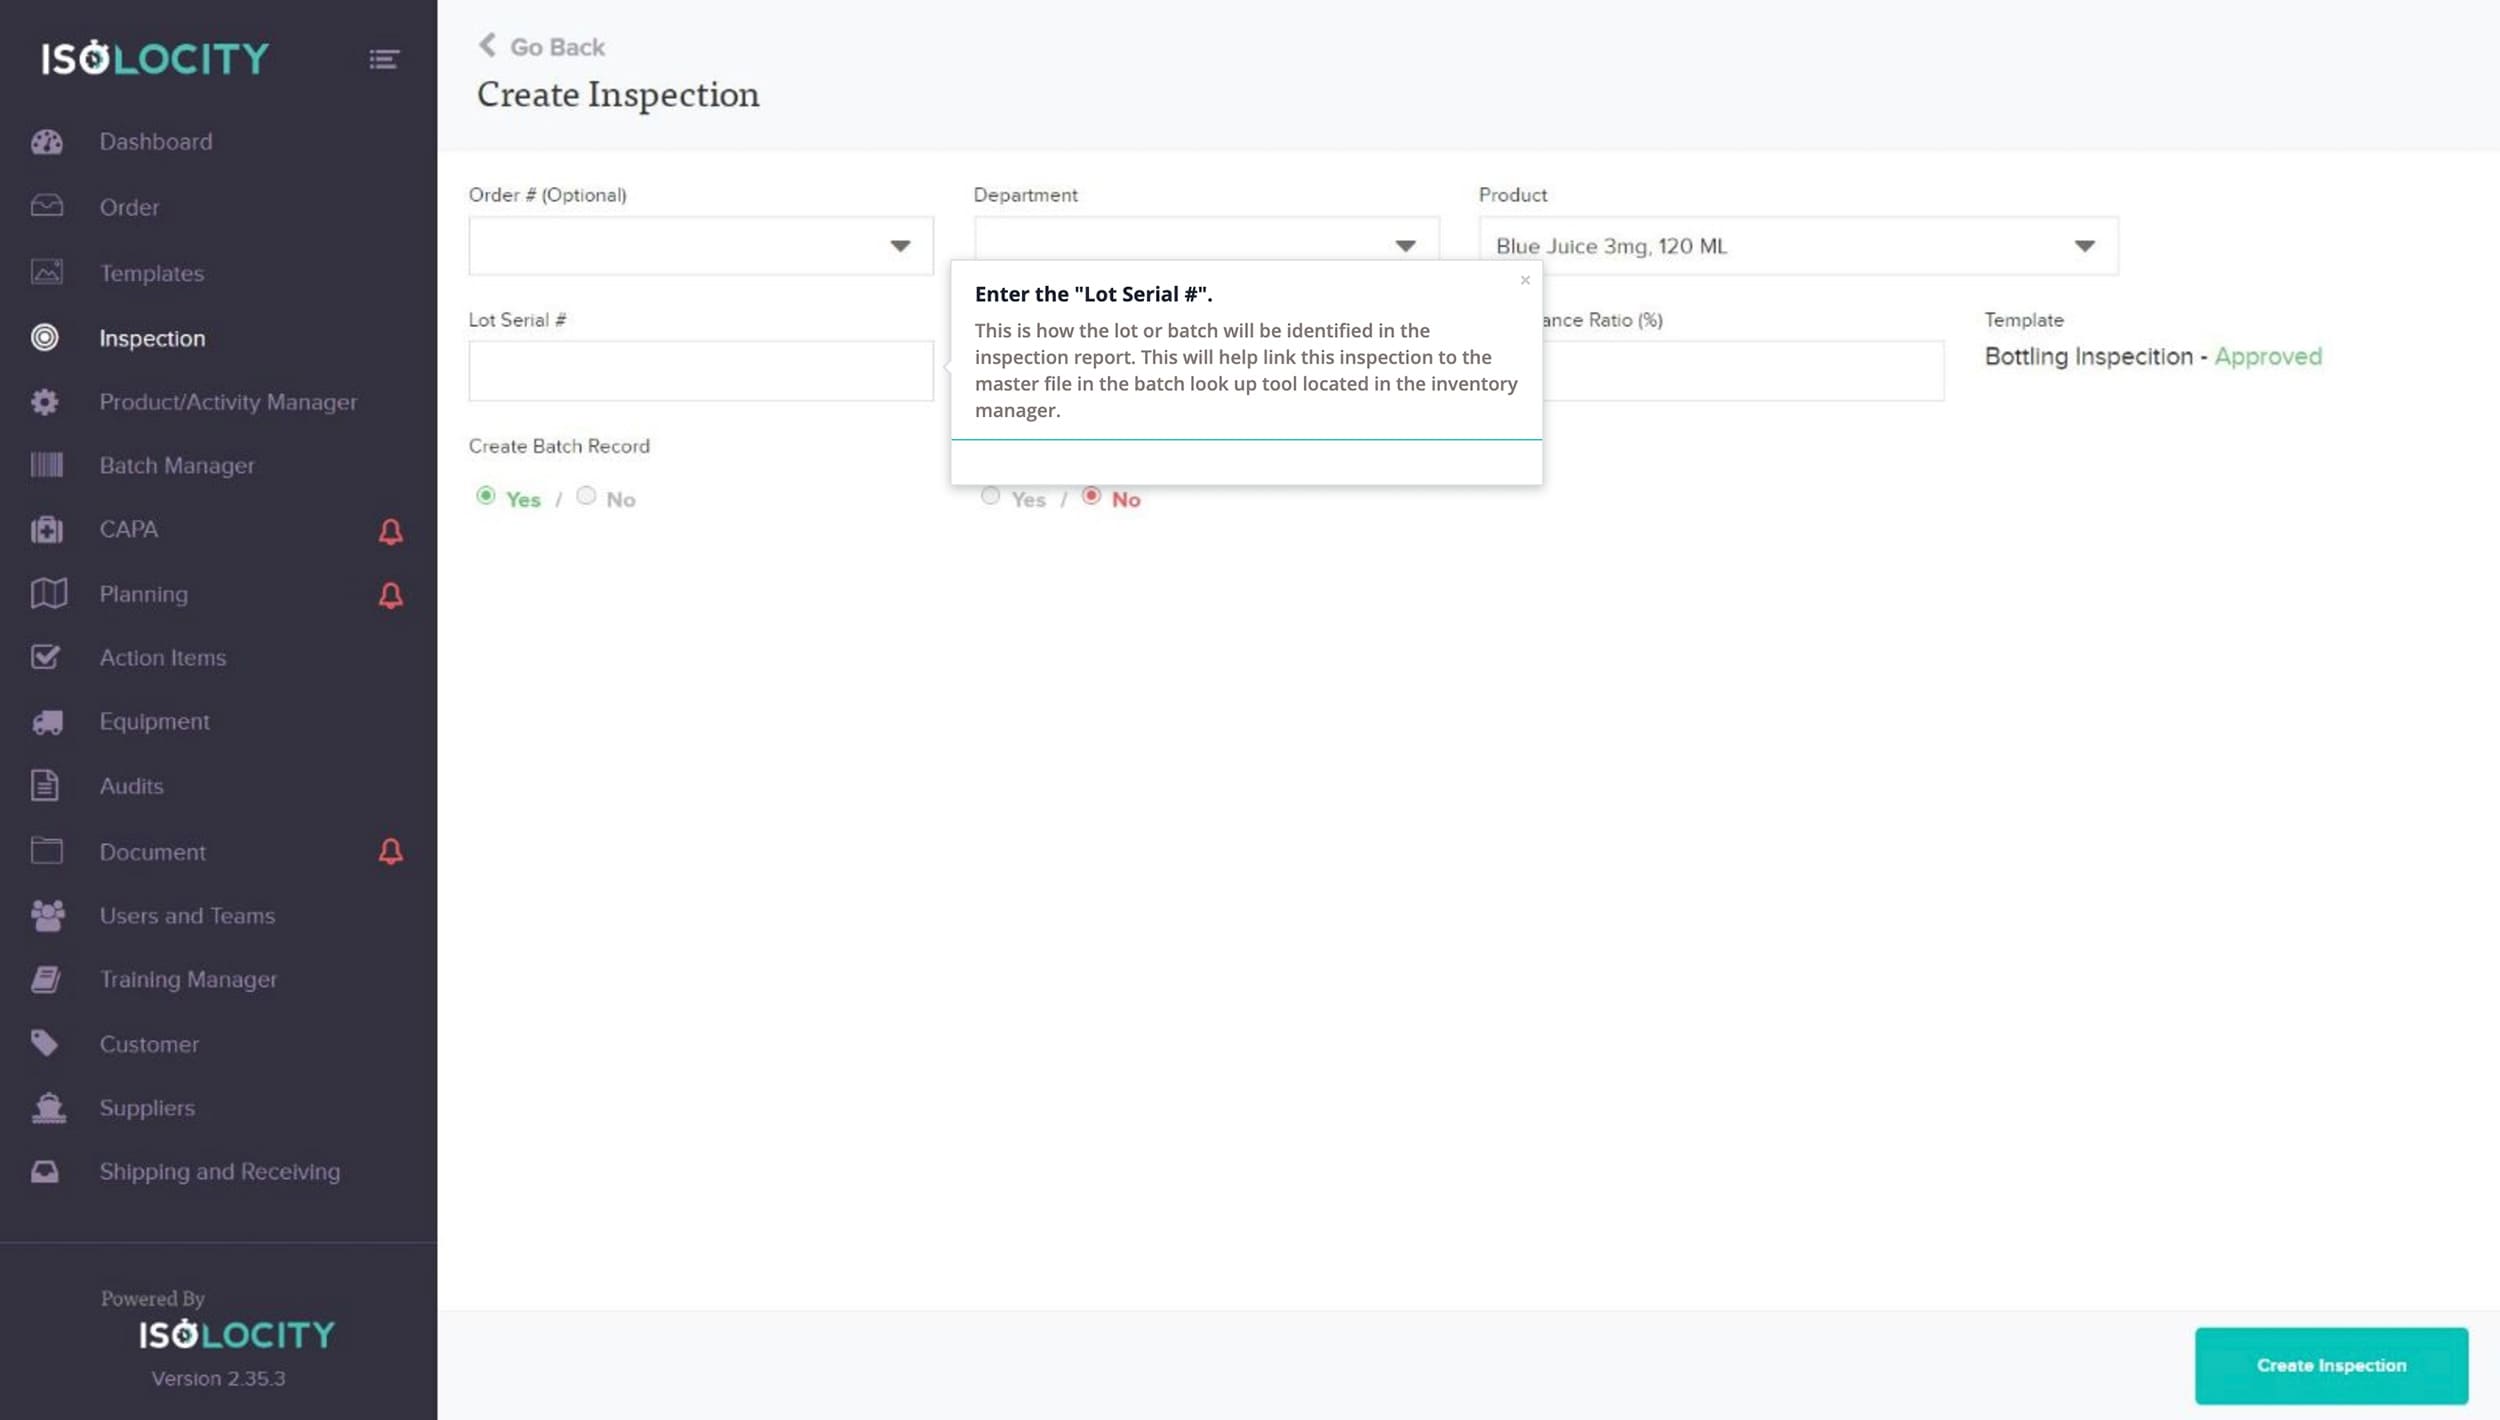
Step #8
Enter the “Lot Serial #”.
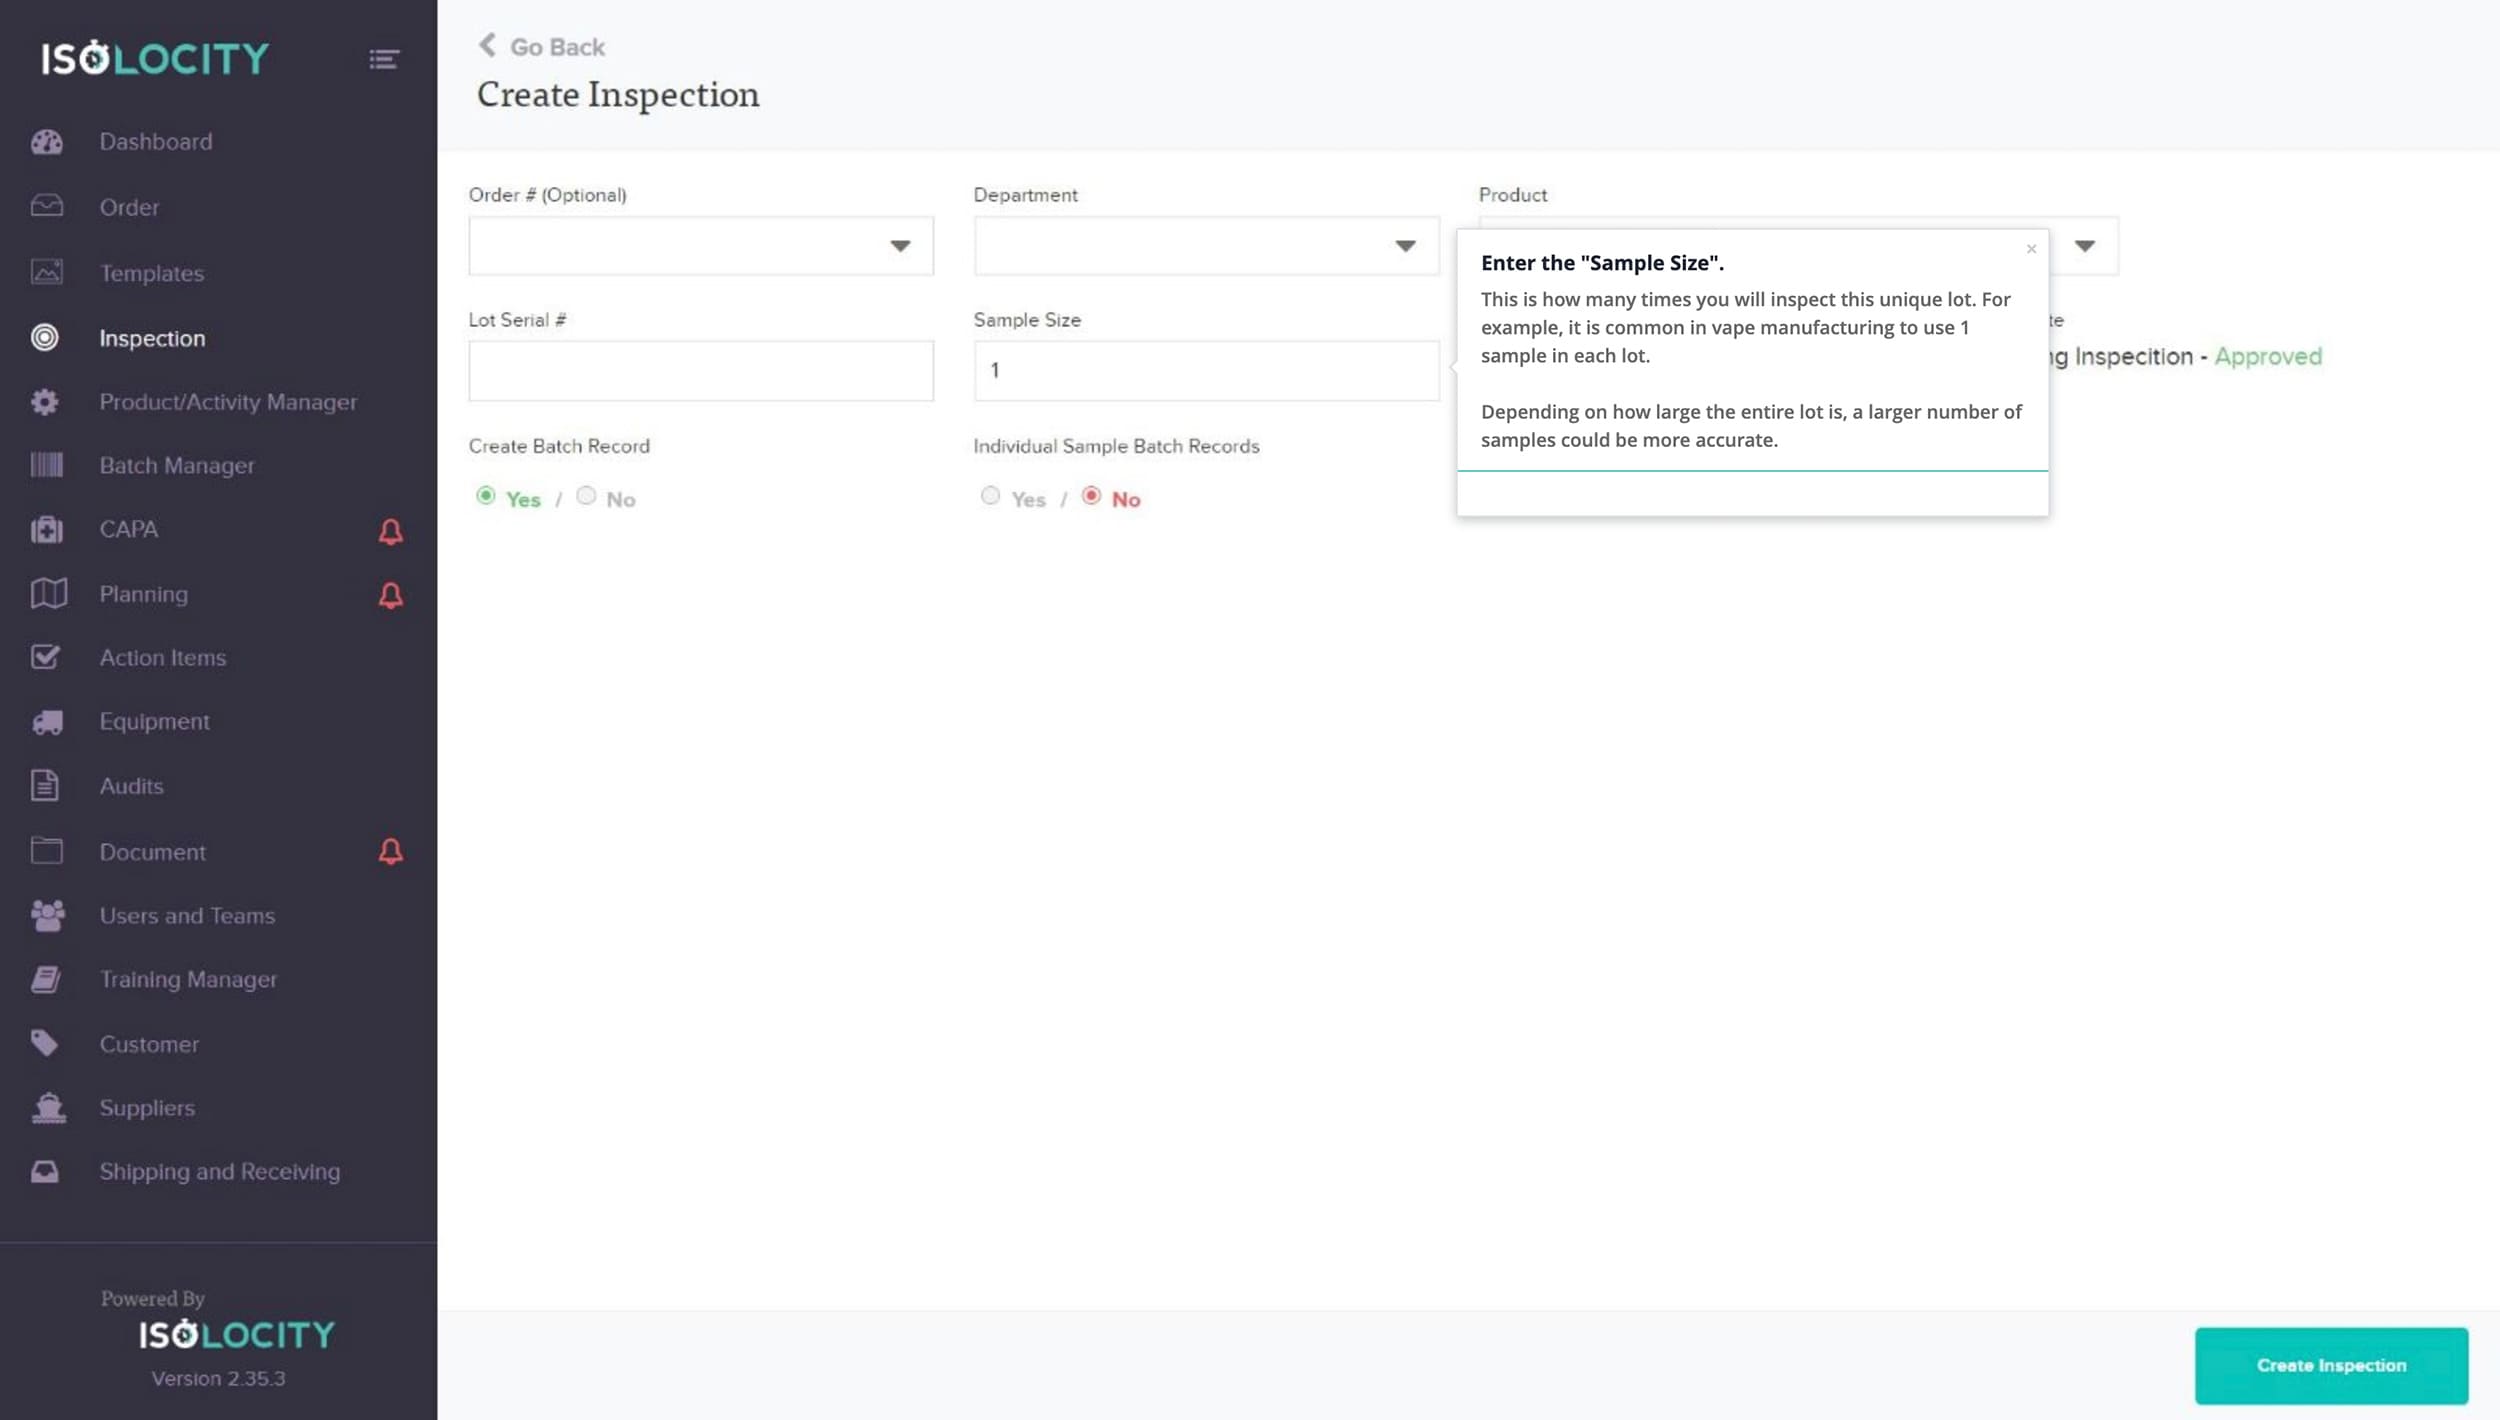
Step #9
Enter the “Sample Size”.
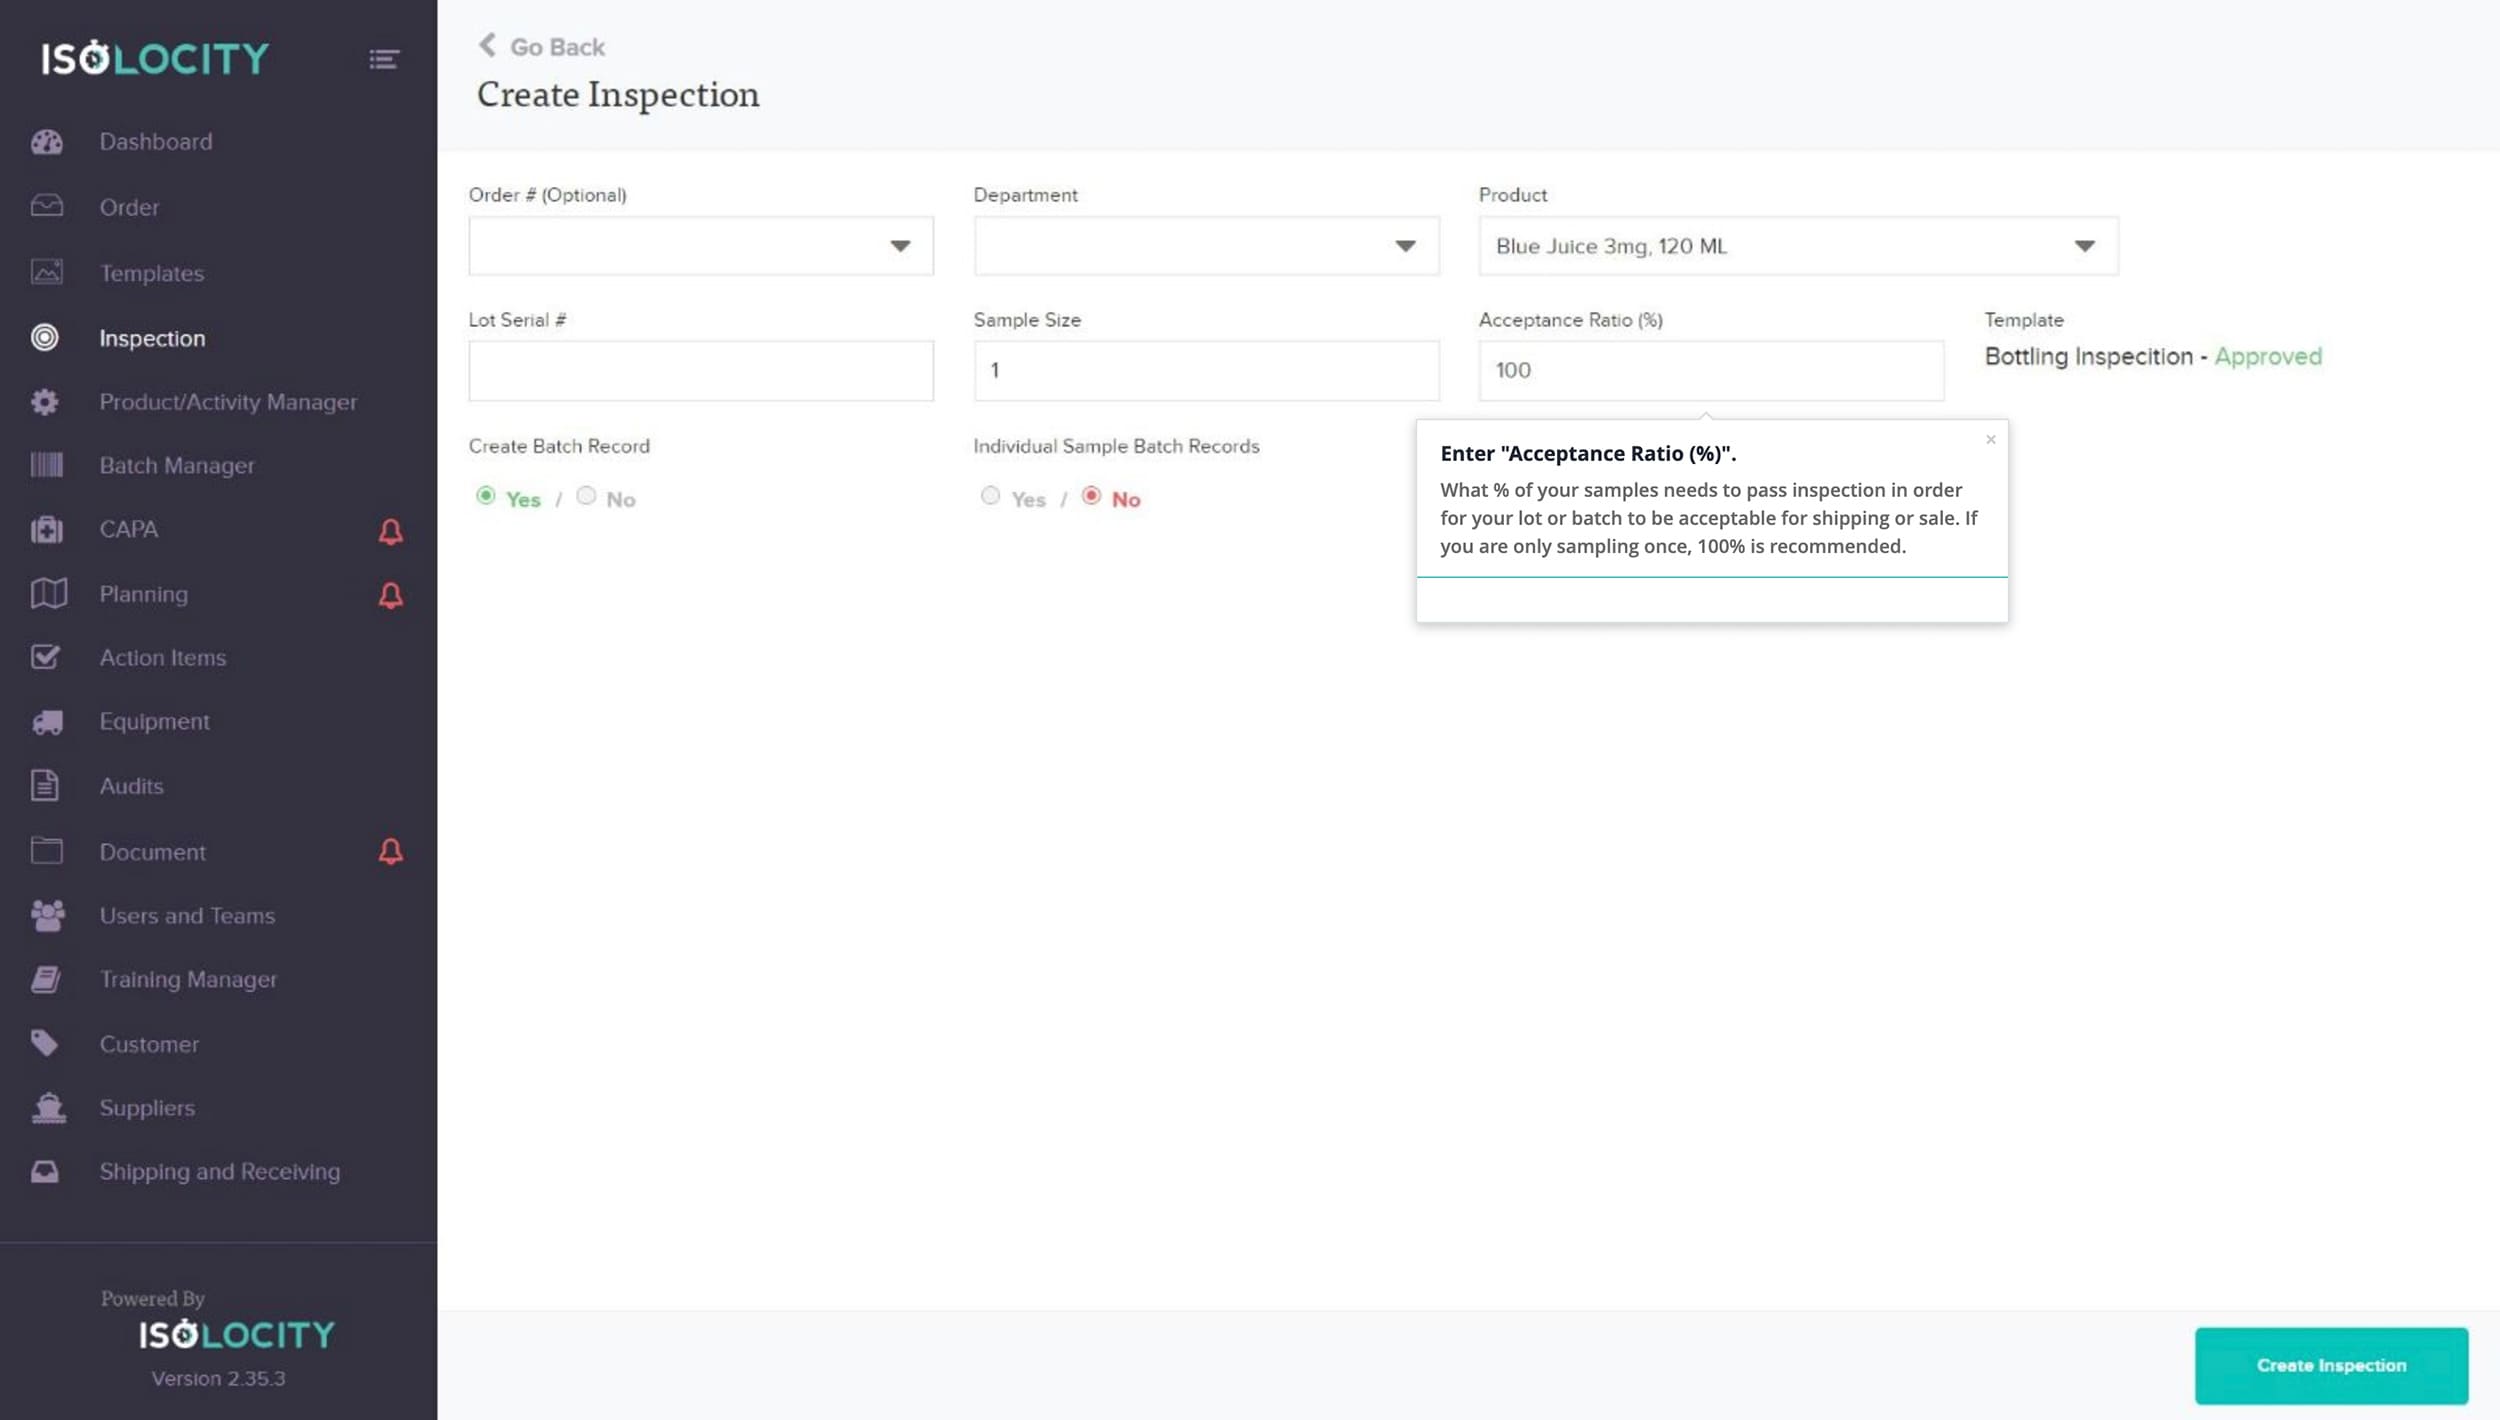
Step #10
Enter “Acceptance Ratio (%)”.
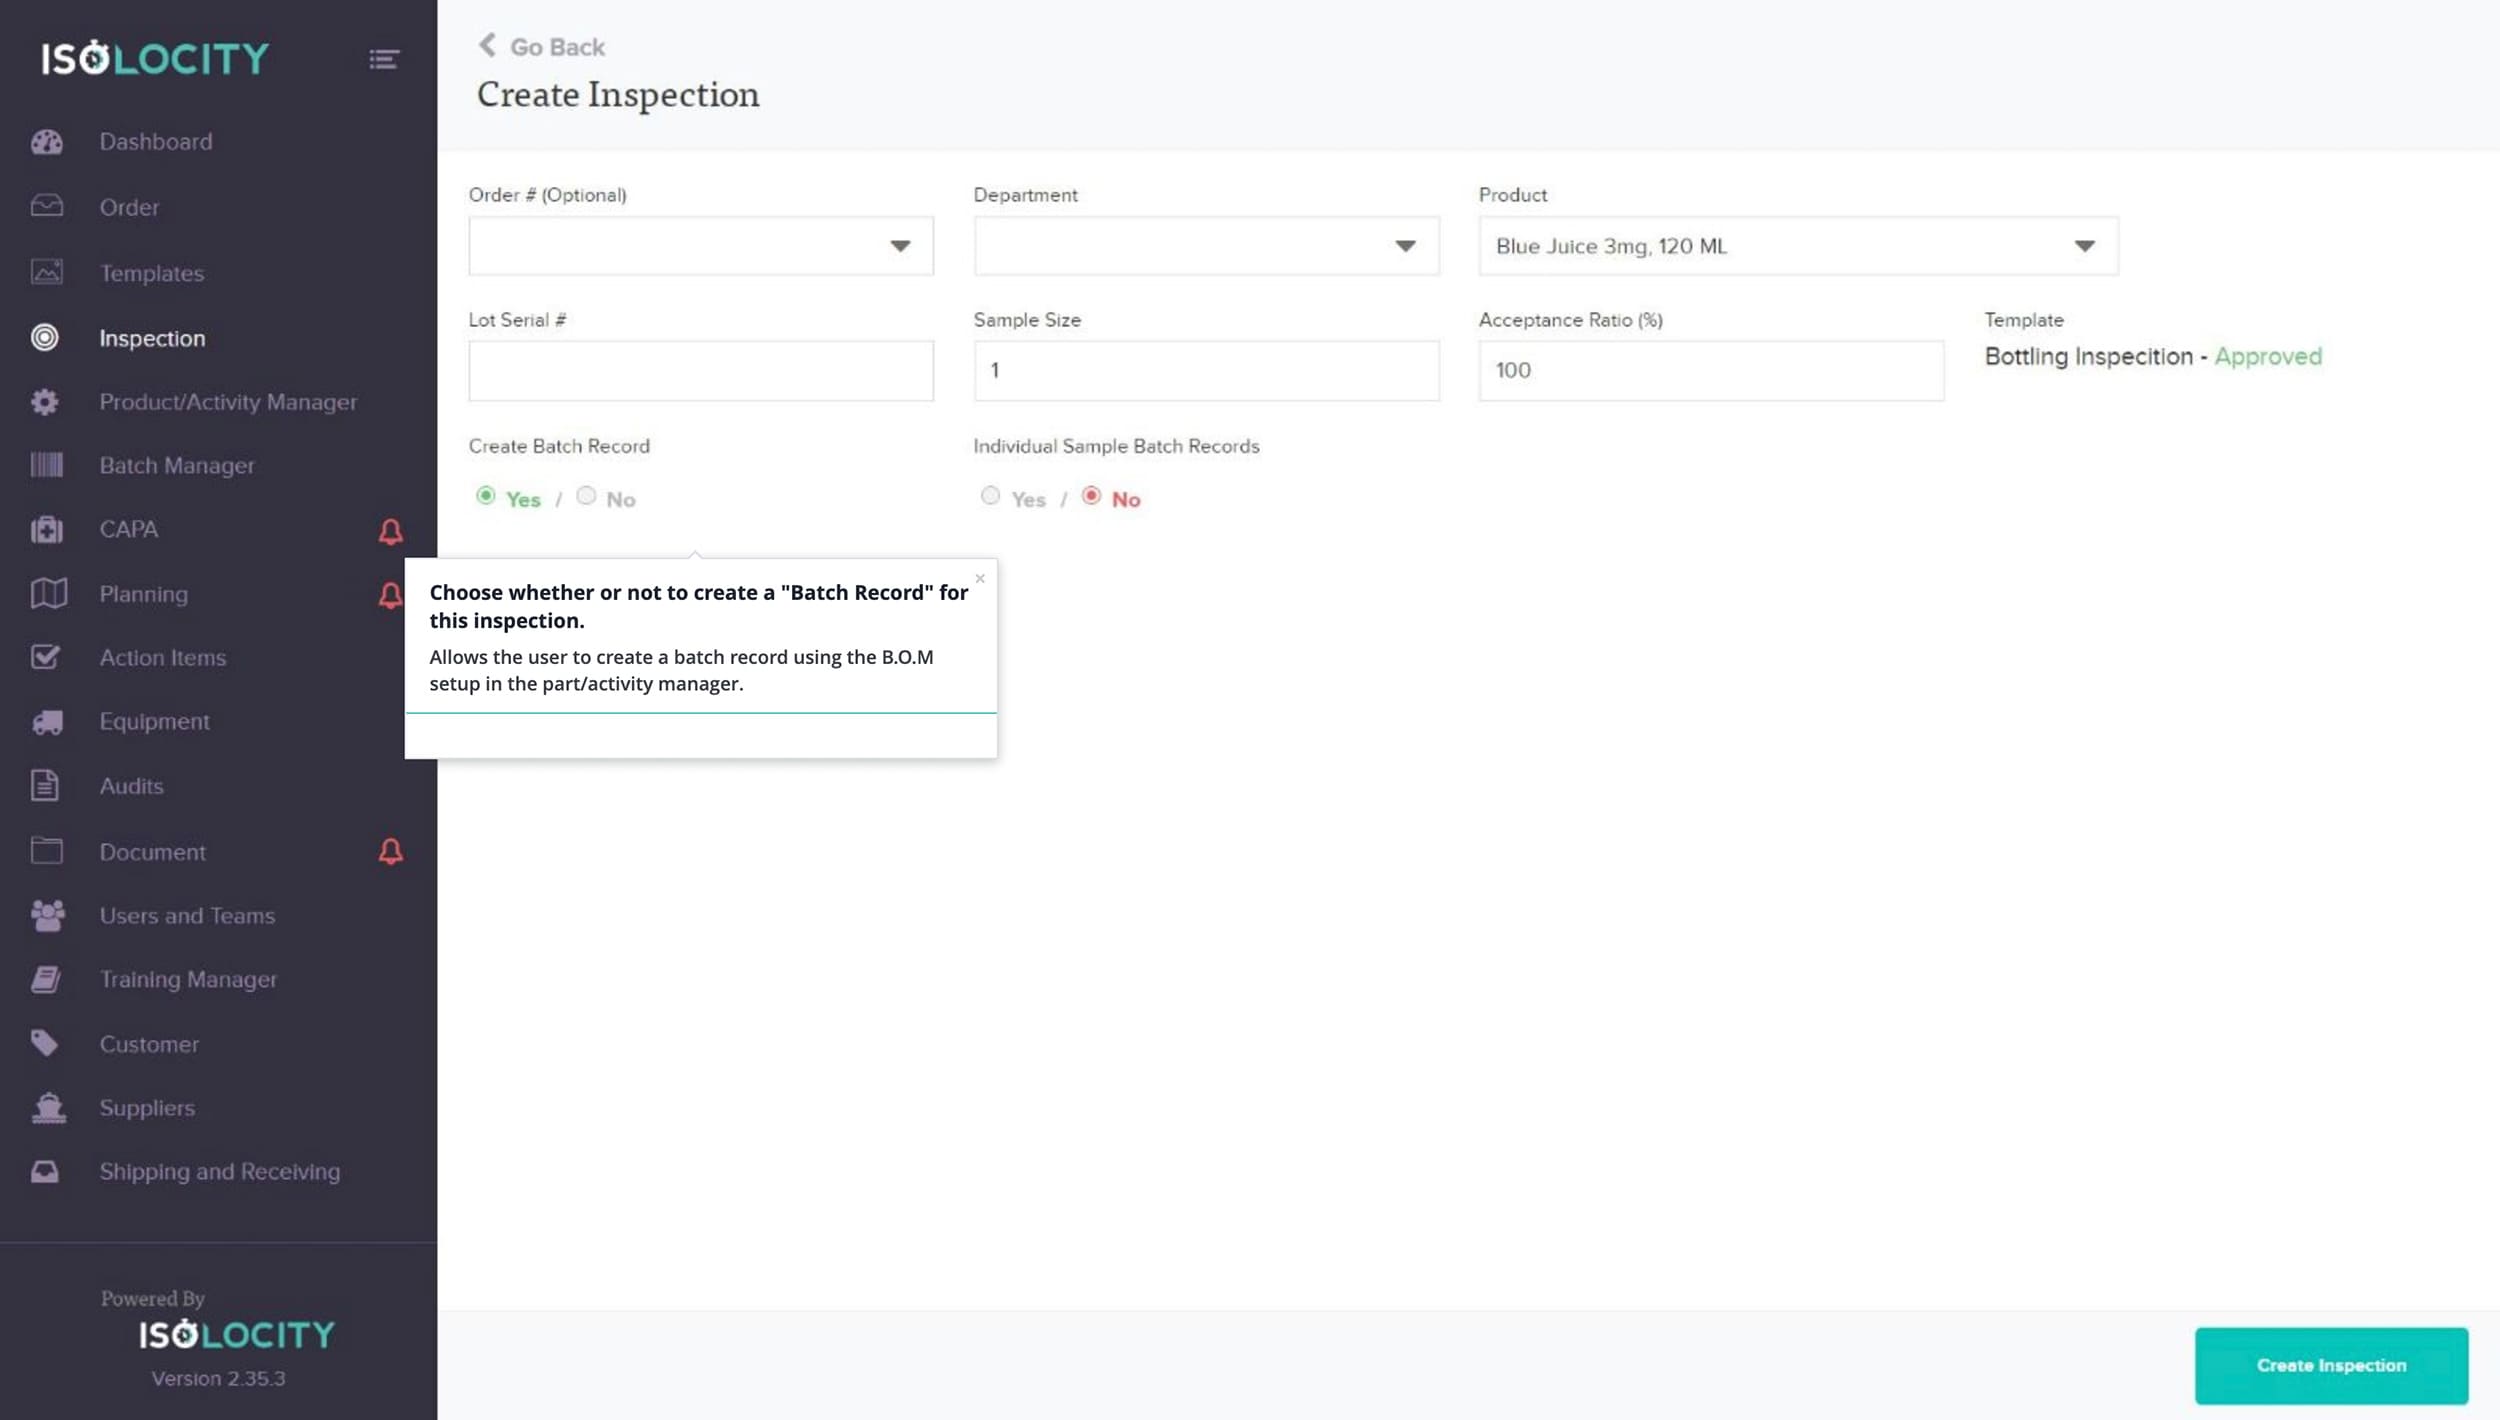
Step #11
Choose whether or not to create a “Batch Record” for this inspection.
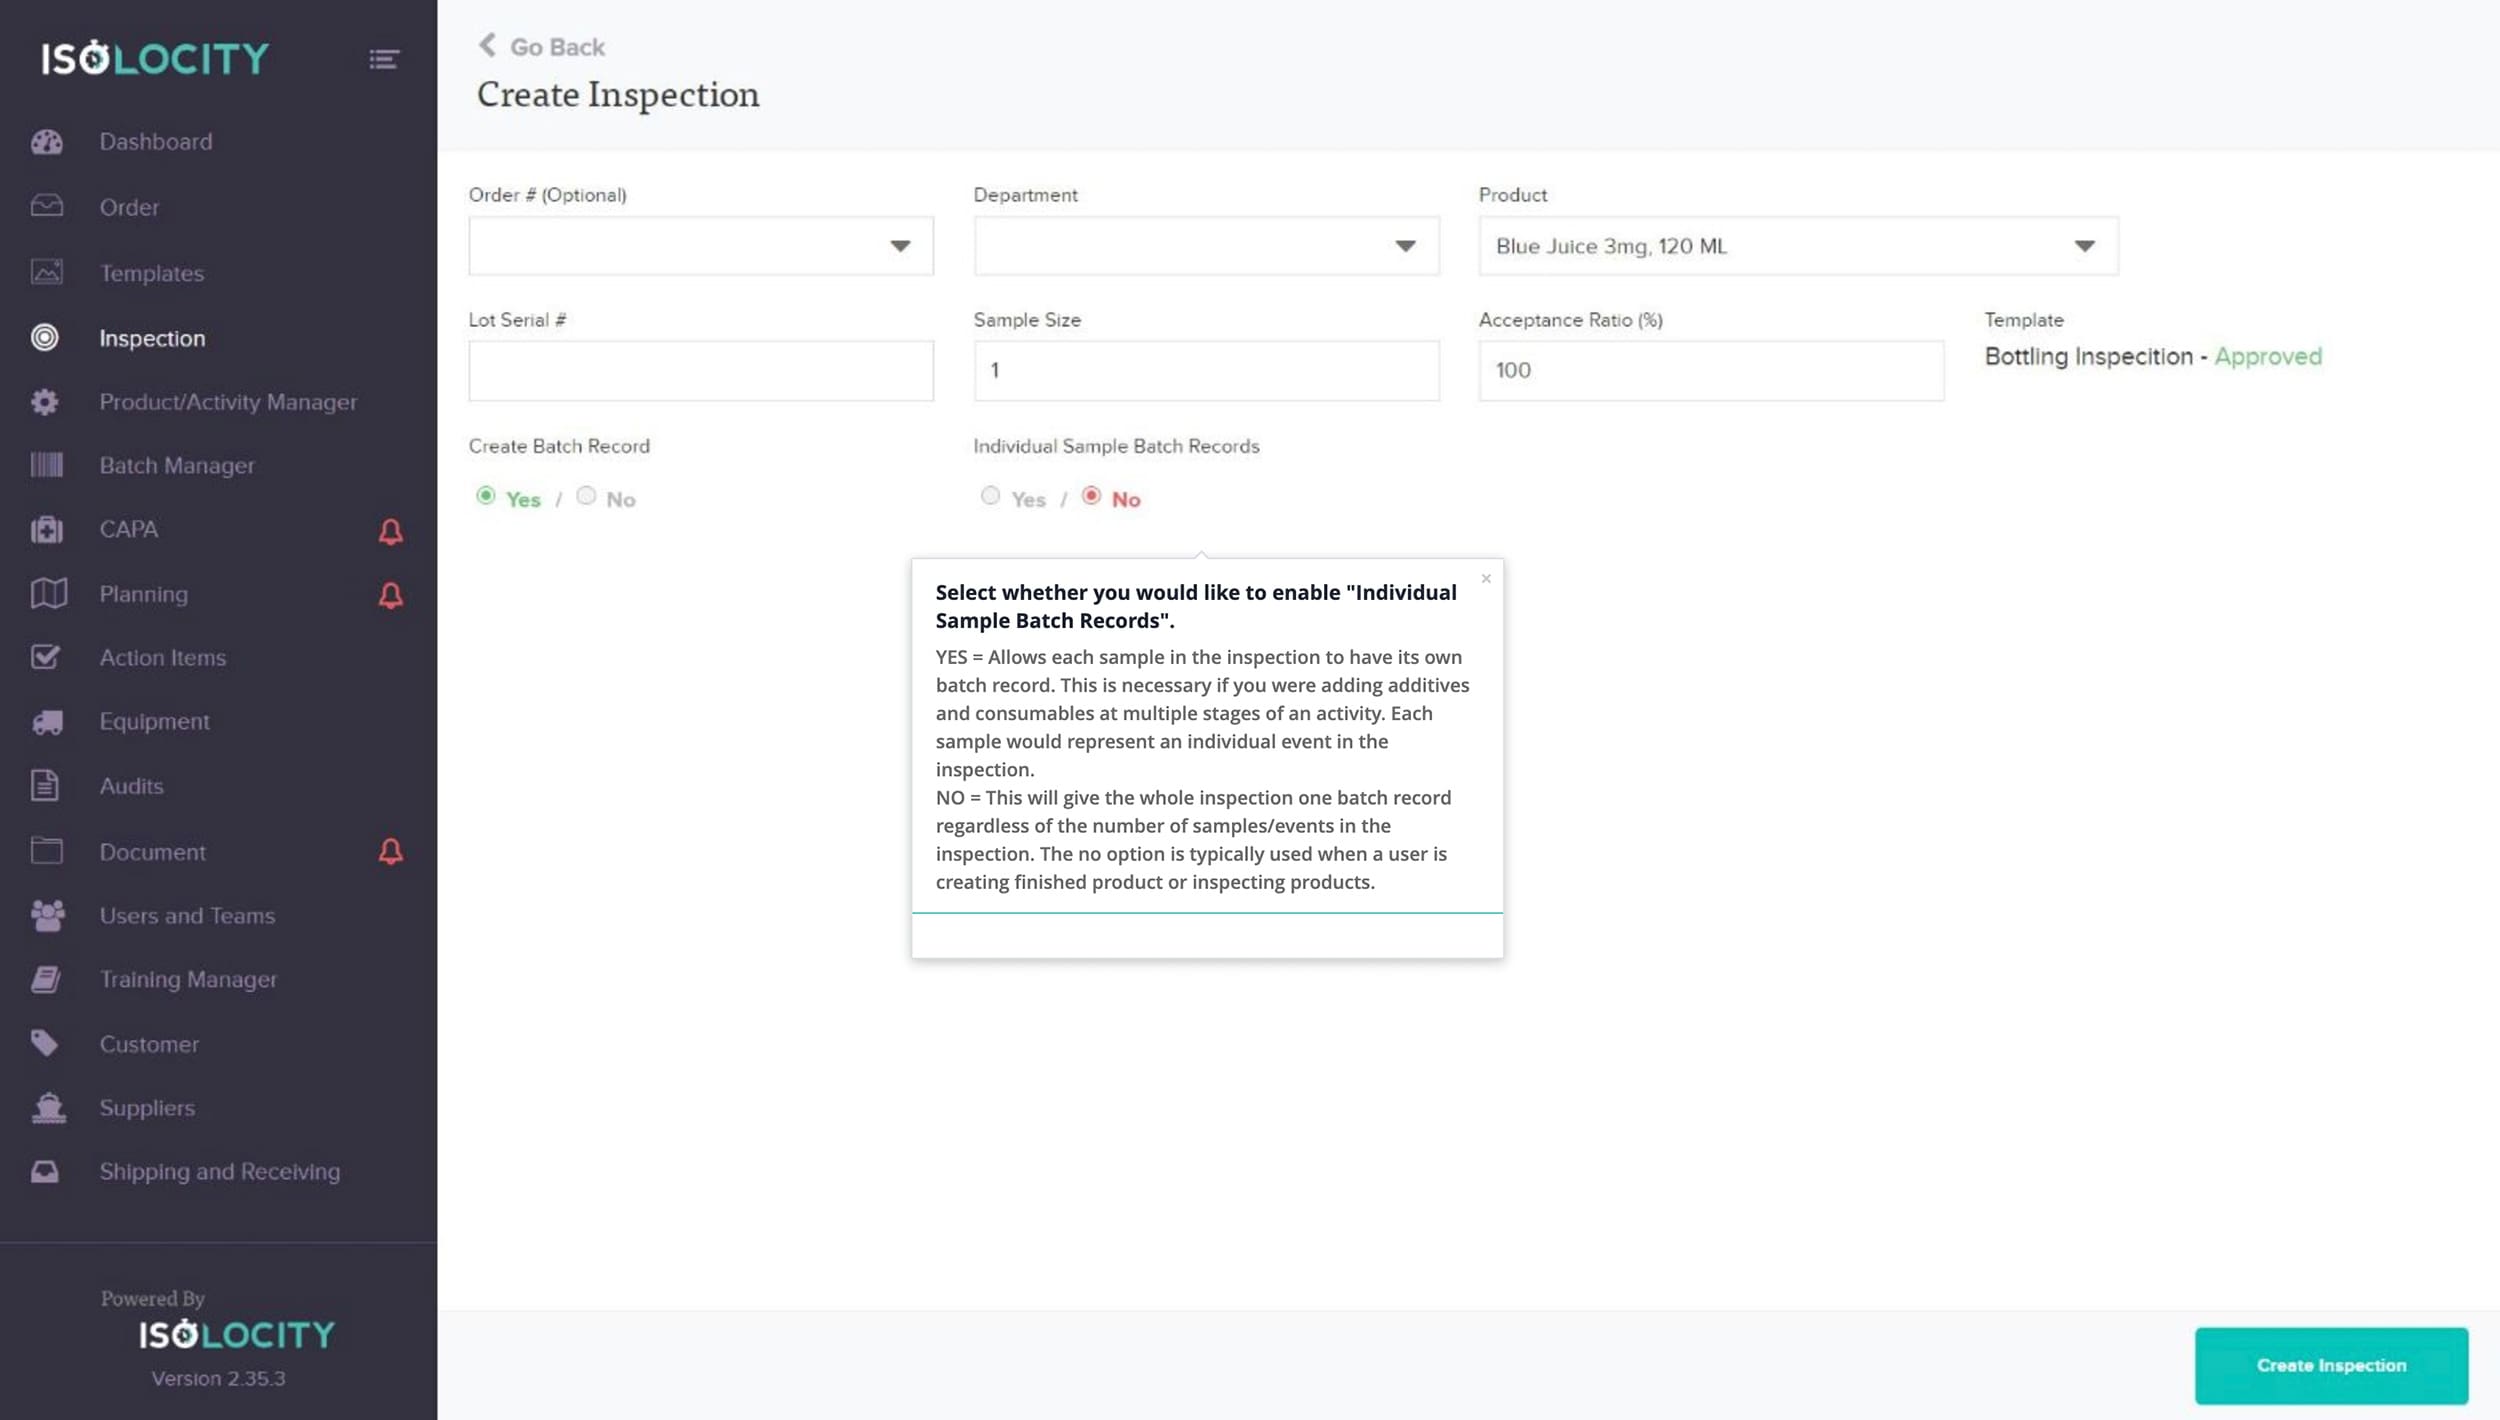
Step #12
Select whether you would like to enable “Individual Sample Batch Records”.
Step #13
Click here to create the “Inspection”.
Step 14
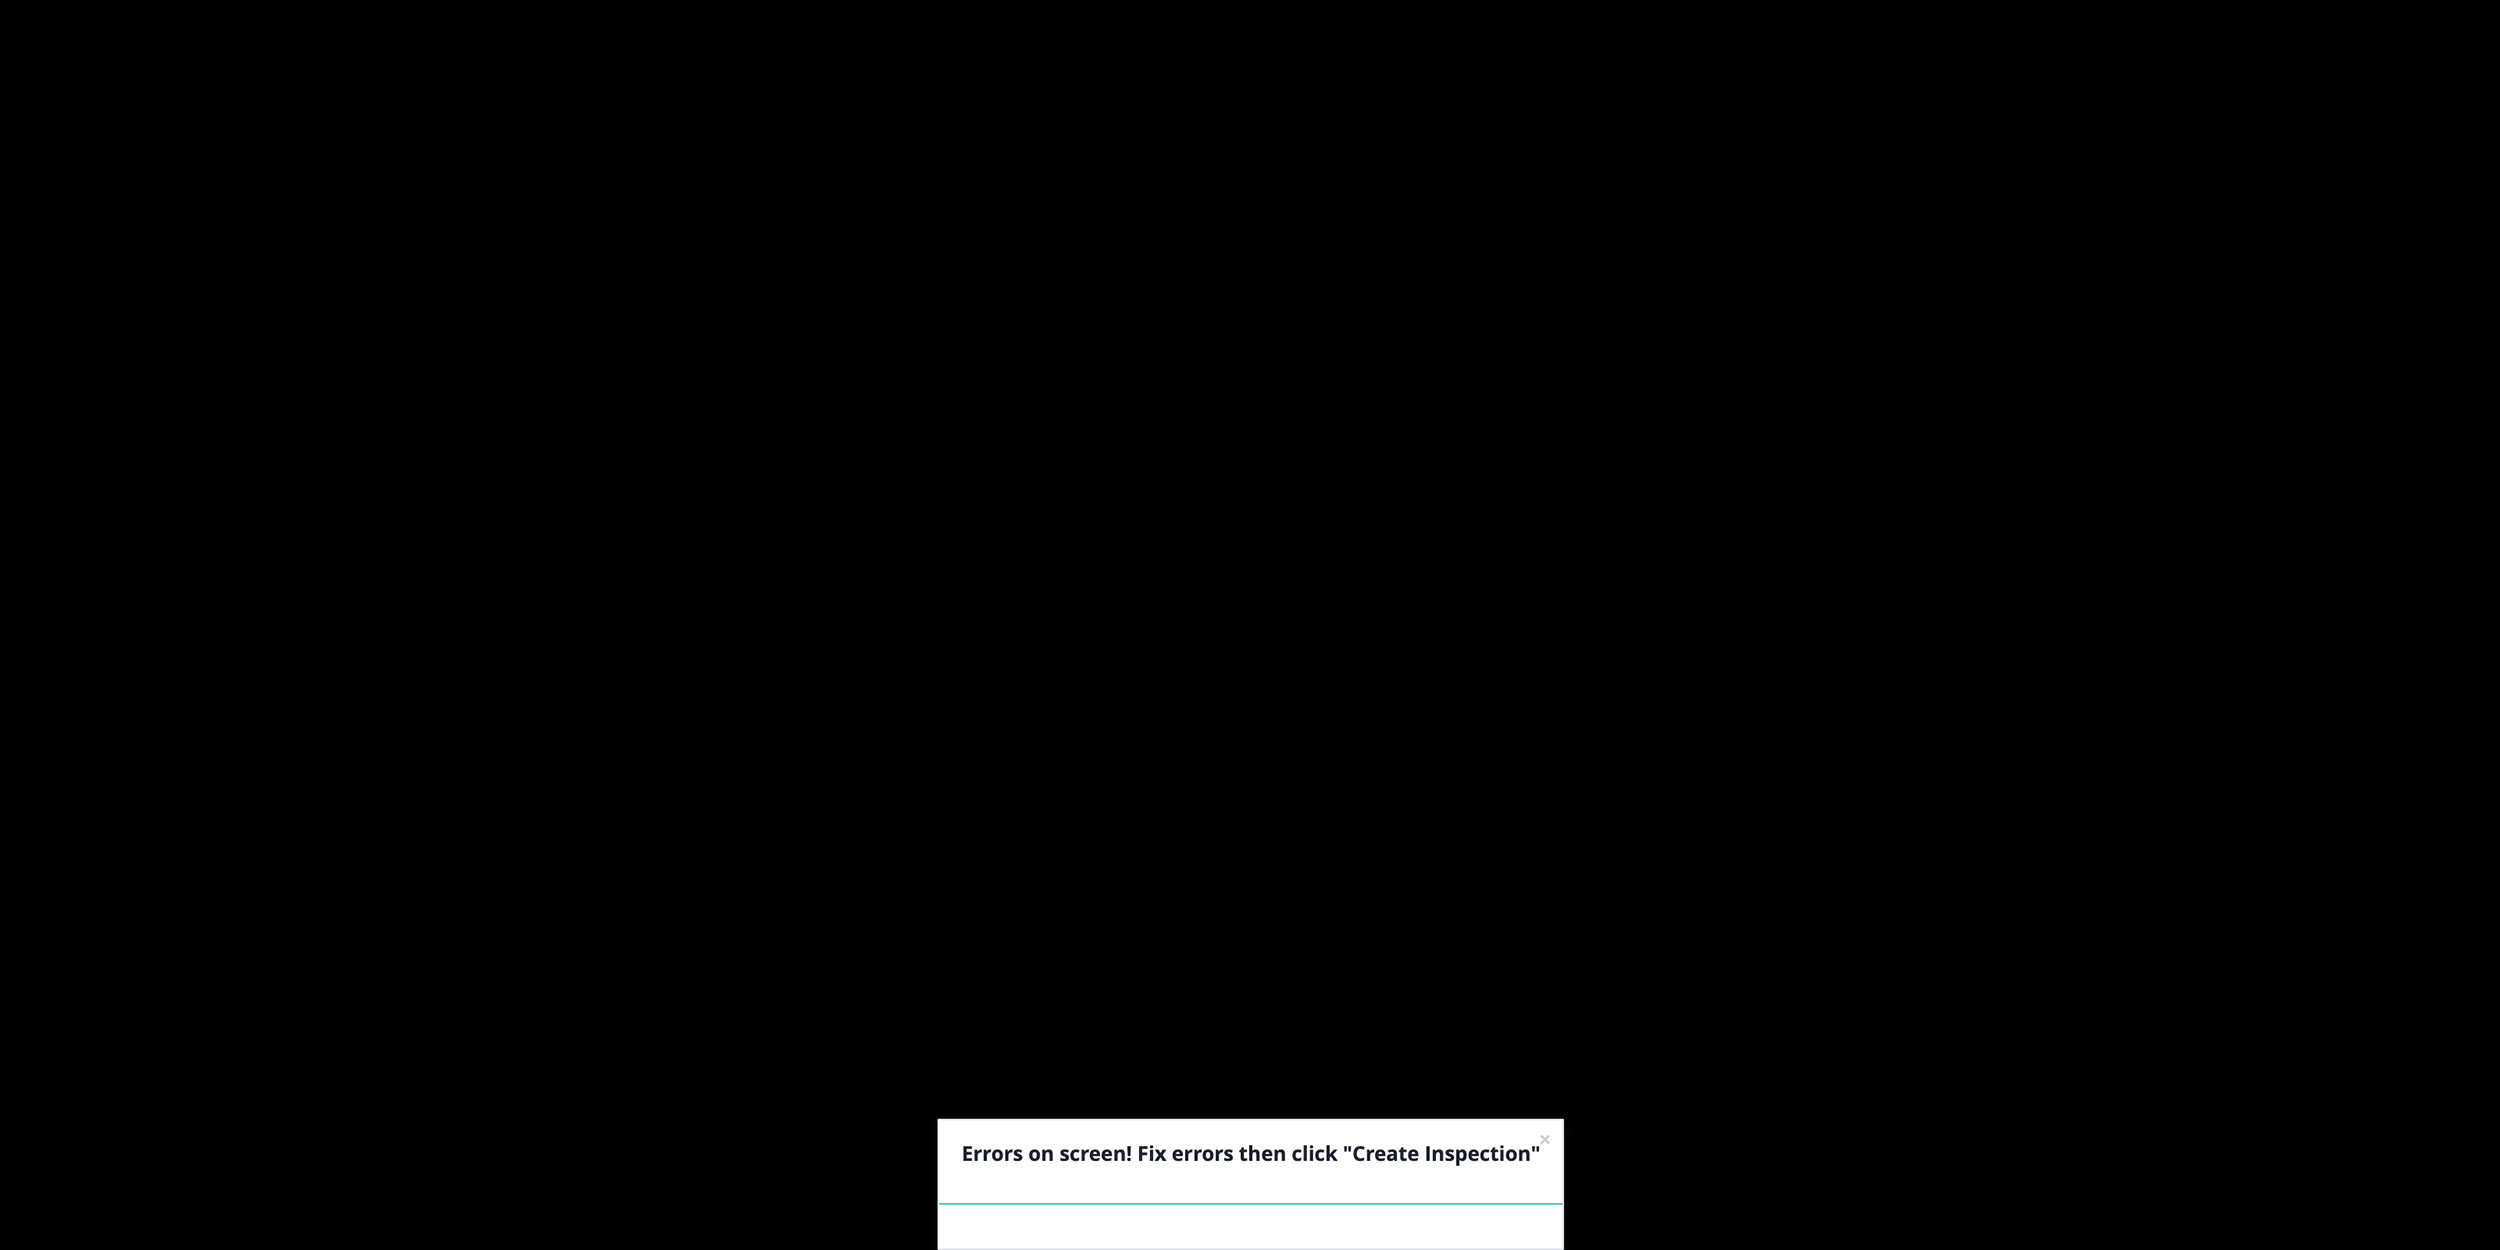
Errors on screen! Fix errors then click “Create Inspection”
Step 15
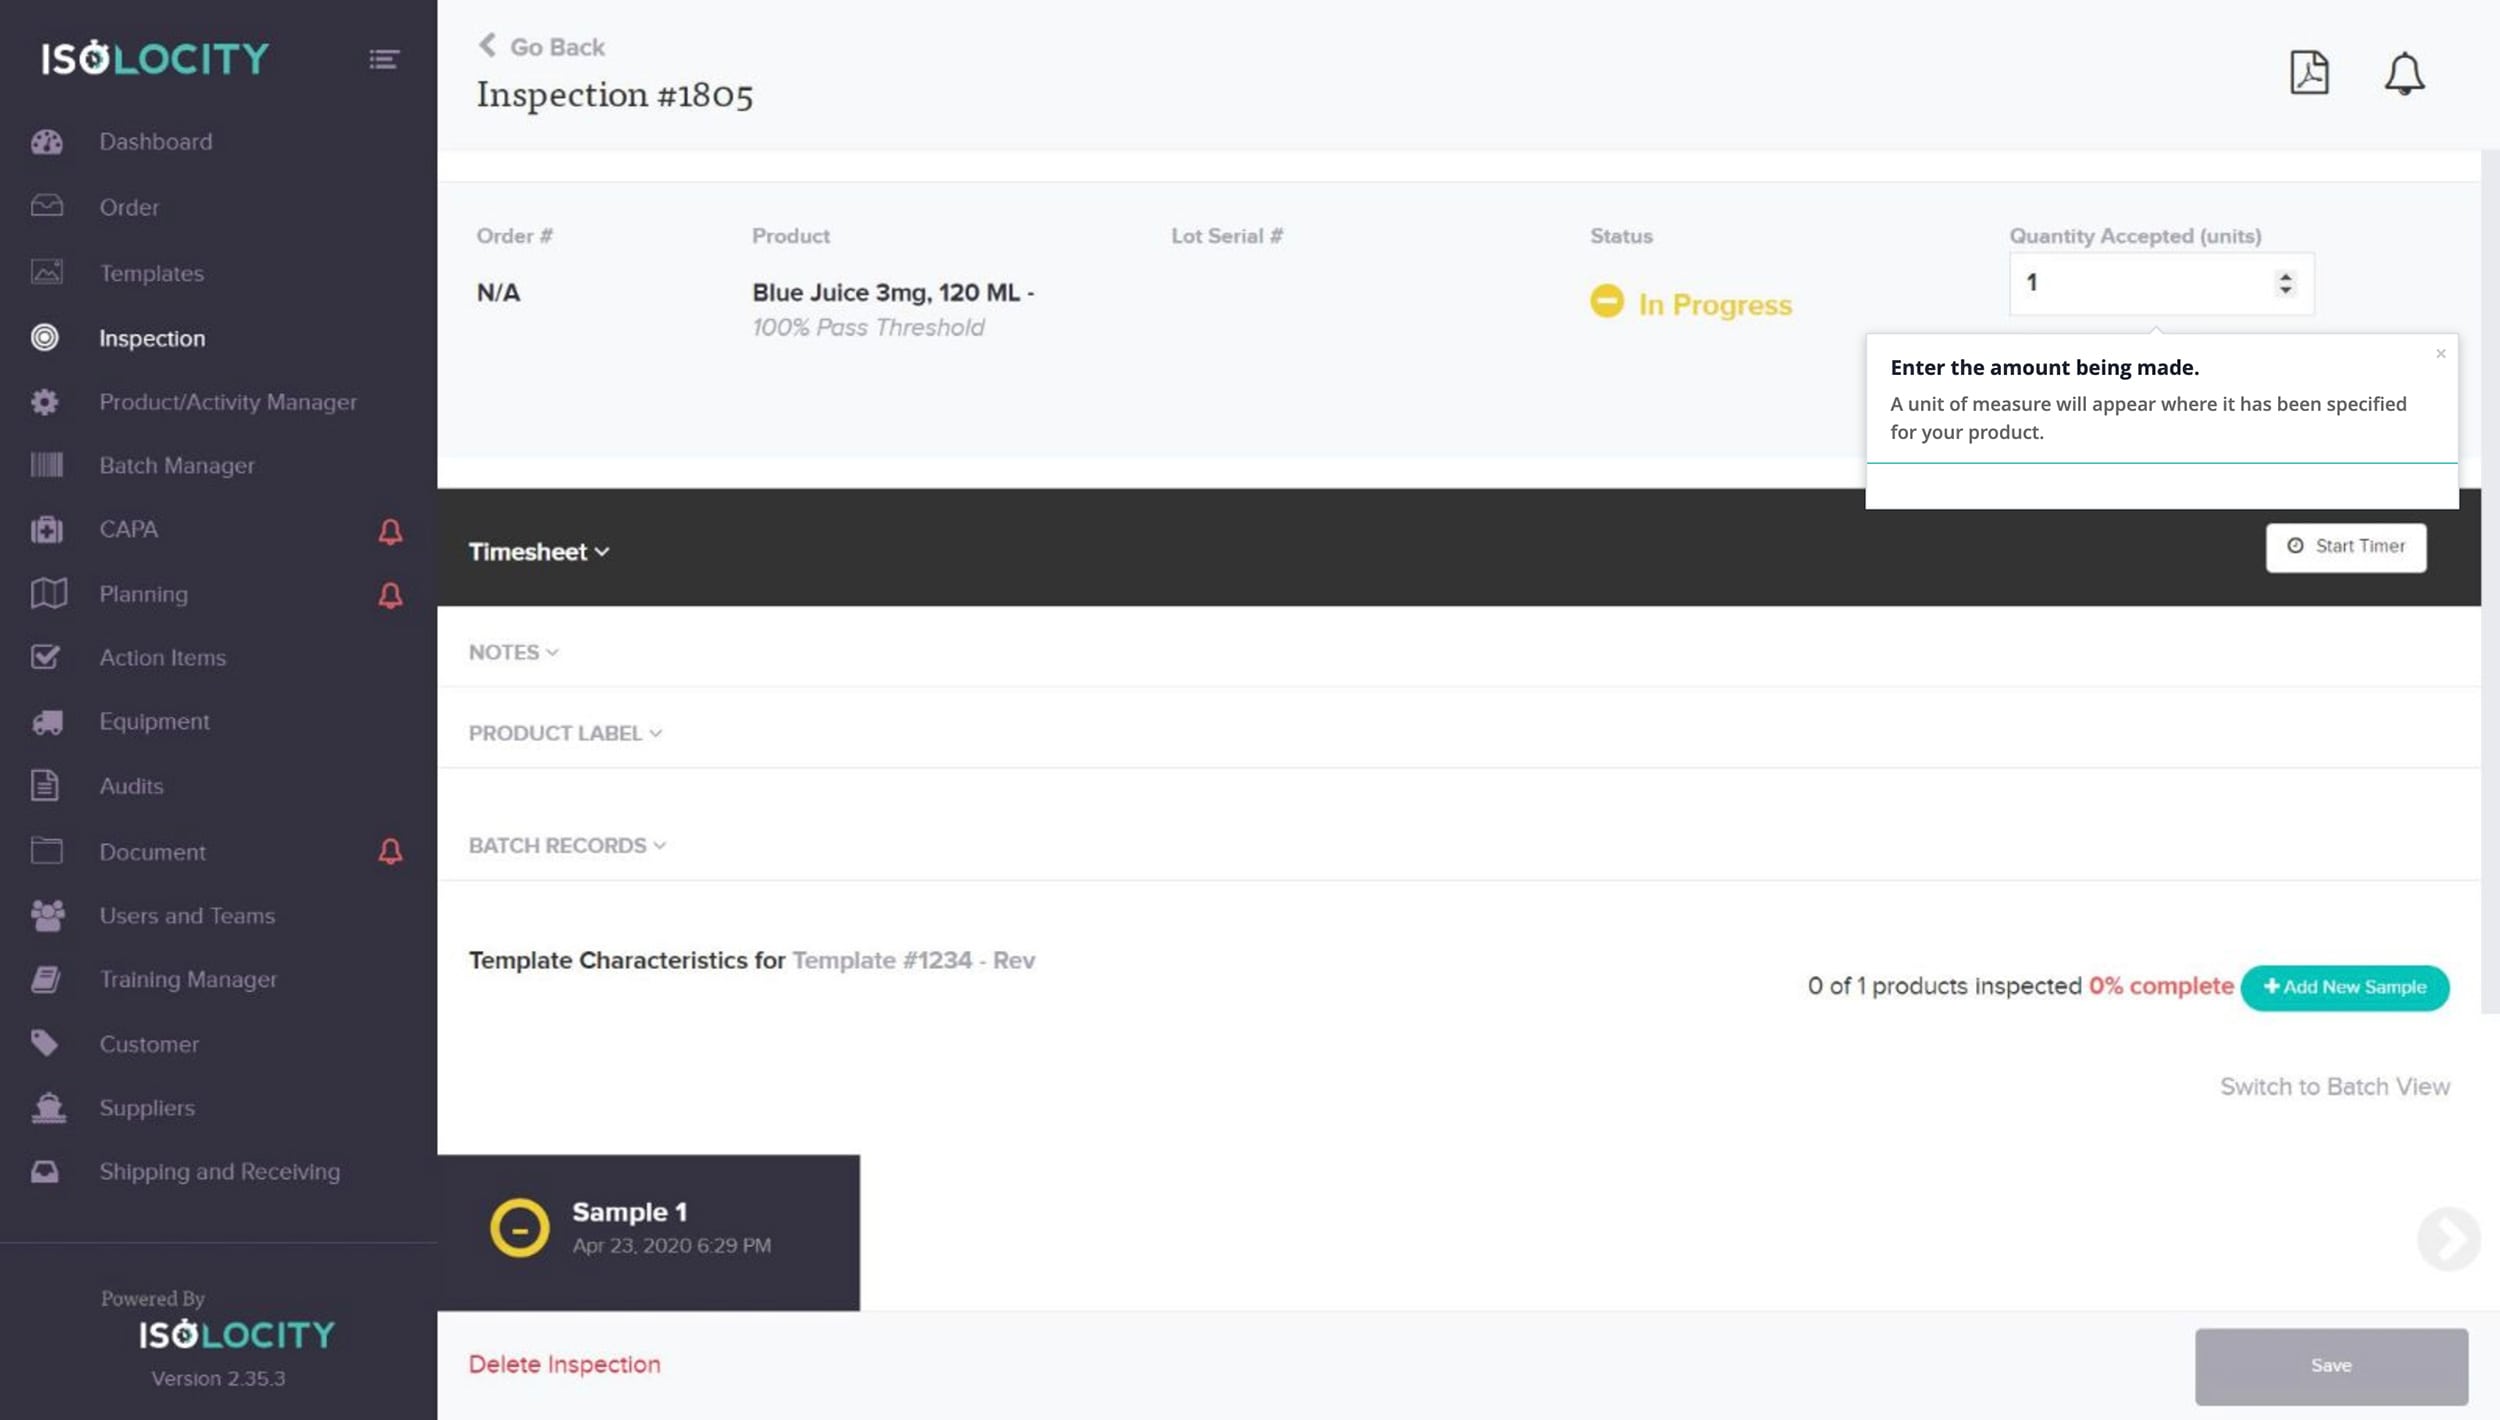
Enter the amount being made.
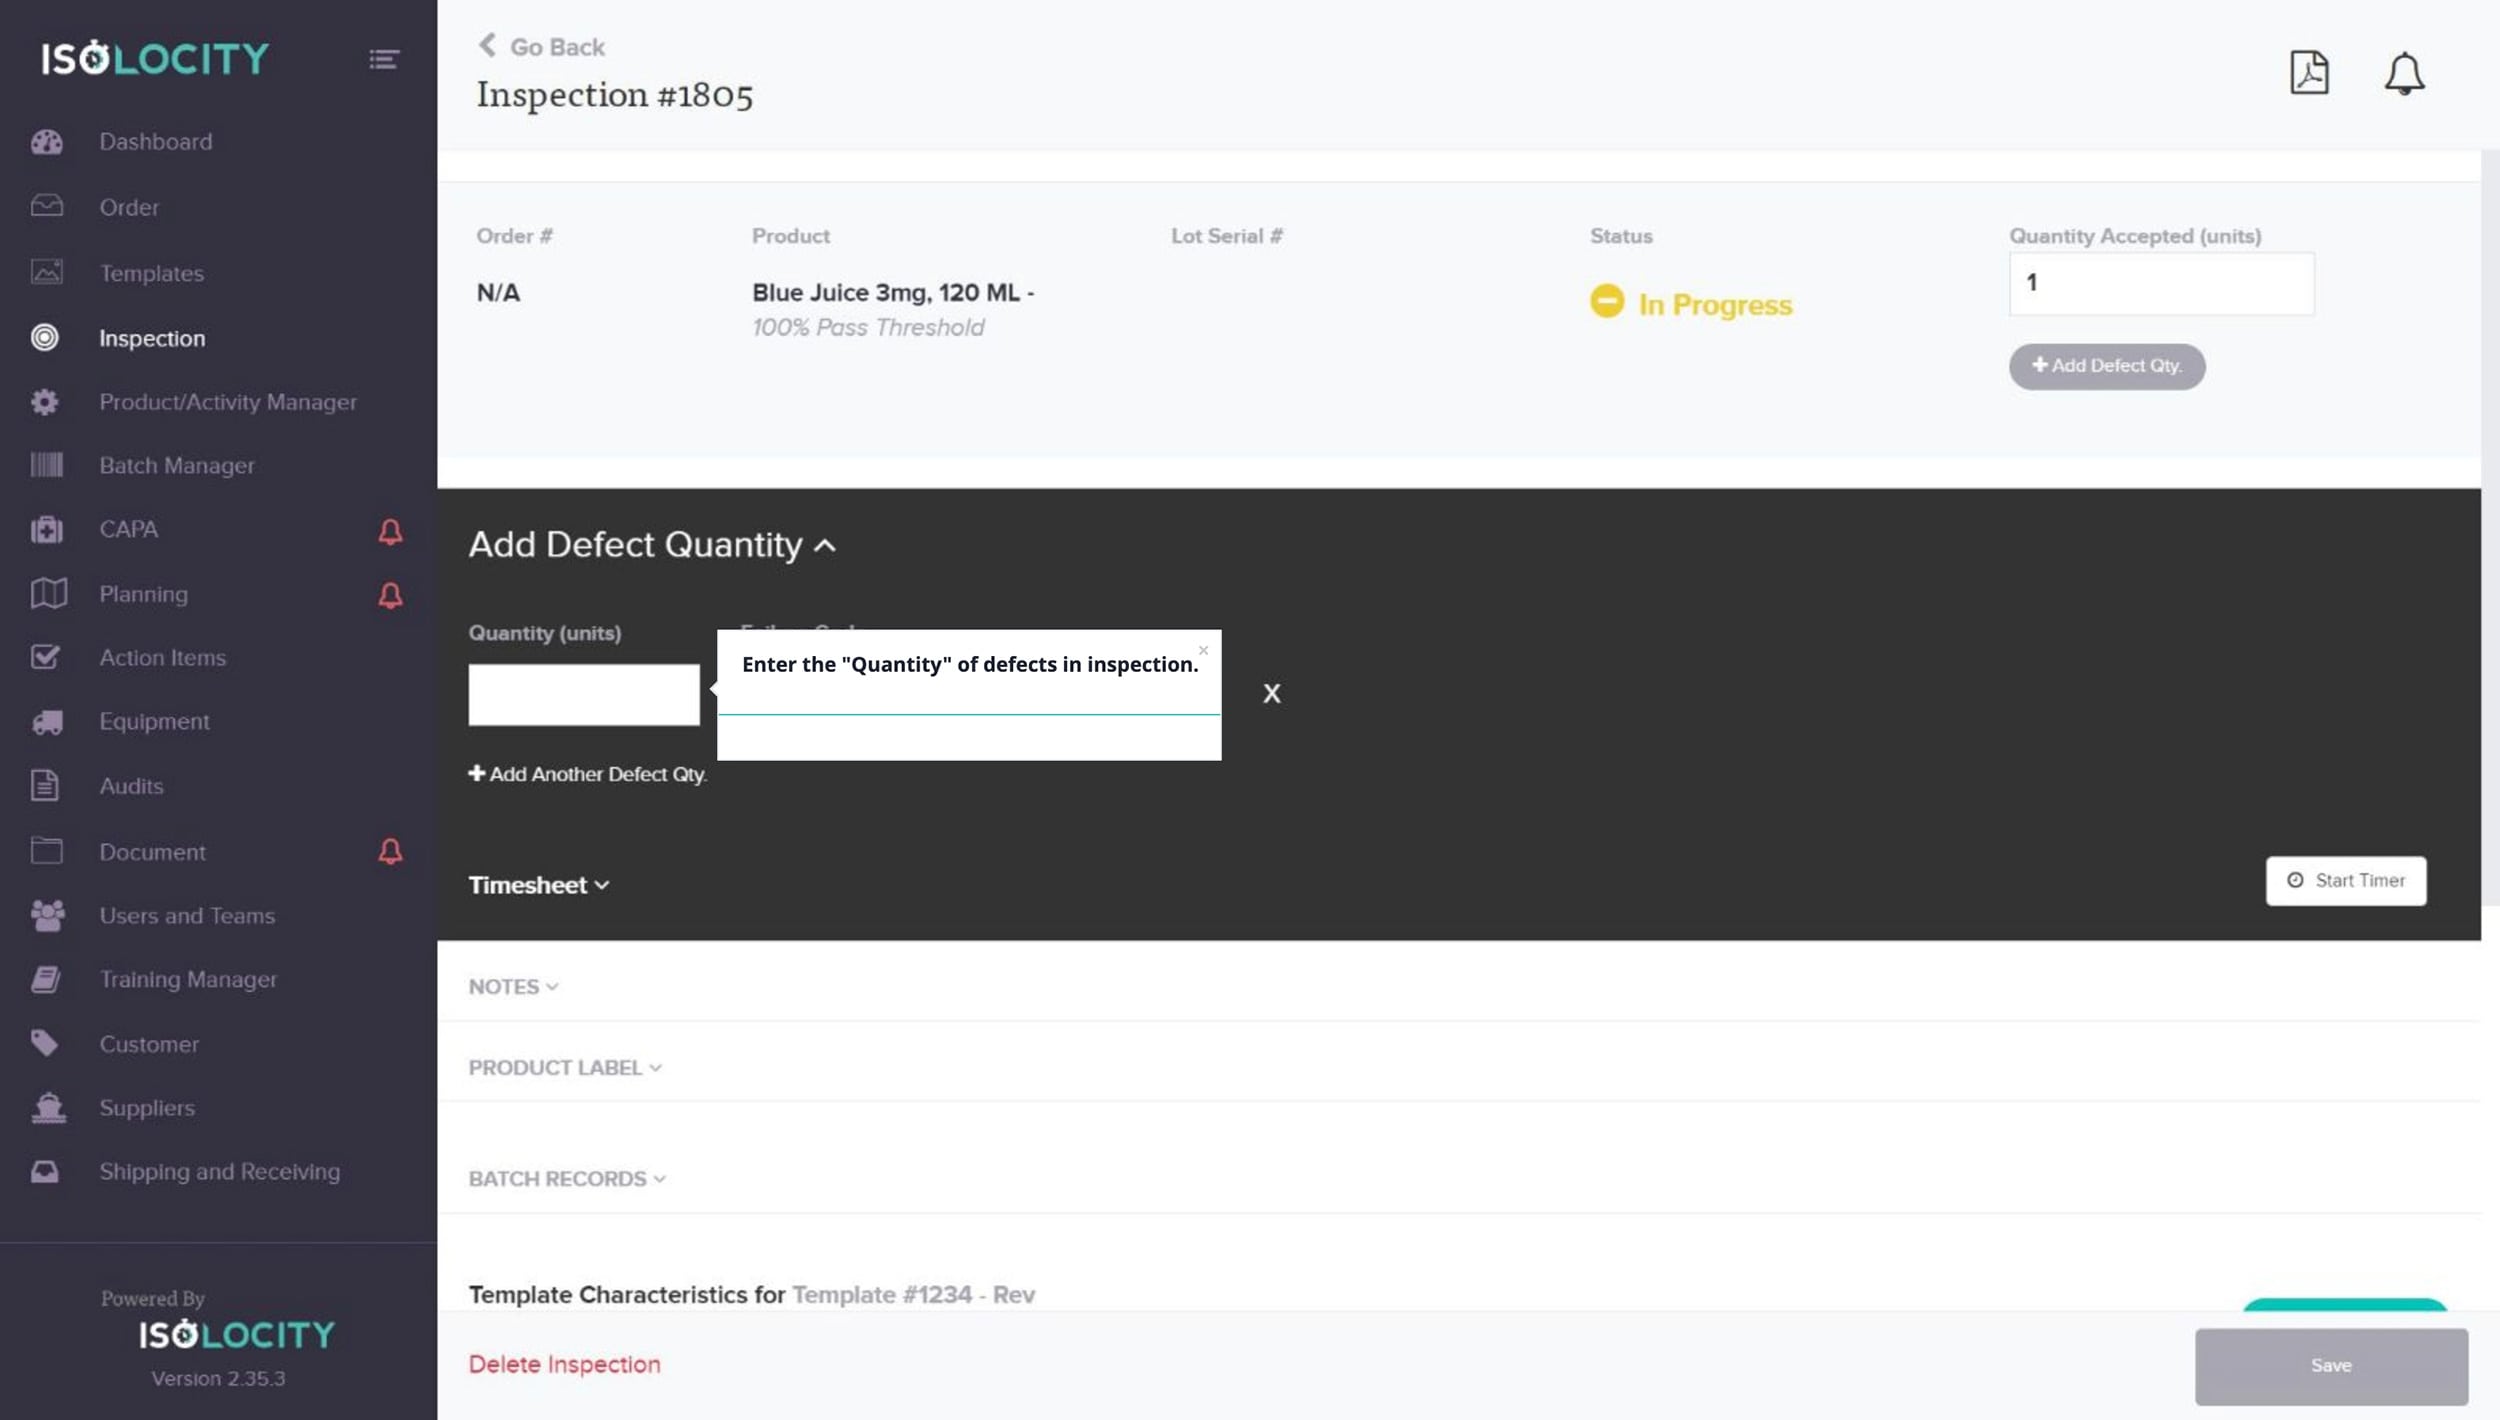
Step 16
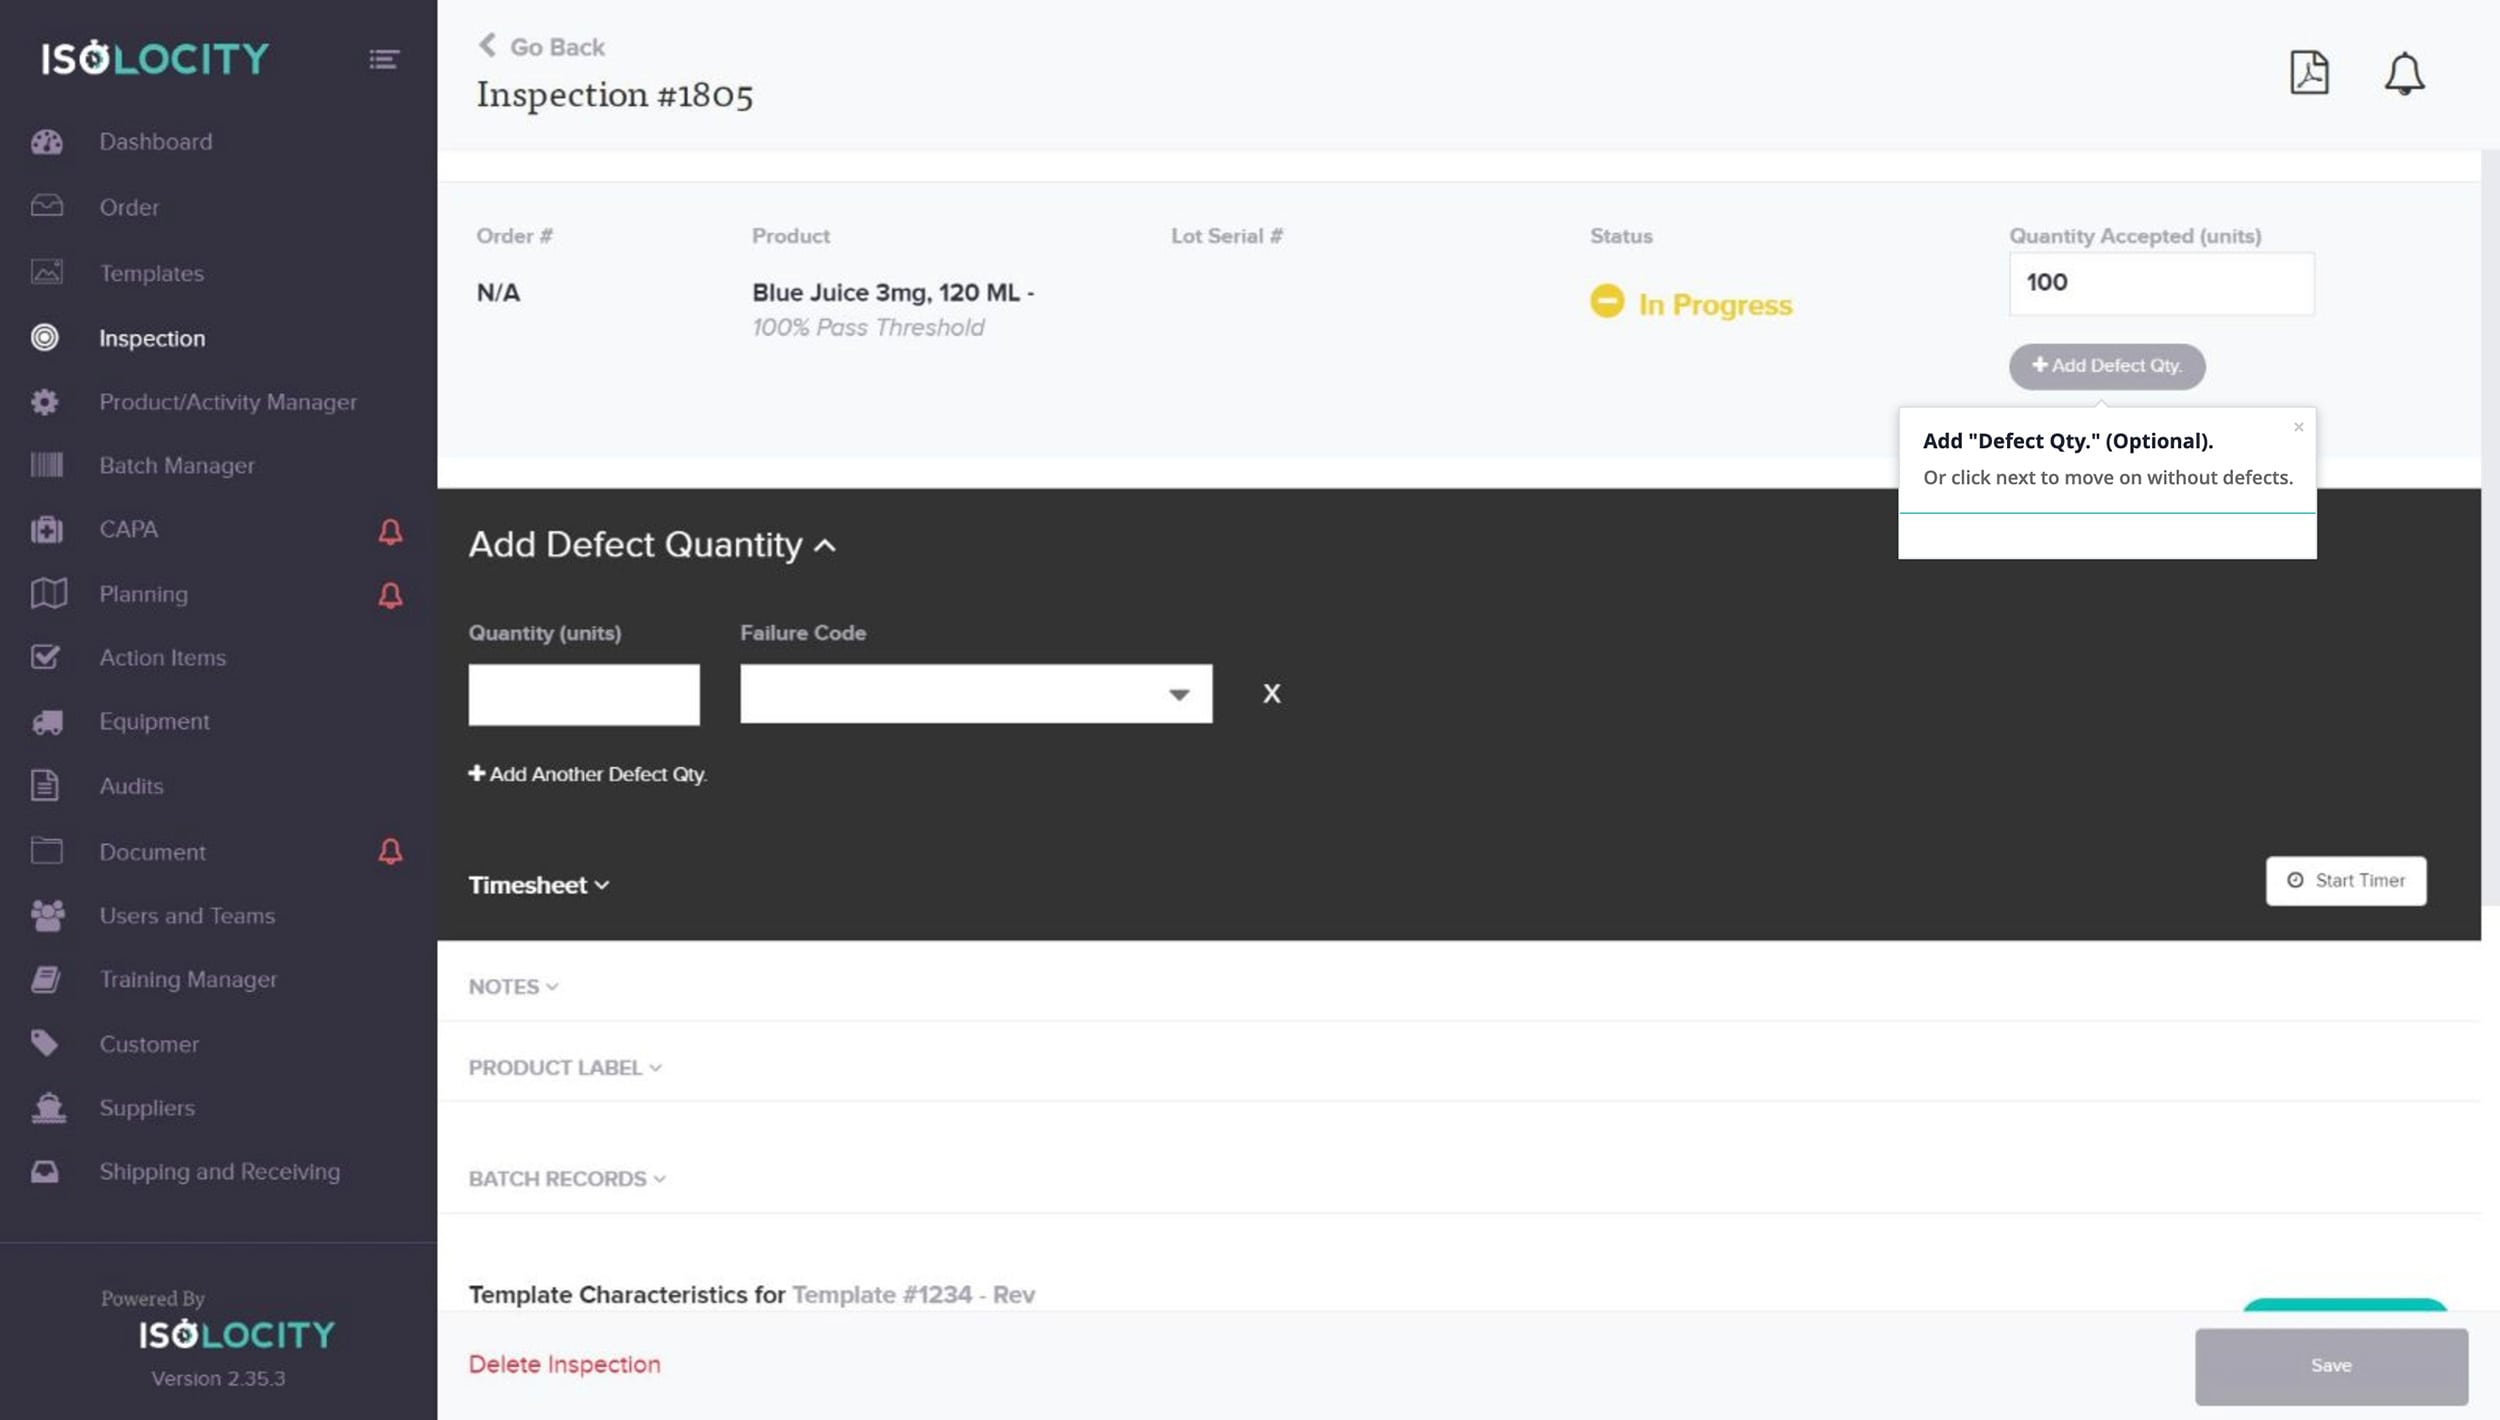
Add “Defect Qty.” (Optional).
Step 17
Enter the “Quantity” of defects in inspection.
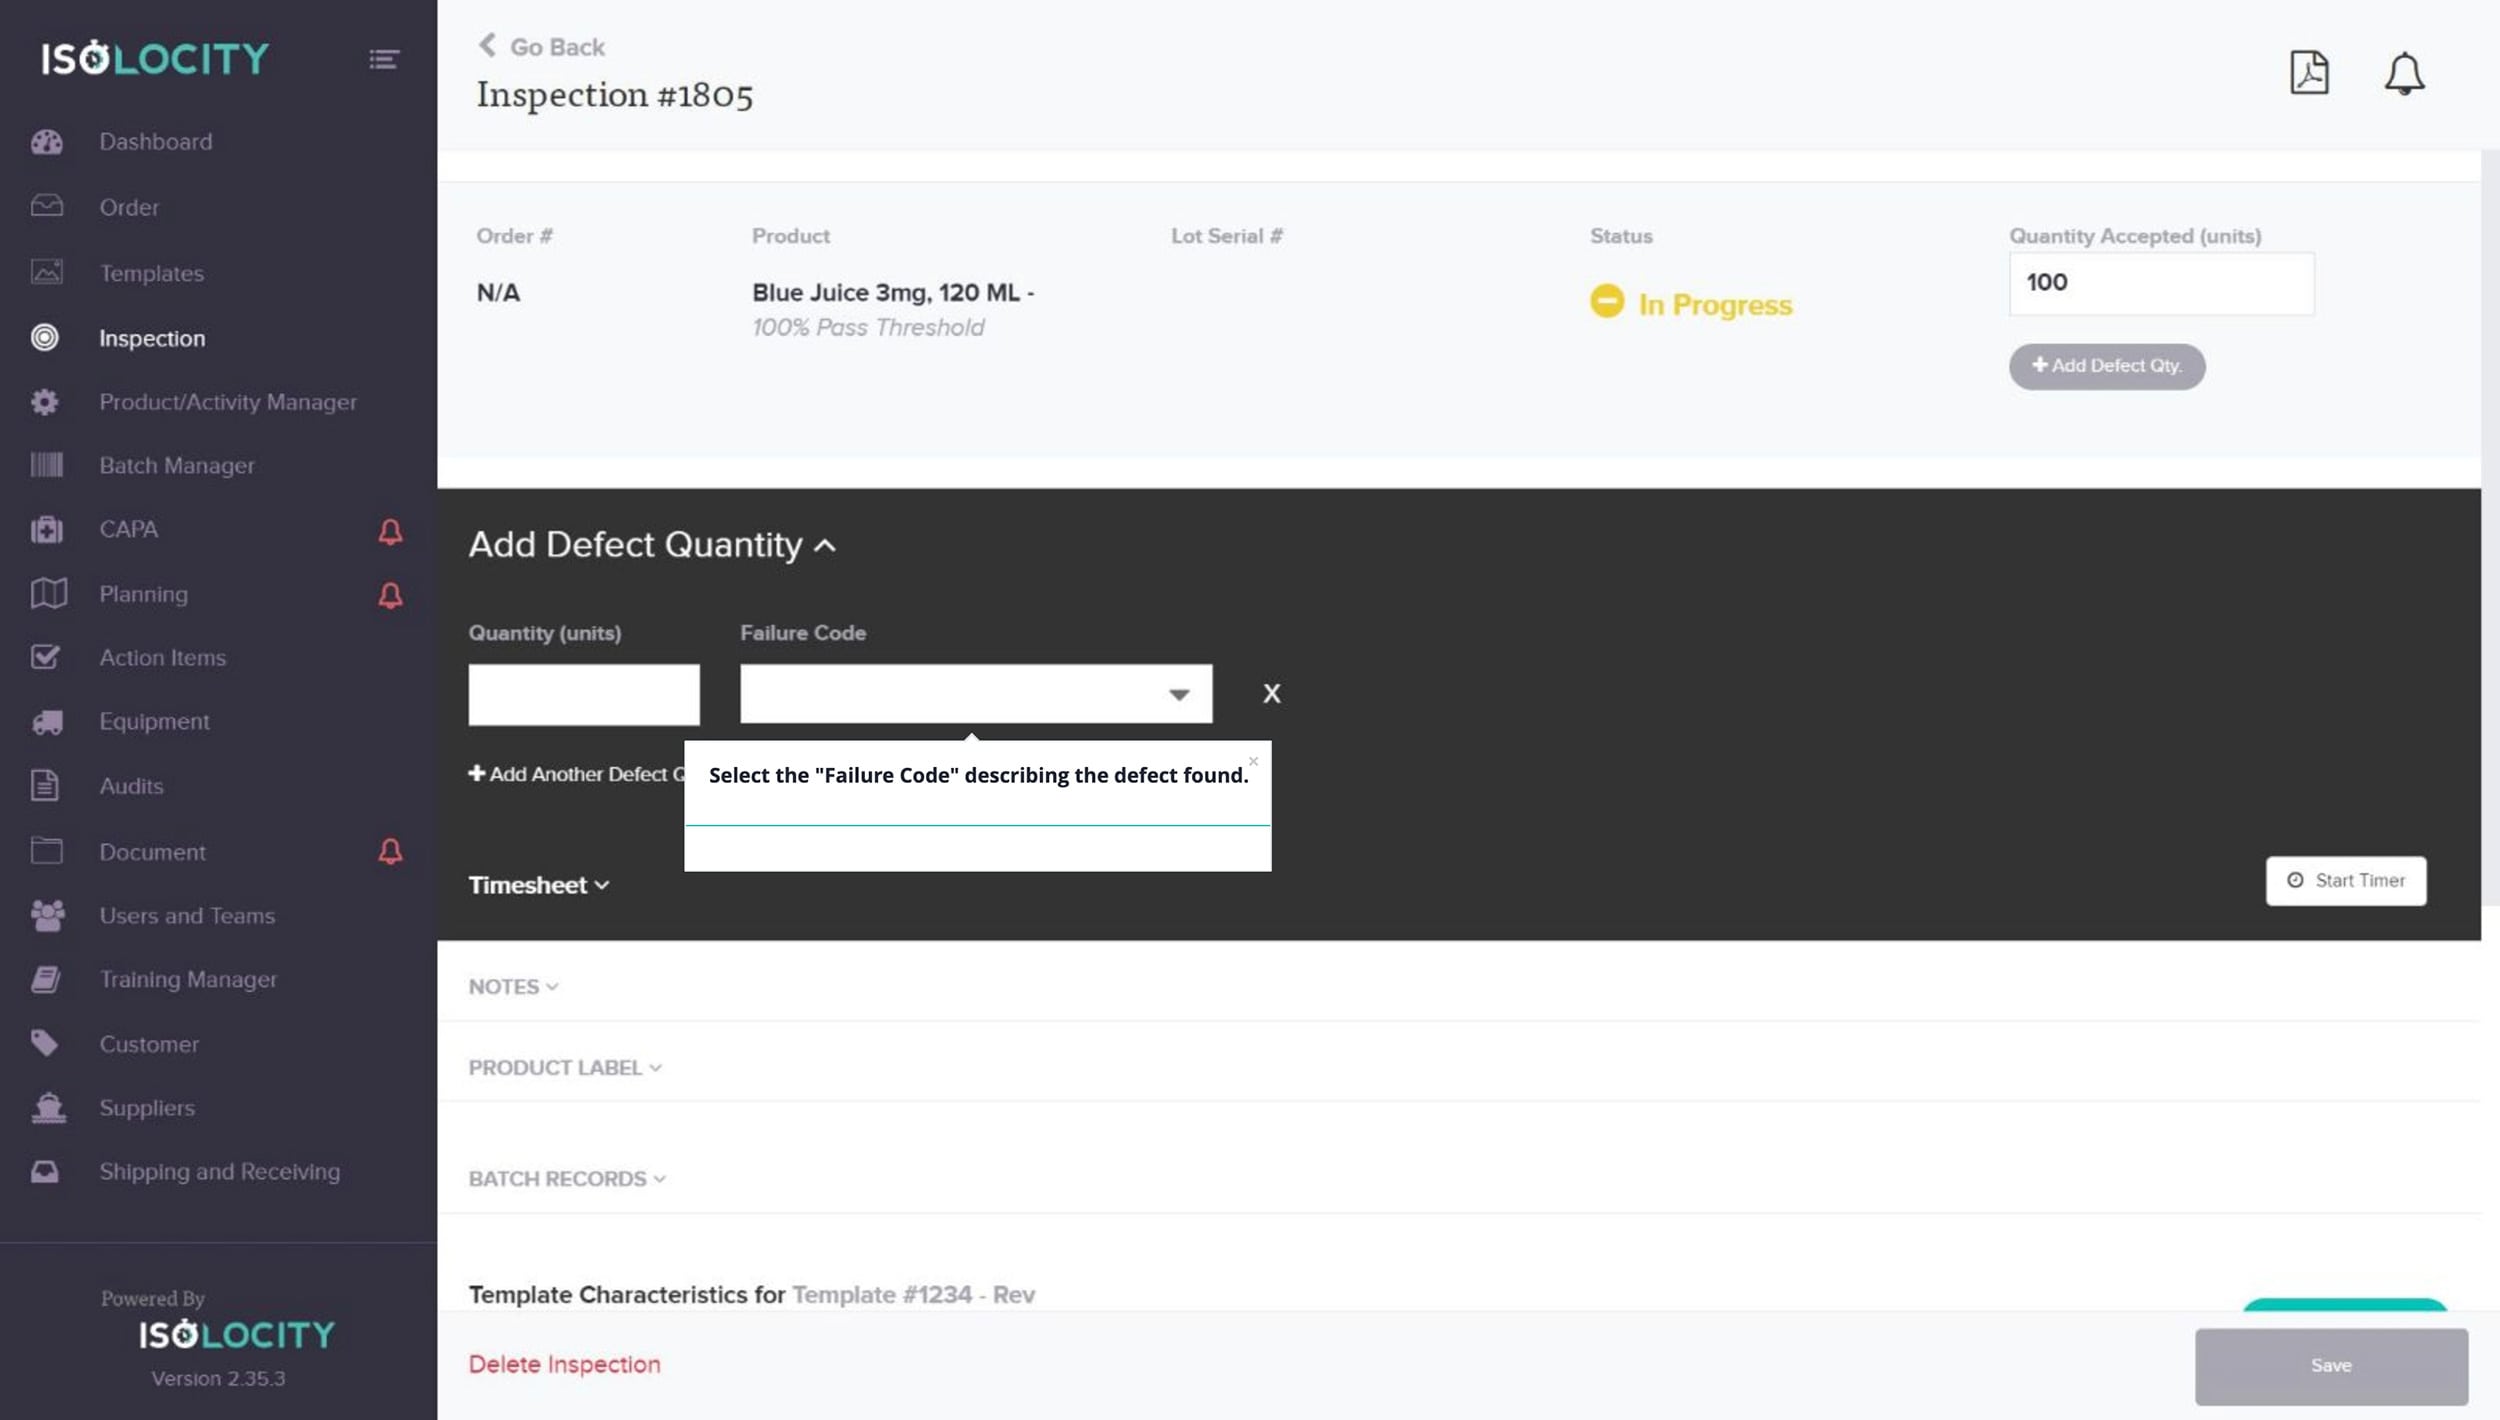
Step 18
Select the “Failure Code” describing the defect found.
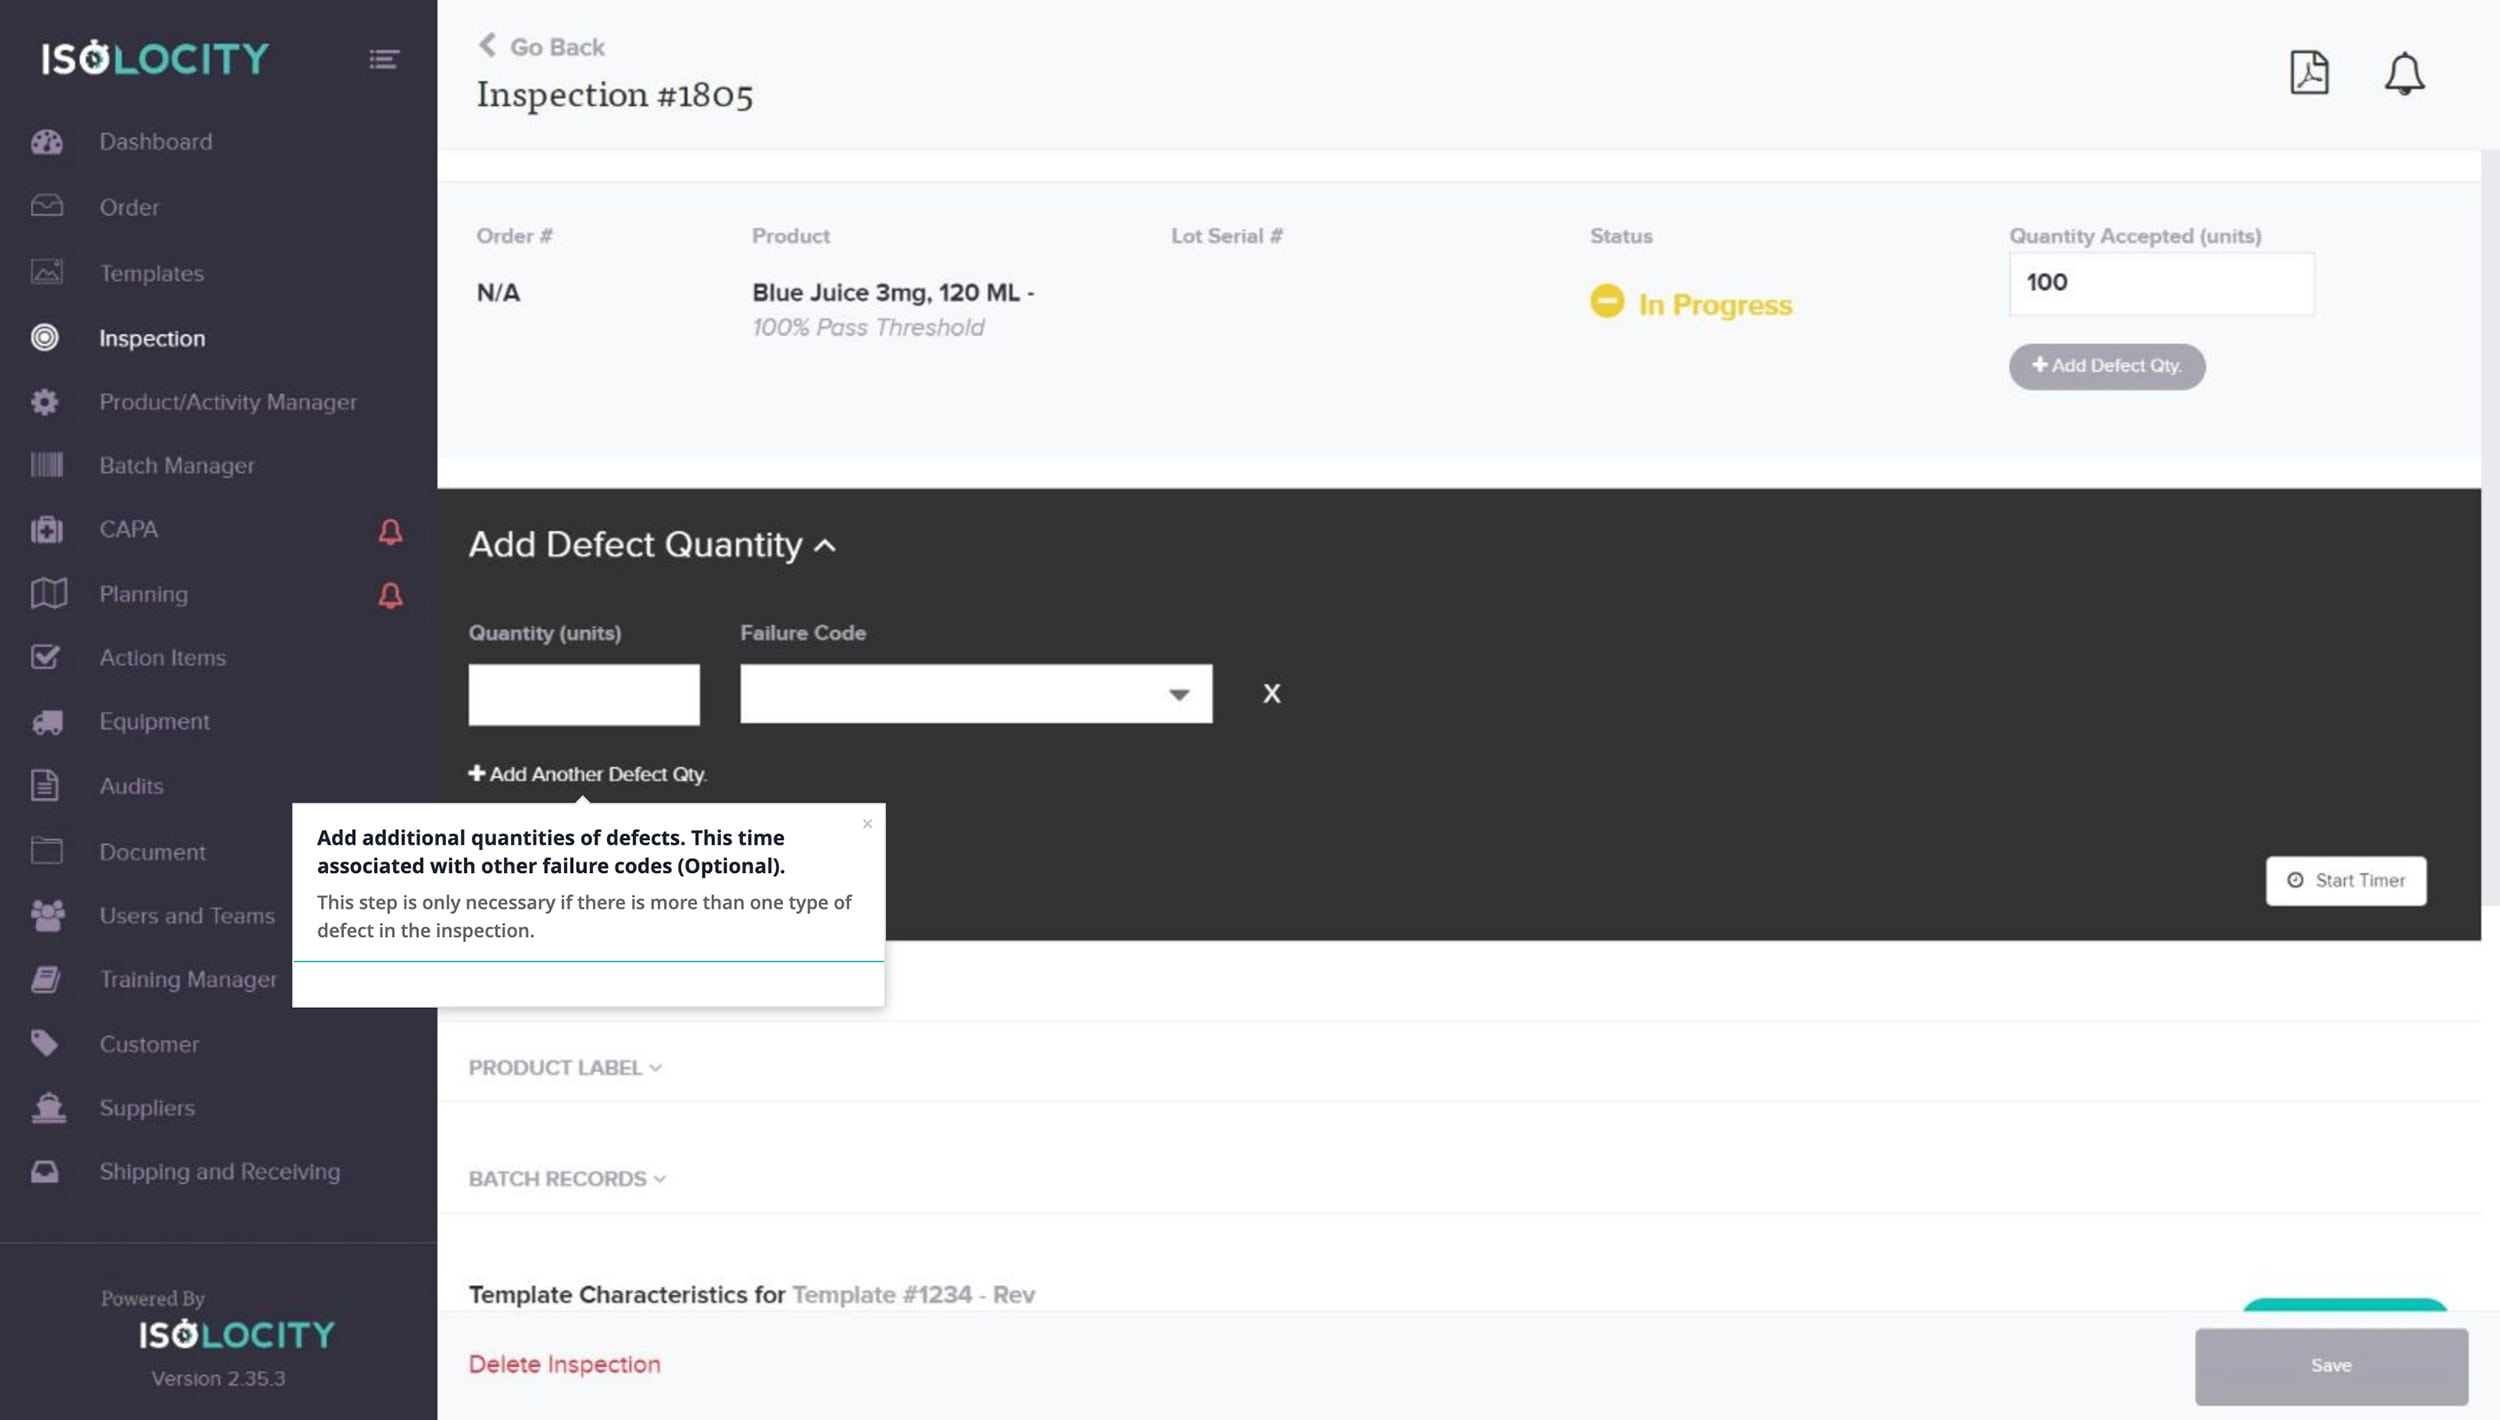
Step 19
Add additional quantities of defects. This time associated with other failure codes (Optional).
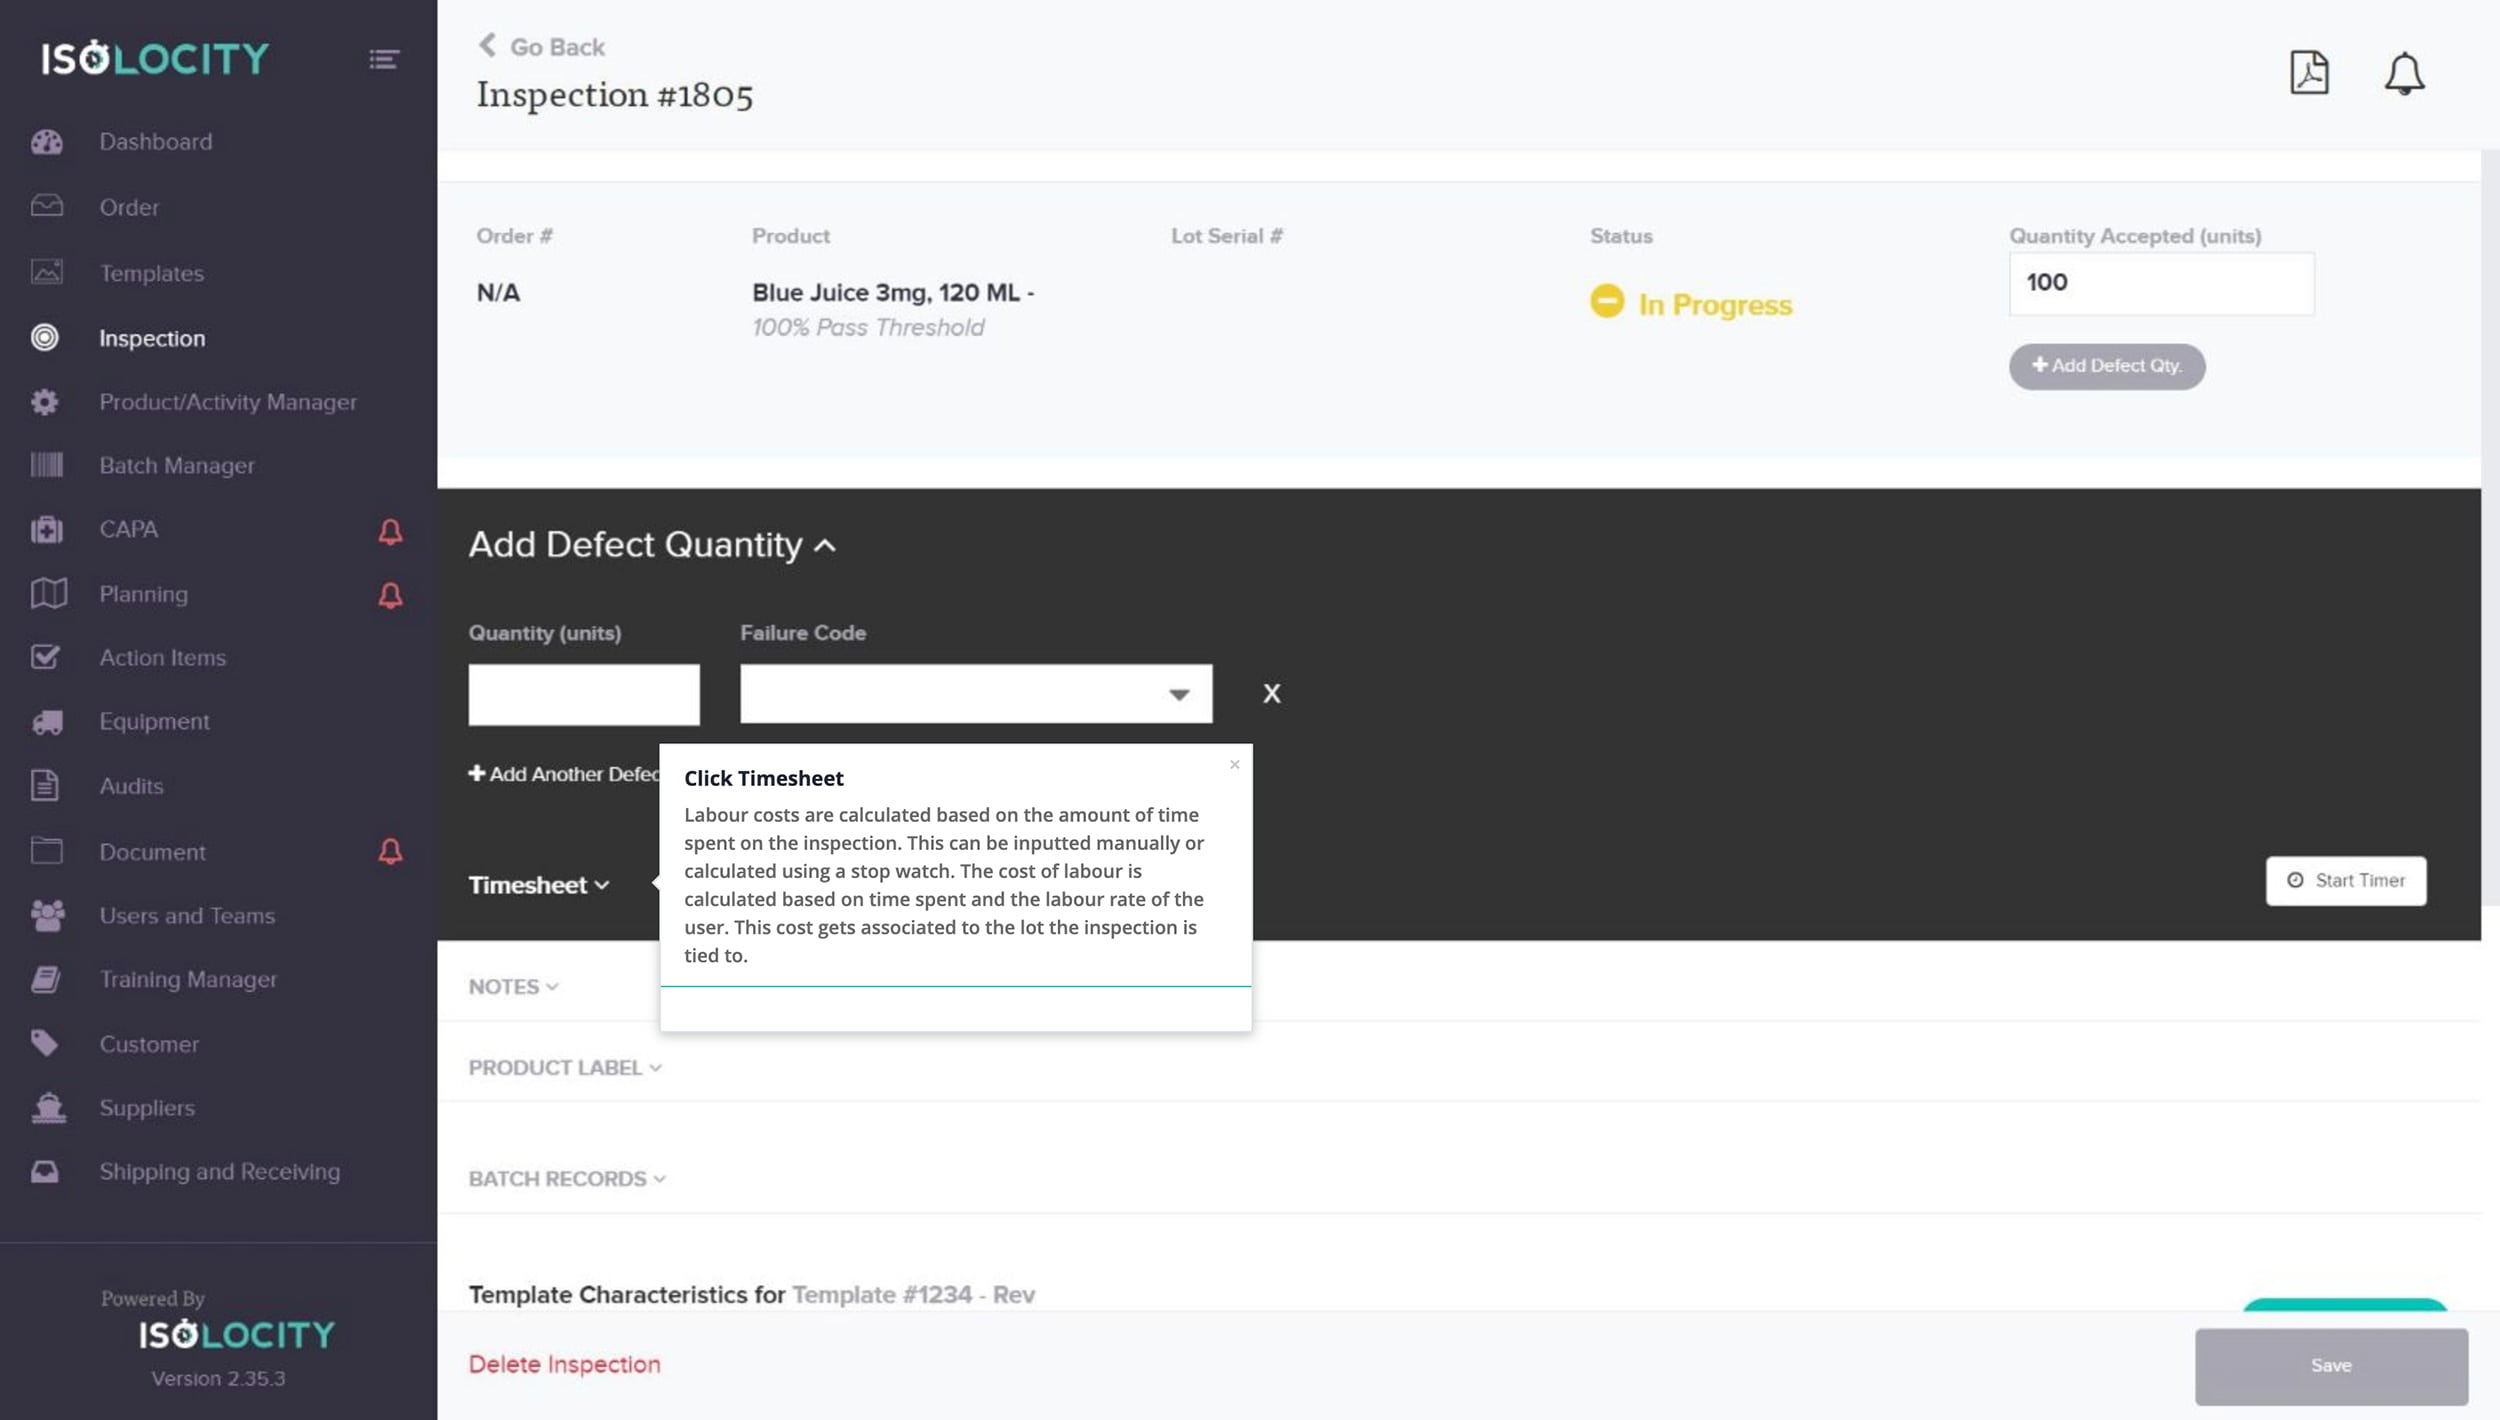
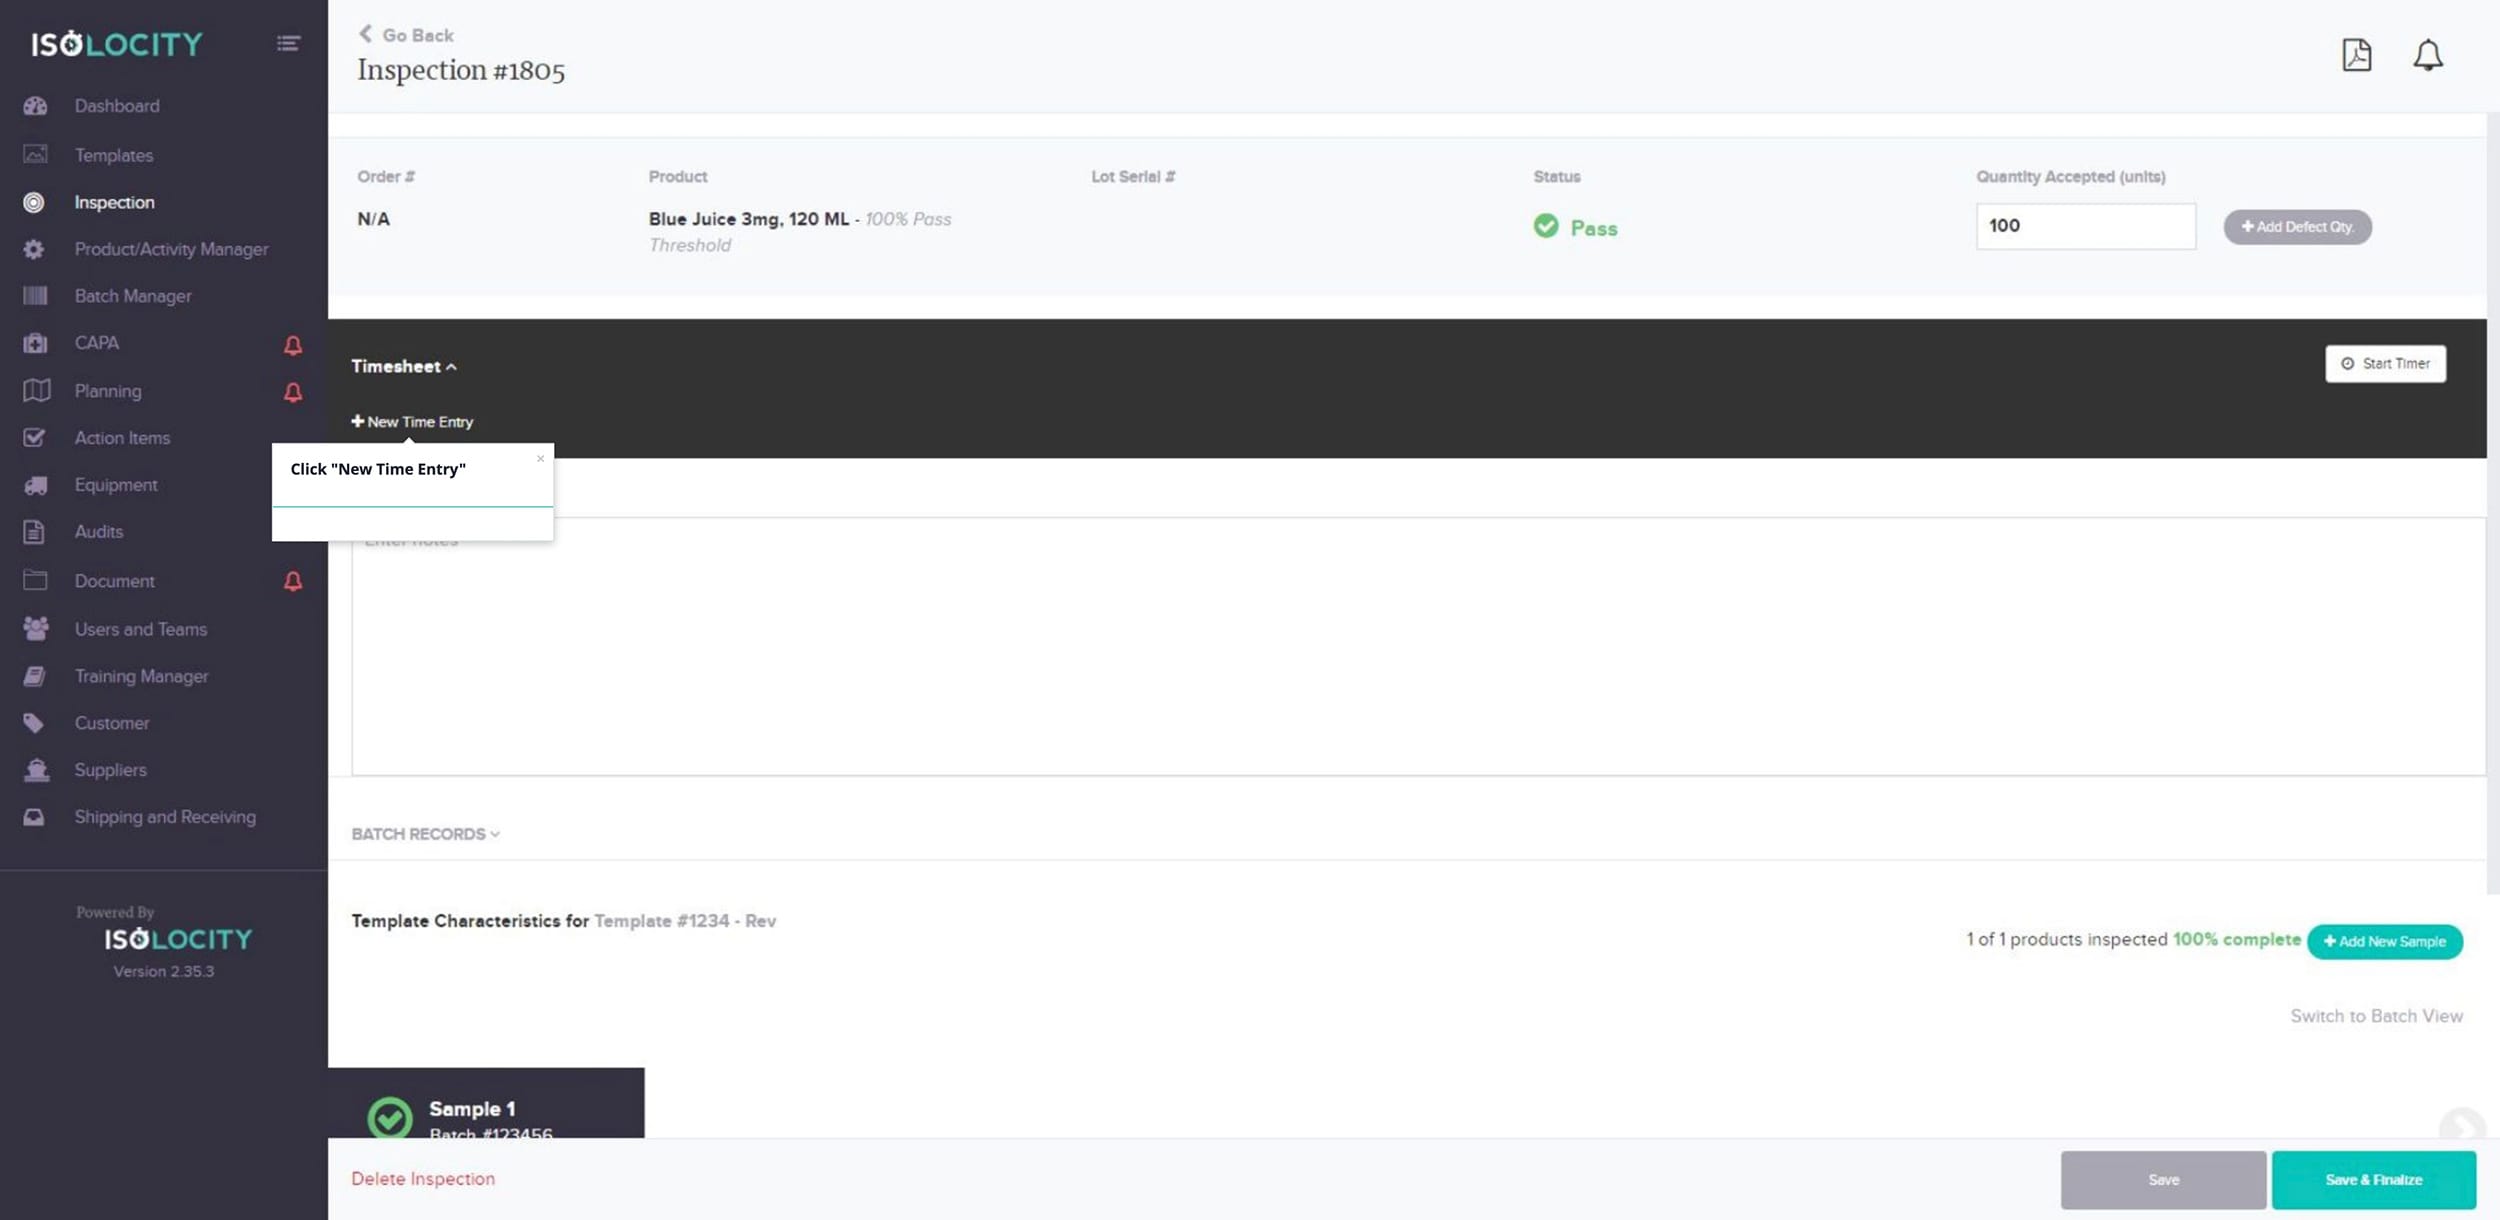
Step 20
Click Timesheet
Step 21
Click “New Time Entry”
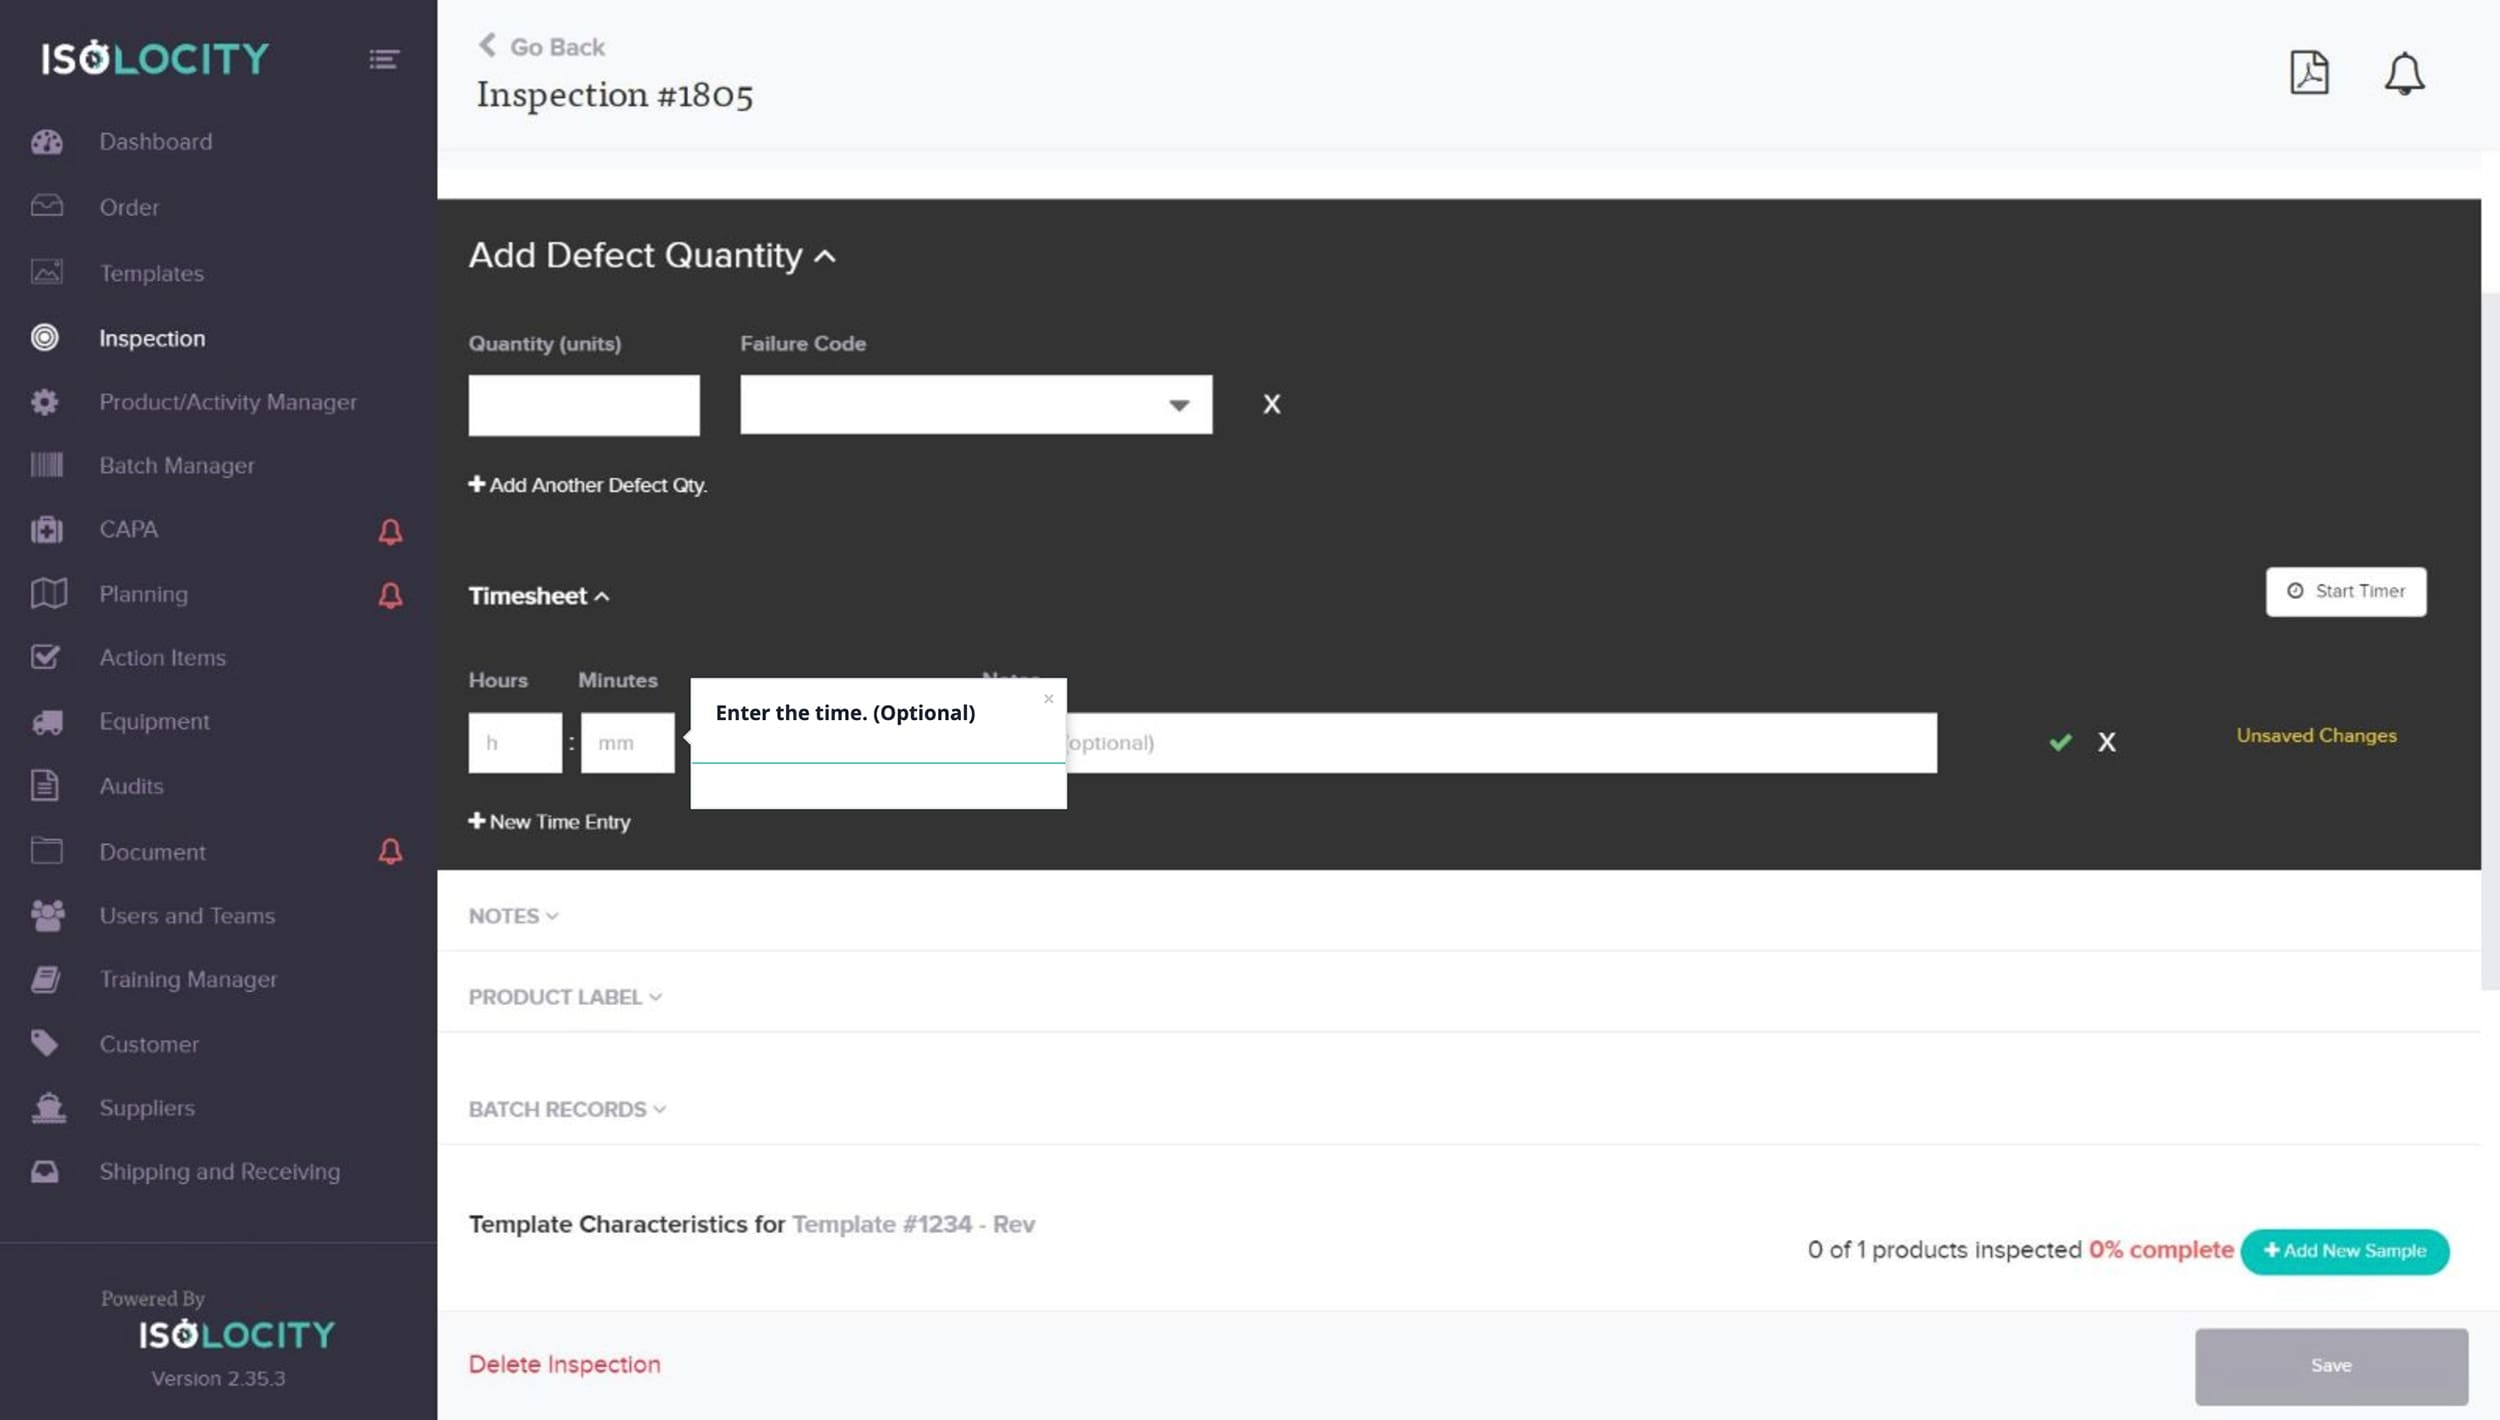
Step 22
Enter the time. (Optional)
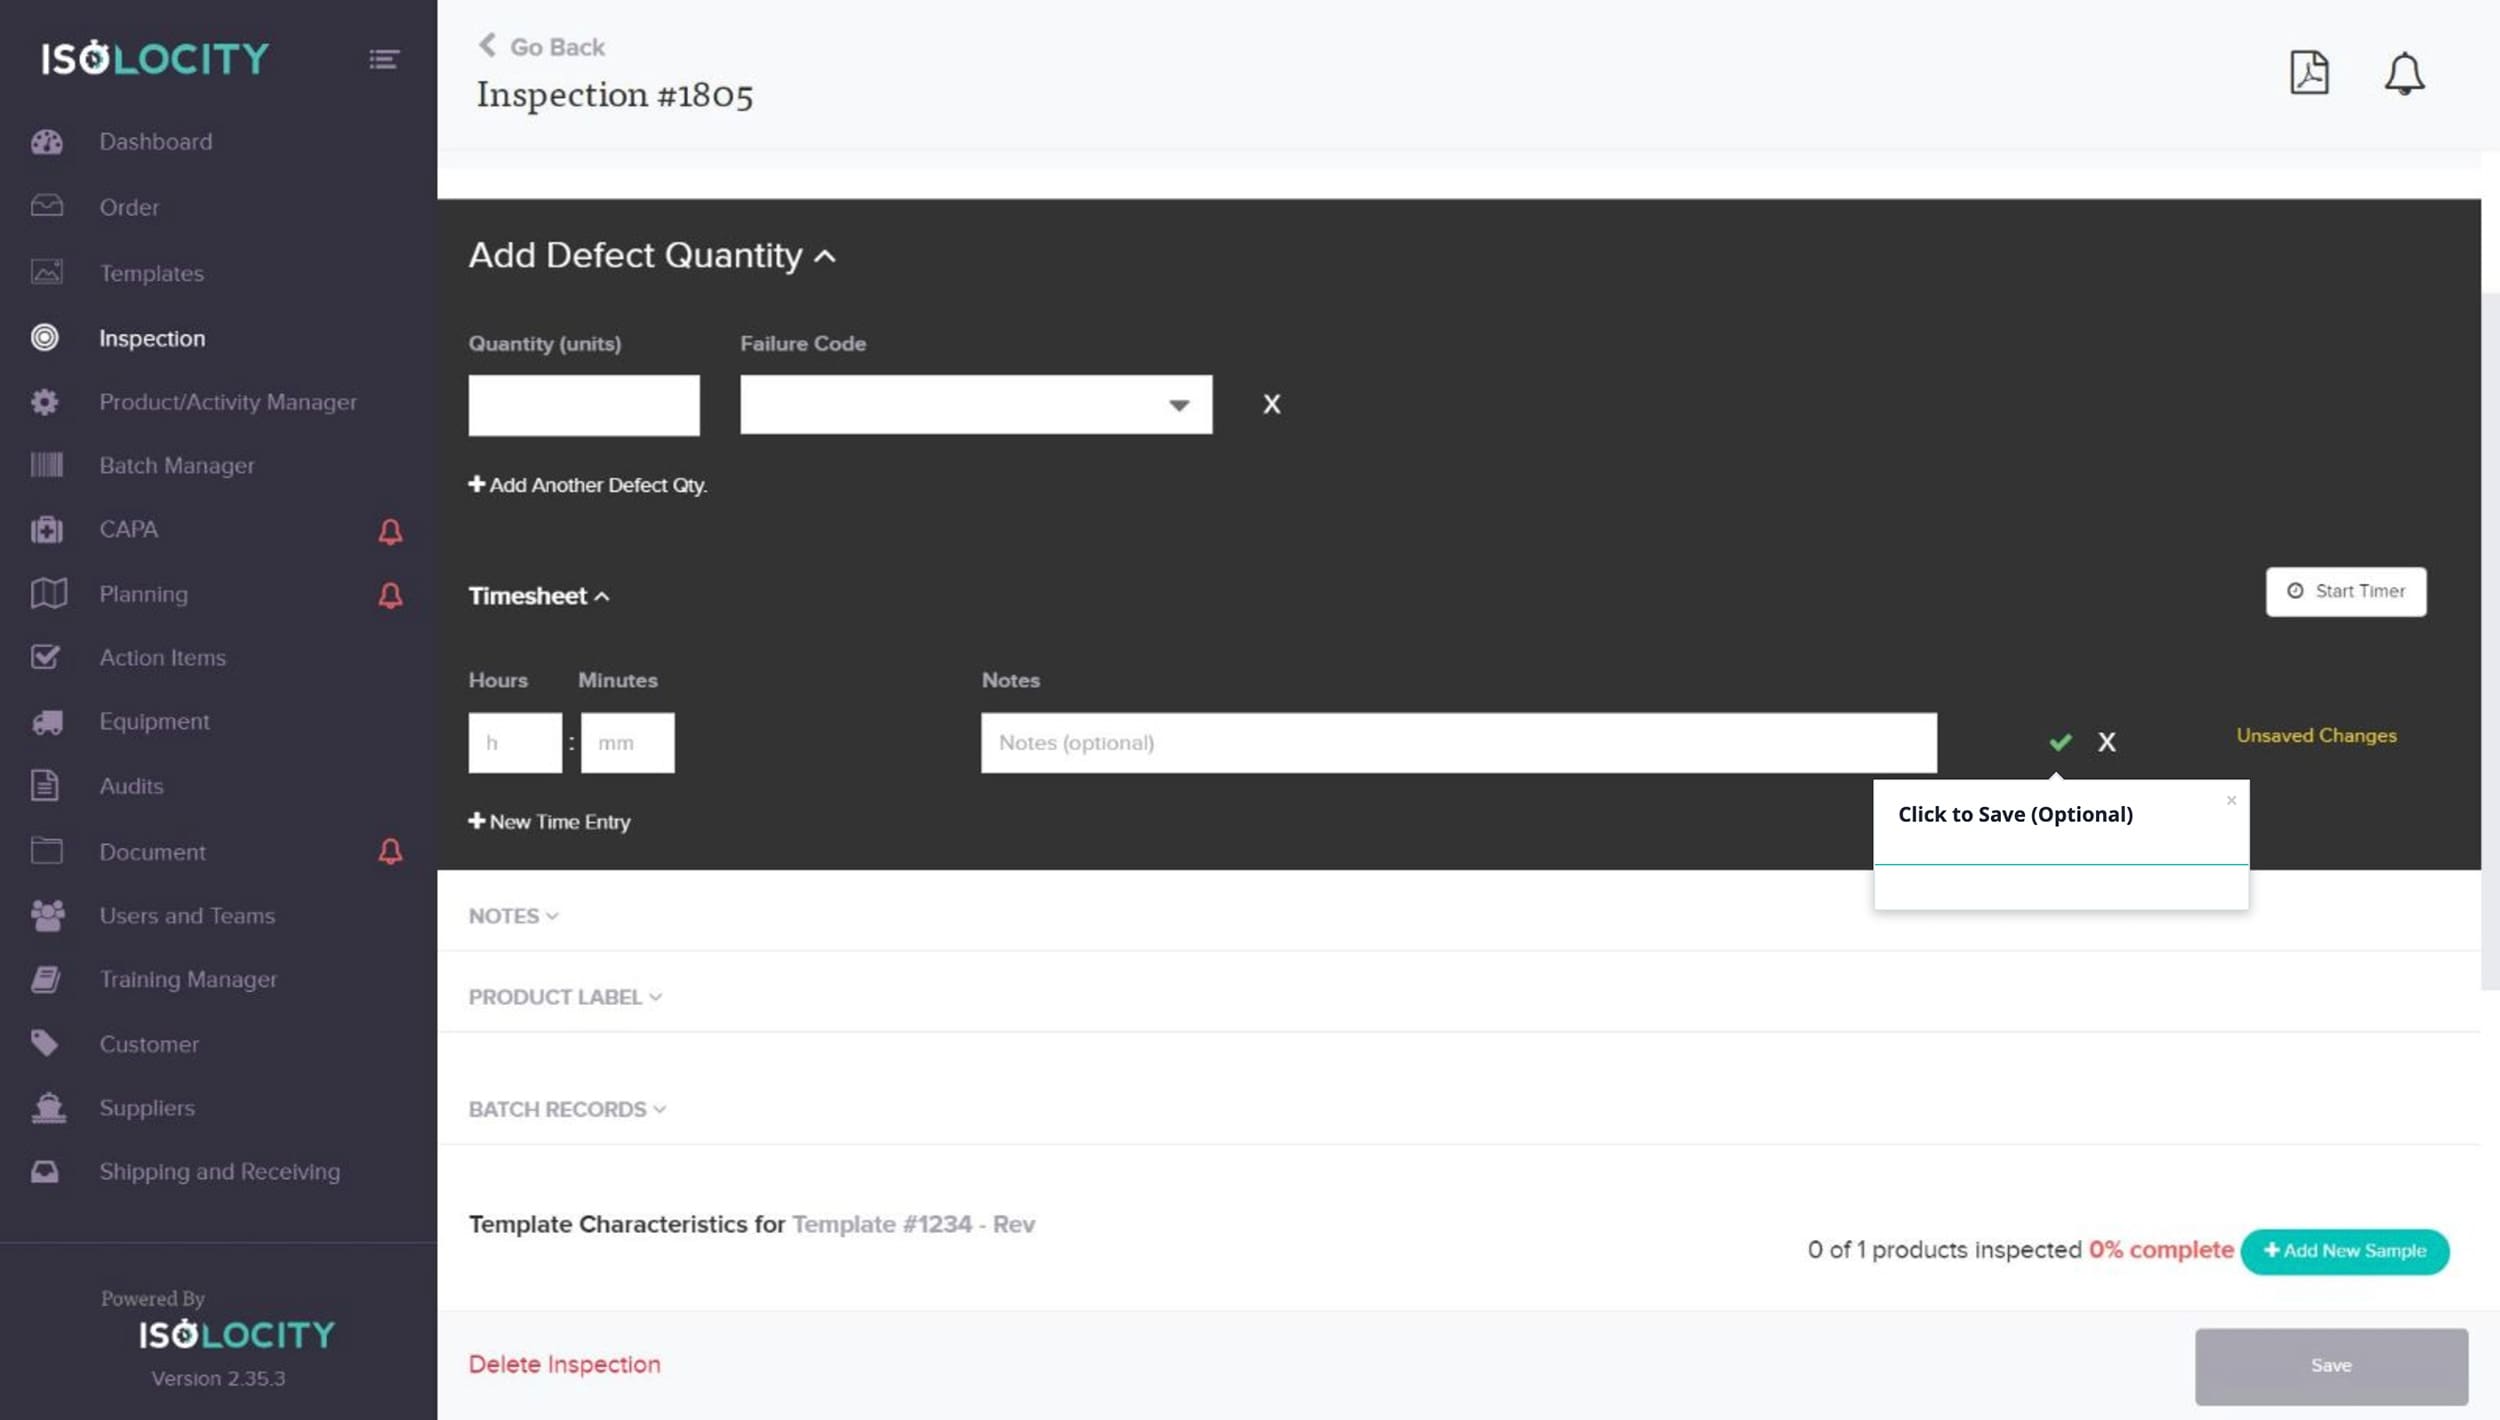
Step 23
Click to Save (Optional)
Step 24
Click on the arrow key to add notes associated with this inspection (Optional).
![]()
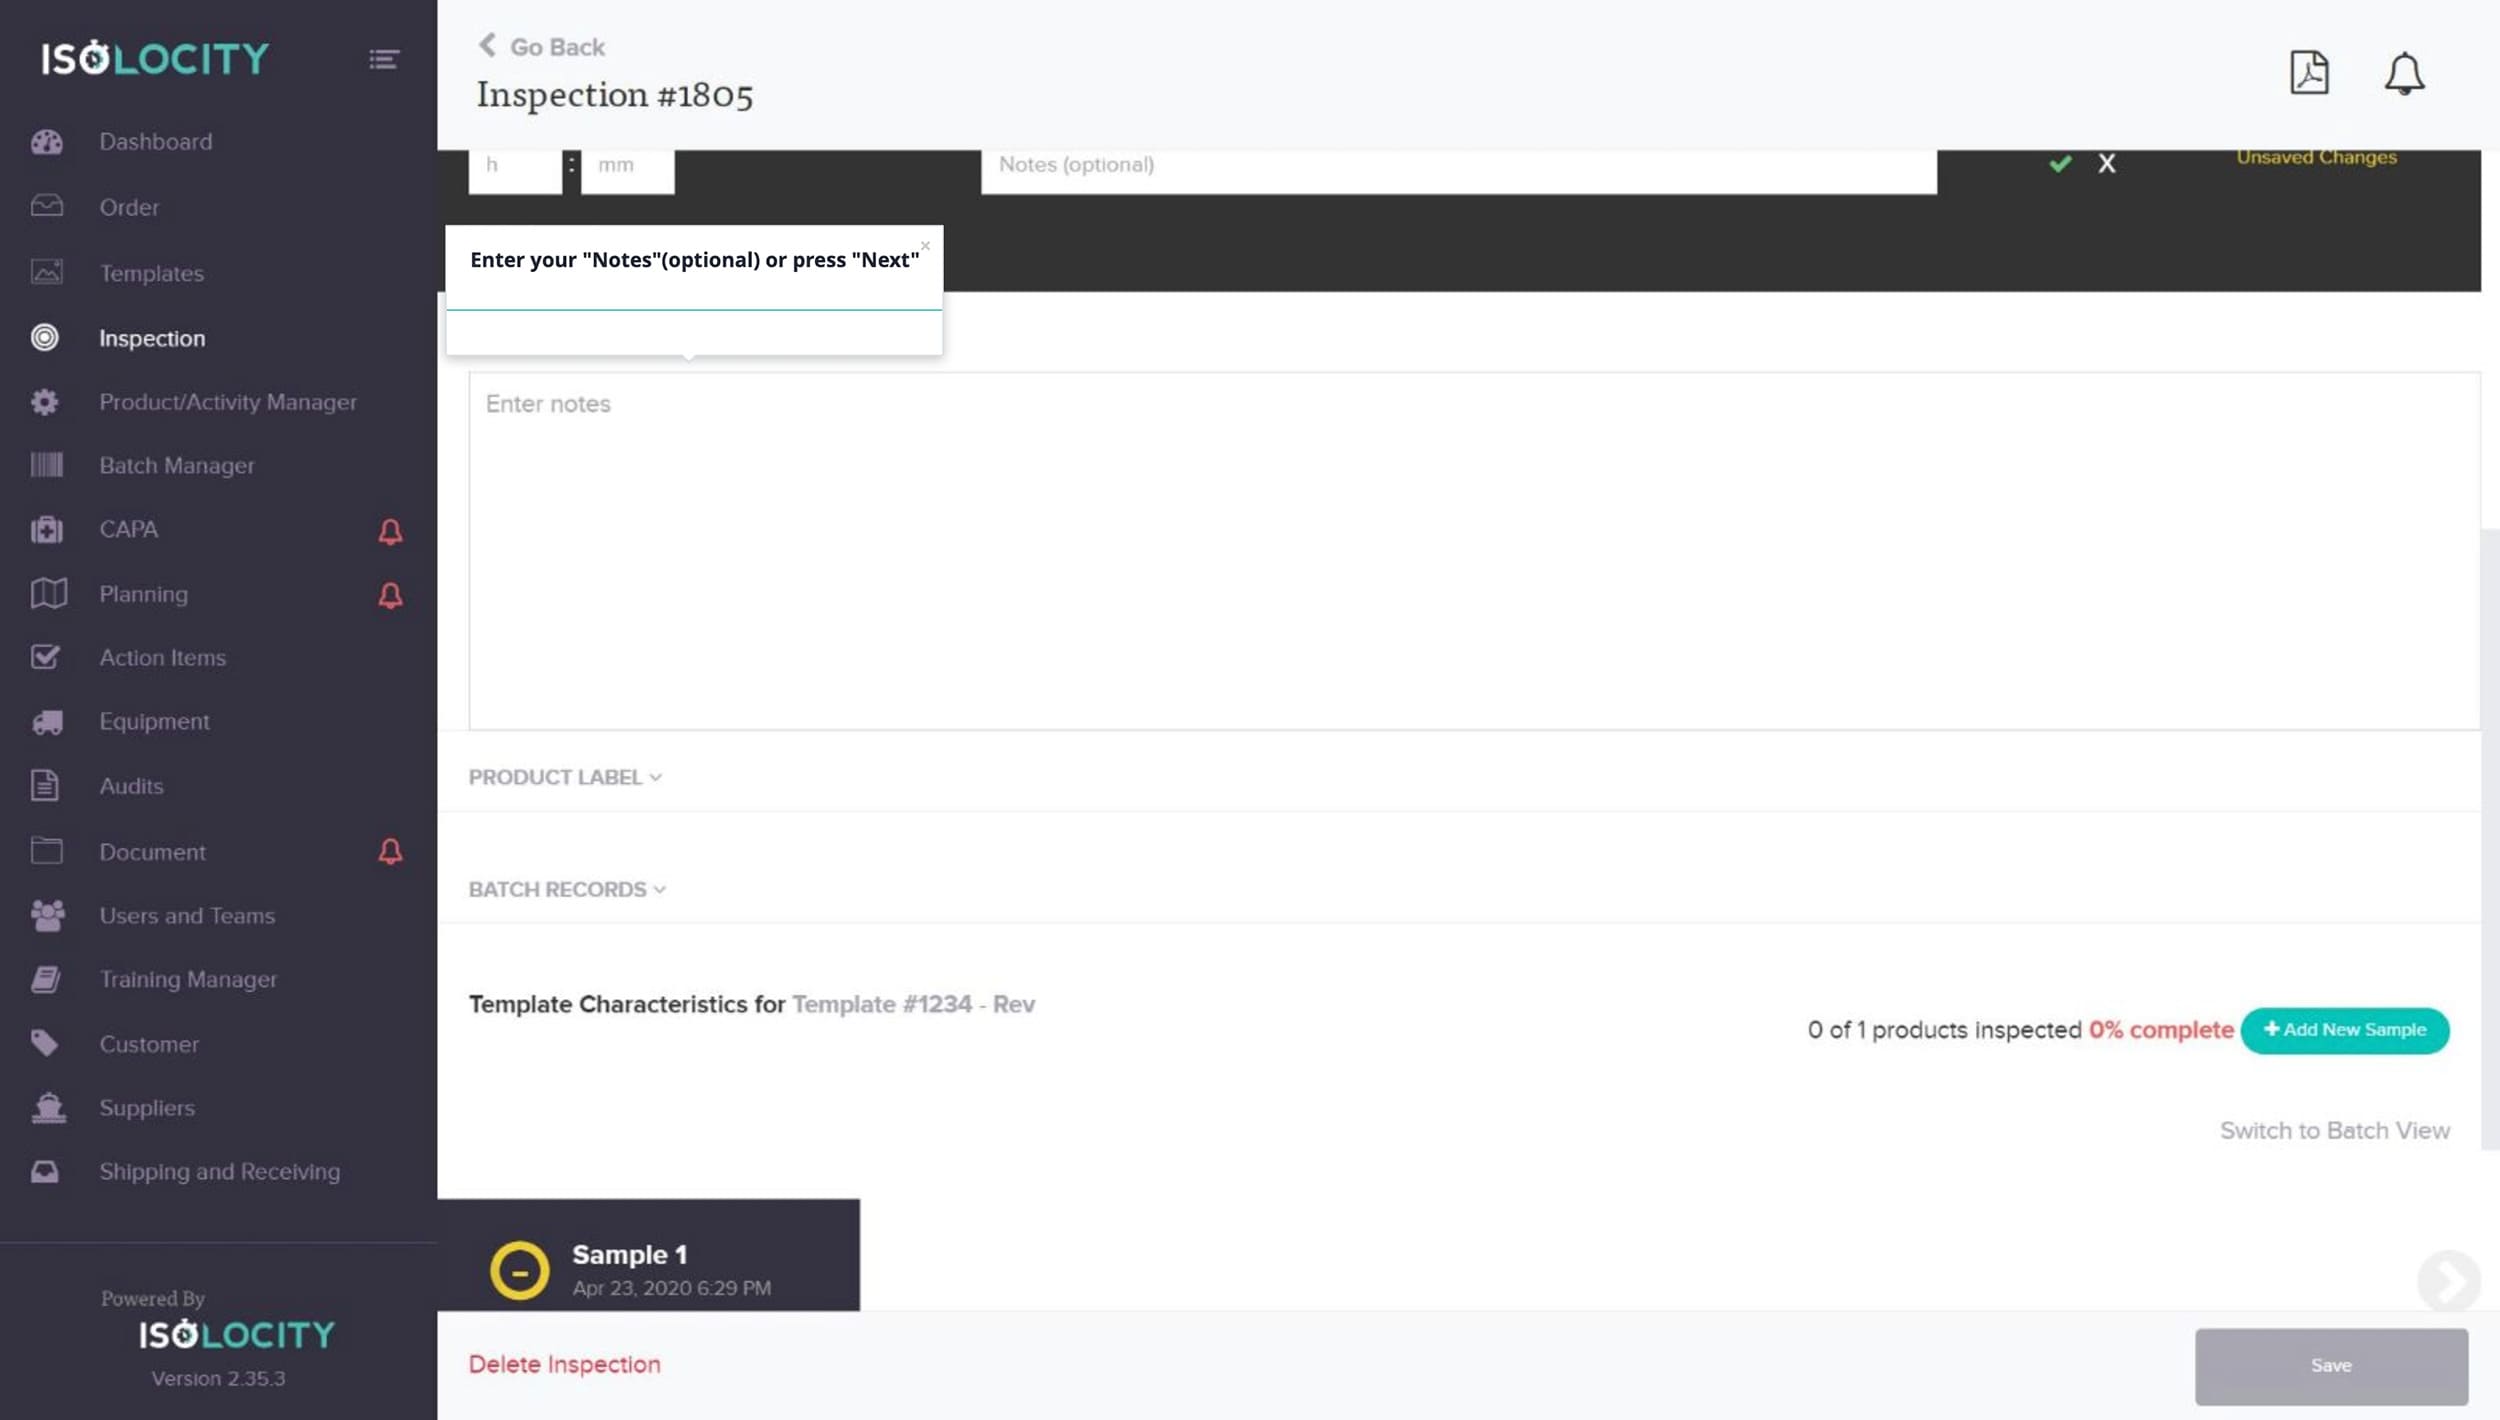
Step 25
Enter your “Notes”(optional) or press “Next”
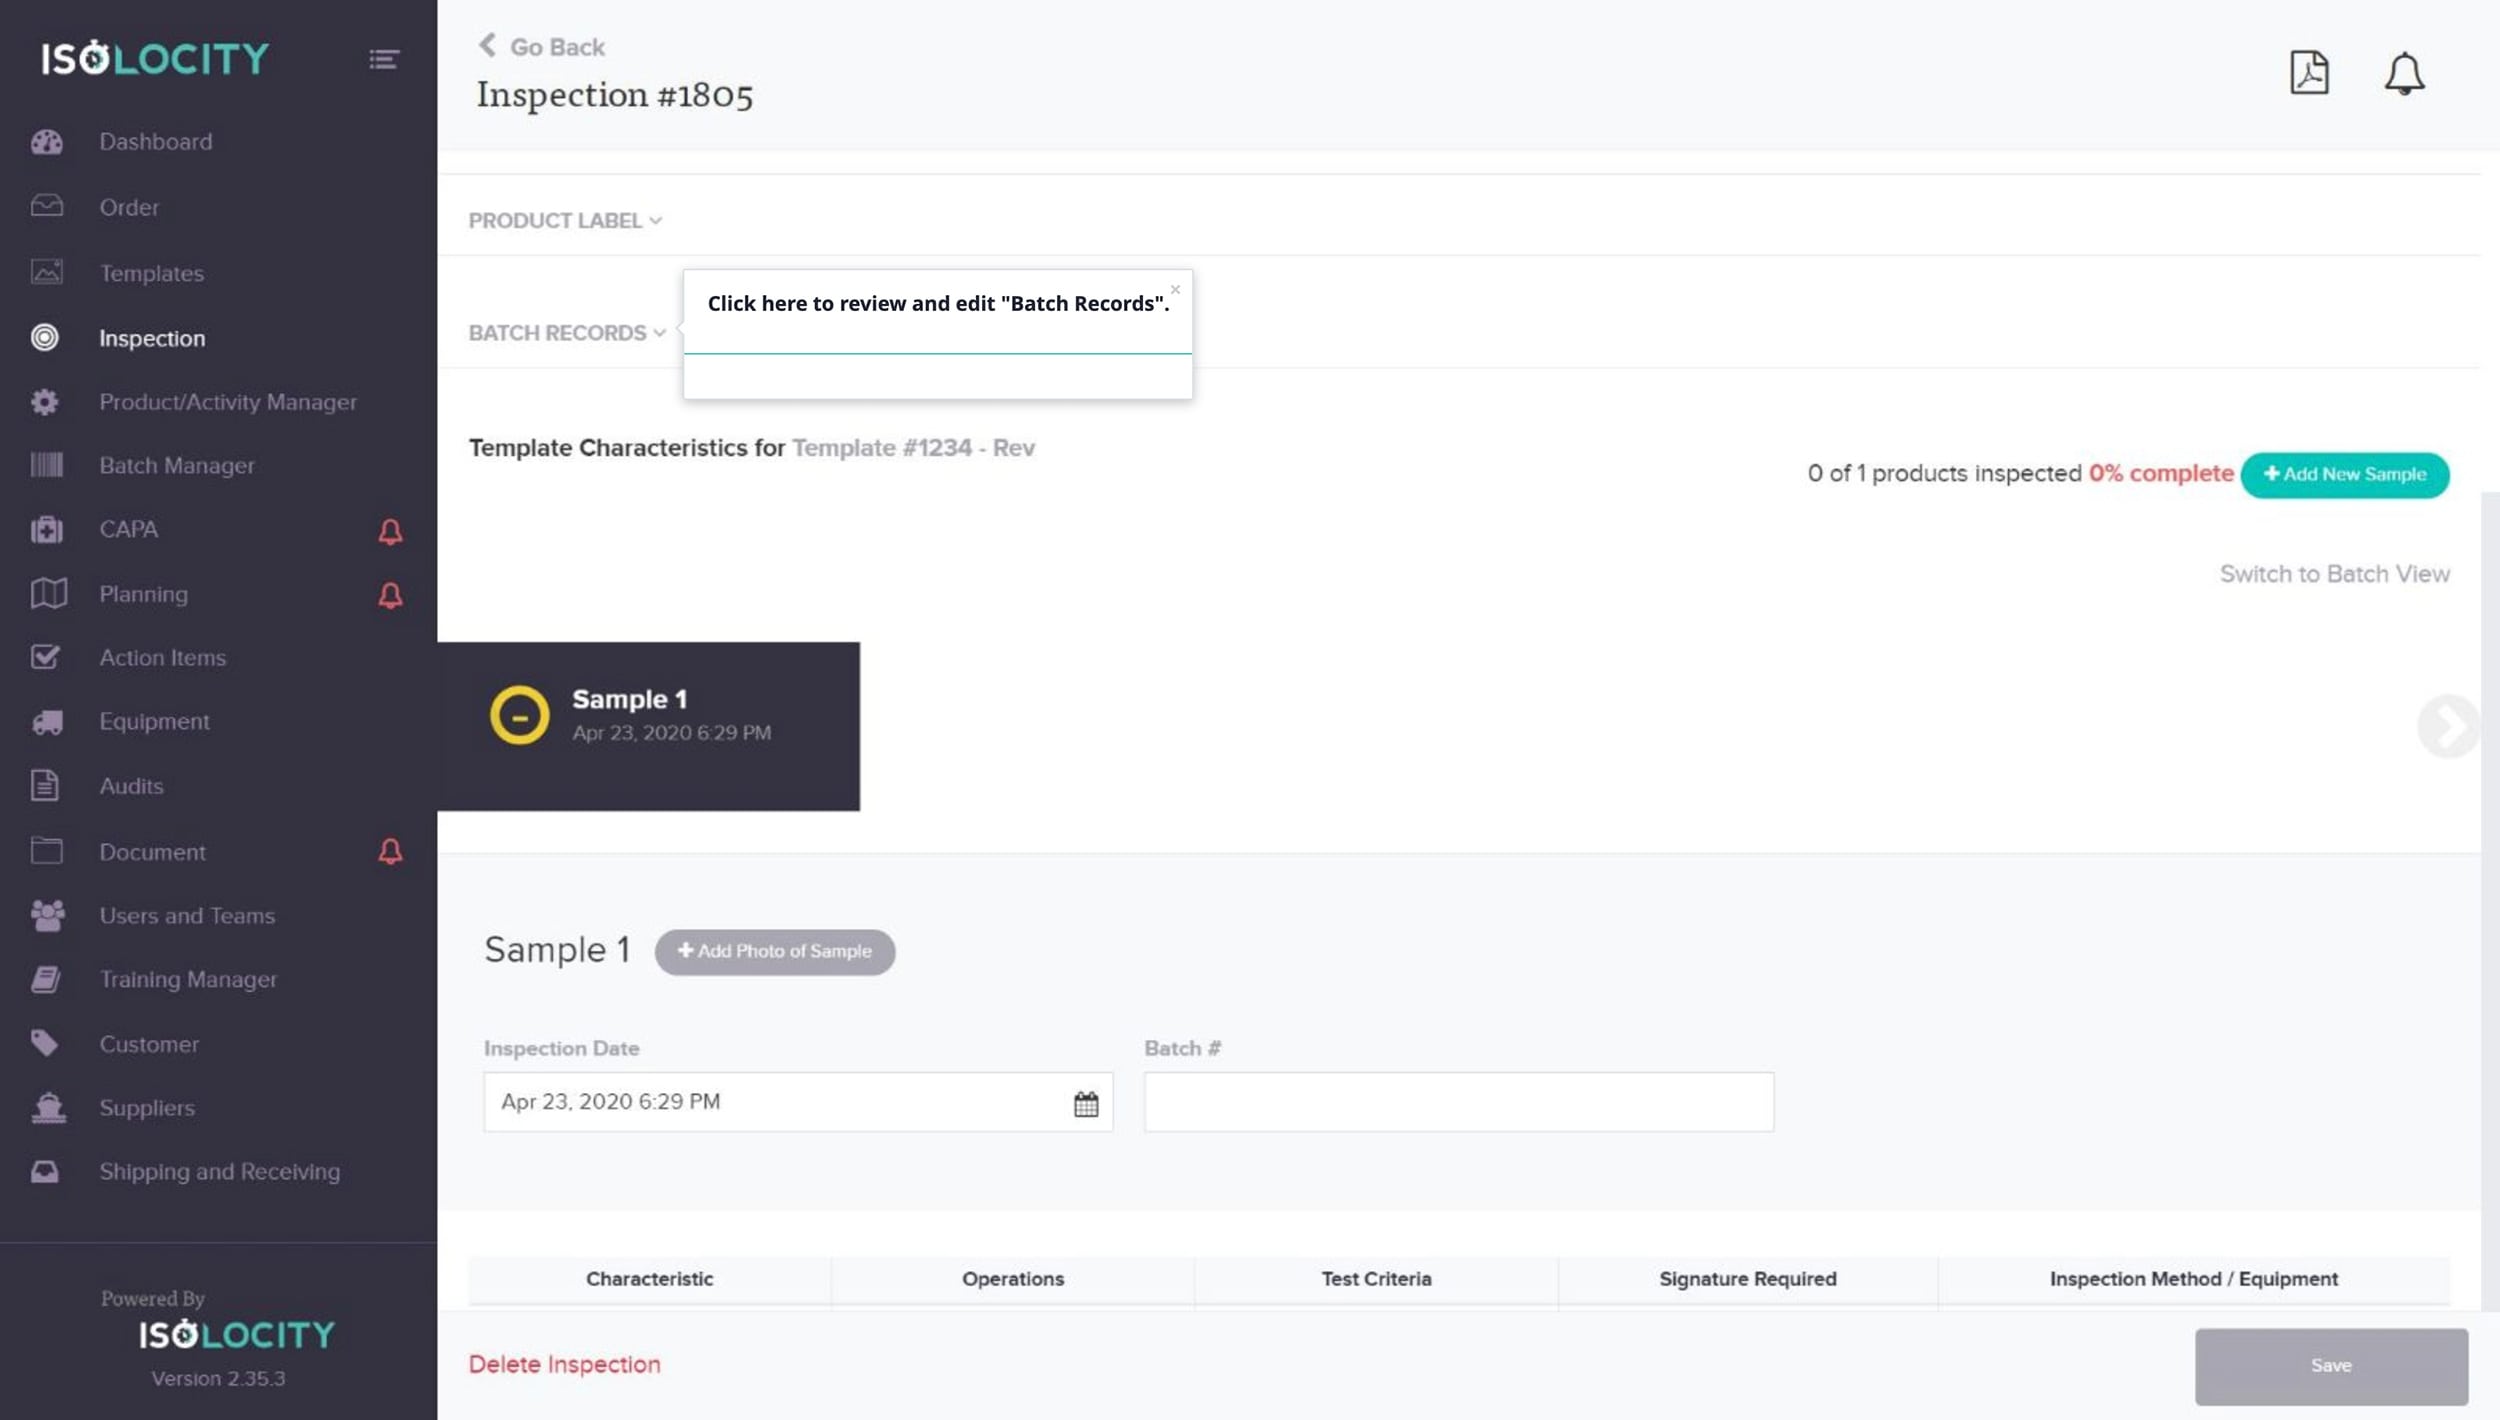
Step 26
Click here to review and edit “Batch Records”.
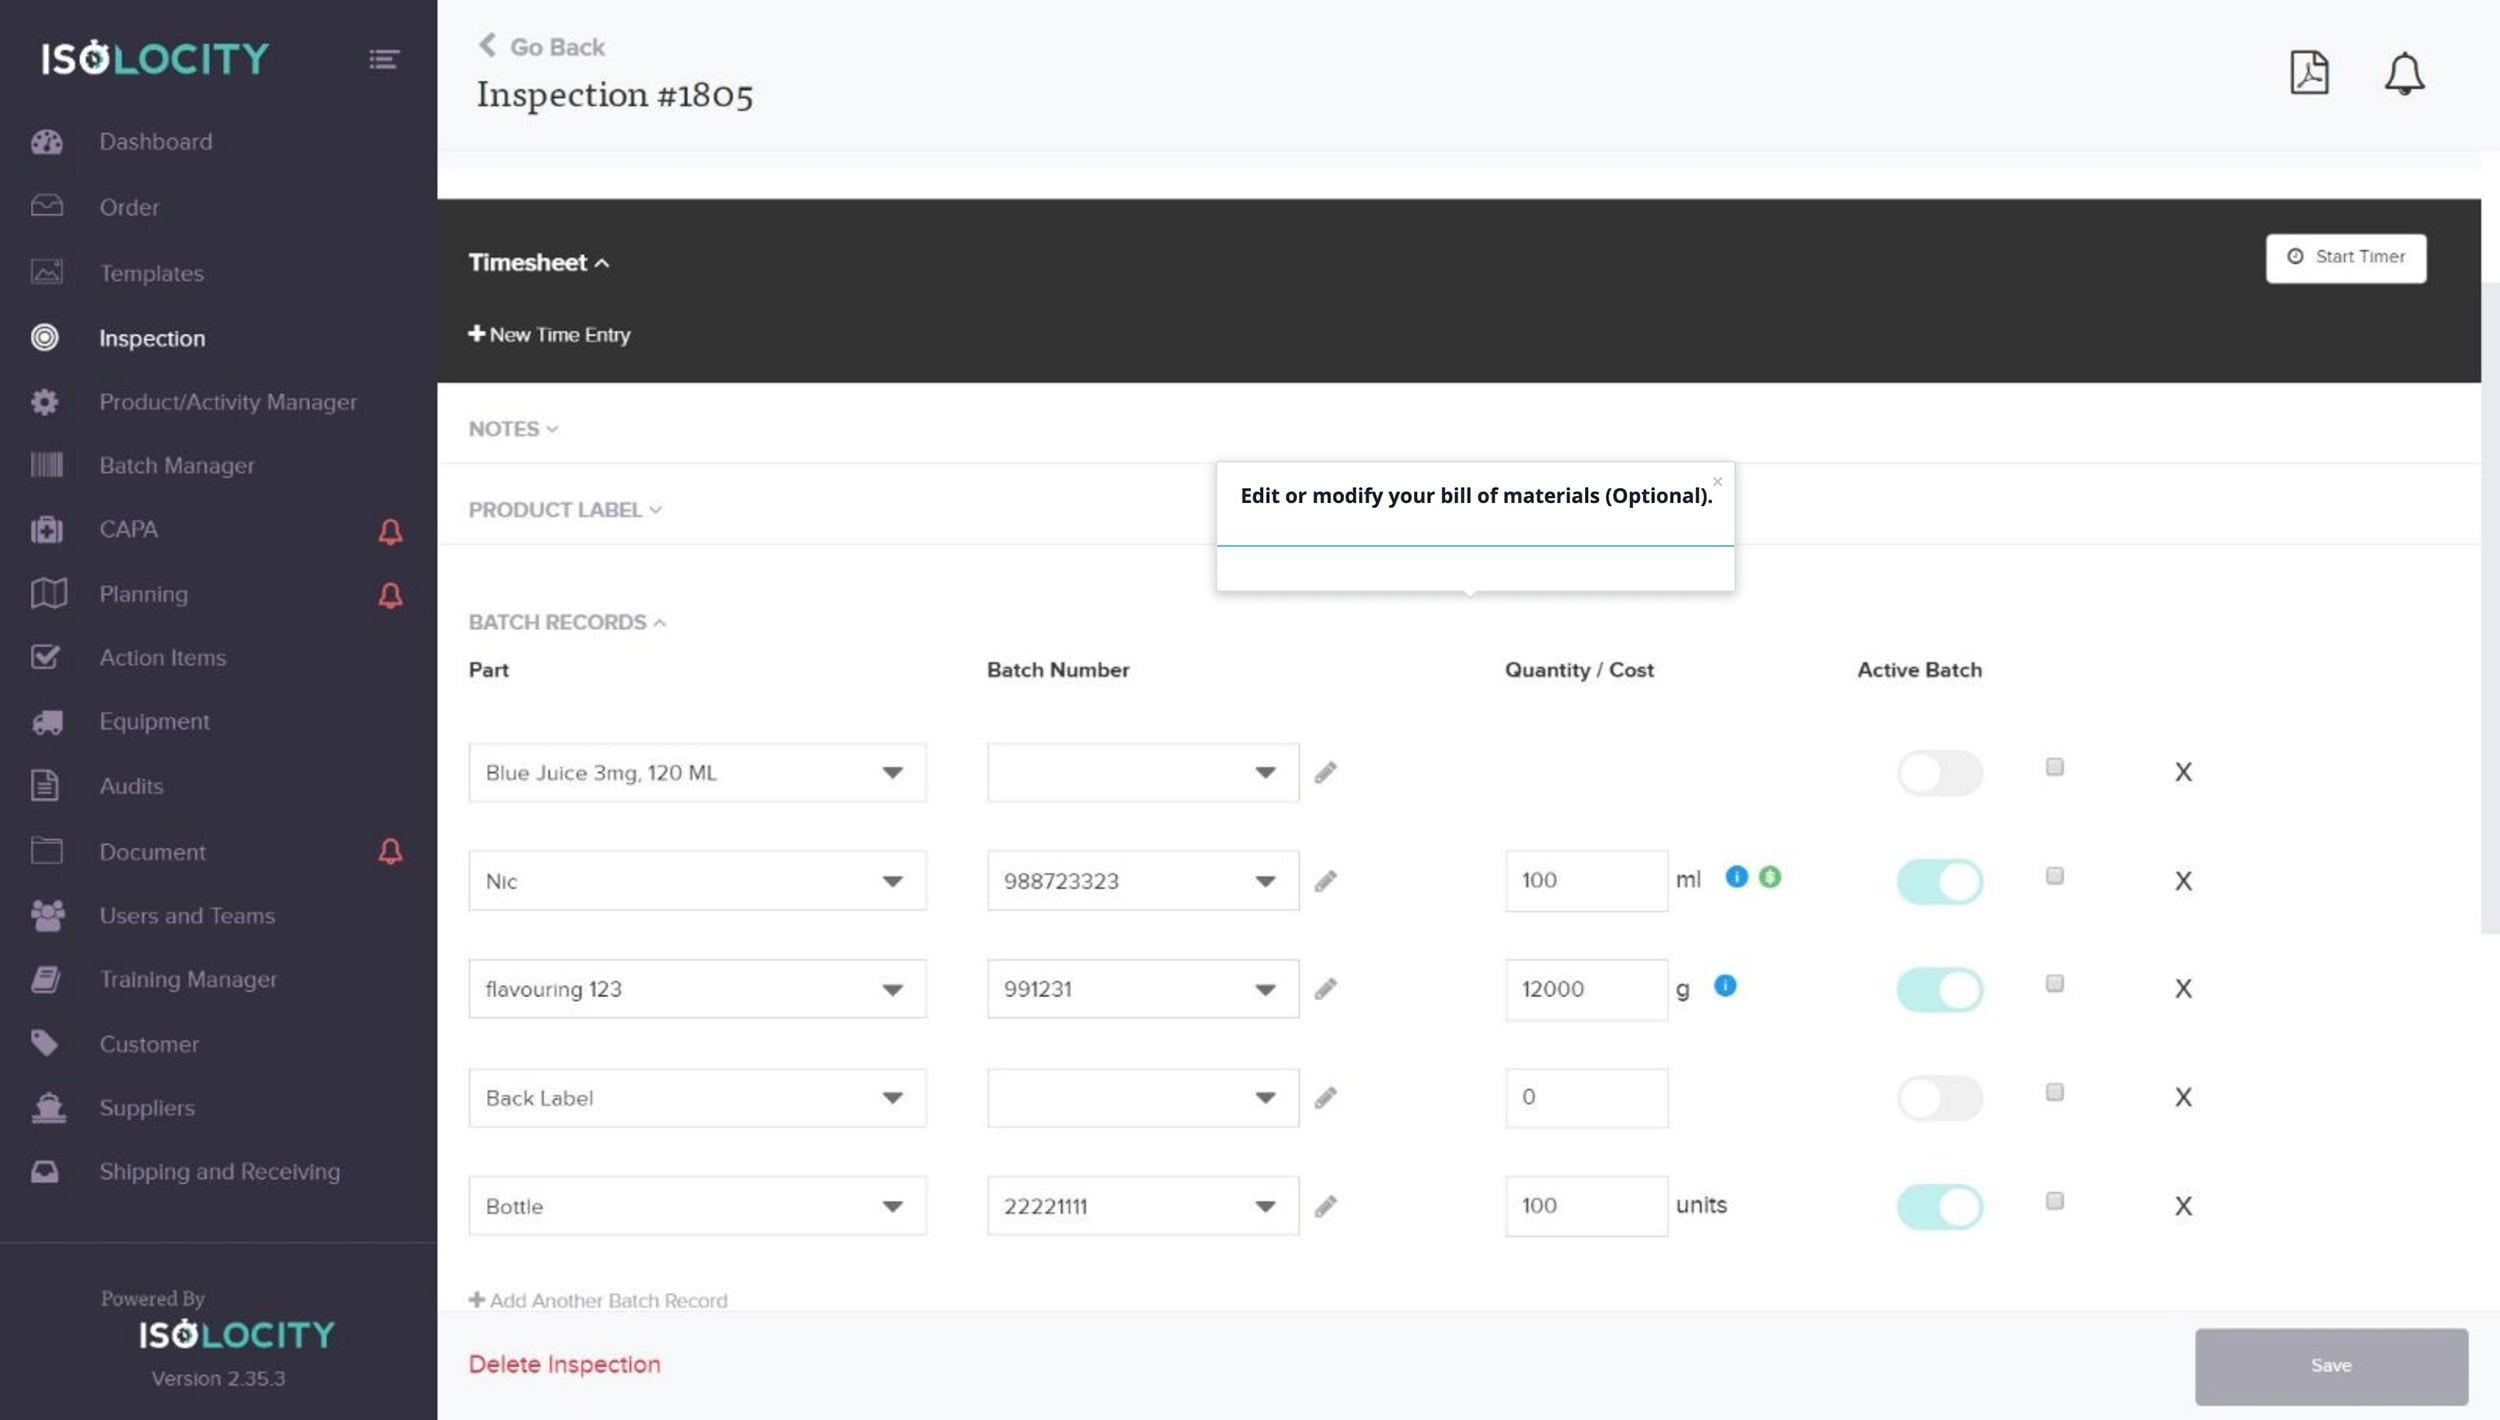
Step 27
Edit or modify your bill of materials (Optional).
Step 28
Select a “Batch Number” (Optional).
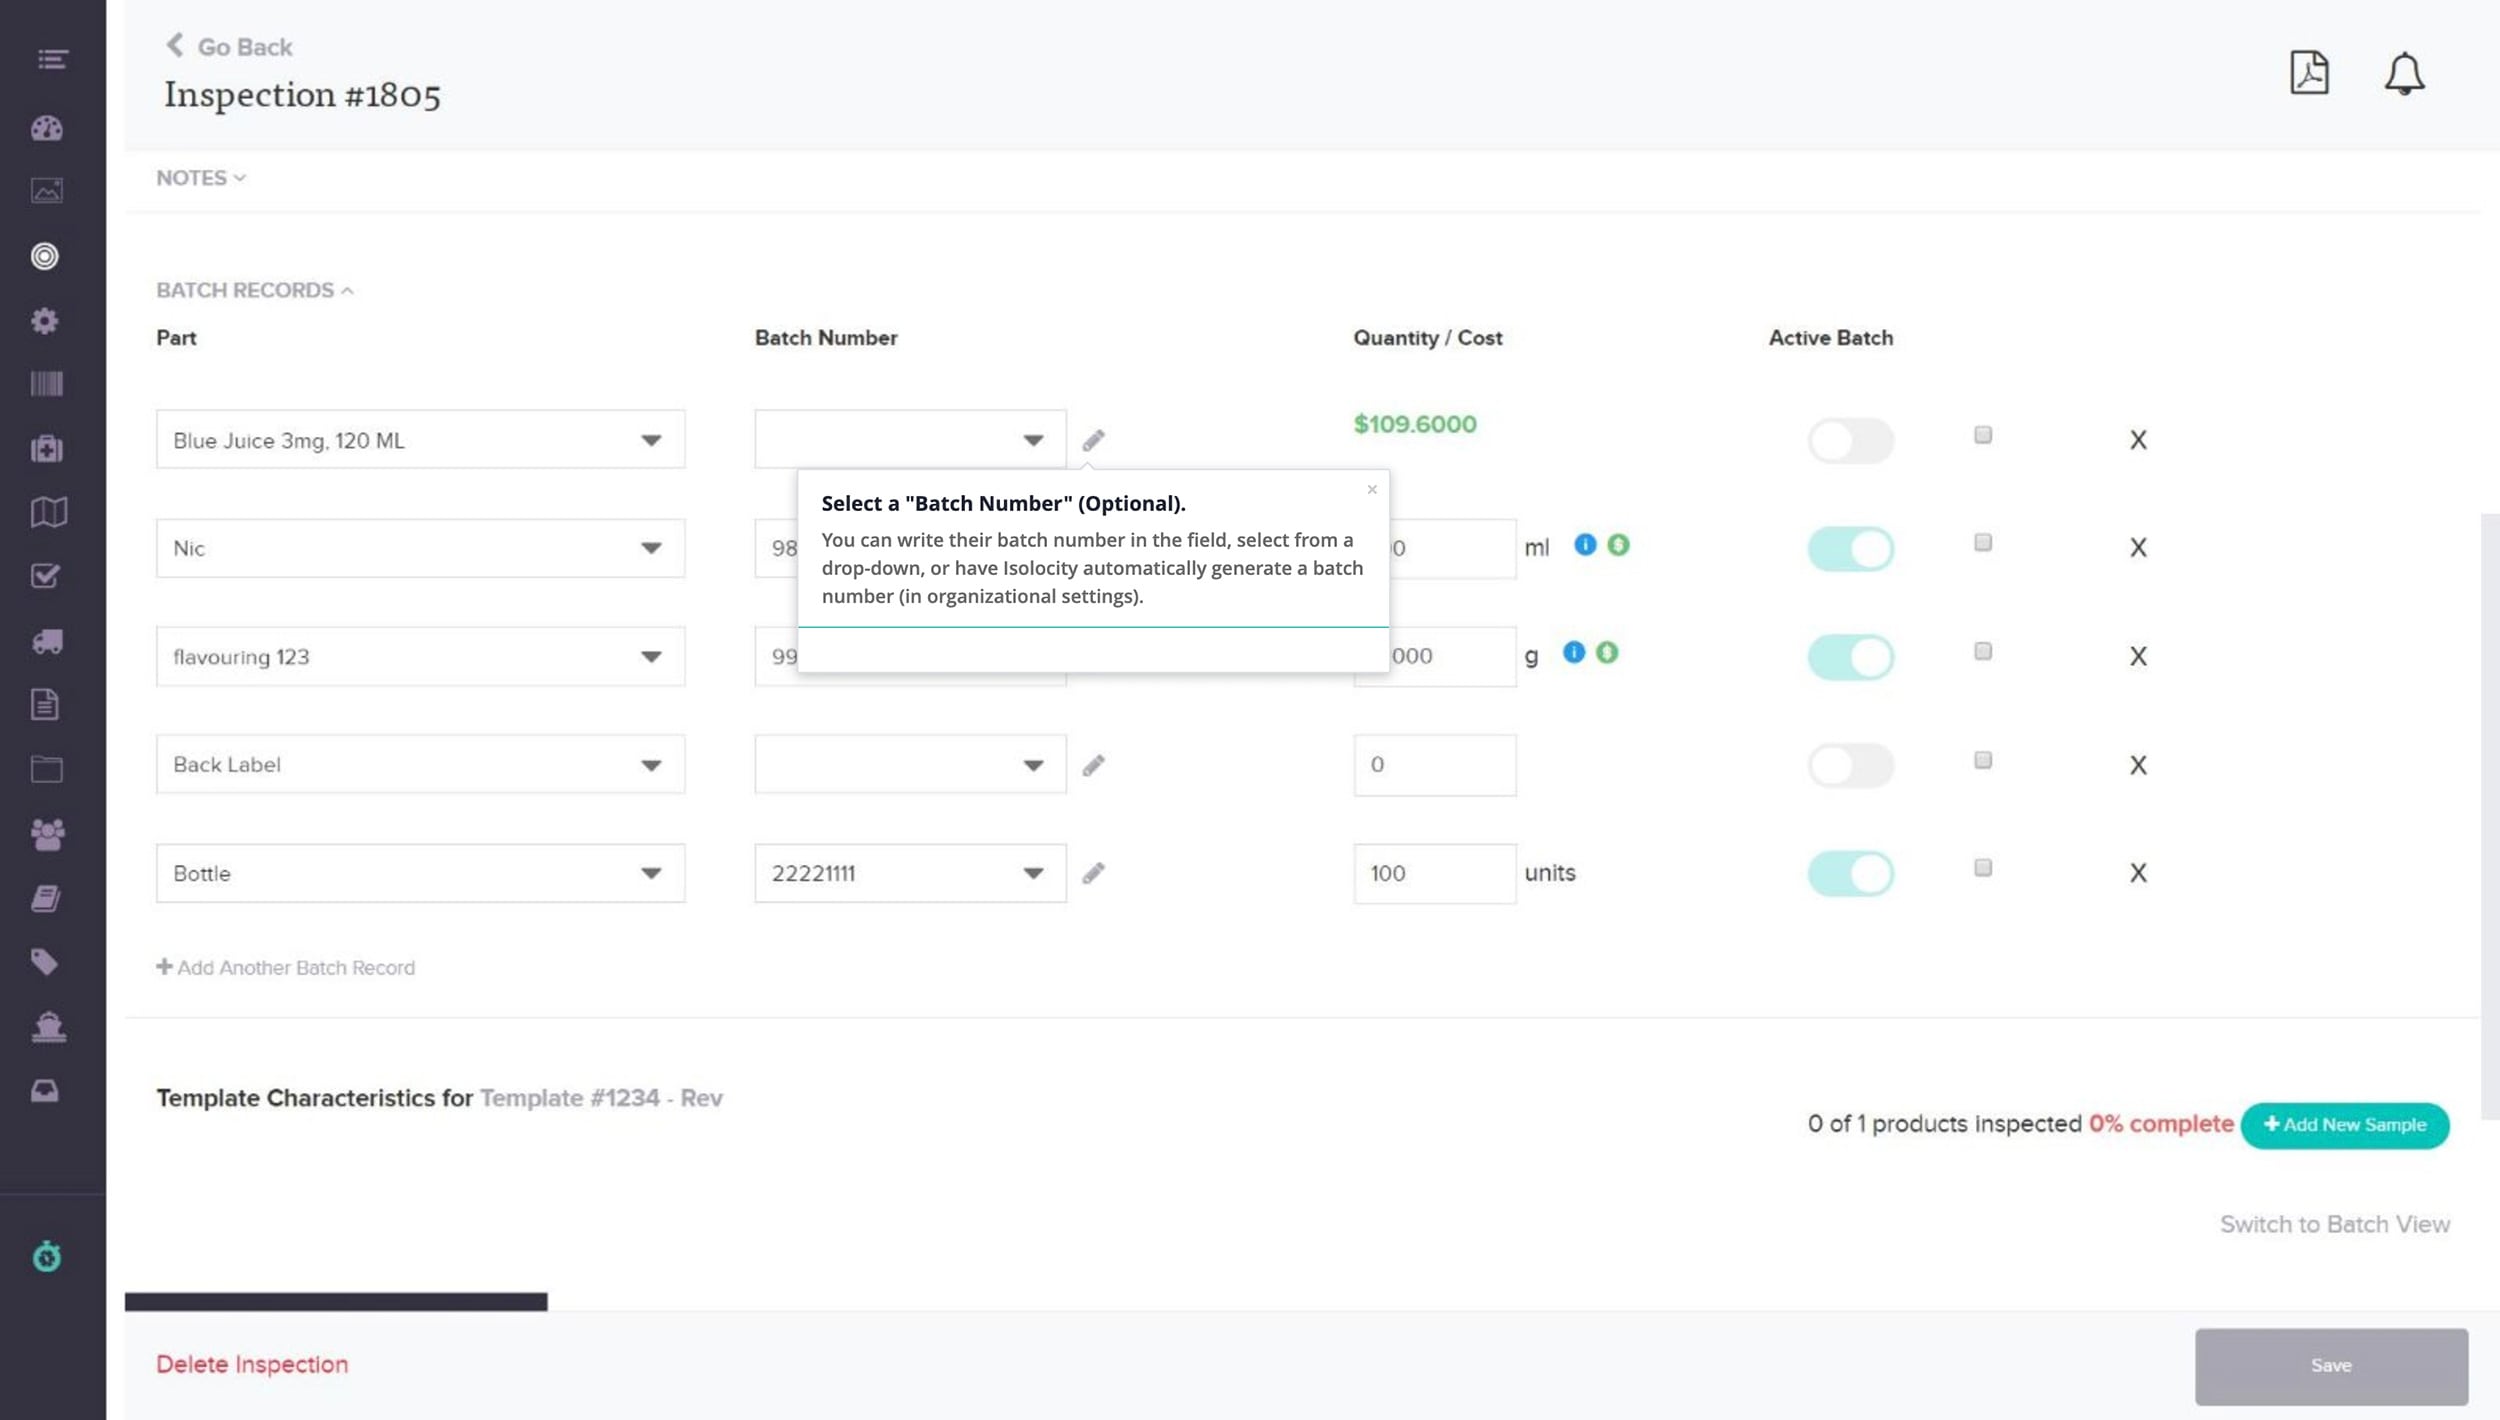
Step 29
Note:
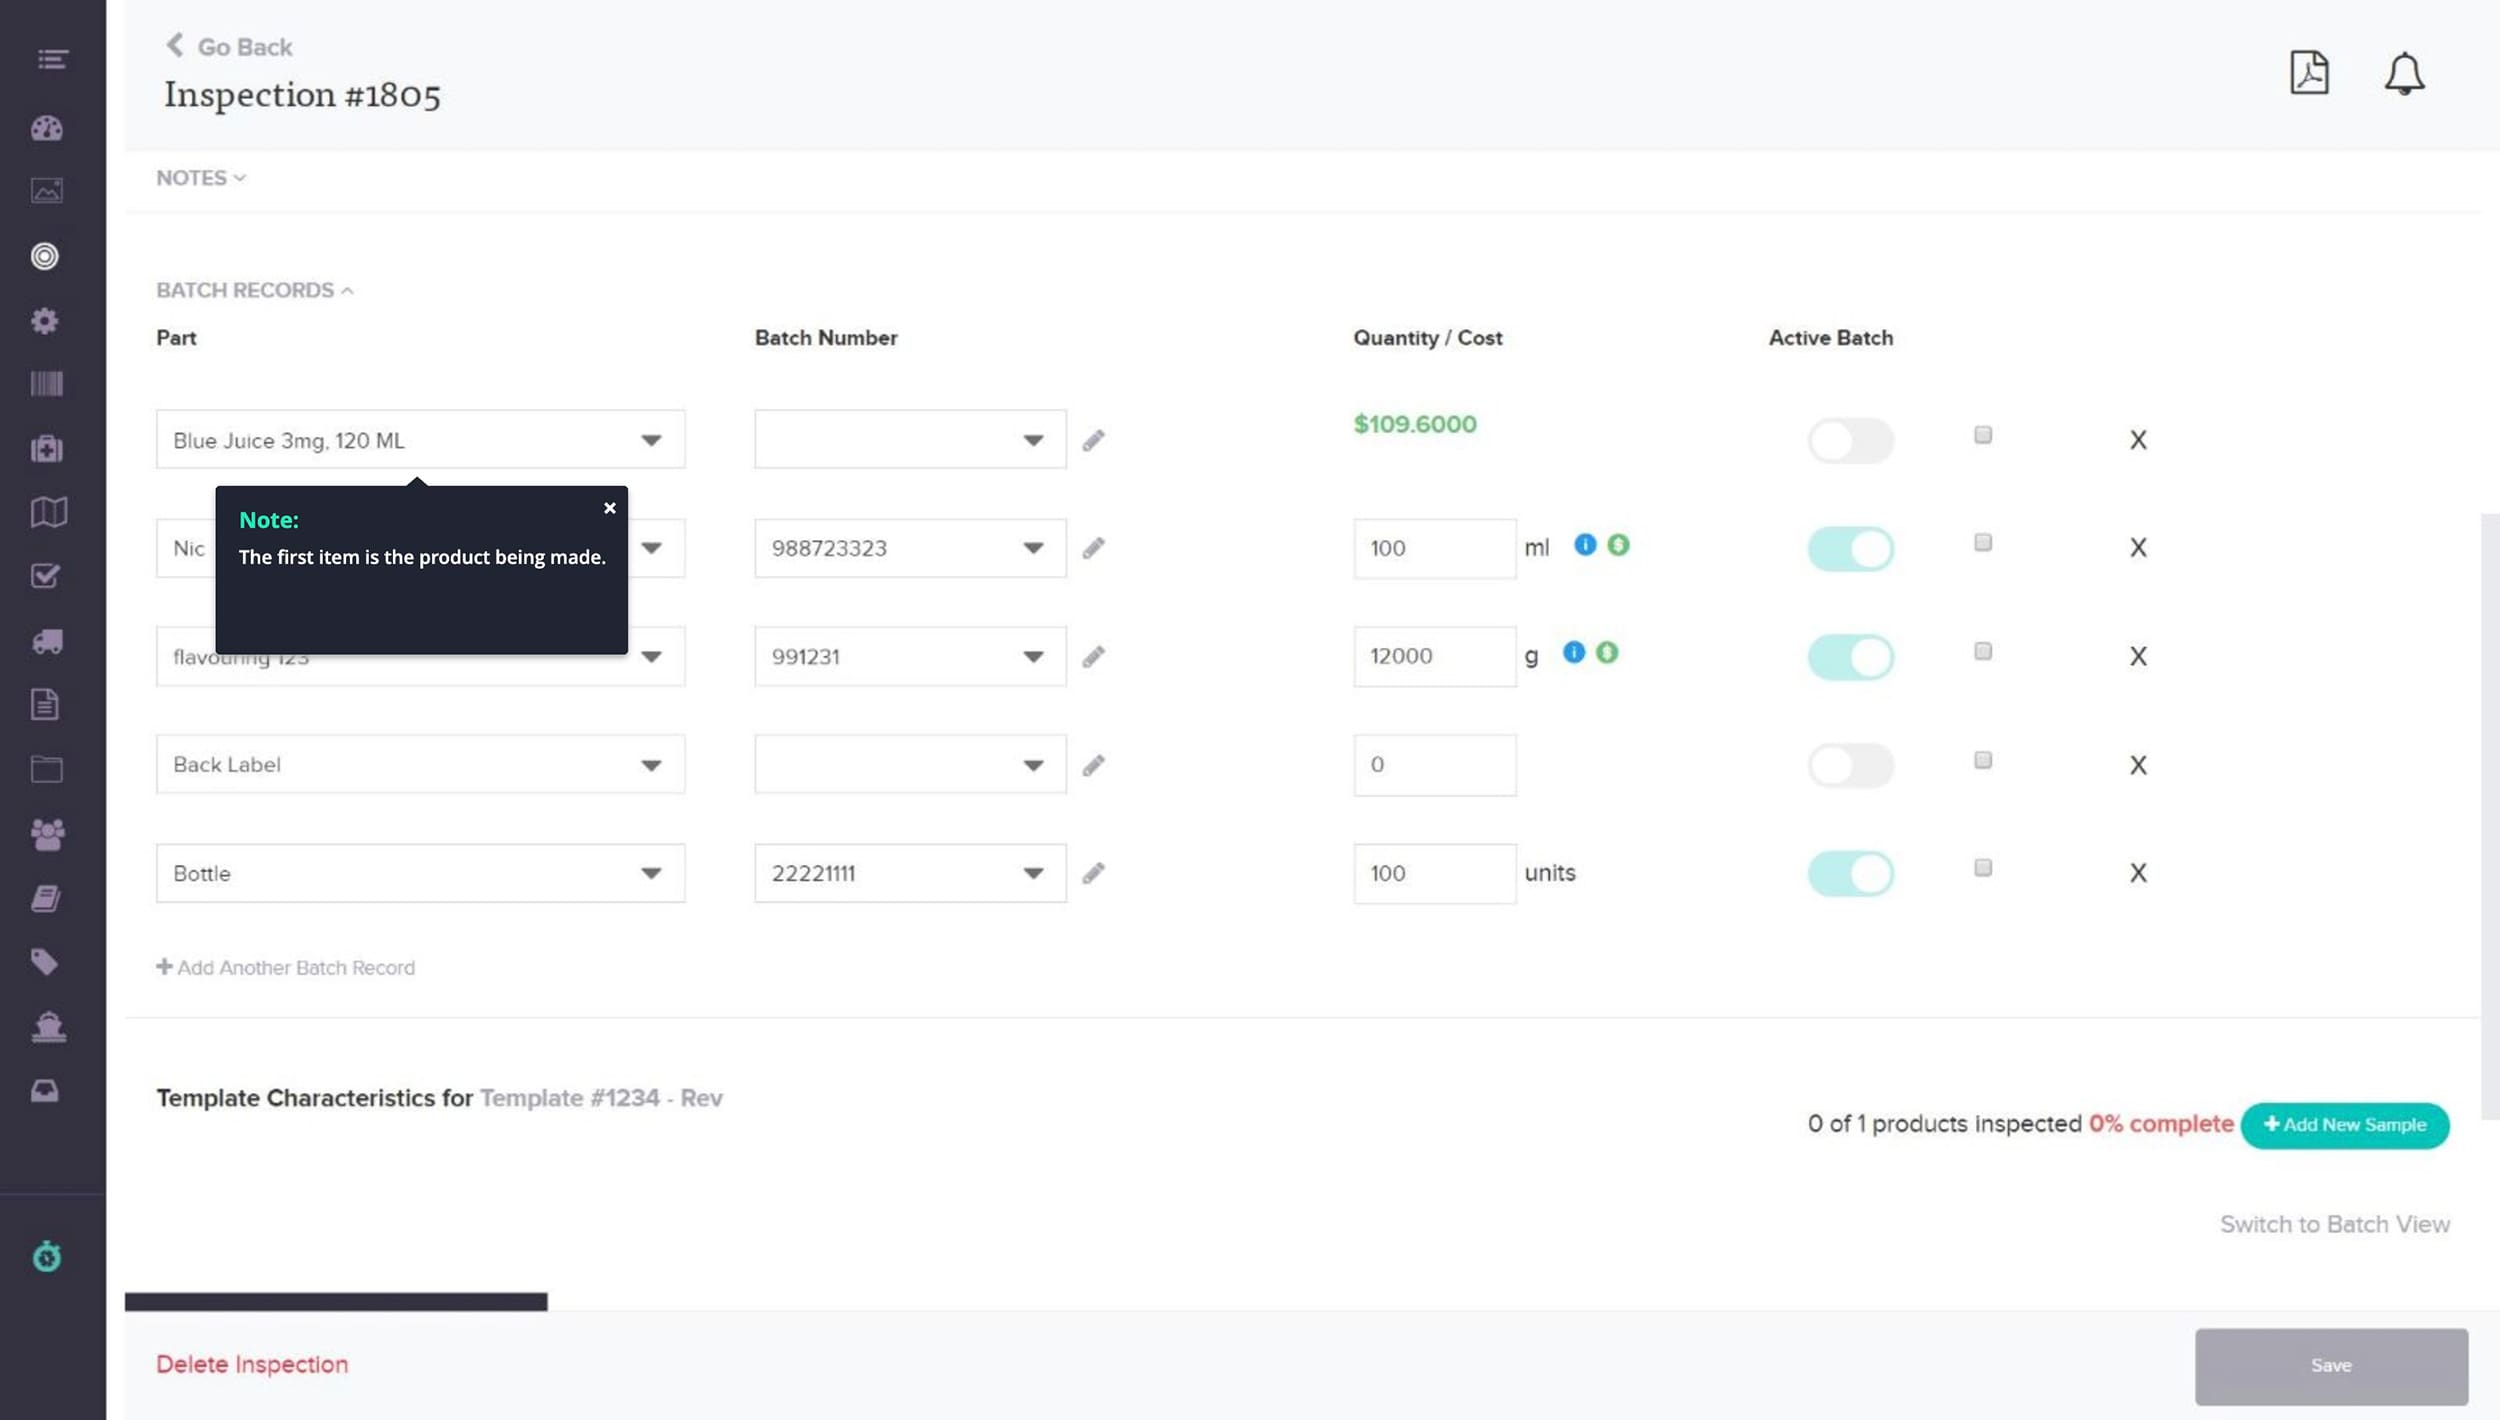
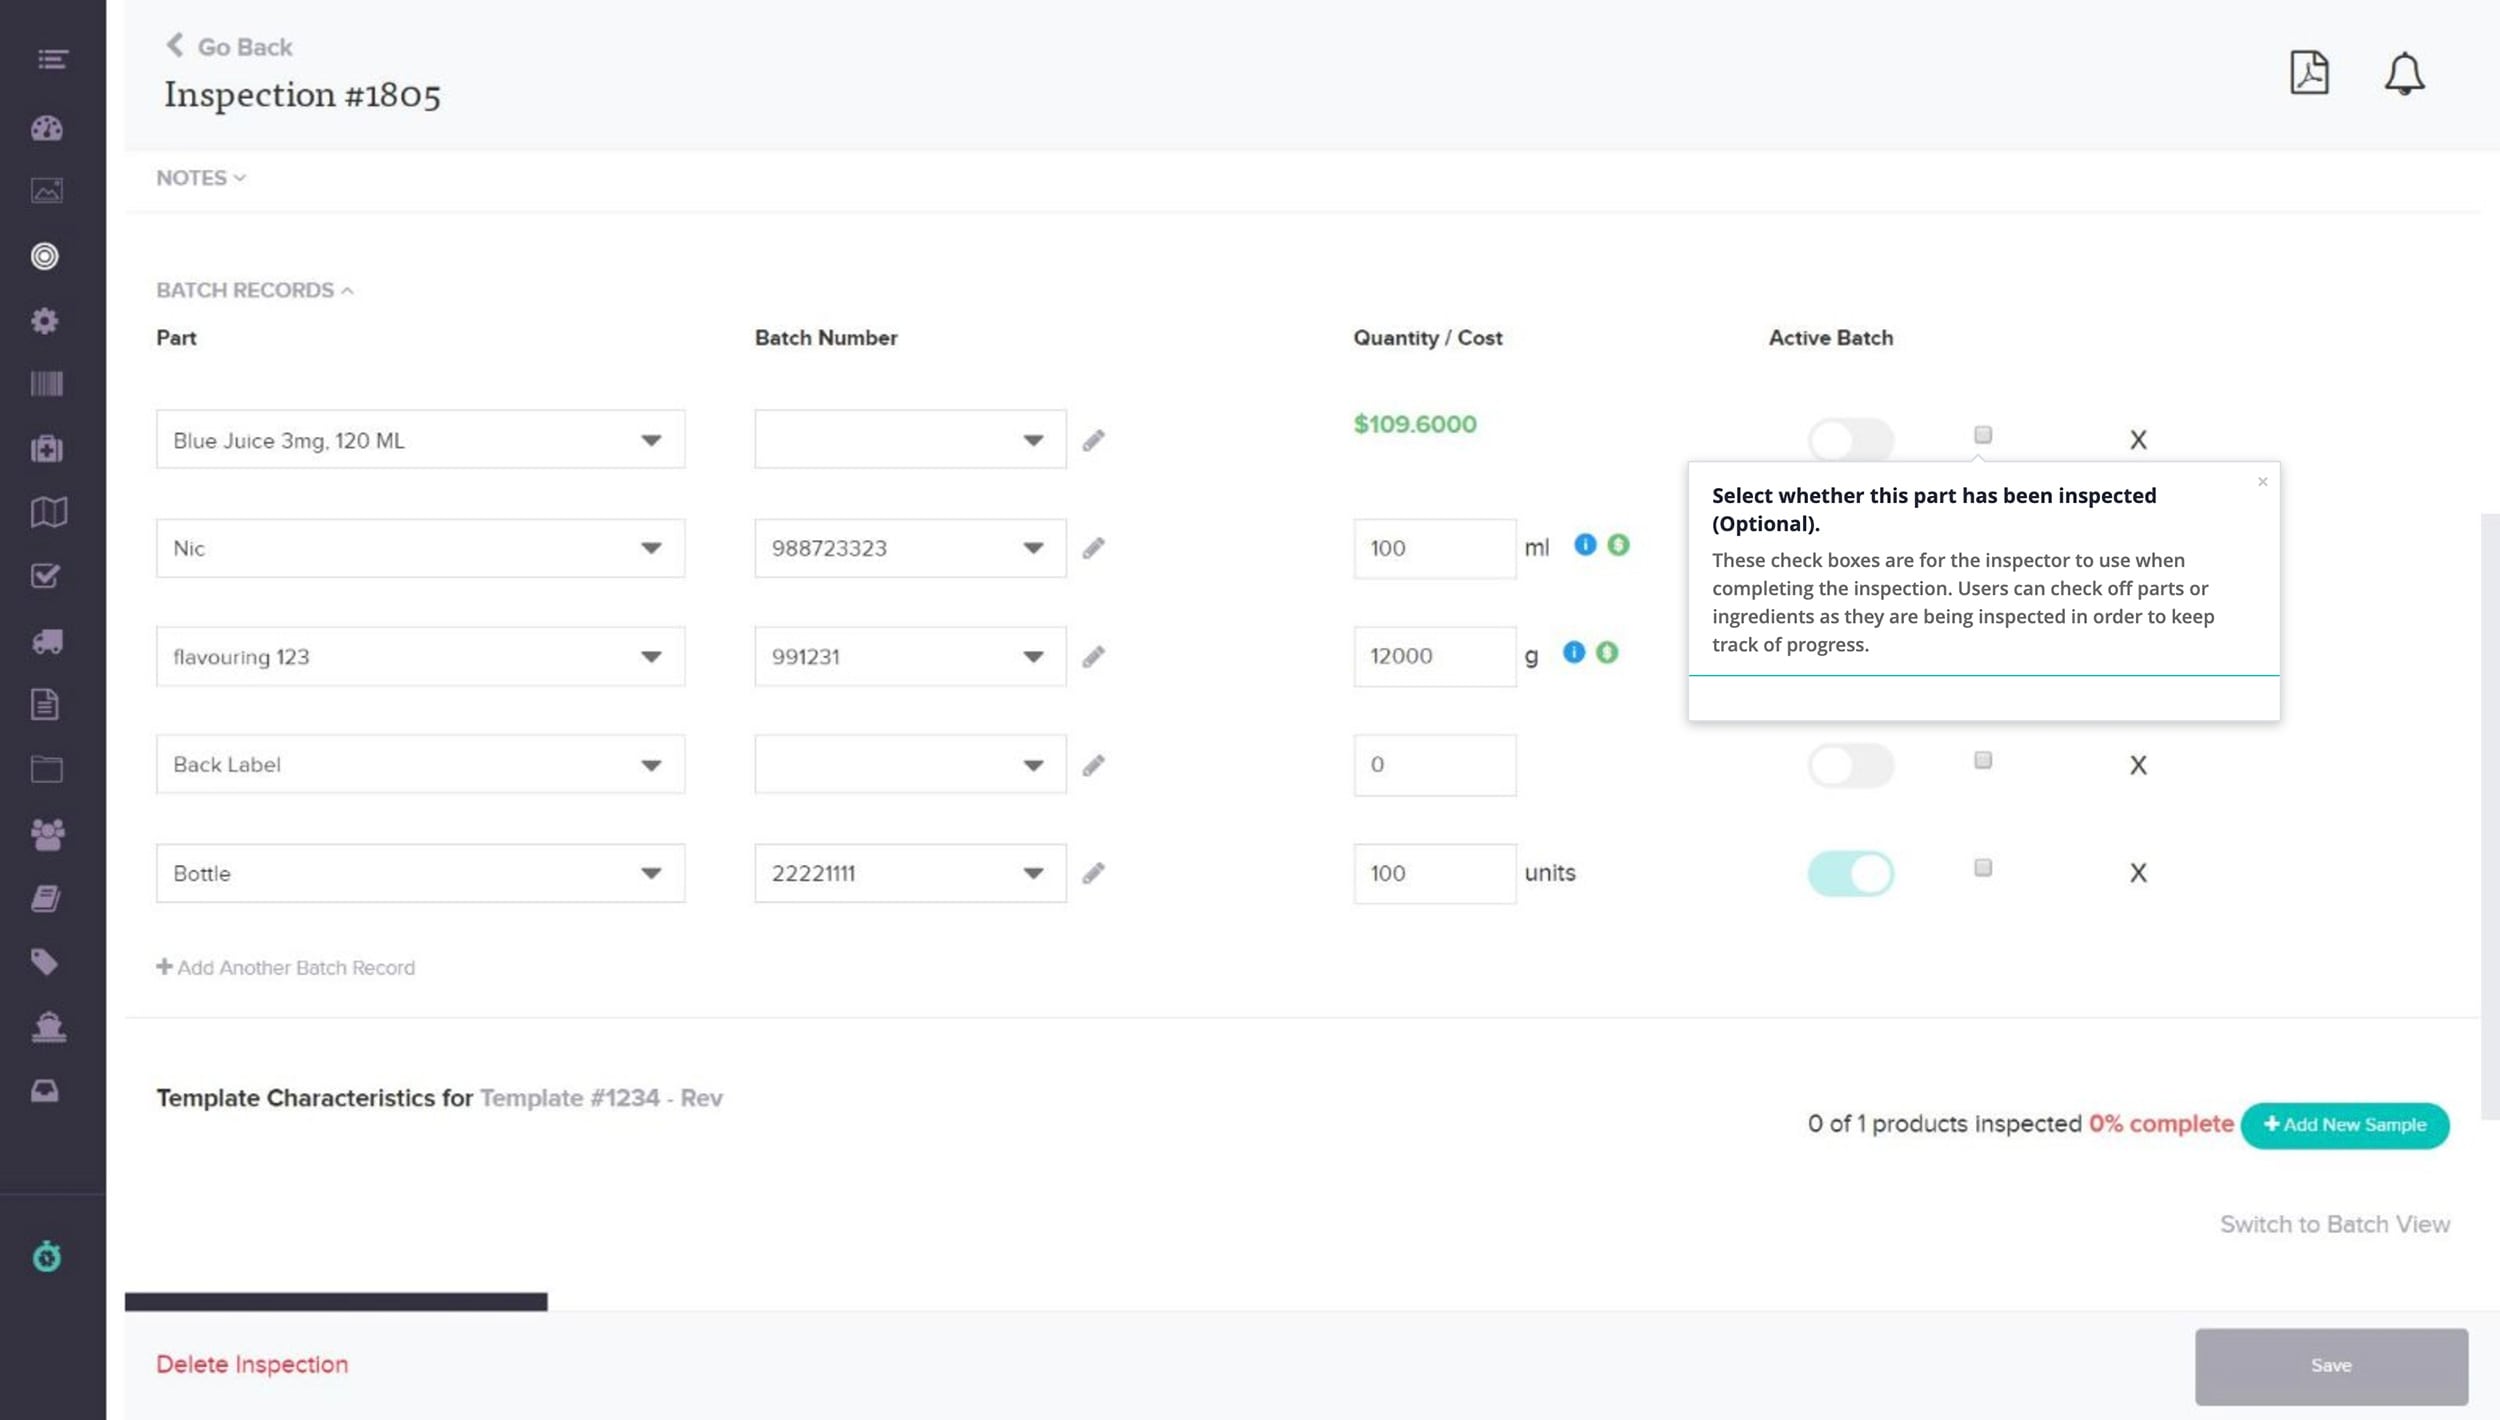
Step 30
Select whether this part has been inspected (Optional).
Step 31
Note:
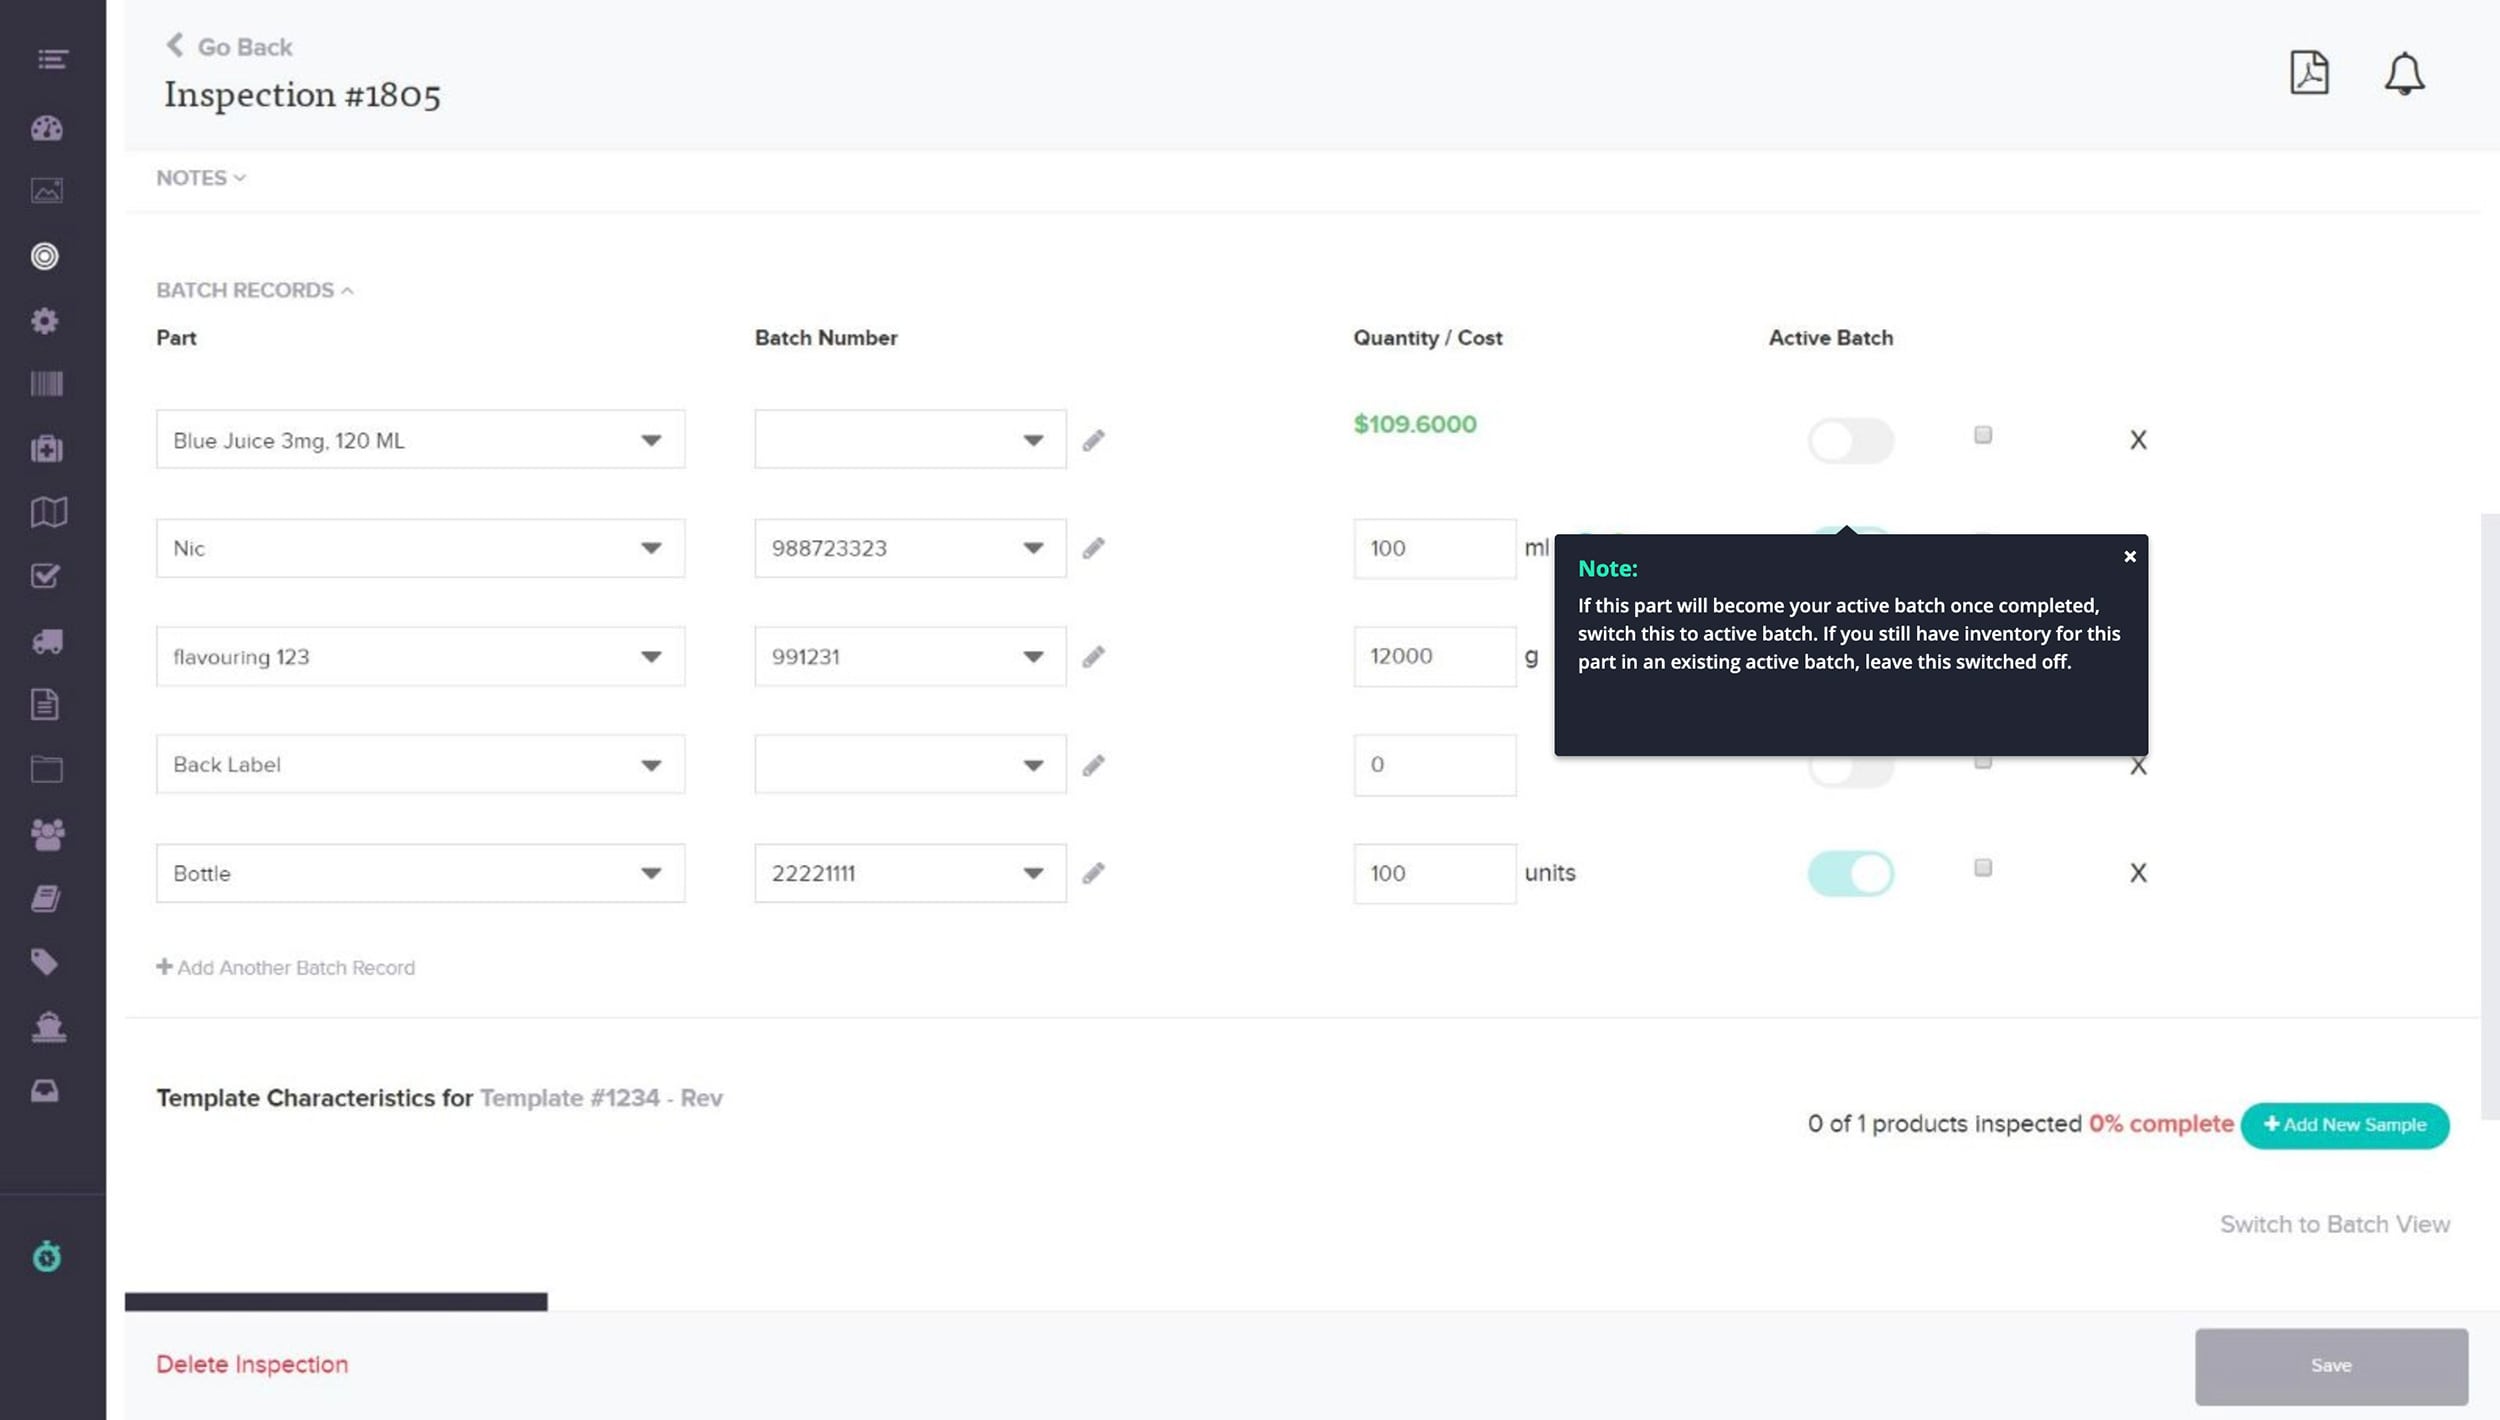
Step 32
Choose whether it is a part of an “Active Batch”.

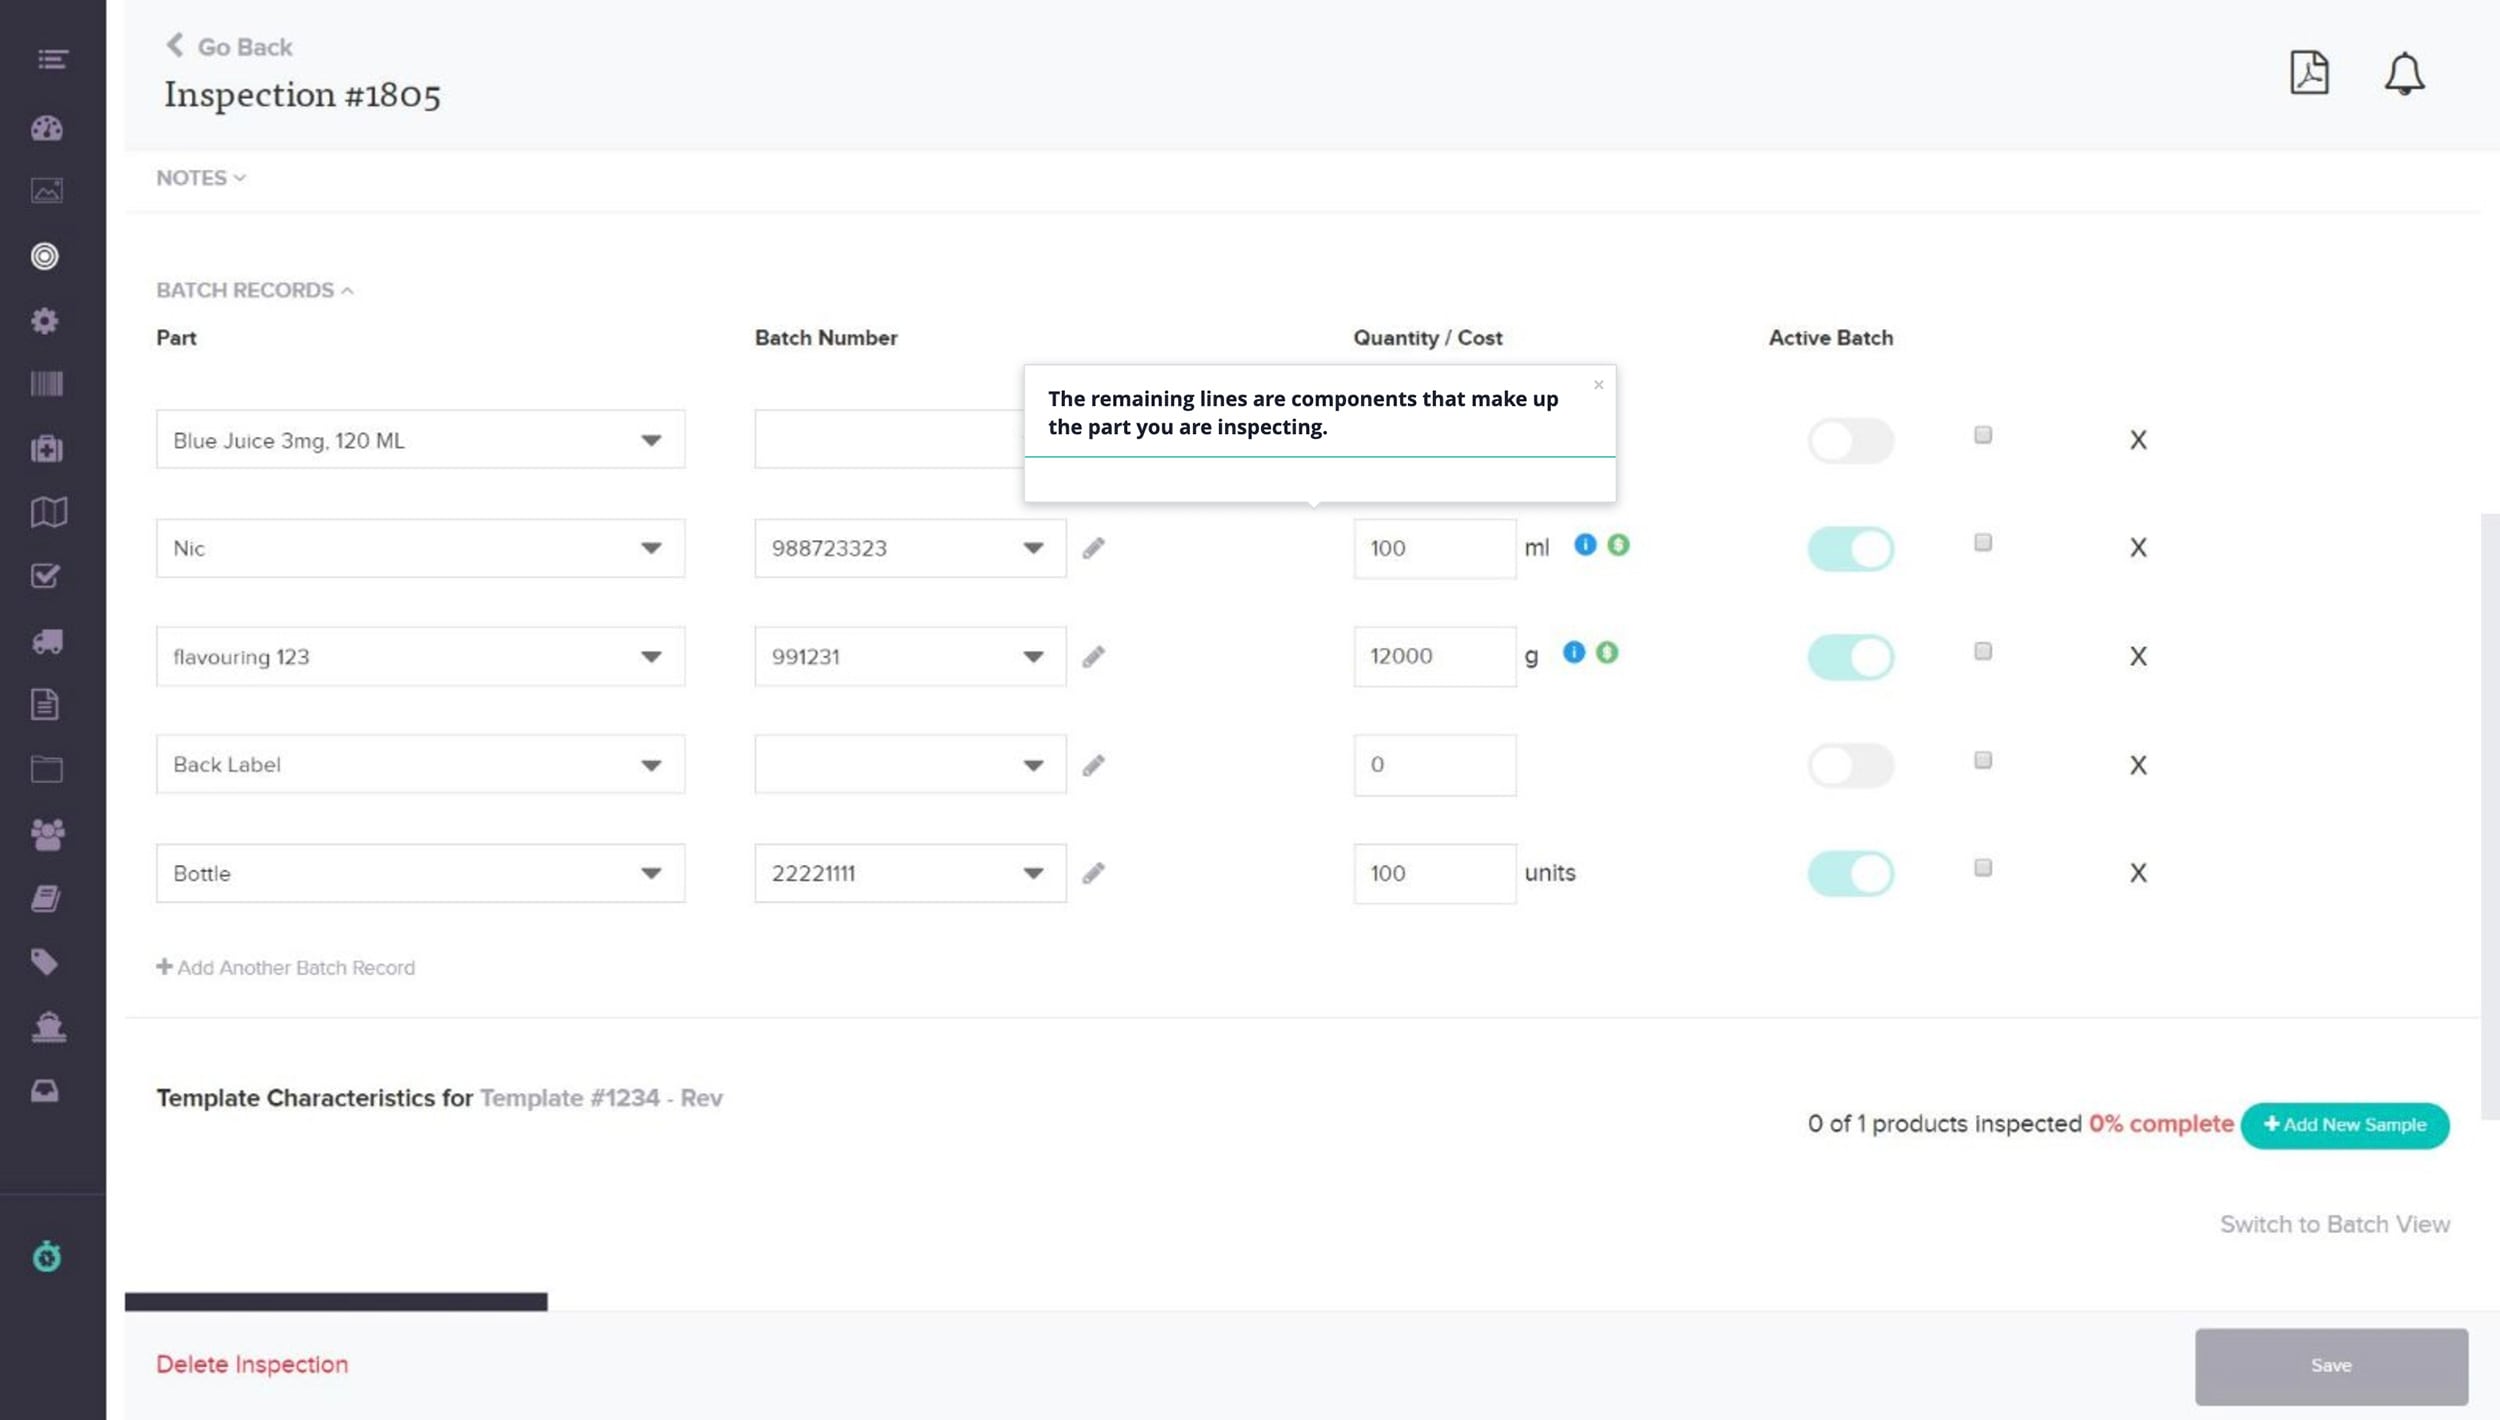
Step 33
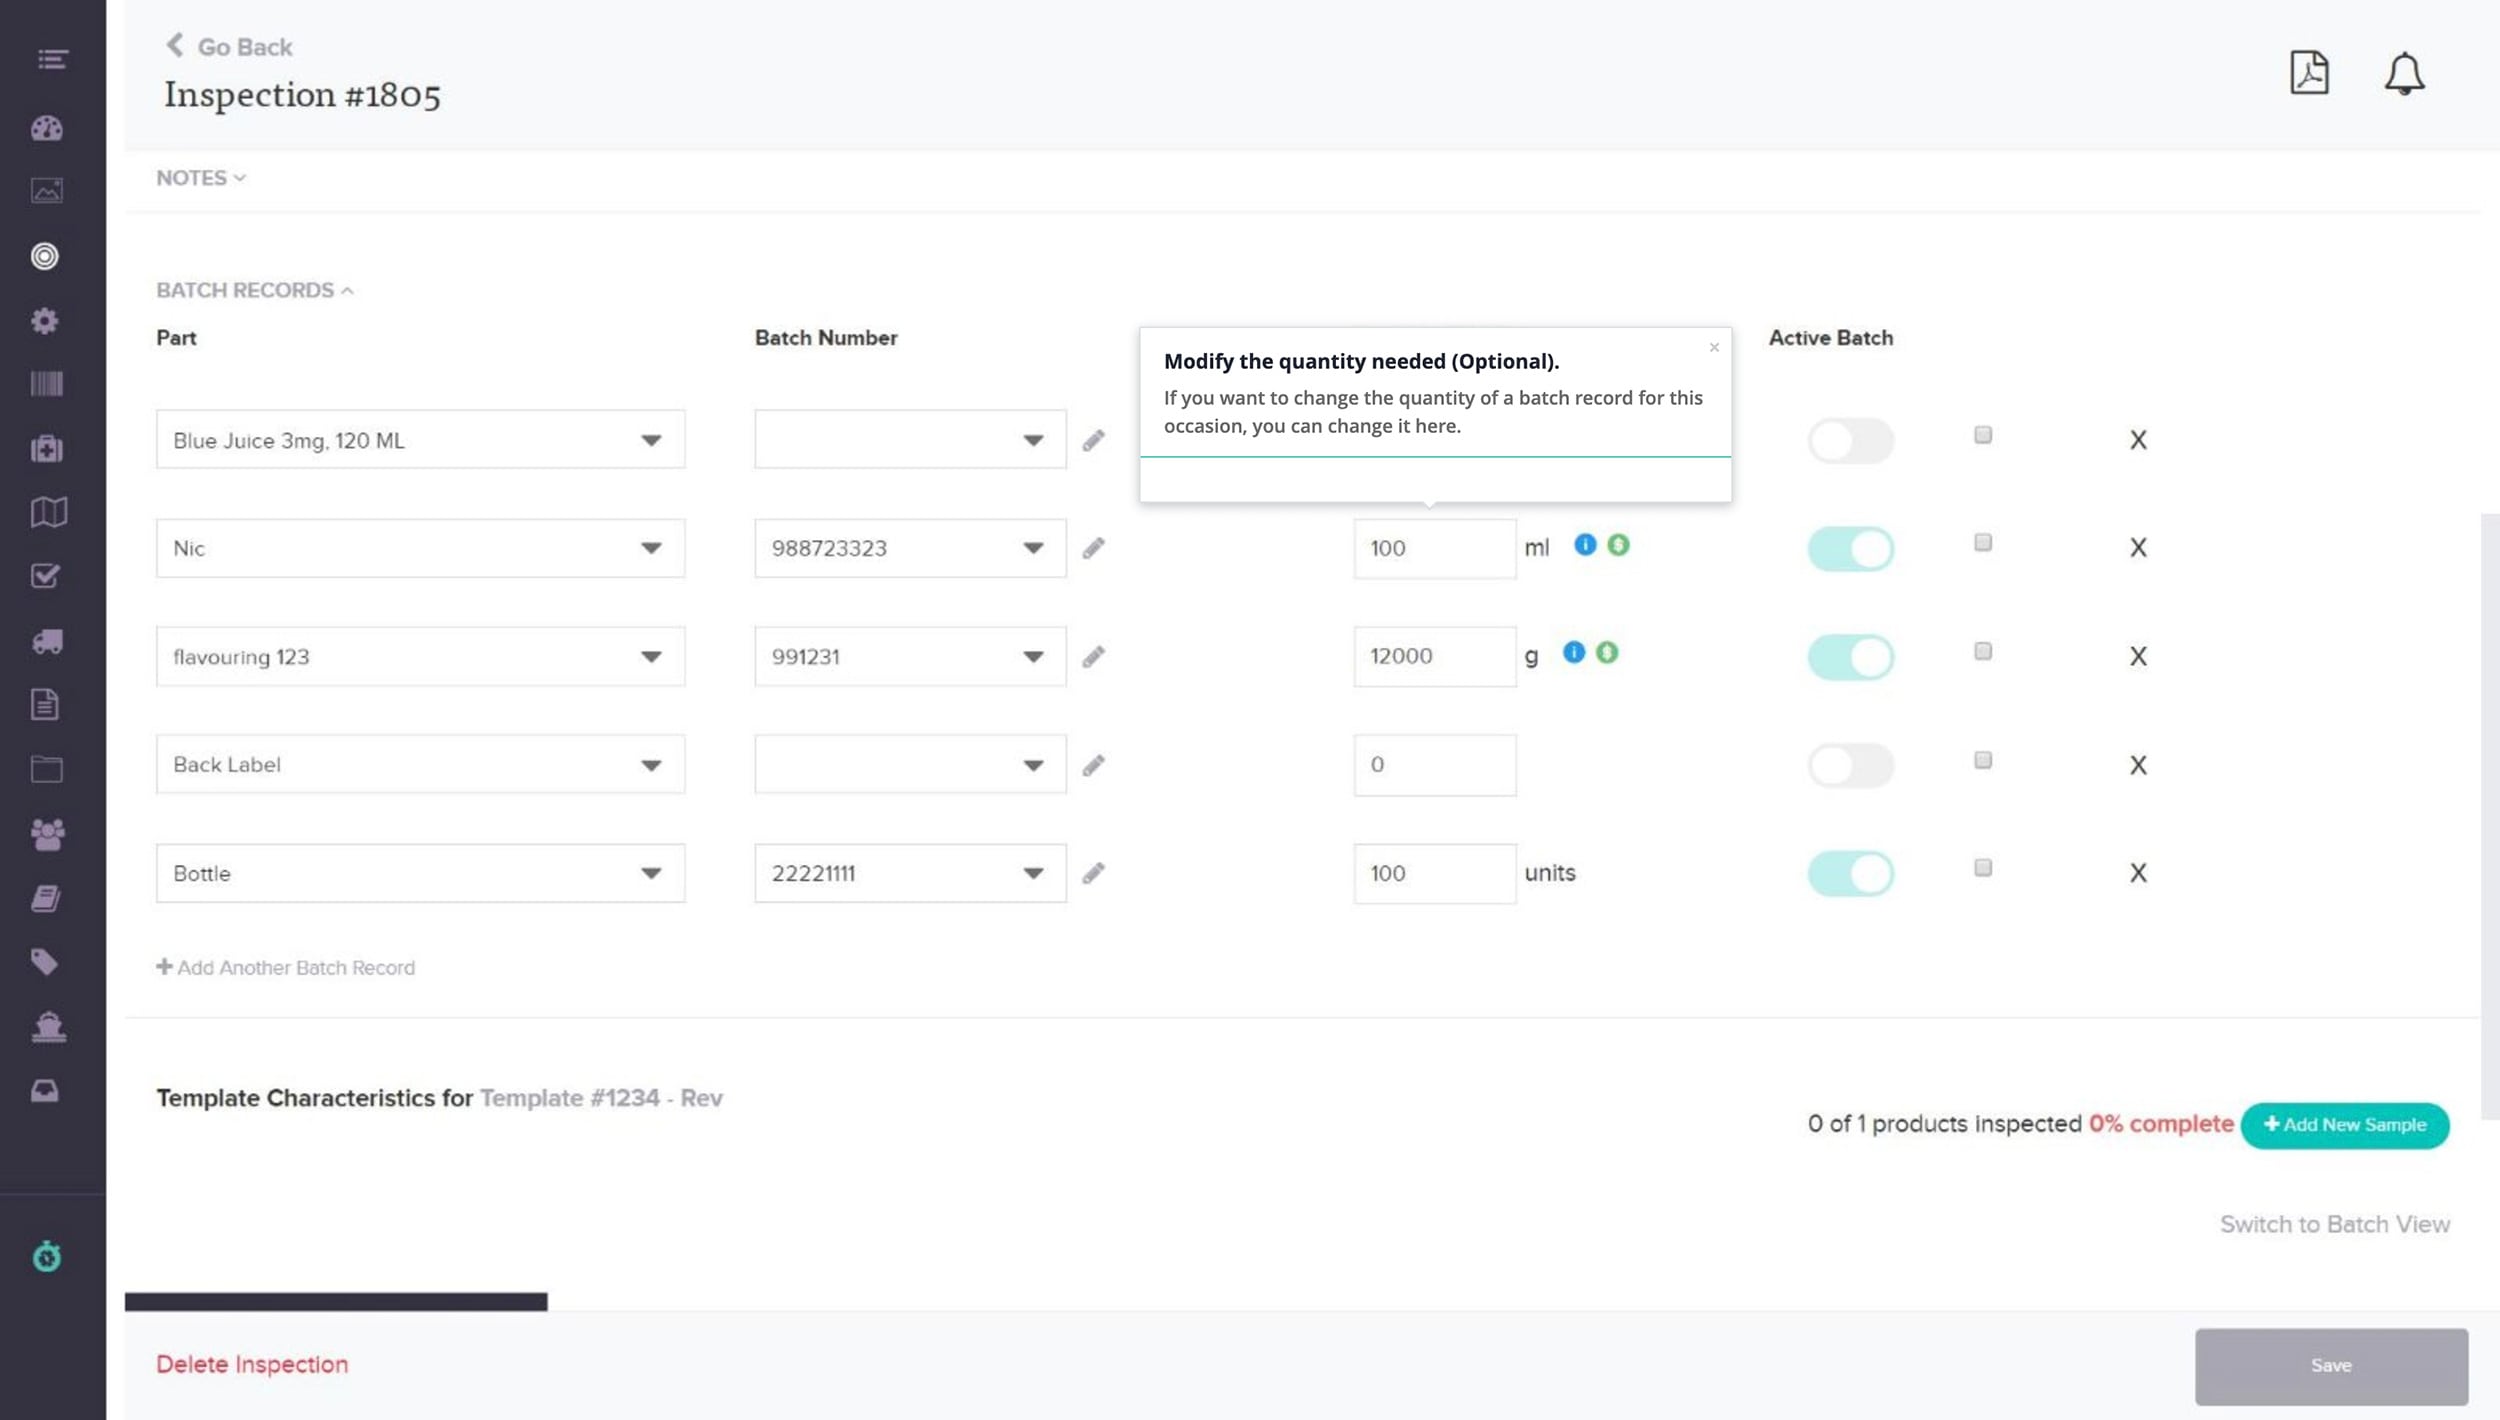
The remaining lines are components that make up the part you are inspecting.
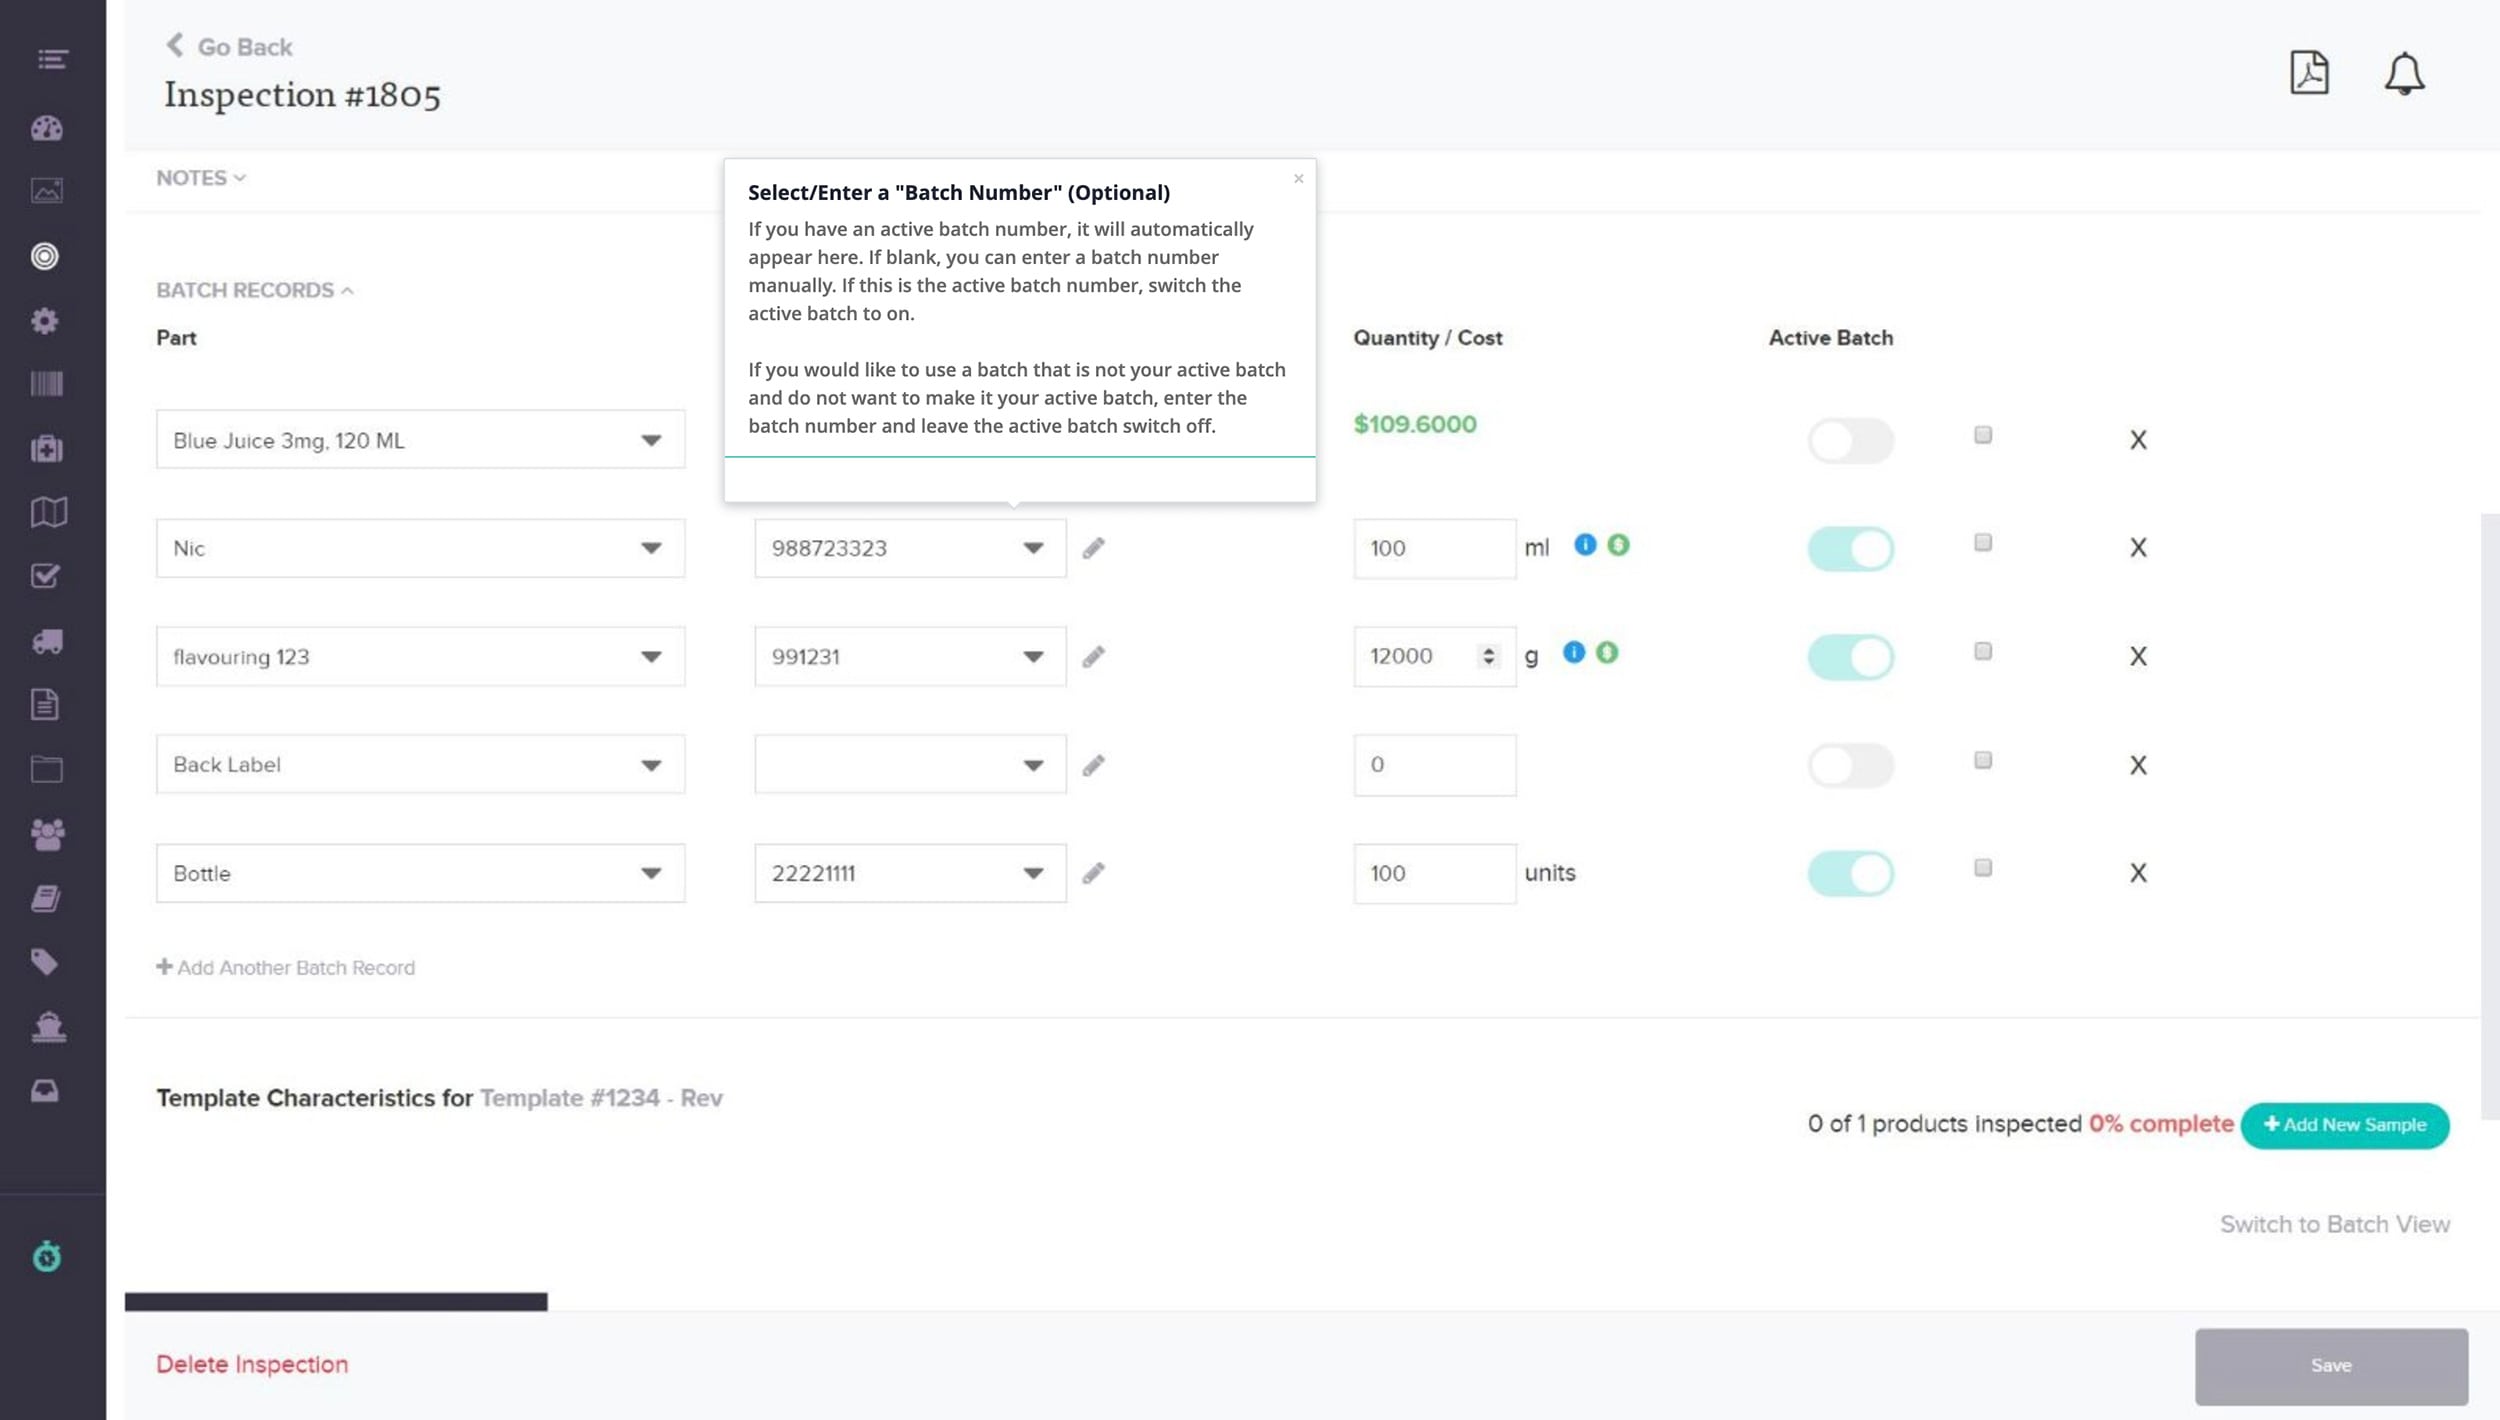
Step 34
Select/Enter a “Batch Number” (Optional)
Step 35
Modify the quantity needed (Optional).
Step 36
If you would like to add a new part to the batch record, add it here. (optional)

Step 37
Click here to continue with the rest of the inspection.

Step 38
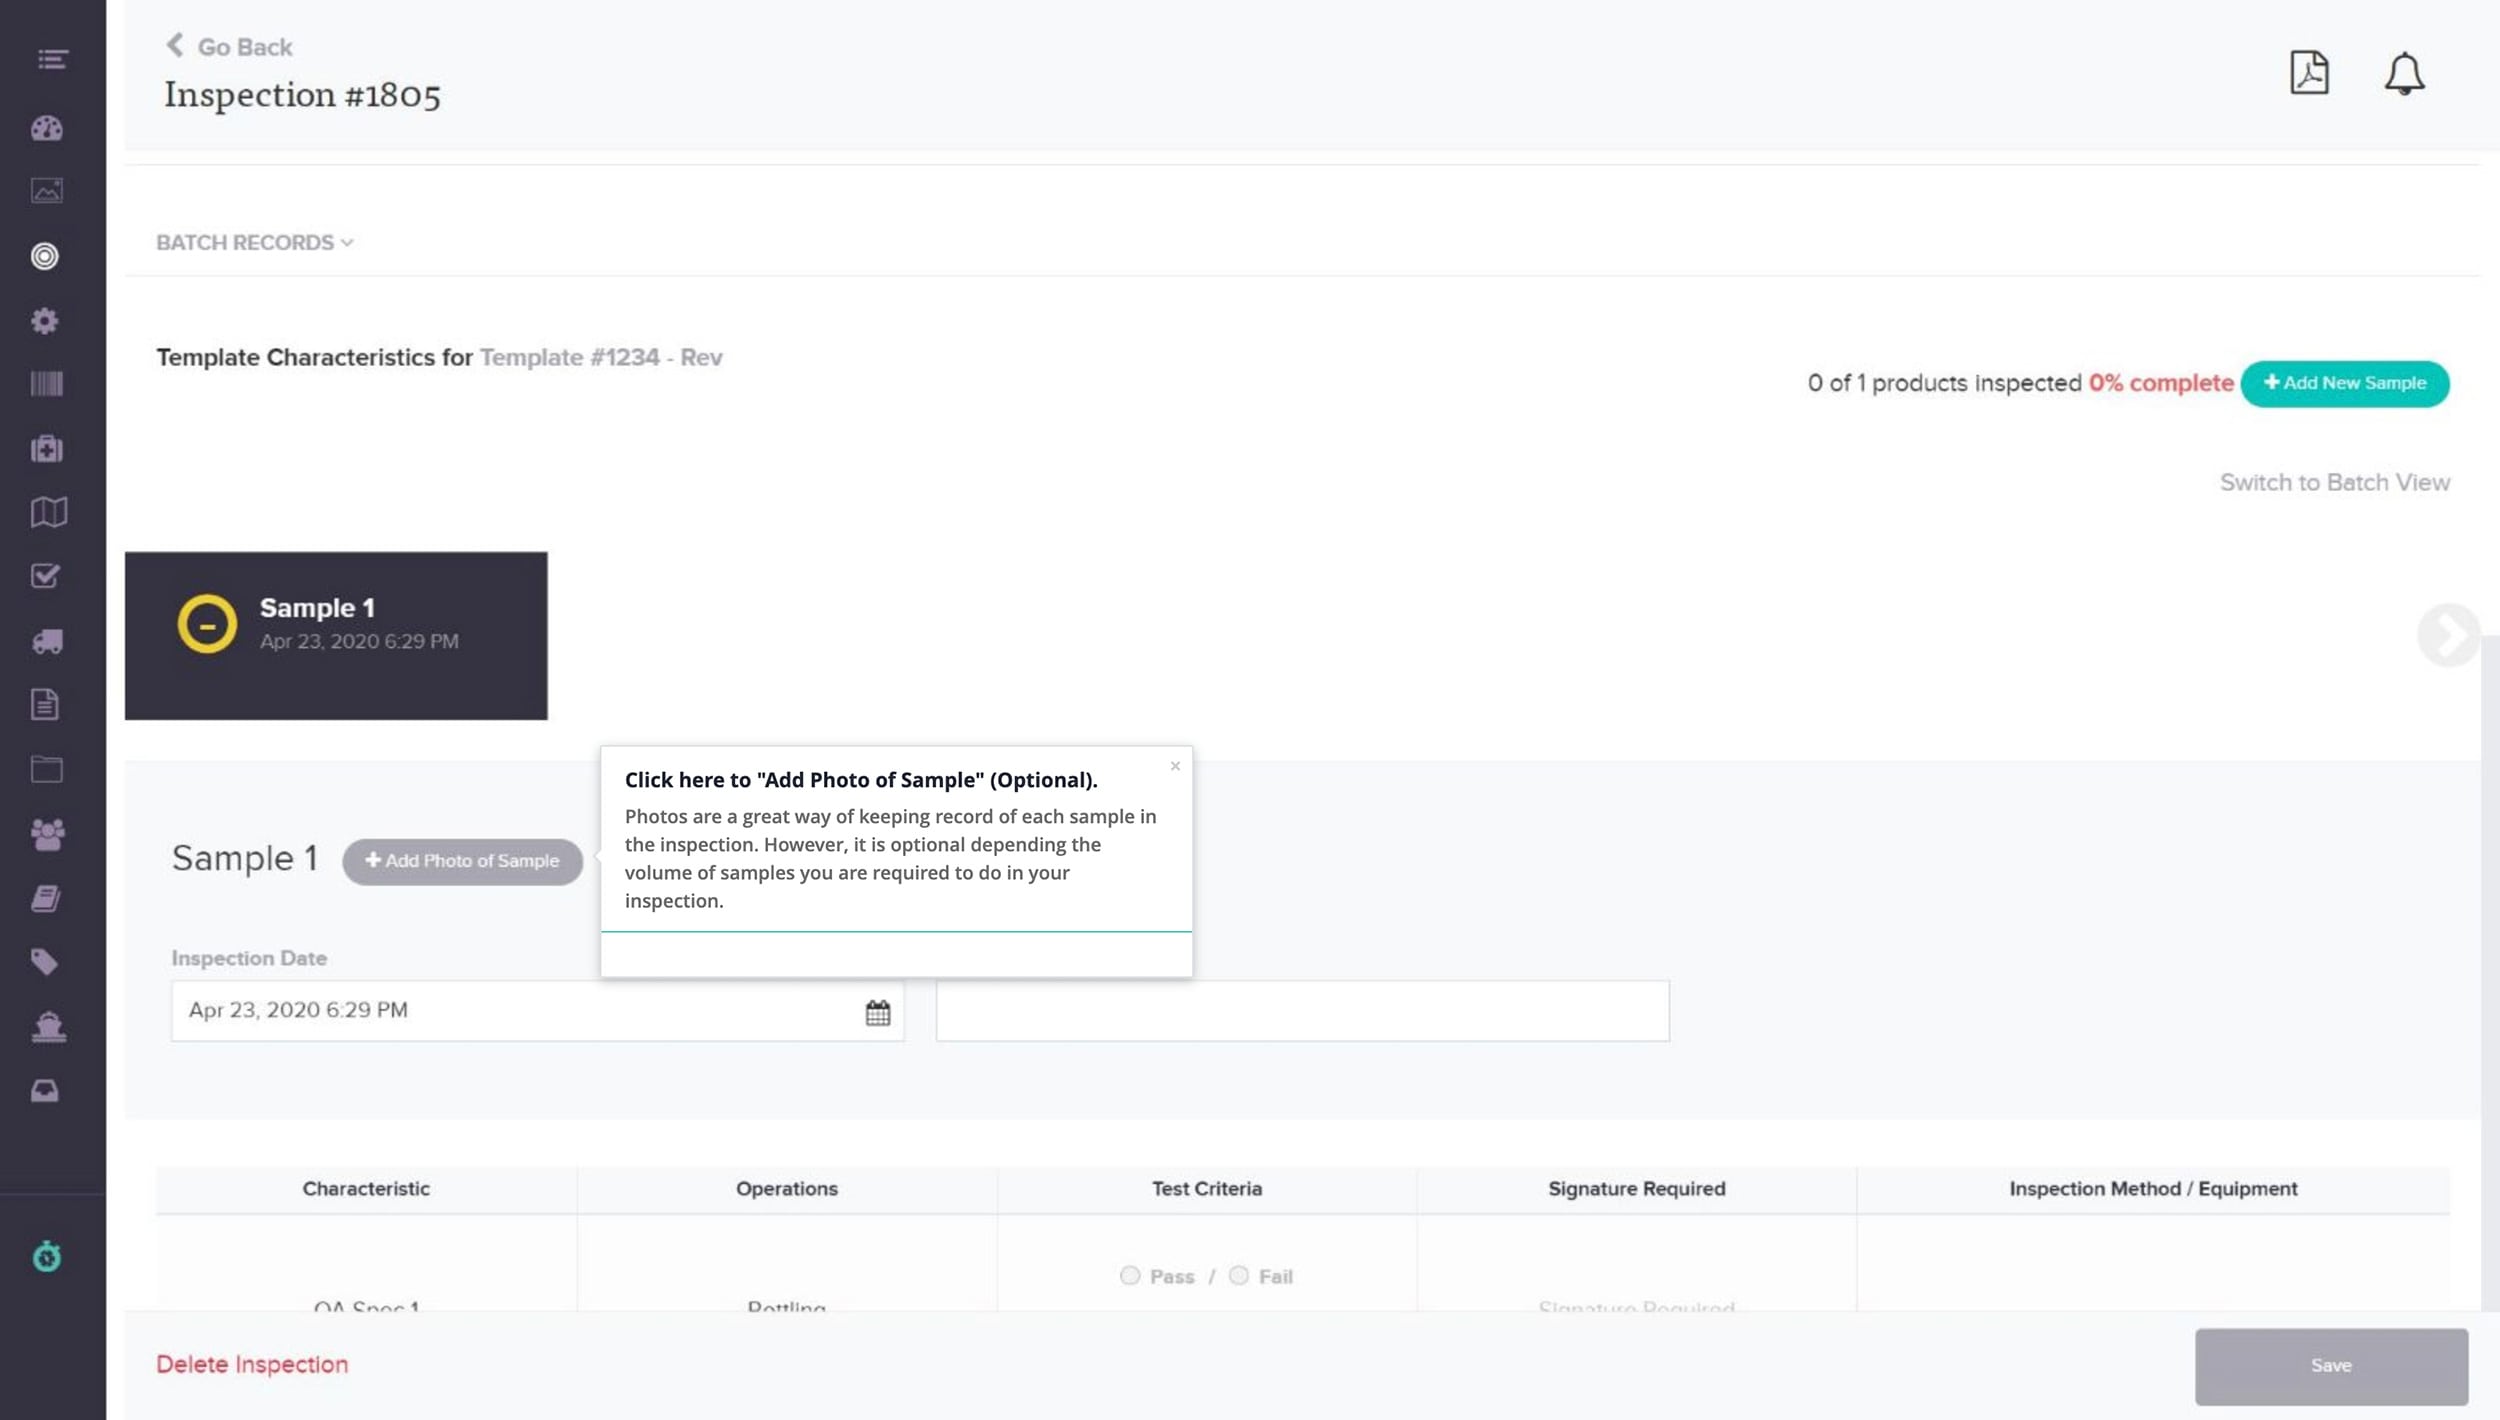
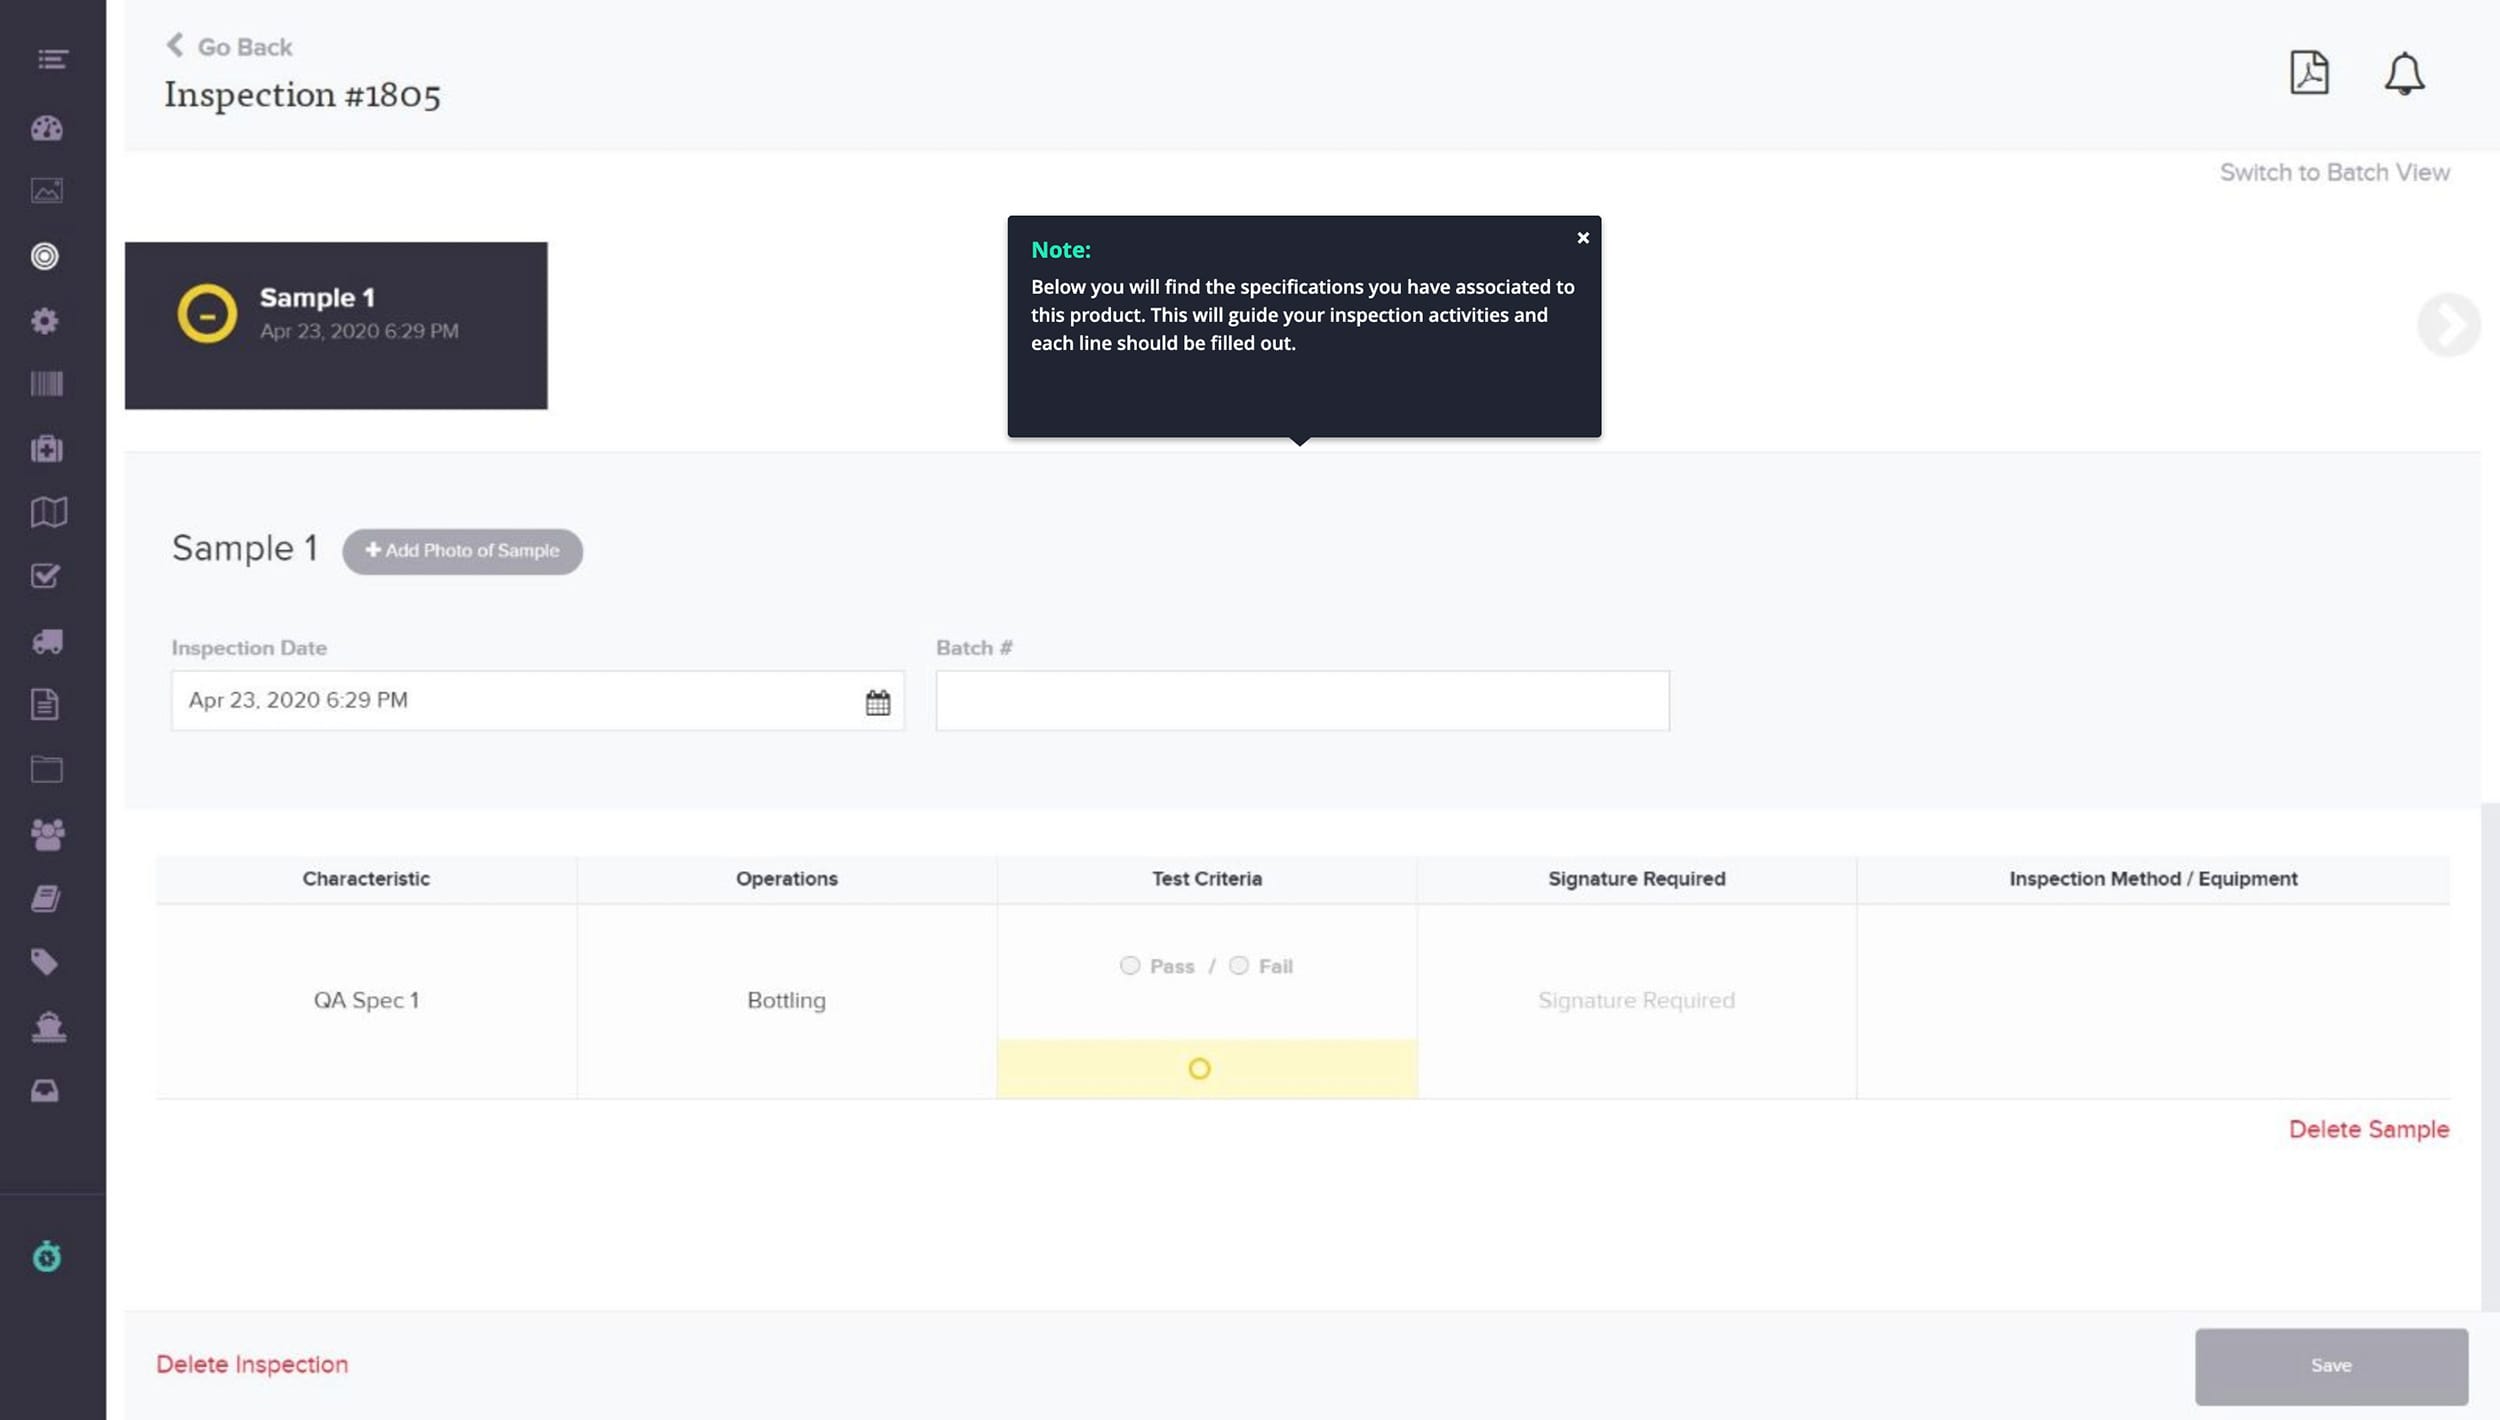
Click here to “Add Photo of Sample” (Optional).
Step 39
Select the date of the inspection.

Step 40
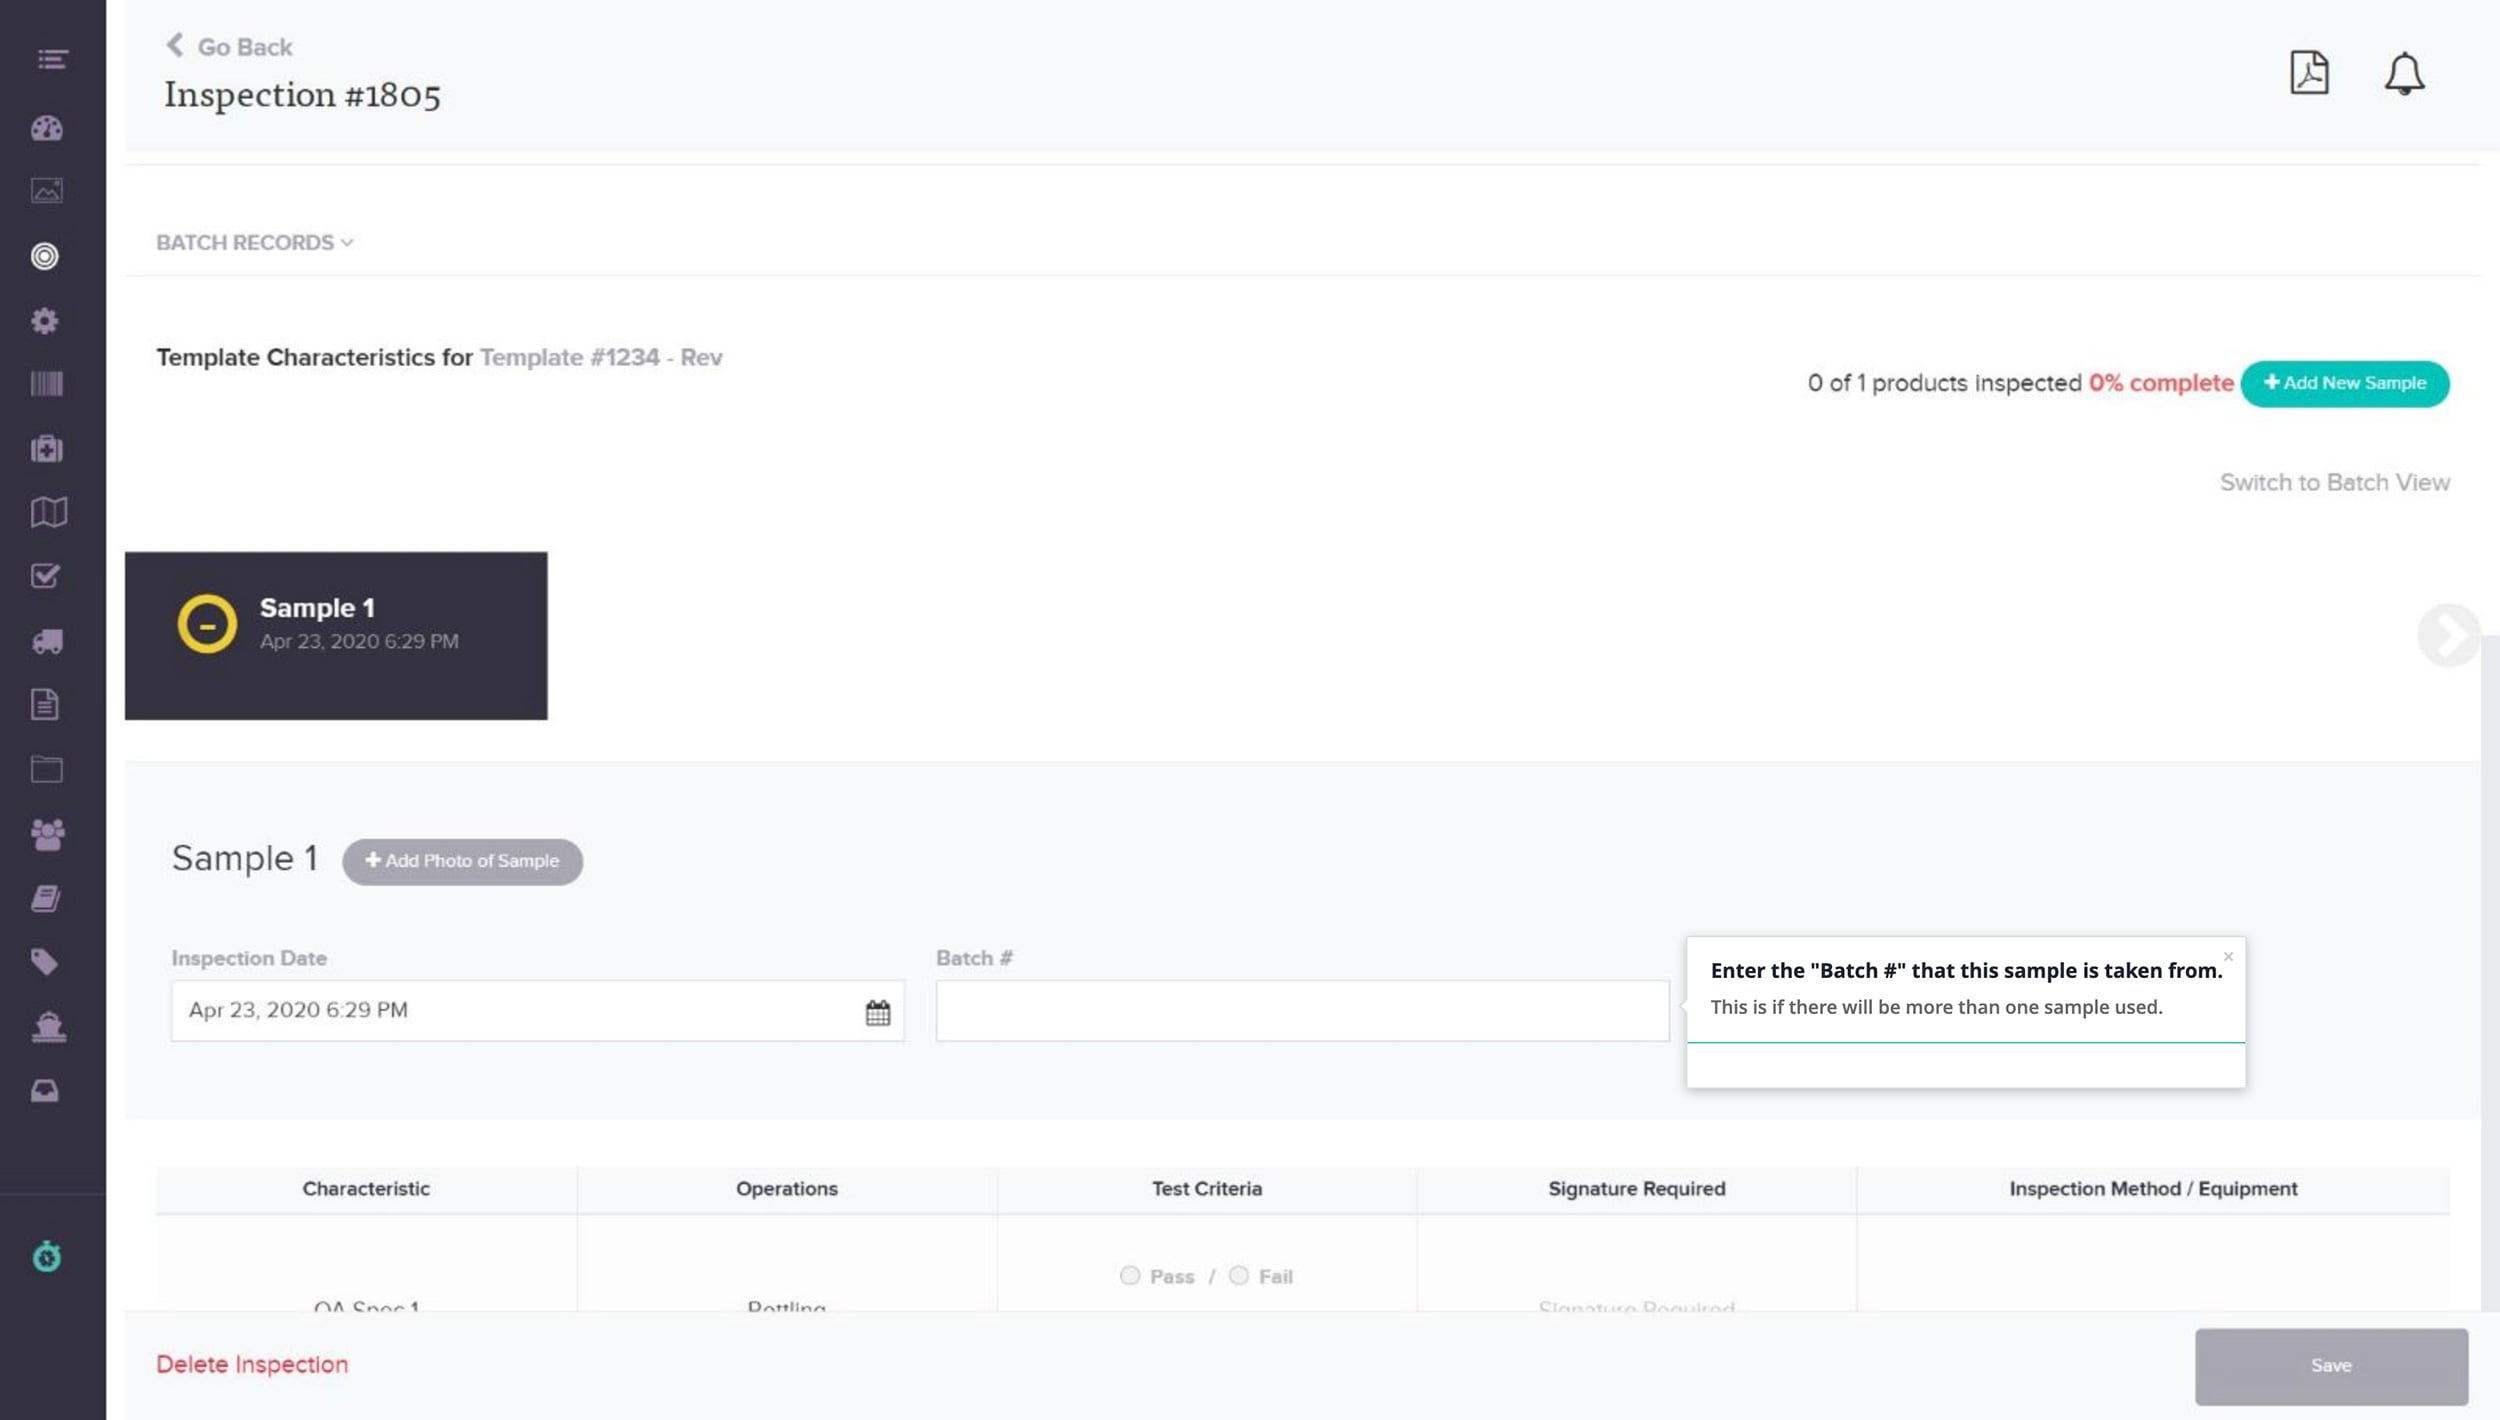
Enter the “Batch #” that this sample is taken from.
Step 41
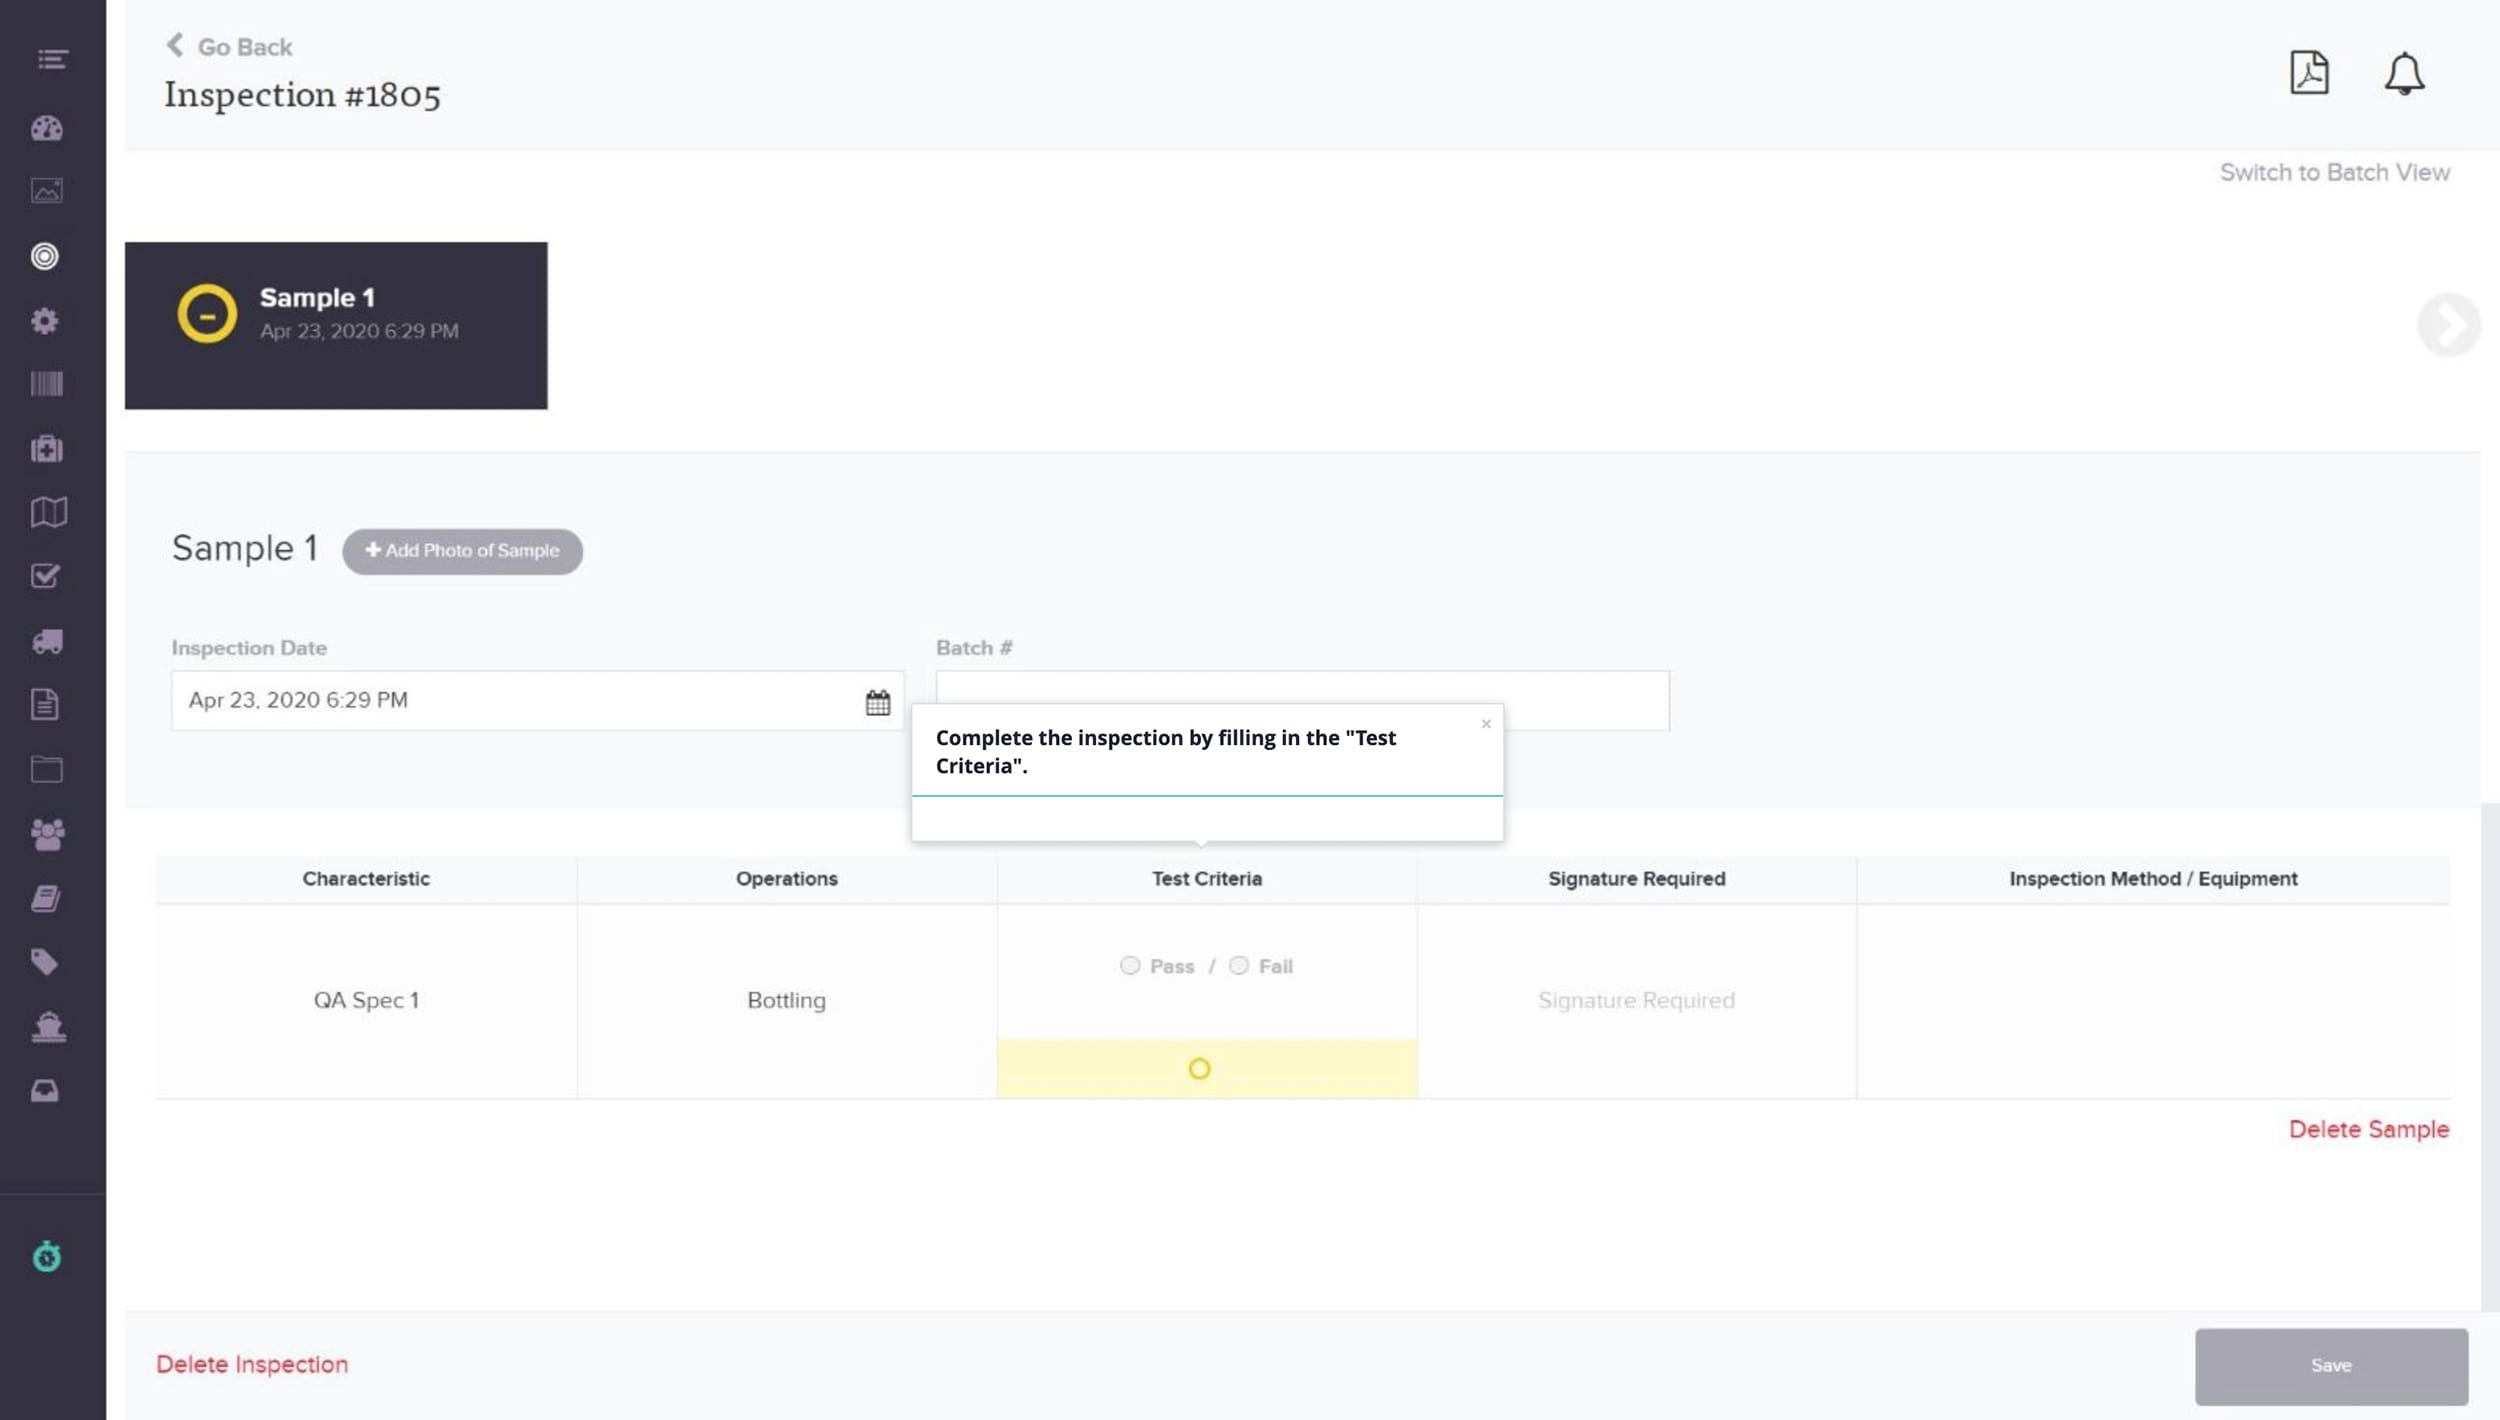
Complete the inspection by filling in the “Test Criteria”.
Step 42
Note:
Step 43
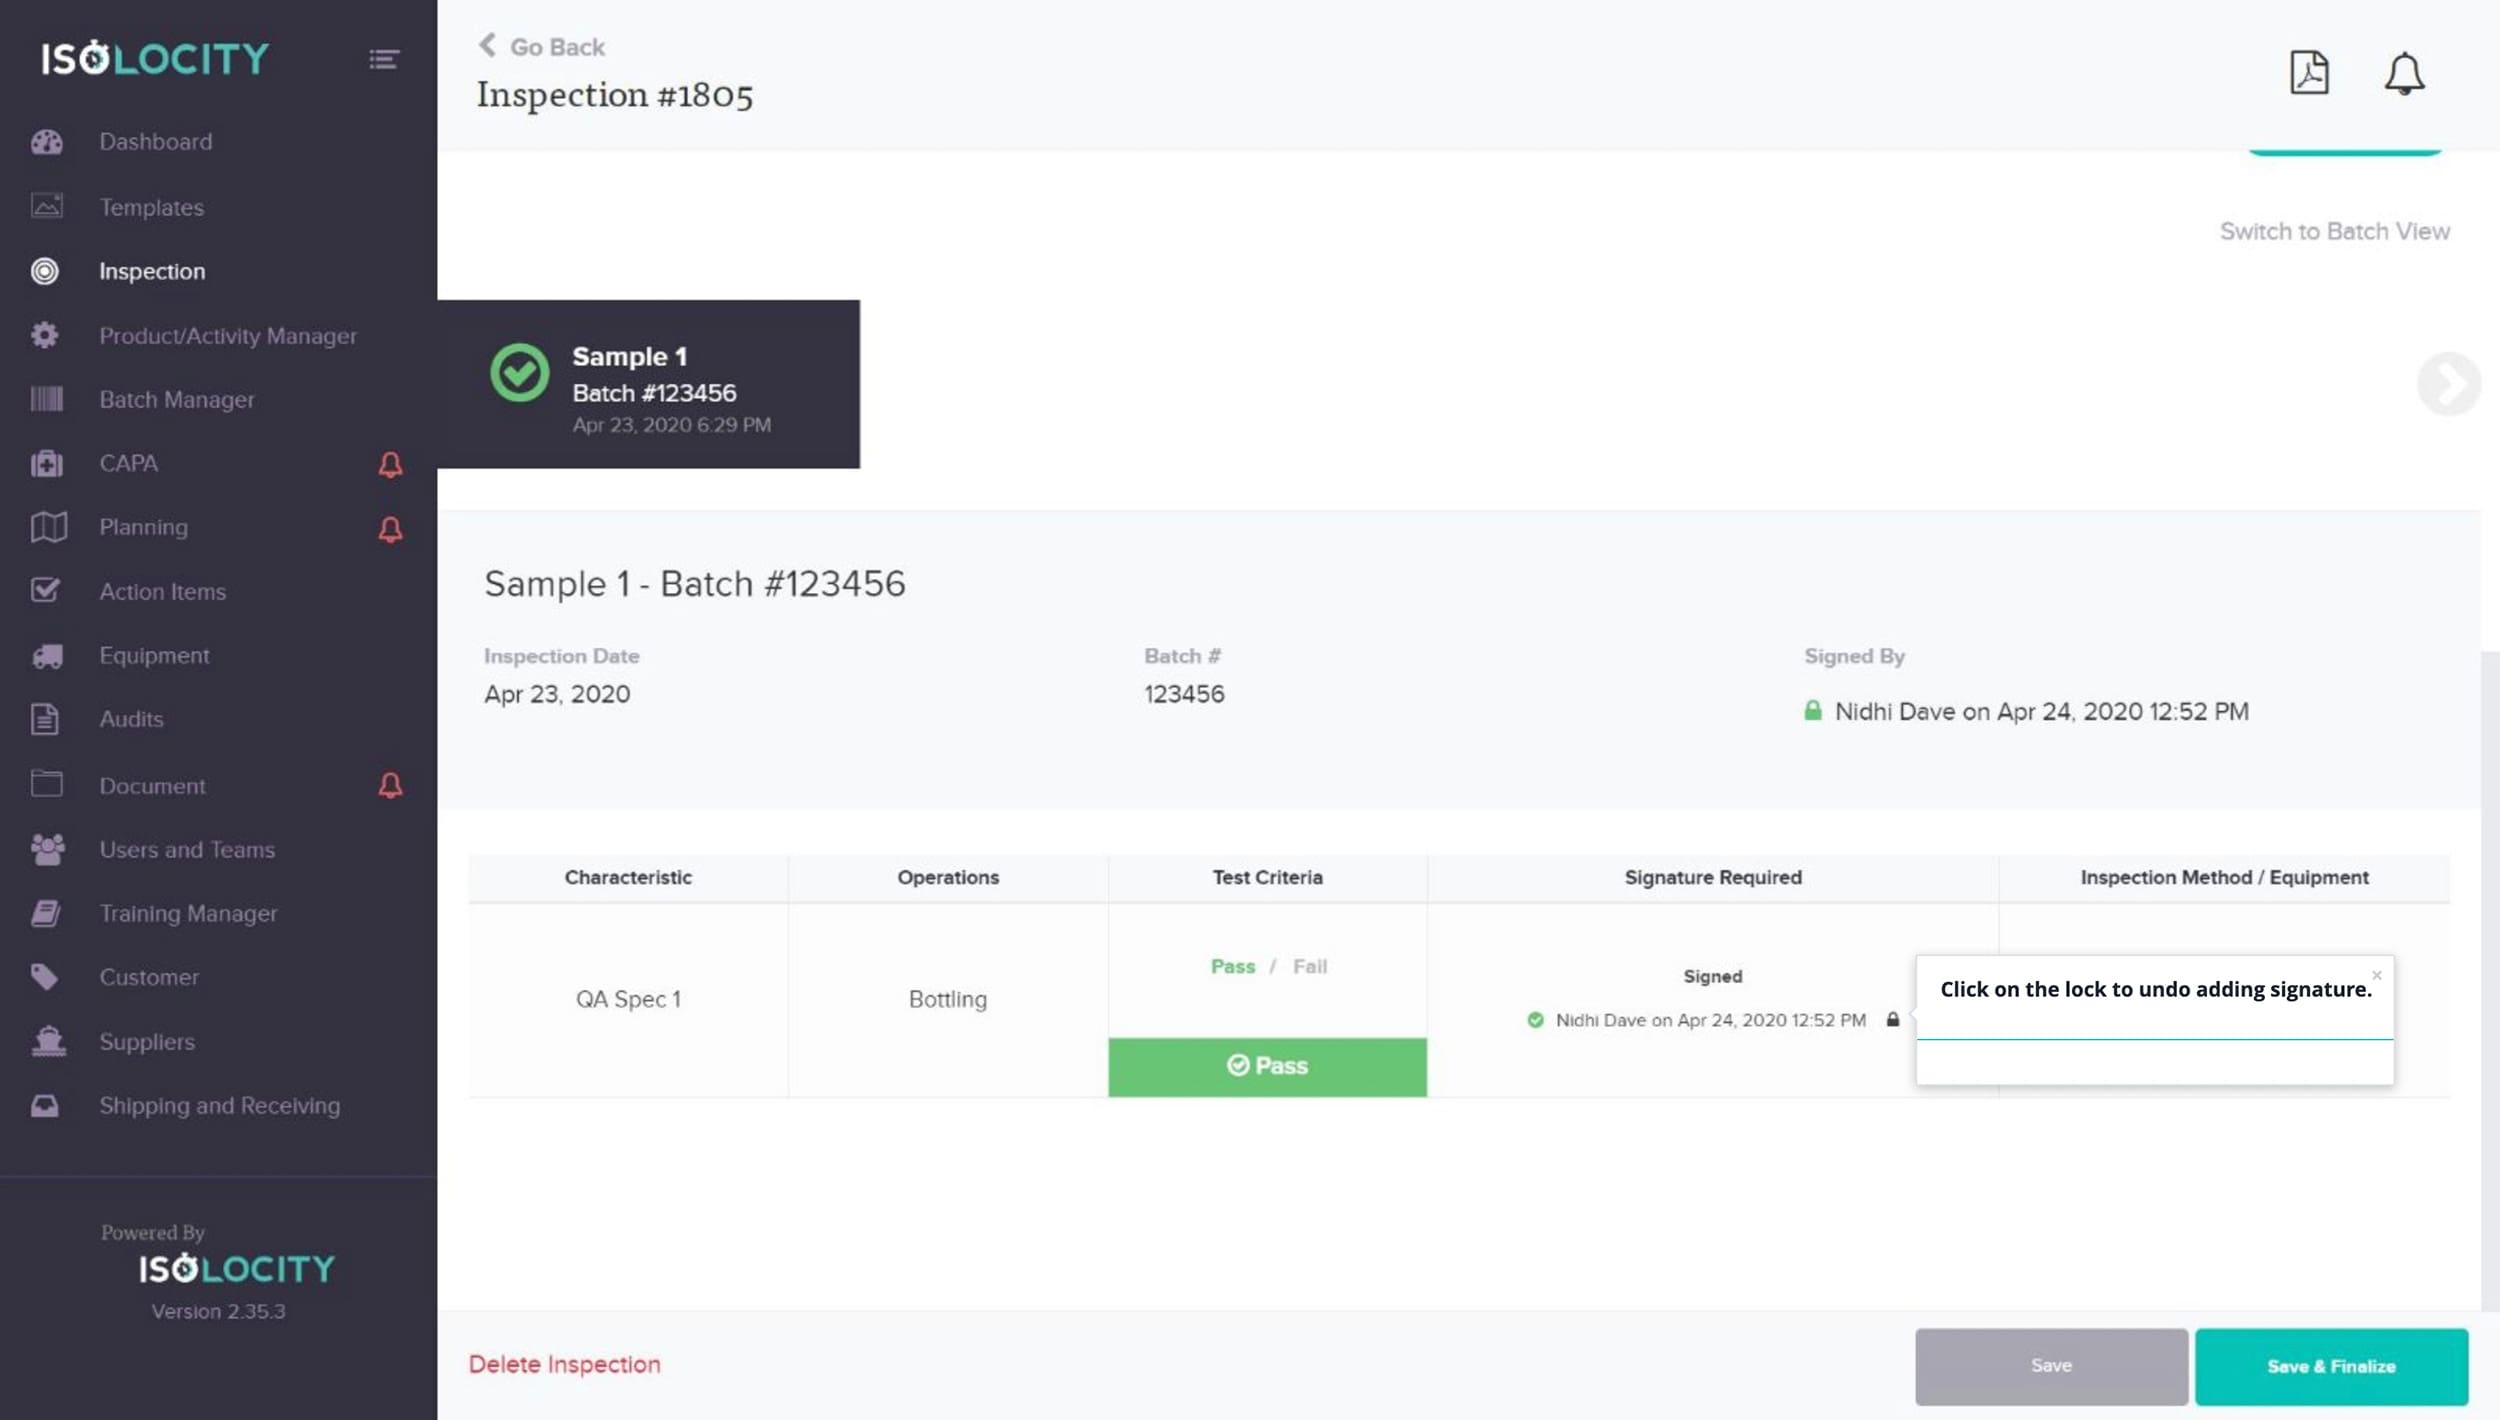
Click on the lock to undo adding signature.
Step 44
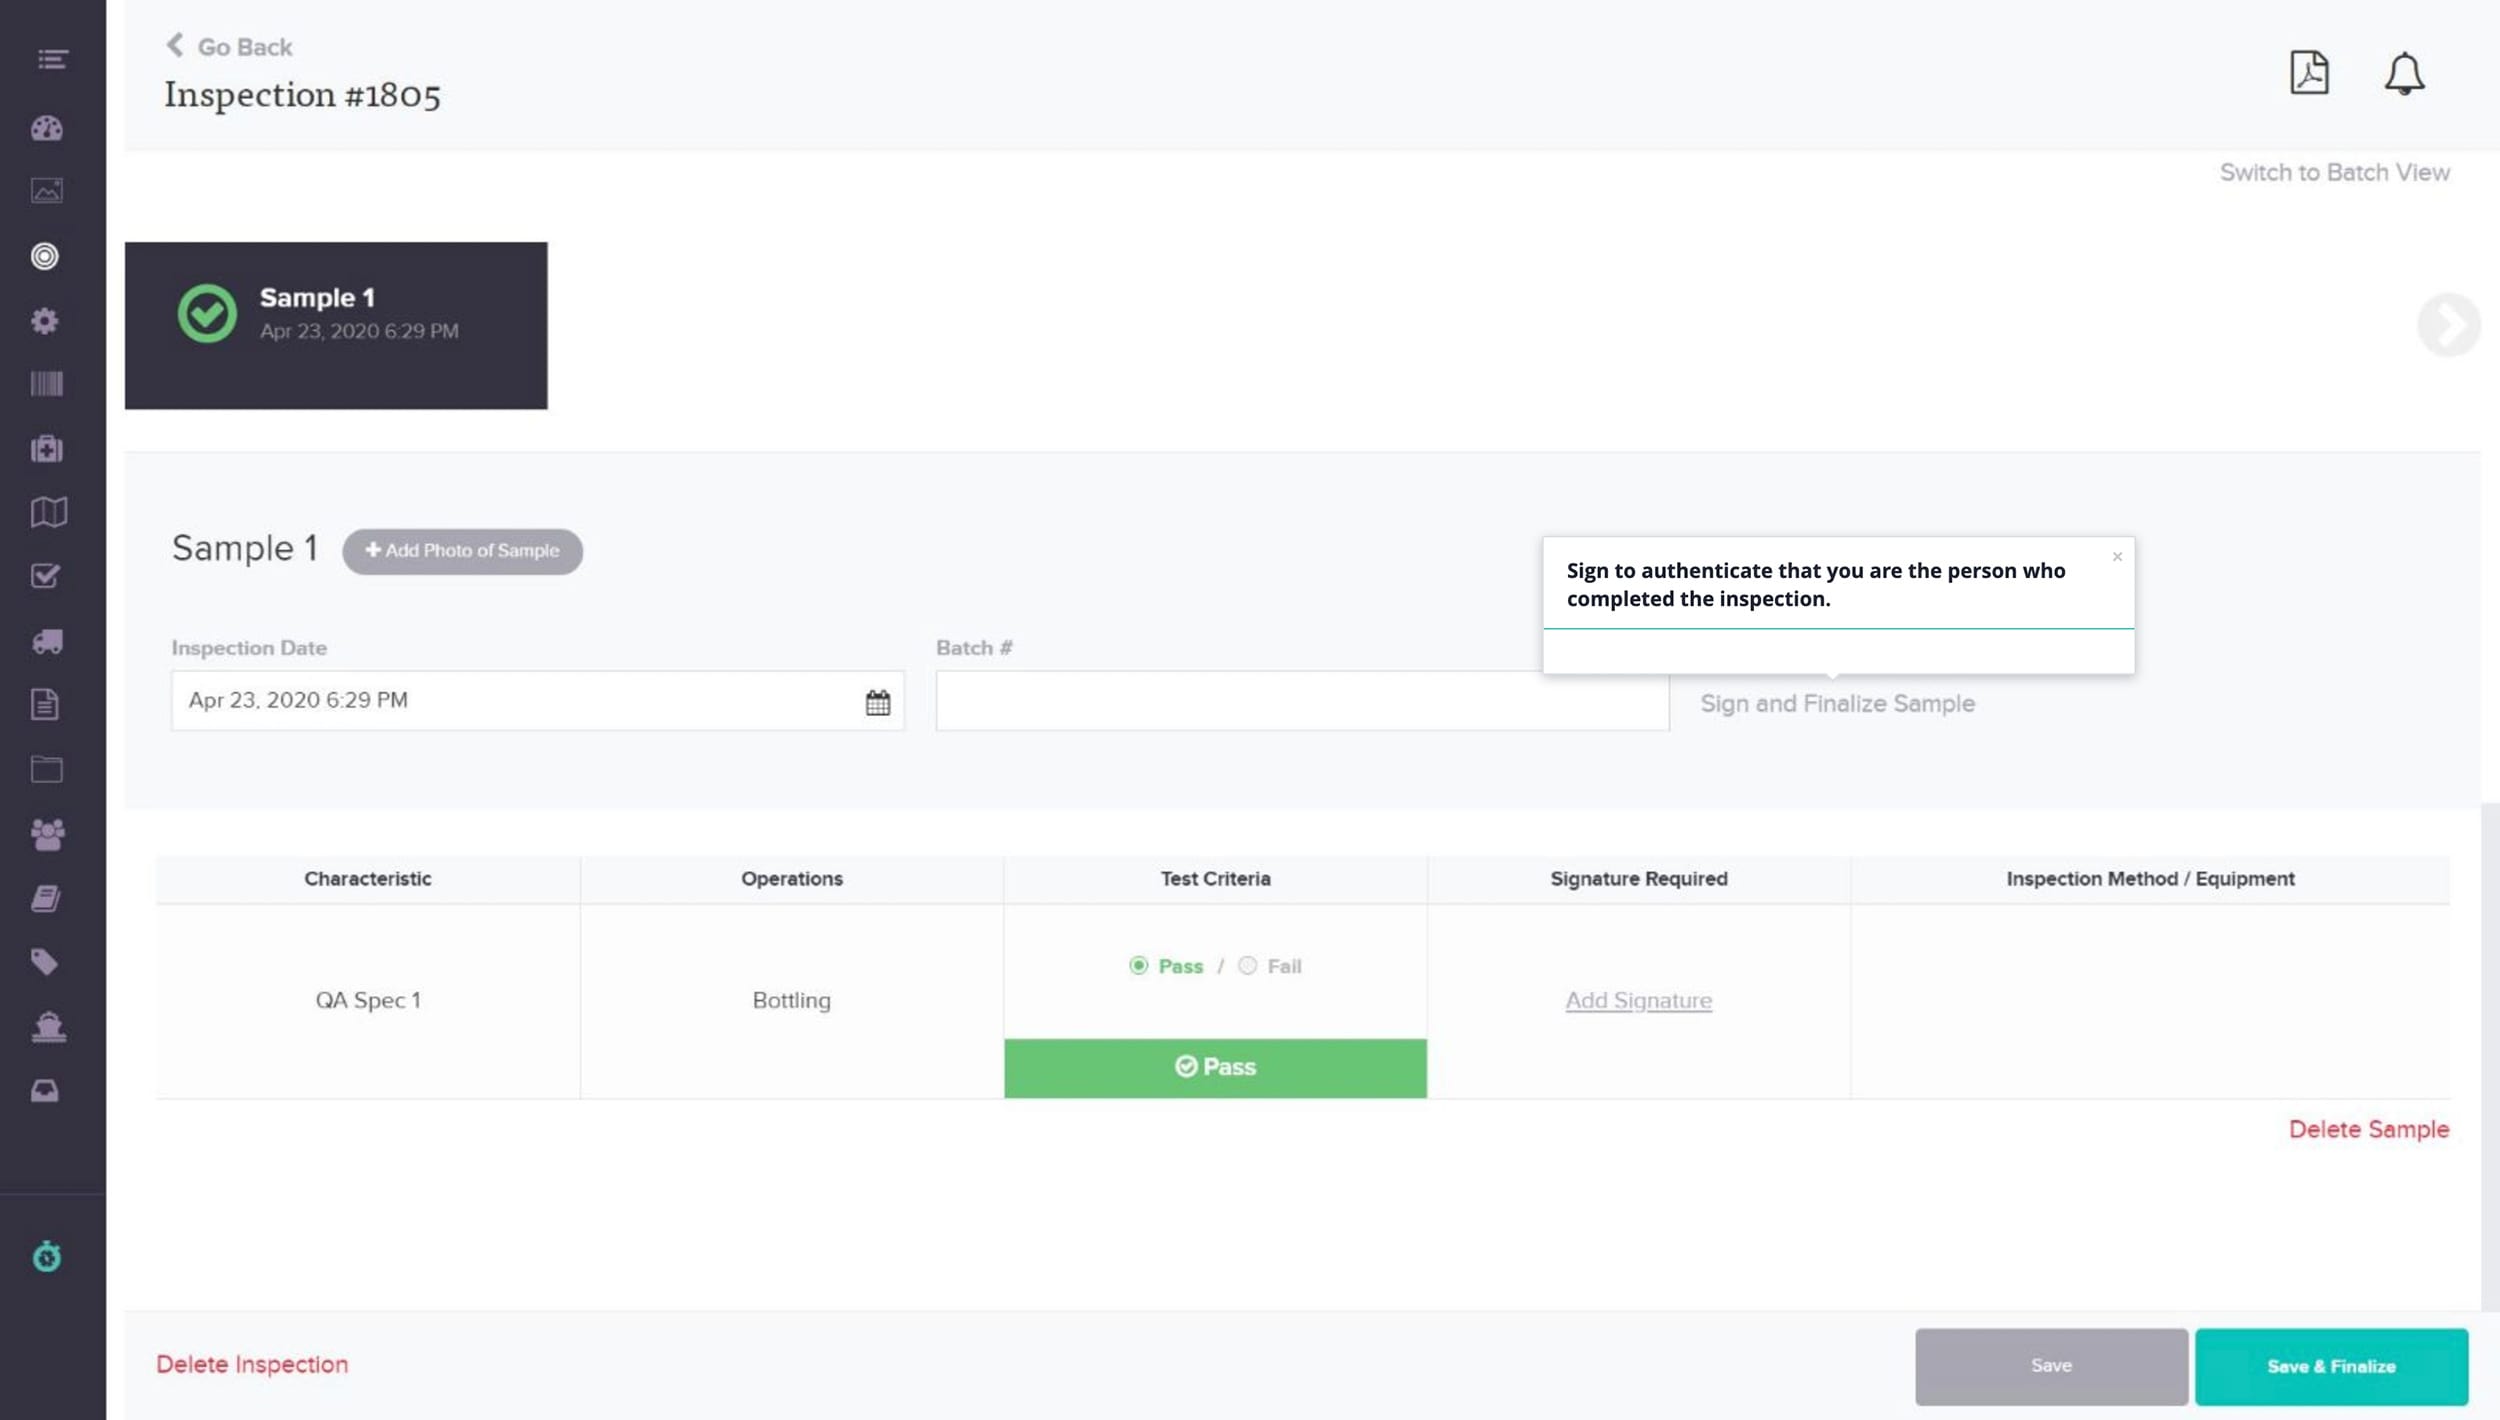
Sign to authenticate that you are the person who completed the inspection.
Step 45
Click here to “Save” your inspection.

Step 46
Note:
Step 47
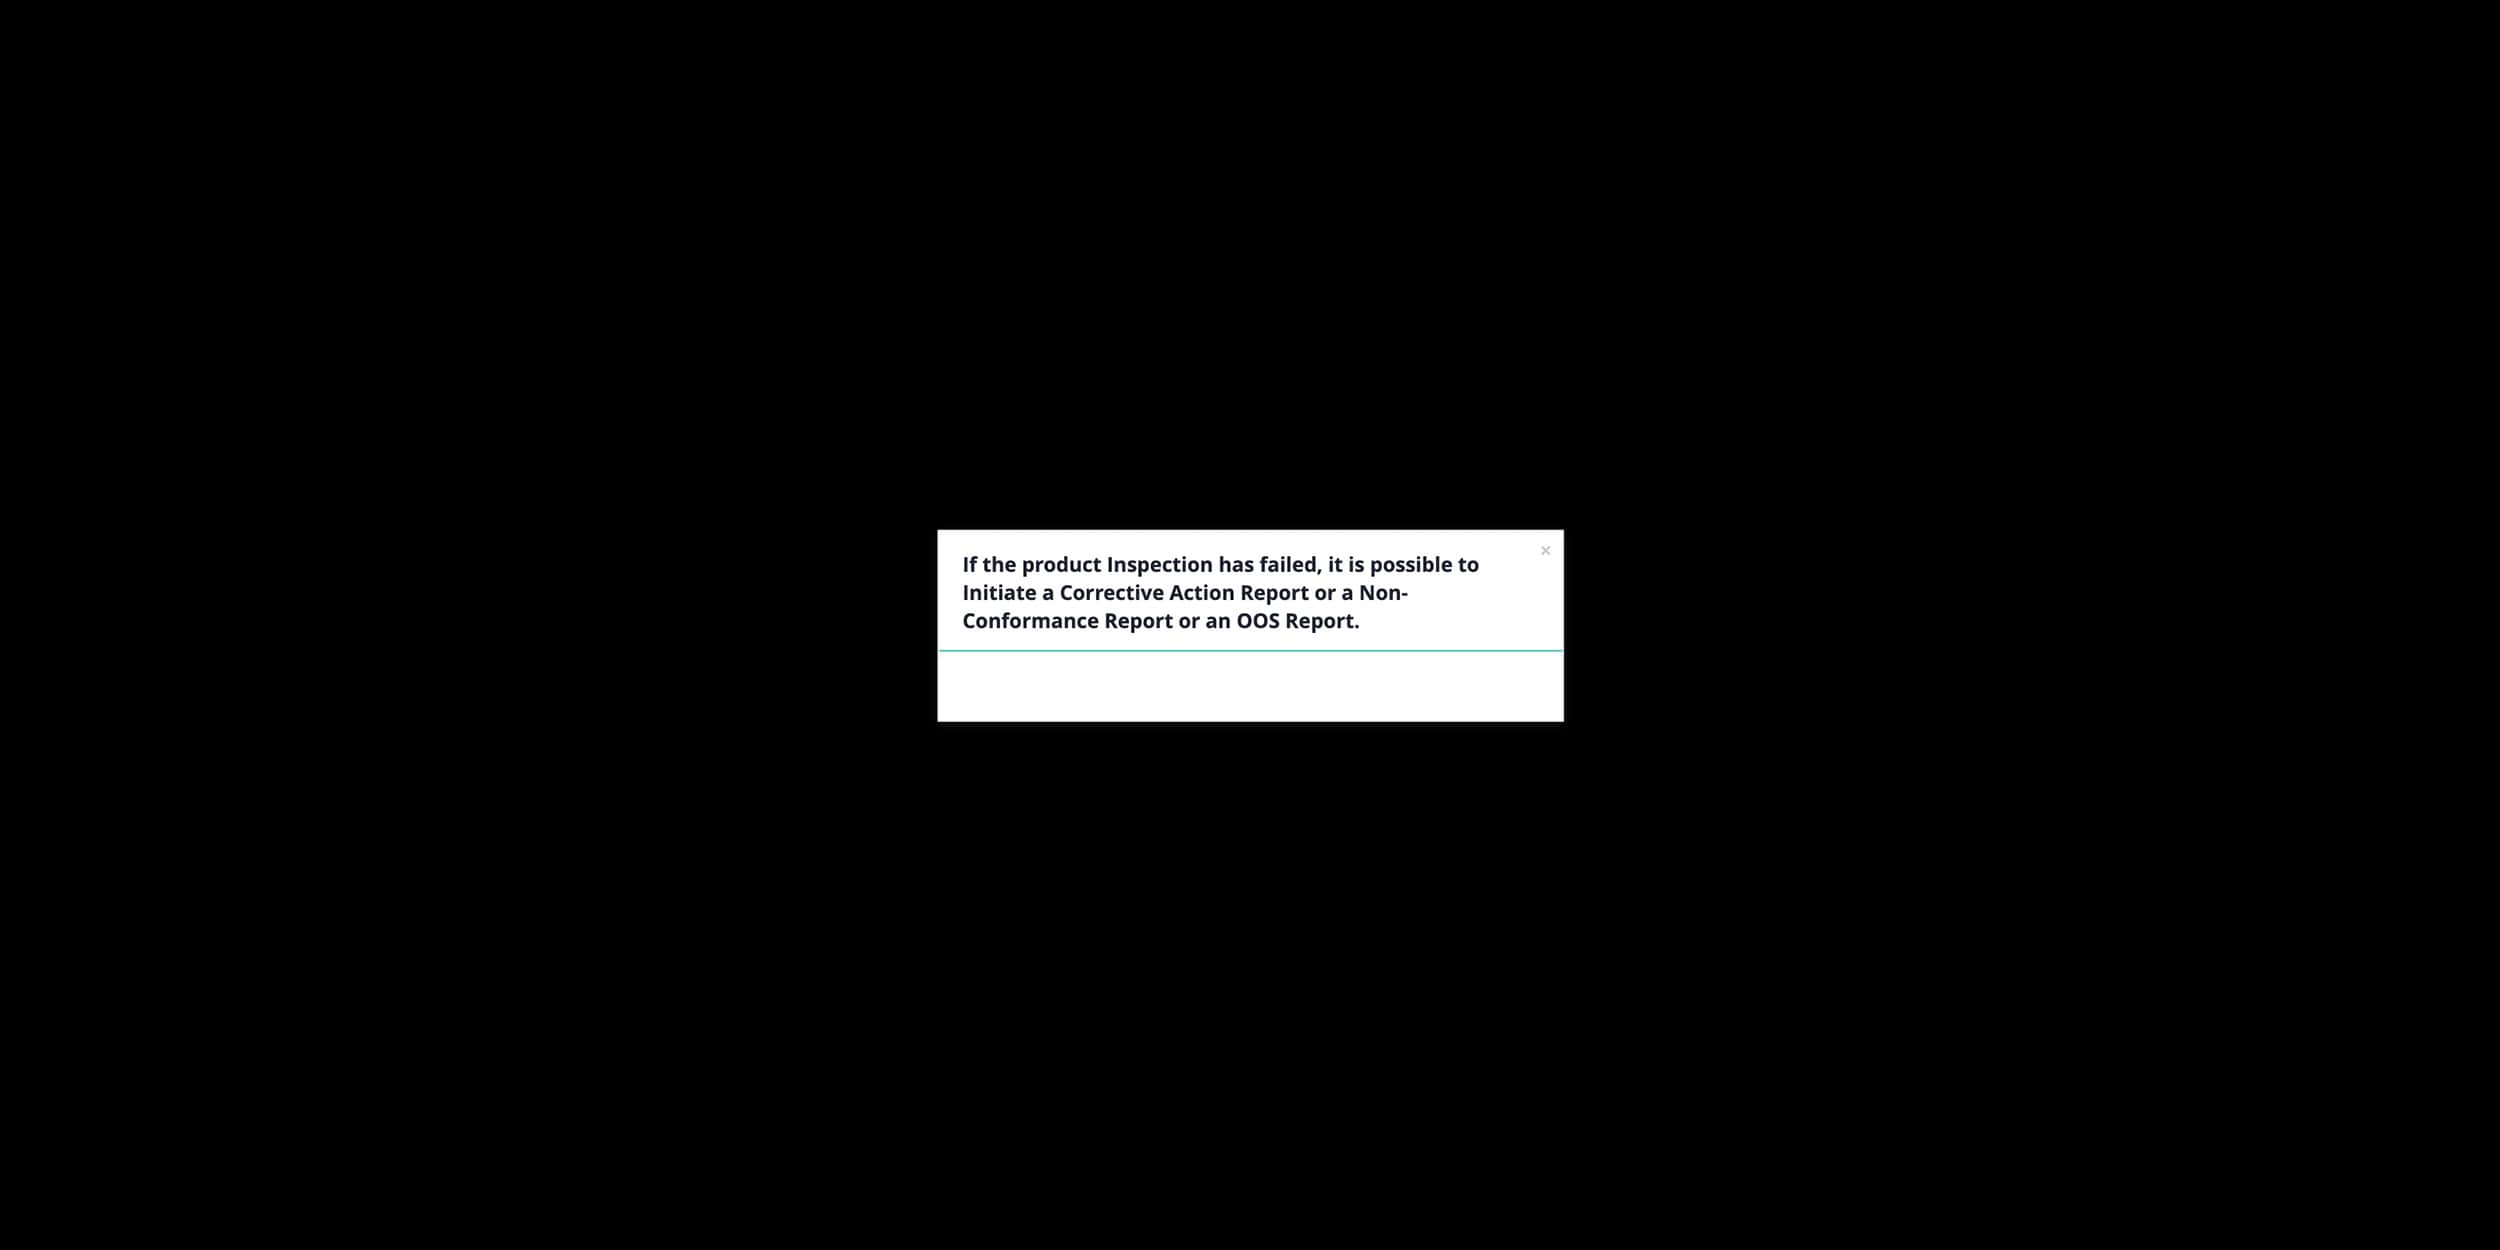
If the product Inspection has failed, it is possible to Initiate a Corrective Action Report or a Non-Conformance Report or an OOS Report.
Step 48
Click the PDF icon
![]()
Step 49
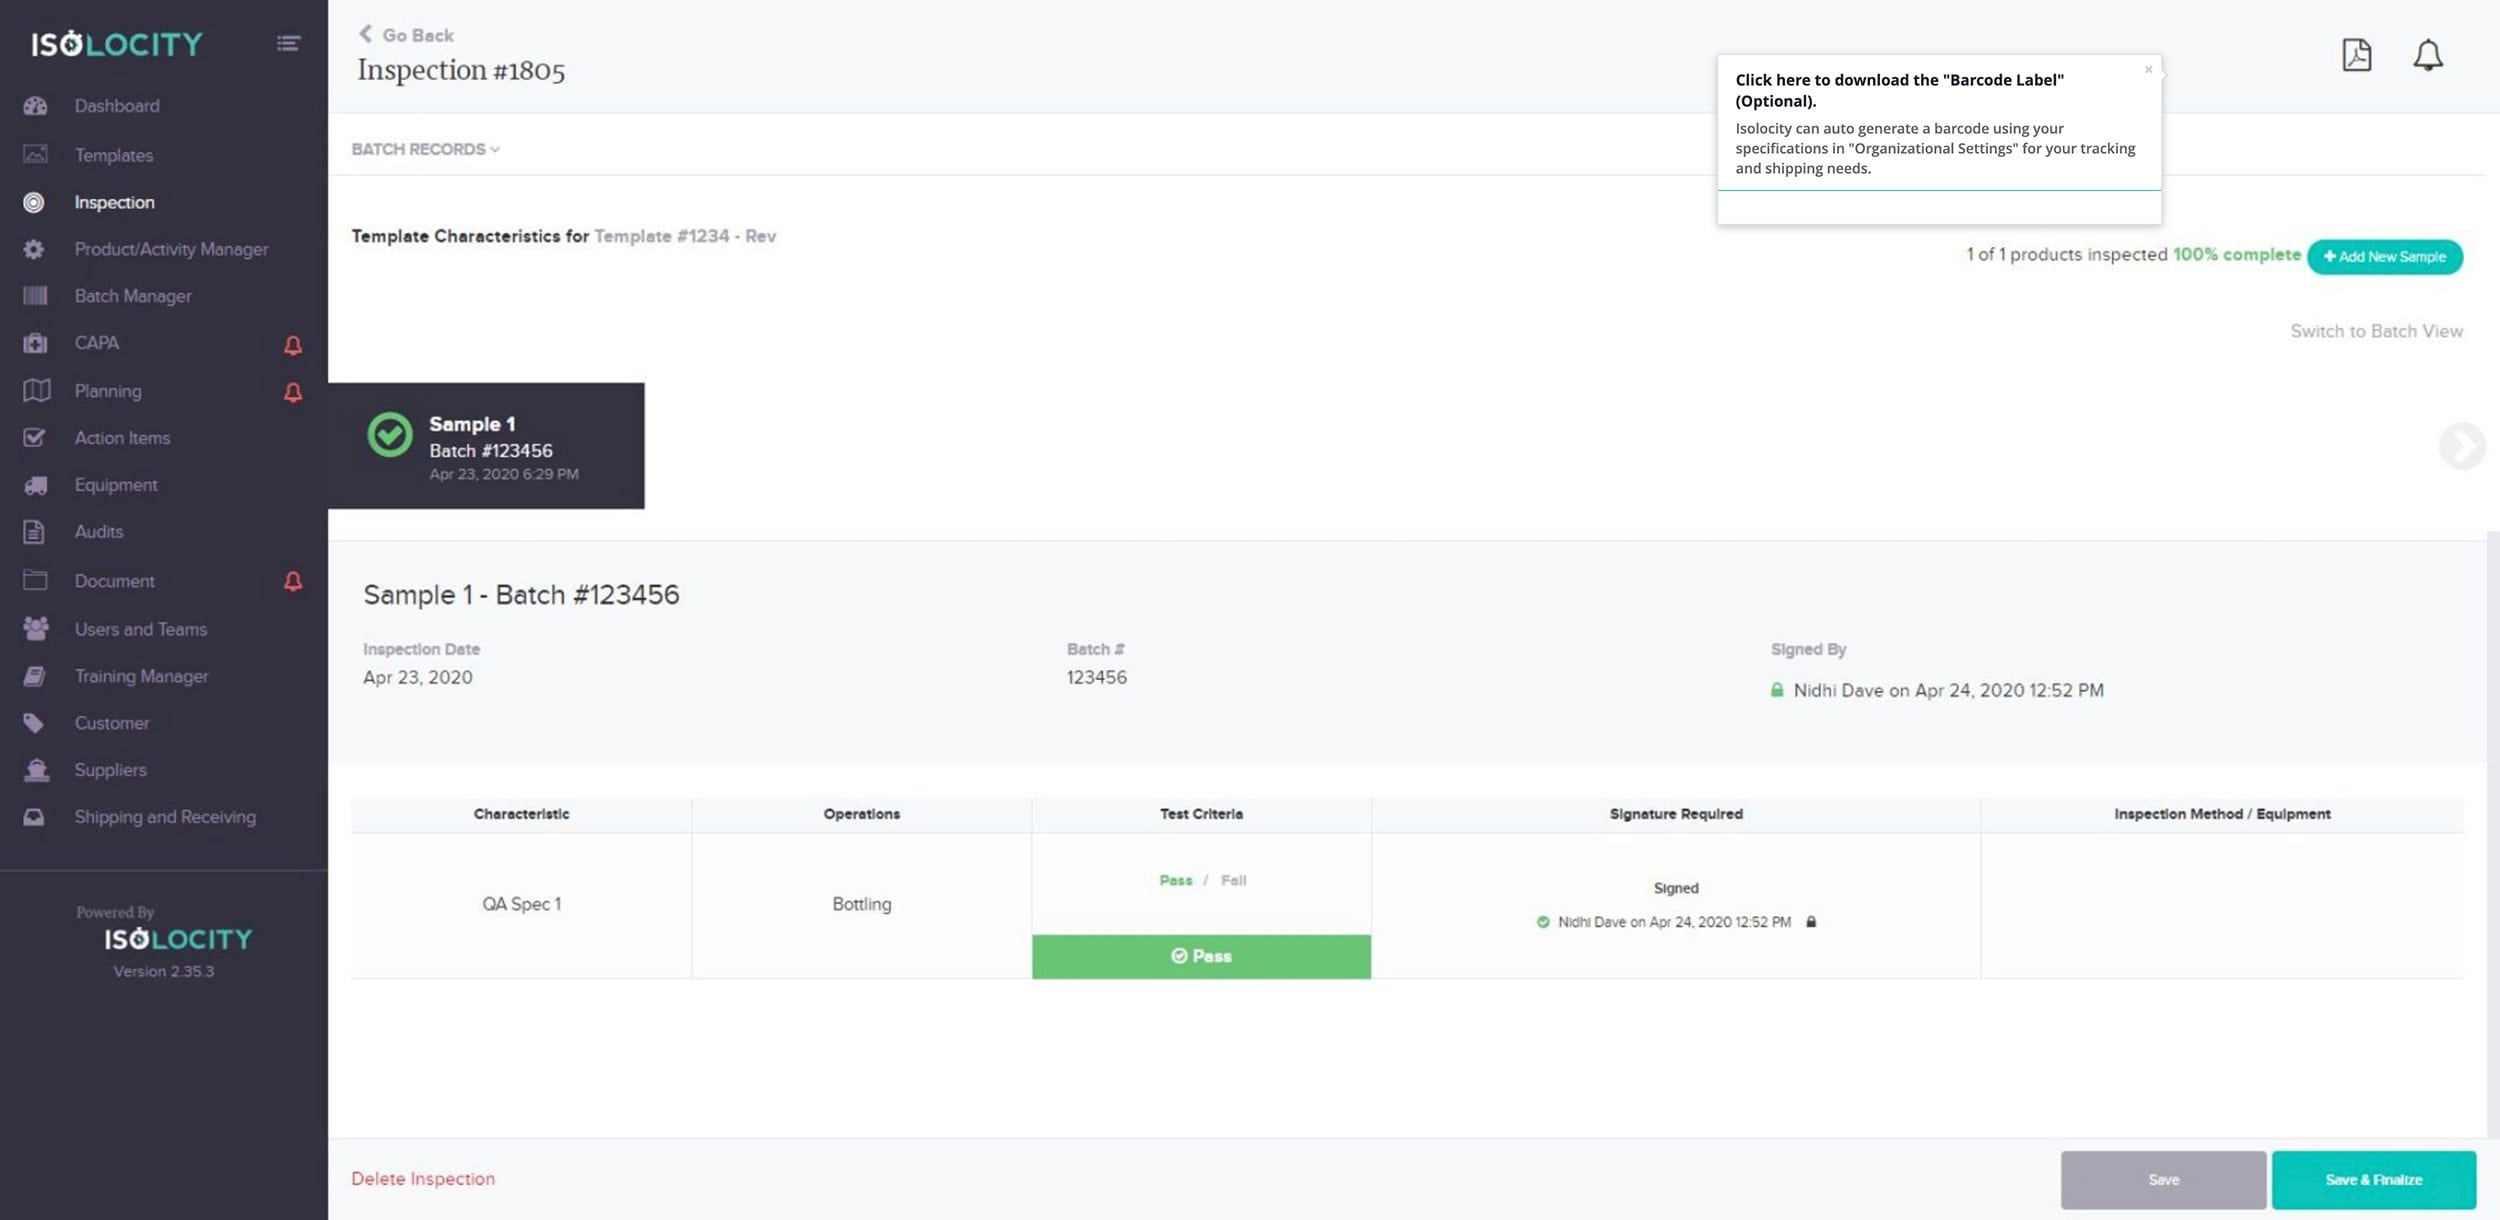
Click here to download the “Barcode Label” (Optional).
Step 50
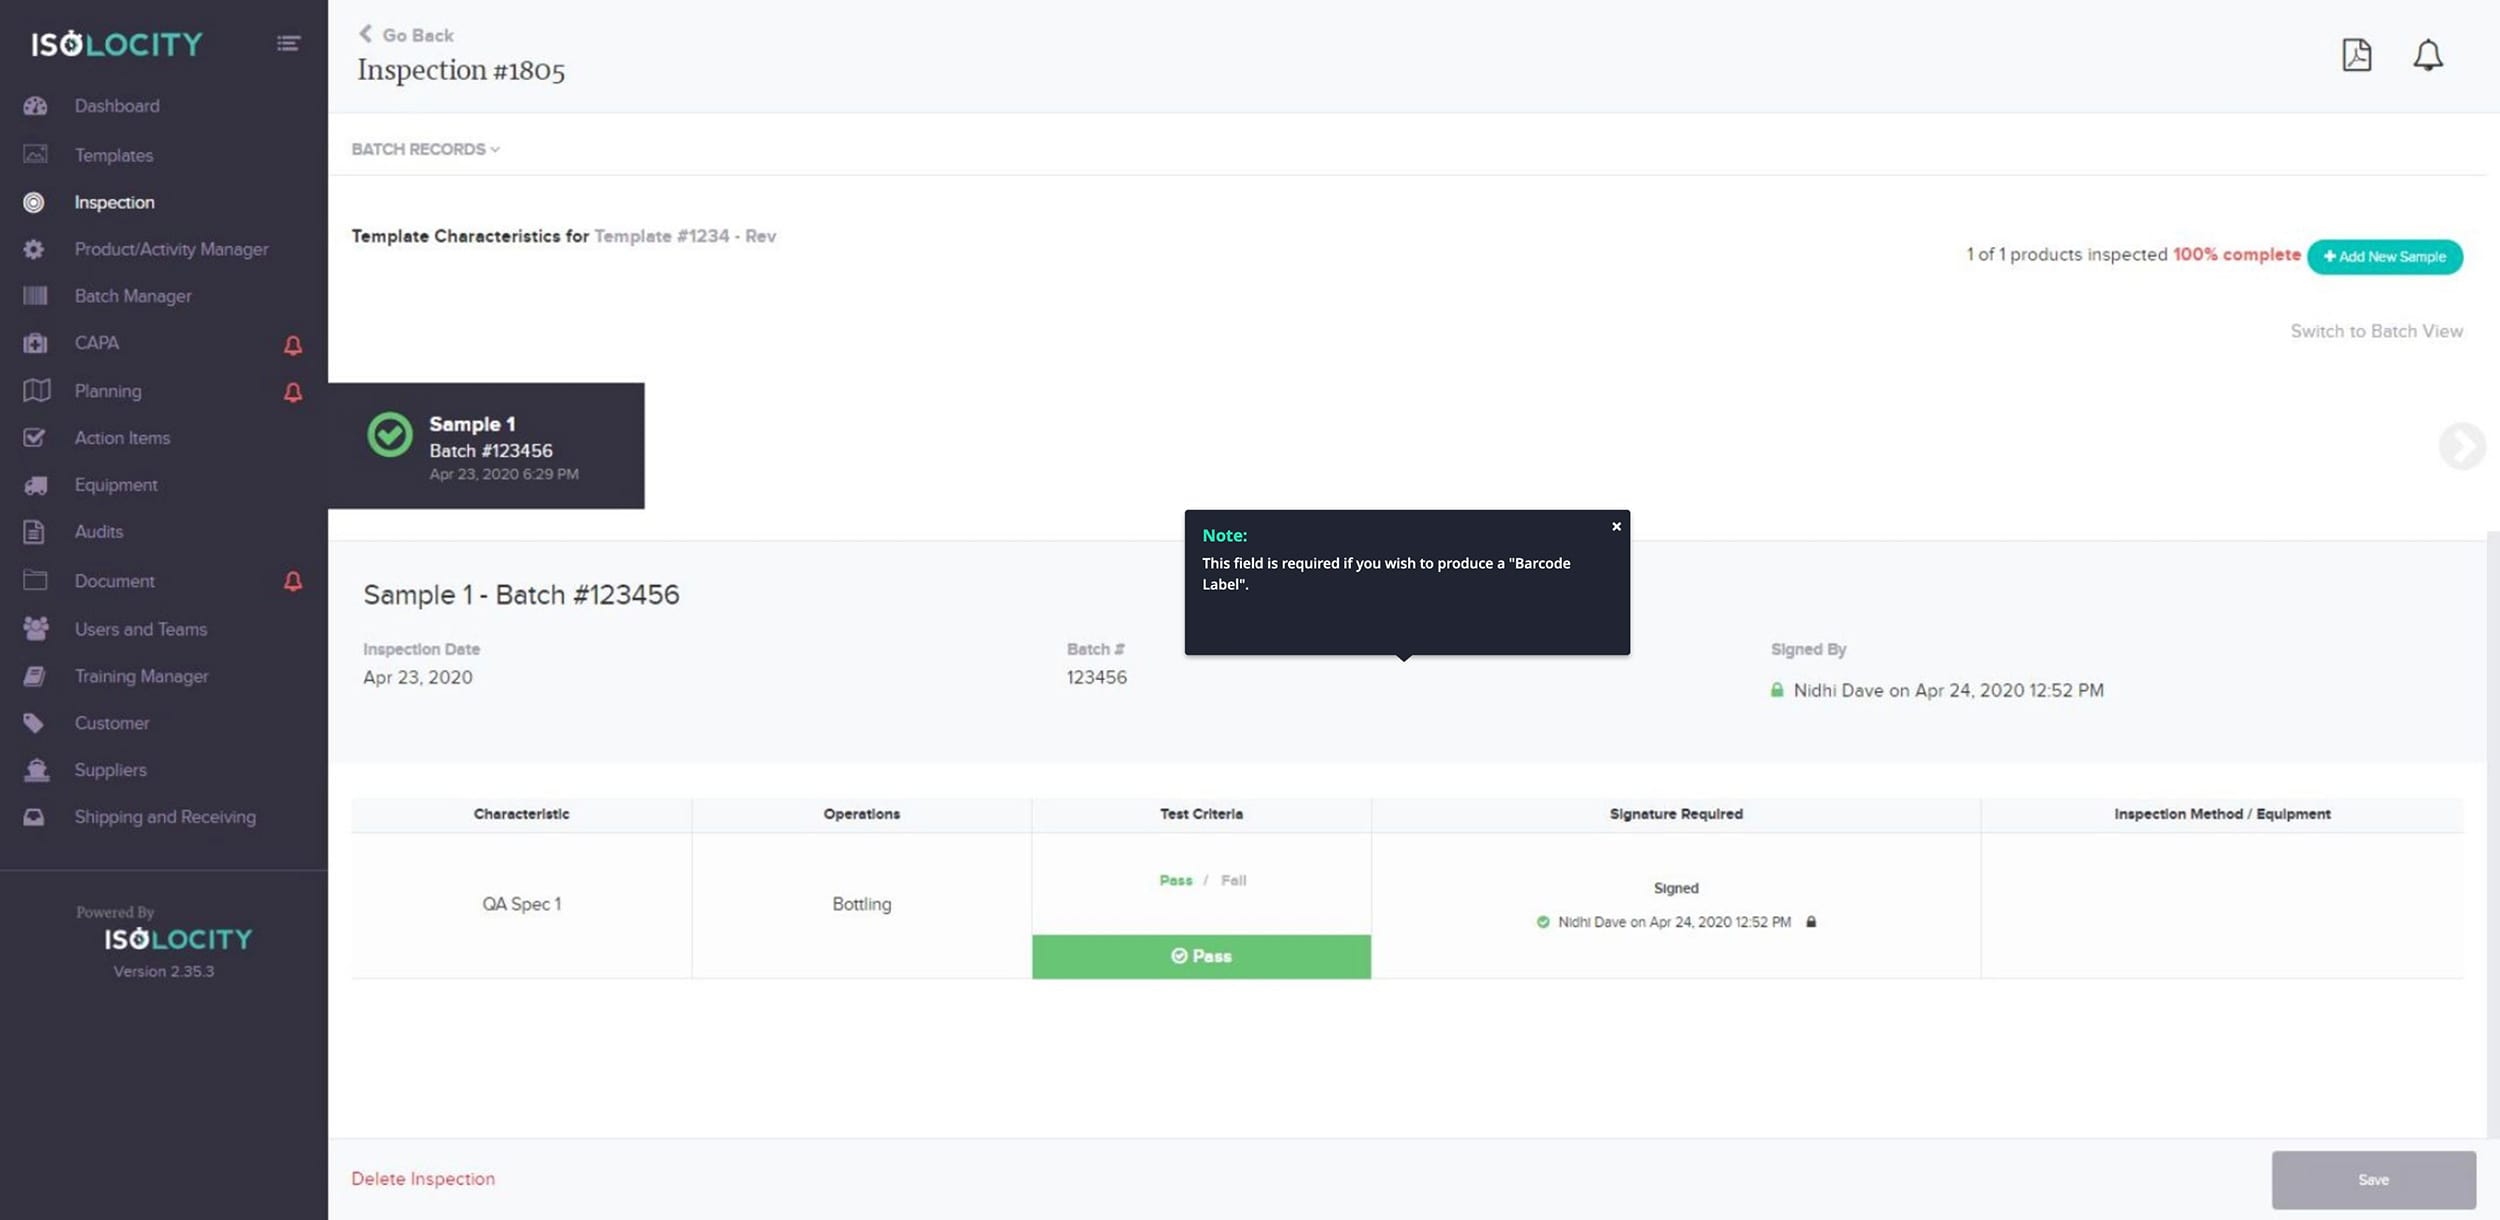
Note:
Step 51
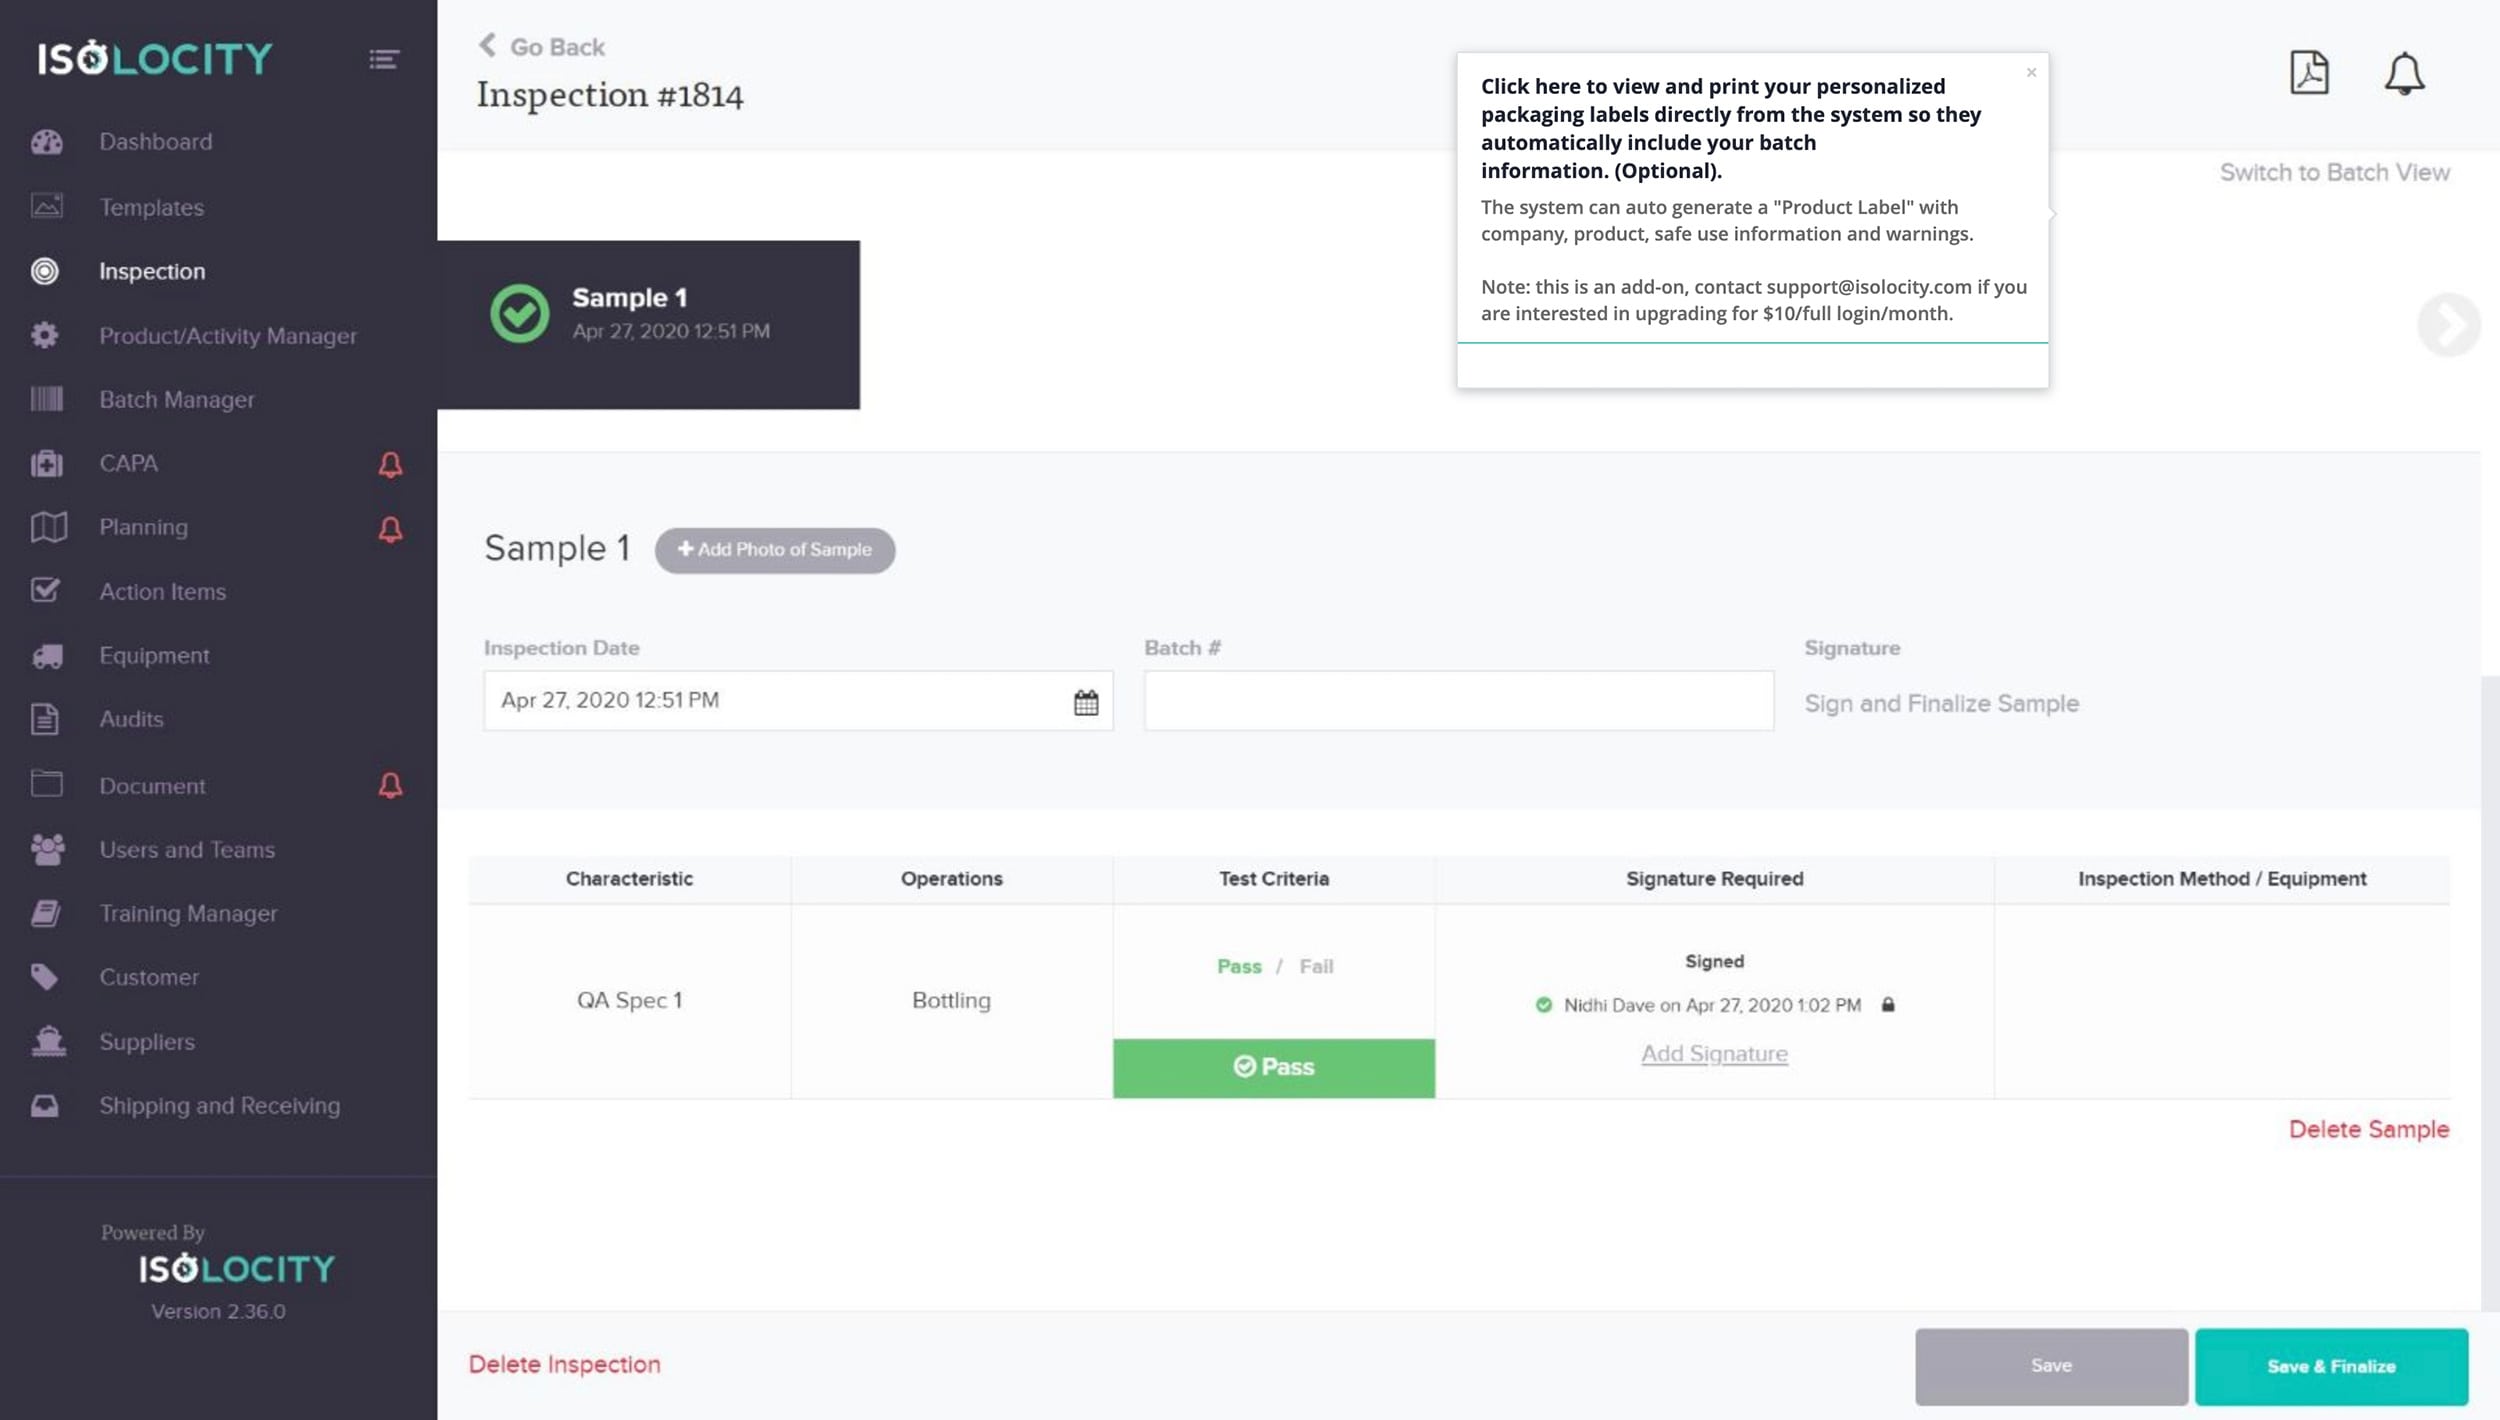
Click here to view and print your personalized packaging labels directly from the system so they automatically include your batch information. (Optional).
Step 52
Click here to download or view your “Traveller” (Optional).

Step 53
Click here to download or view your full “Inspection Report” (Optional).

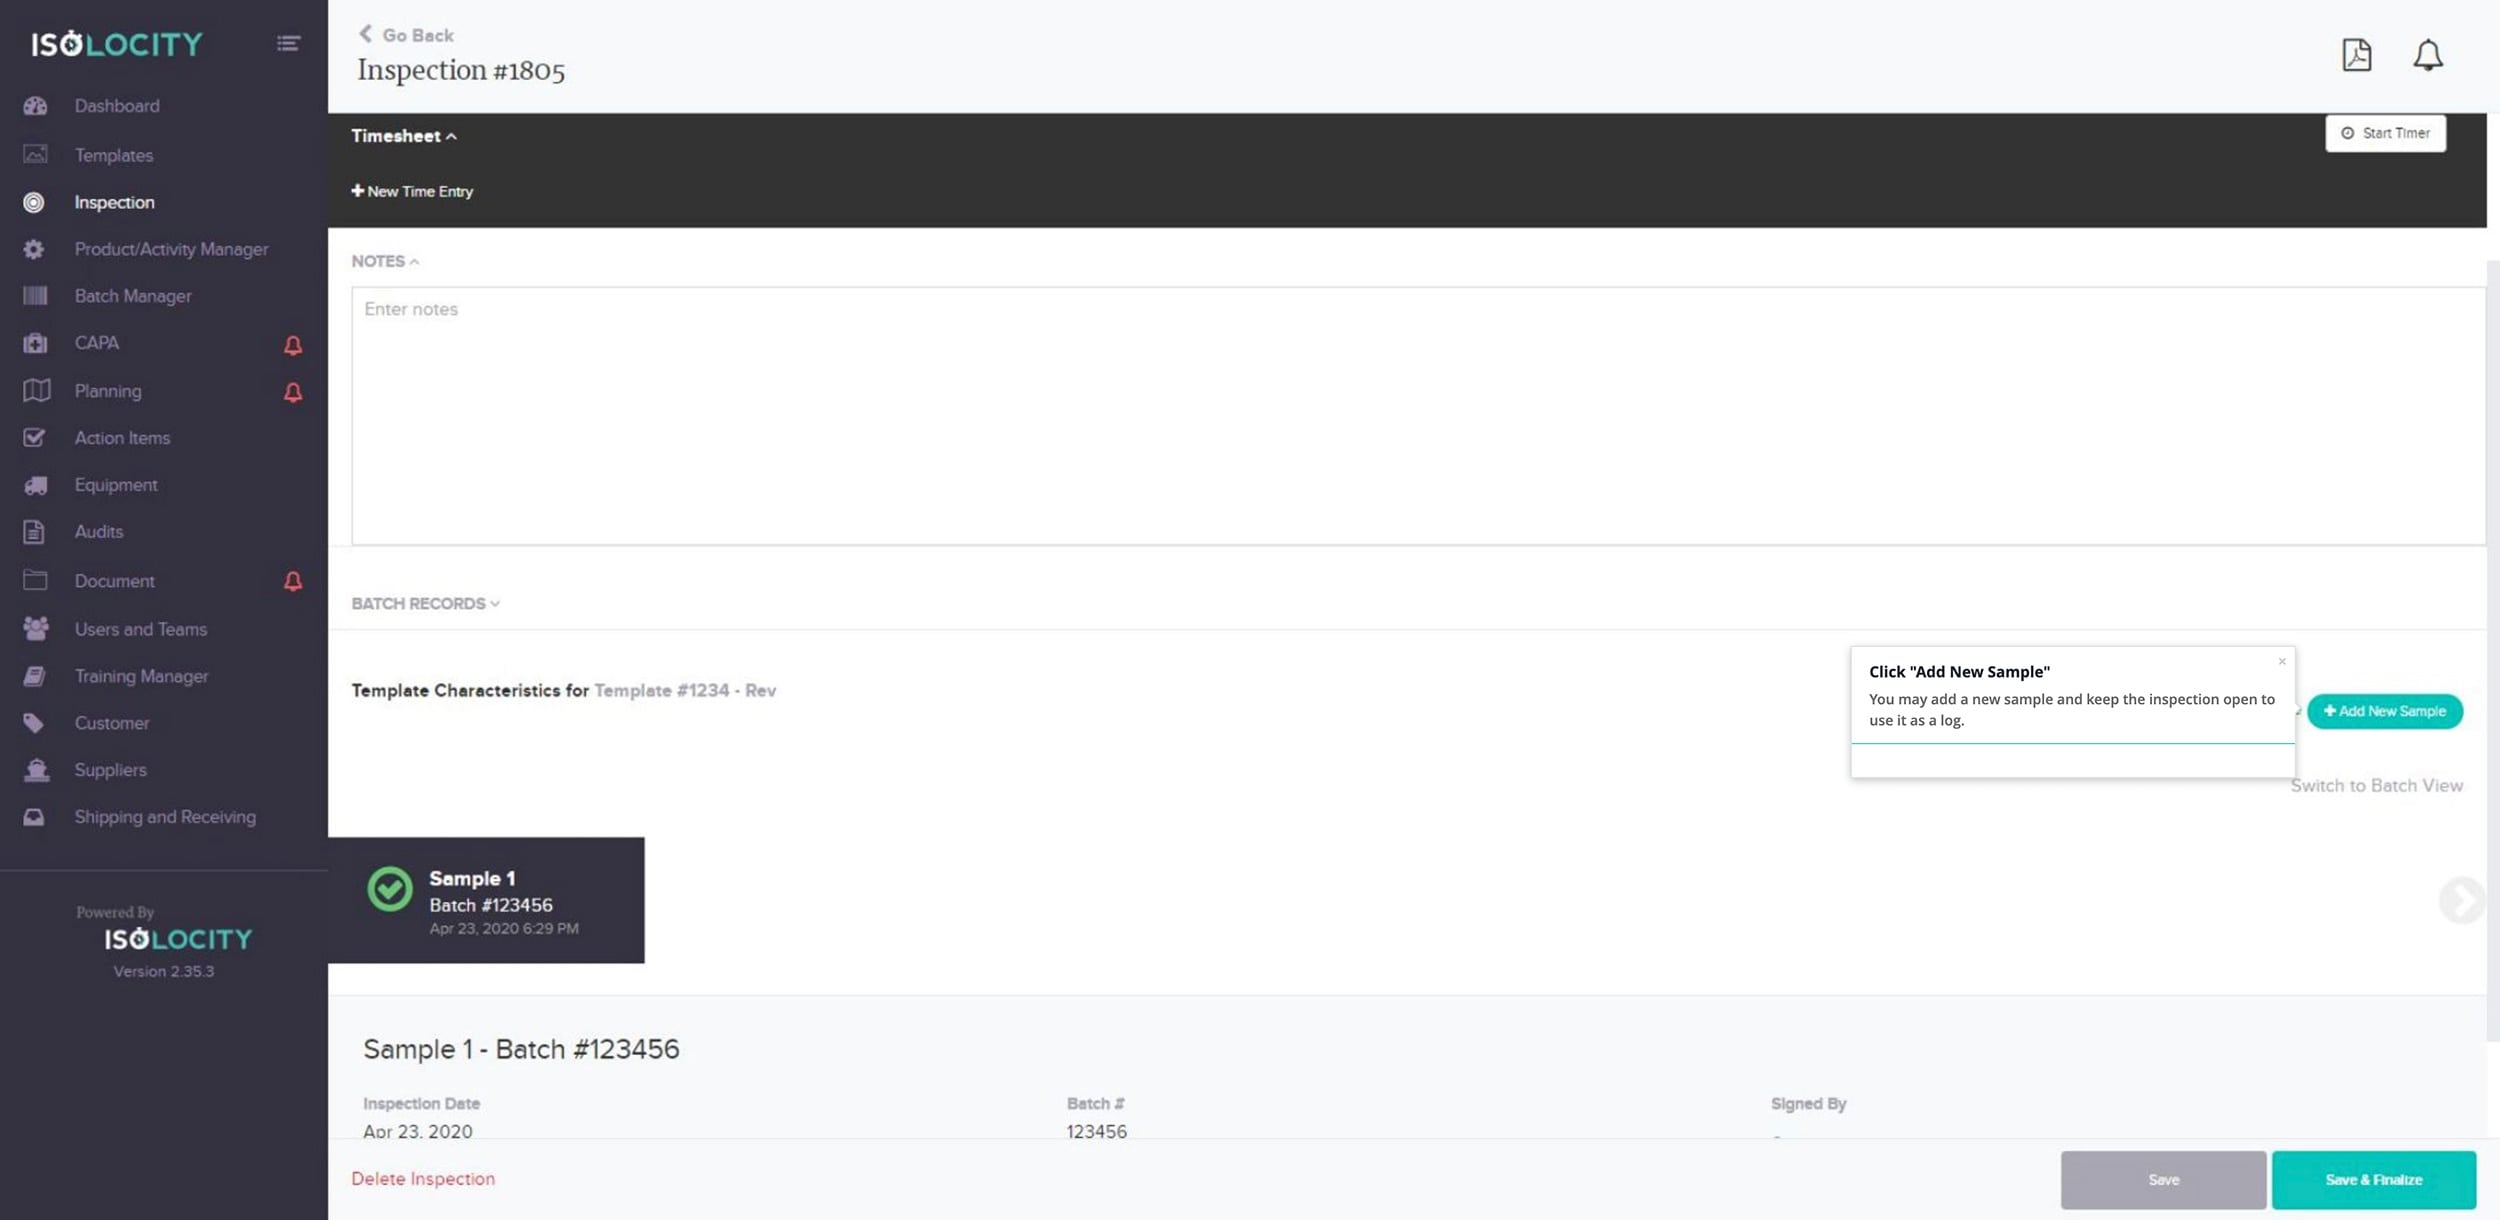
Step 54
Click “Add New Sample”
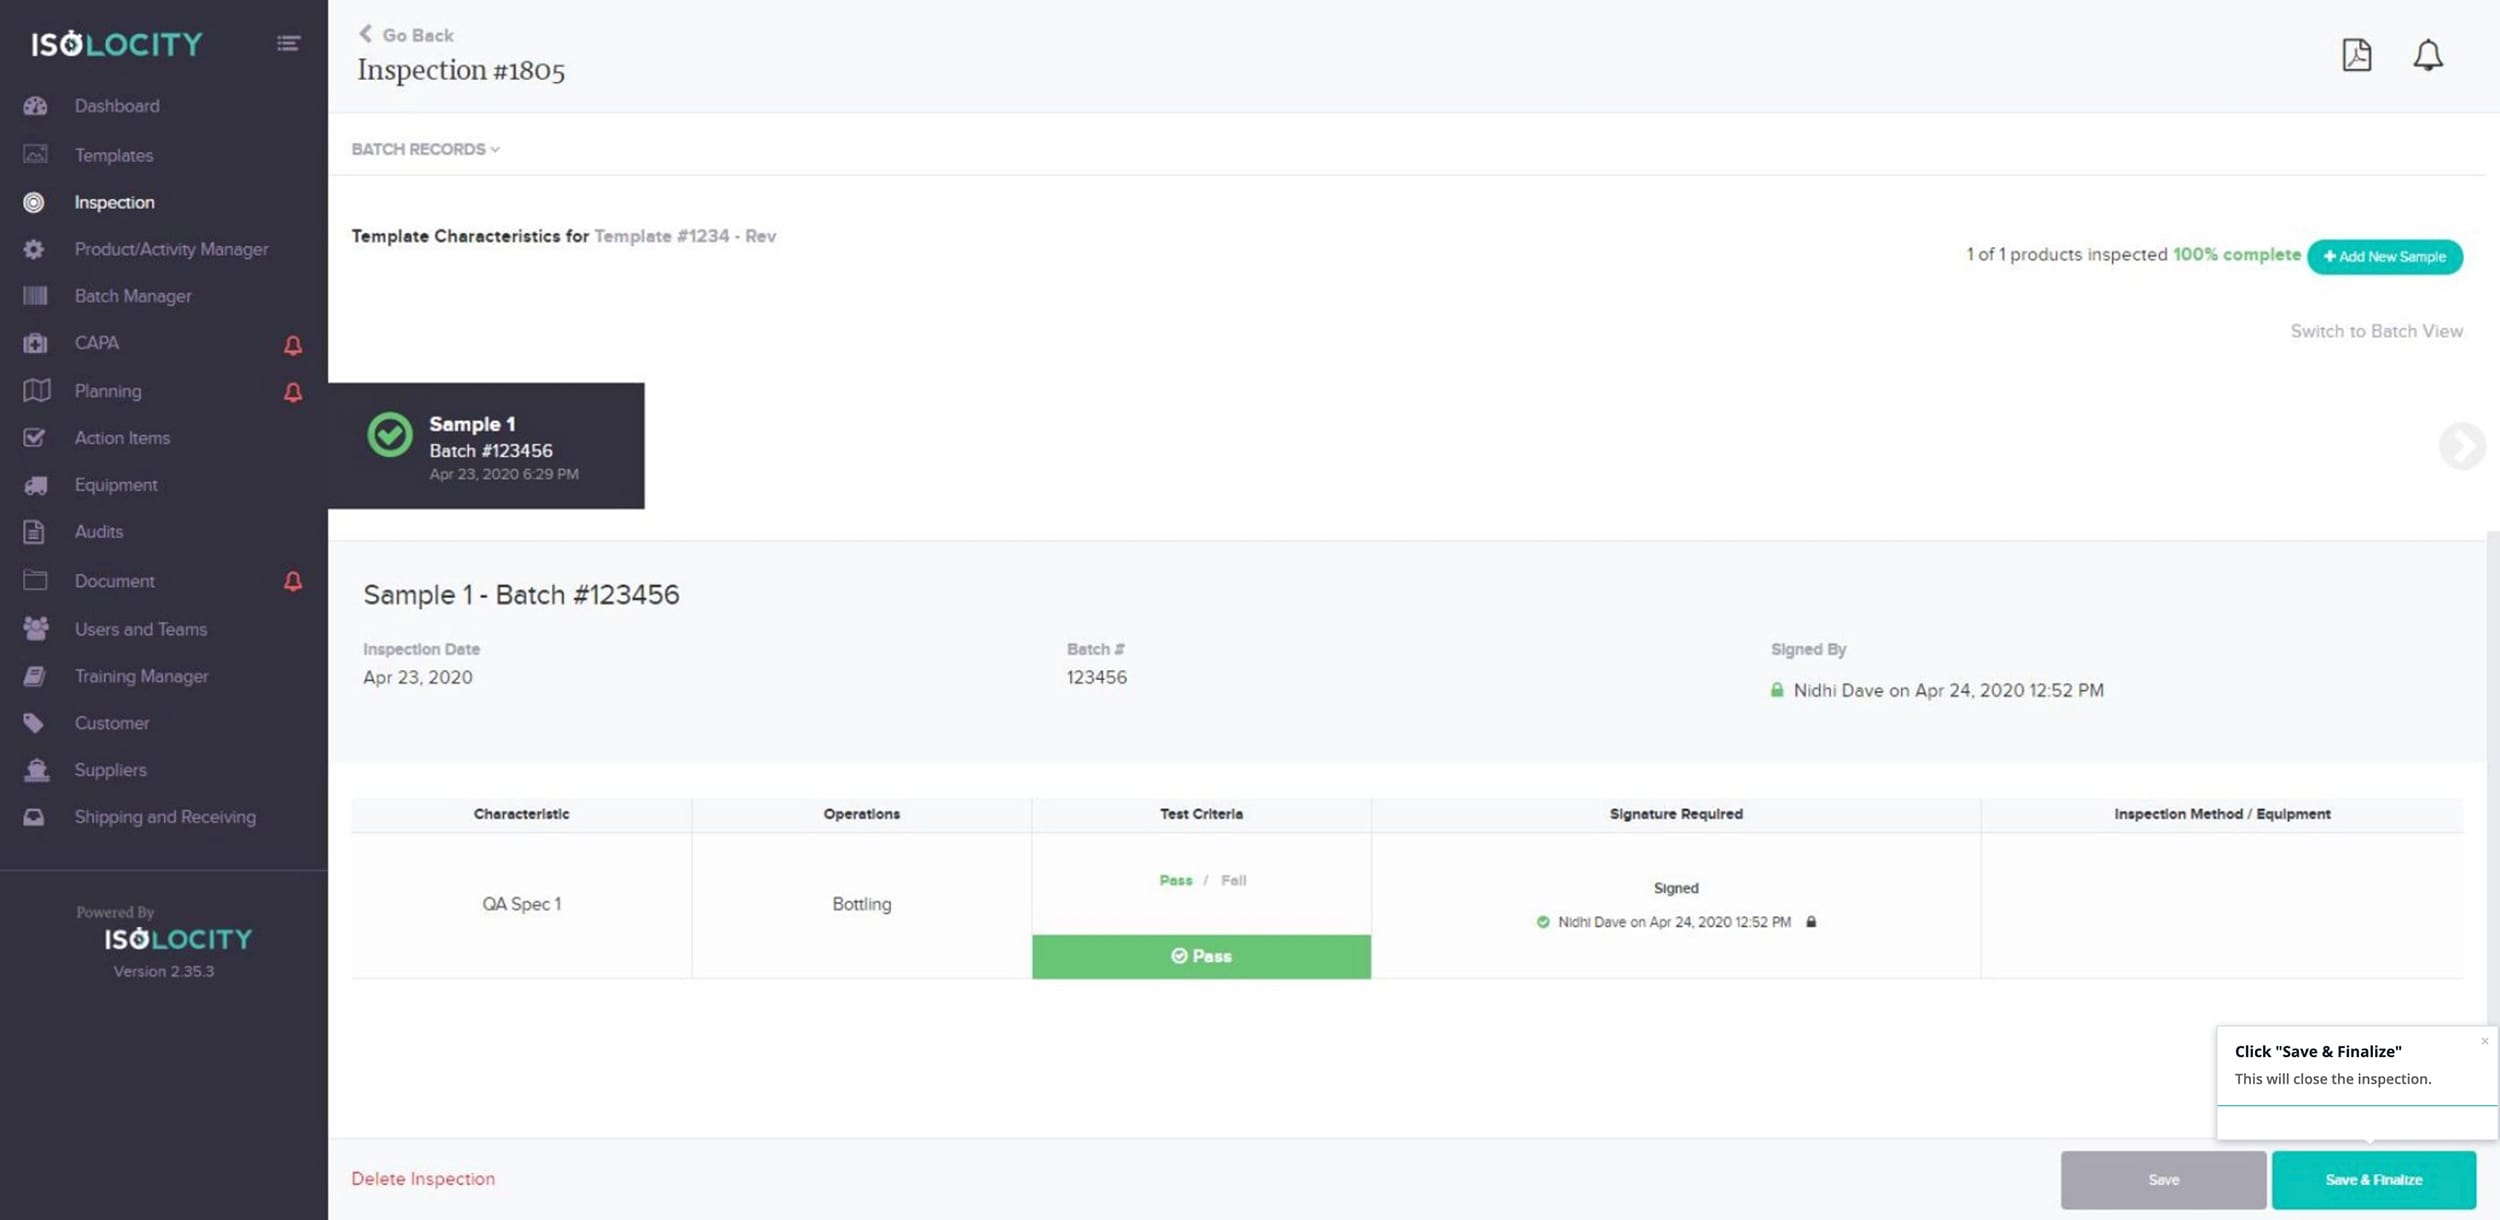
Step 55
Click “Save & Finalize”
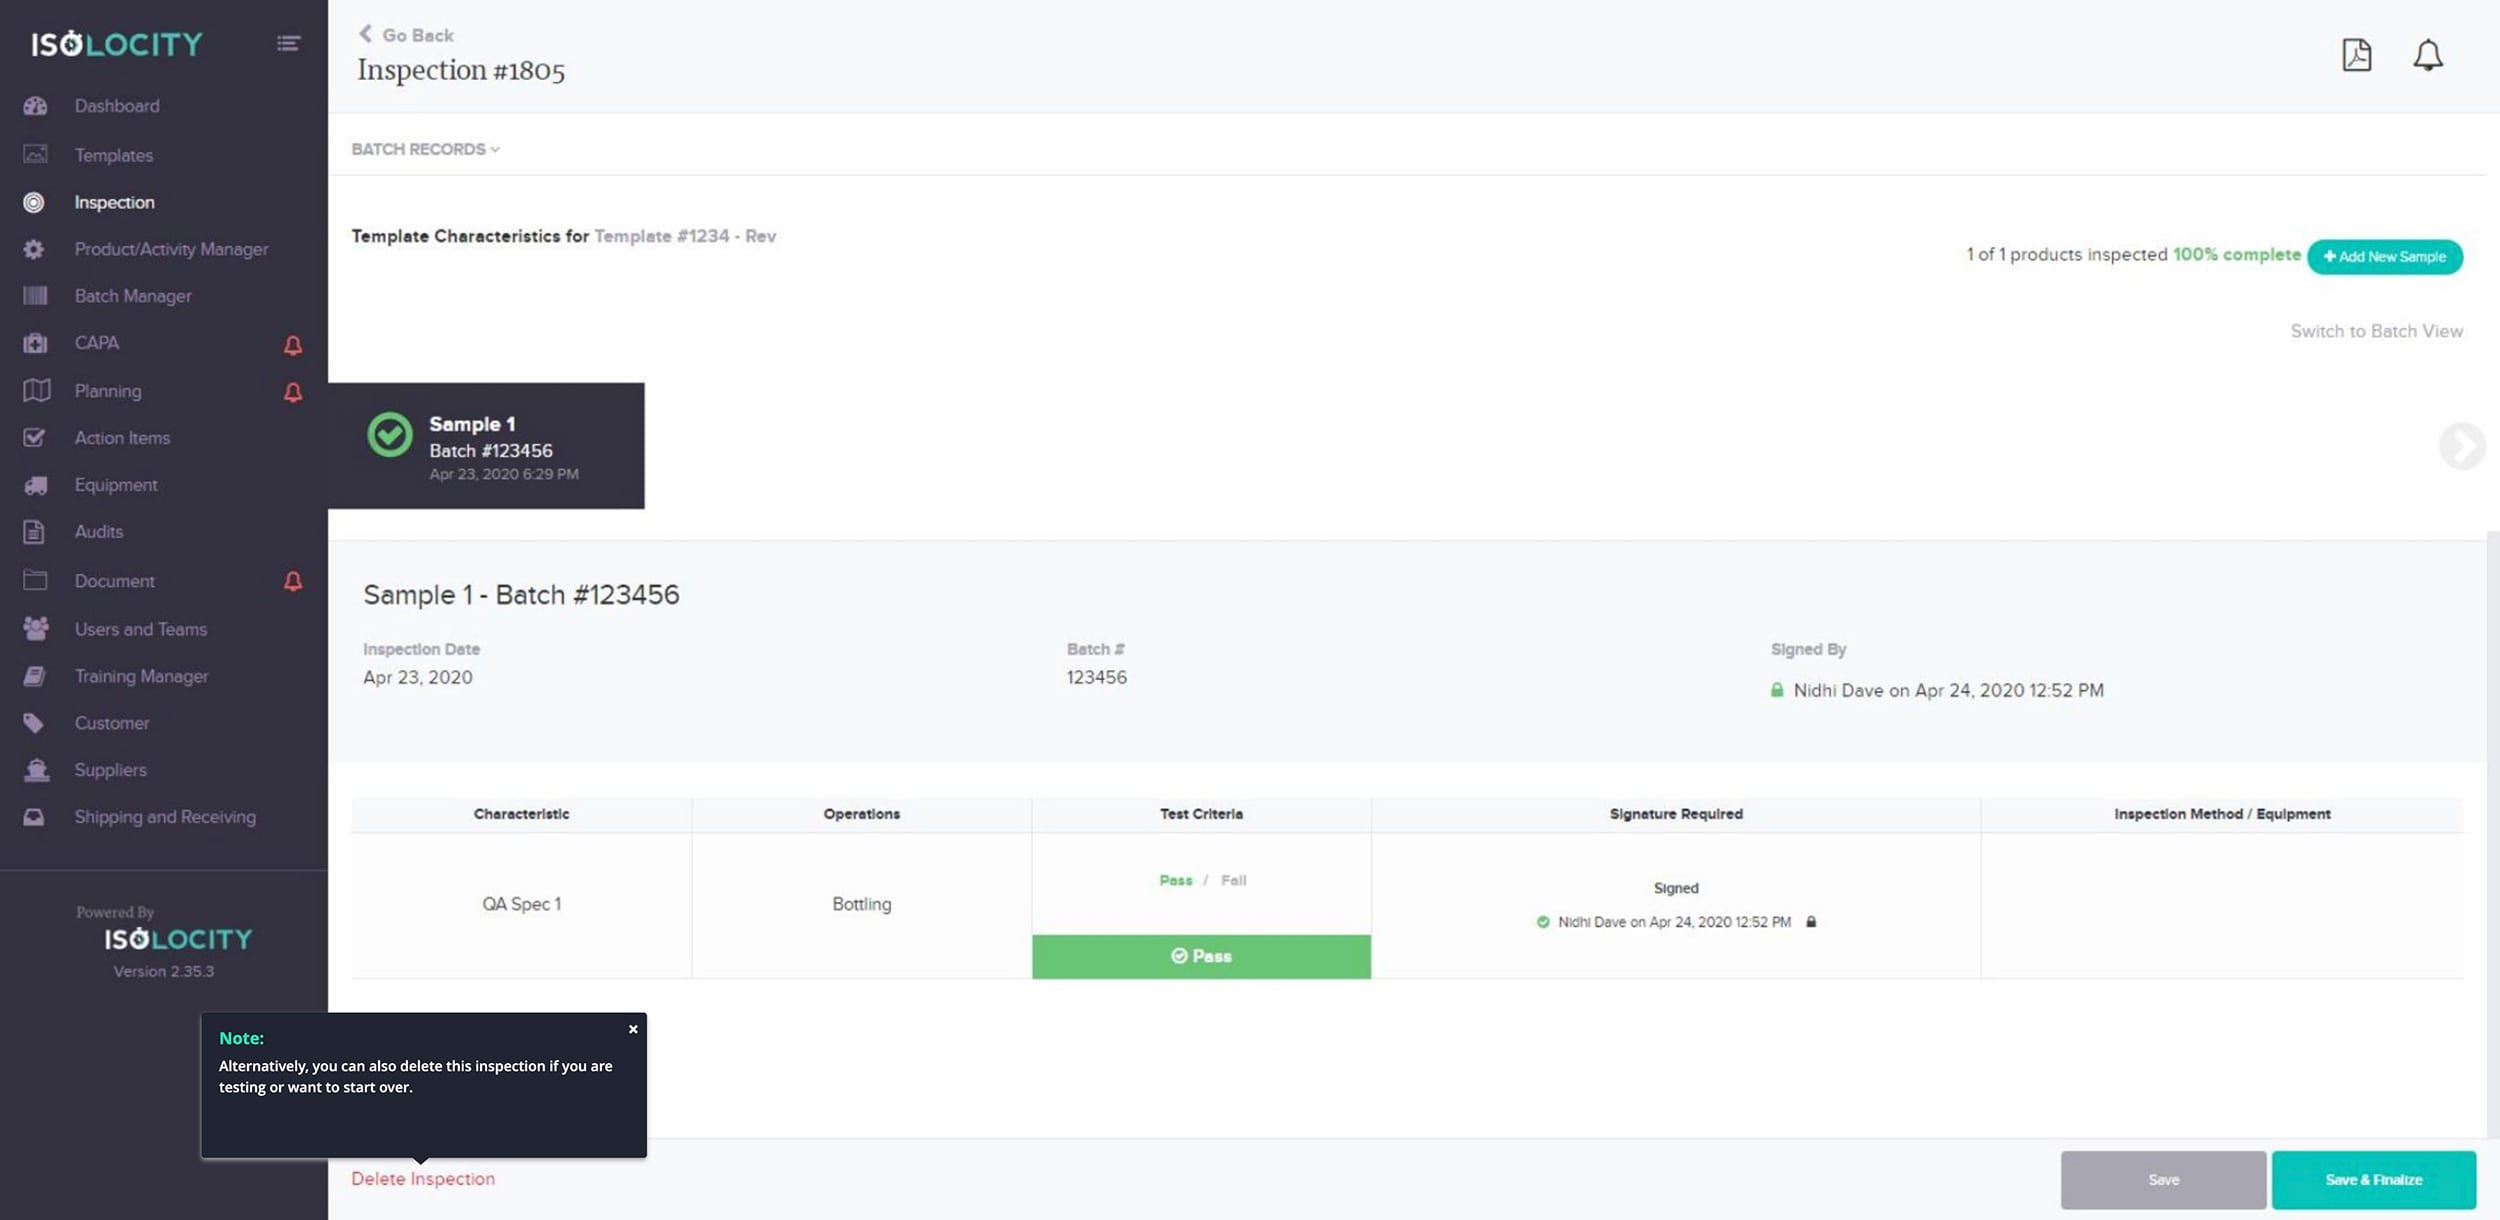
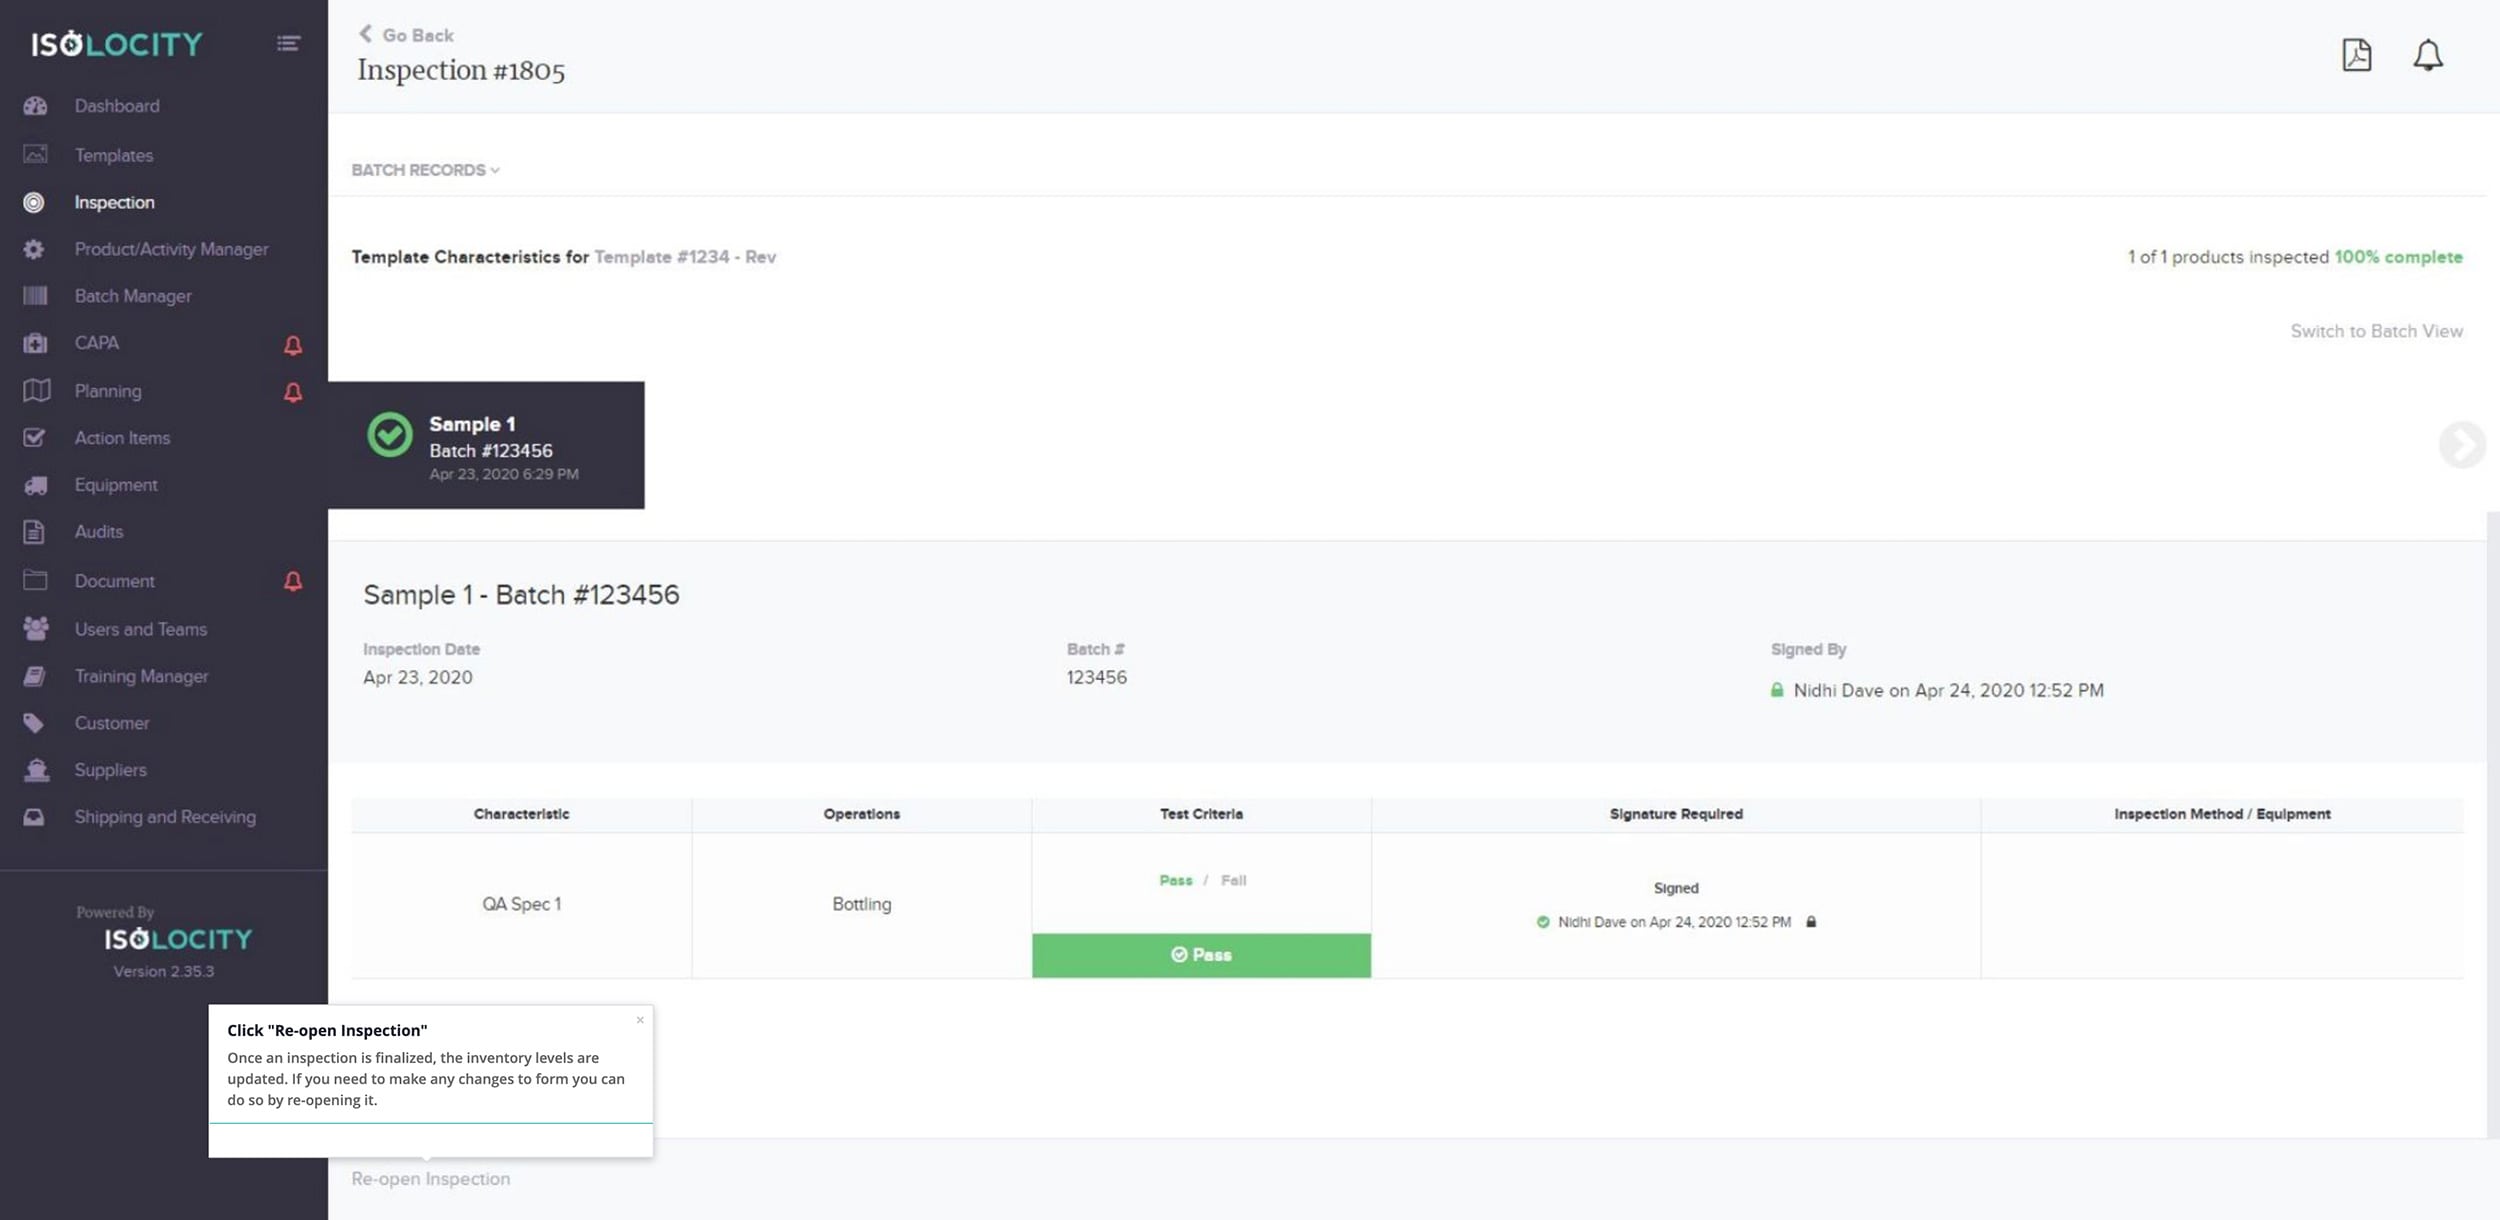
Step 56
Click “Re-open Inspection”
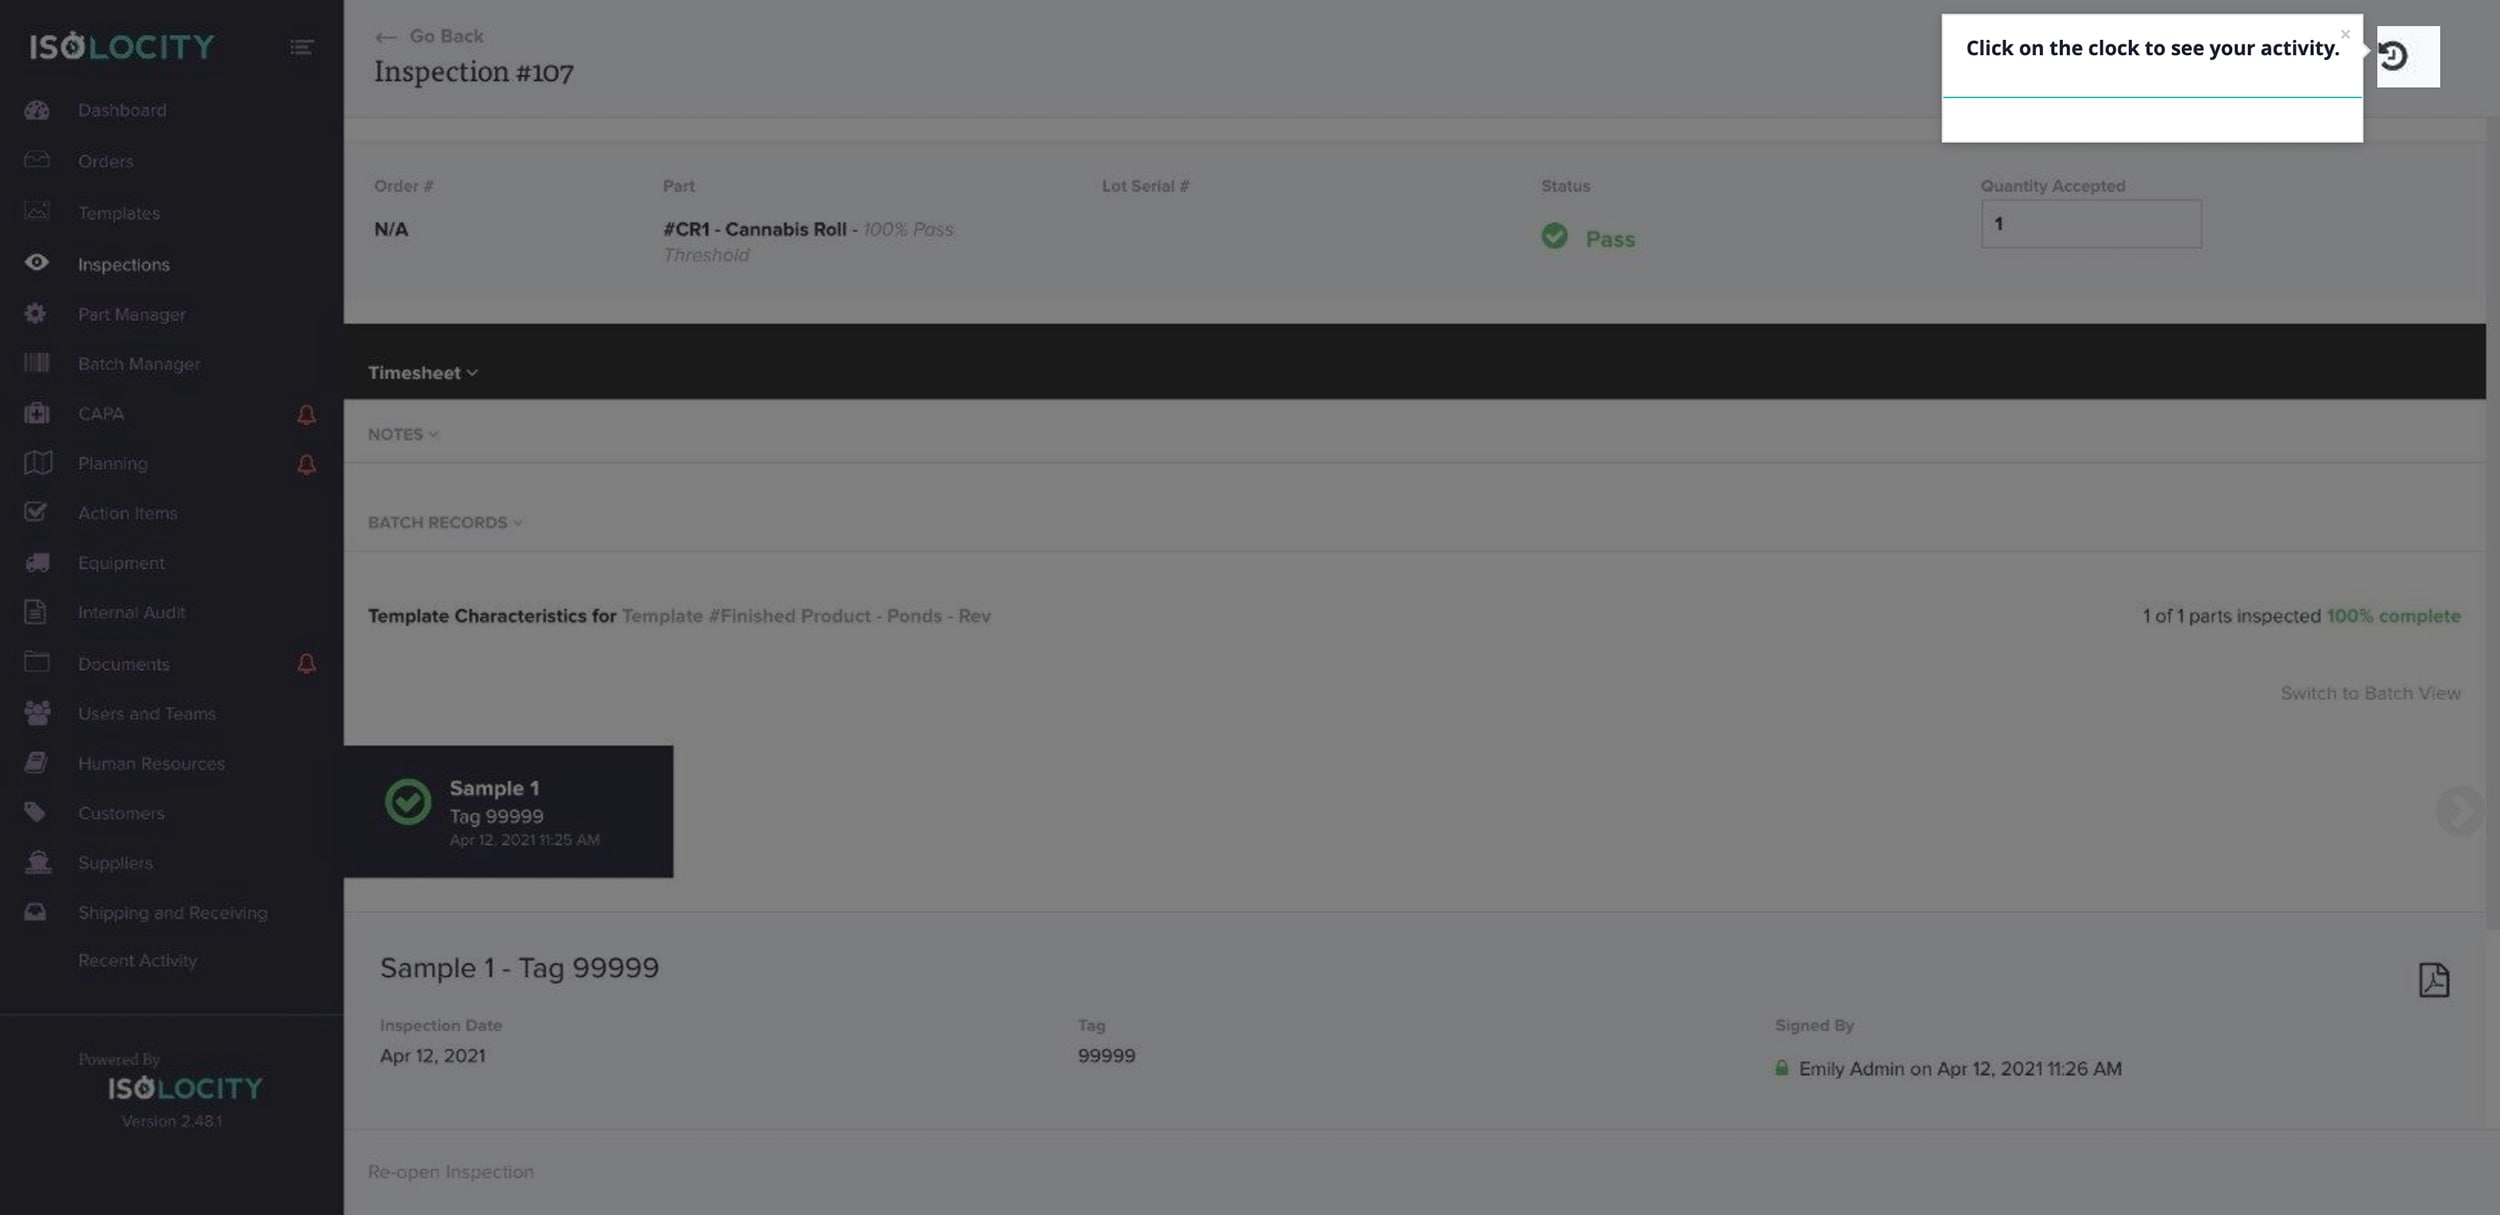
Step 57
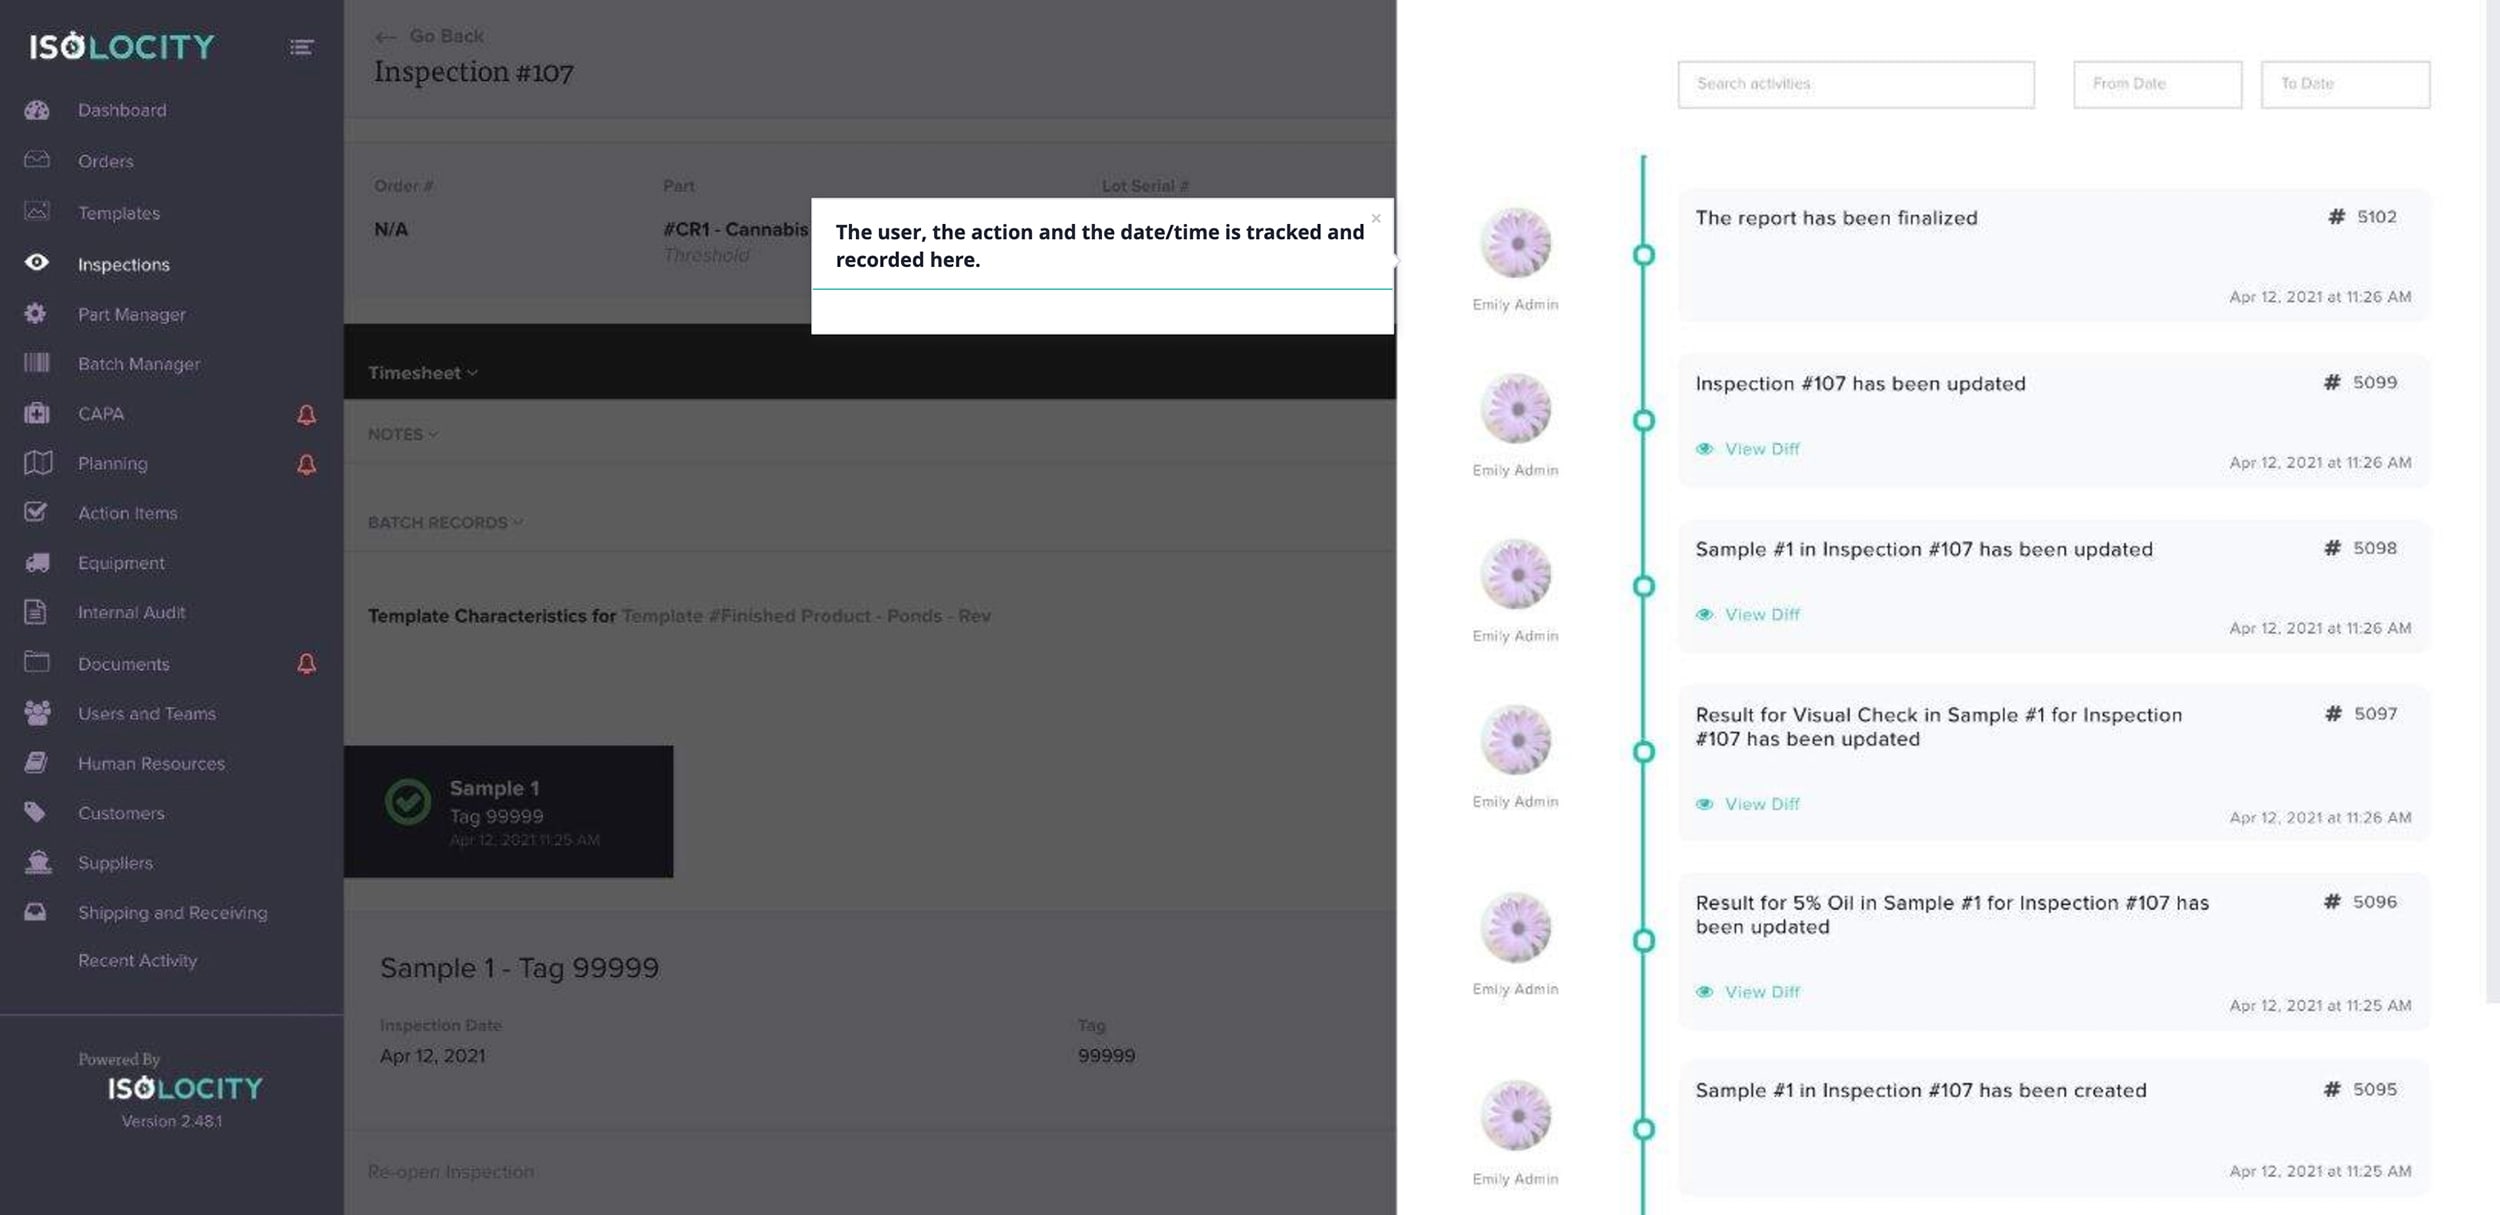
Click on the clock to see your activity.
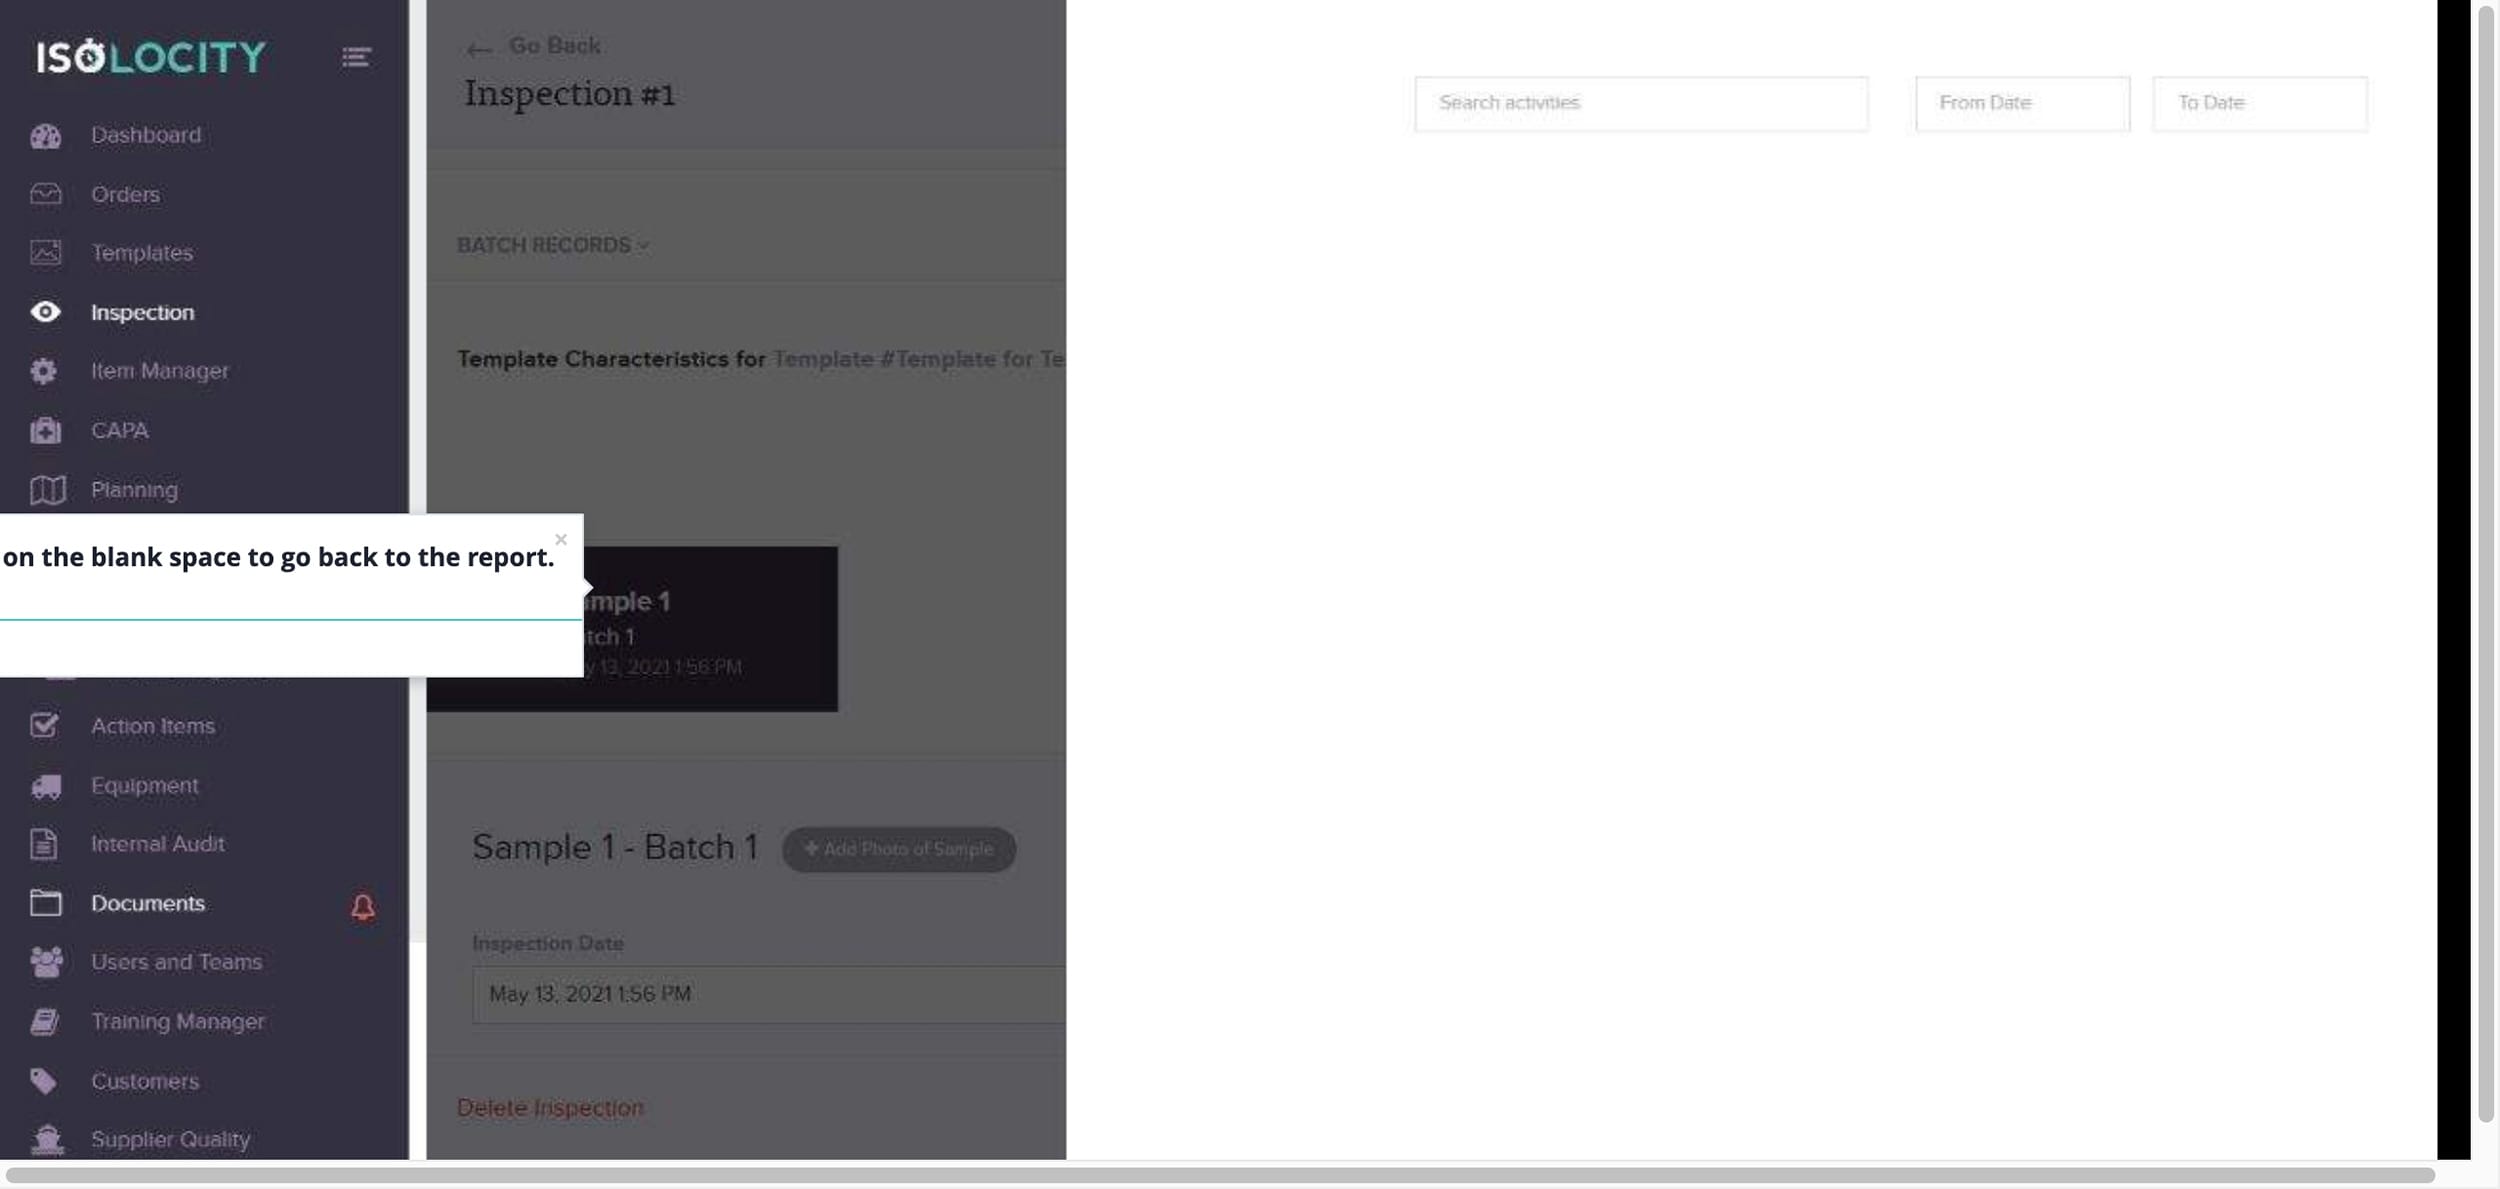
Step 58
The activity tracker shows all activity for this report.
![]()
Step 59
Activities can be searched by key word or date range.

Step 60
The user, the action and the date/time is tracked and recorded here.
Step 61
Click on the blank space to go back to the report.