Adding a Out of Specification Report (OOS)
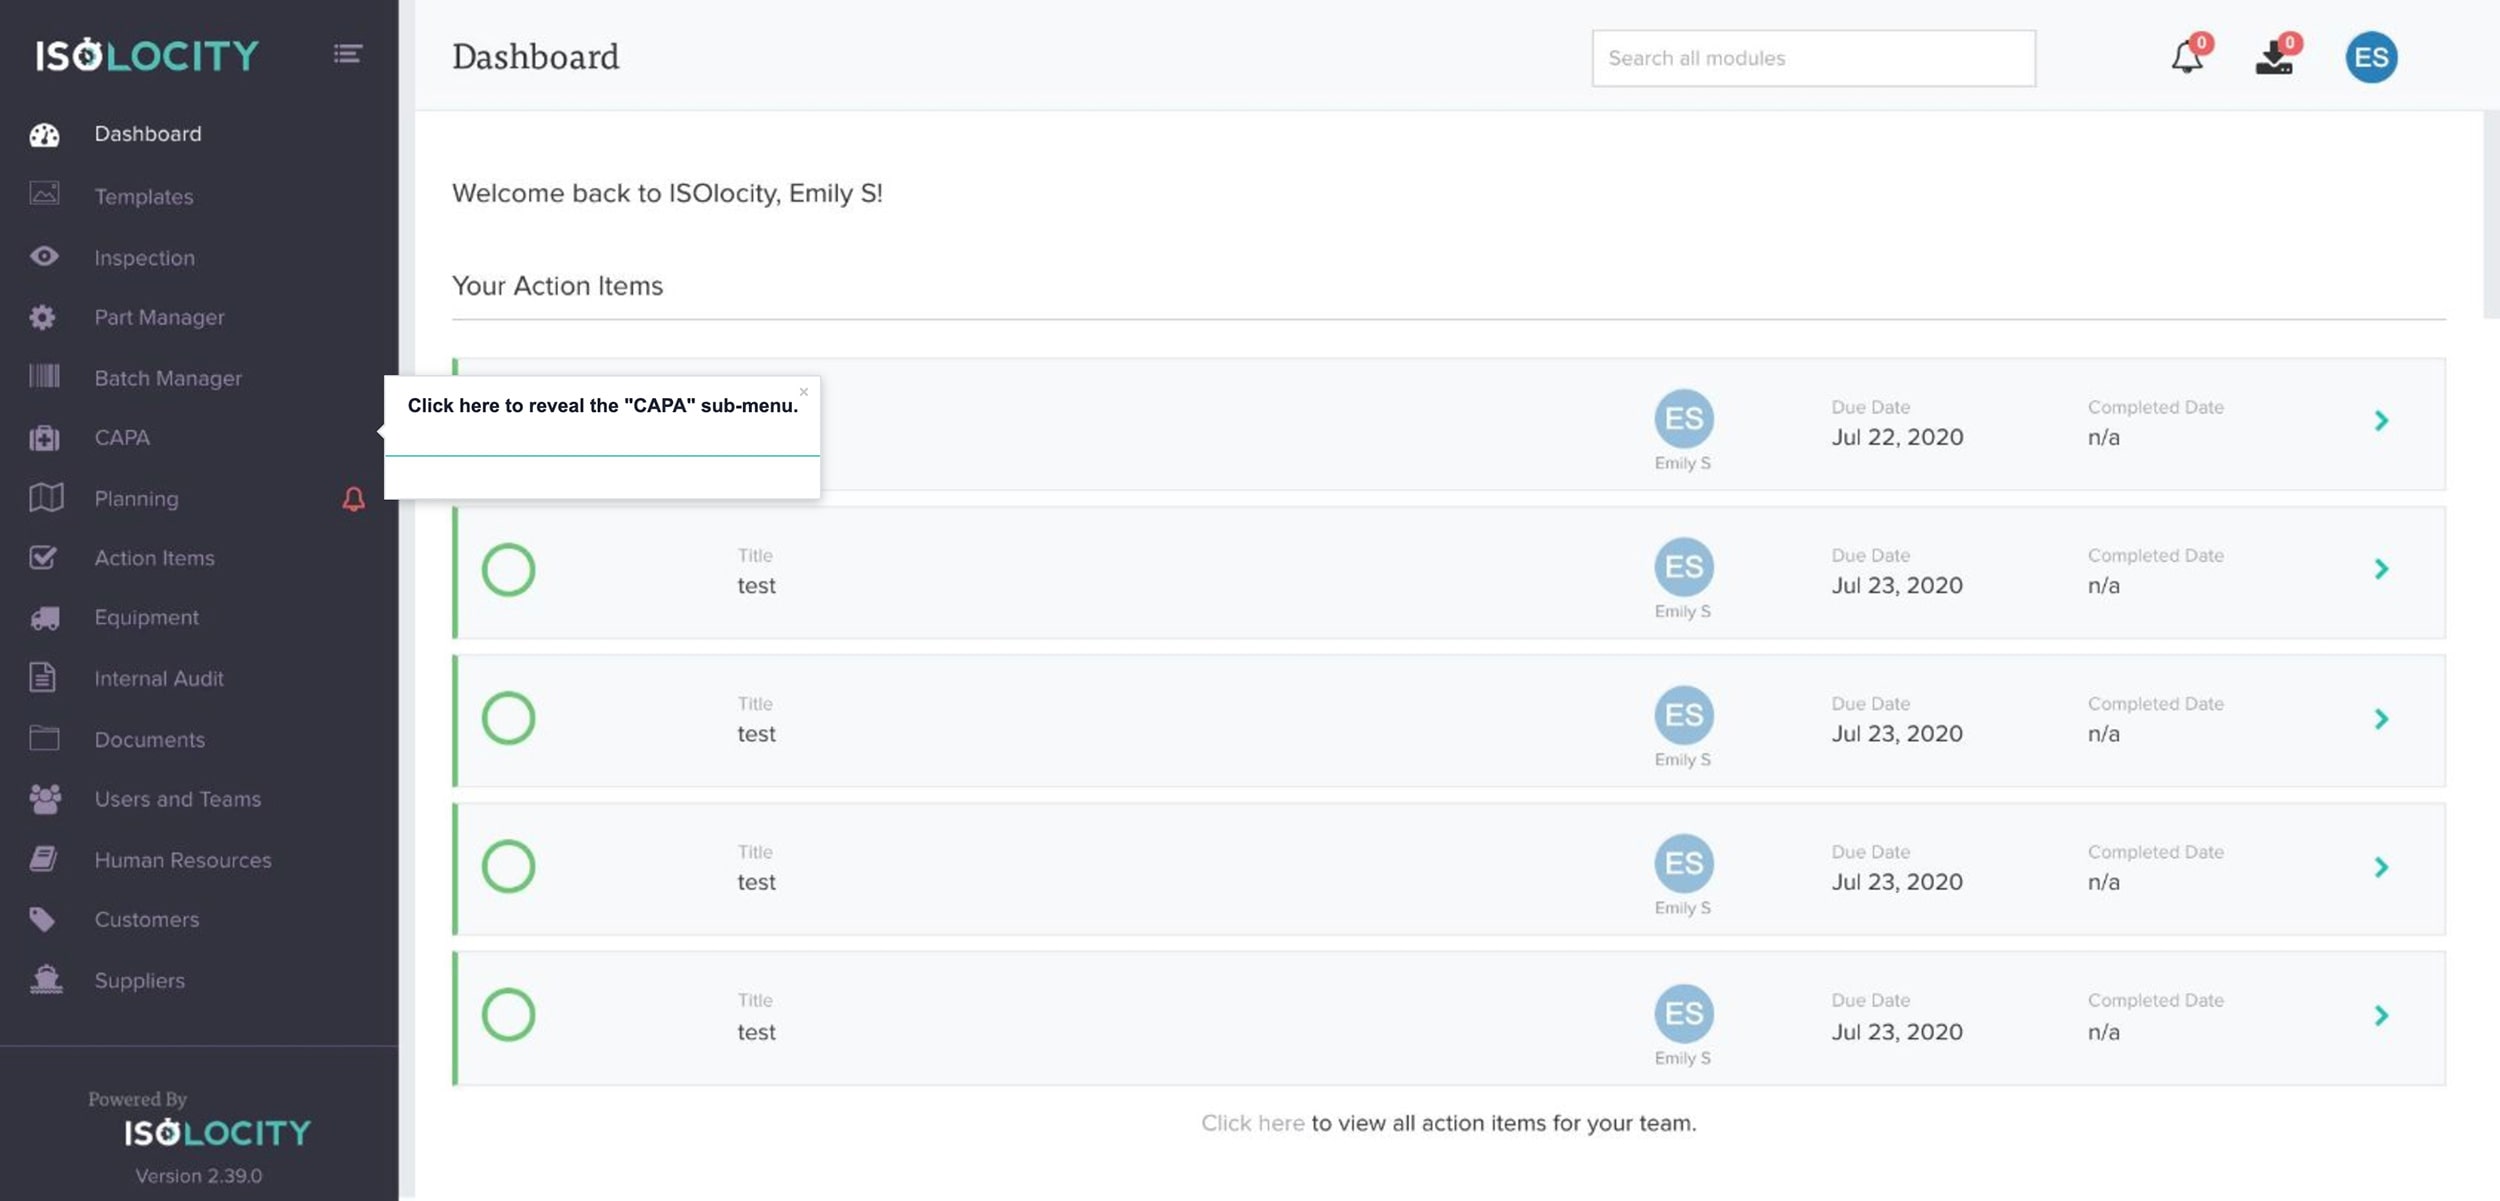
Step #1
Click here to reveal the “CAPA” sub-menu.
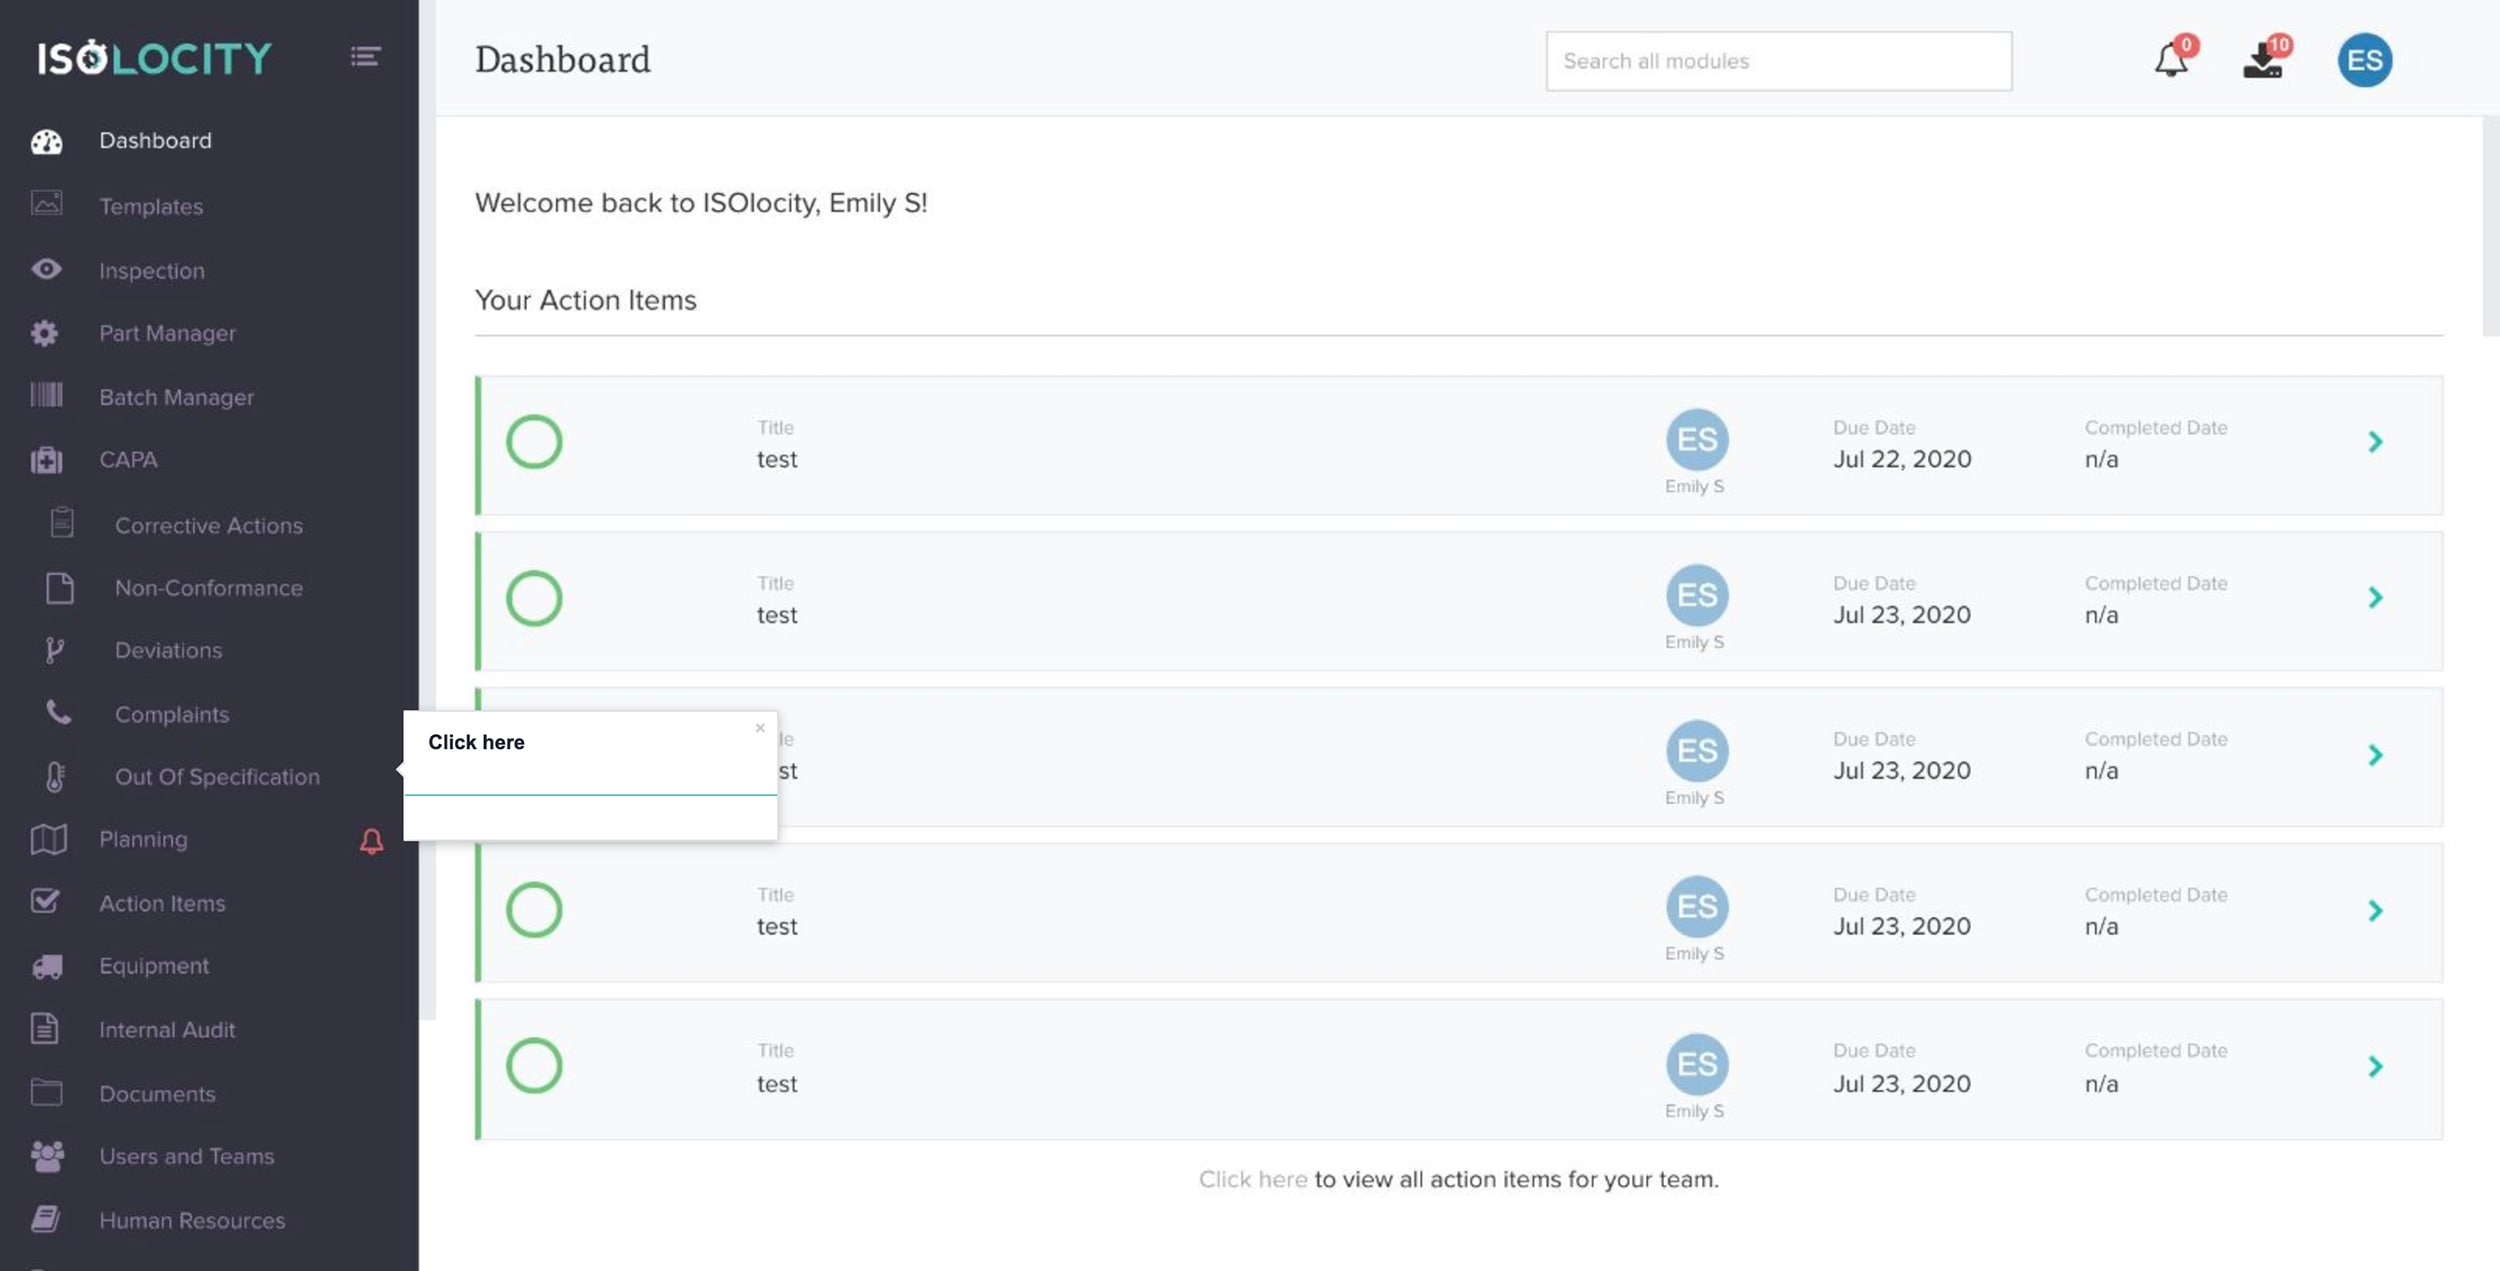
Step #2
Click here
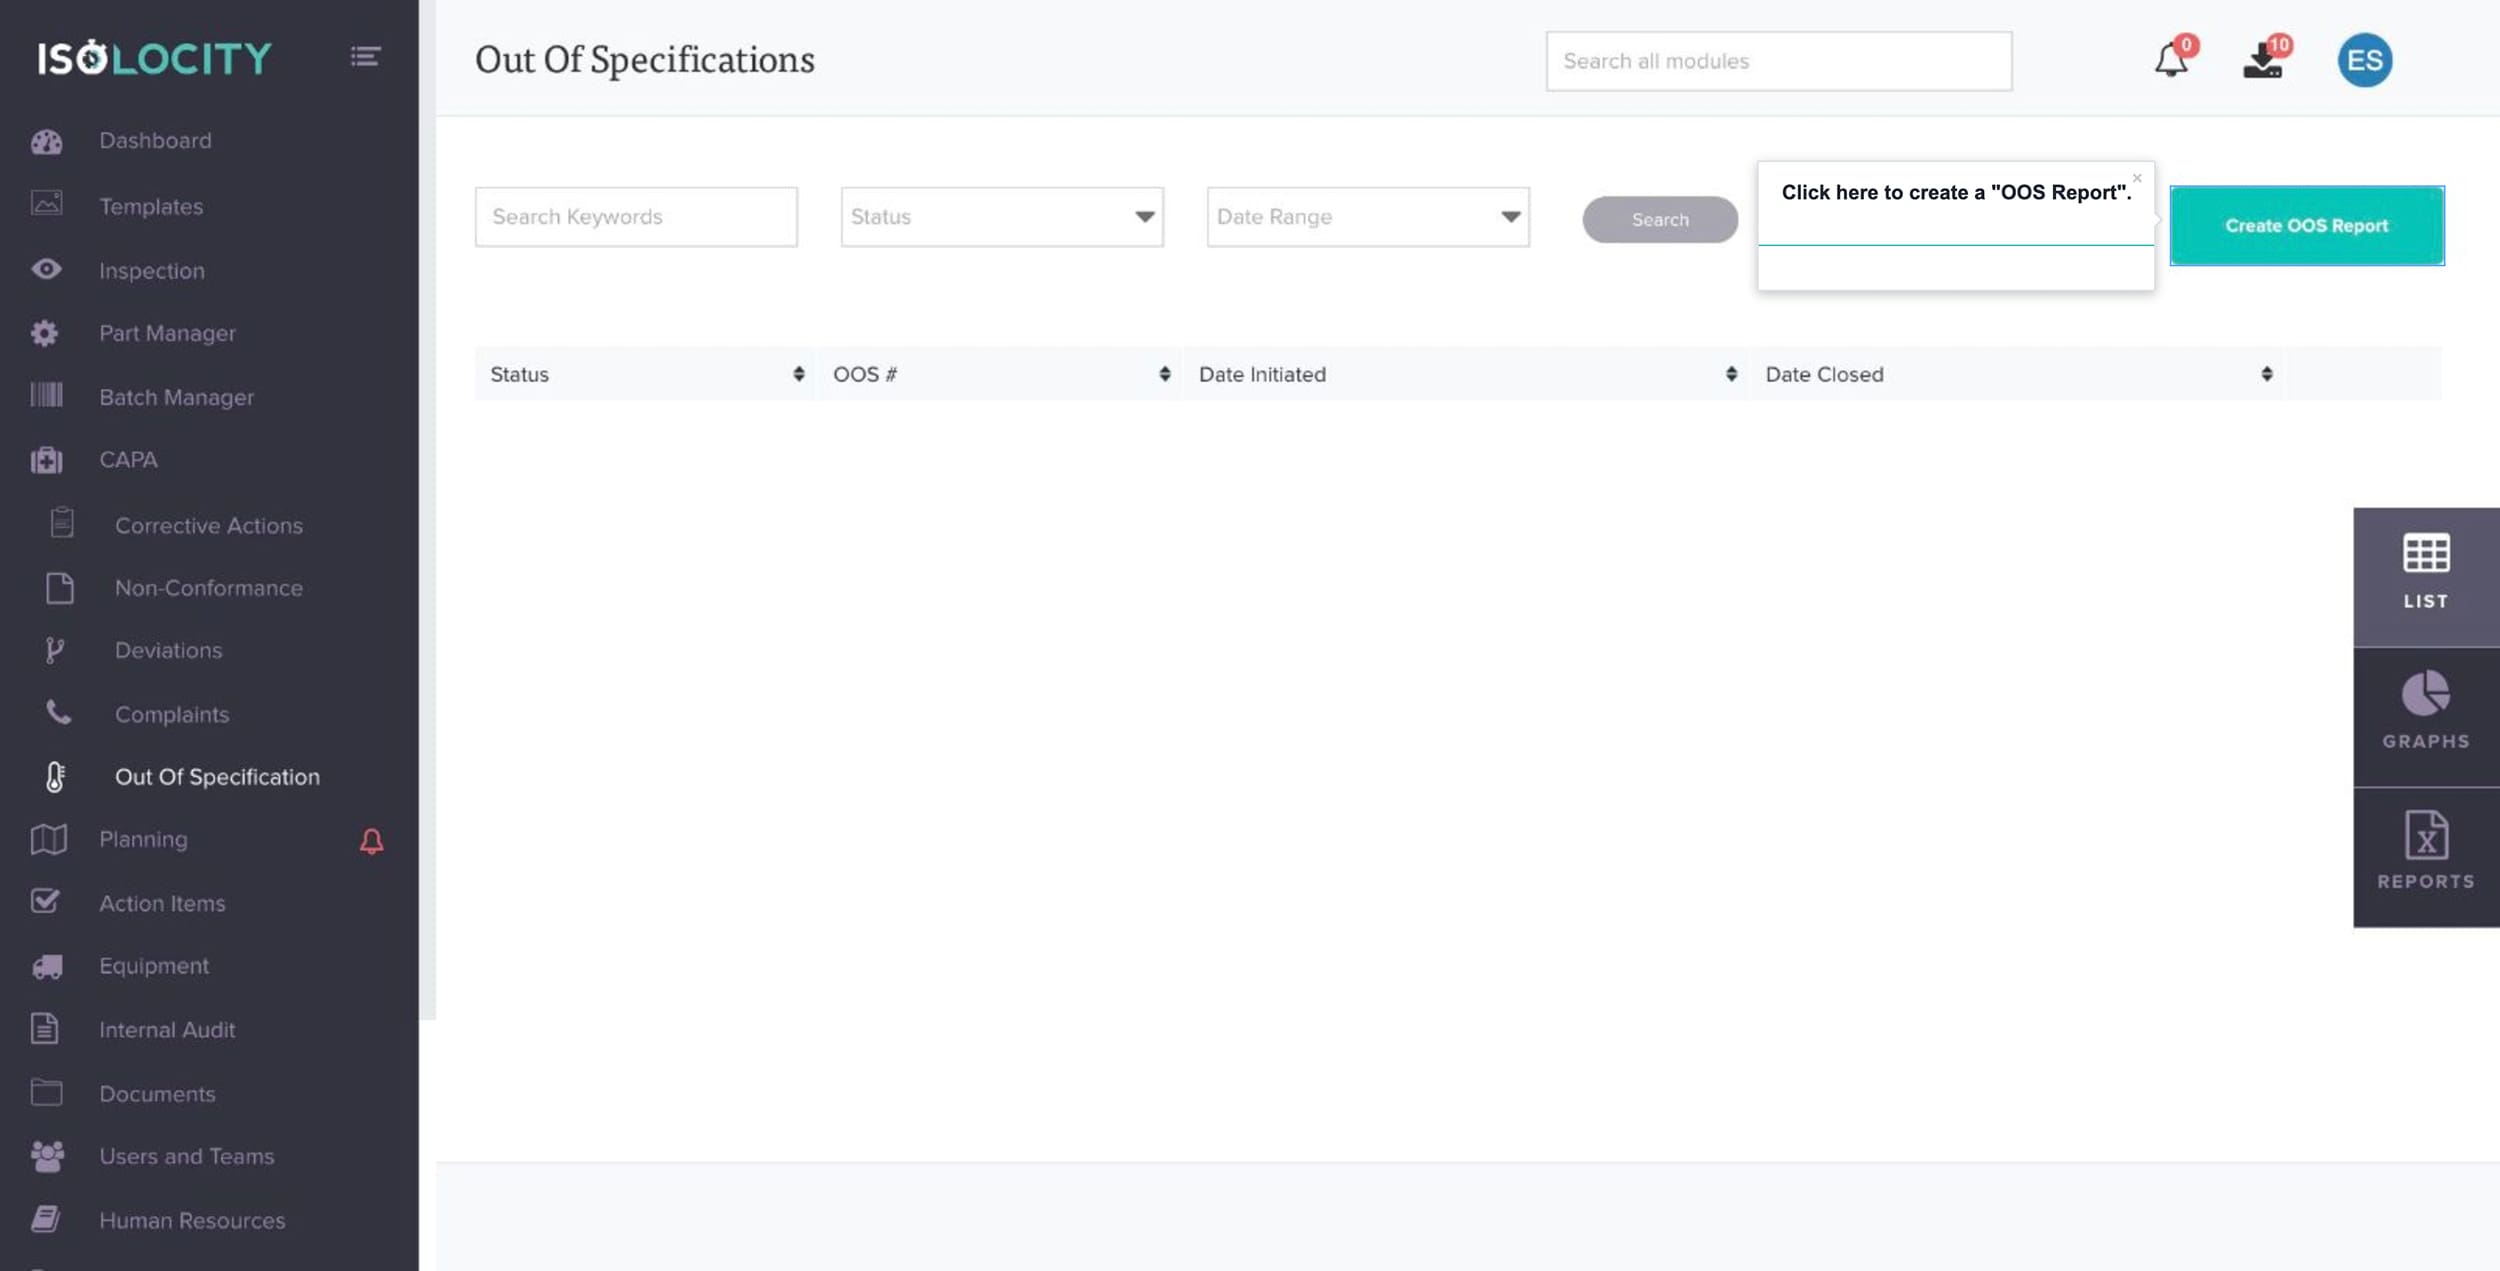
Step #3
Click here to create a “OOS Report”.
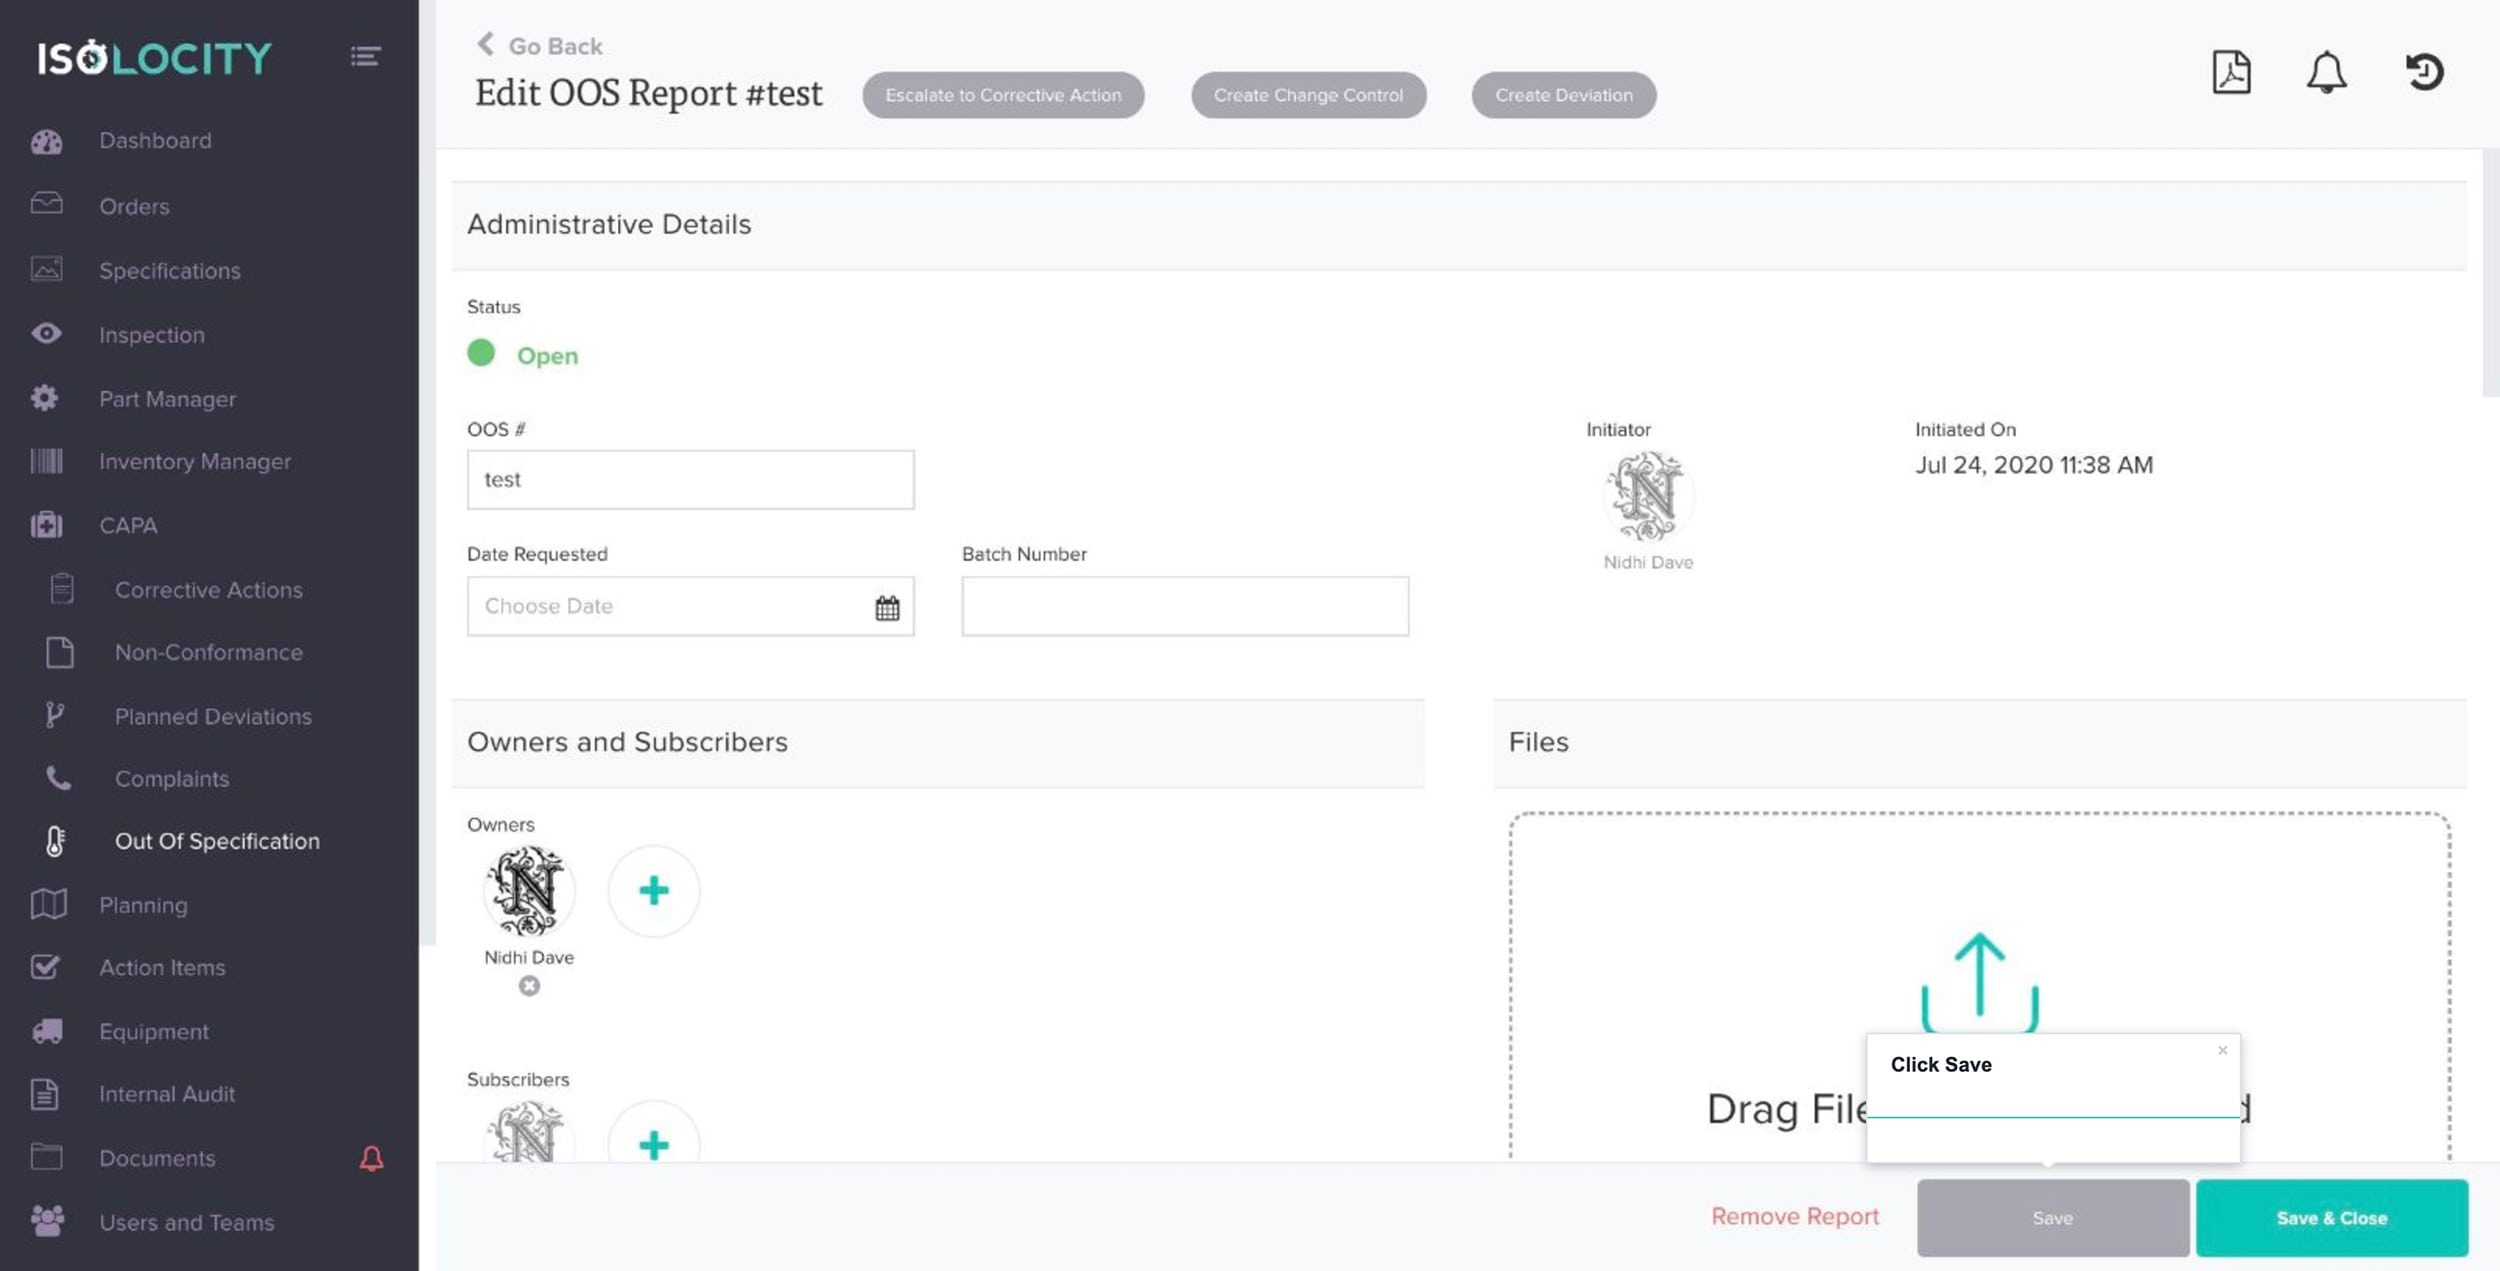
Step #4
Enter a “OOS#” (Required).
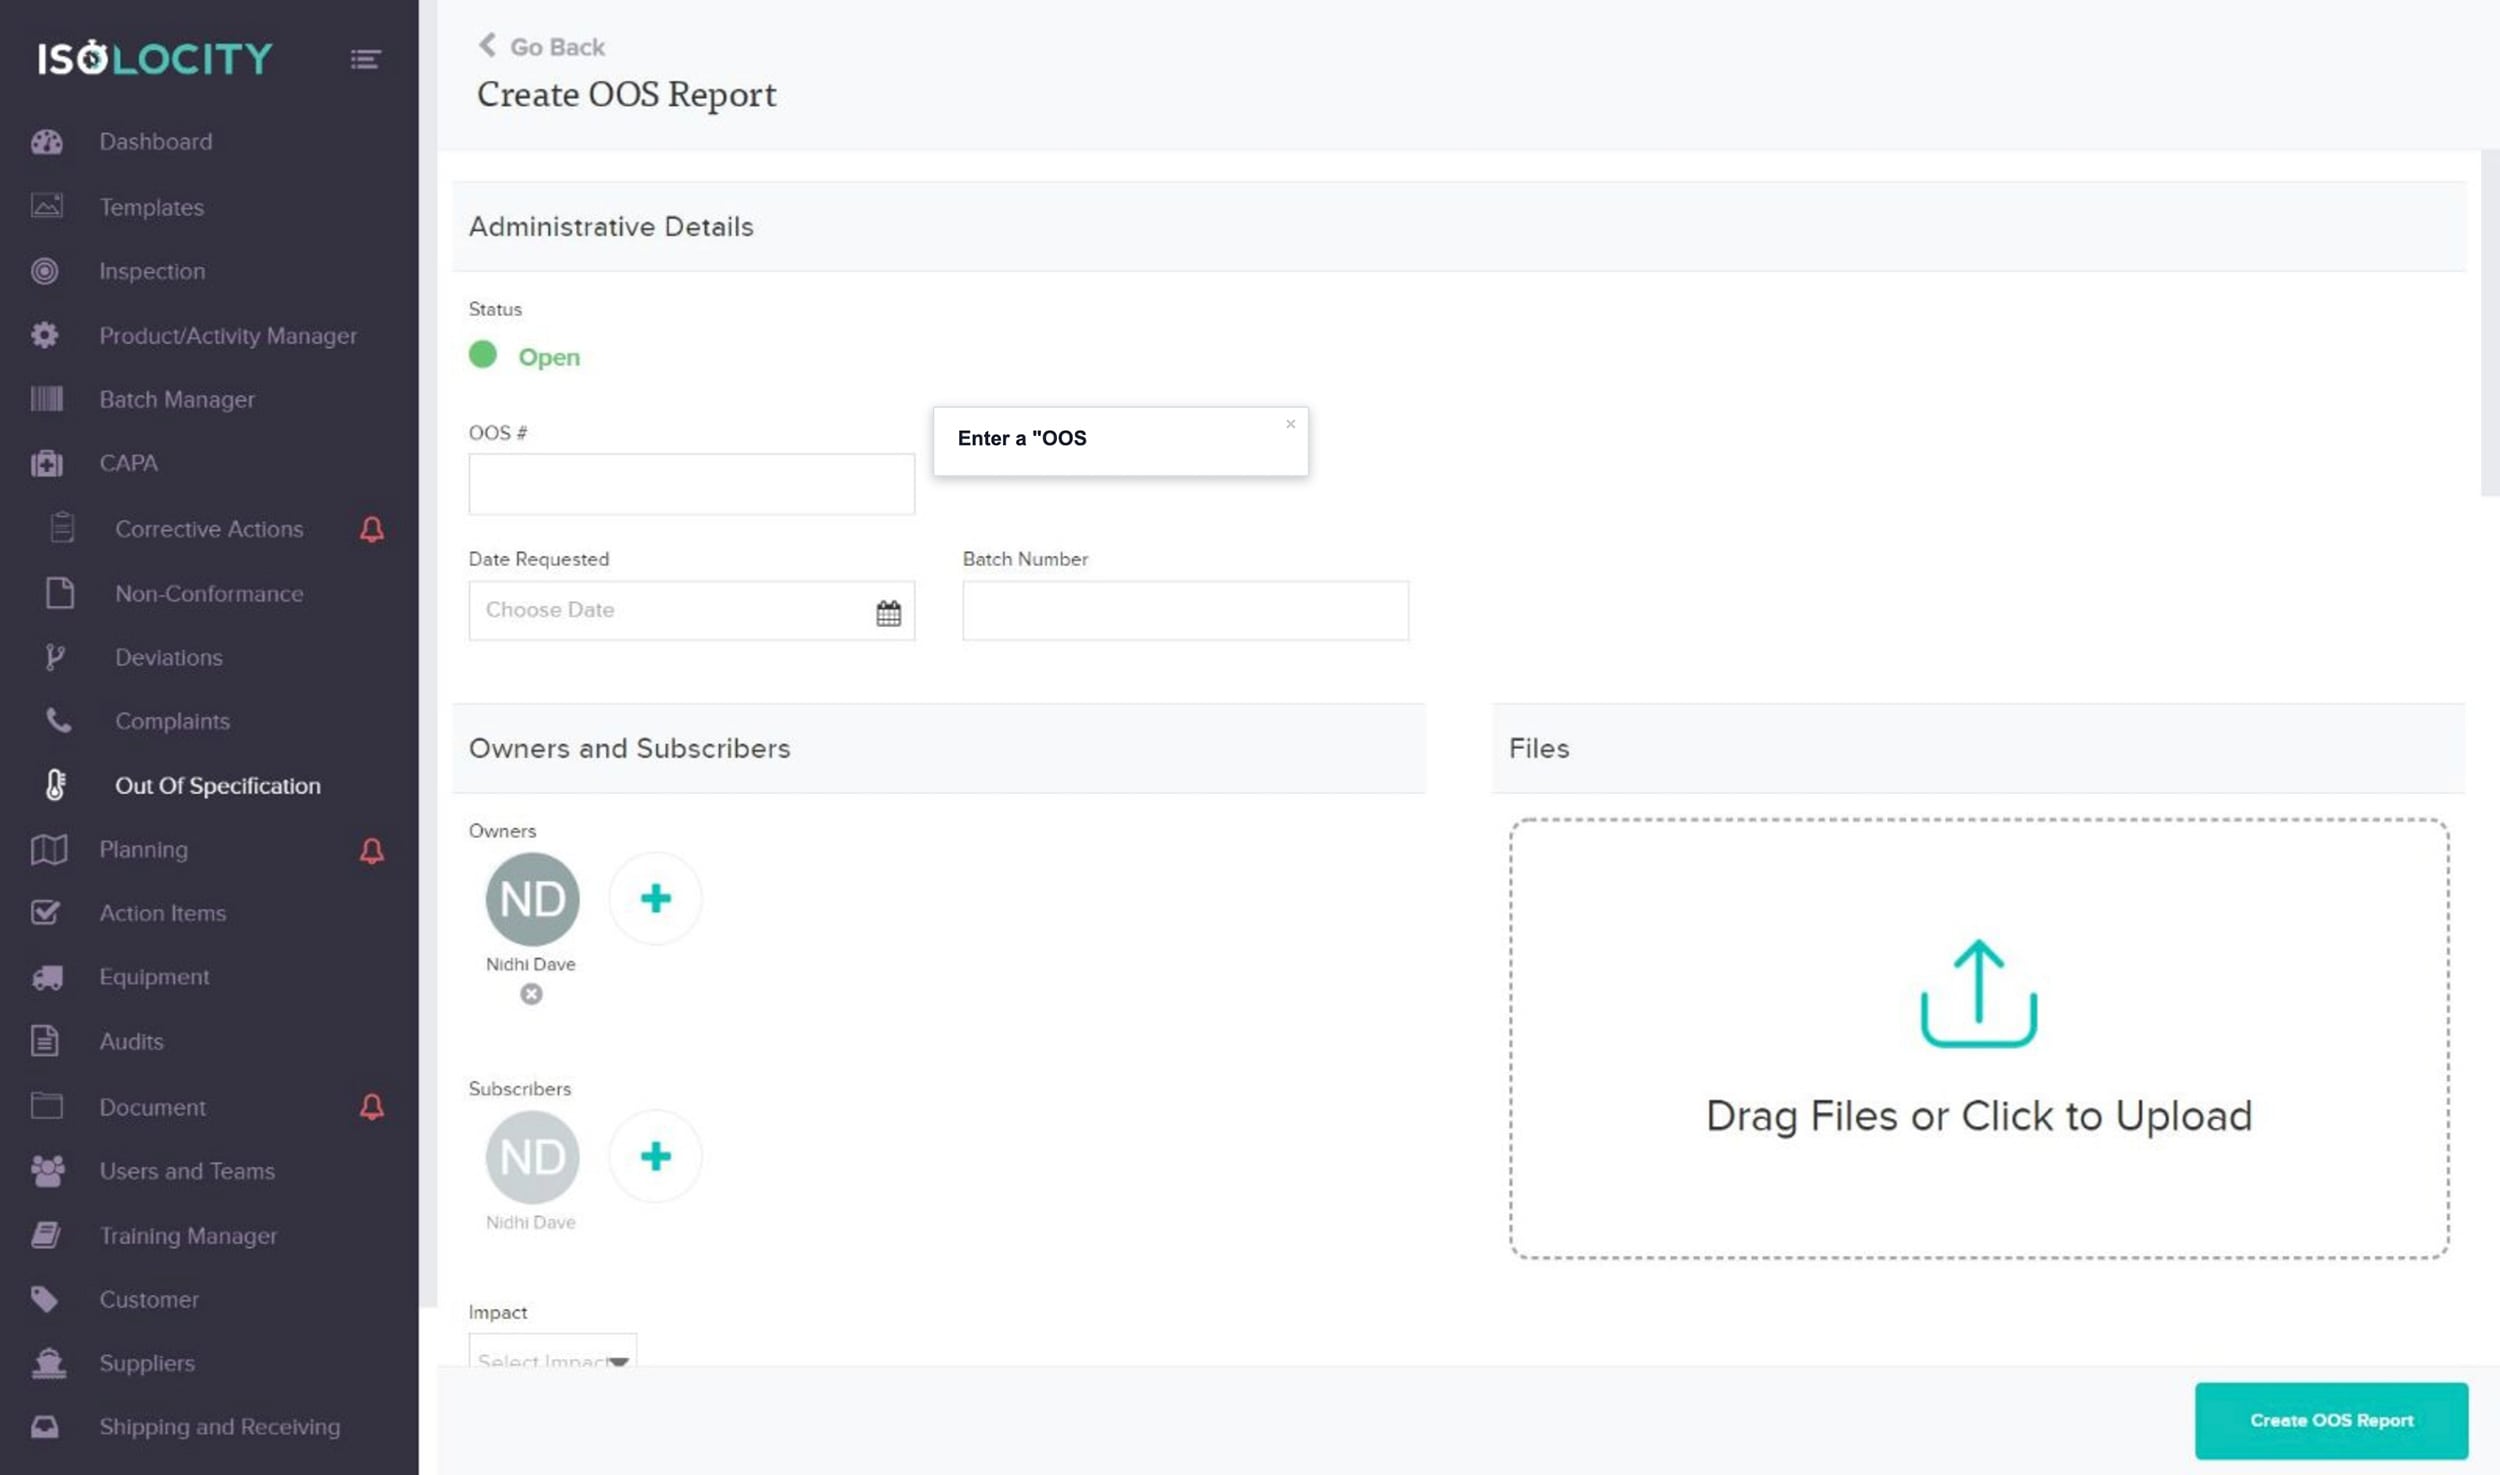
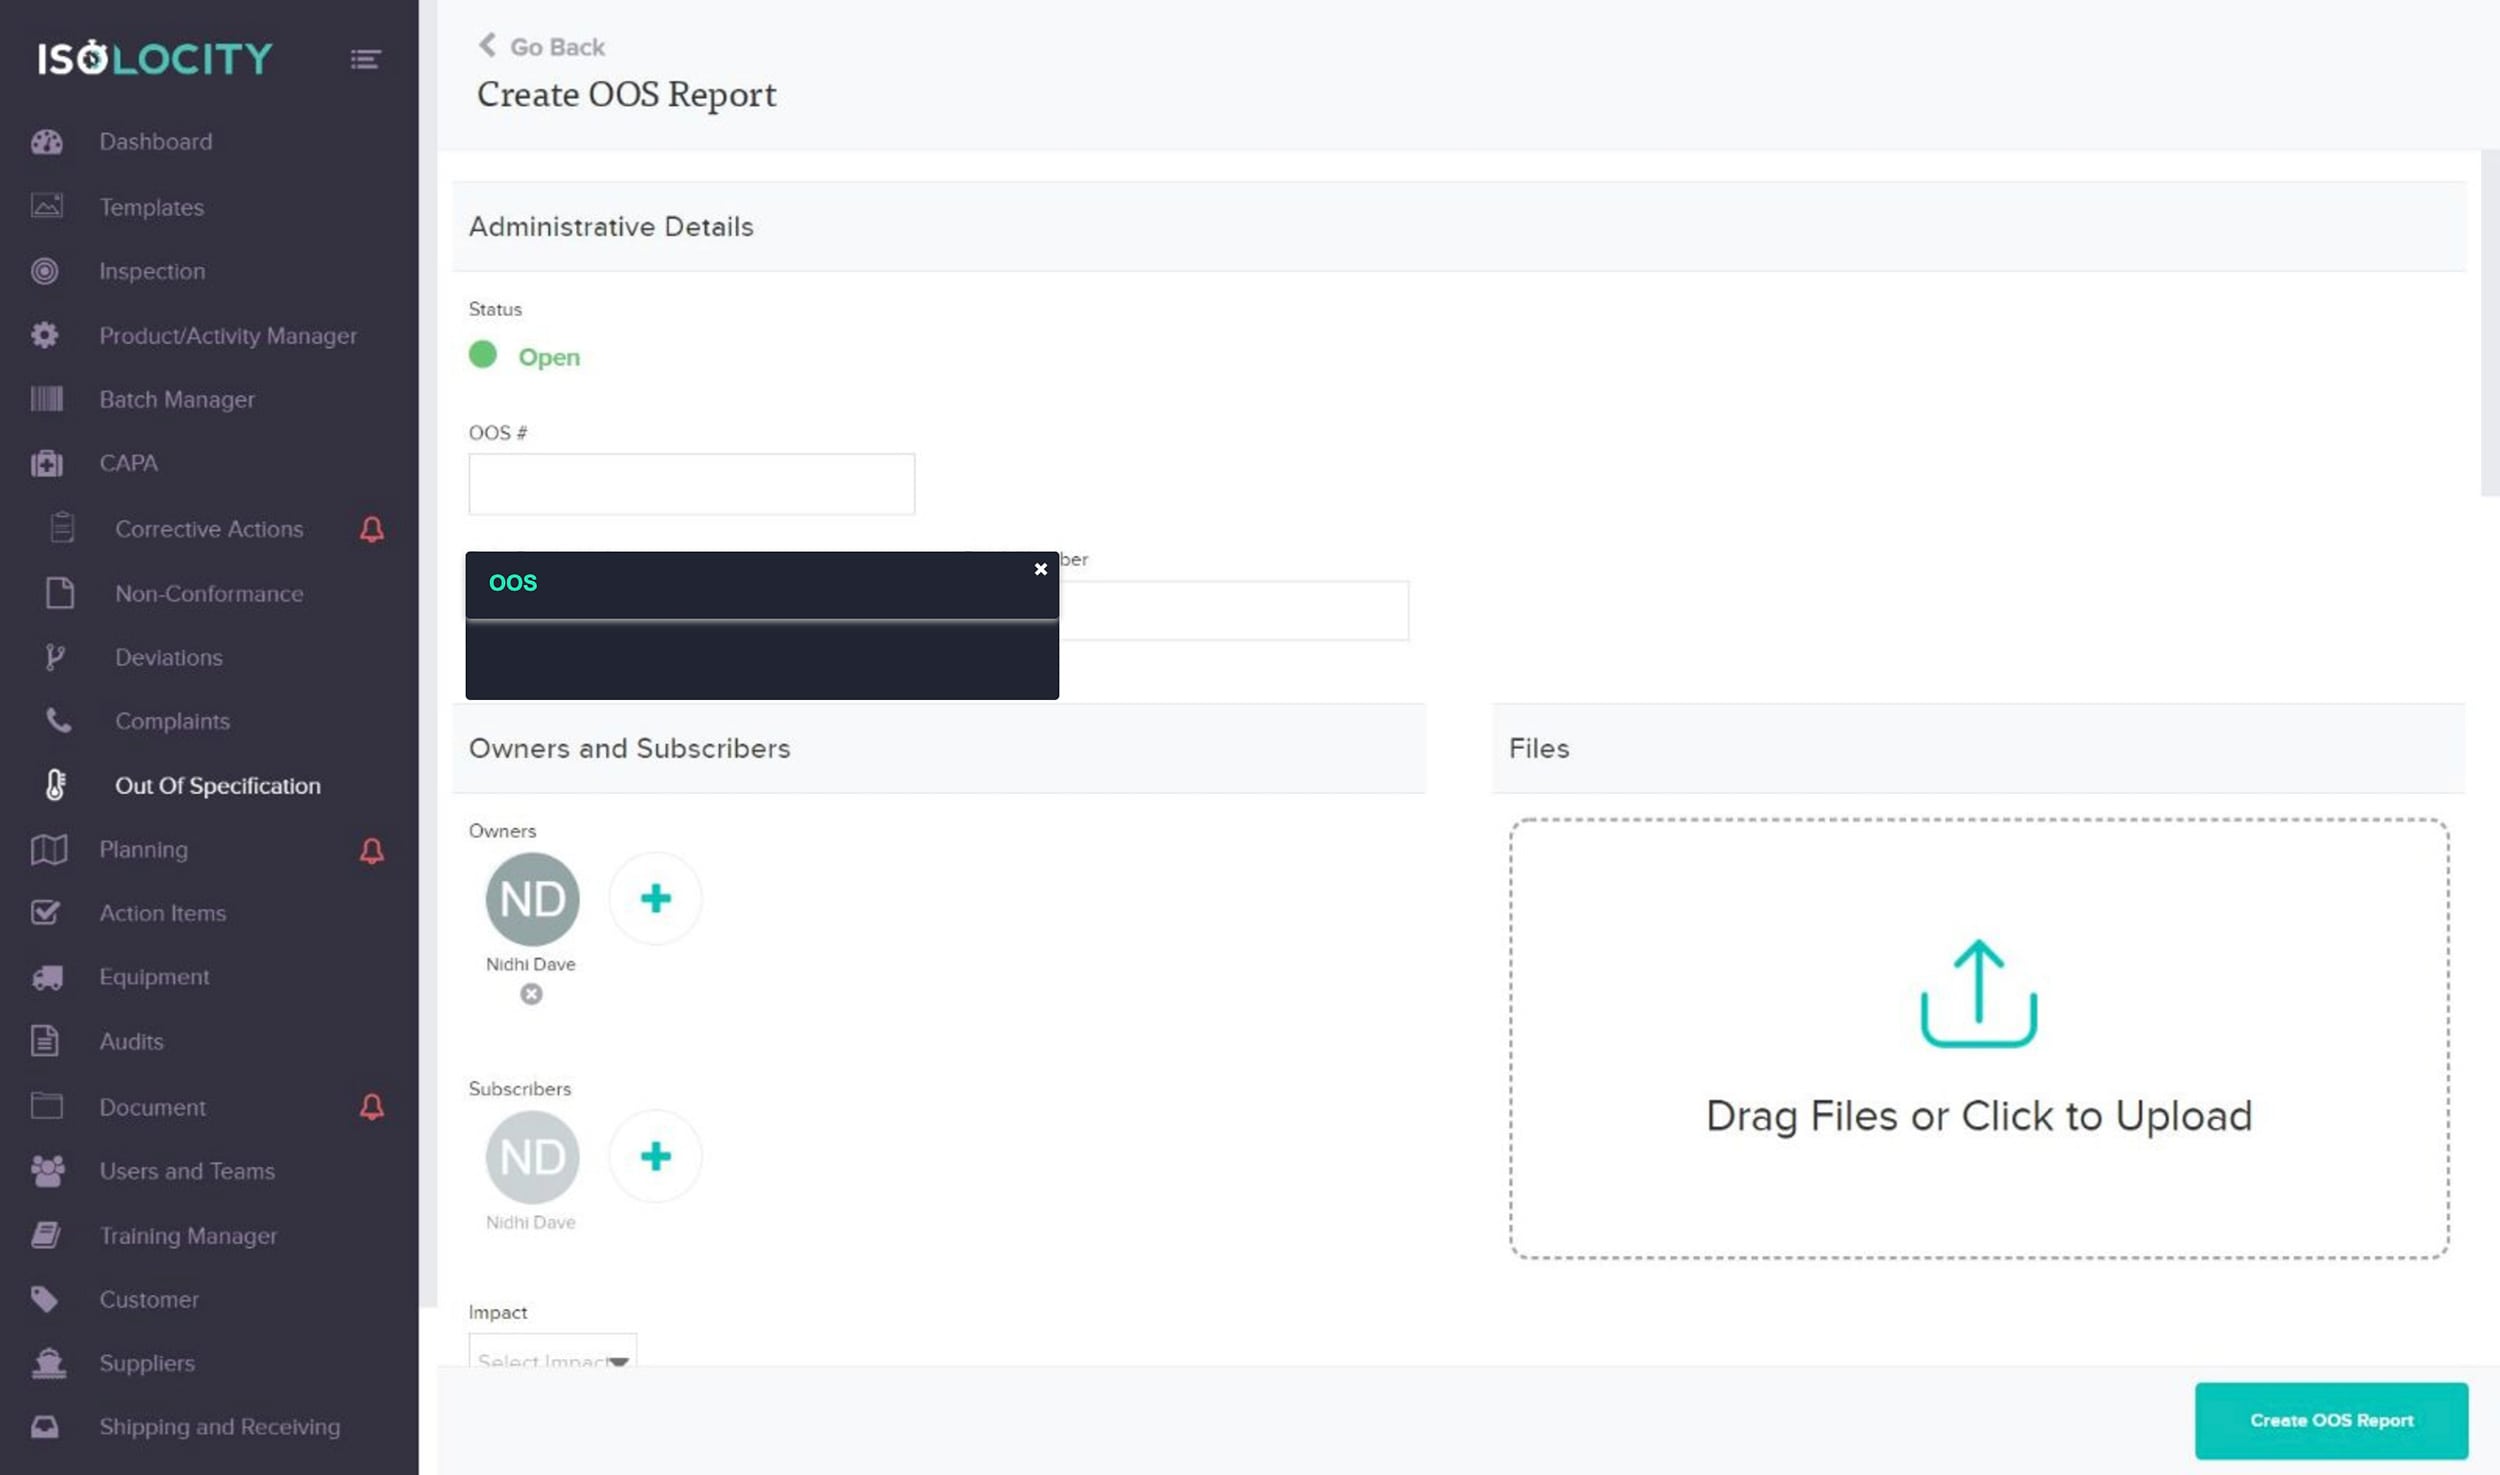
Step #5
OOS # is a required field. Please enter to continue this walkthru.
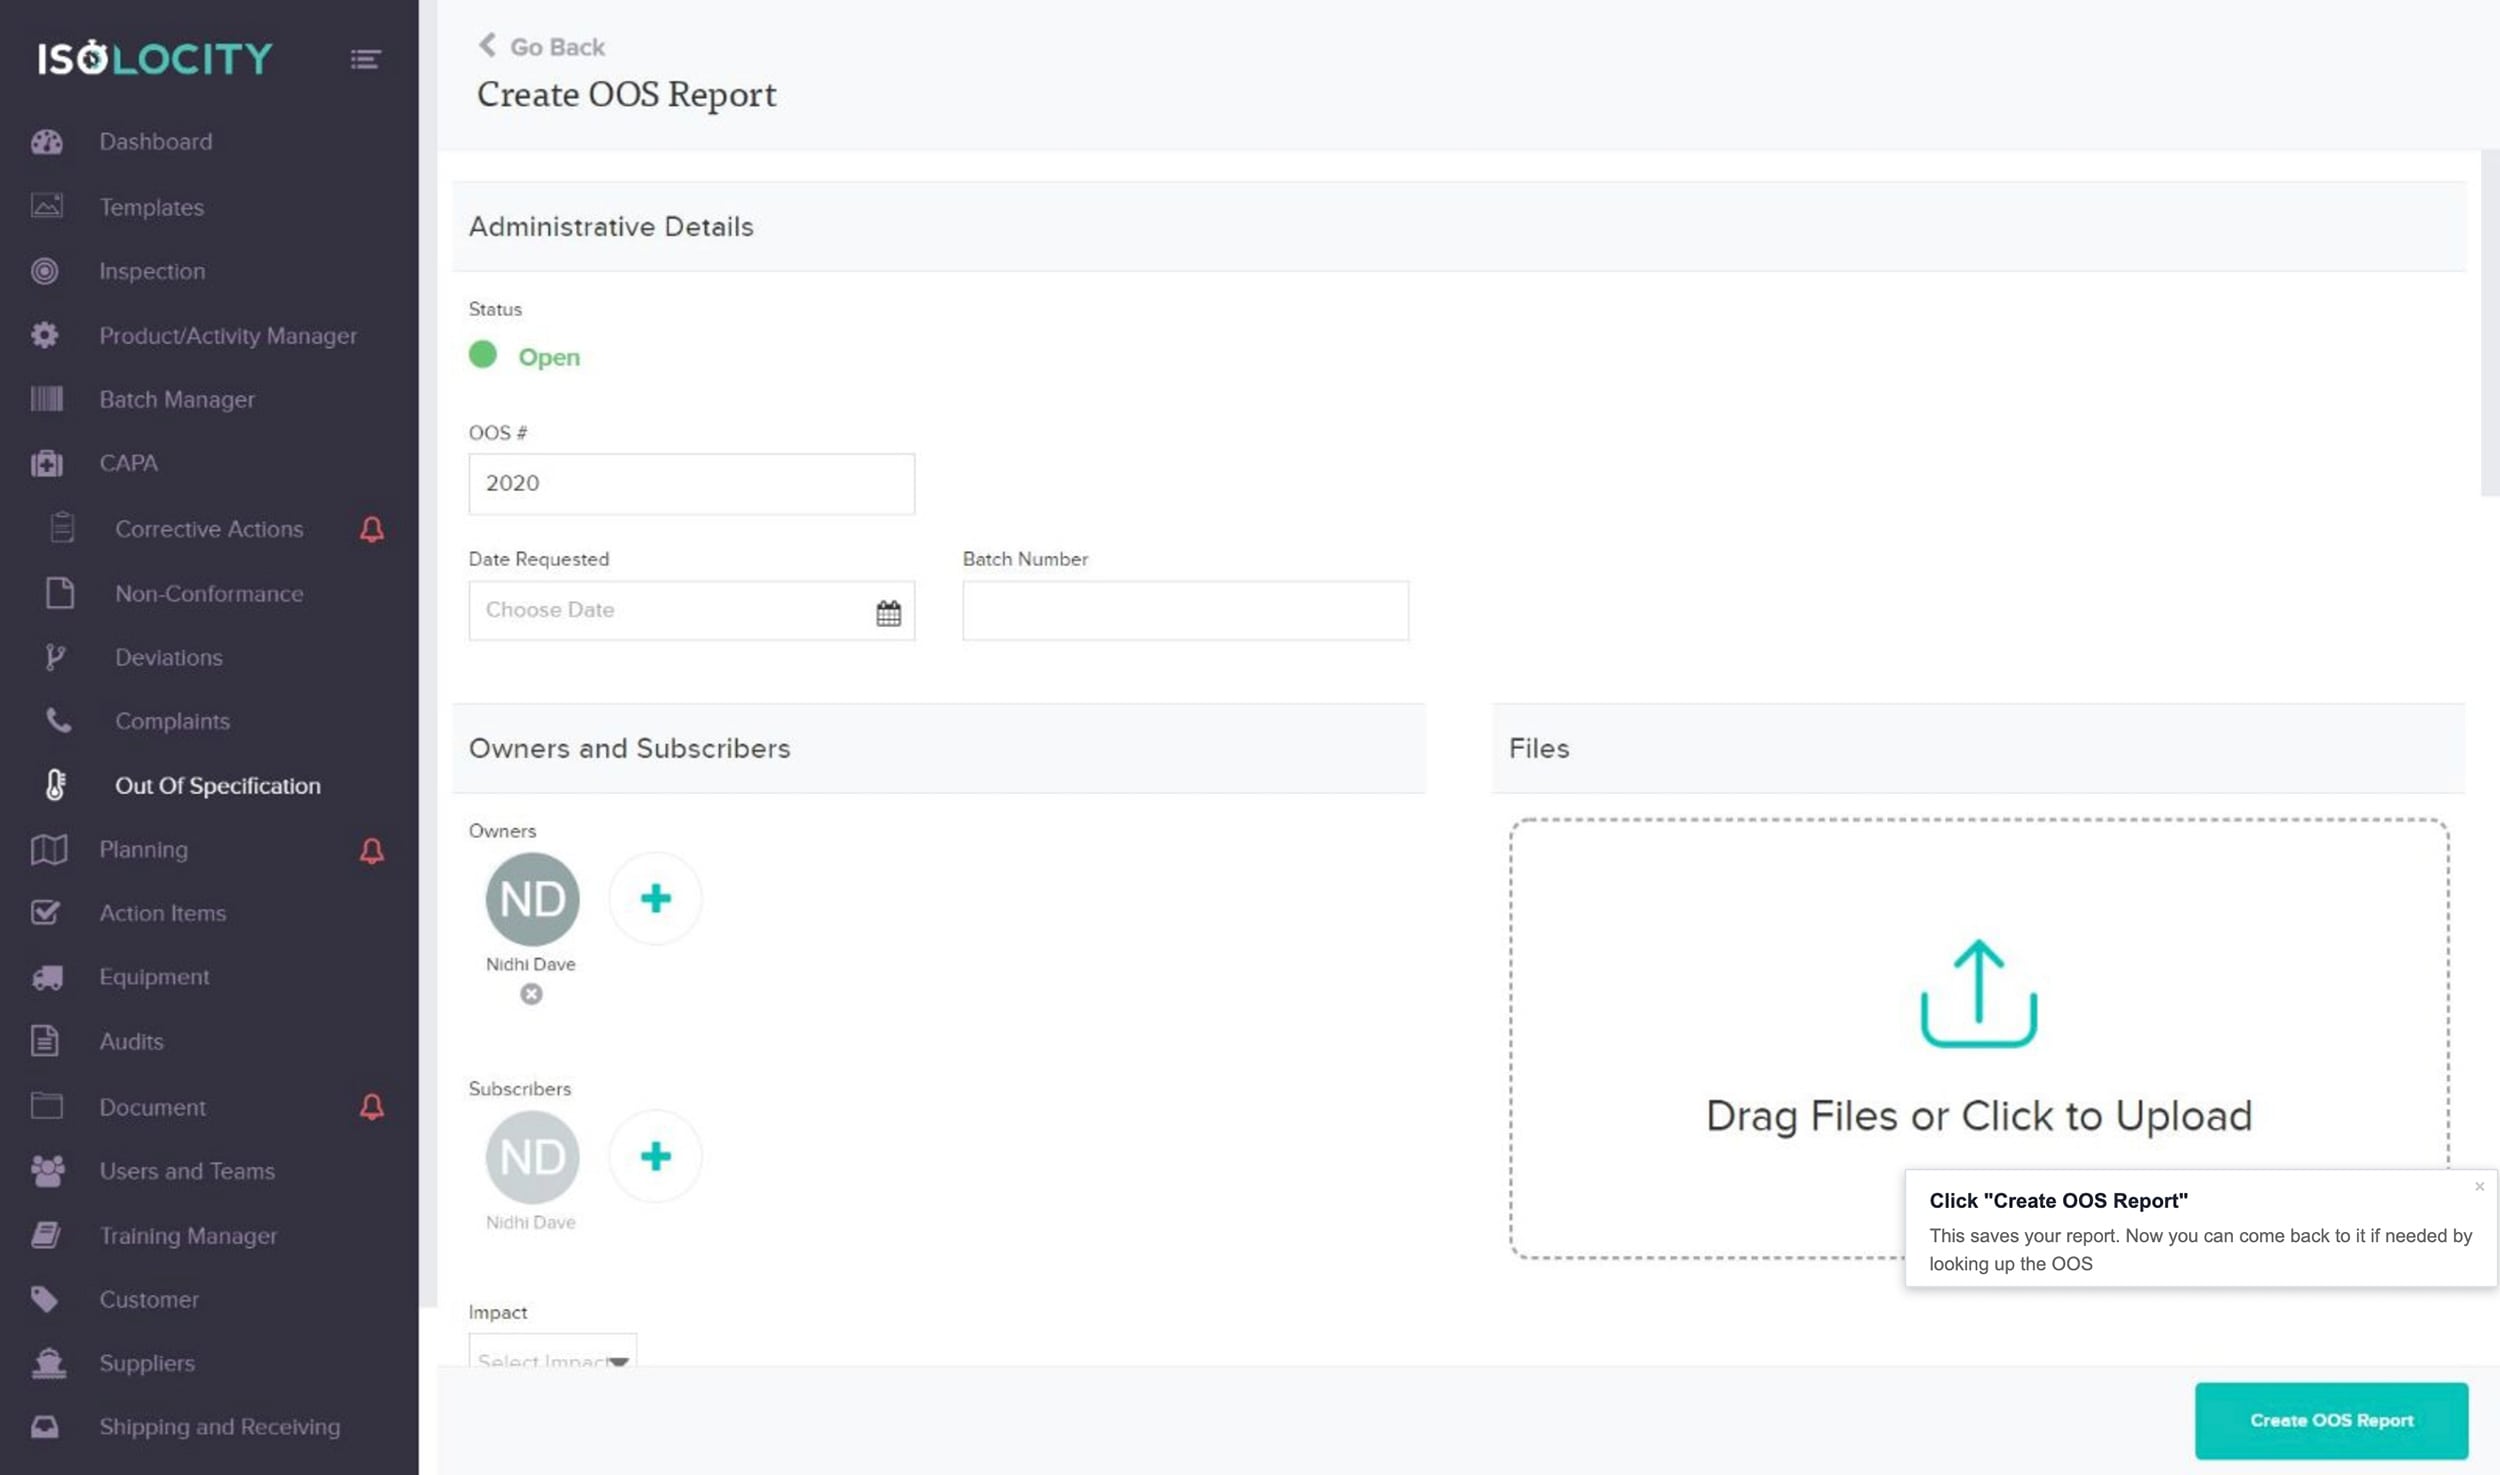
Step #6
Click “Create OOS Report”
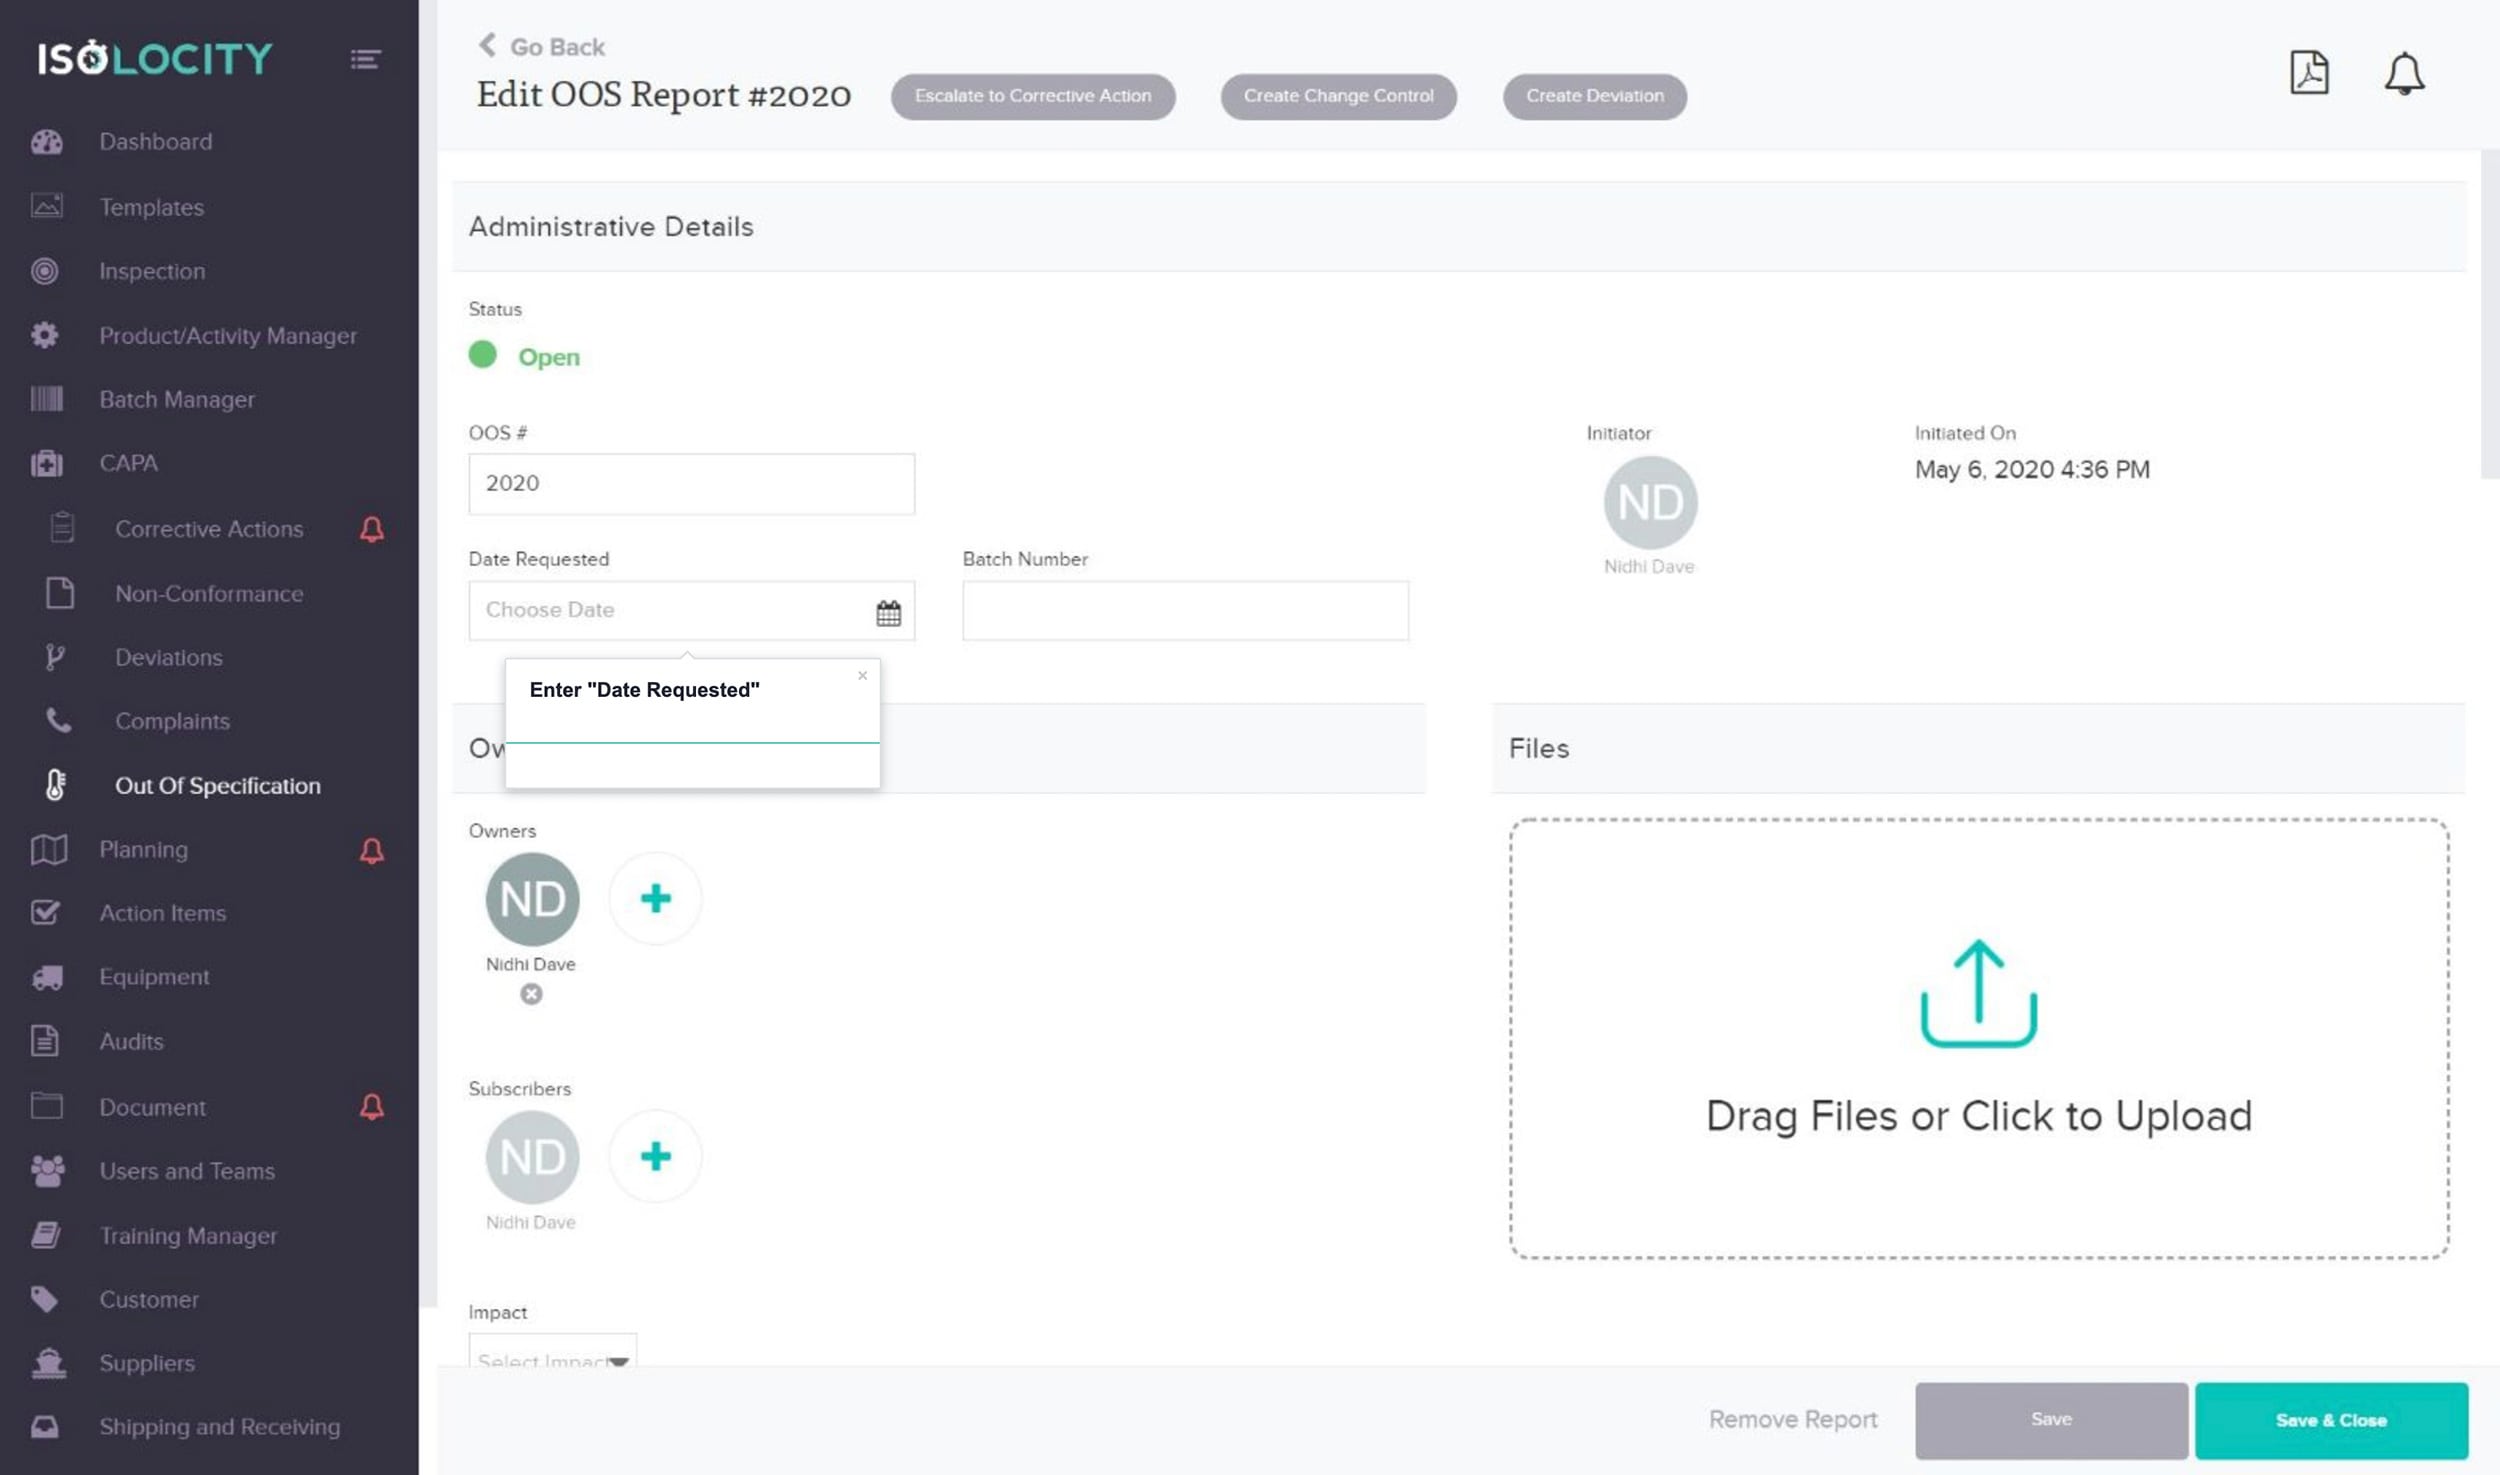
Step #7
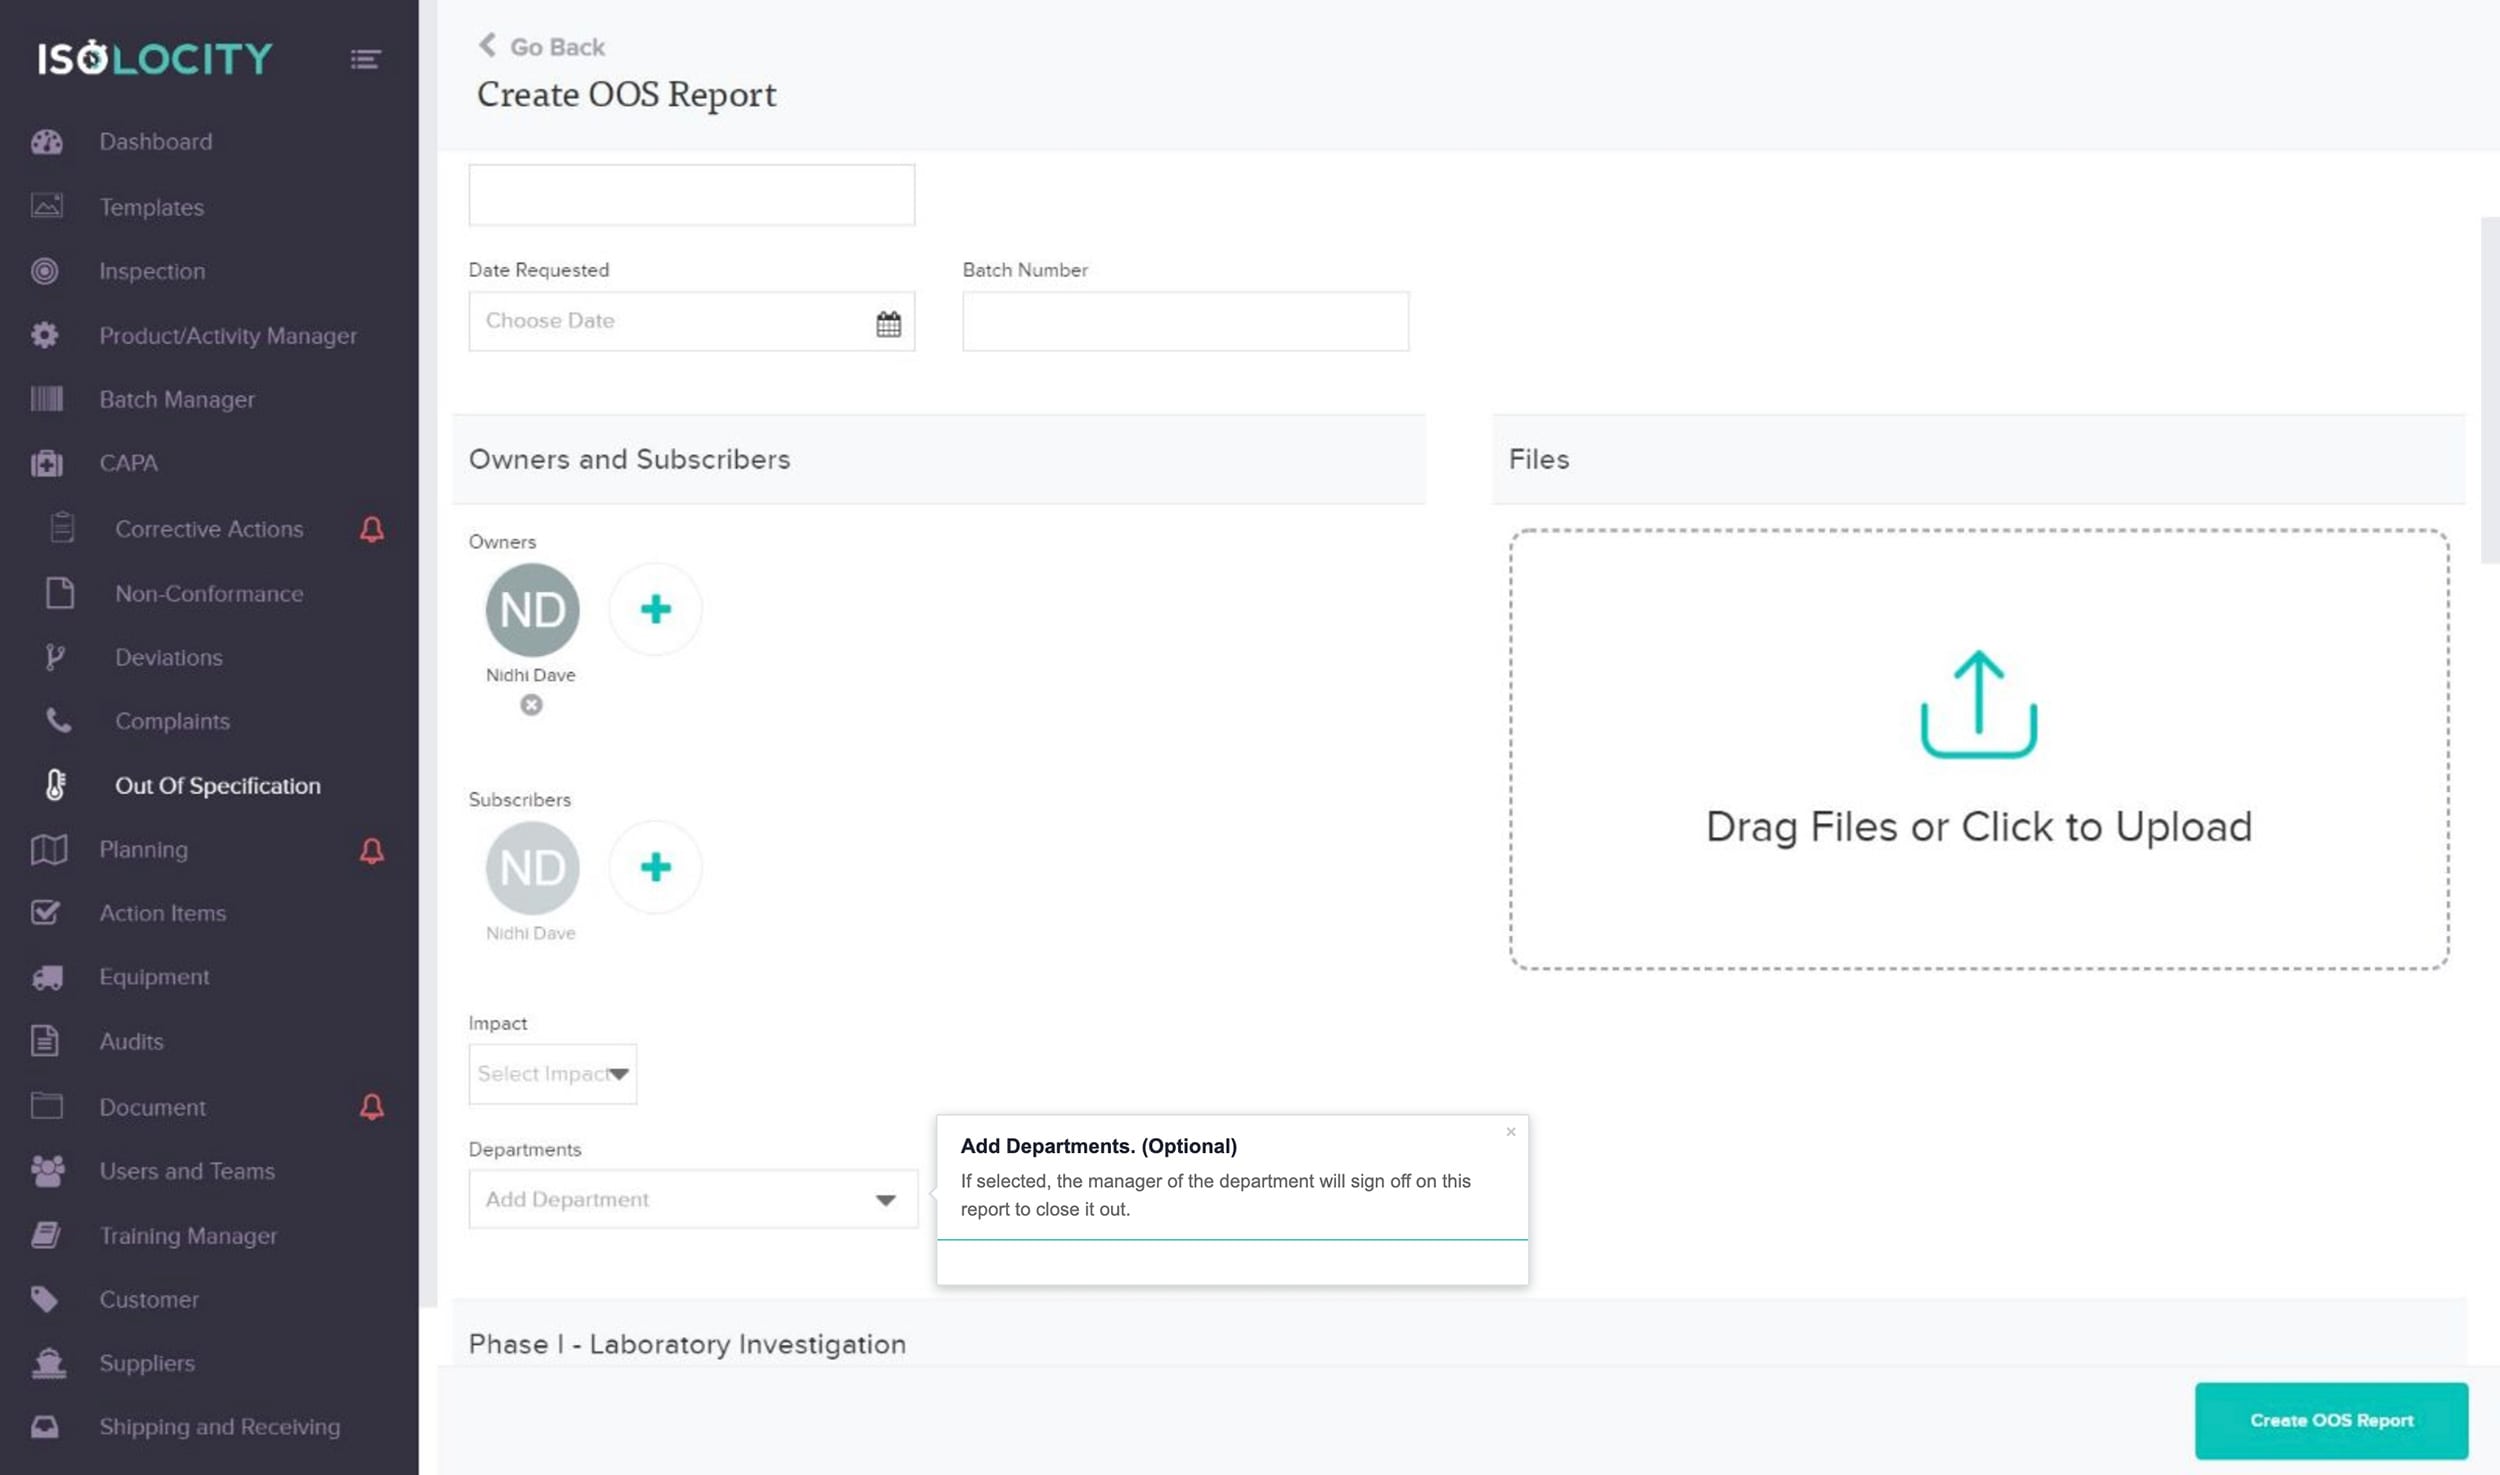
Enter “Date Requested”
Step #8
Enter “Batch Number”

Step #9
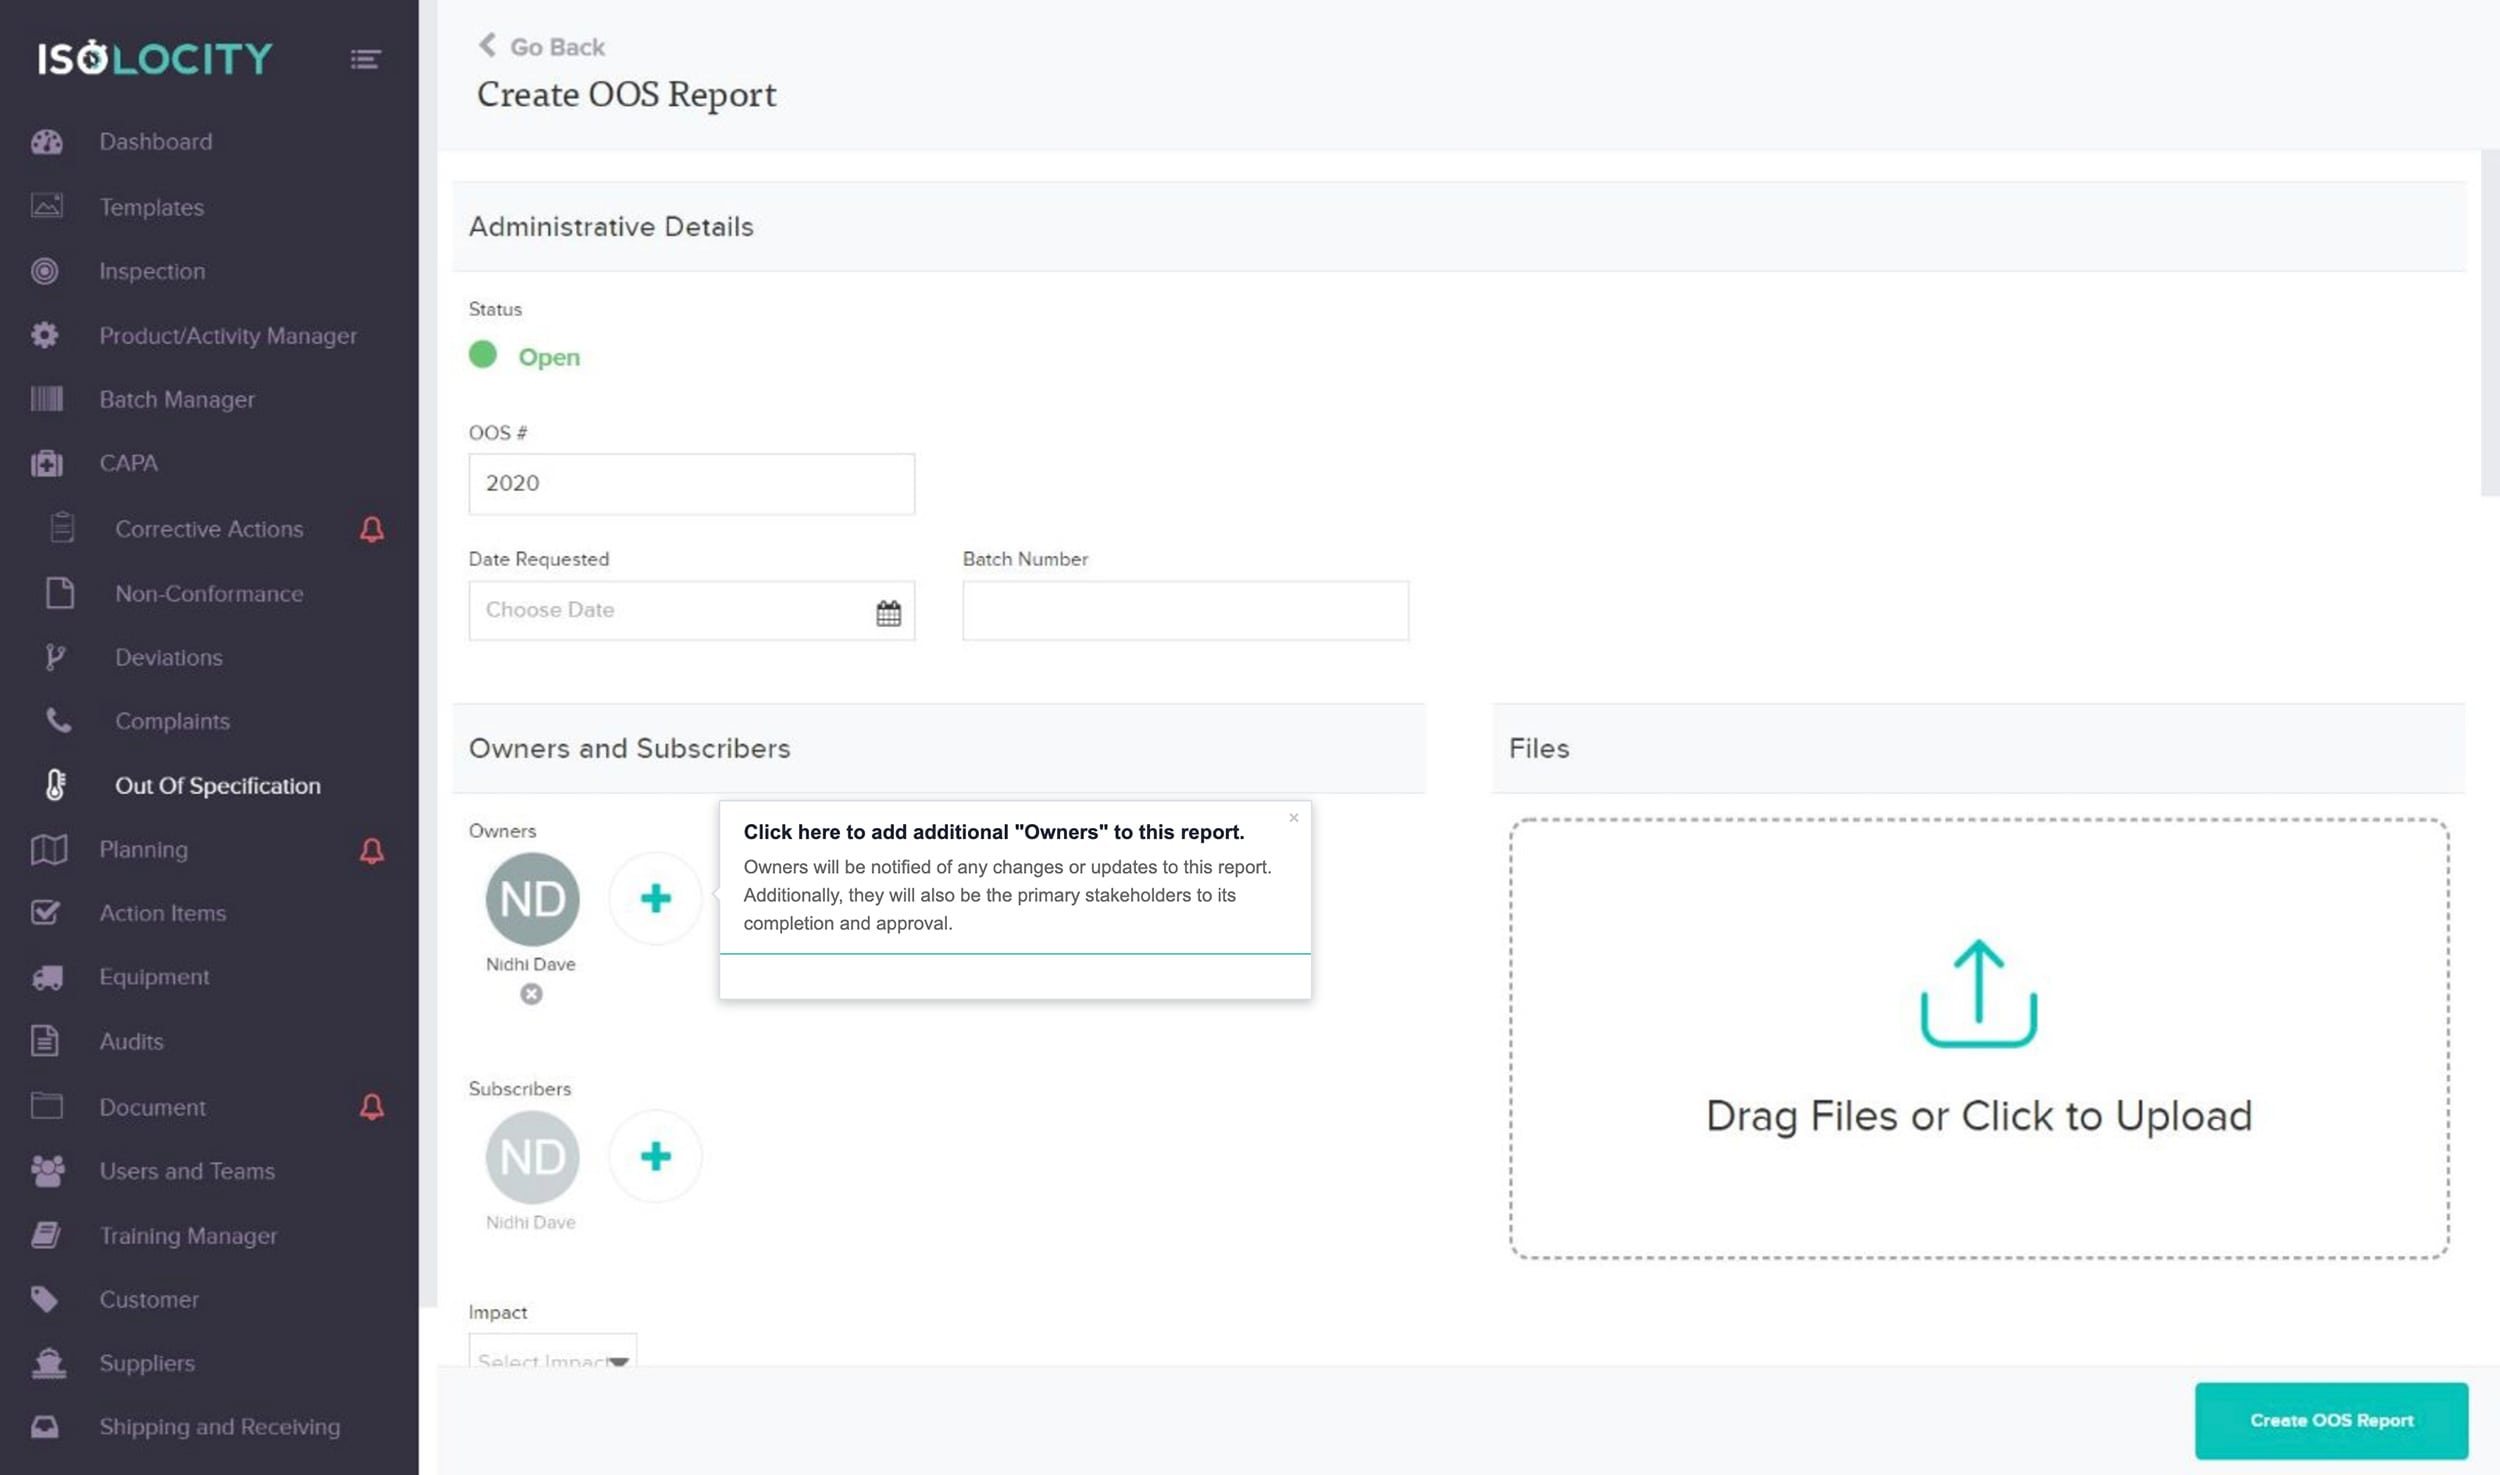
Click here to add additional “Owners” to this report.
Step #10
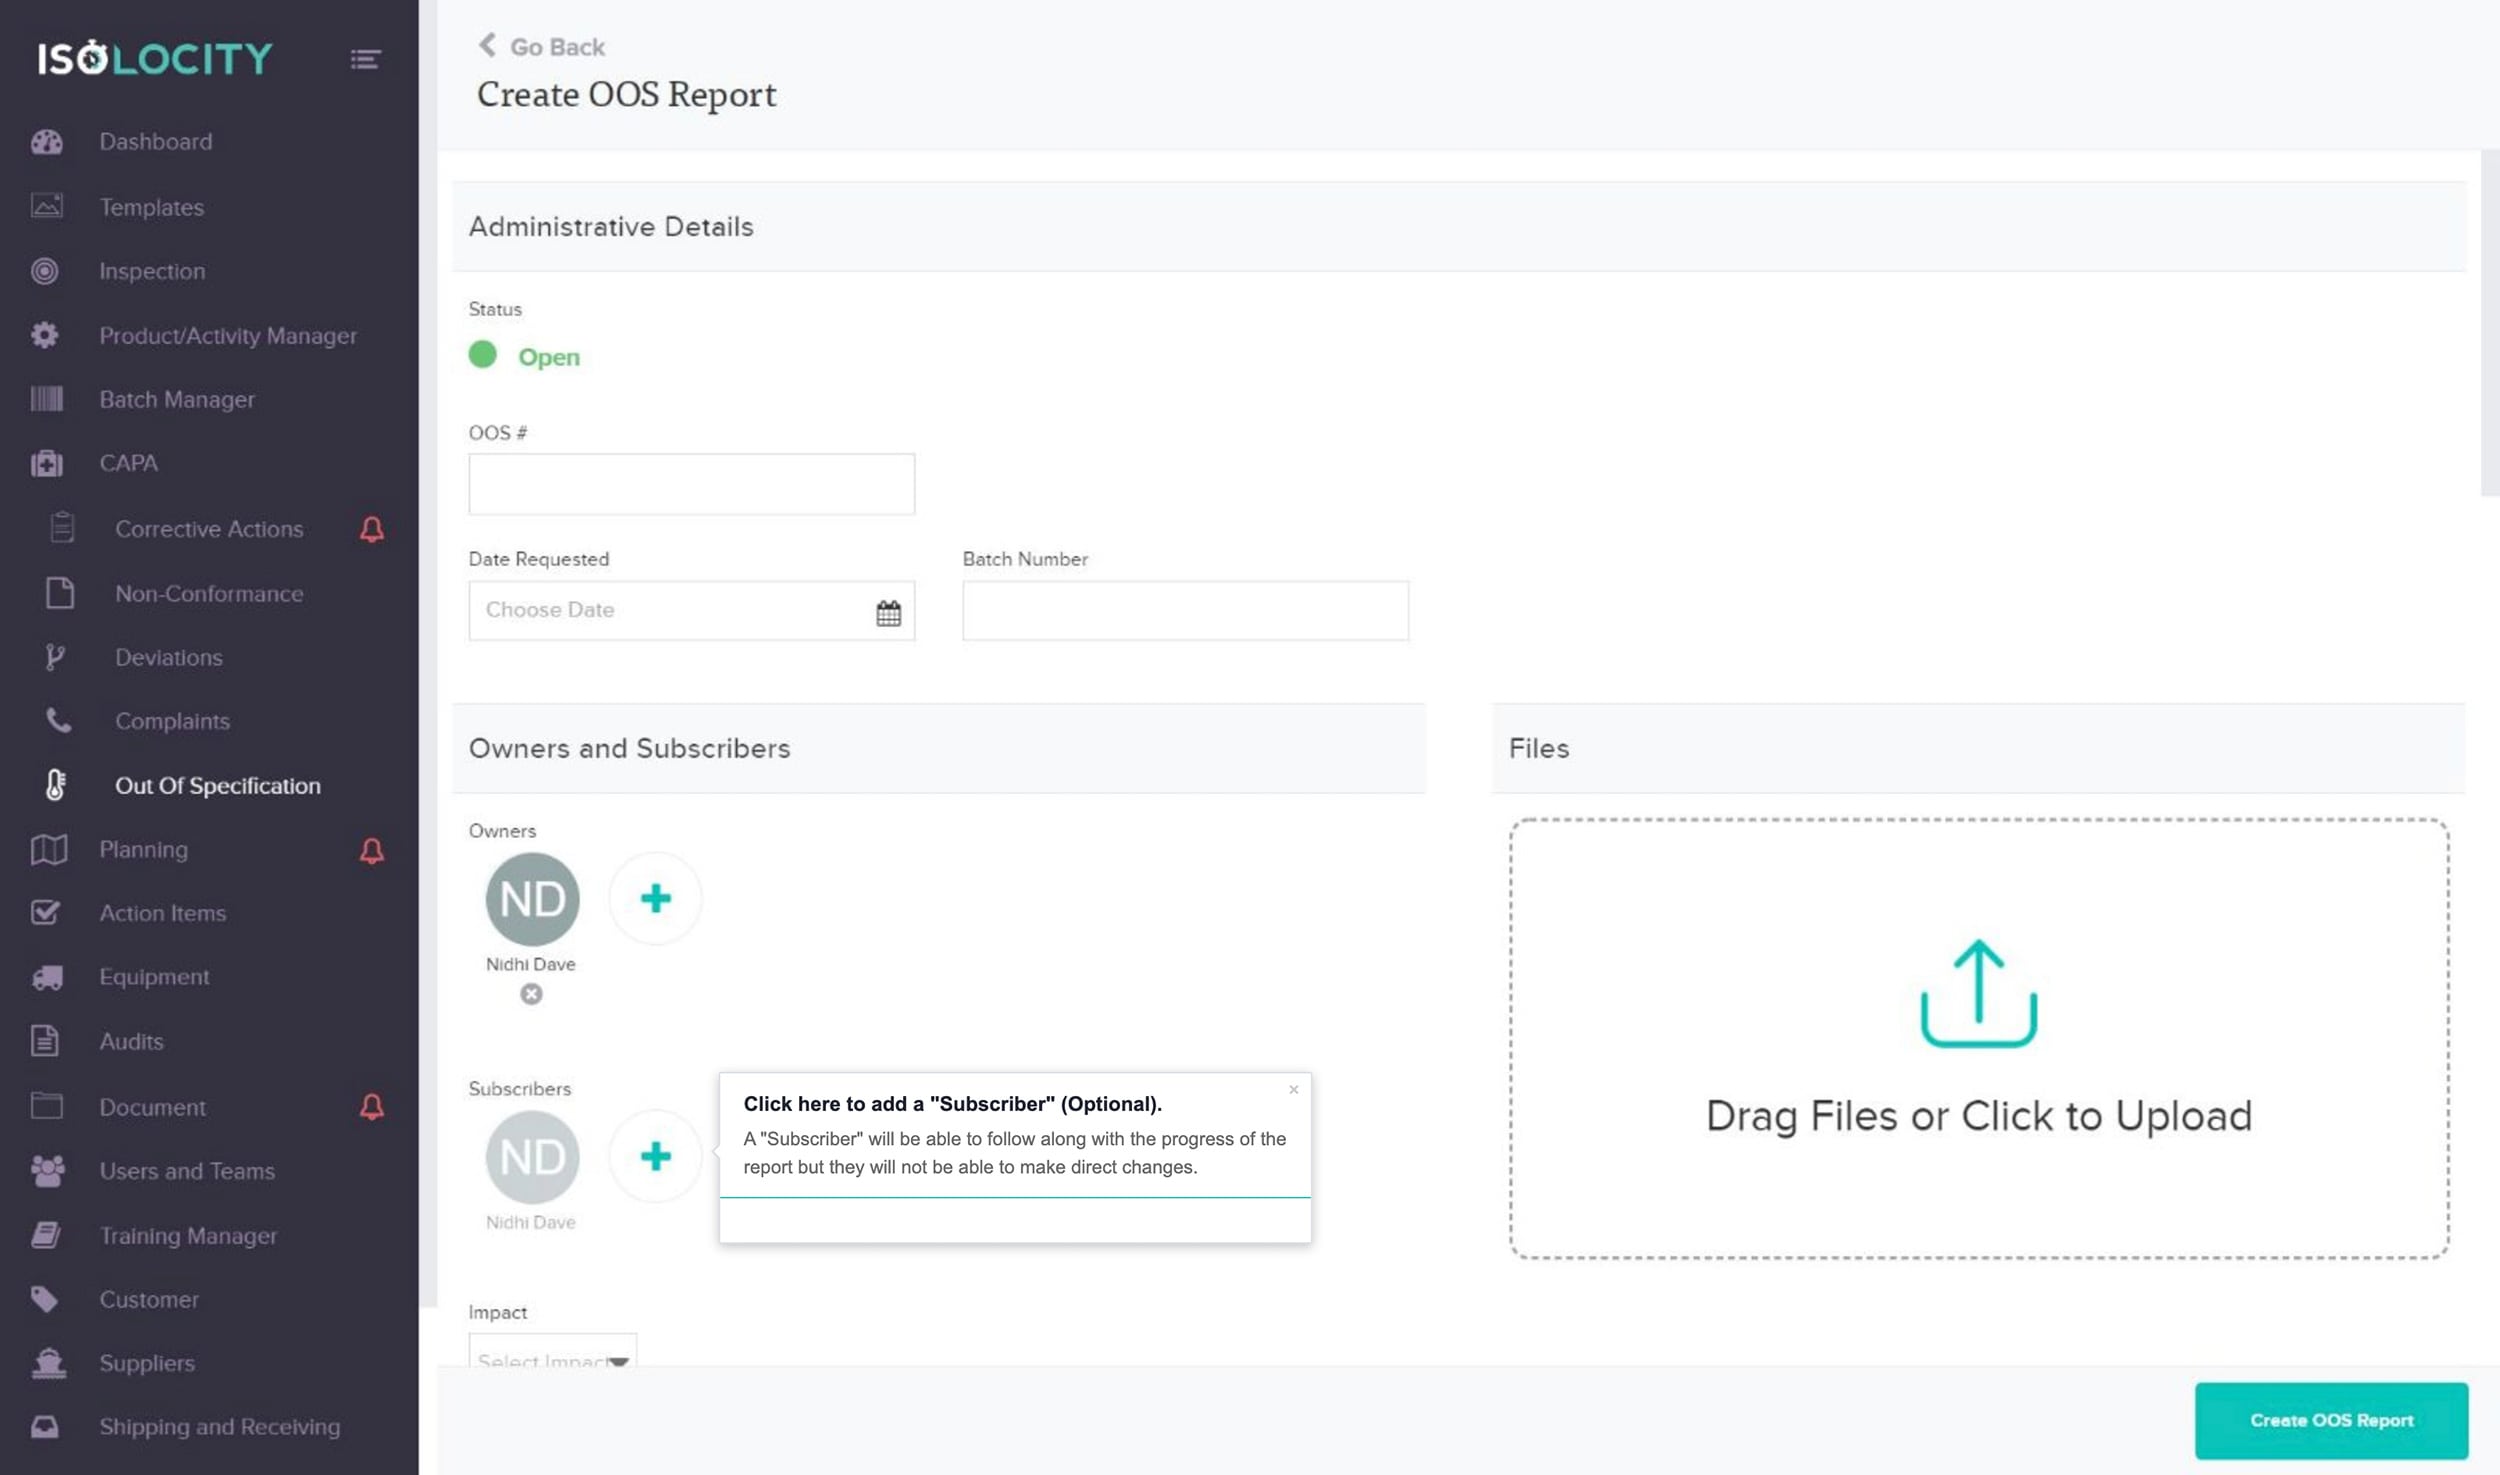
Click here to add a “Subscriber” (Optional).
Step #11
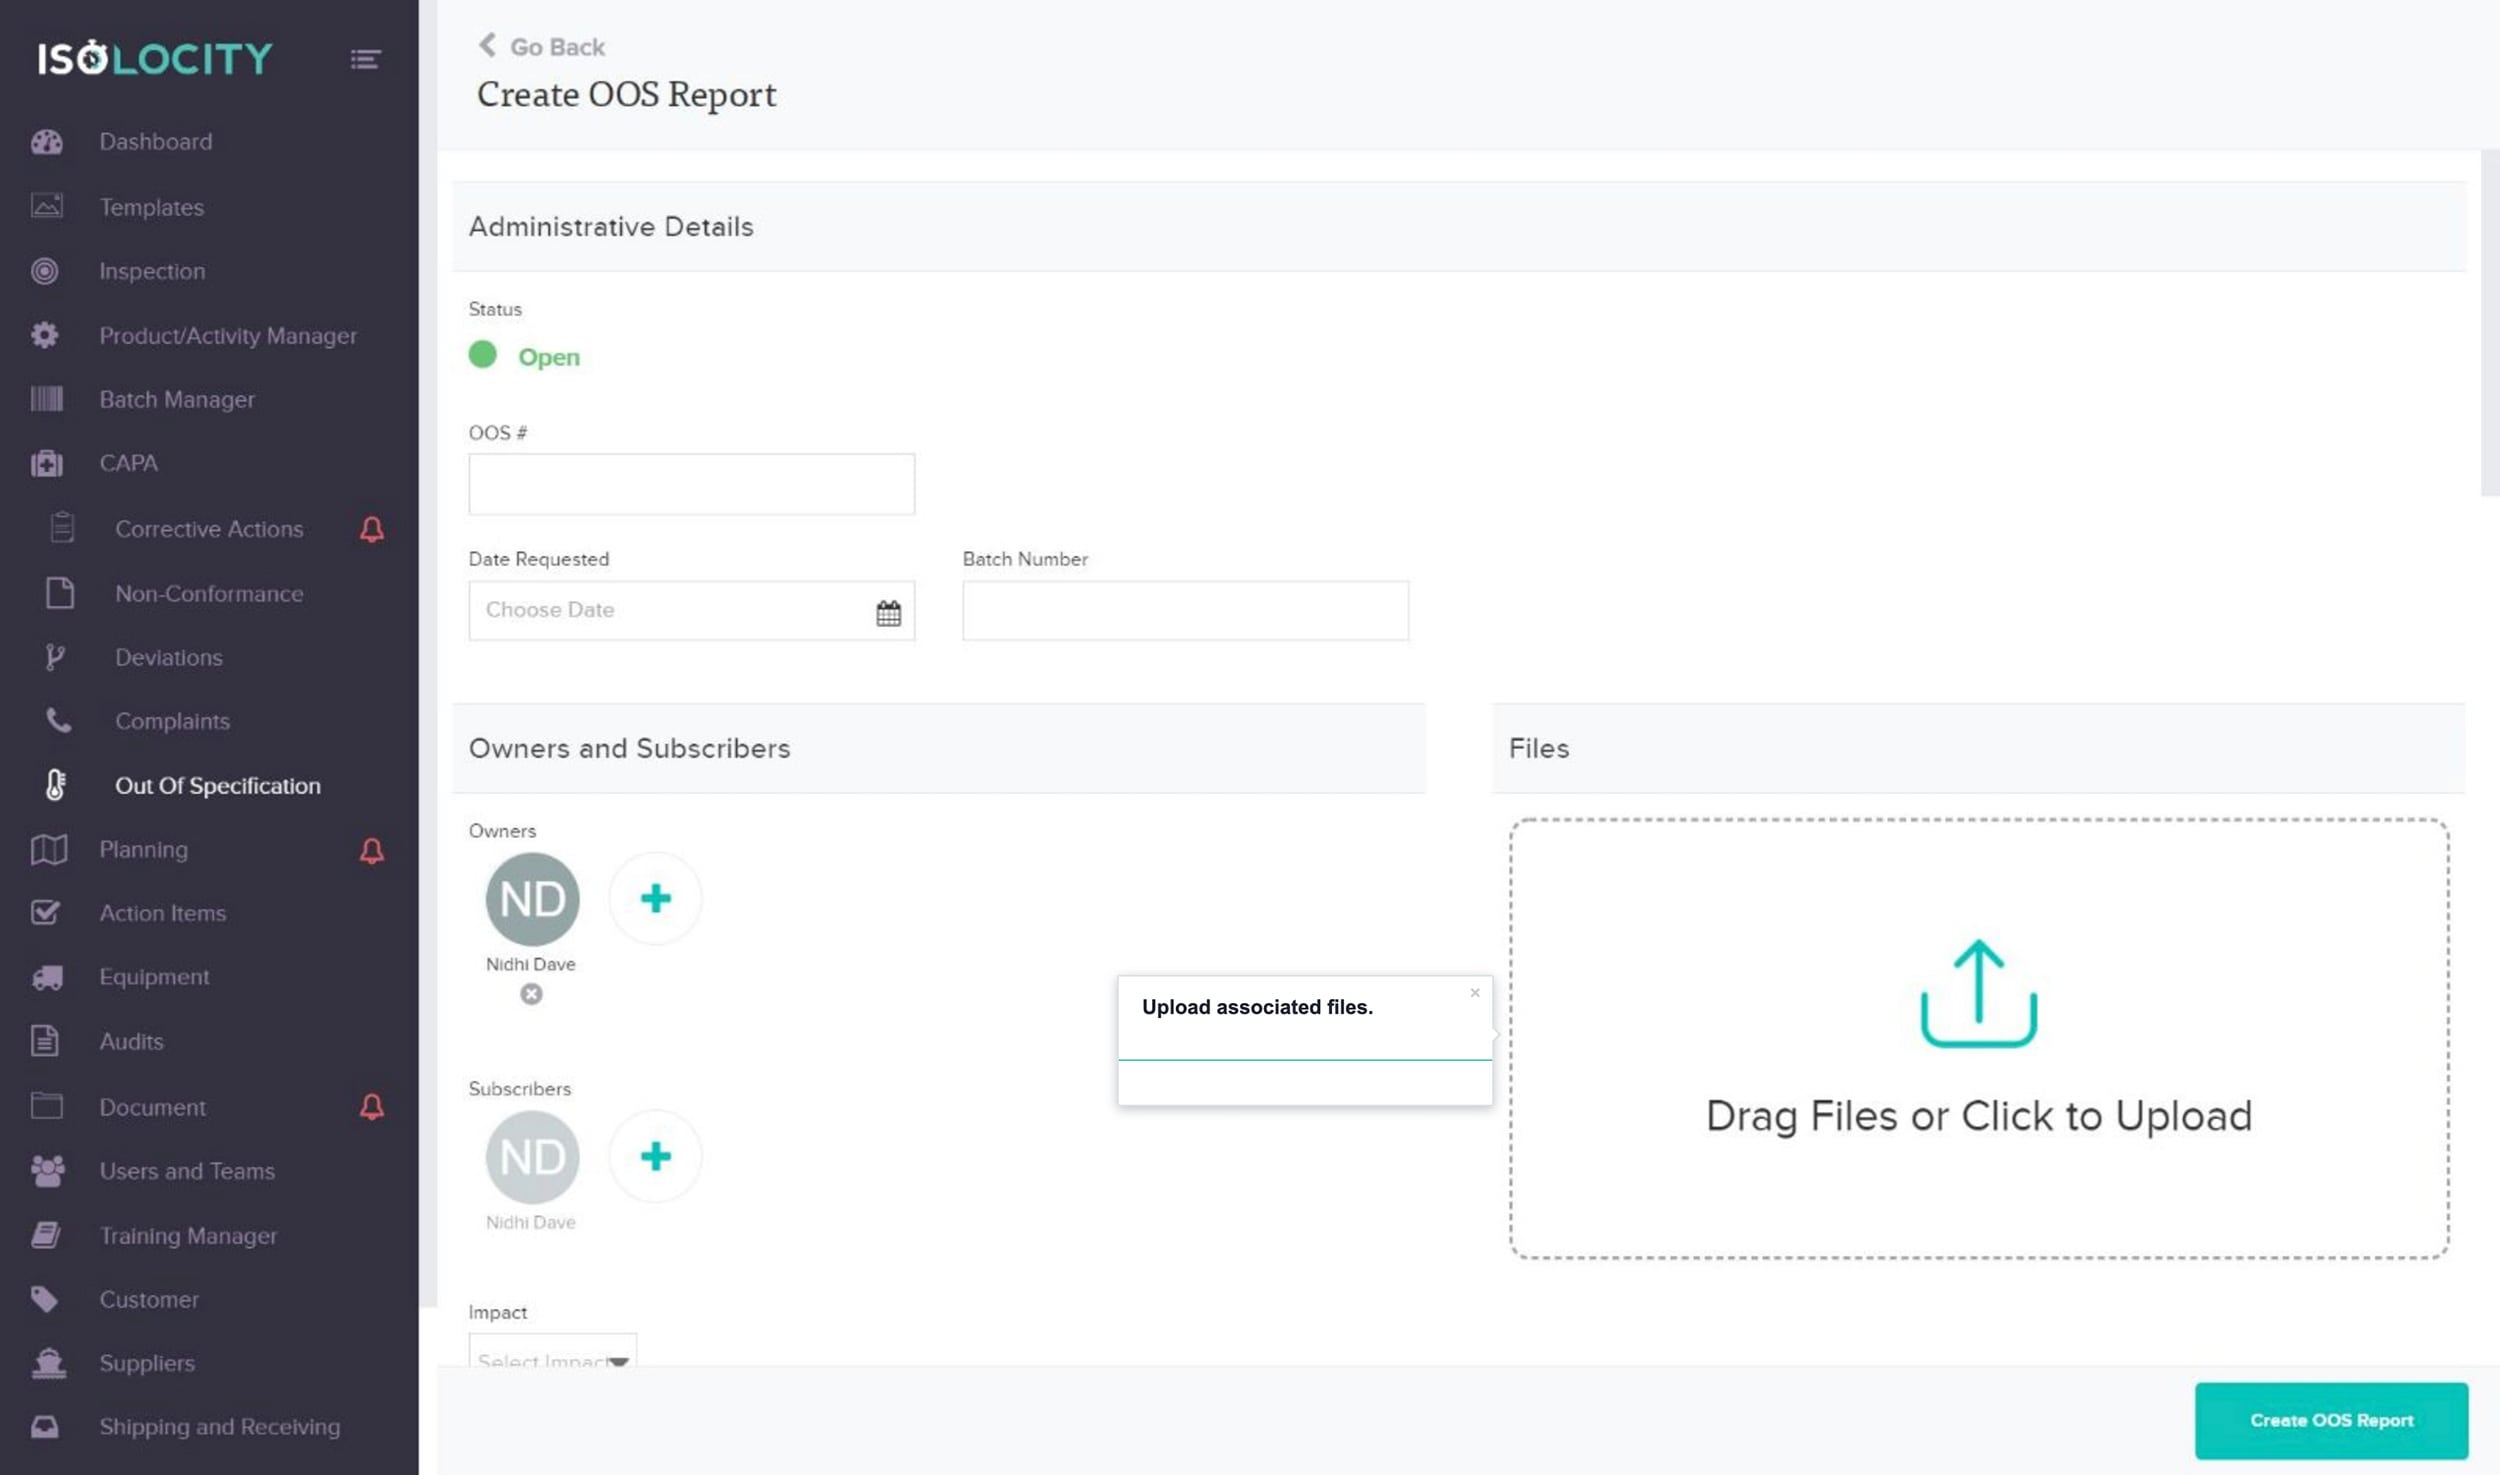
Upload associated files.
Step #12
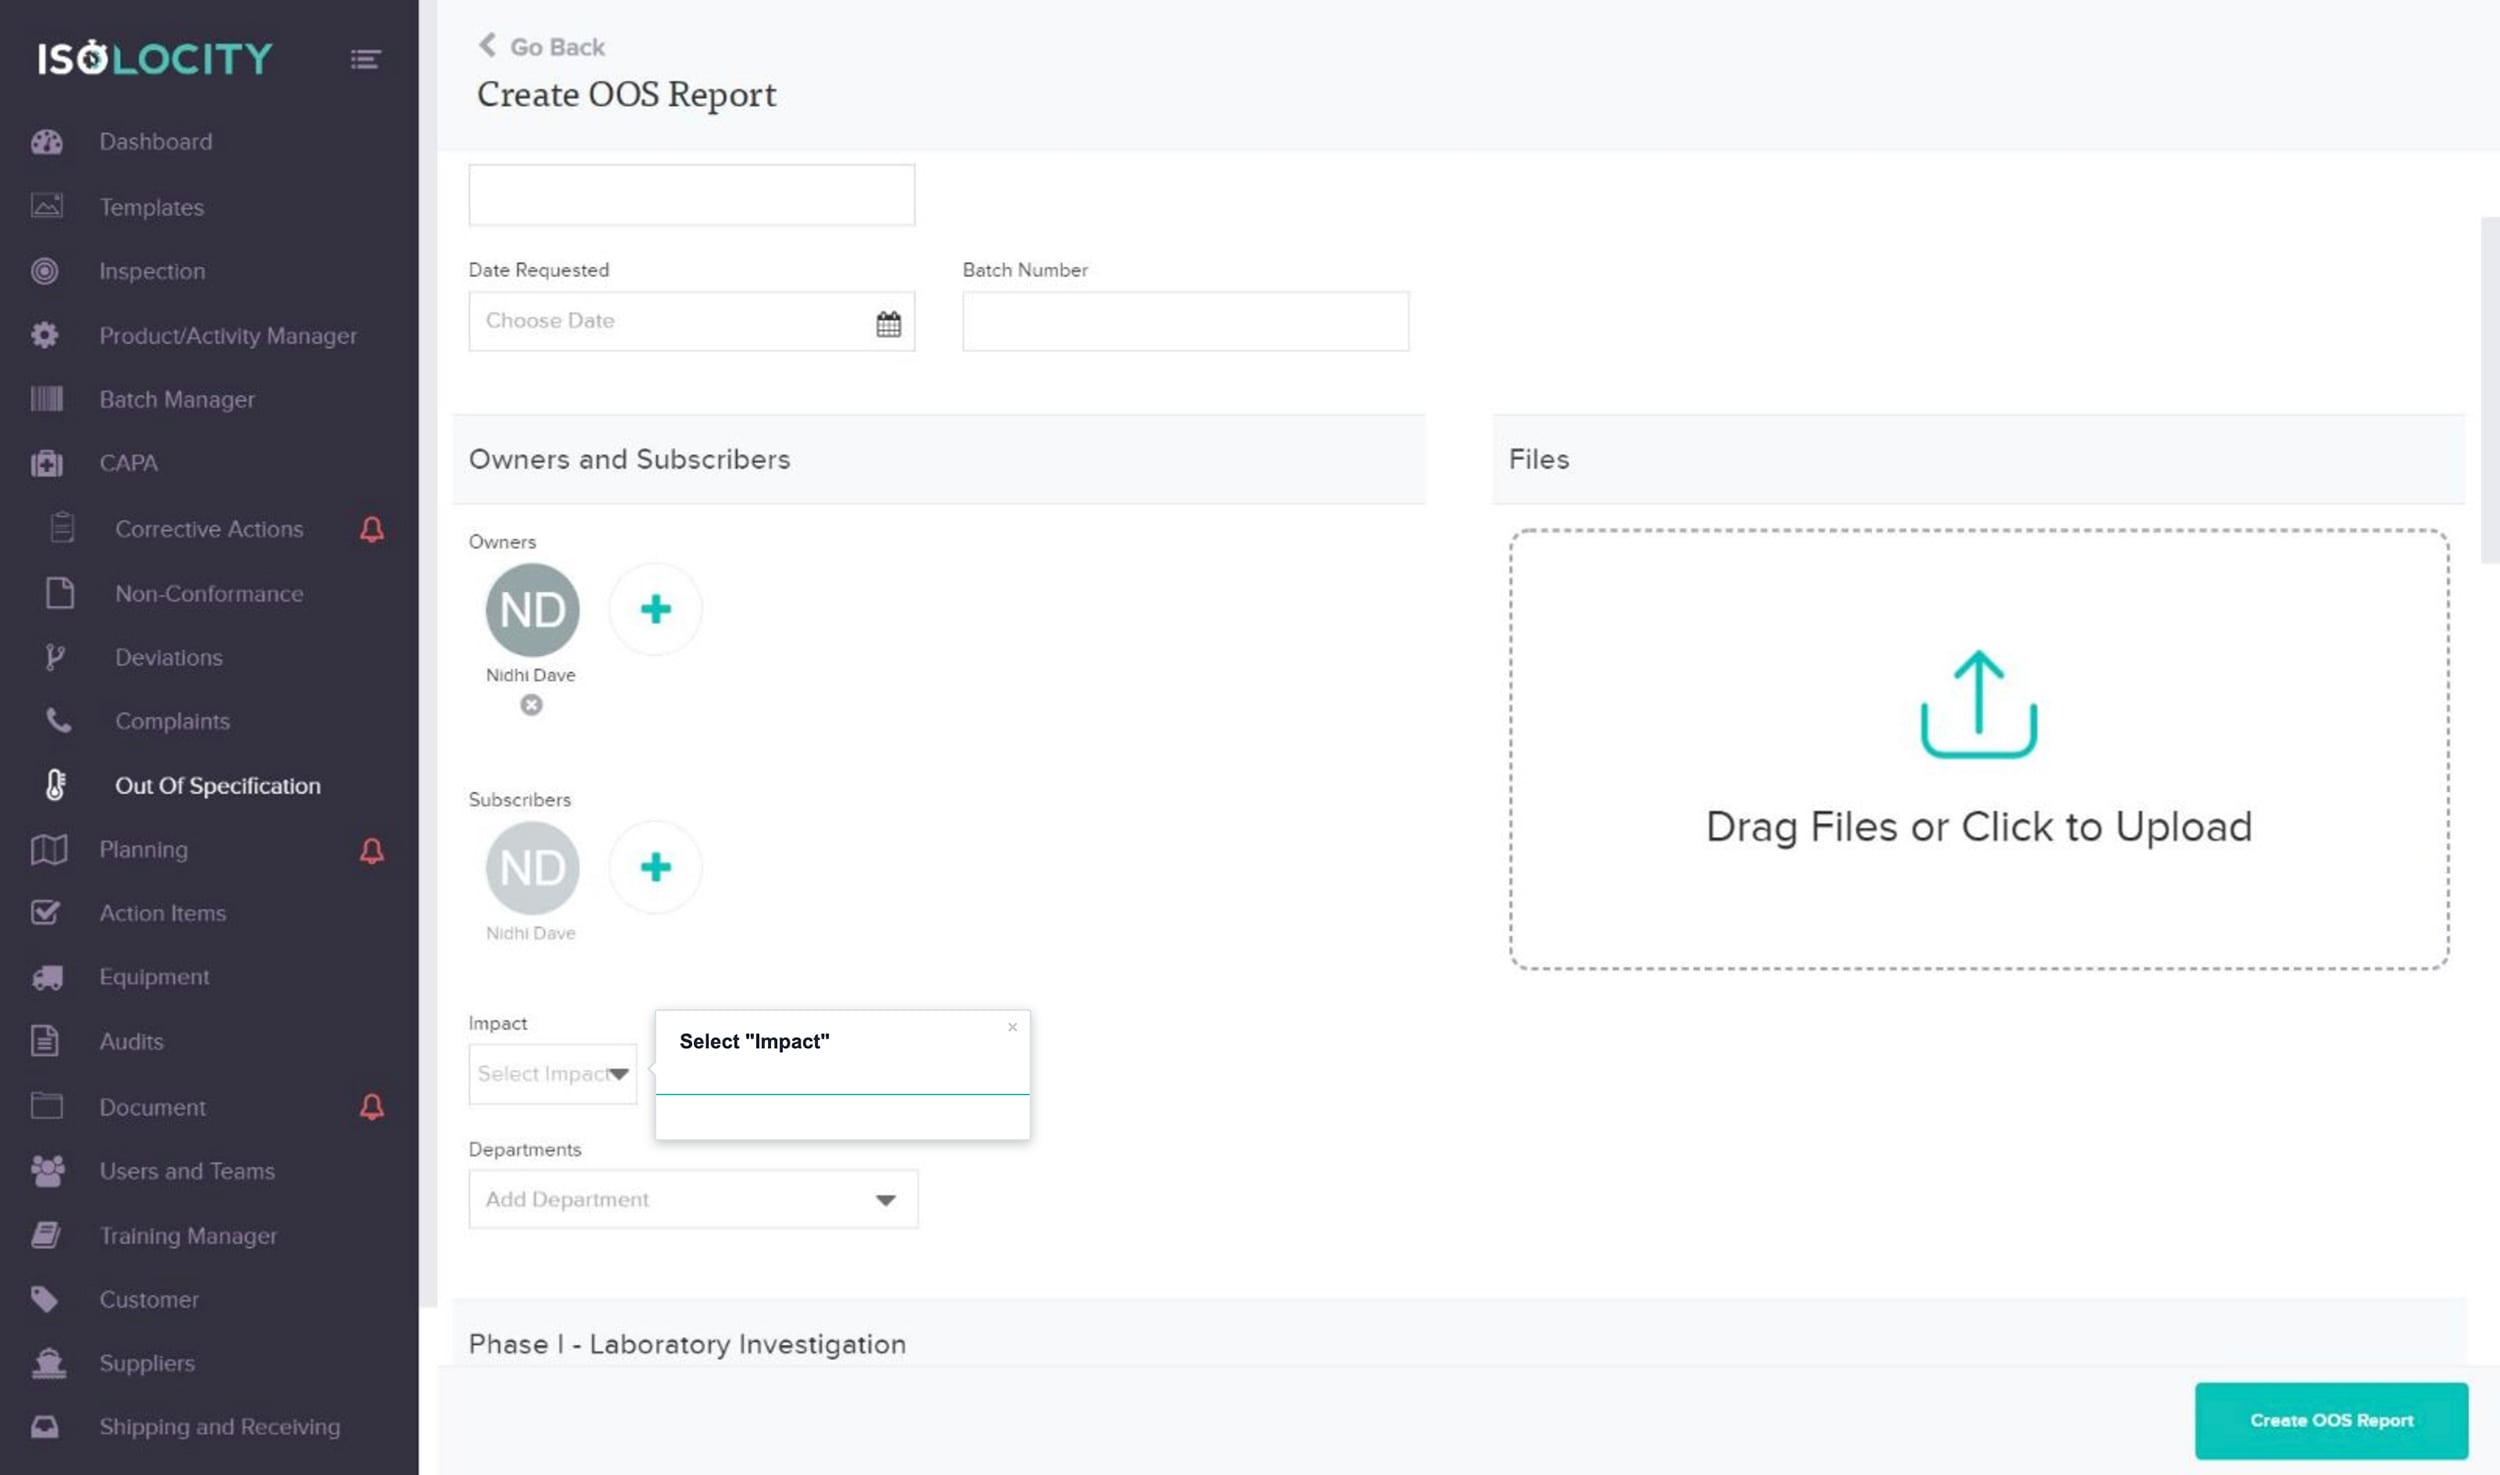
Select “Impact”
Step #13
Add Departments. (Optional)
Step #14
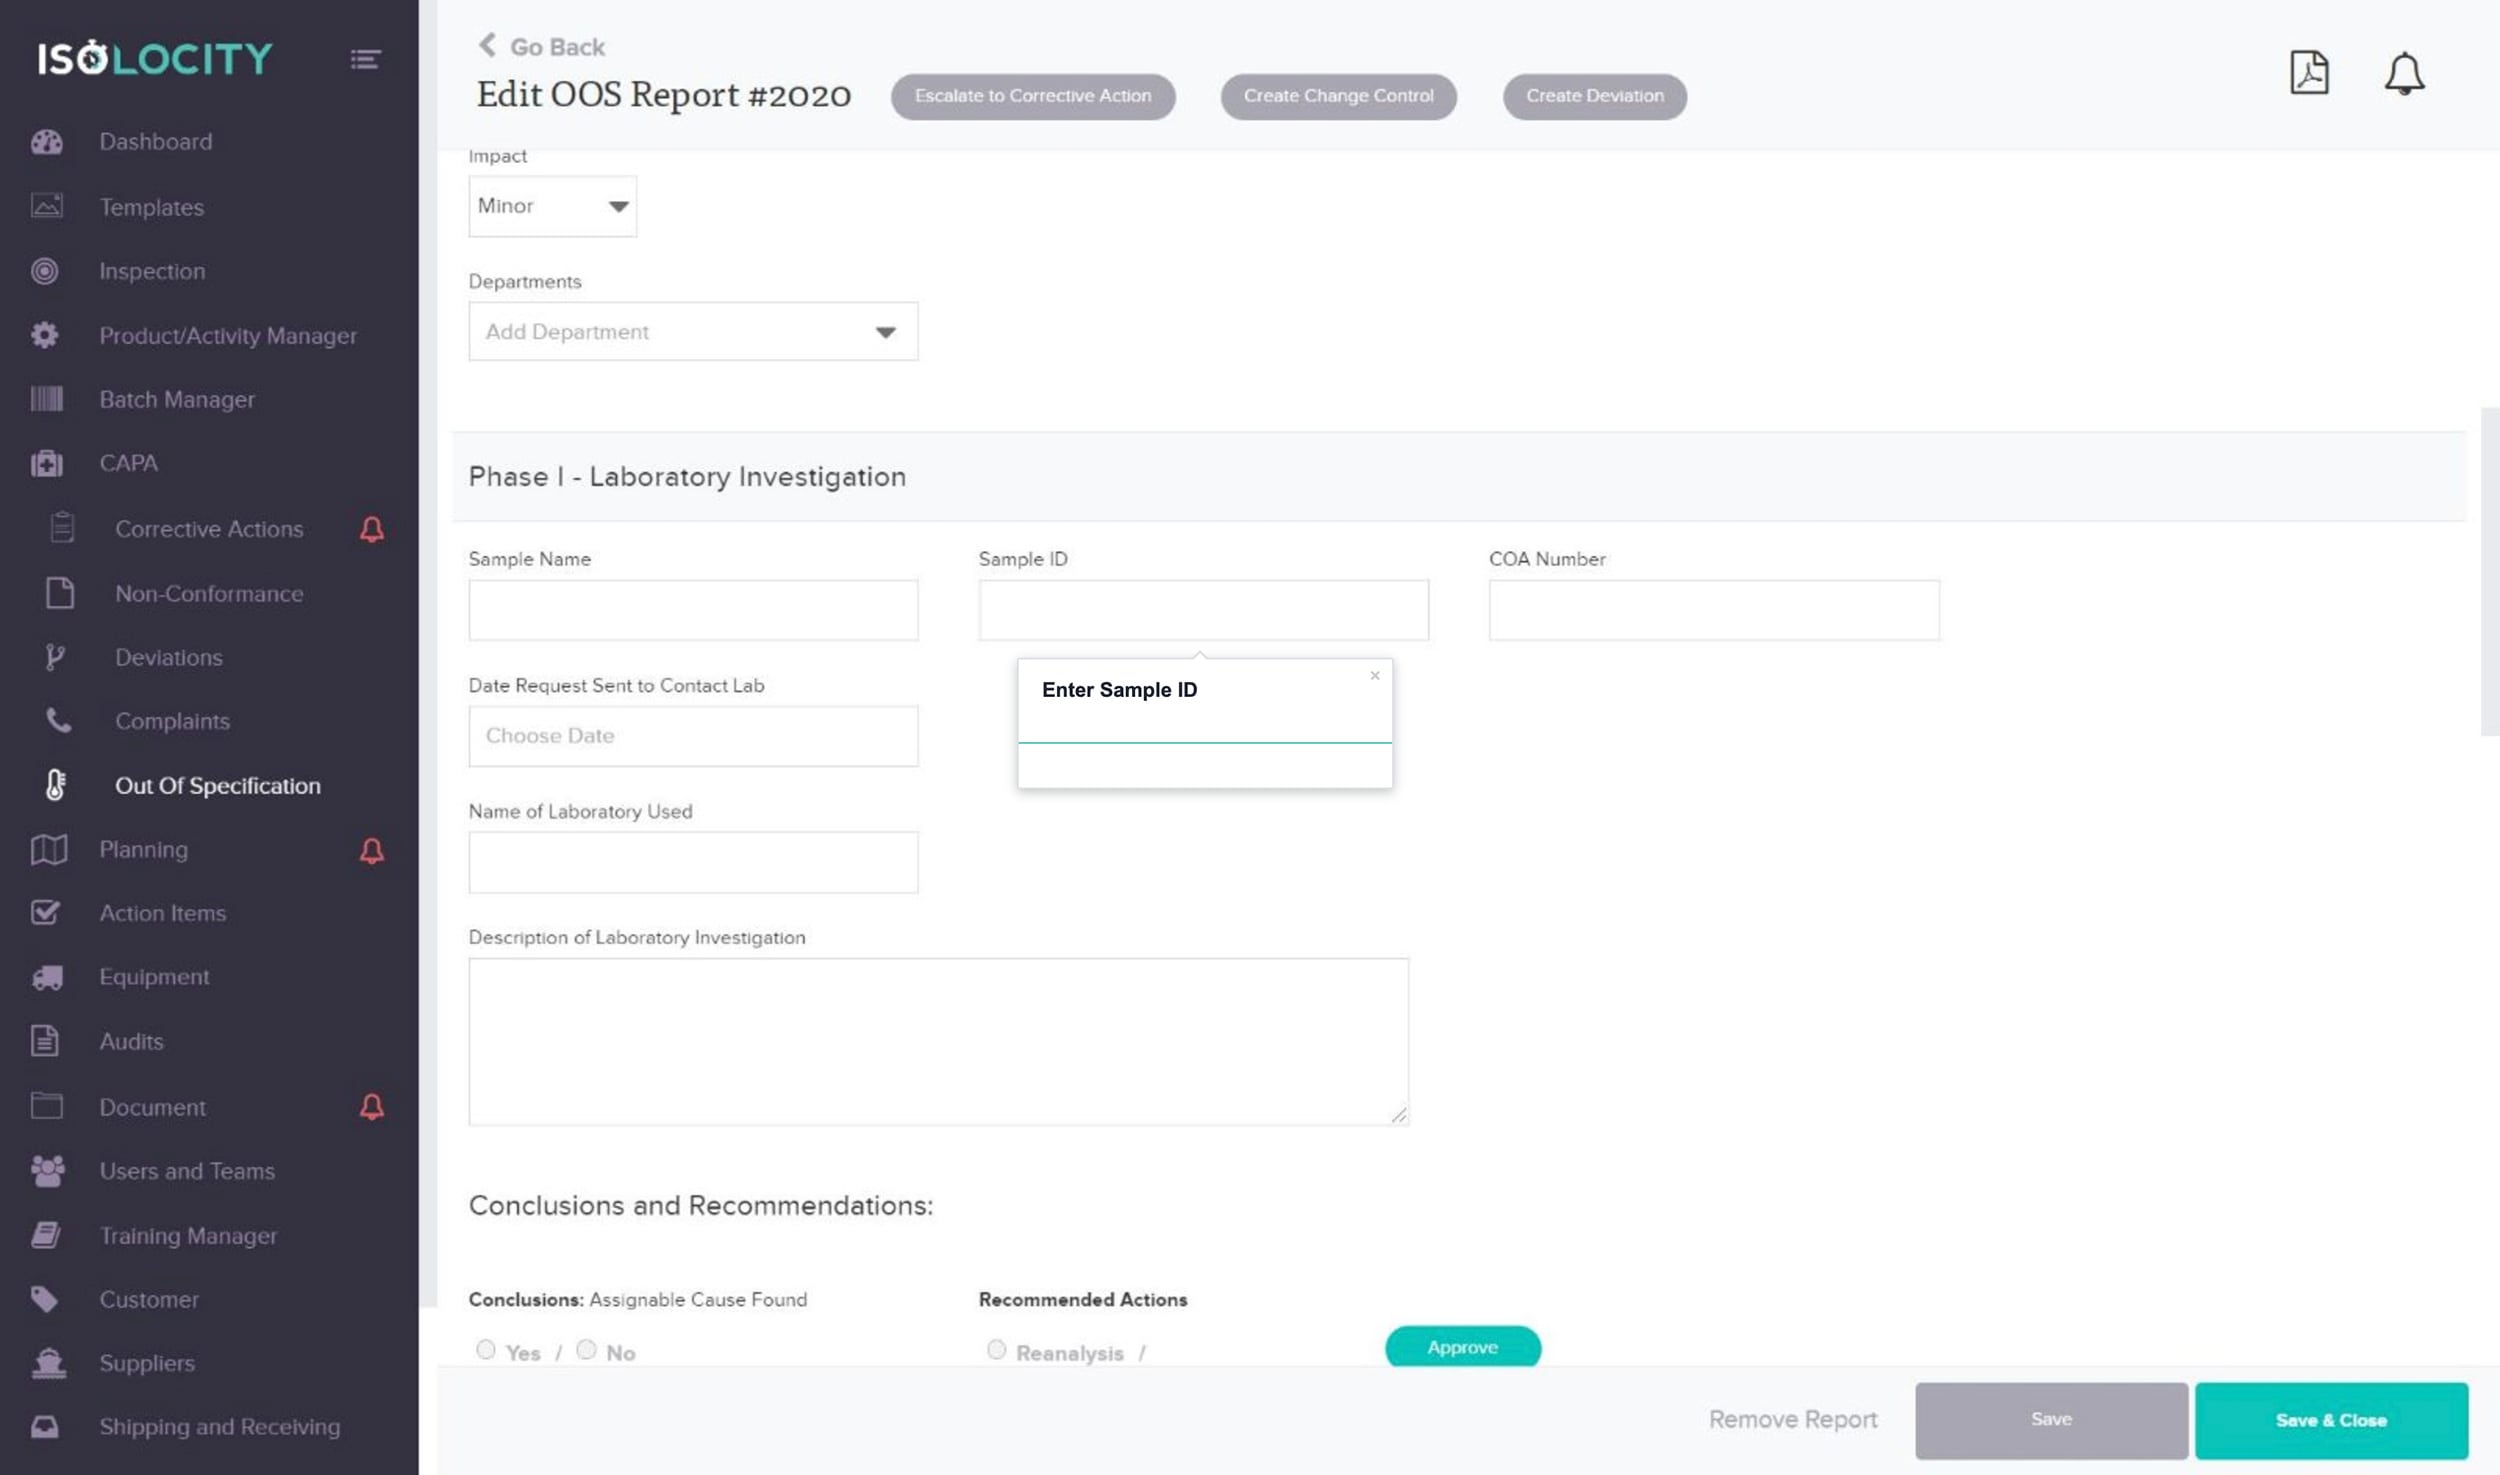
Enter Sample Name

Step #15
Enter Sample ID
Step #16
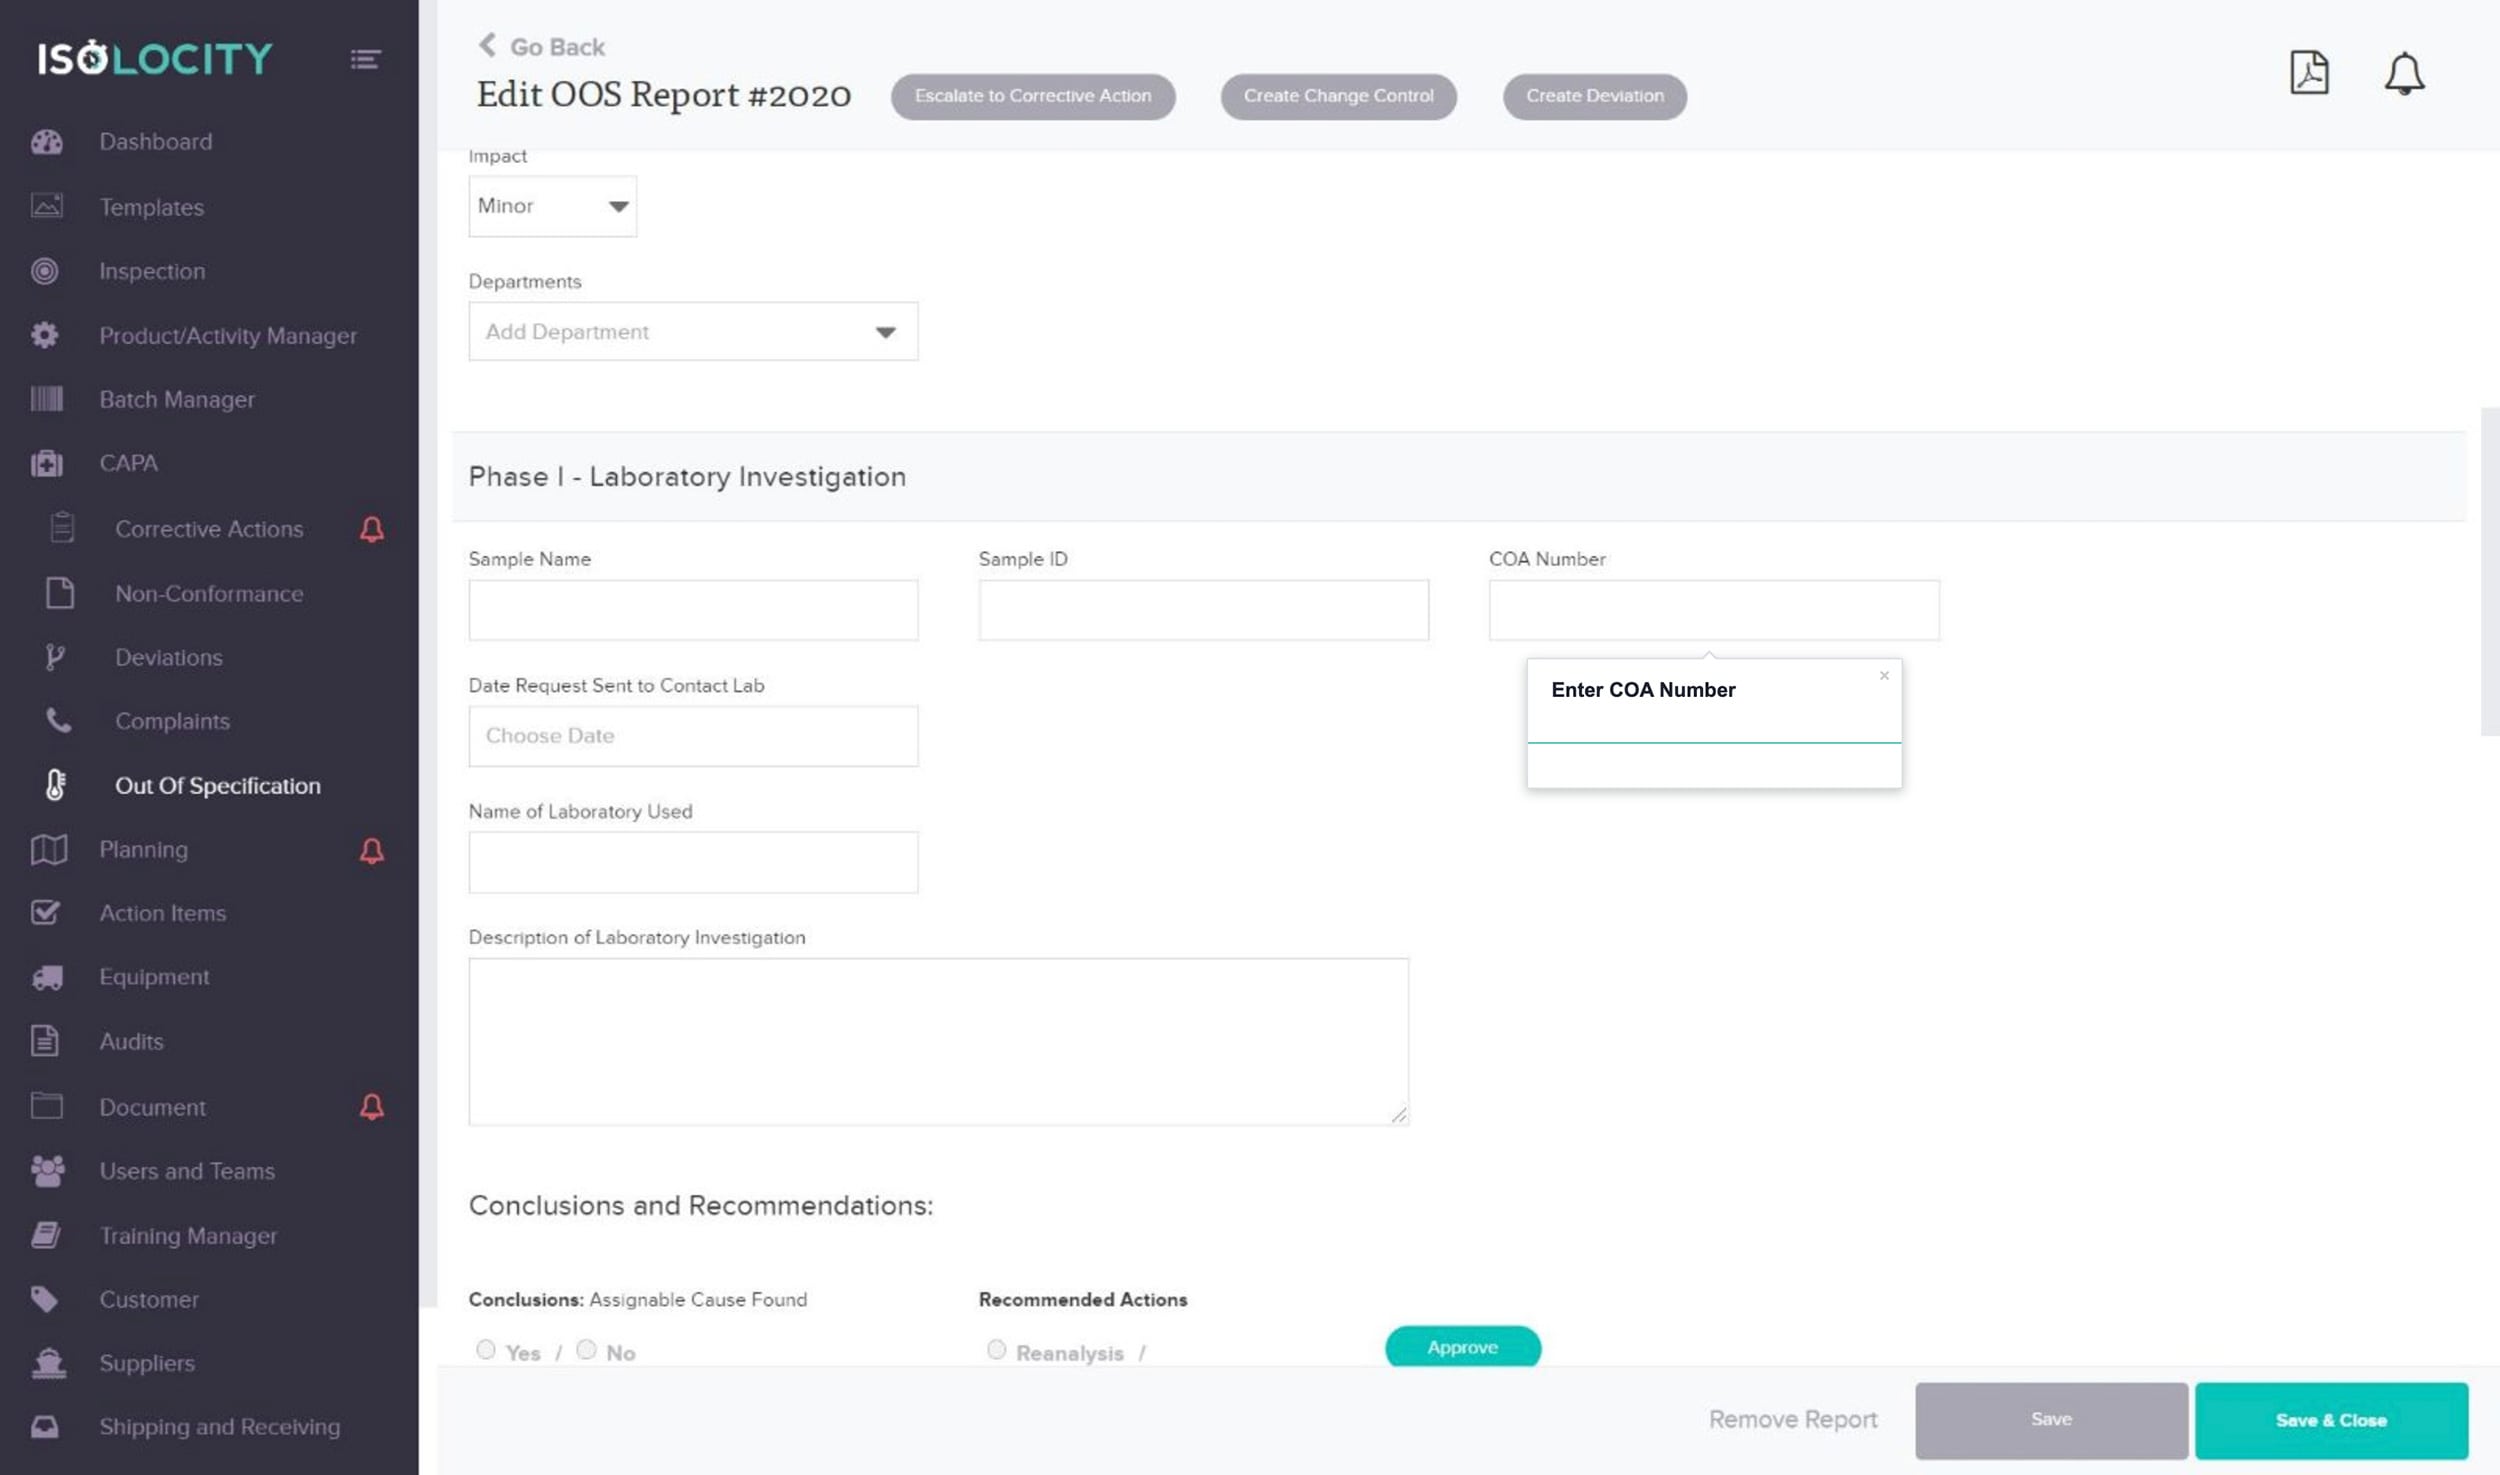
Enter COA Number
Step #17
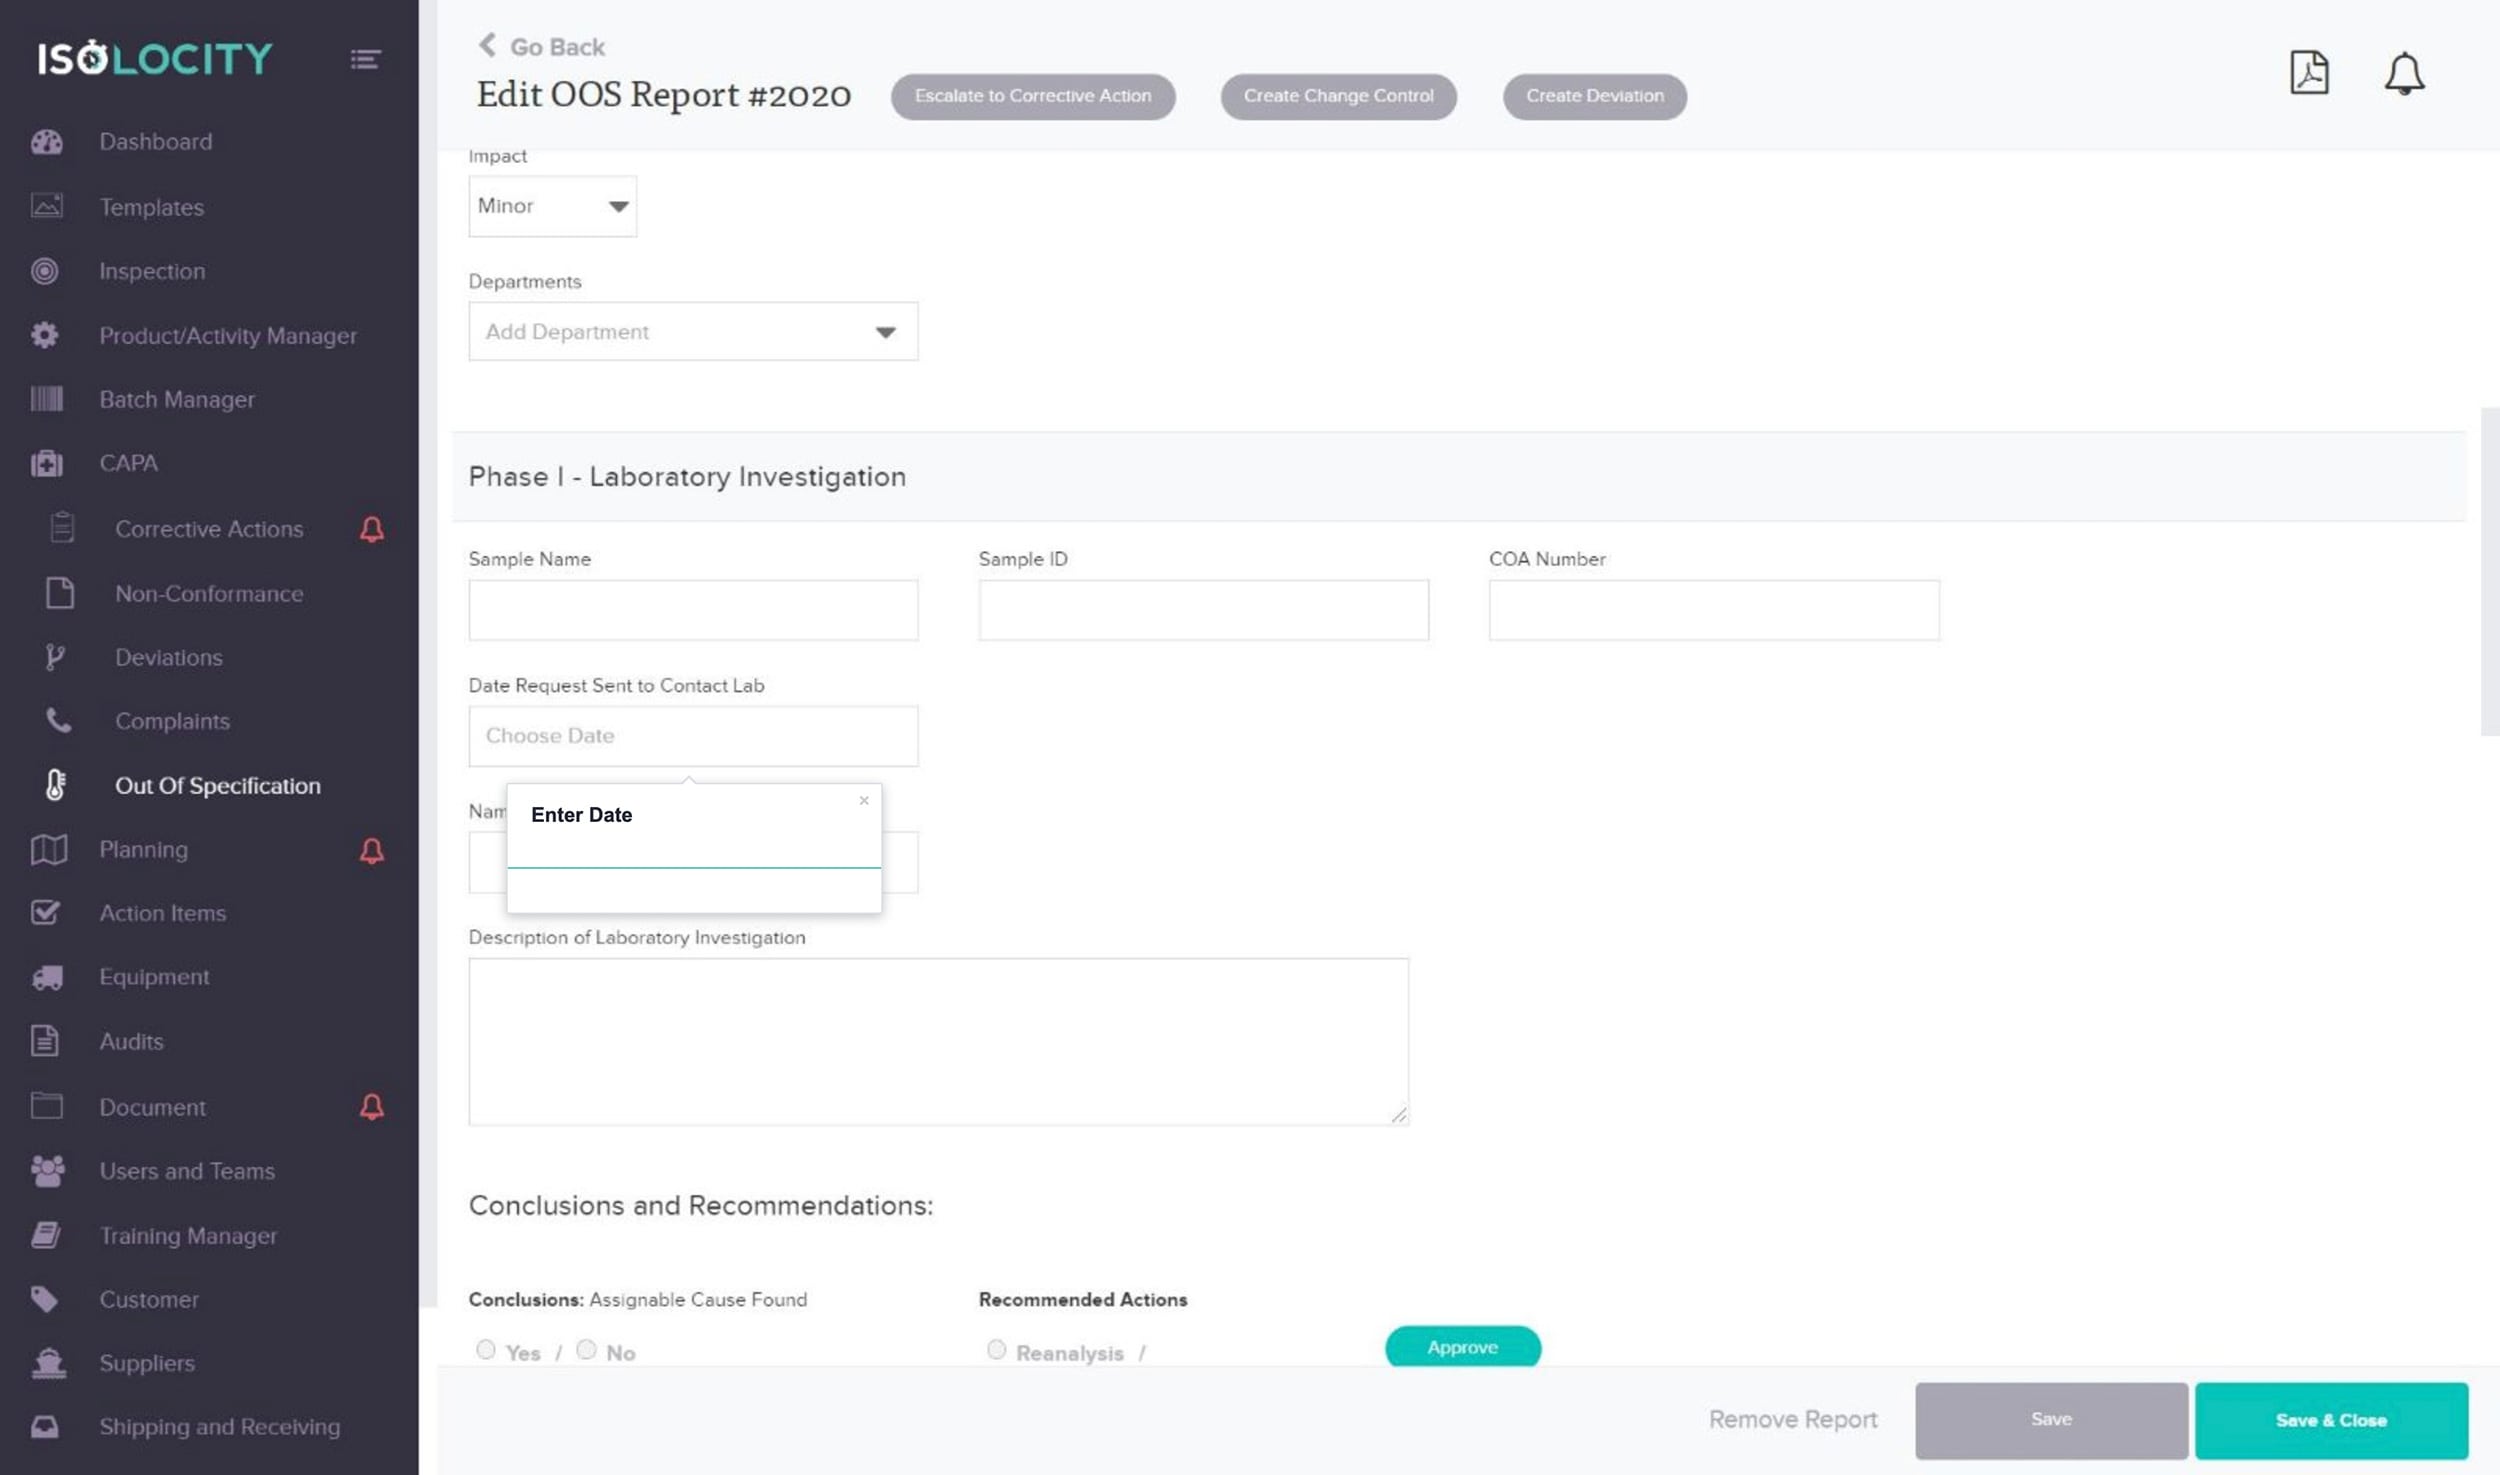
Enter Date
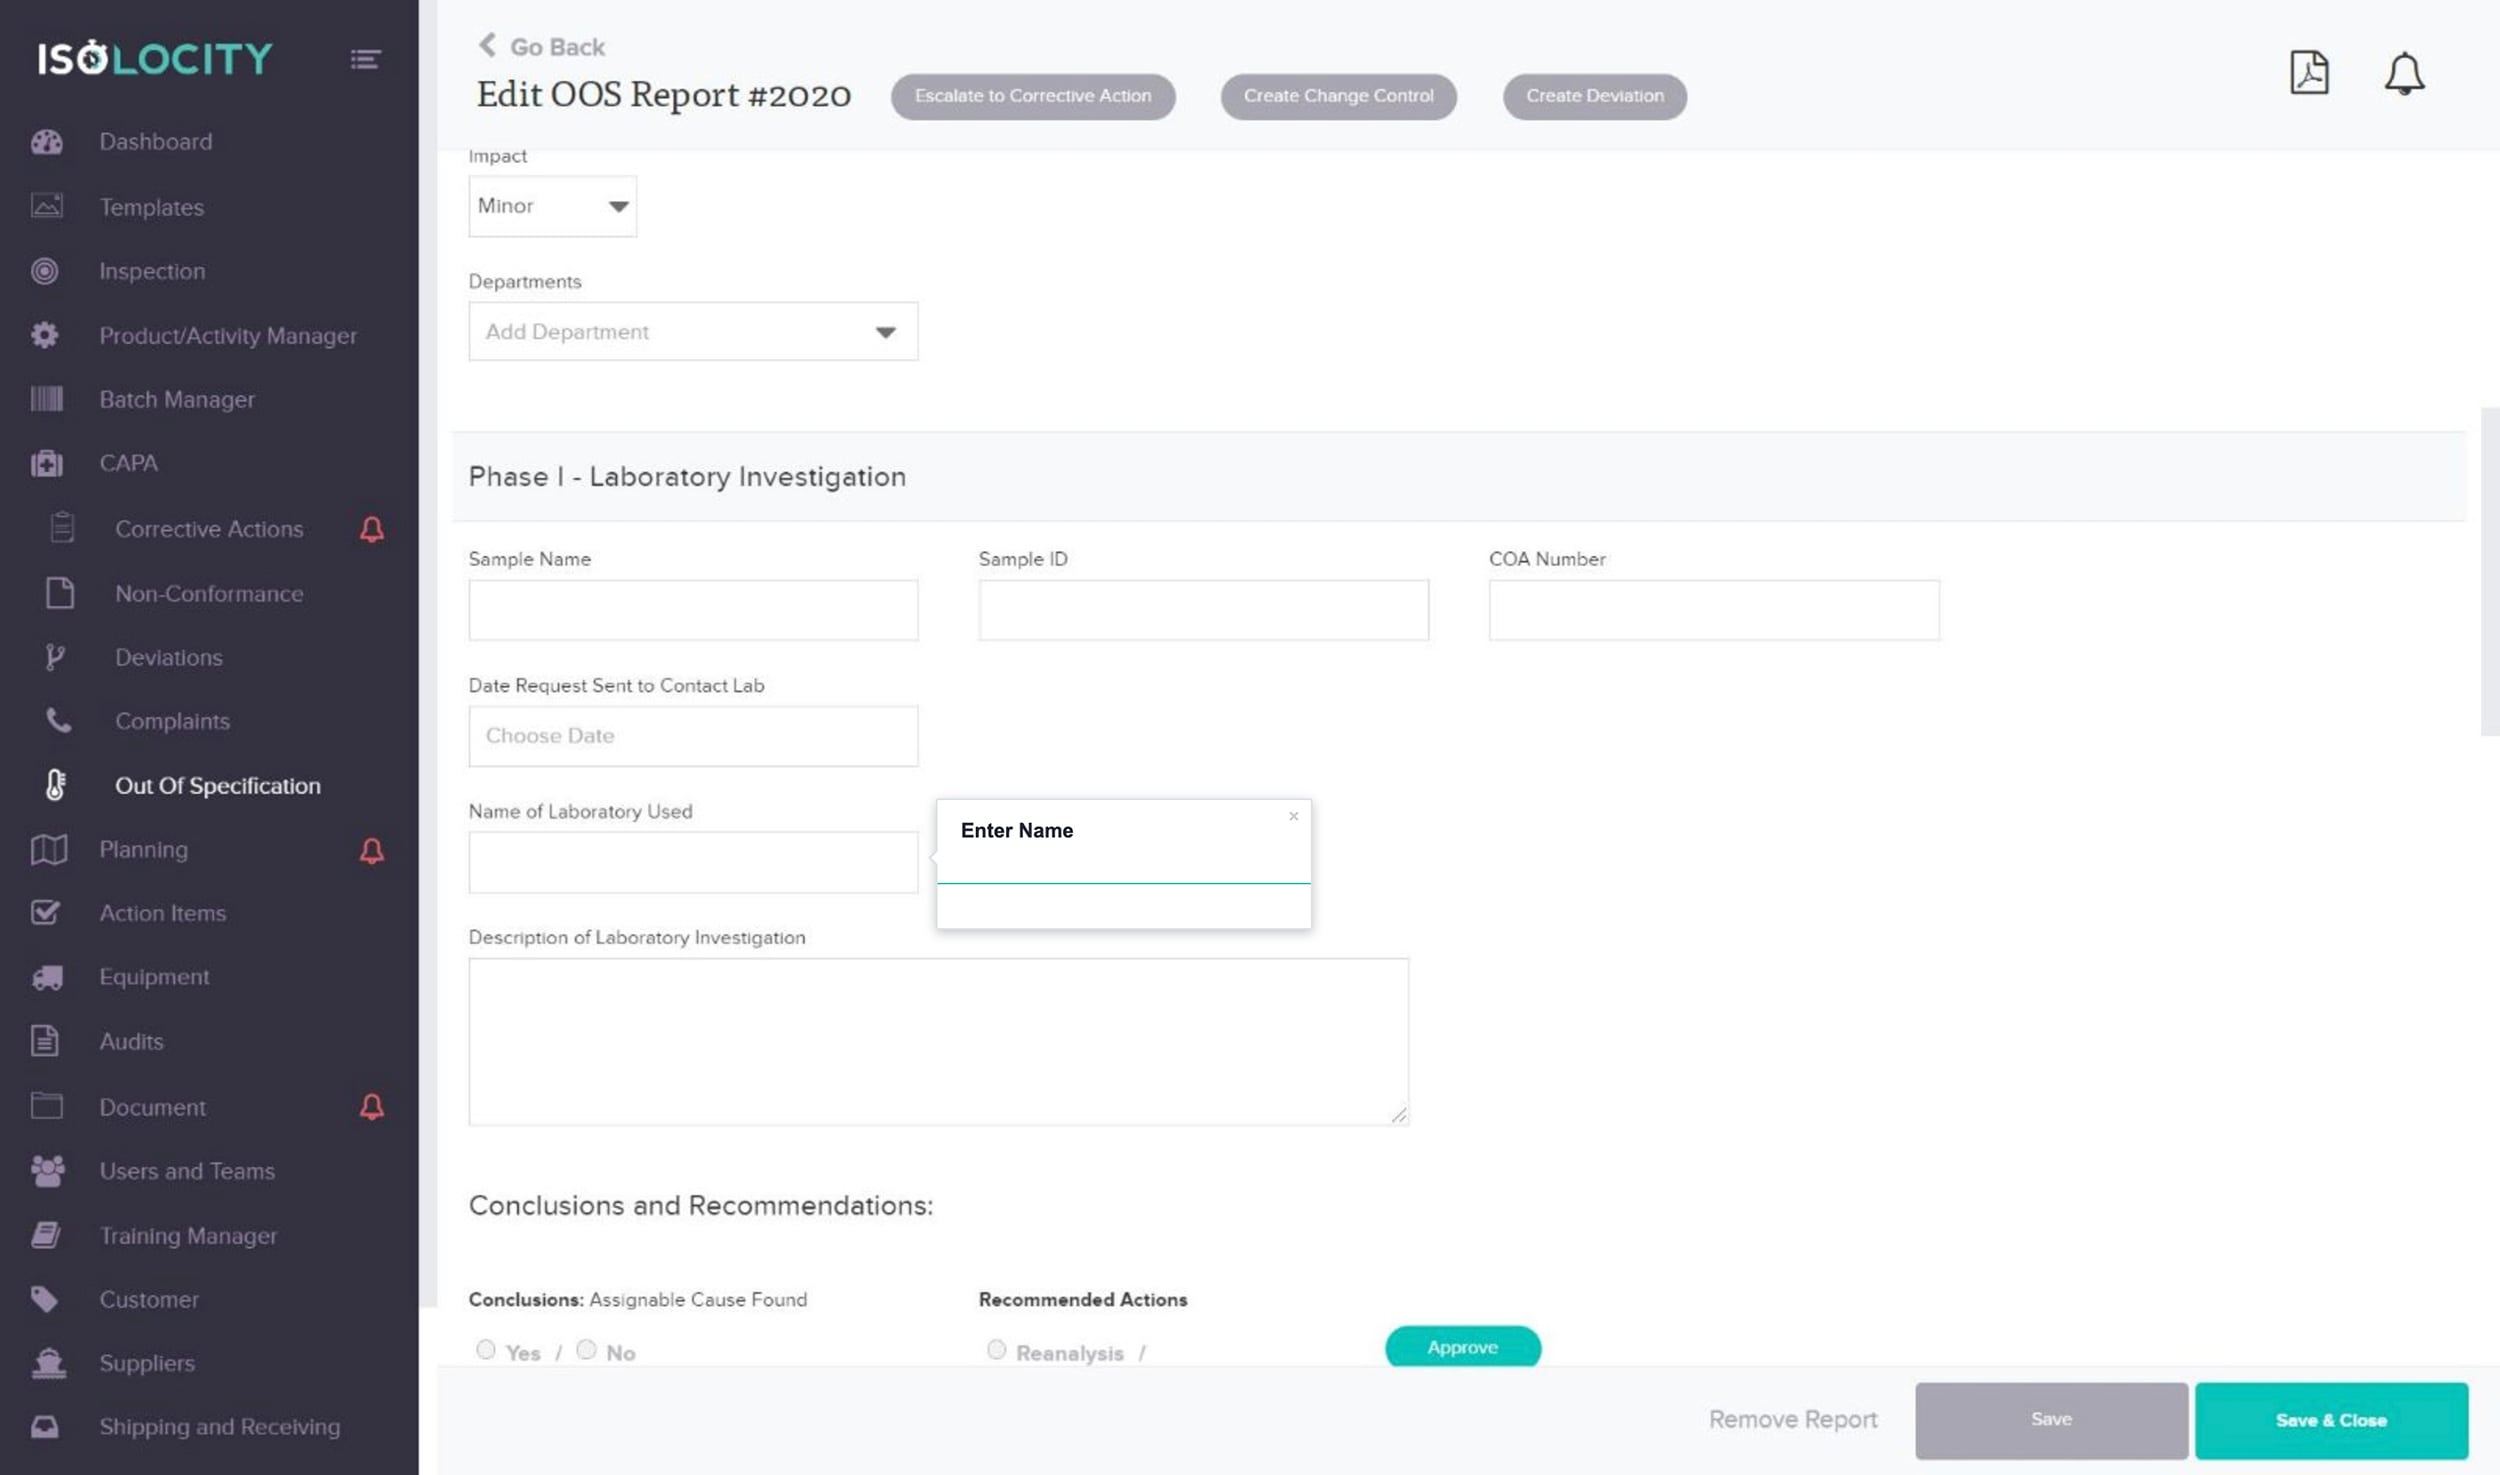
Step #18
Enter Name
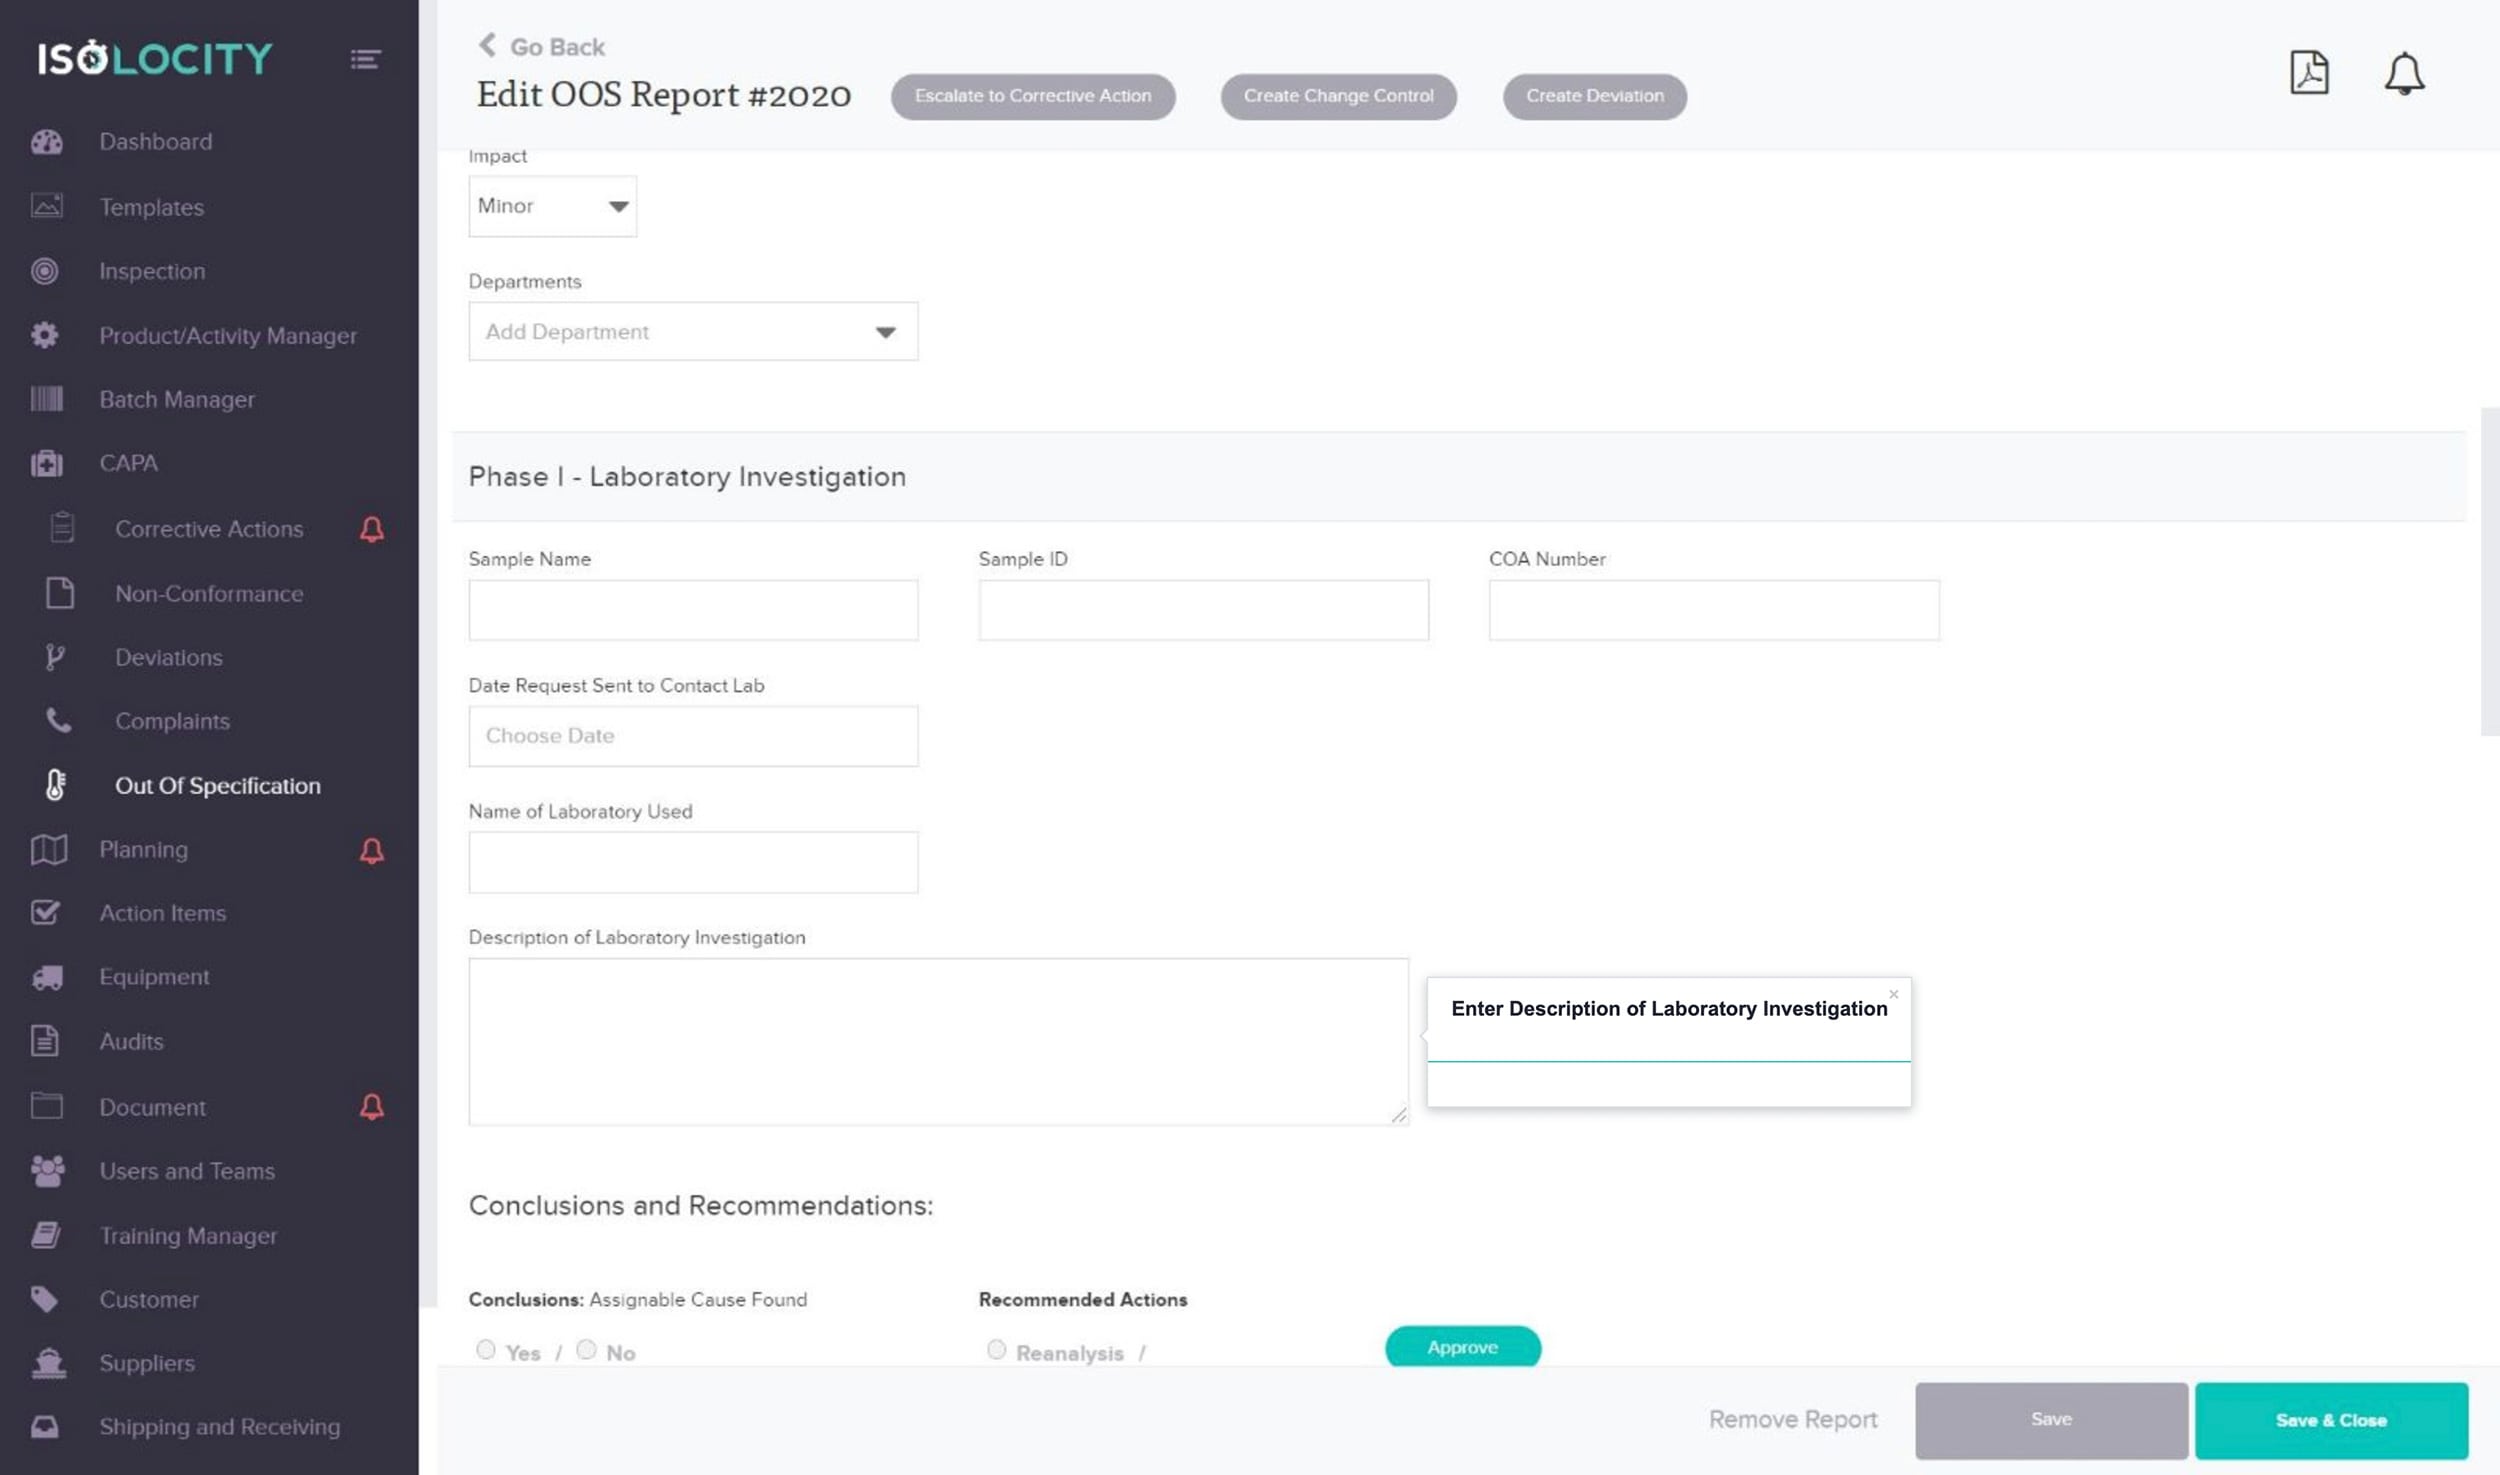
Step #19
Enter Description of Laboratory Investigation
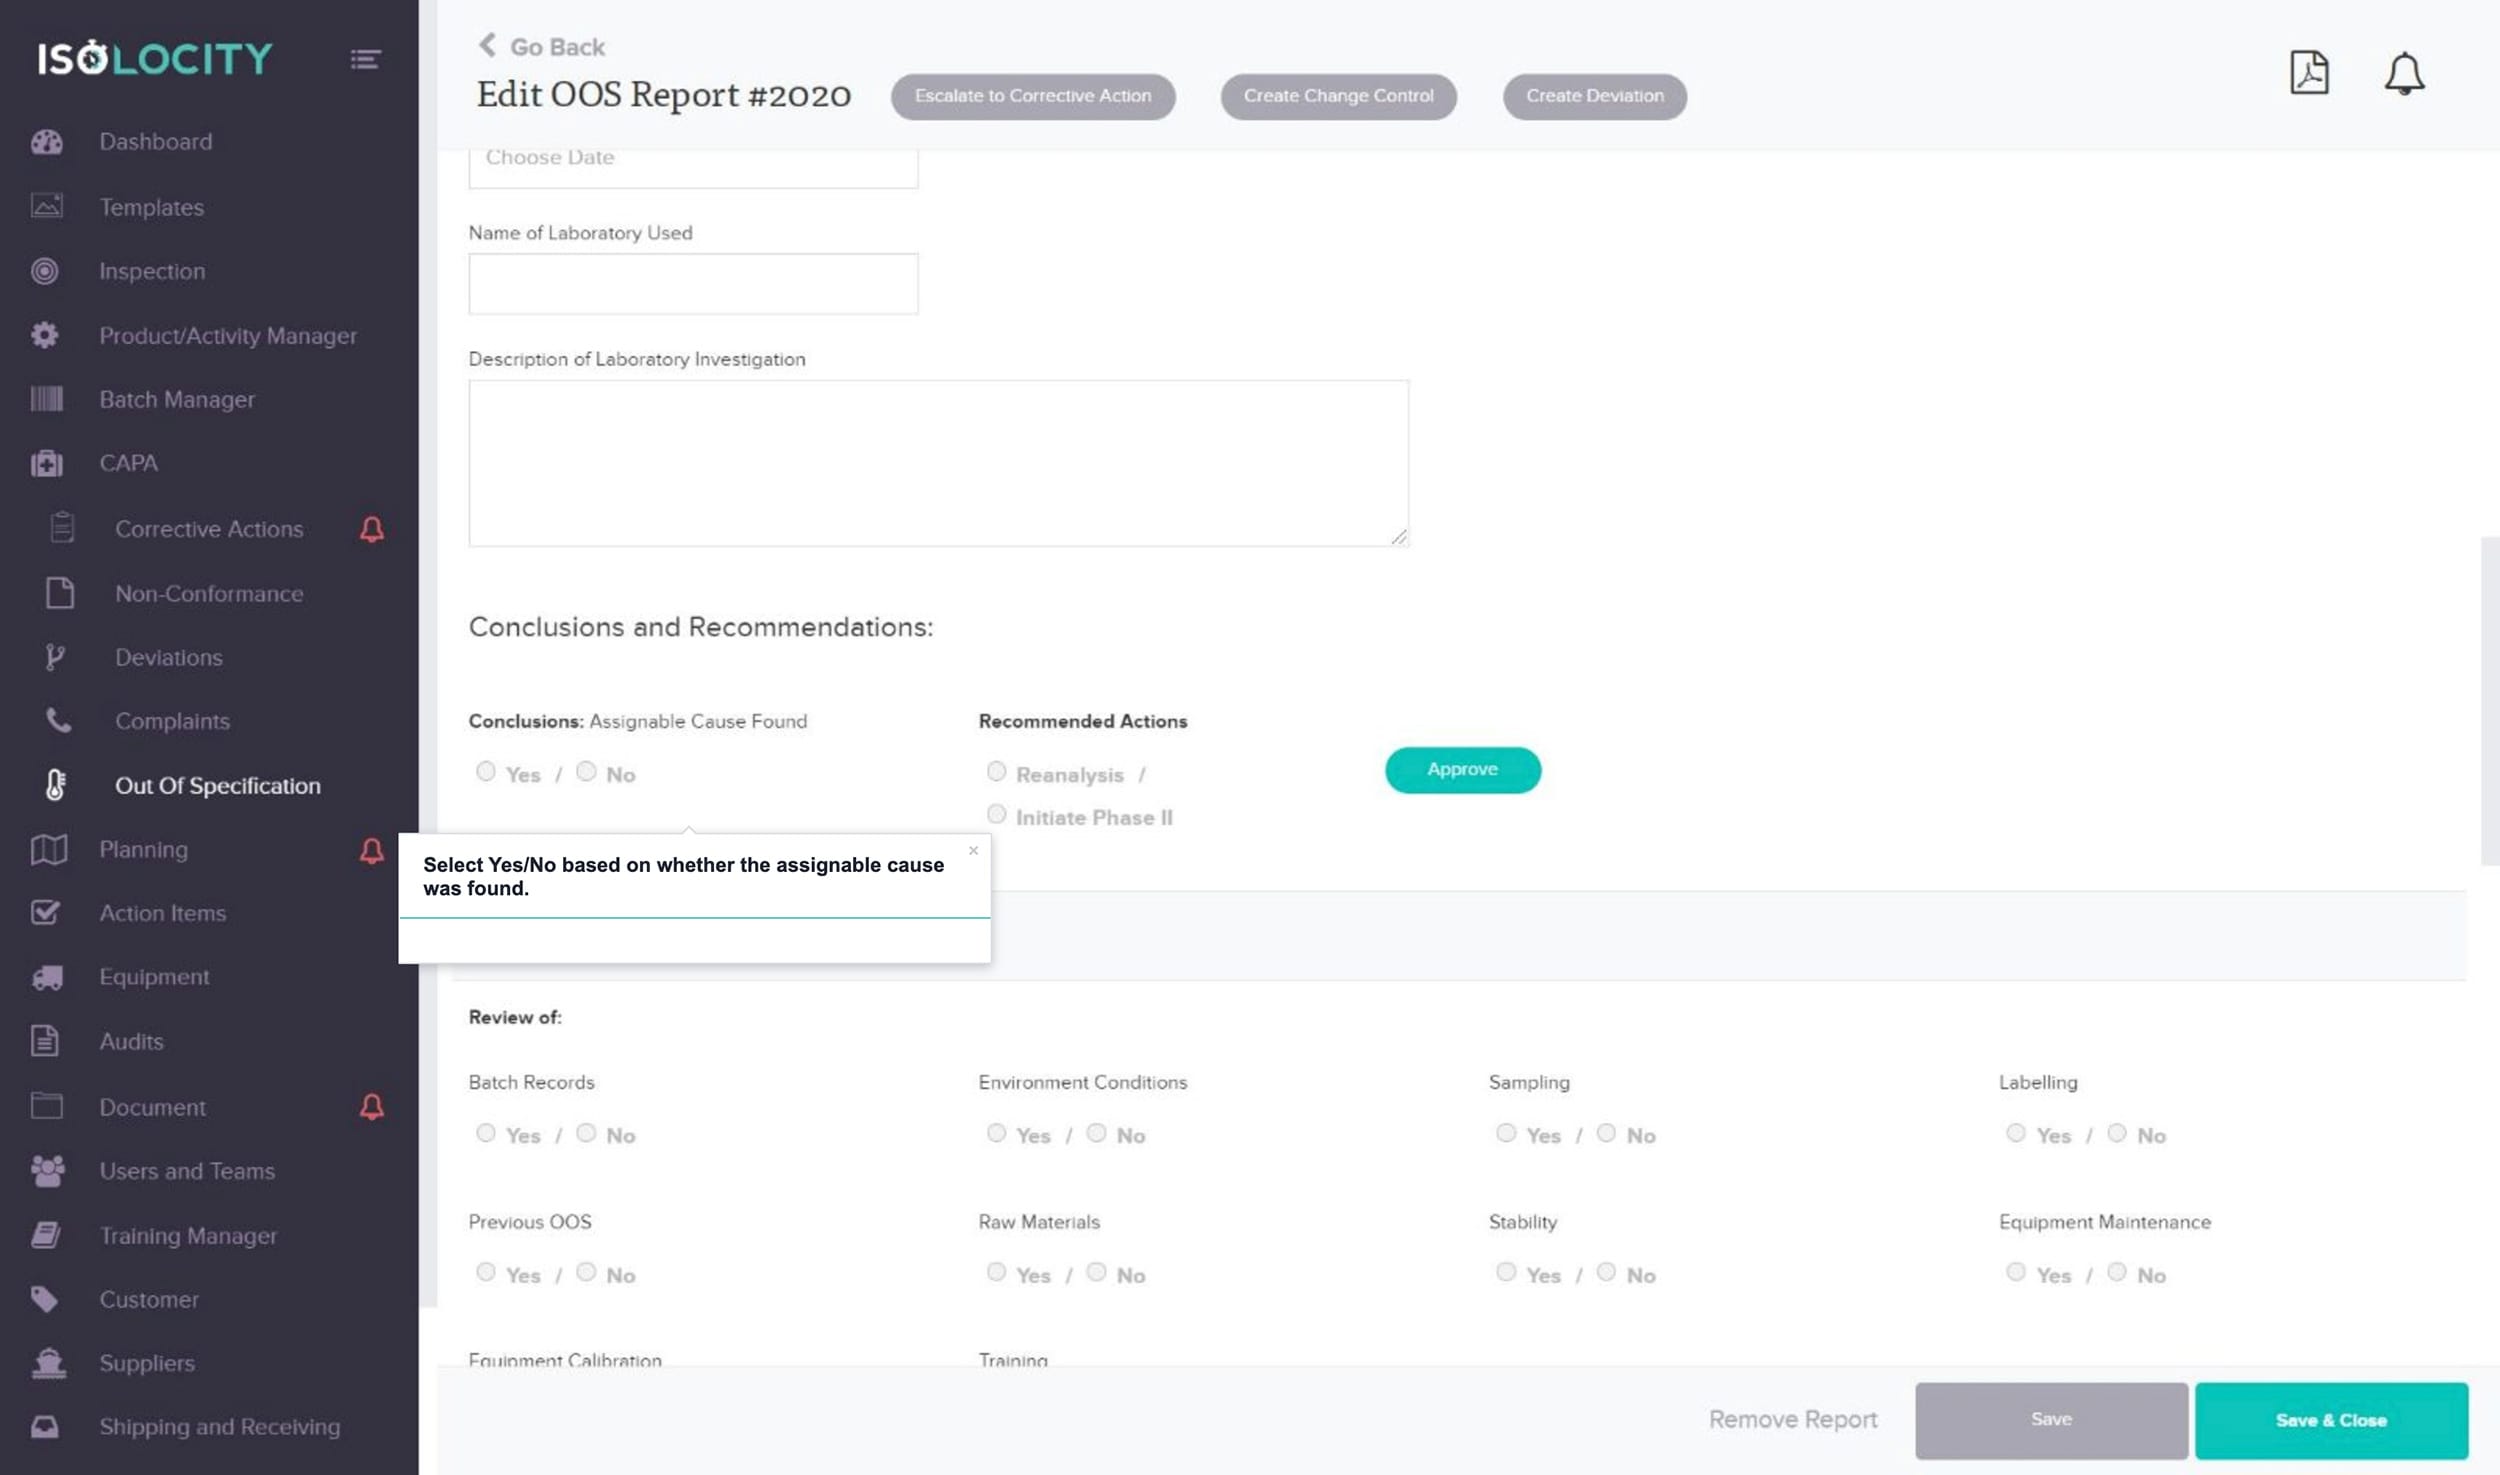
Step #20
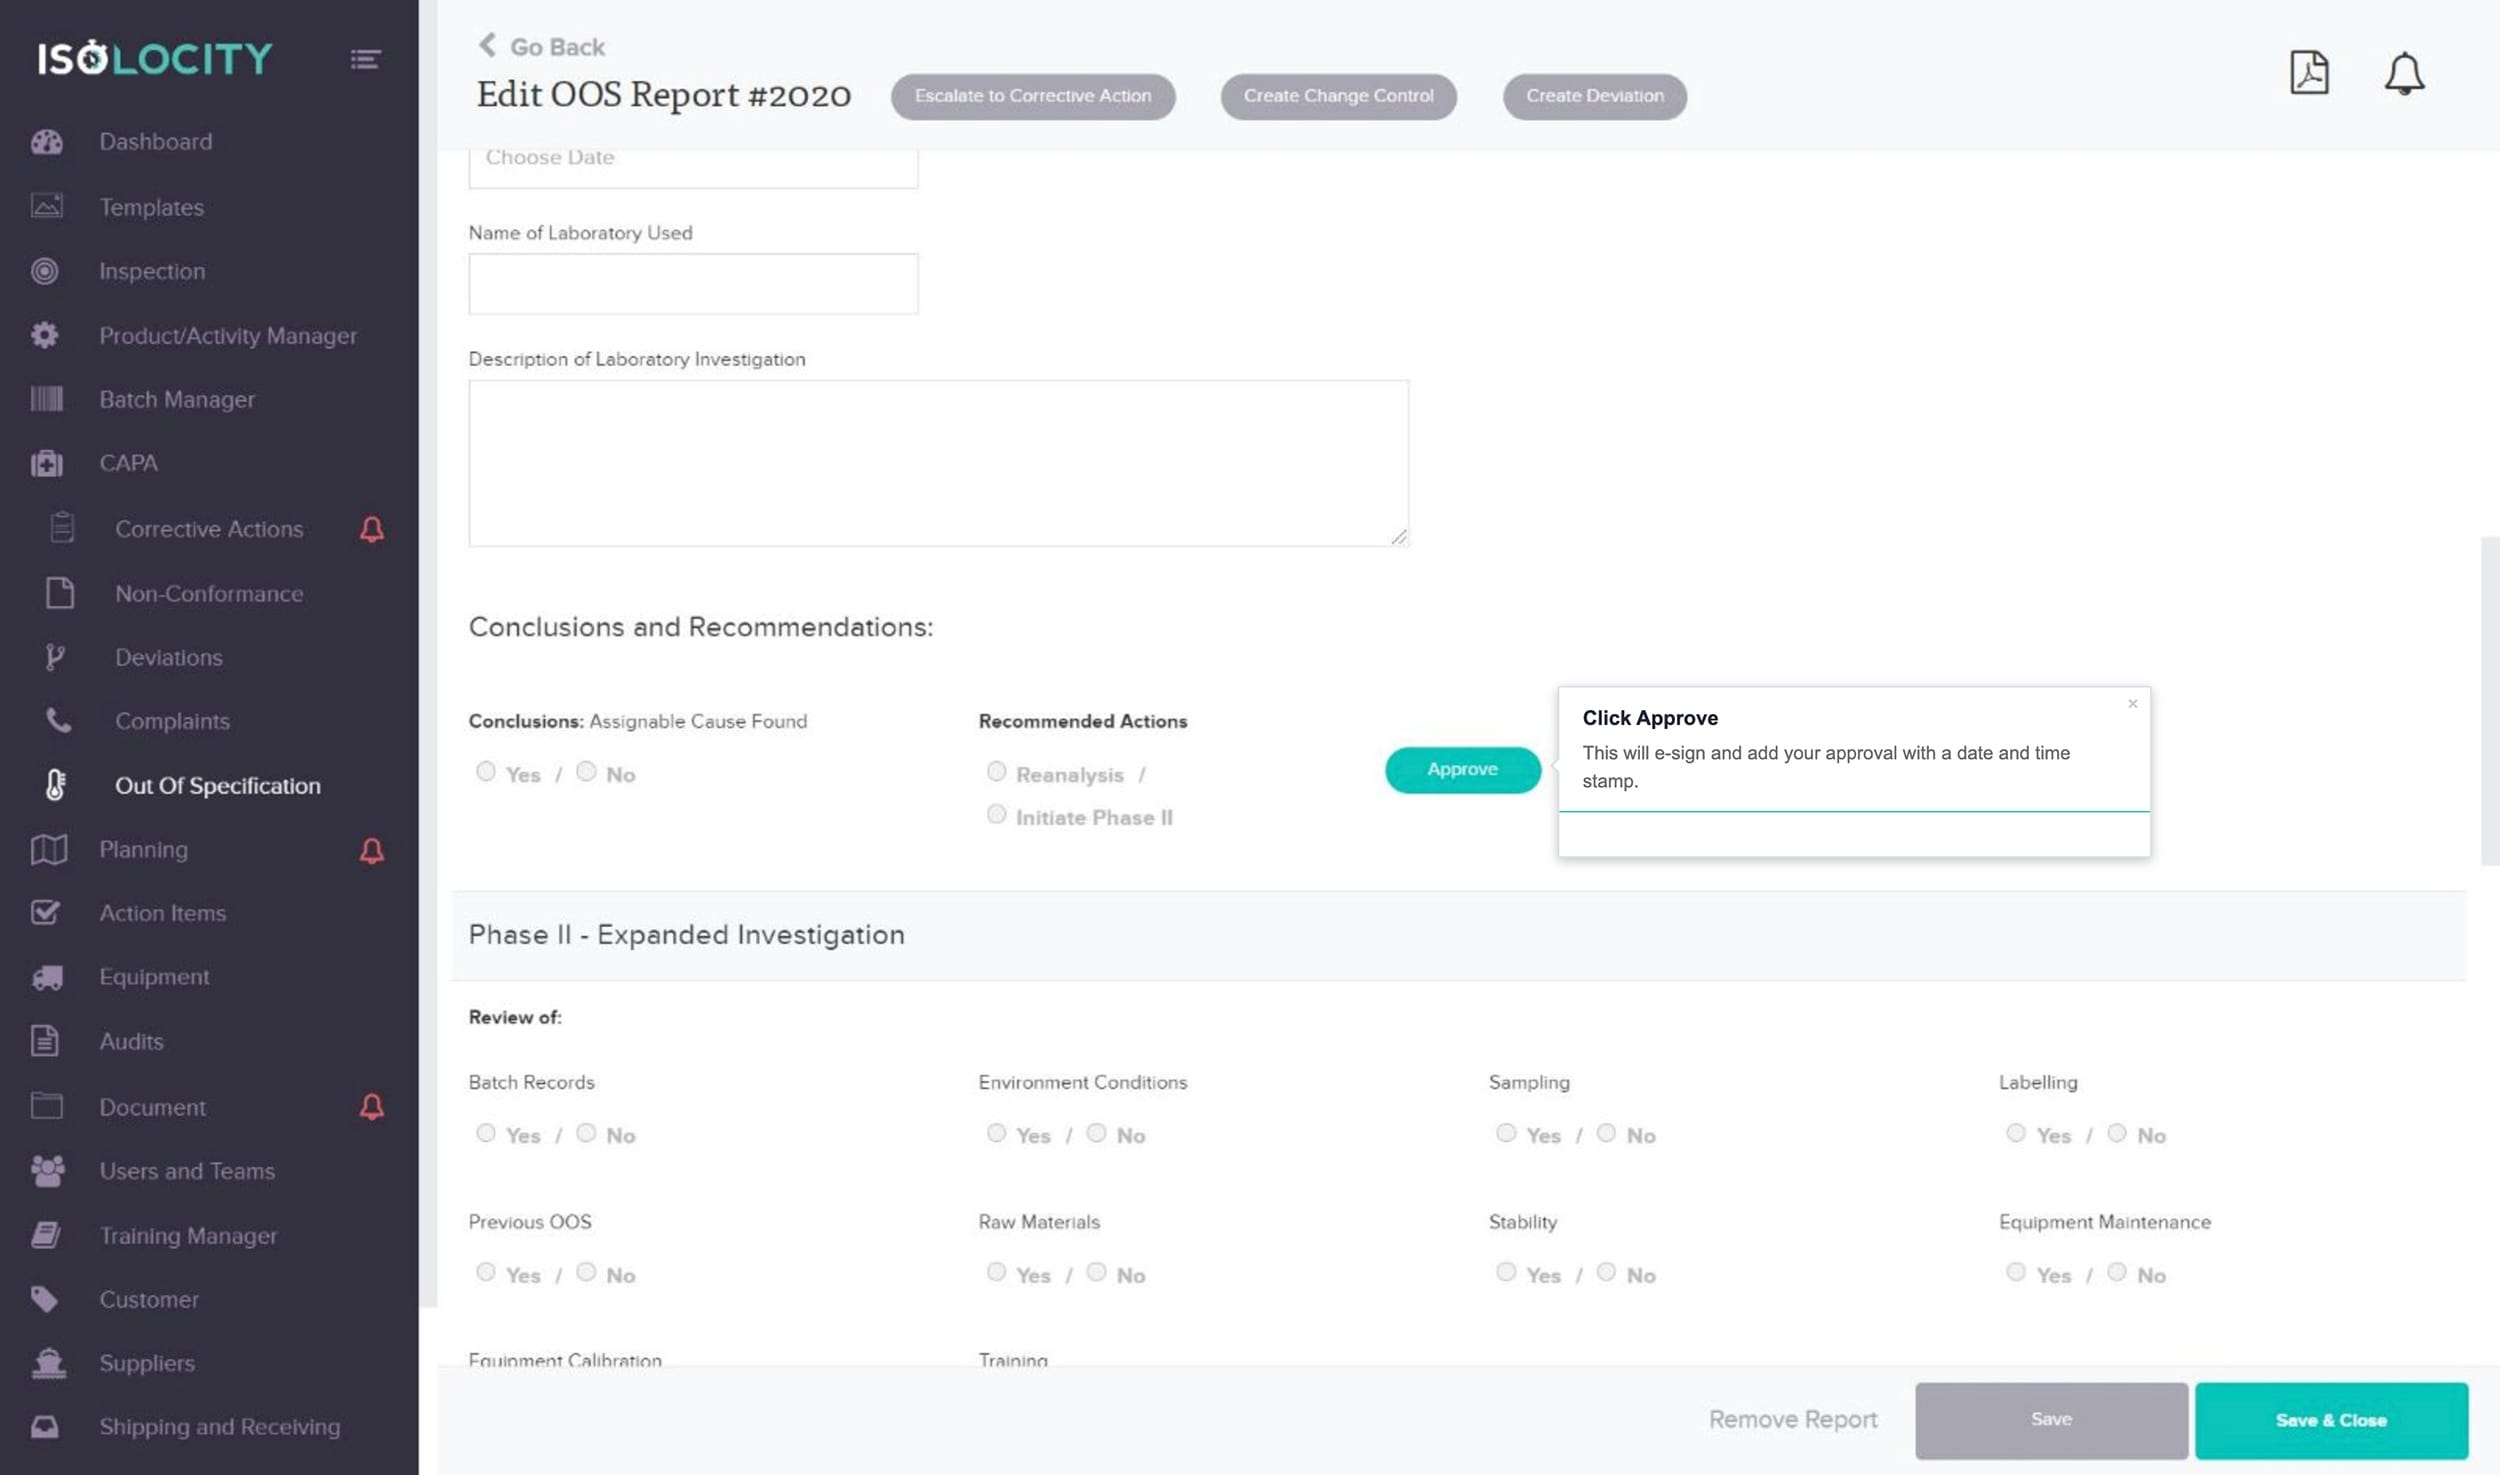
Select Yes/No based on whether the assignable cause was found.
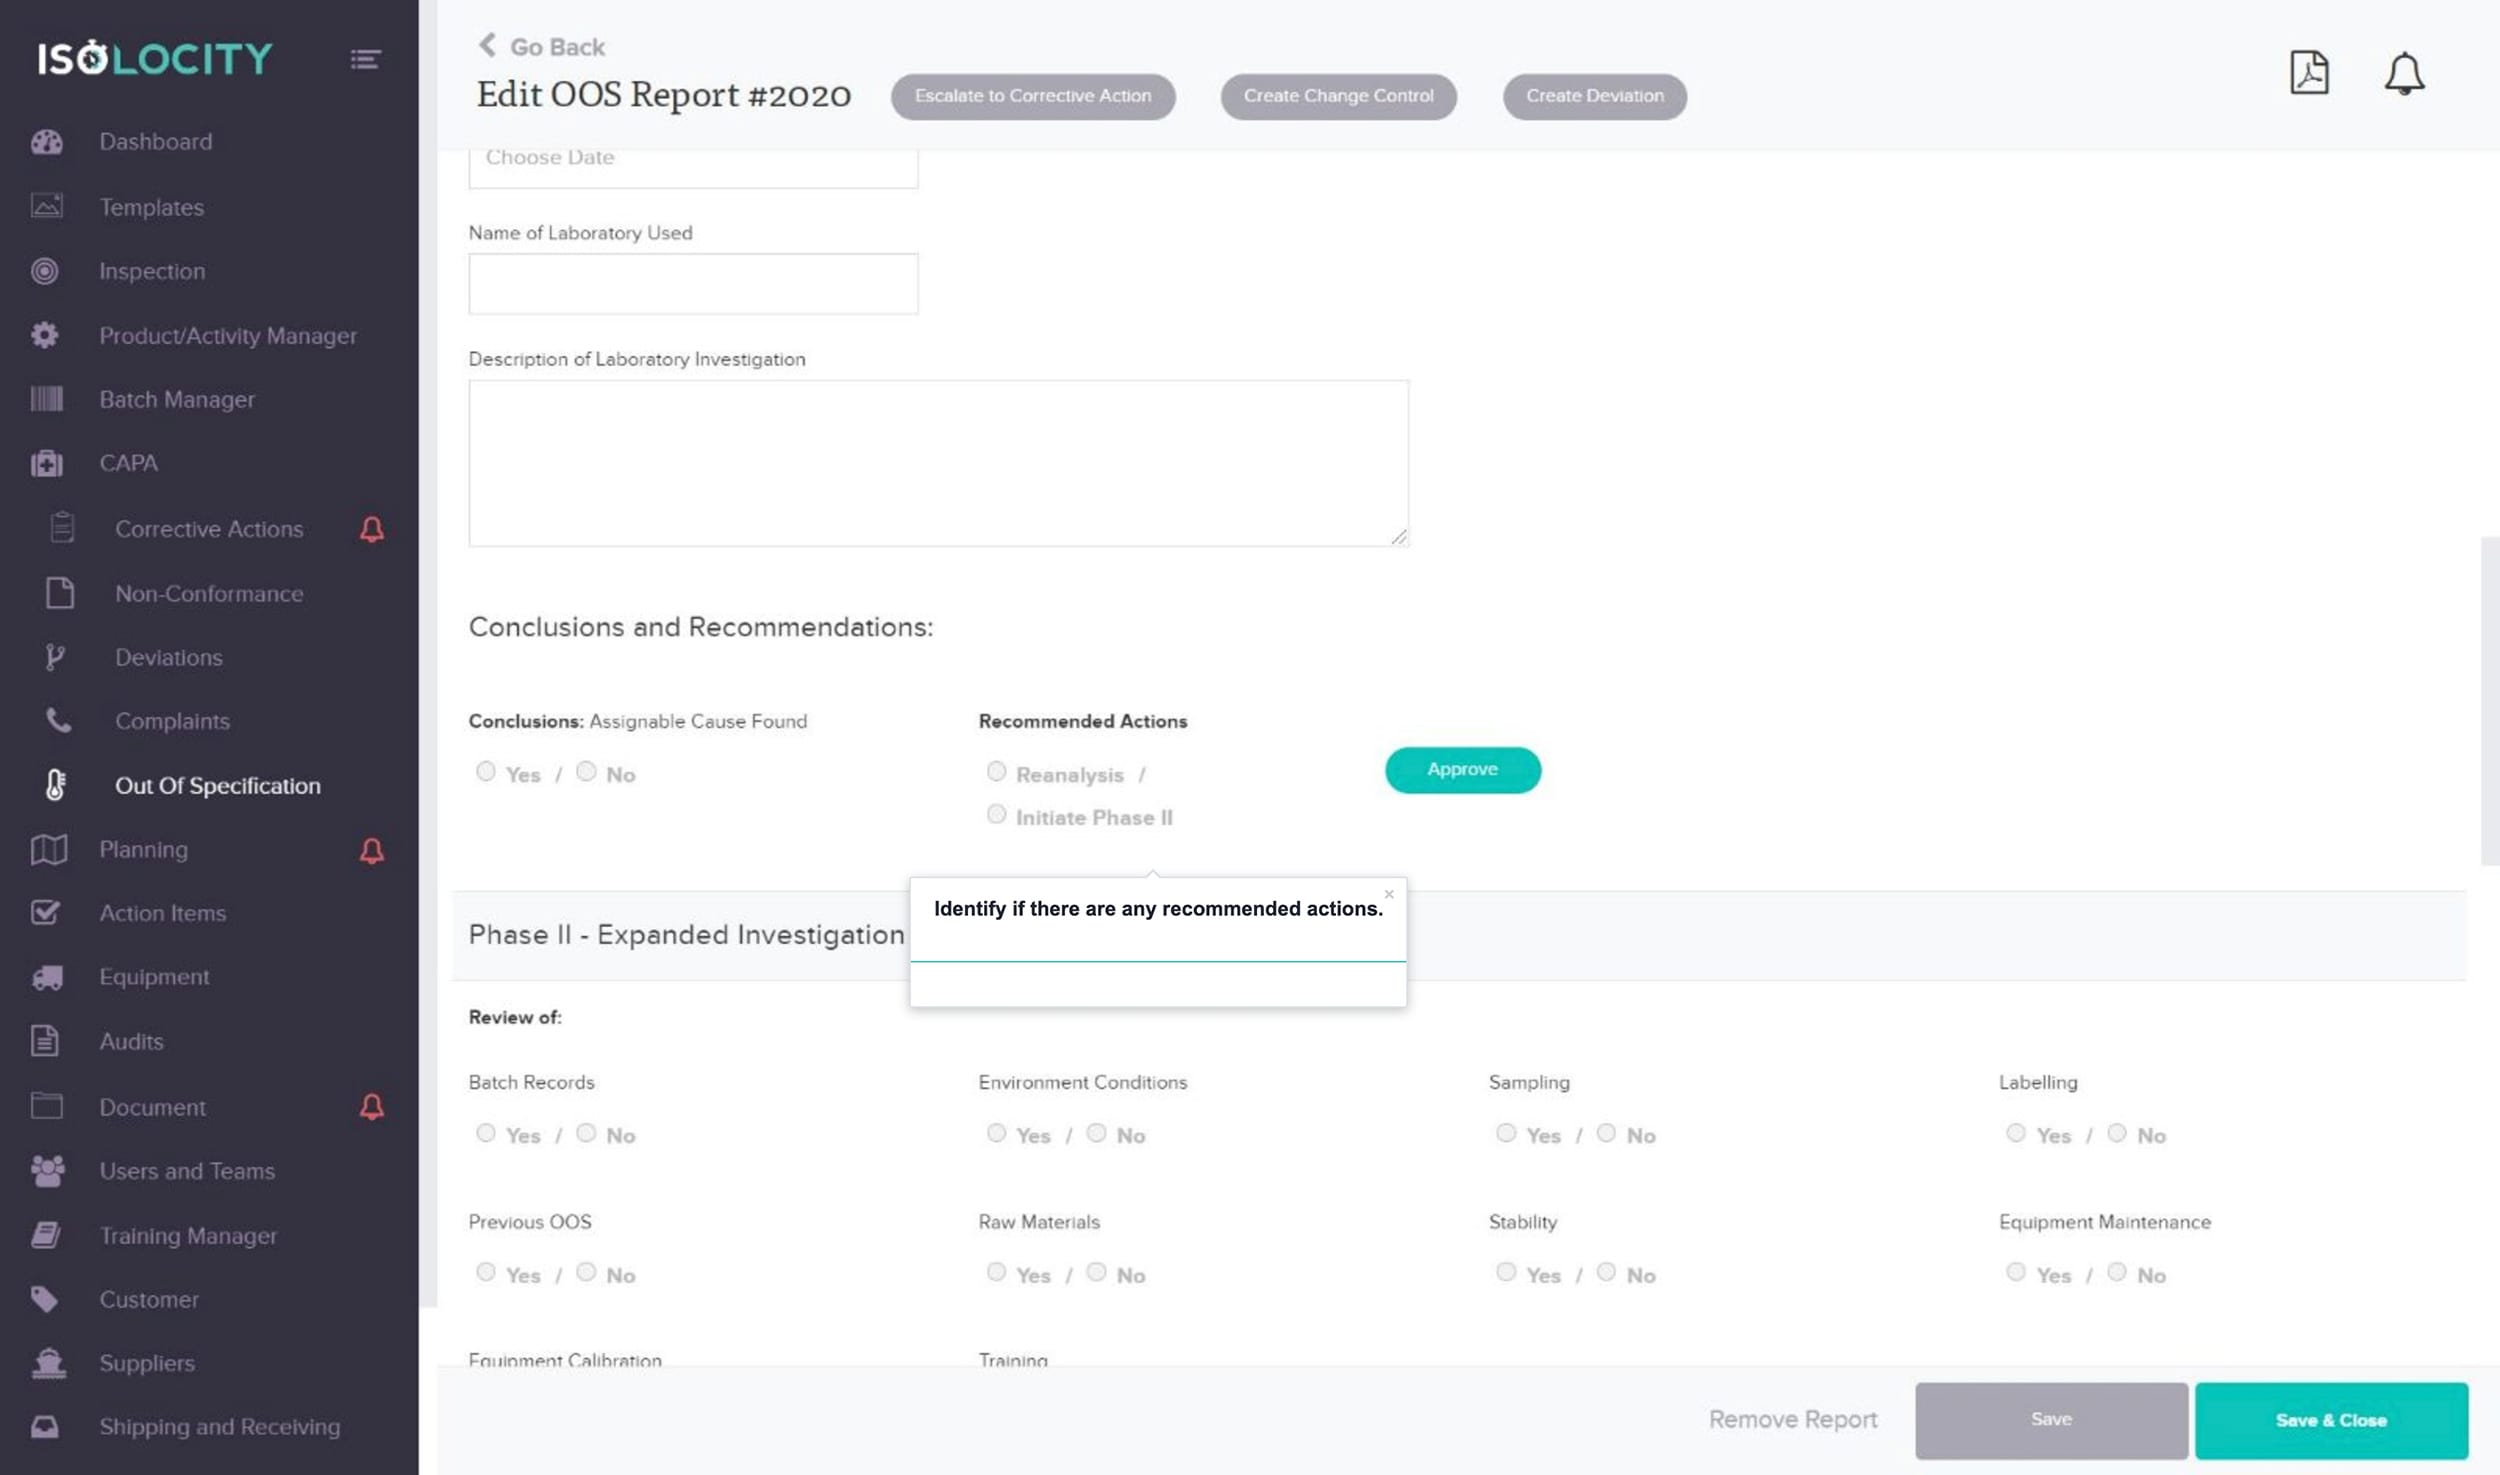
Step #21
Identify if there are any recommended actions.
Step #22
Click Approve
Step #23
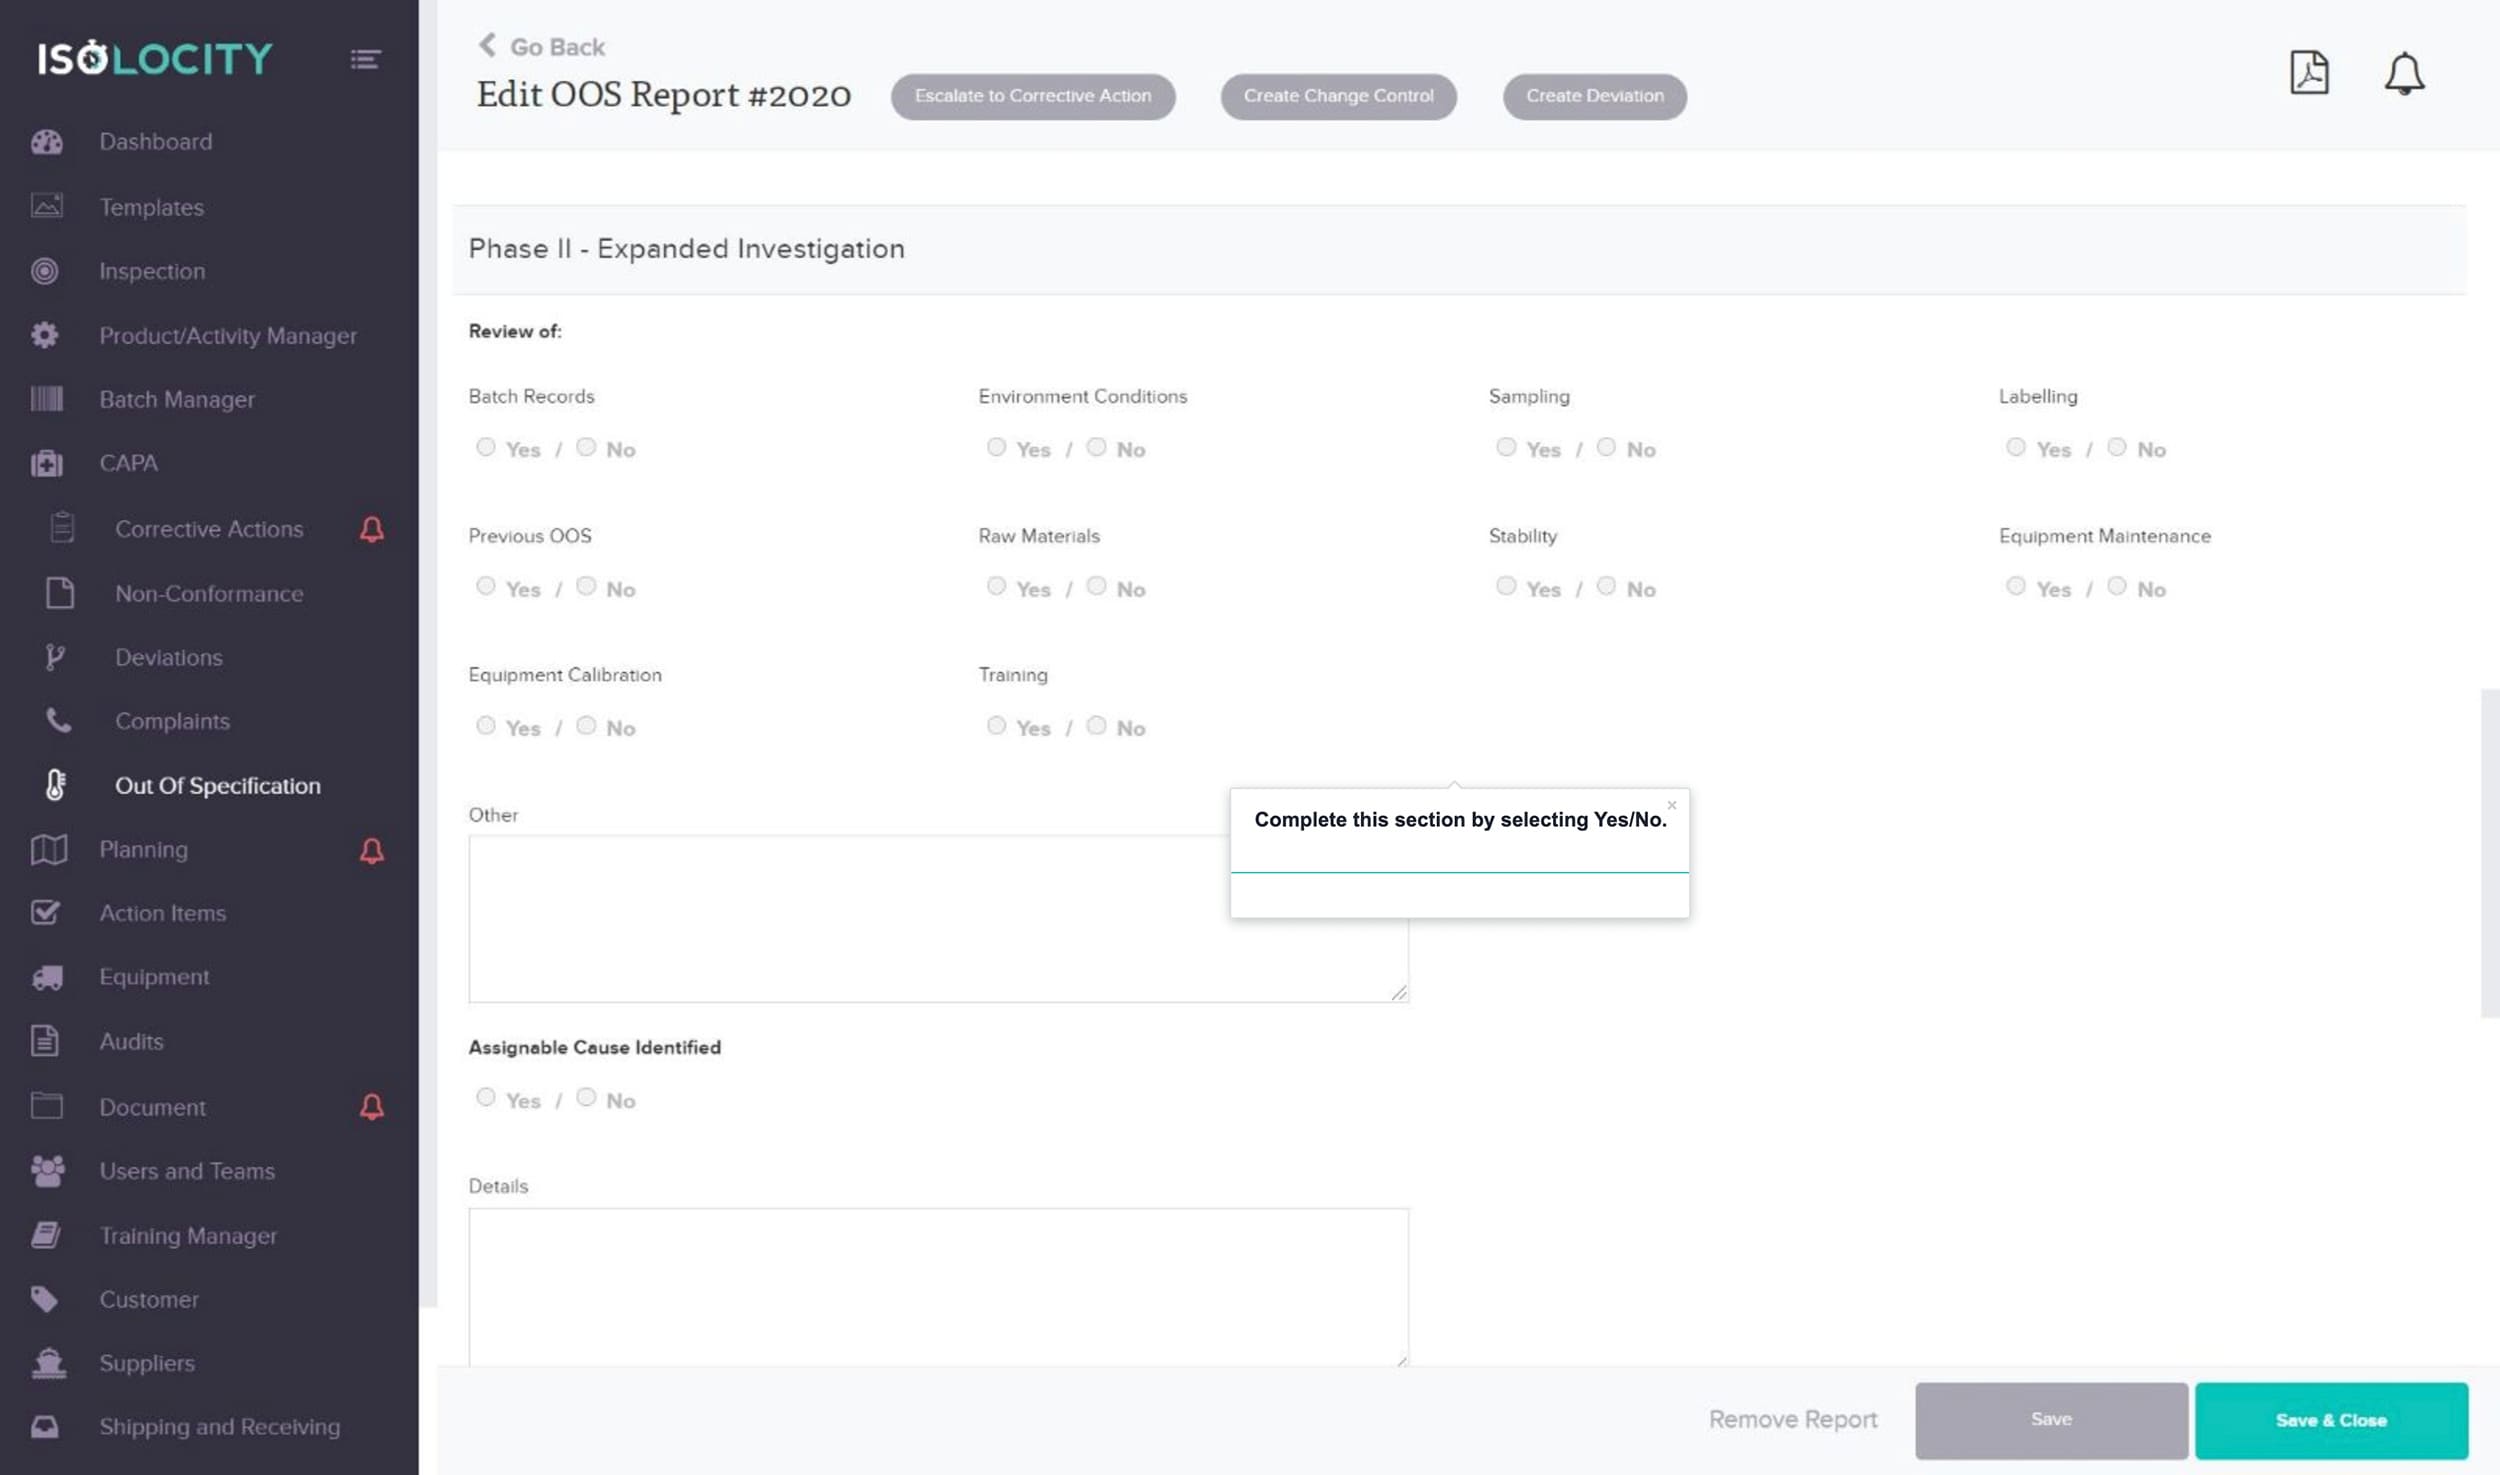
Complete this section by selecting Yes/No.
Step #24
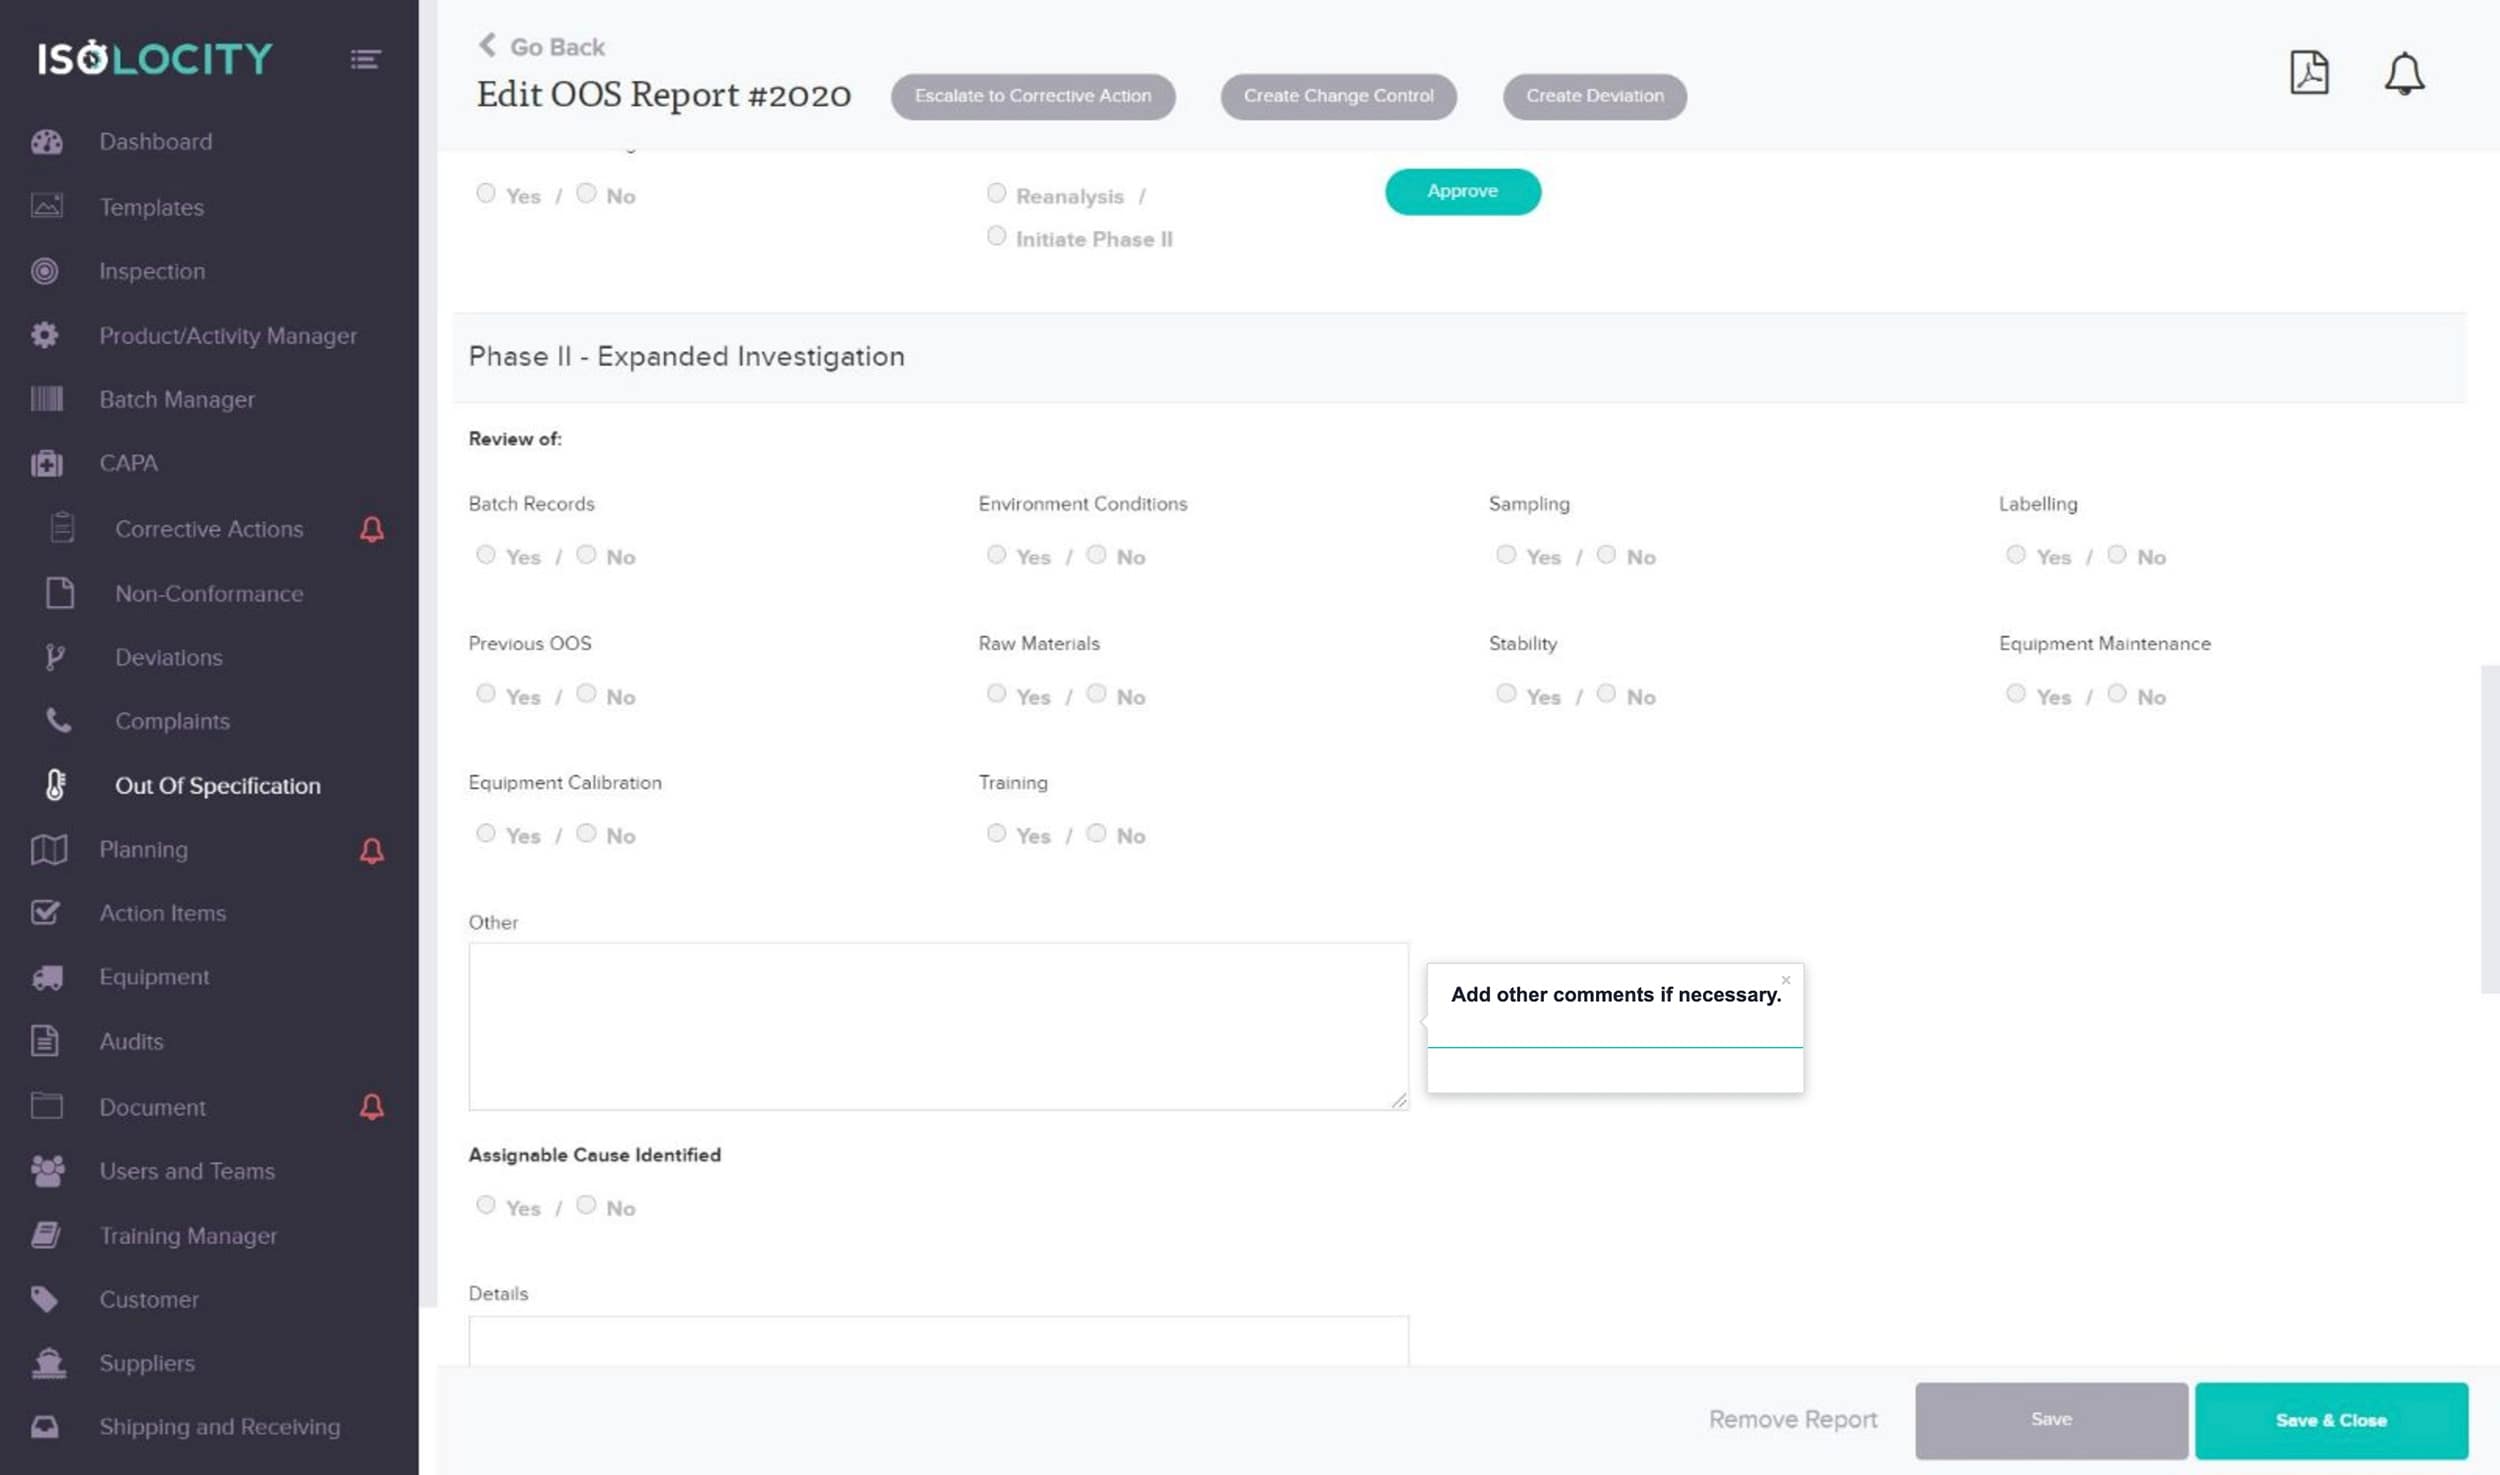
Add other comments if necessary.
Step #25
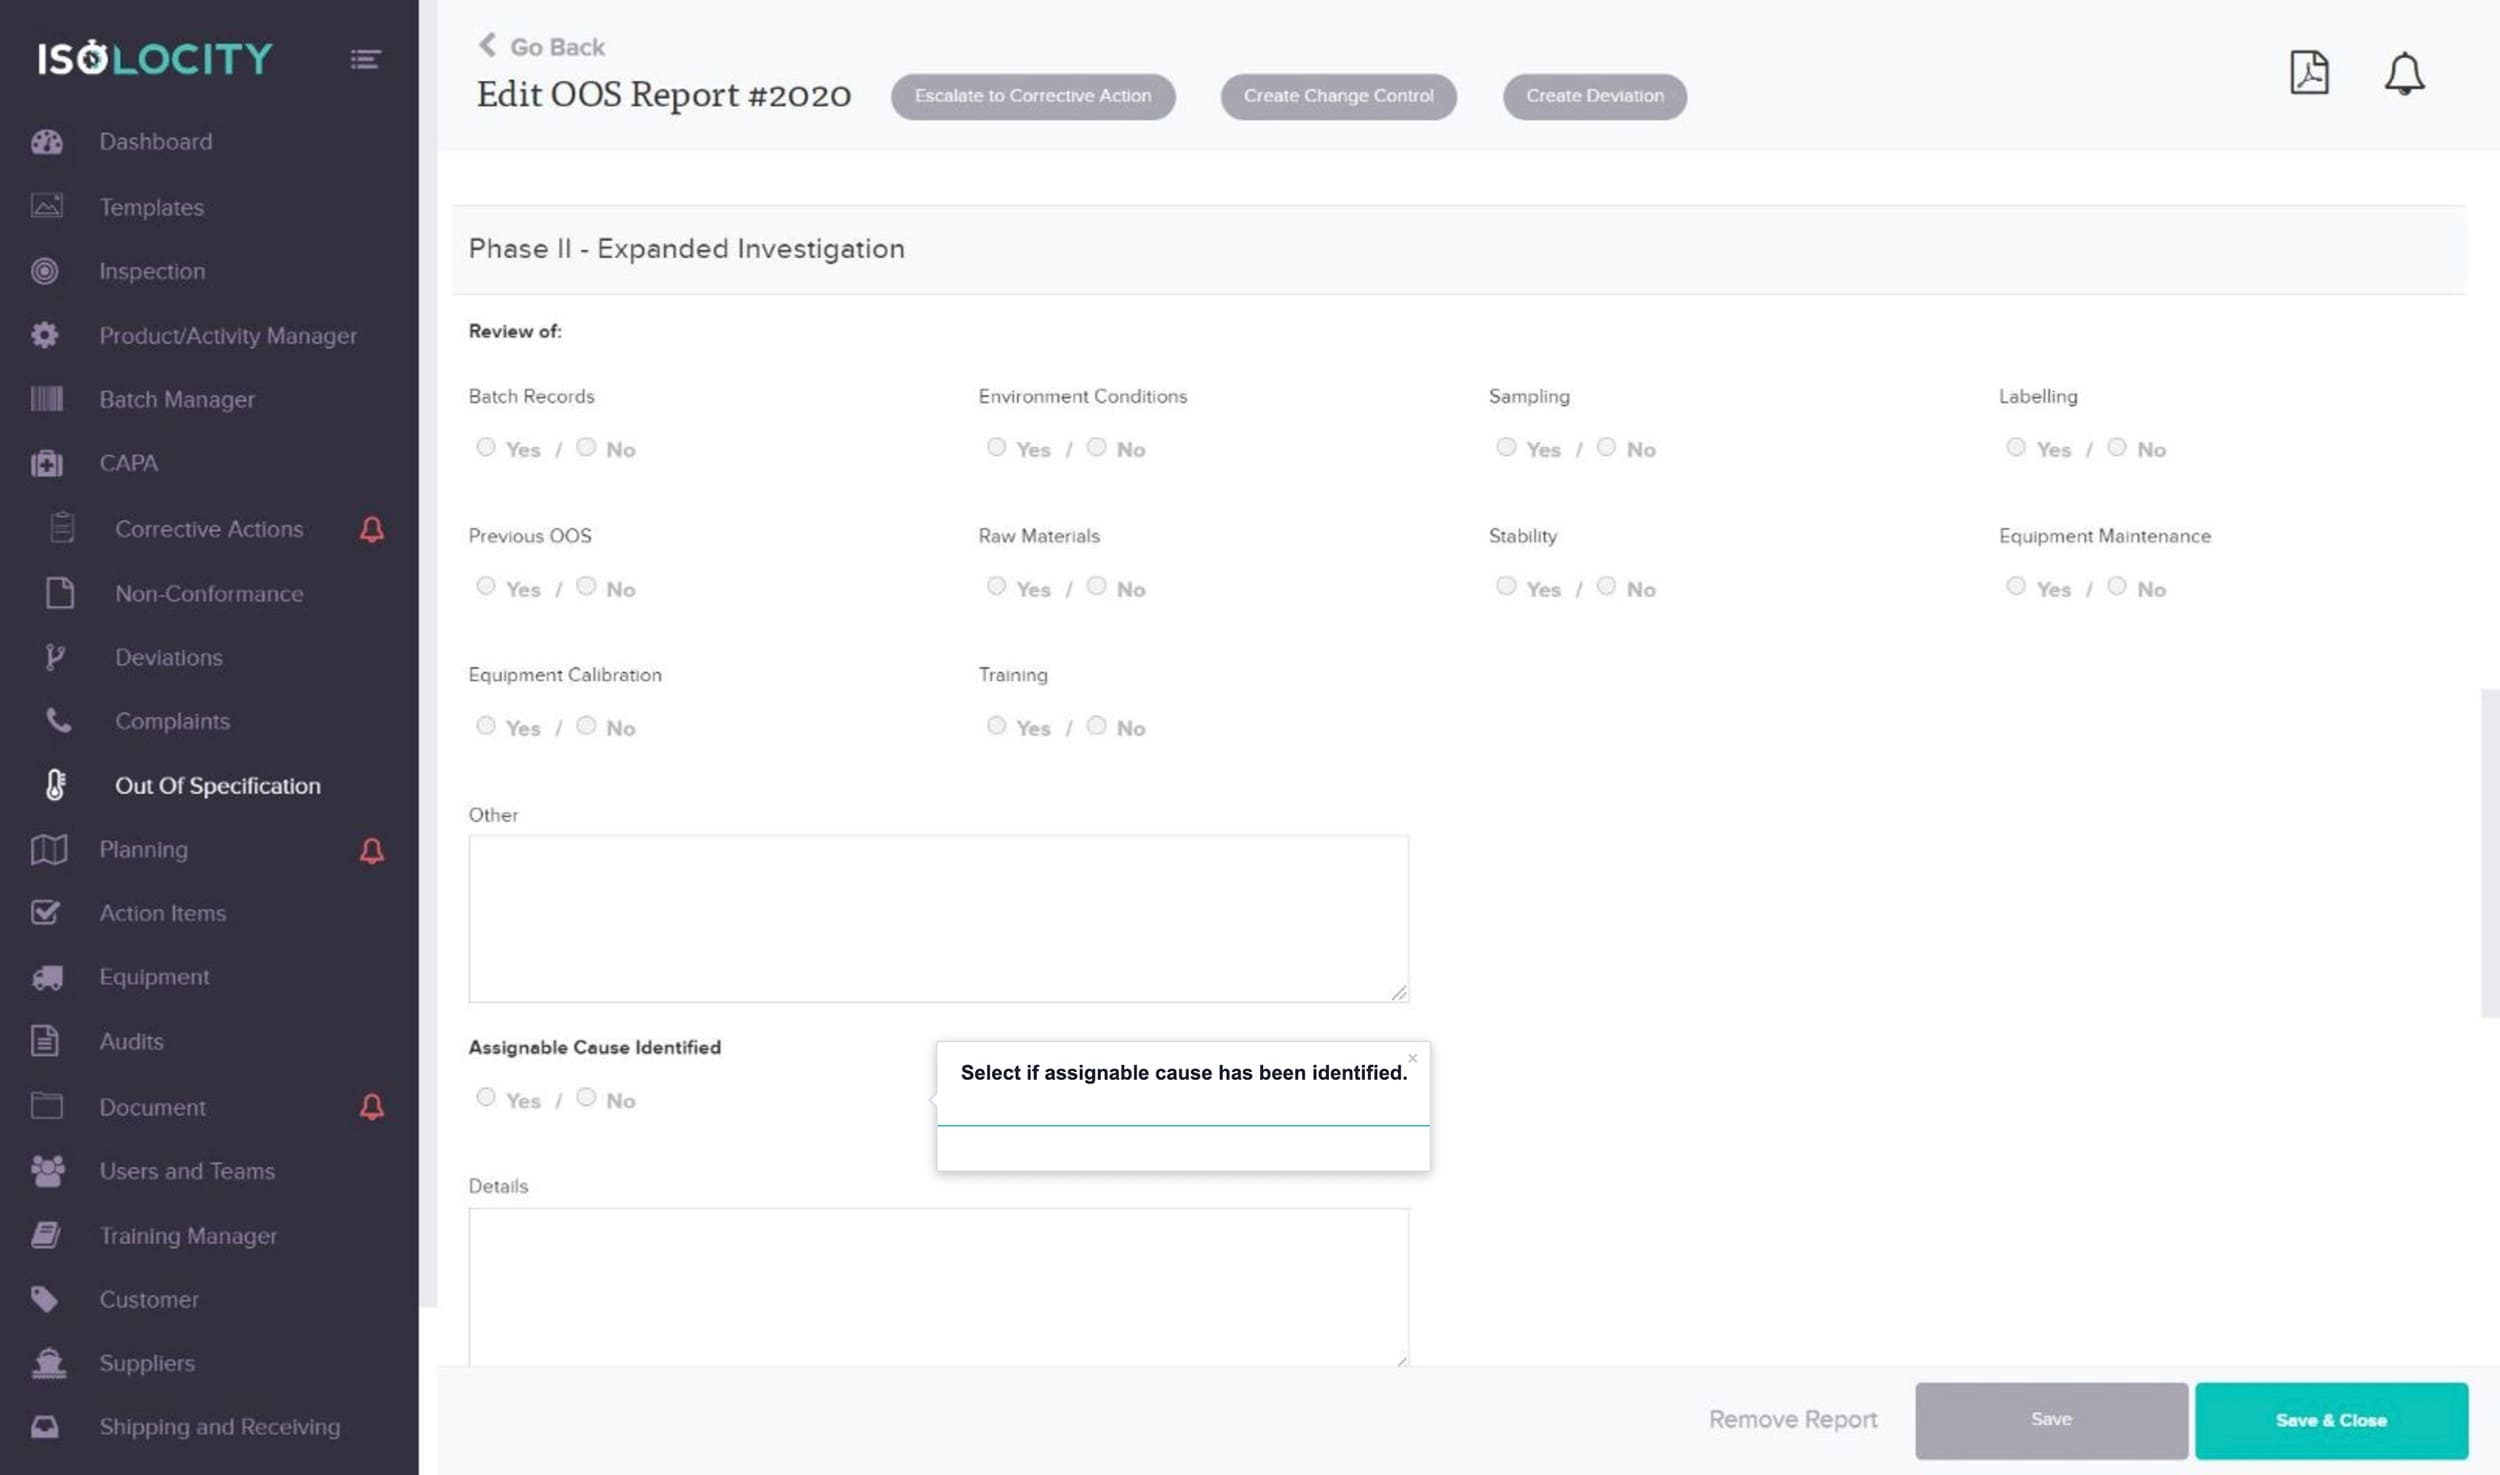
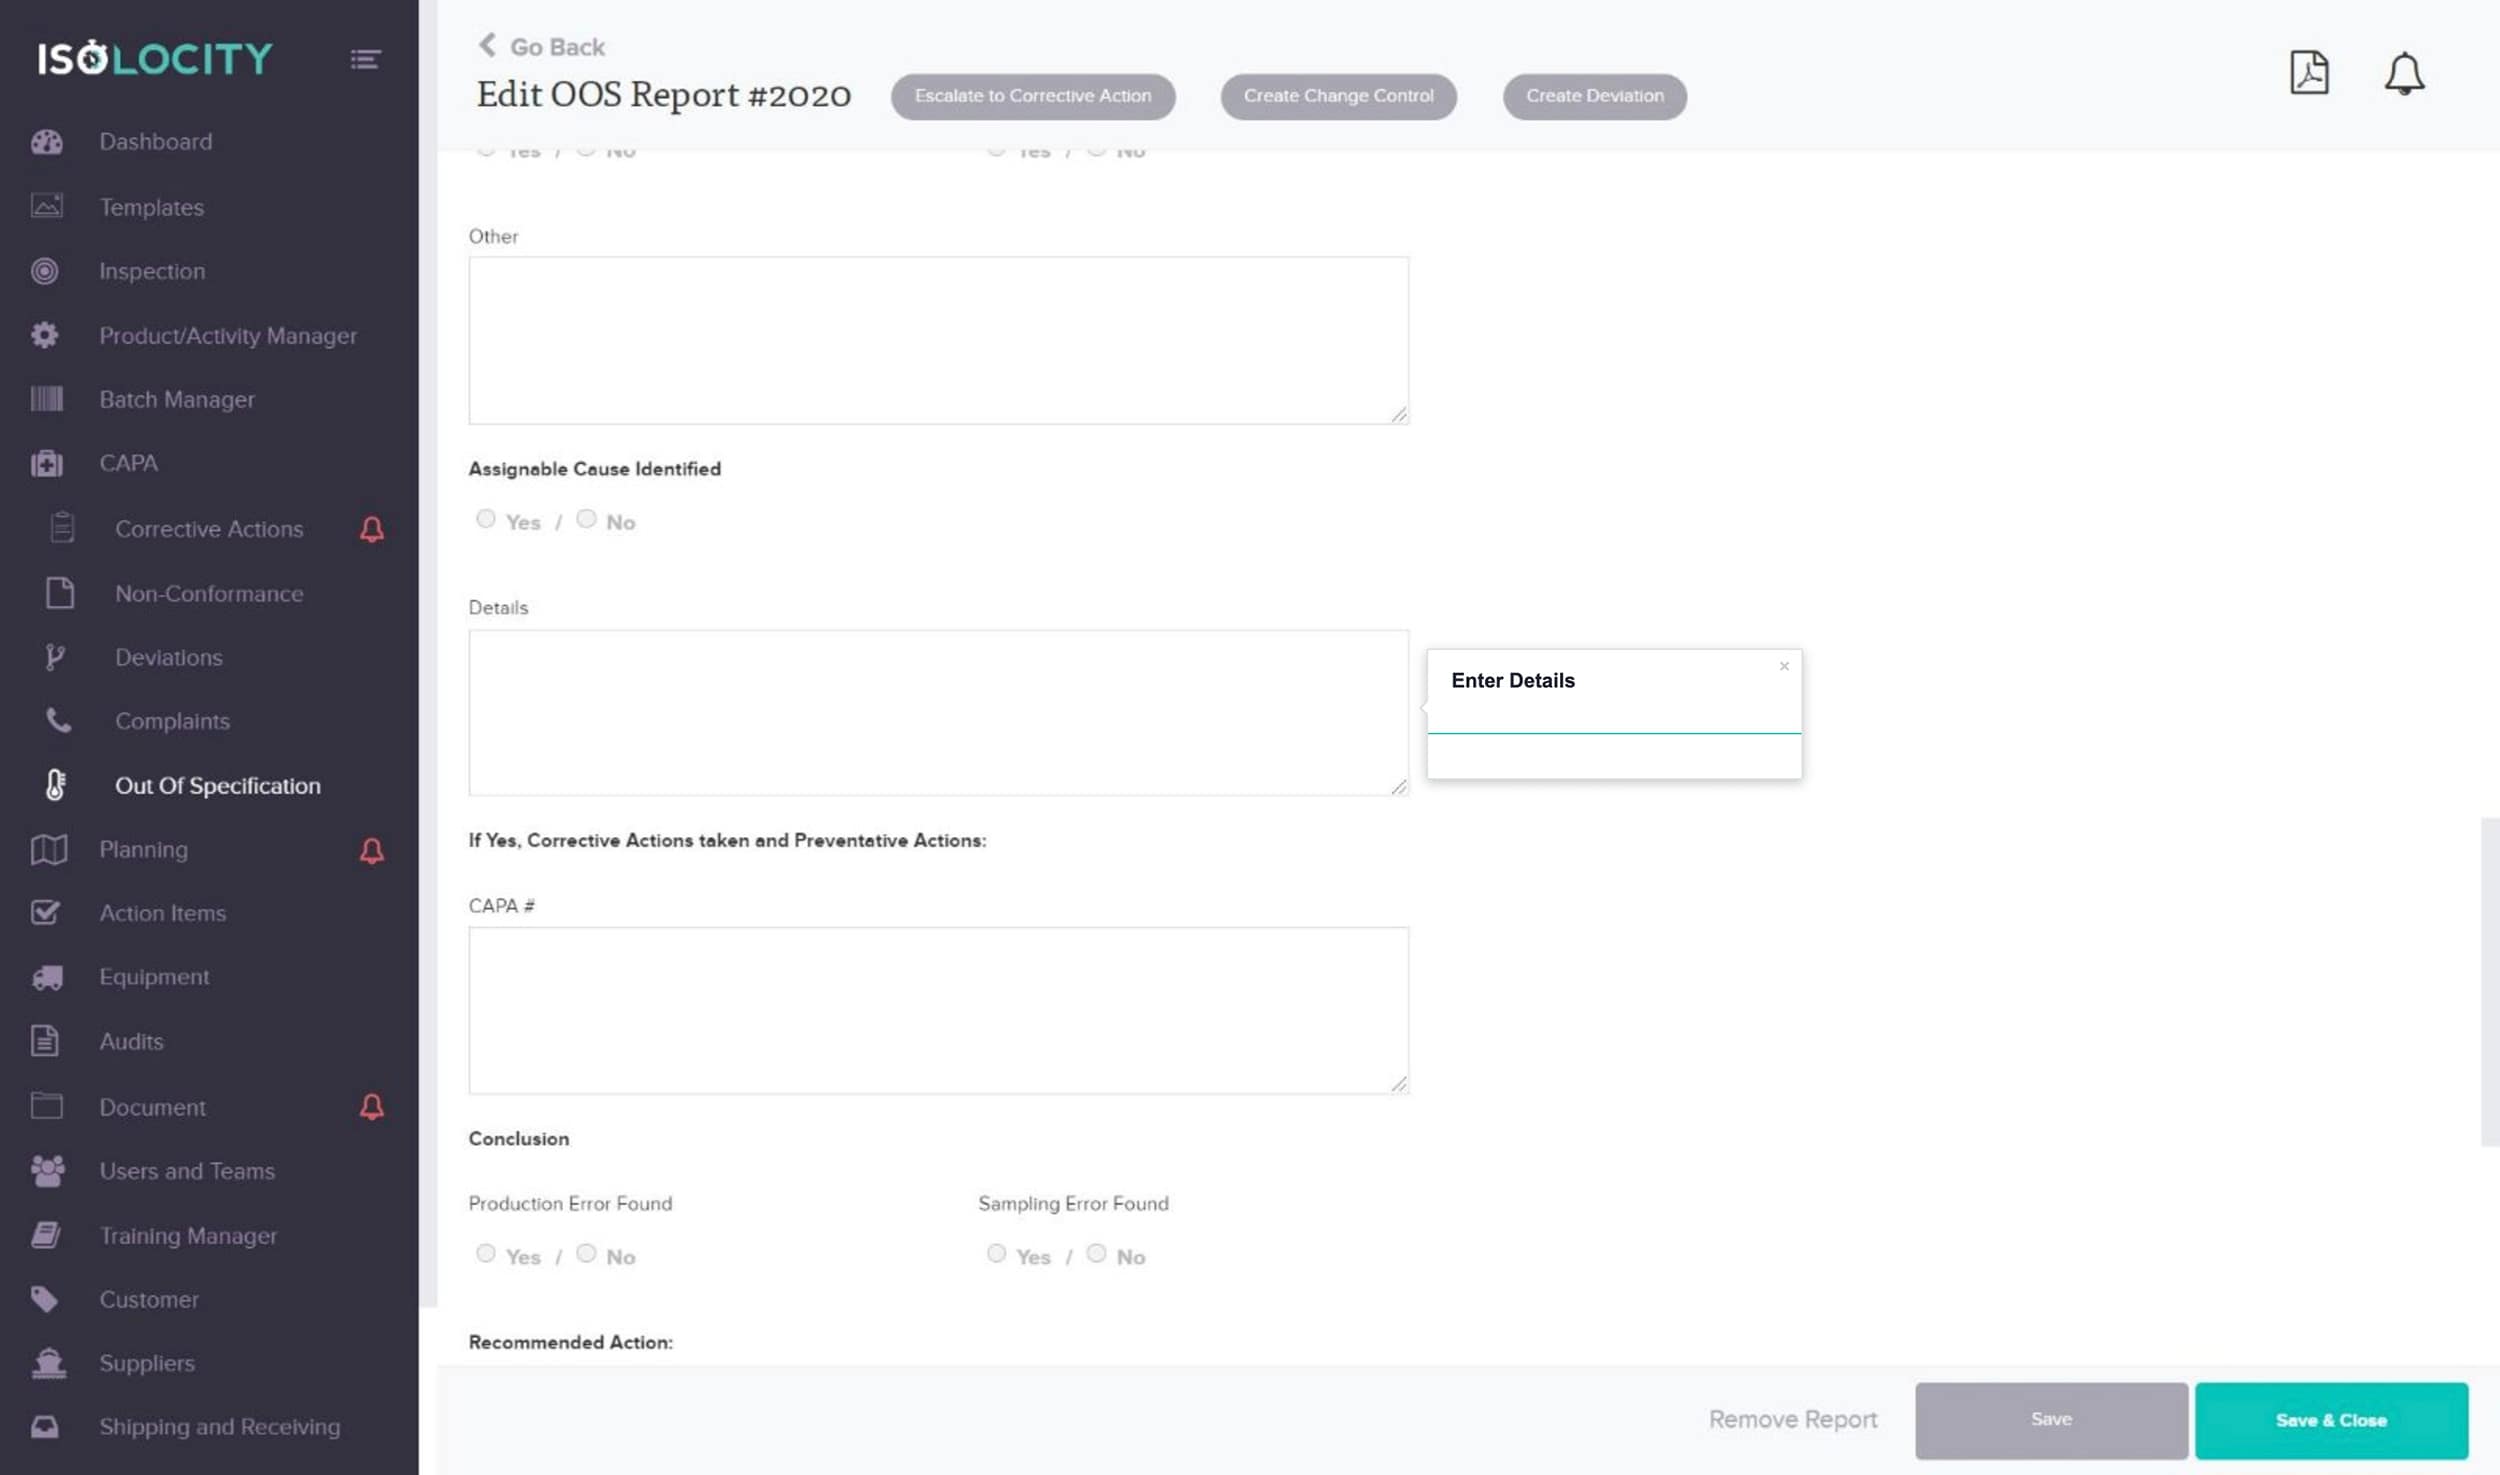
Select if assignable cause has been identified.
Step #26
Enter Details
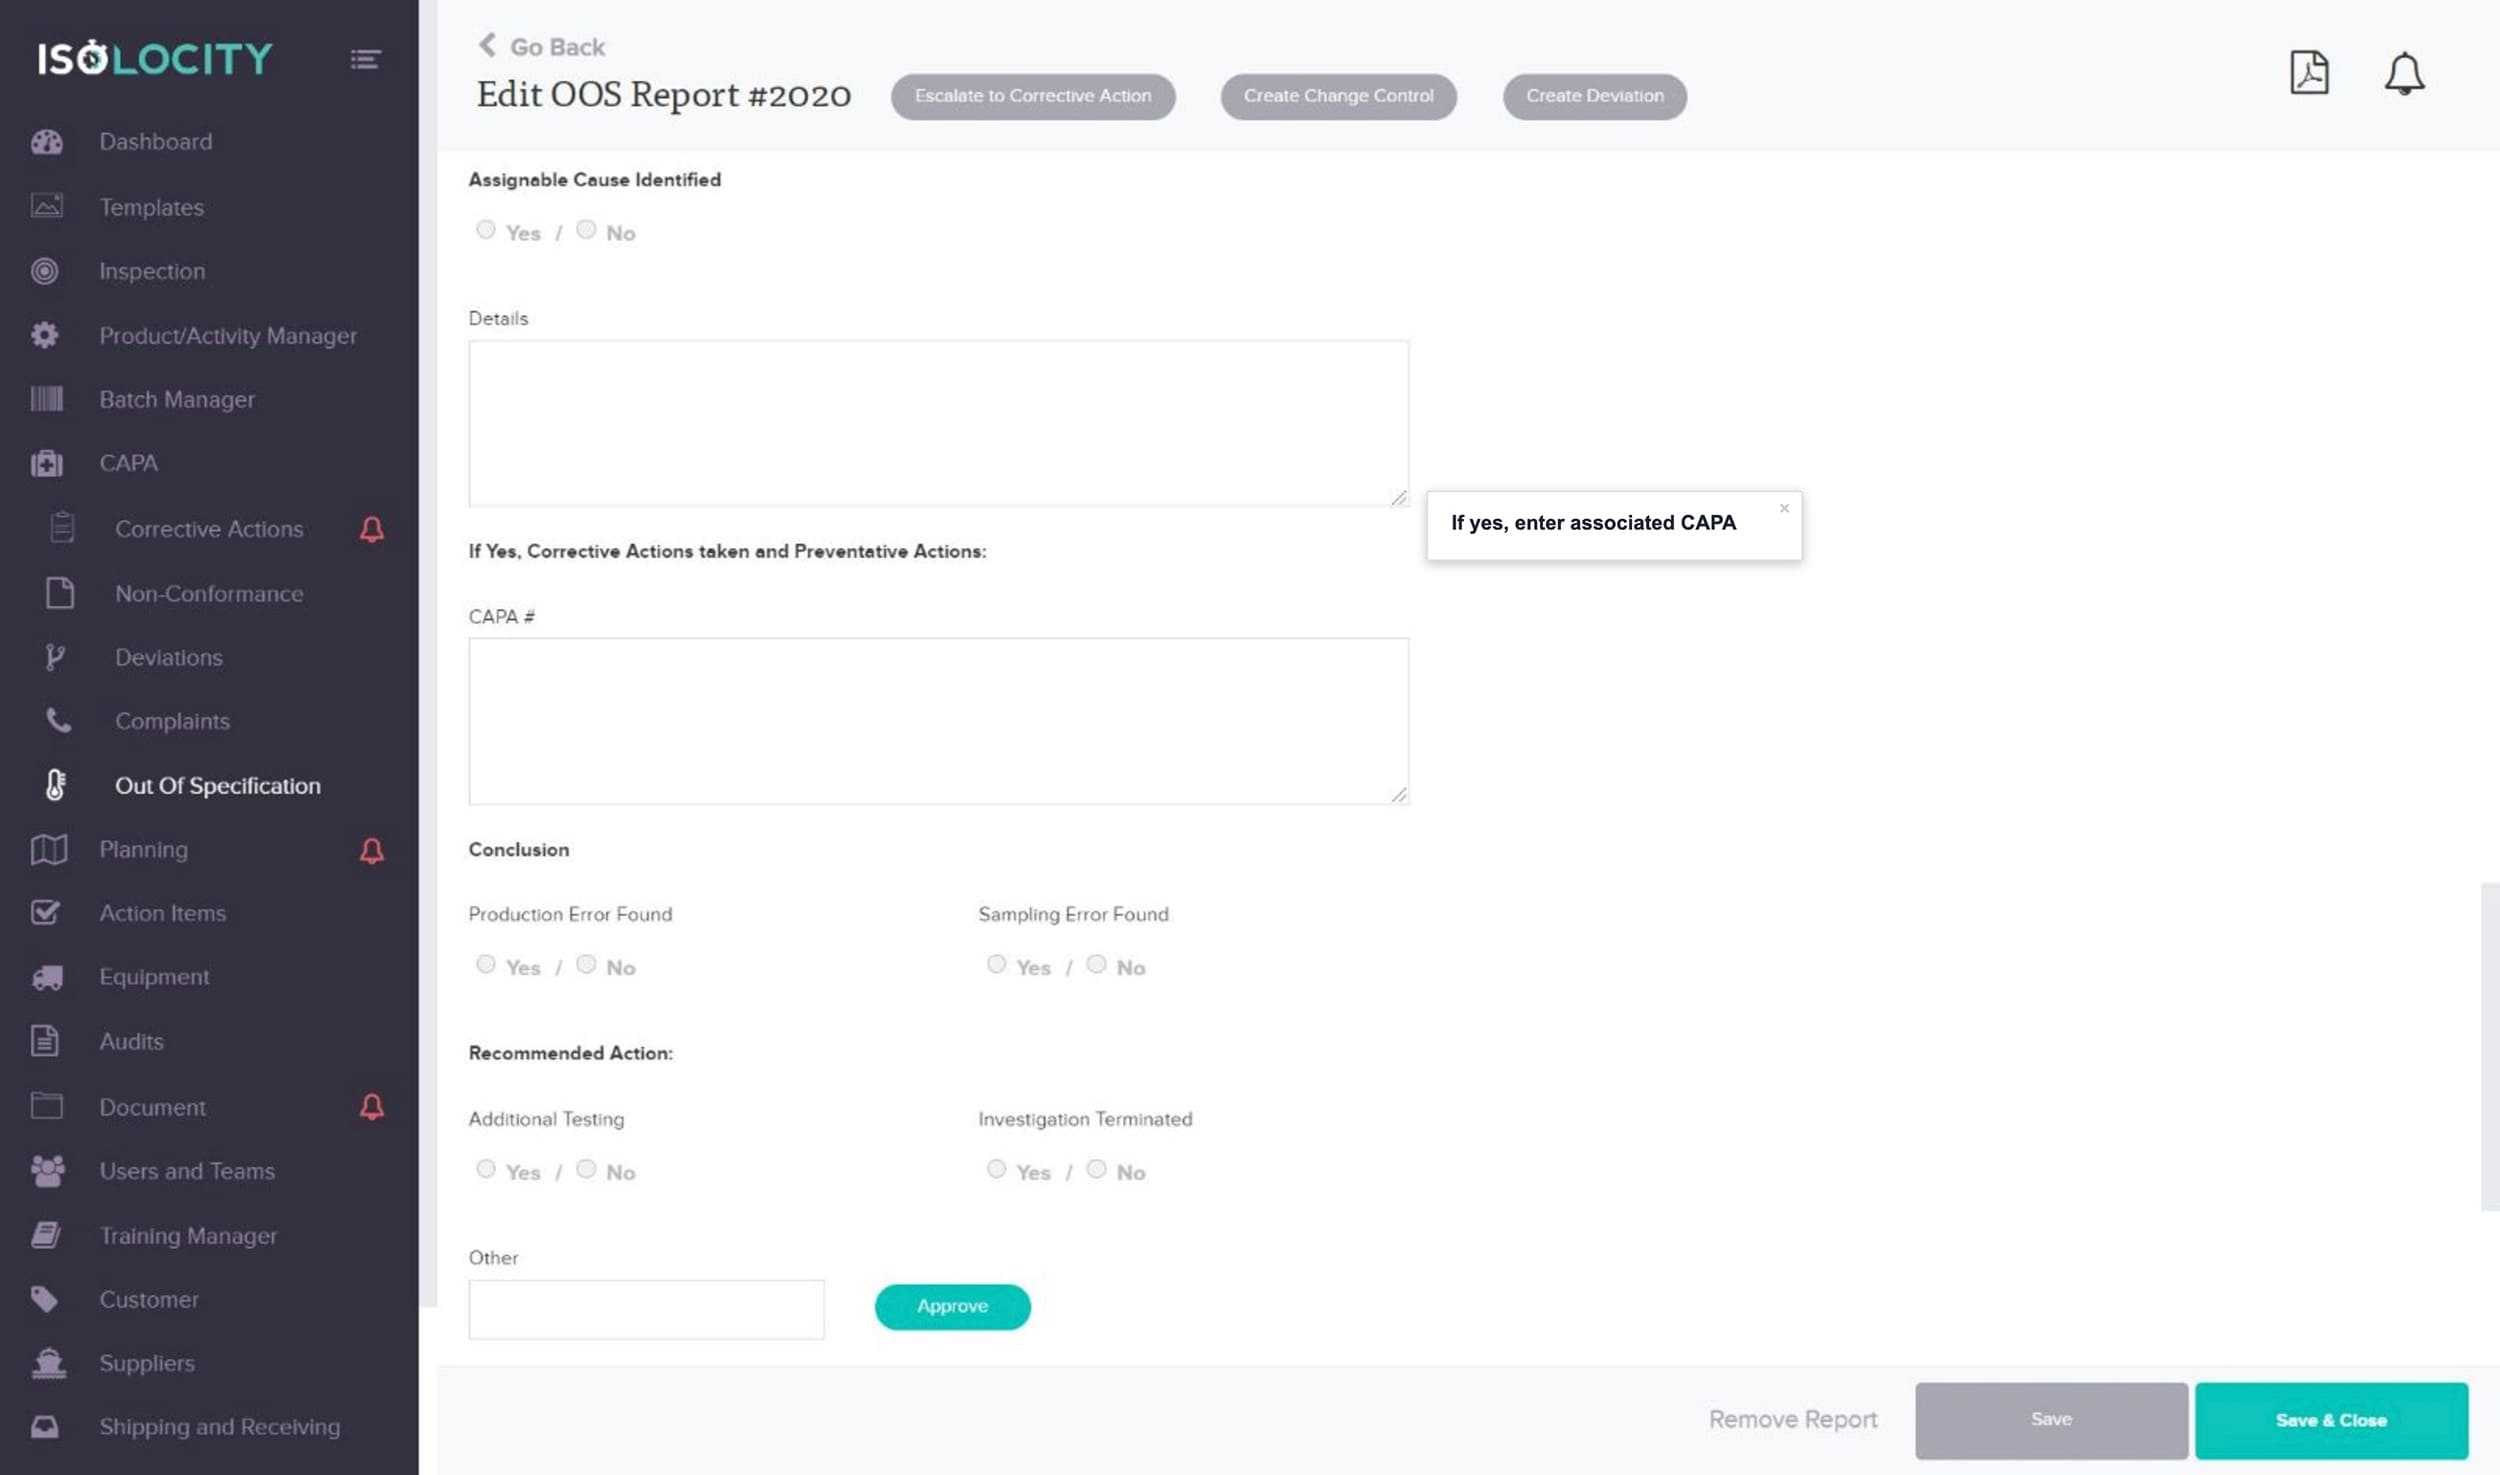
Step #27
If yes, enter associated CAPA#.
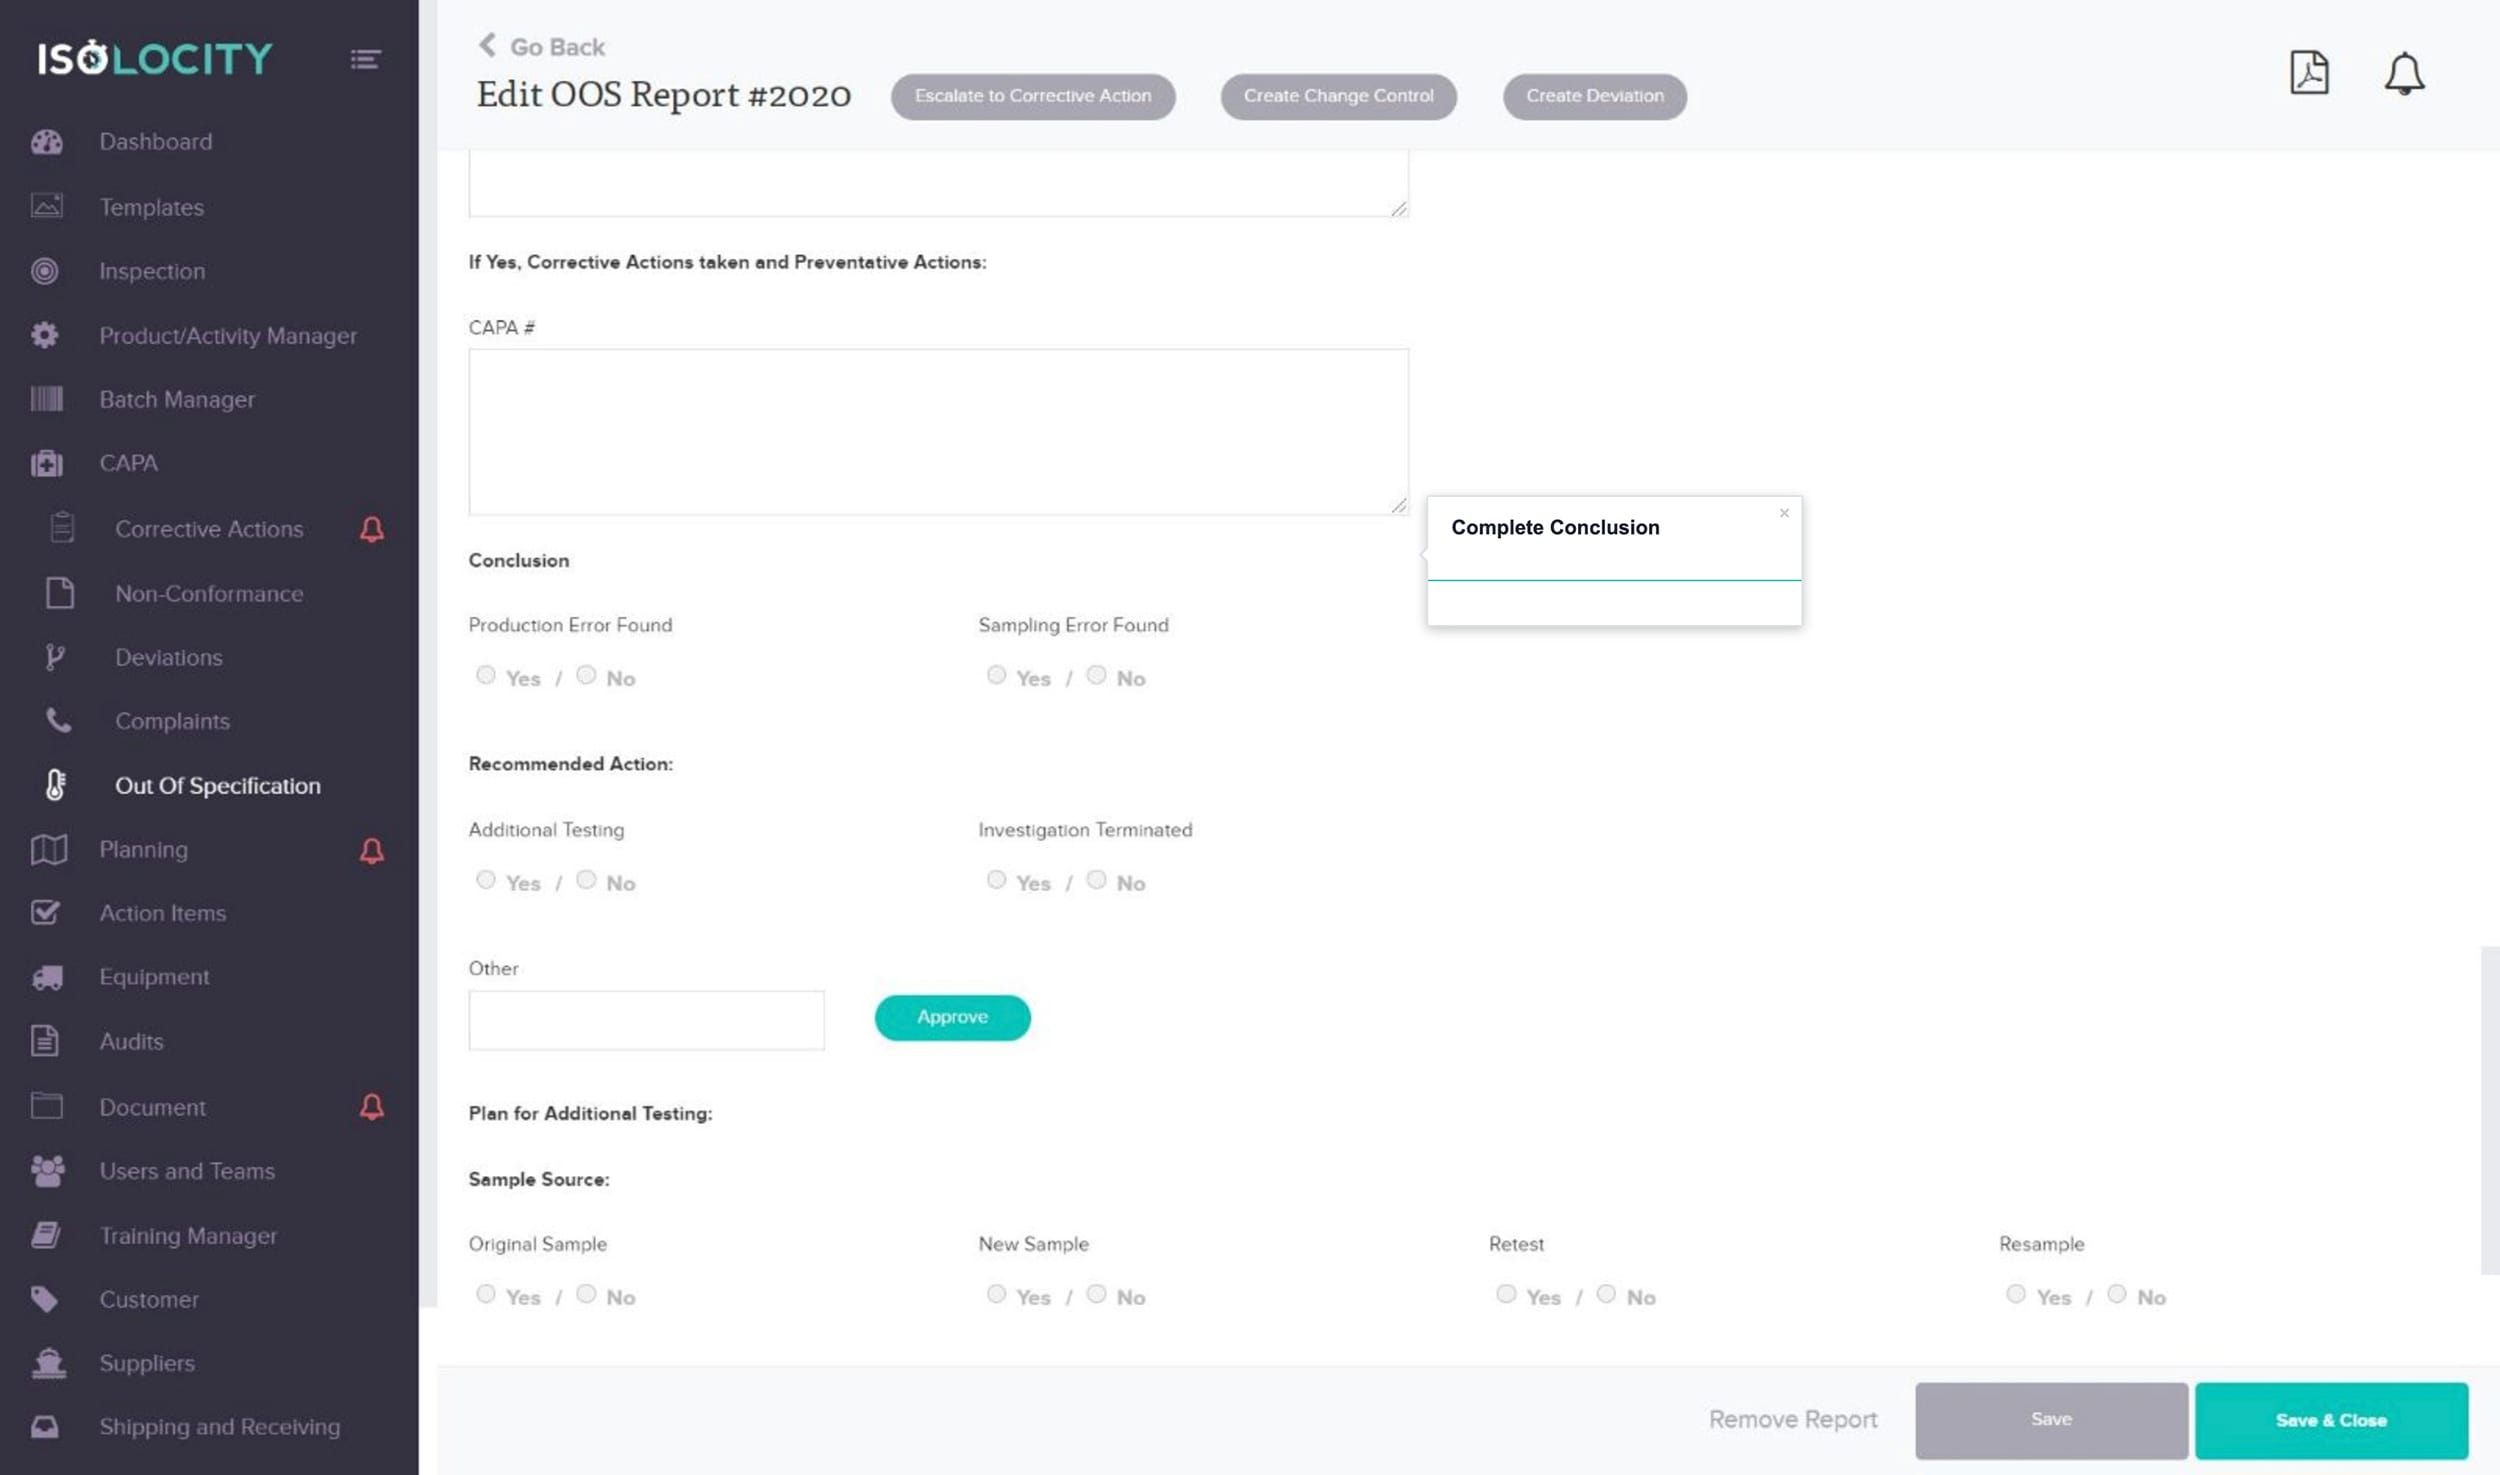
Step #28
Complete Conclusion
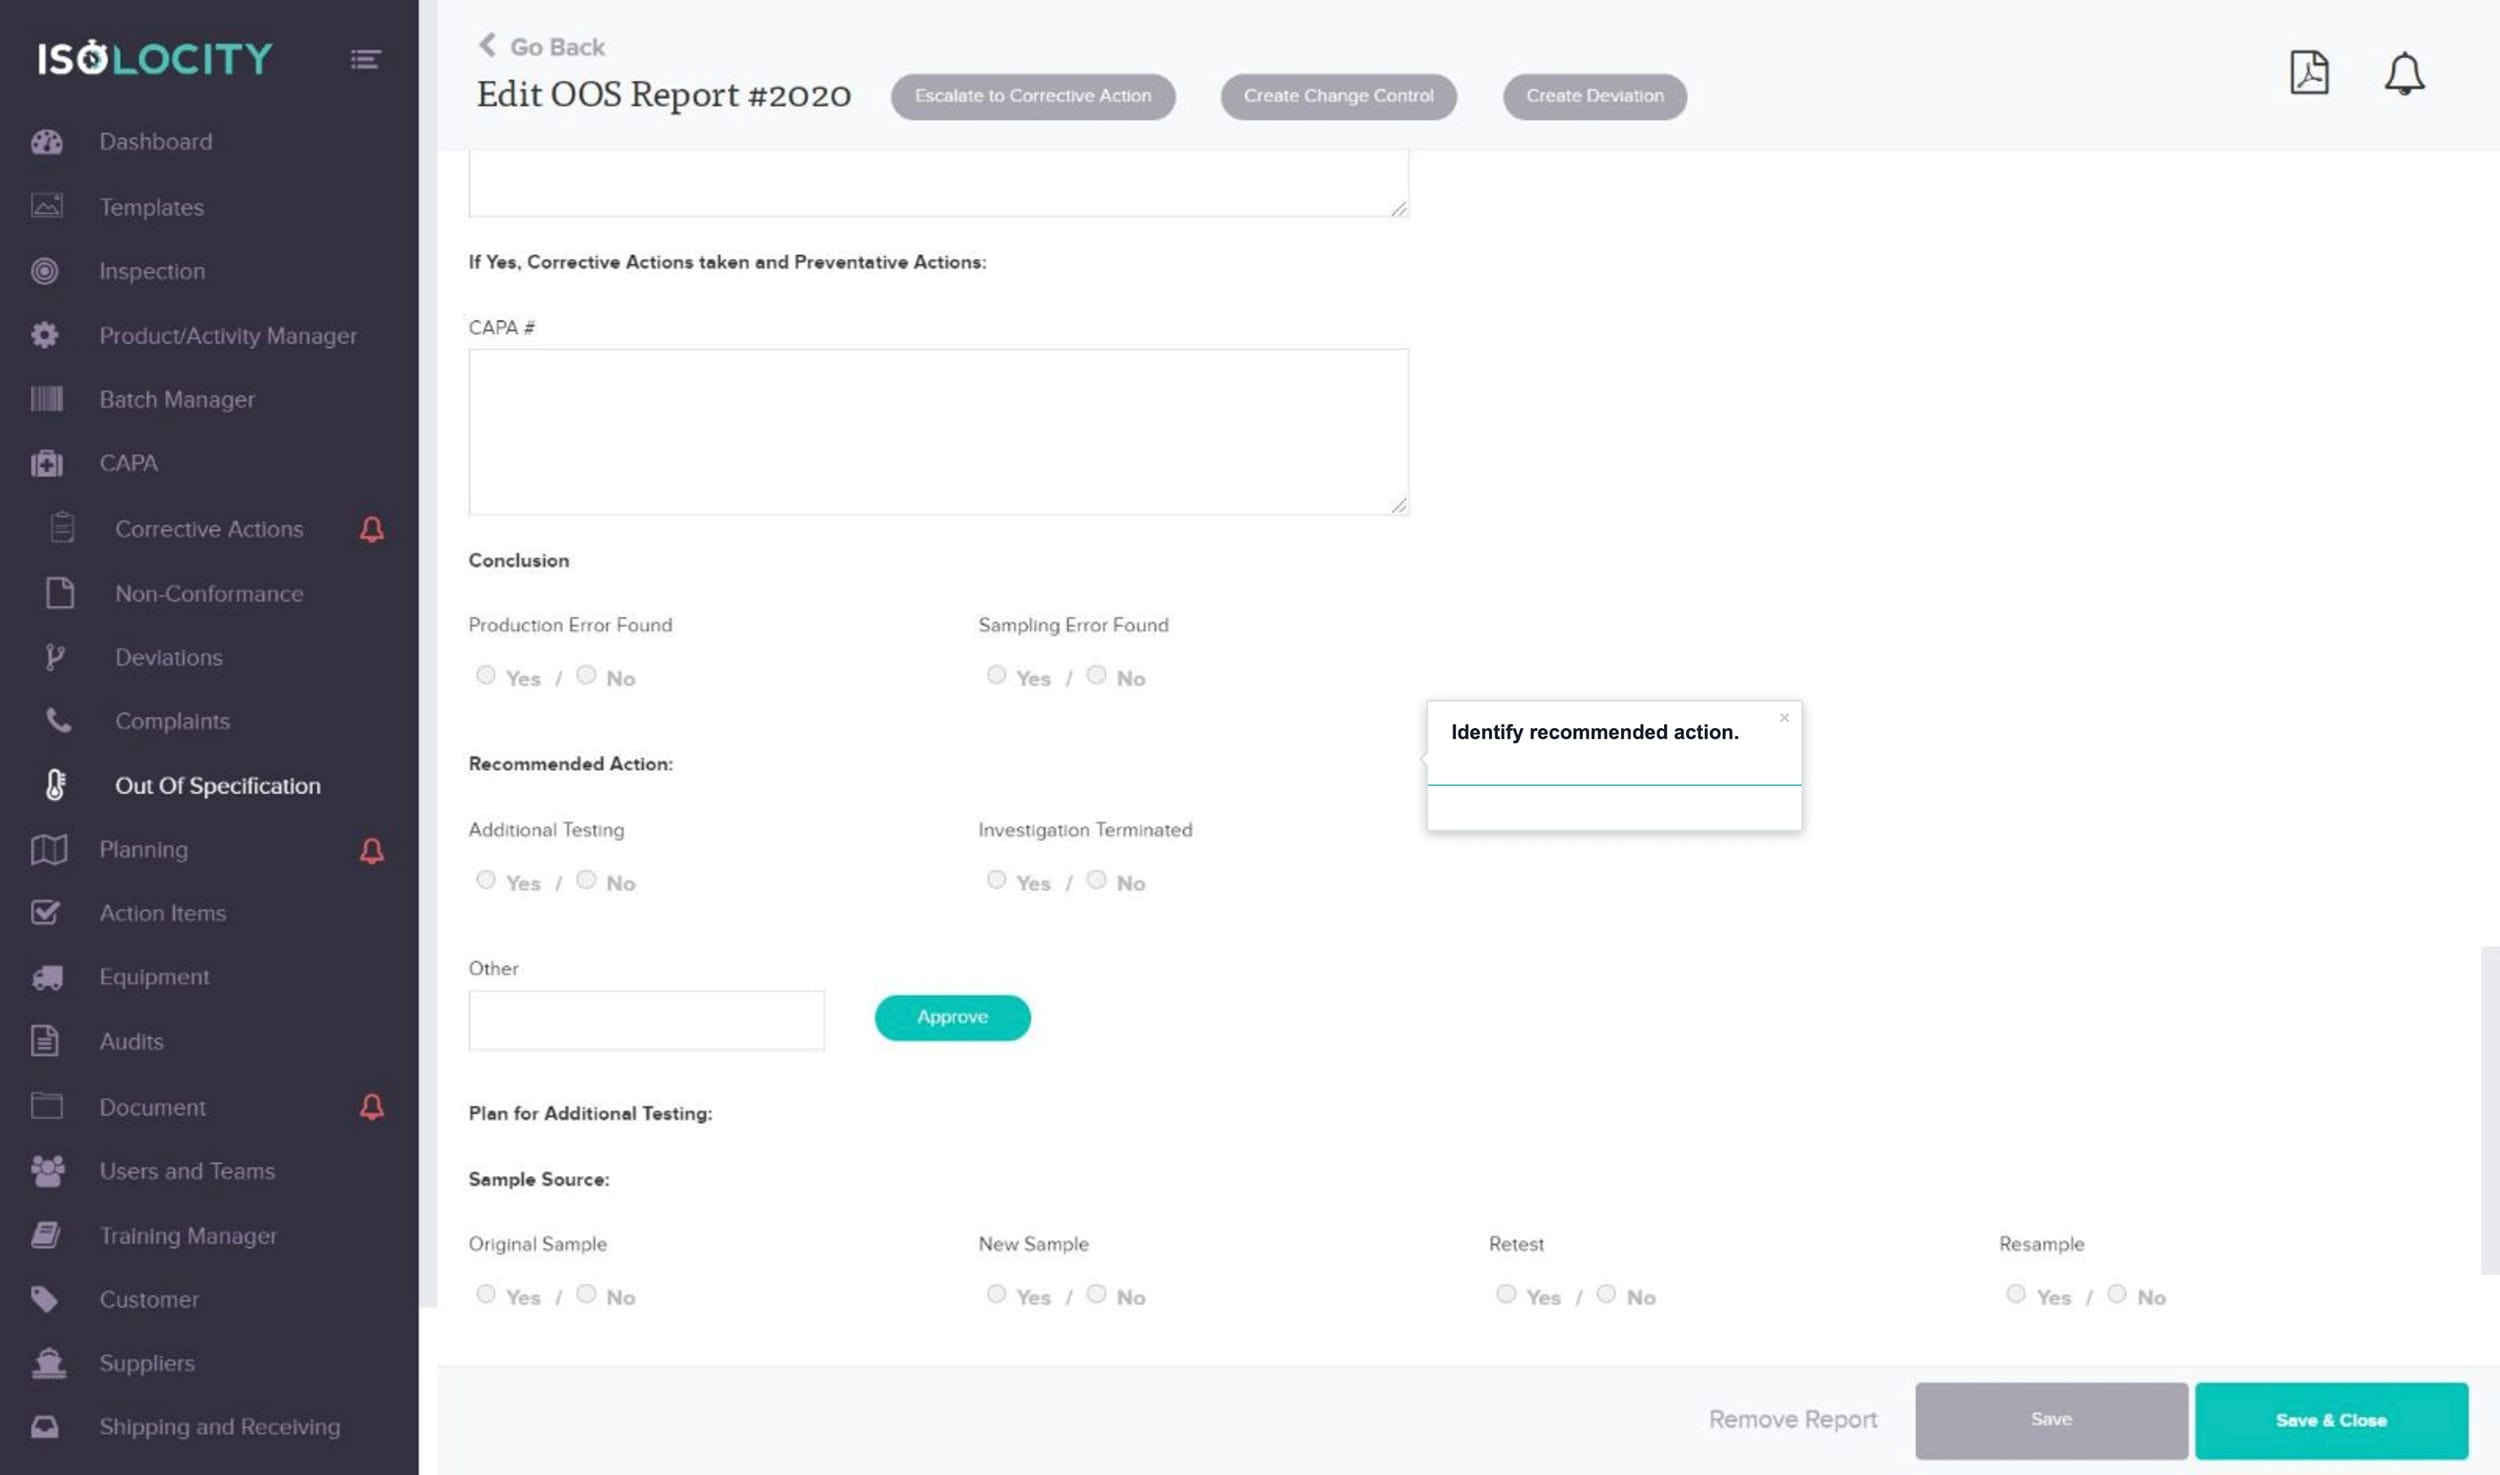
Step #29
Identify recommended action.
Step #30
Click Approval
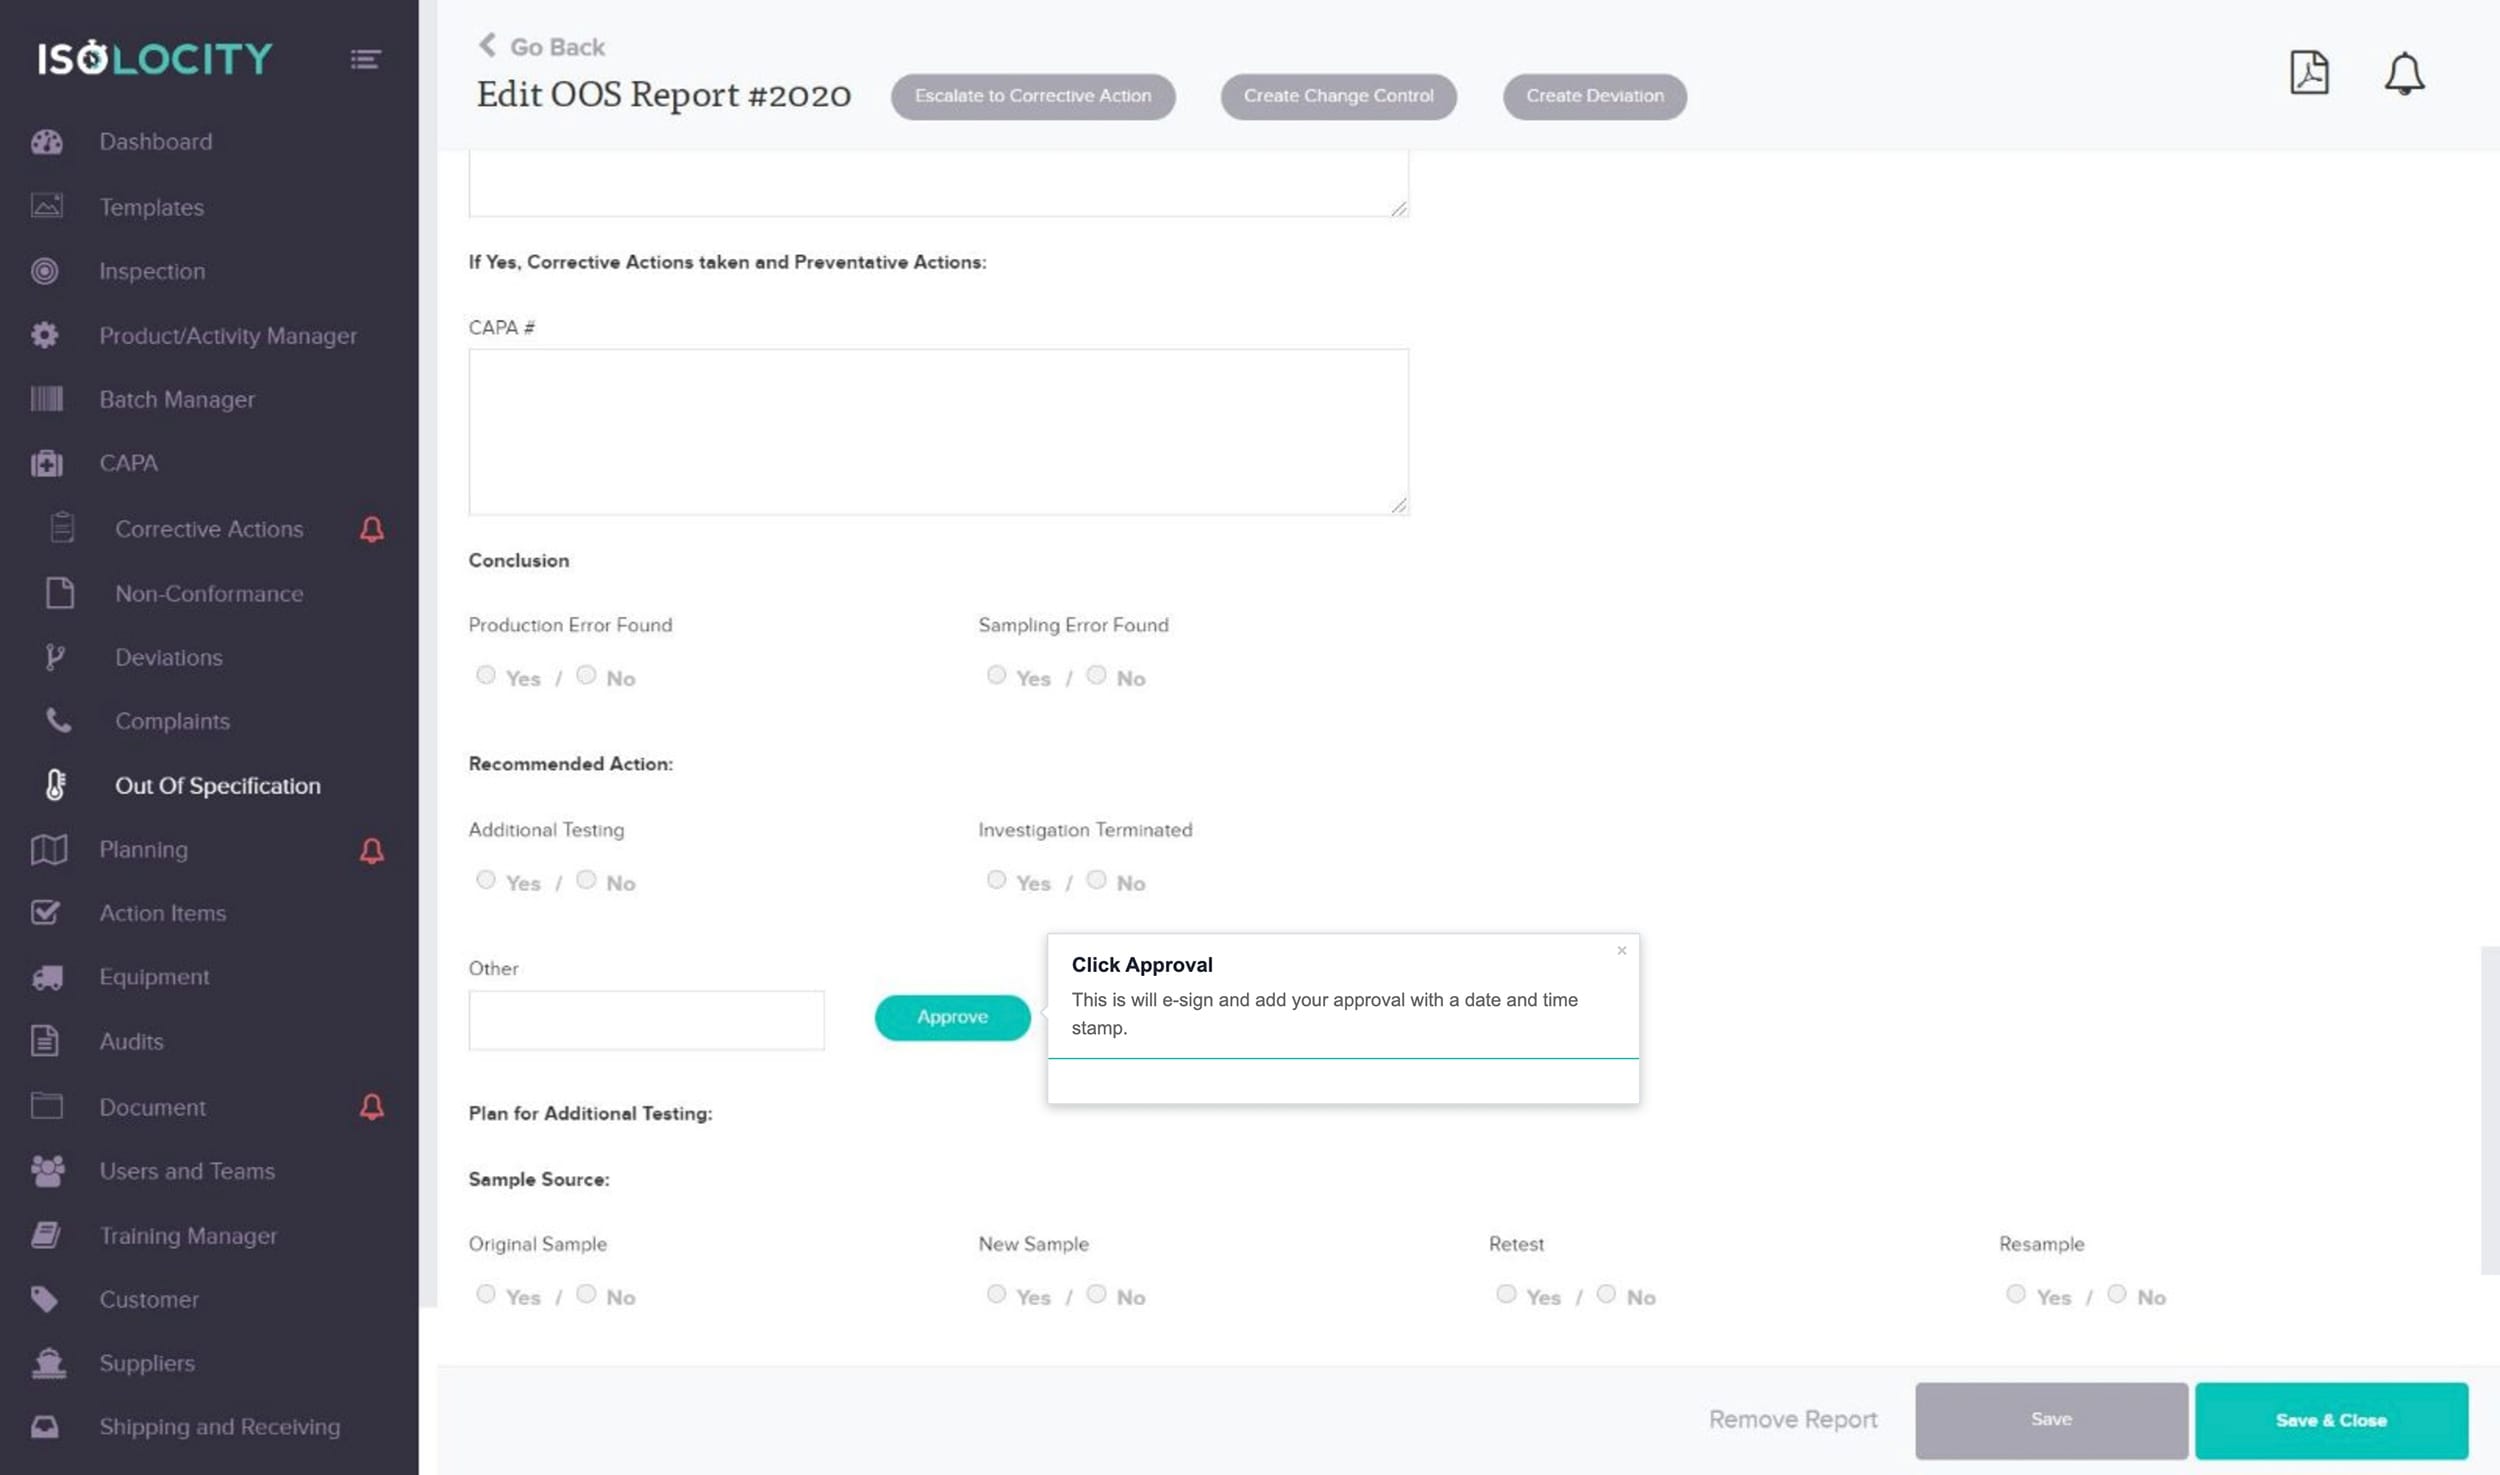
Step #31
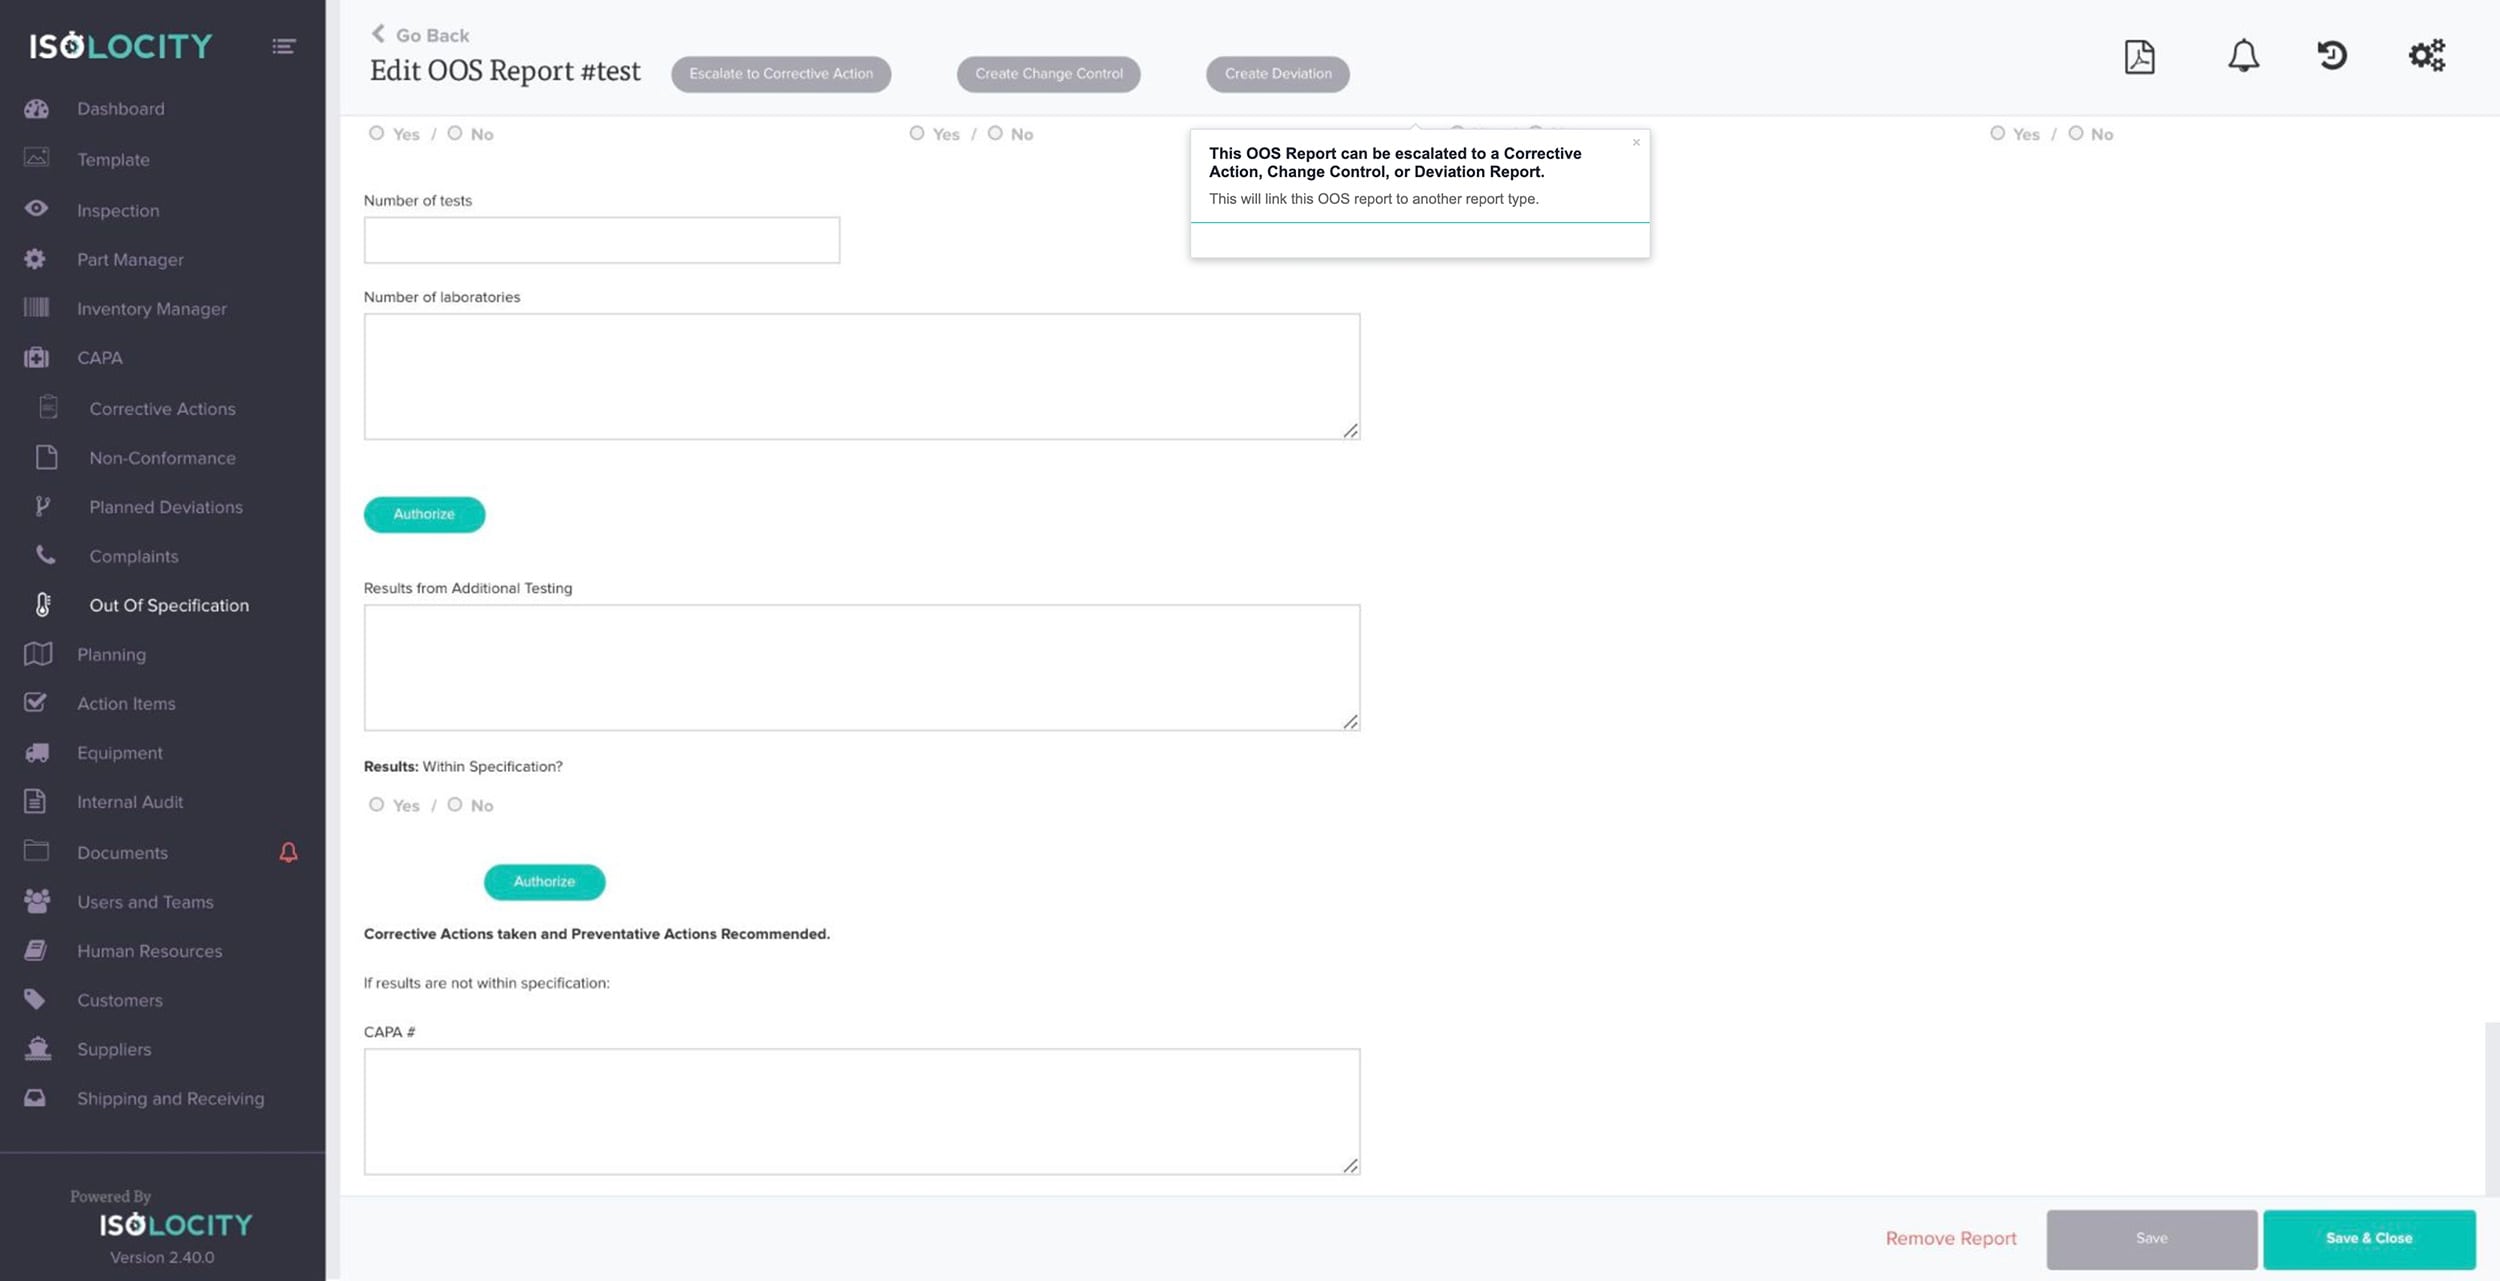
Complete plan for additional testing
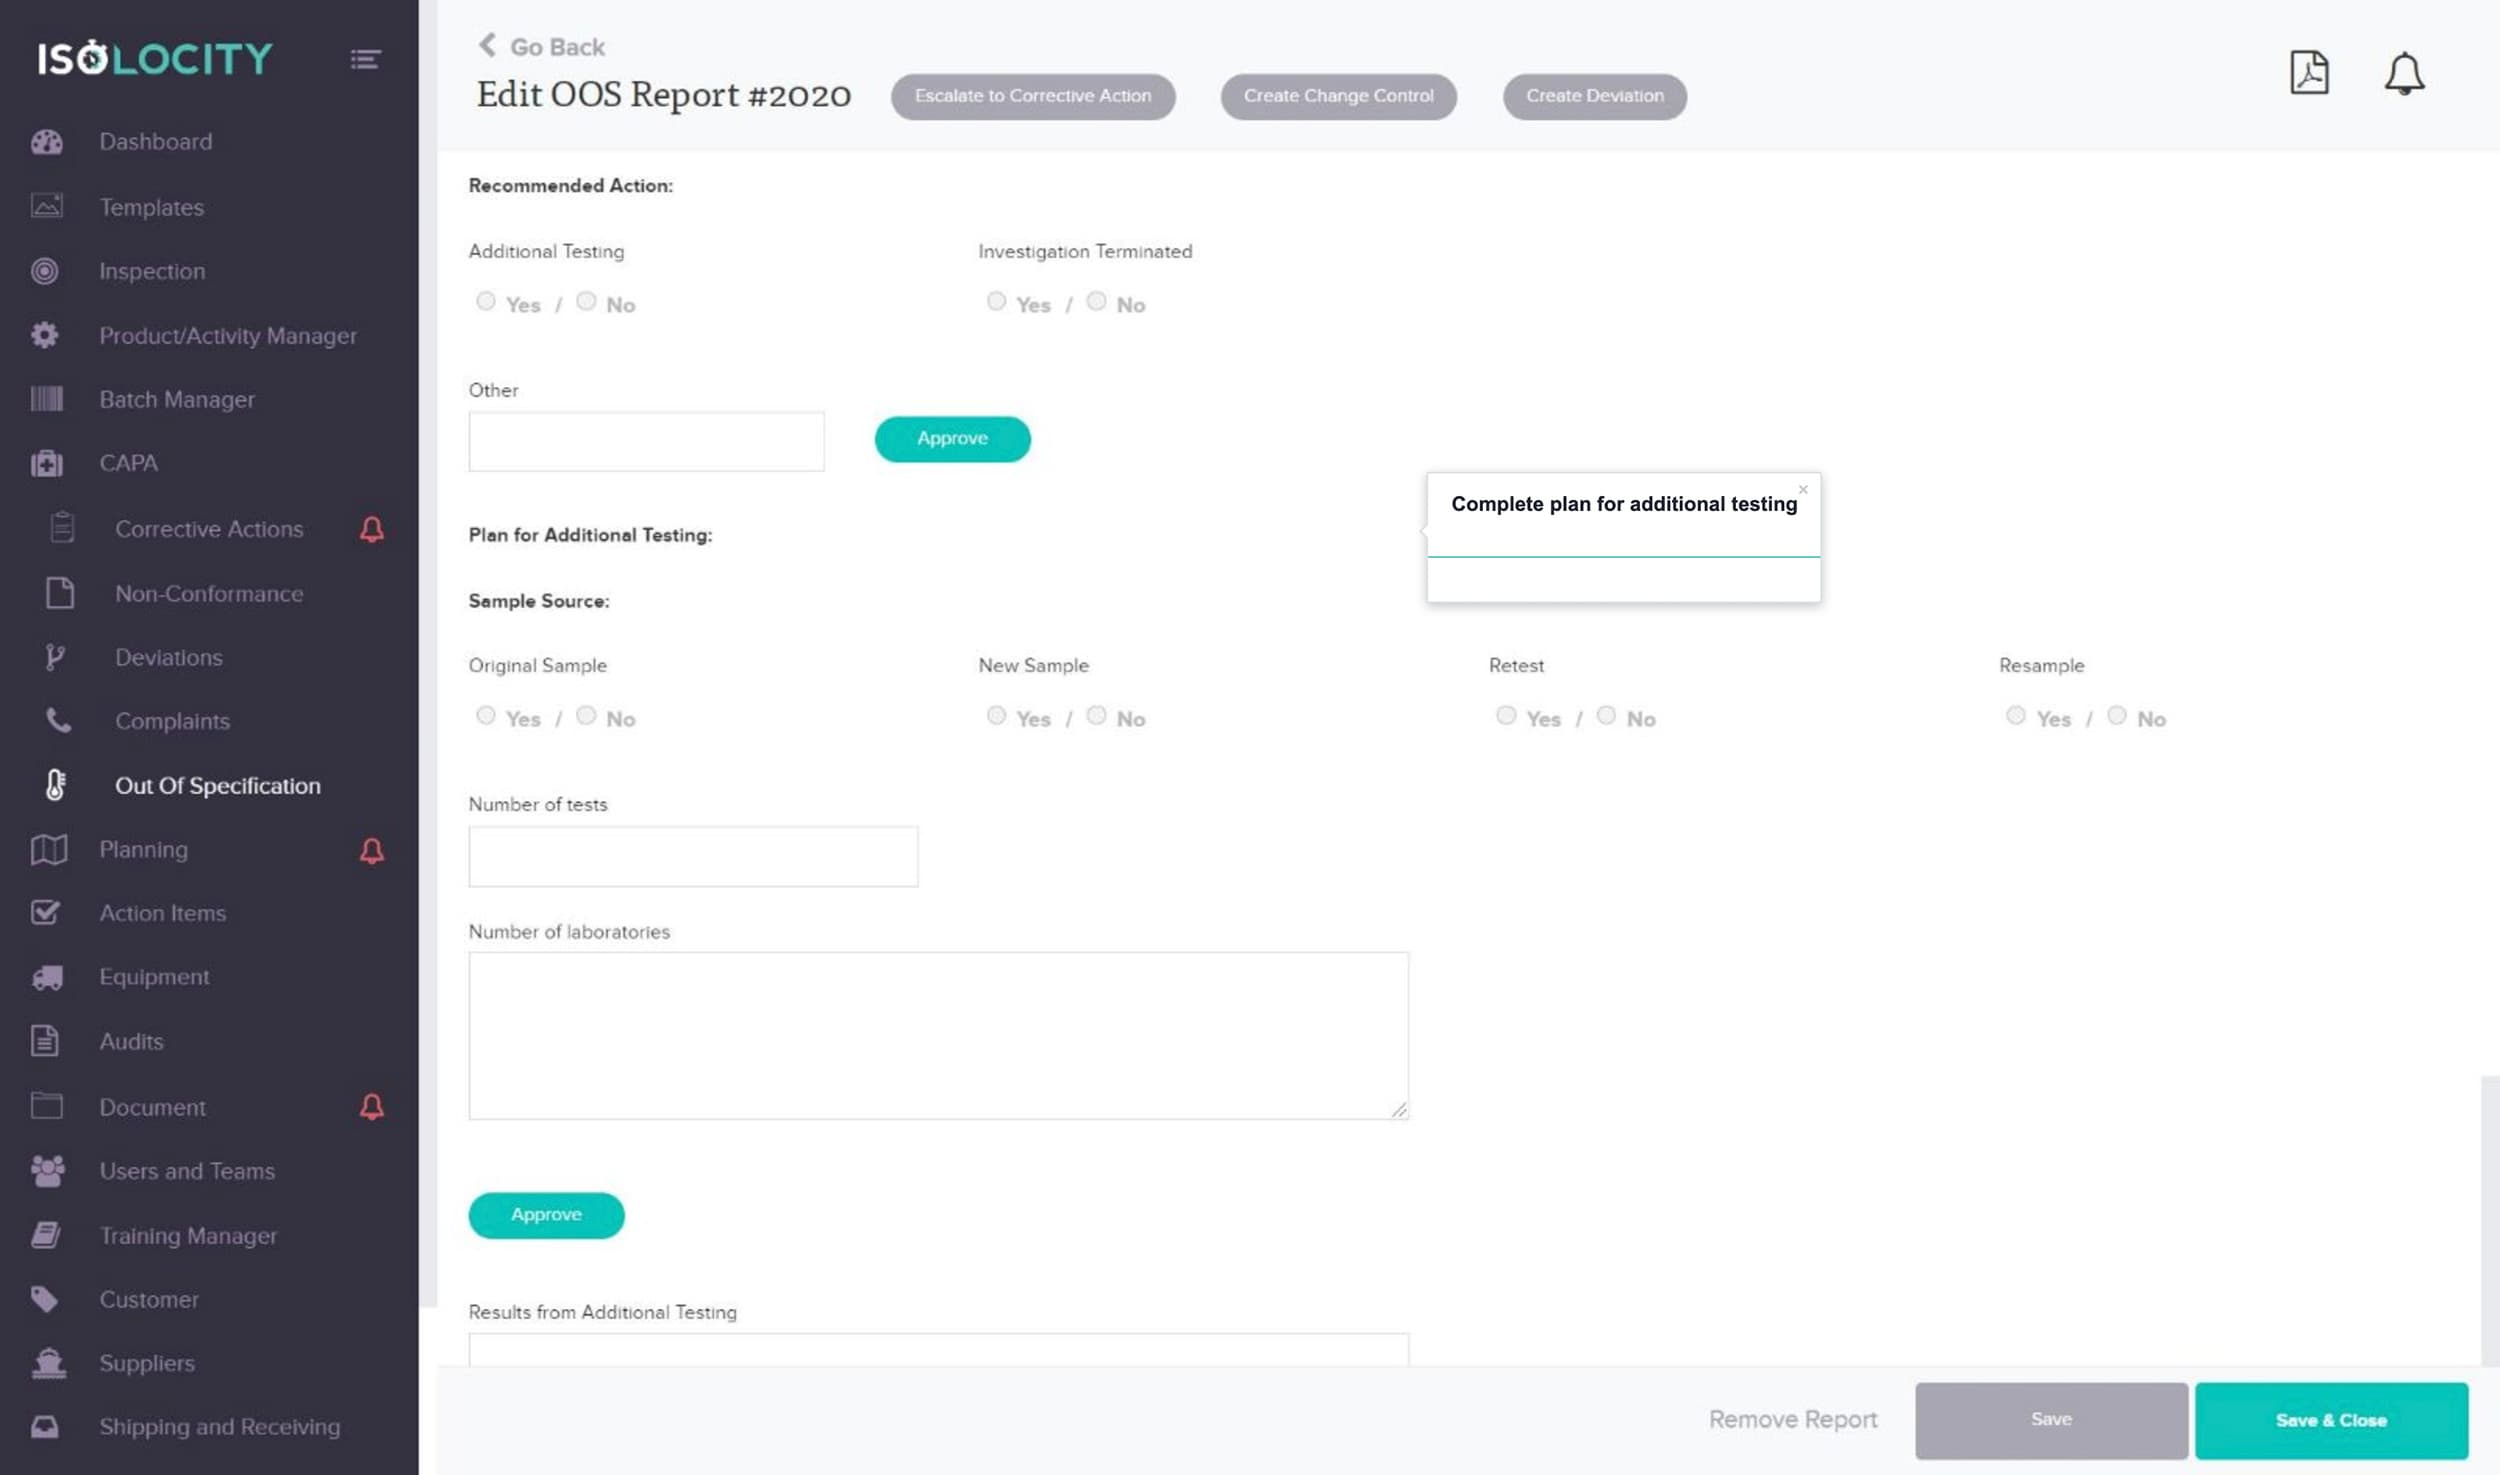
Step #32
Enter number of tests
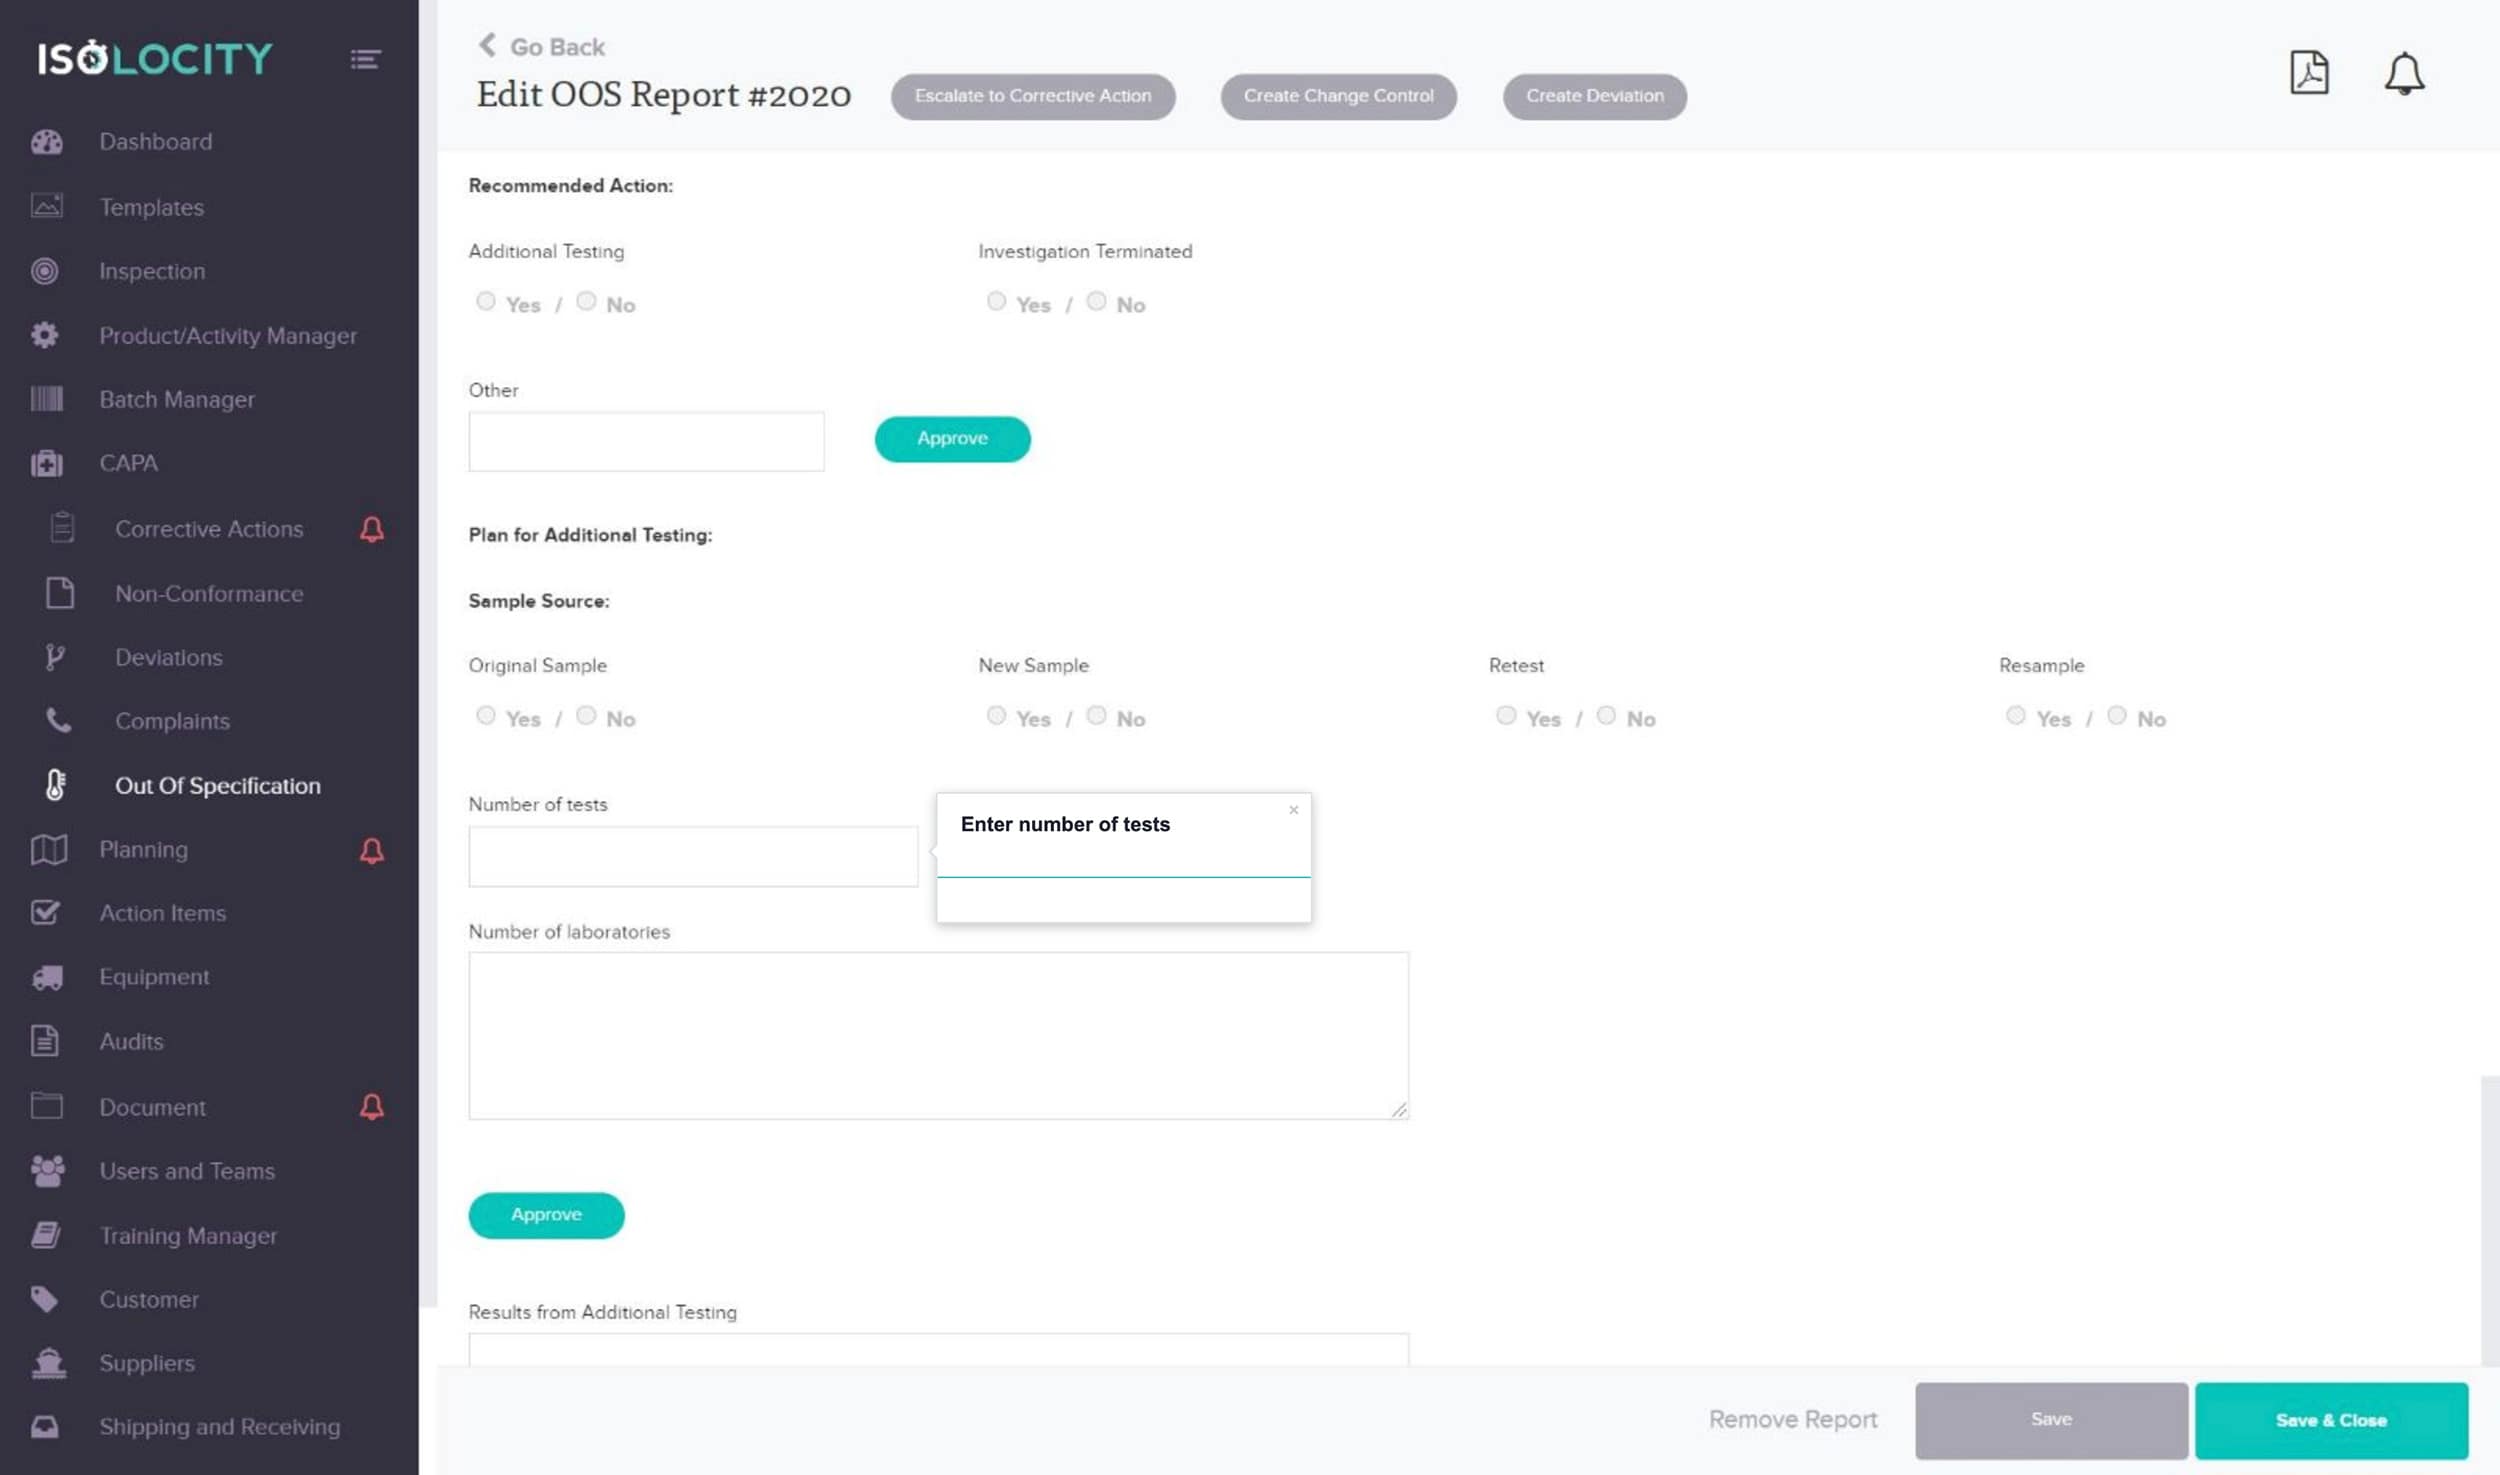
Step #33
Enter number of laboratories.
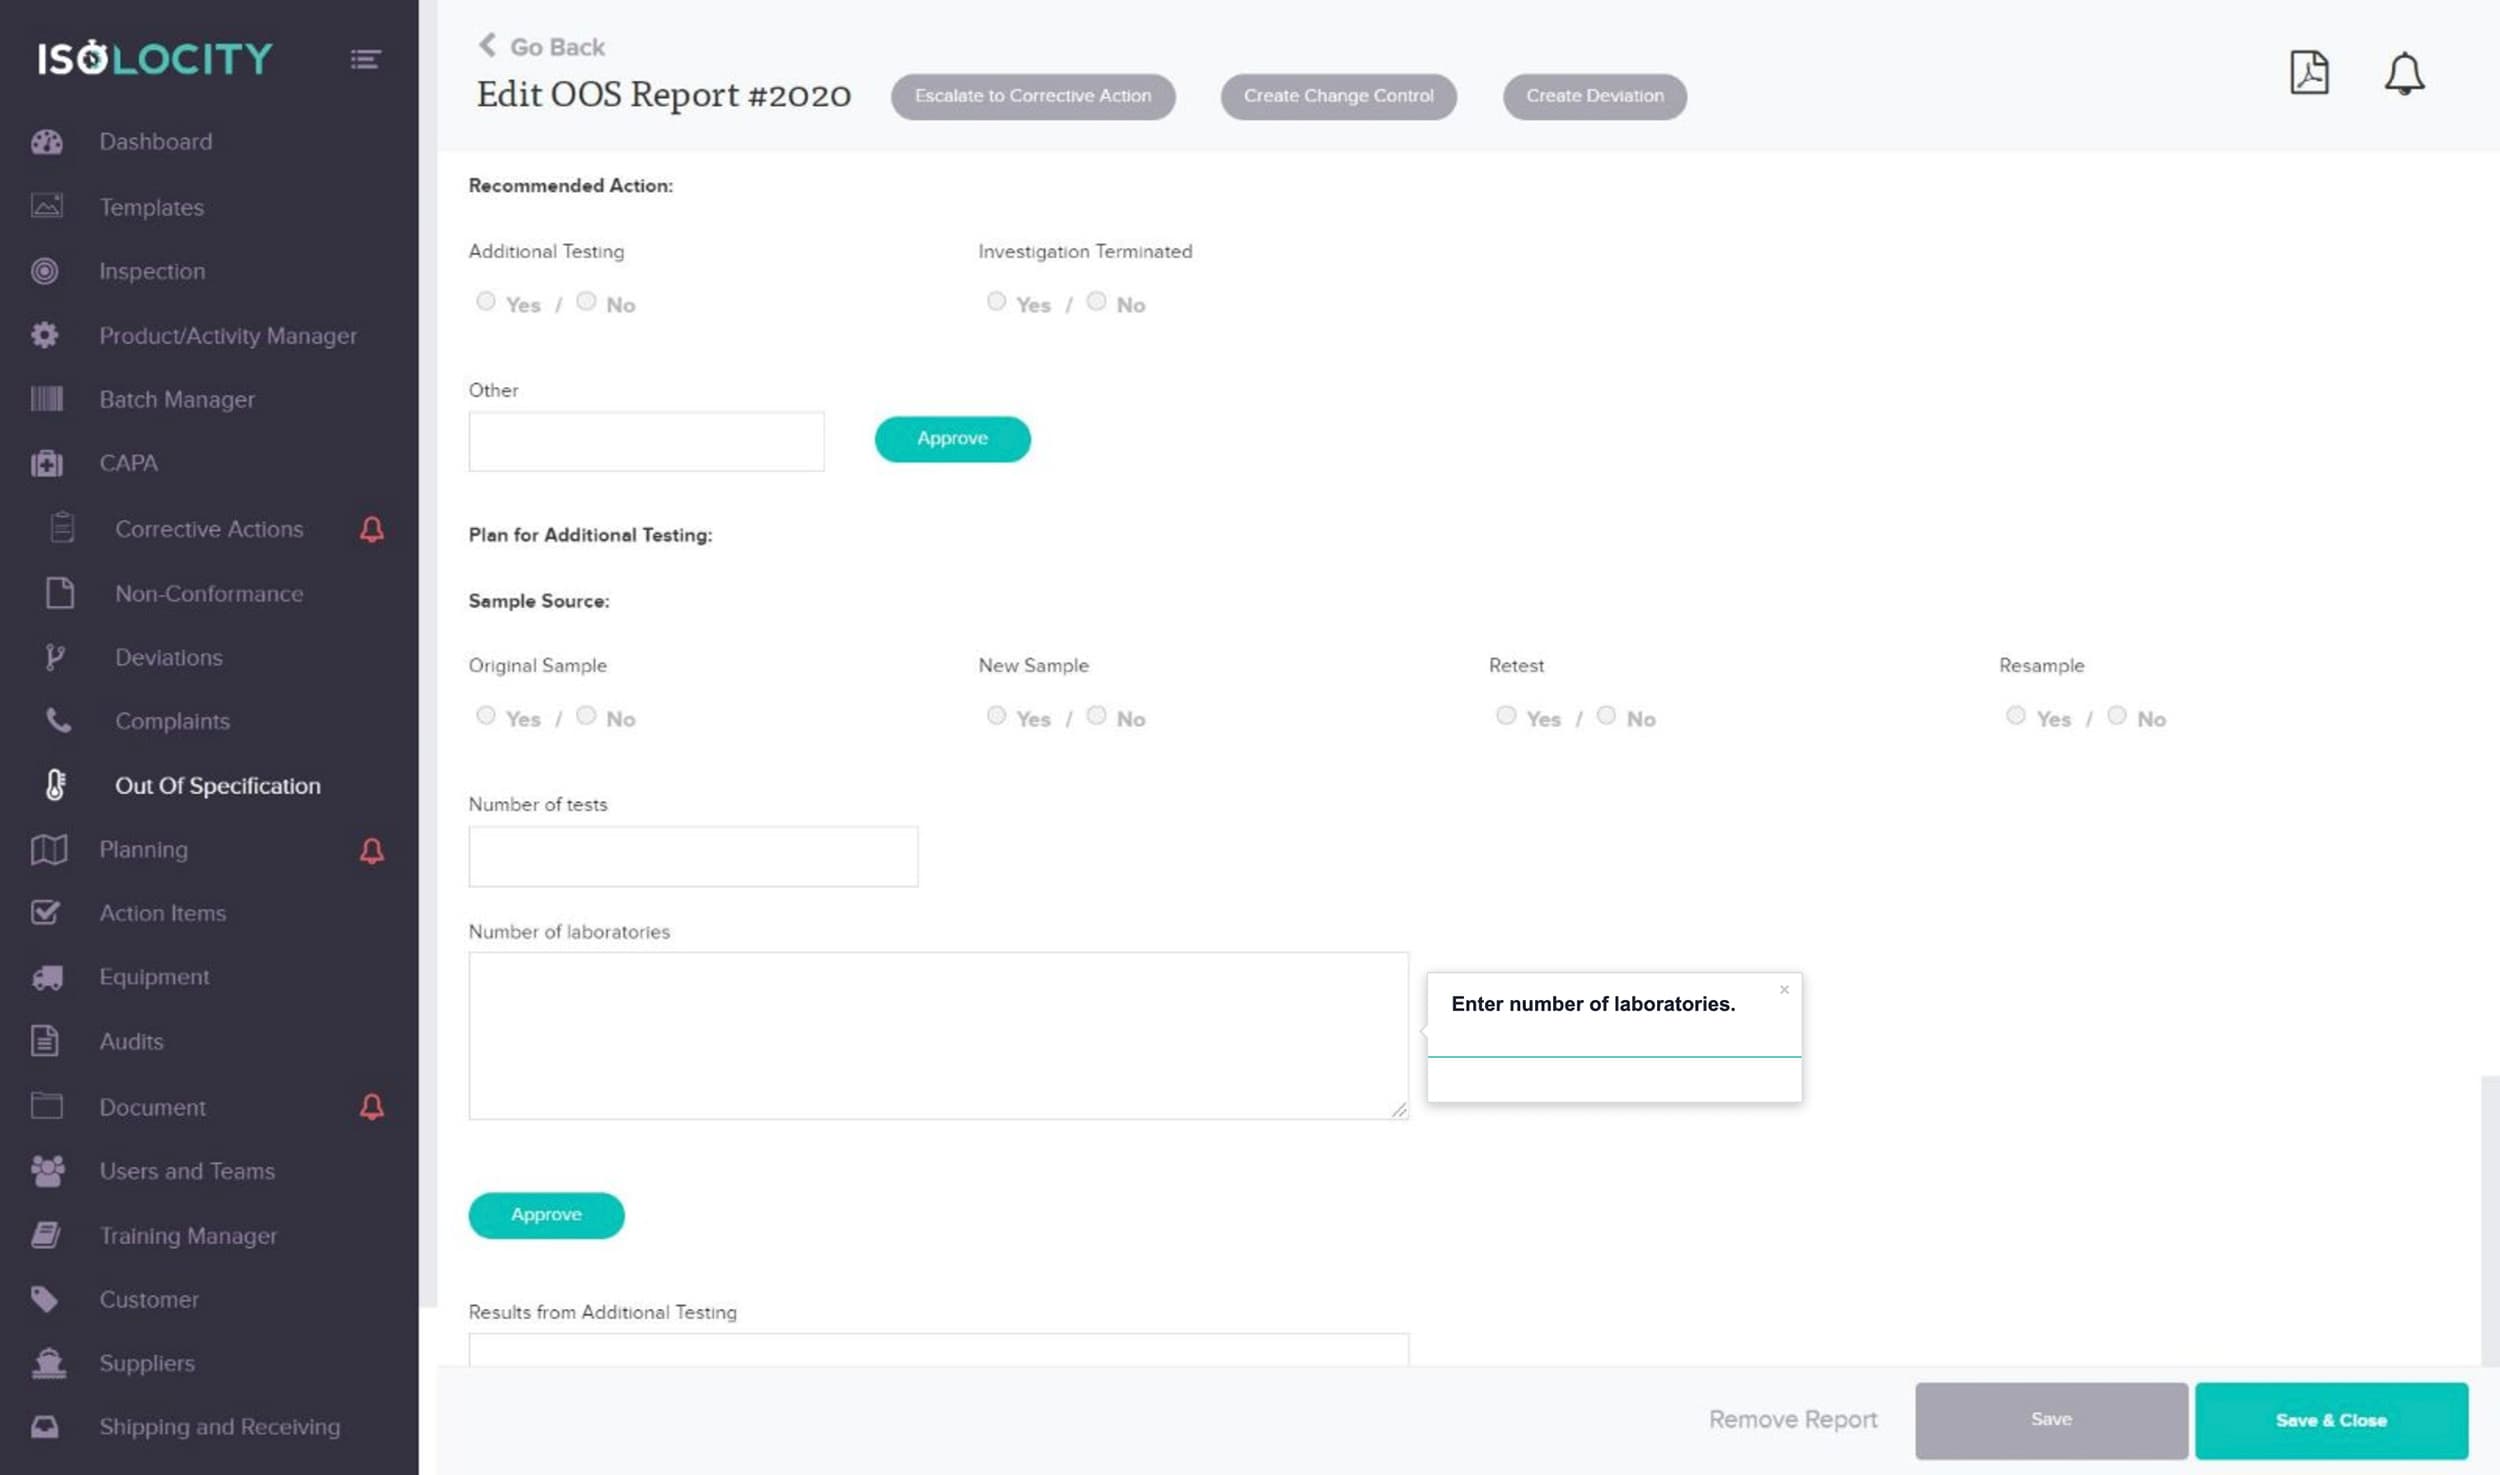
Step #34
Click Approval

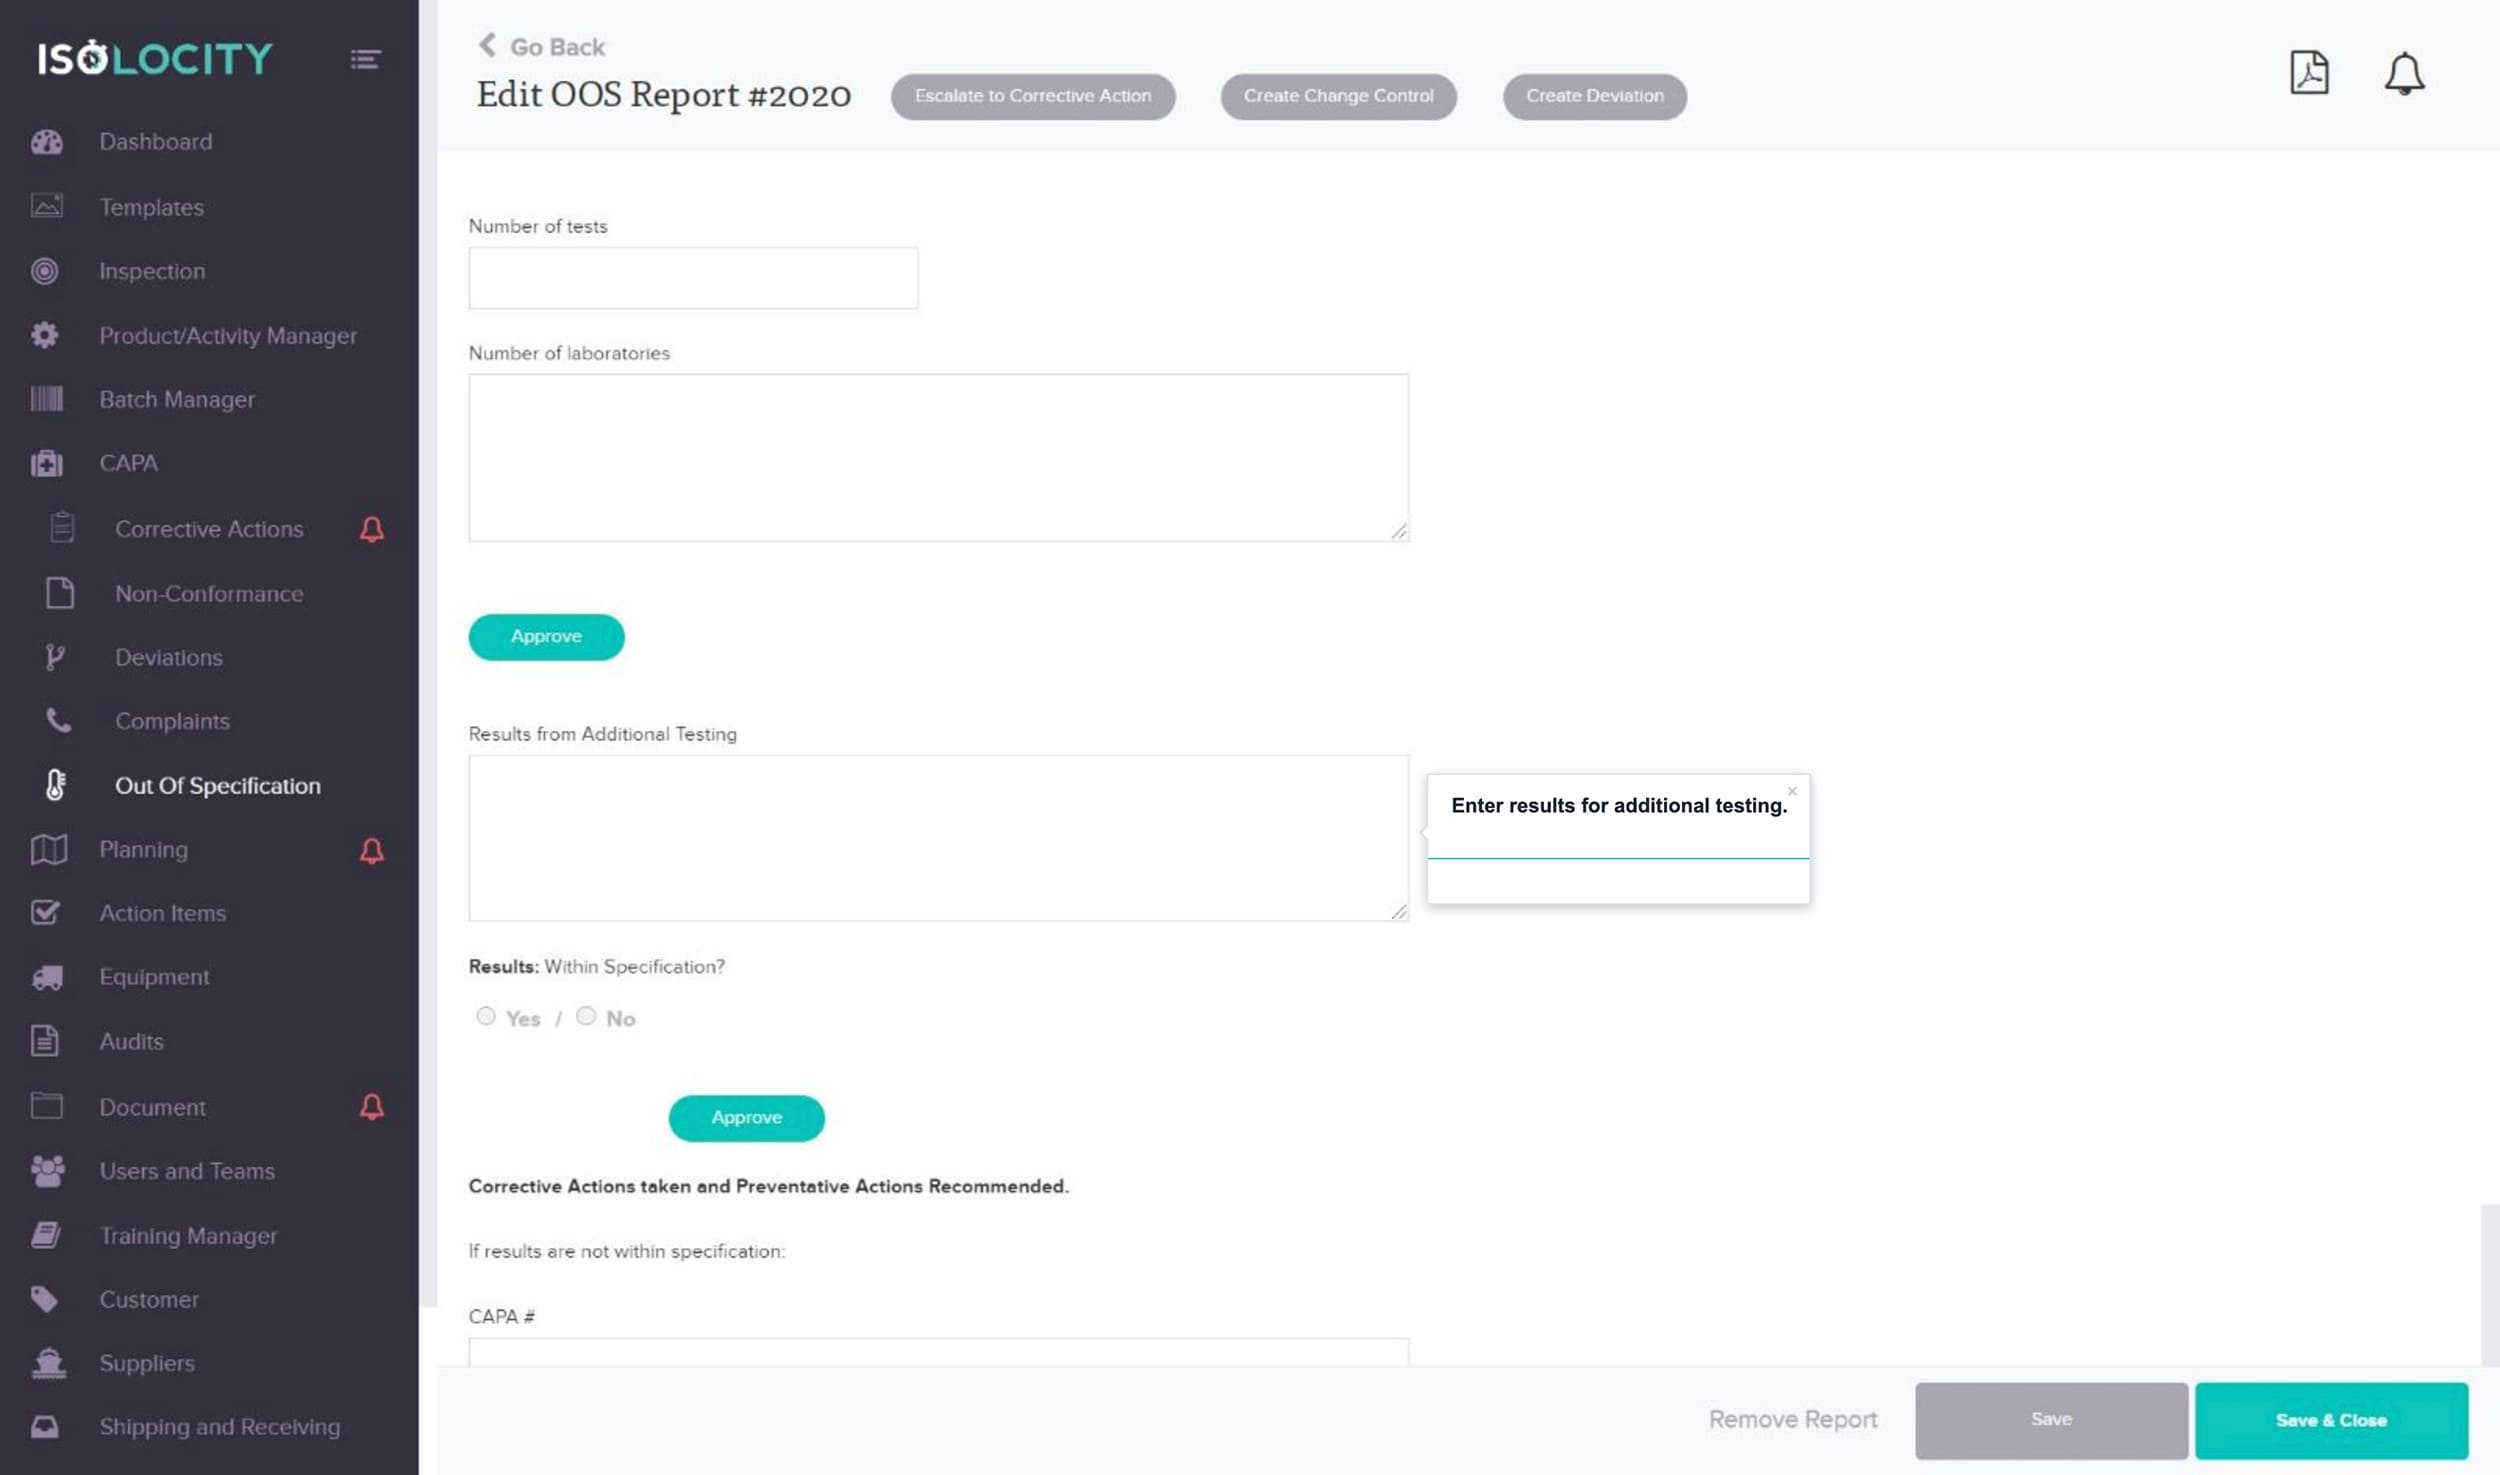
Step #35
Enter results for additional testing.
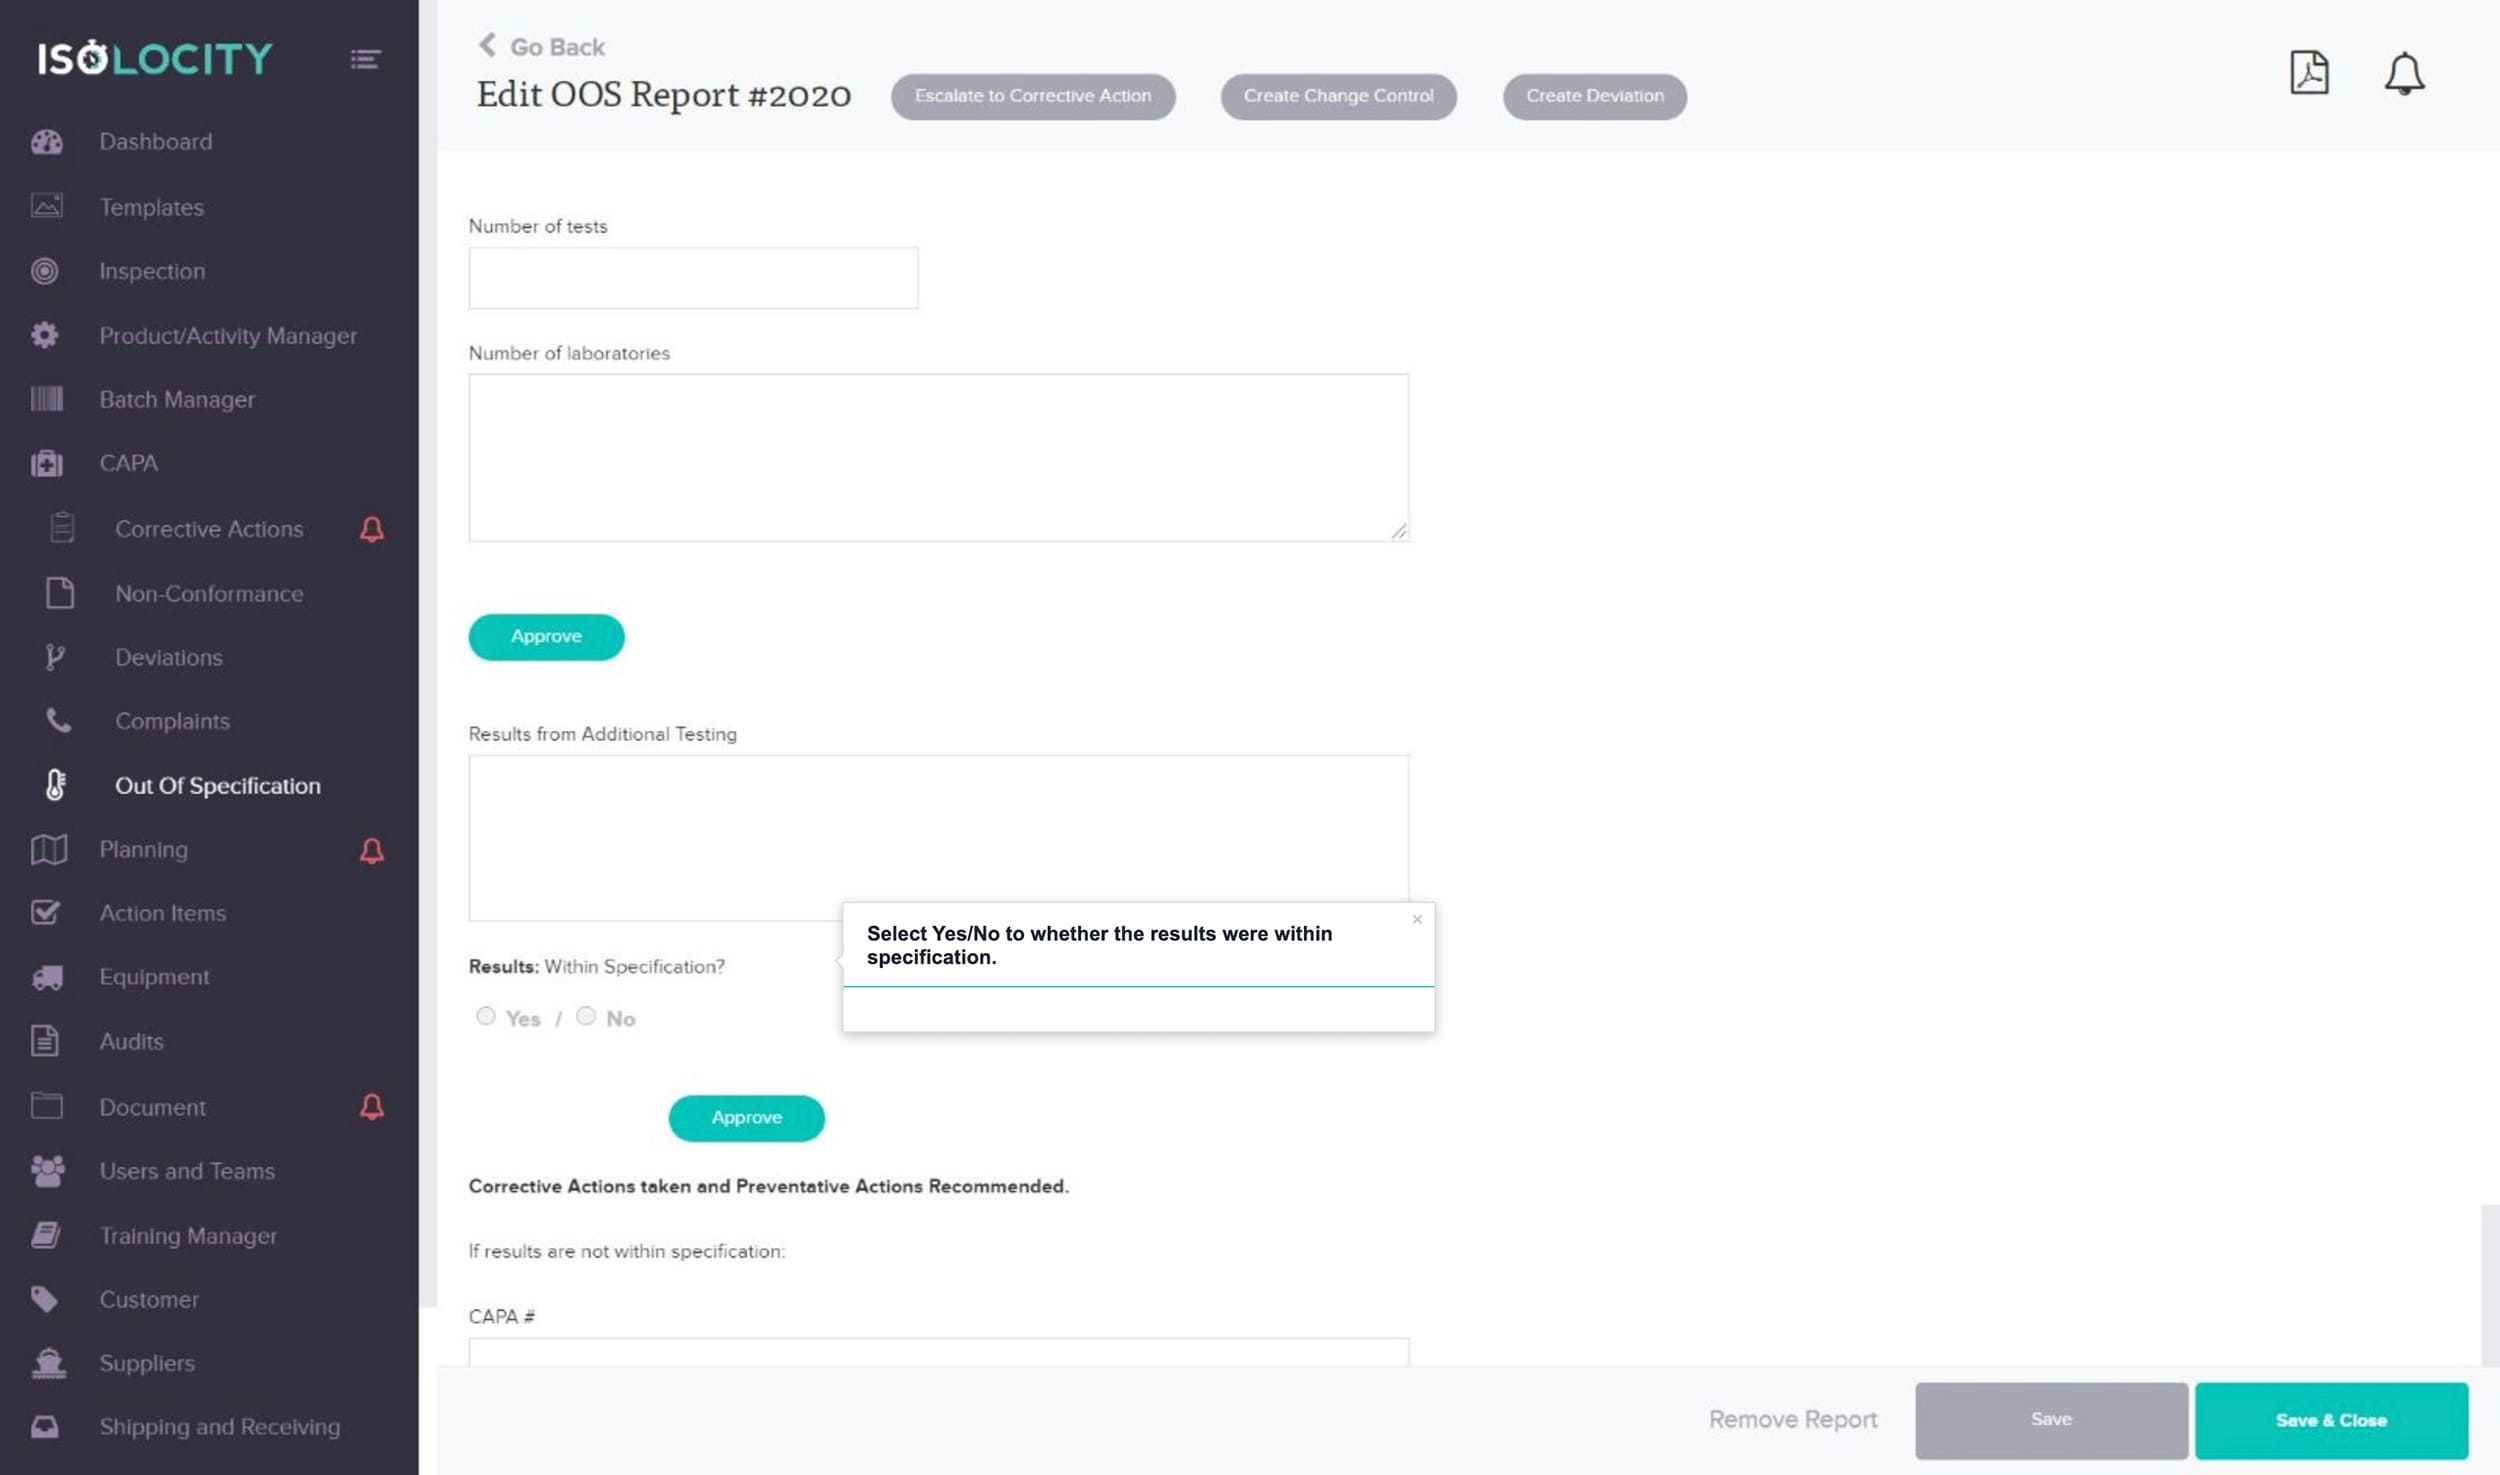
Step #36
Select Yes/No to whether the results were within specification.
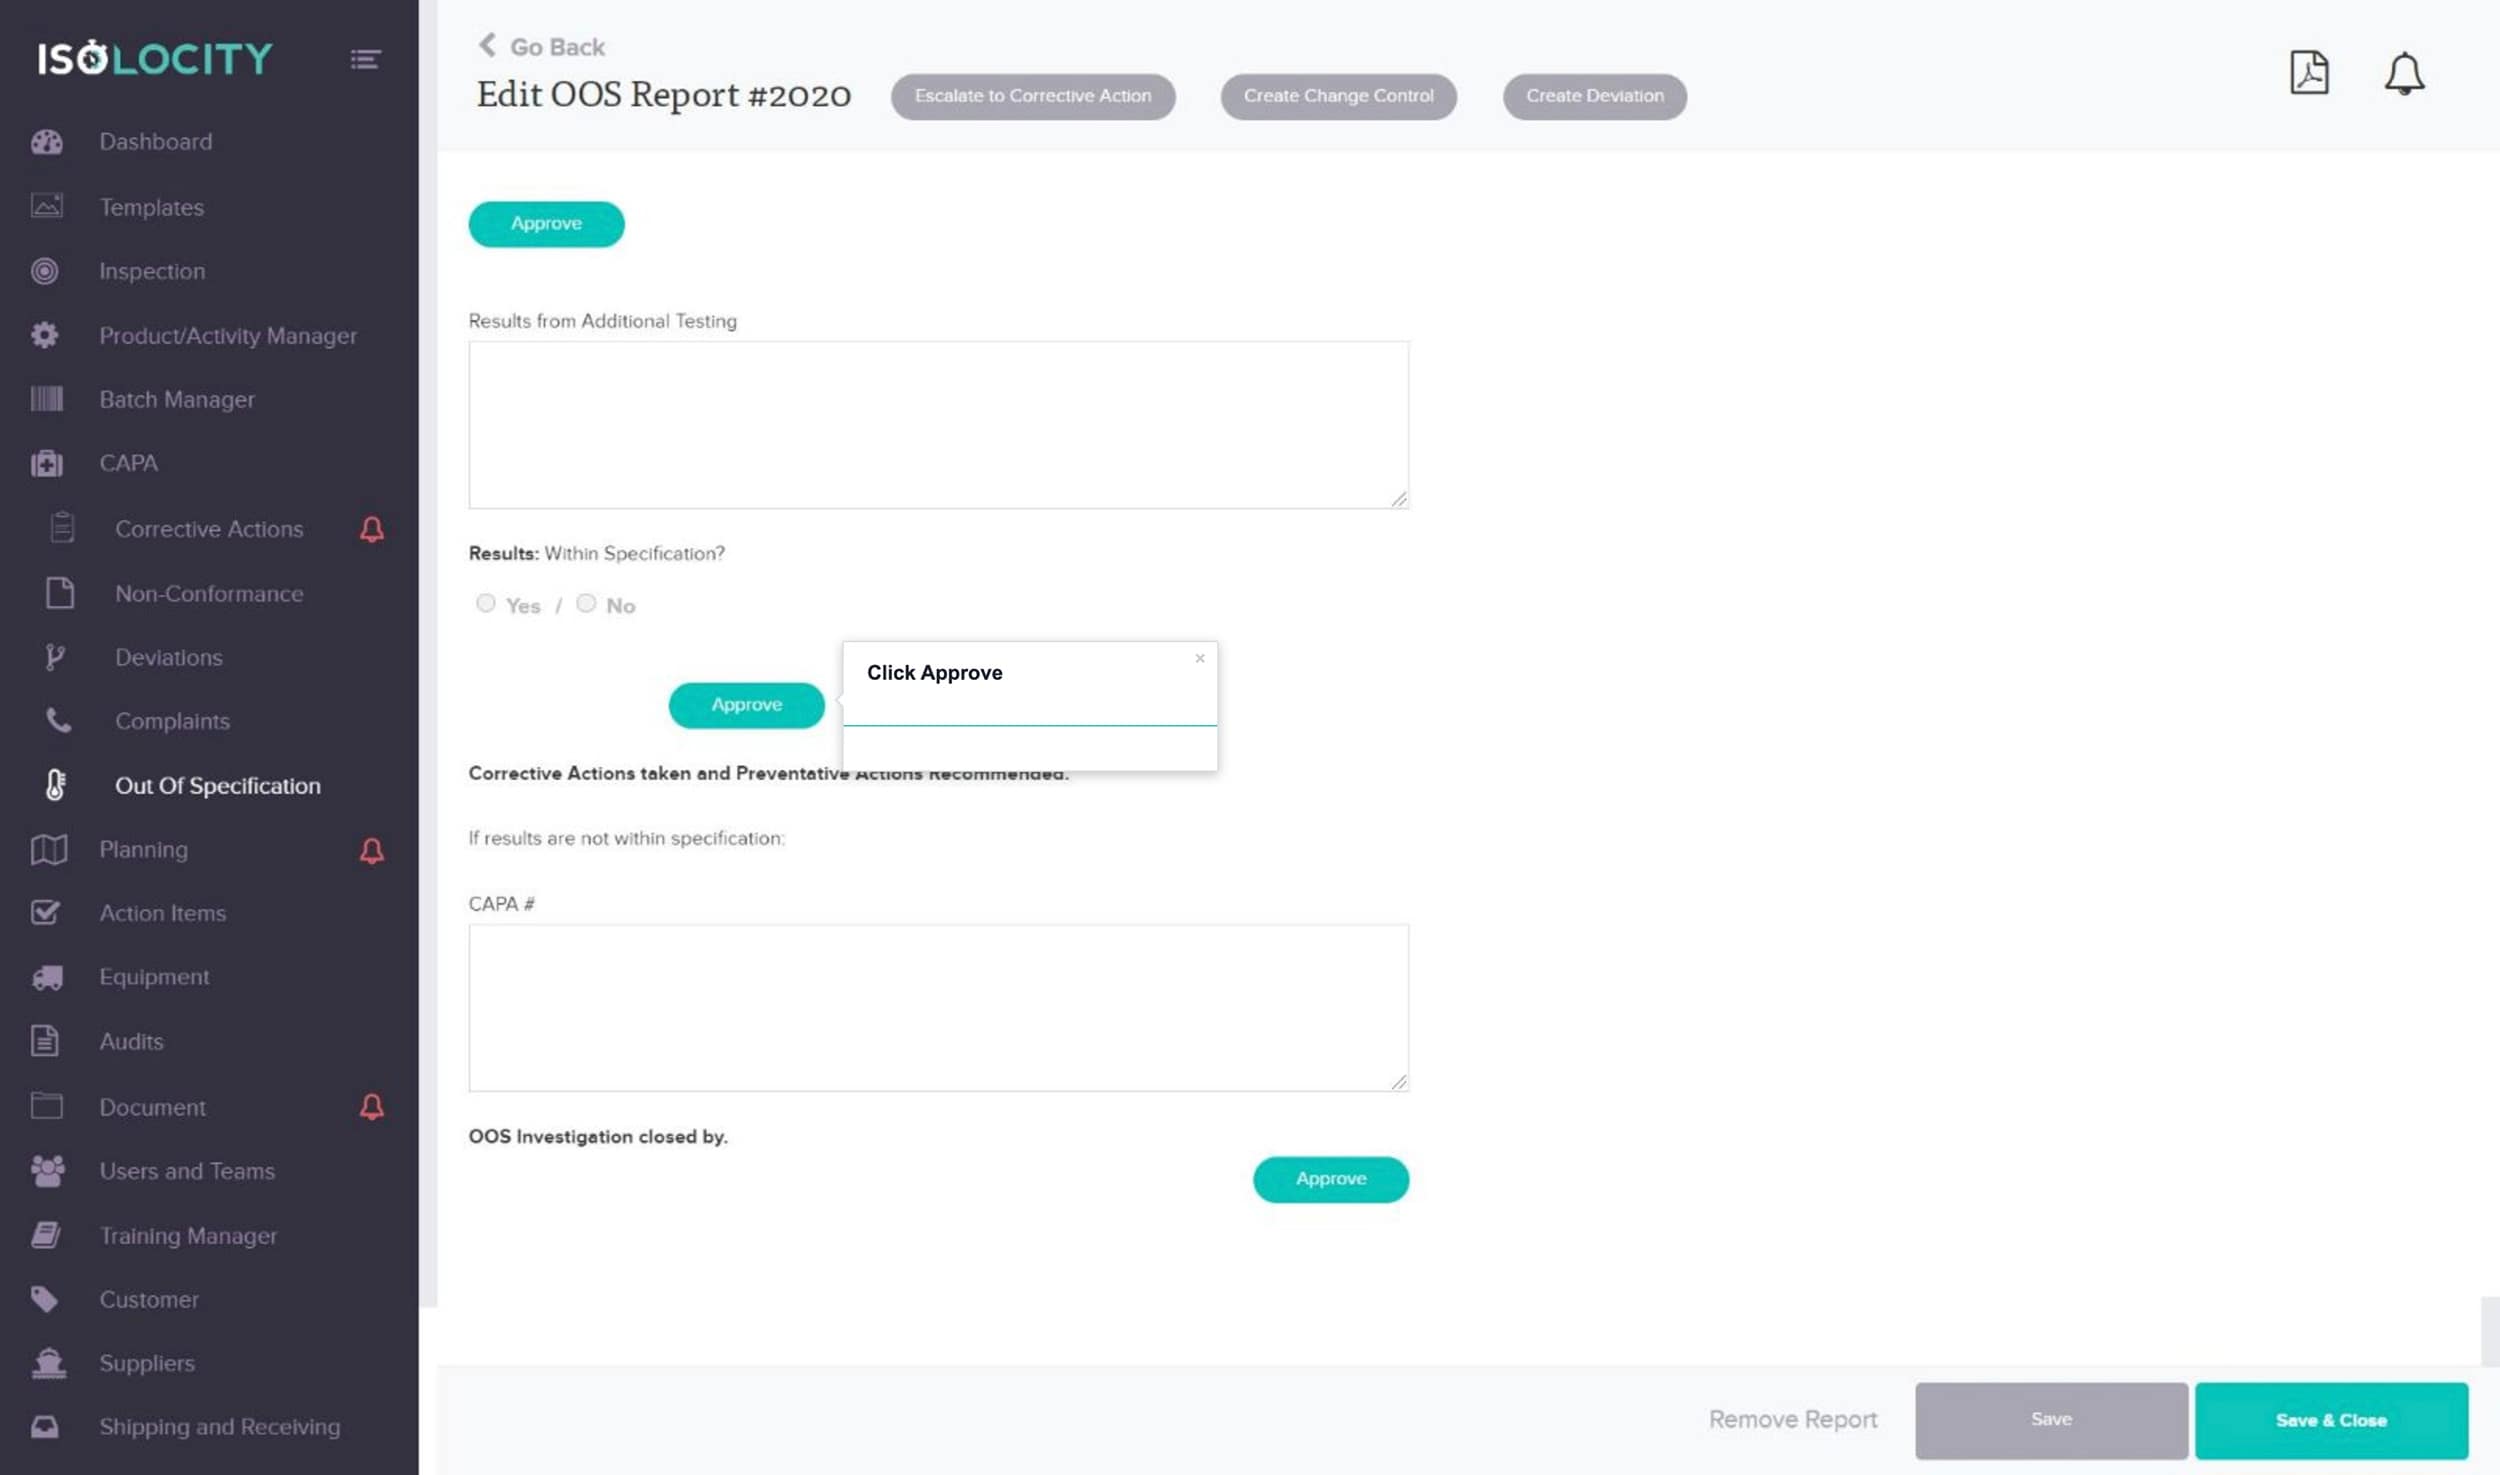
Step #37
Click Approve
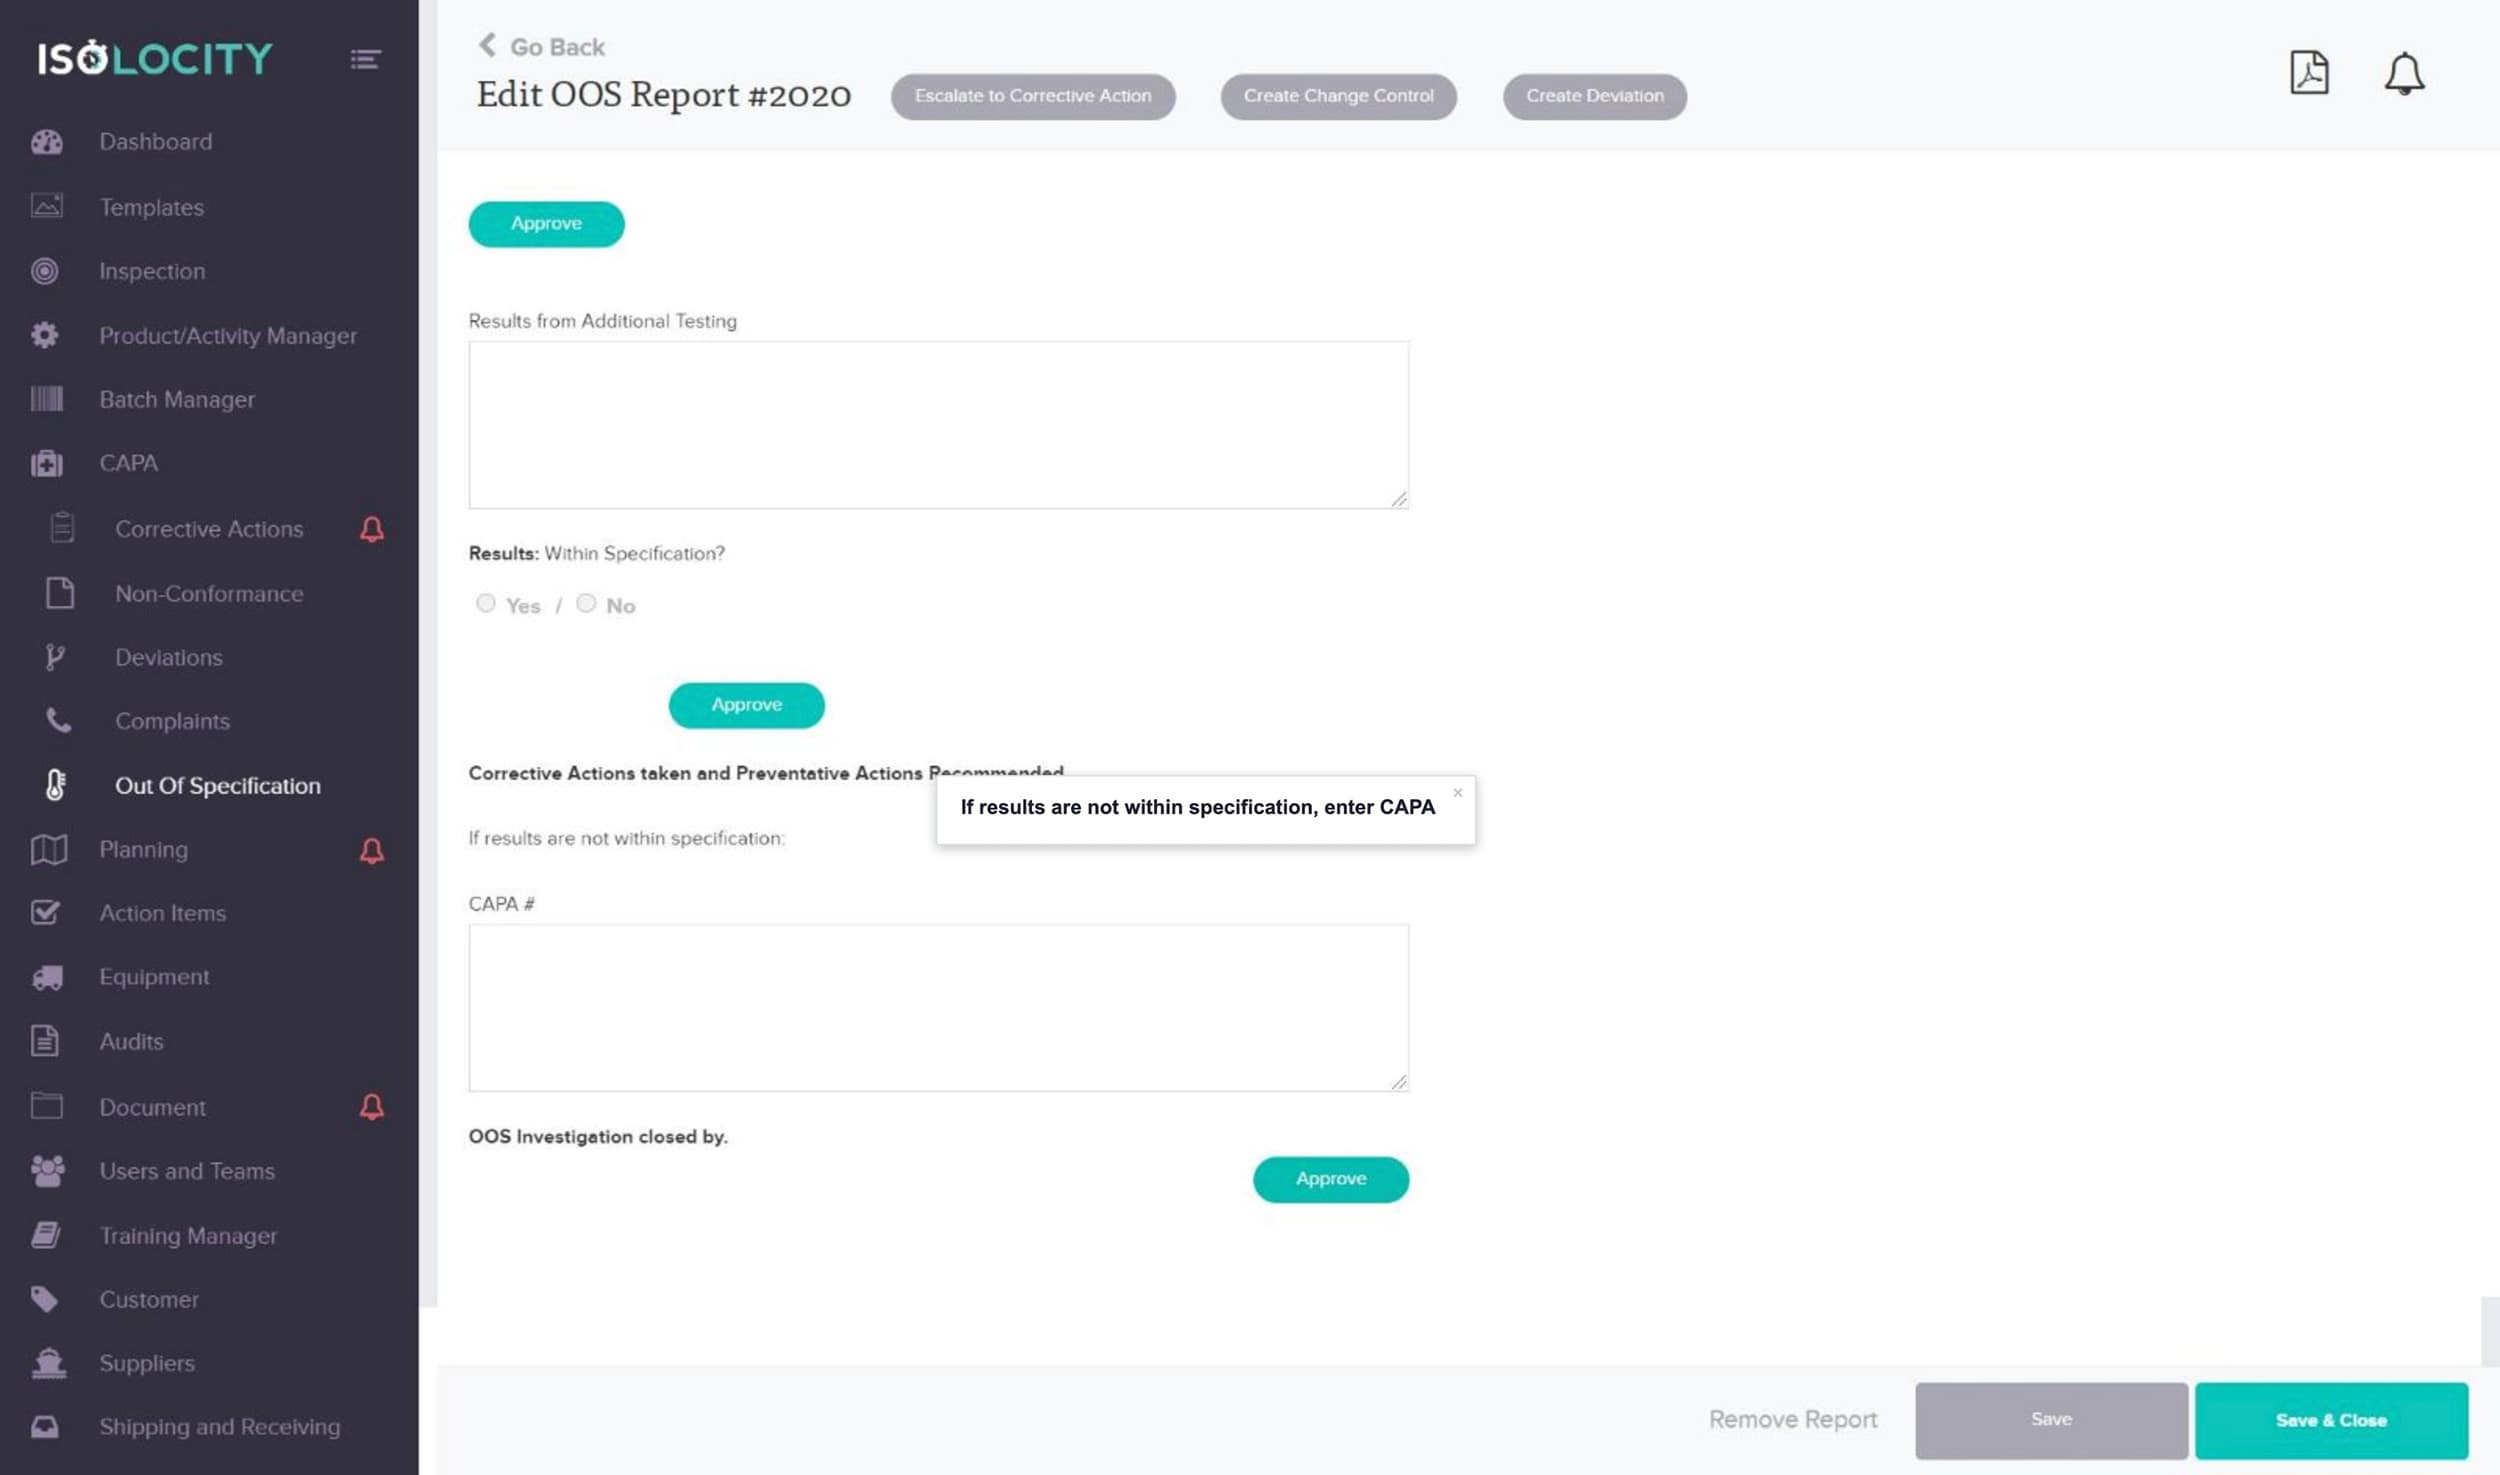
Step #38
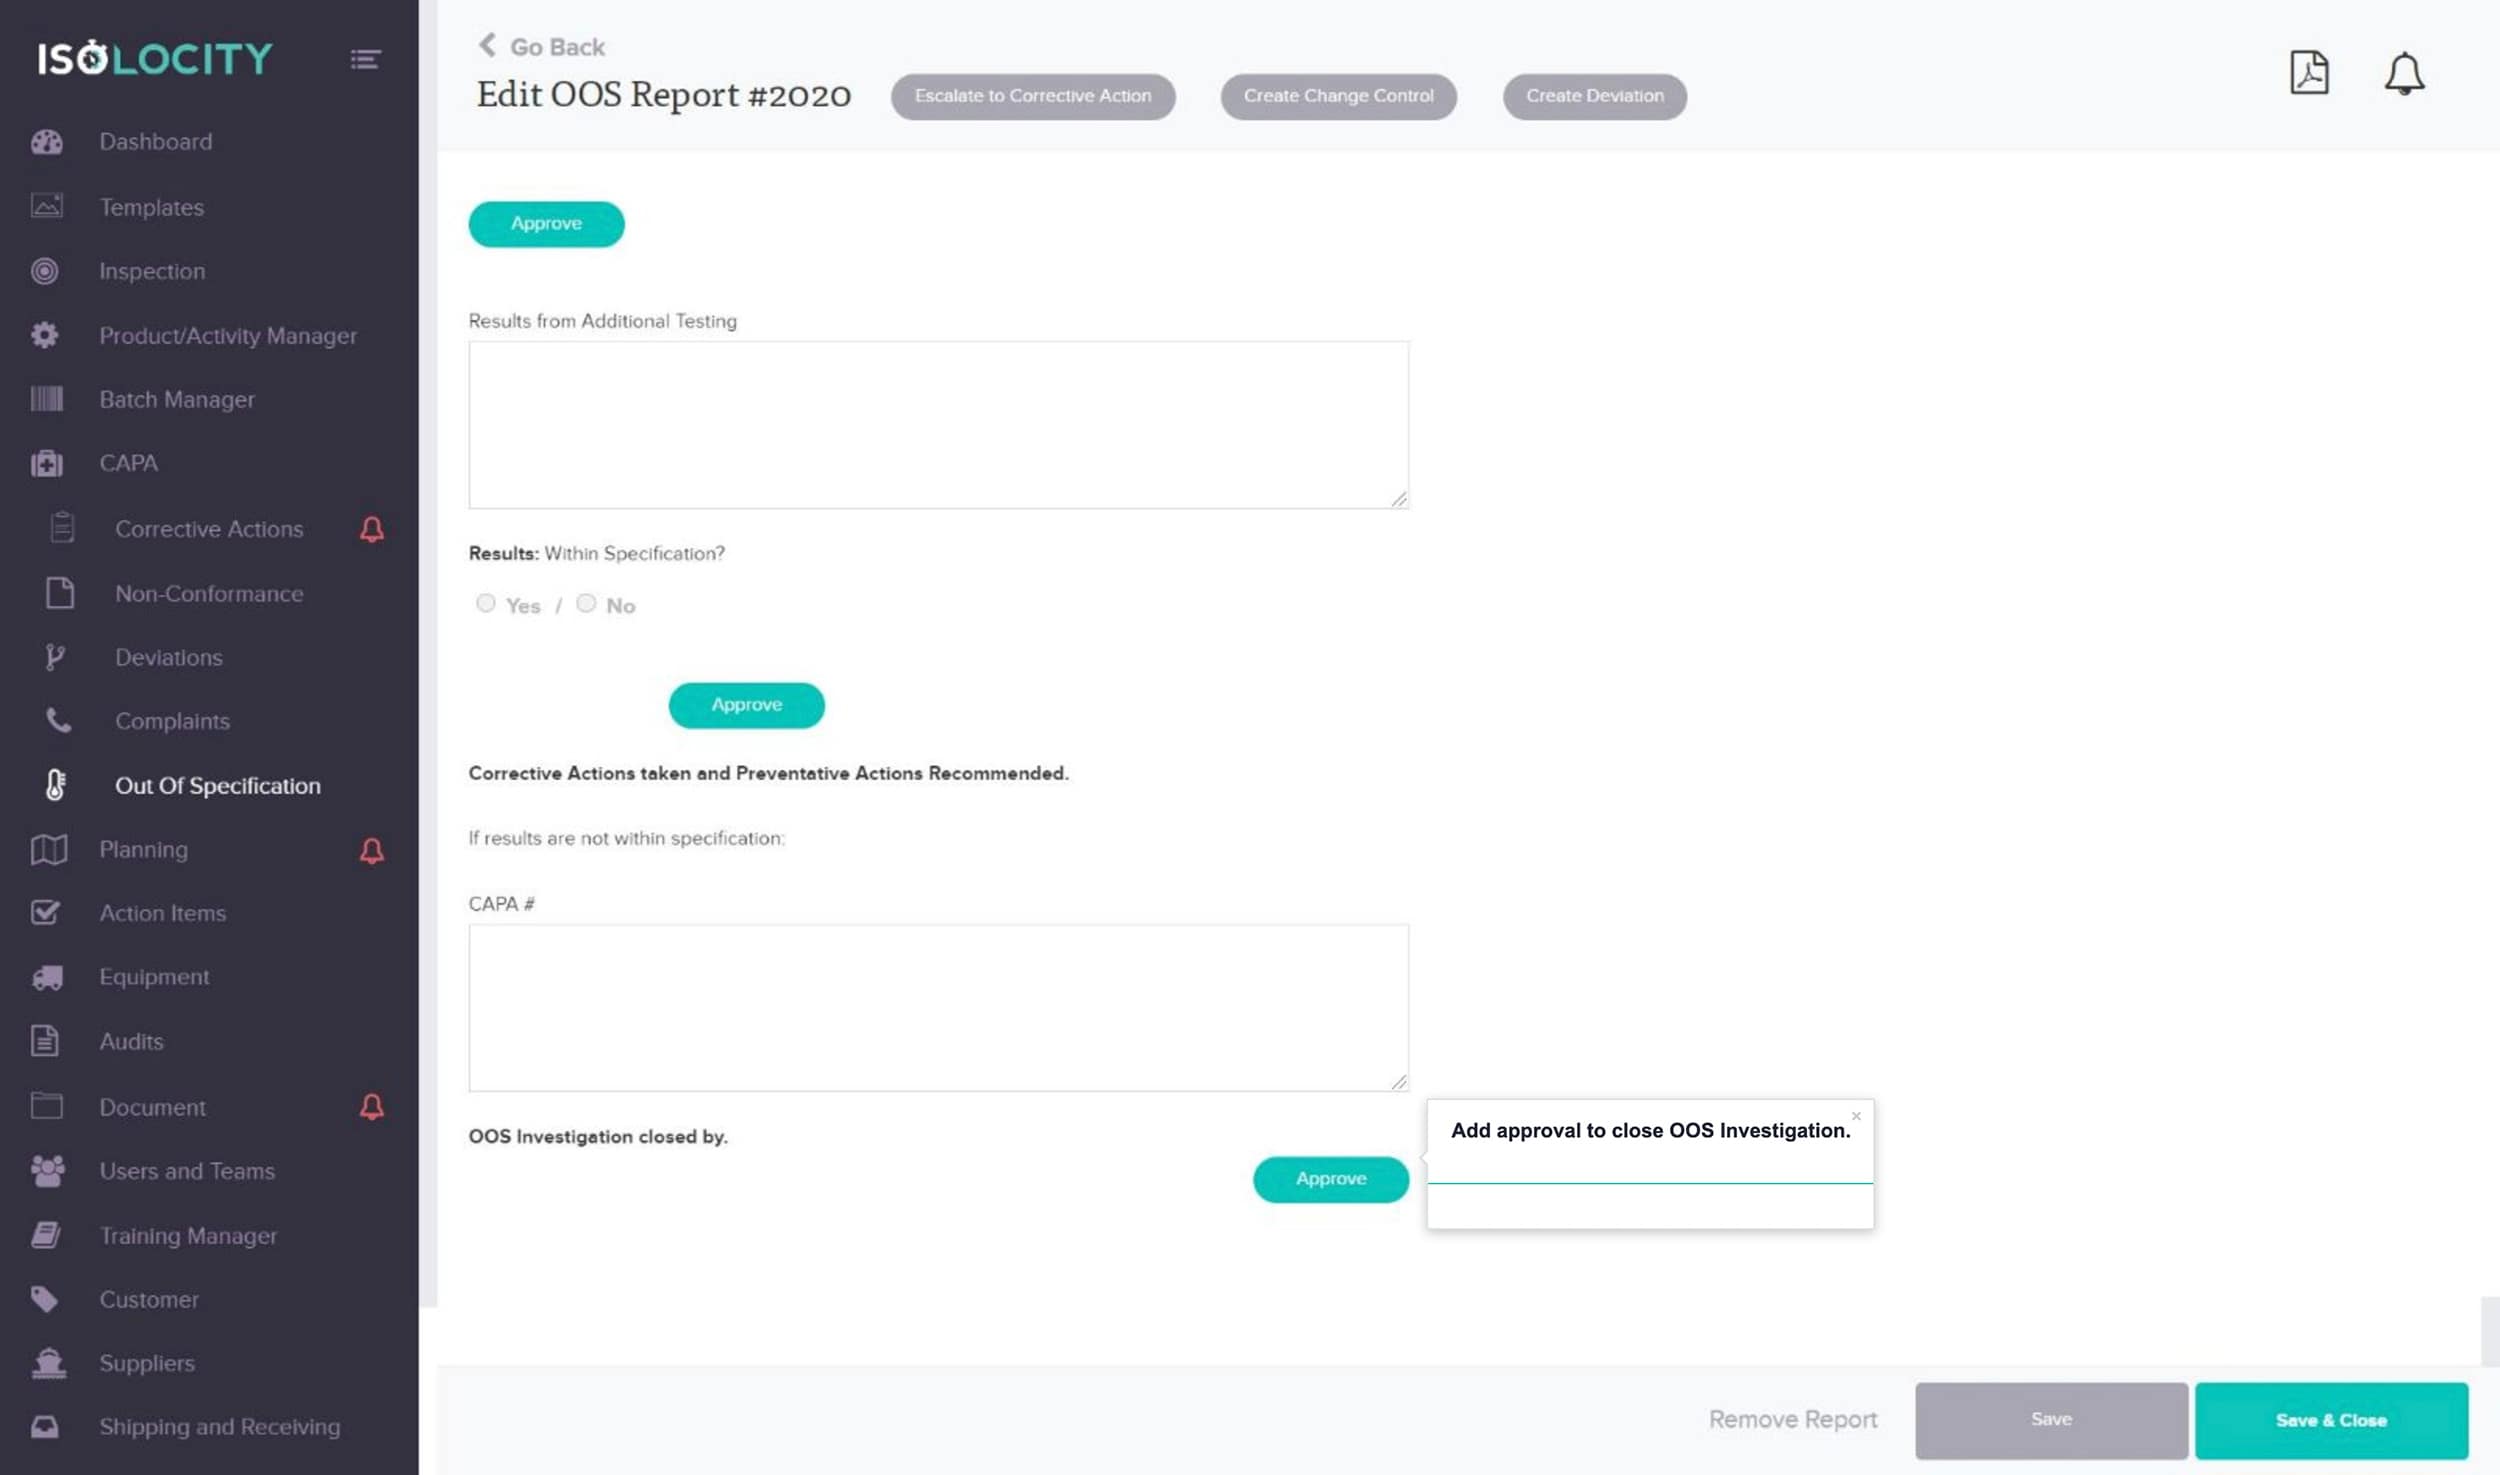
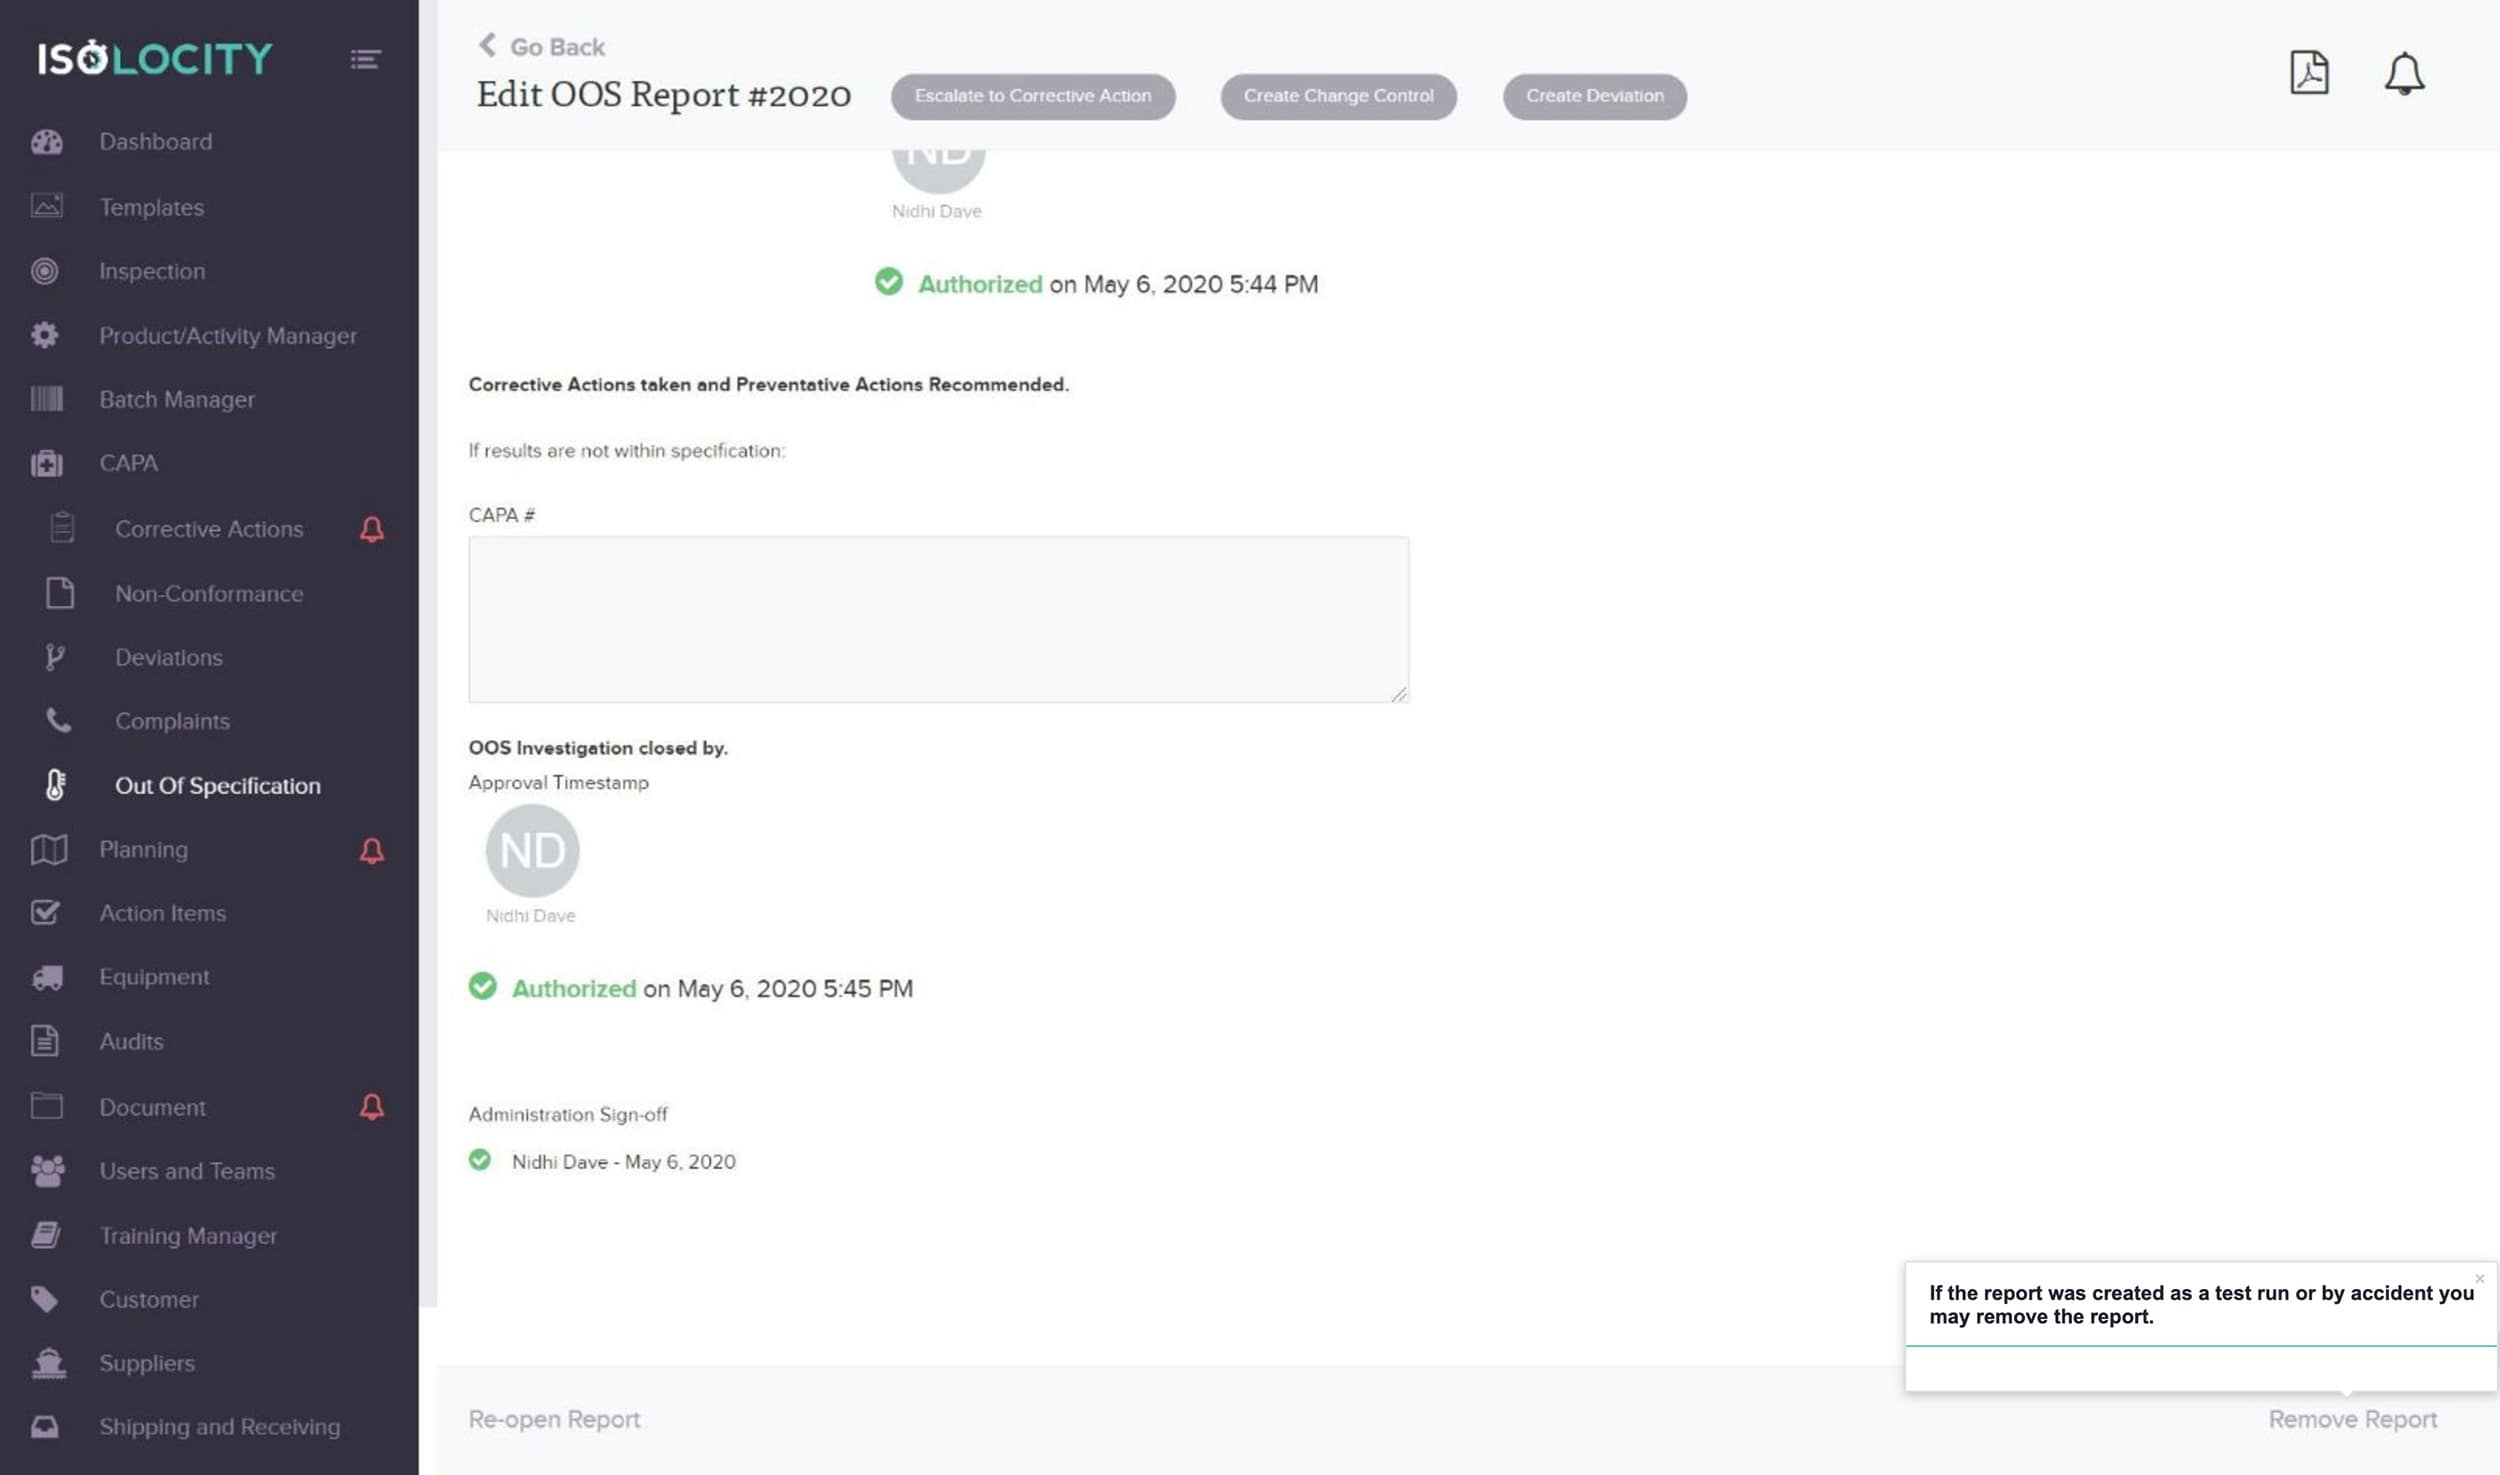
If results are not within specification, enter CAPA#.
Step #39
Add approval to close OOS Investigation.
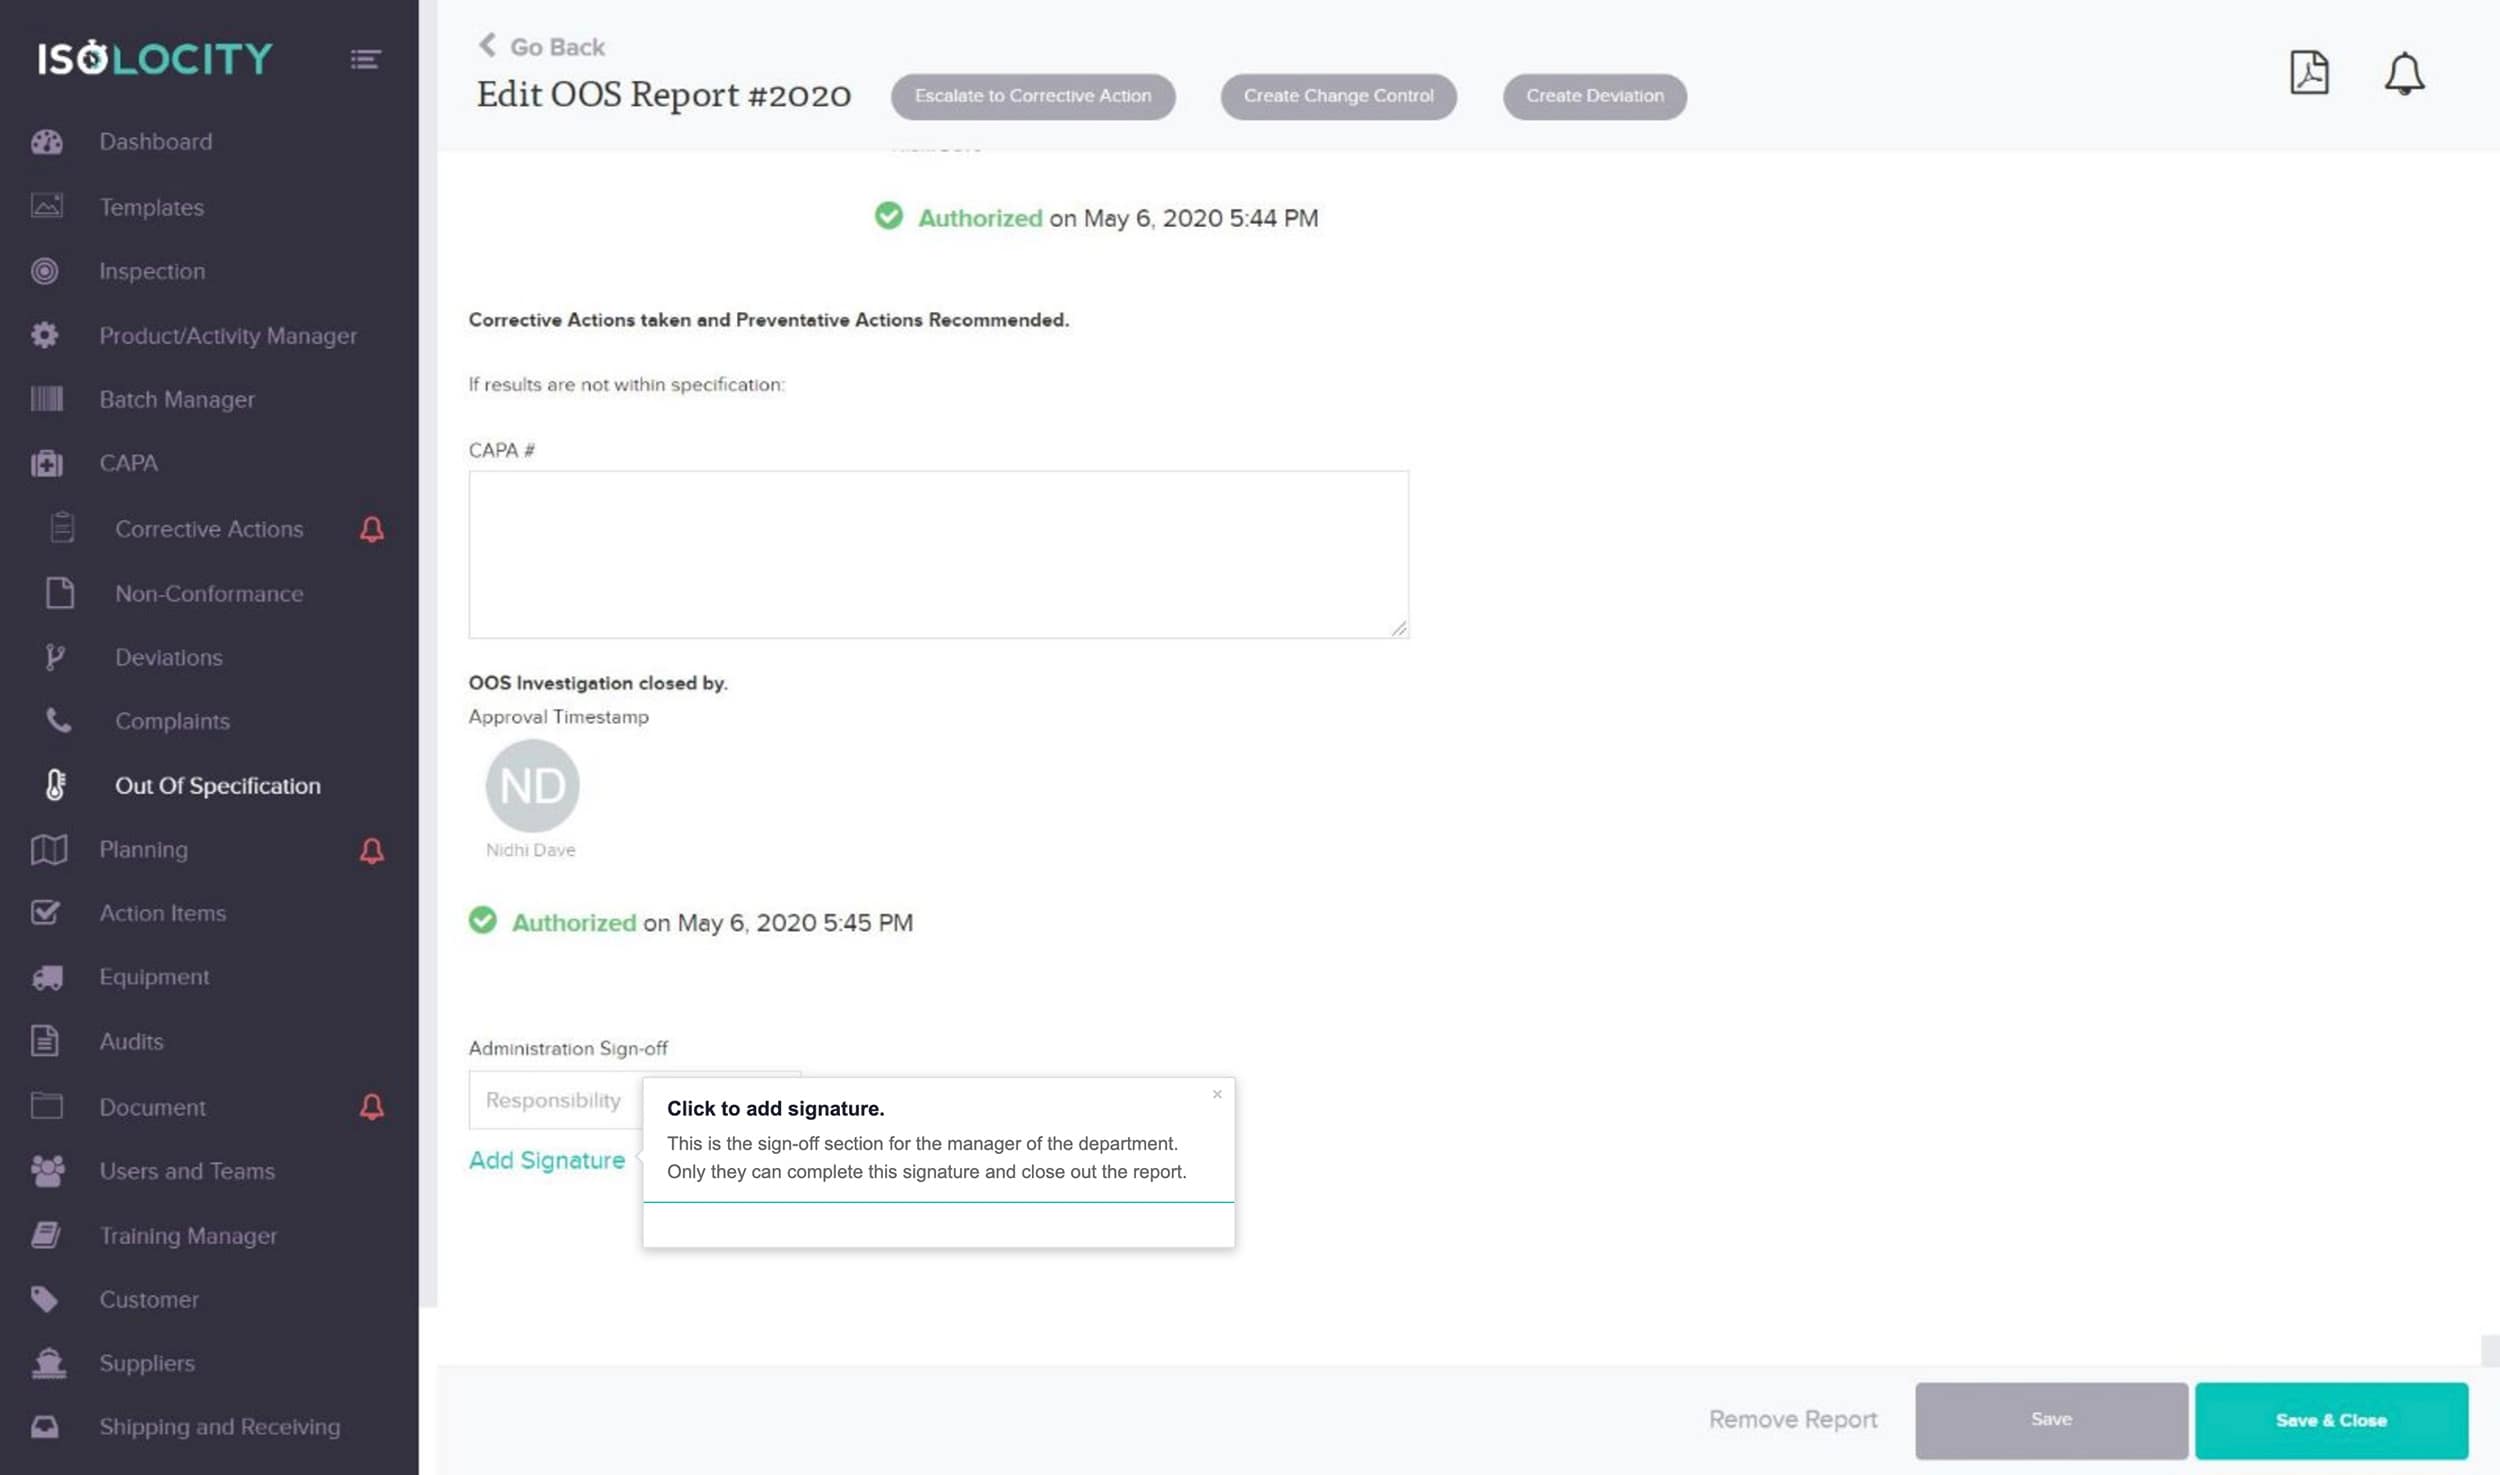
Step #40
Click to add signature.
Step #41
This OOS Report can be escalated to a Corrective Action, Change Control, or Deviation Report.
Step #42
Click Save
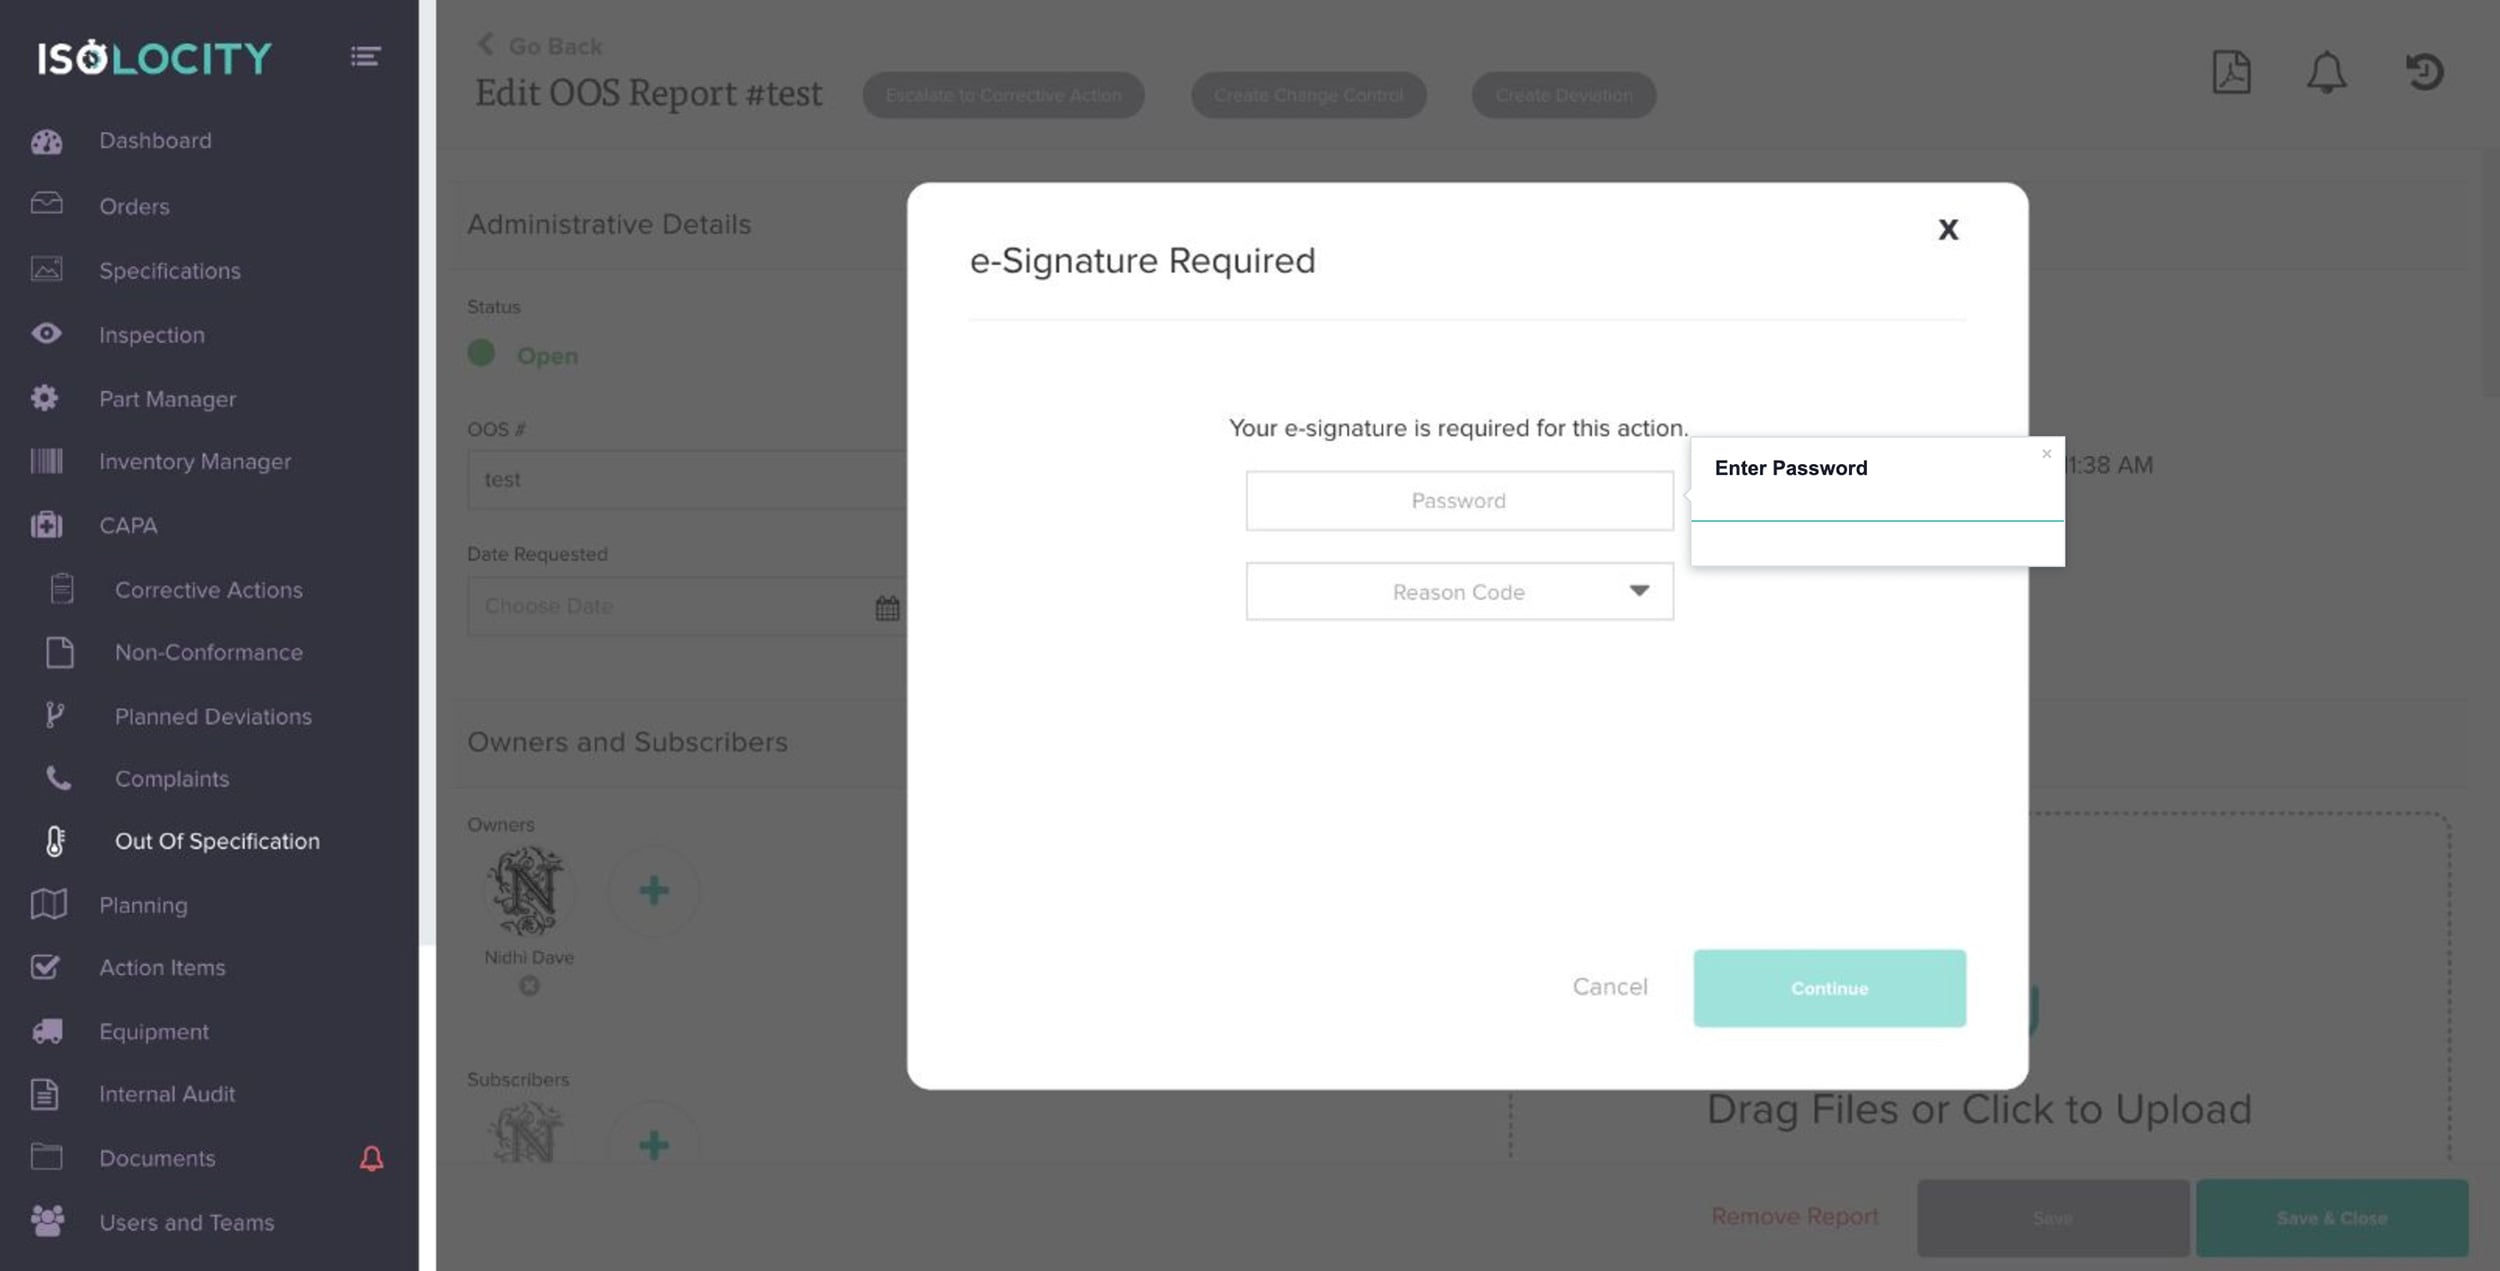
Step #43
Enter Password
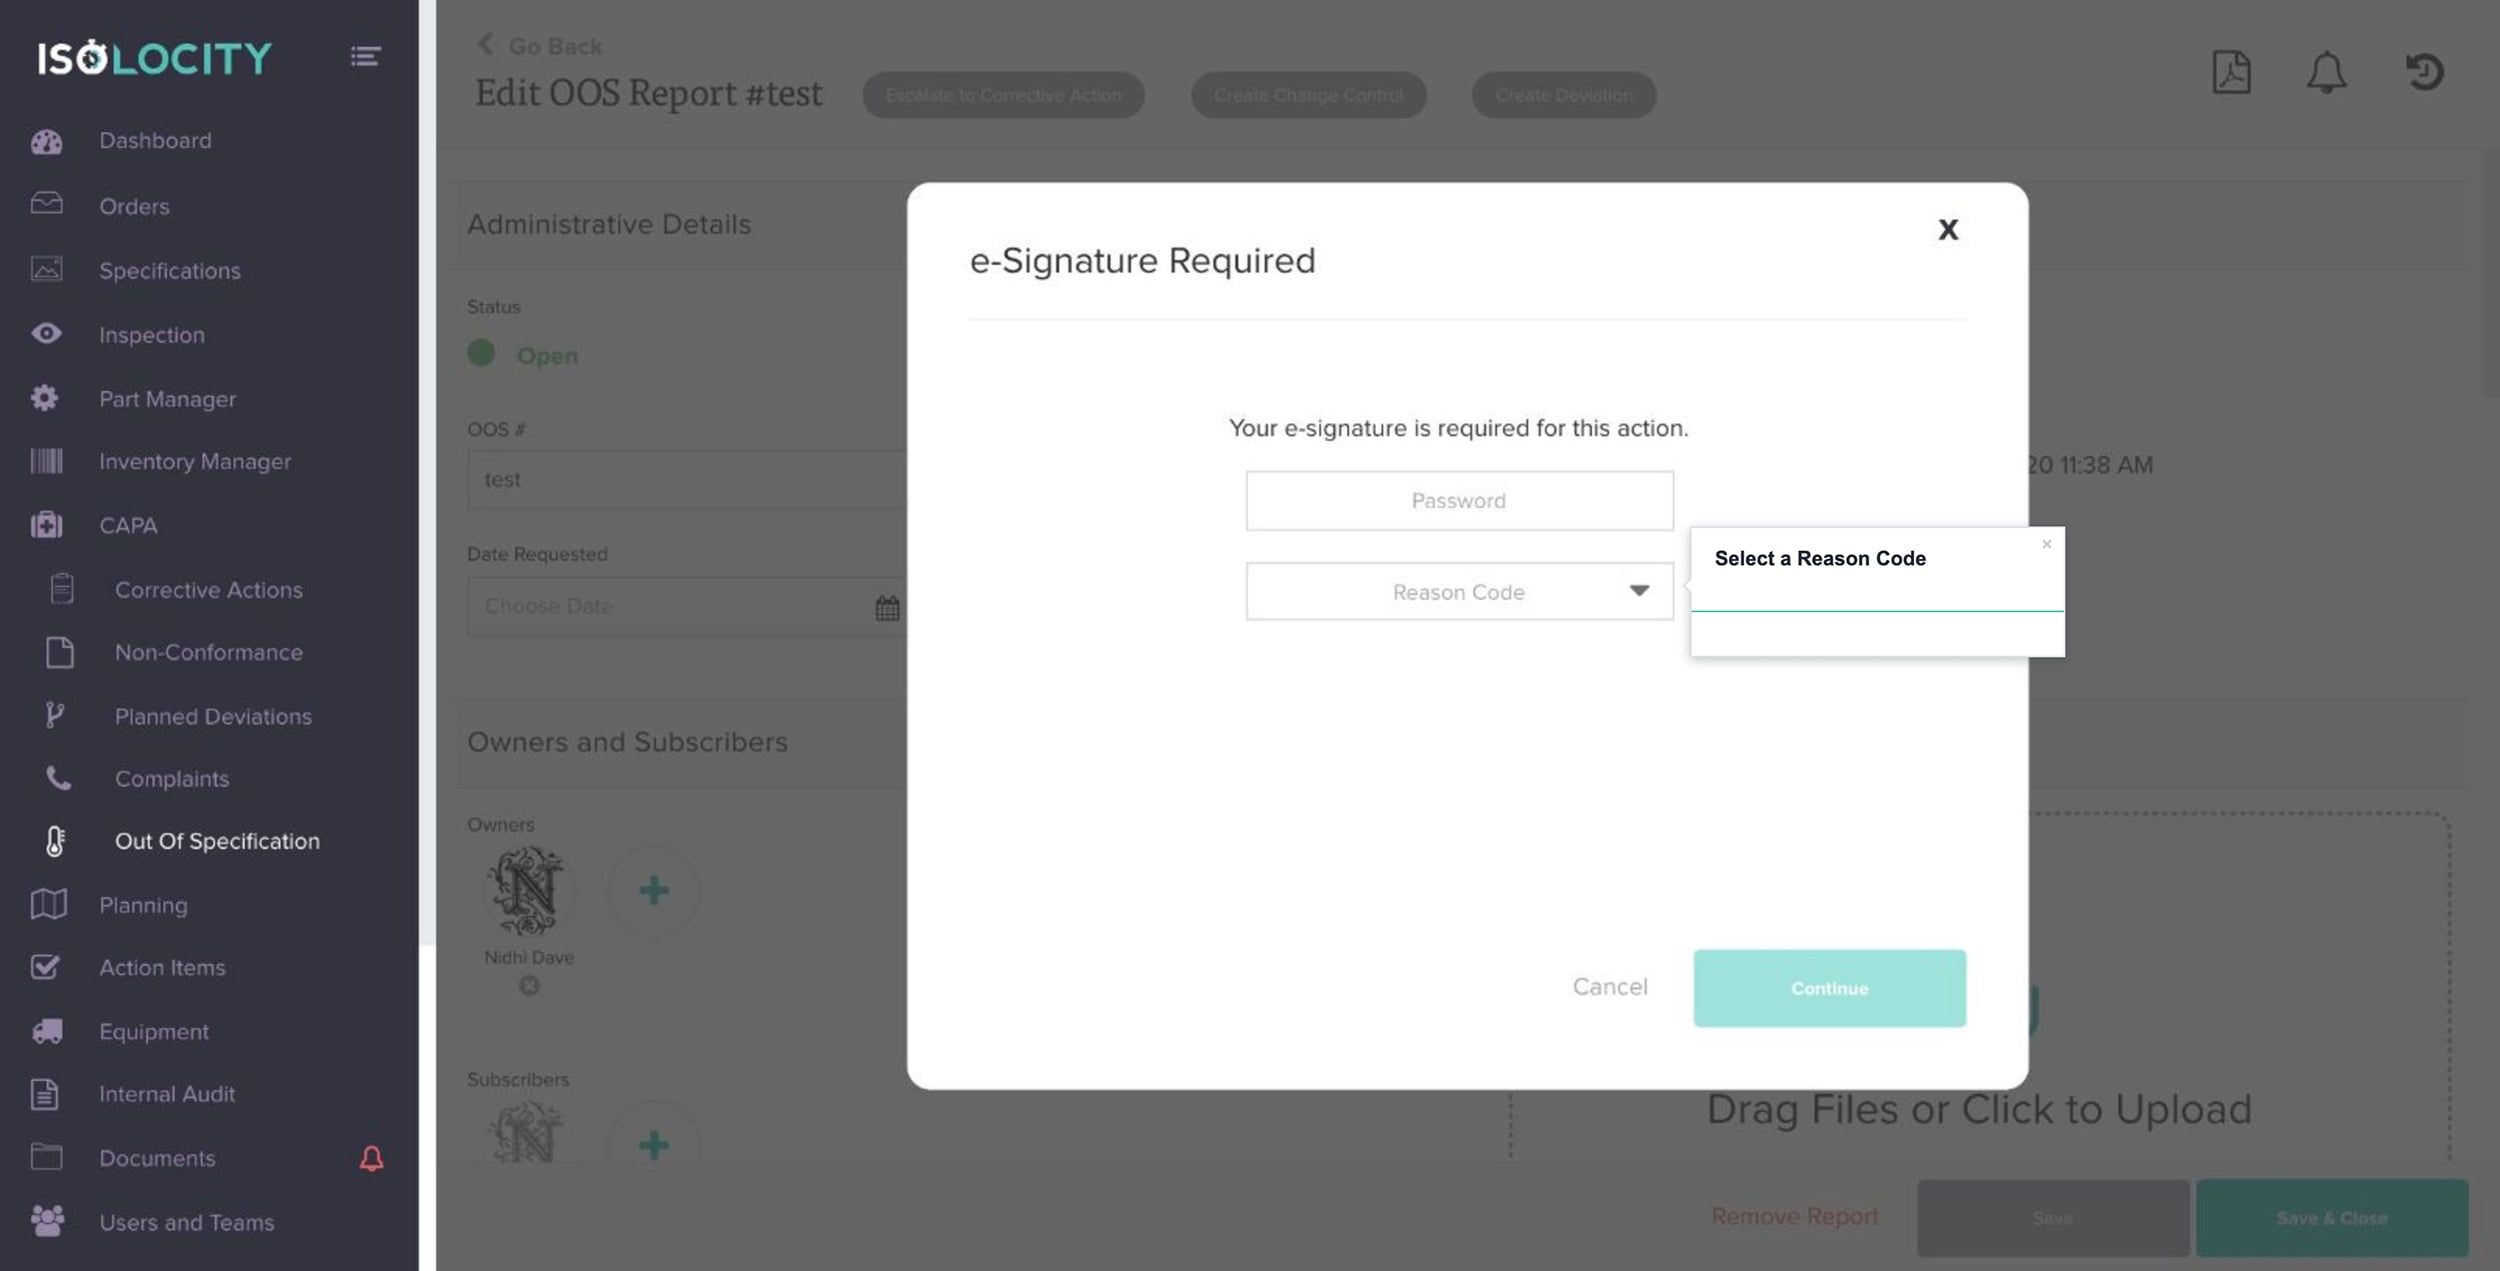
Step #44
Select a Reason Code
Step #45
Click Continue
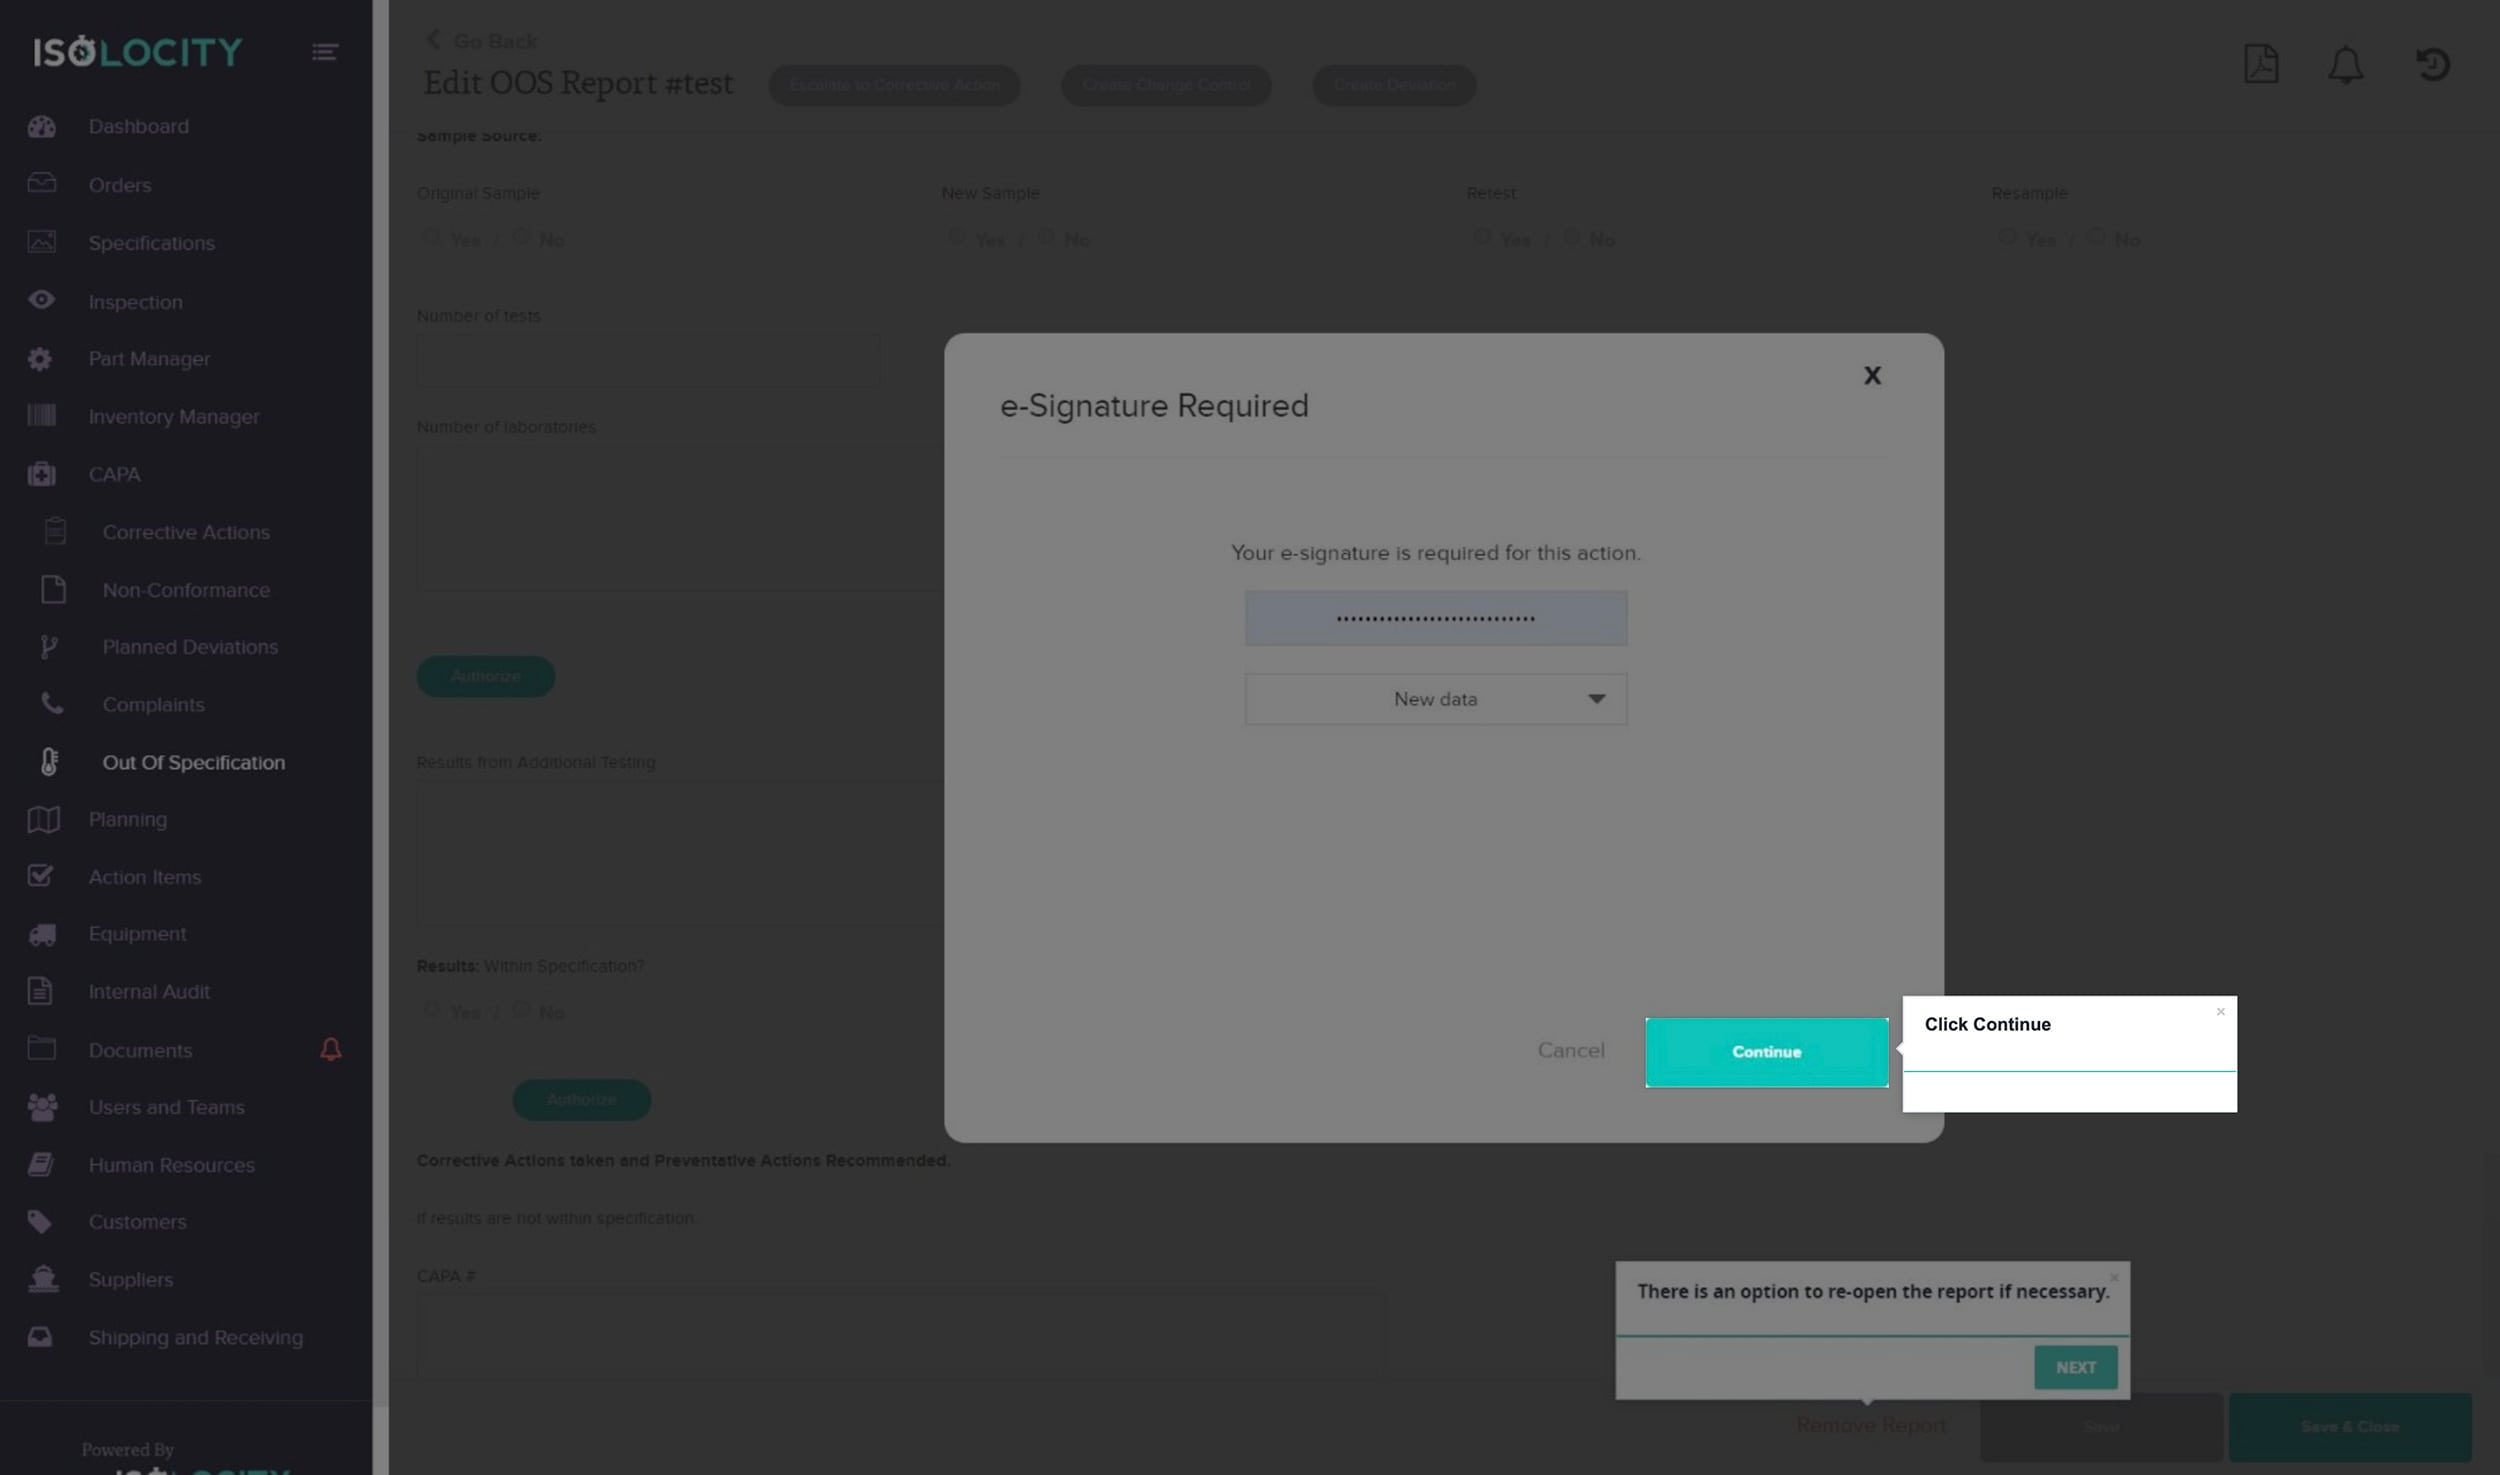
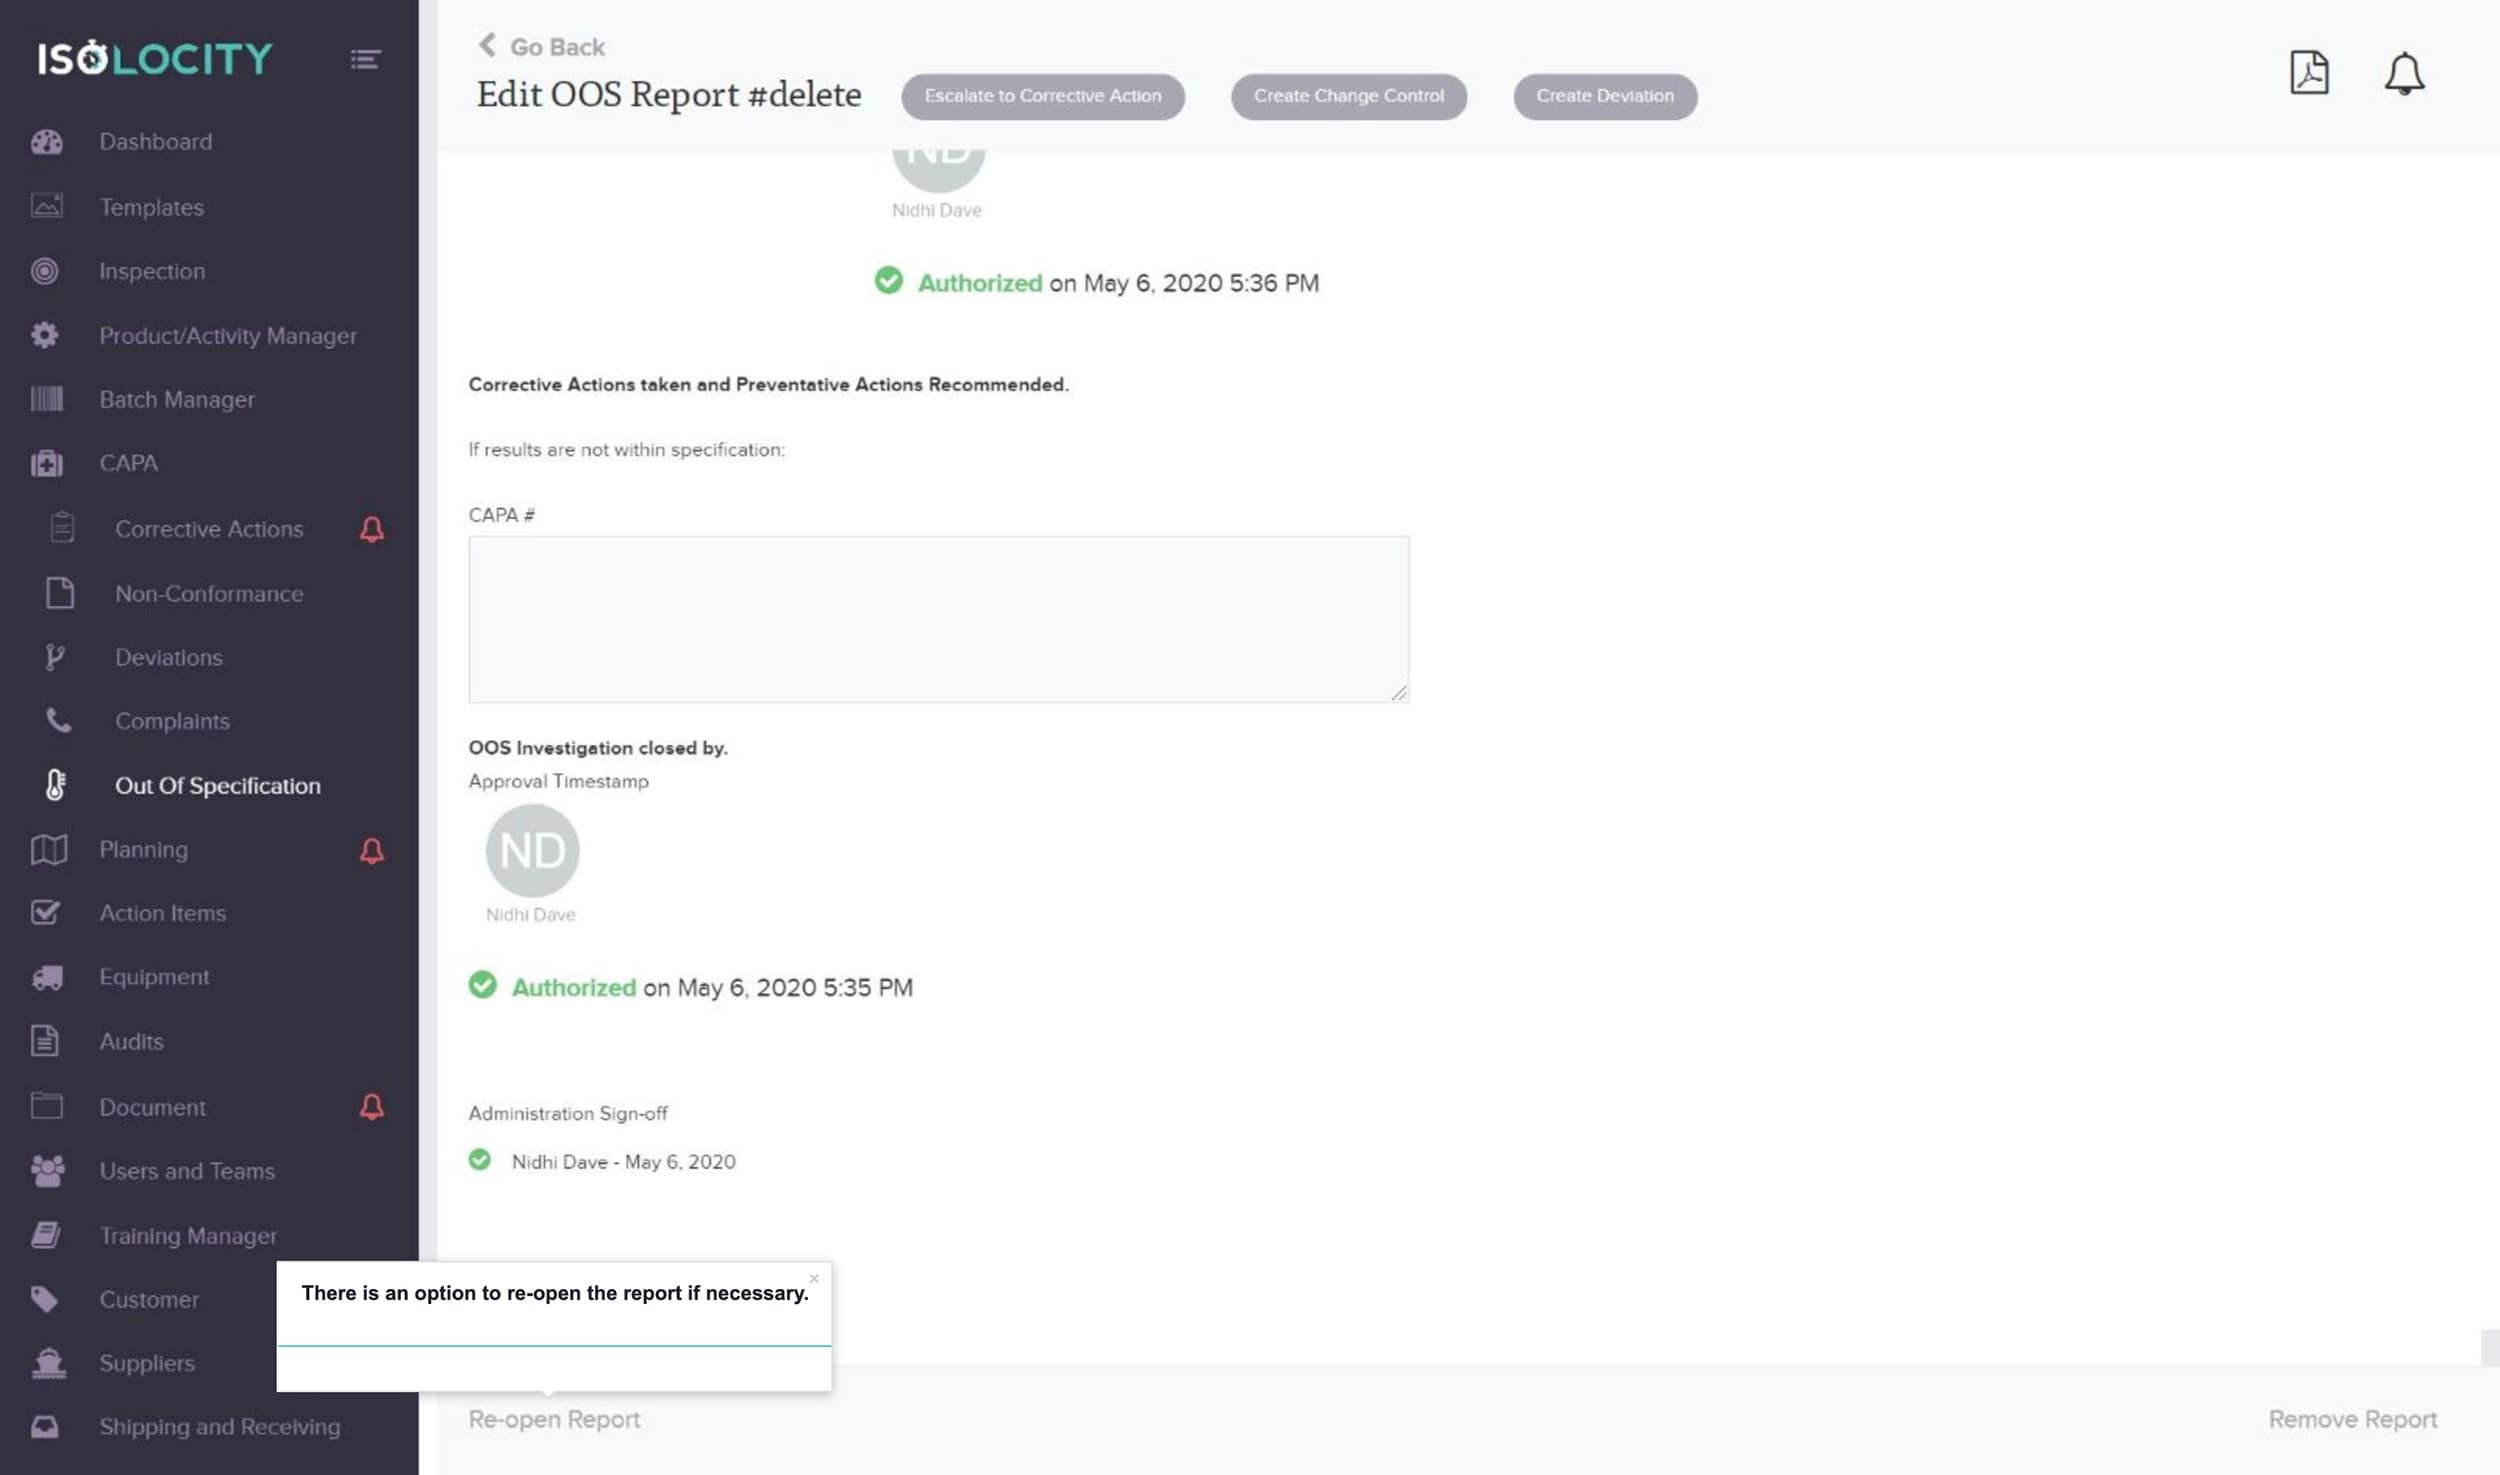
Step #46
There is an option to re-open the report if necessary.
Step #47
If the report was created as a test run or by accident you may remove the report.
Step #48
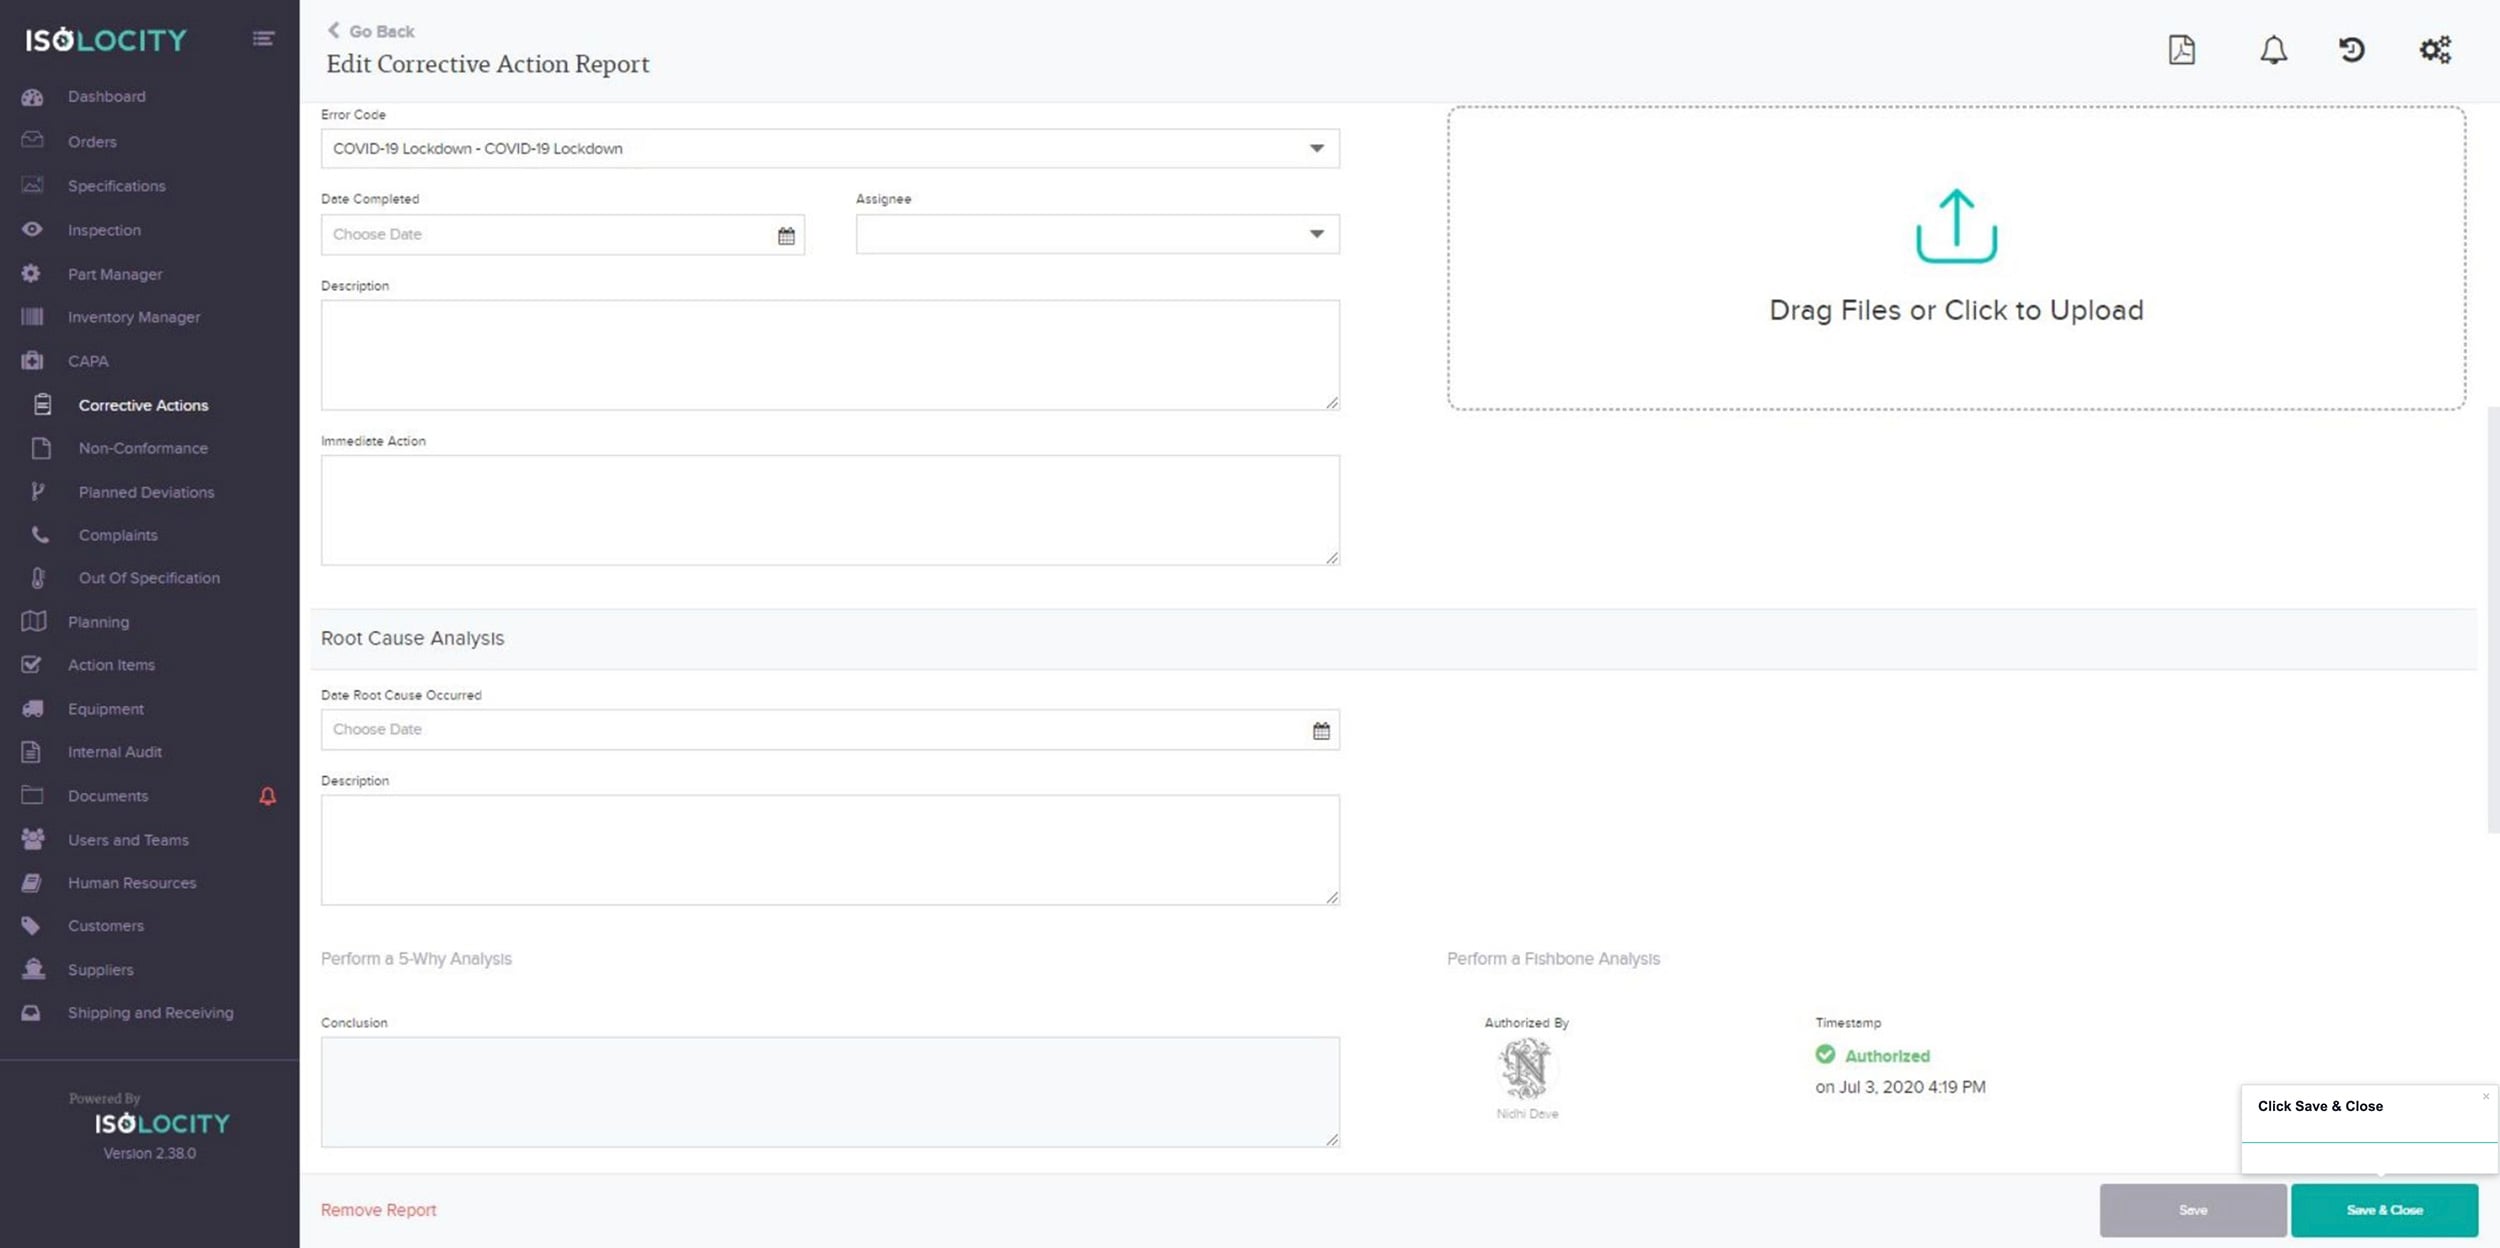
Click Save & Close
Step #49
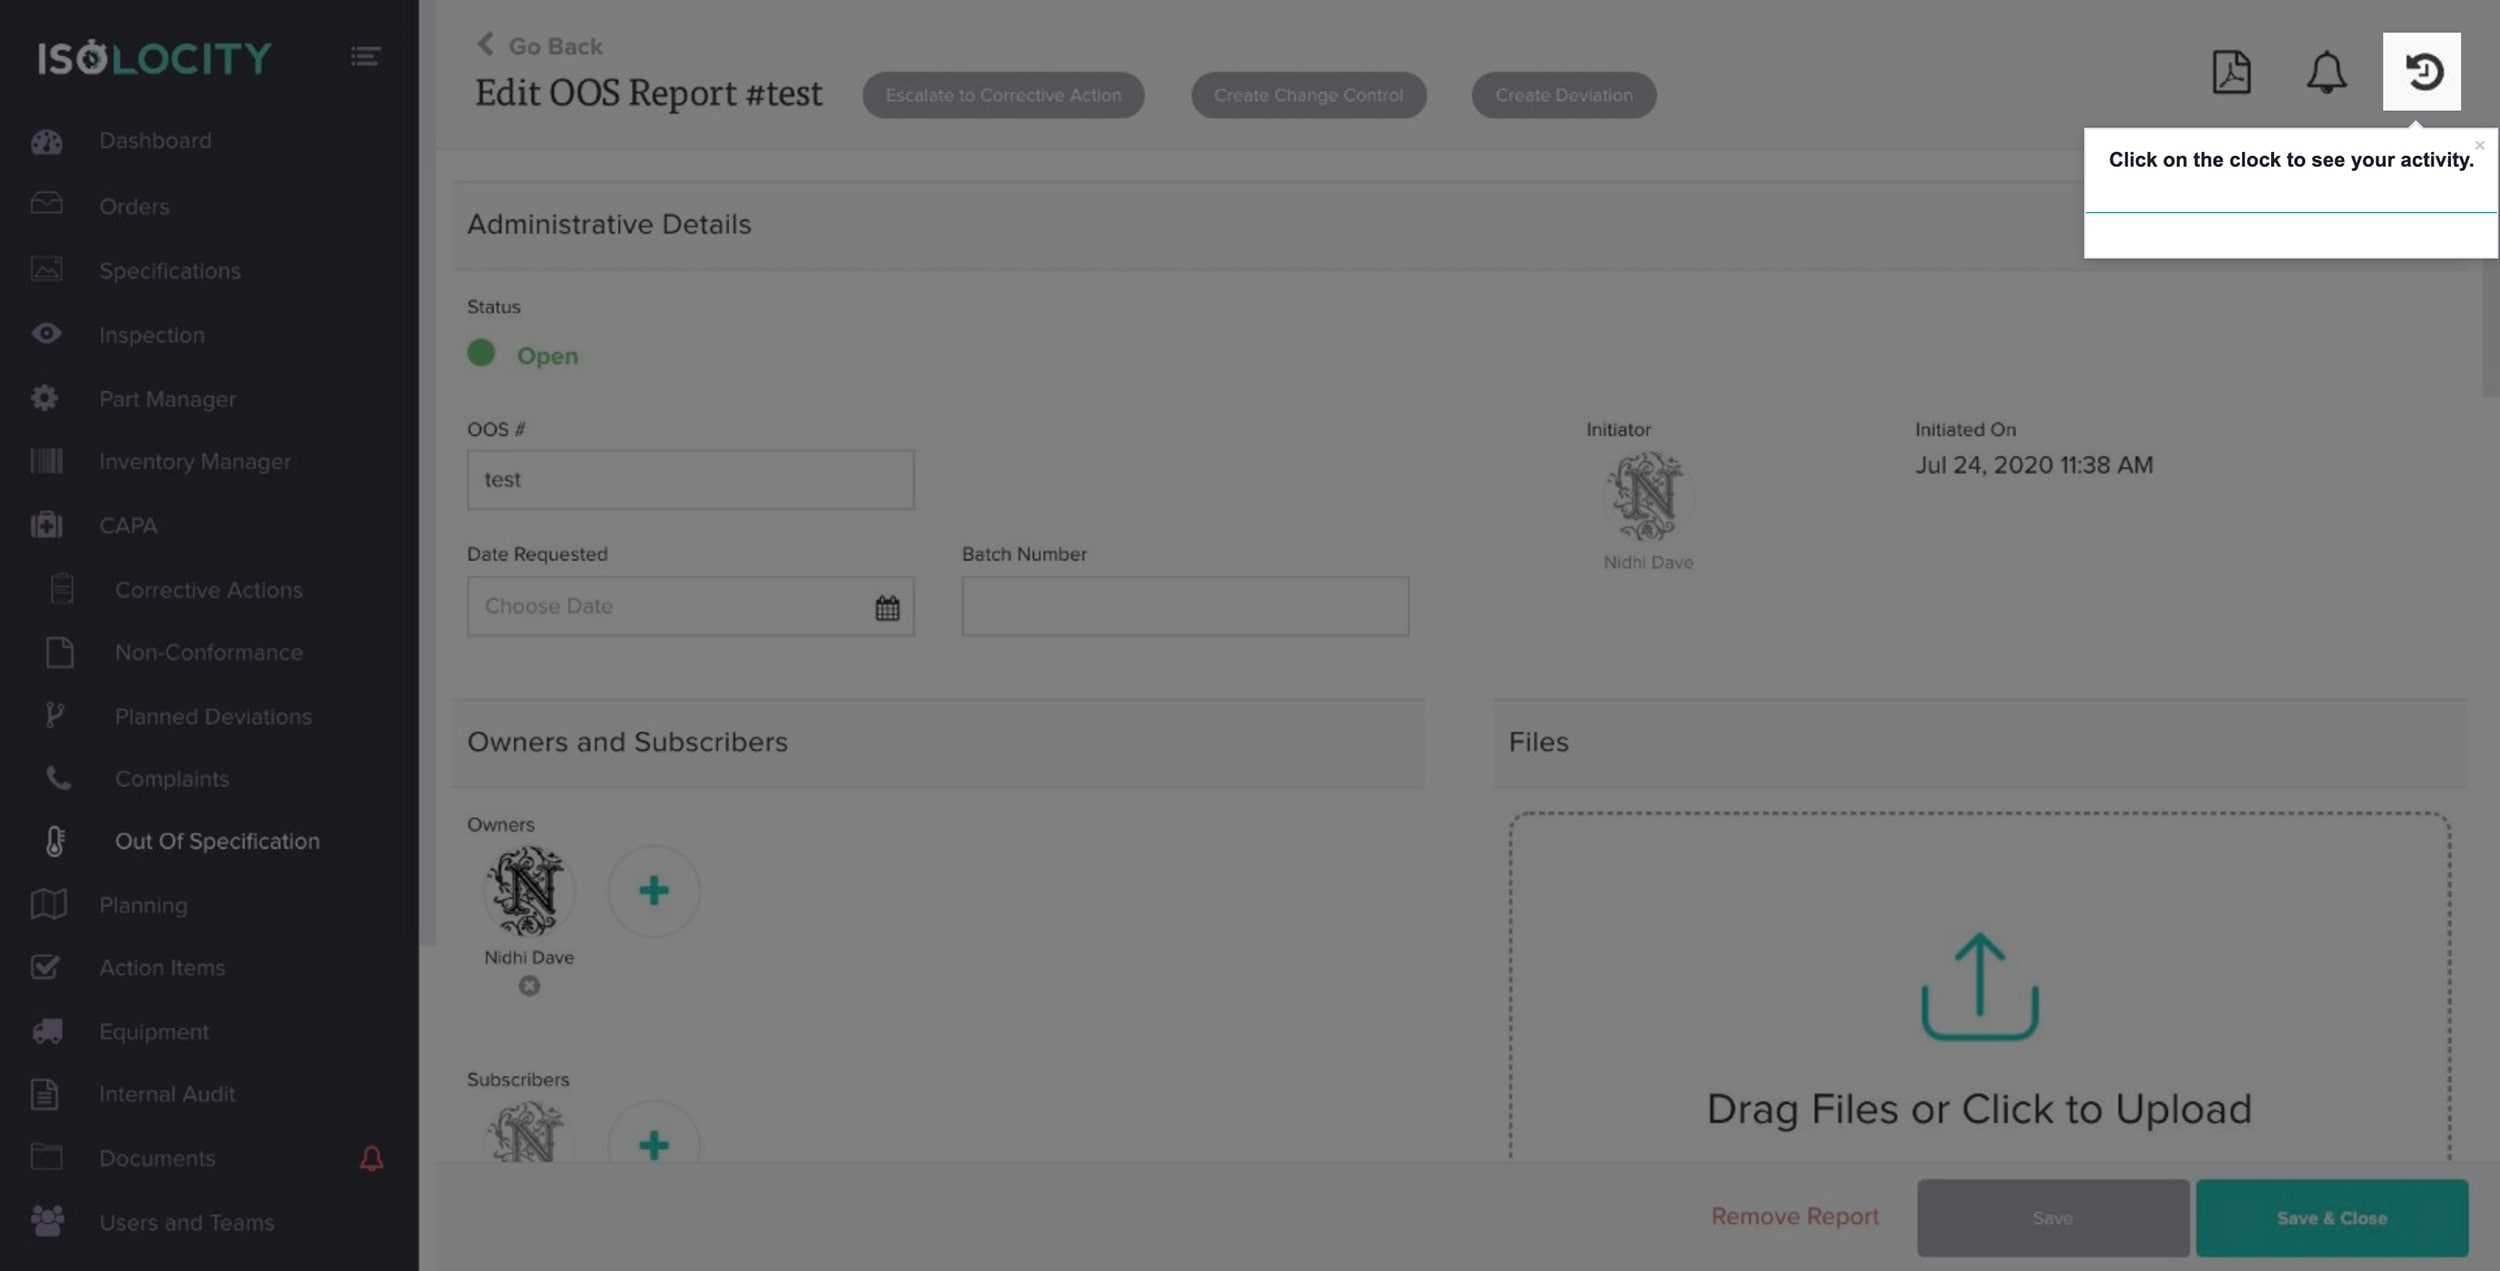
Click on the clock to see your activity.
Step #50
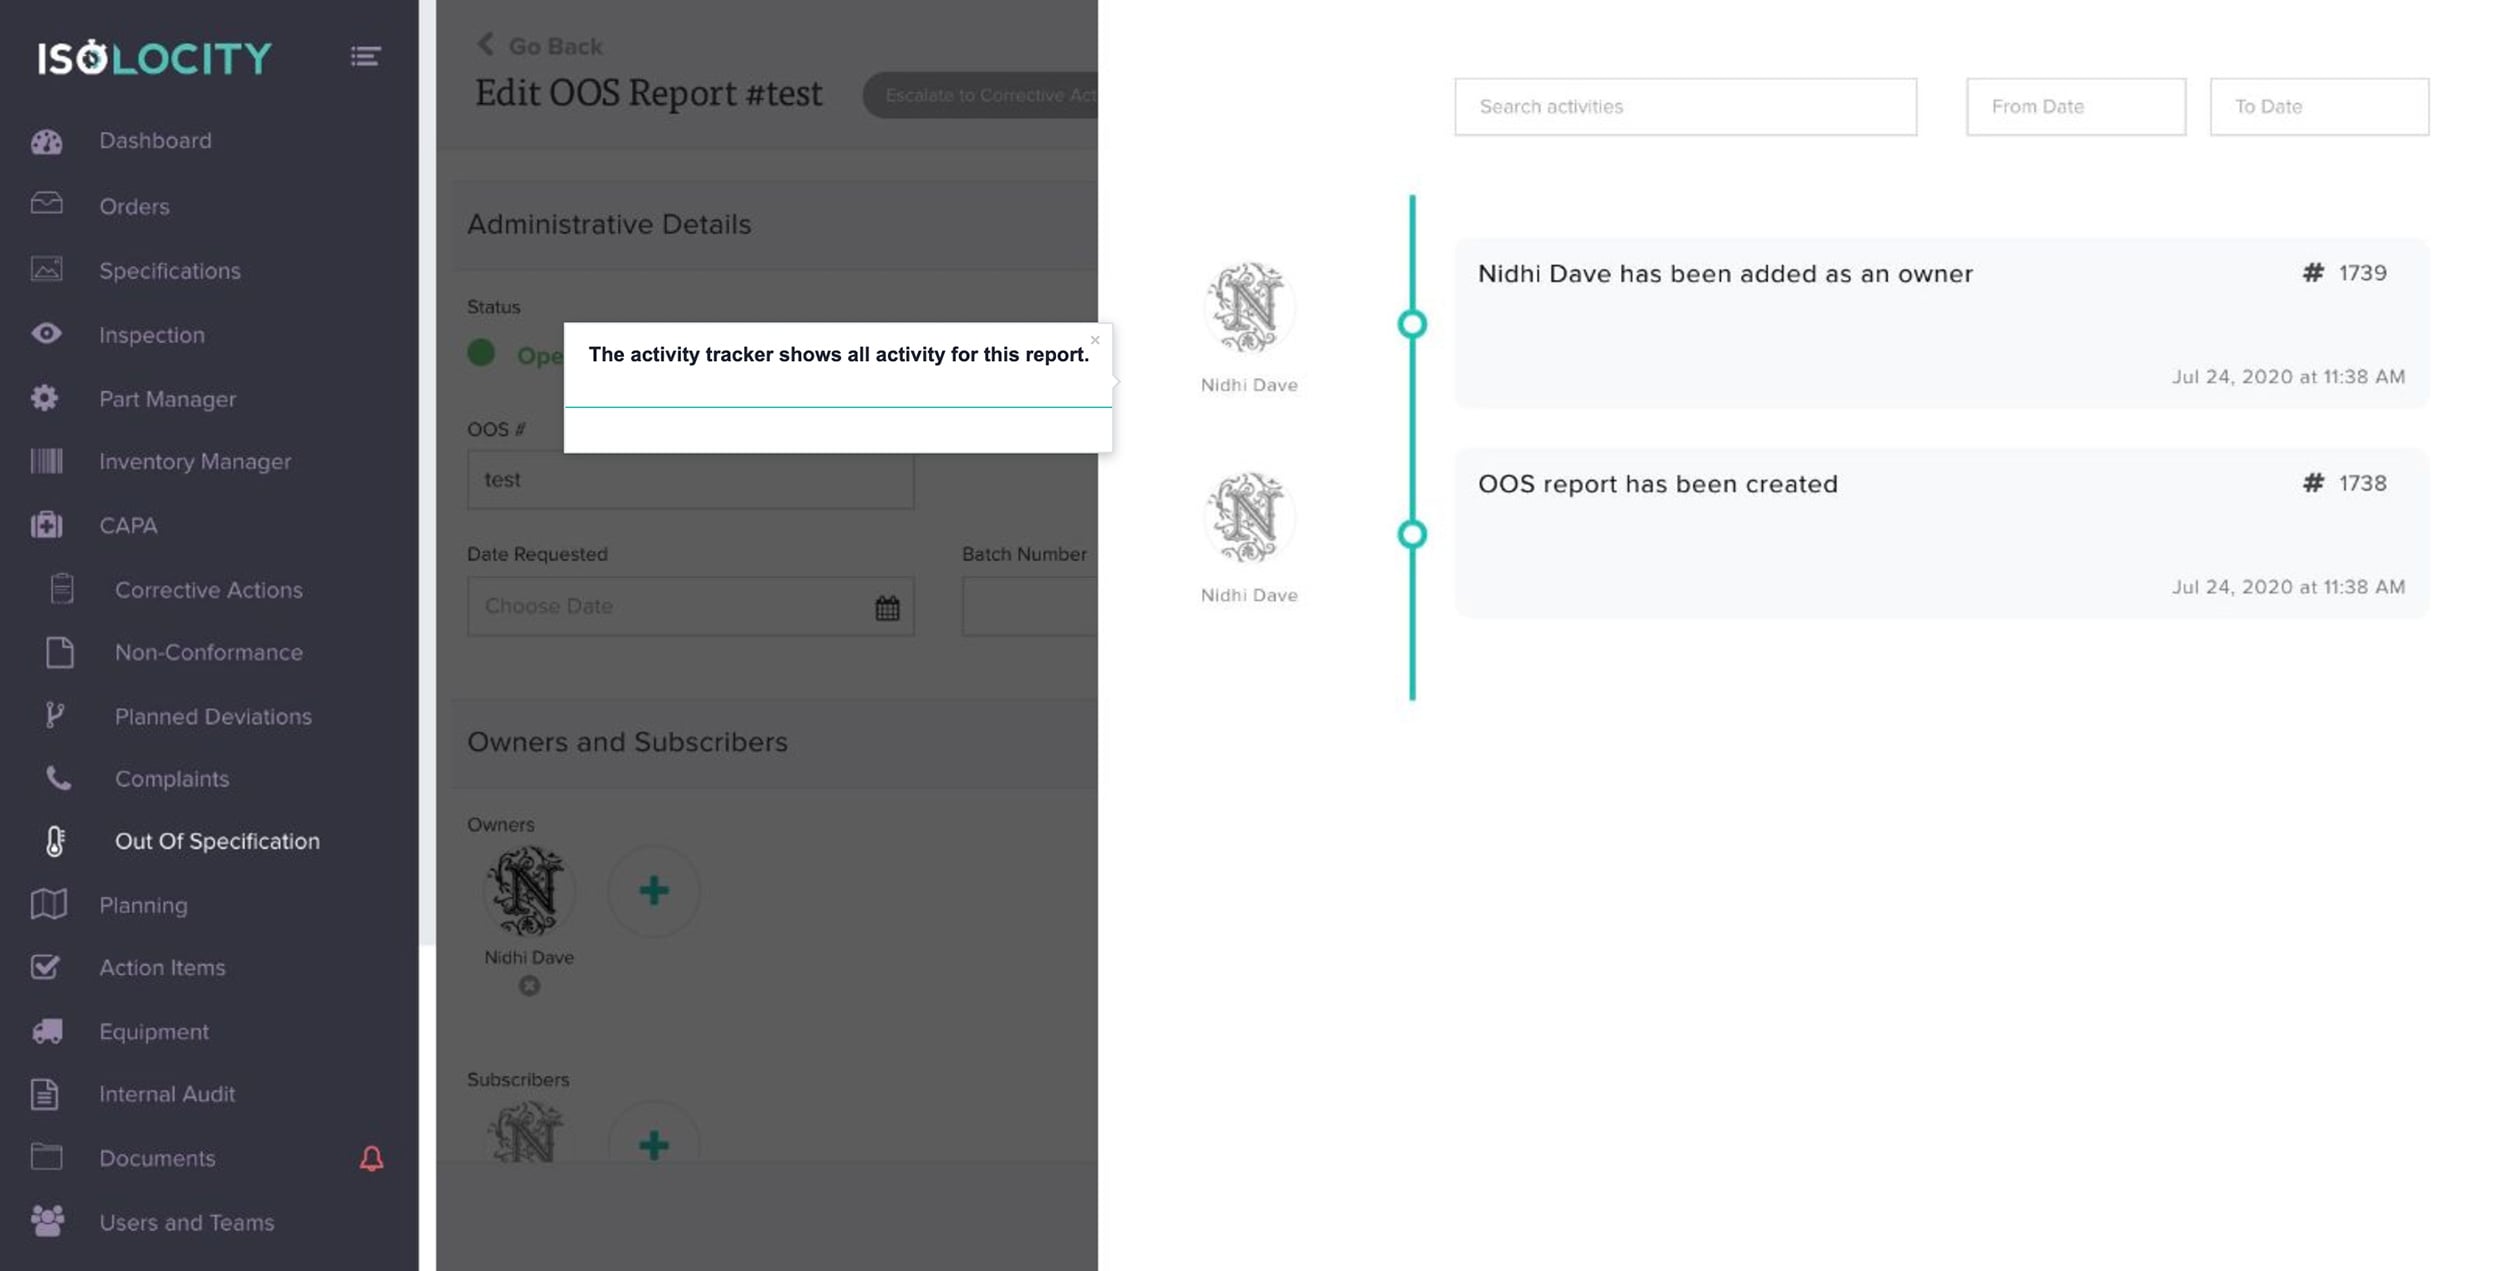
The activity tracker shows all activity for this report.
Step #51
Activities can be searched by key word or date range.
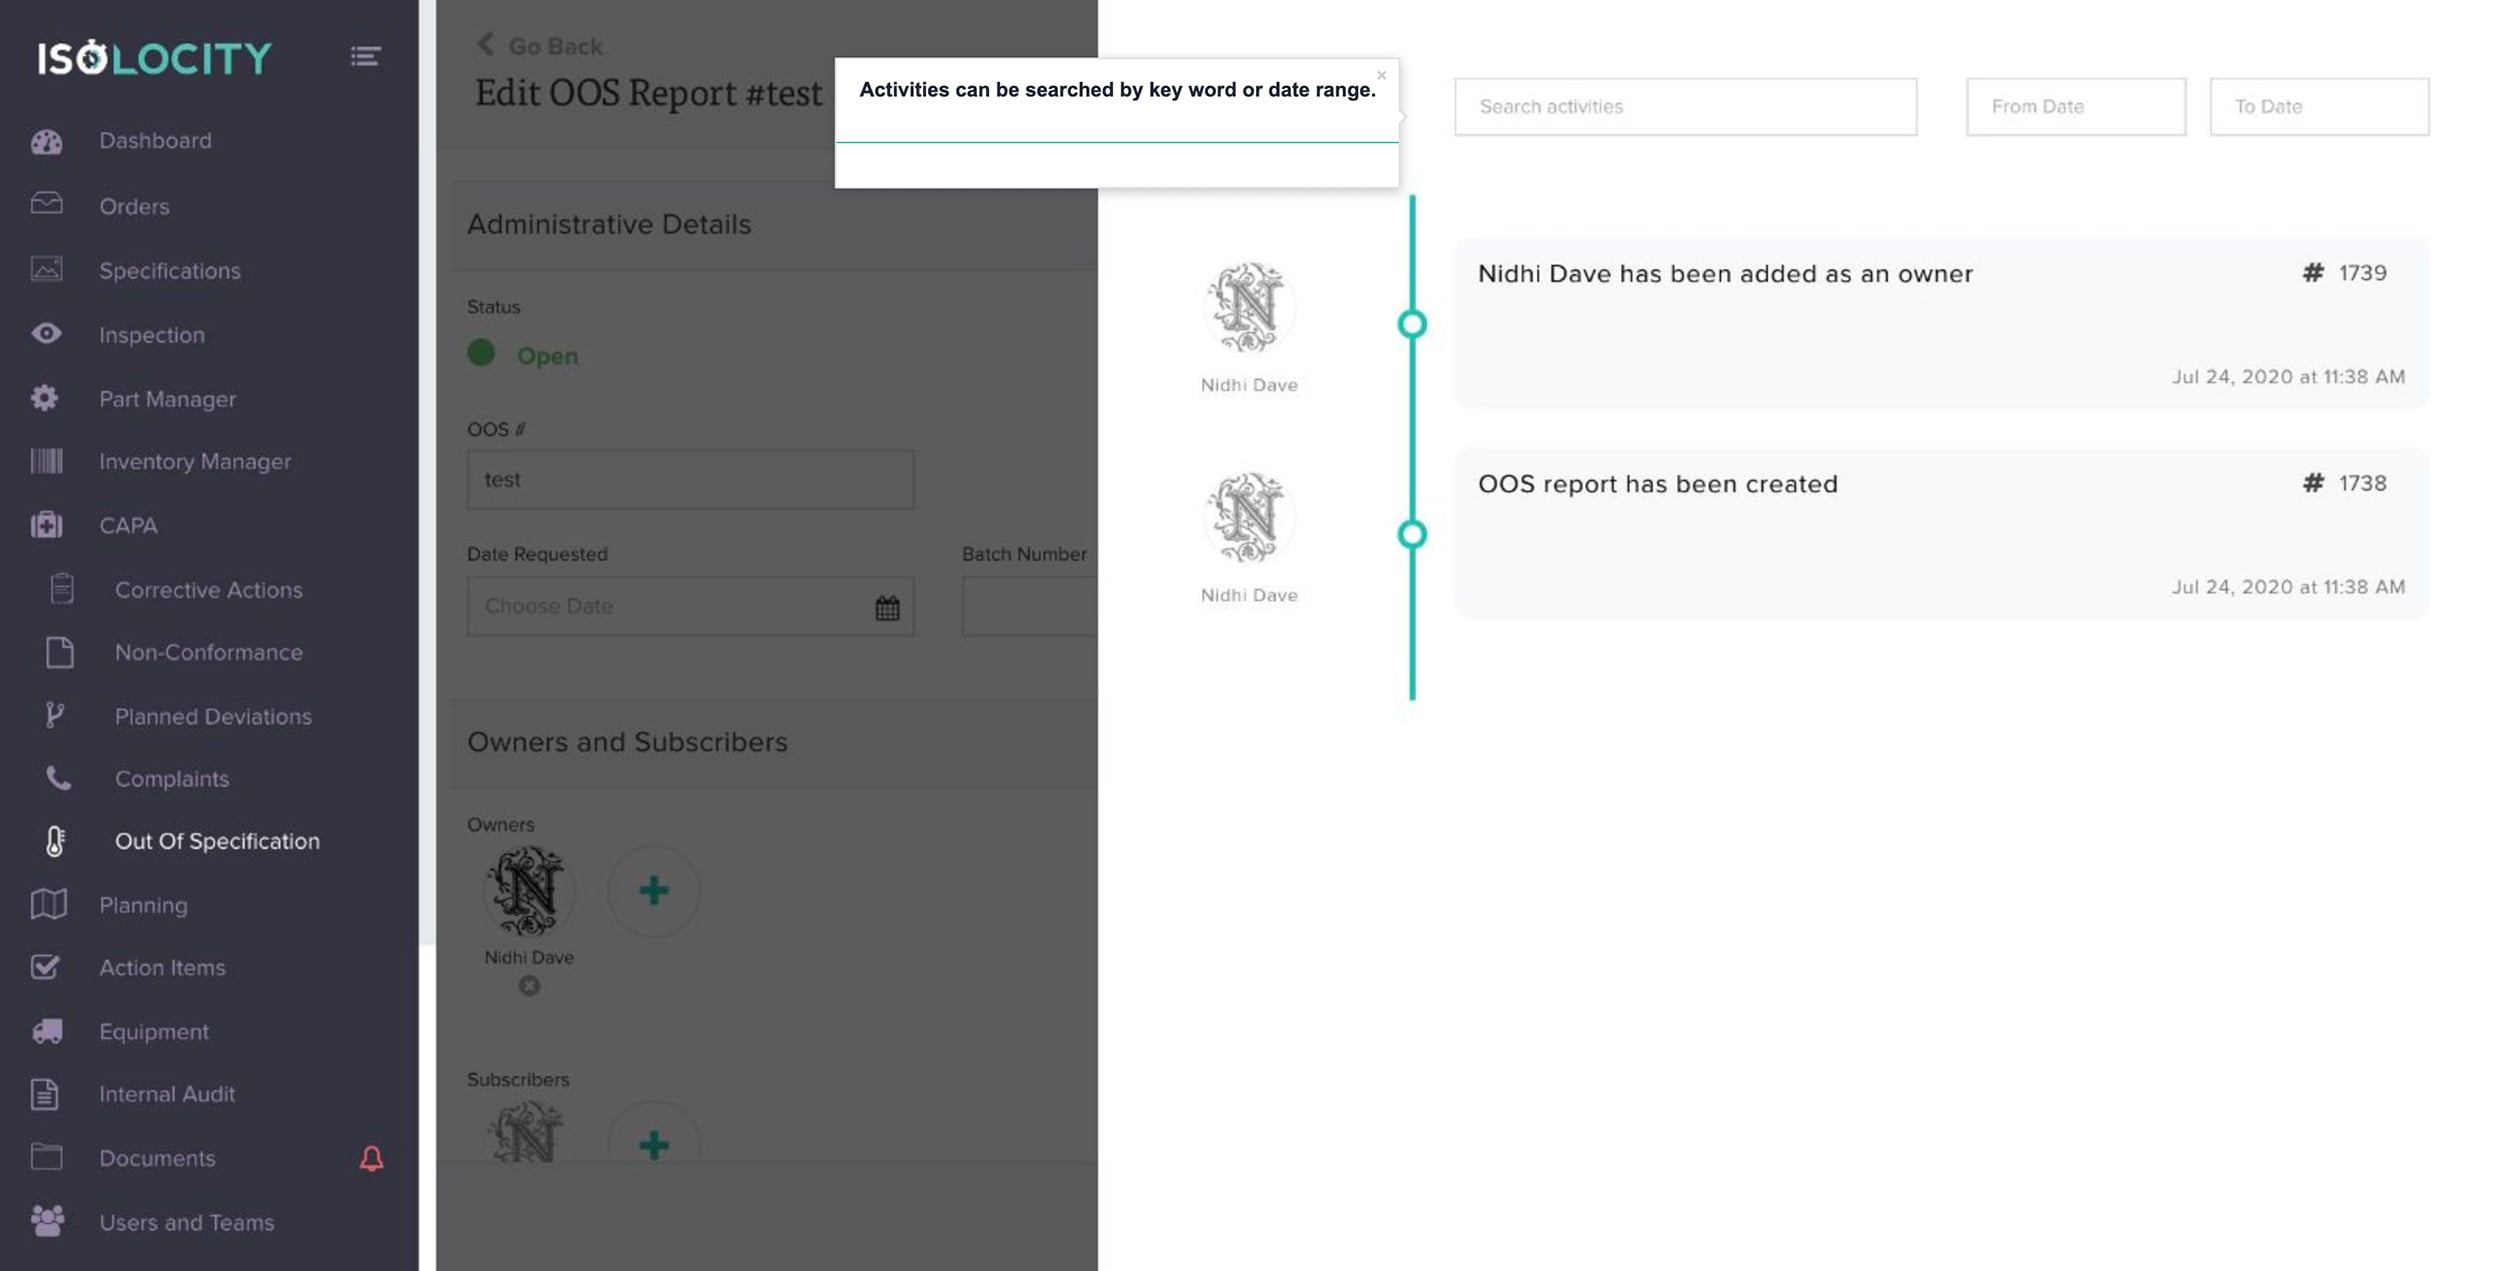
Step #52
The user, the action and the date/time is tracked and recorded here.
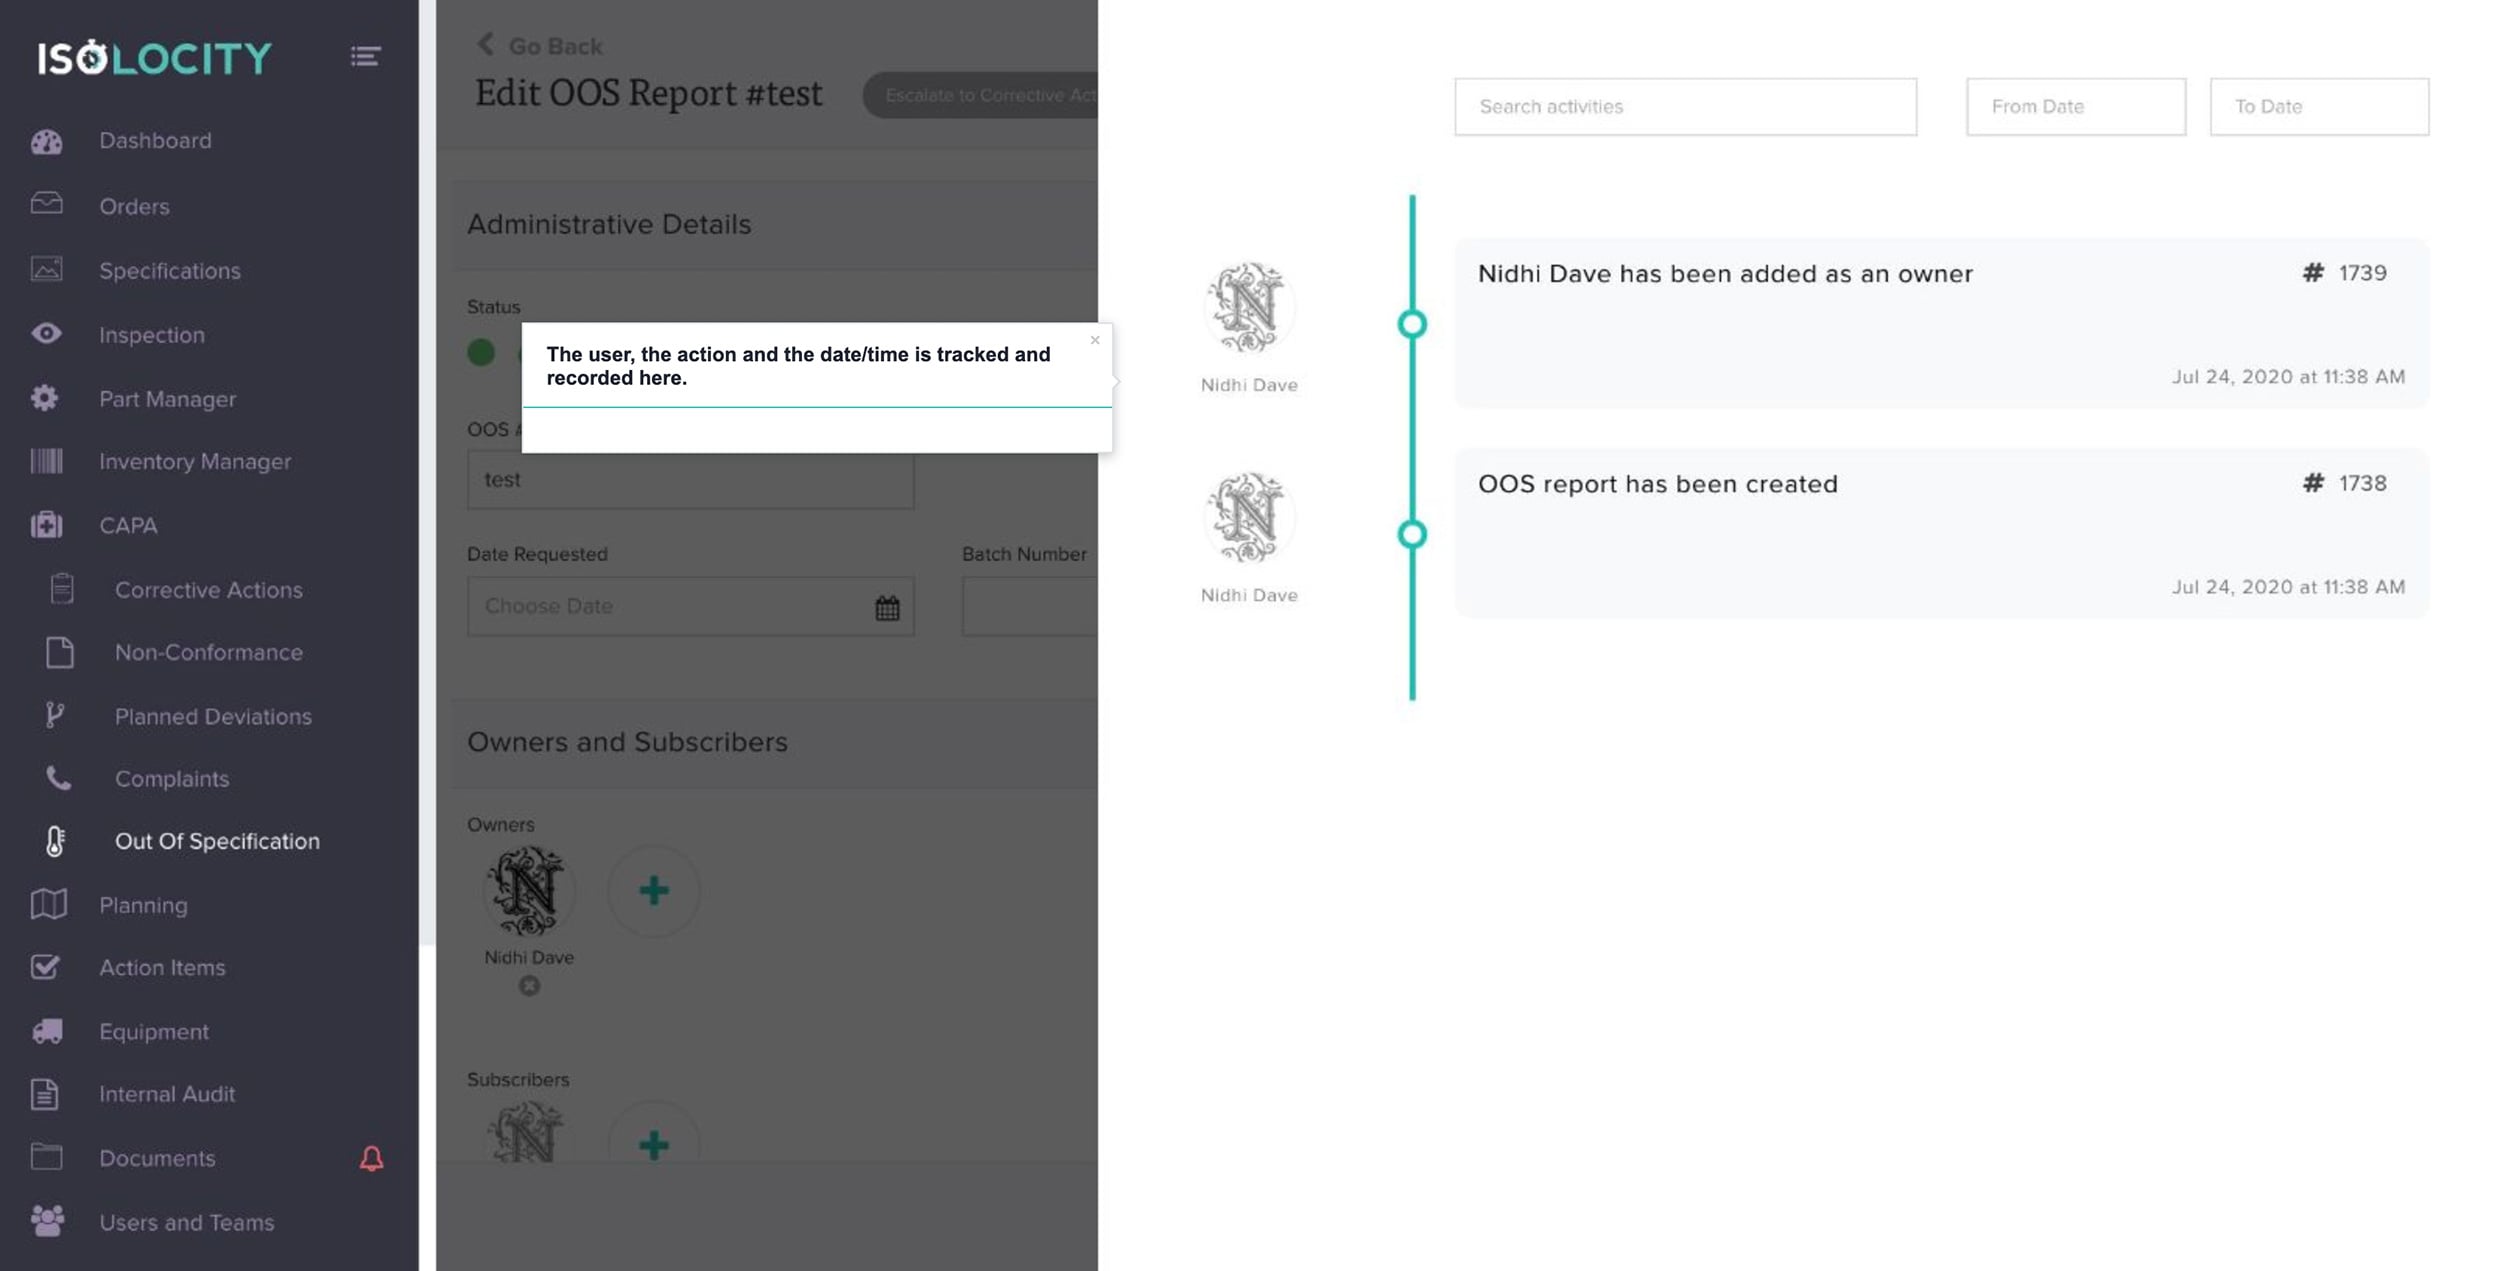
Step #53
Click on the blank space to go back to the report.
![]()
Step #54
Click on the gear to access Out of Specification Settings
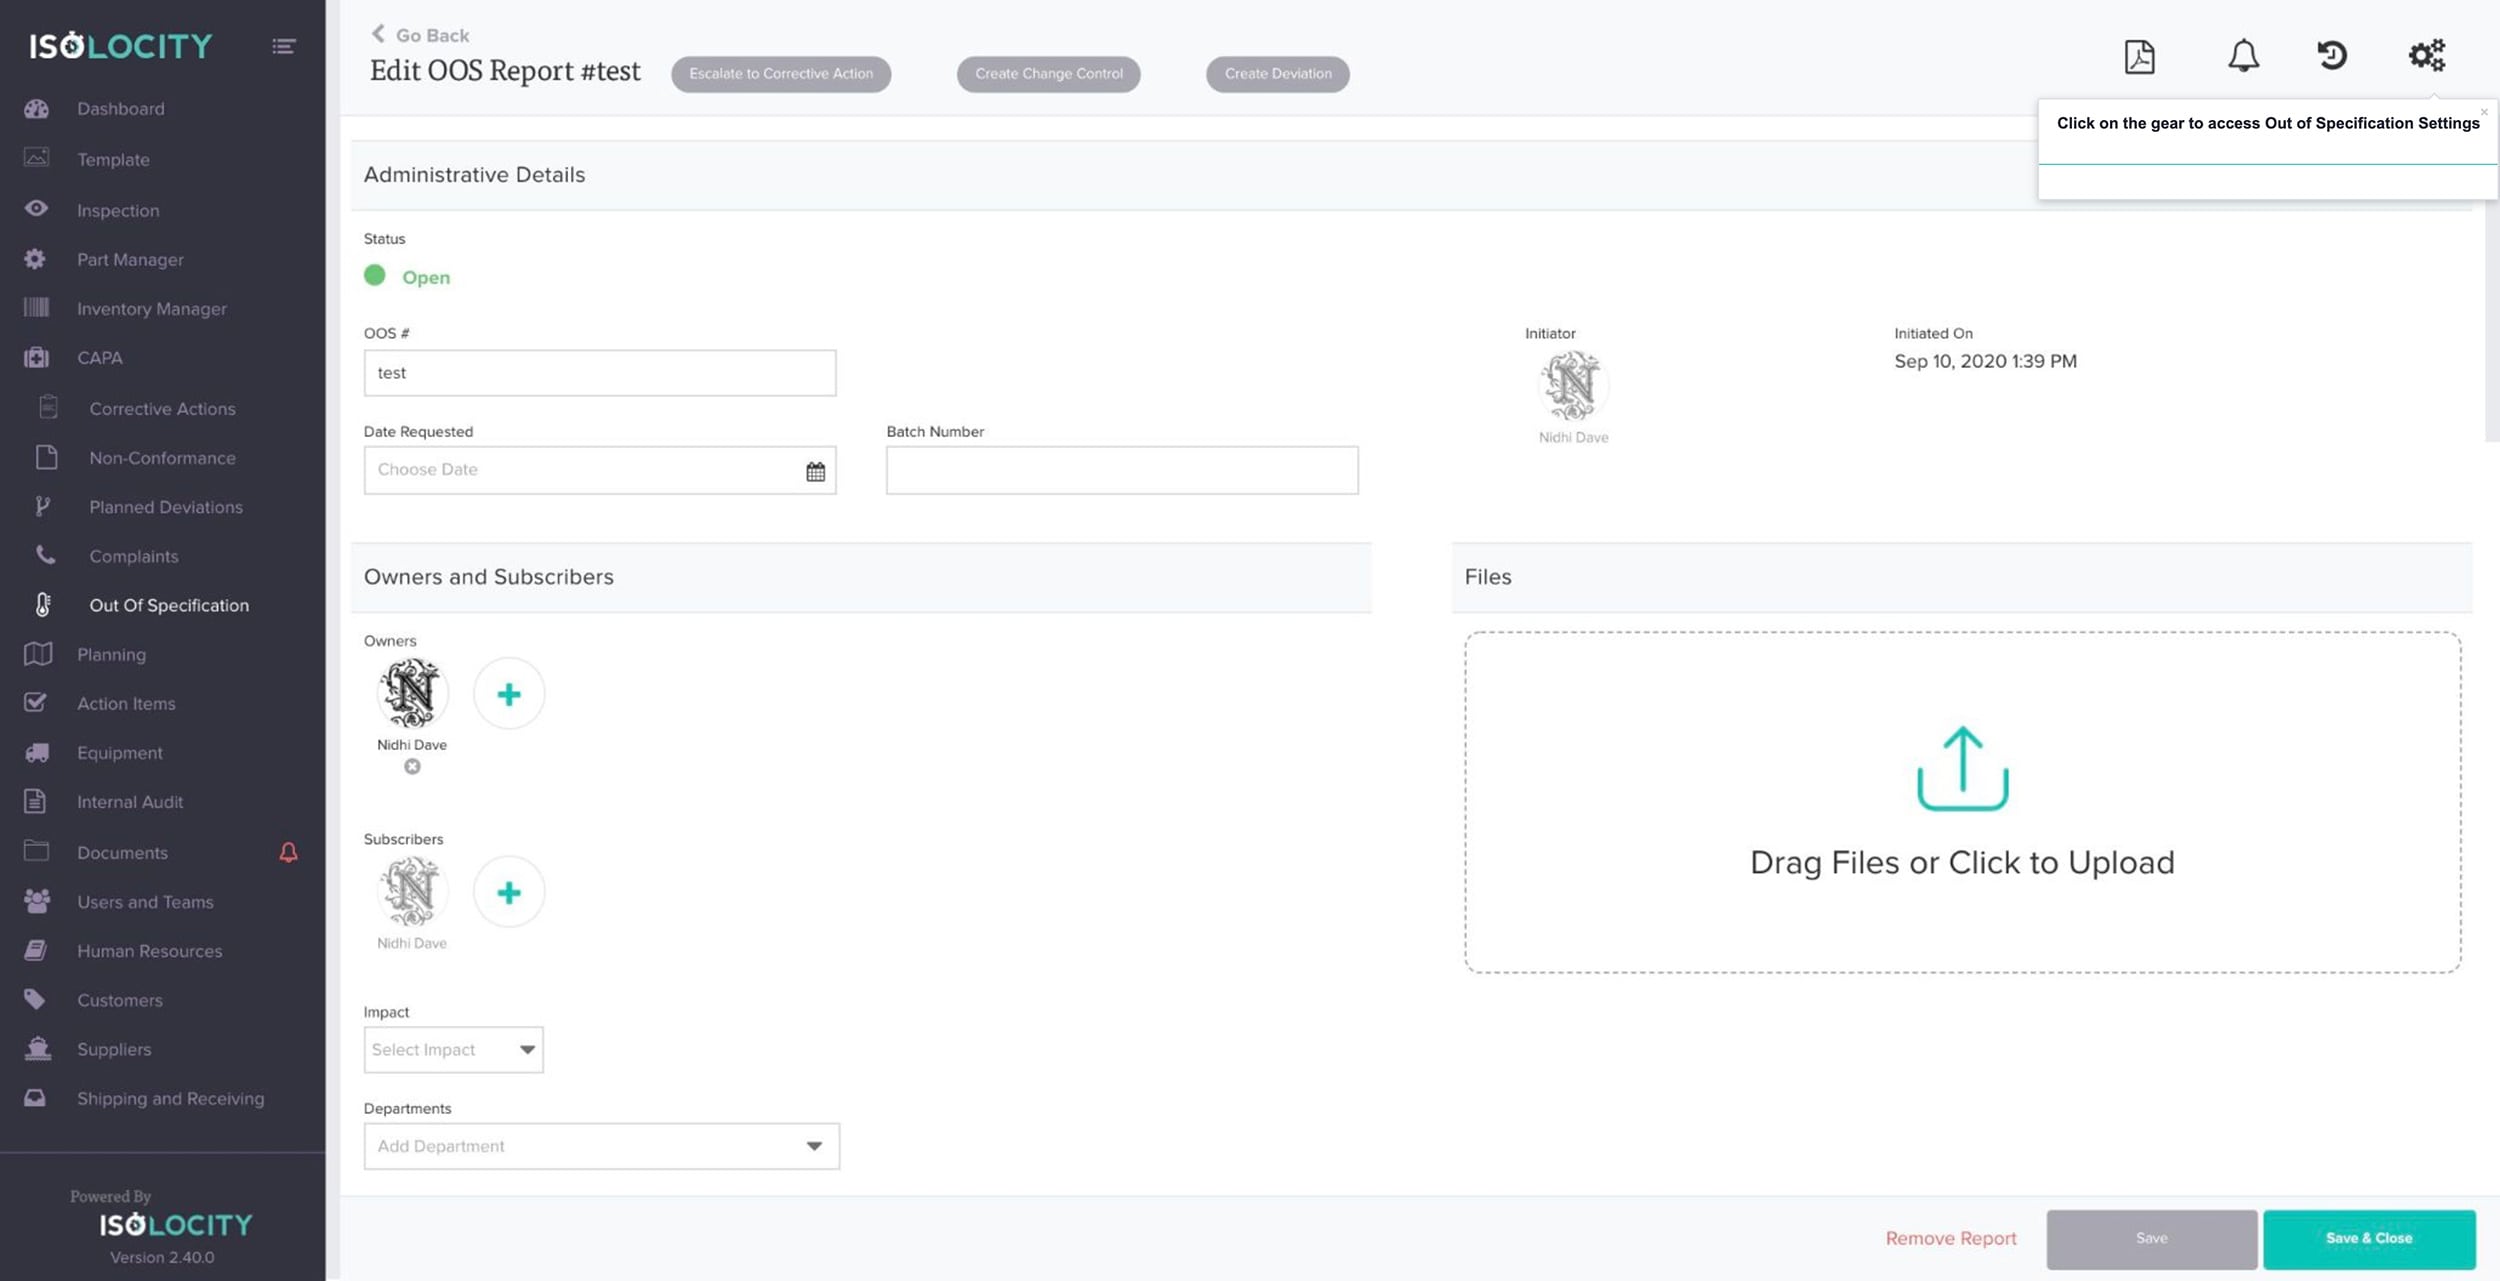
Step #55
Enter “Form Name” (Optional)
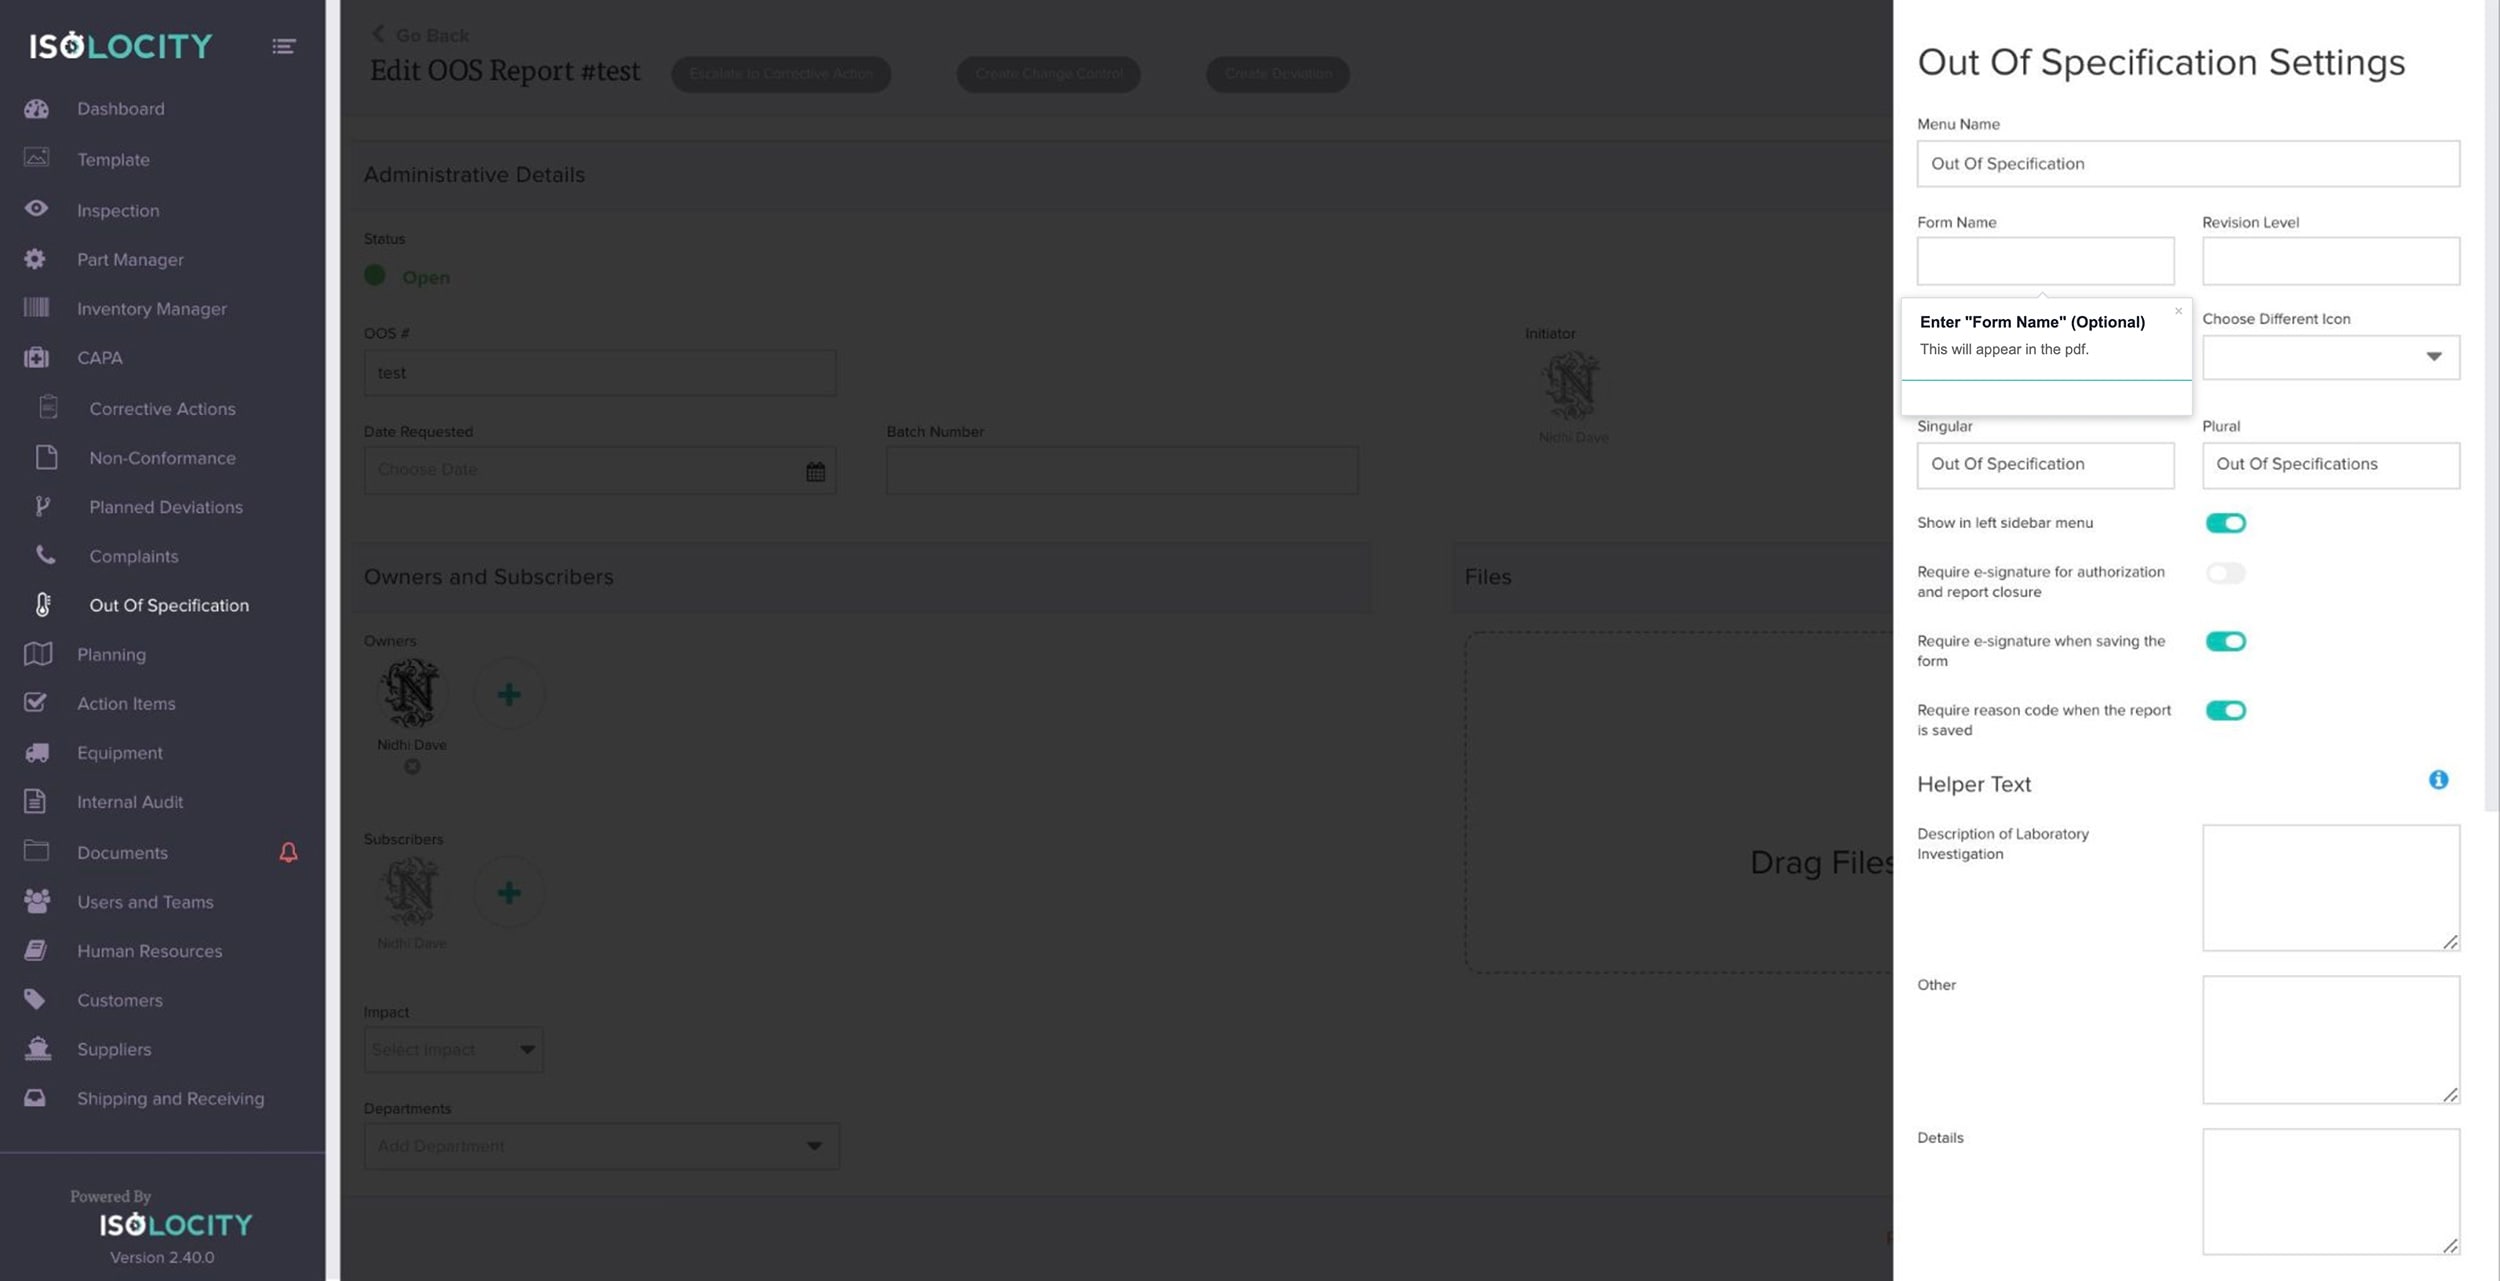
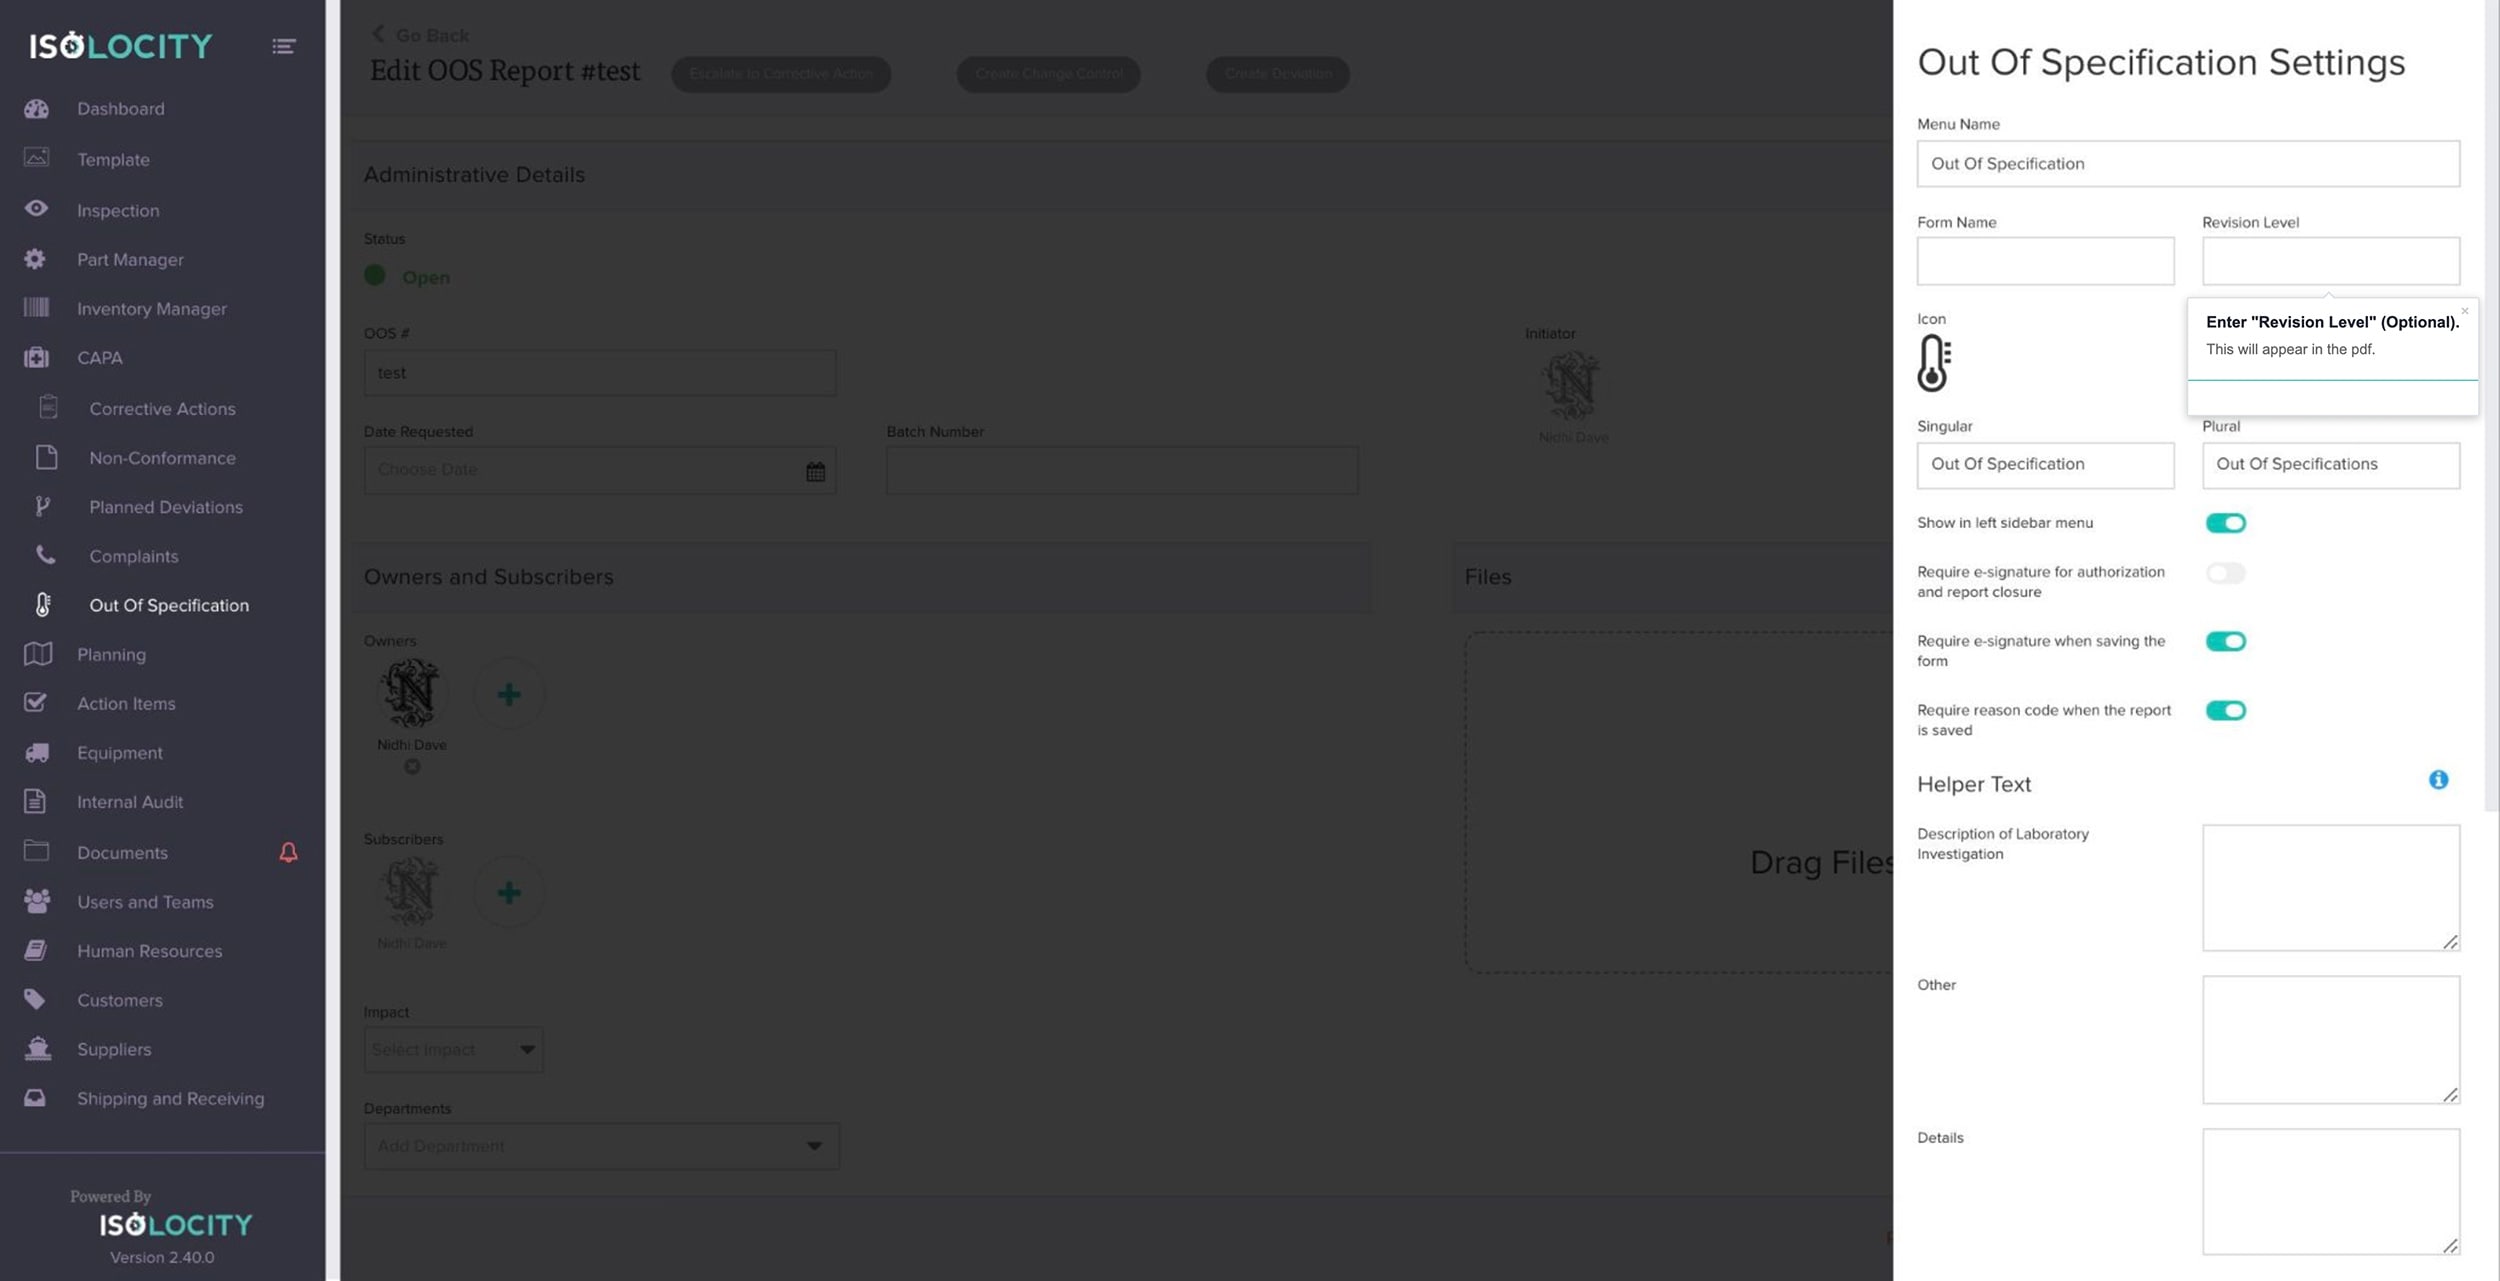
Step #56
Enter “Revision Level” (Optional).
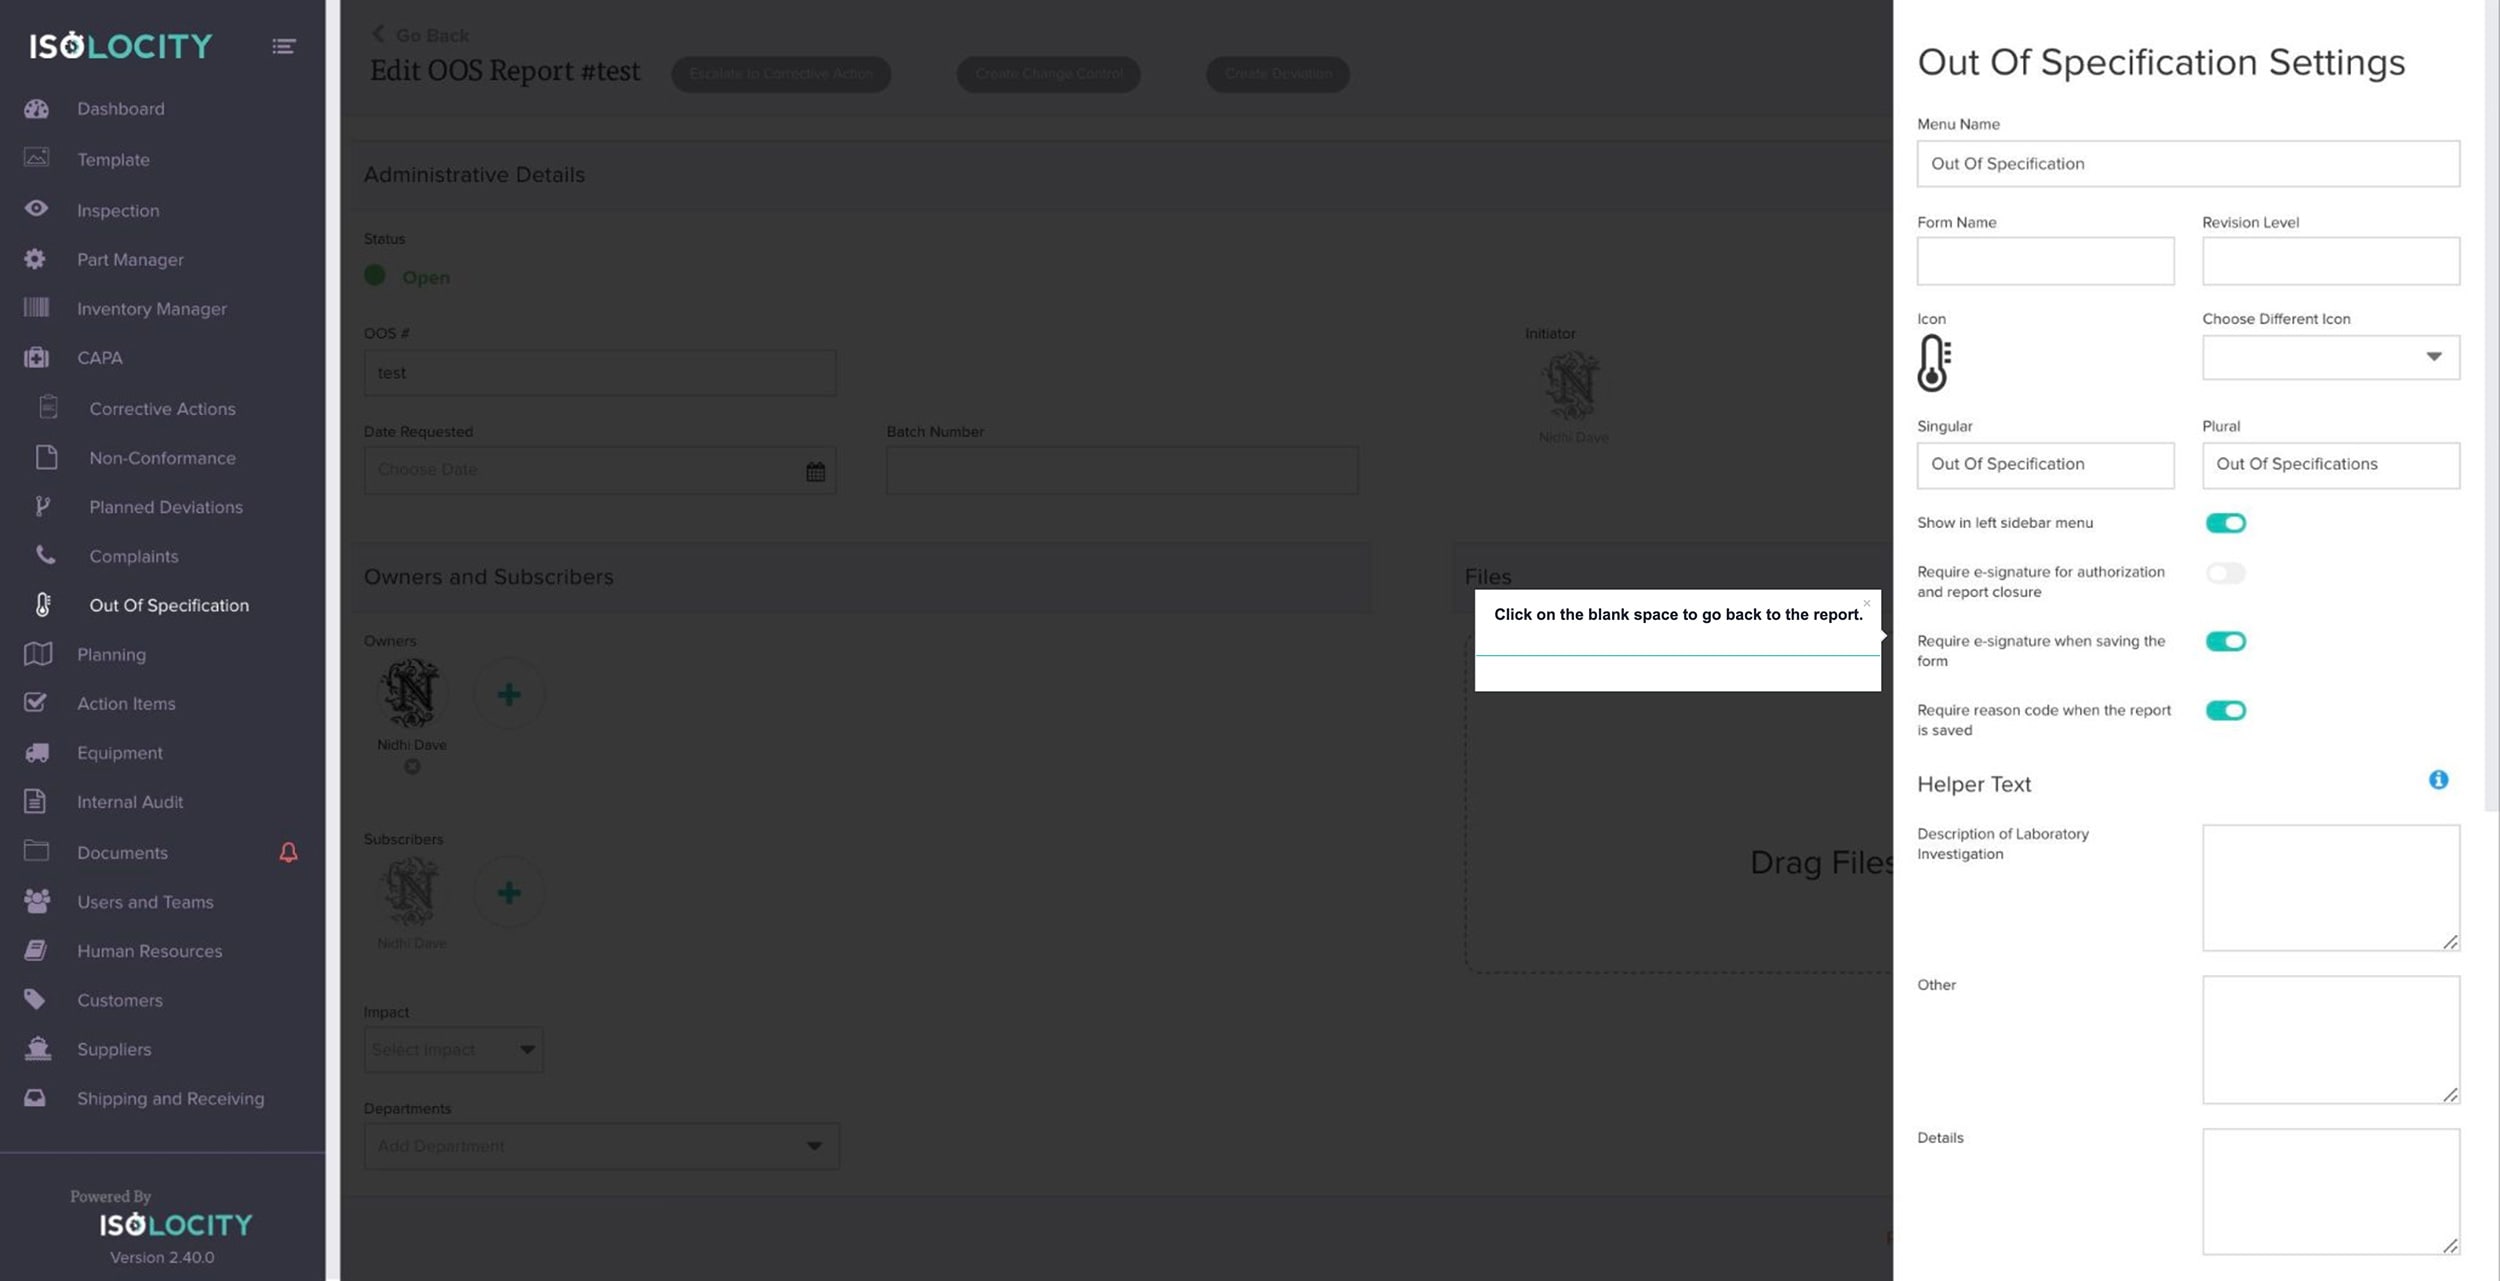
Step #57
Click on the blank space to go back to the report.
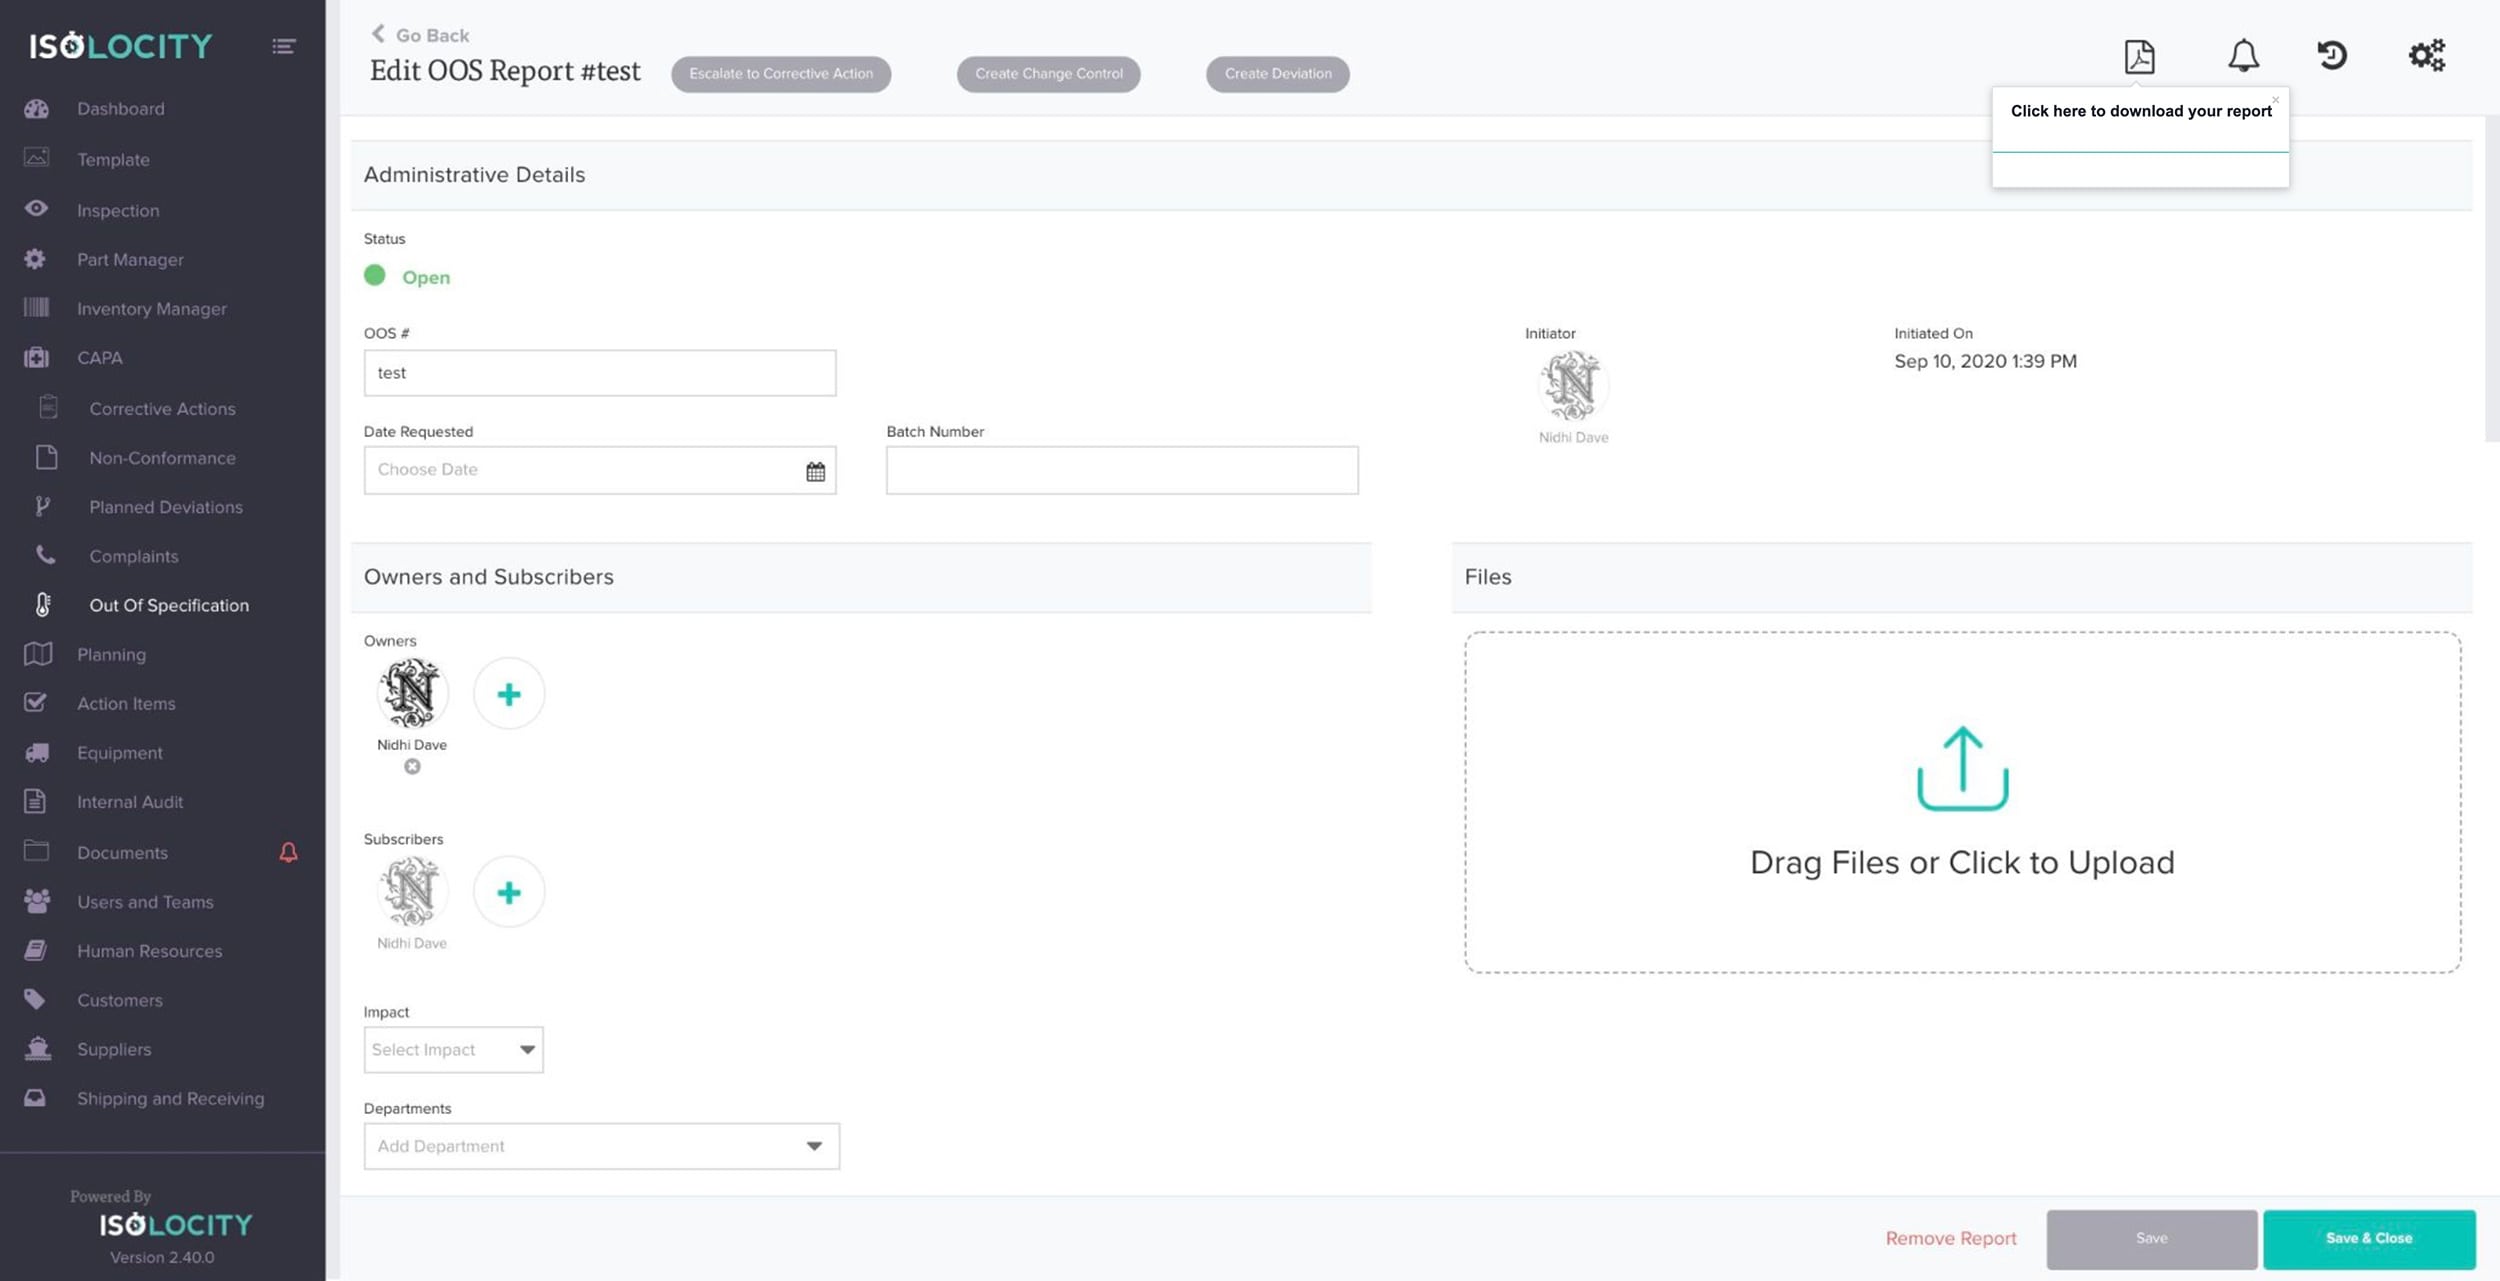
Step #58
Click here to download your report