Adding An Audit Template
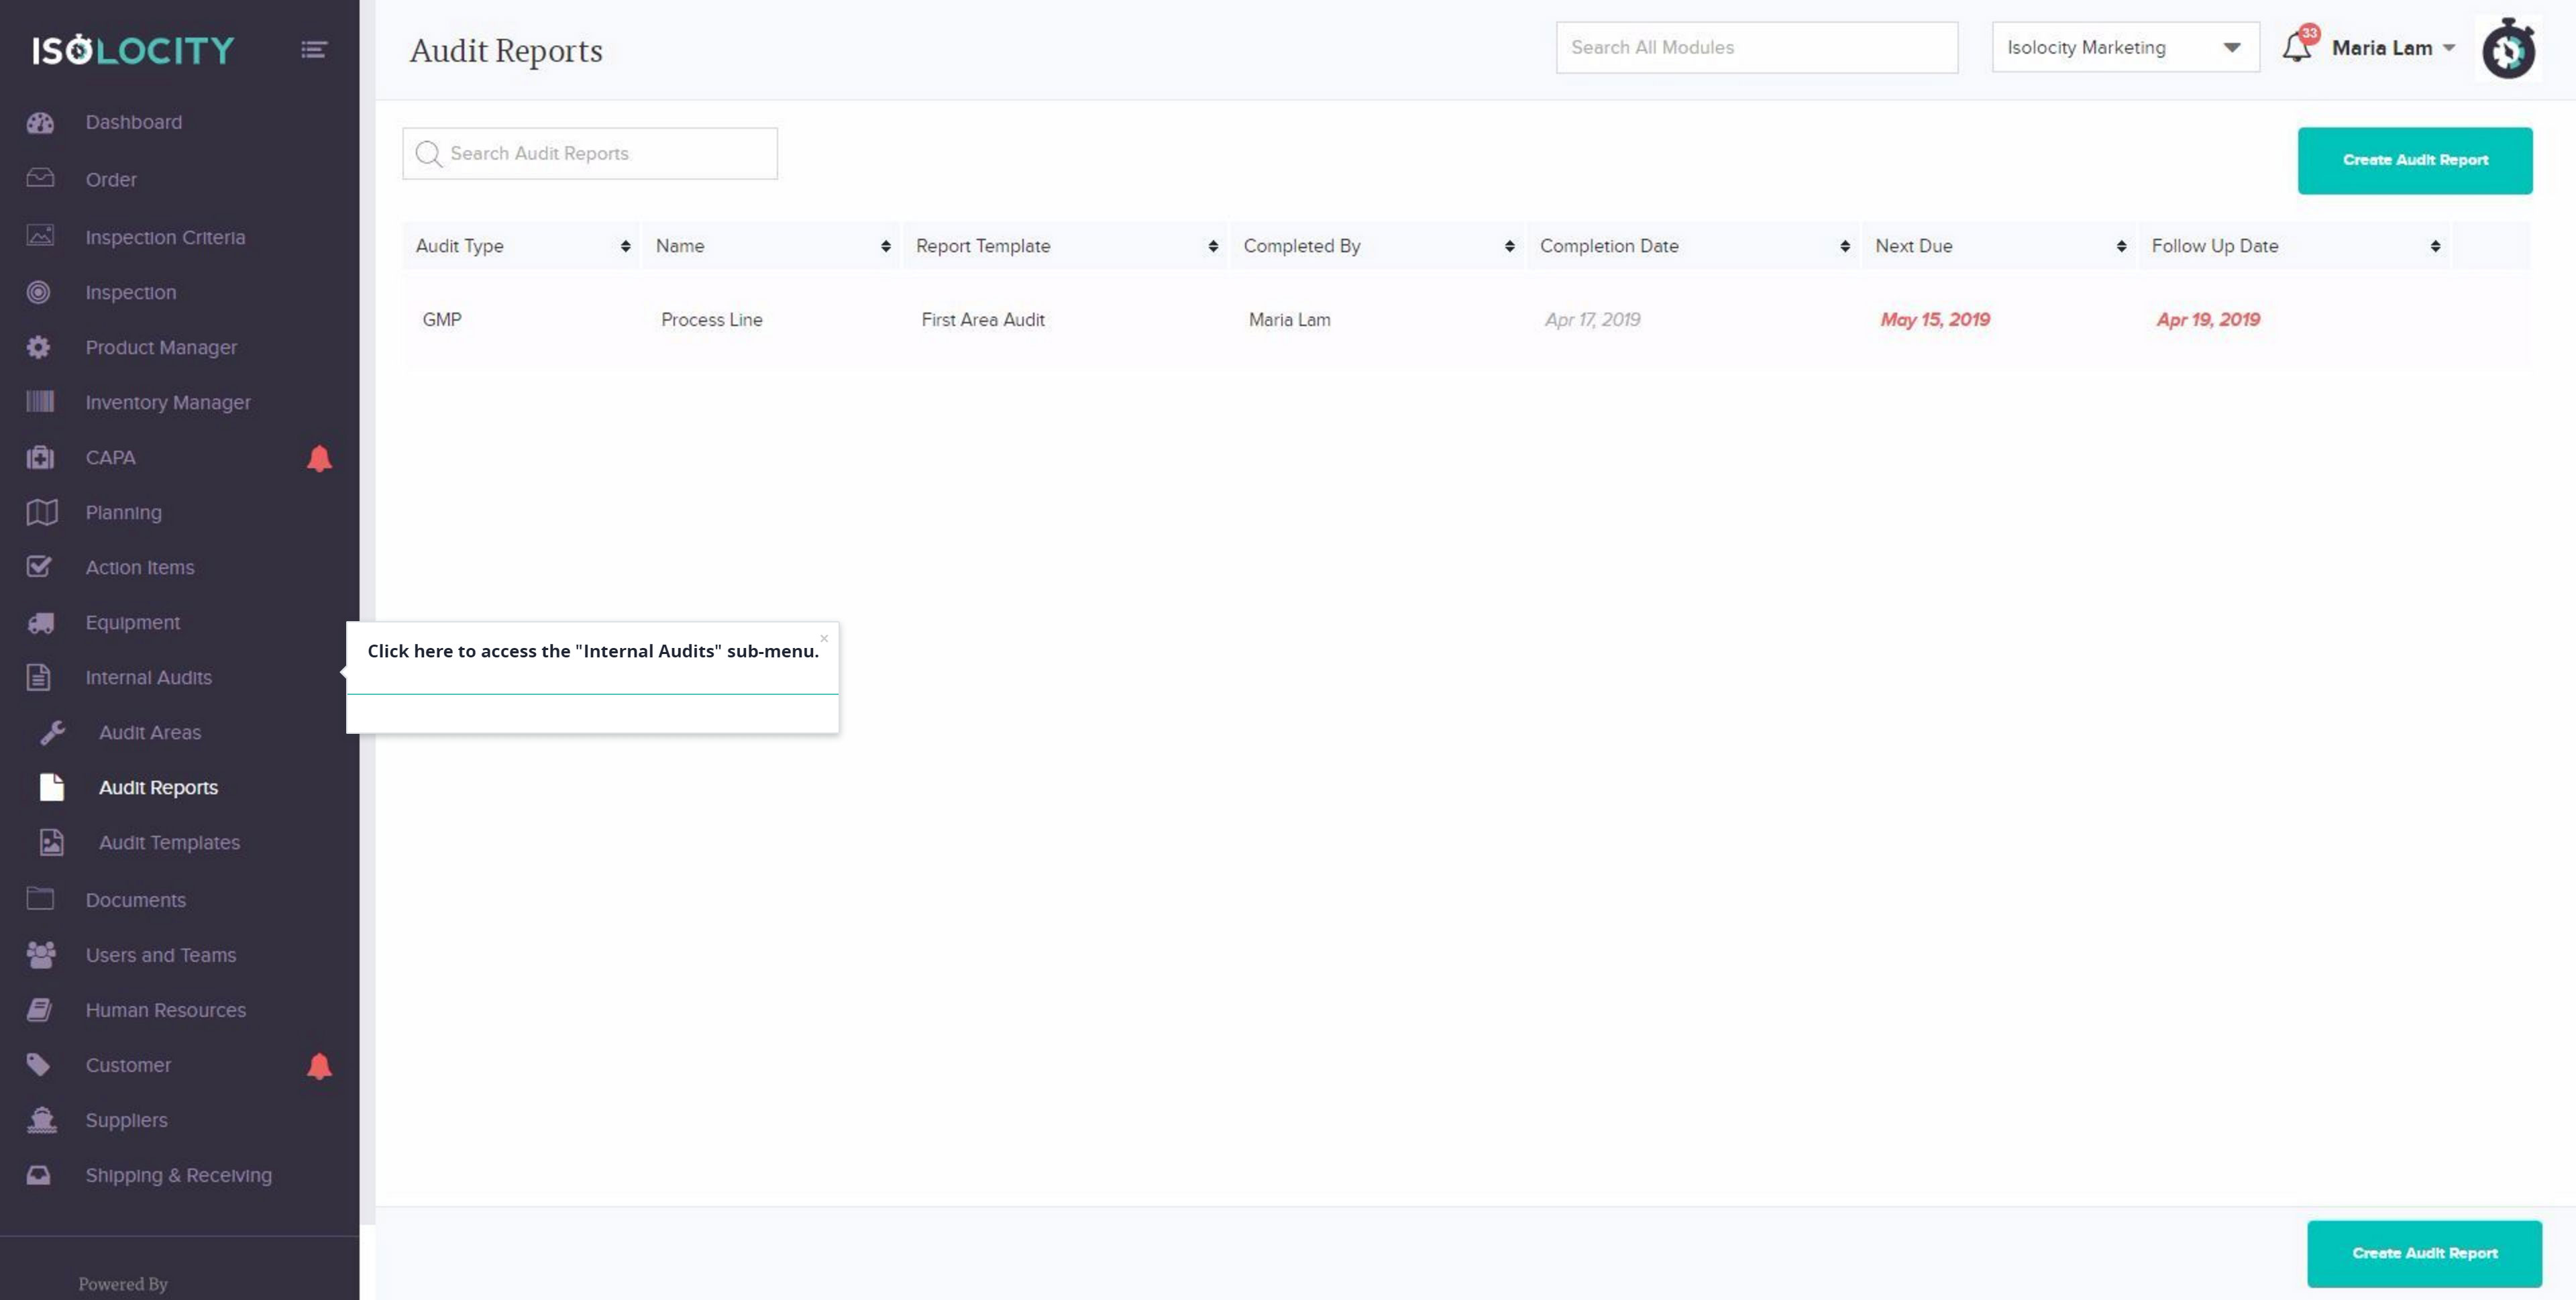
Step #1
Click here to access the “Internal Audits” sub-menu.
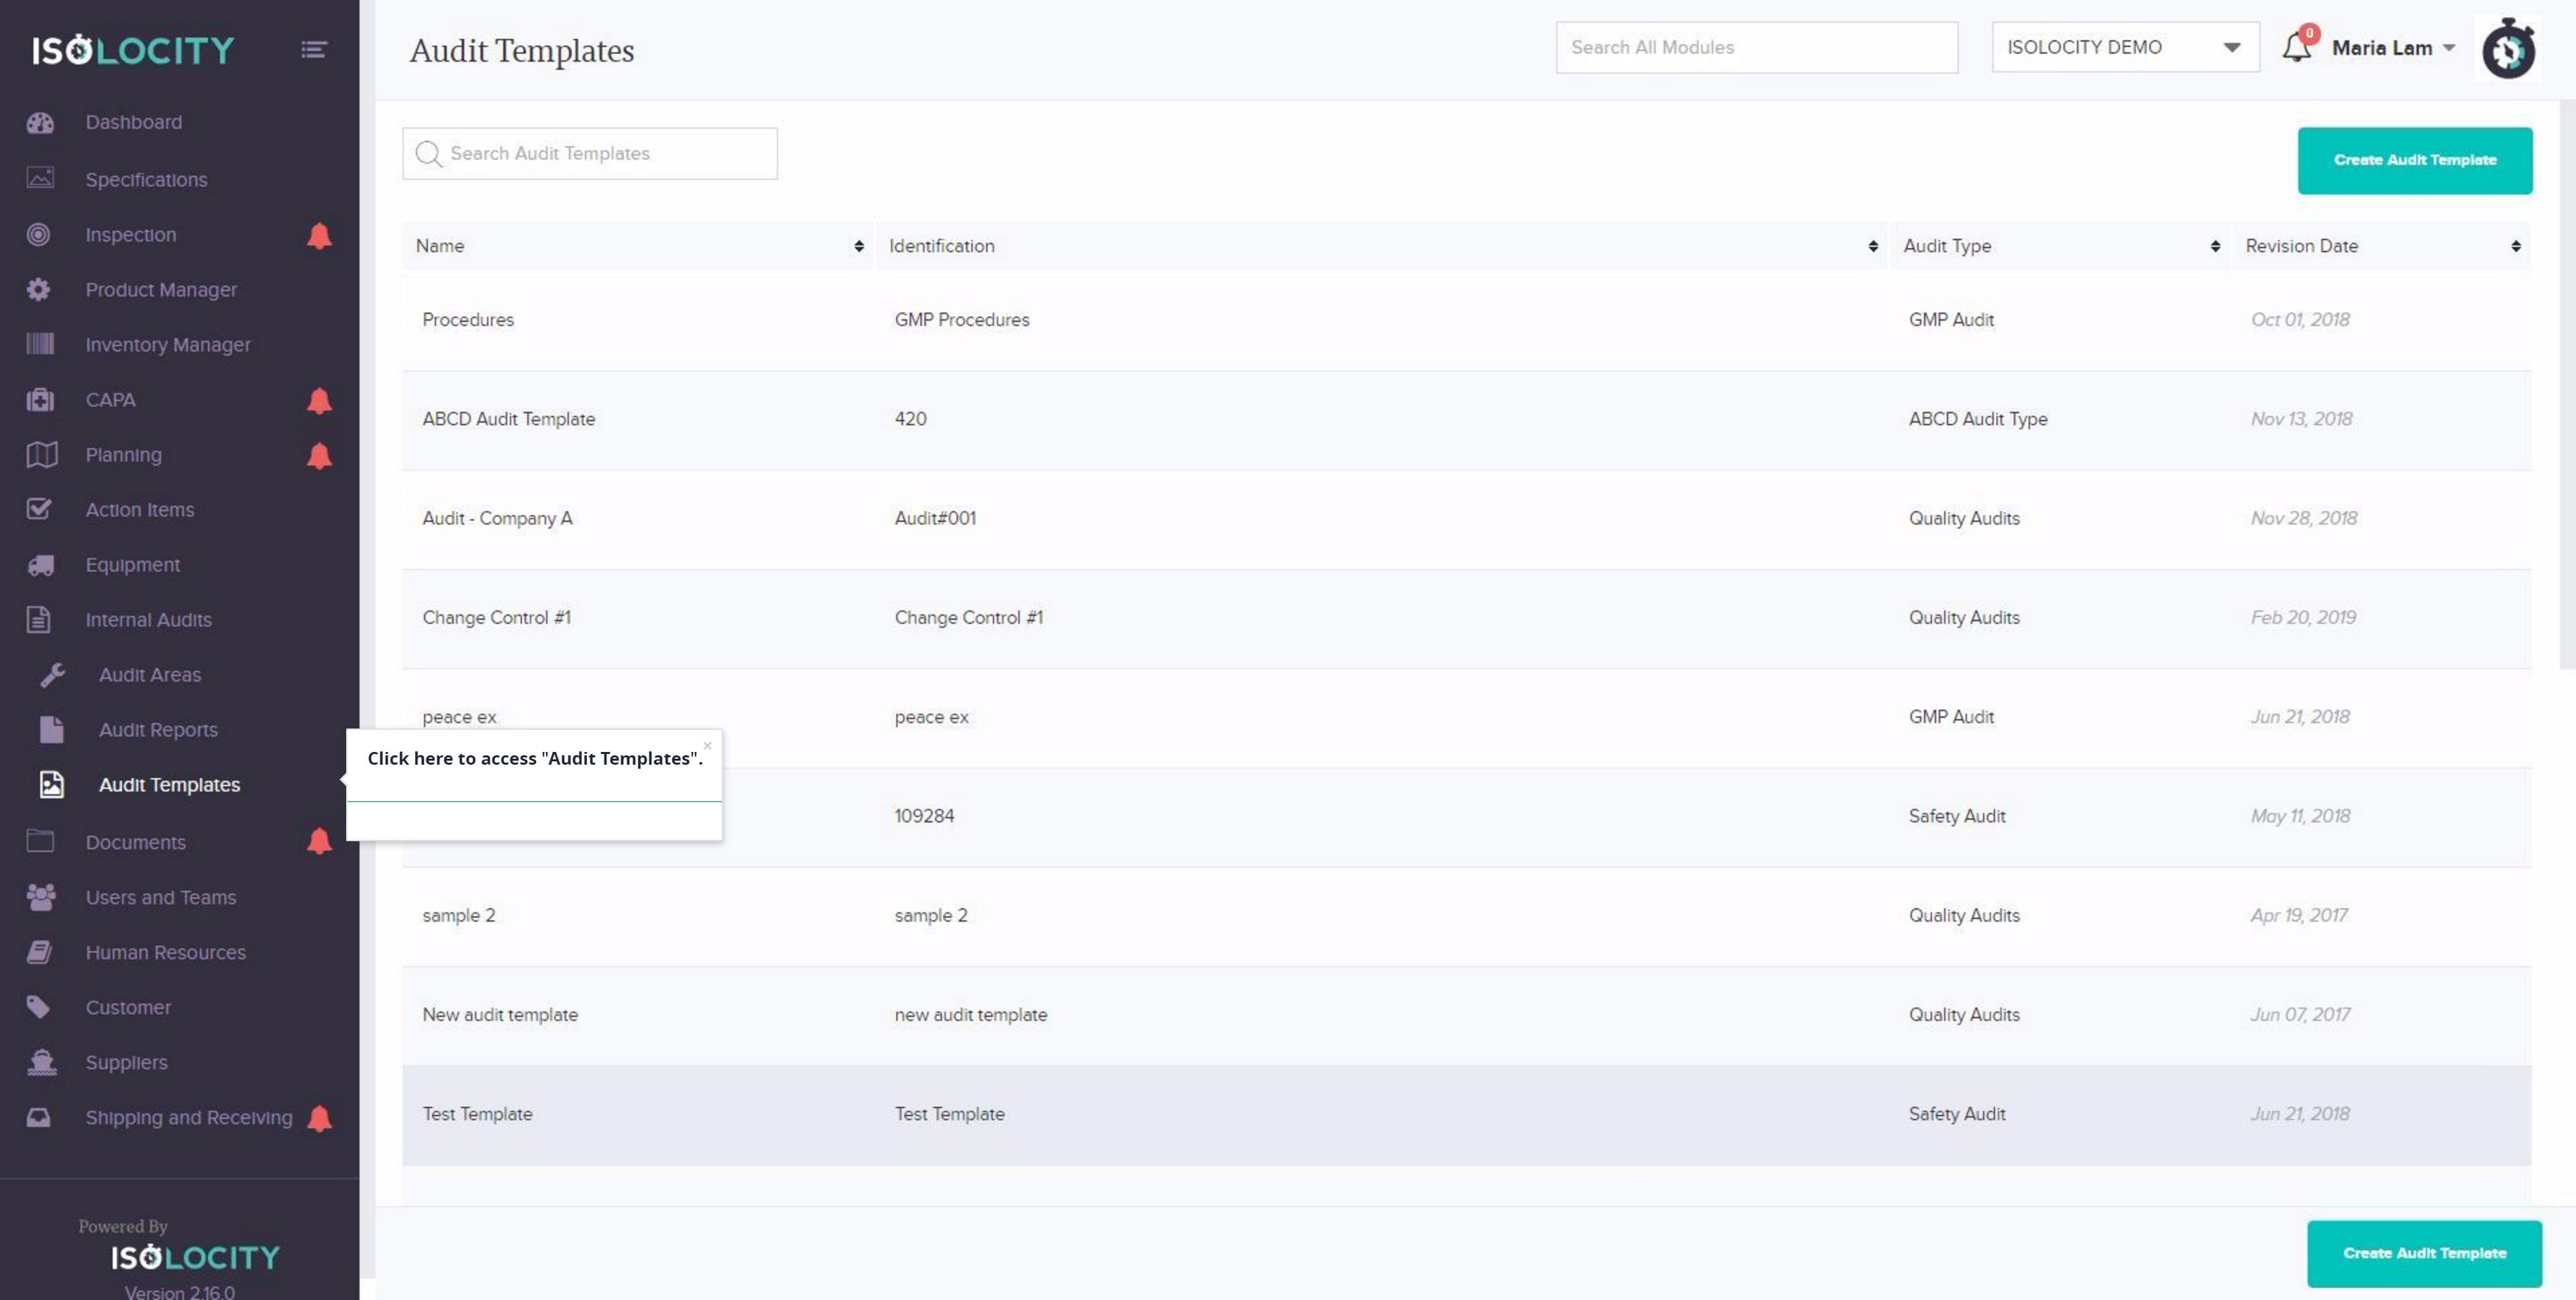
Step #2
Click here to access “Audit Templates”.
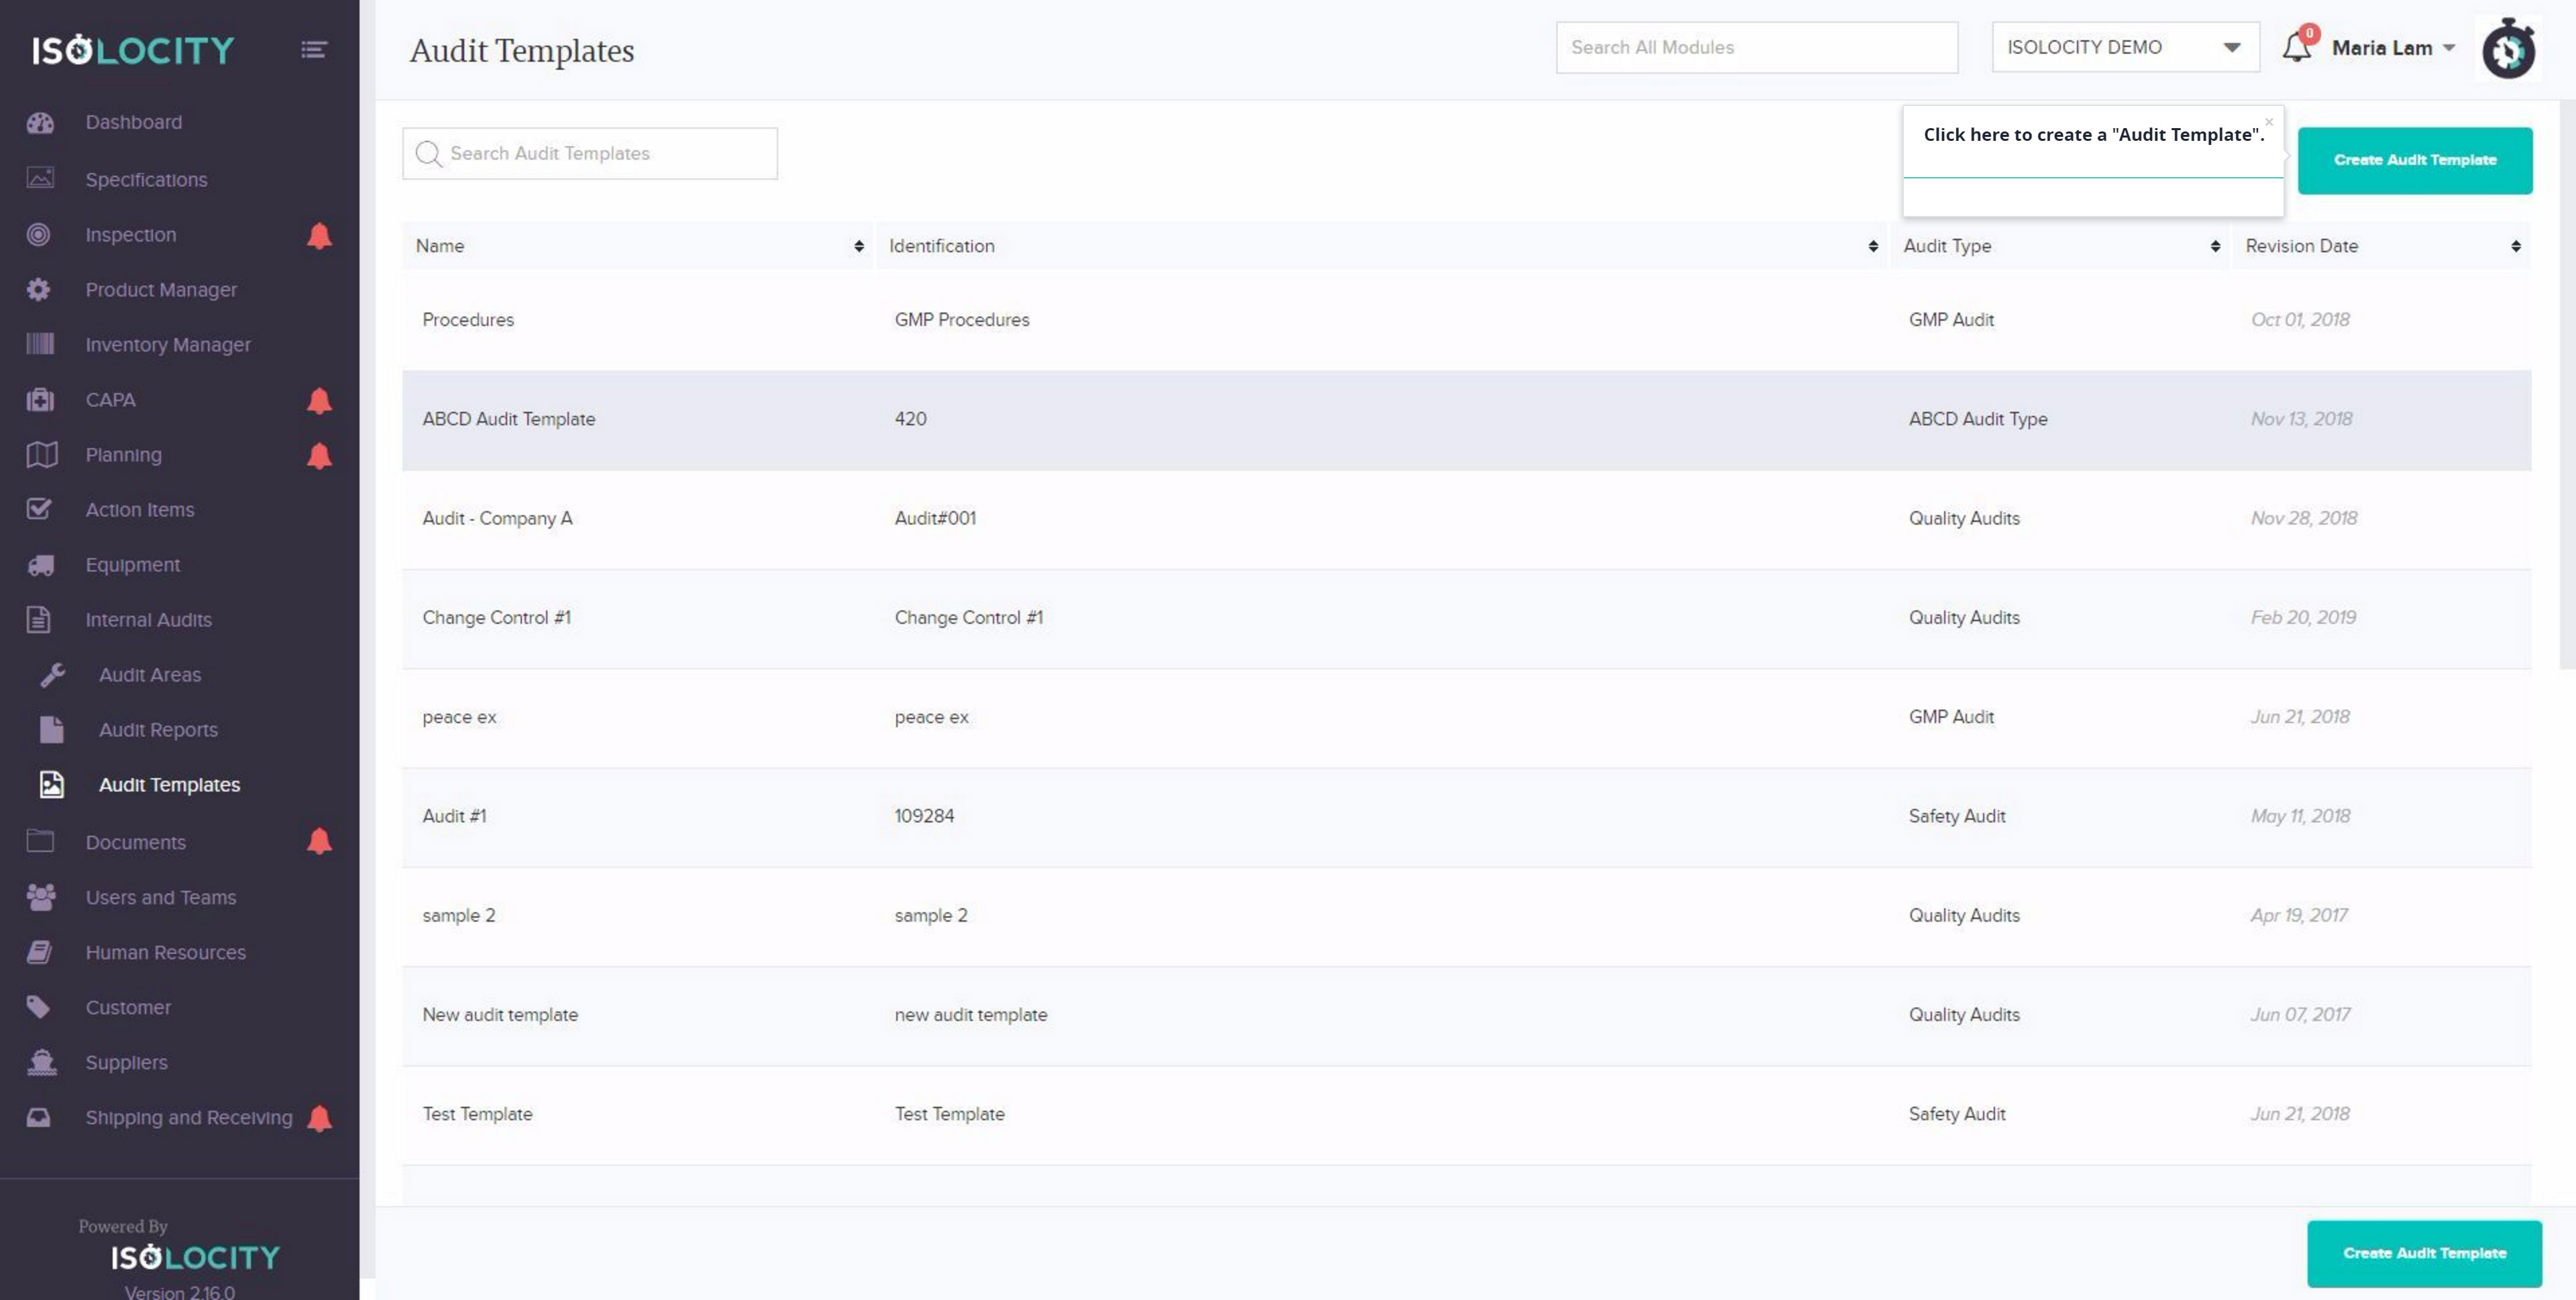
Step 3
Click here to create a “Audit Template”.
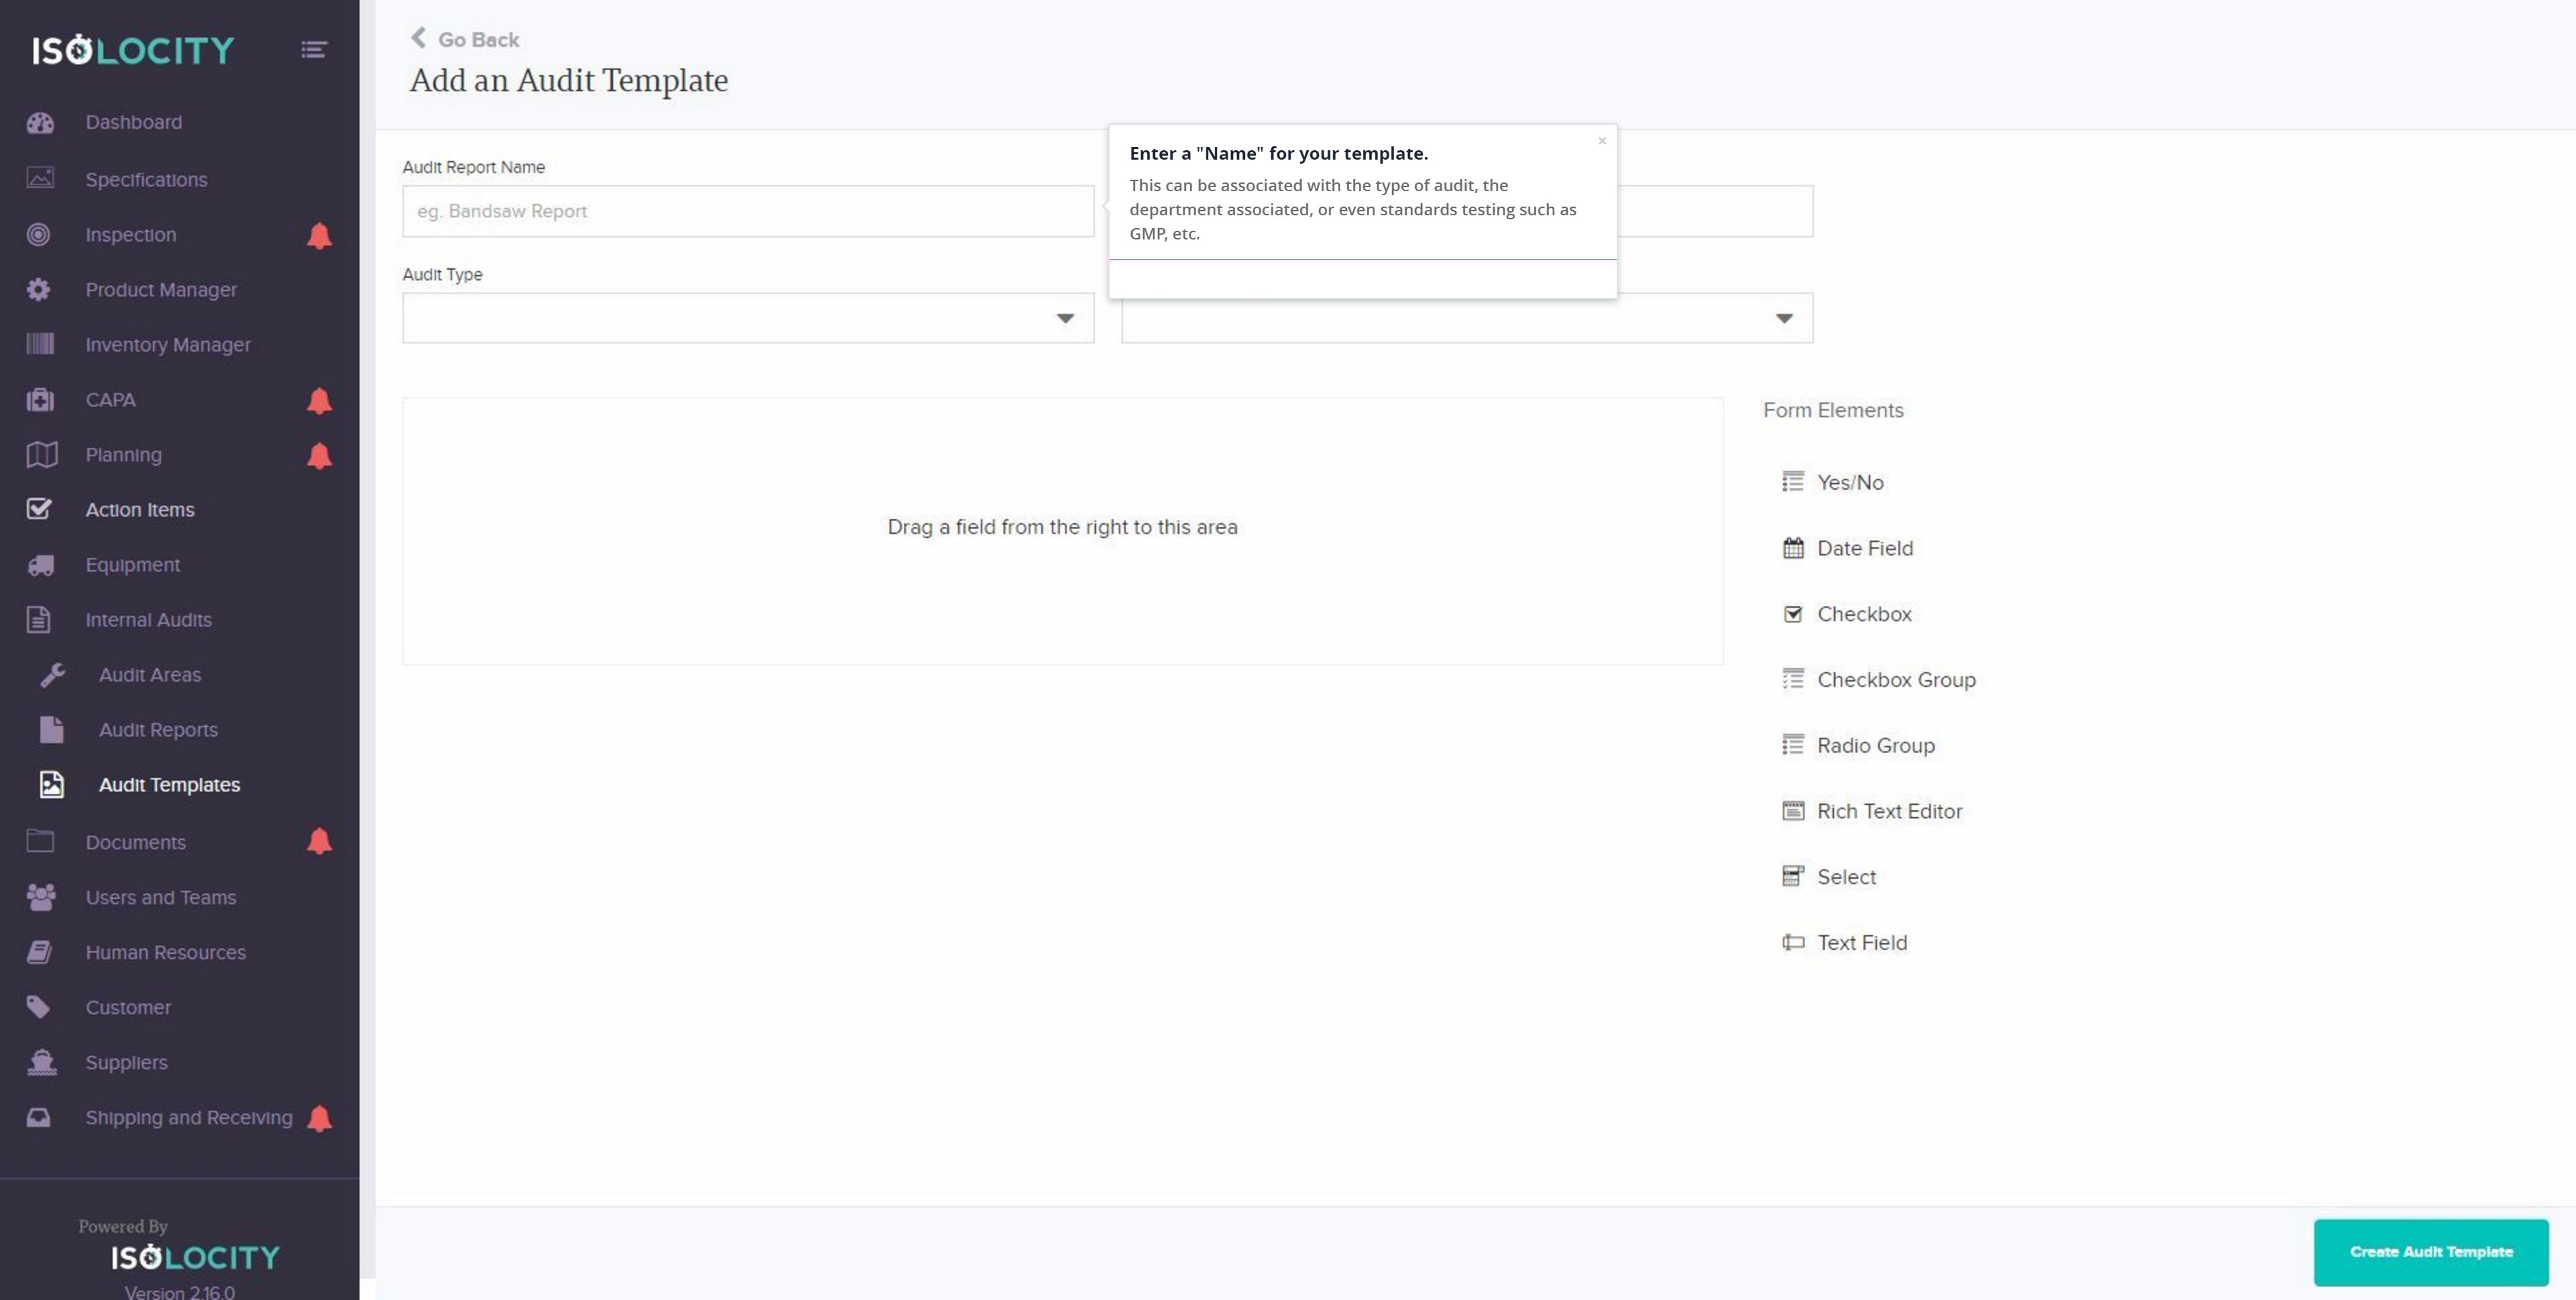
Step #4
Enter a “Name” for your template.
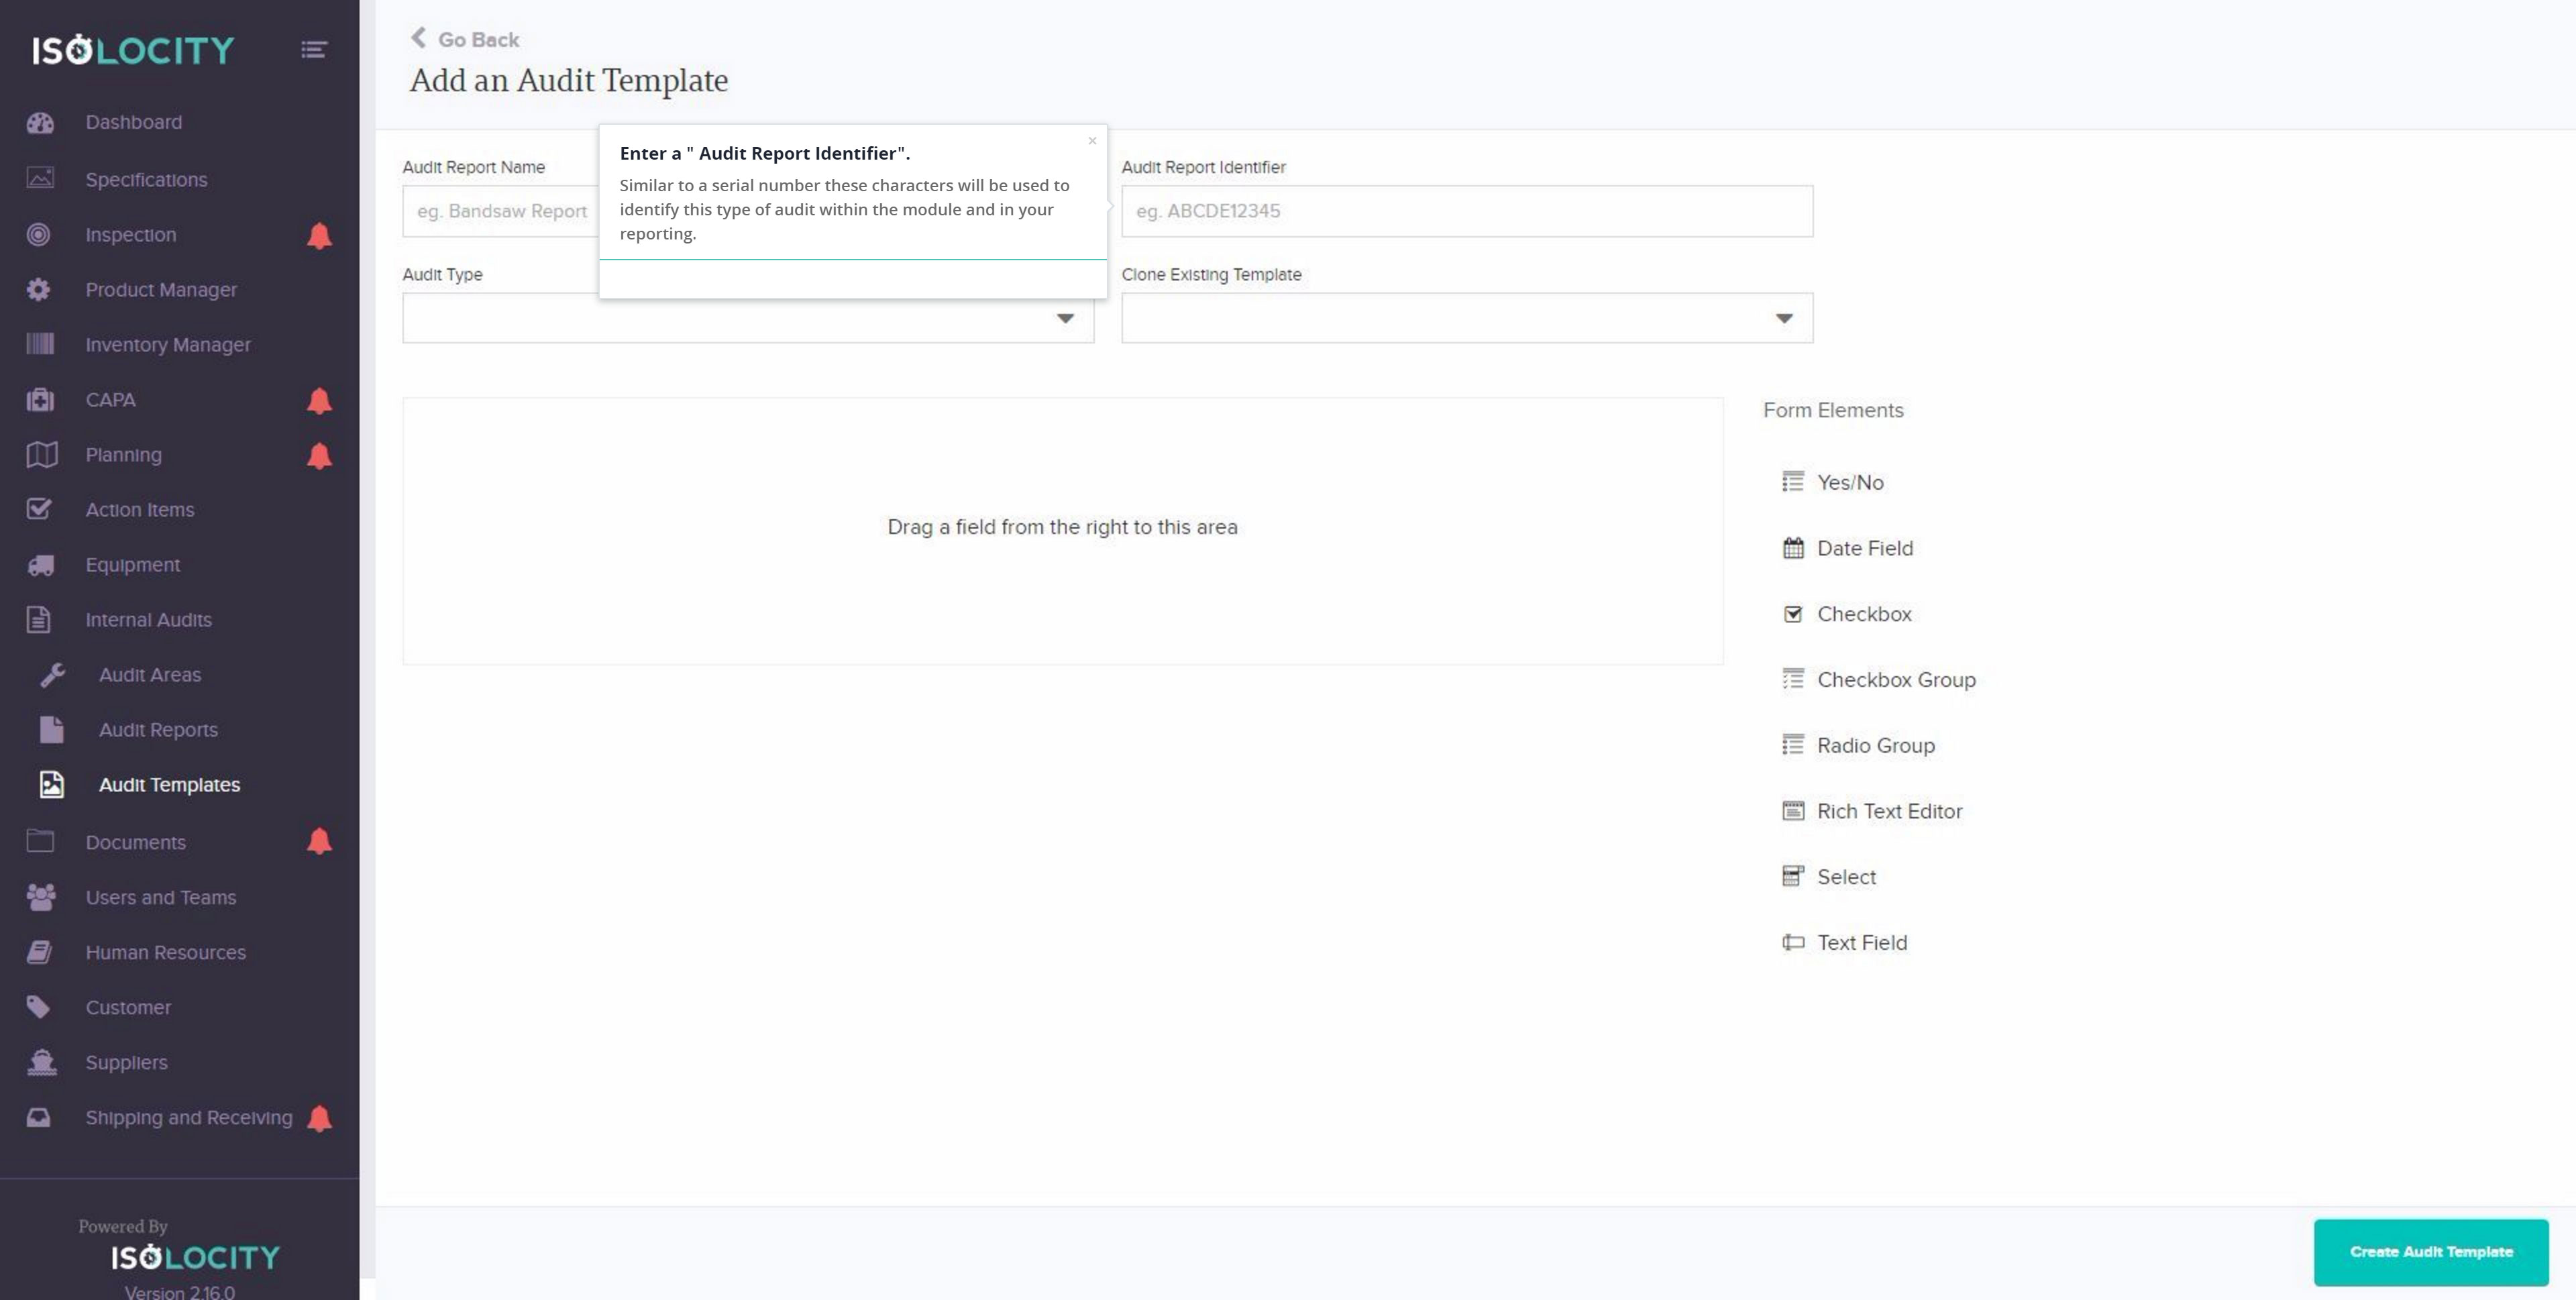
Step #5
Enter a ” Audit Report Identifier”.
Step #6
Select the type of audit associated.

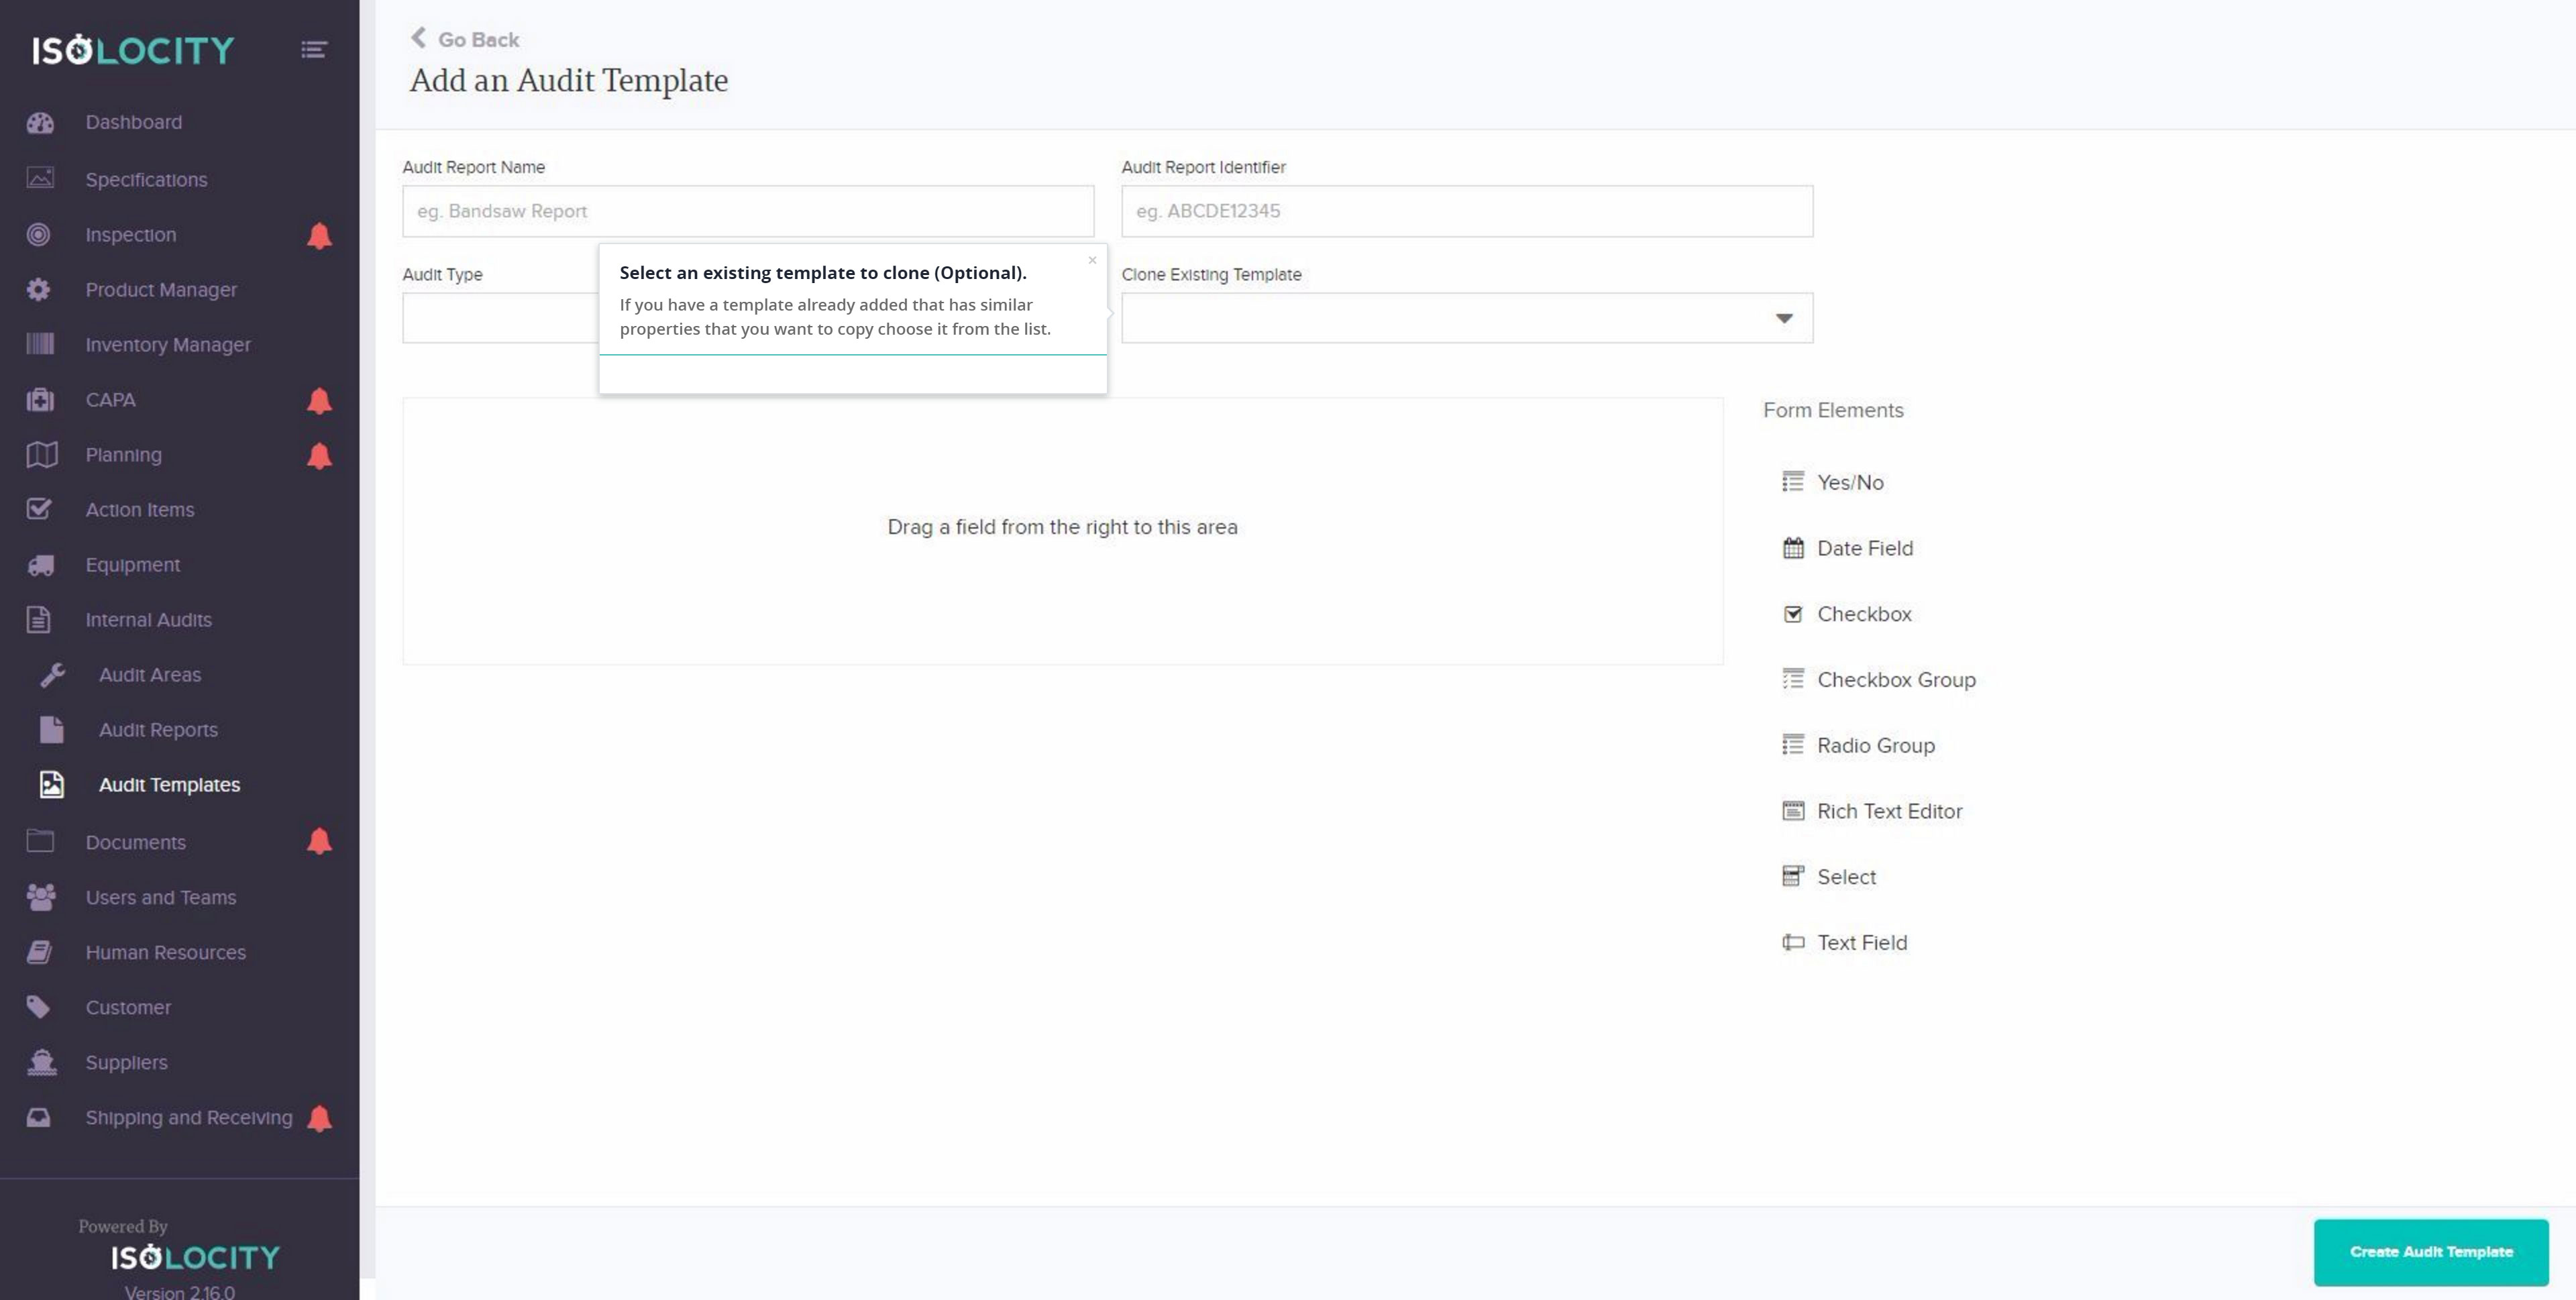
Step #7
Select an existing template to clone (Optional).
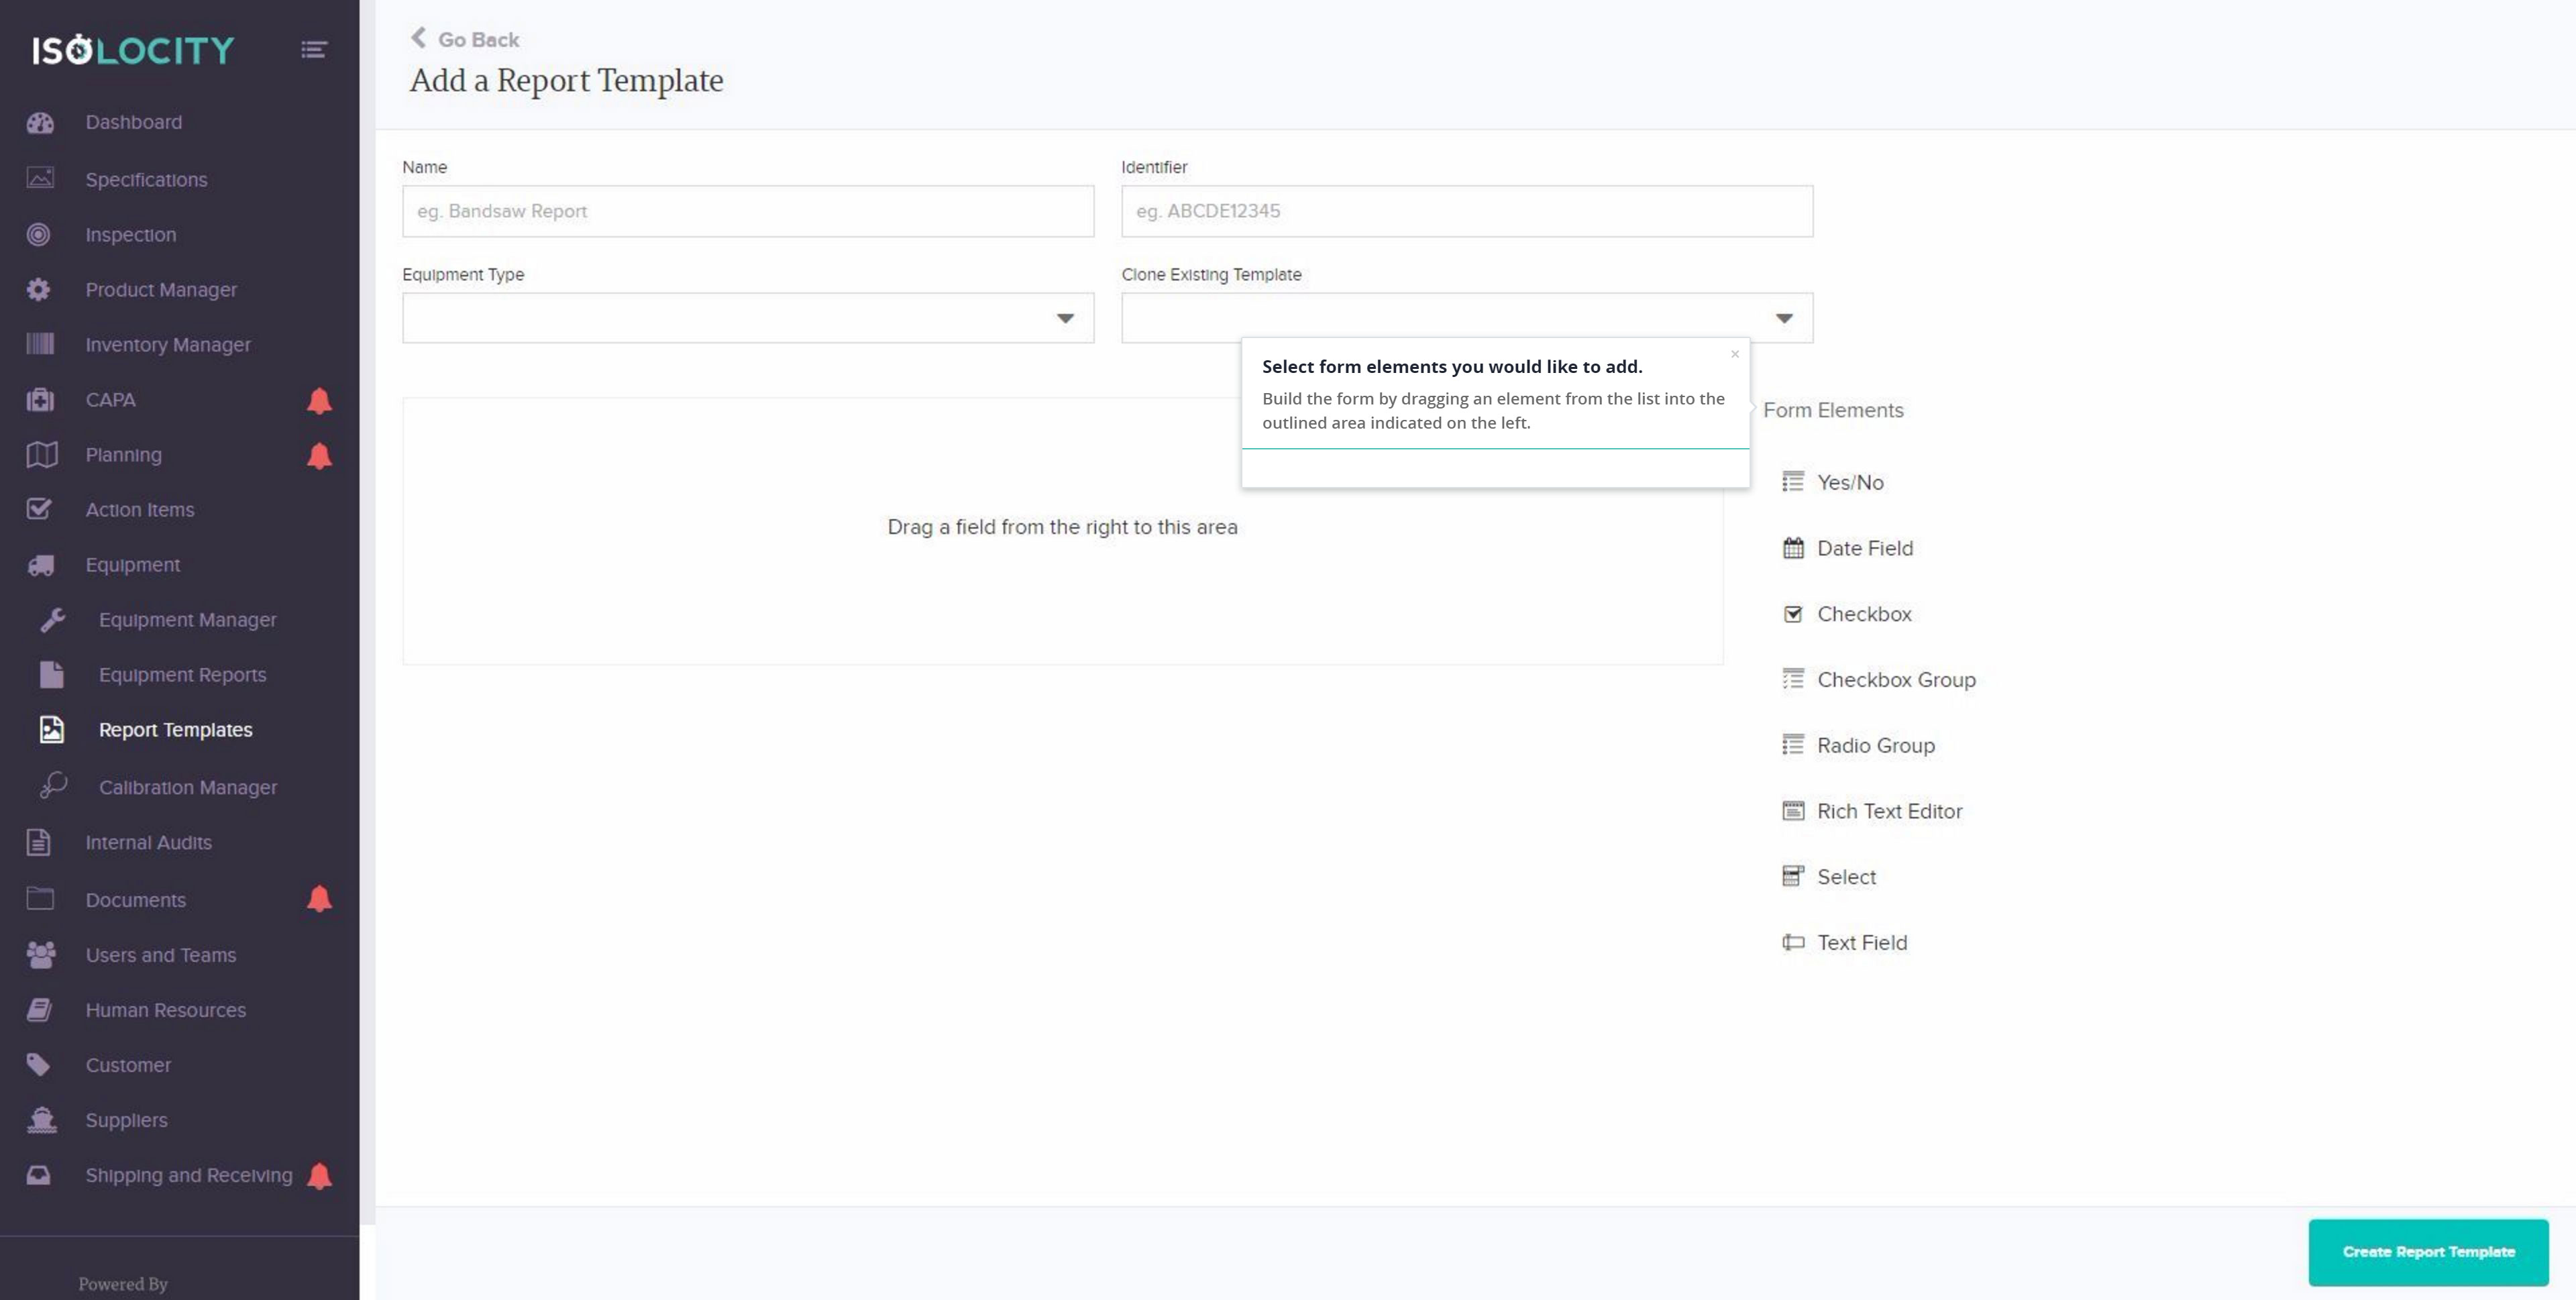
Step #8
Select form elements you would like to add.
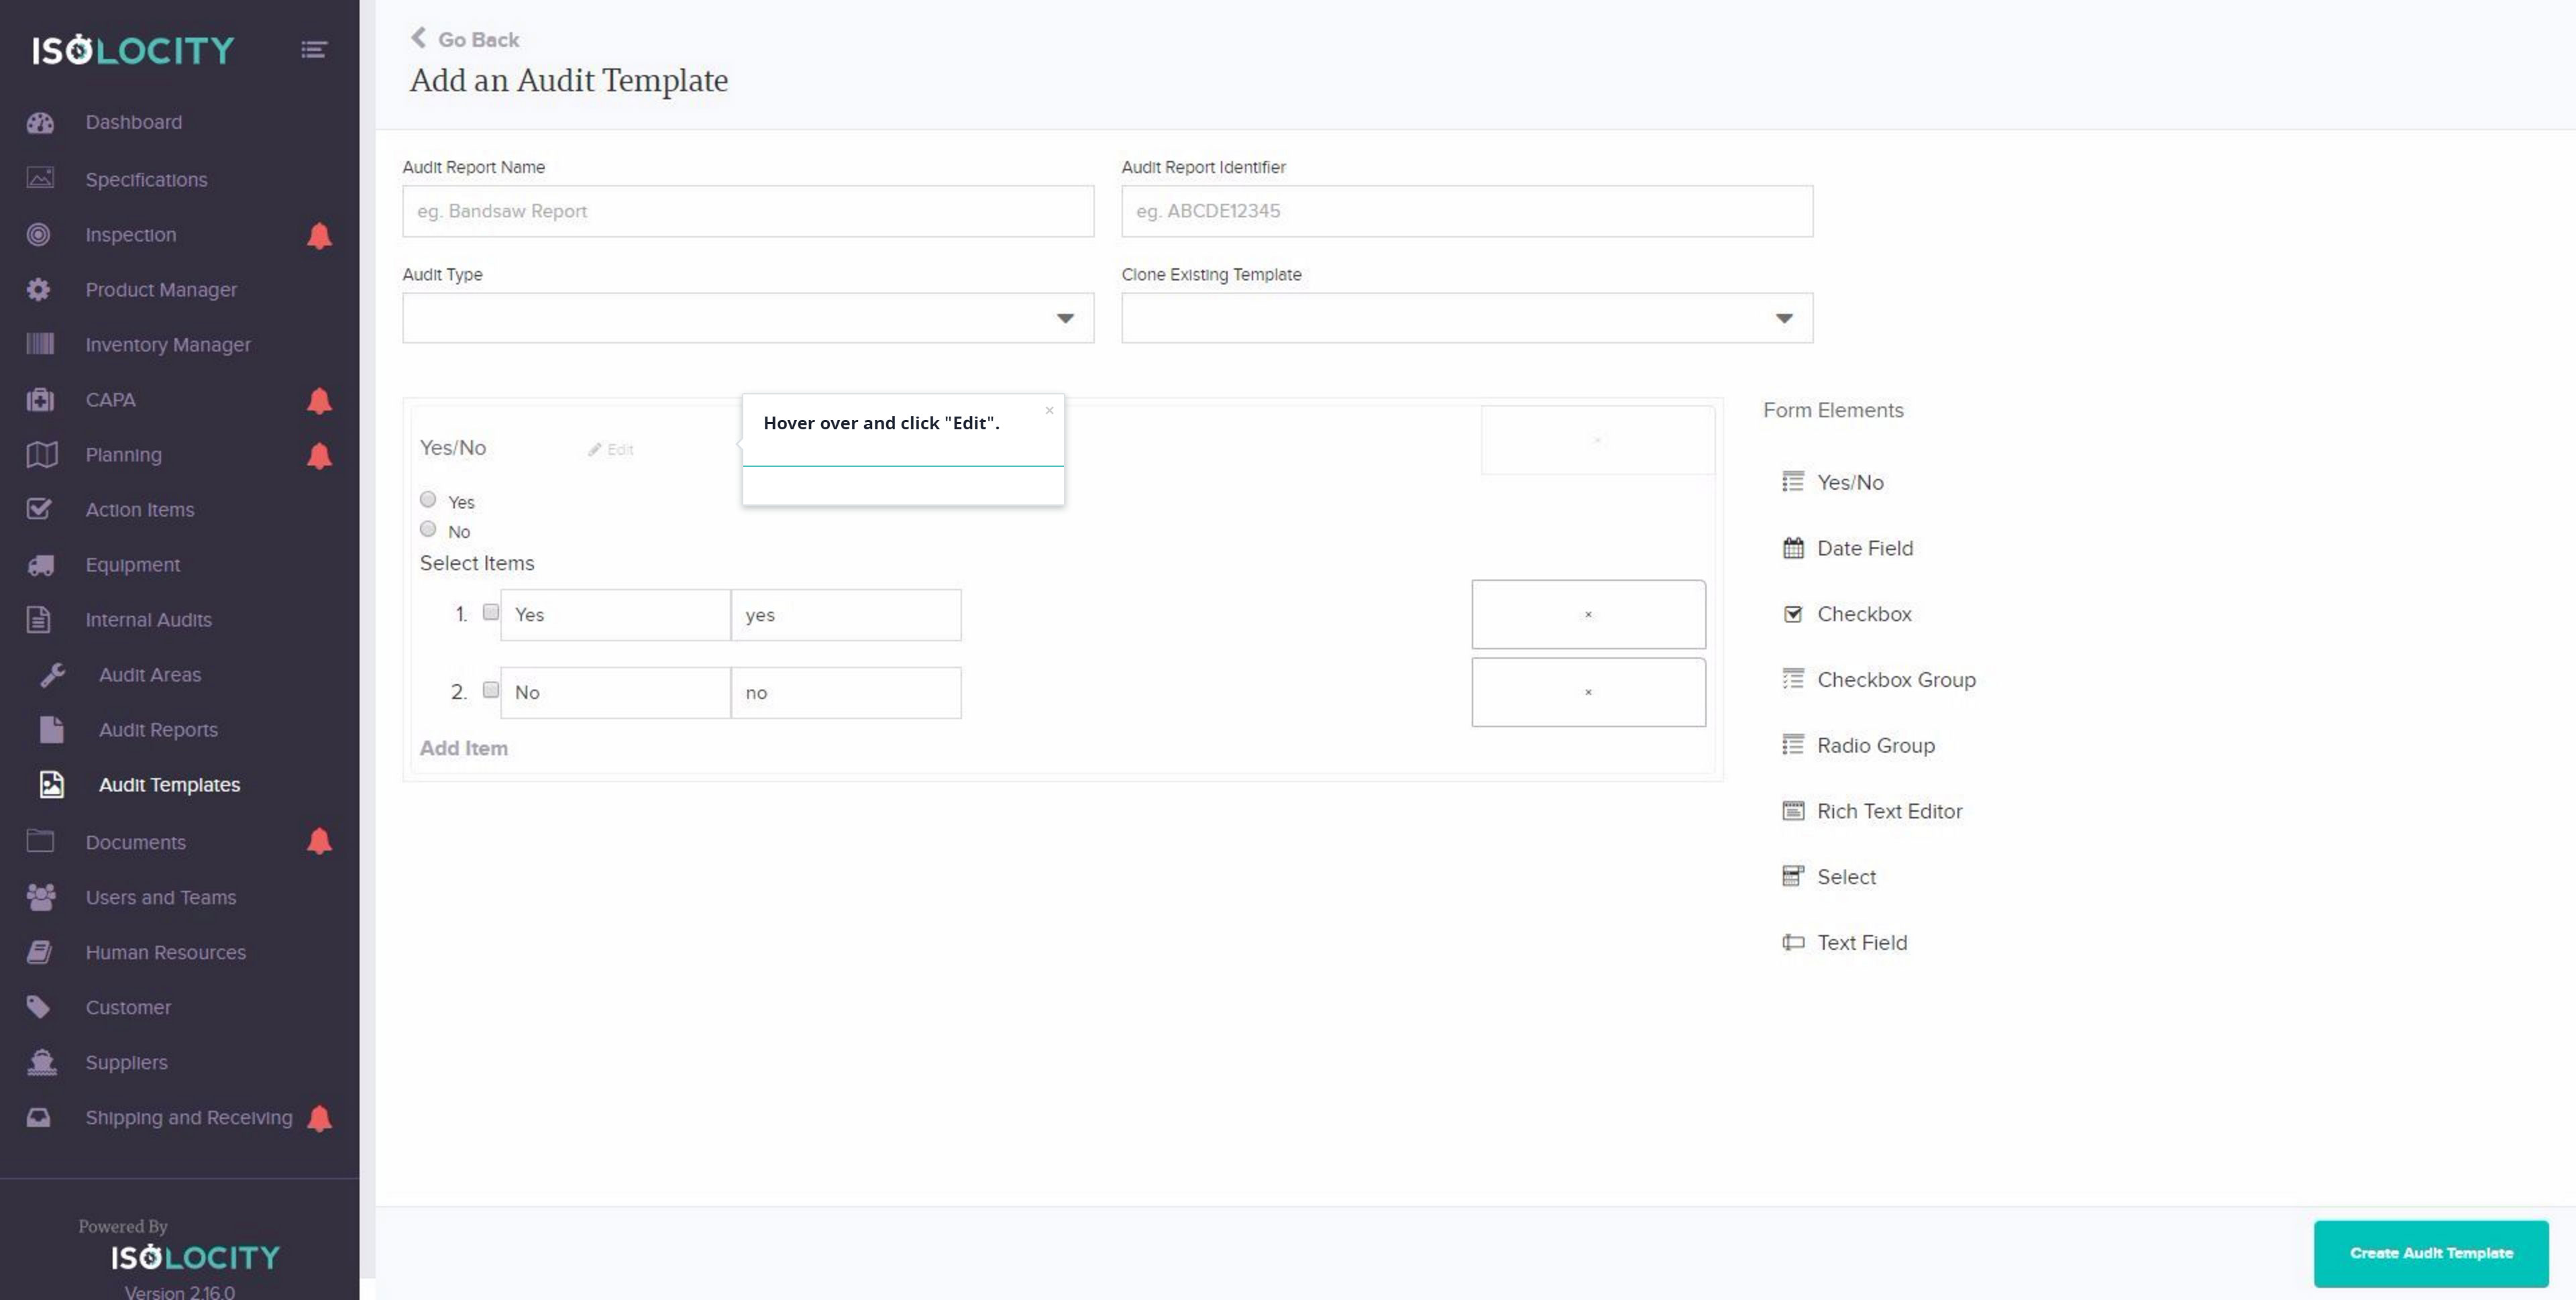
Step #9
Hover over and click “Edit”.
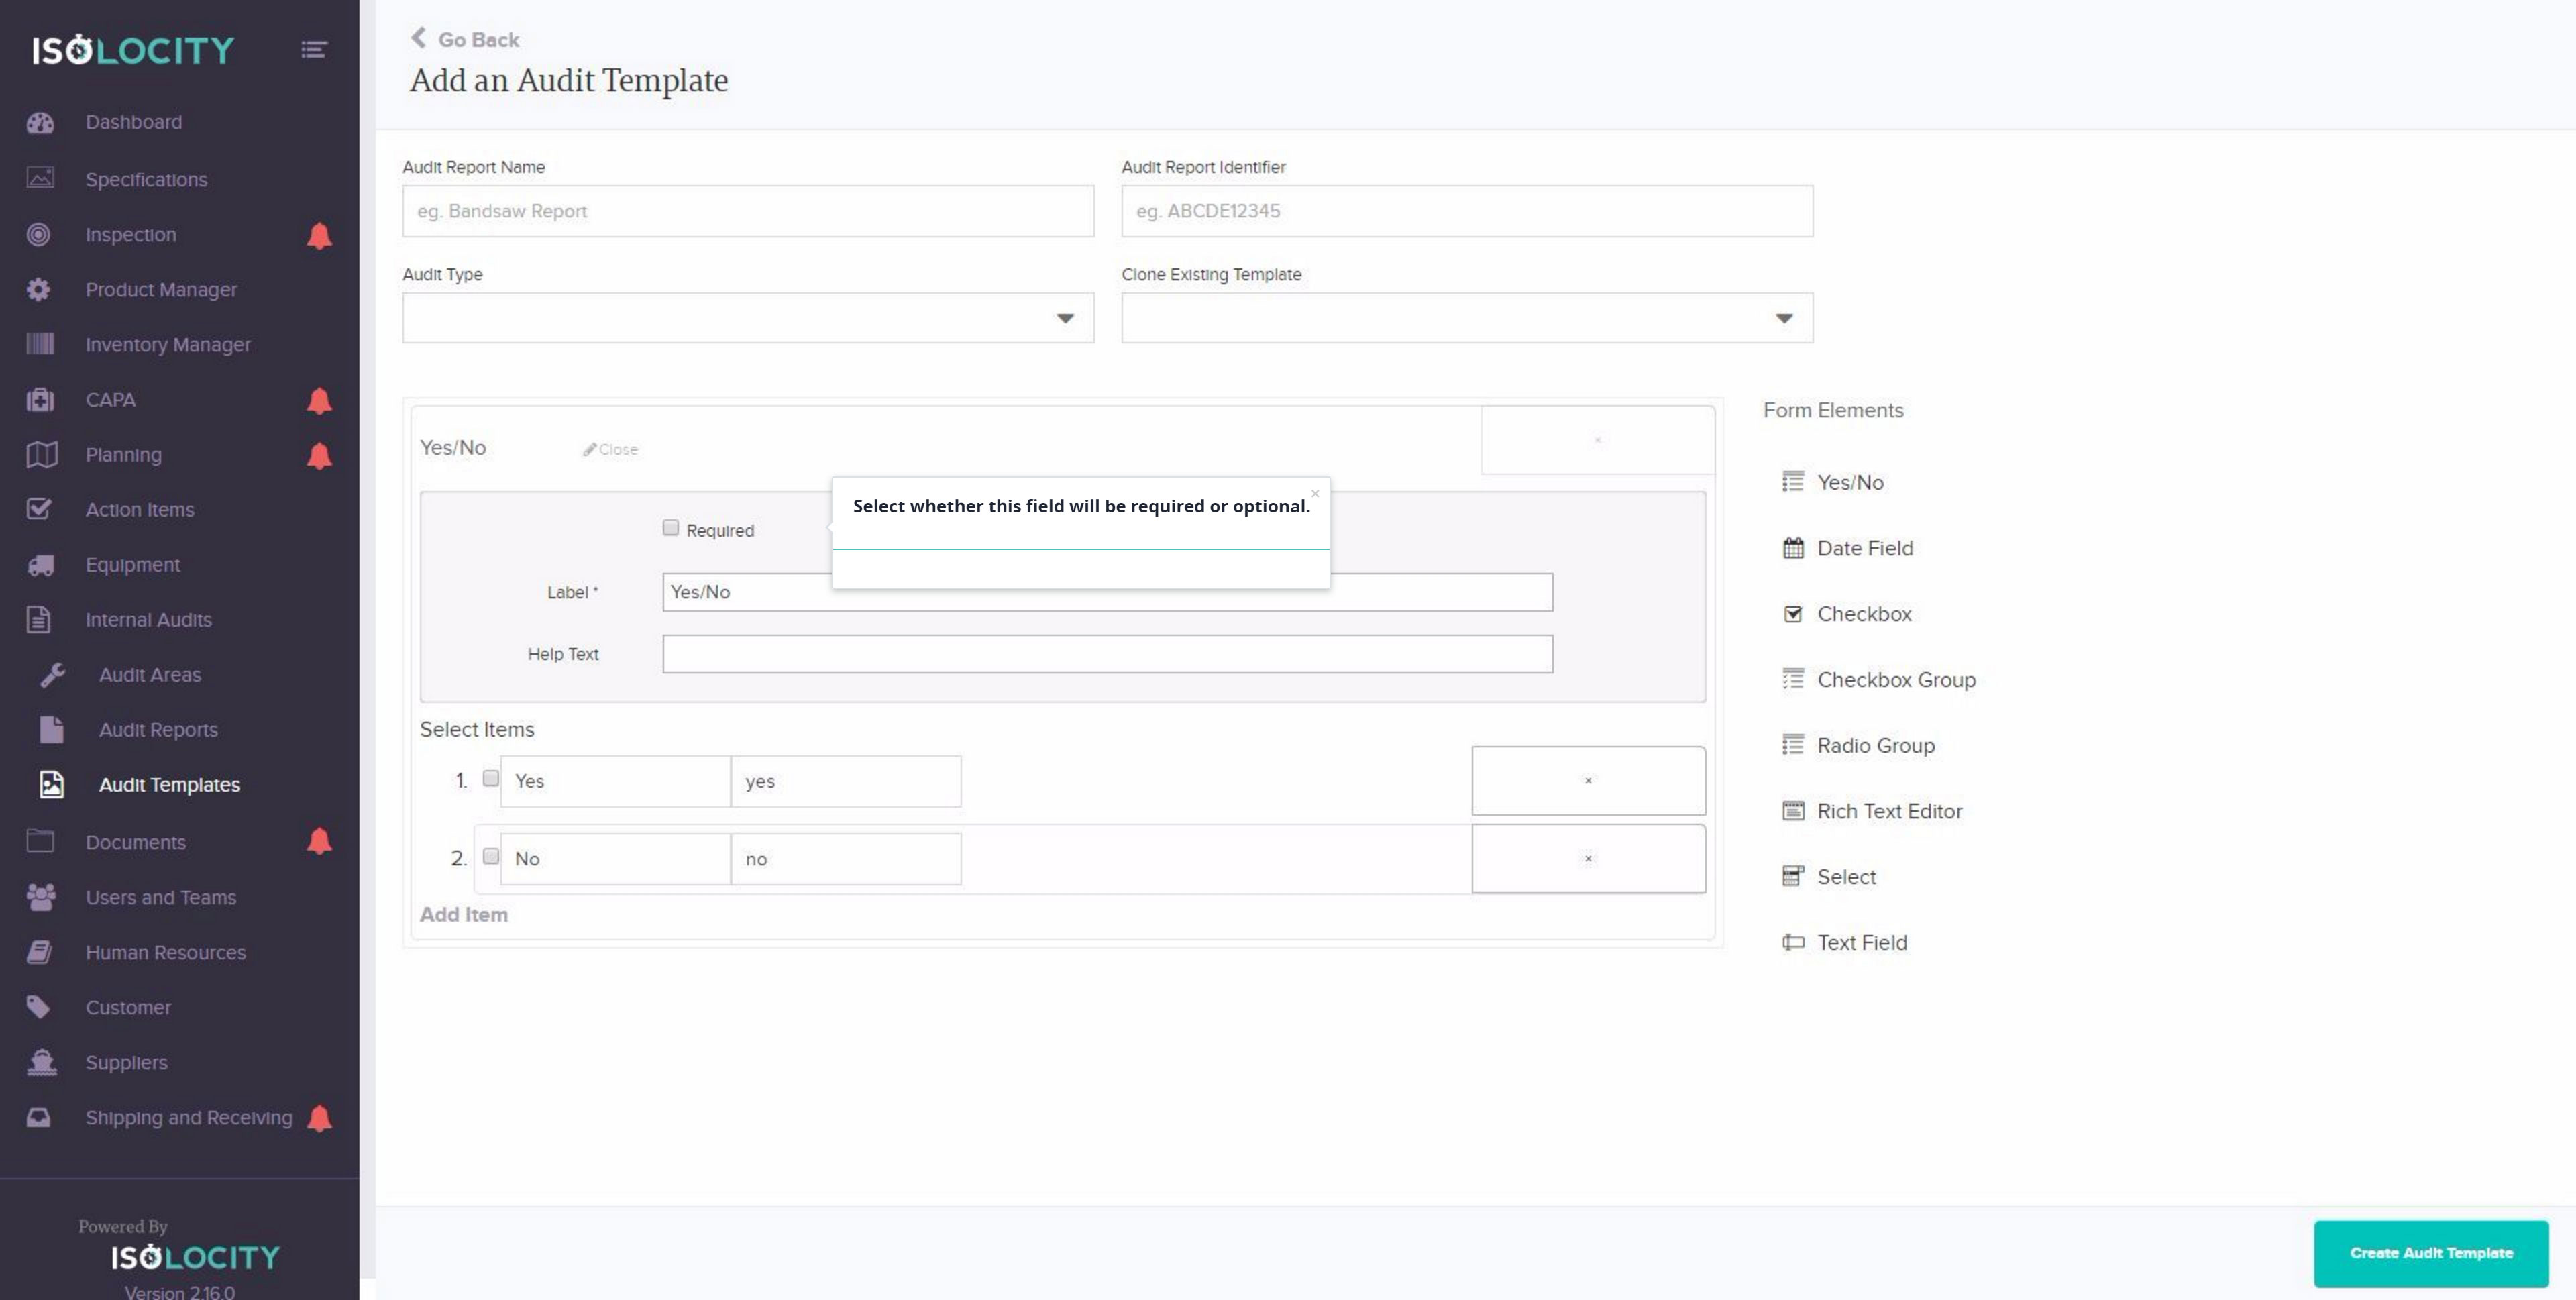
Step #10
Select whether this field will be required or optional.
Step #11
Rename the “Yes/No” question.

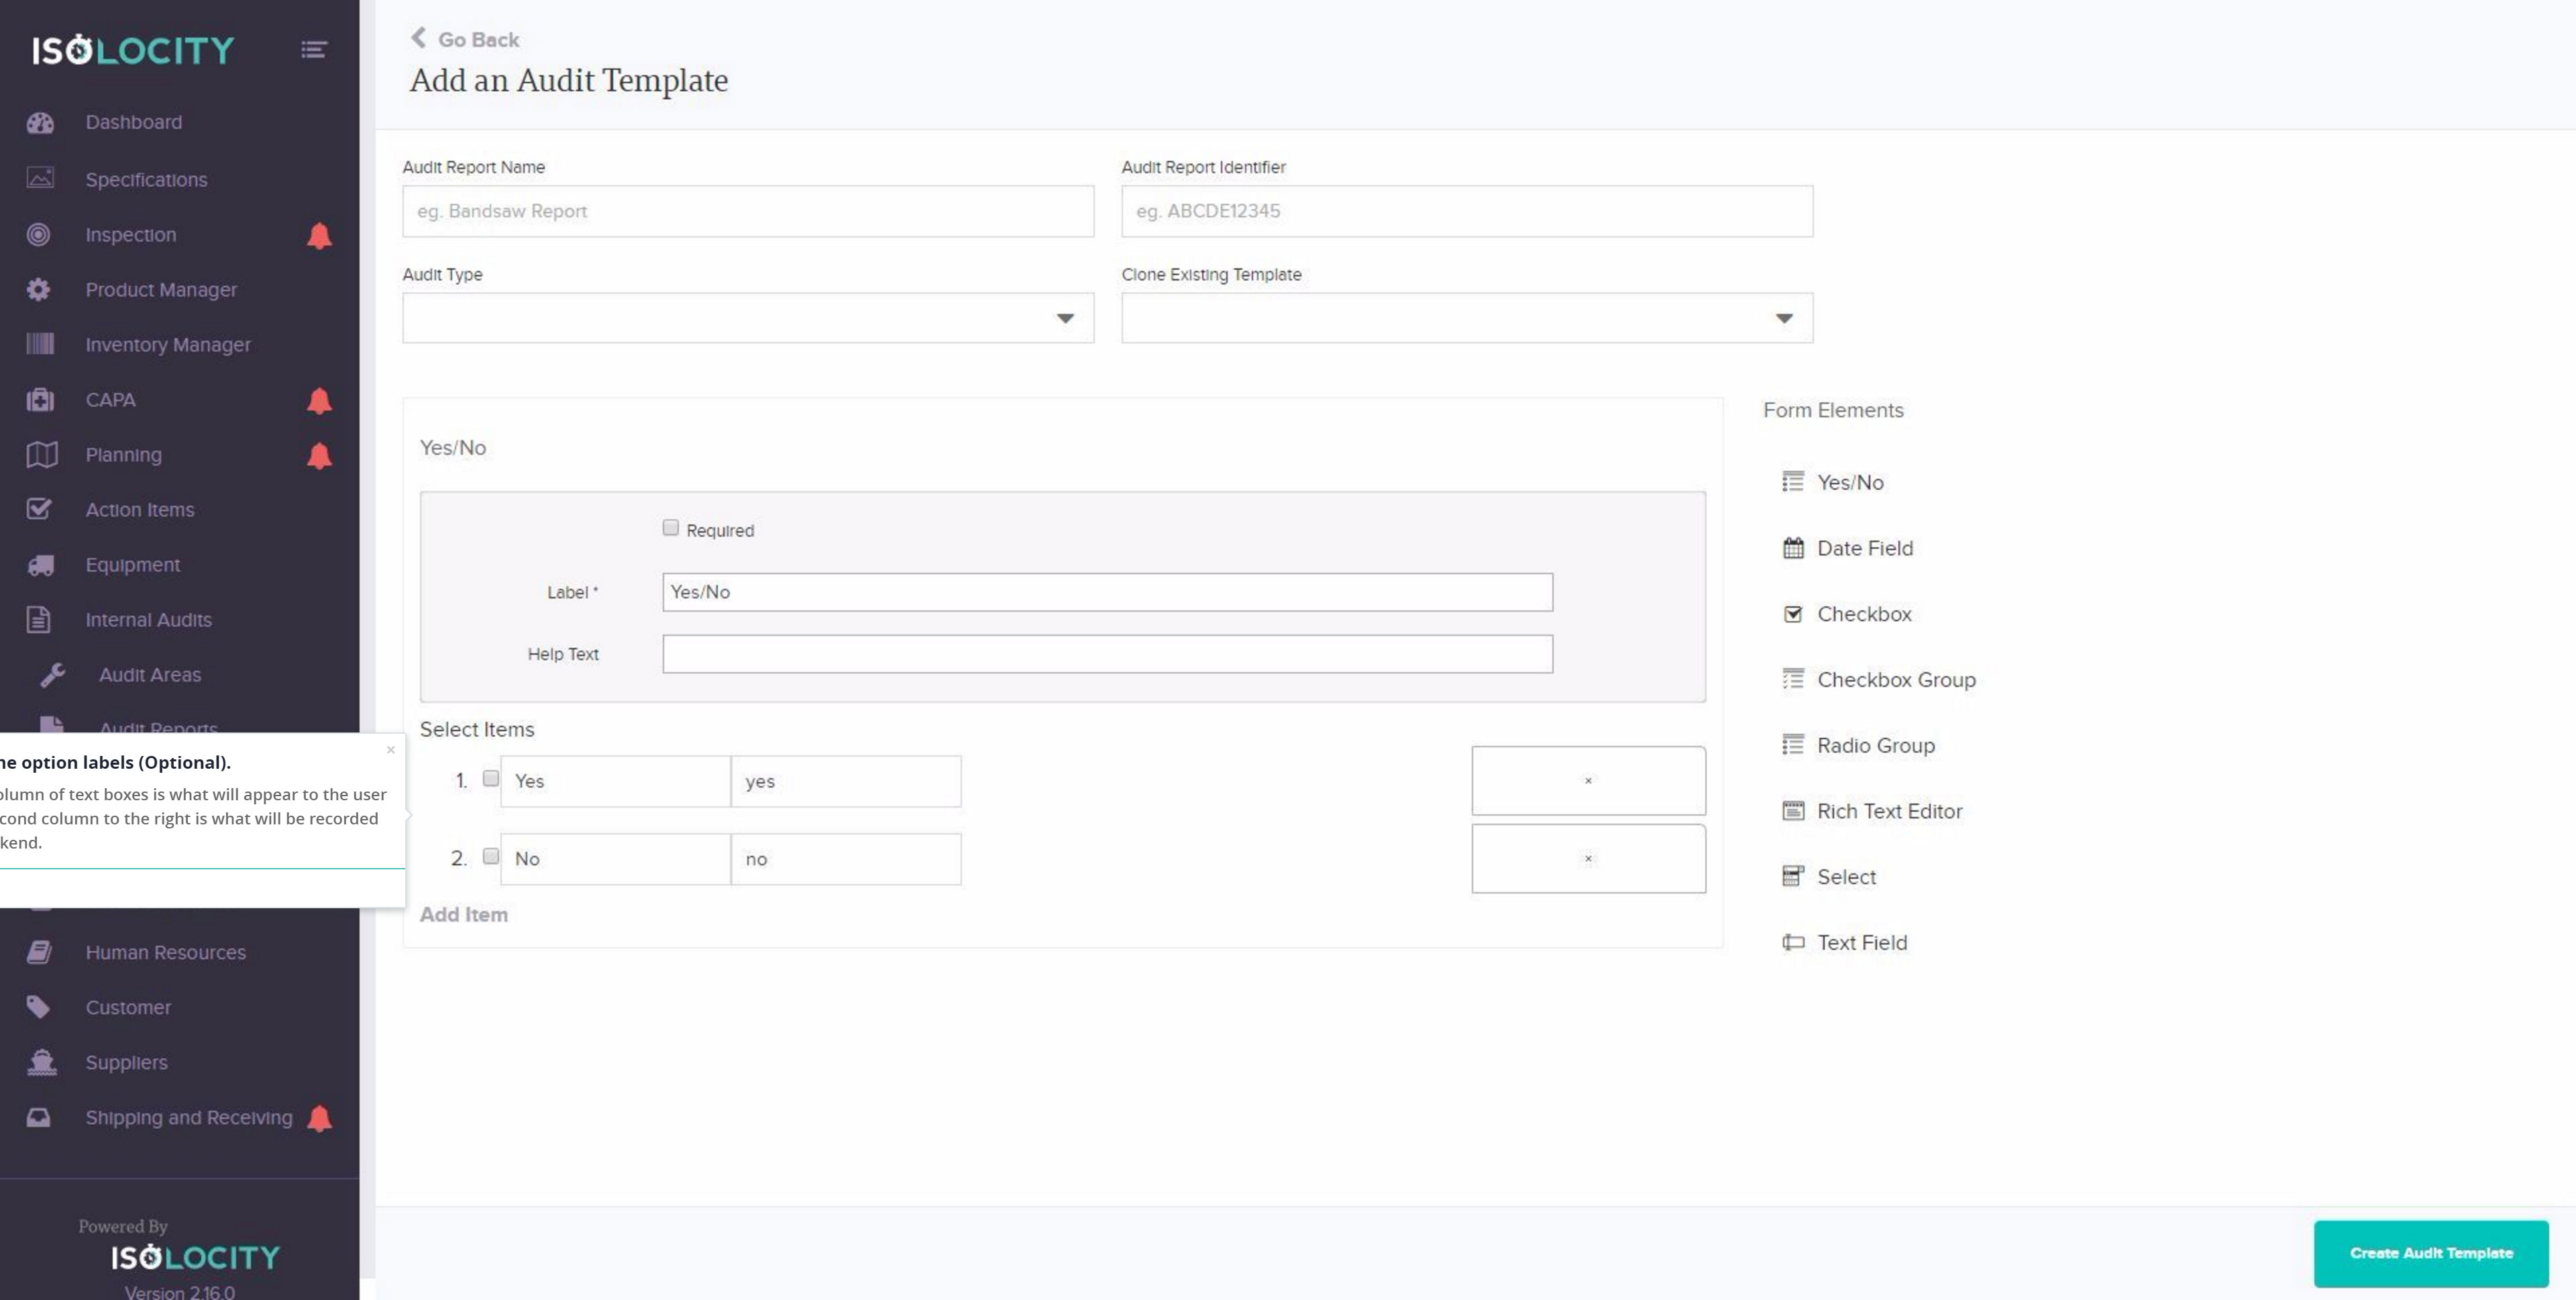
Step #12
Change the option labels (Optional).
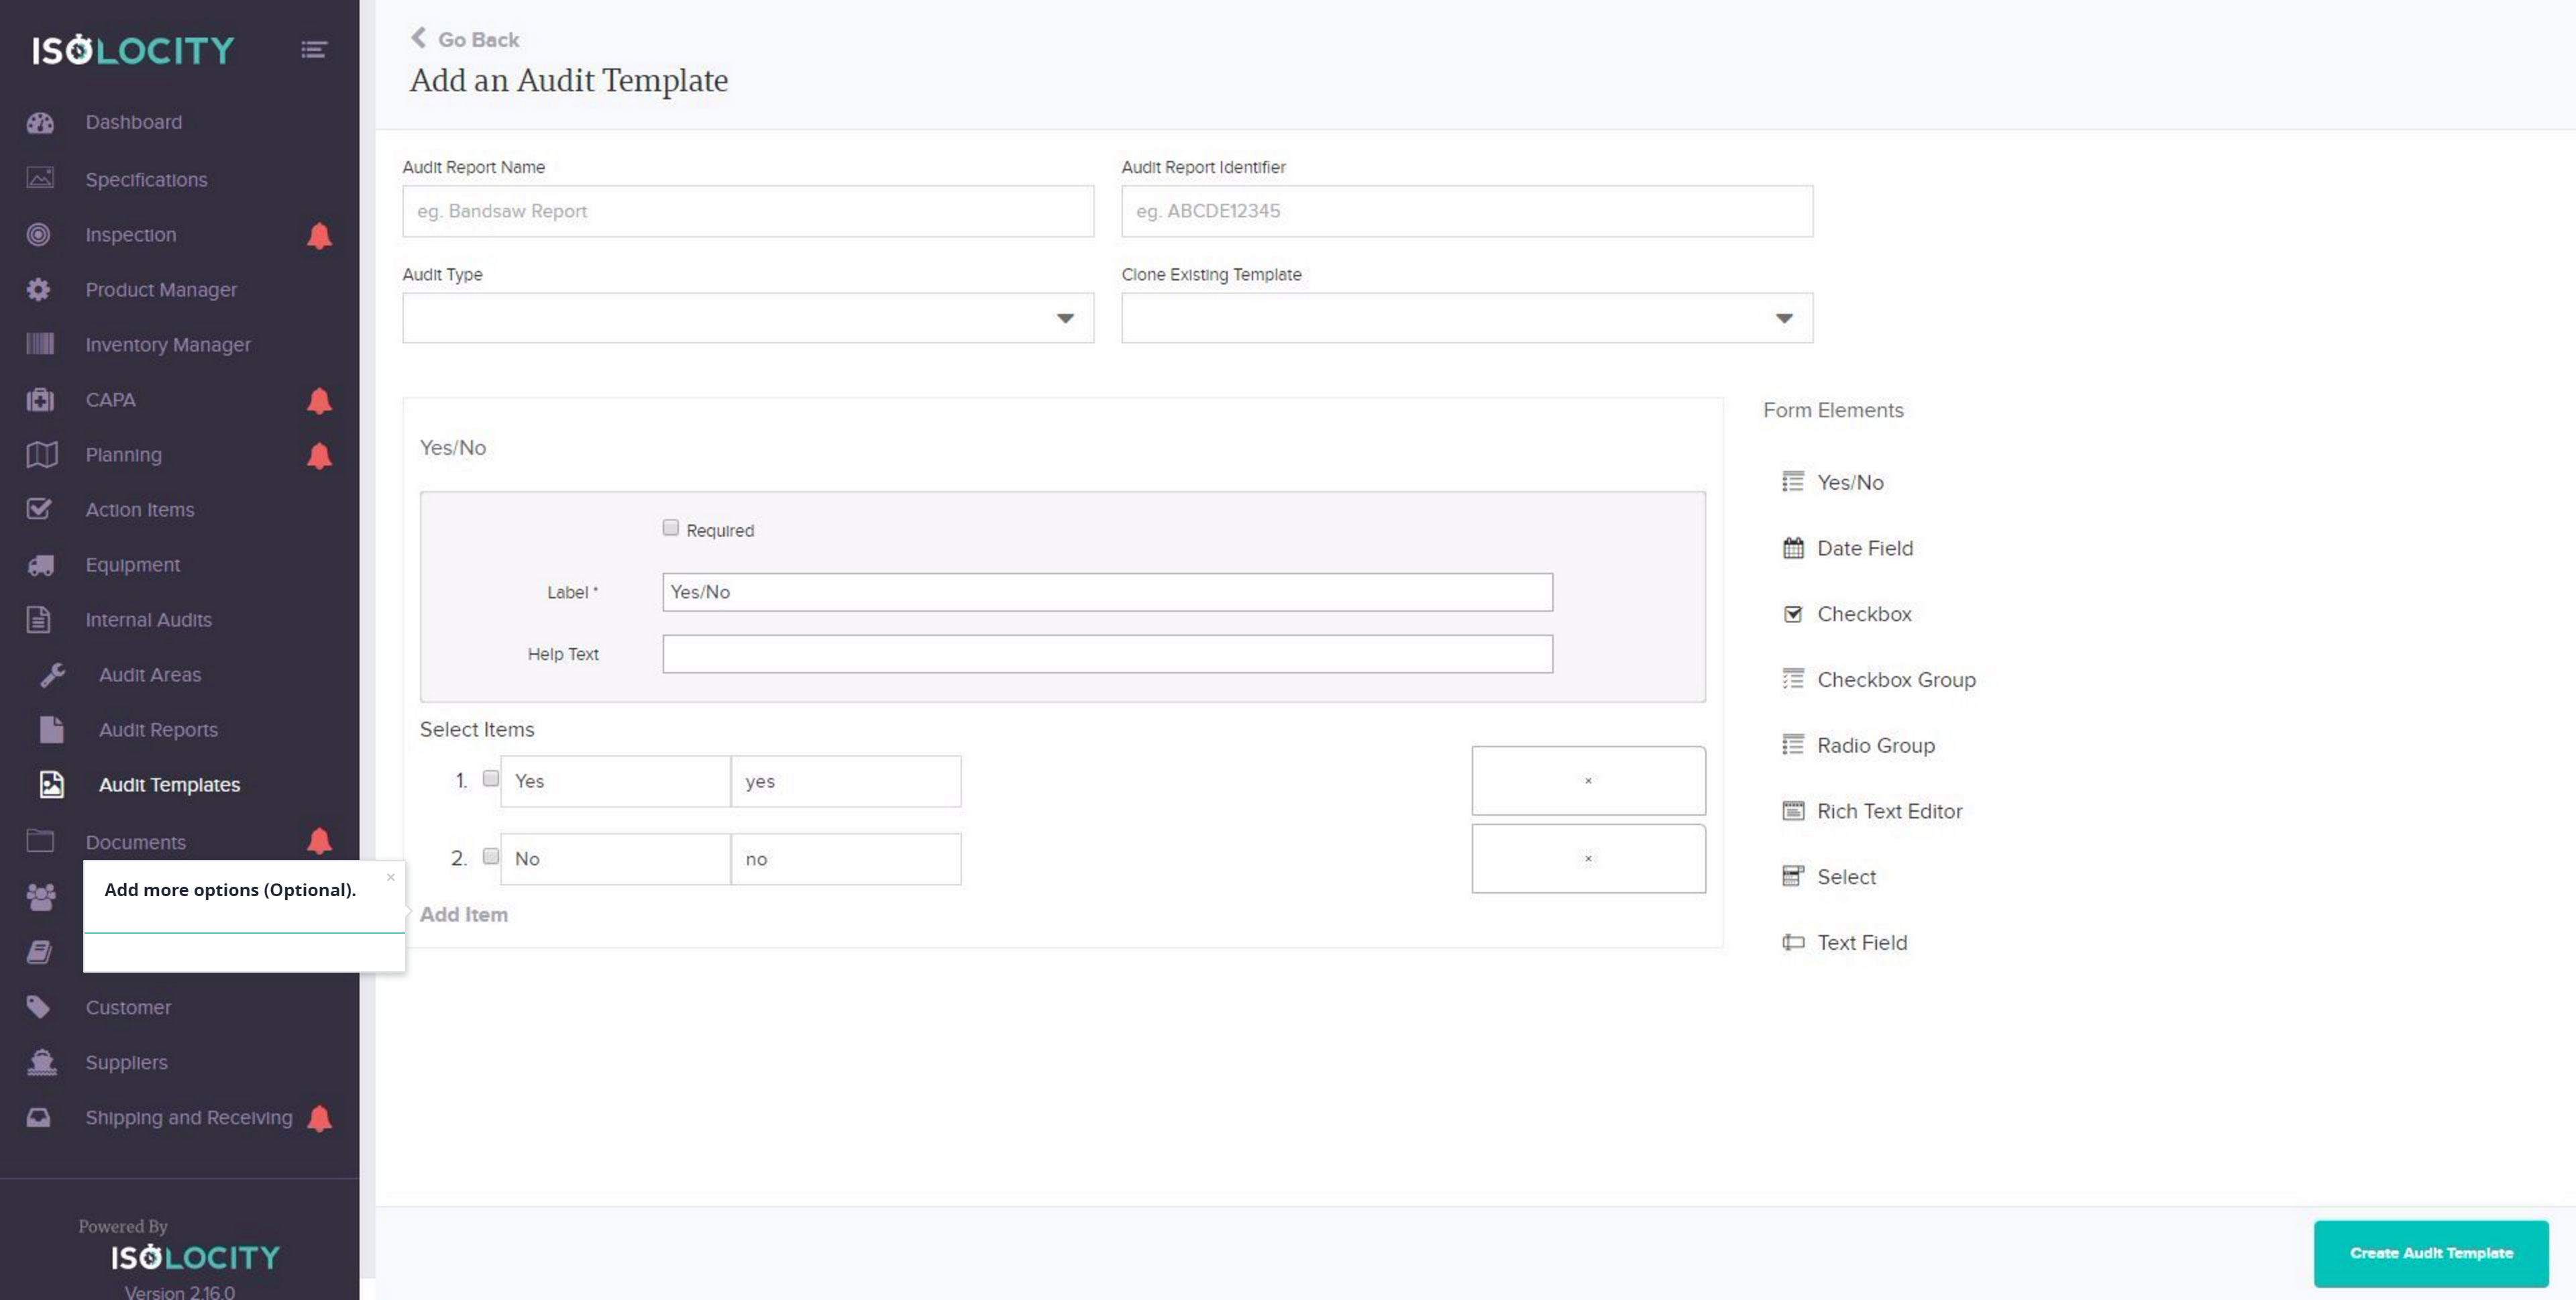
Step #13
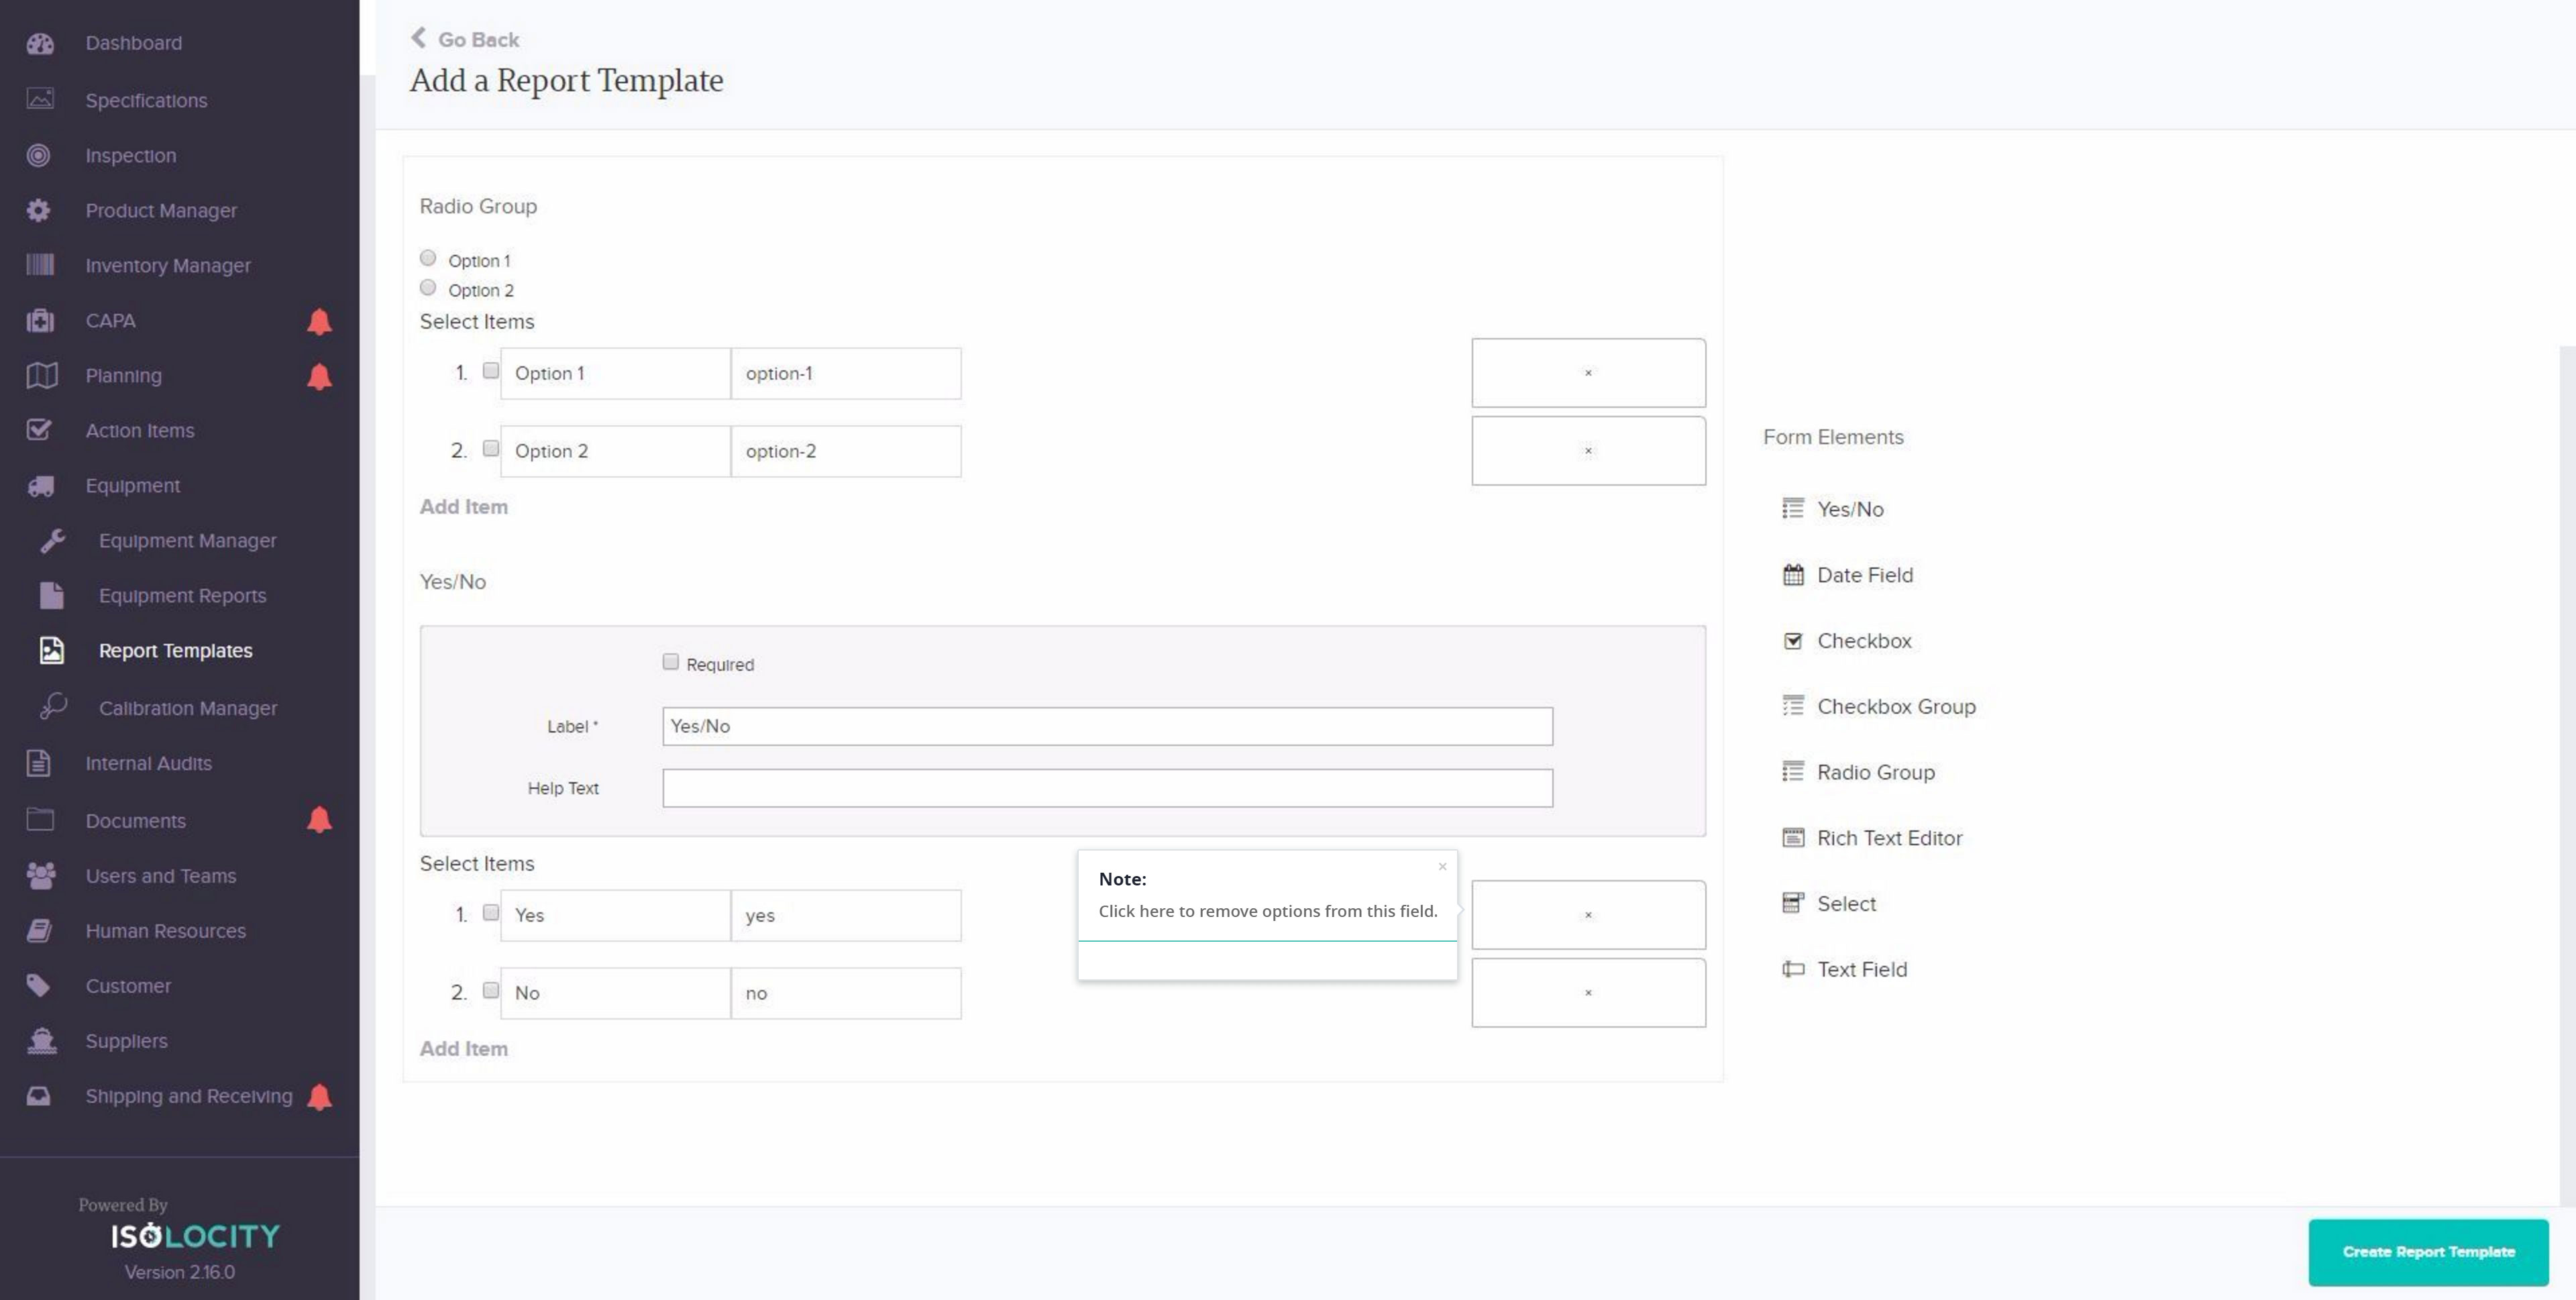
Add more options (Optional).
Step #14
Note:
Step #15
Hover over and click “Edit”.
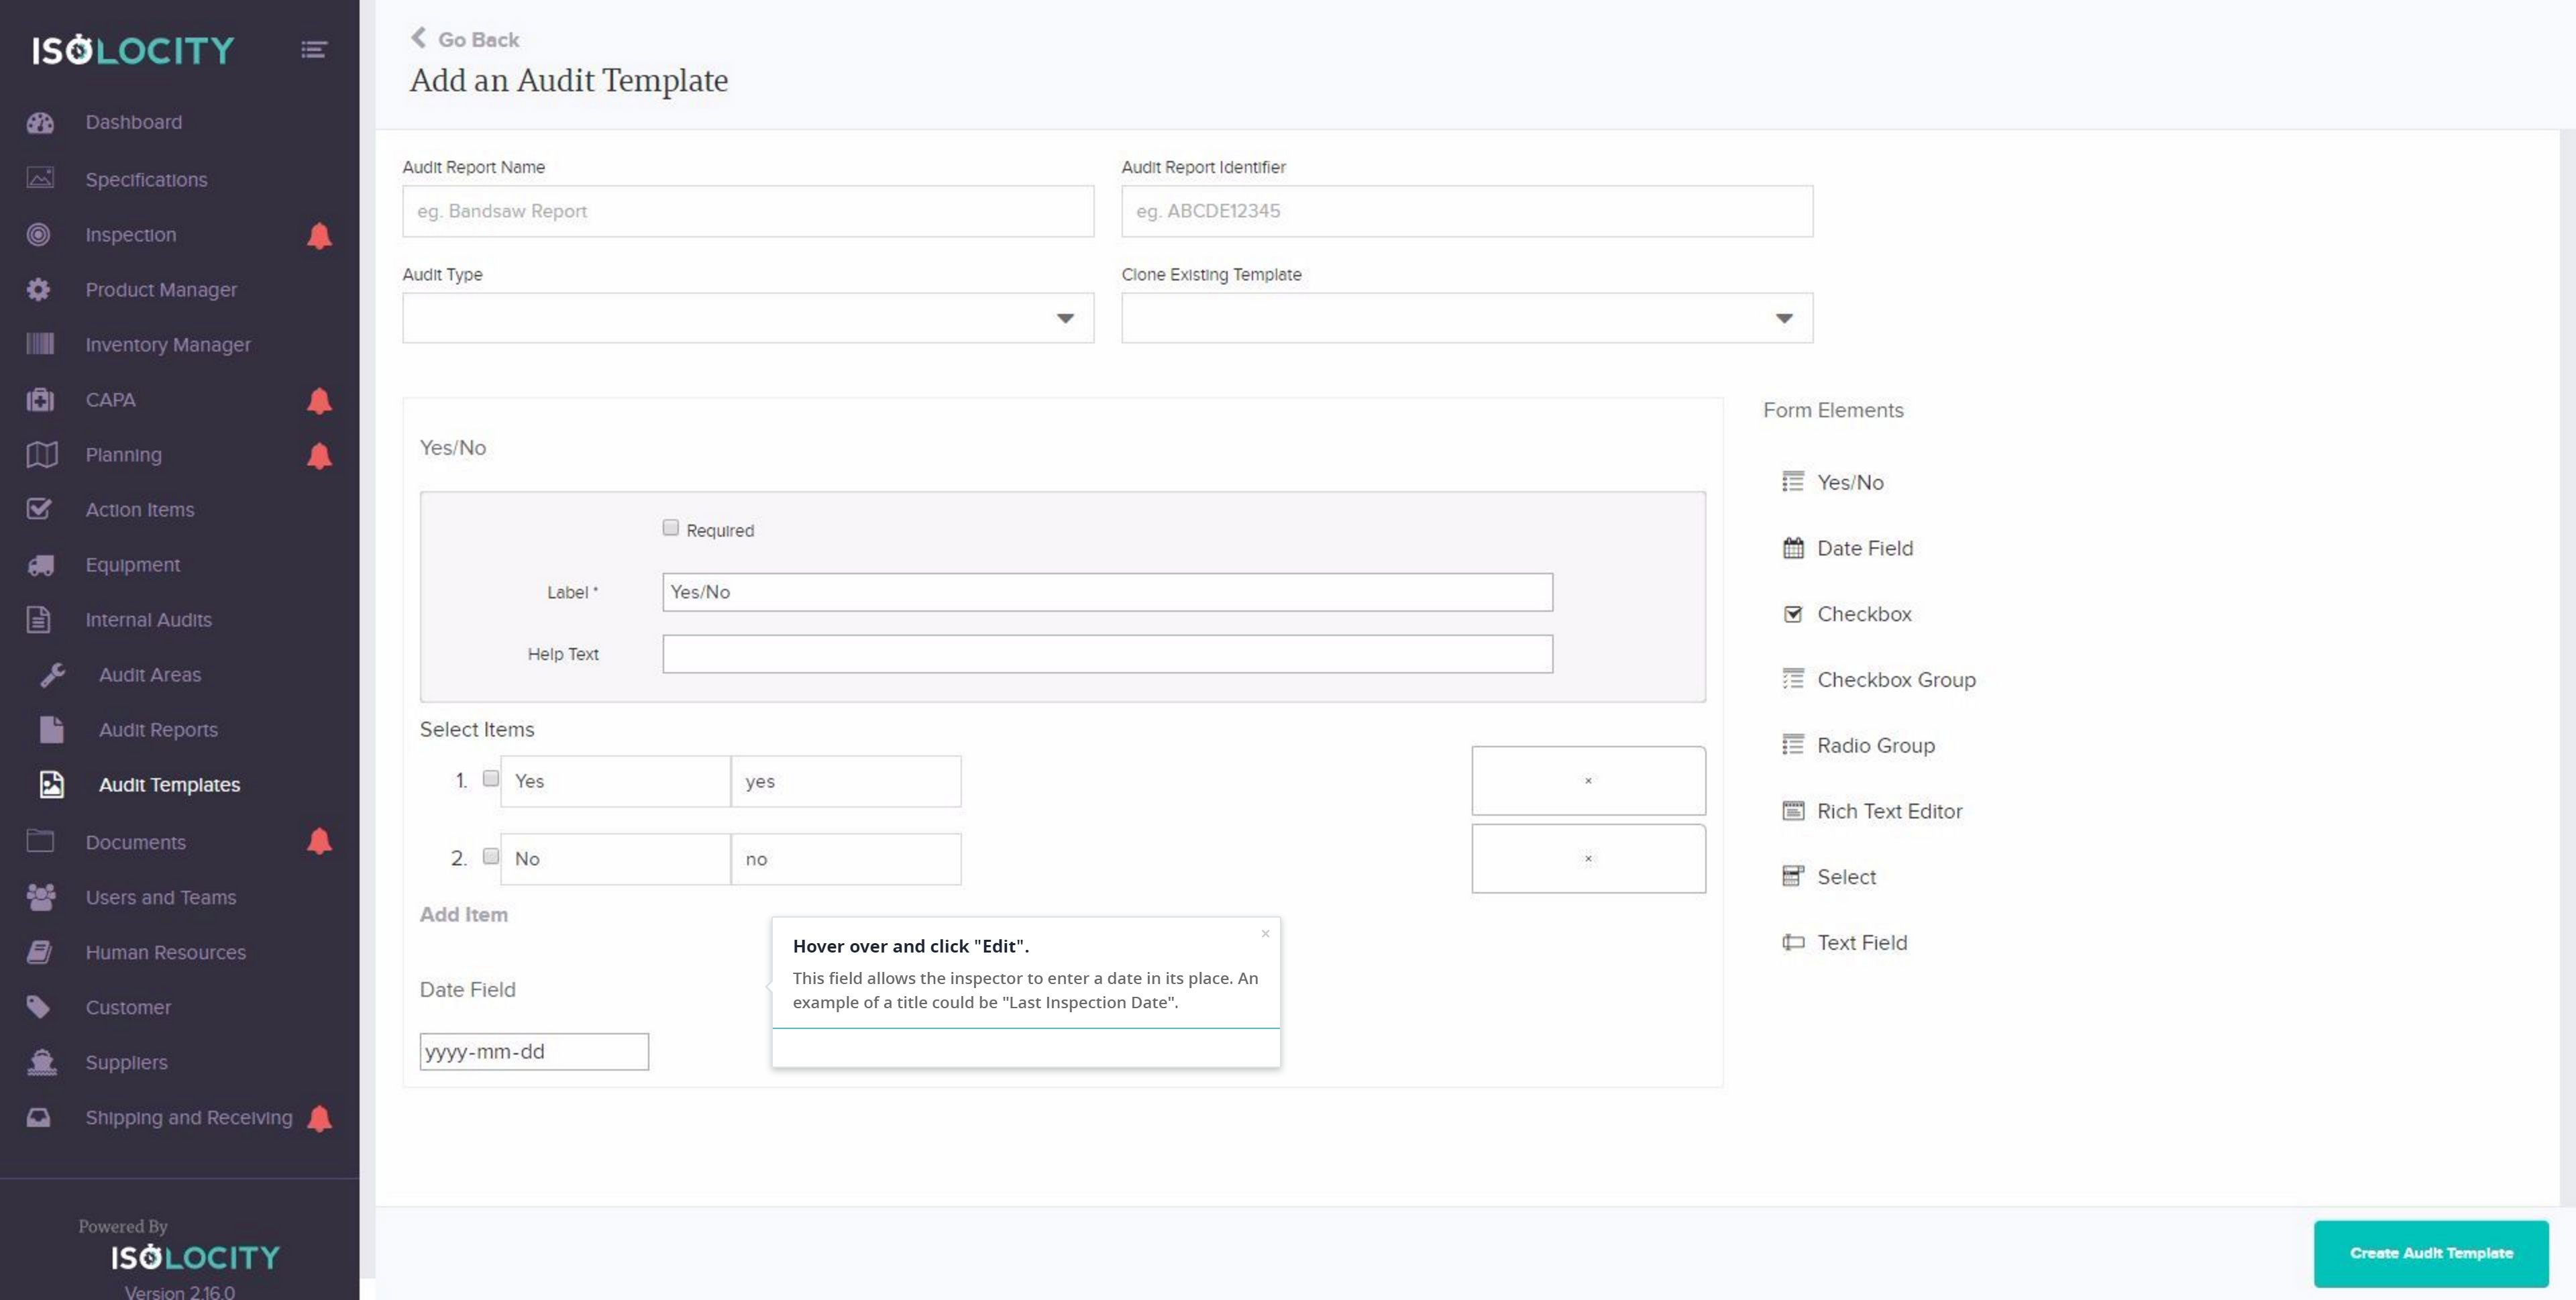
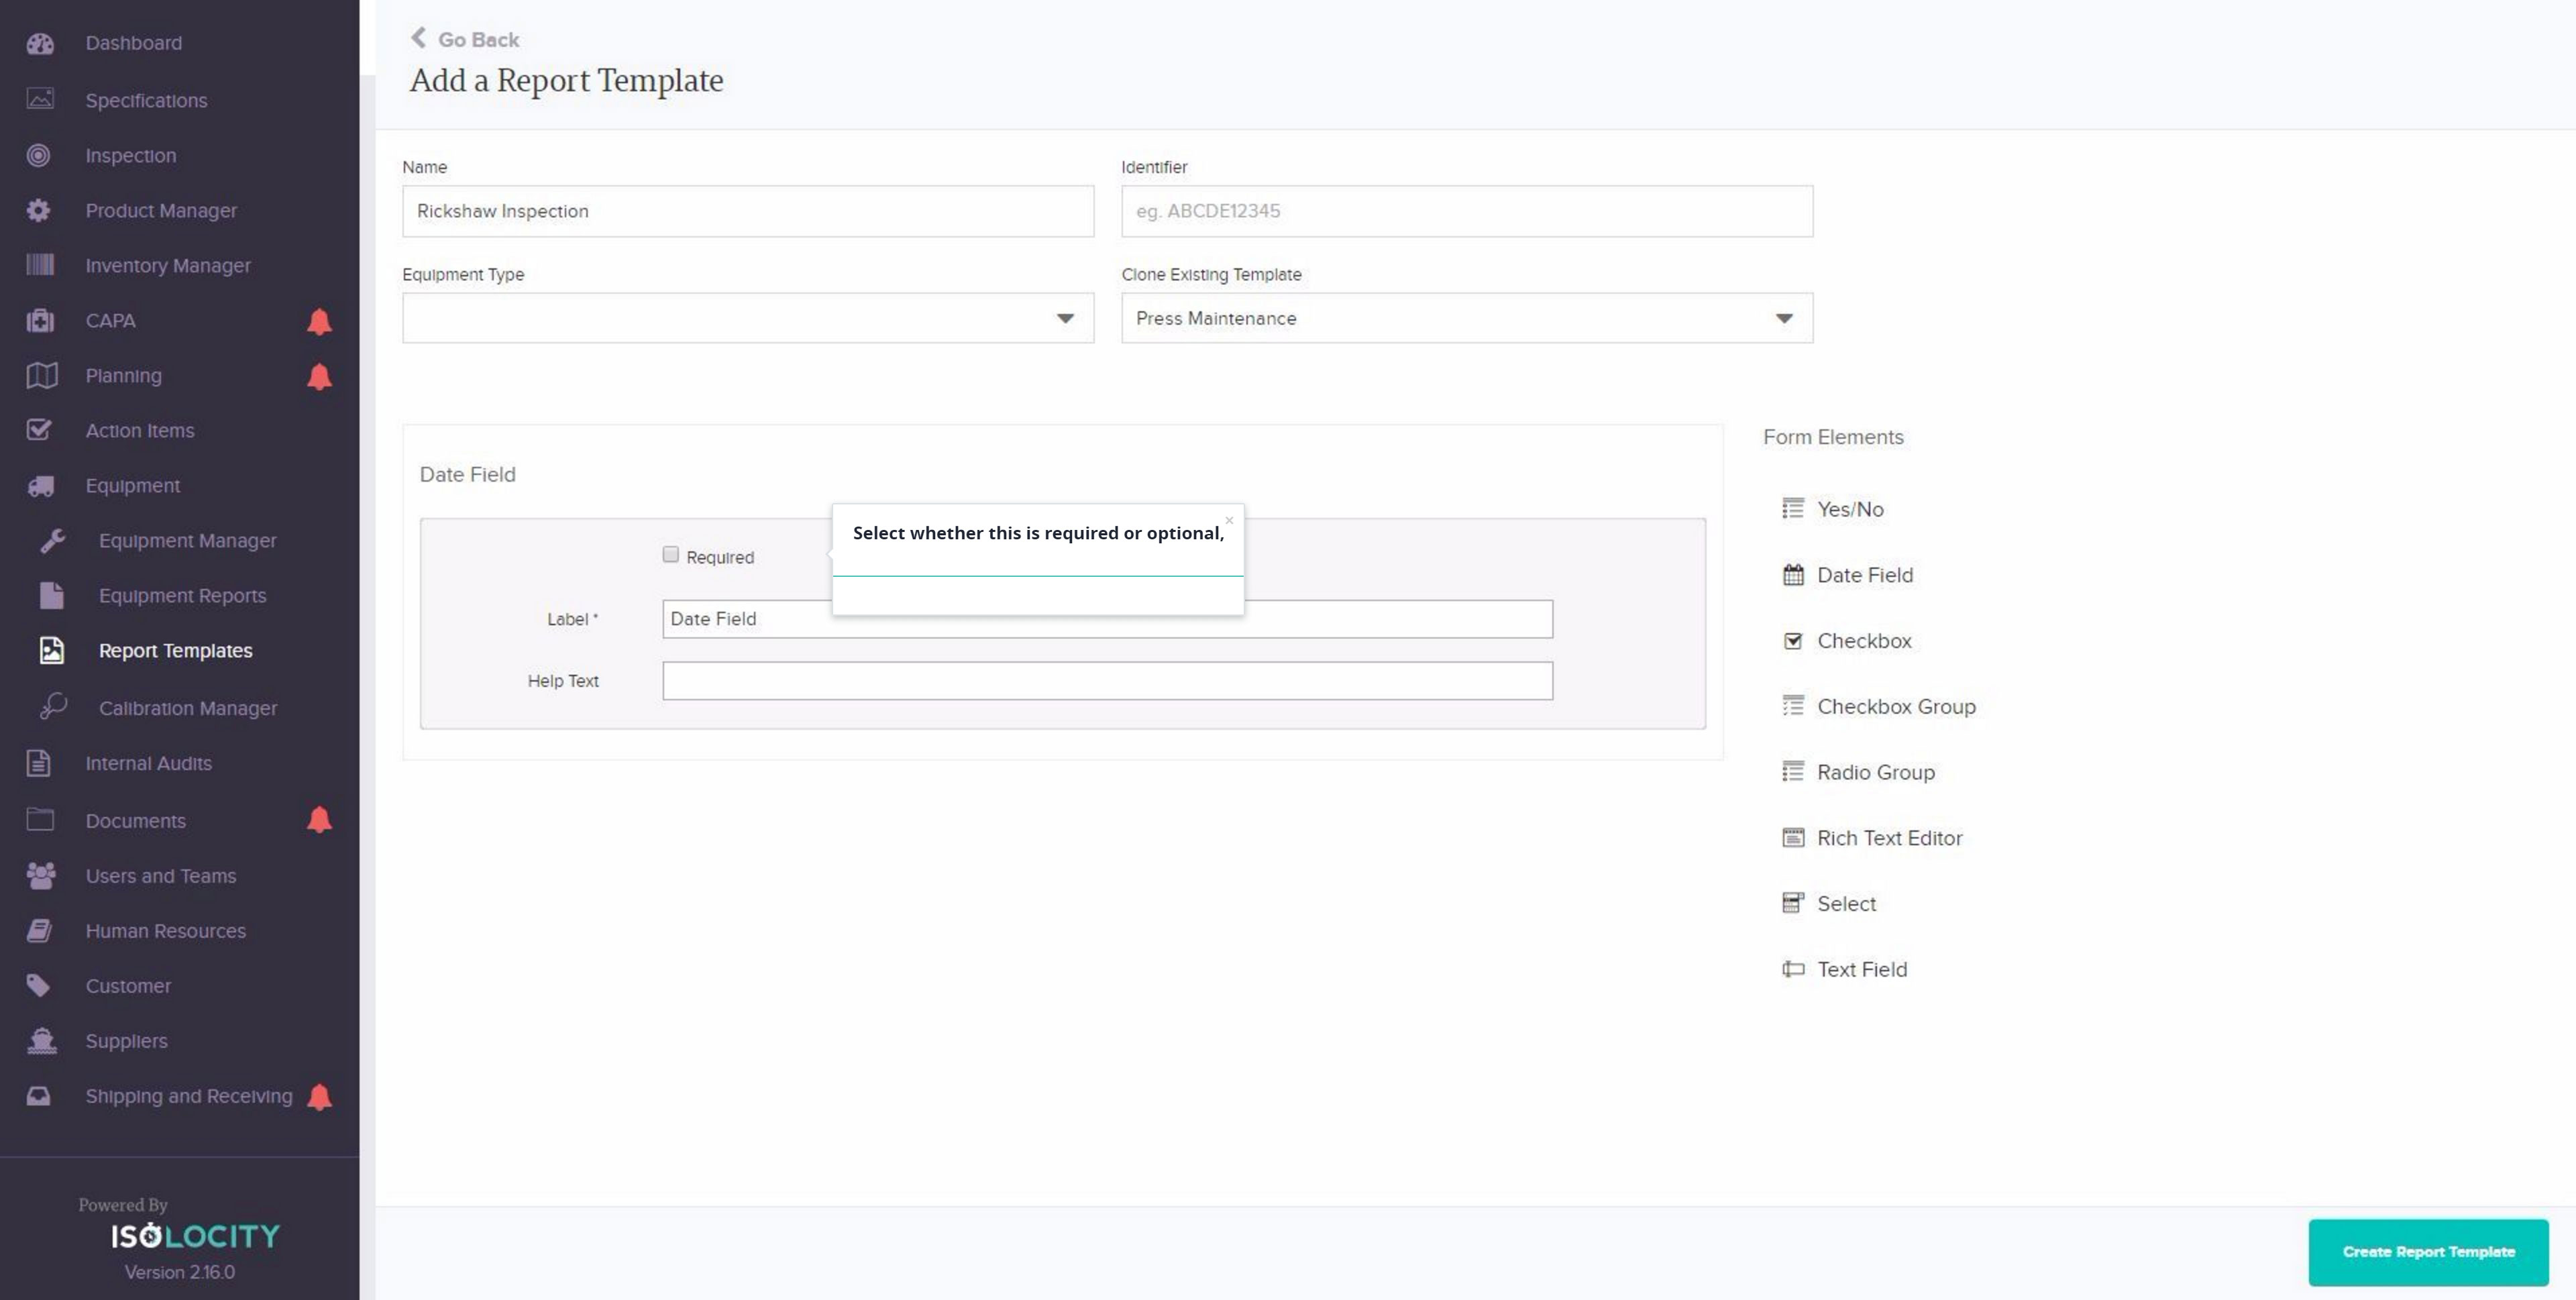
Step #16
Select whether this is required or optional,
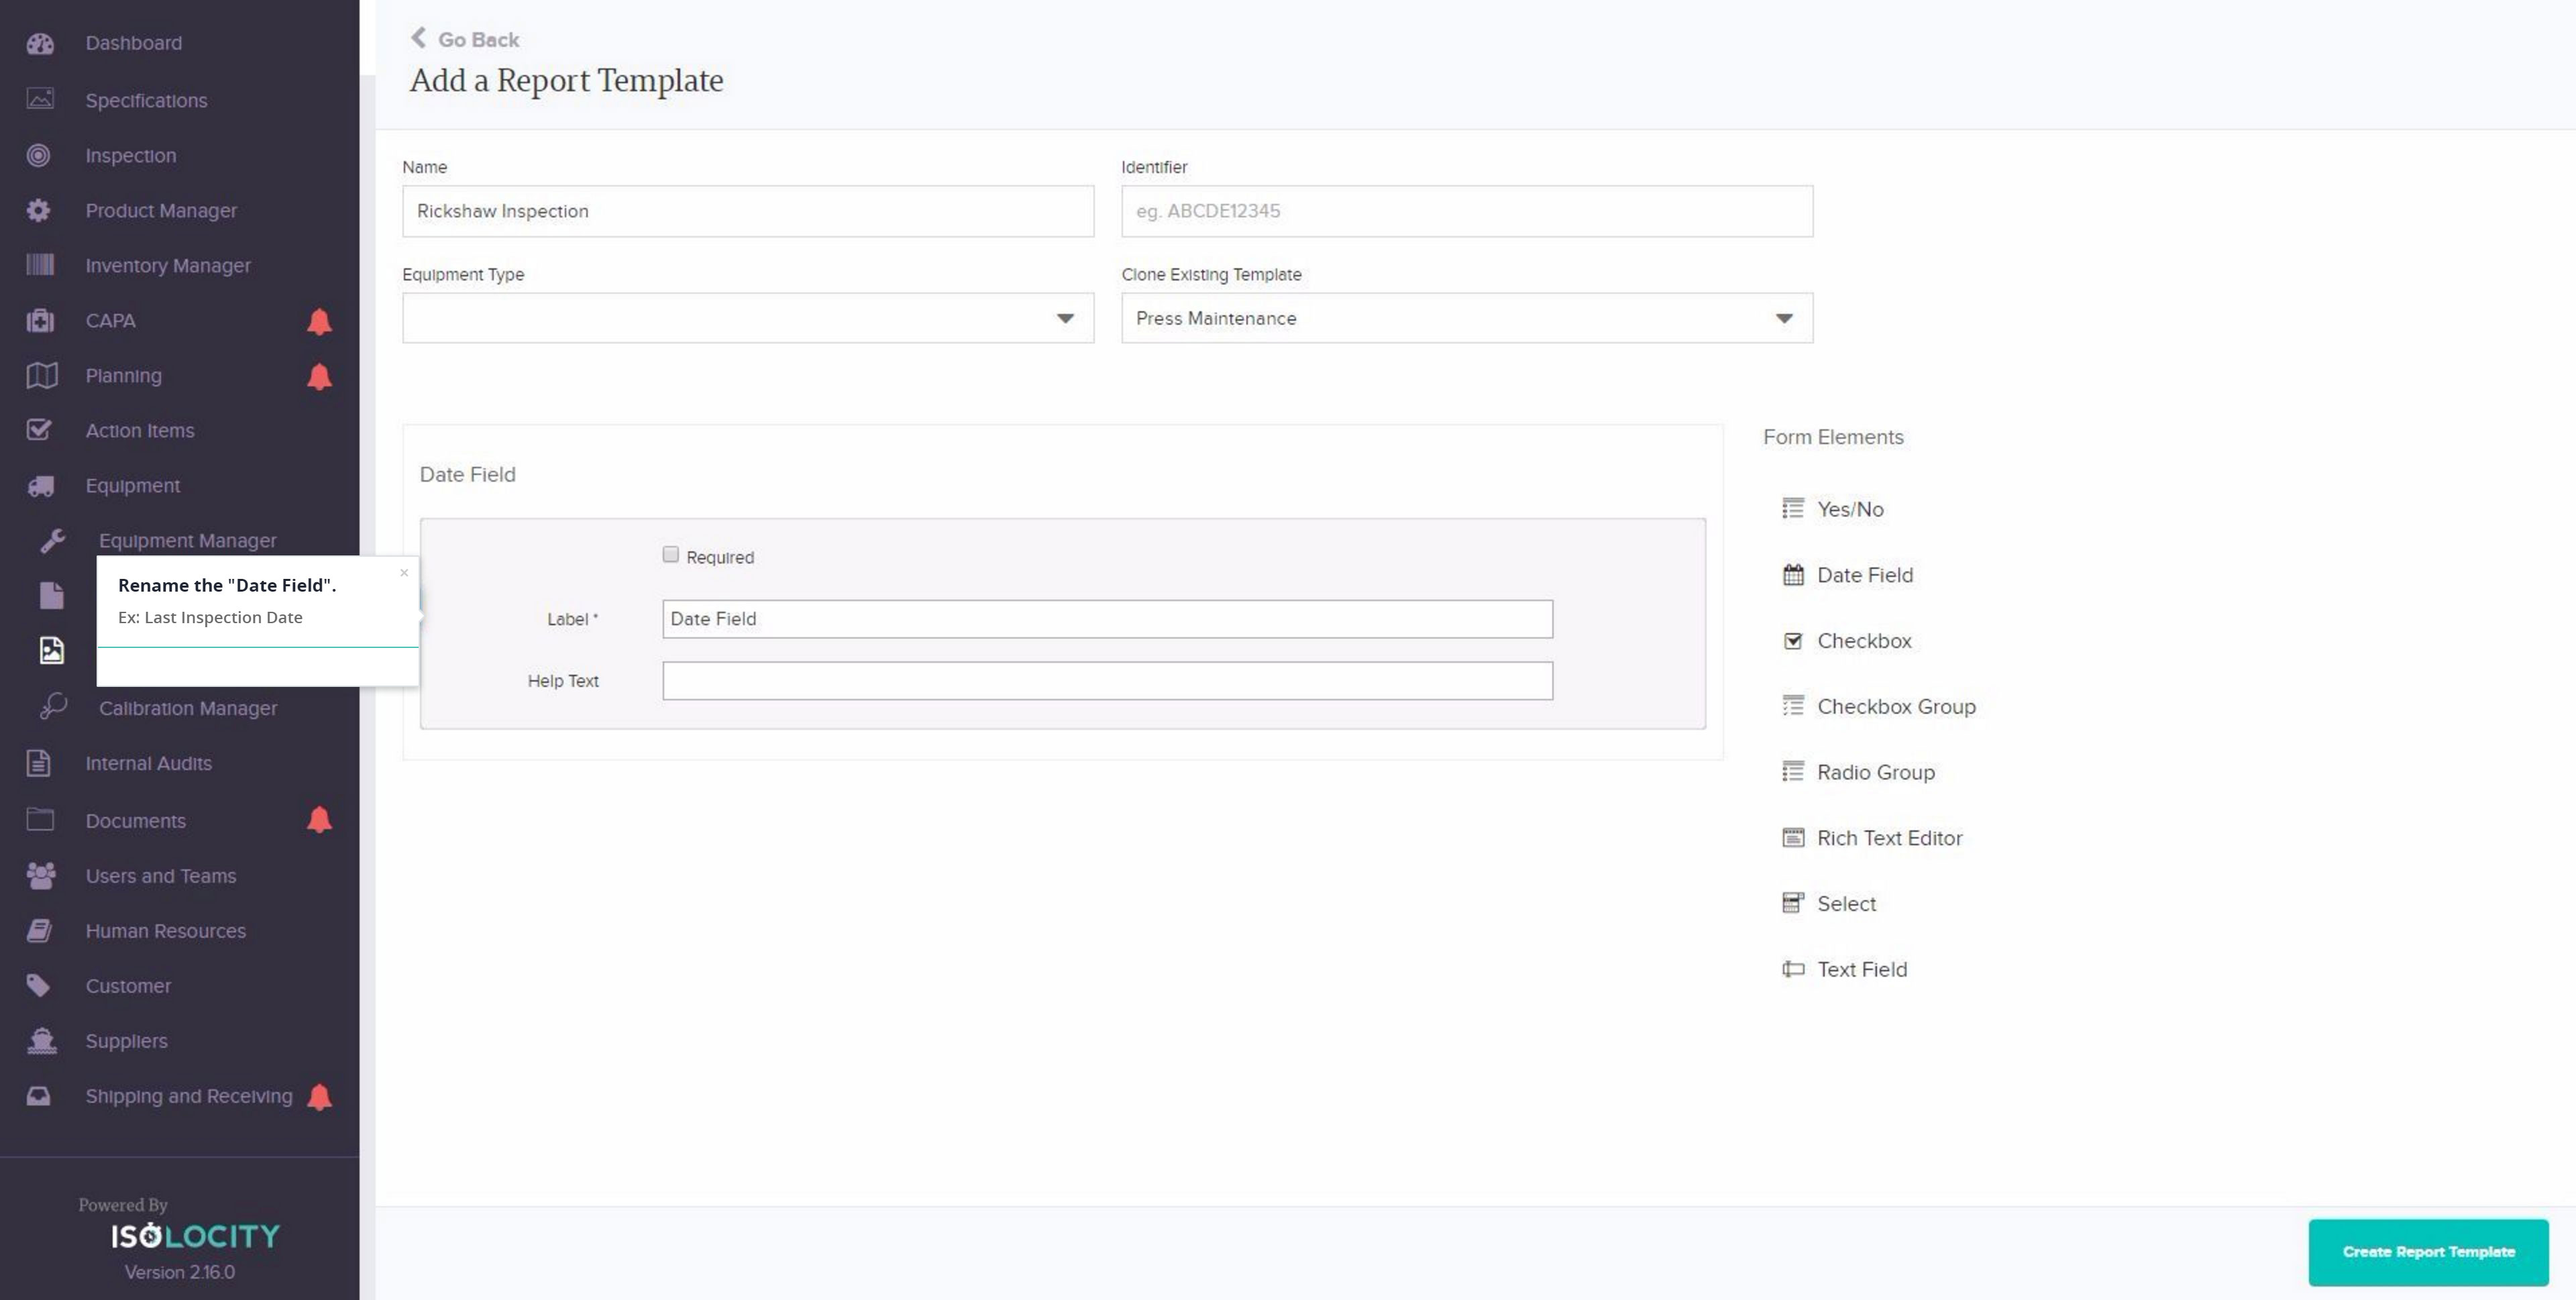
Step #17
Rename the “Date Field”.
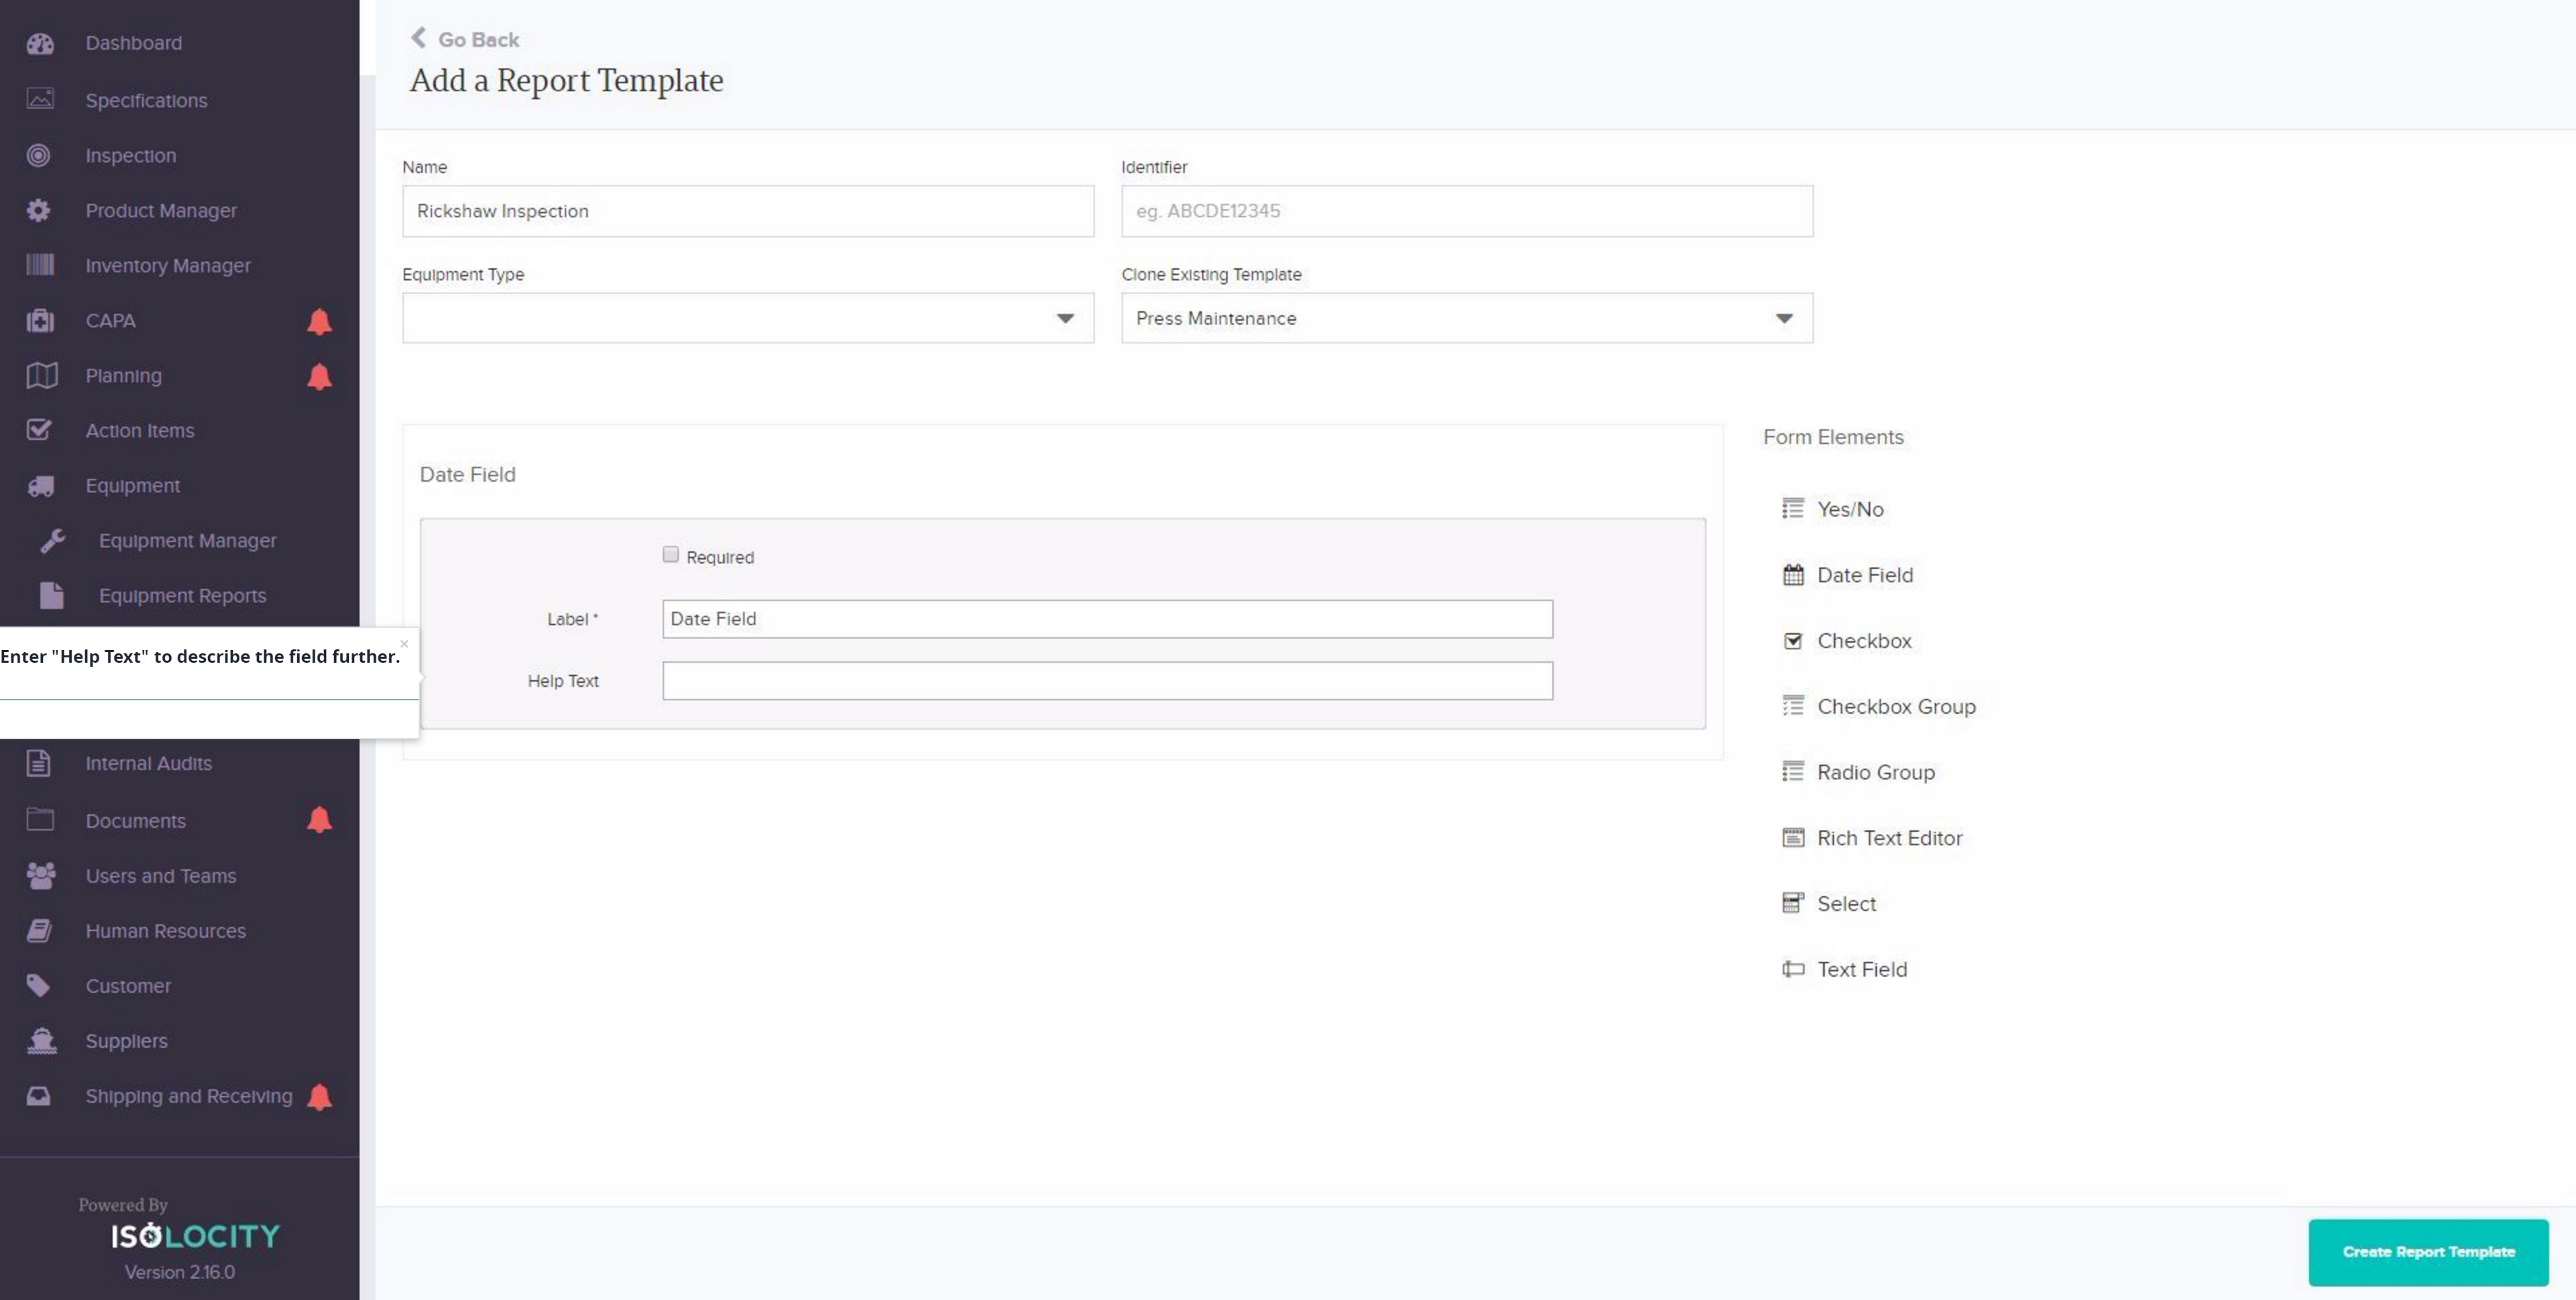
Step #18
Enter “Help Text” to describe the field further.
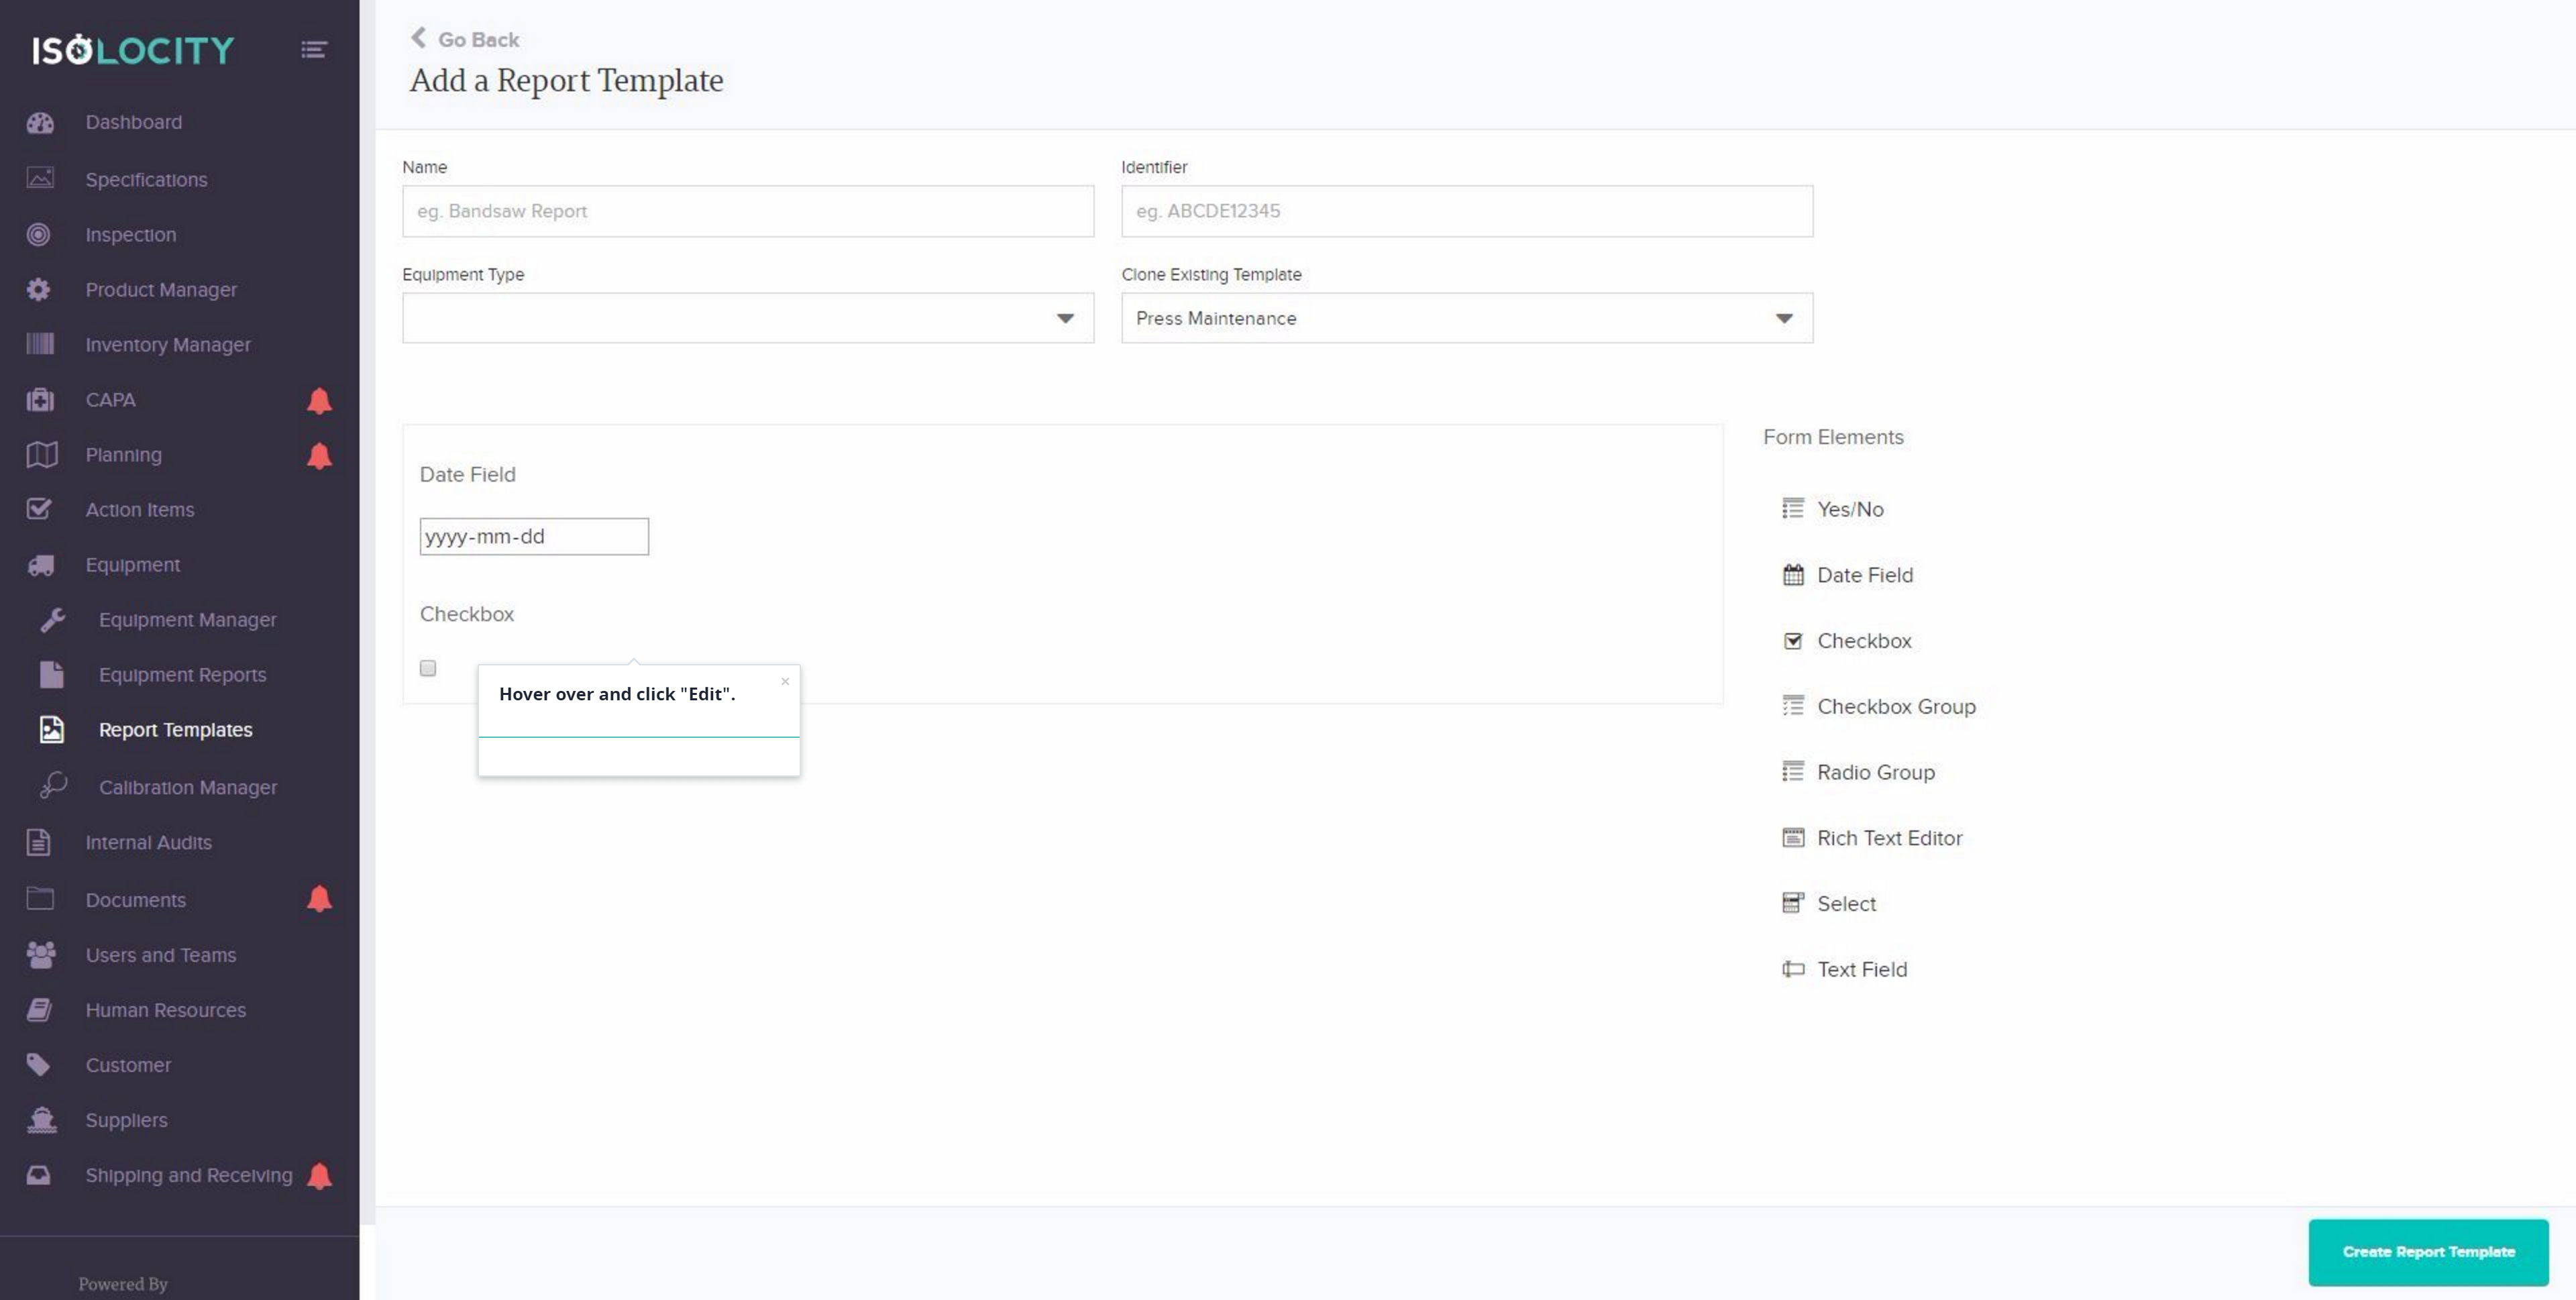
Step #19
Hover over and click “Edit”.
Step #20
Select whether this is required to complete the report.

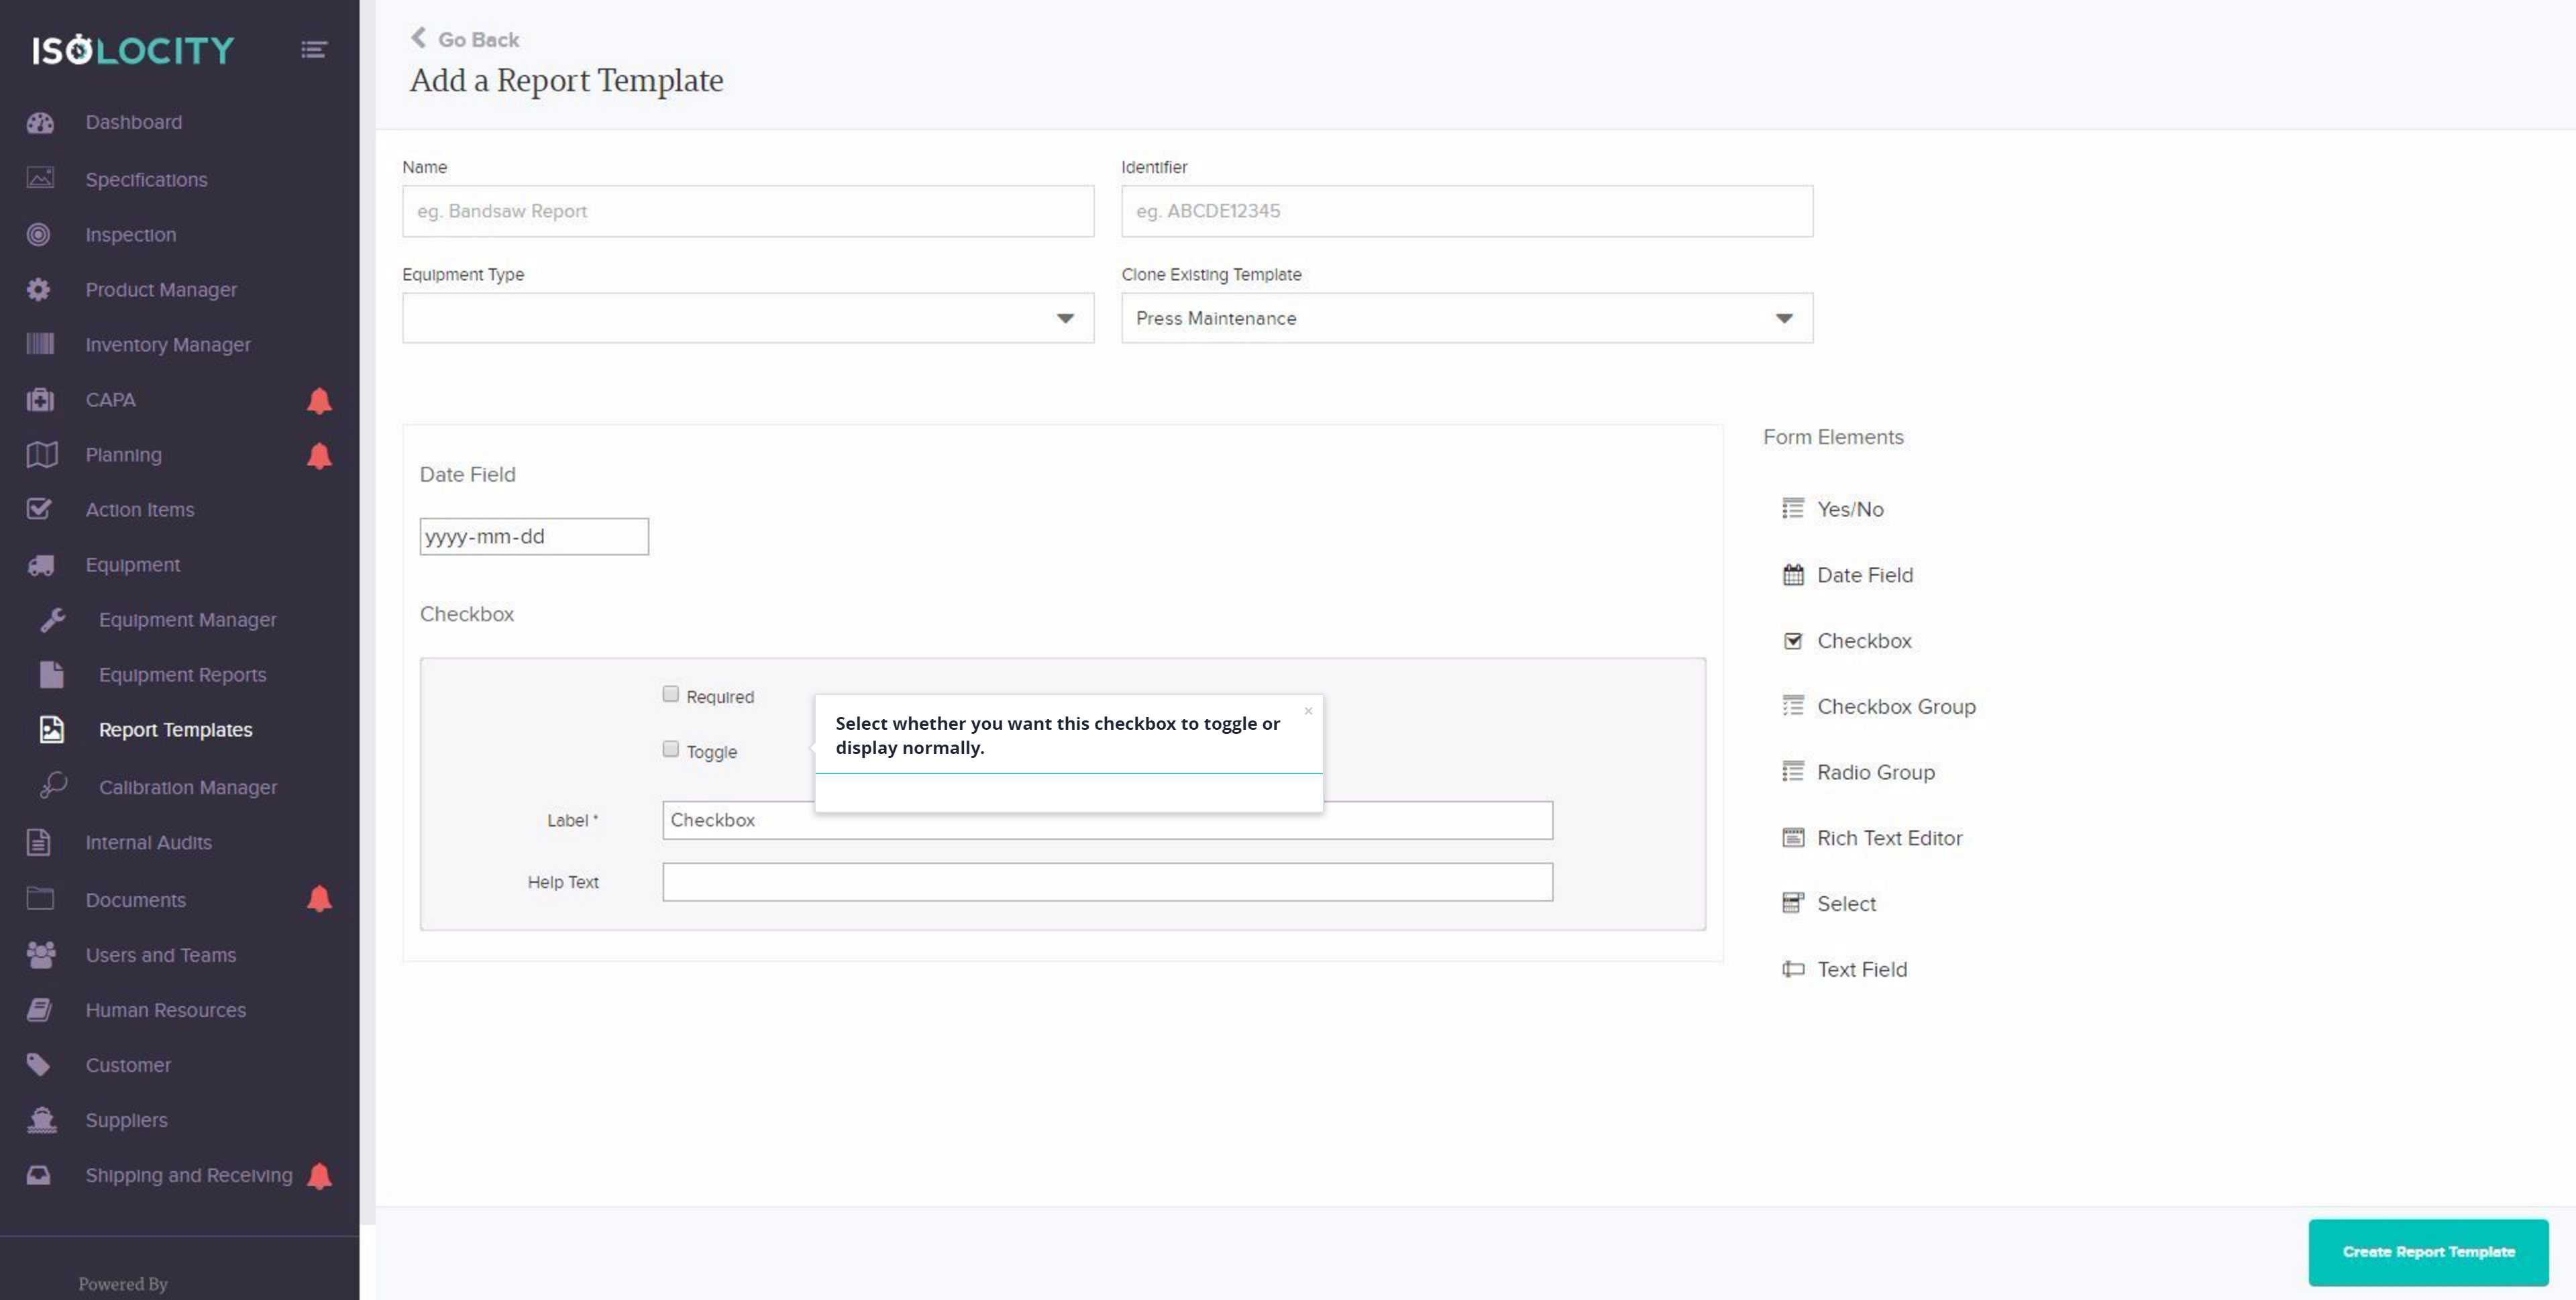
Step #21
Select whether you want this checkbox to toggle or display normally.
Step #22
Rename the checkbox.
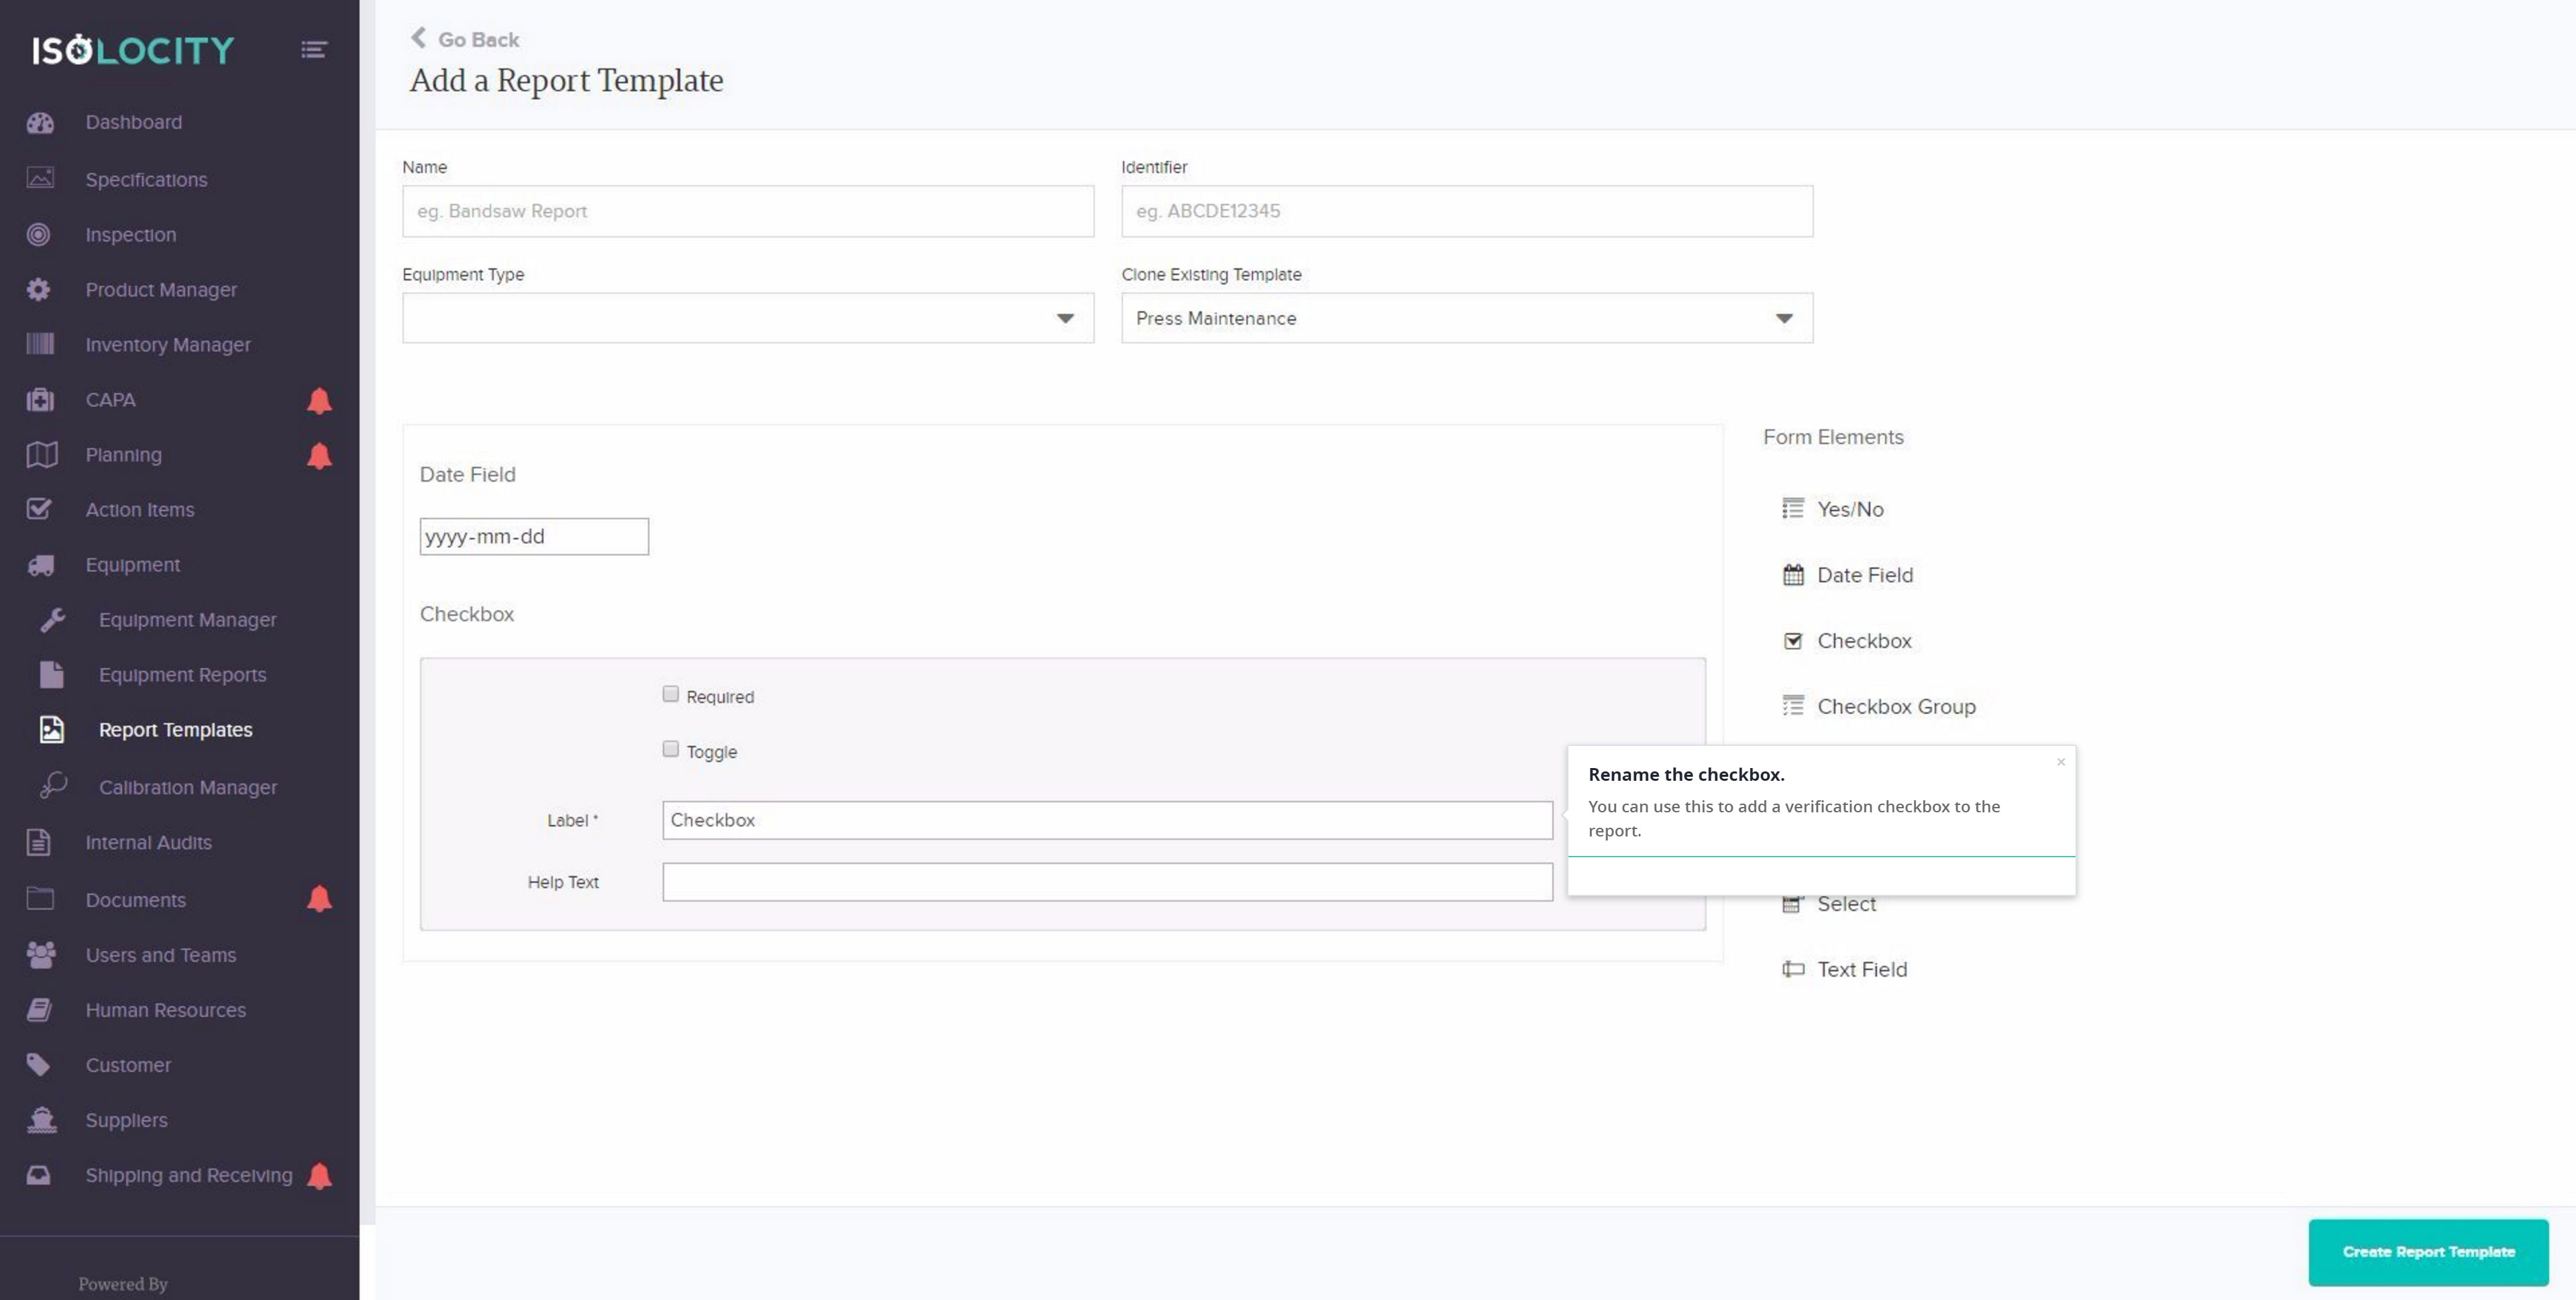
Step #23
Add “Help Text” to further explain what the inspector should be looking for.

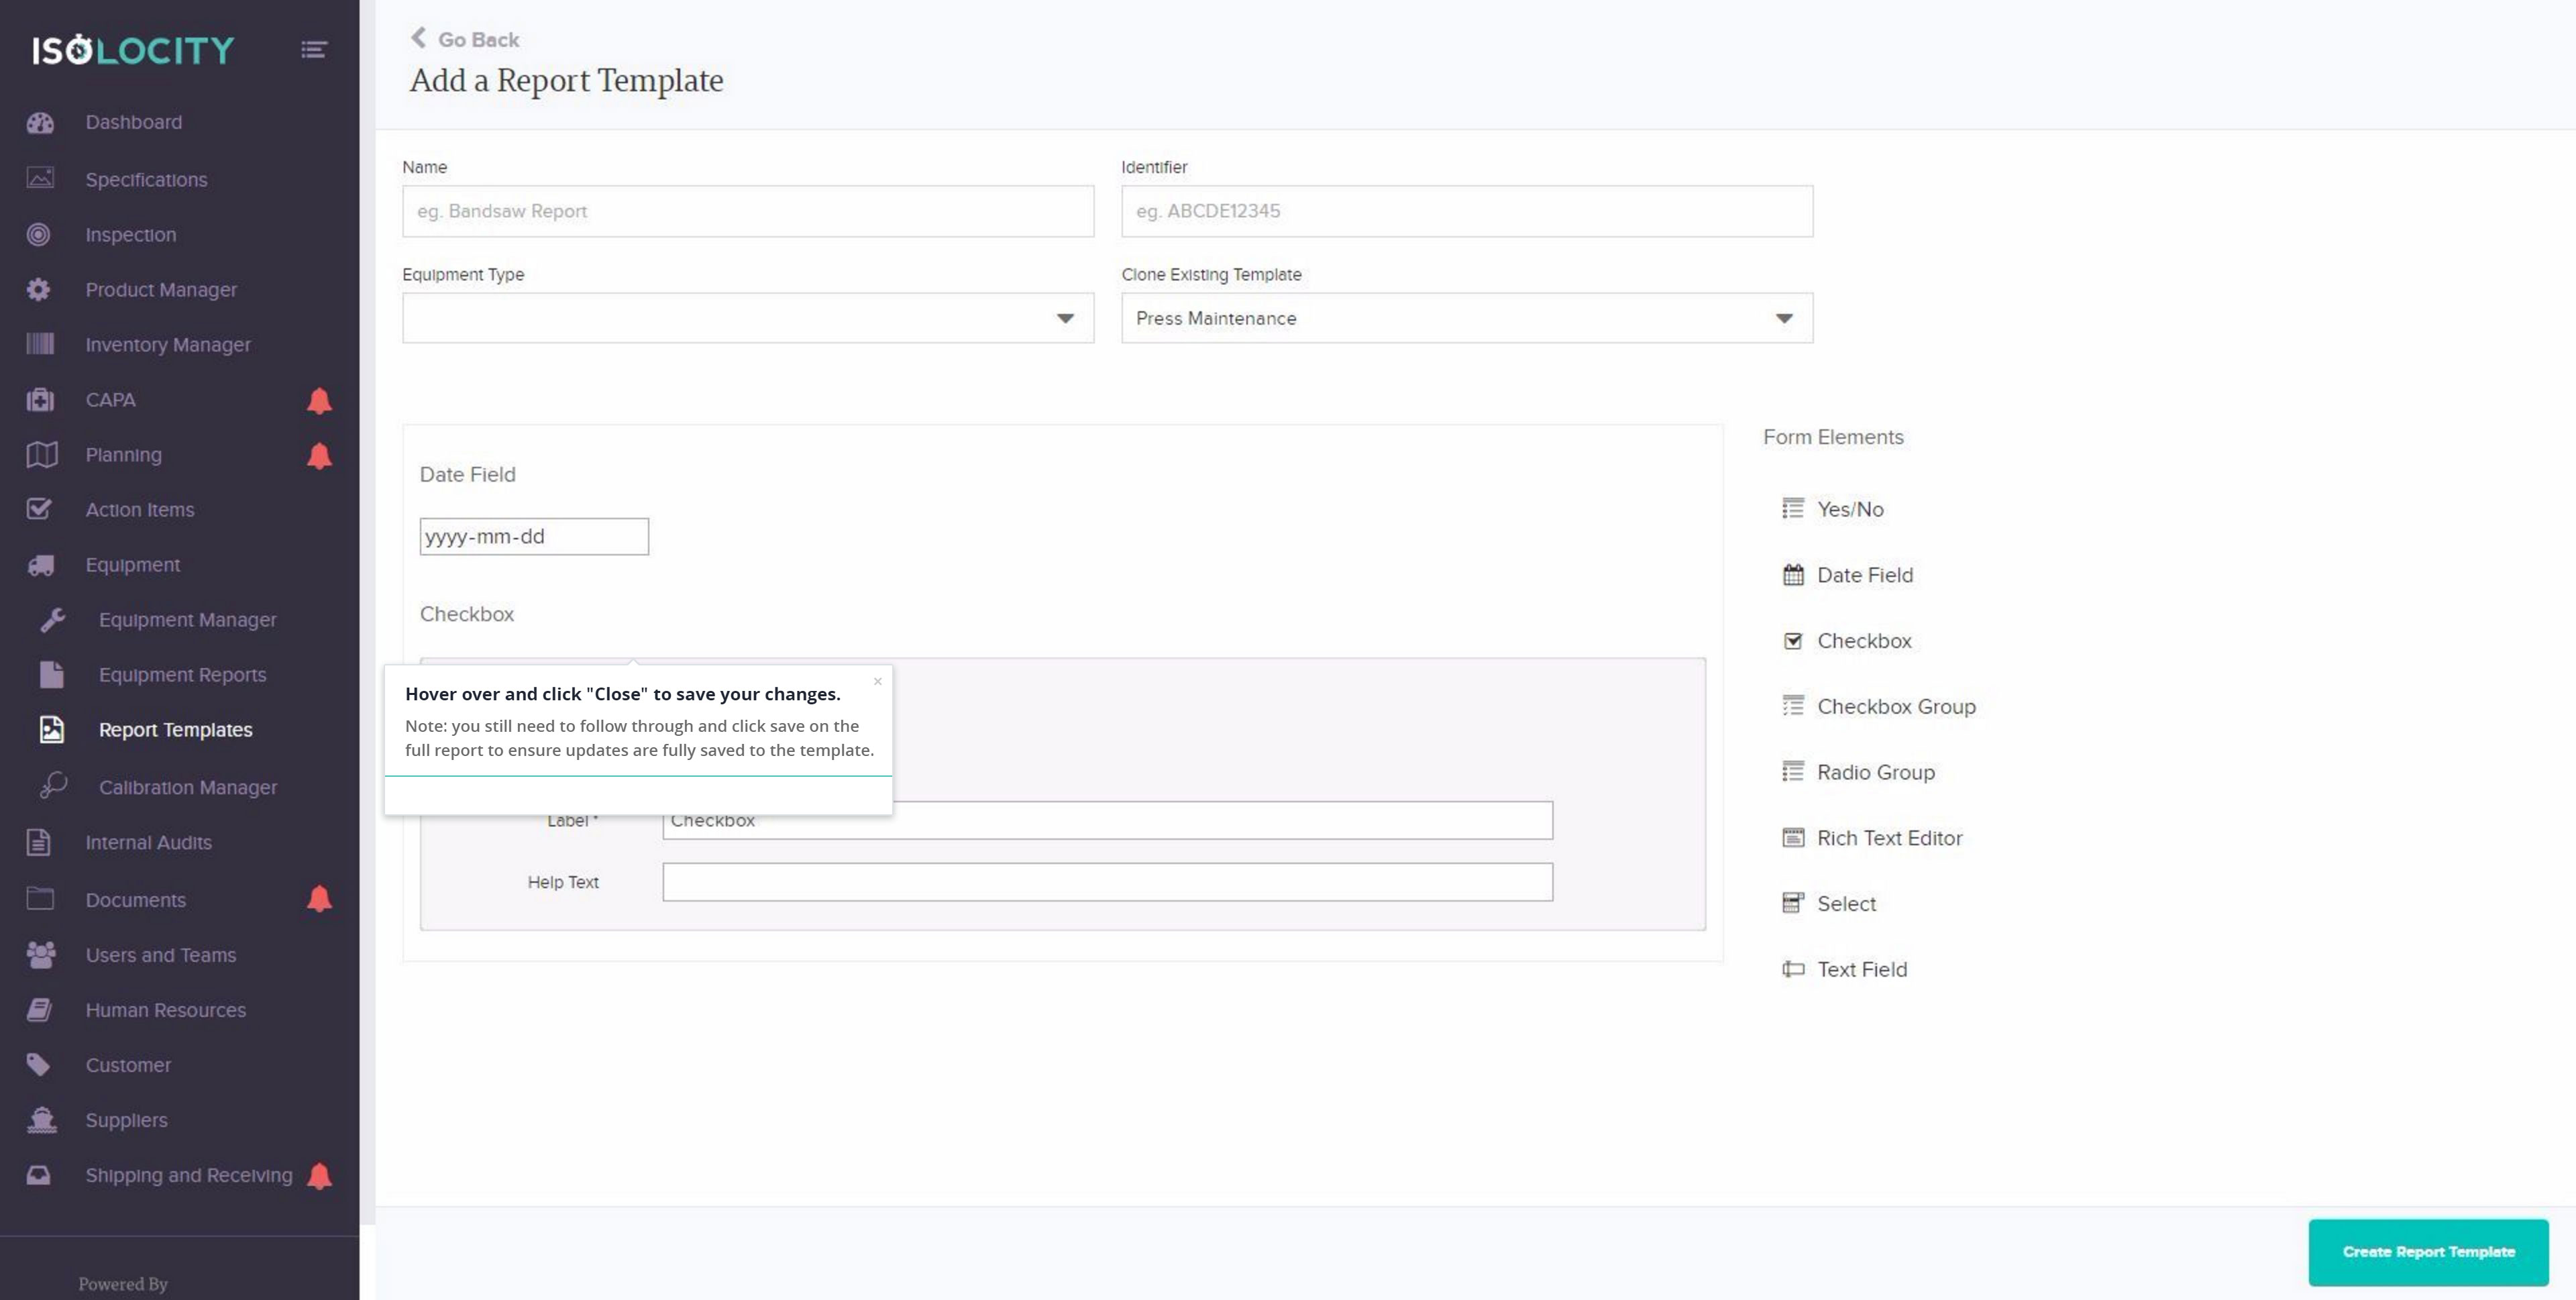
Step #24
Hover over and click “Close” to save your changes.
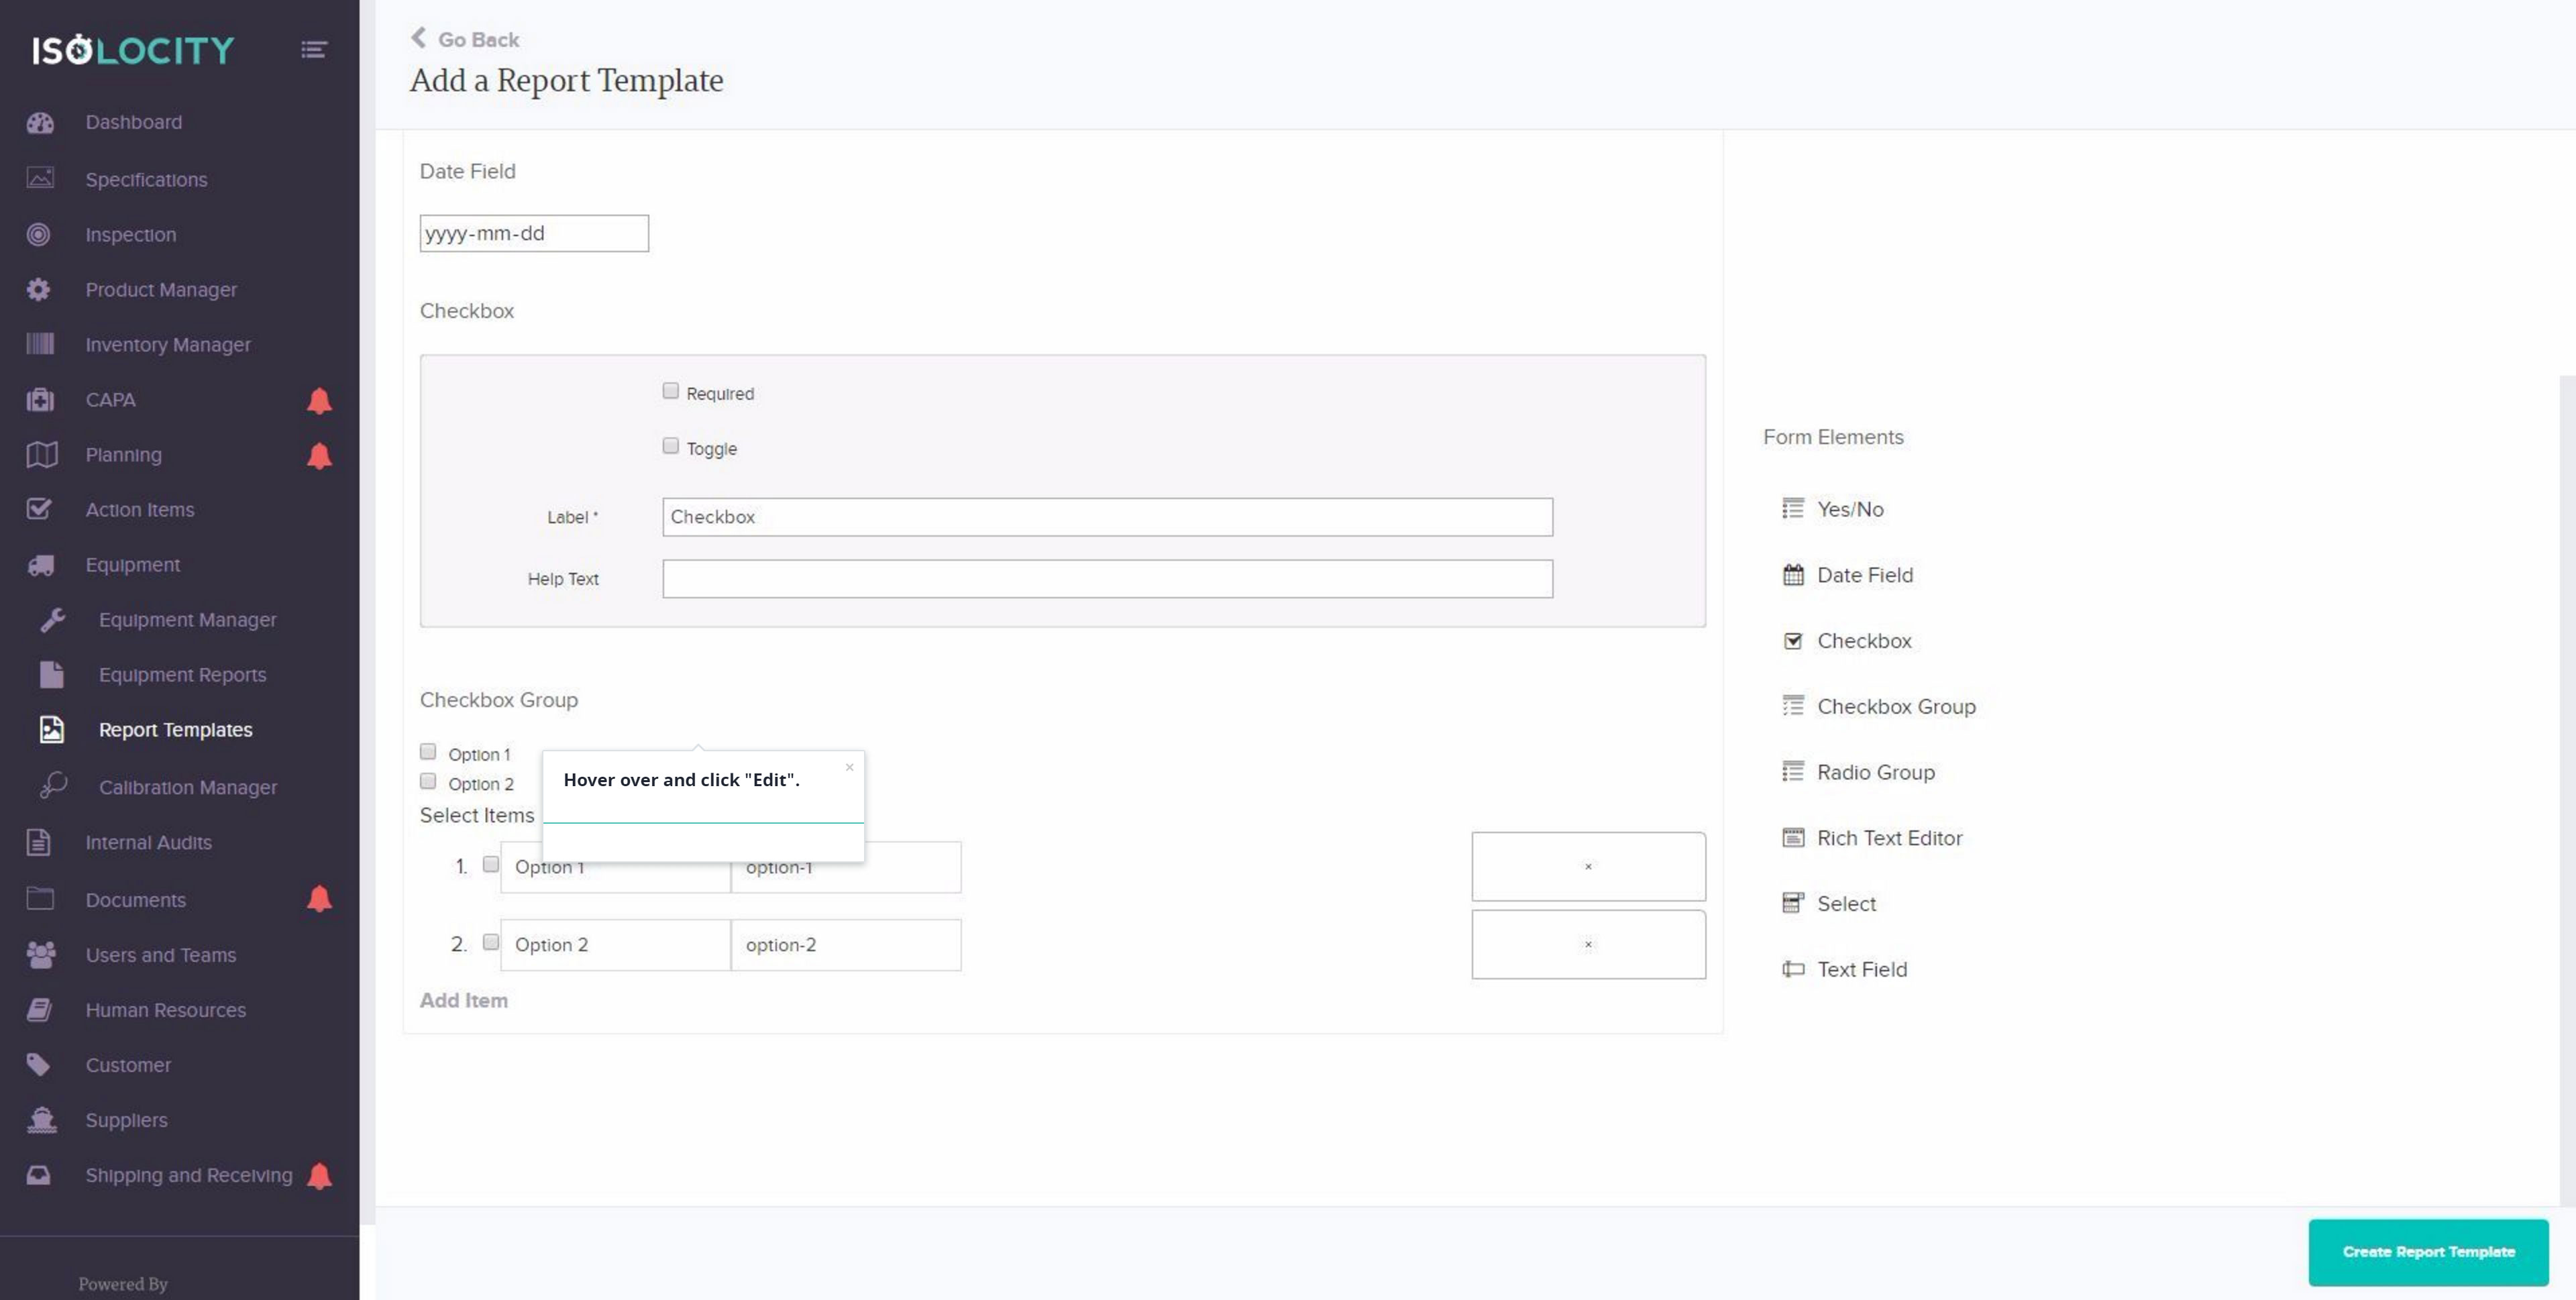
Step #25
Hover over and click “Edit”.
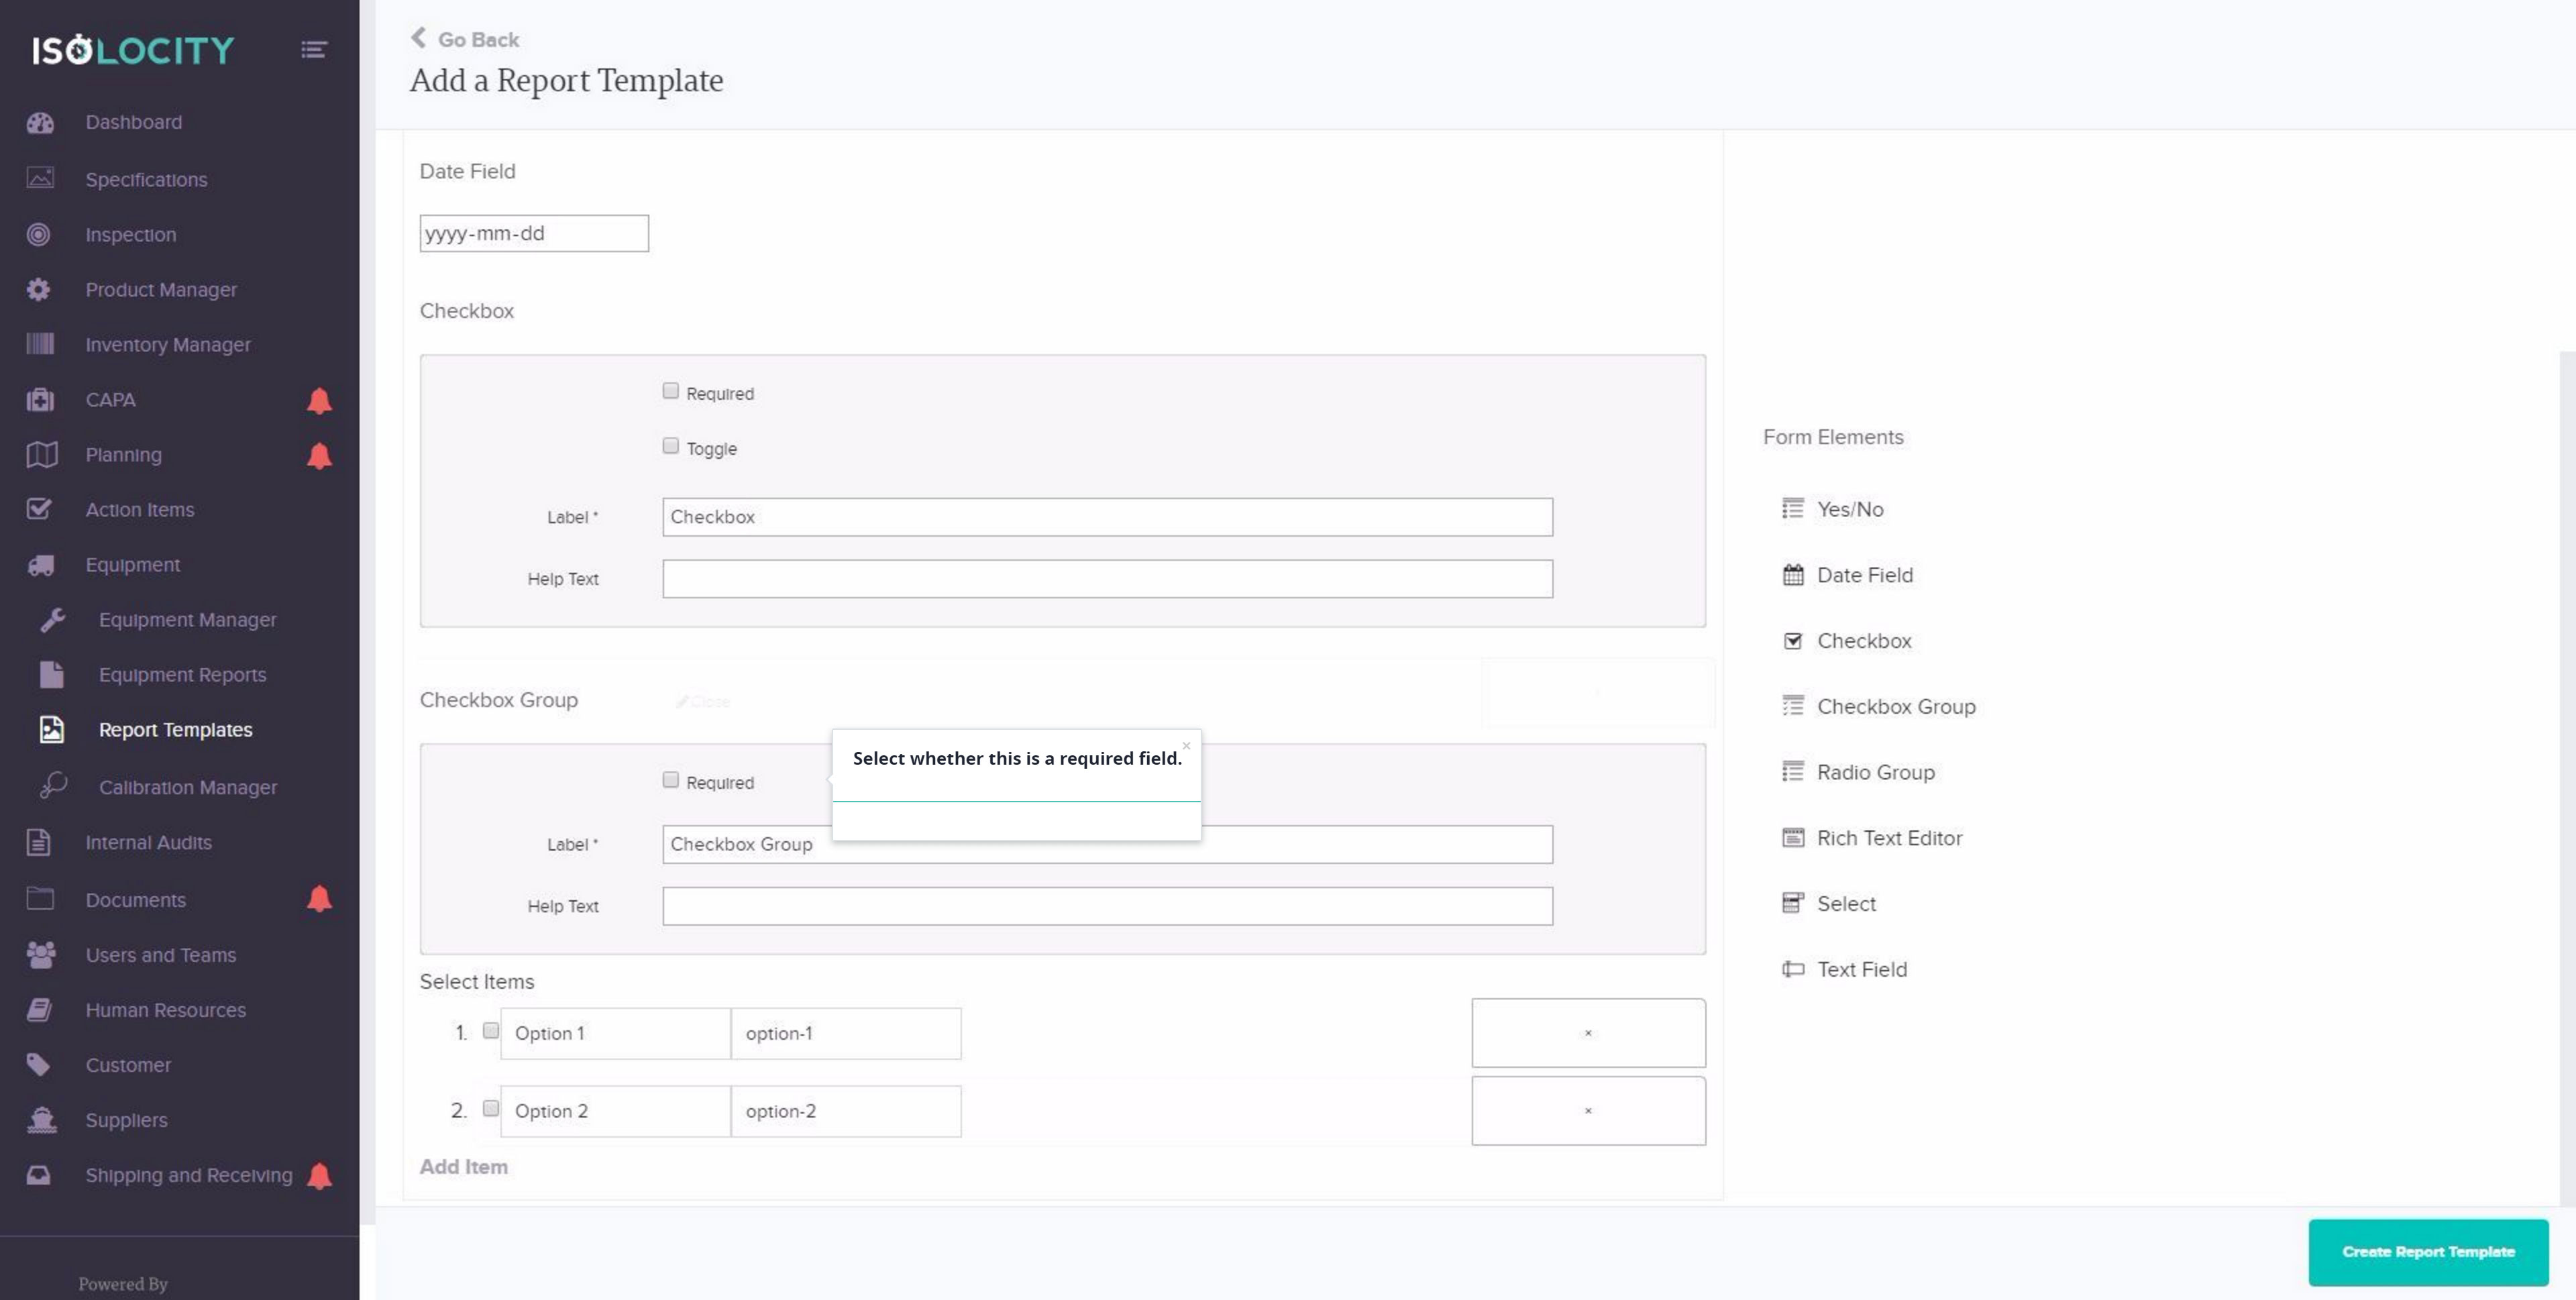
Step #26
Select whether this is a required field.
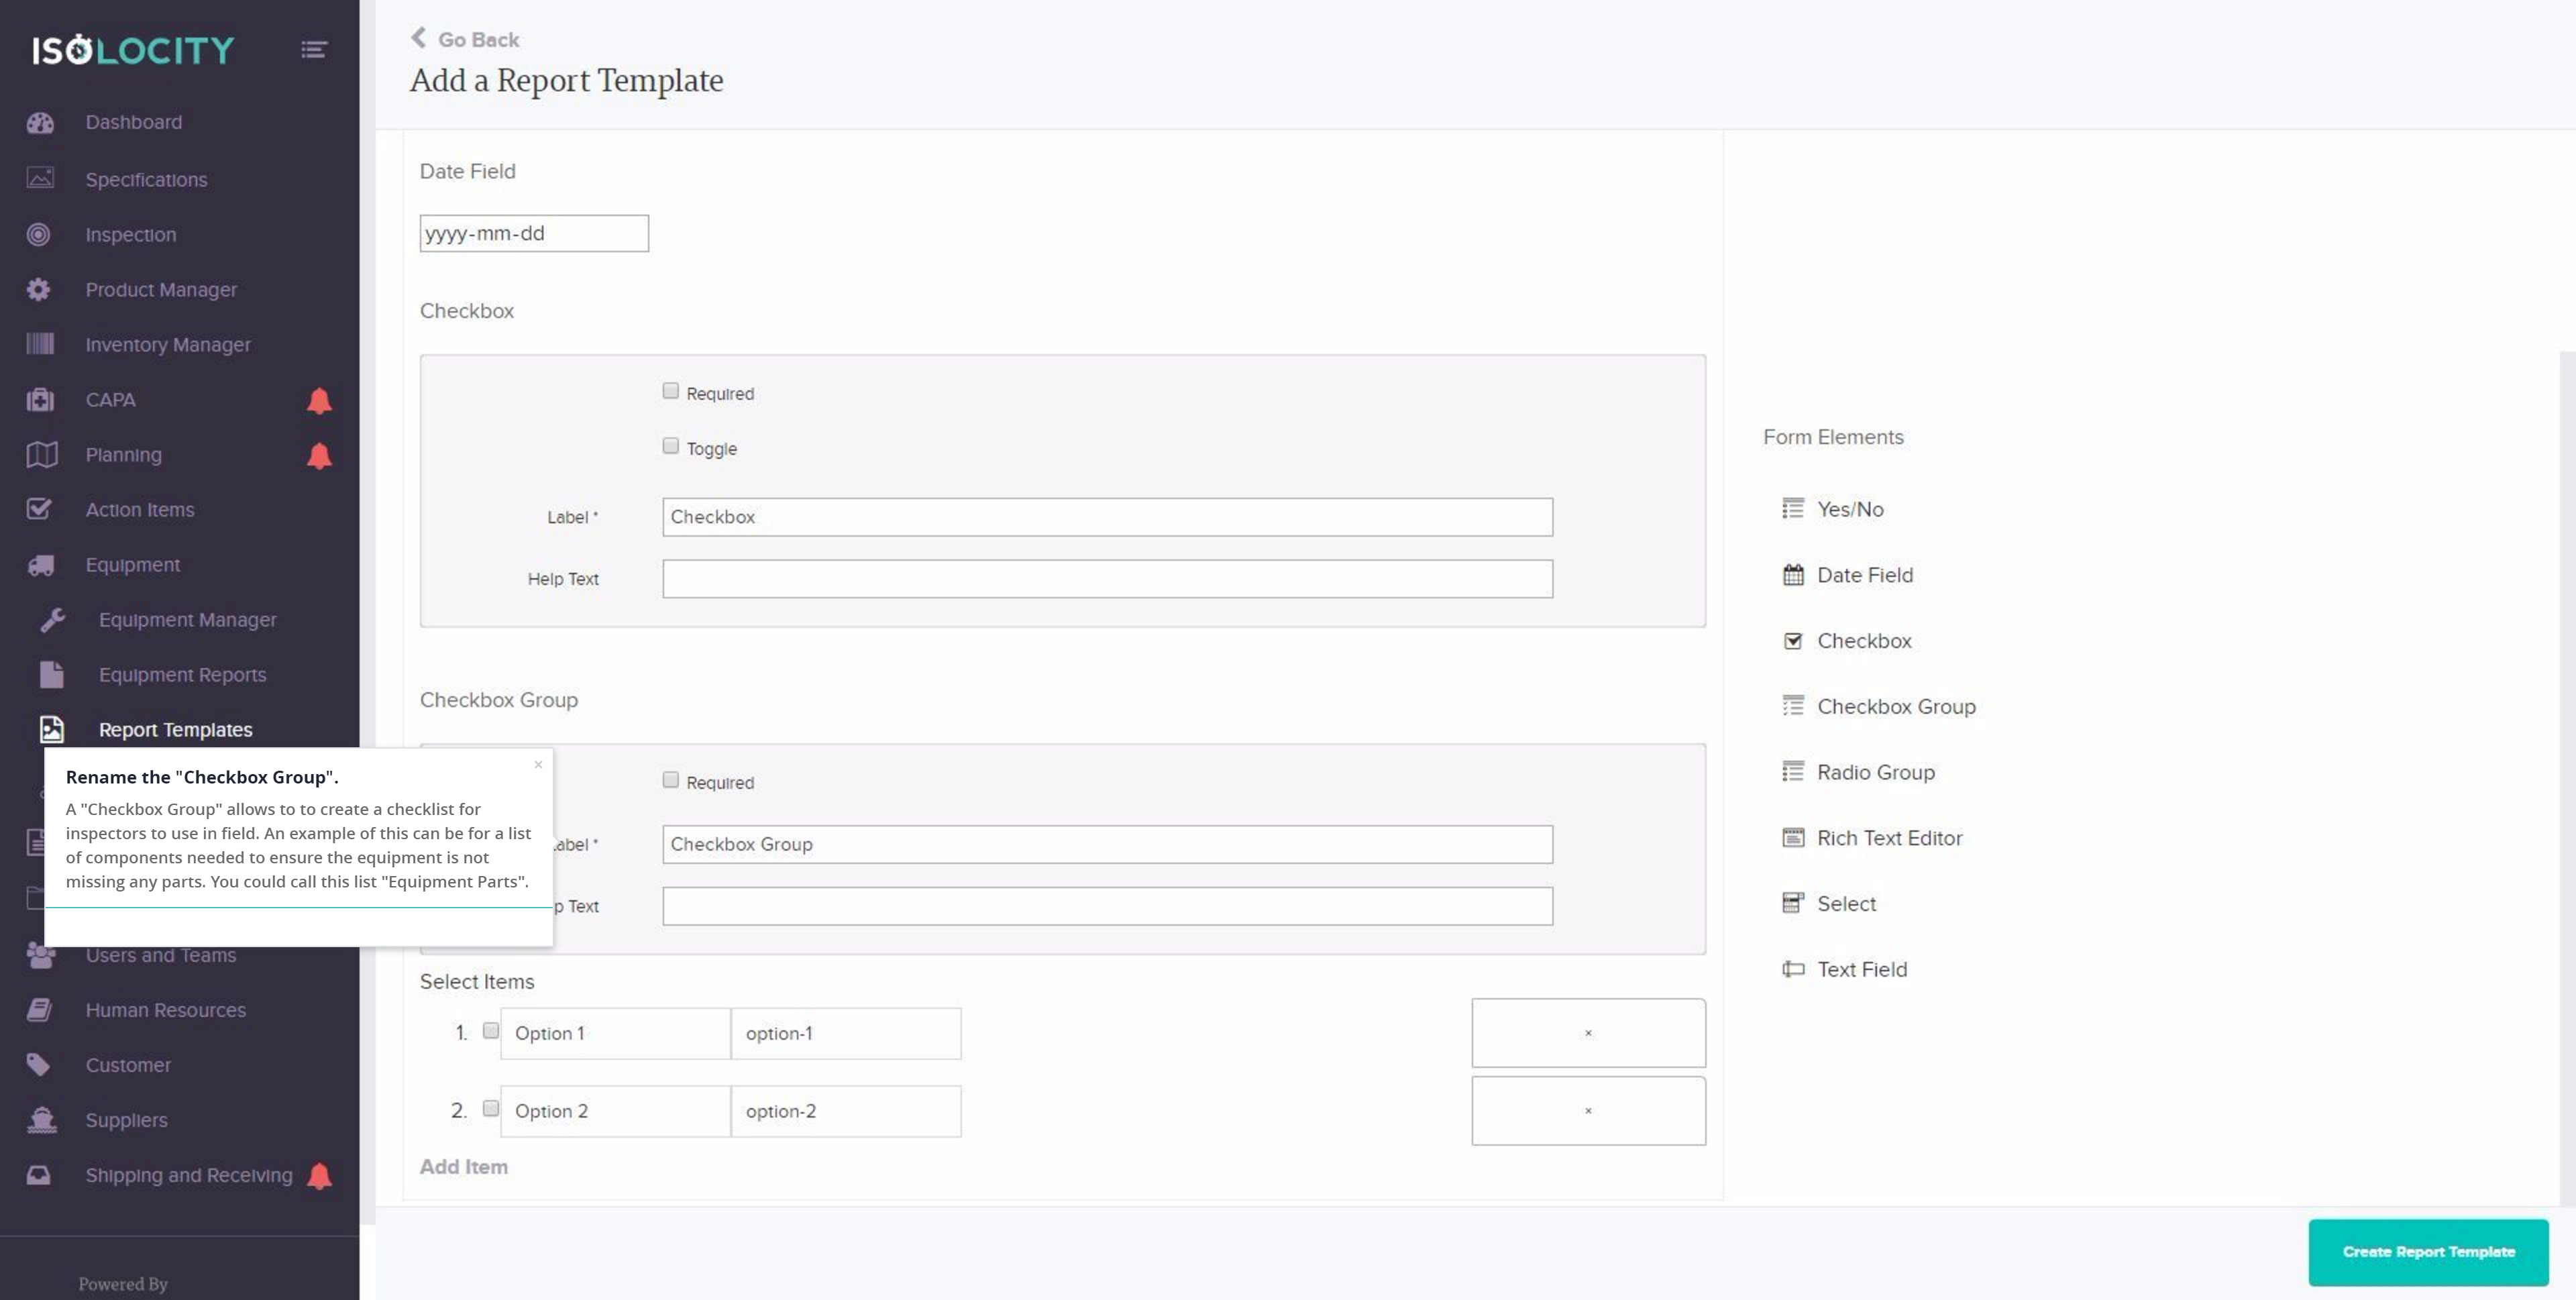
Step #27
Rename the “Checkbox Group”.
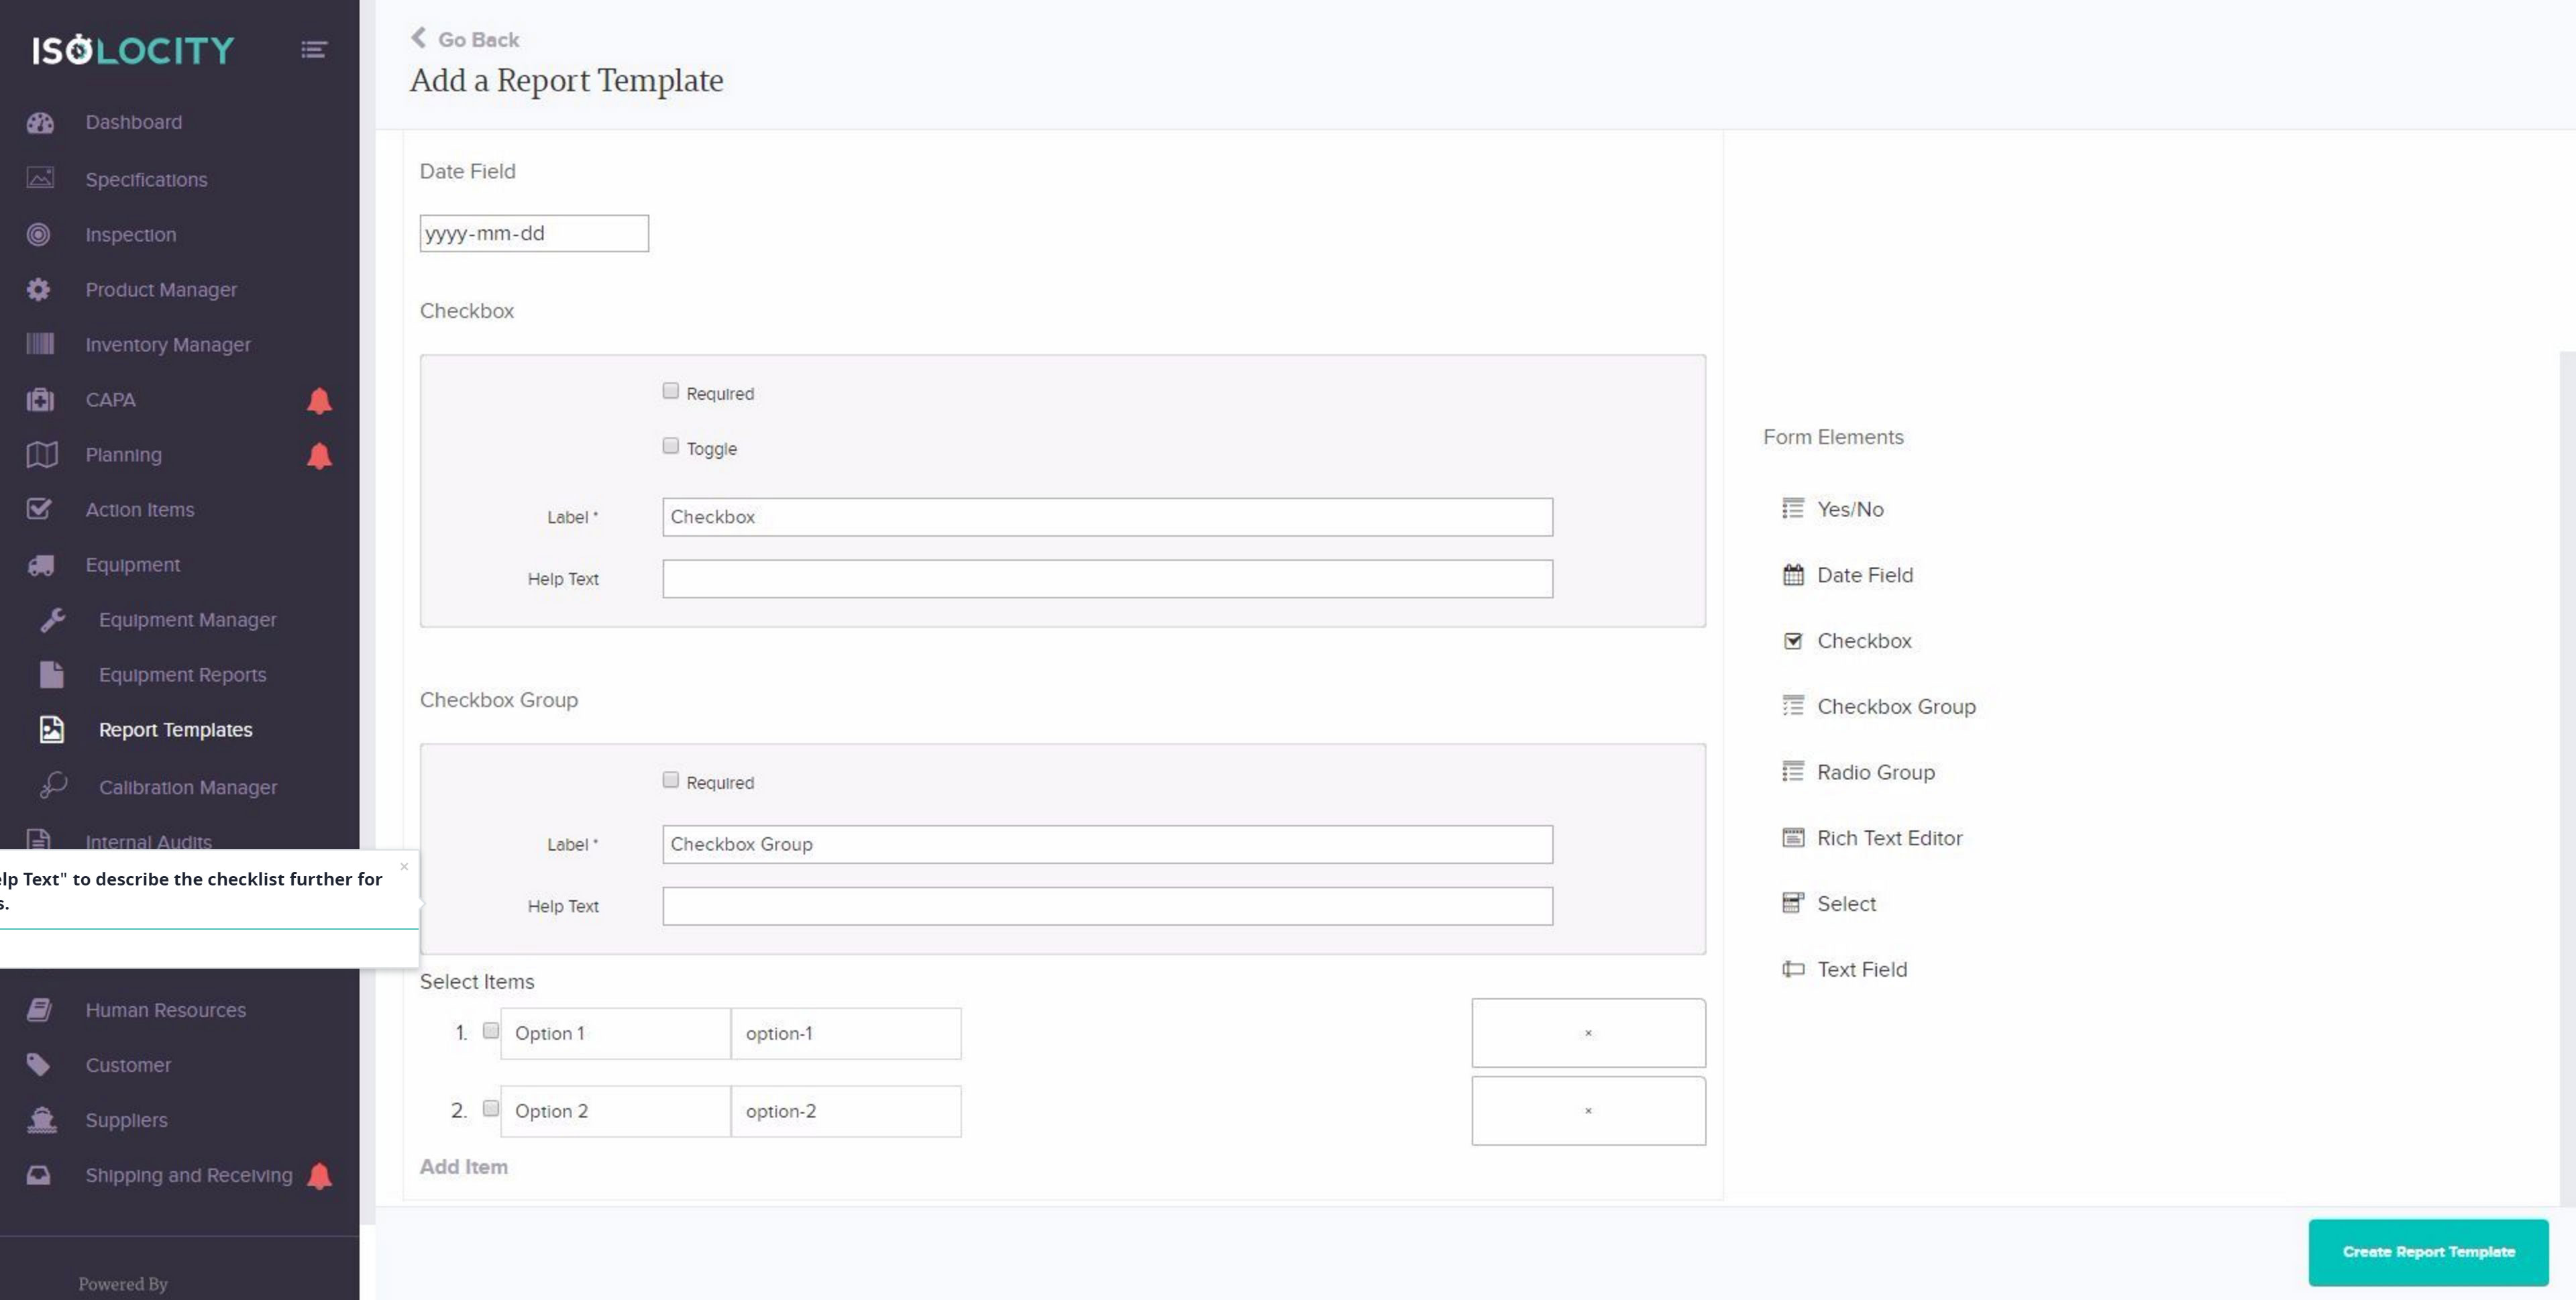
Step #28
Add “Help Text” to describe the checklist further for its users.
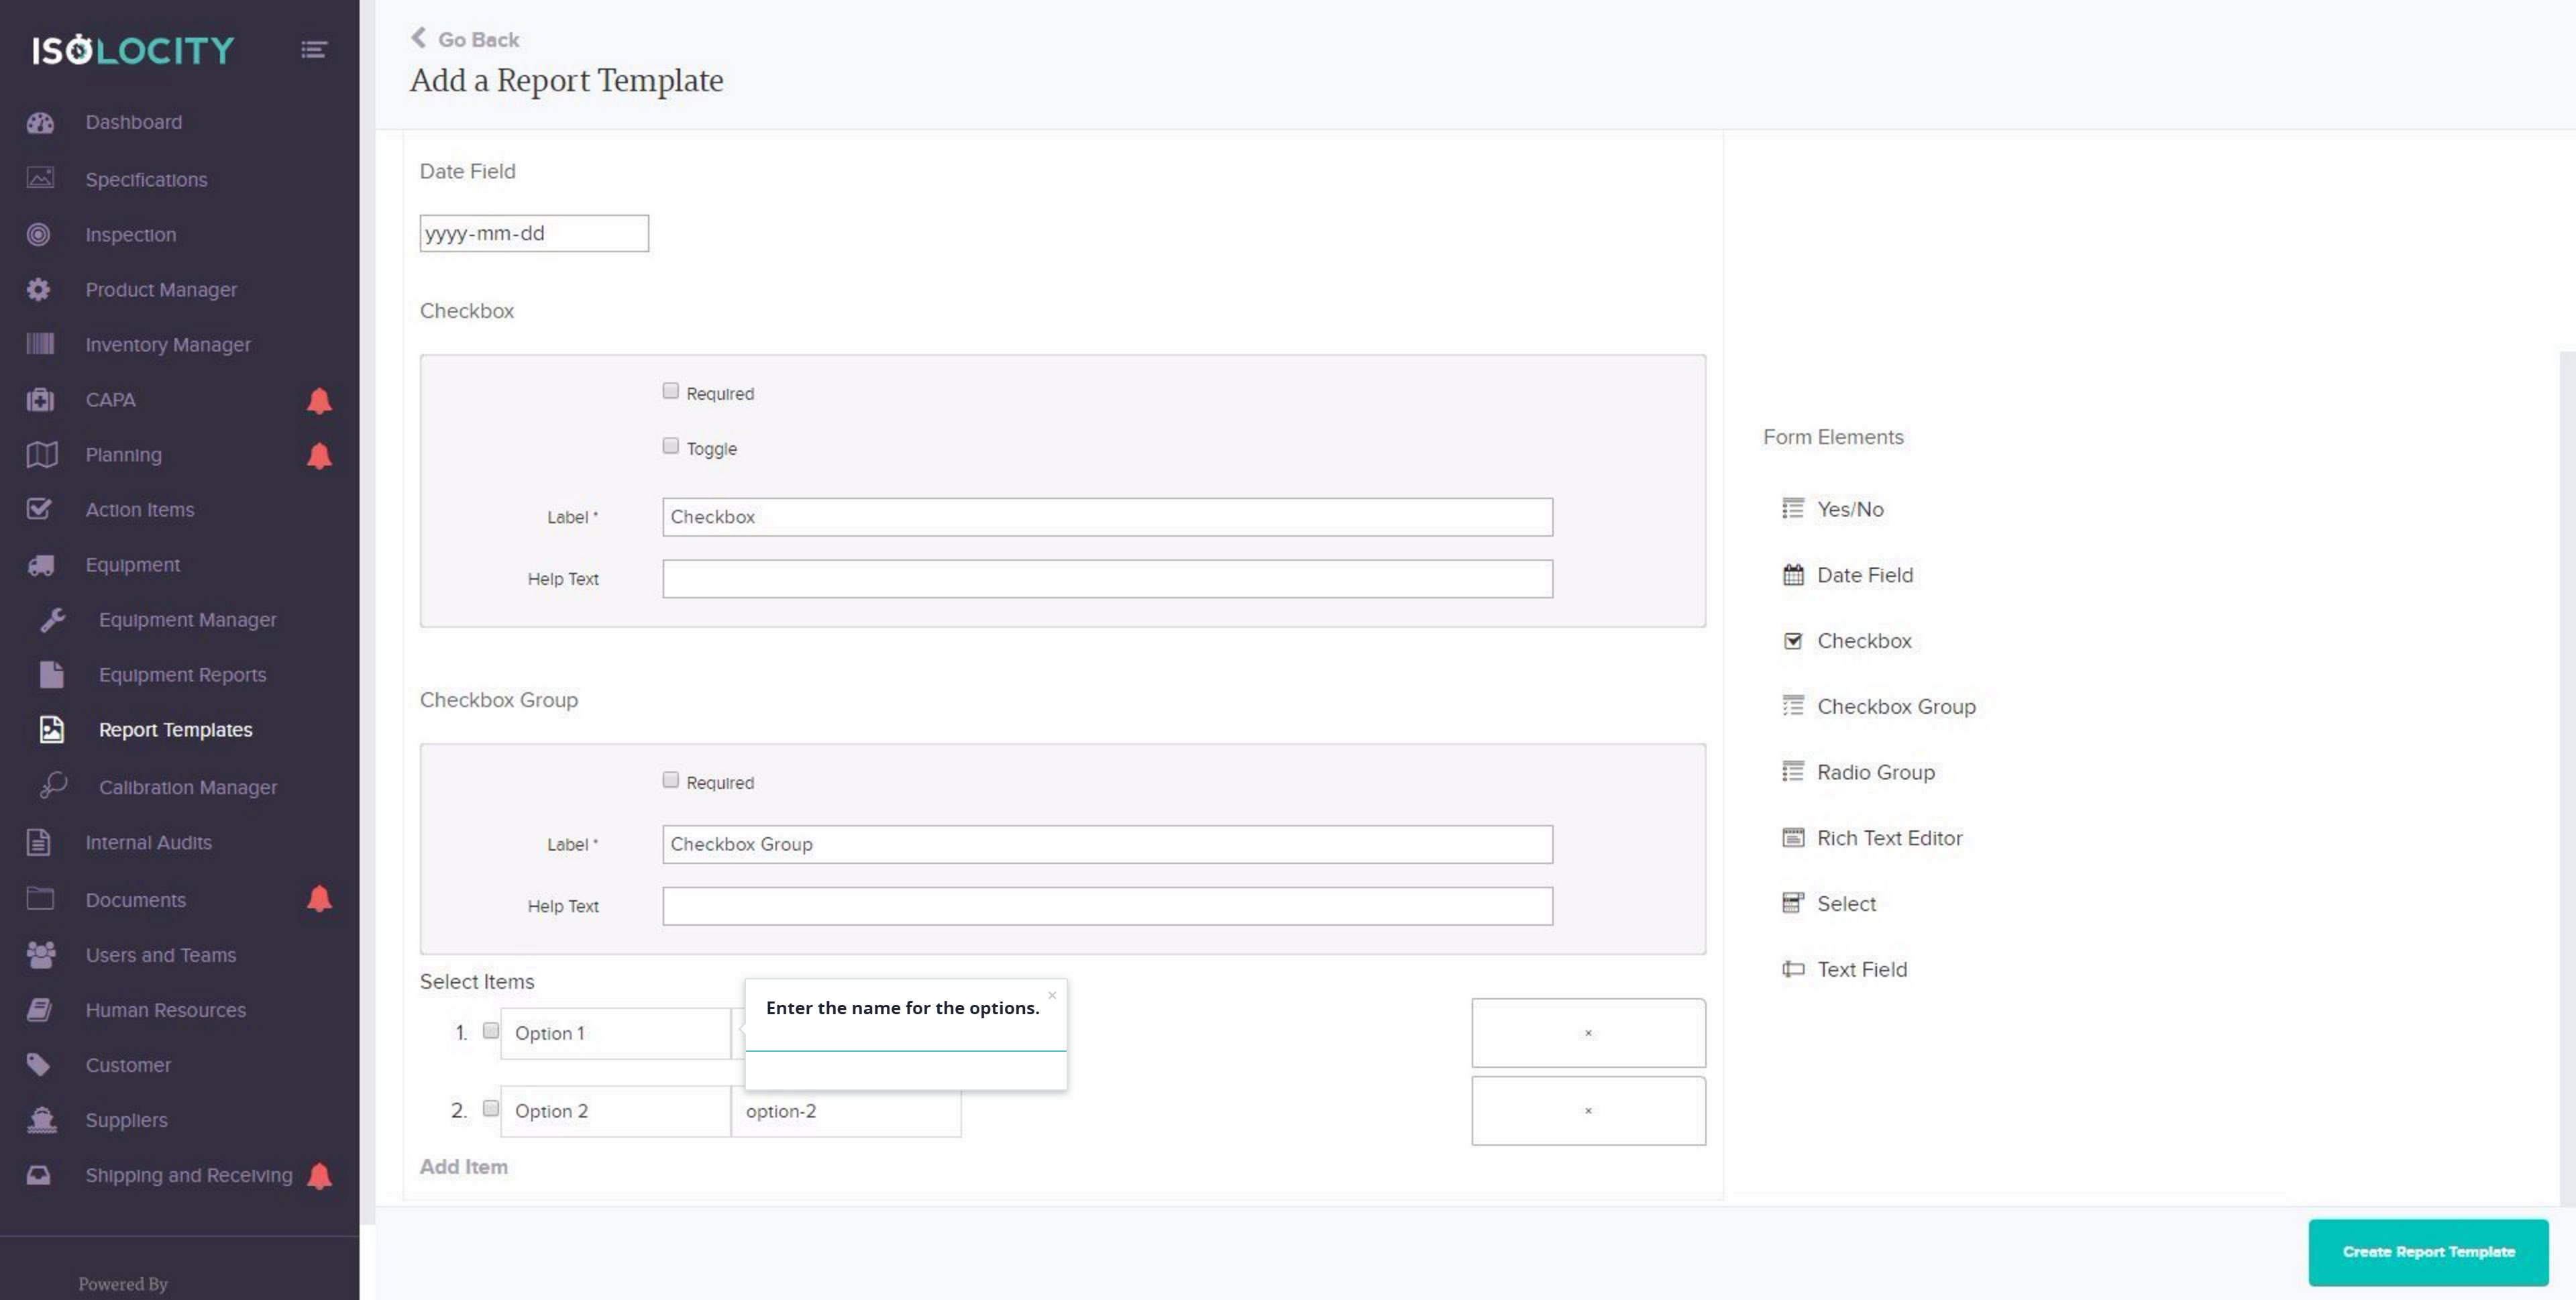
Step #29
Enter the name for the options.
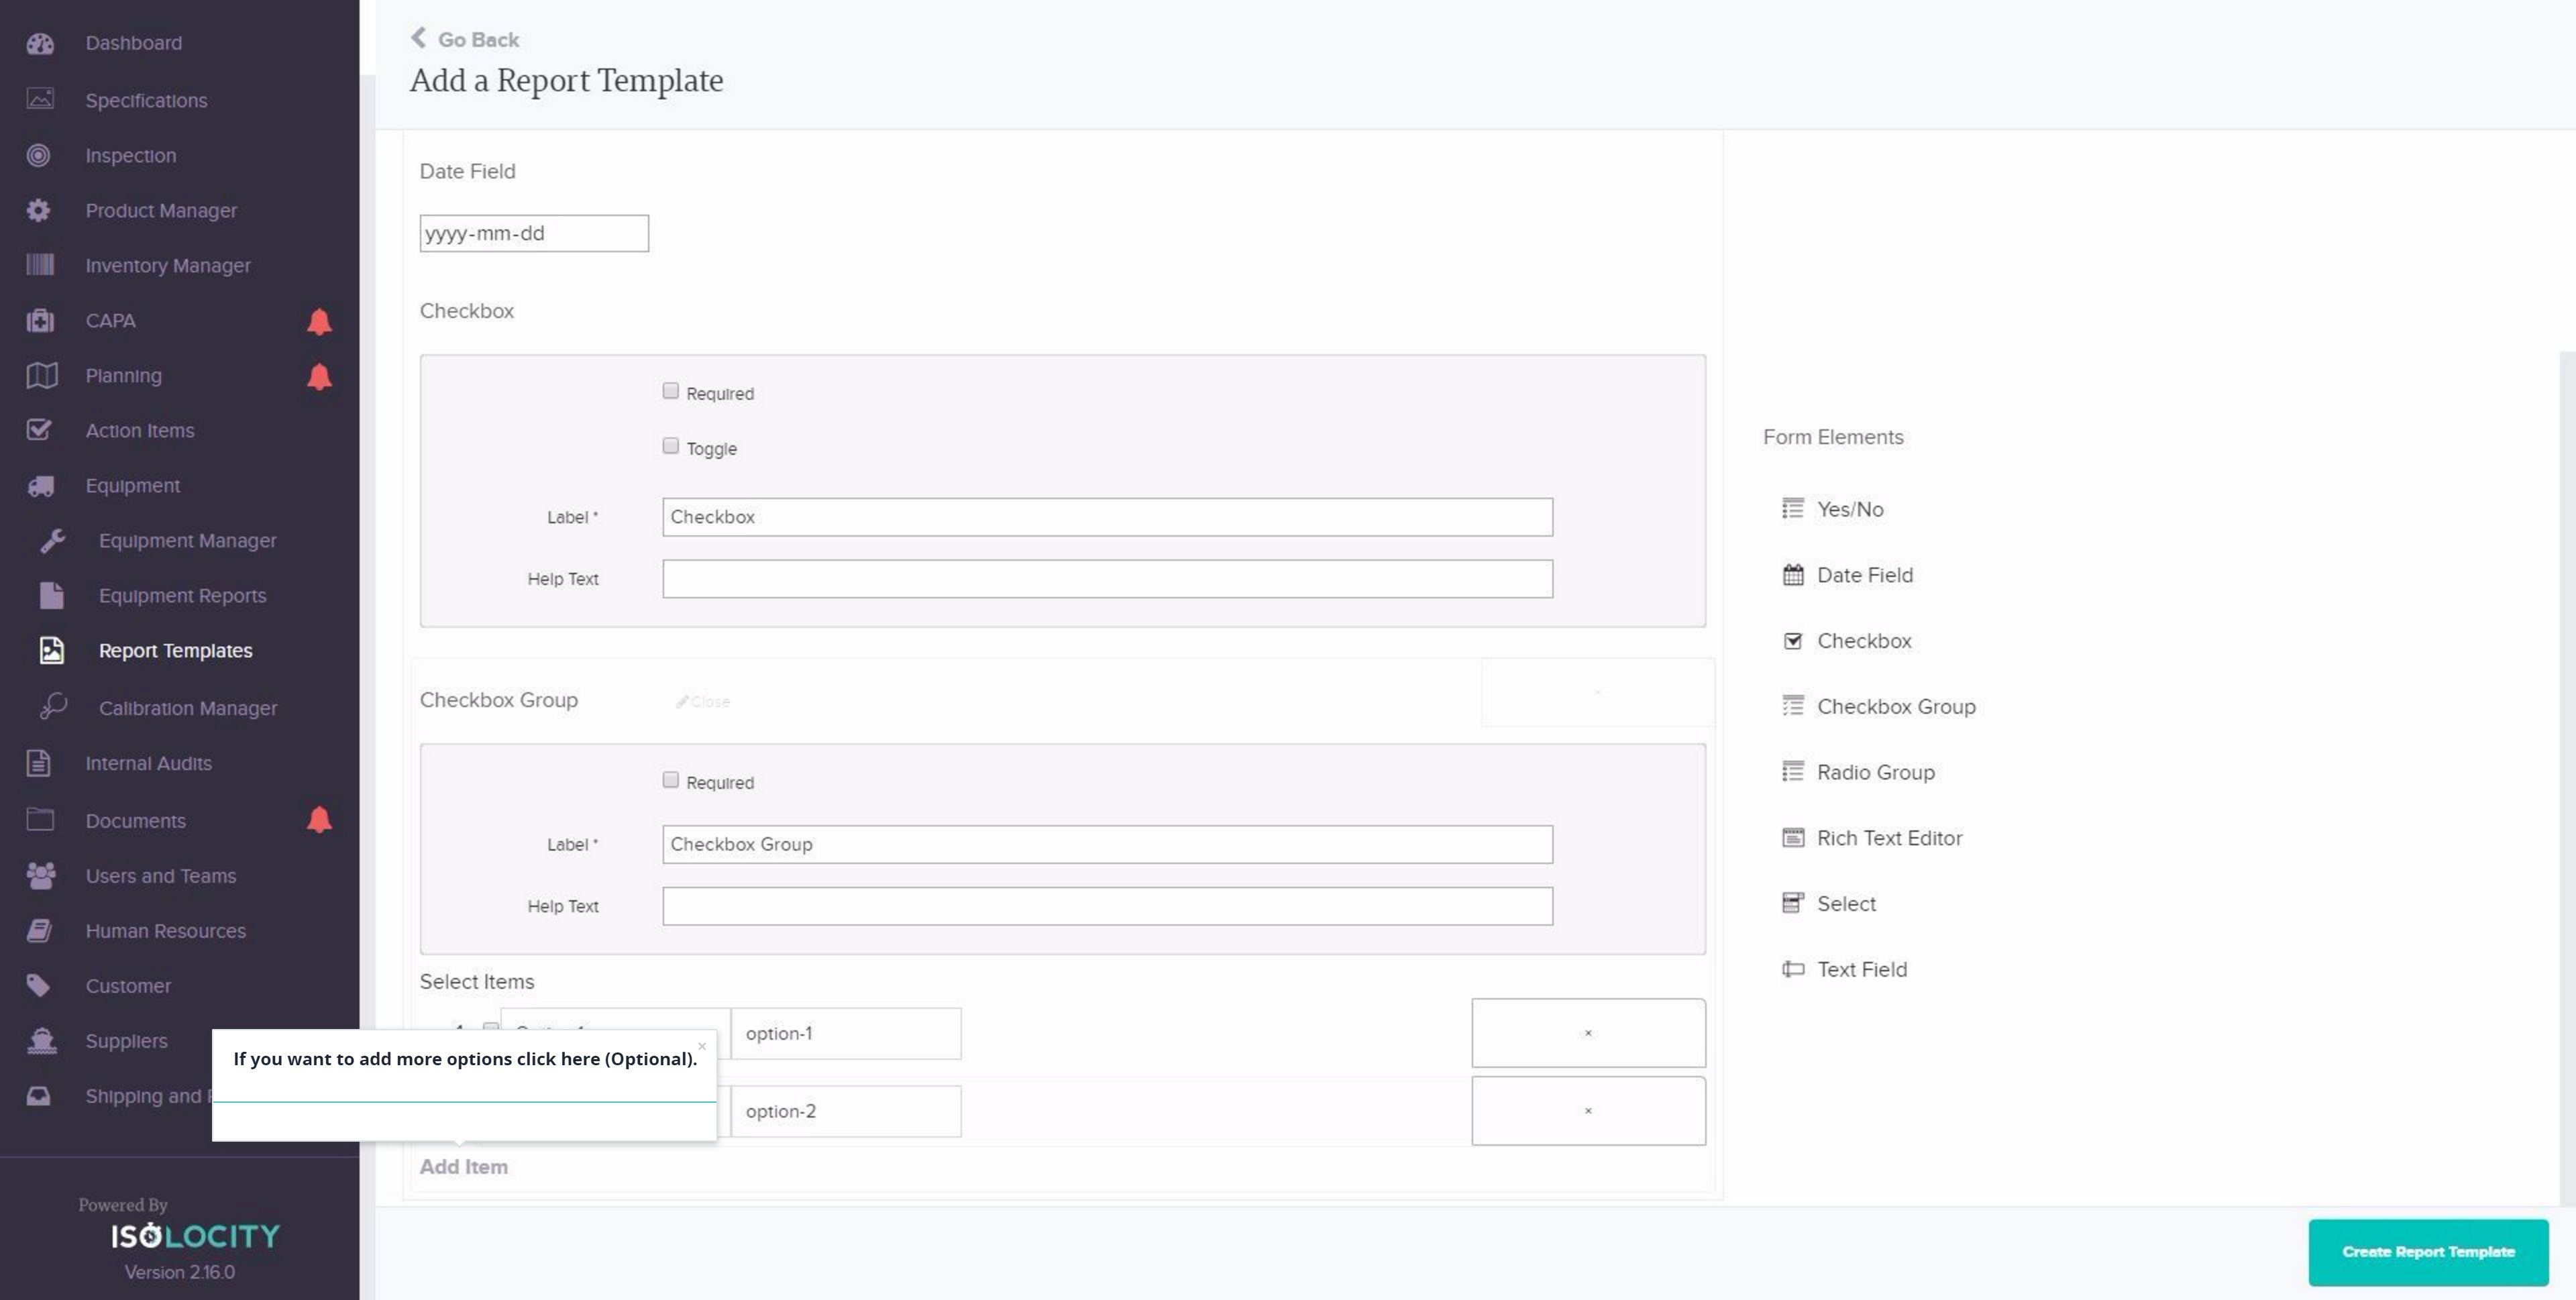
Step #30
If you want to add more options click here (Optional).
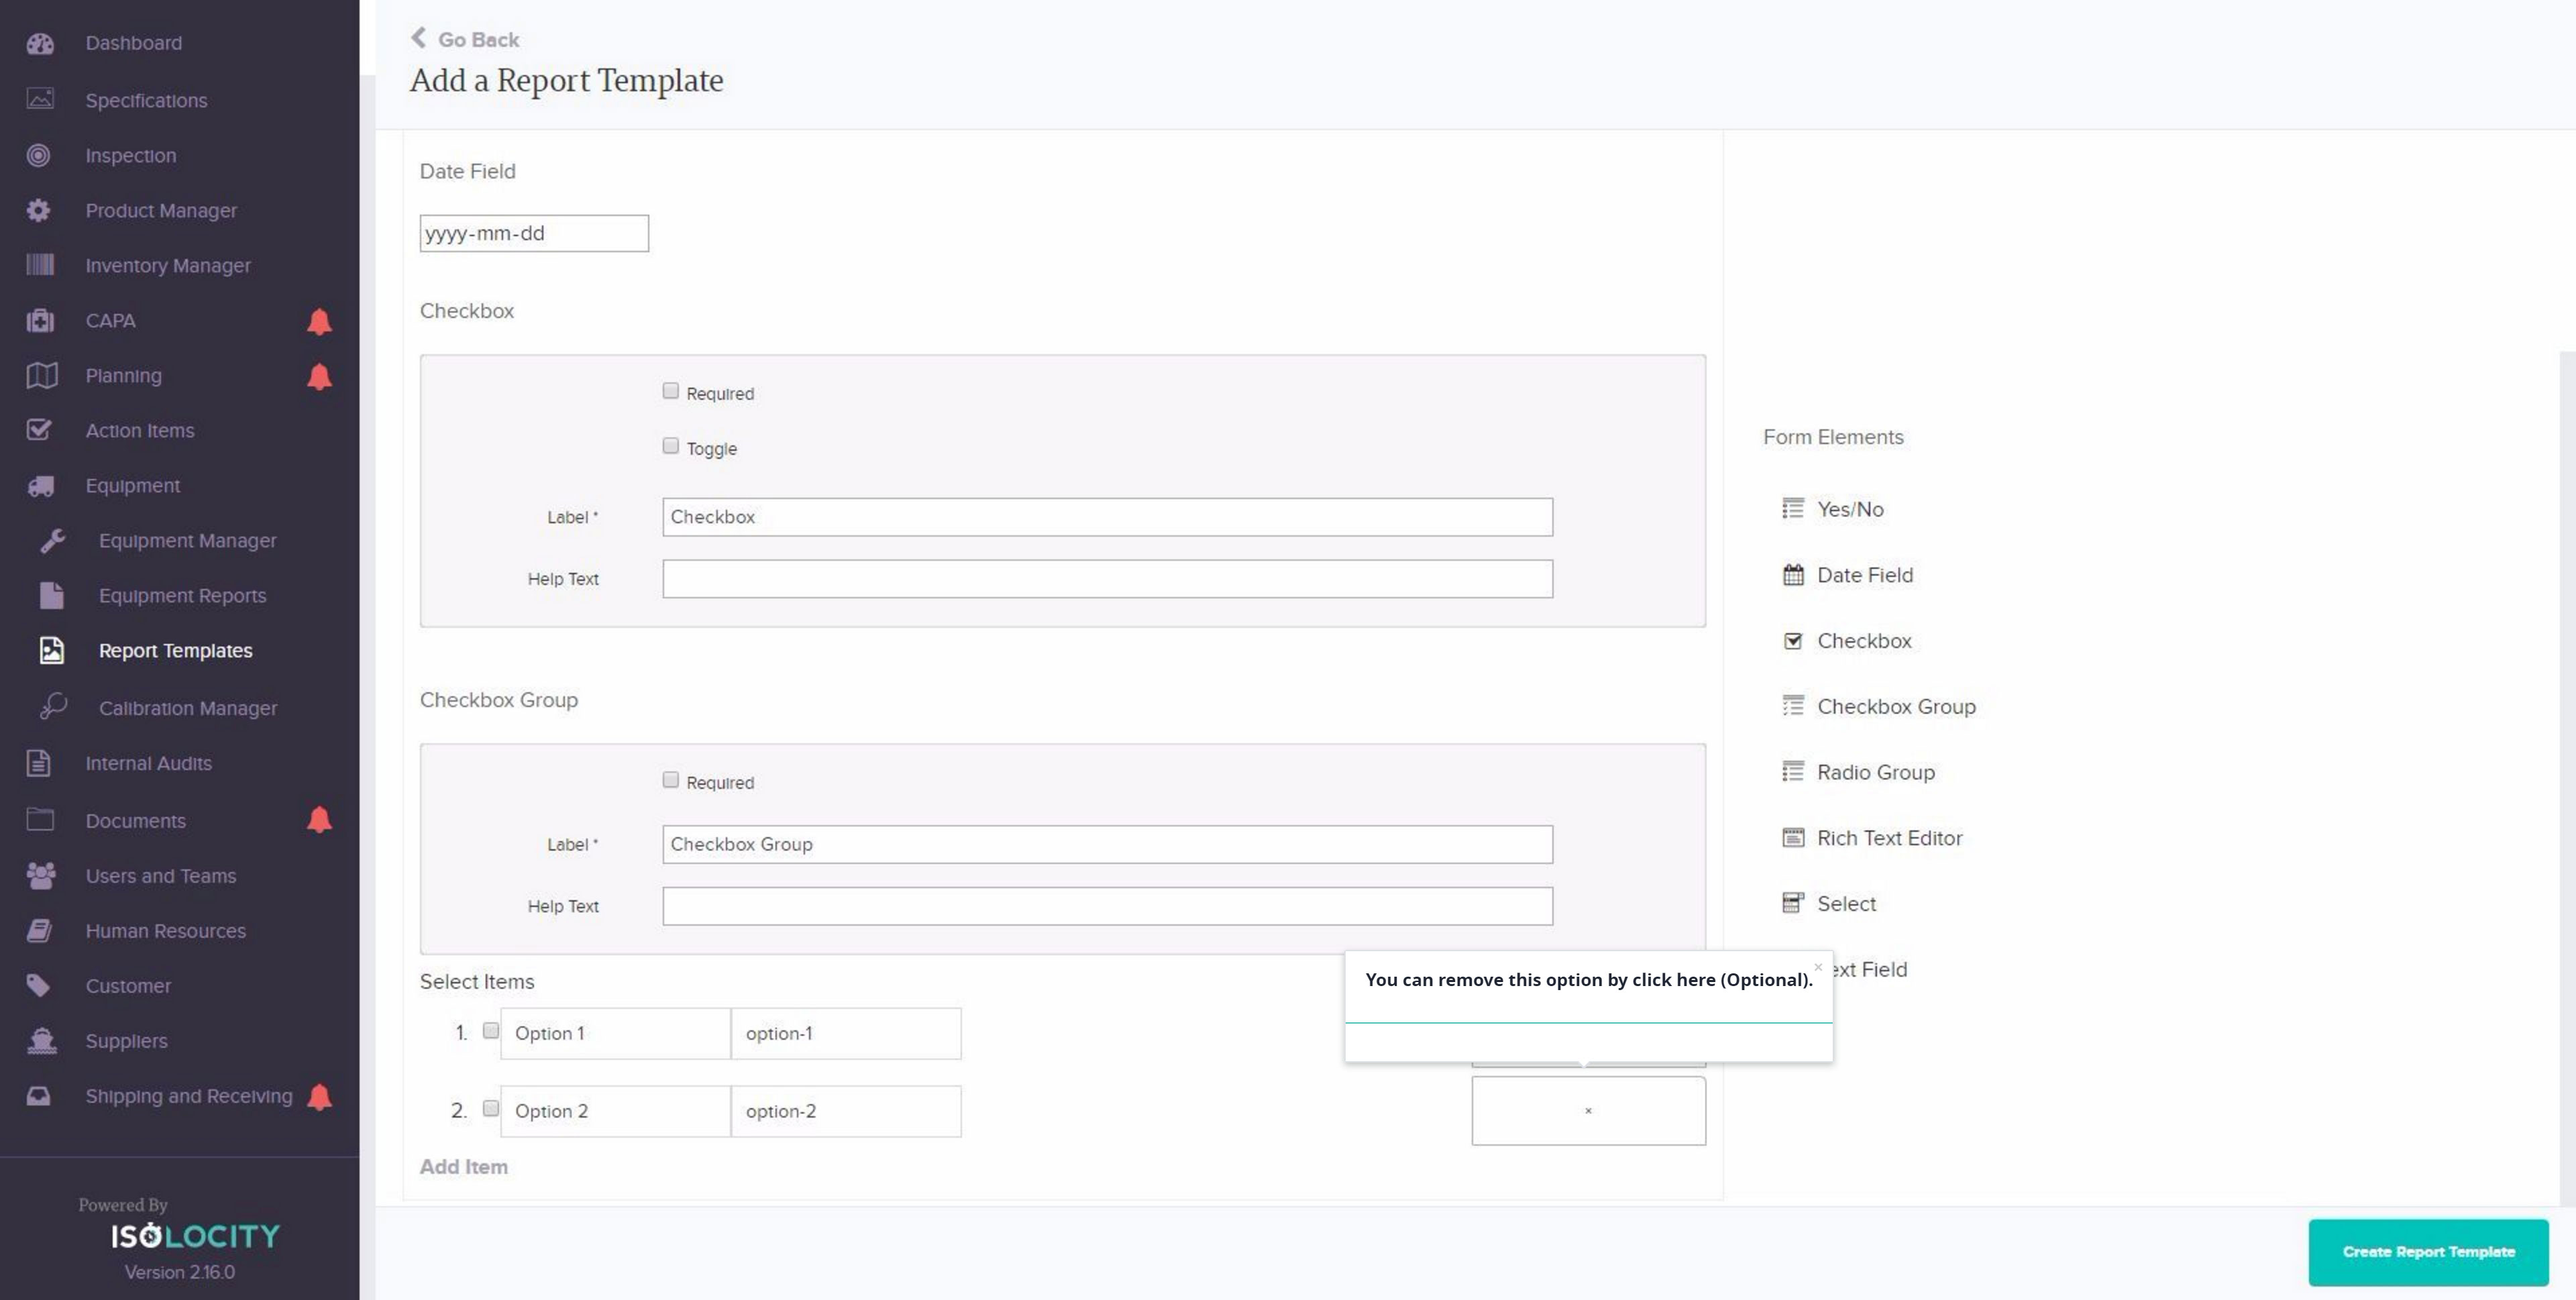
Step #31
You can remove this option by click here (Optional).
Step #32
Hover over and click “Edit”.
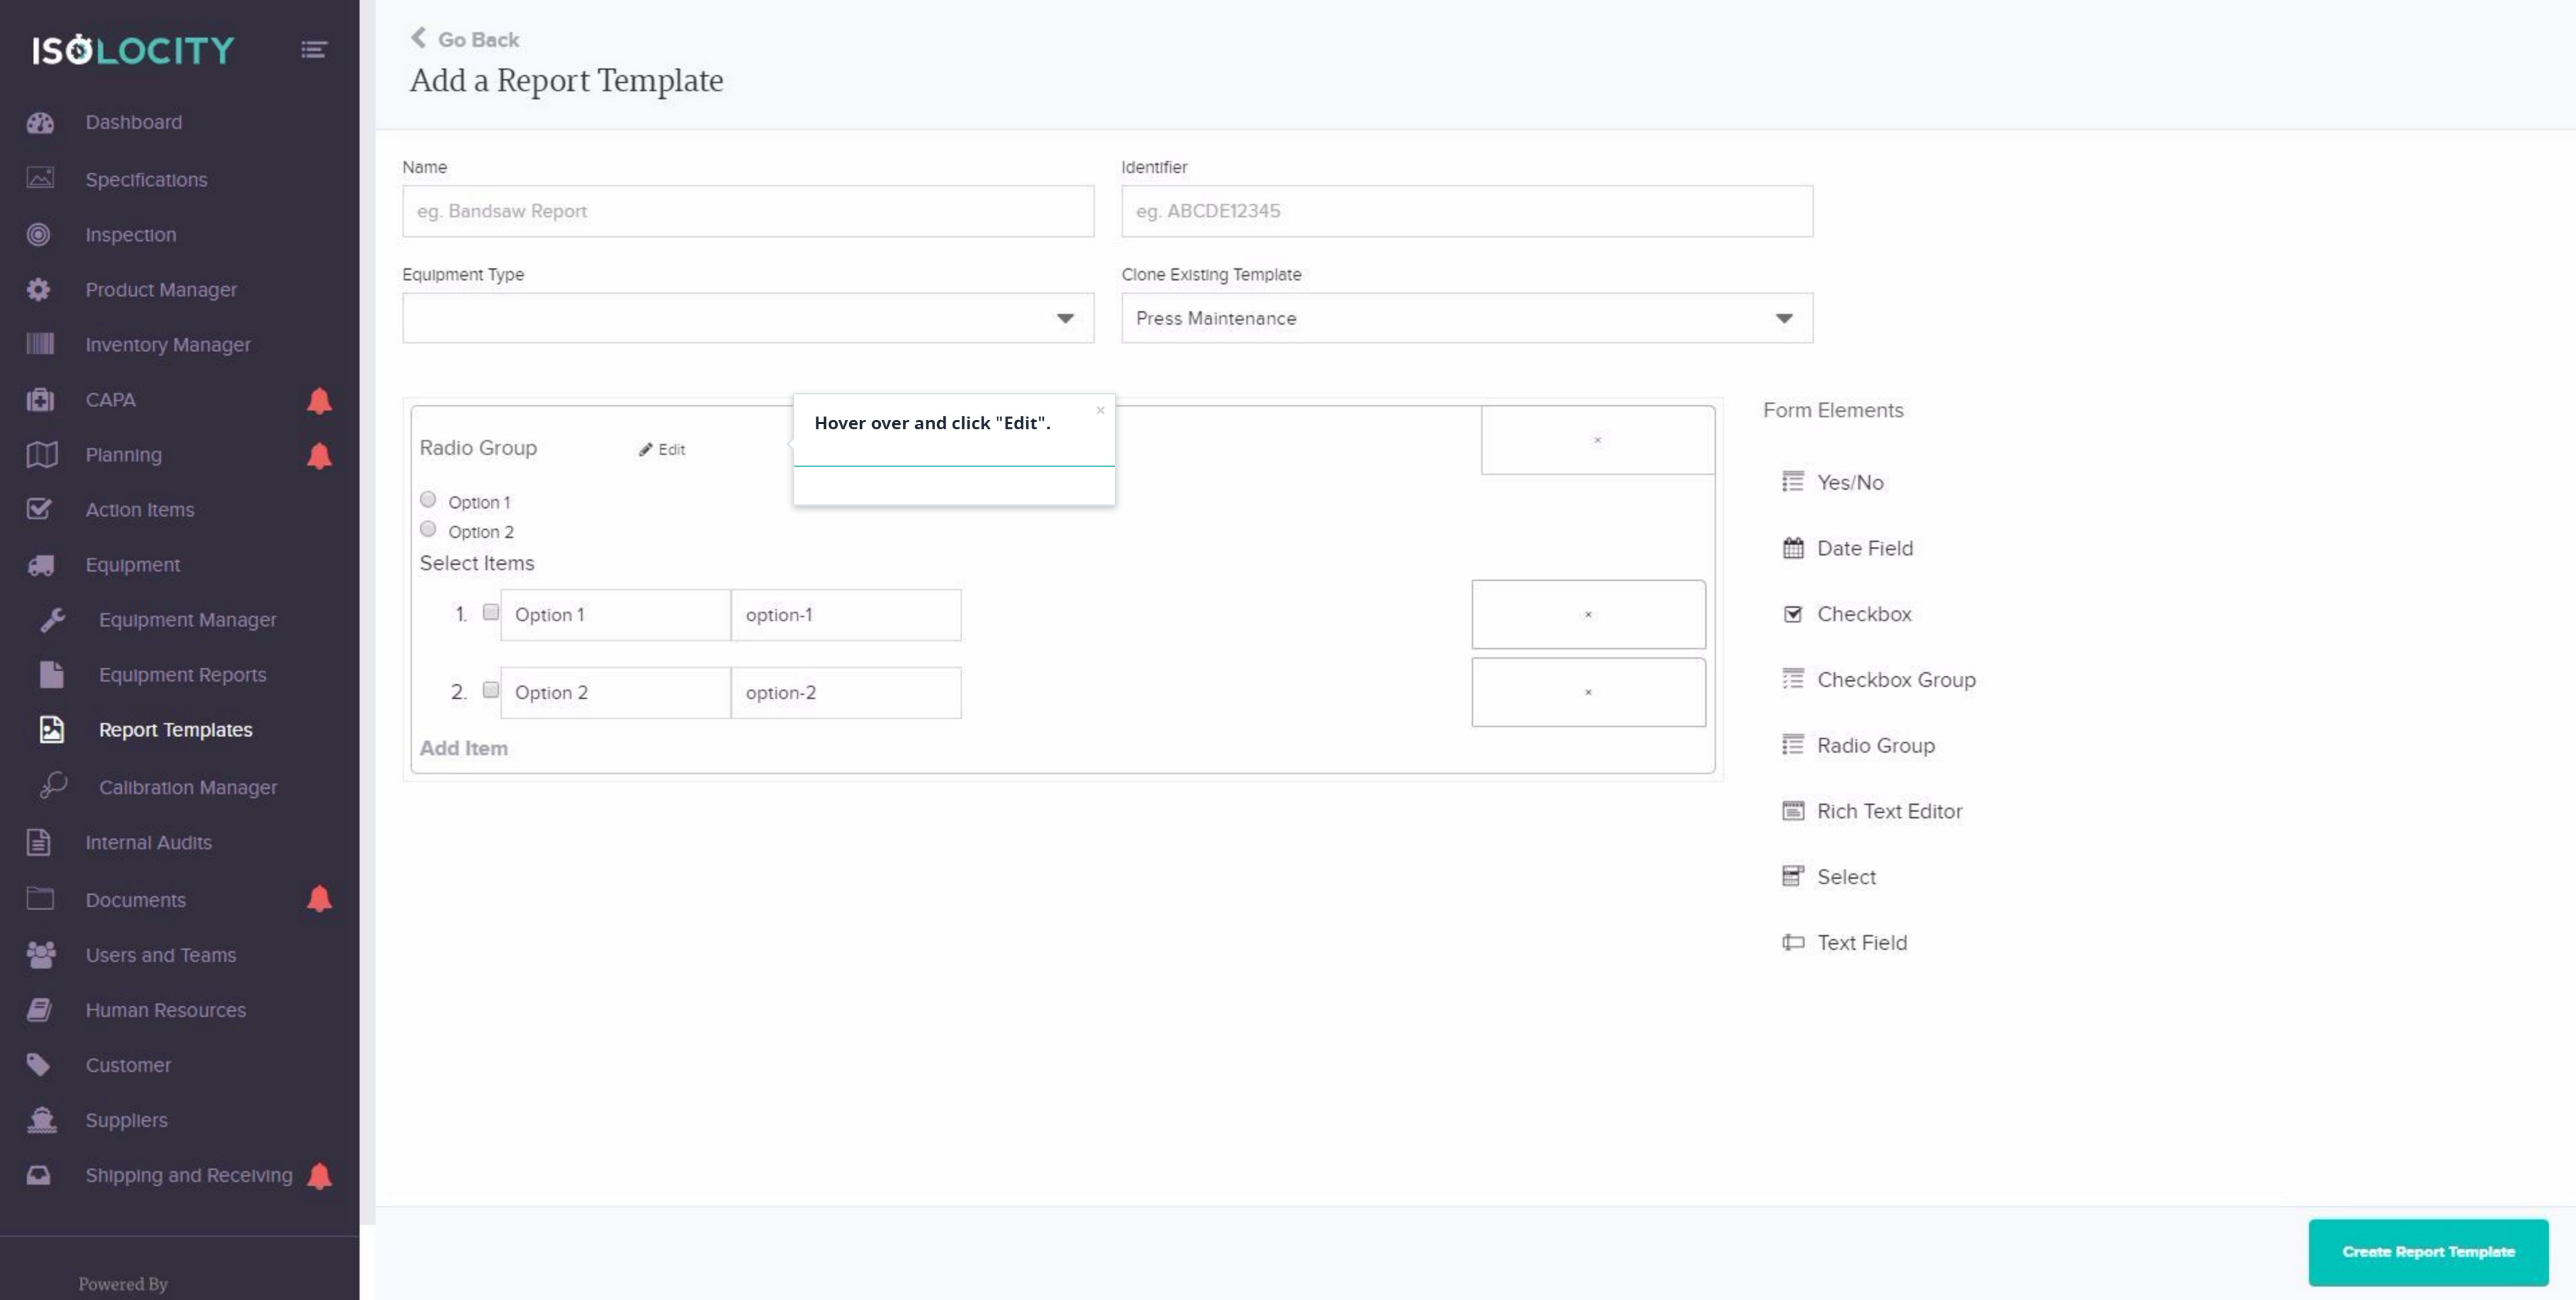
Step #33
Select whether this step is required or optional.
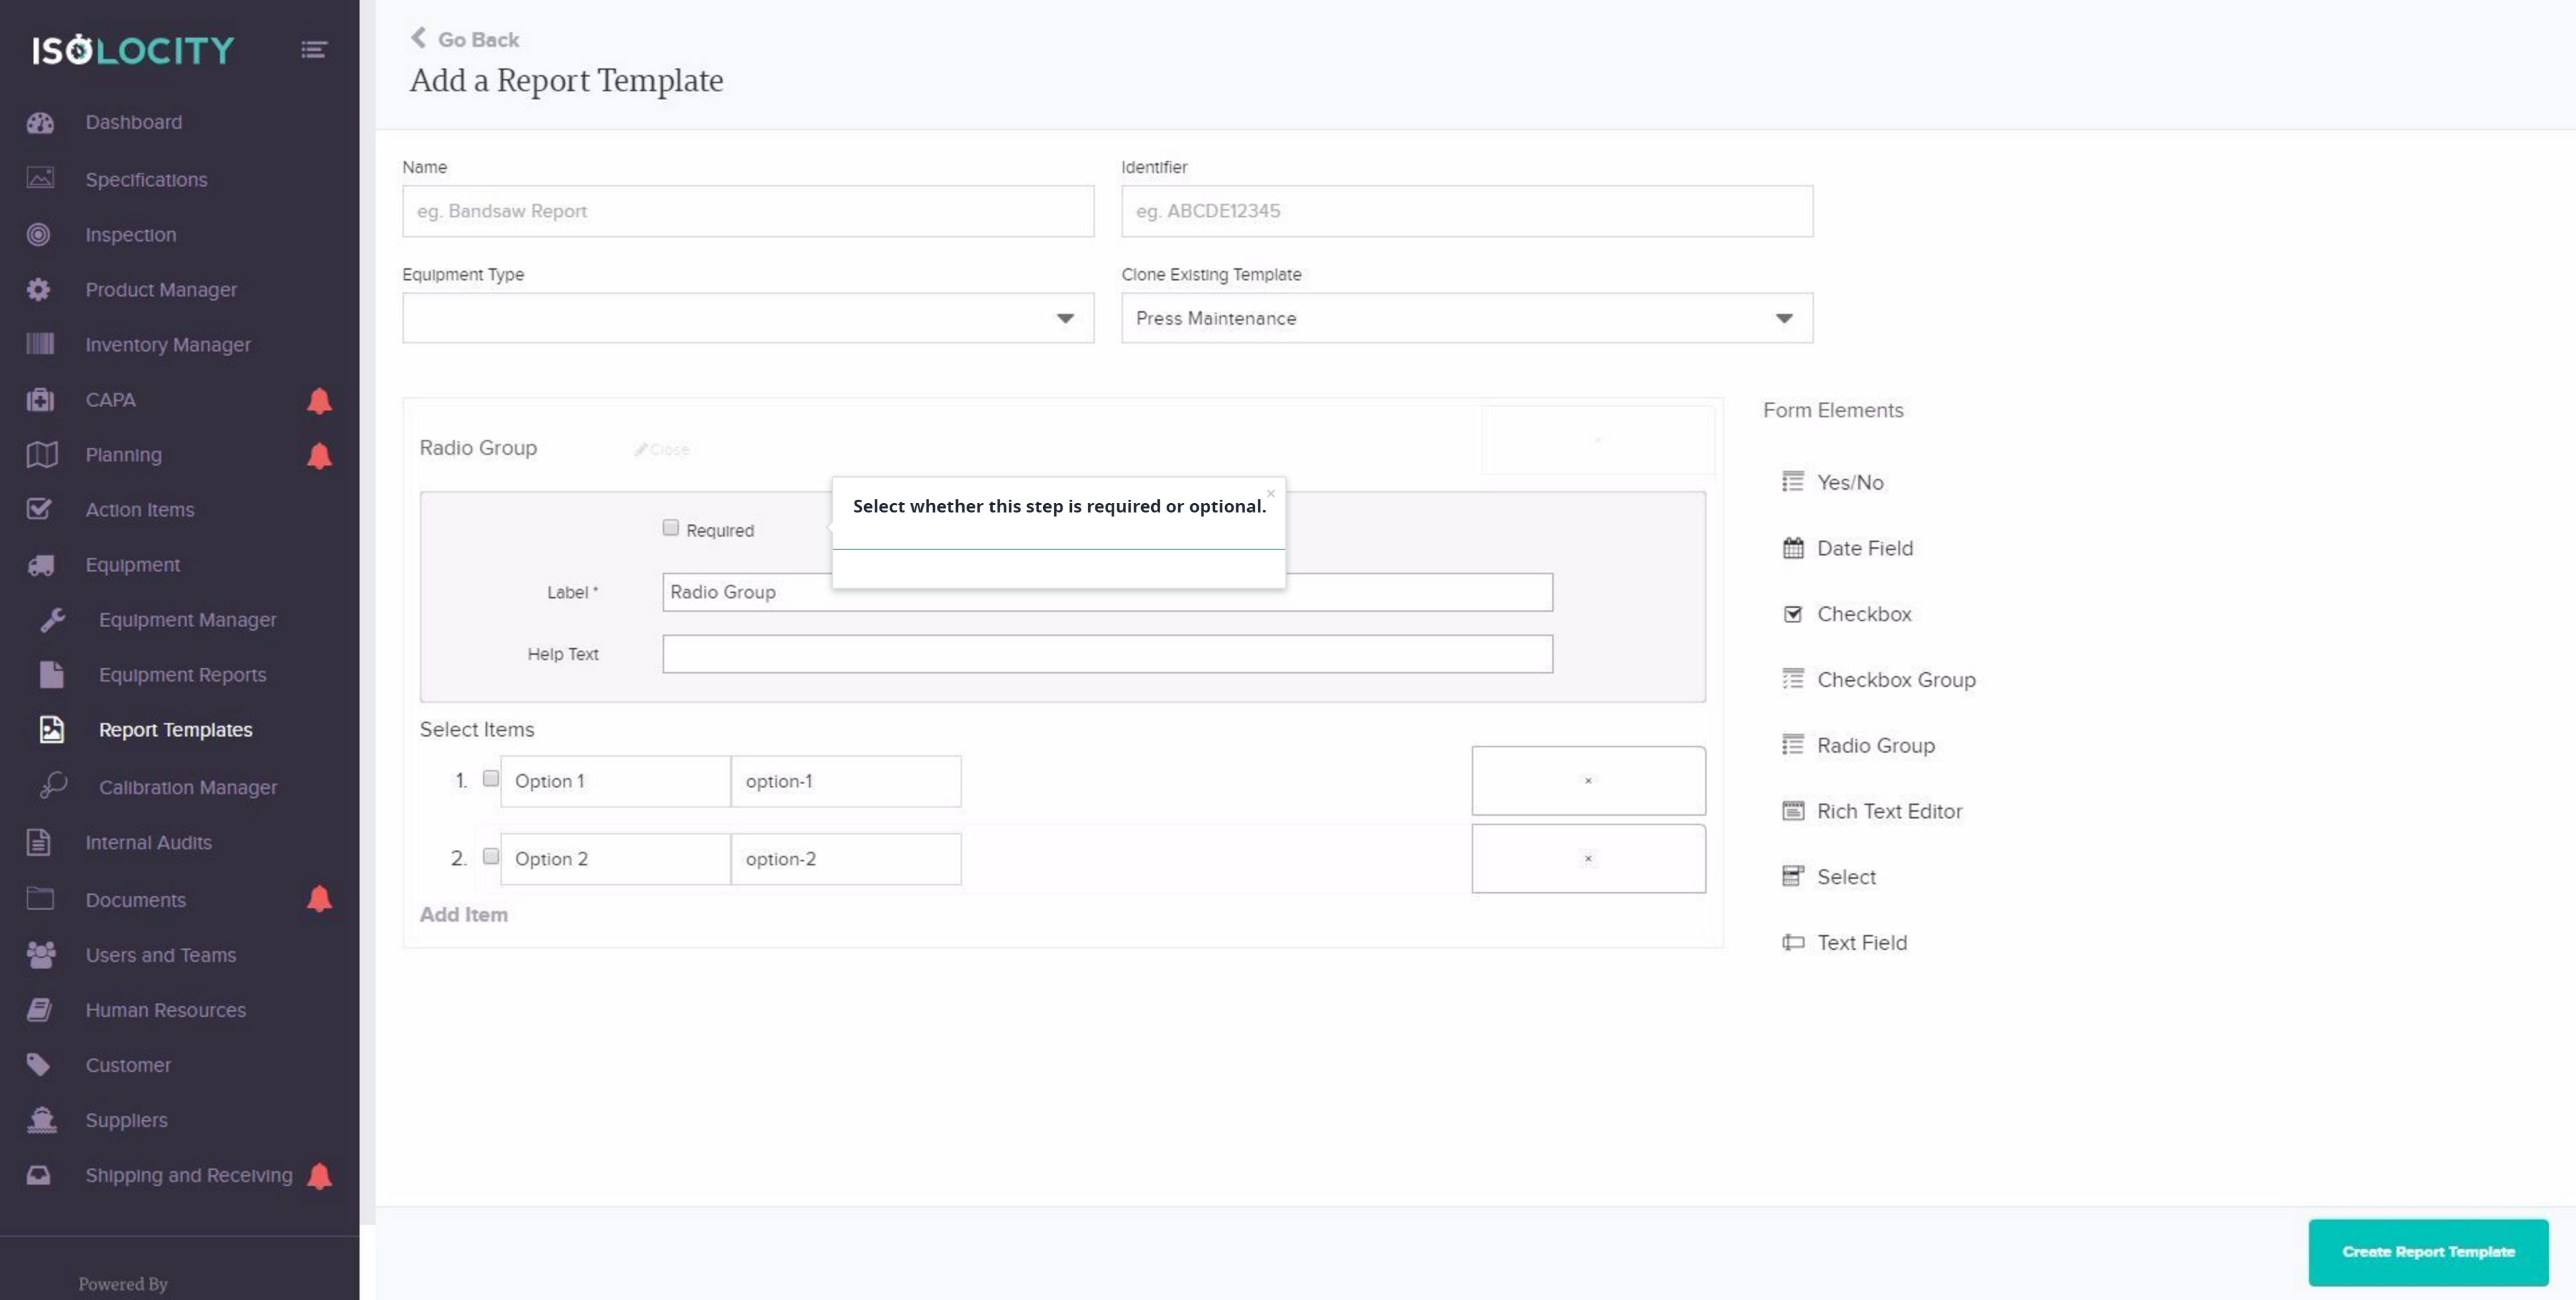
Step #34
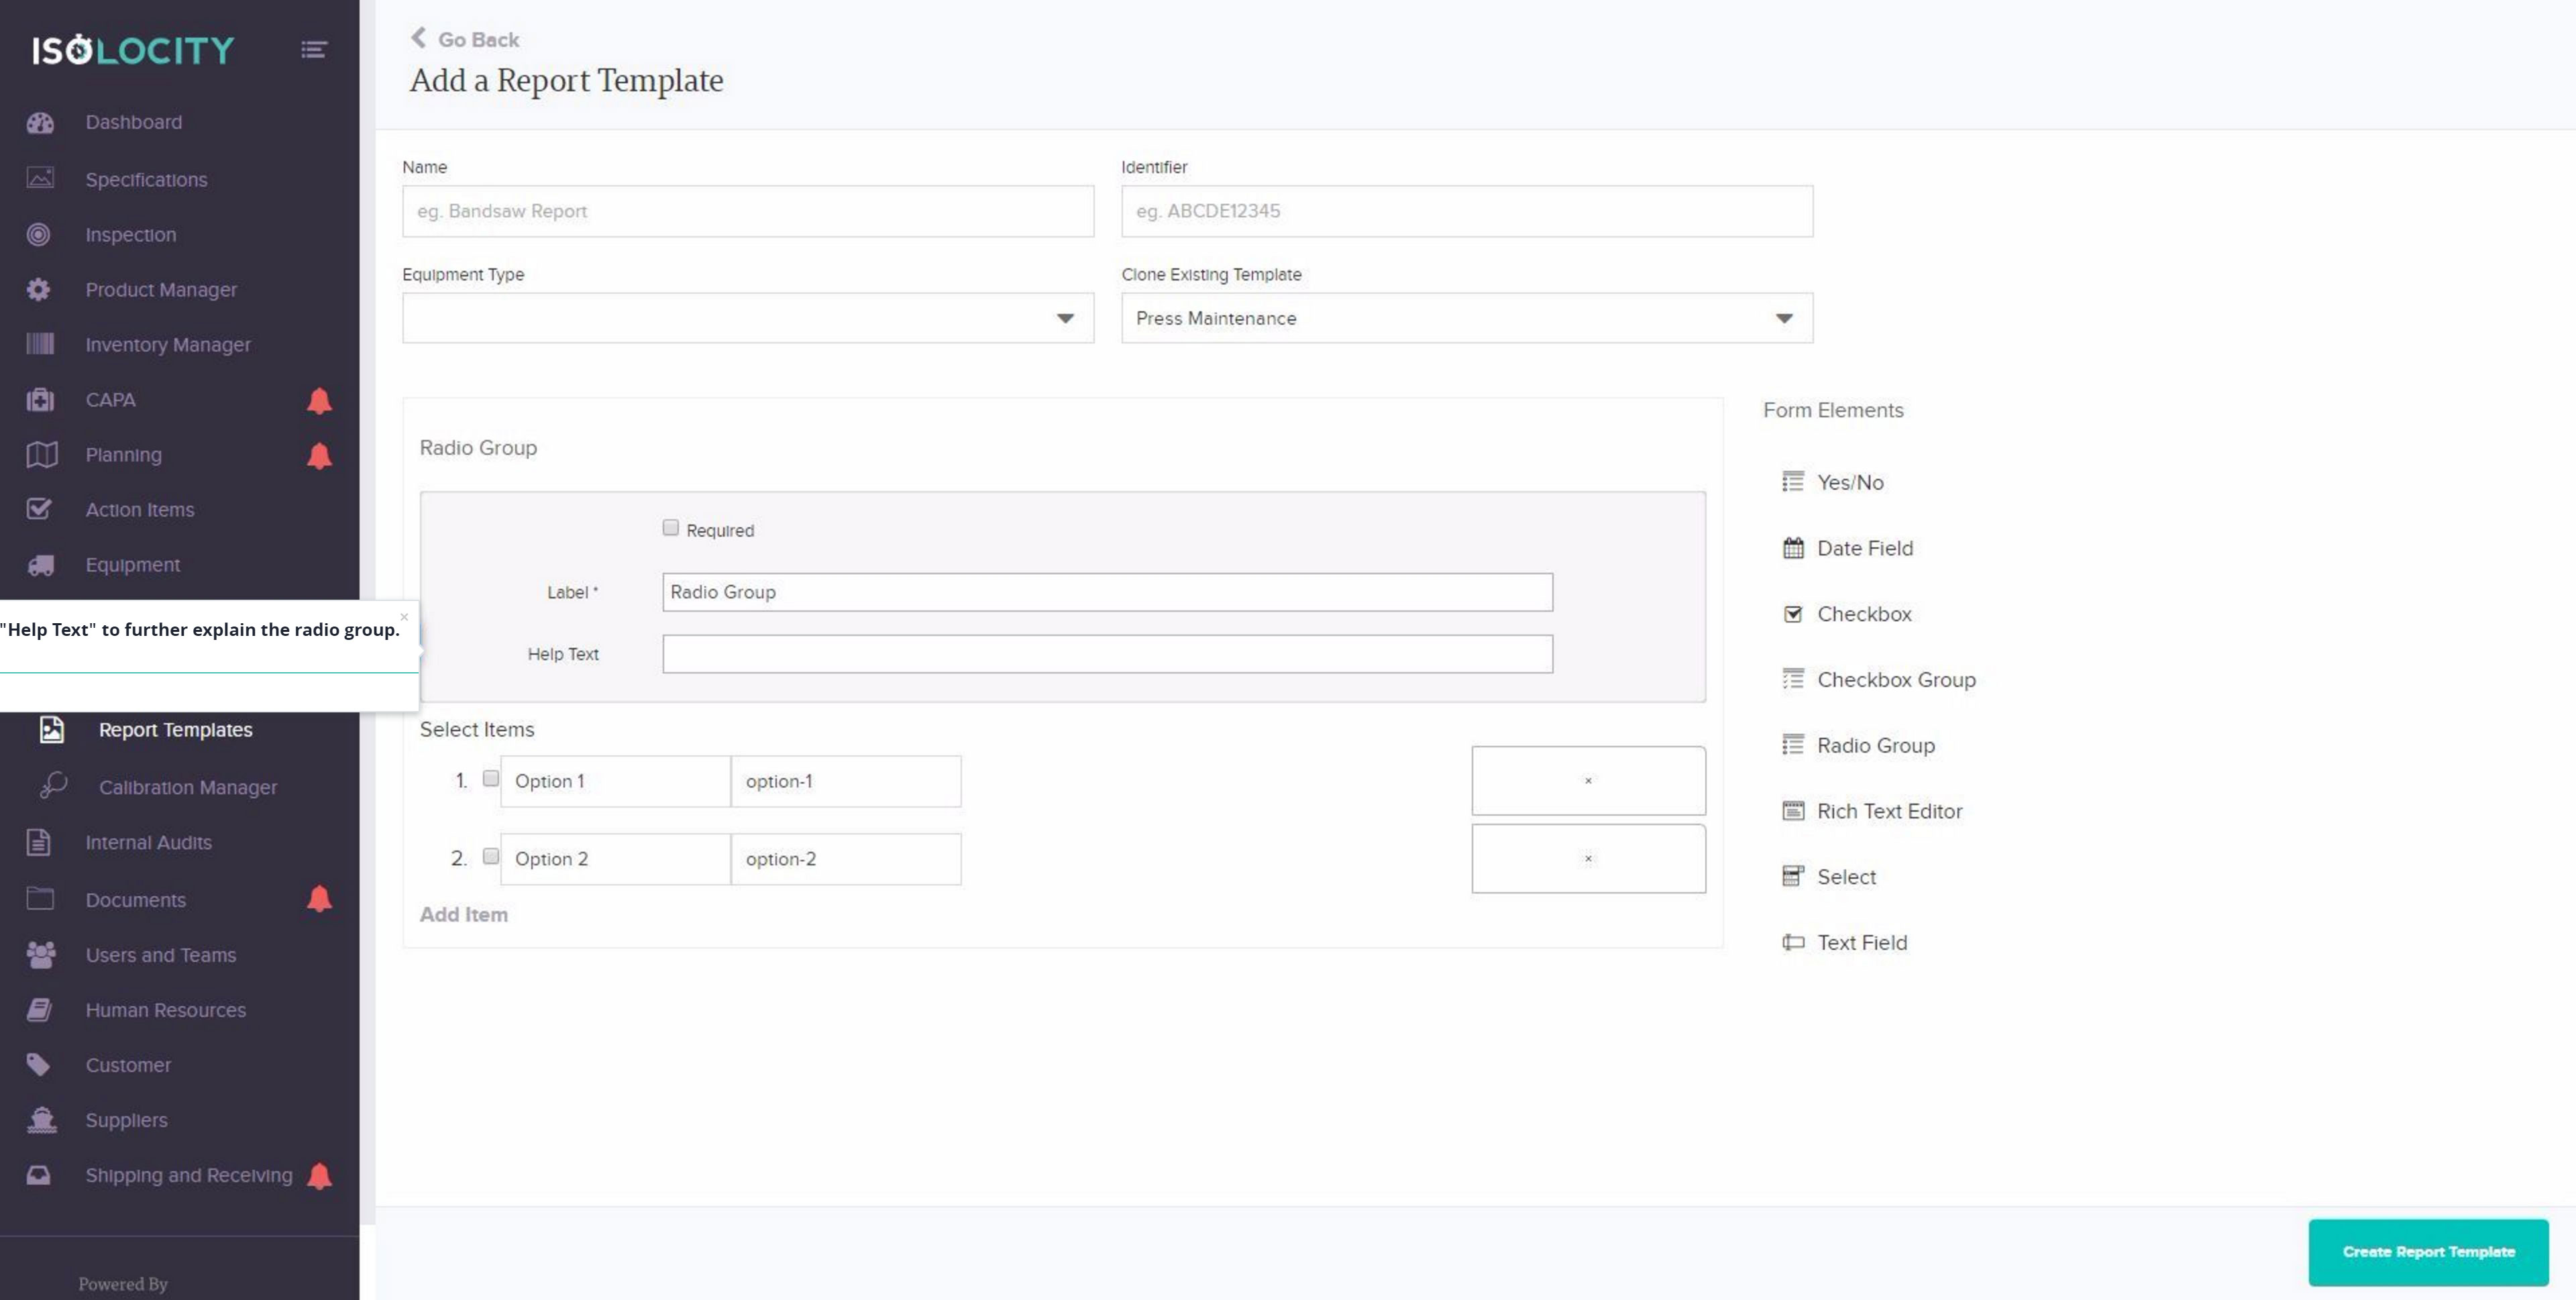
Rename the “Radio Group”.

Step #35
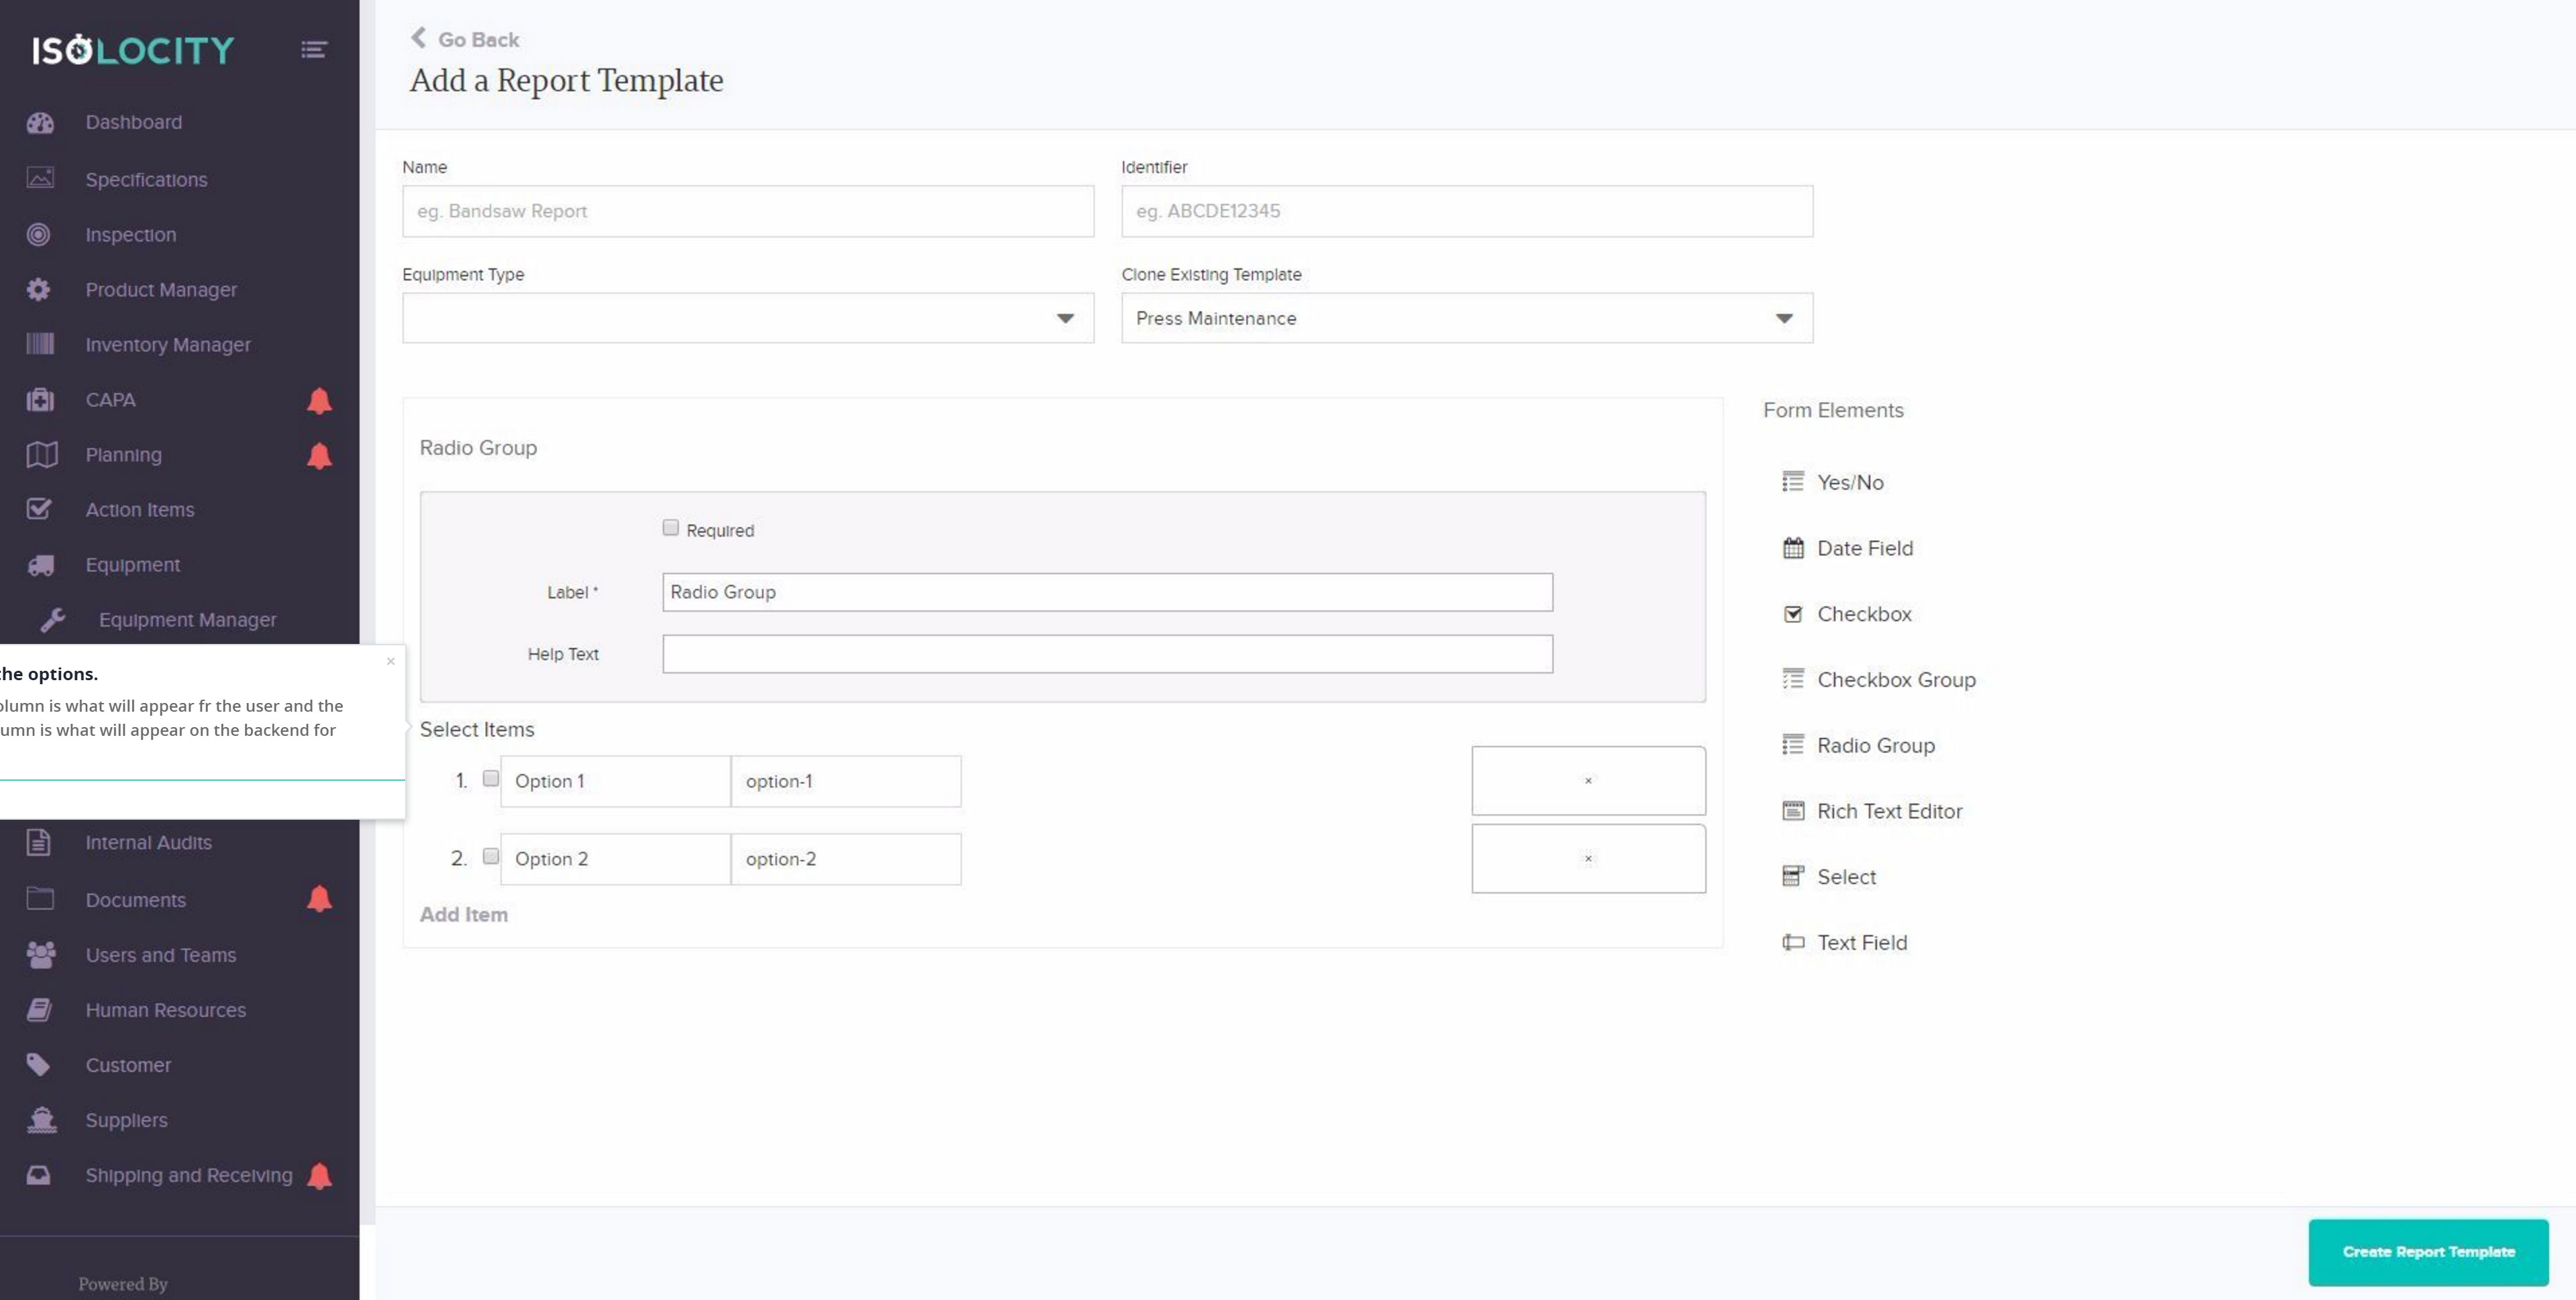
Enter “Help Text” to further explain the radio group.
Step #36
Rename the options.
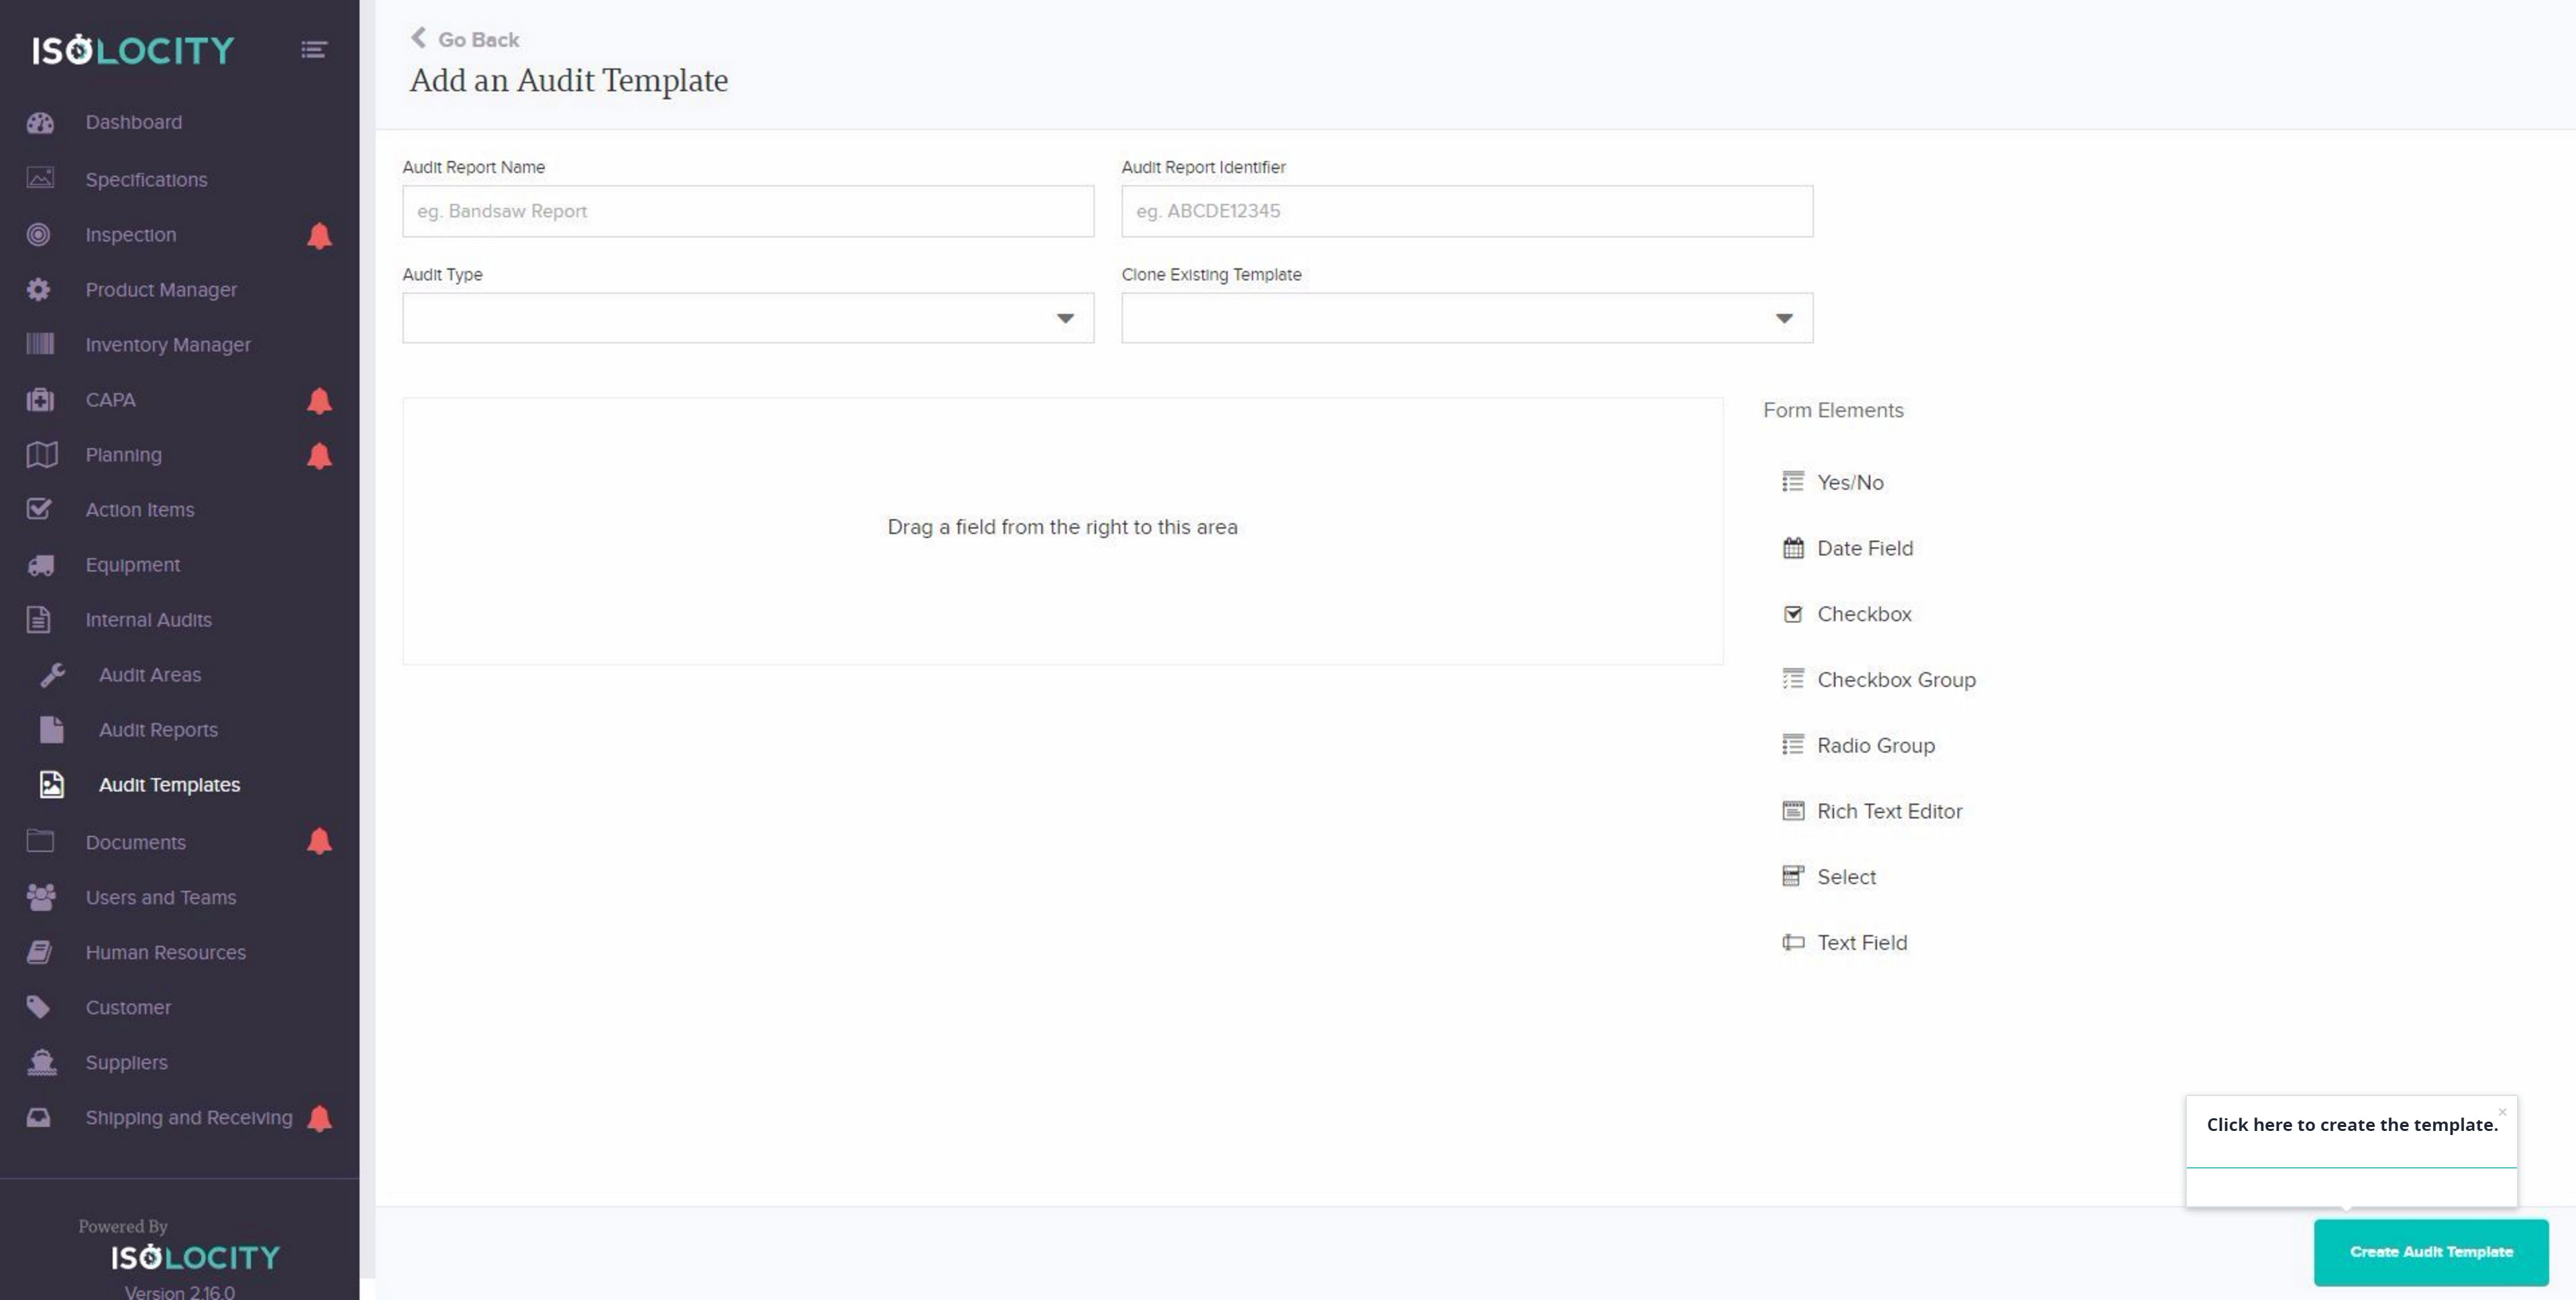
Step #37
Click here to create the template.