Inspection Criteria
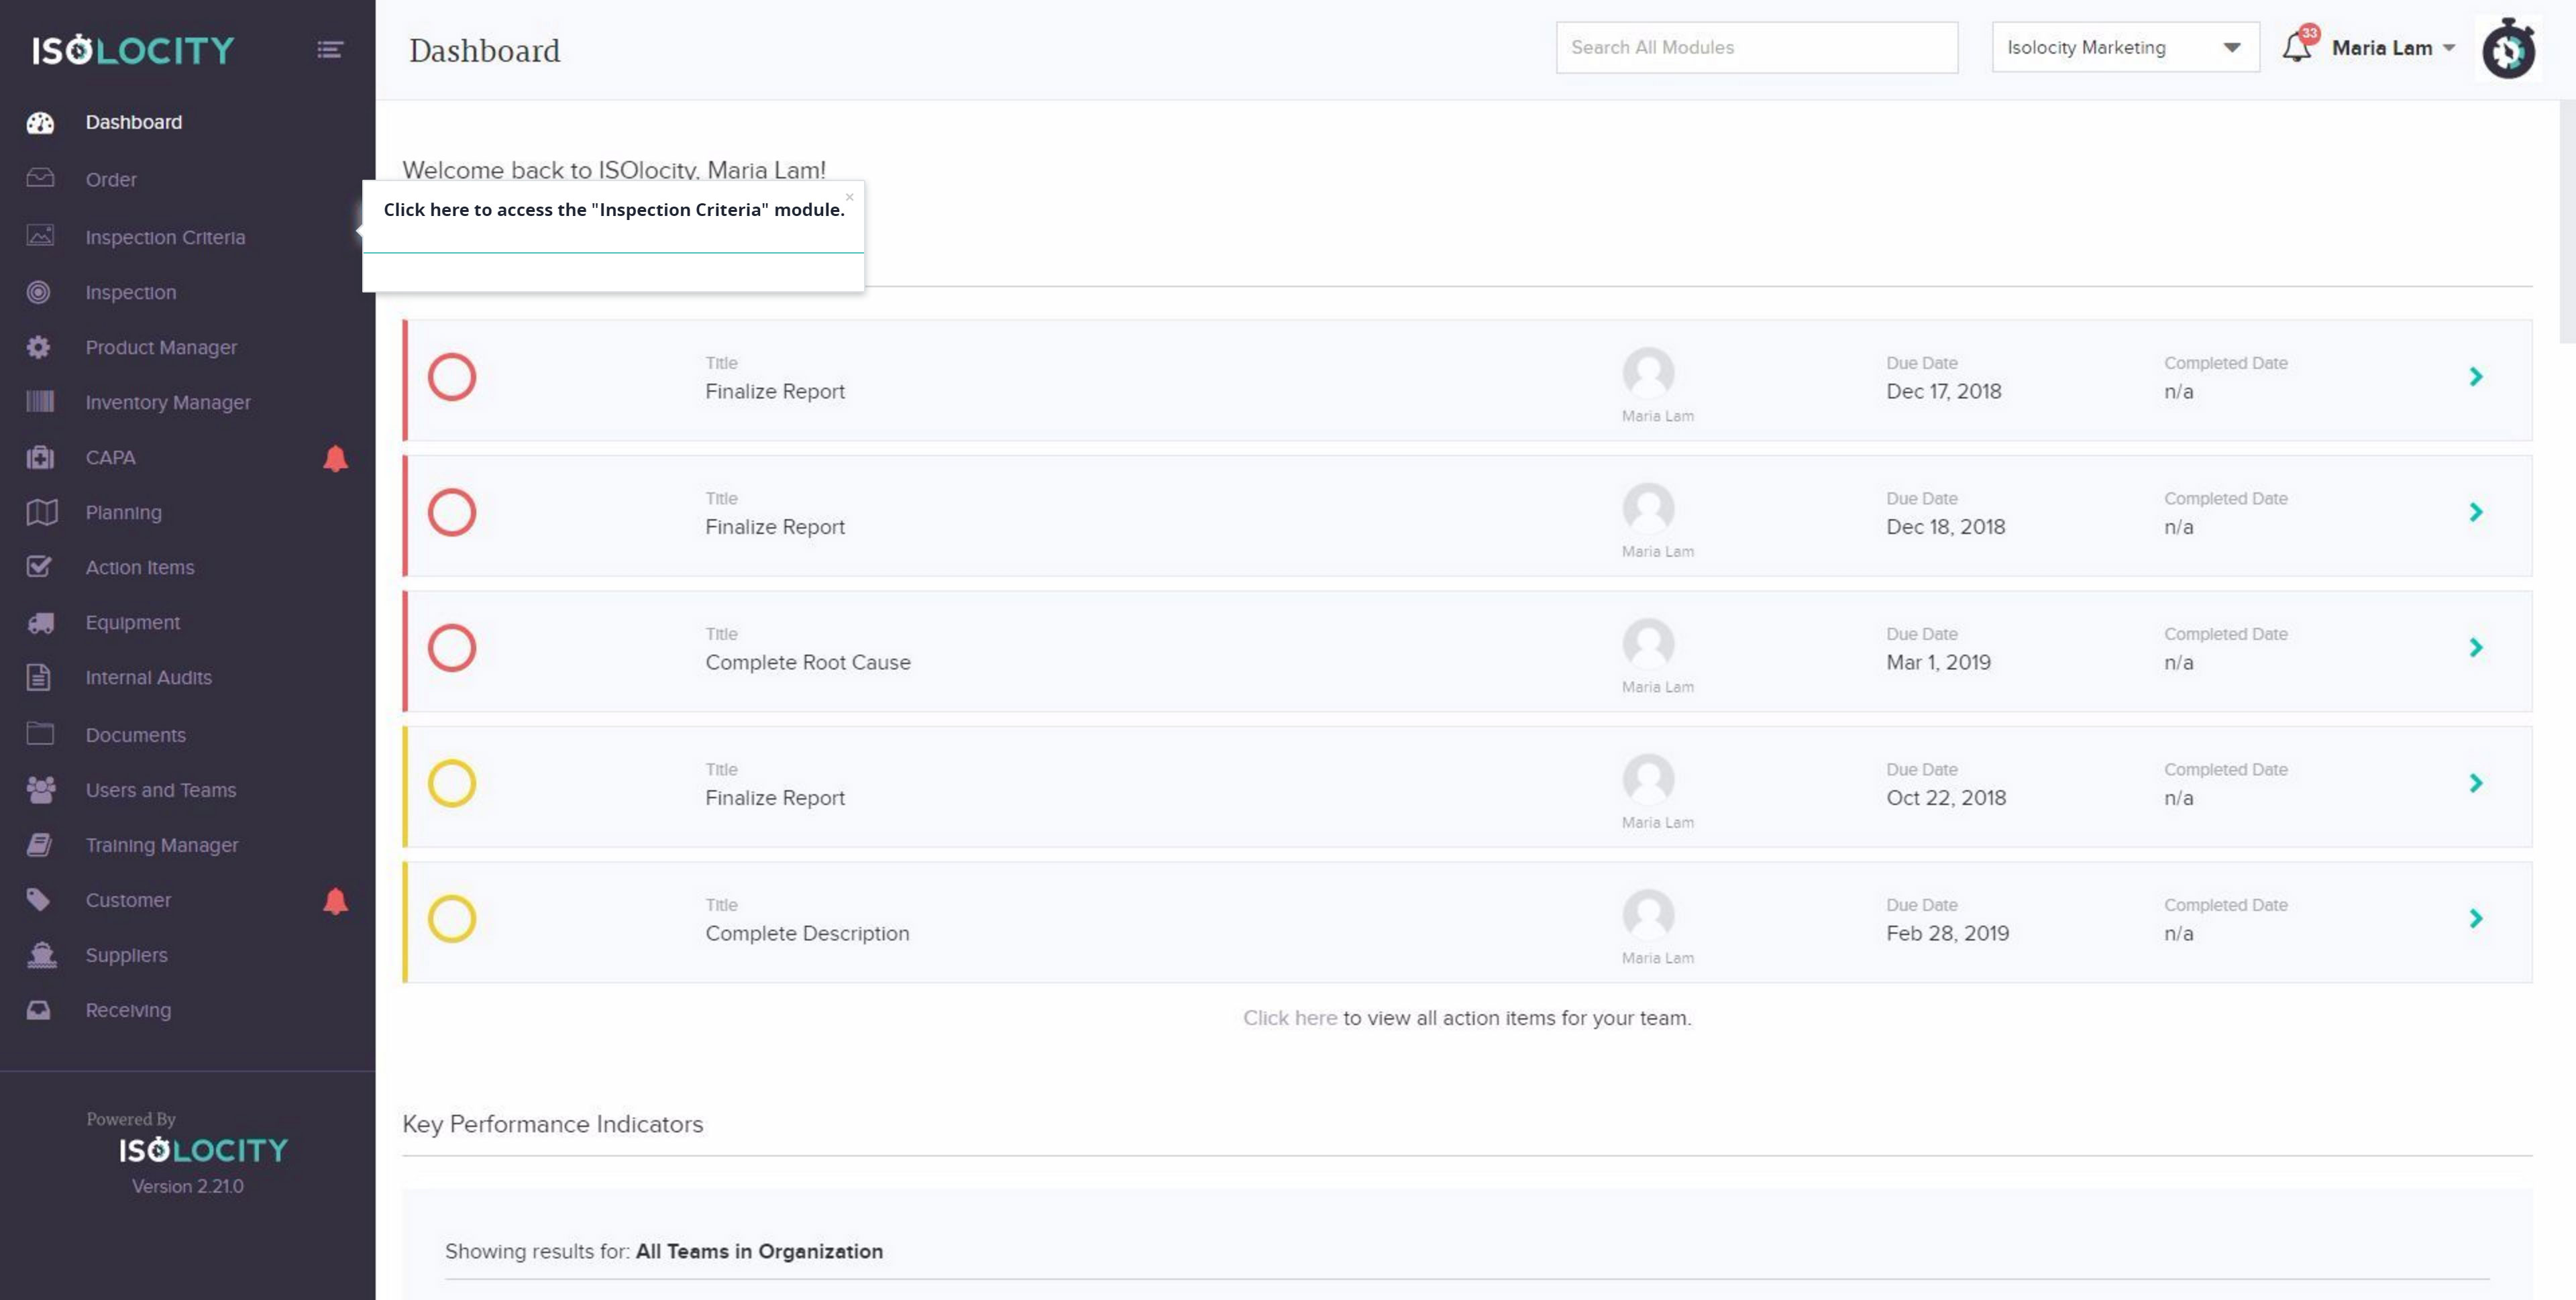
Step #1
Click here to access the “Inspection Criteria” module.
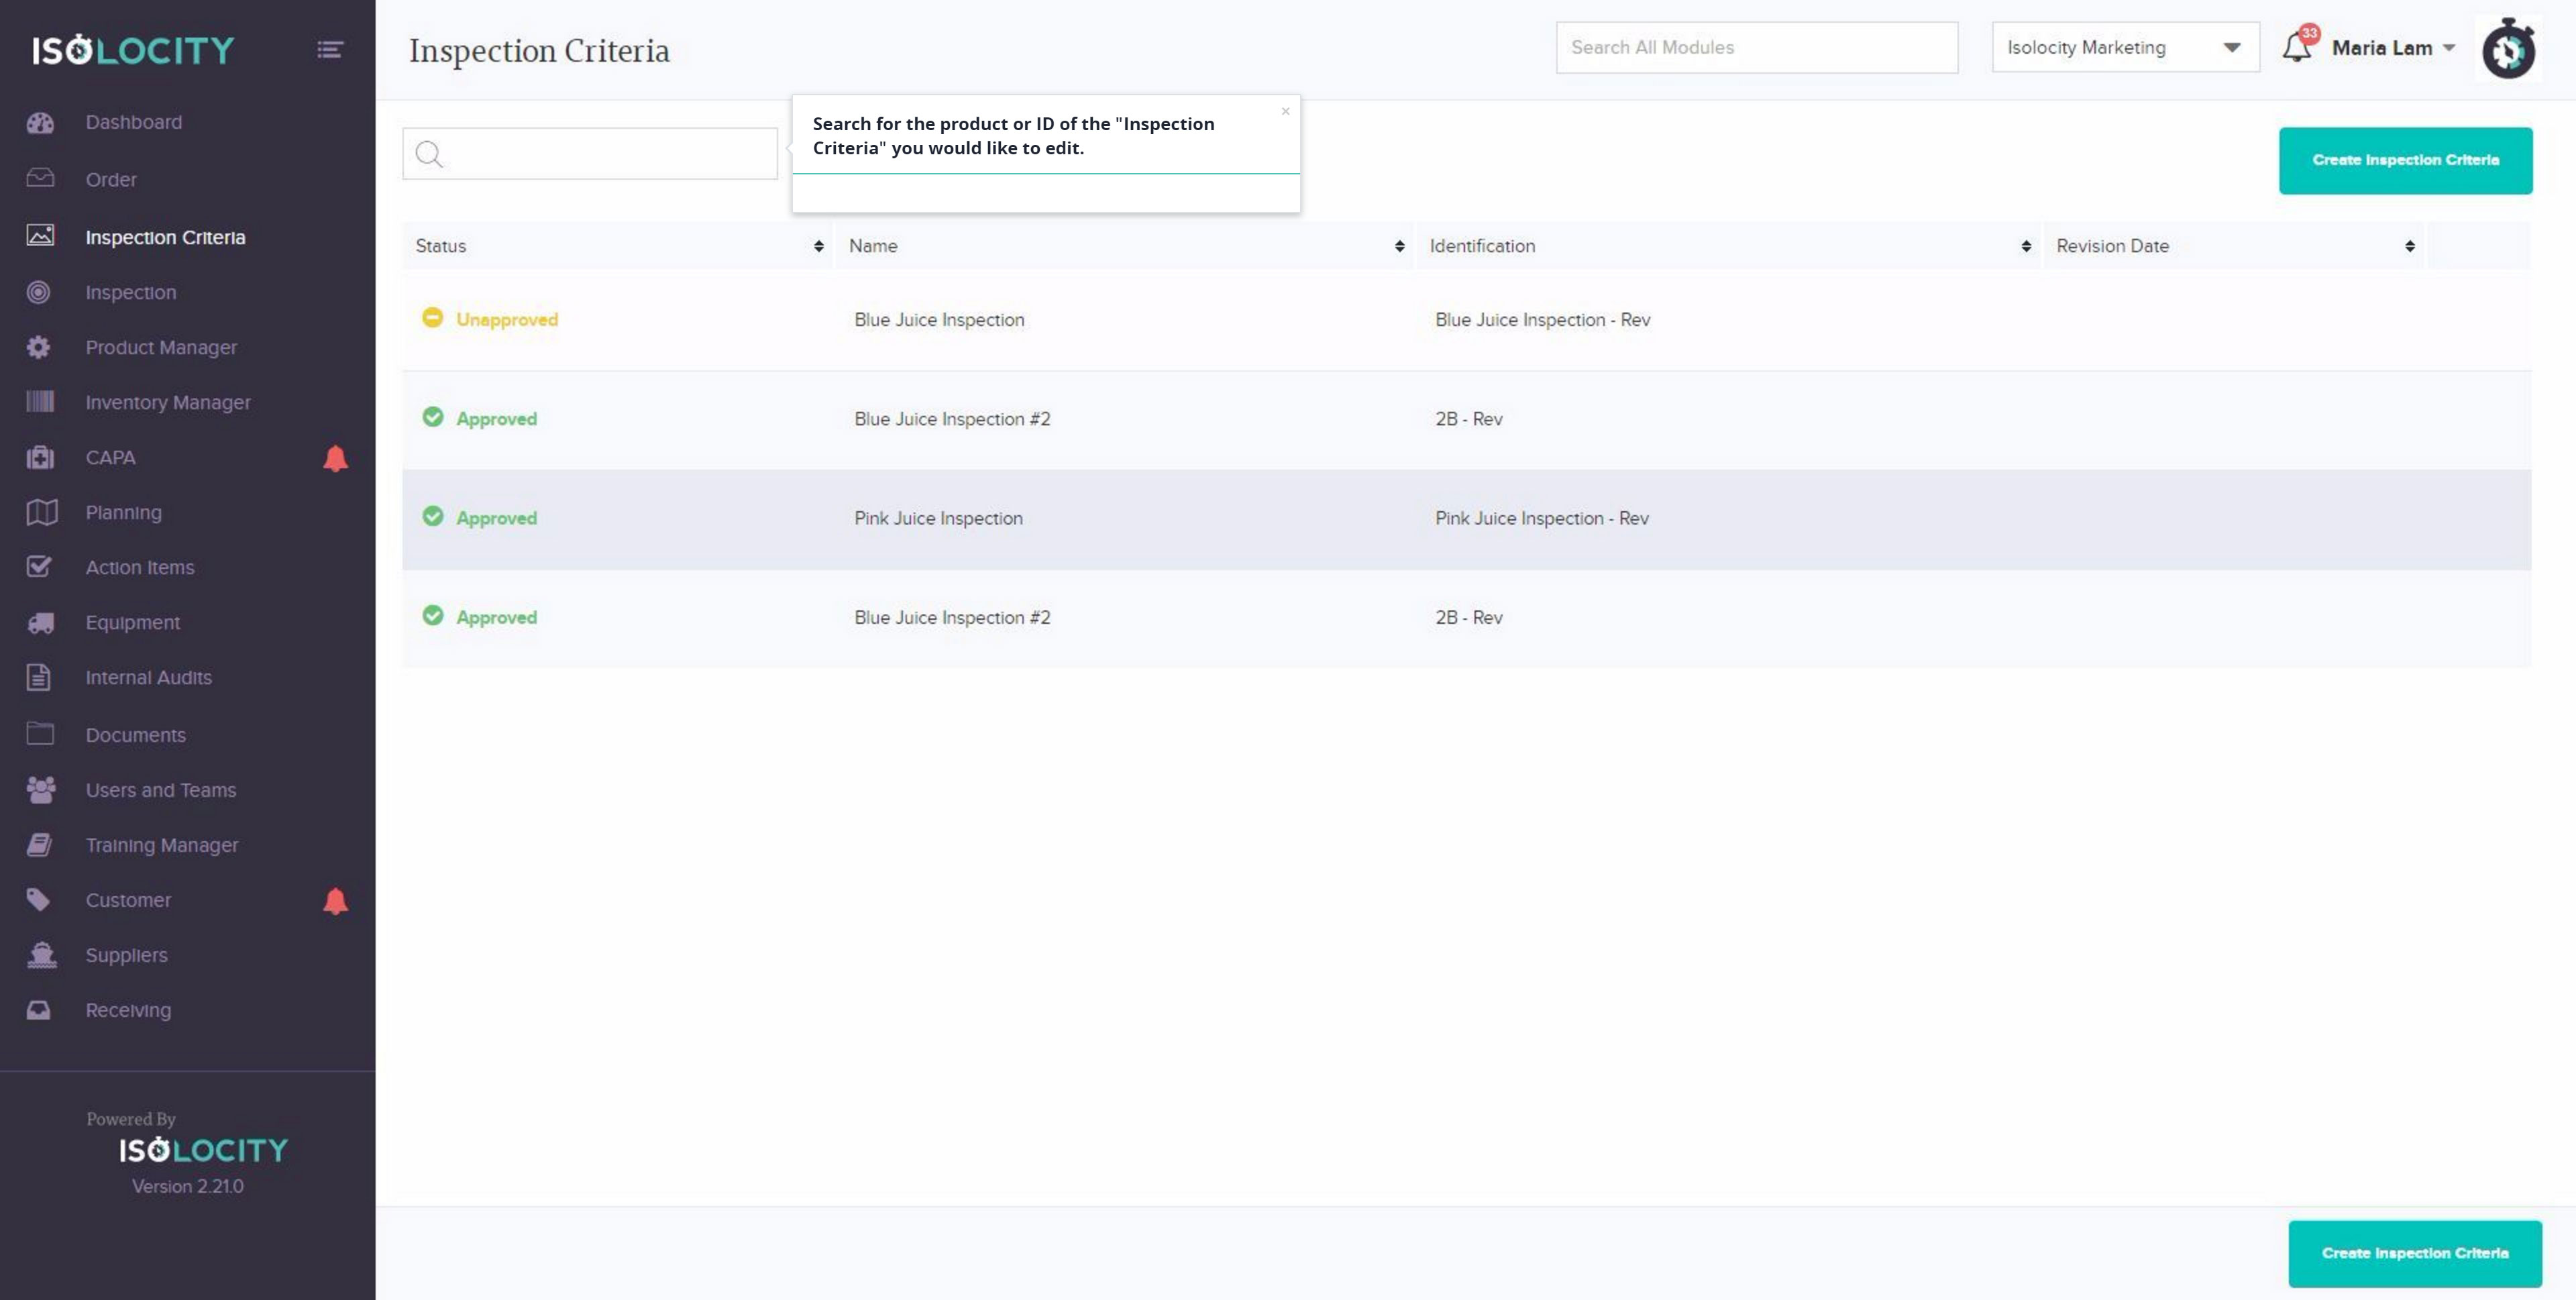
Step #2
Search for the product or ID of the “Inspection Criteria” you would like to edit.
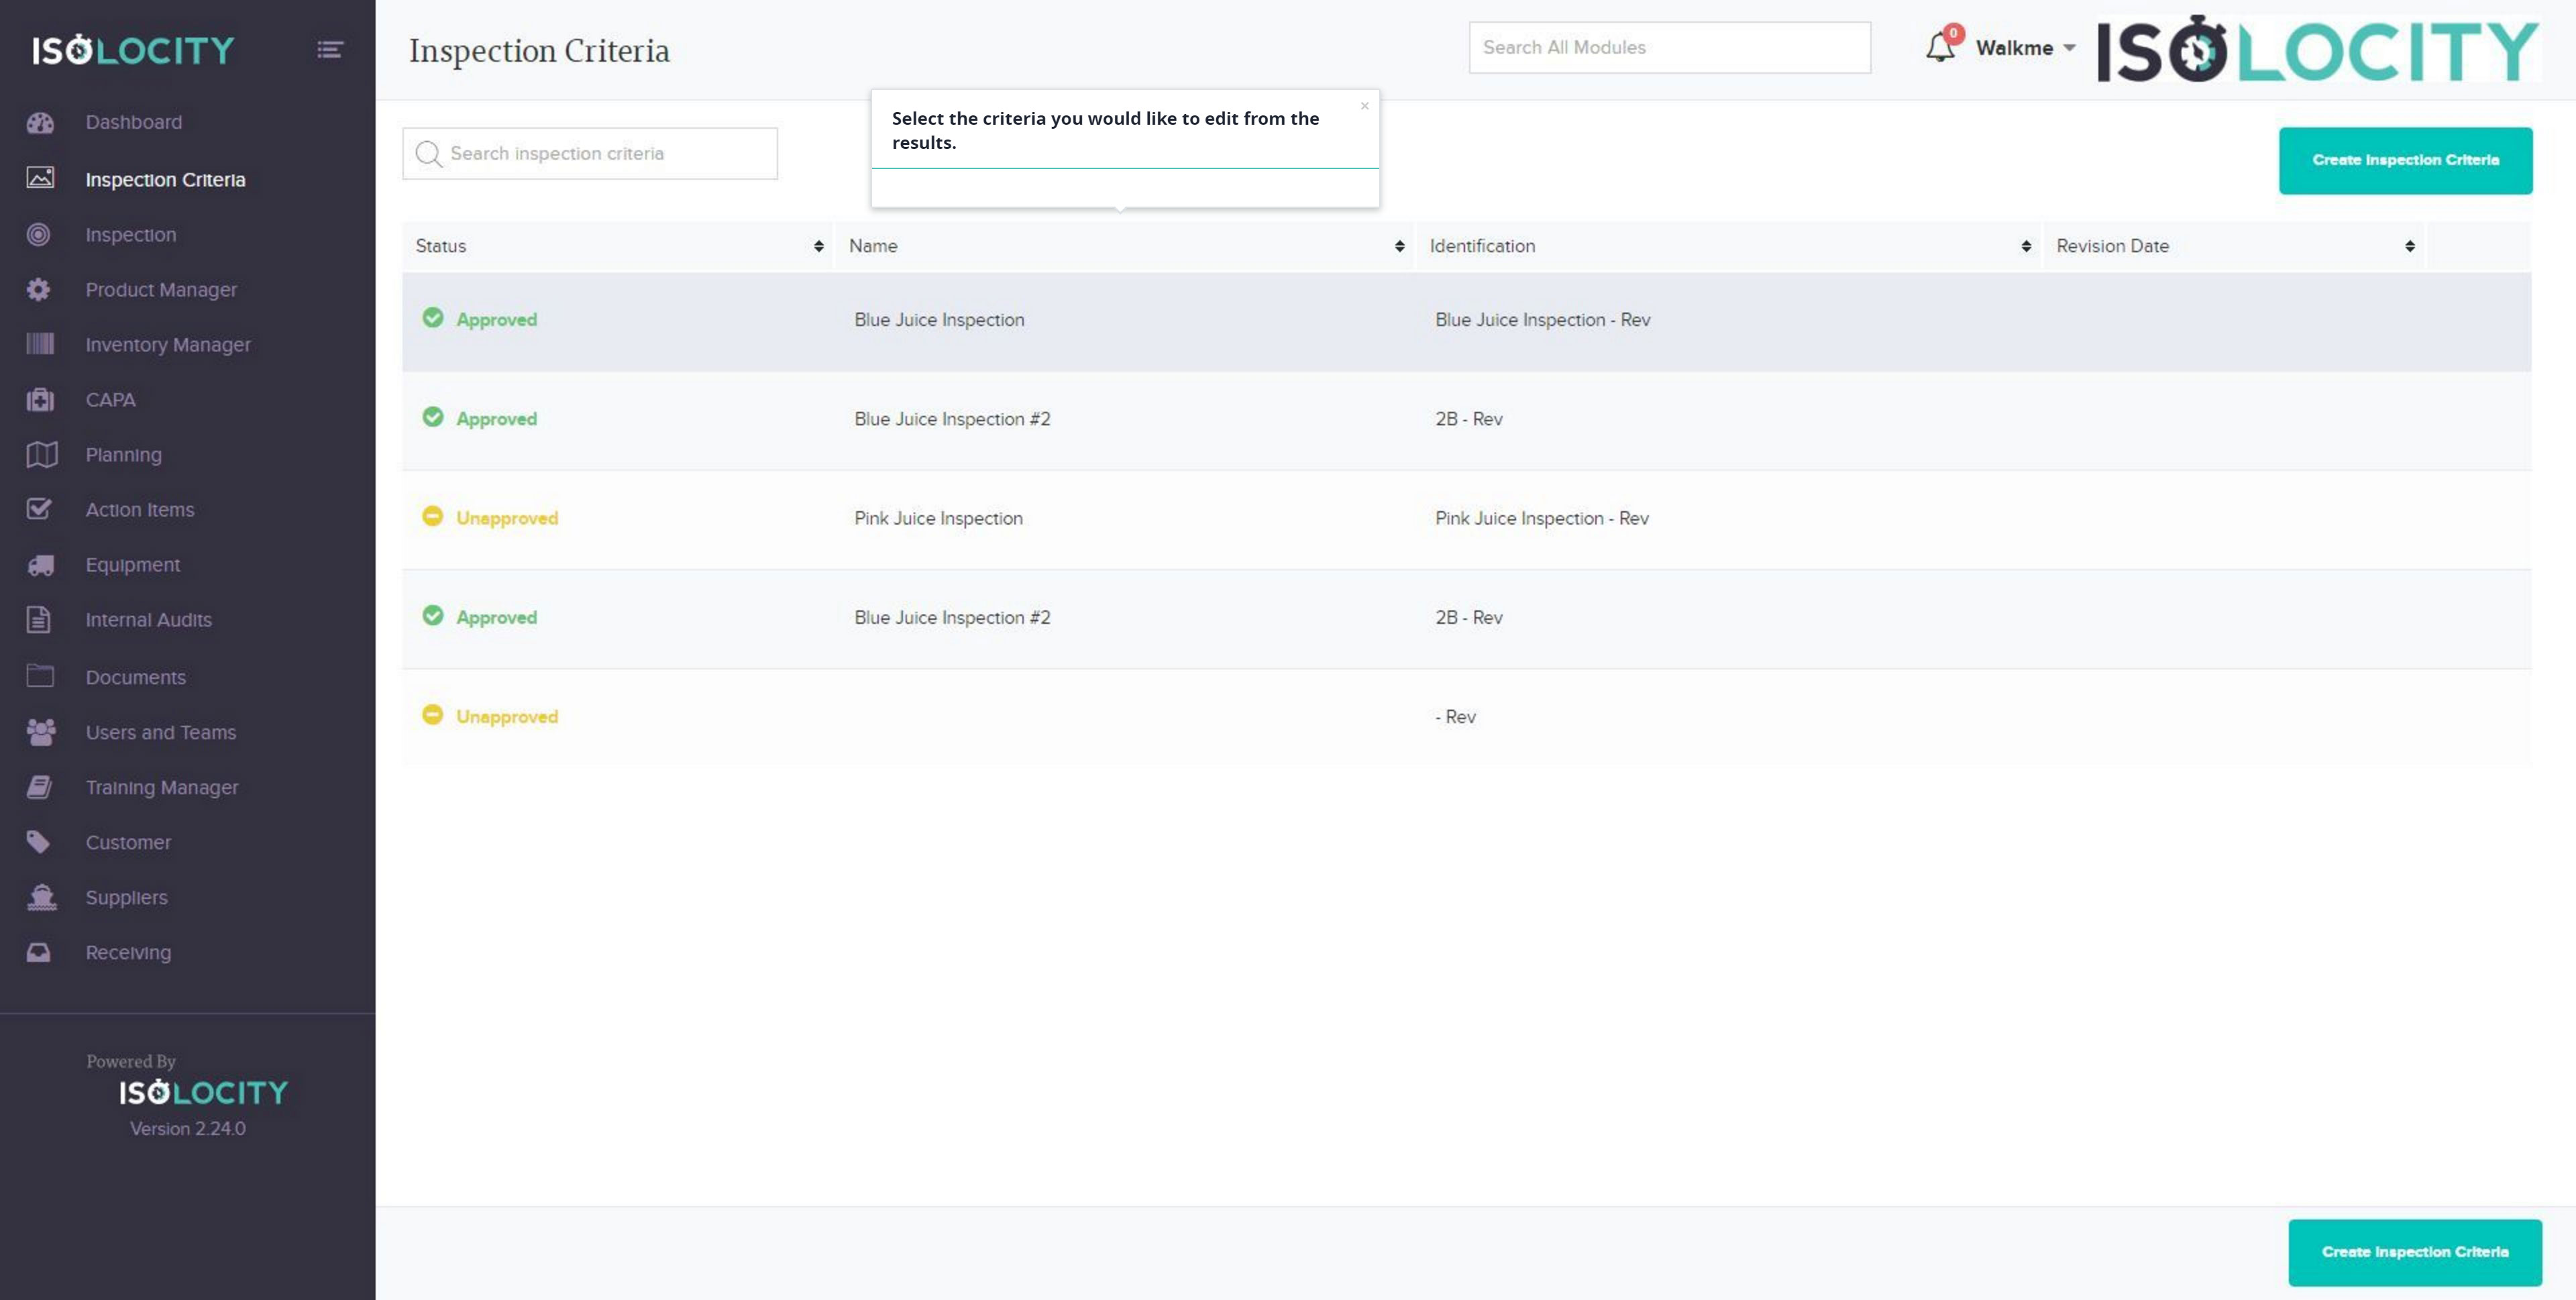
Step #3
Select the criteria you would like to edit from the results.
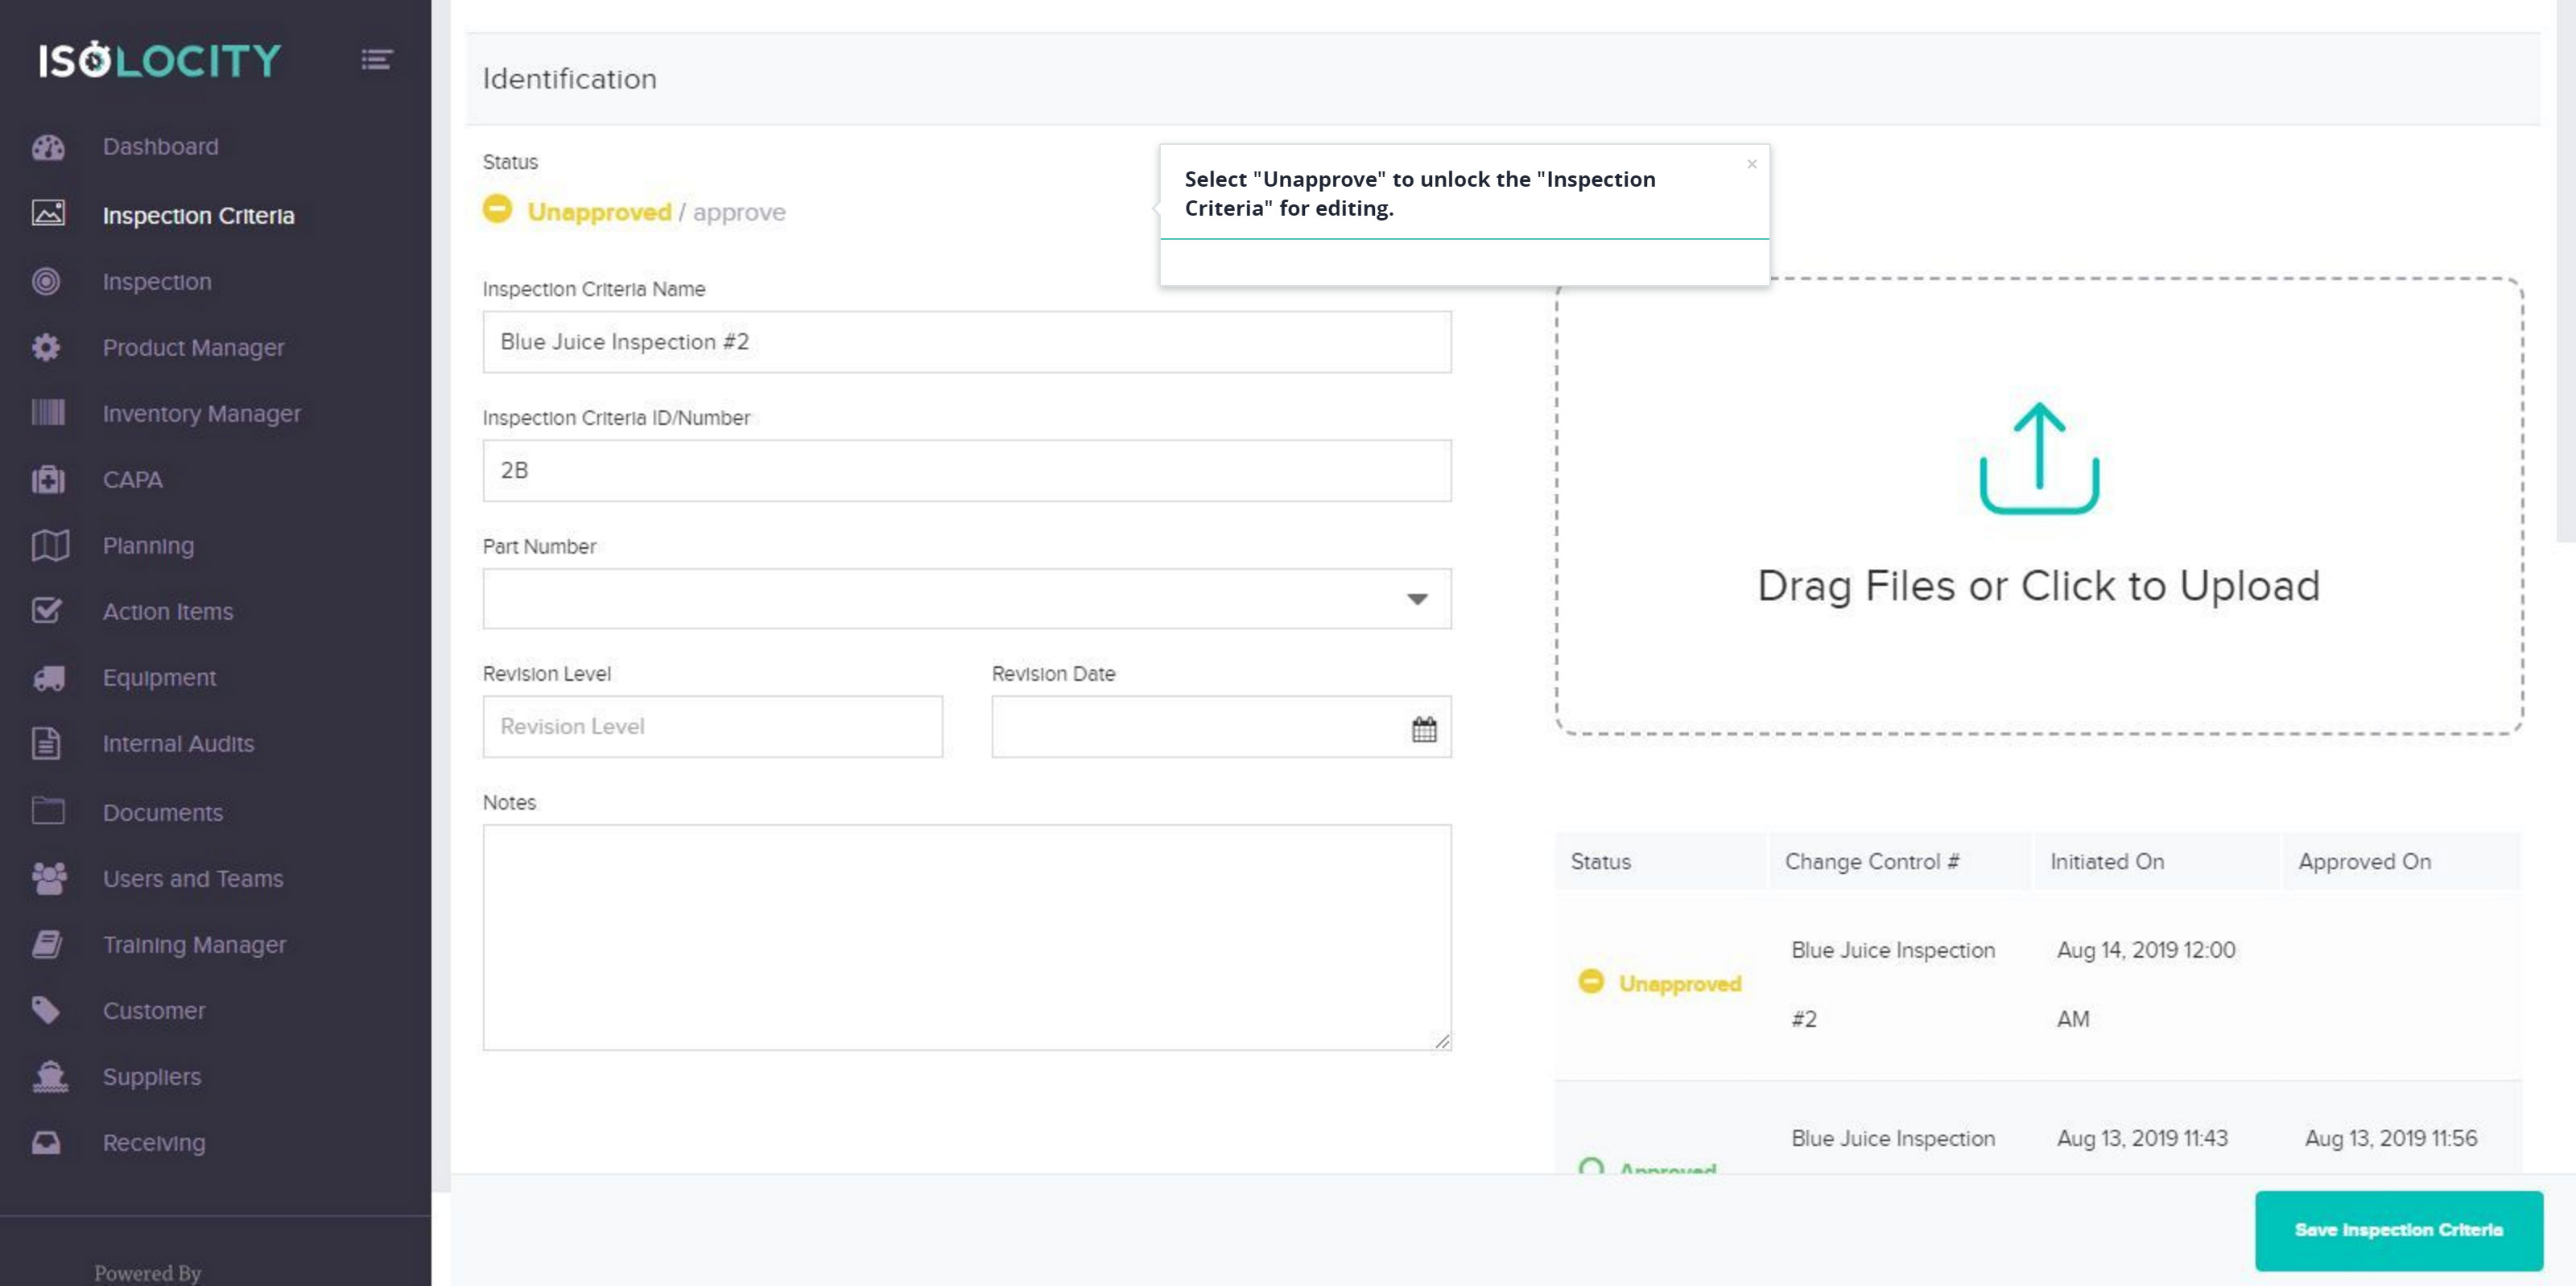
Step #4
Select “Unapprove” to unlock the “Inspection Criteria” for editing.
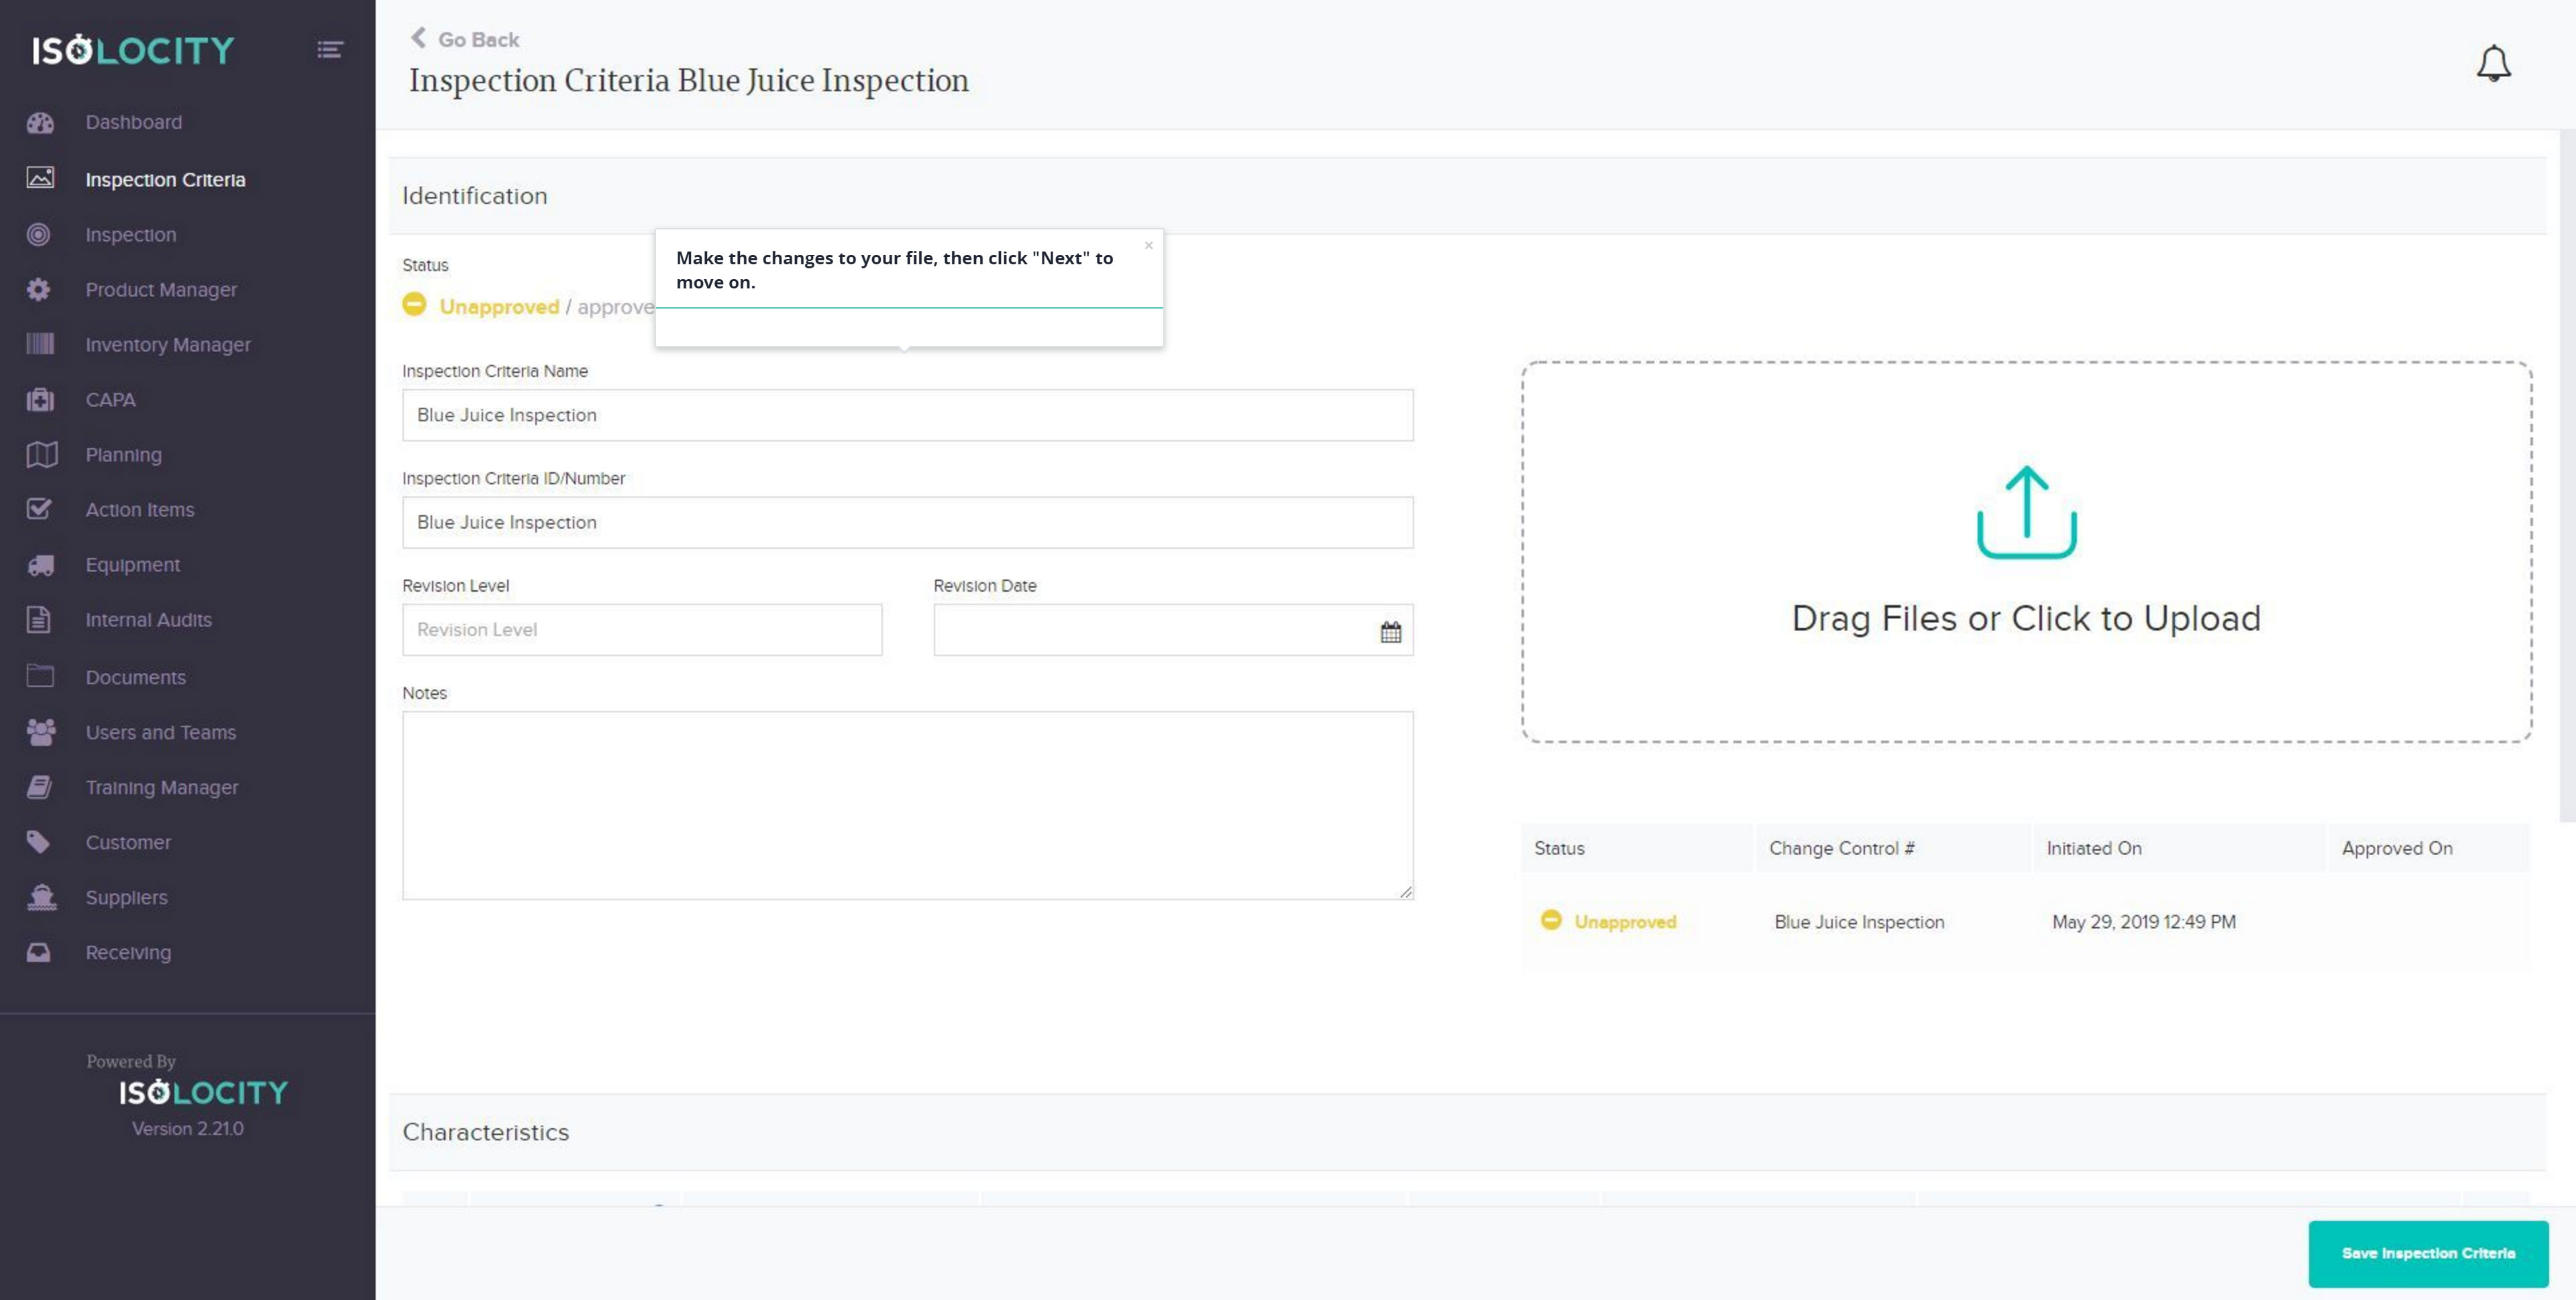
Step #5
Make the changes to your file, then click “Next” to move on.
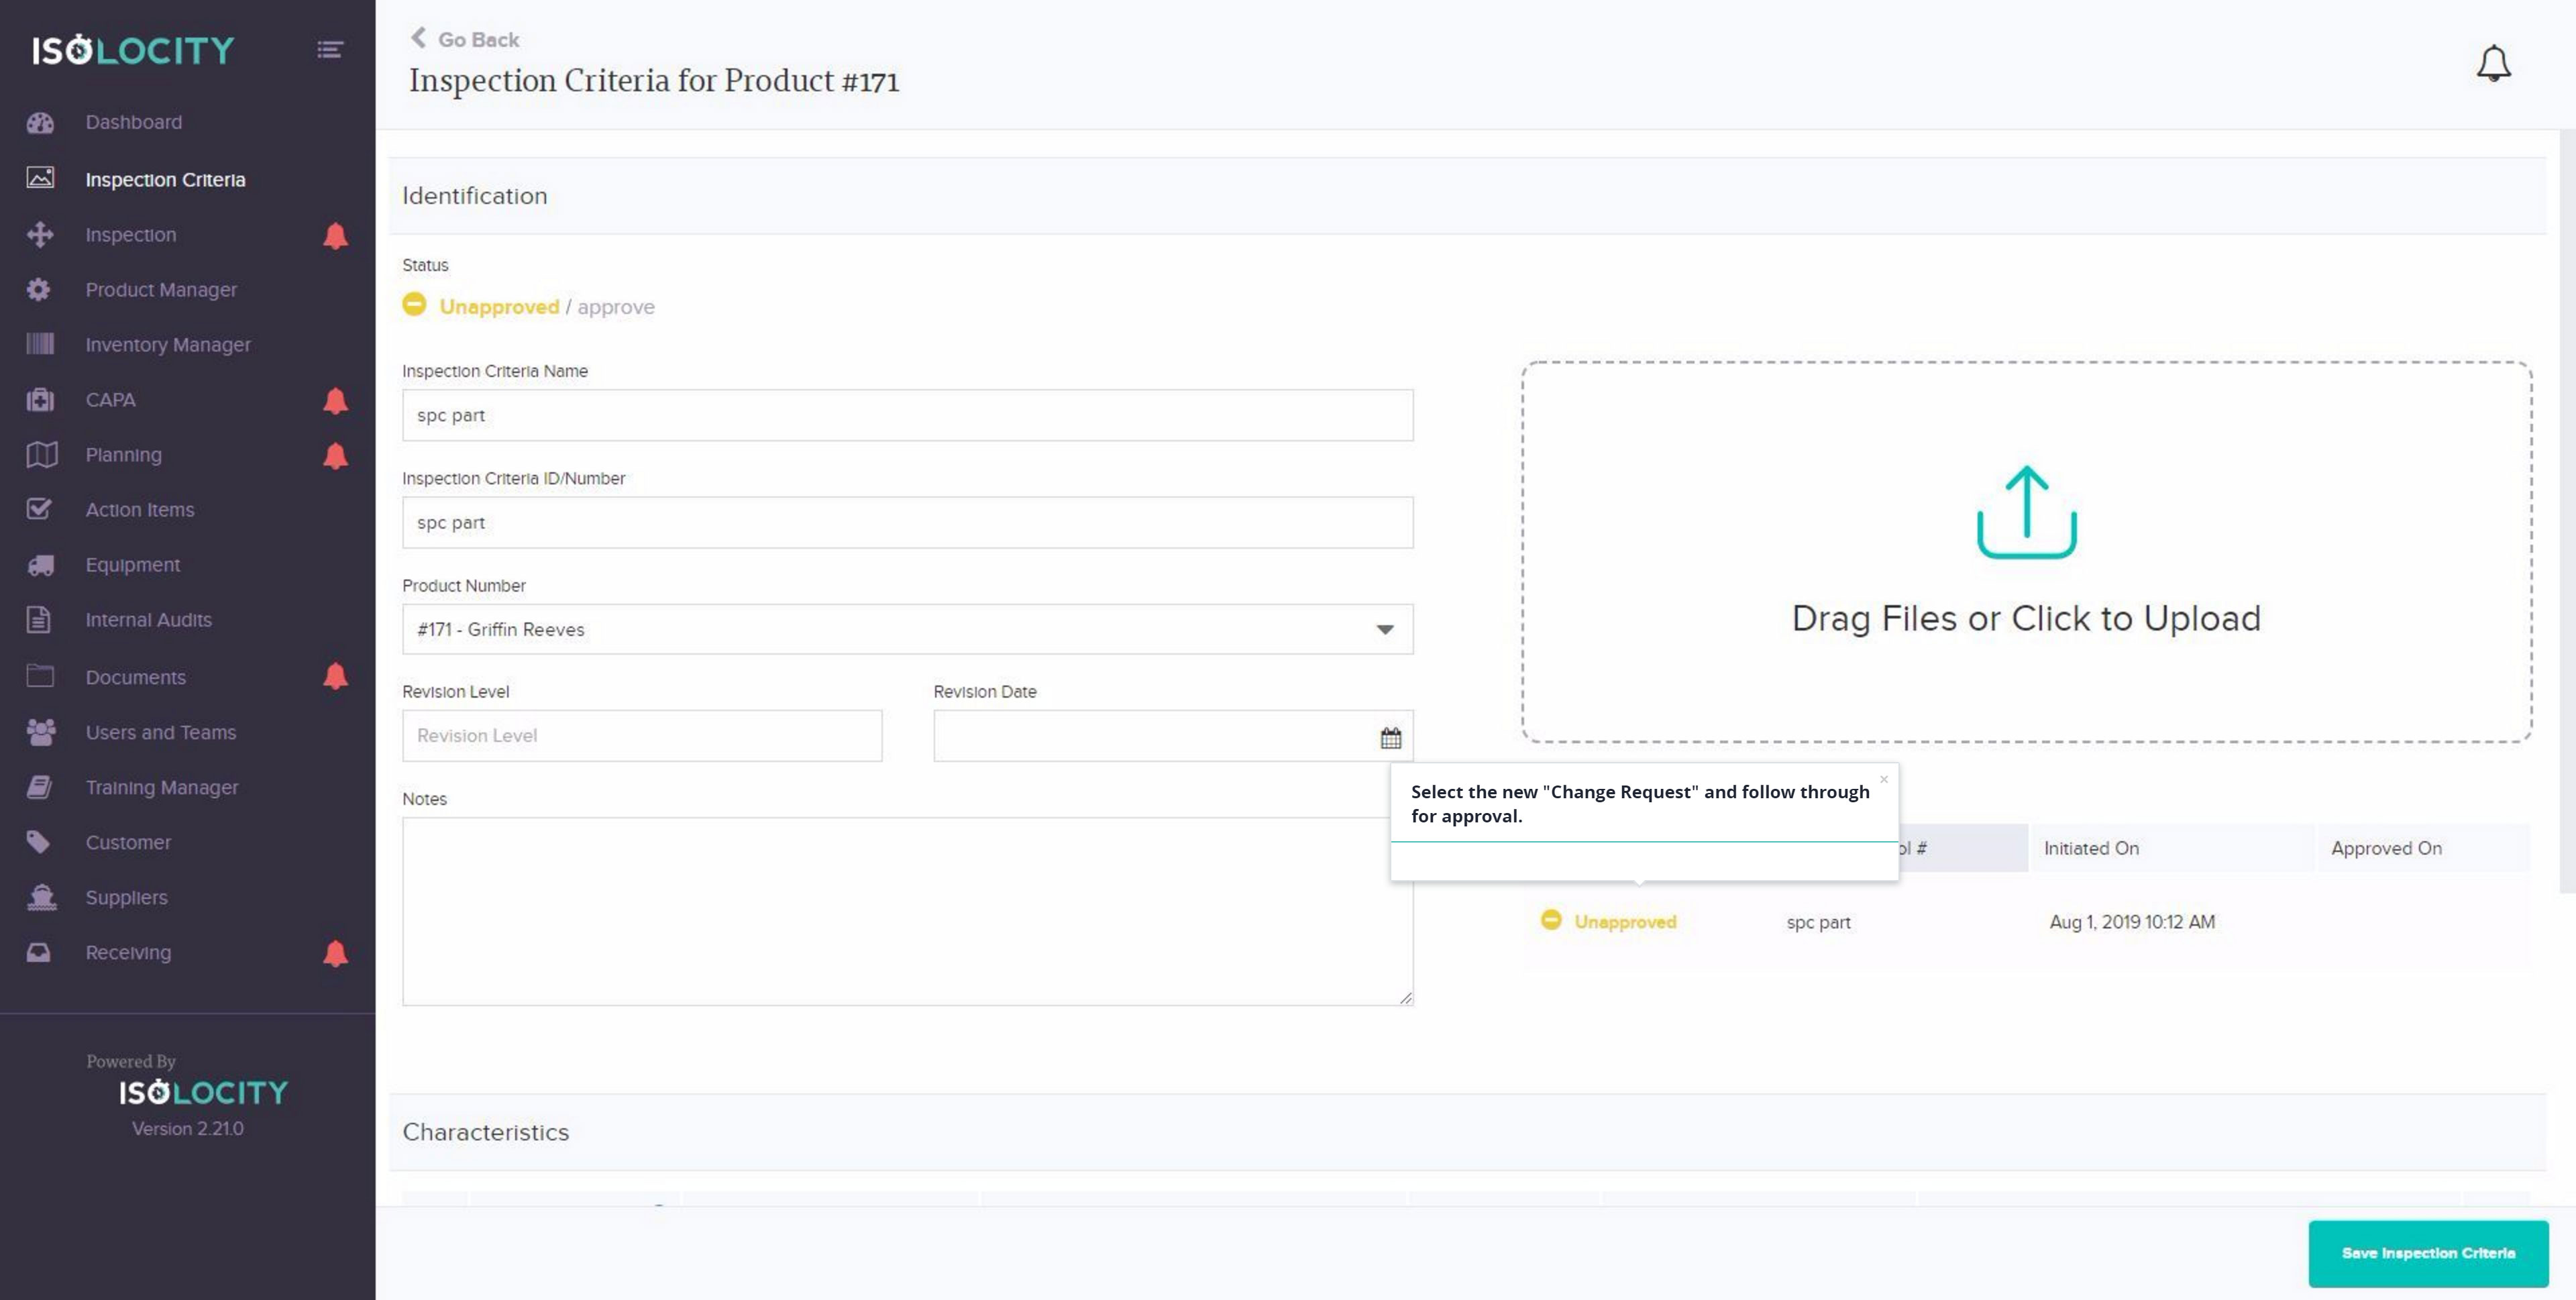
Step #6
Select the new “Change Request” and follow through for approval.
Step #7
Enter the CC#.

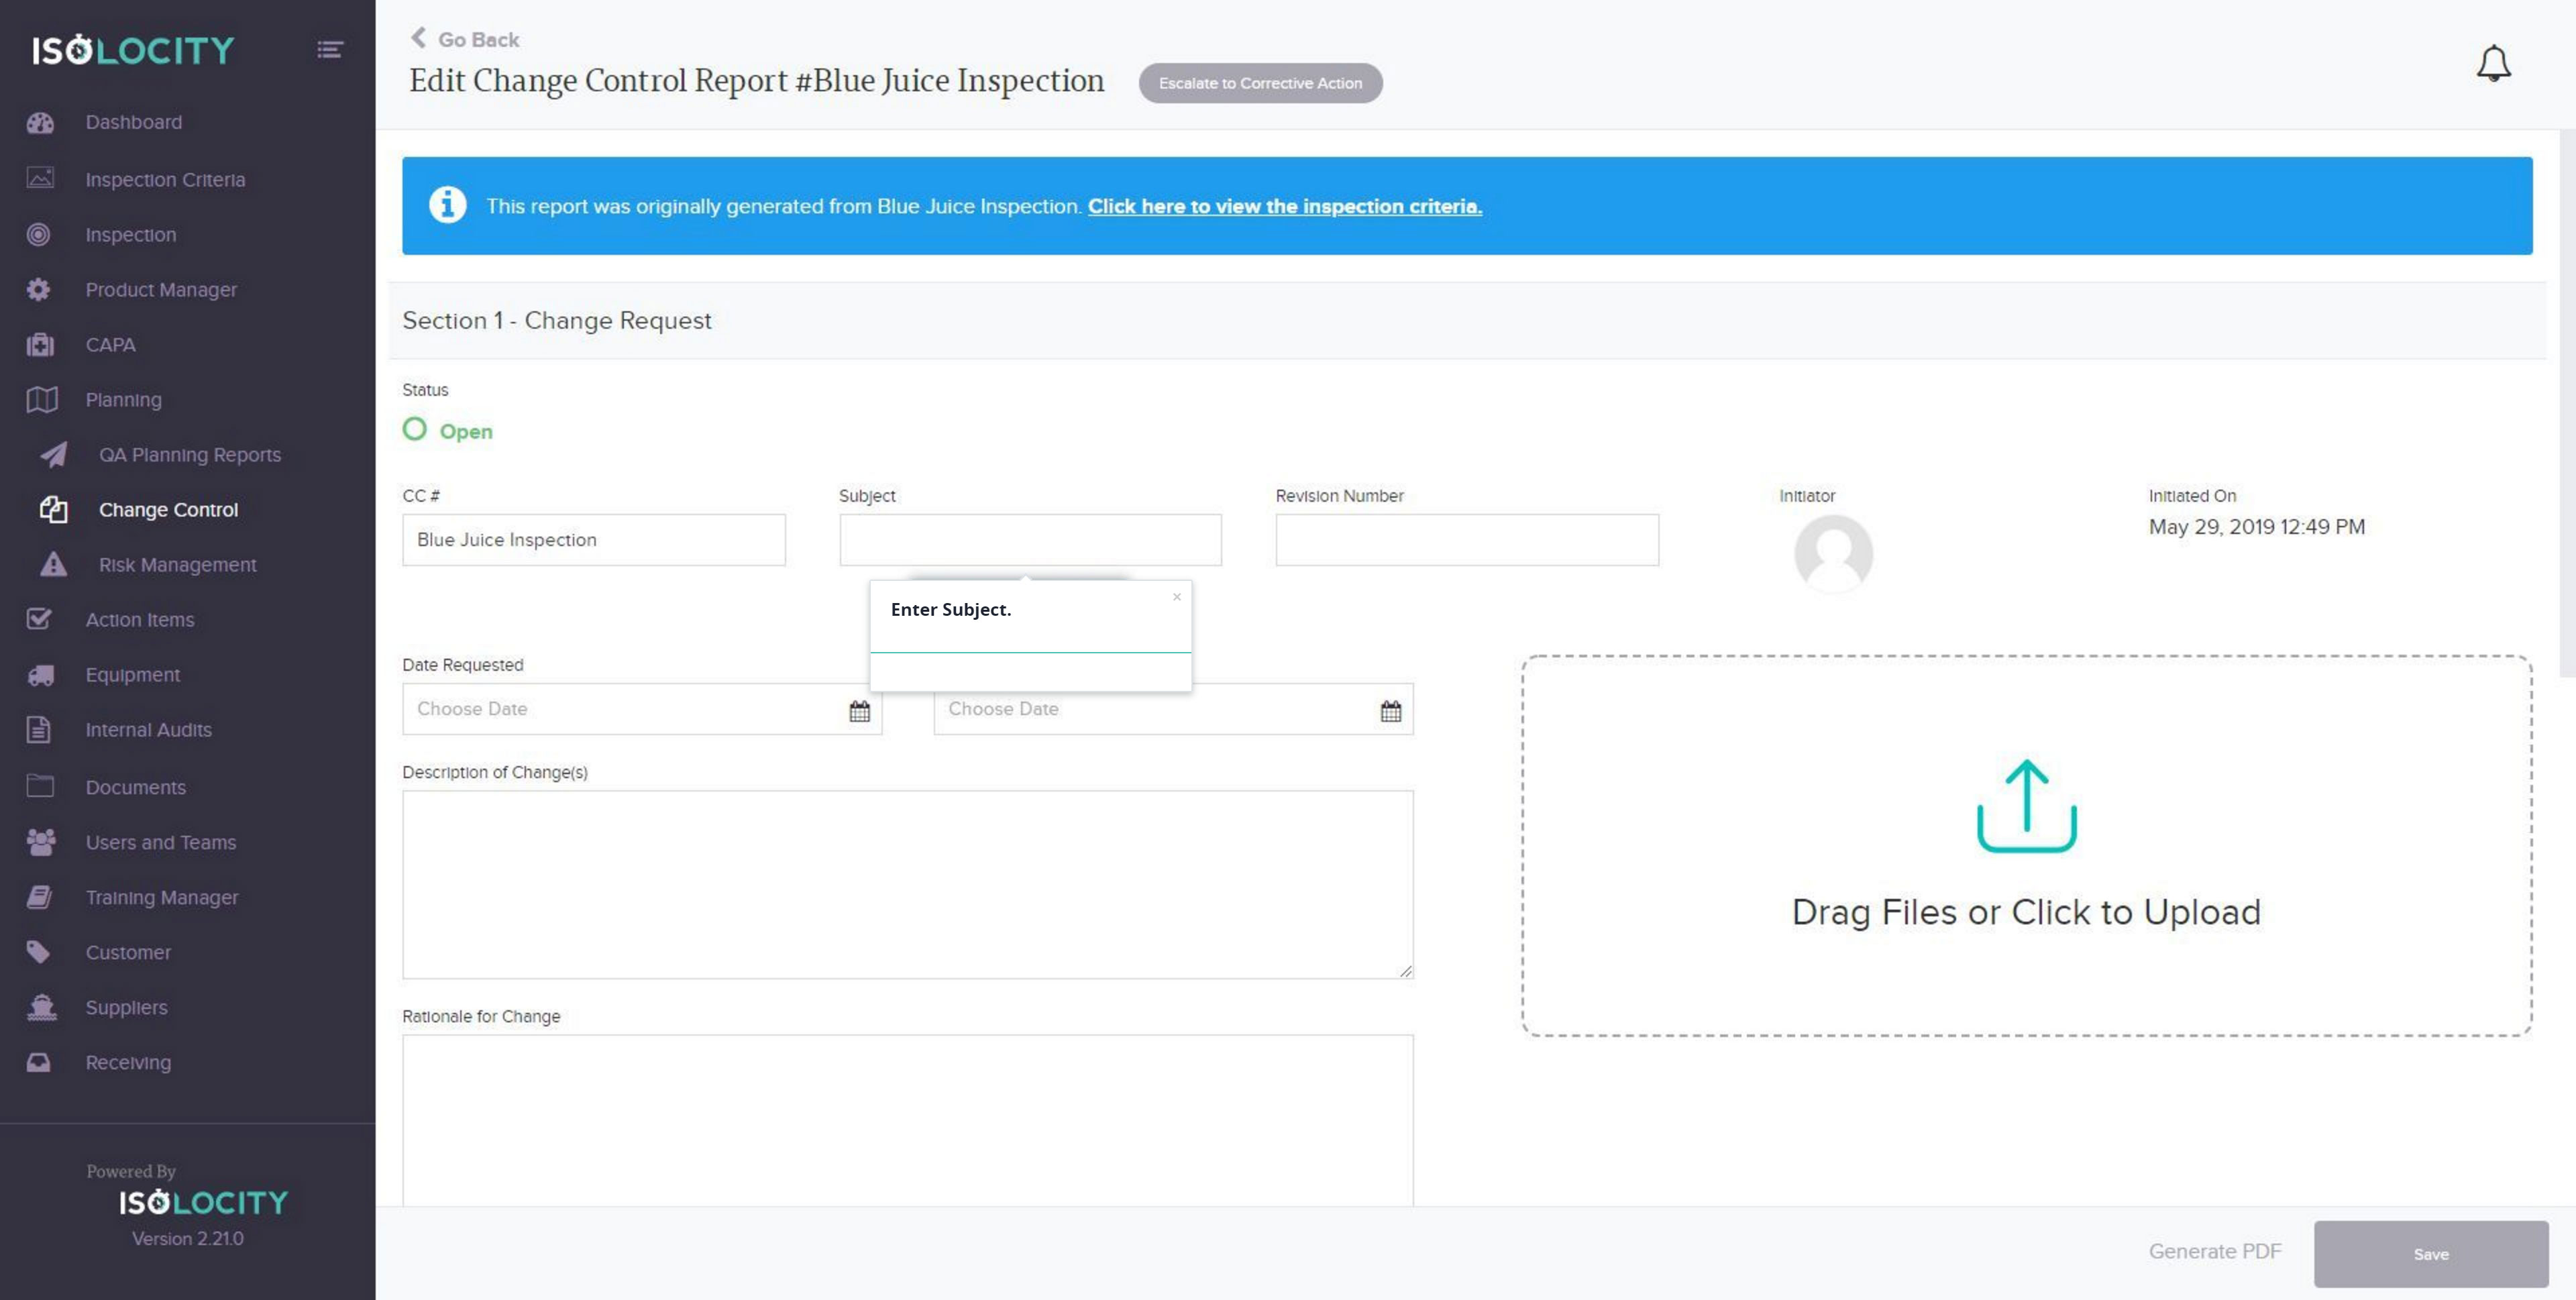
Step #8
Enter Subject.
Step #9
Enter the Revision Number.

Step #10
Enter the Date Requested.

Step #11
Enter Closure Target Date.

Step #12
Enter Description of Change(s).

Step #13
Enter the Rationale for this Change.
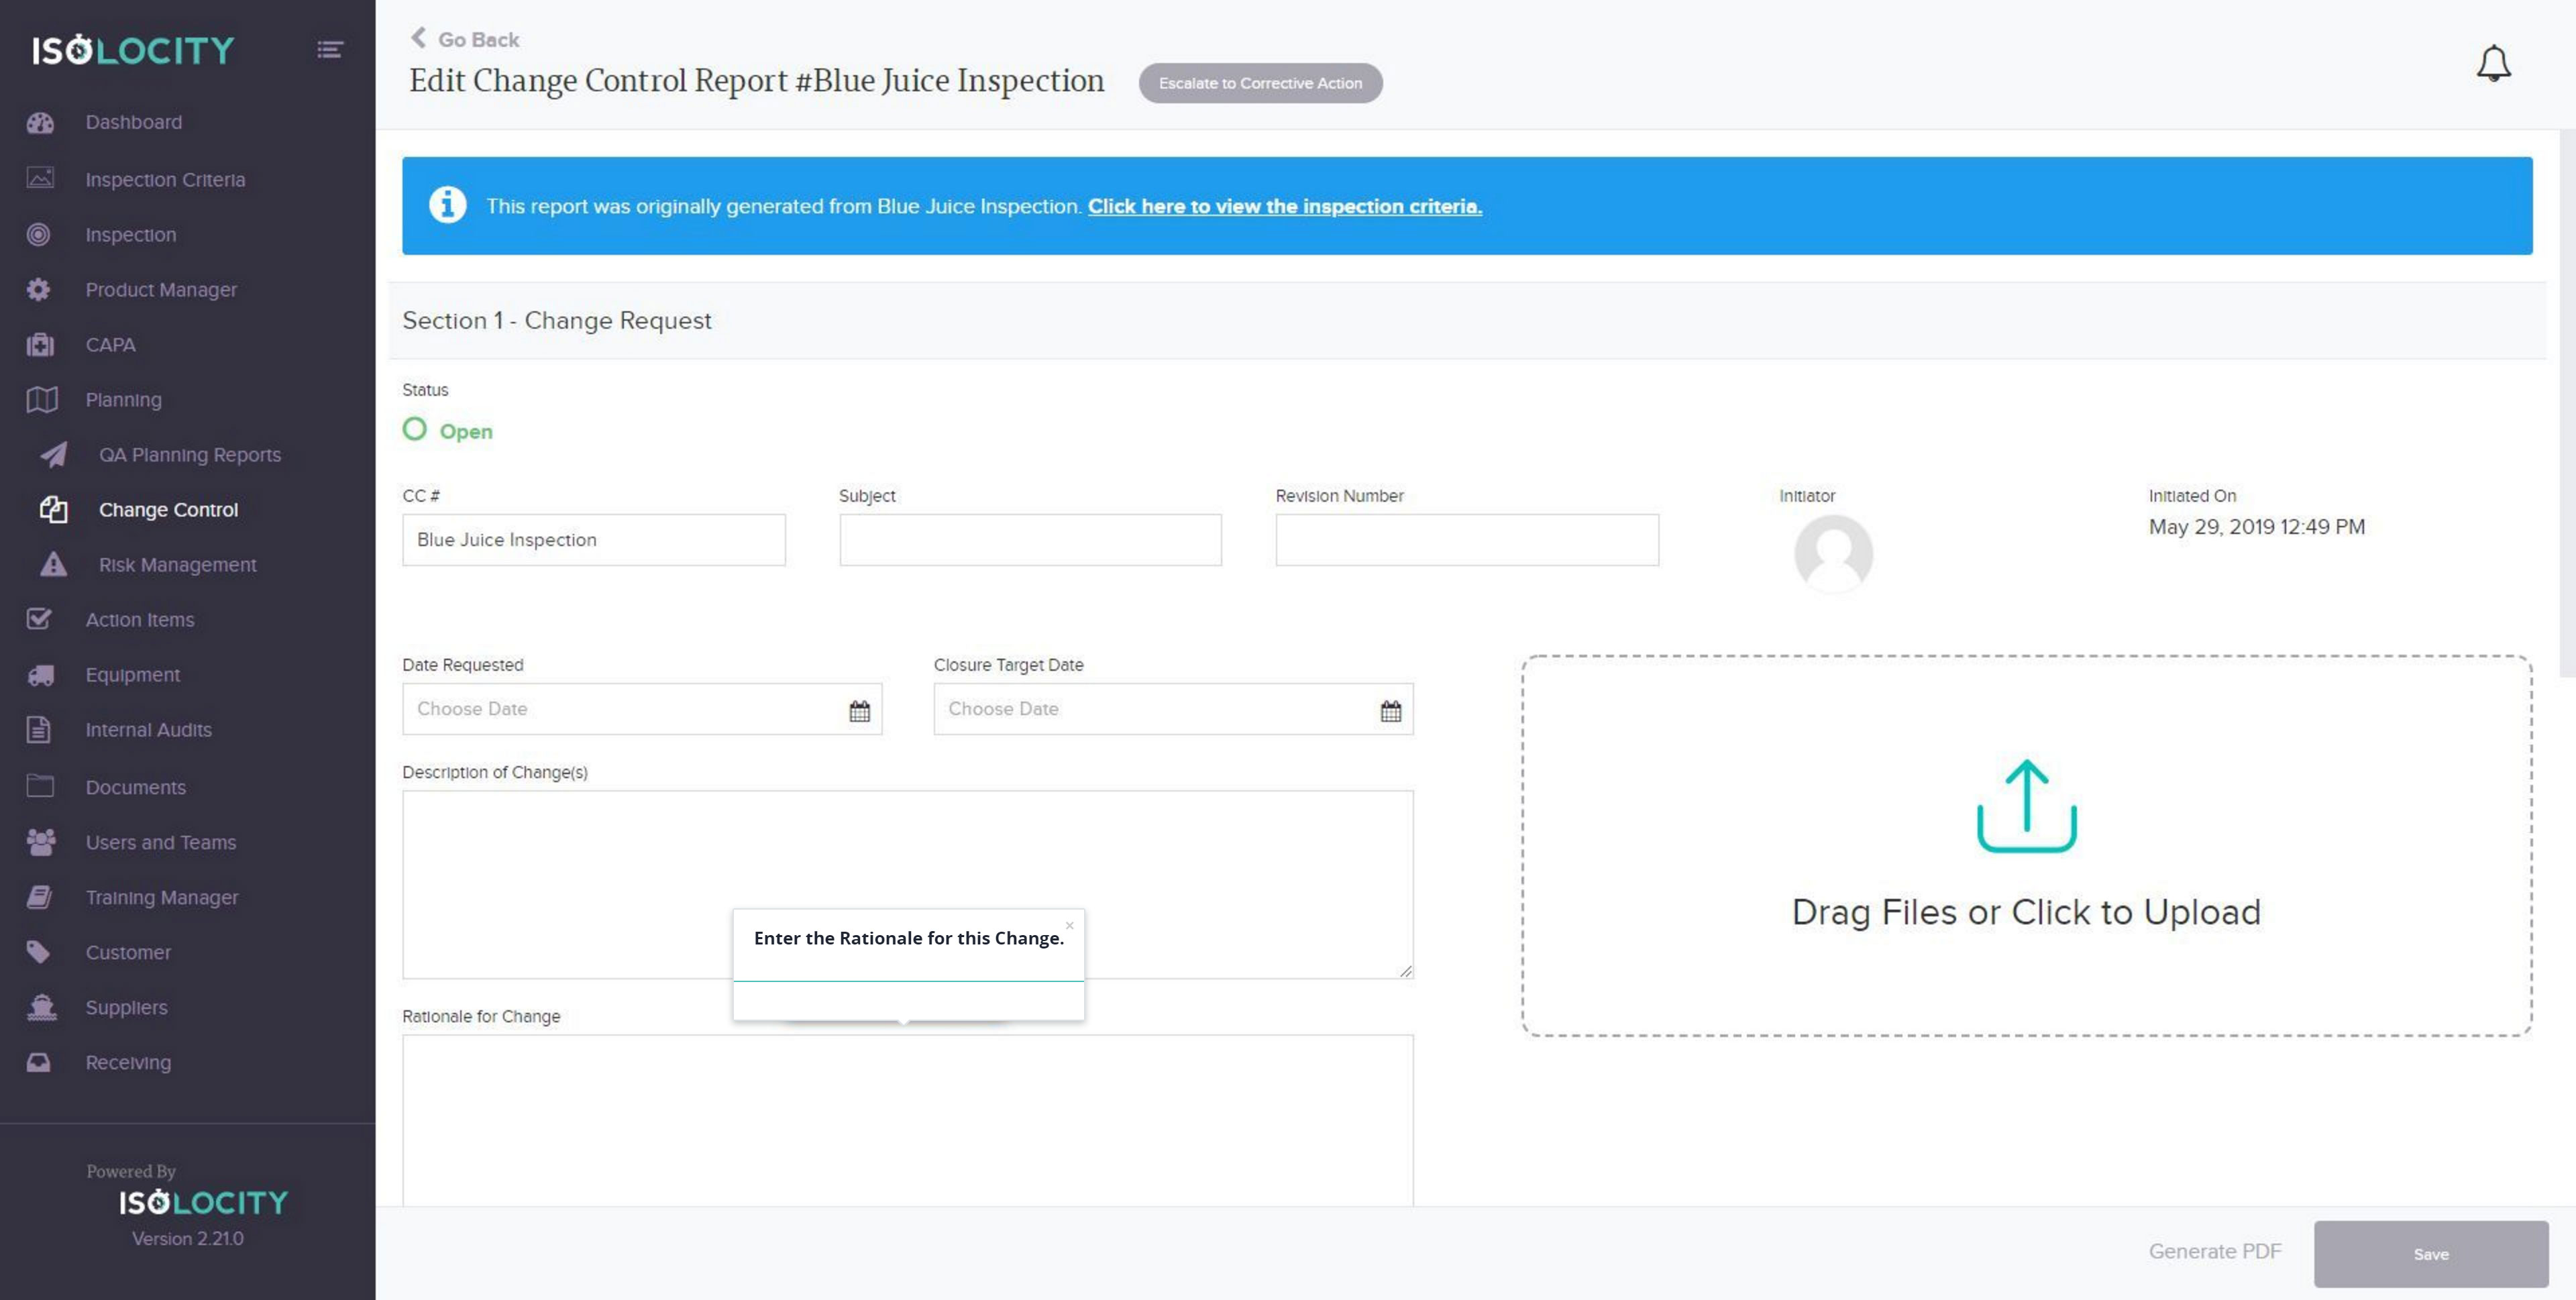
Step #14
Drag and drop supporting files here.

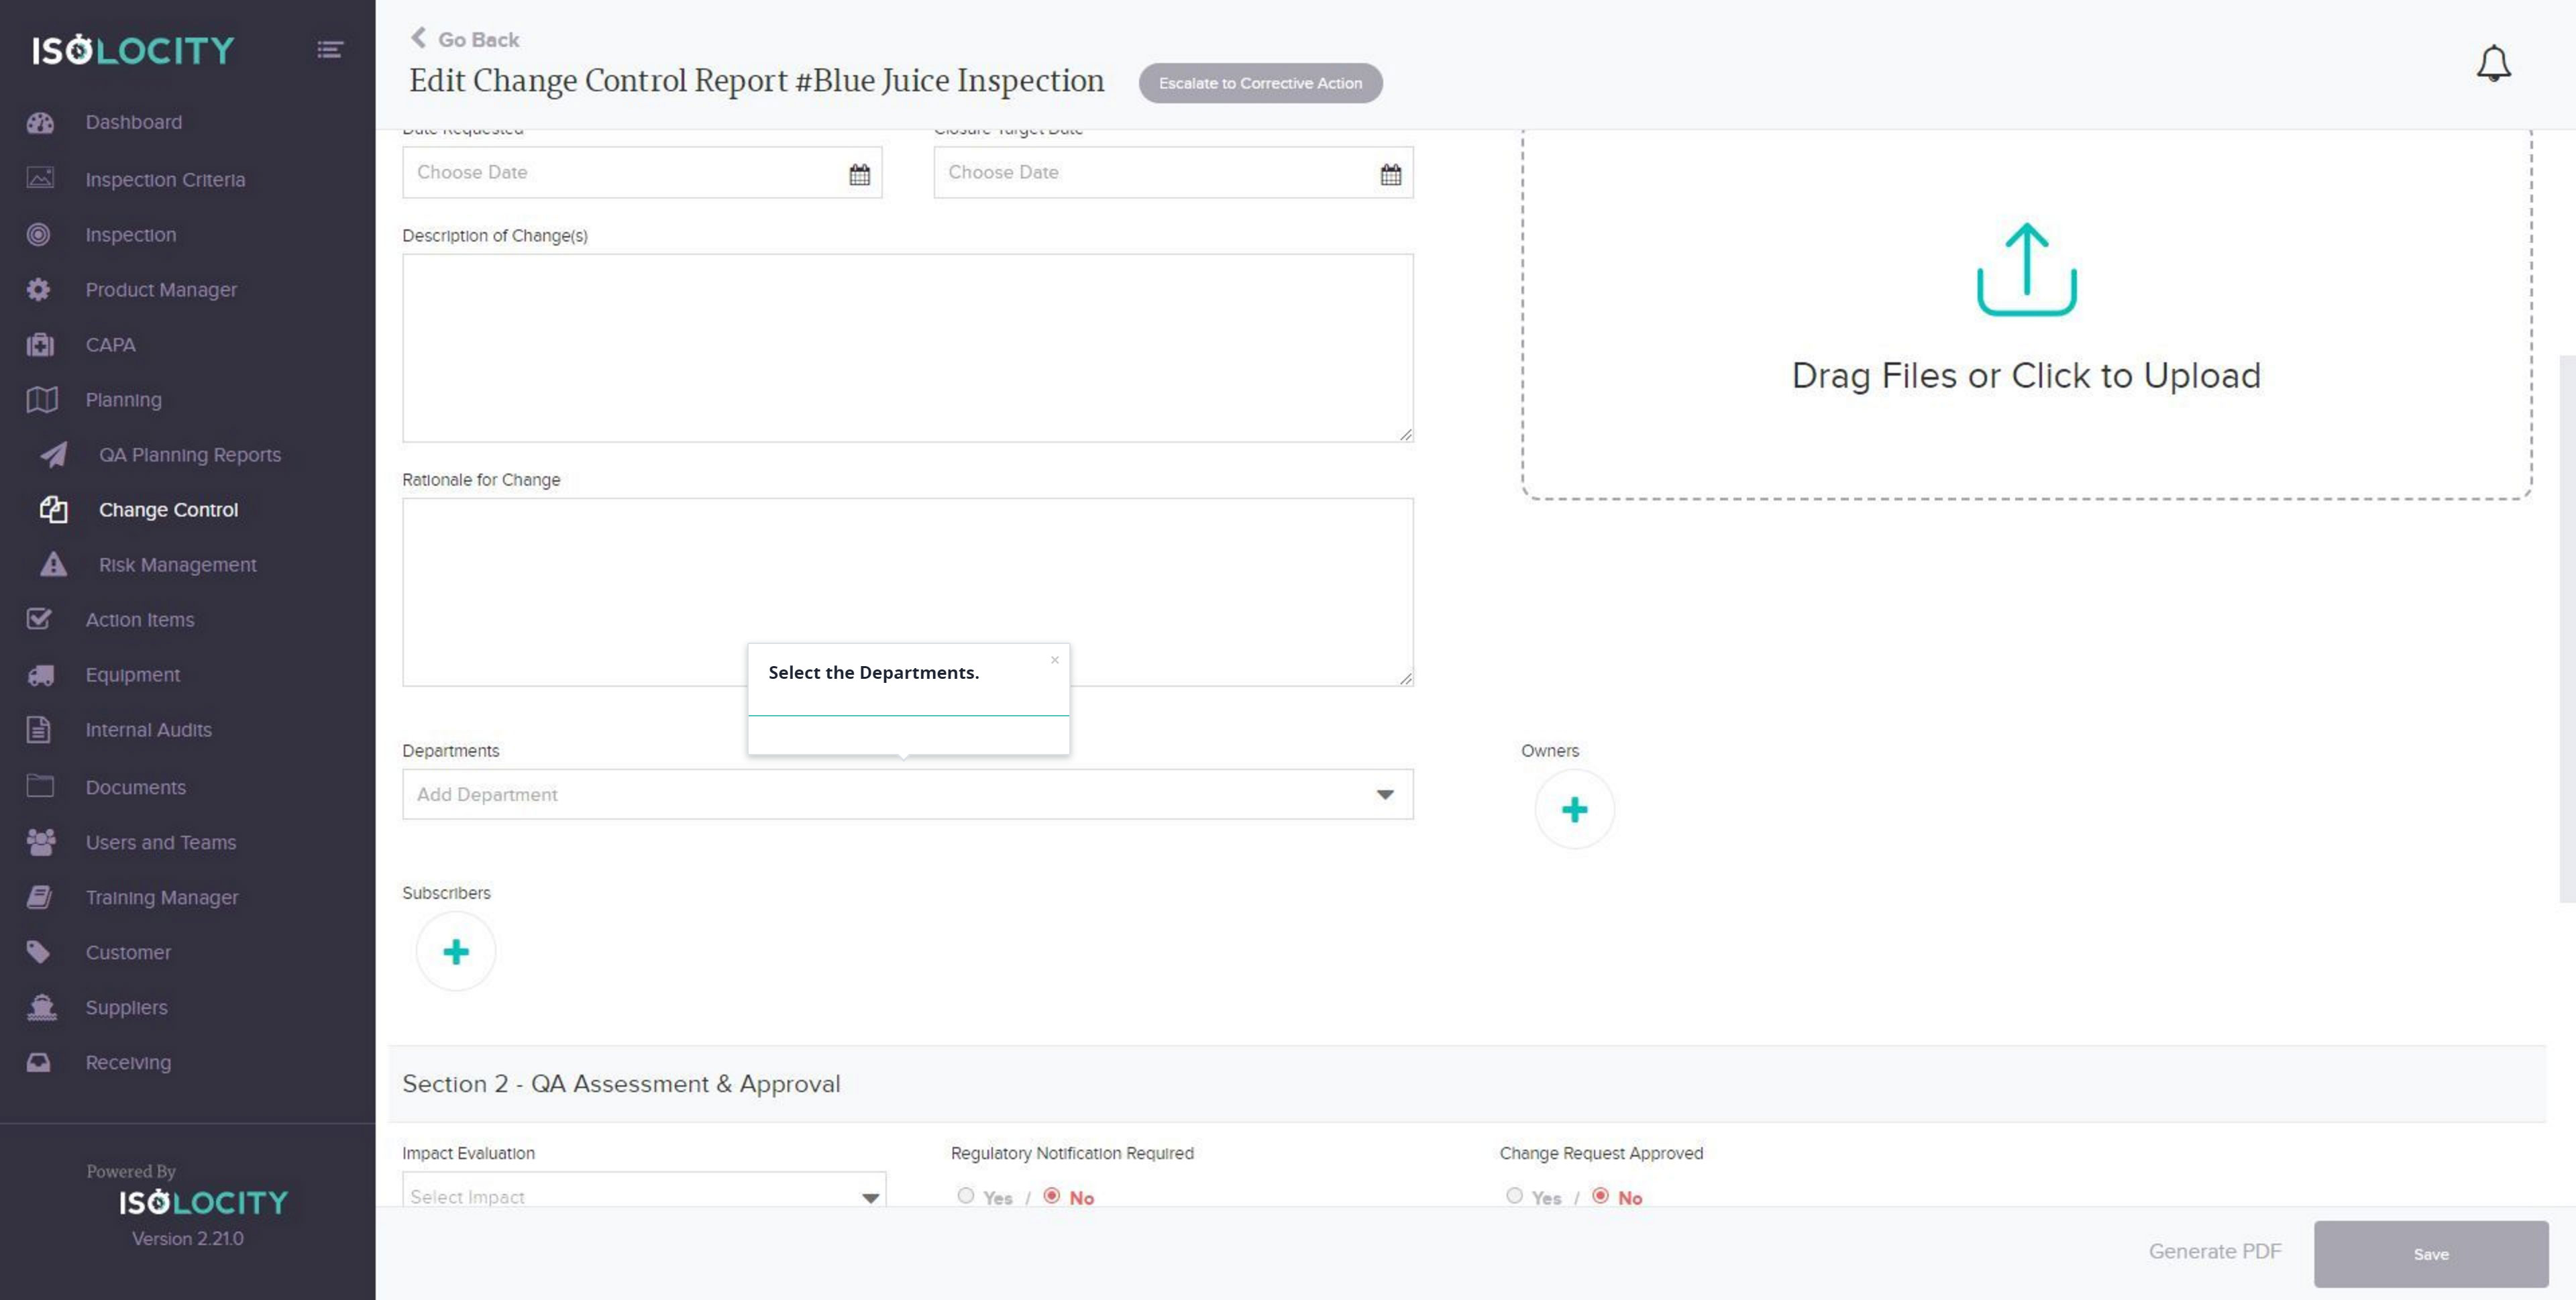
Step #15
Select the Departments.
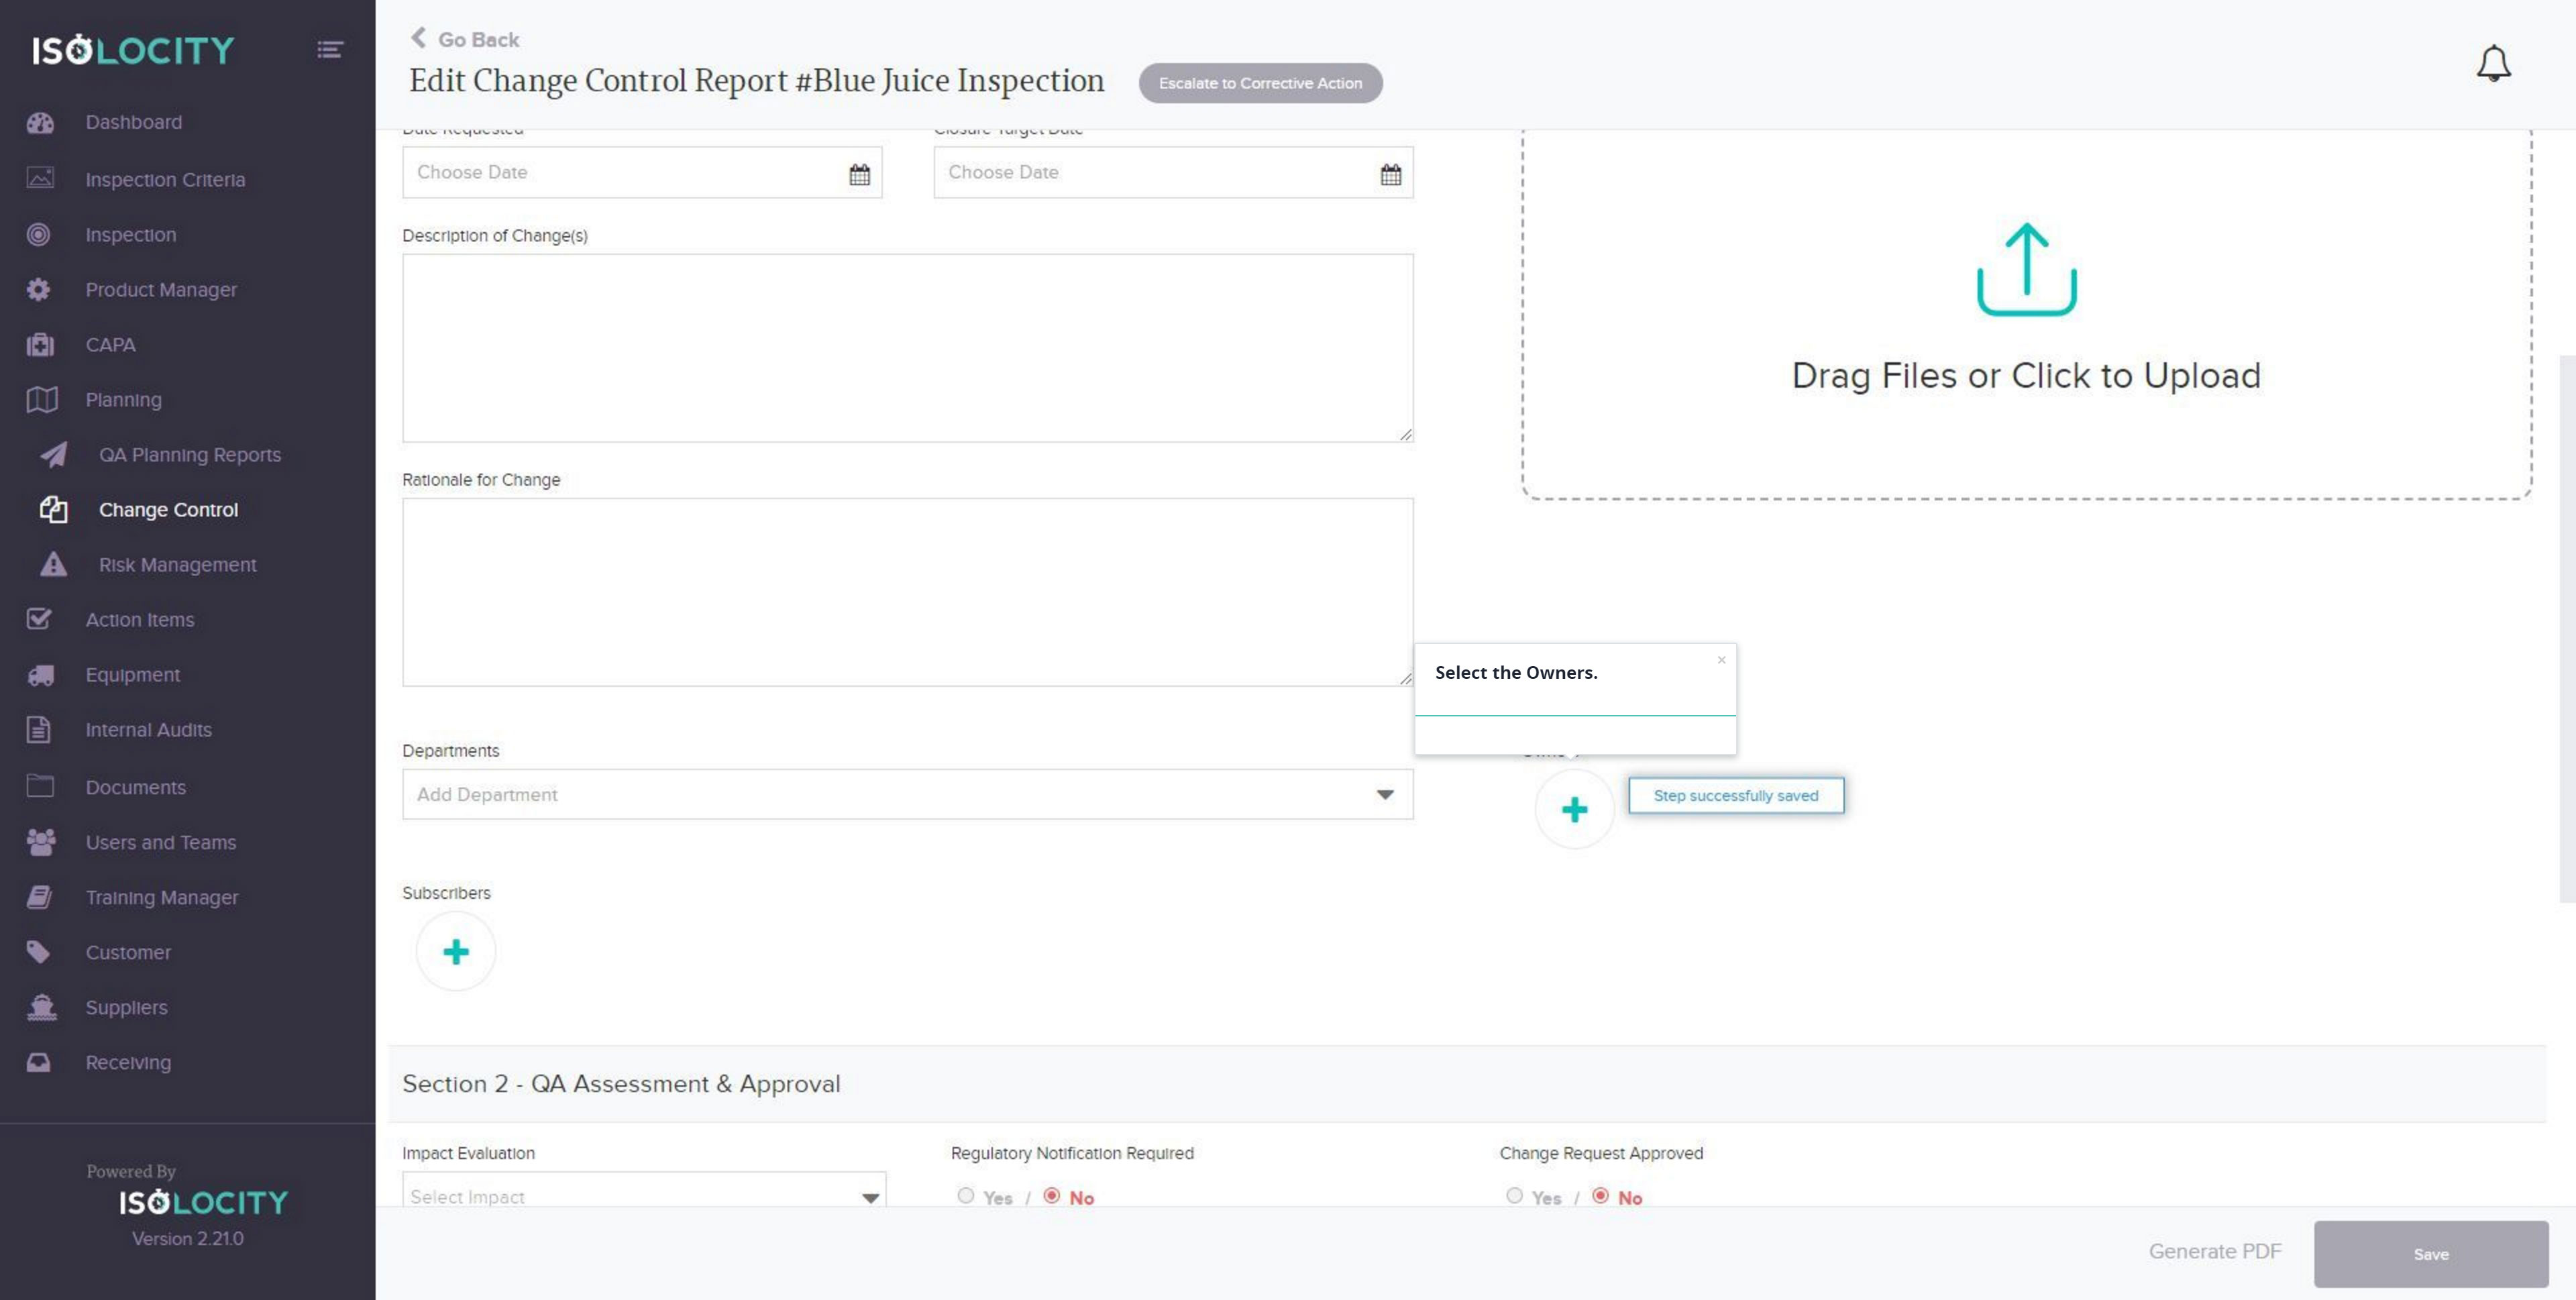
Step #16
Select the Owners.
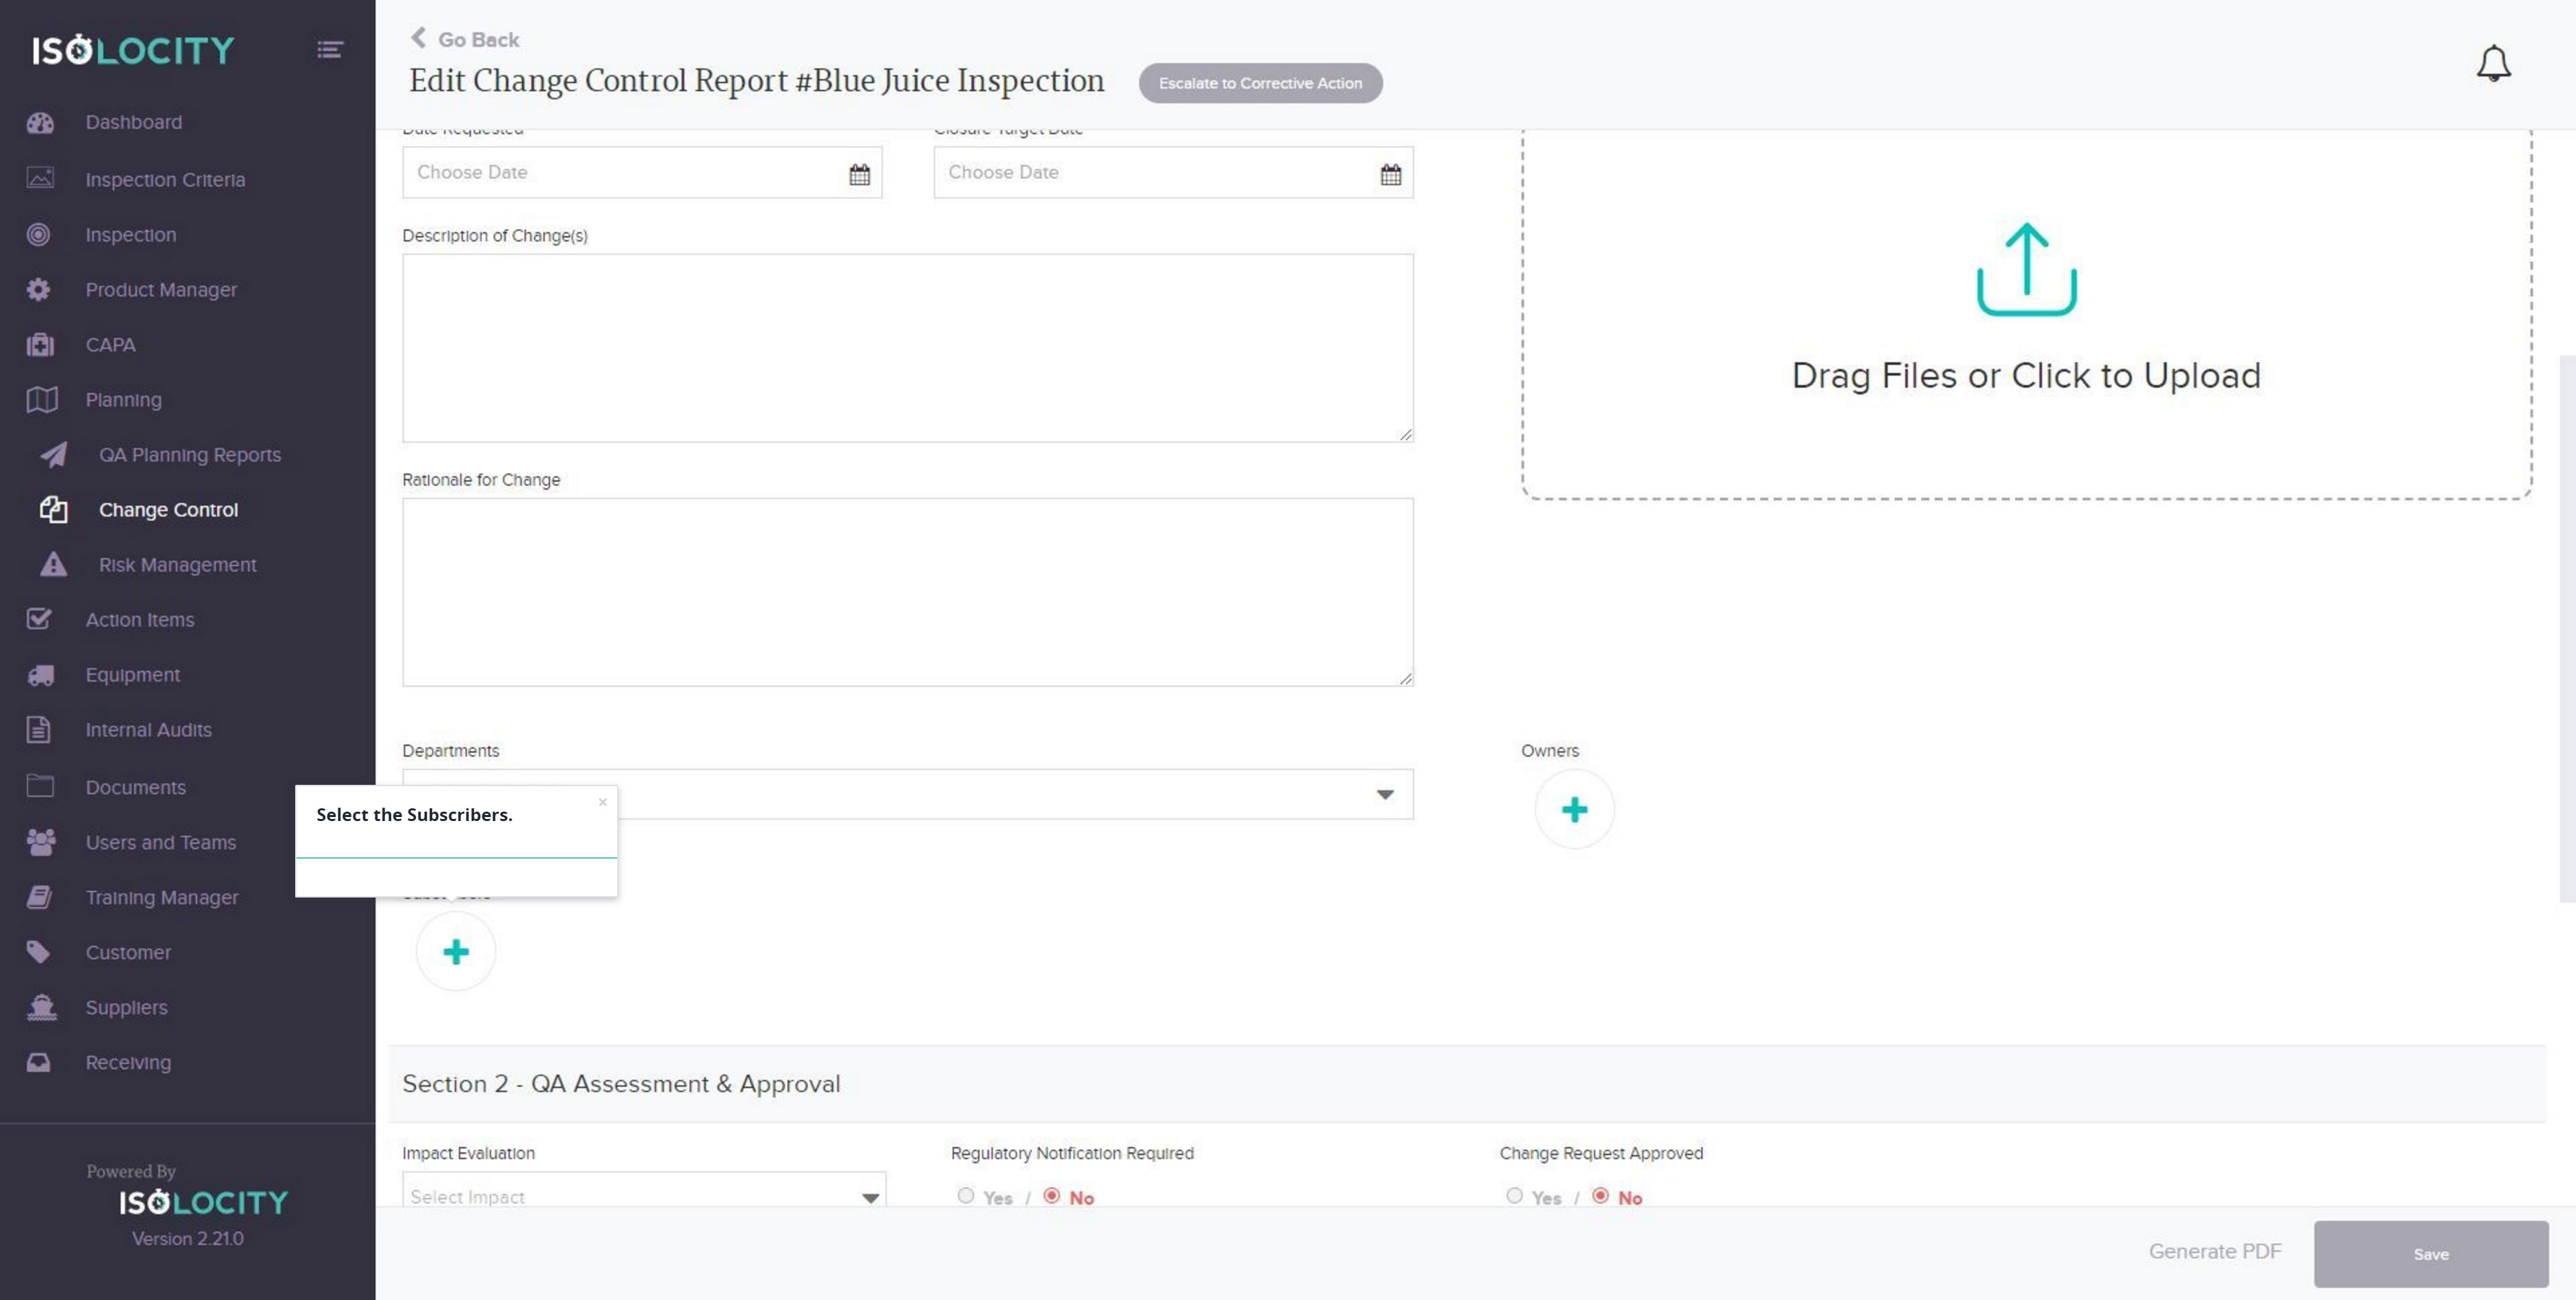
Step #17
Select the Subscribers.
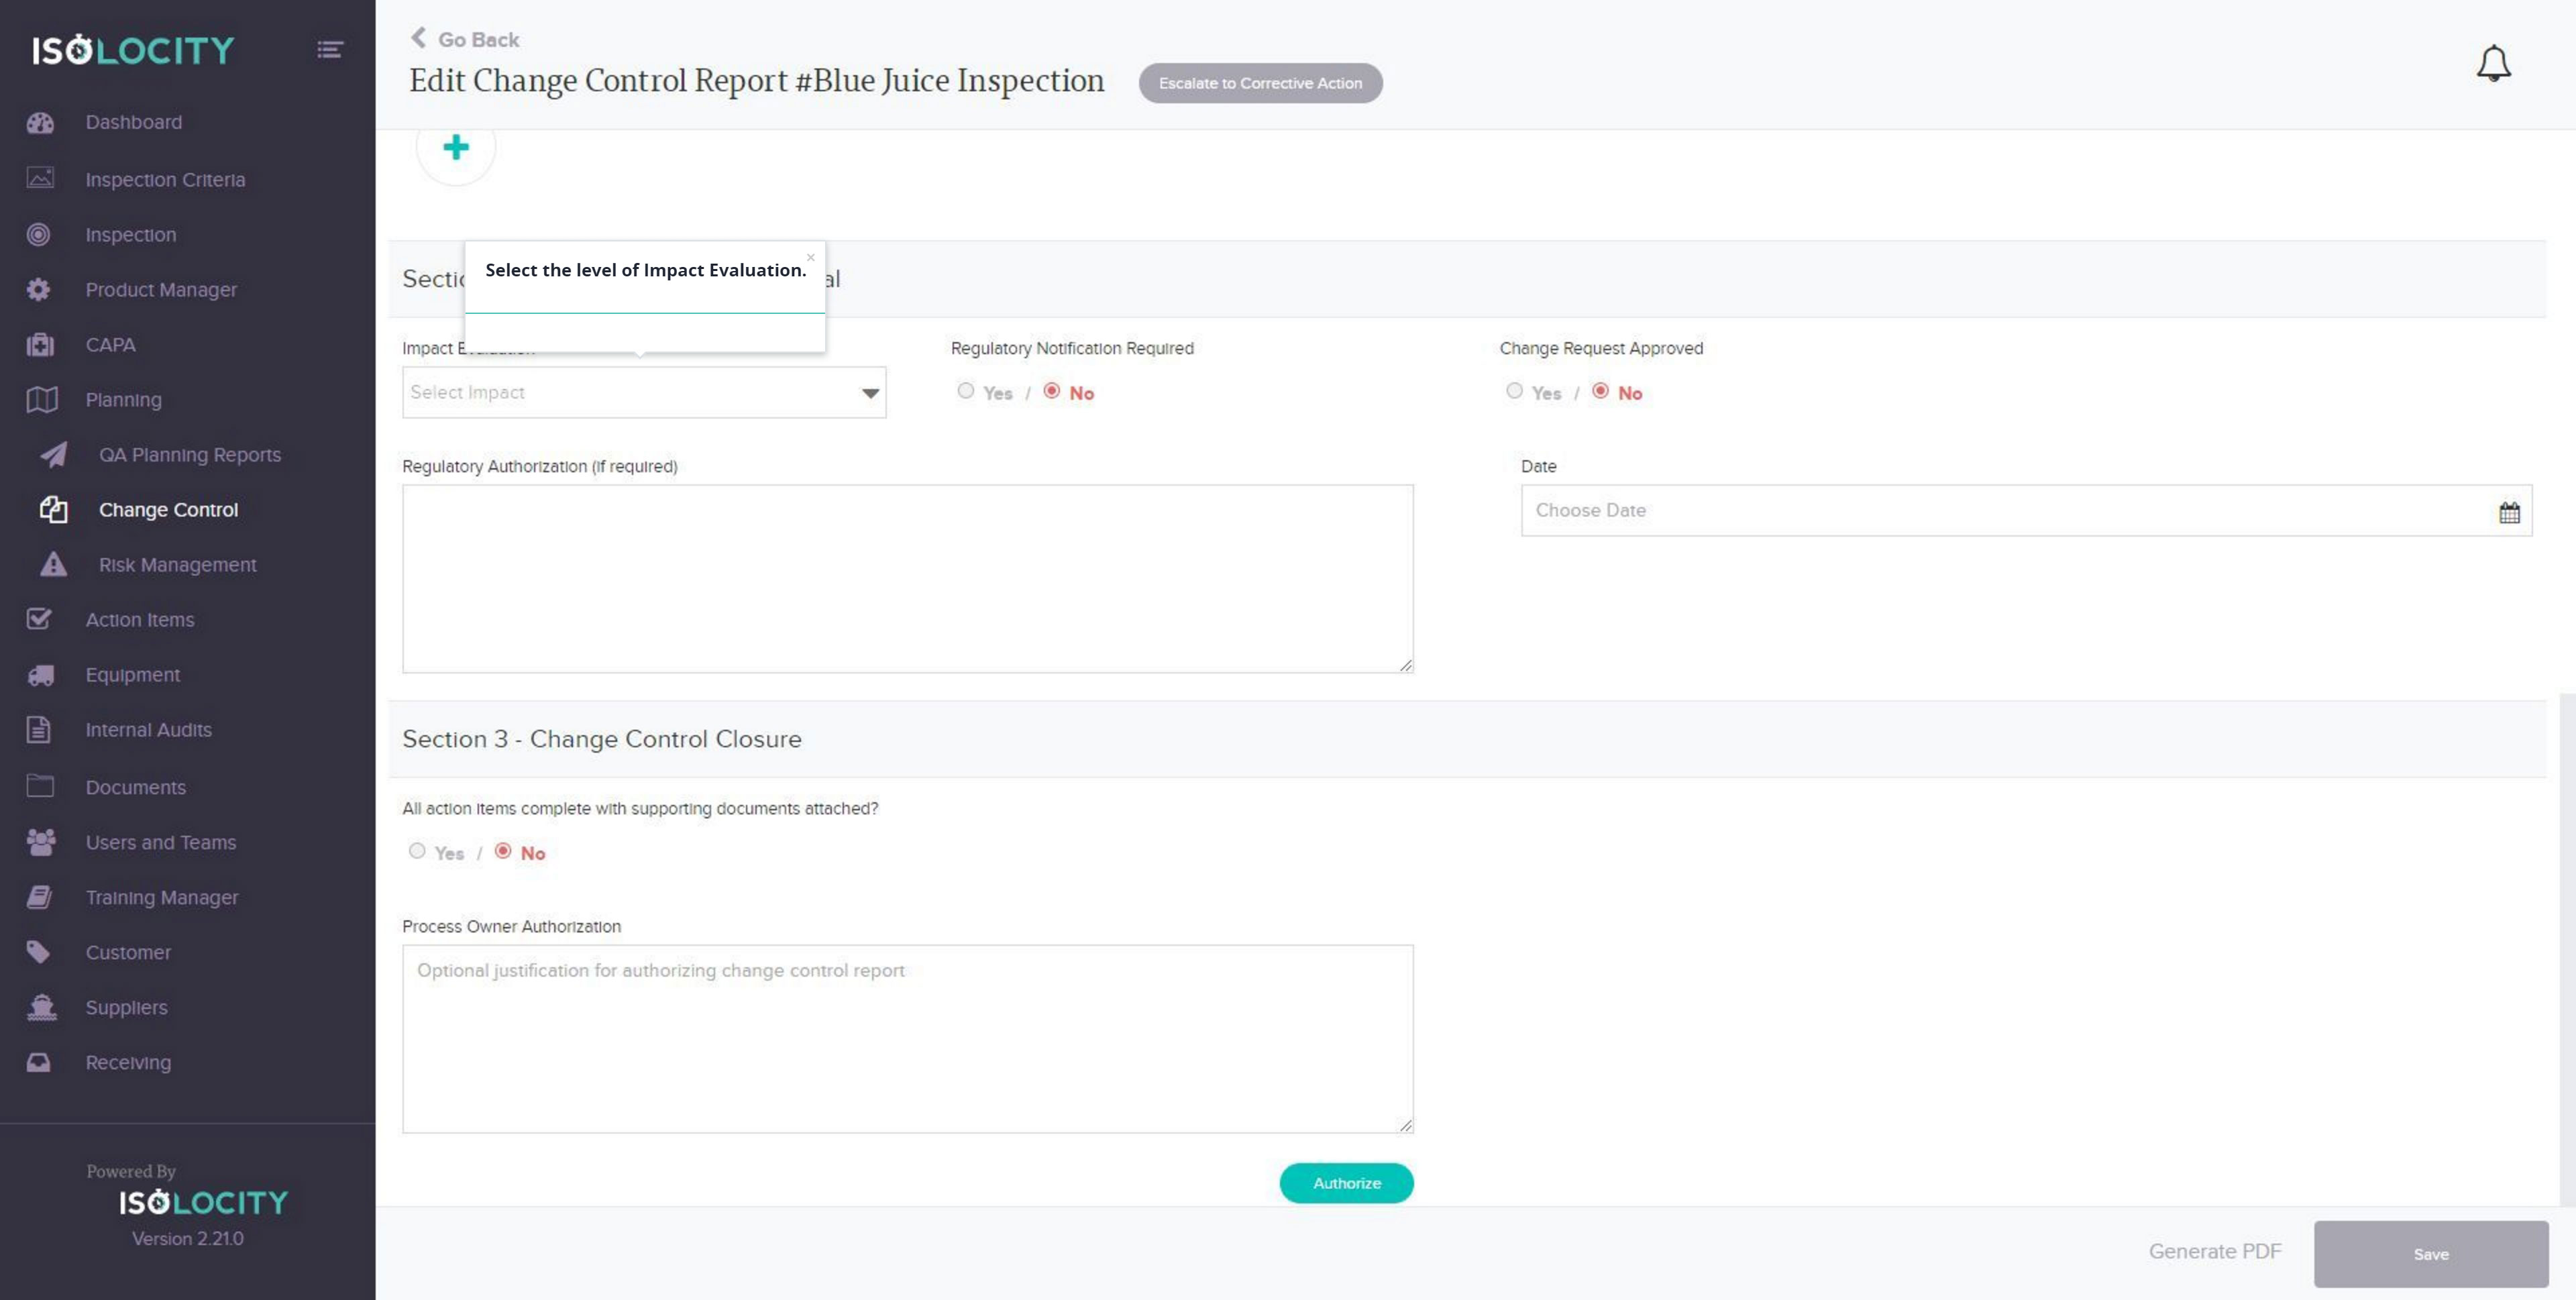
Step #18
Select the level of Impact Evaluation.
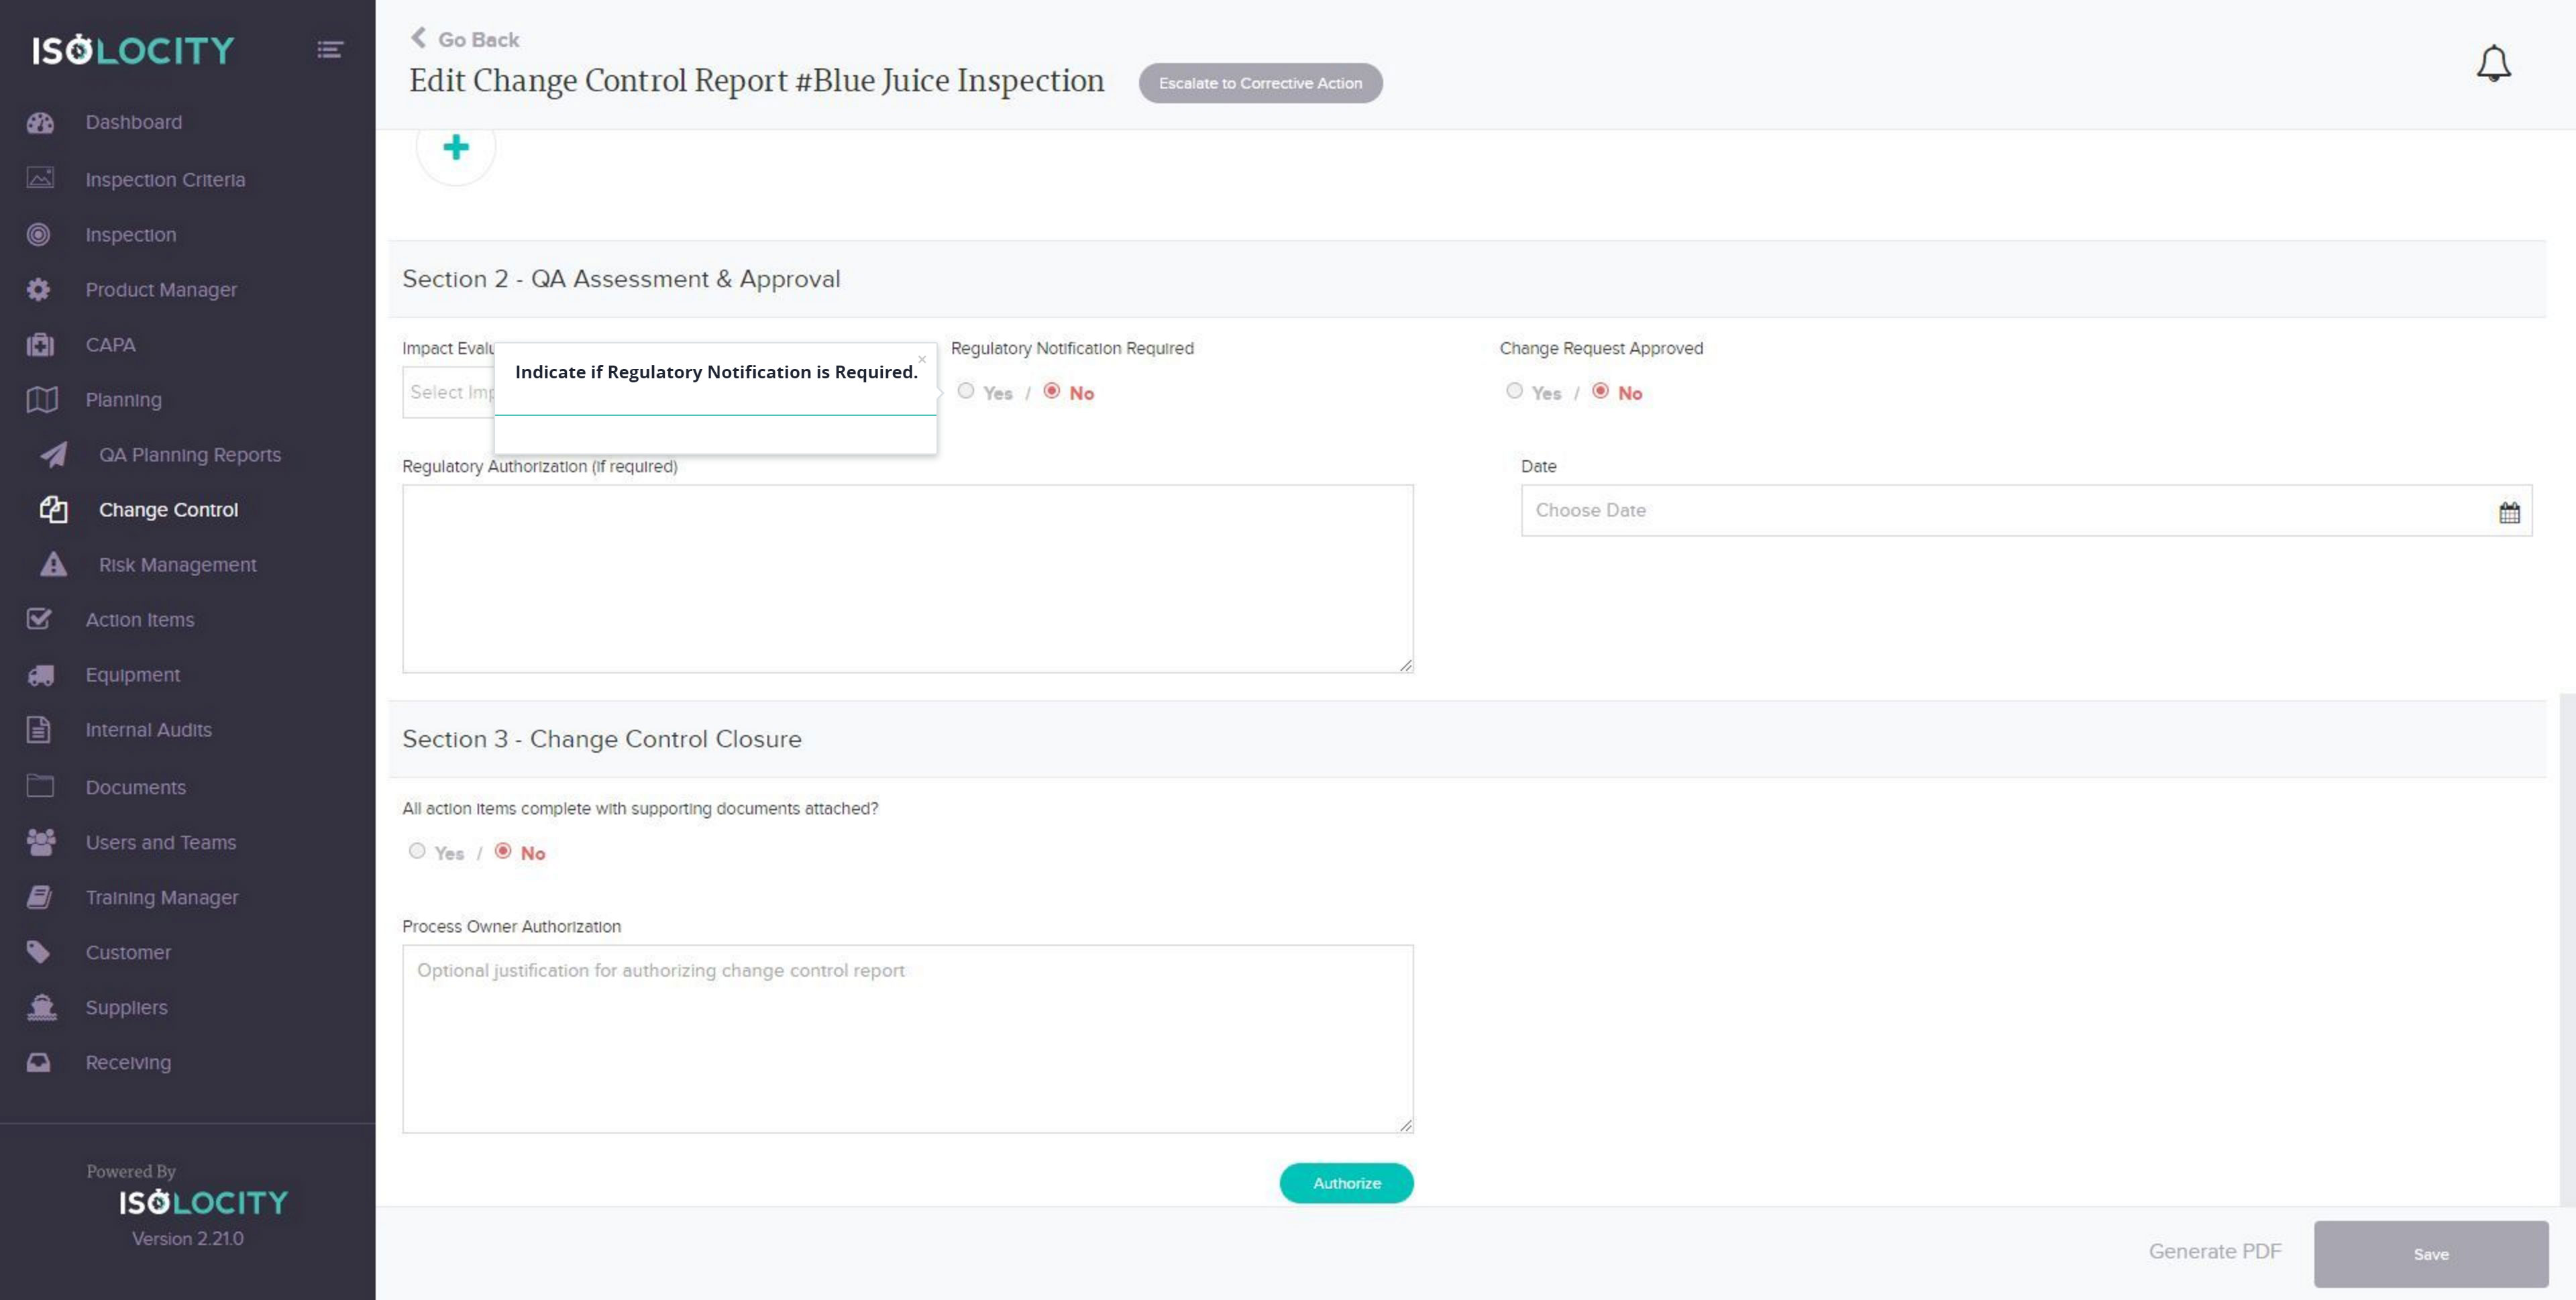
Step #19
Indicate if Regulatory Notification is Required.
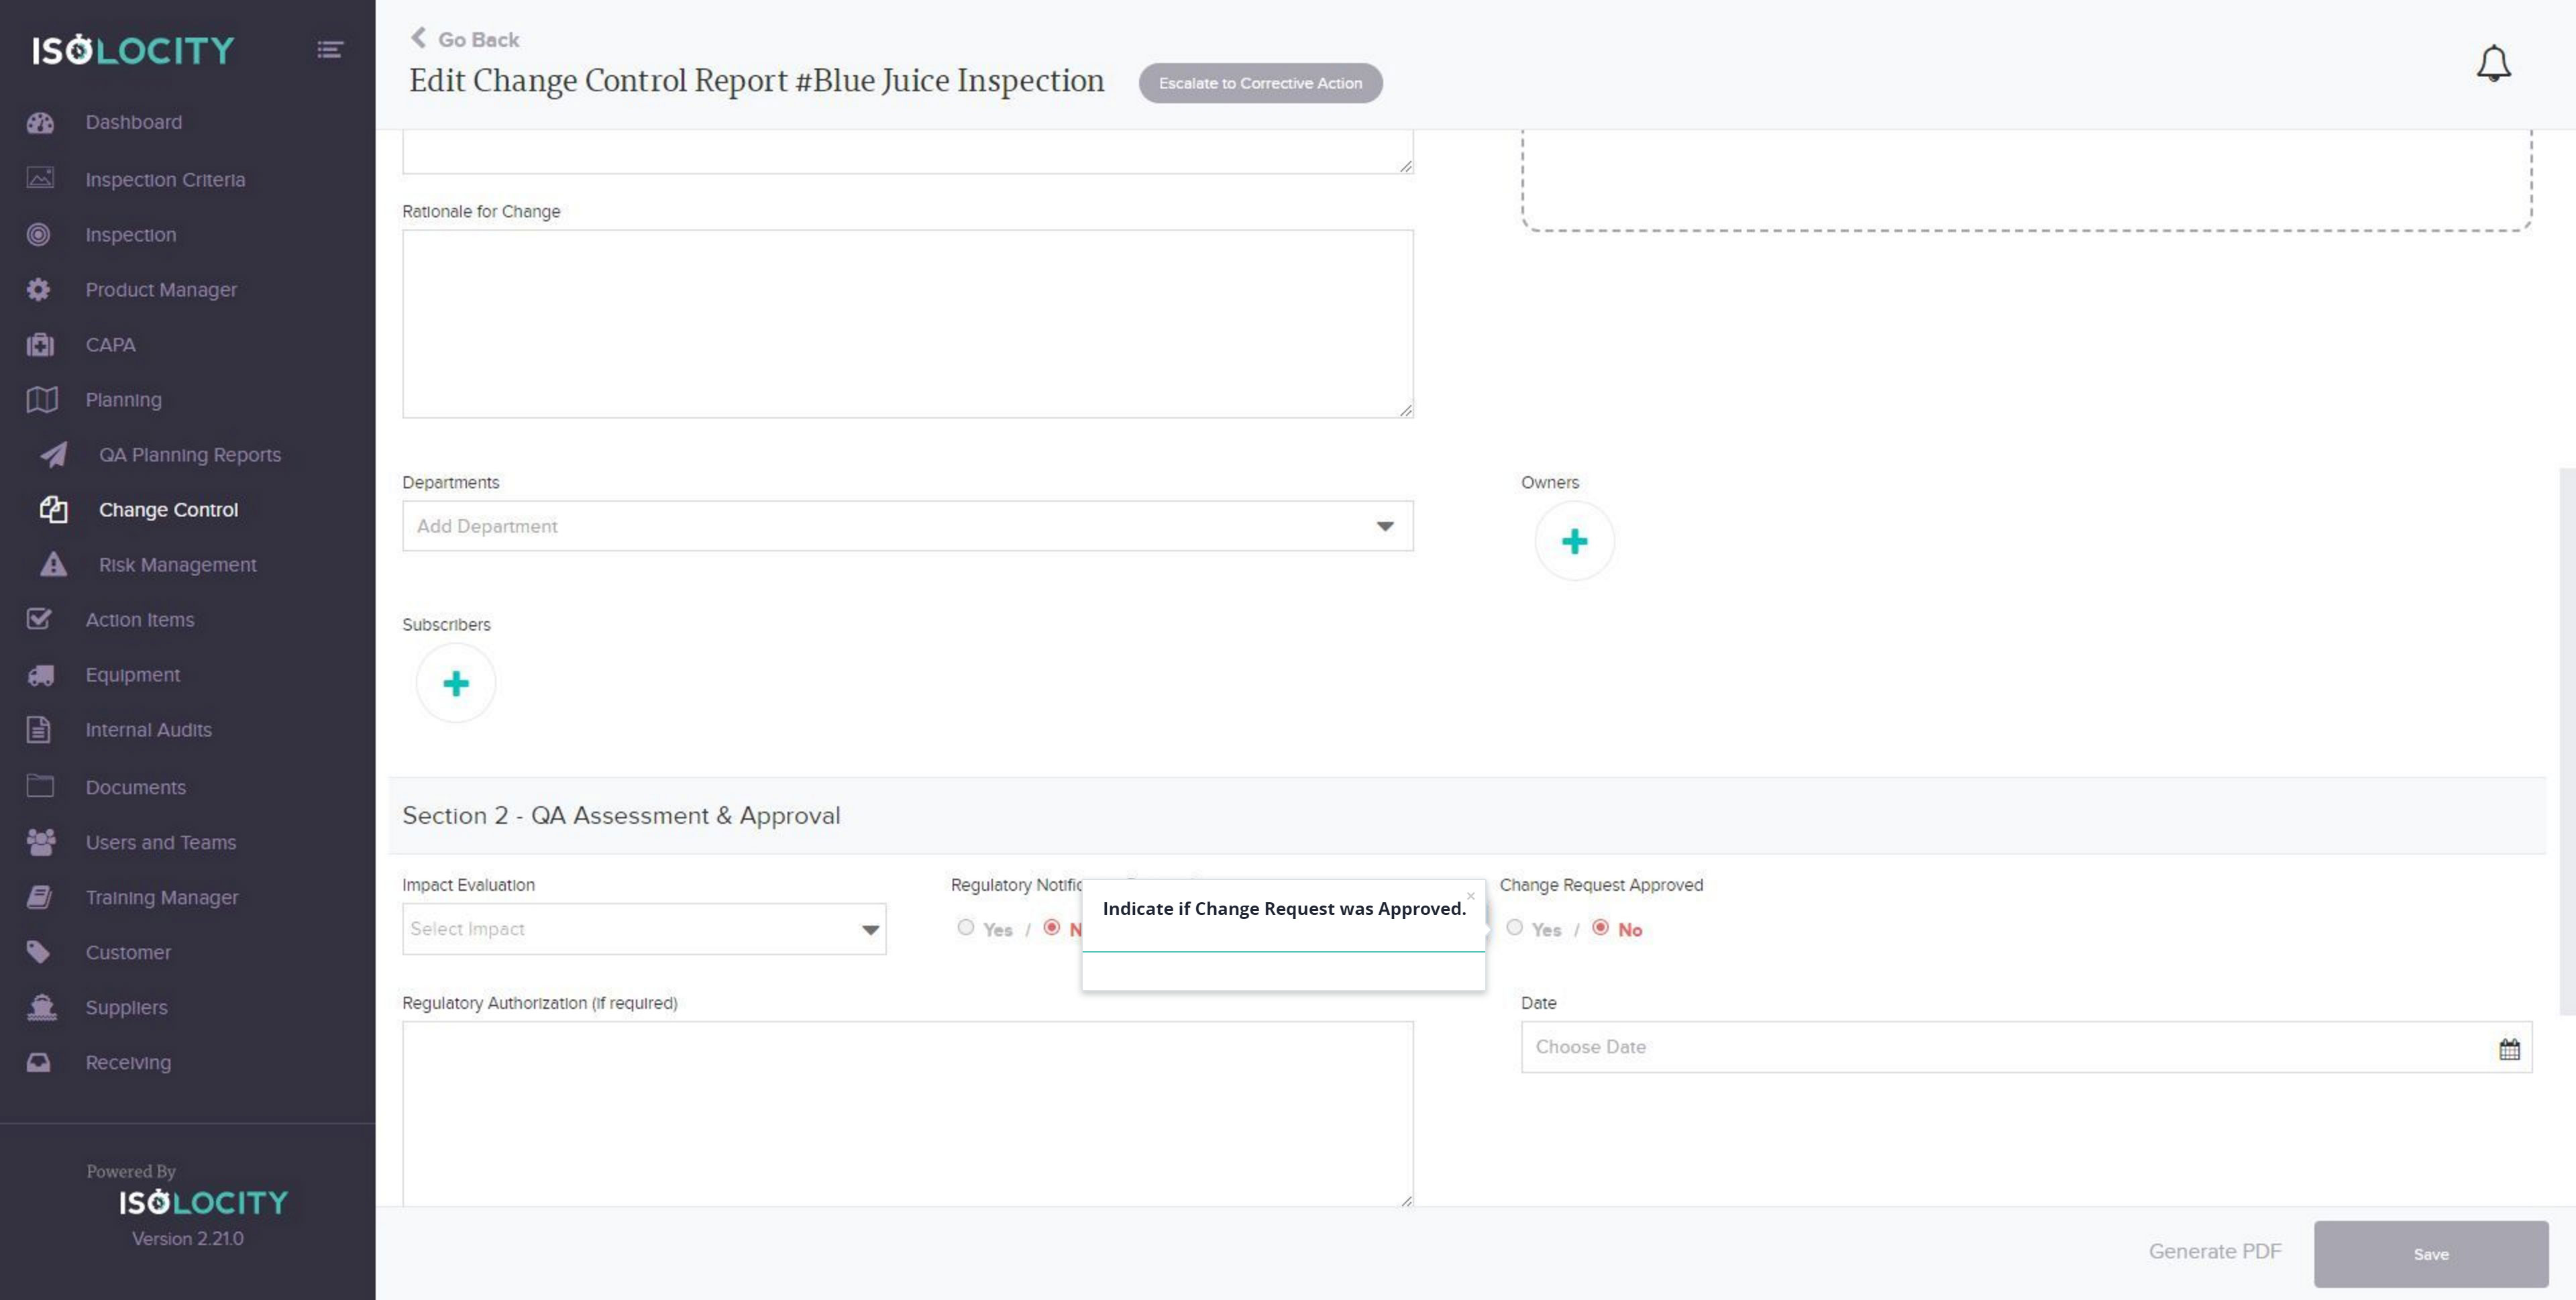
Step #20
Indicate if Change Request was Approved.
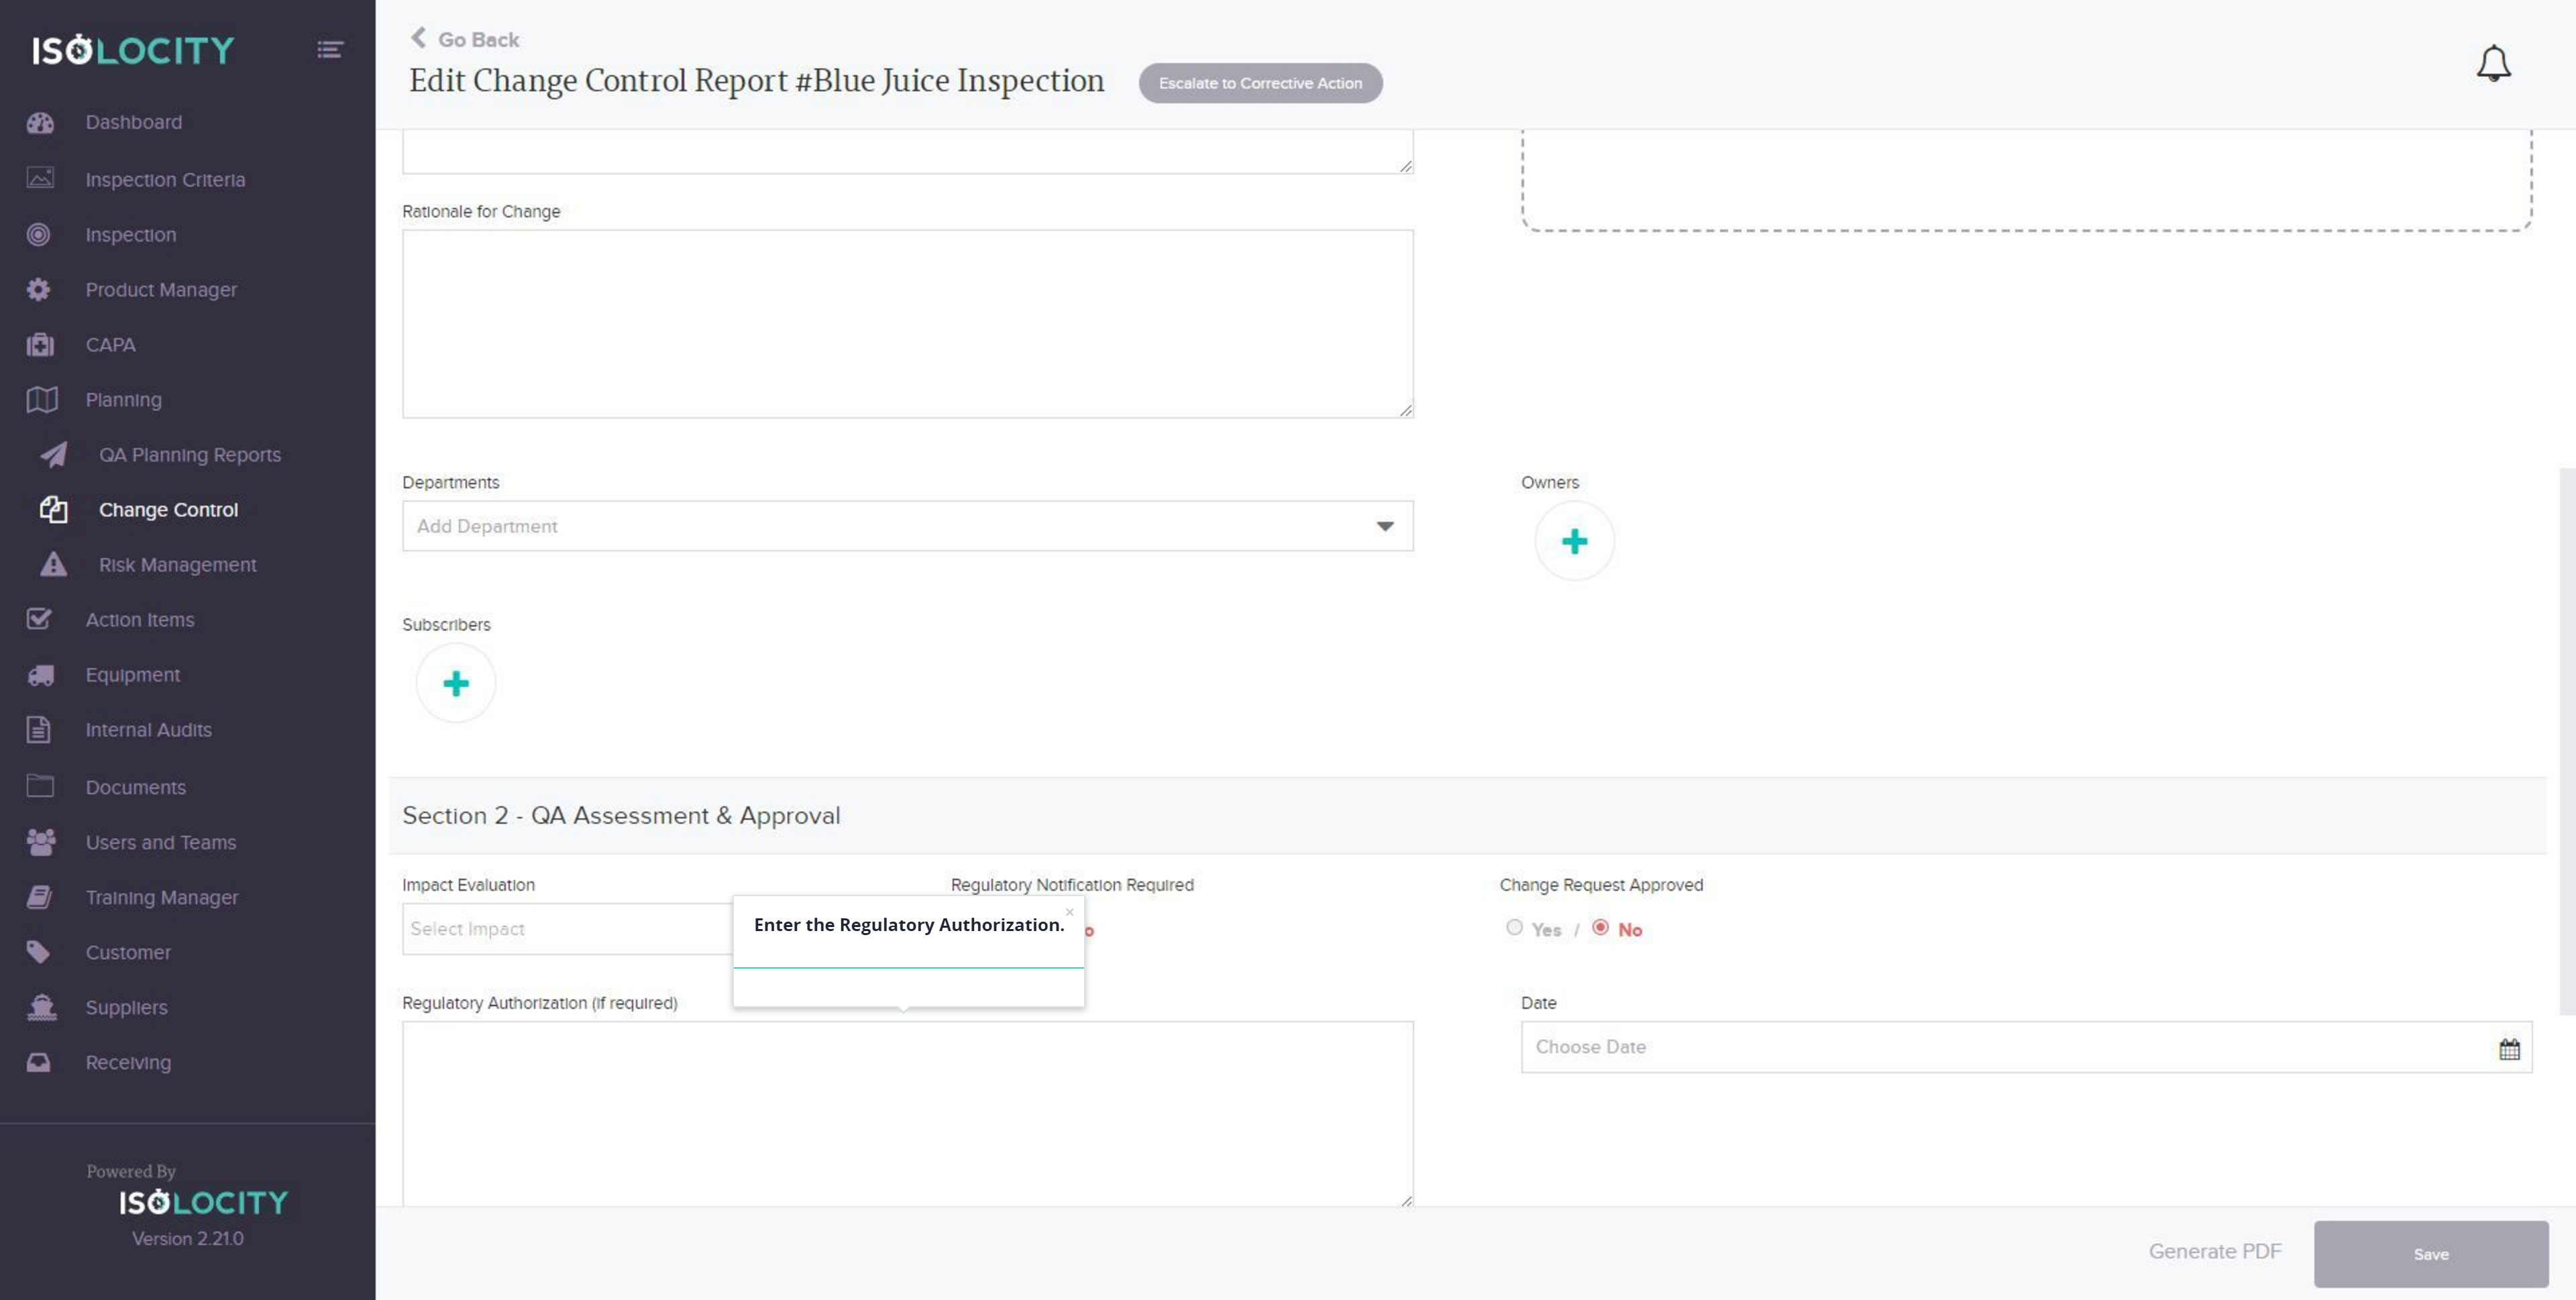
Step #21
Enter the Regulatory Authorization.
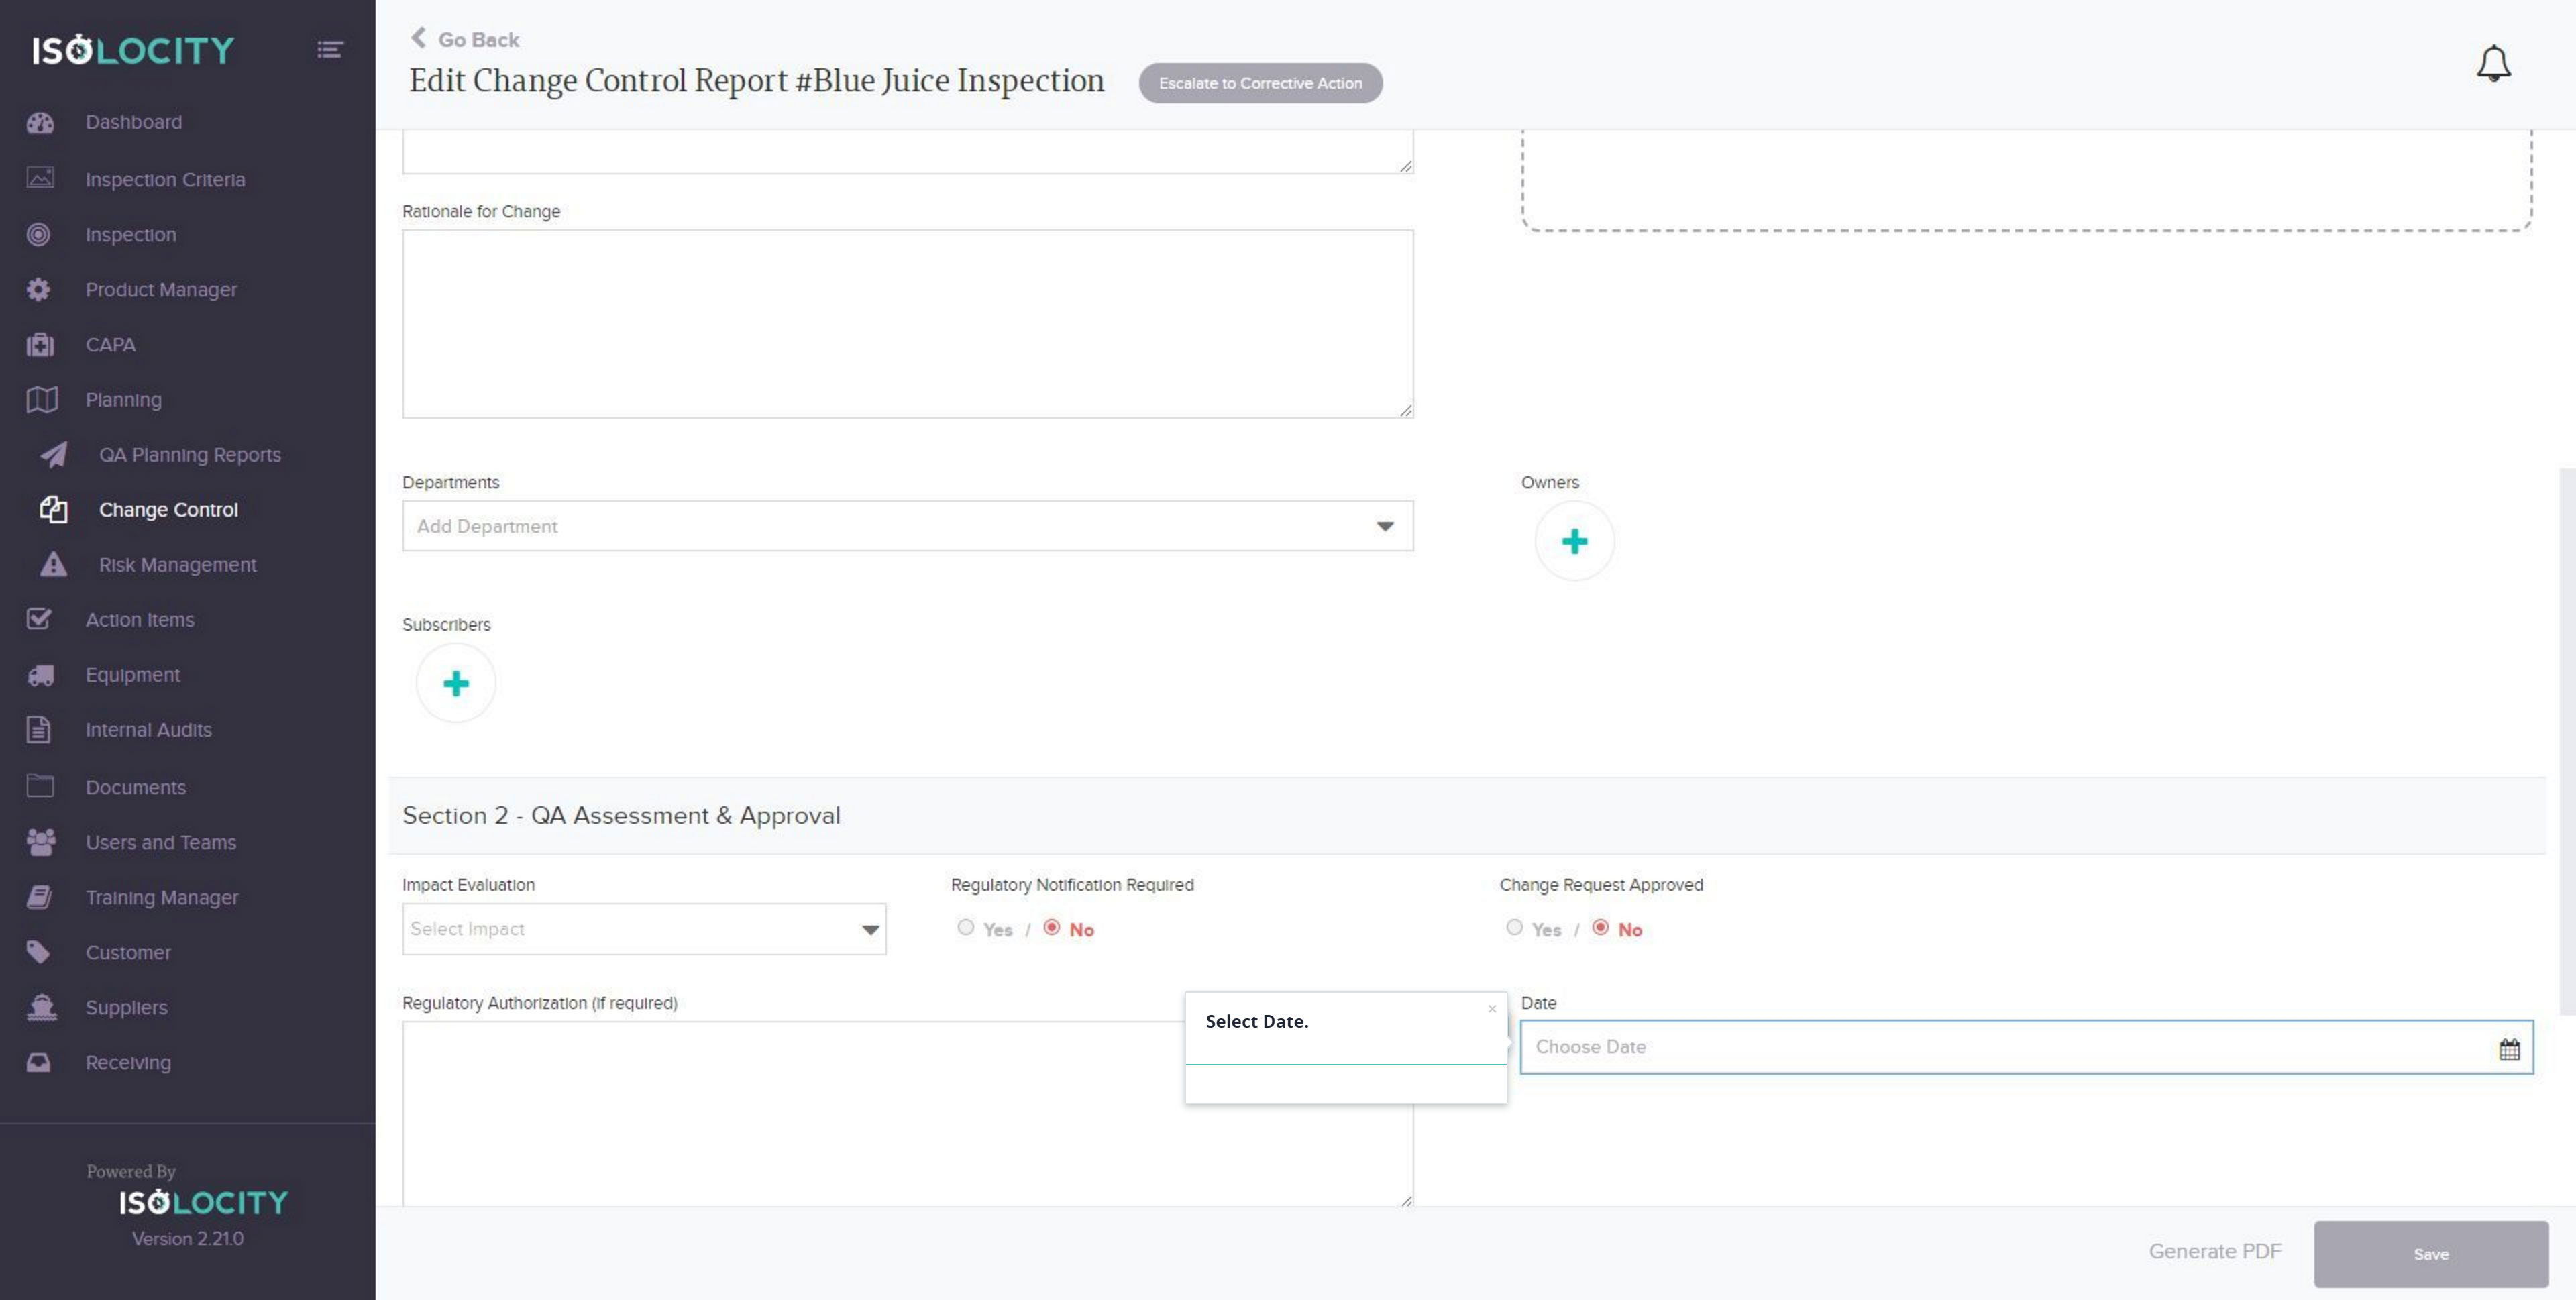
Step #22
Select Date.
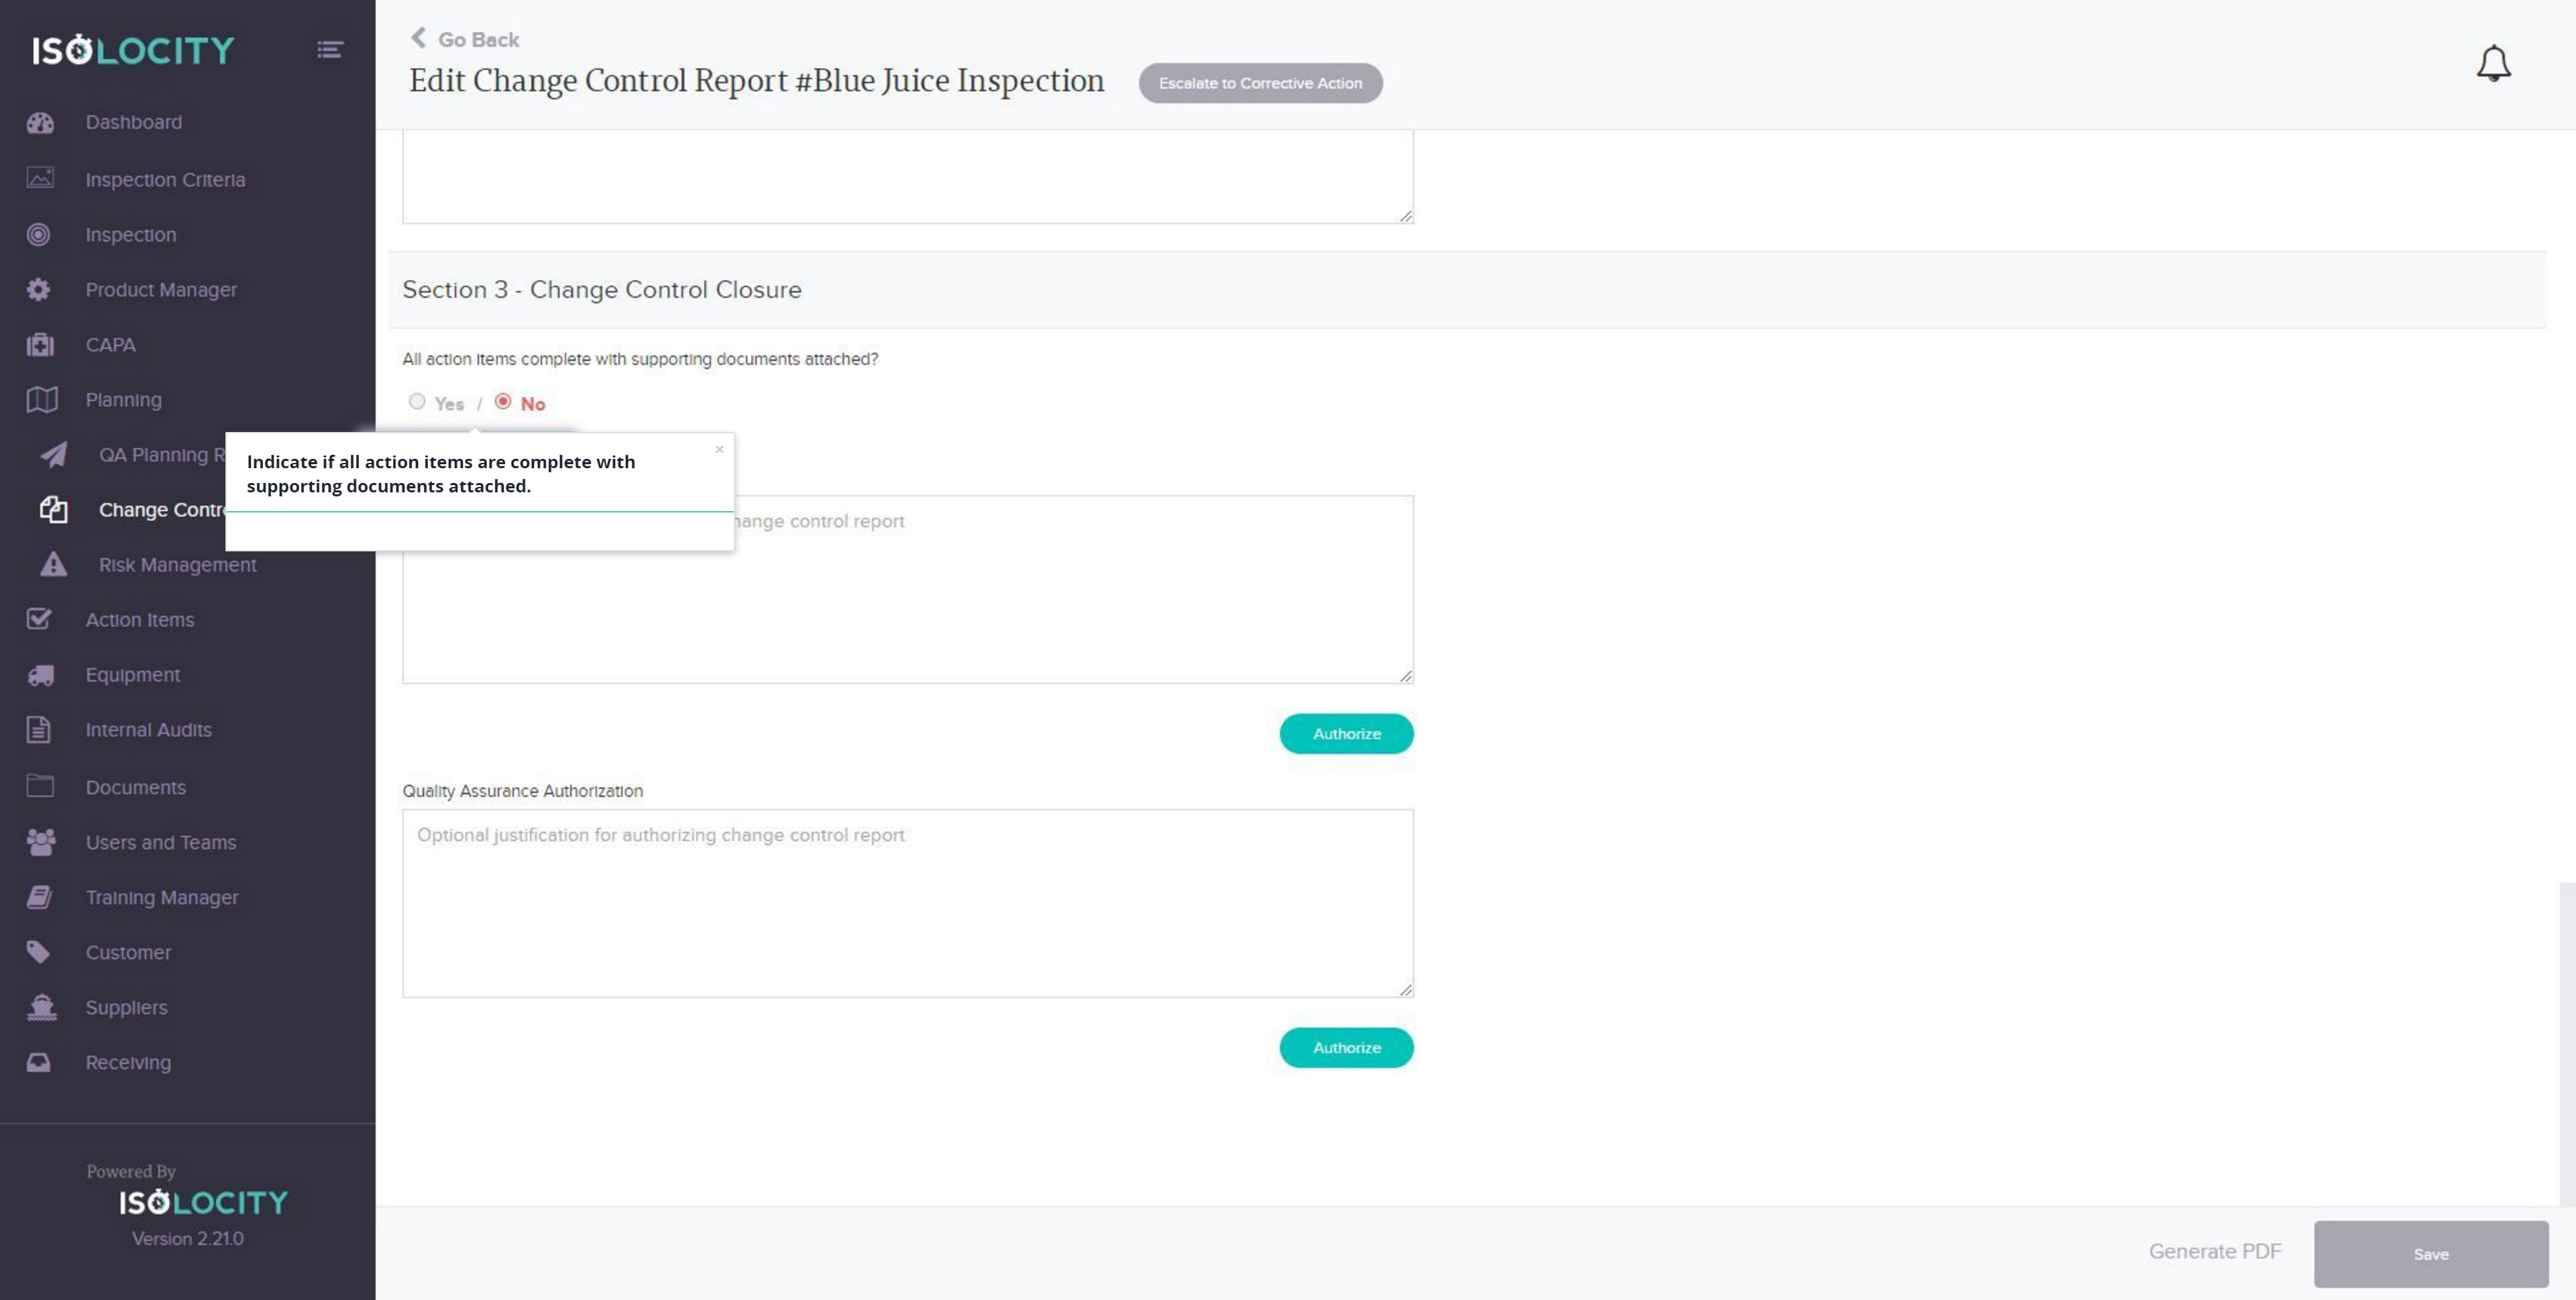
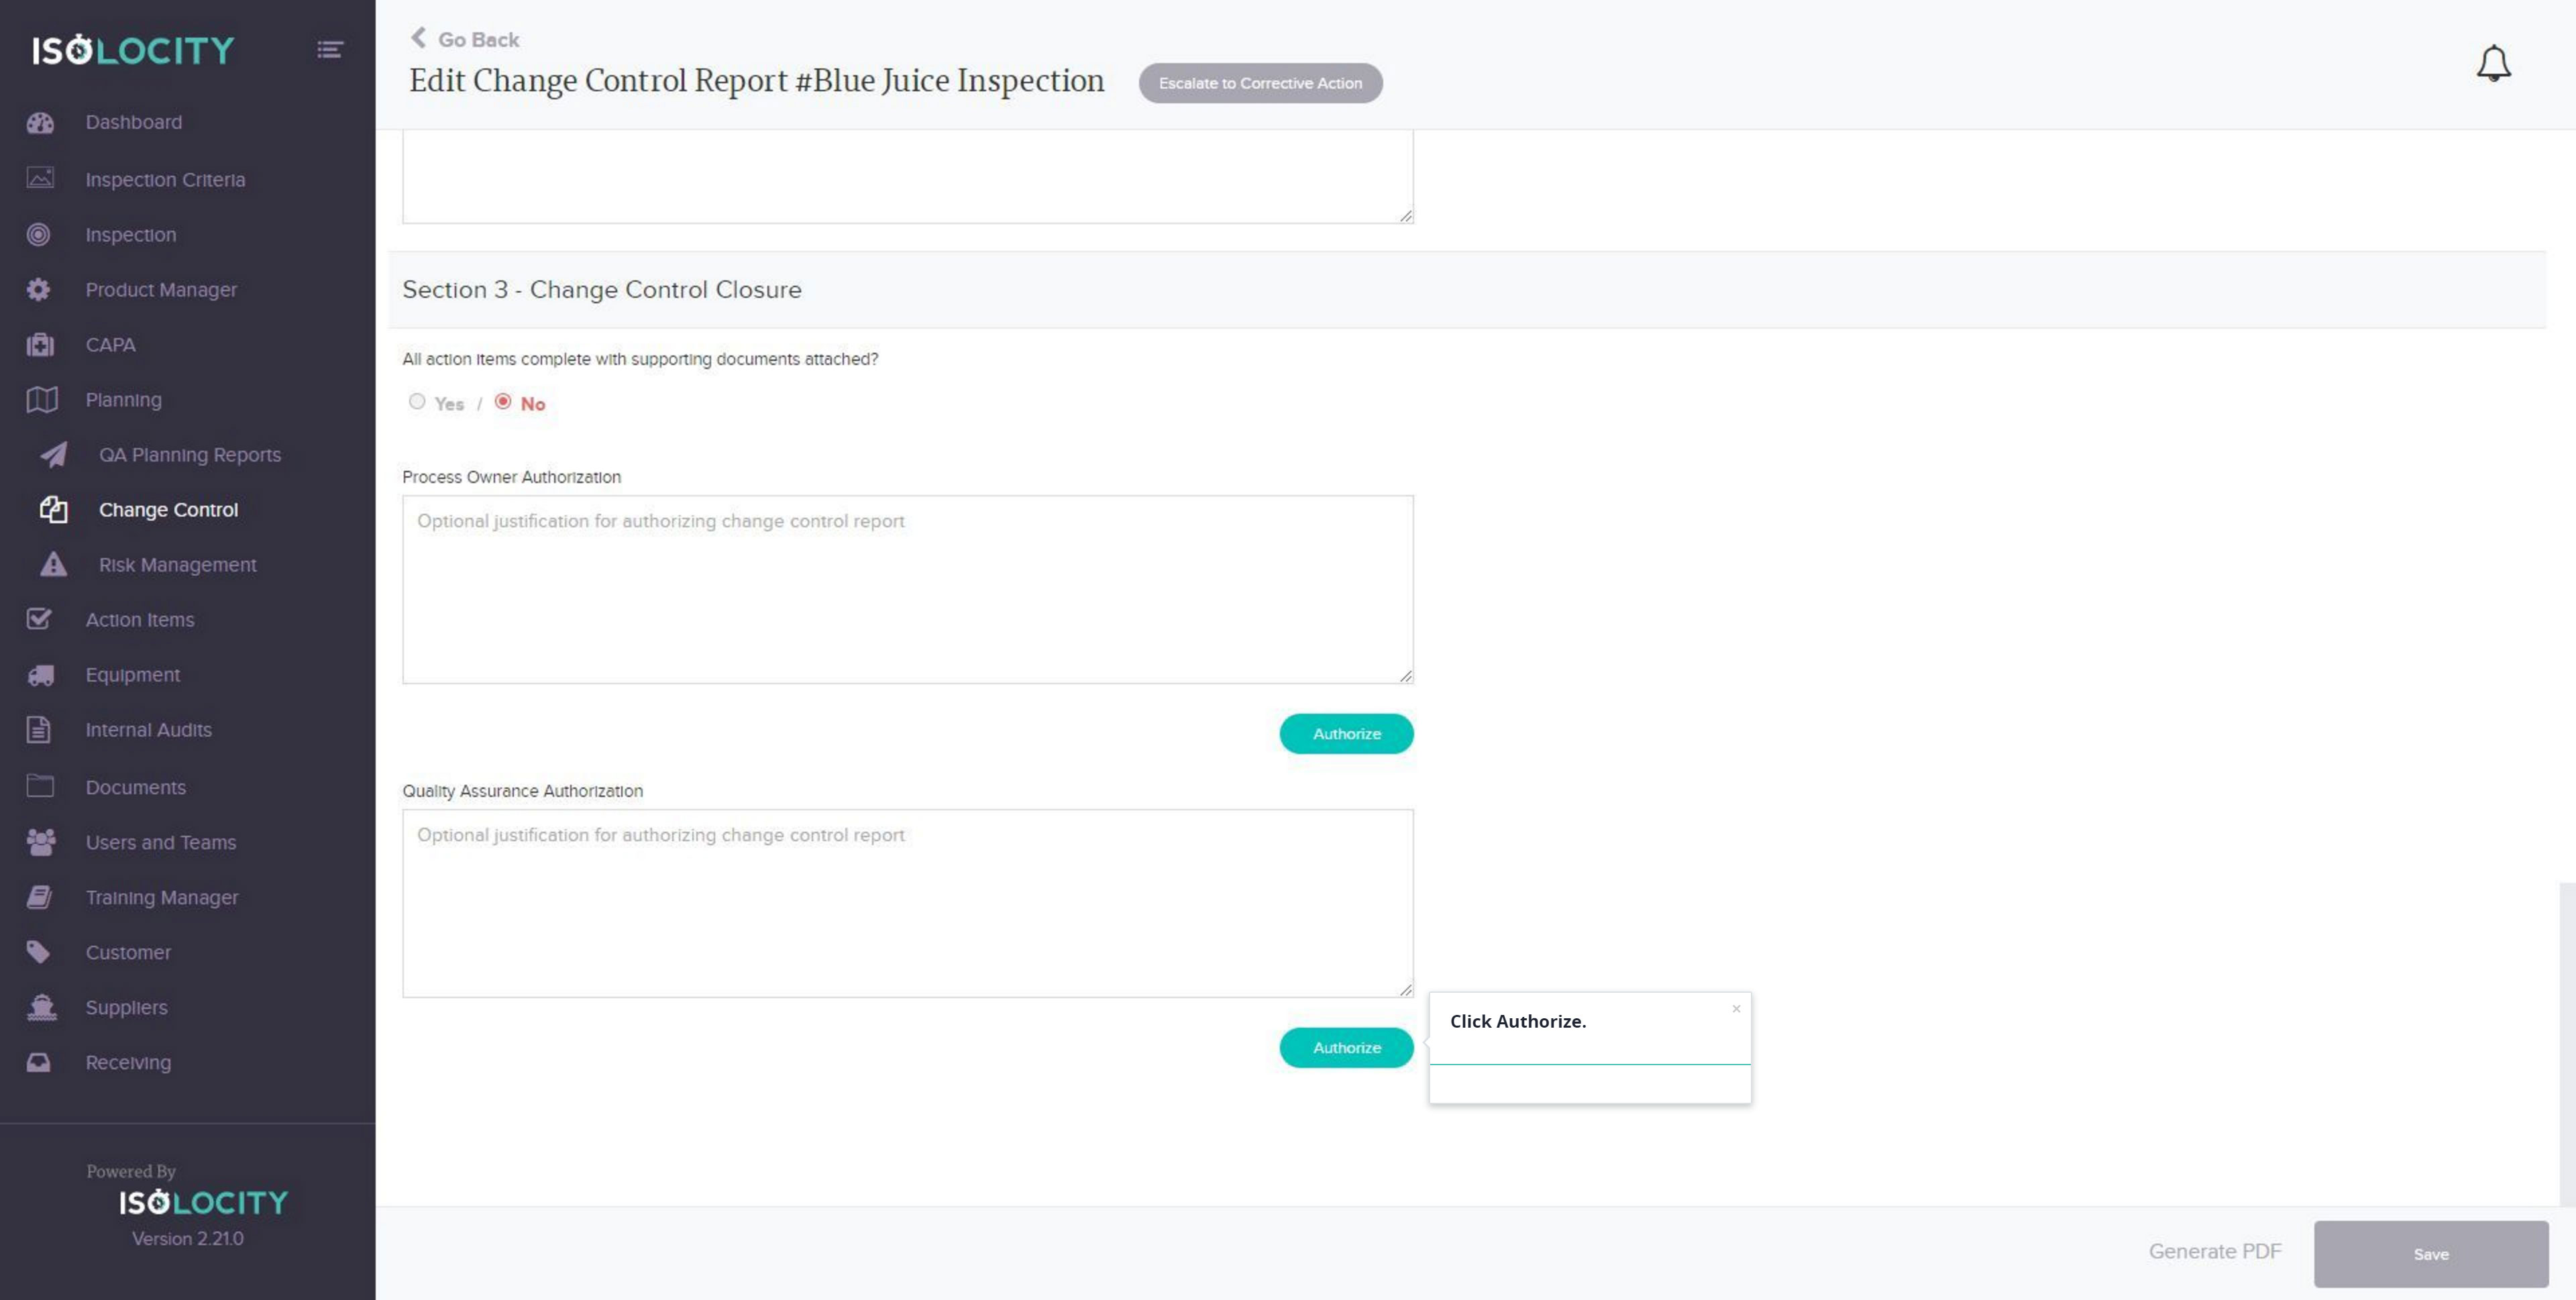
Step #23
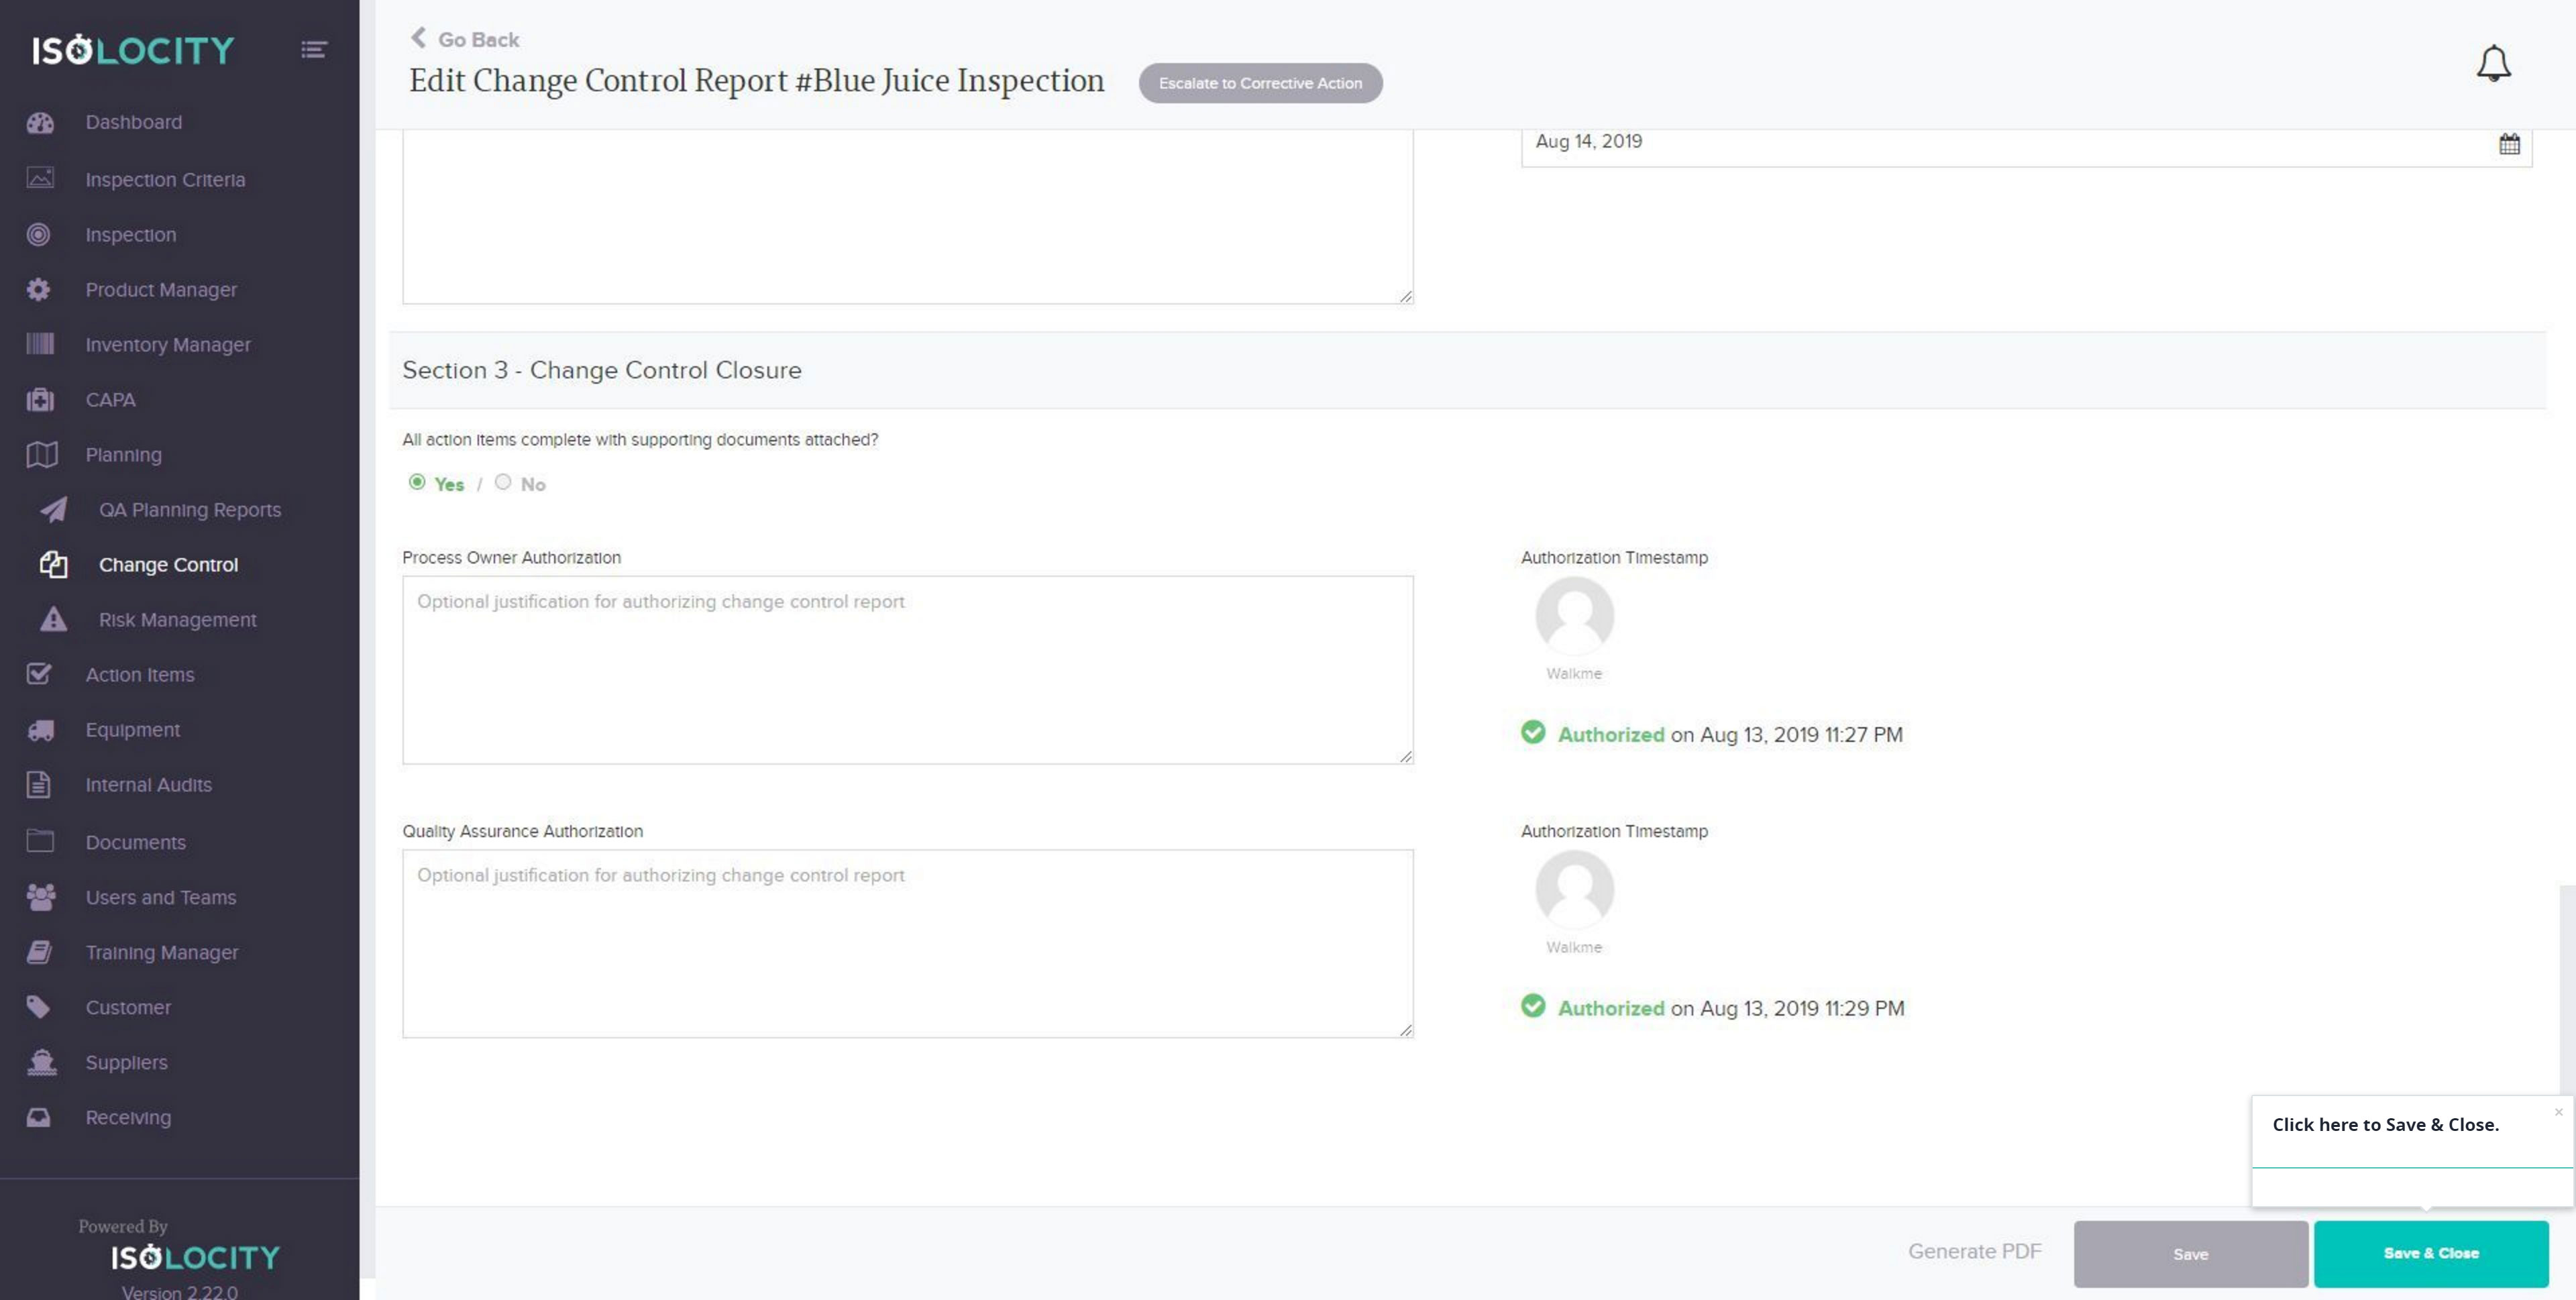
Indicate if all action items are complete with supporting documents attached.
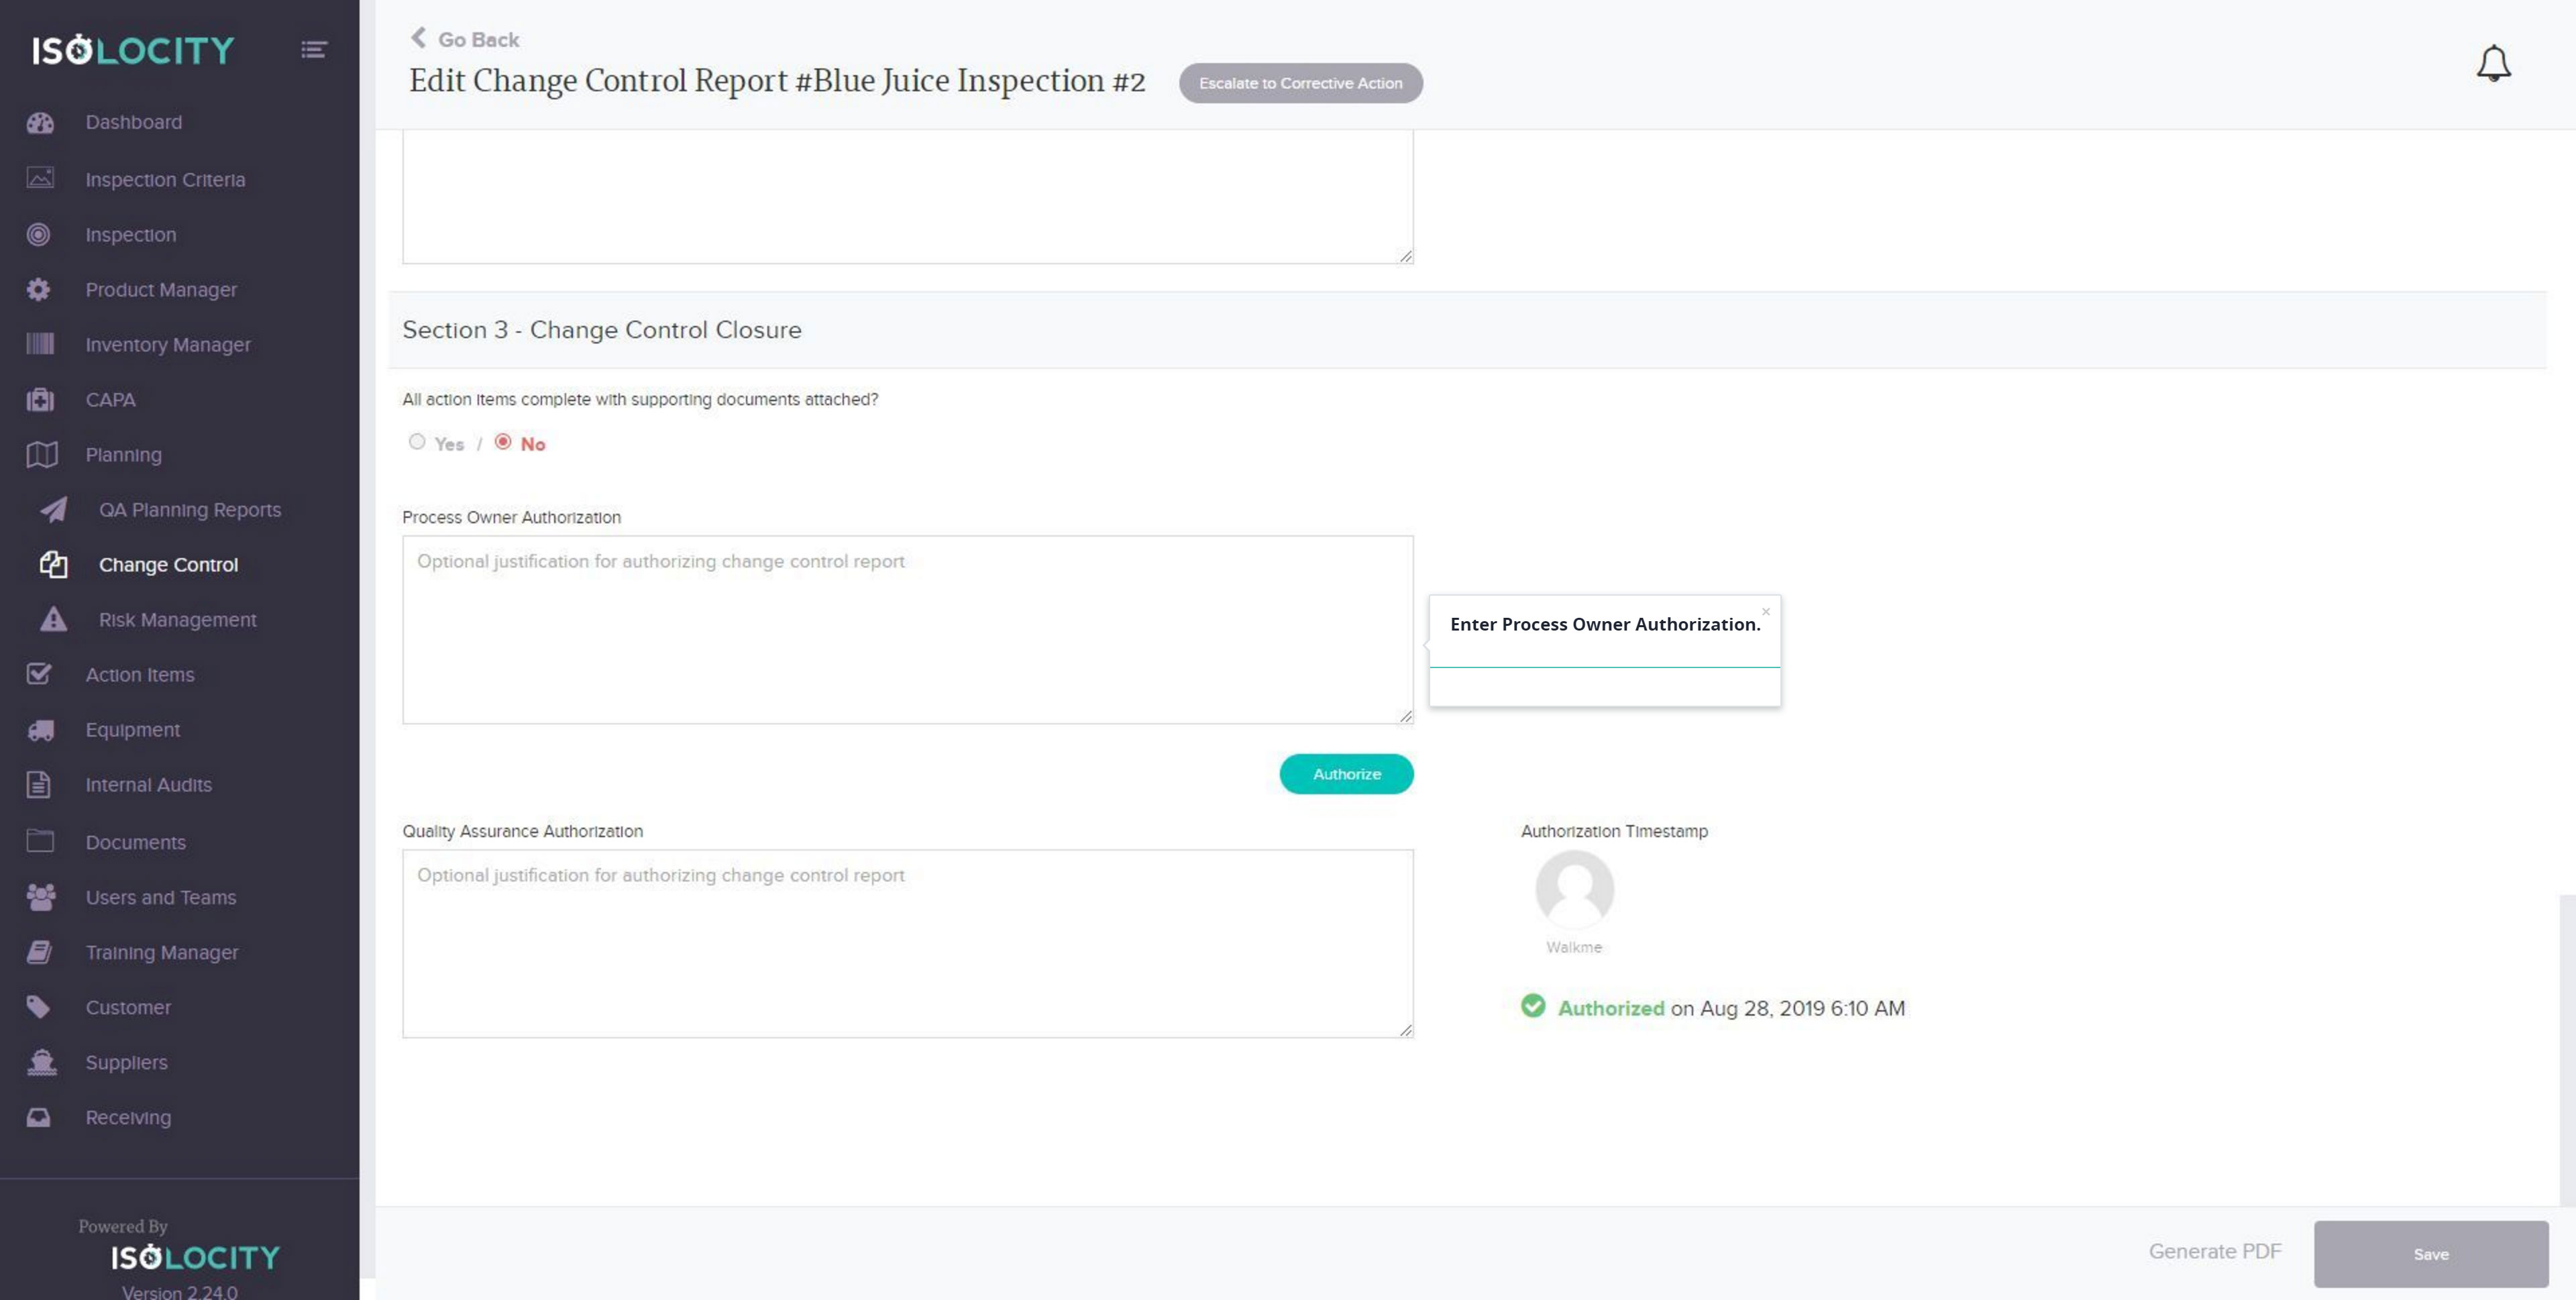
Step #24
Enter Process Owner Authorization.
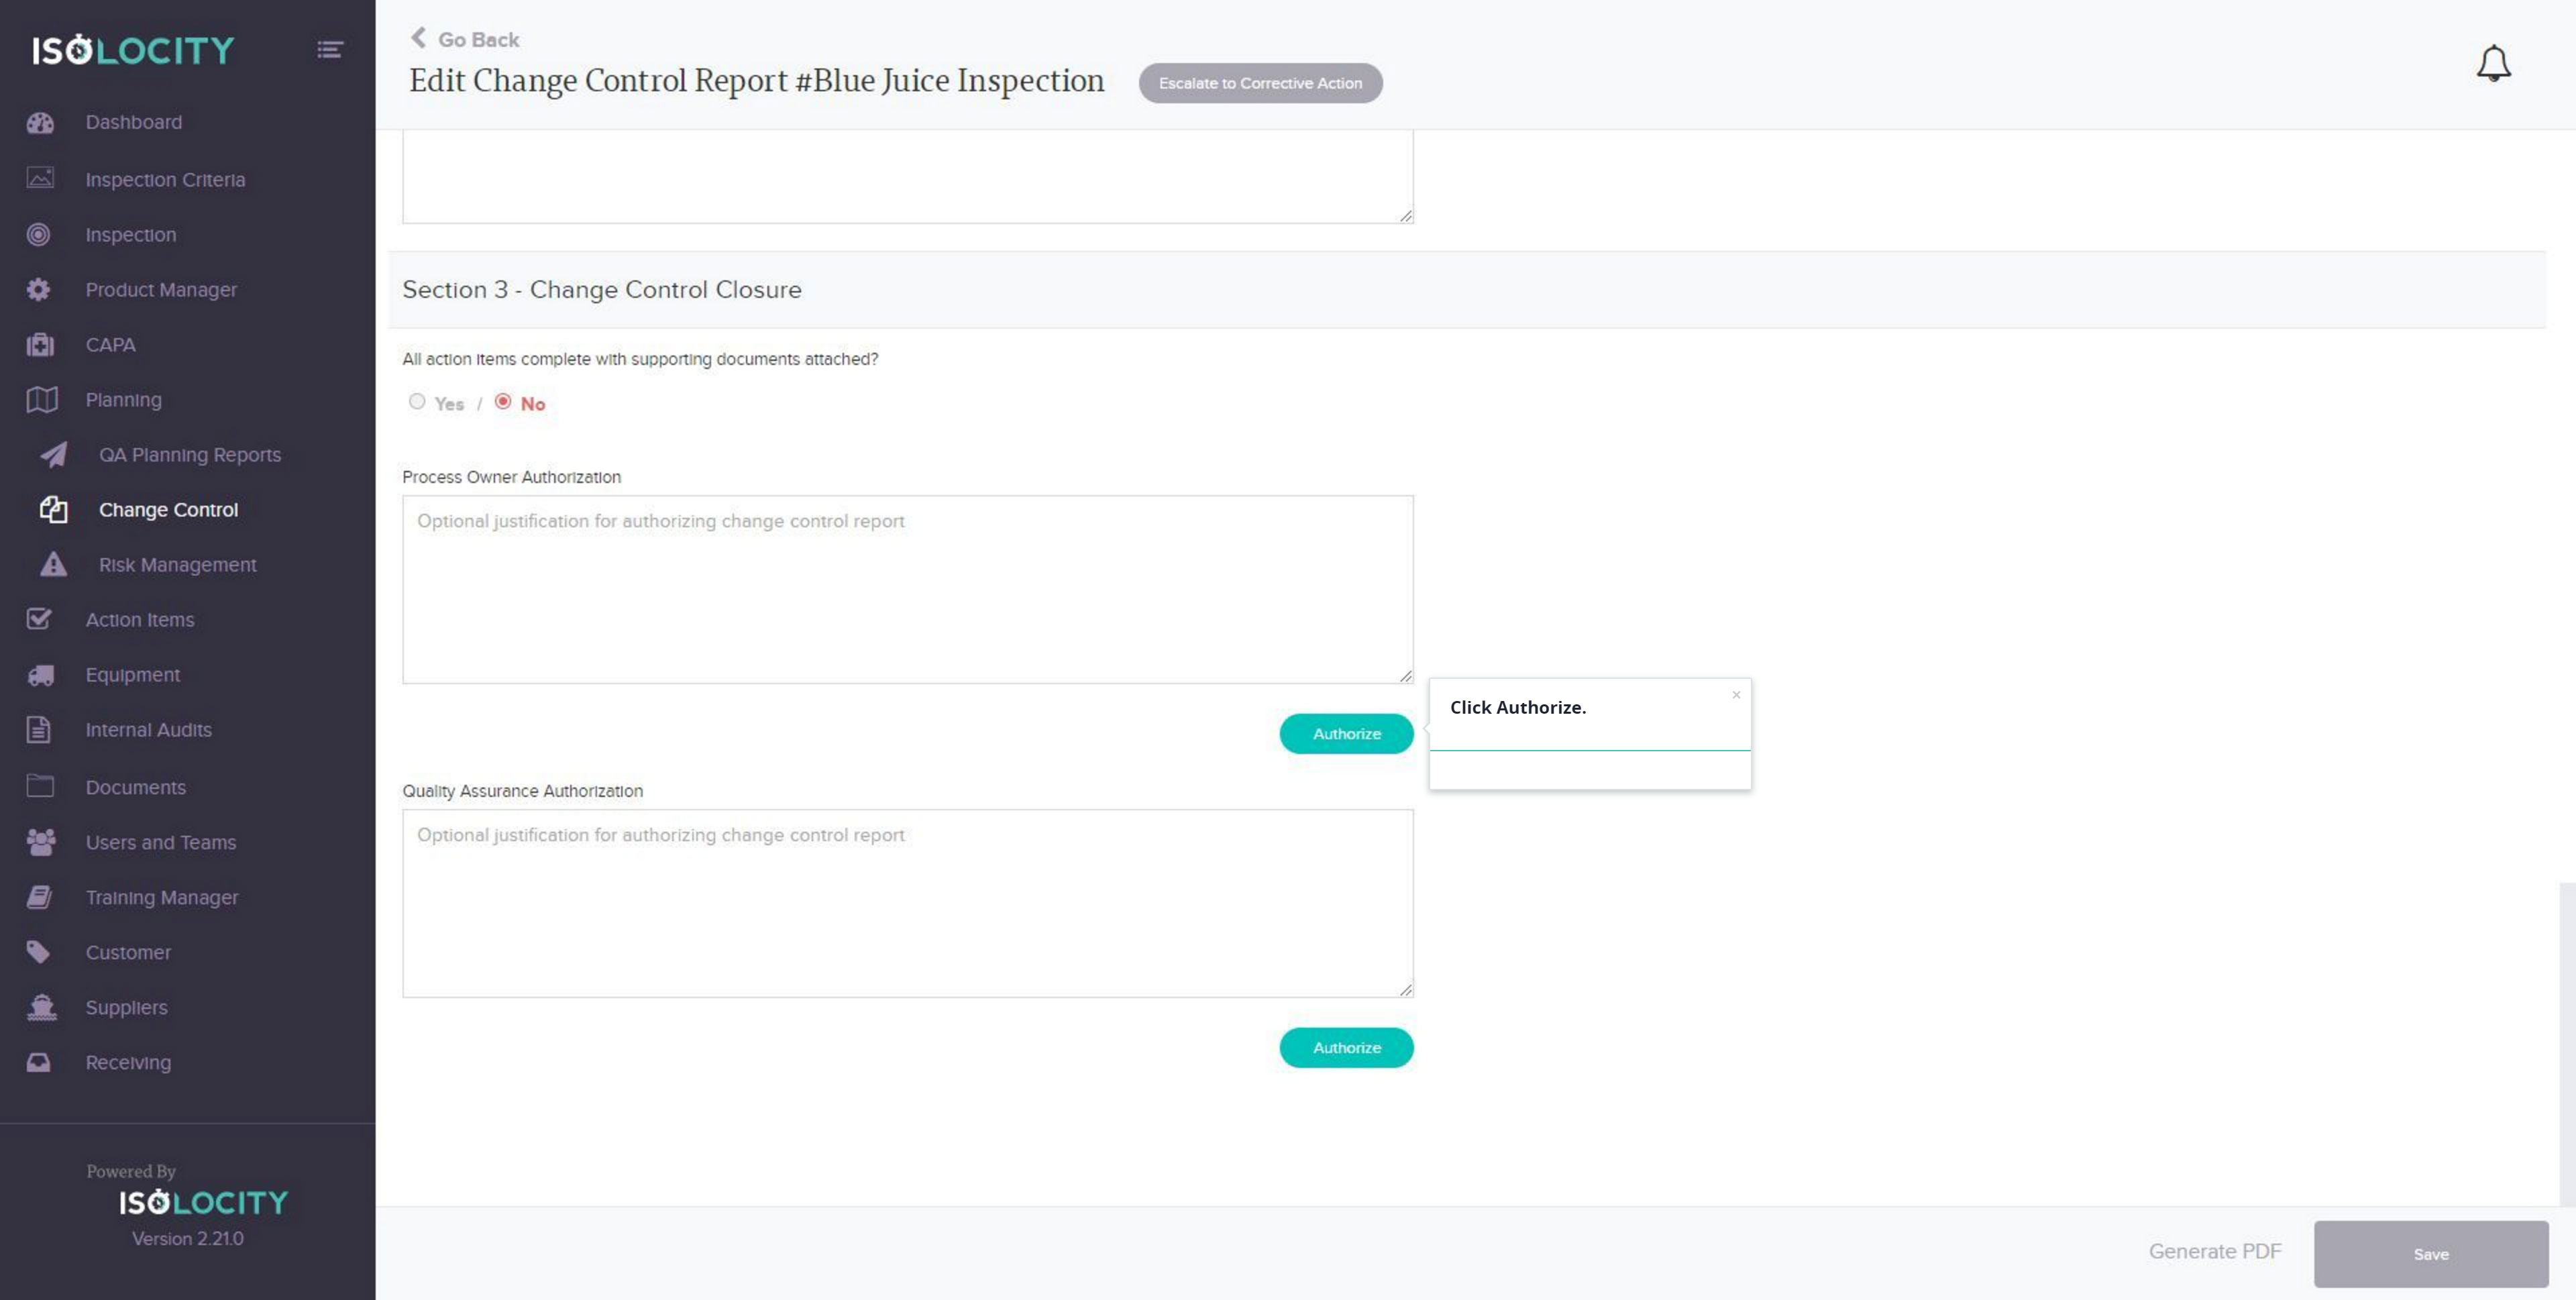
Step #25
Click Authorize.
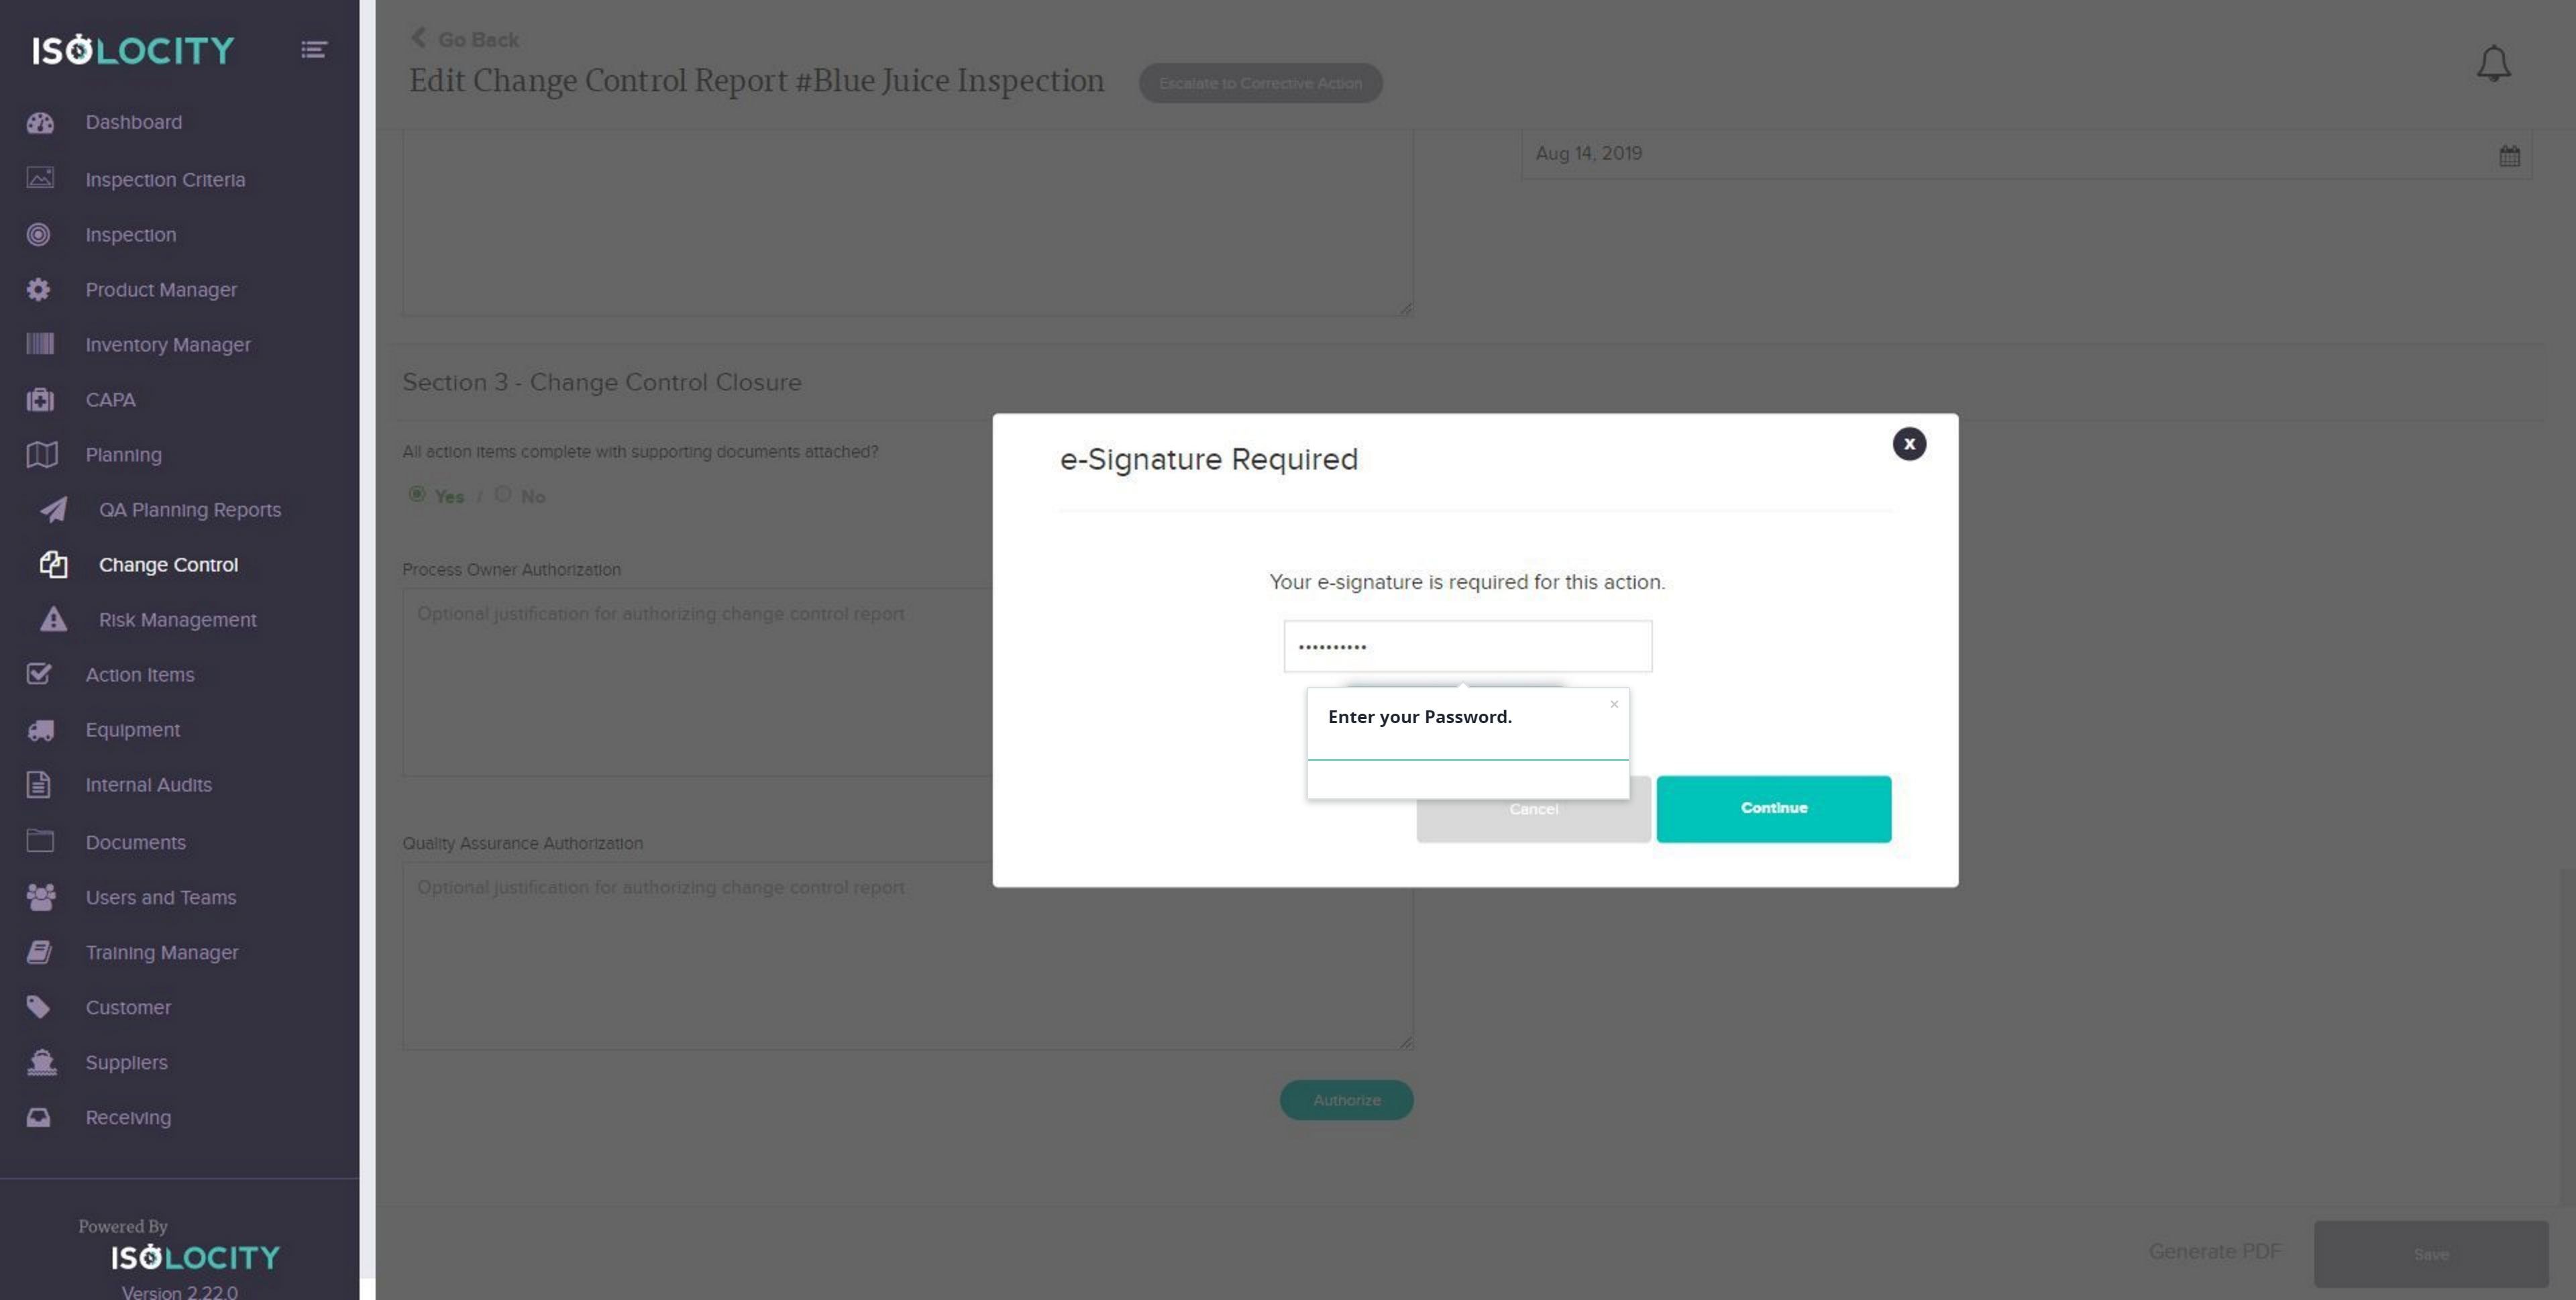
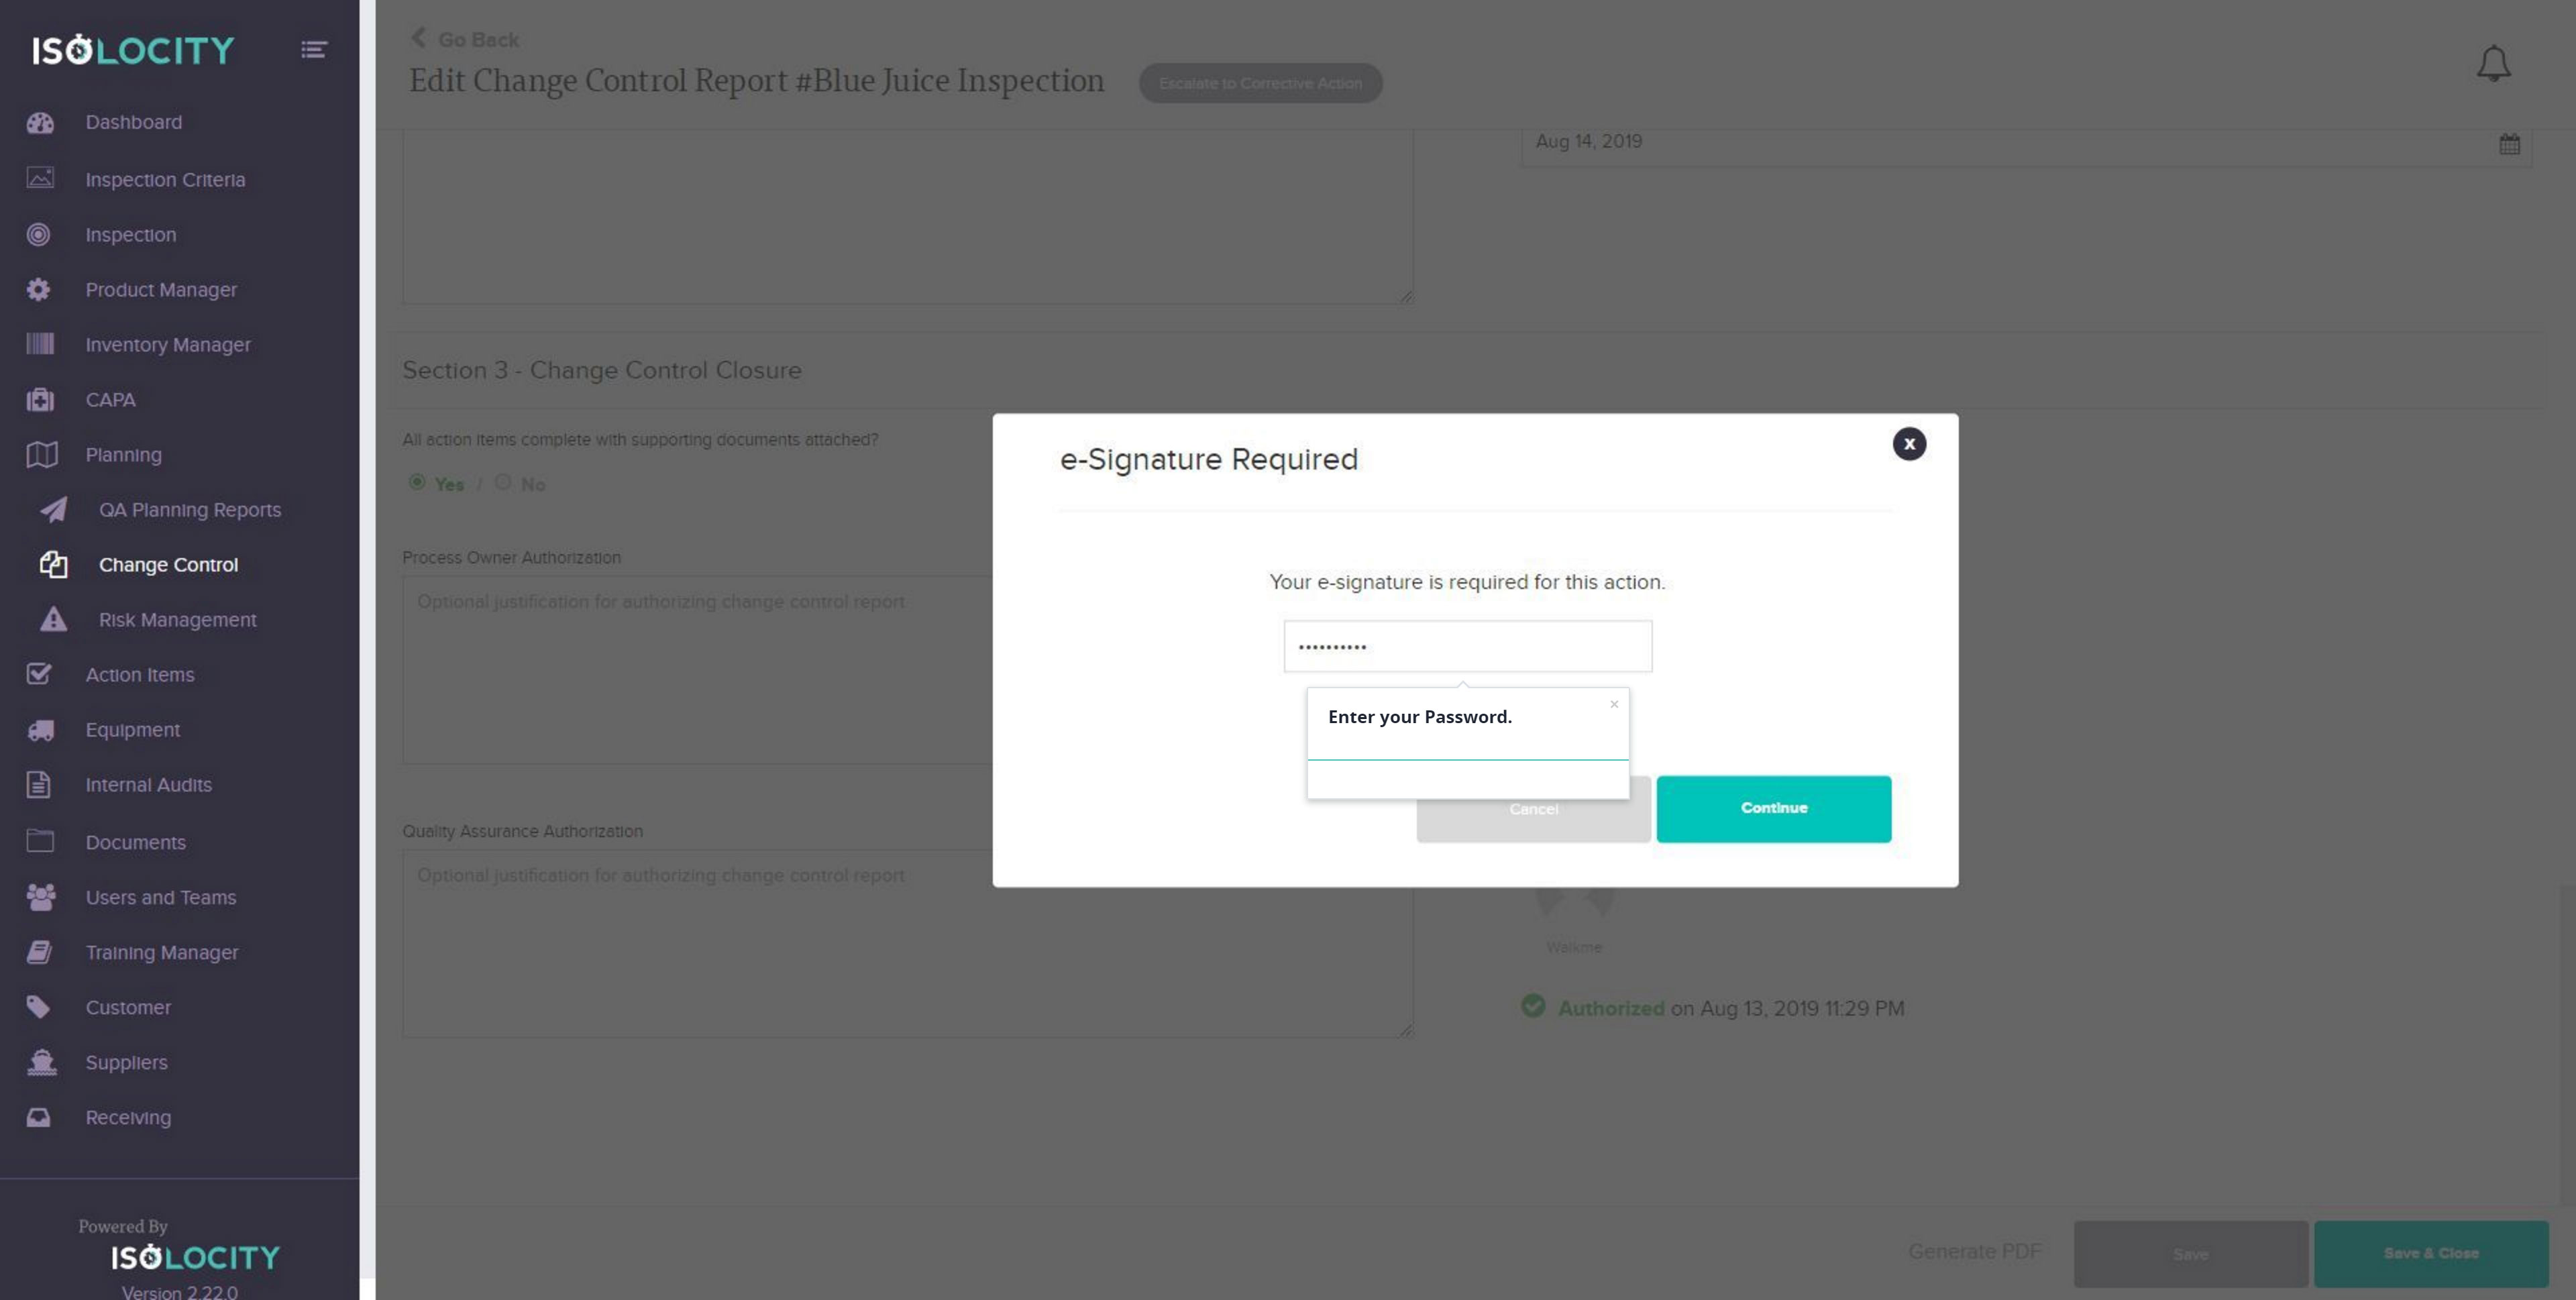
Step #26
Enter your Password
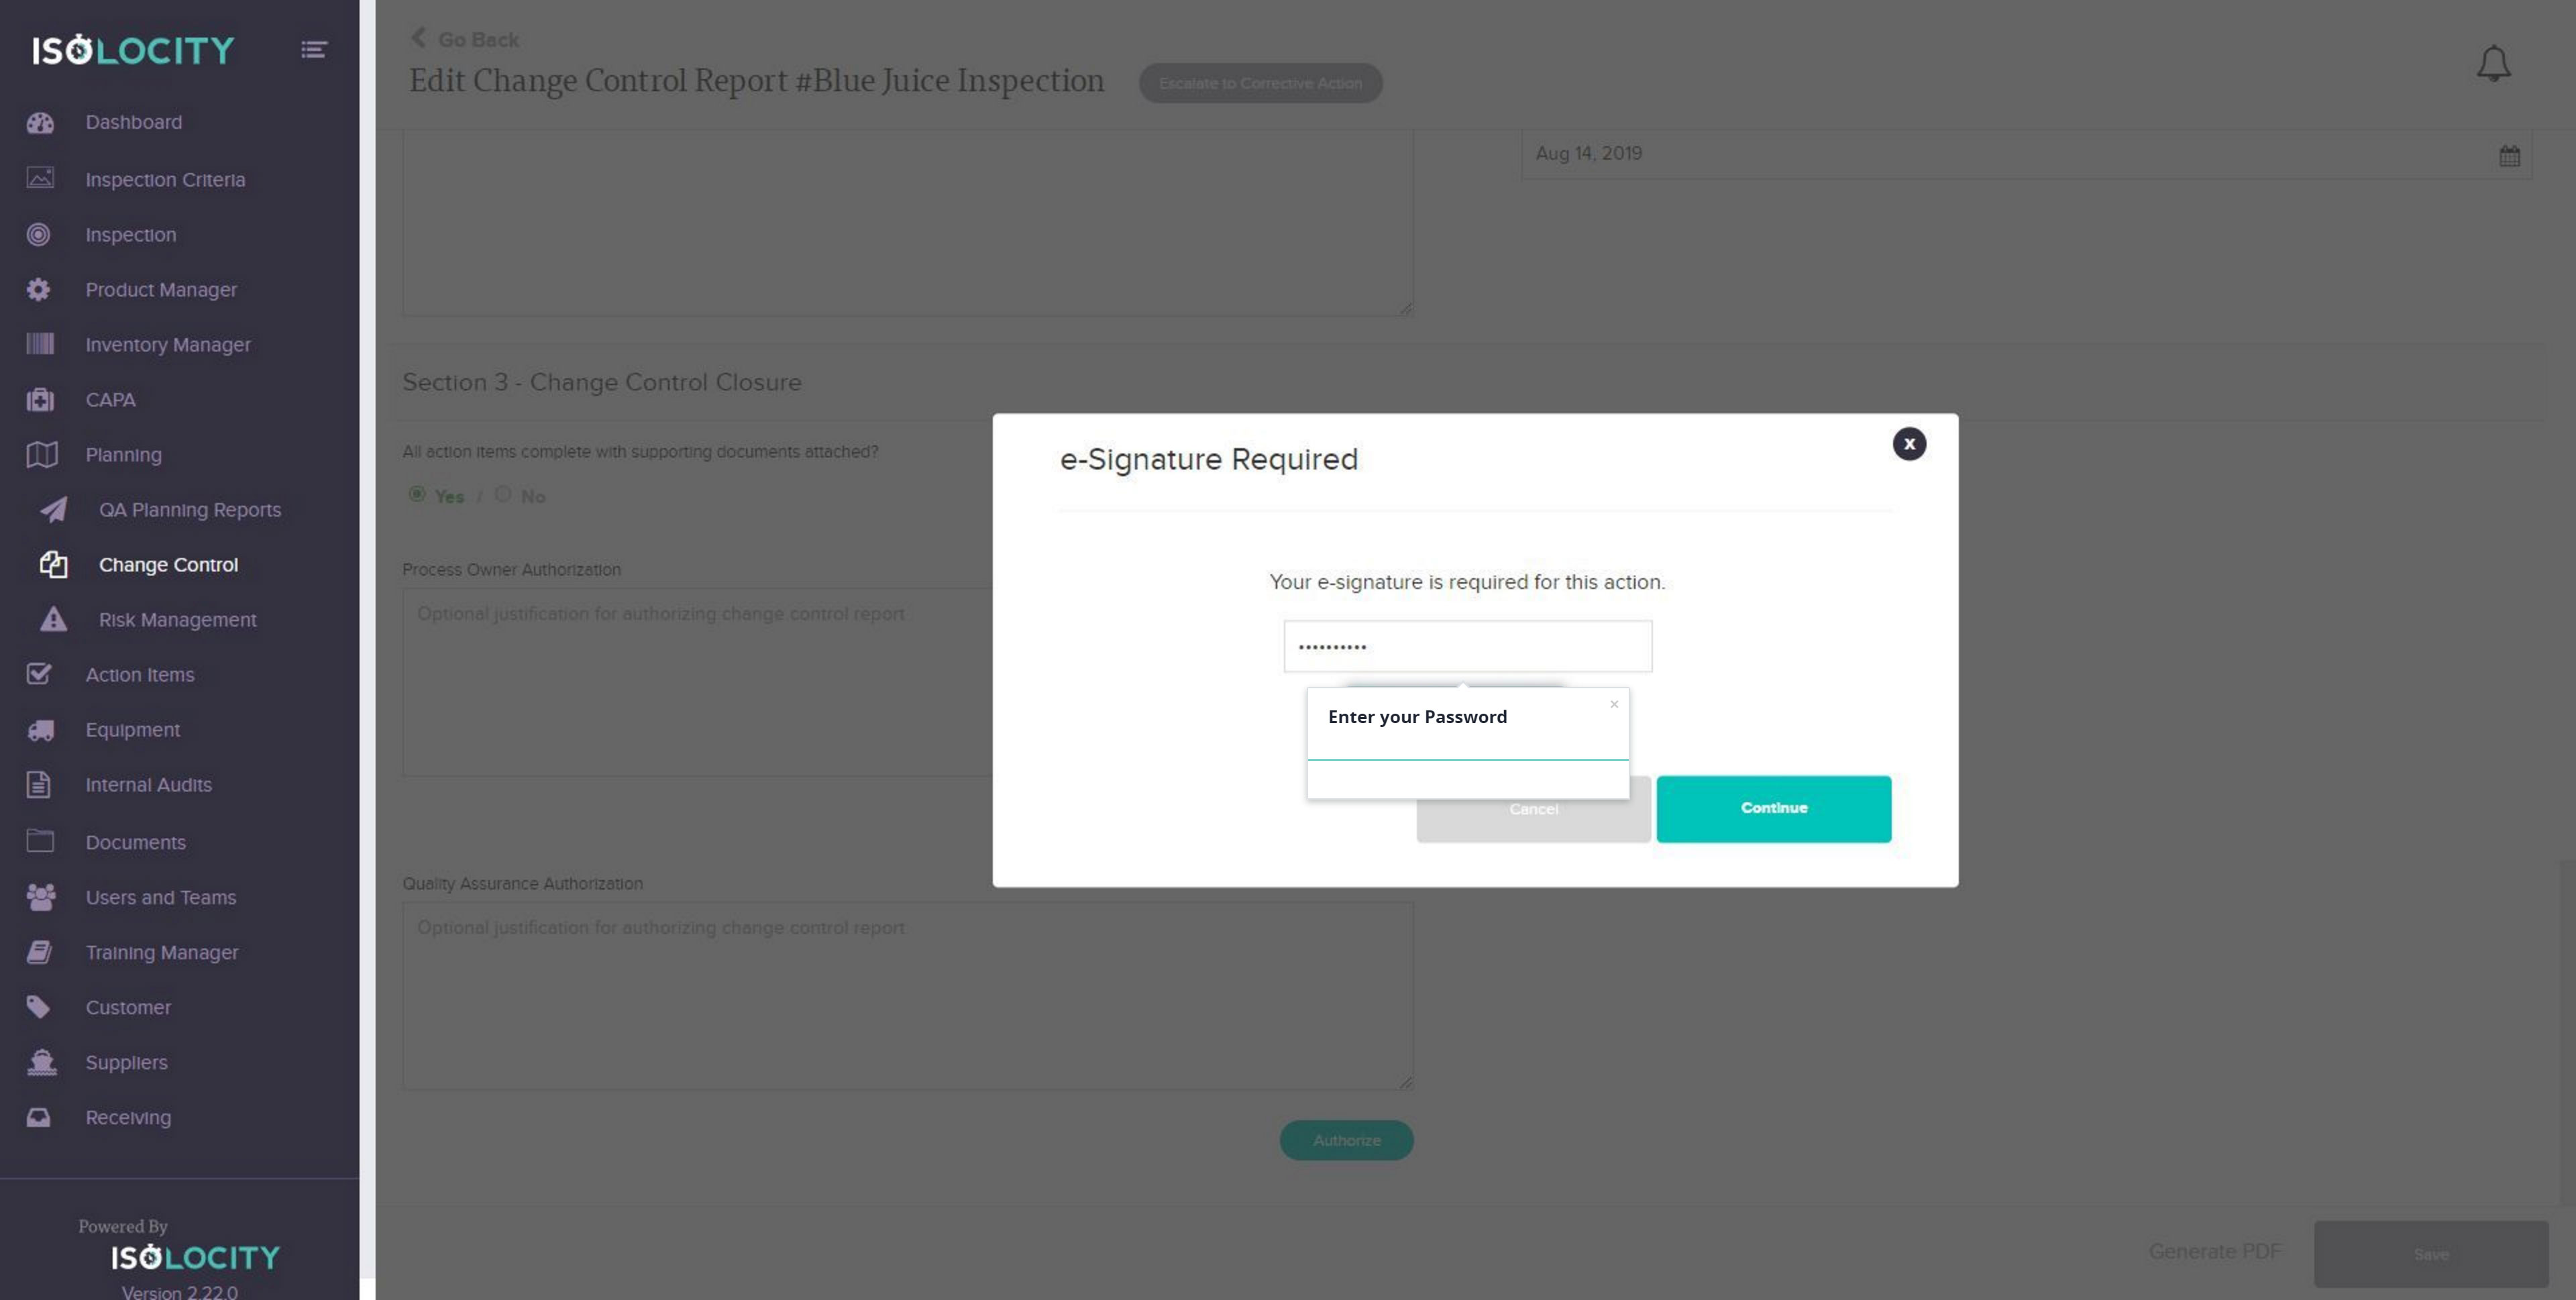
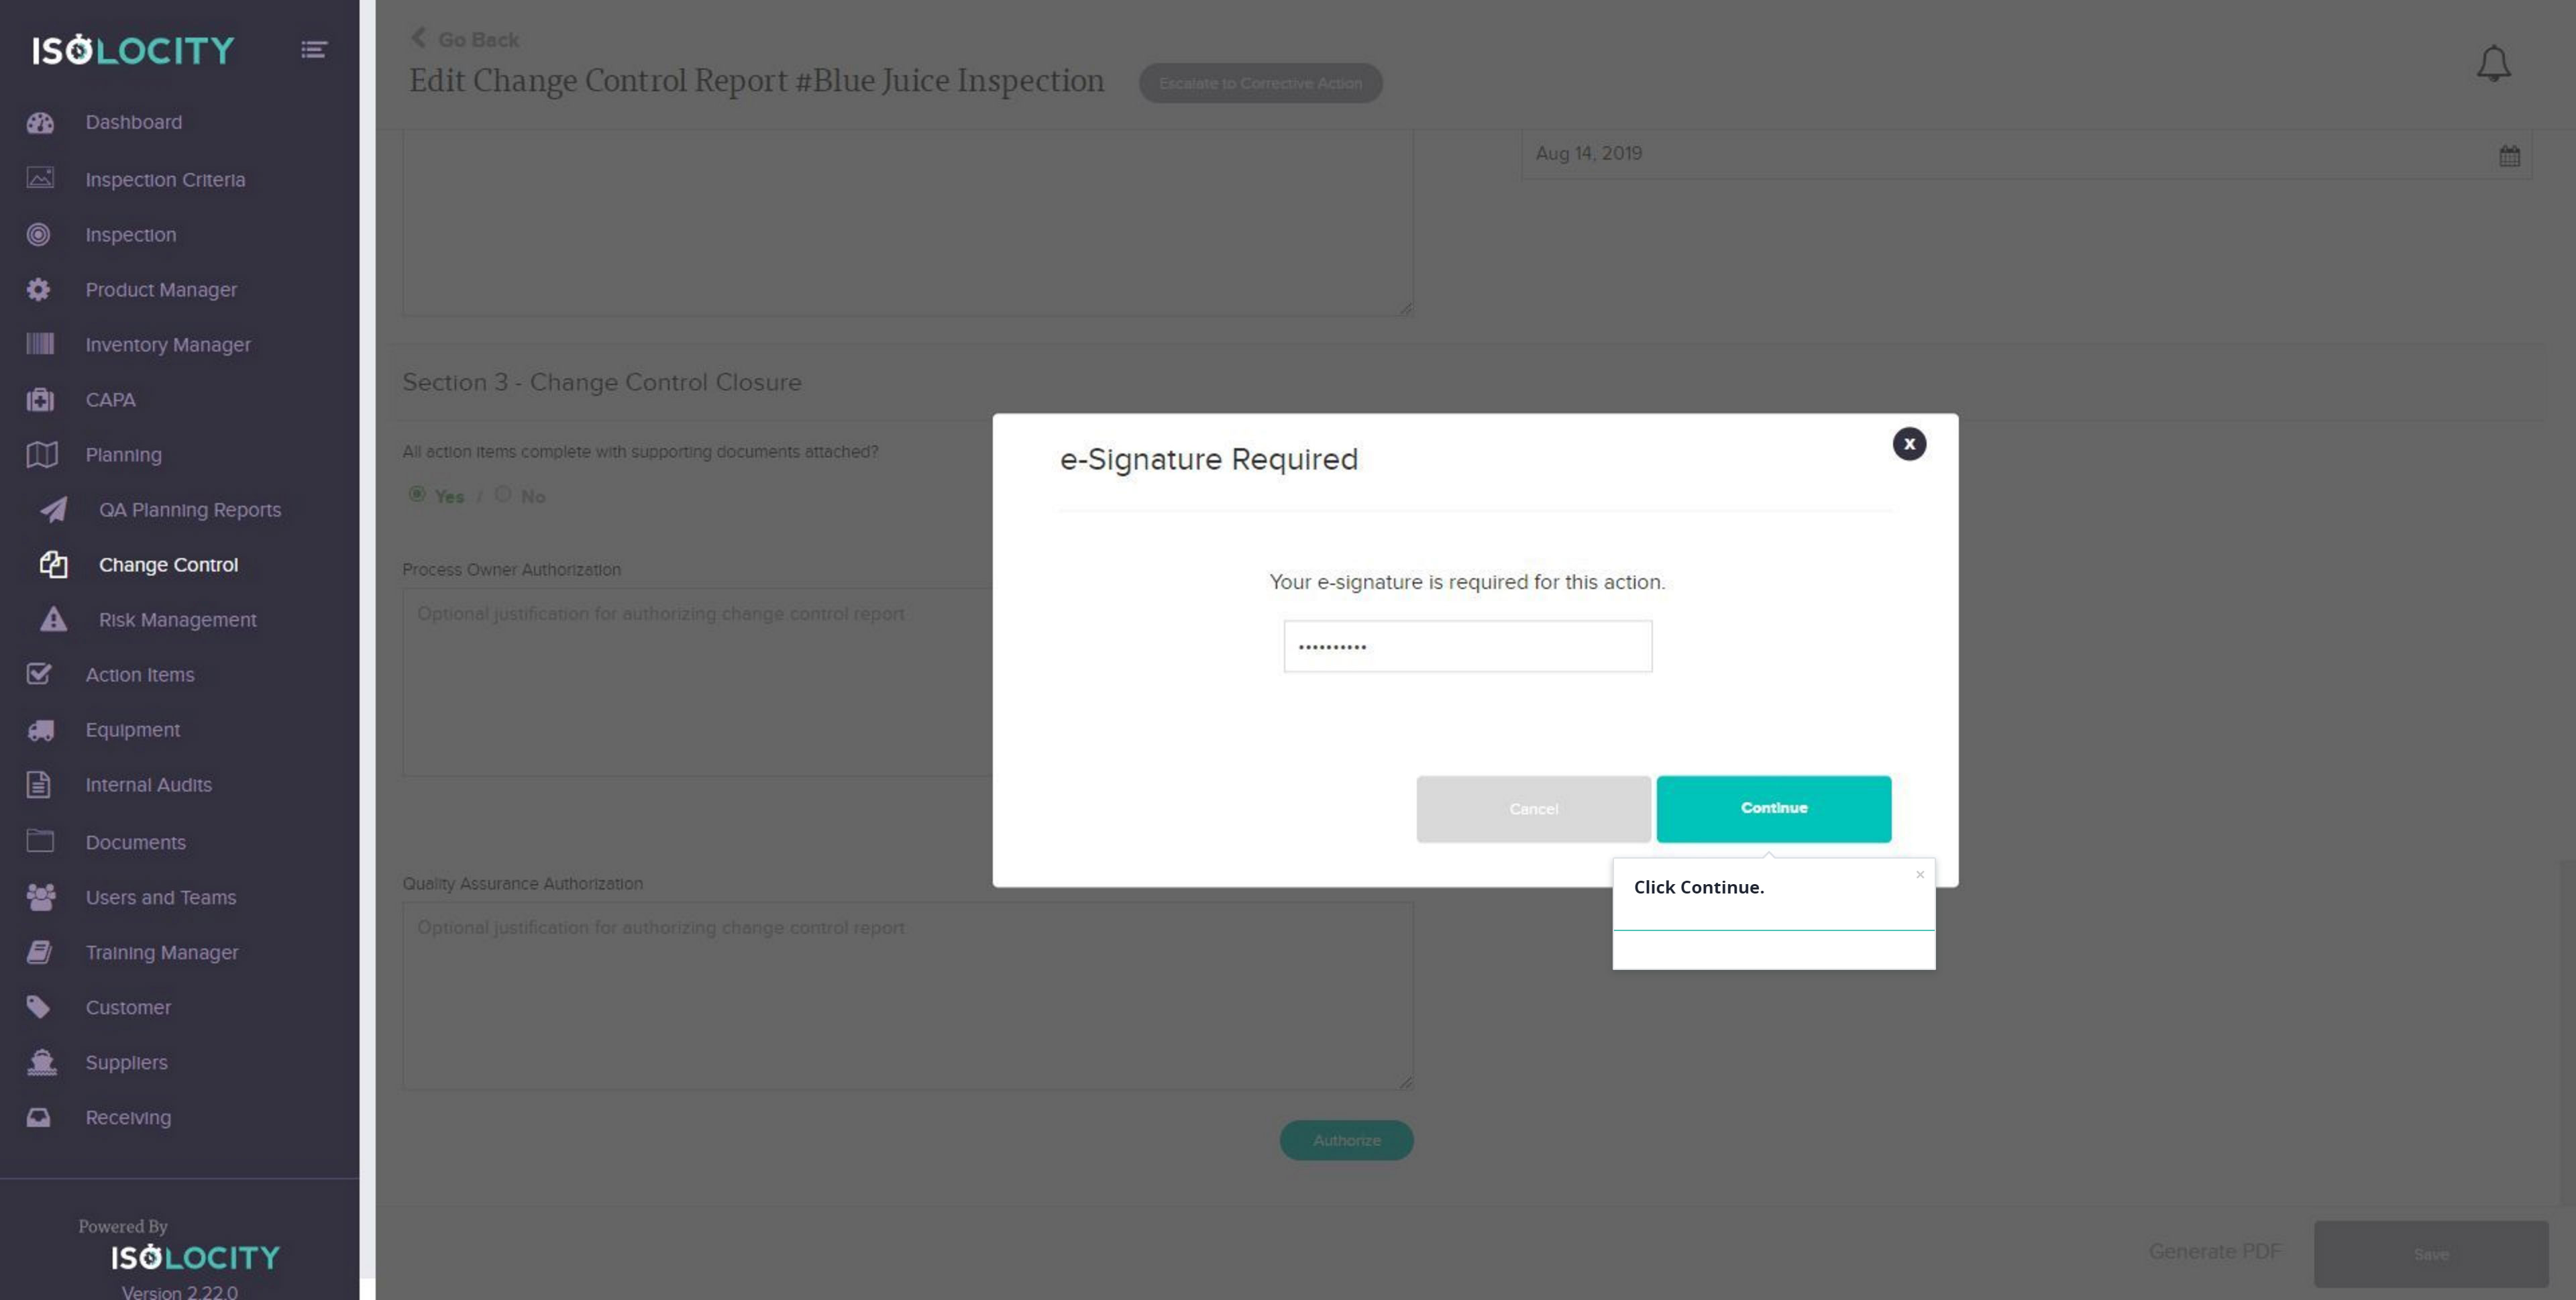
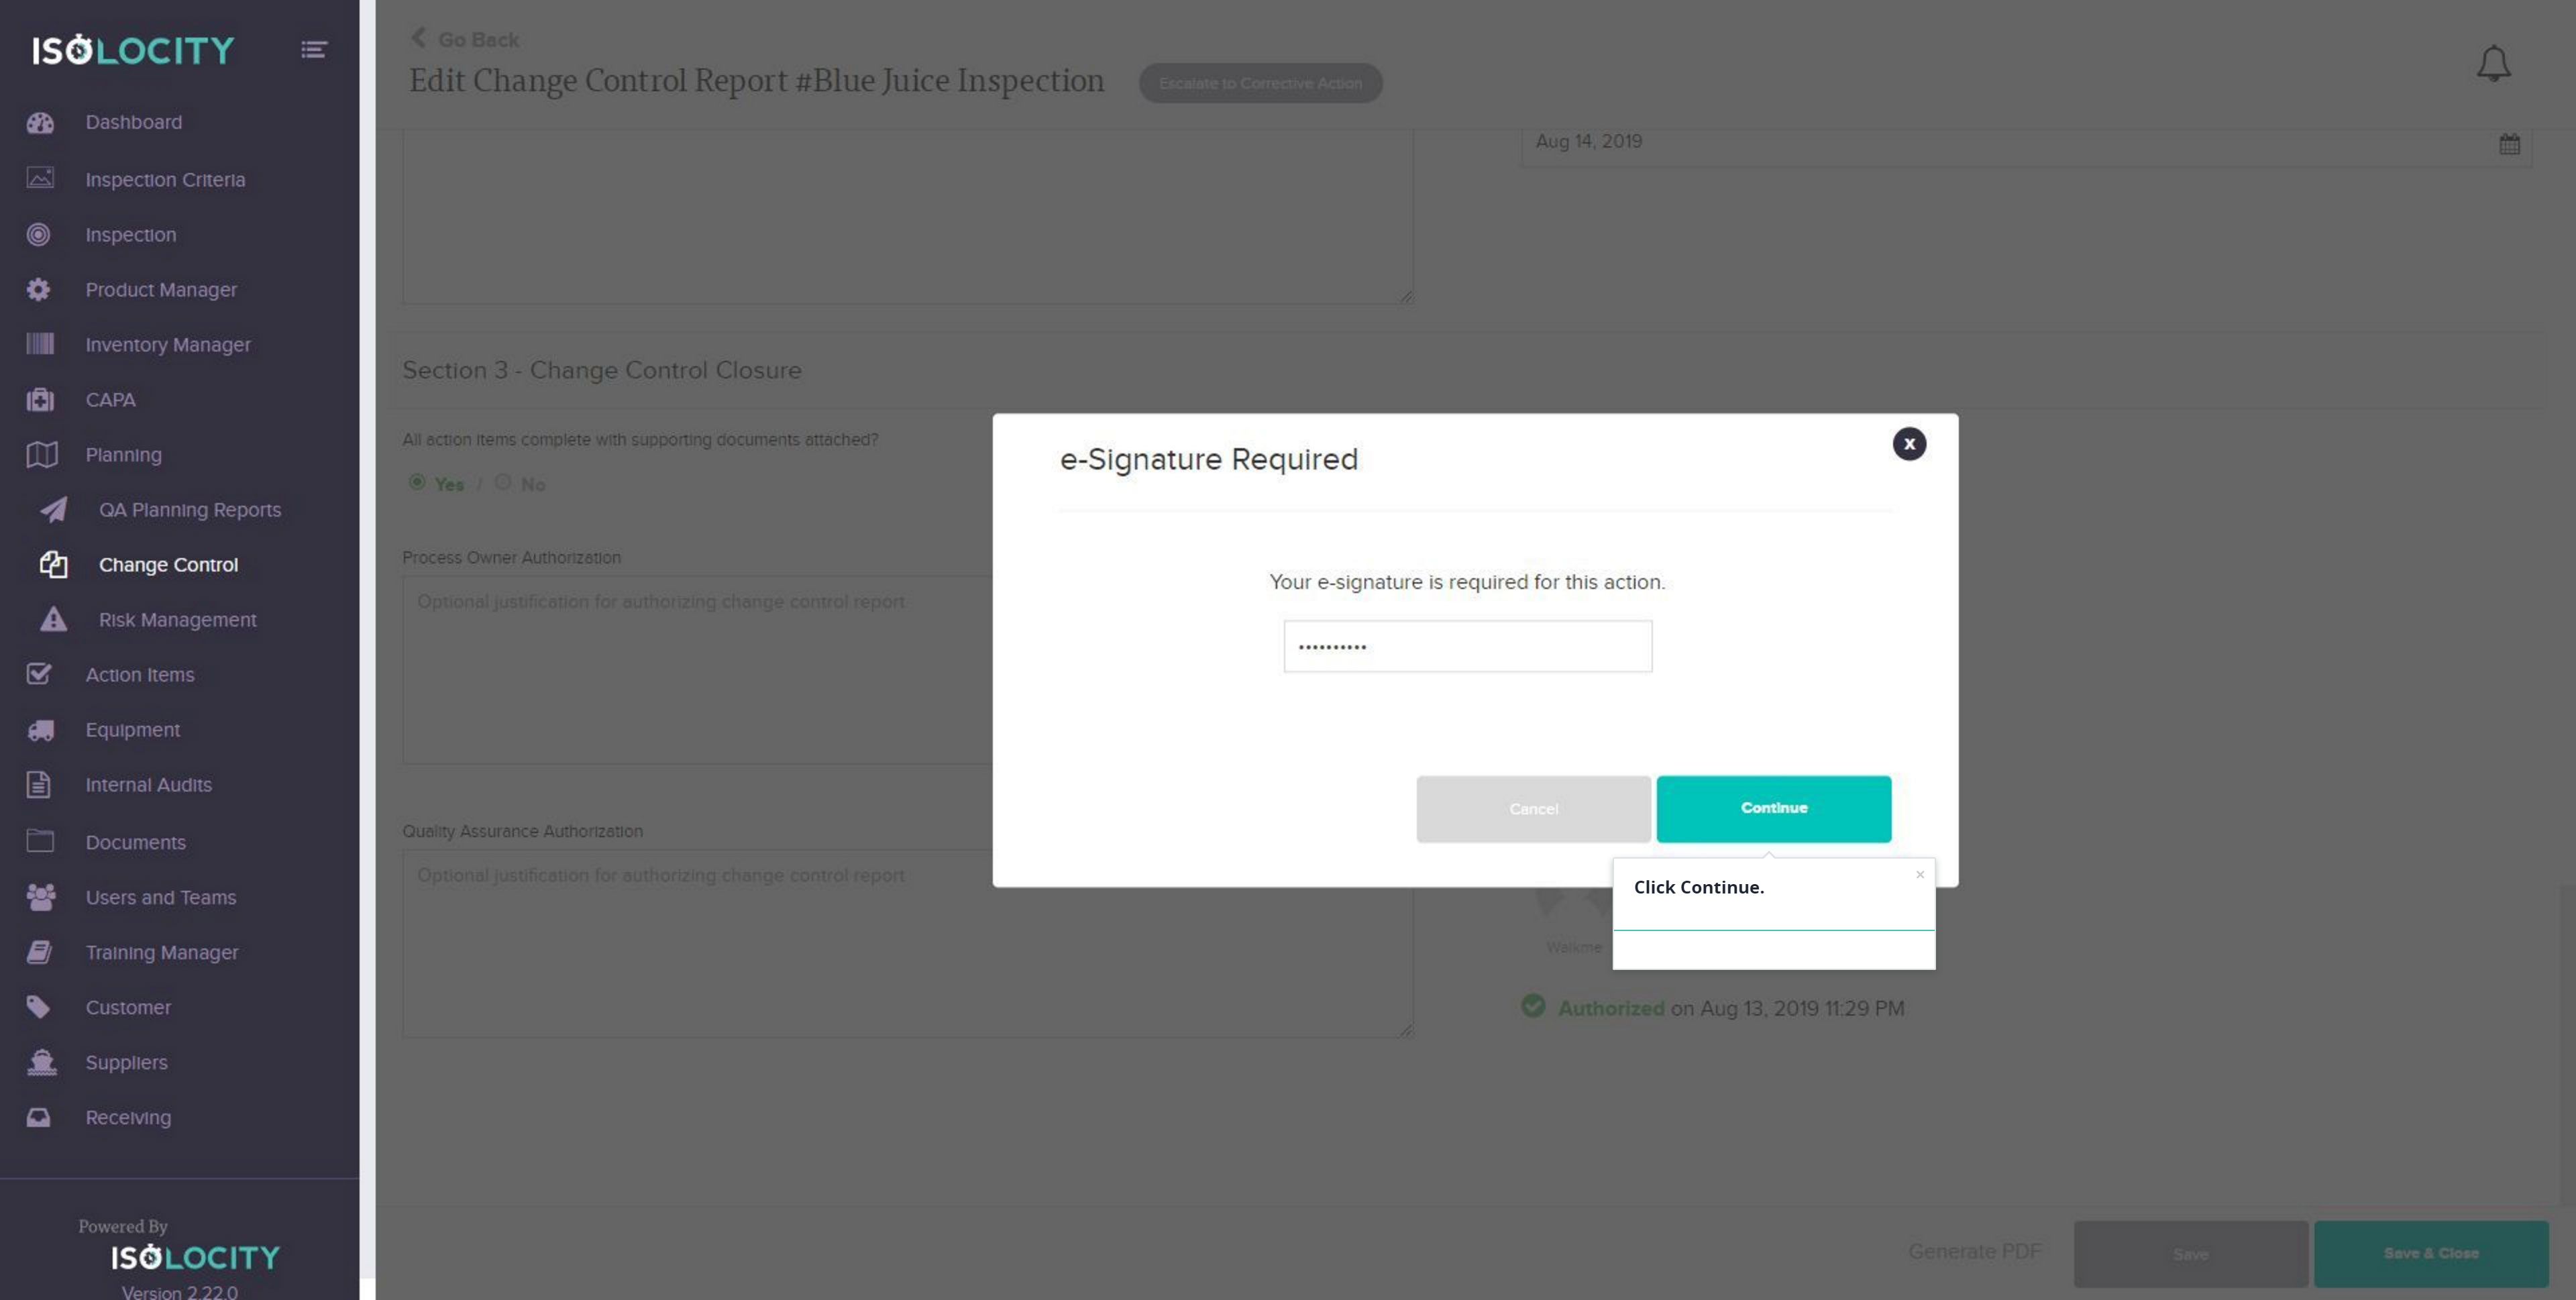
Step #27
Click Continue.
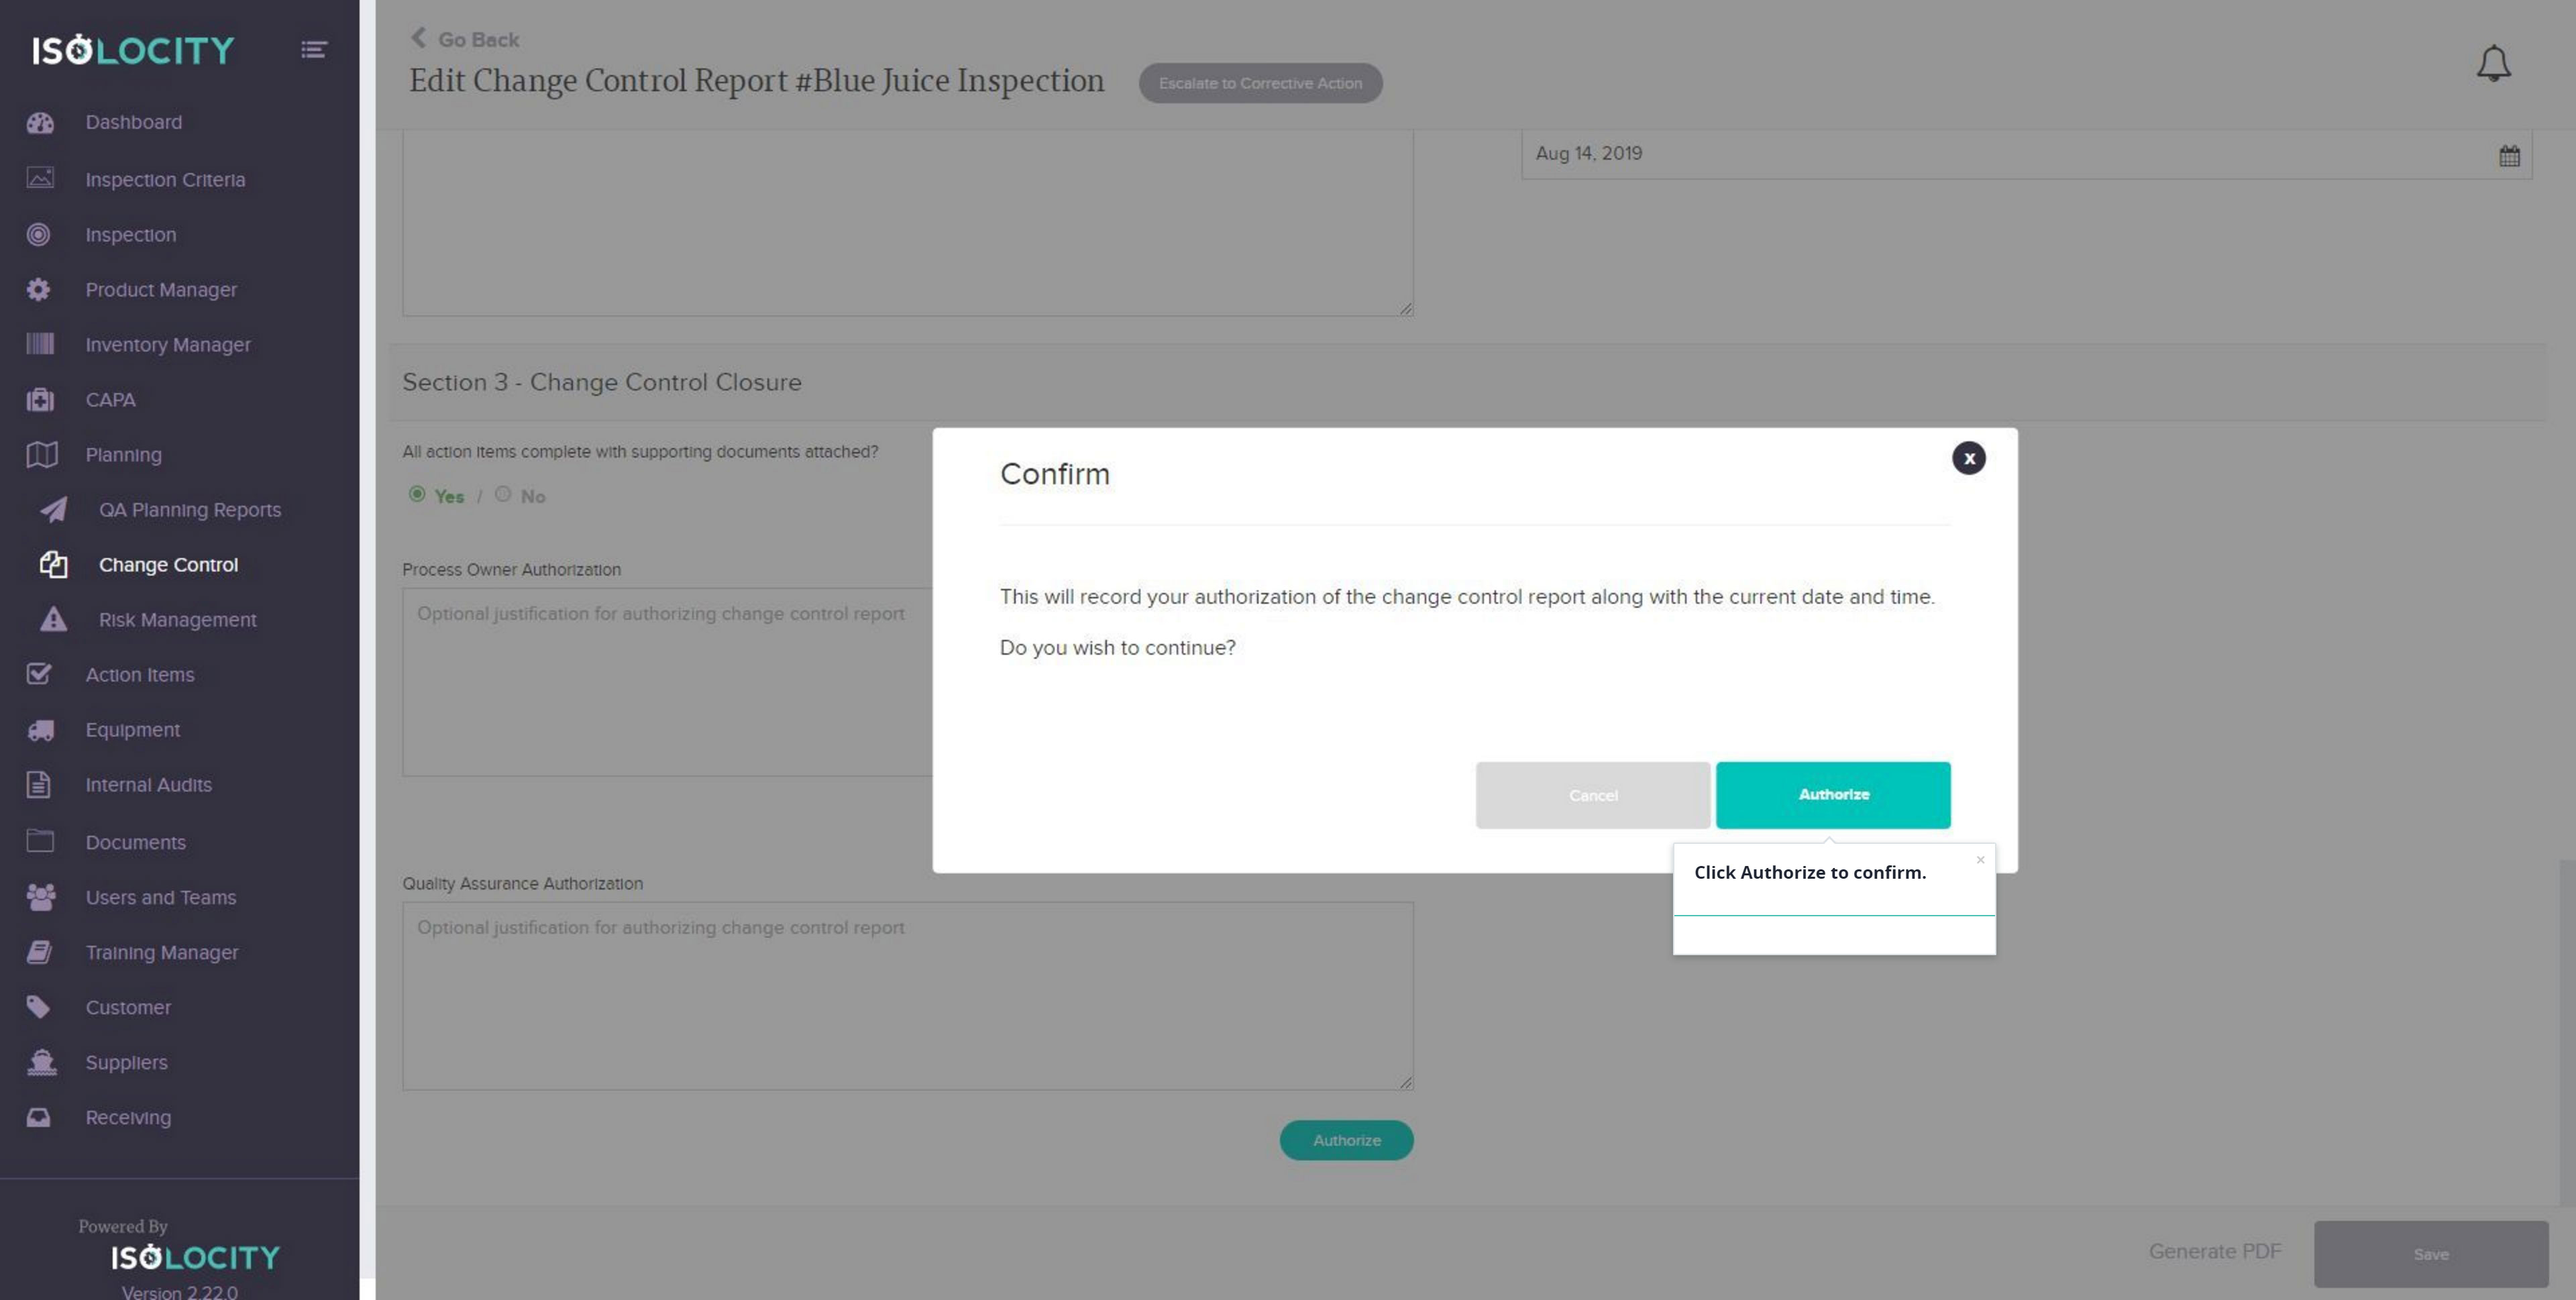
Step #28
Click Authorize to confirm.
Step #29
Enter Quality Assurance Authorization.
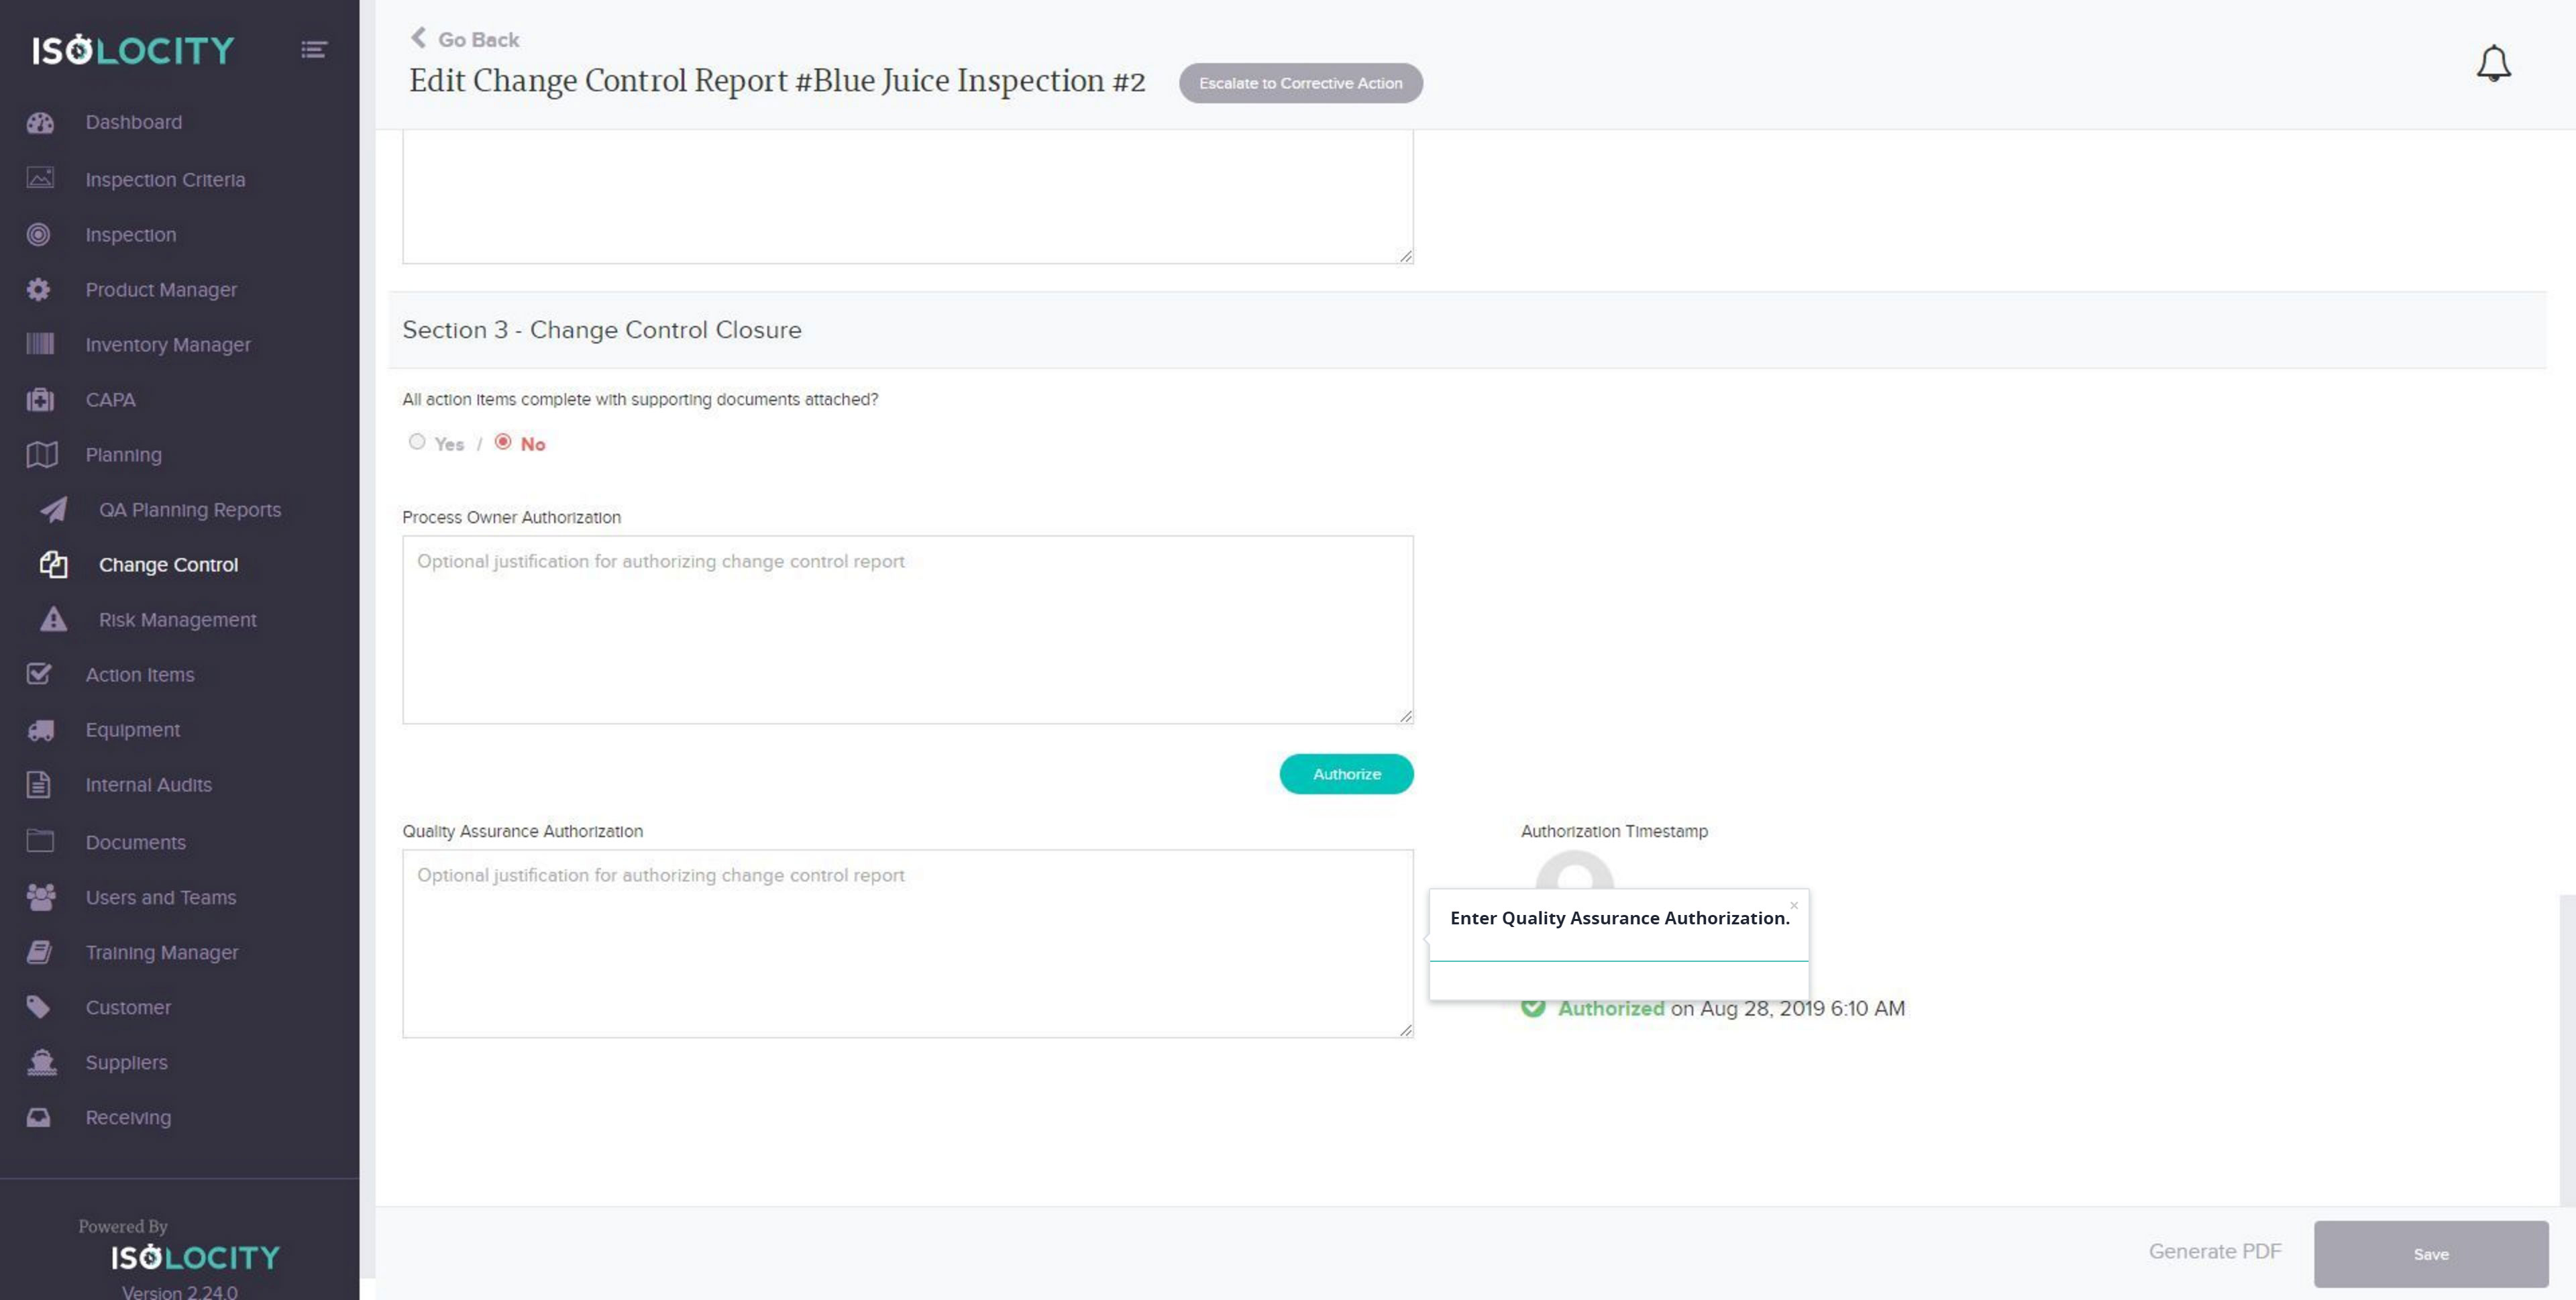
Step #30
Click Authorize.
Step #31
Enter your Password.
Step #32
Click Continue.

Step #33
Click Authorize to confirm.

Step #34
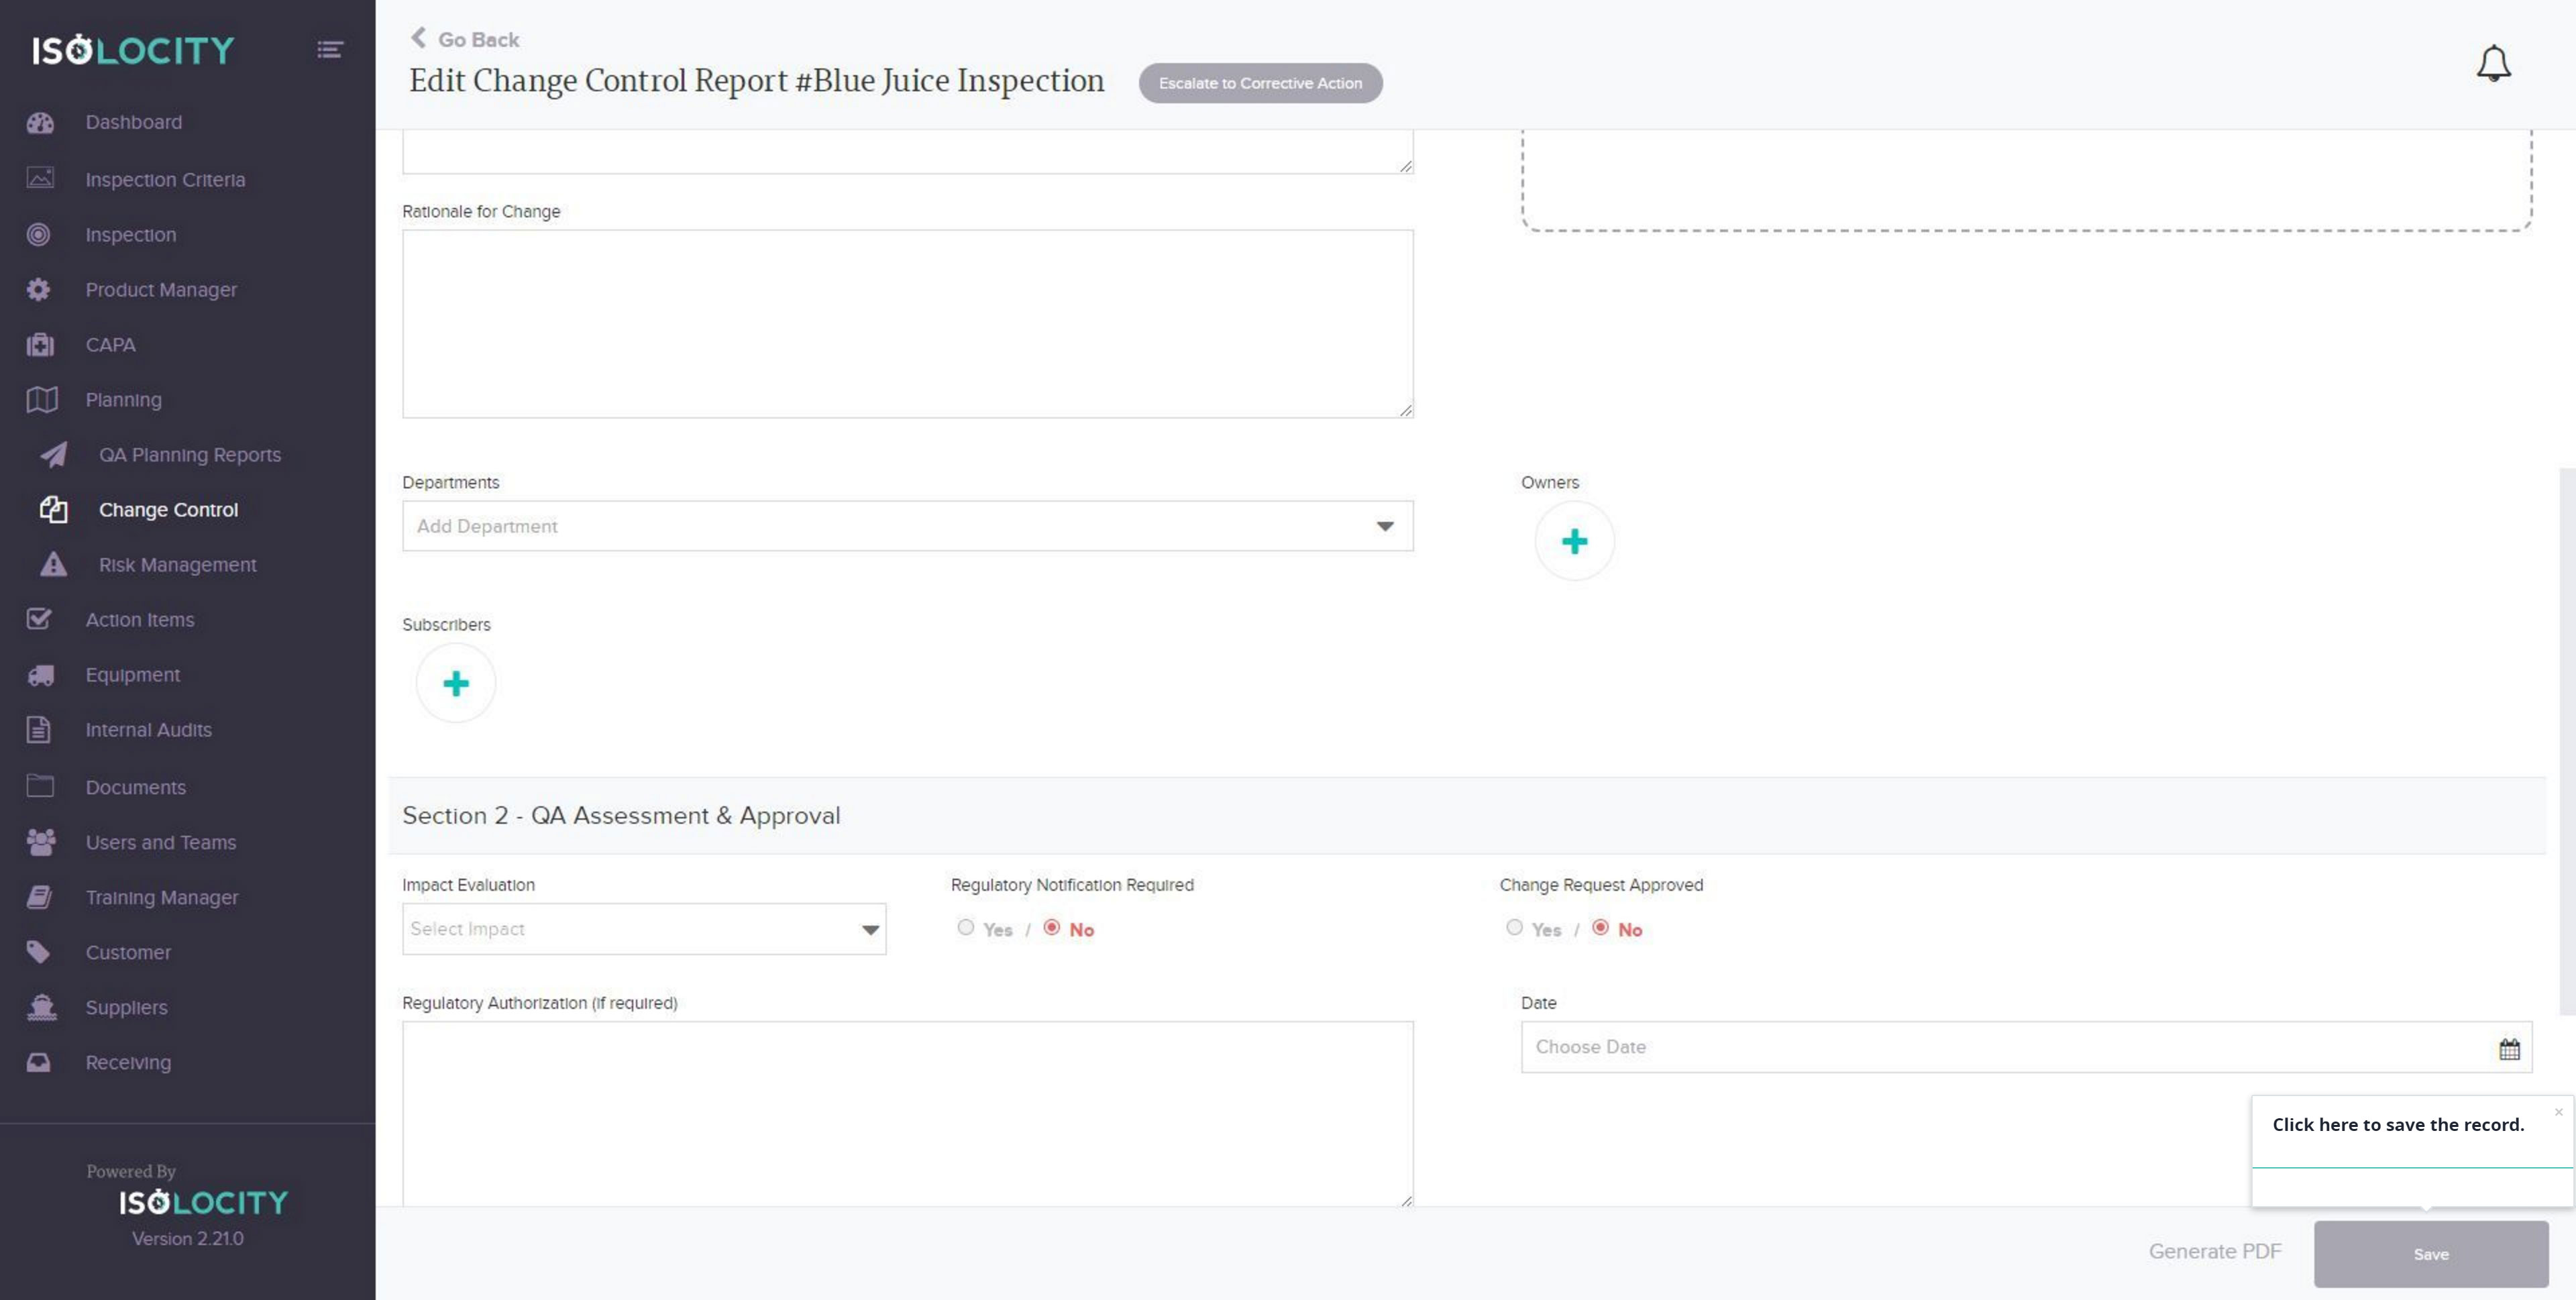
Click here to save the record.
Step #35
Click here to Save & Close.
Step #36
Enter your Password.
Step #37
Click Continue.
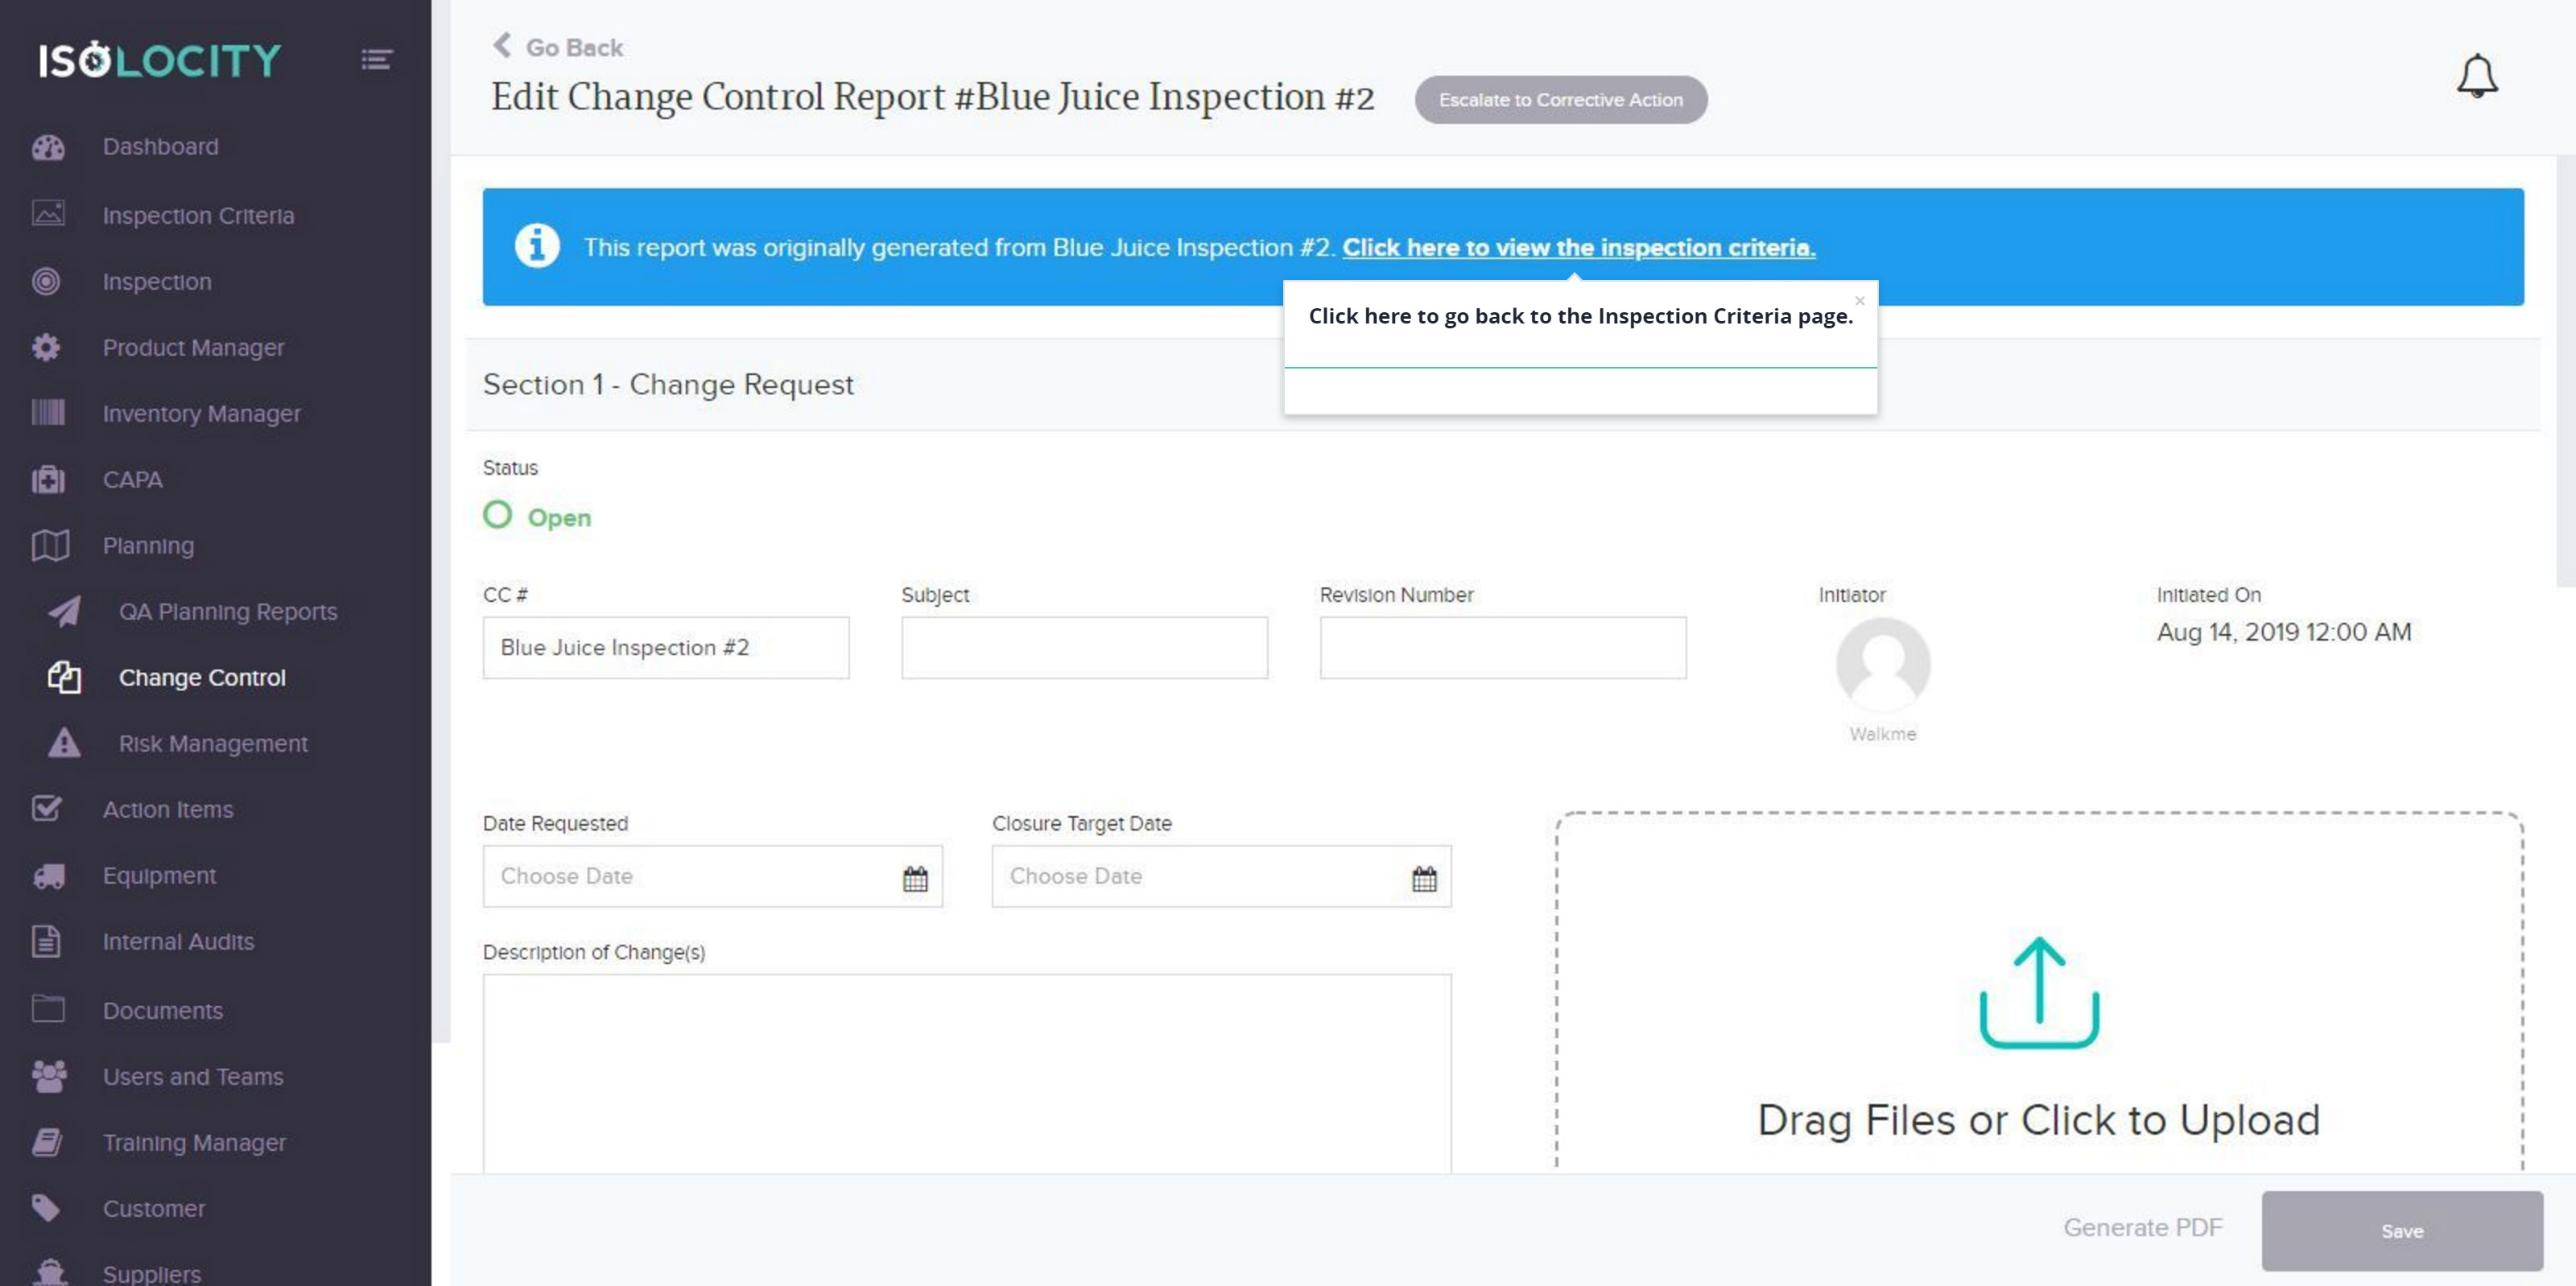
Step #38
Click here to go back to the Inspection Criteria page.
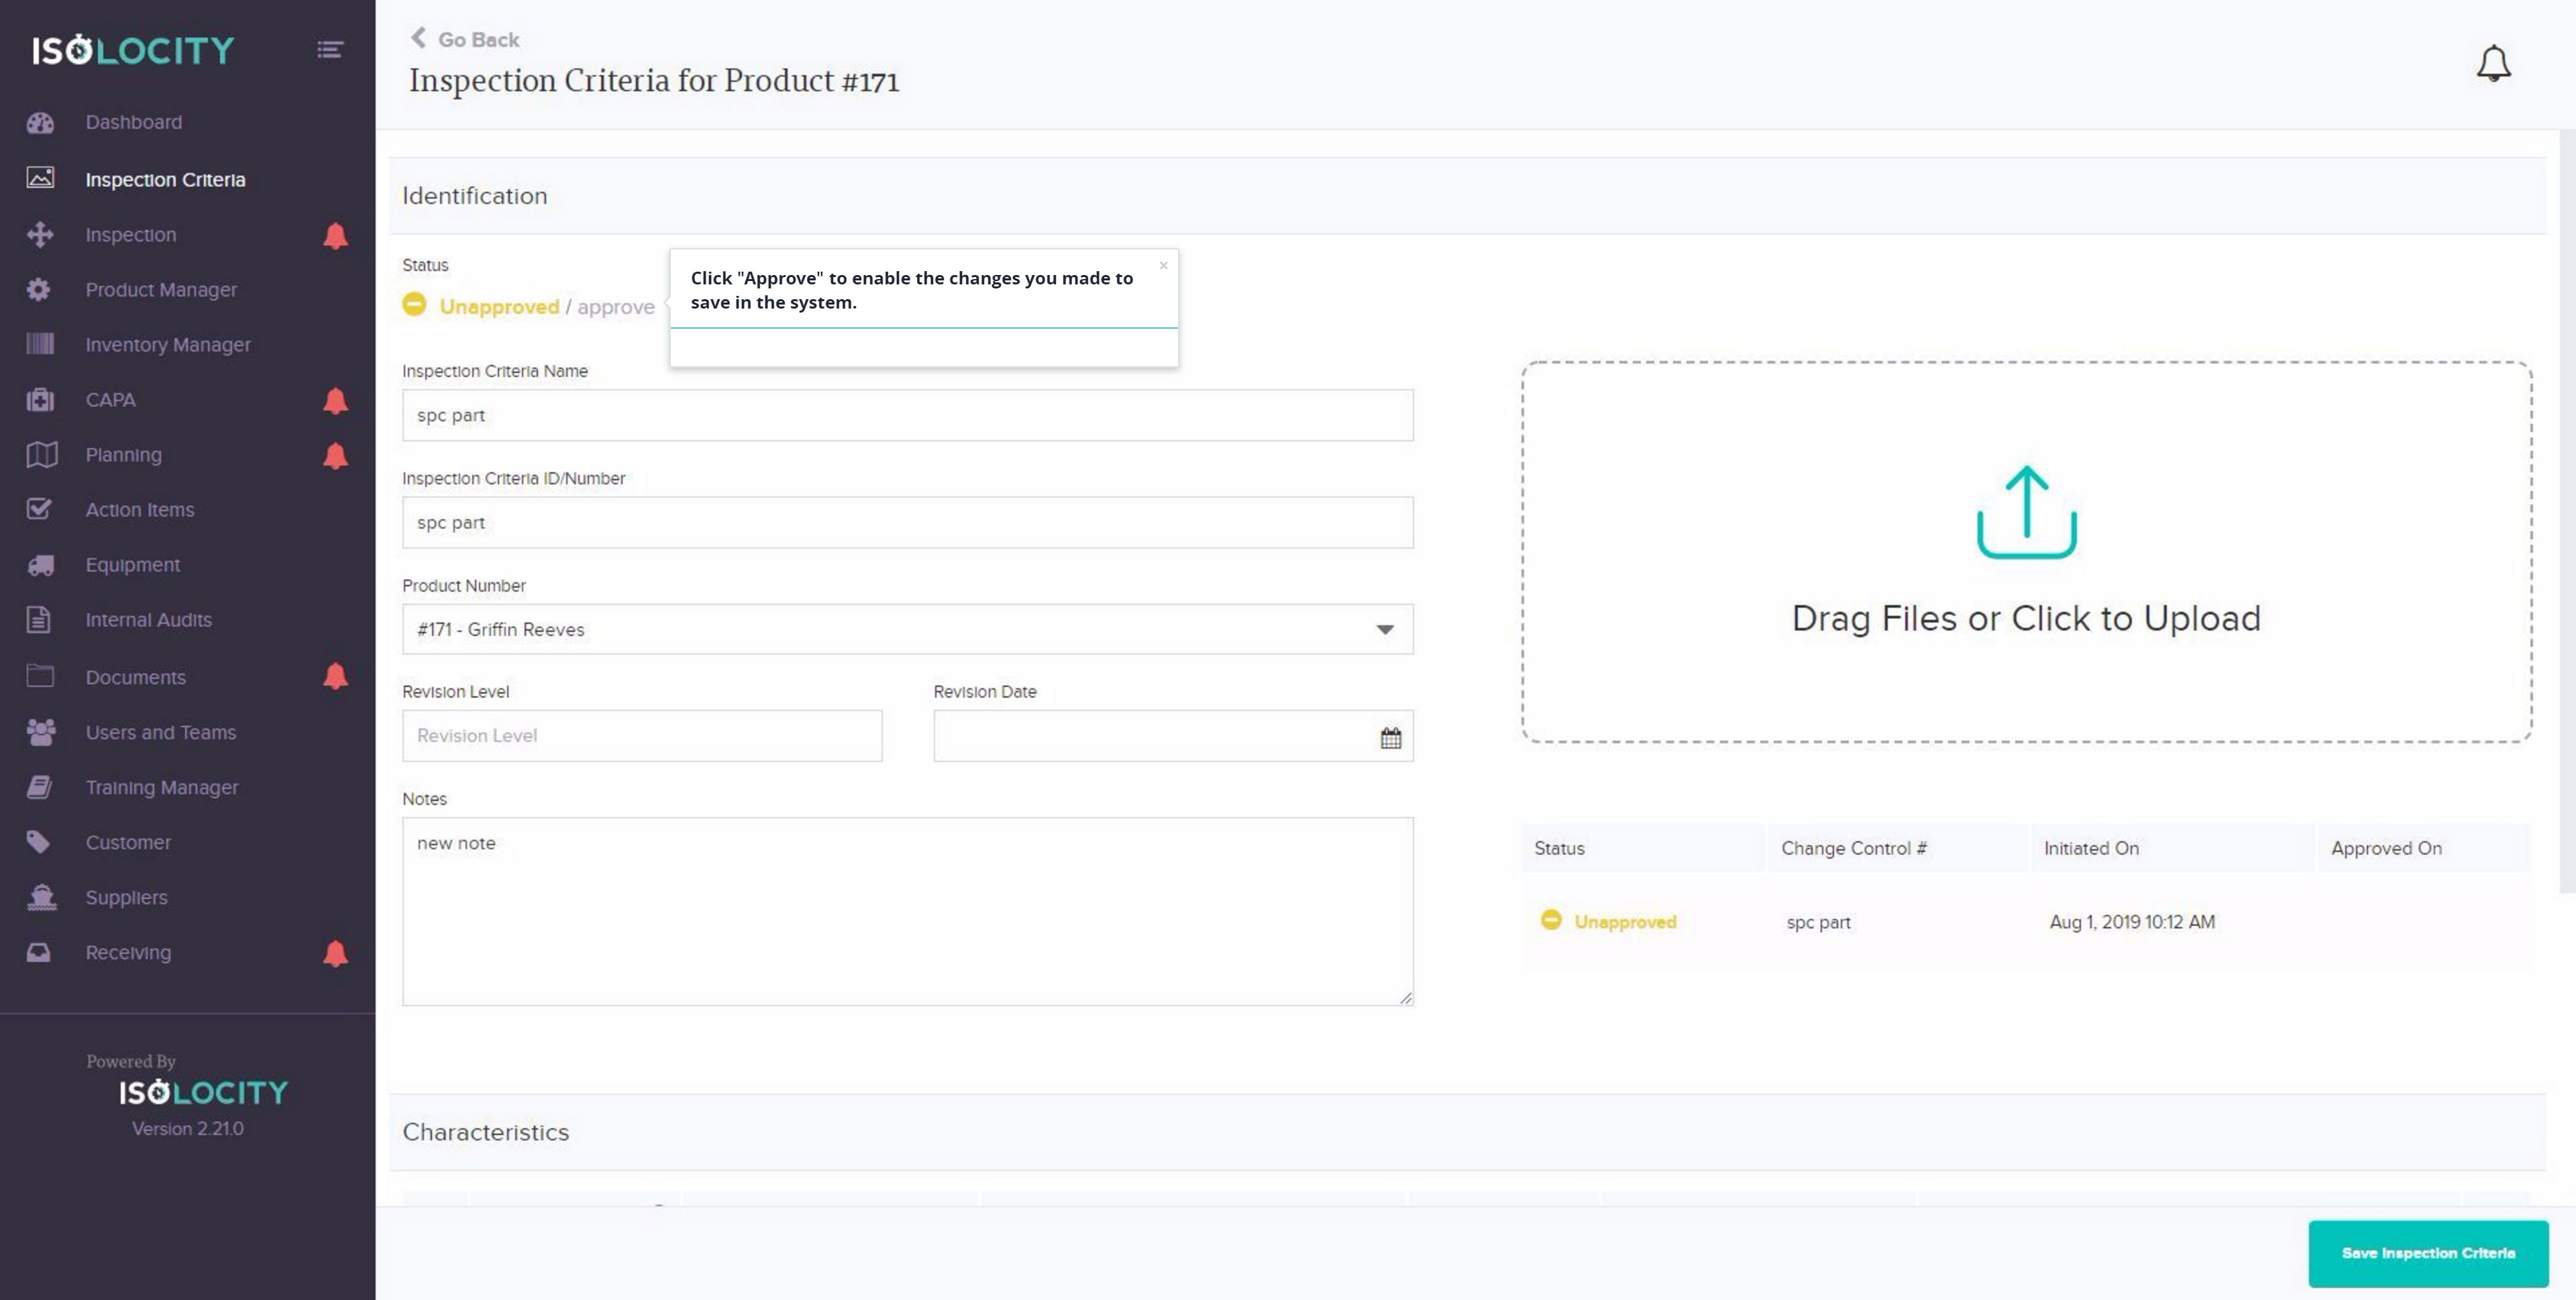
Step #39
Click “Approve” to enable the changes you made to save in the system.
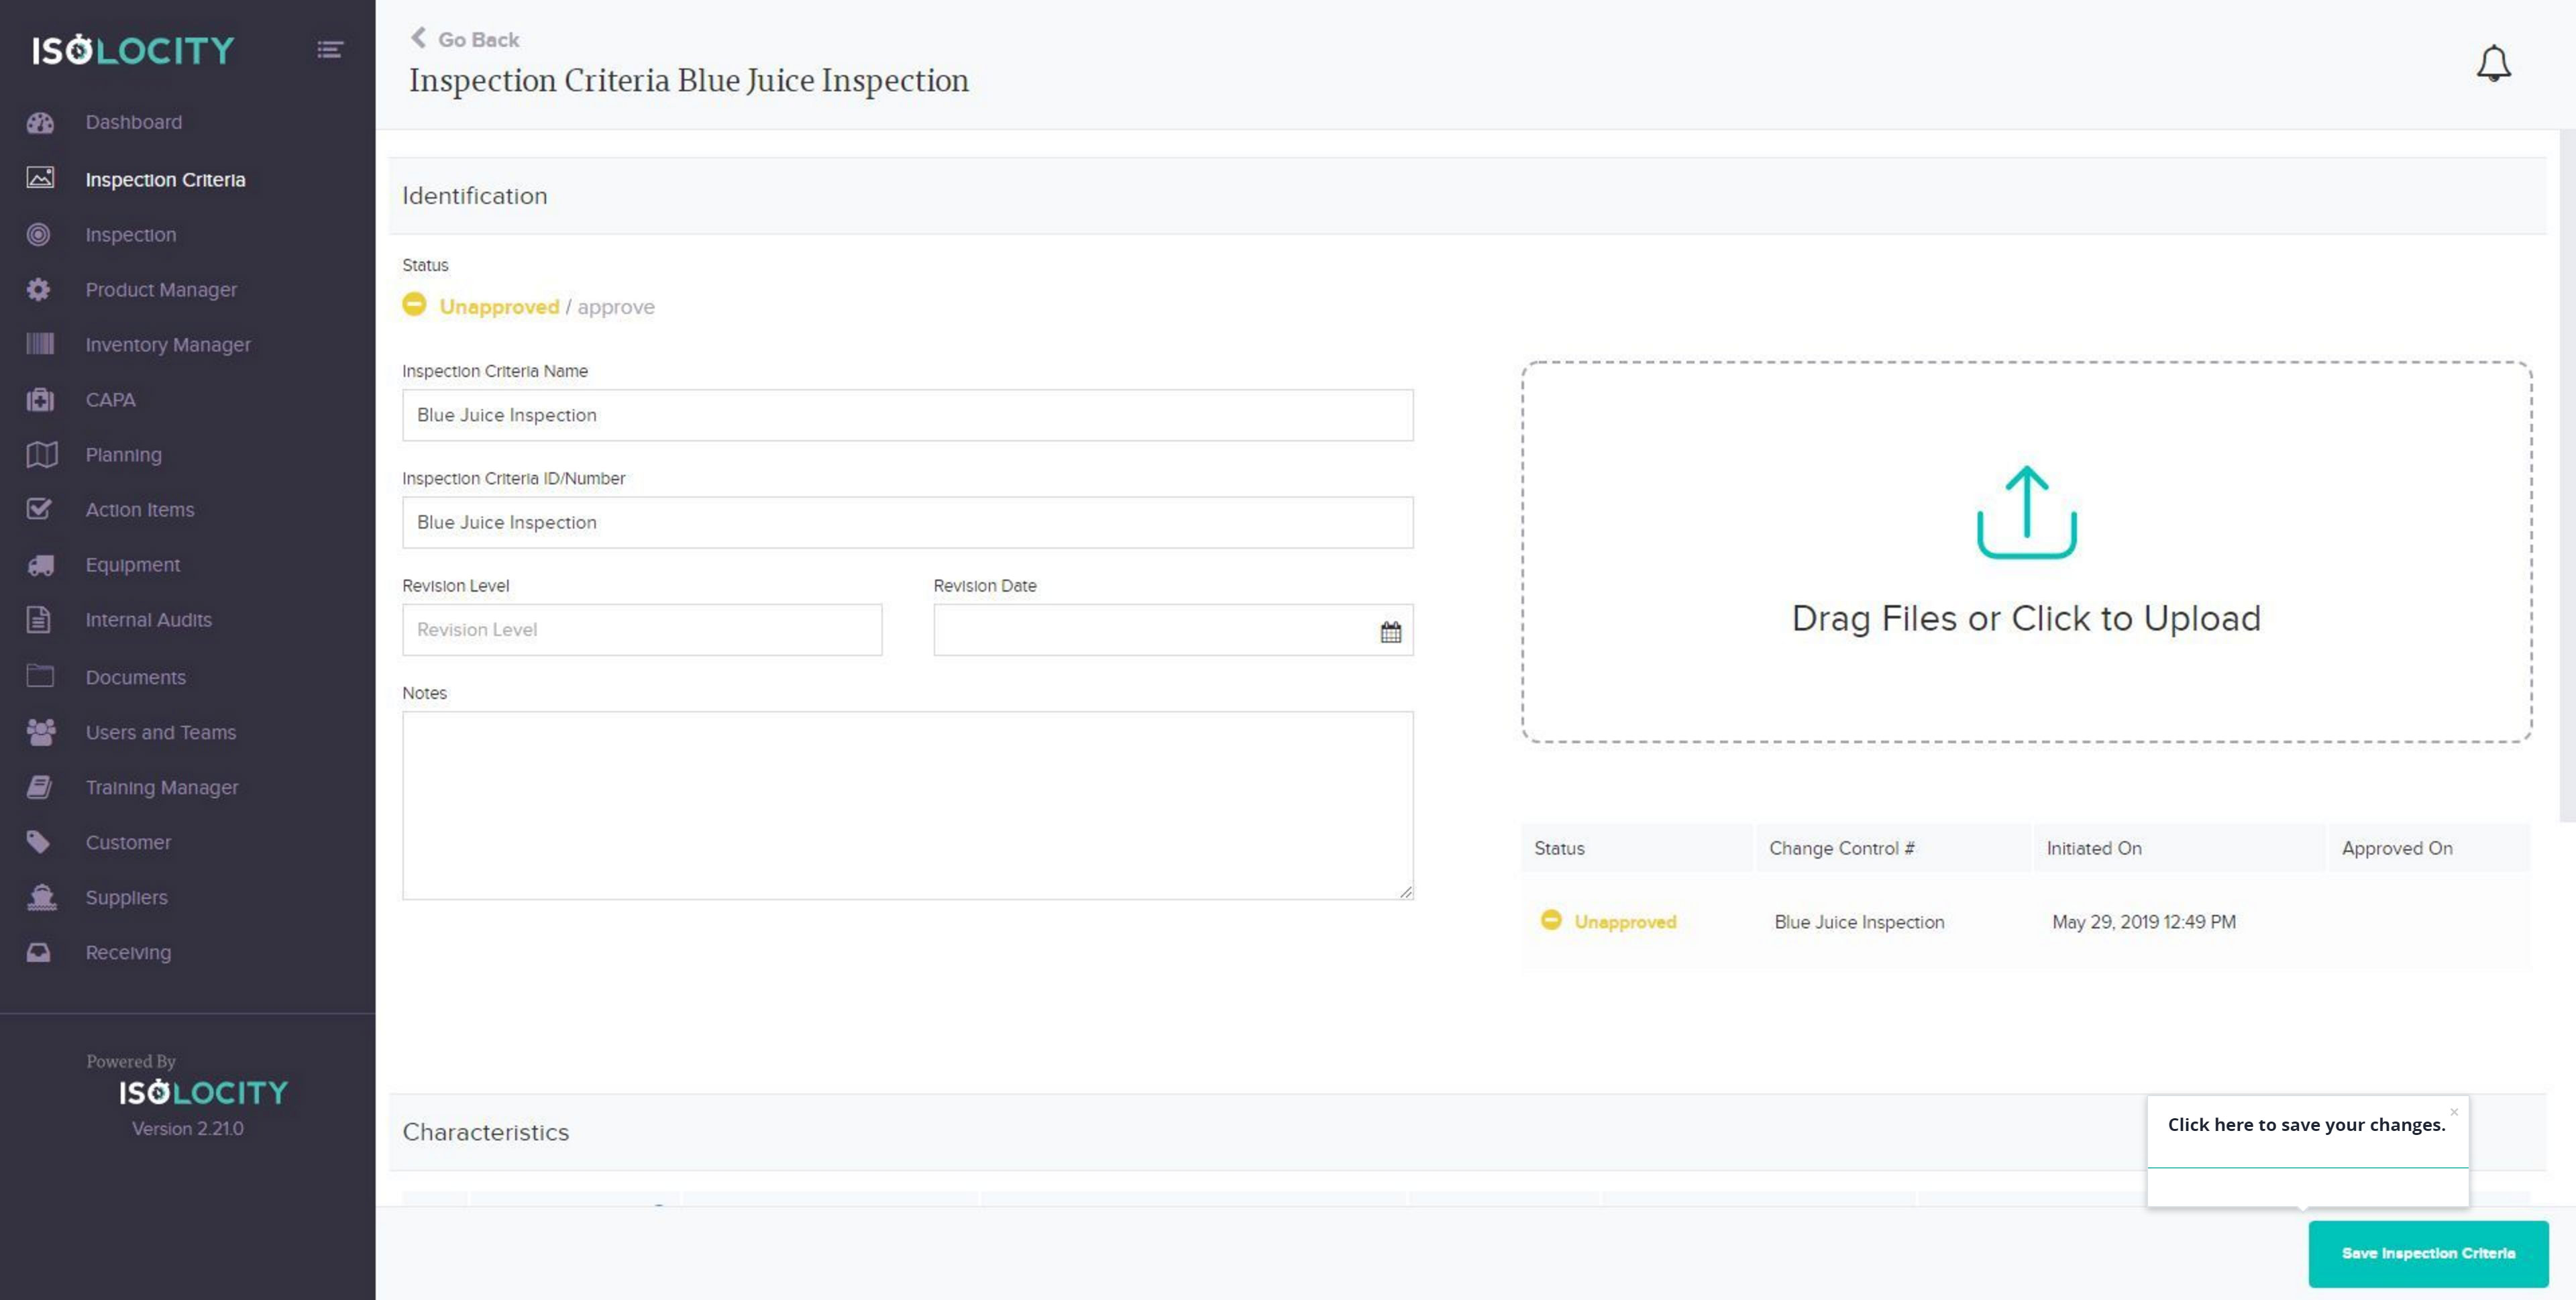
Step #40
Click here to save your changes.