Adding A Change Control Report
Step #1
Title: Click here
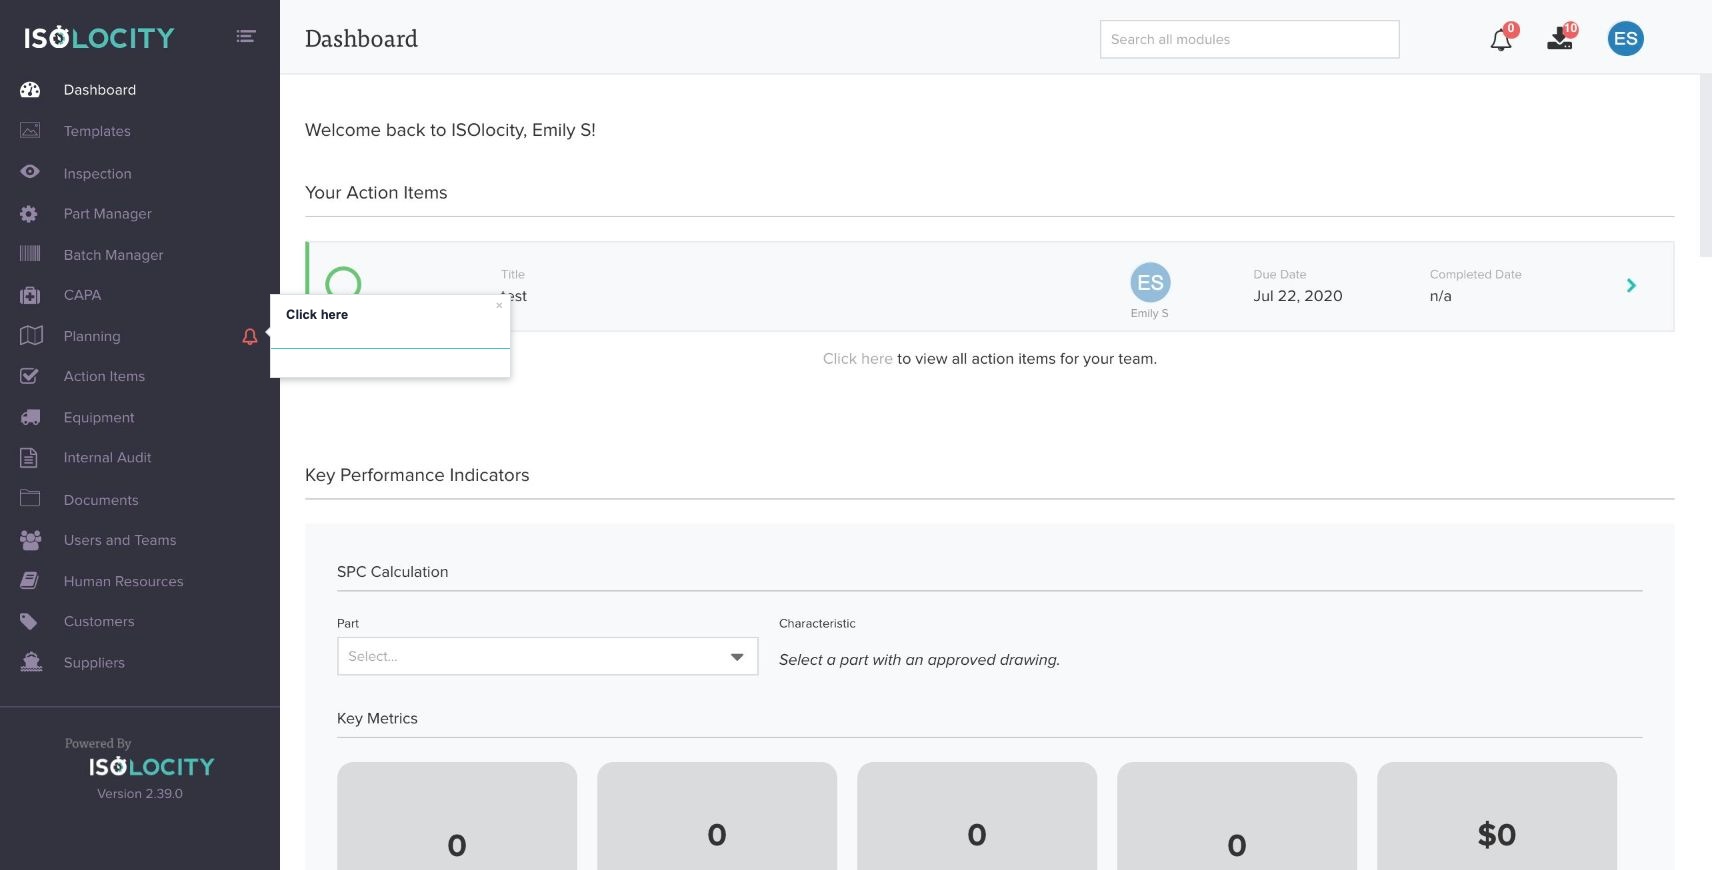
Captured URL: https://app.isolocity.com/
Step #2
Title: Click here
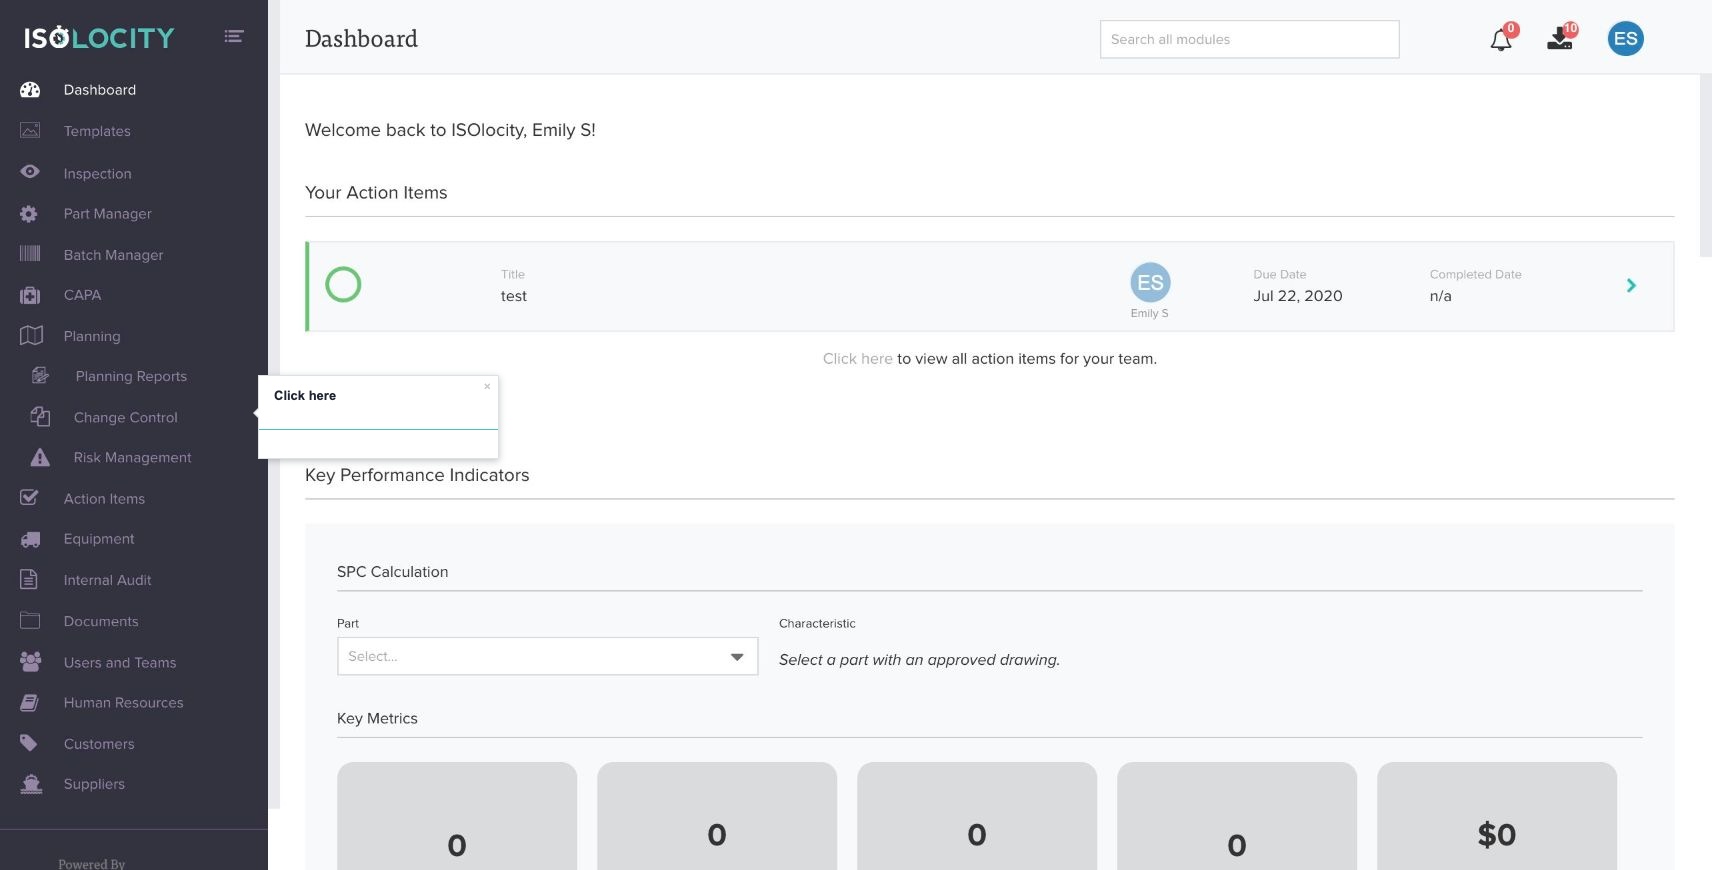
Captured URL: https://app.isolocity.com/
Step #3
Title: Click here to create your report.
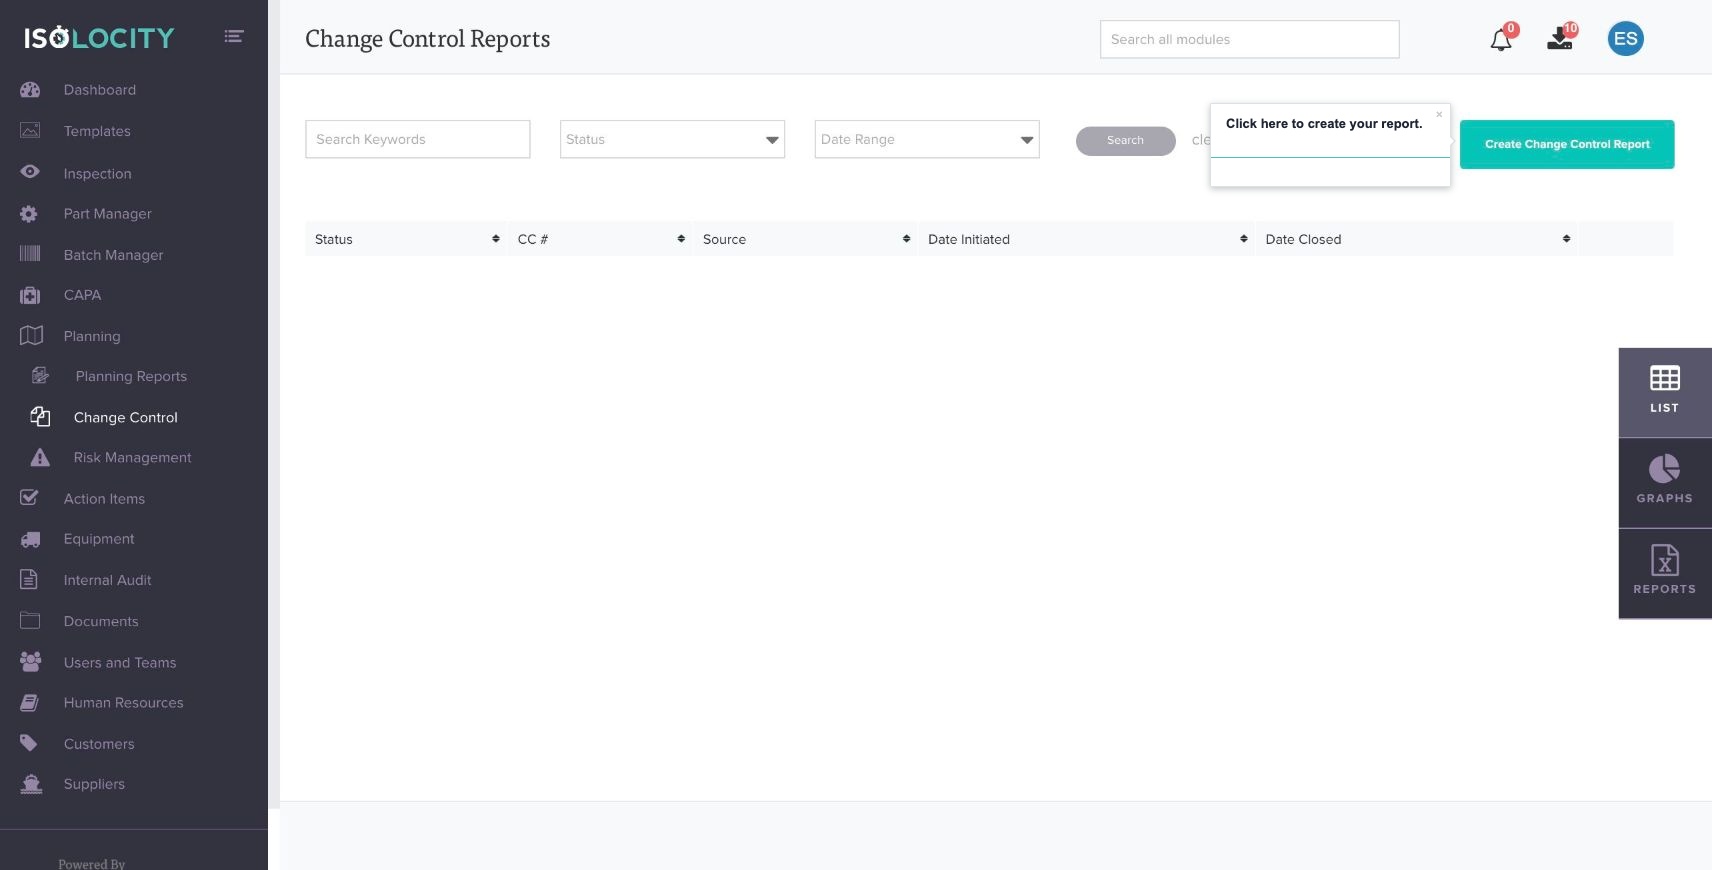
Captured URL: https://app.isolocity.com/ccrs
Step #4
Title: Add an “Owner” to your report (Optional).
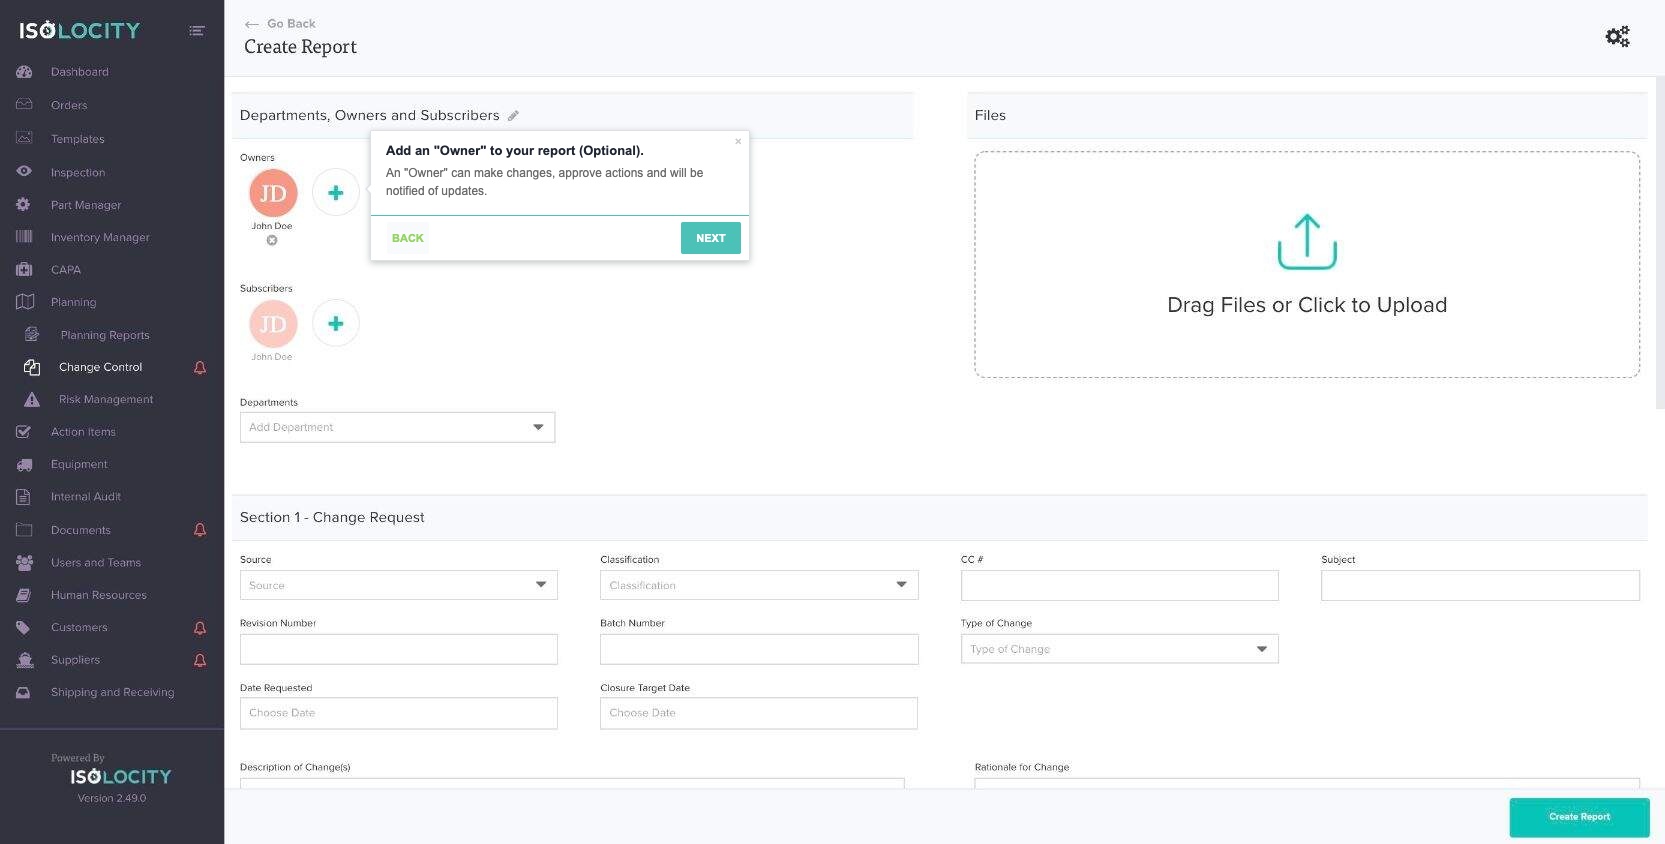
Text: An “Owner” can make changes, approve actions and will be notified of updates.
Captured URL: https://app.isolocity.com/ccrs/new
Step #5
Title: Add a “Subscriber” (Optional).
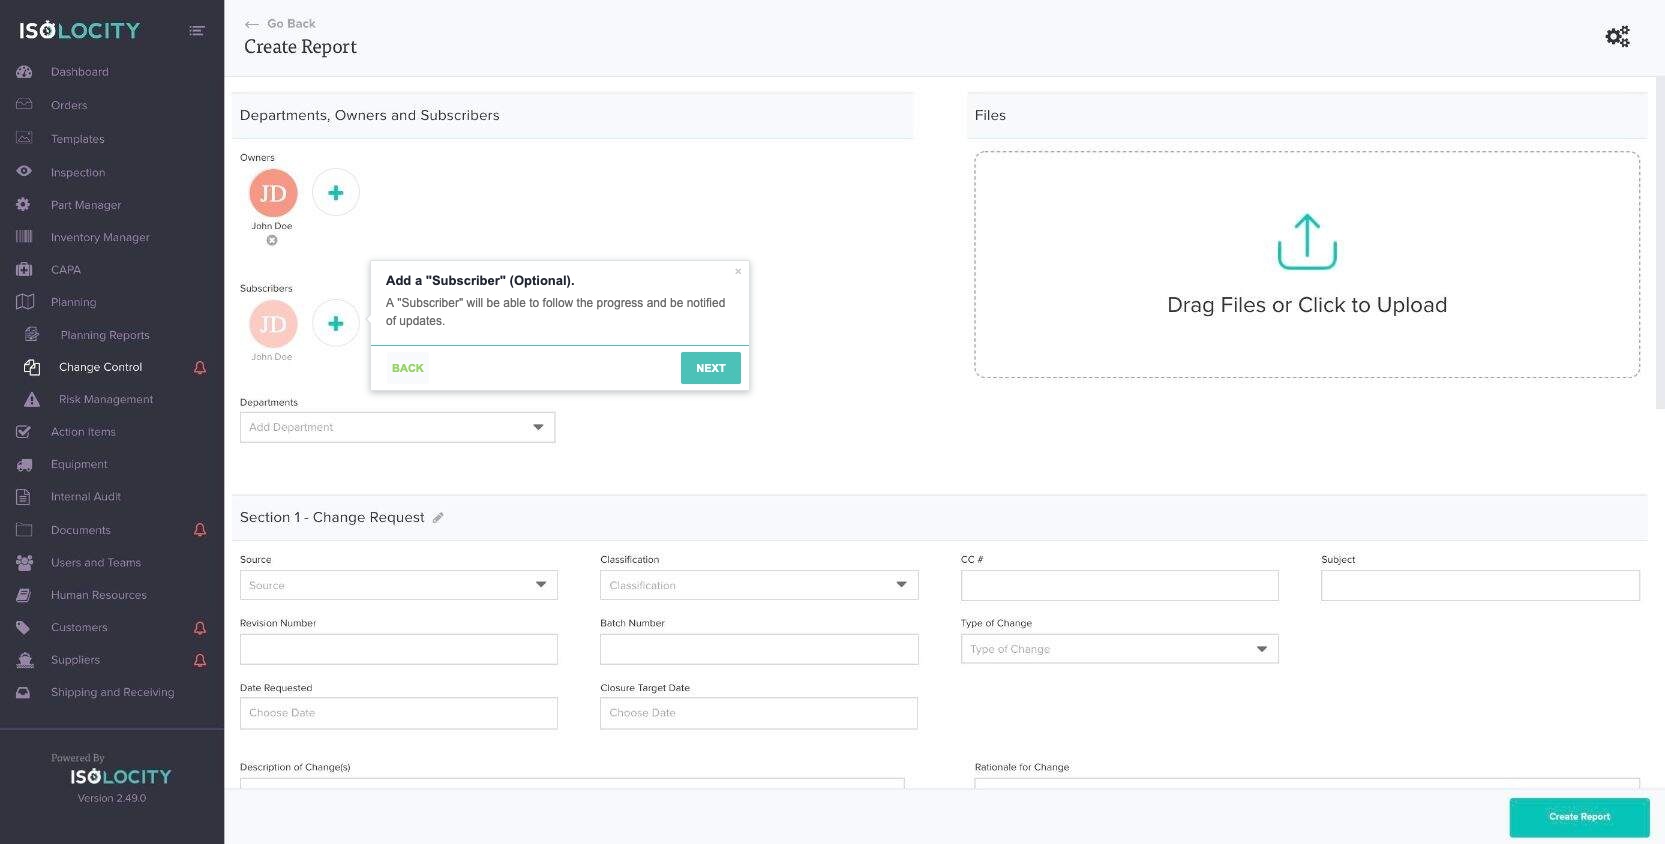
Text: A “Subscriber” will be able to follow the progress and be notified of updates.
Captured URL: https://app.isolocity.com/ccrs/new
Step #6
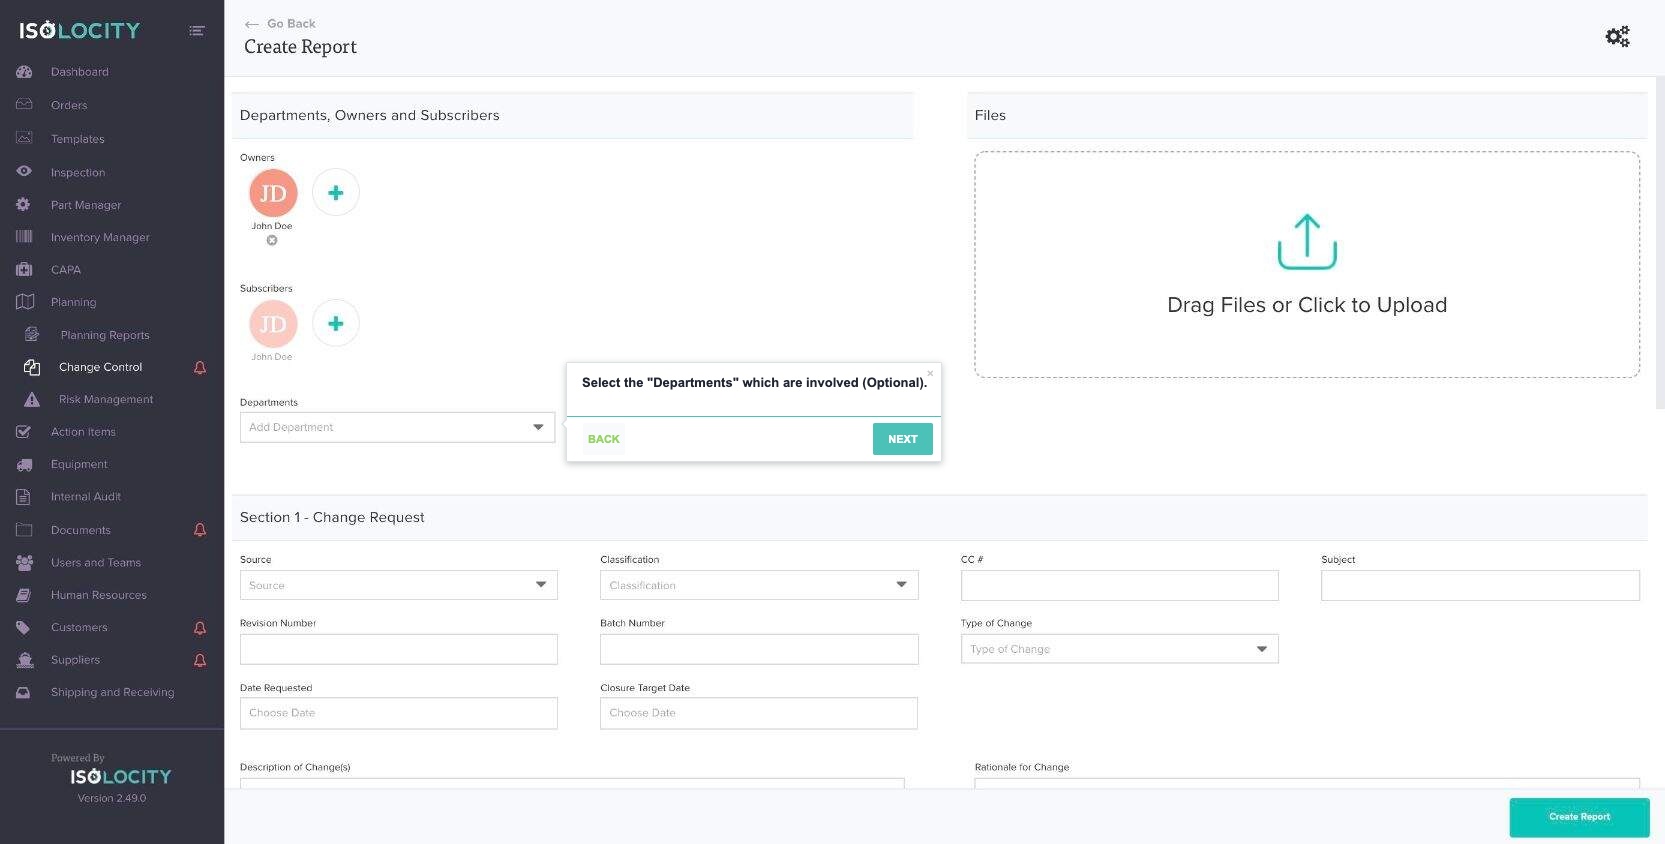
Title: Select the “Departments” which are involved (Optional).
Captured URL: https://app.isolocity.com/ccrs/new
Step #7
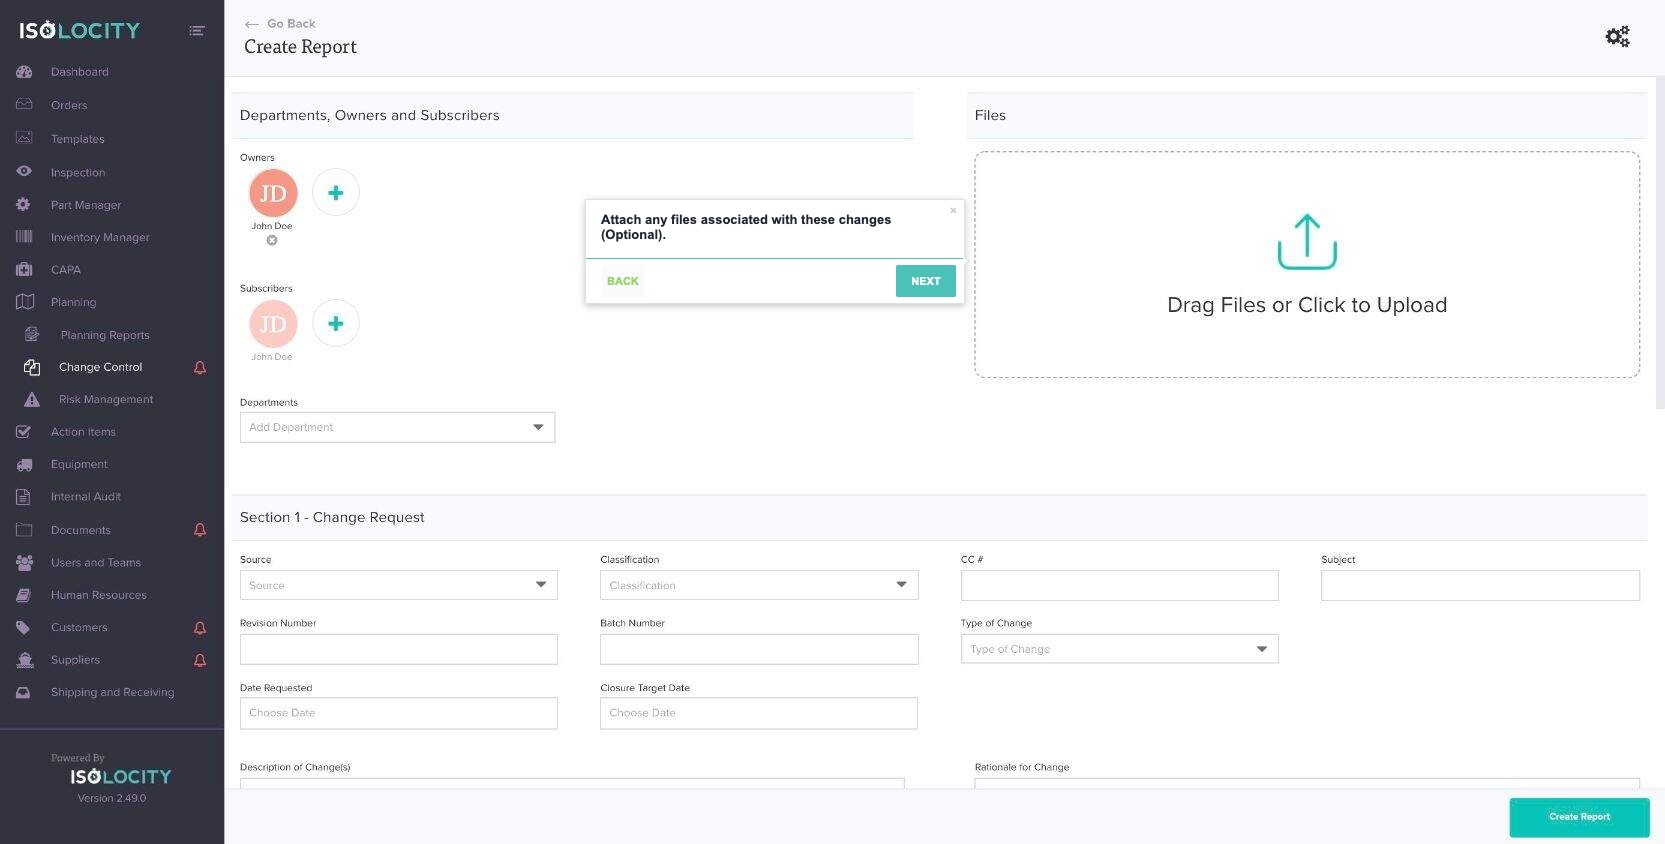
Title: Attach any files associated with these changes (Optional).
Captured URL: https://app.isolocity.com/ccrs/new
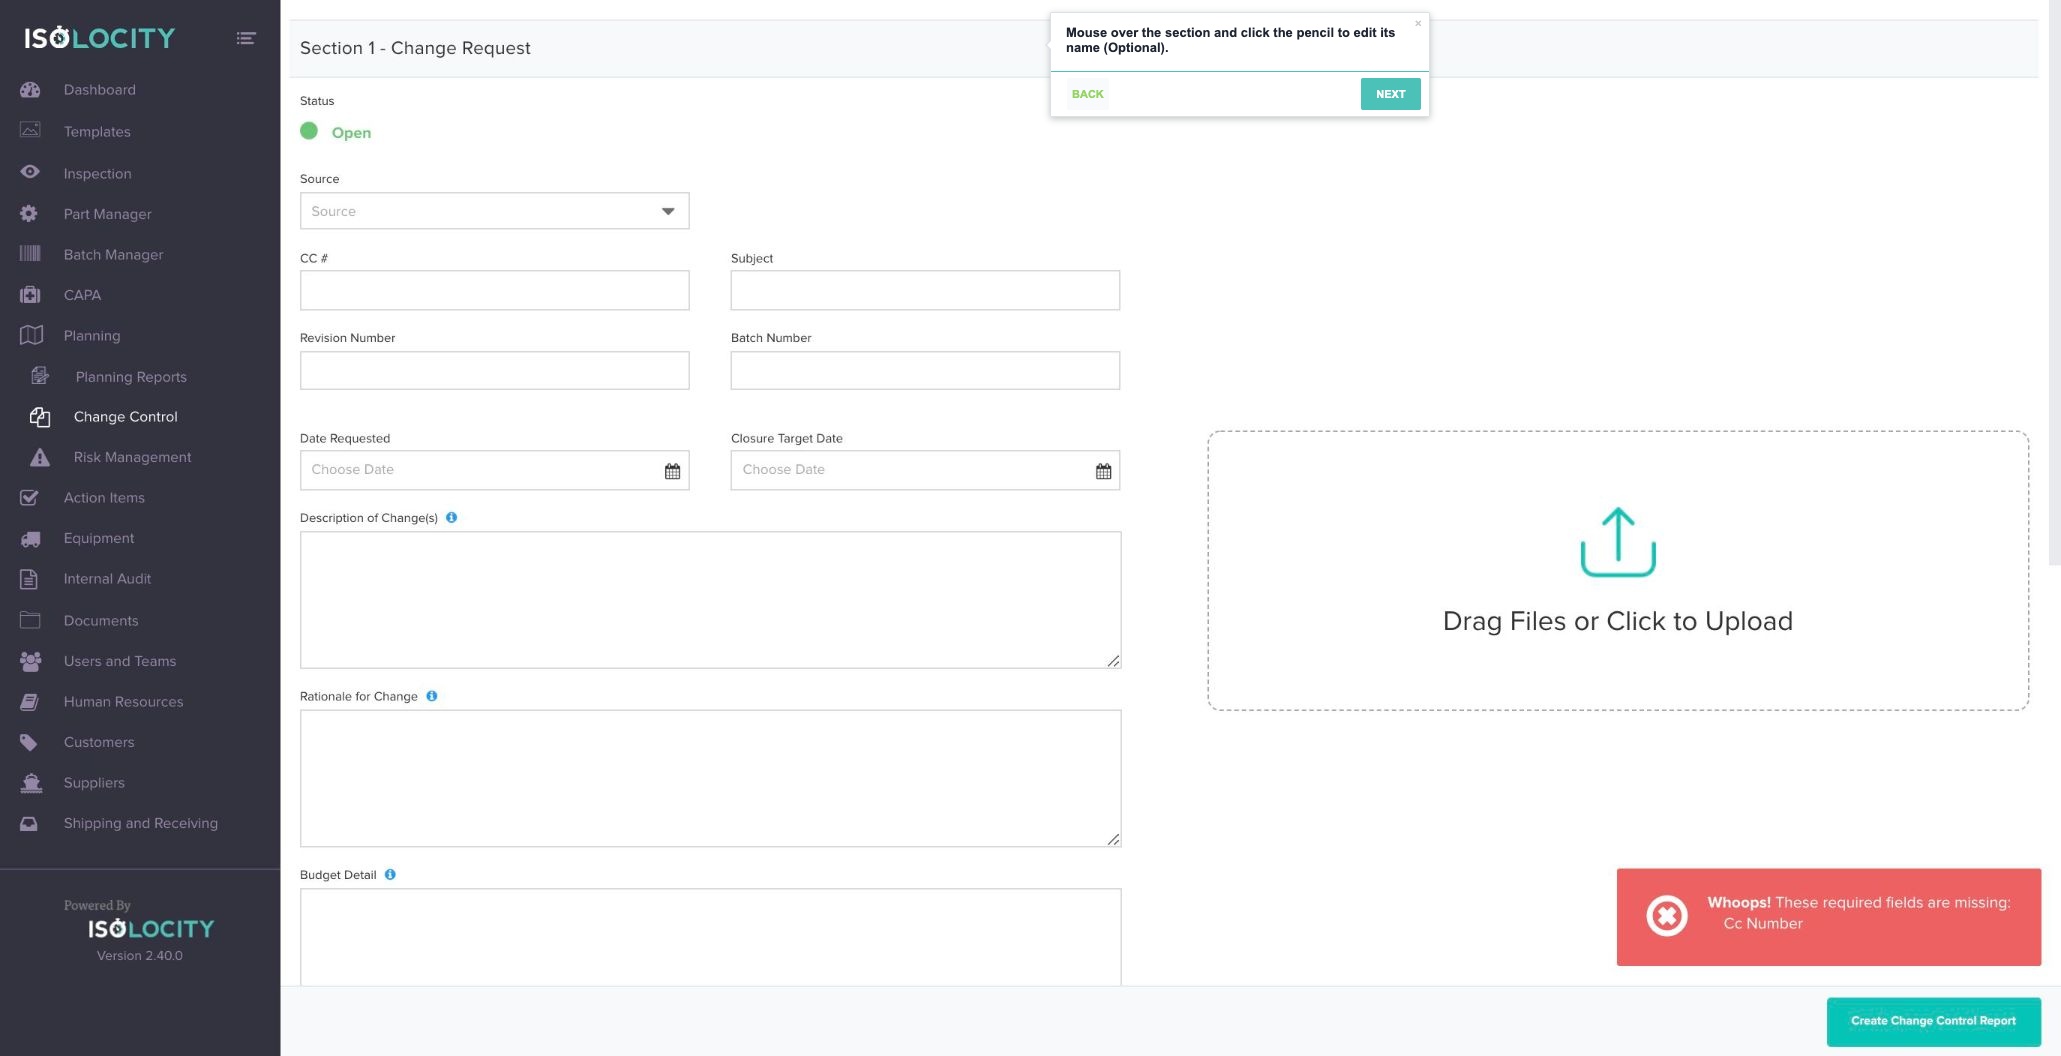
Step #8
Title: Mouse over the section and click the pencil to edit its name (Optional).
Captured URL: https://app.isolocity.com/ccrs/new
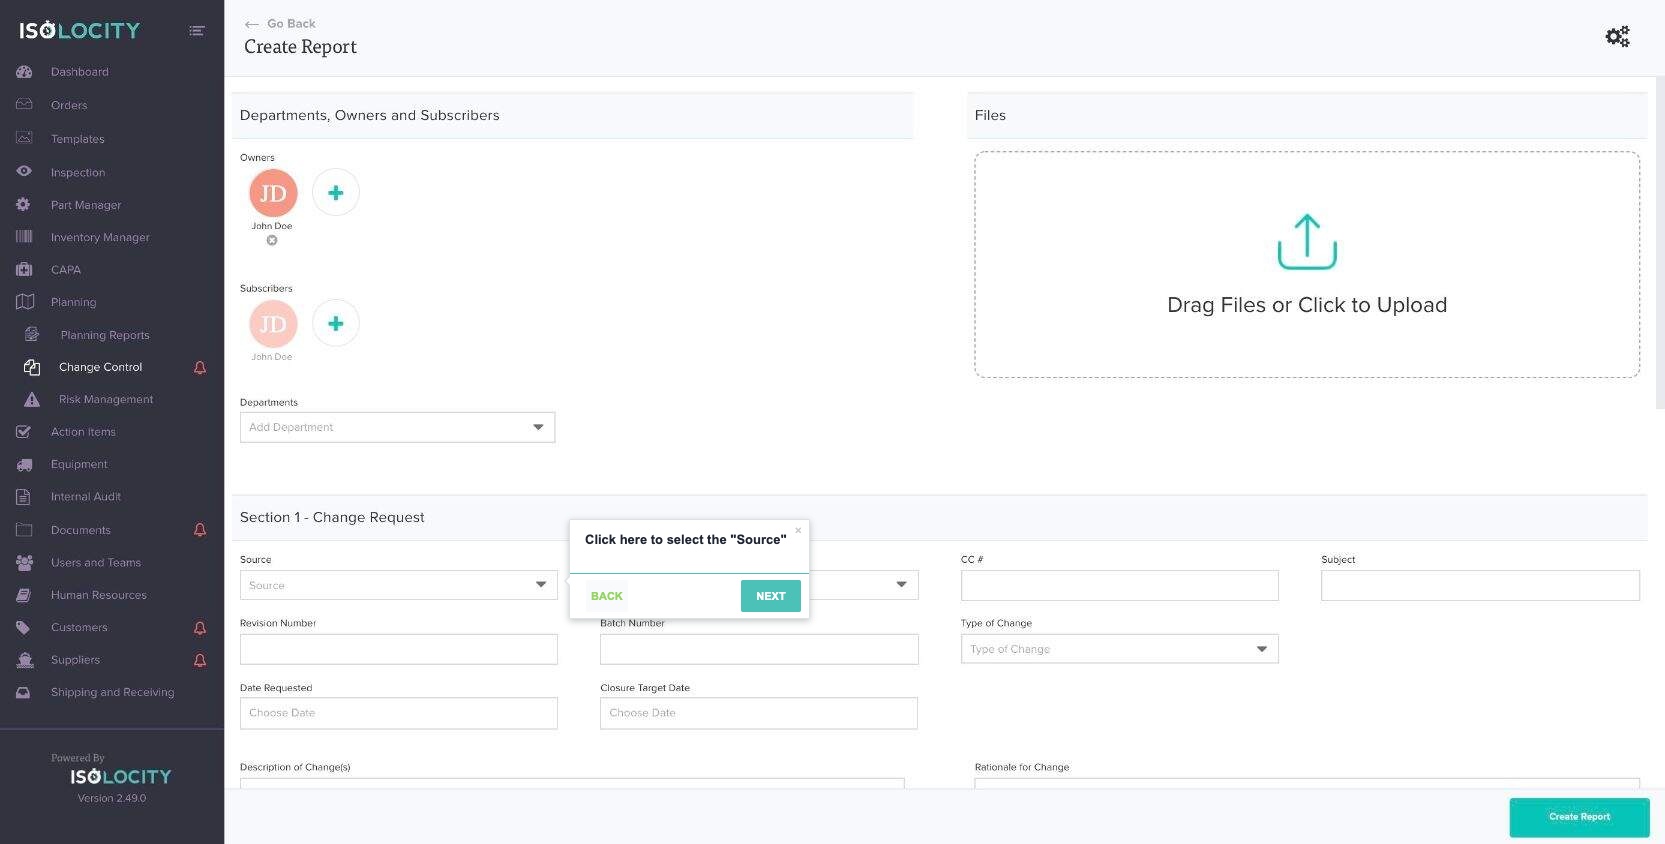
Step #9
Title: Click here to select the “Source”
Captured URL: https://app.isolocity.com/ccrs/new
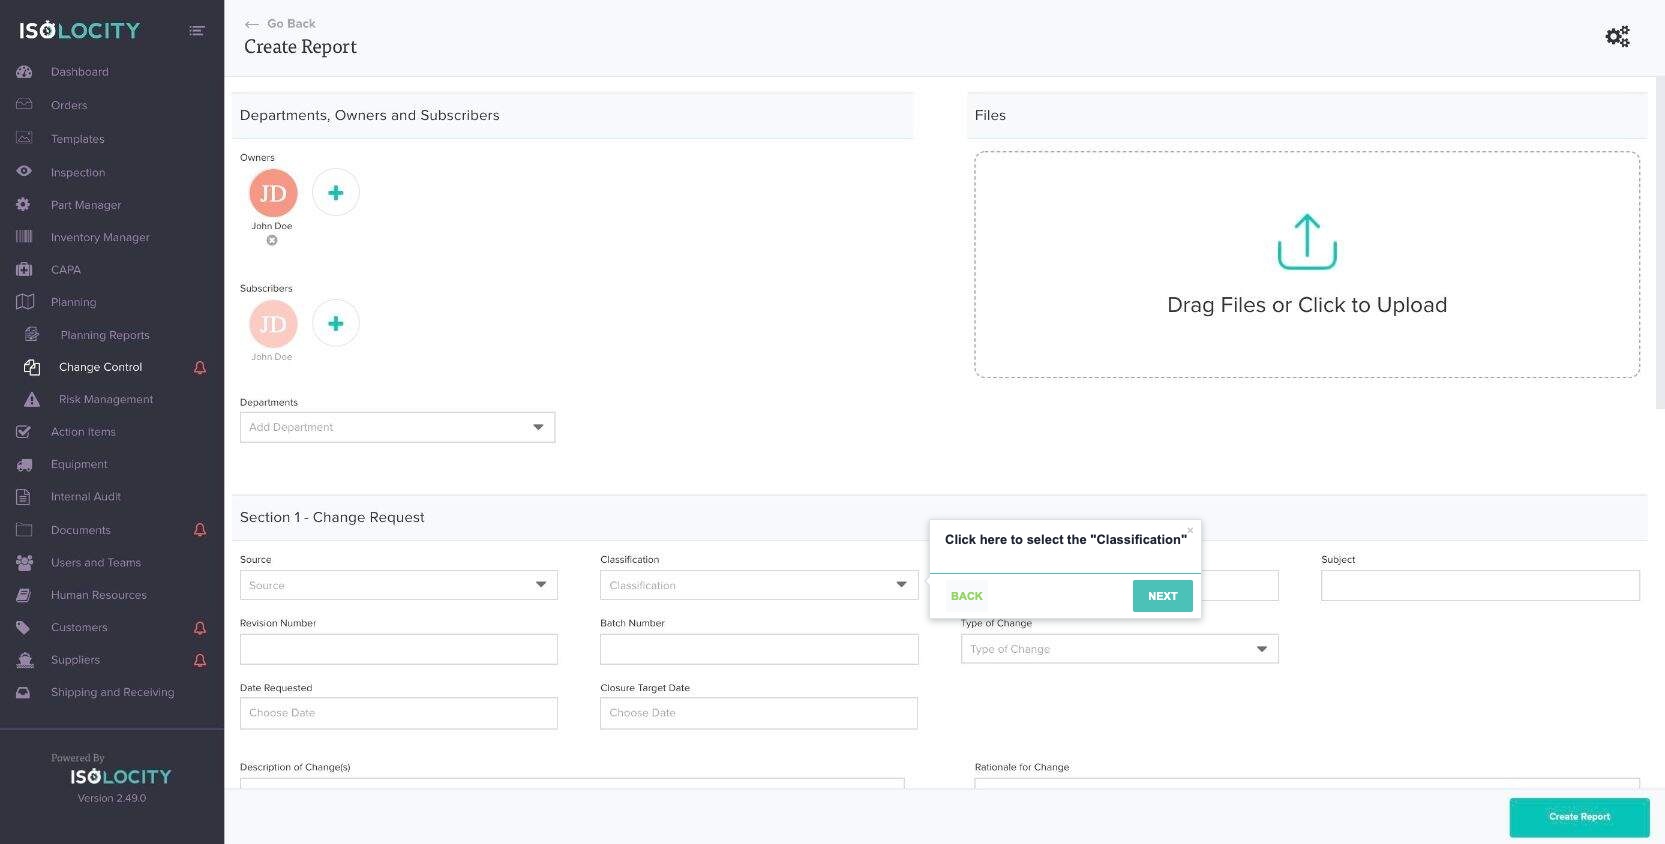
Step #10
Title: Click here to select the “Classification”
Captured URL: https://app.isolocity.com/ccrs/new
Step #11
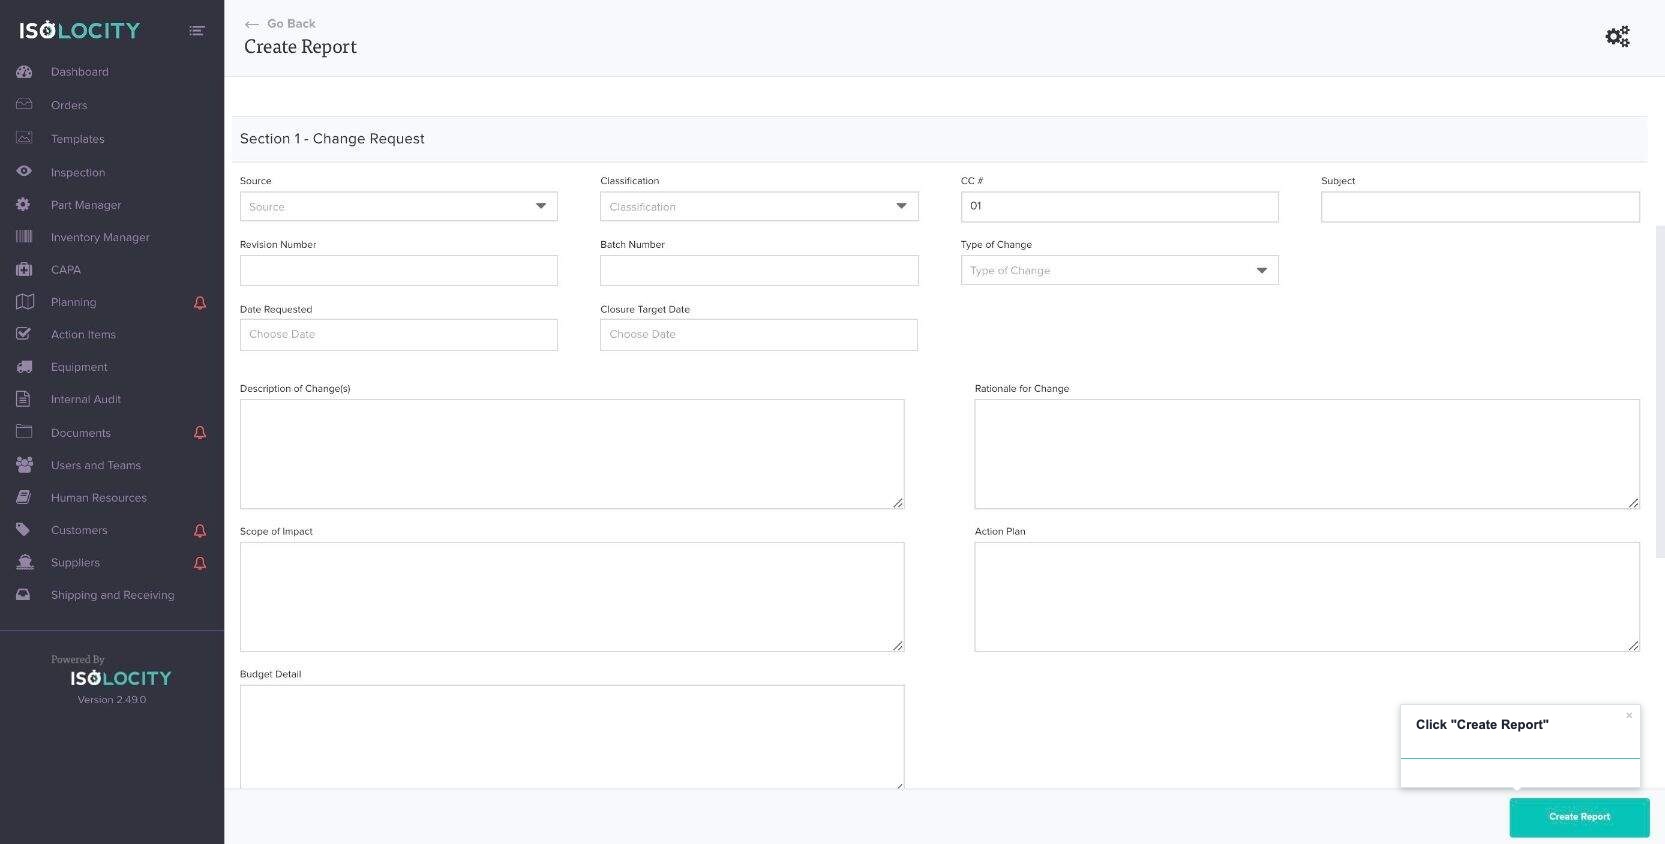
Title: Enter “CC #”
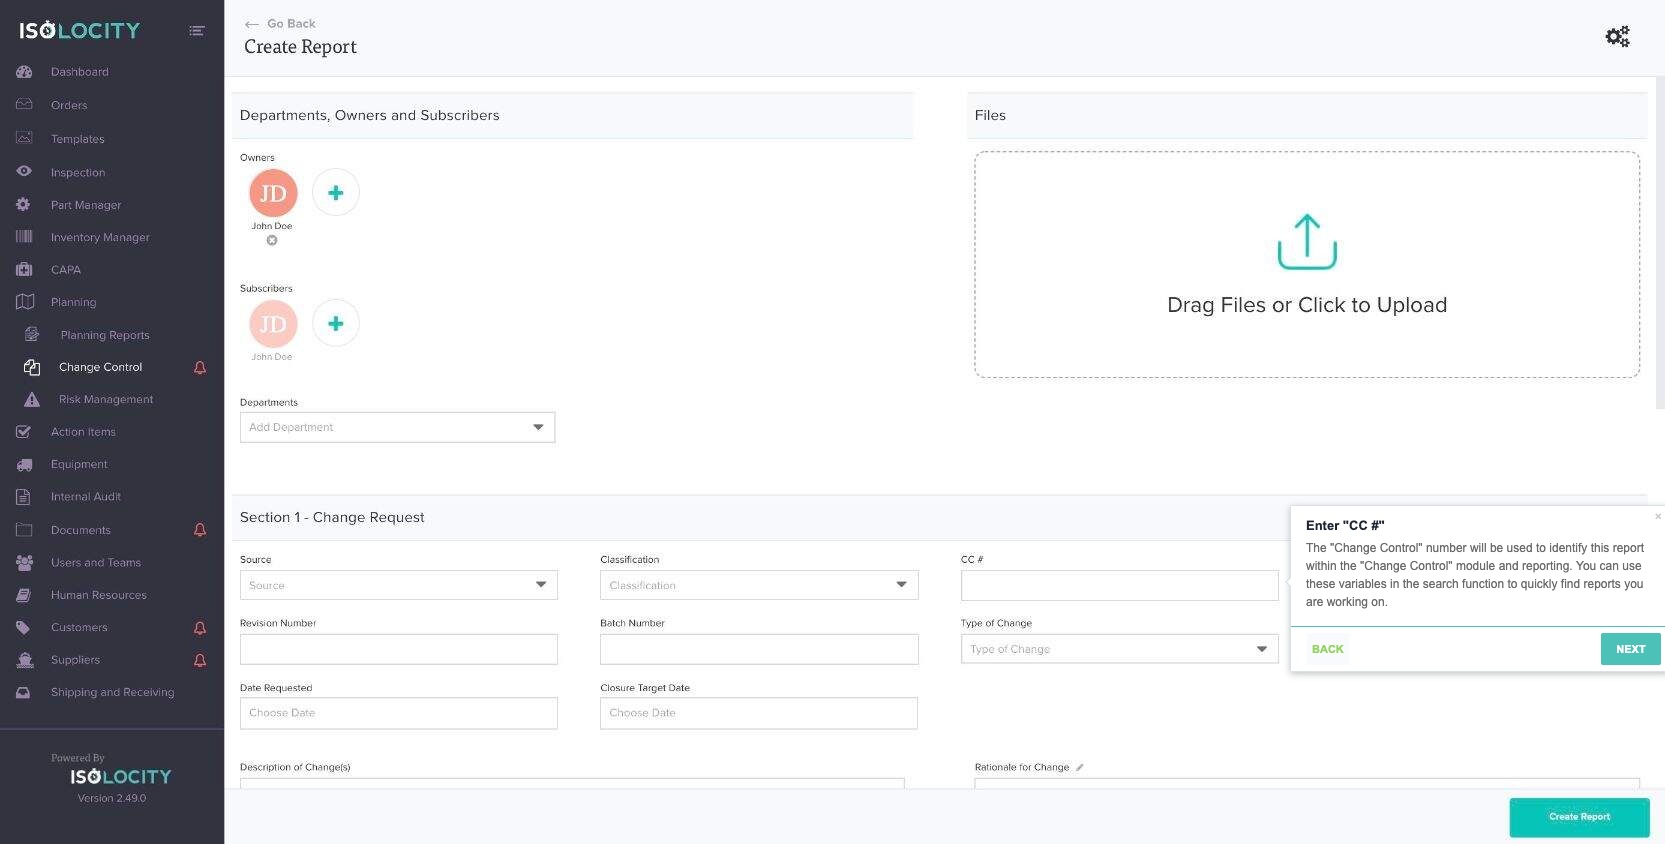
Text: The “Change Control” number will be used to identify this report within the “Change Control” module and reporting. You can use these variables in the search function to quickly find reports you are working on.
Captured URL: https://app.isolocity.com/ccrs/new
Step #12
Title: Click “Create Report”
Captured URL: https://app.isolocity.com/ccrs/new
Step #13
Title: Enter “Subject”.
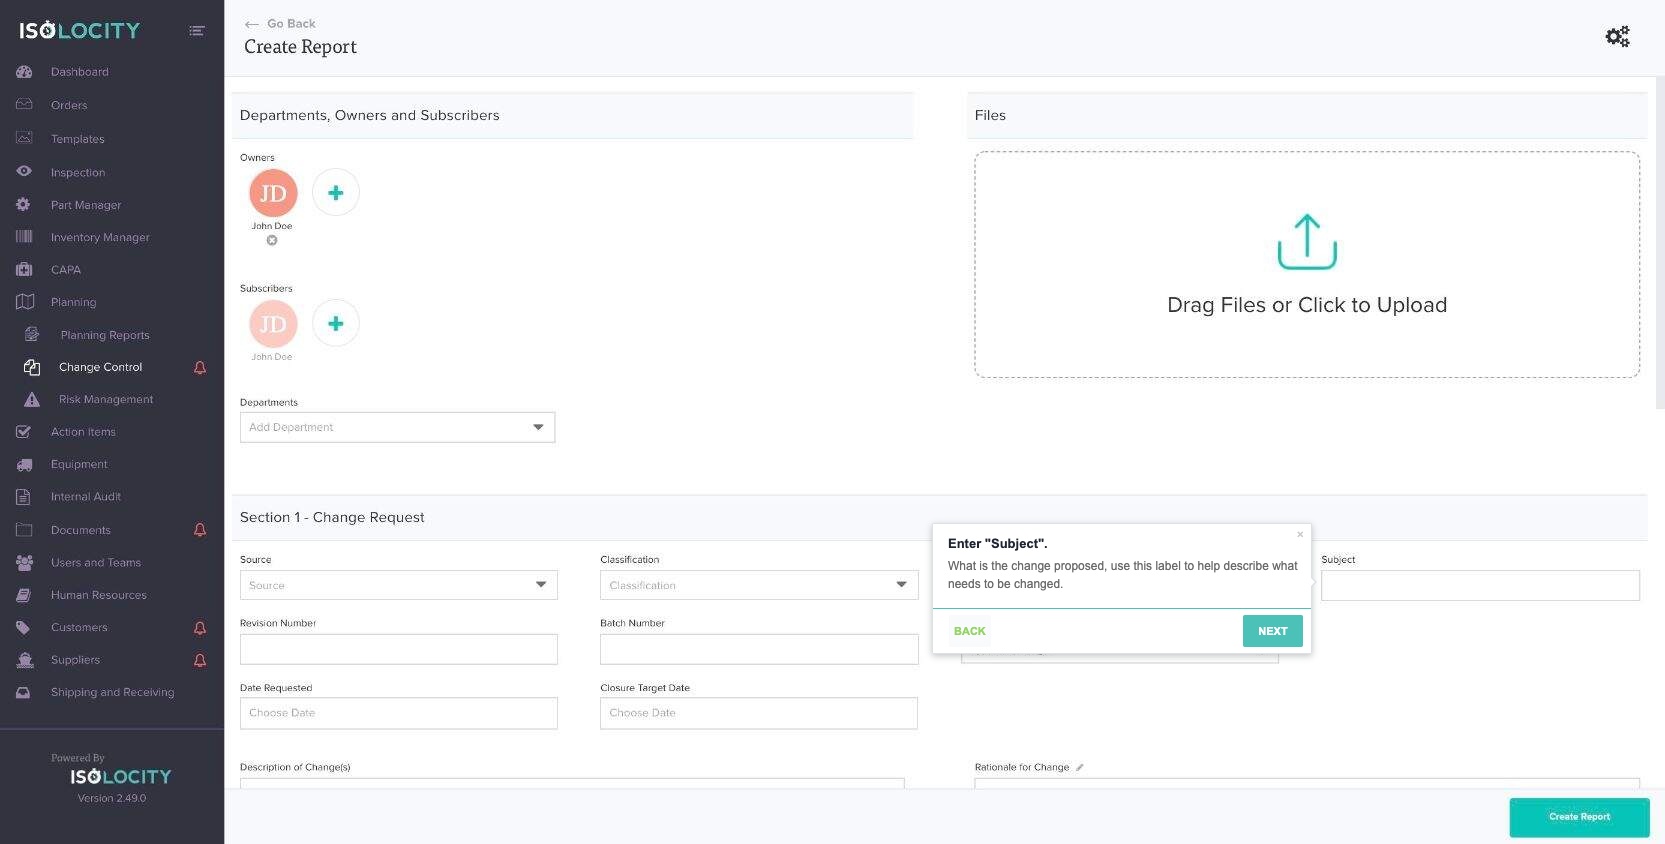
Text: What is the change proposed, use this label to help describe what needs to be changed.
Captured URL: https://app.isolocity.com/ccrs/new
Step #14
Title: Enter “Revision Number” (Optional).
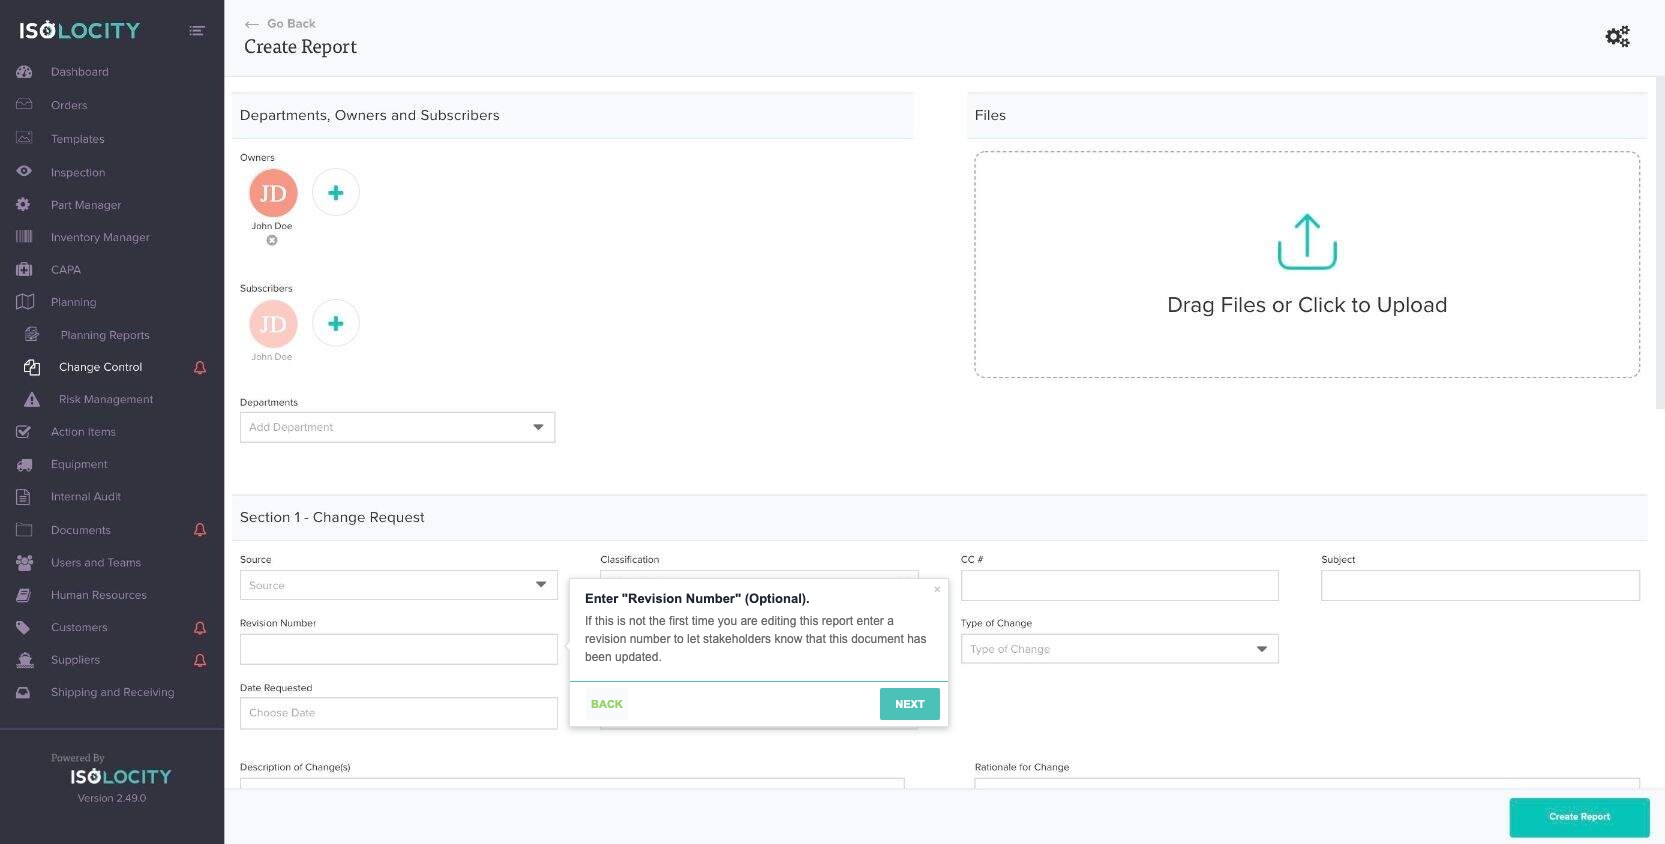
Text: If this is not the first time you are editing this report enter a revision number to let stakeholders know that this document has been updated.
Captured URL: https://app.isolocity.com/ccrs/new
Step #15
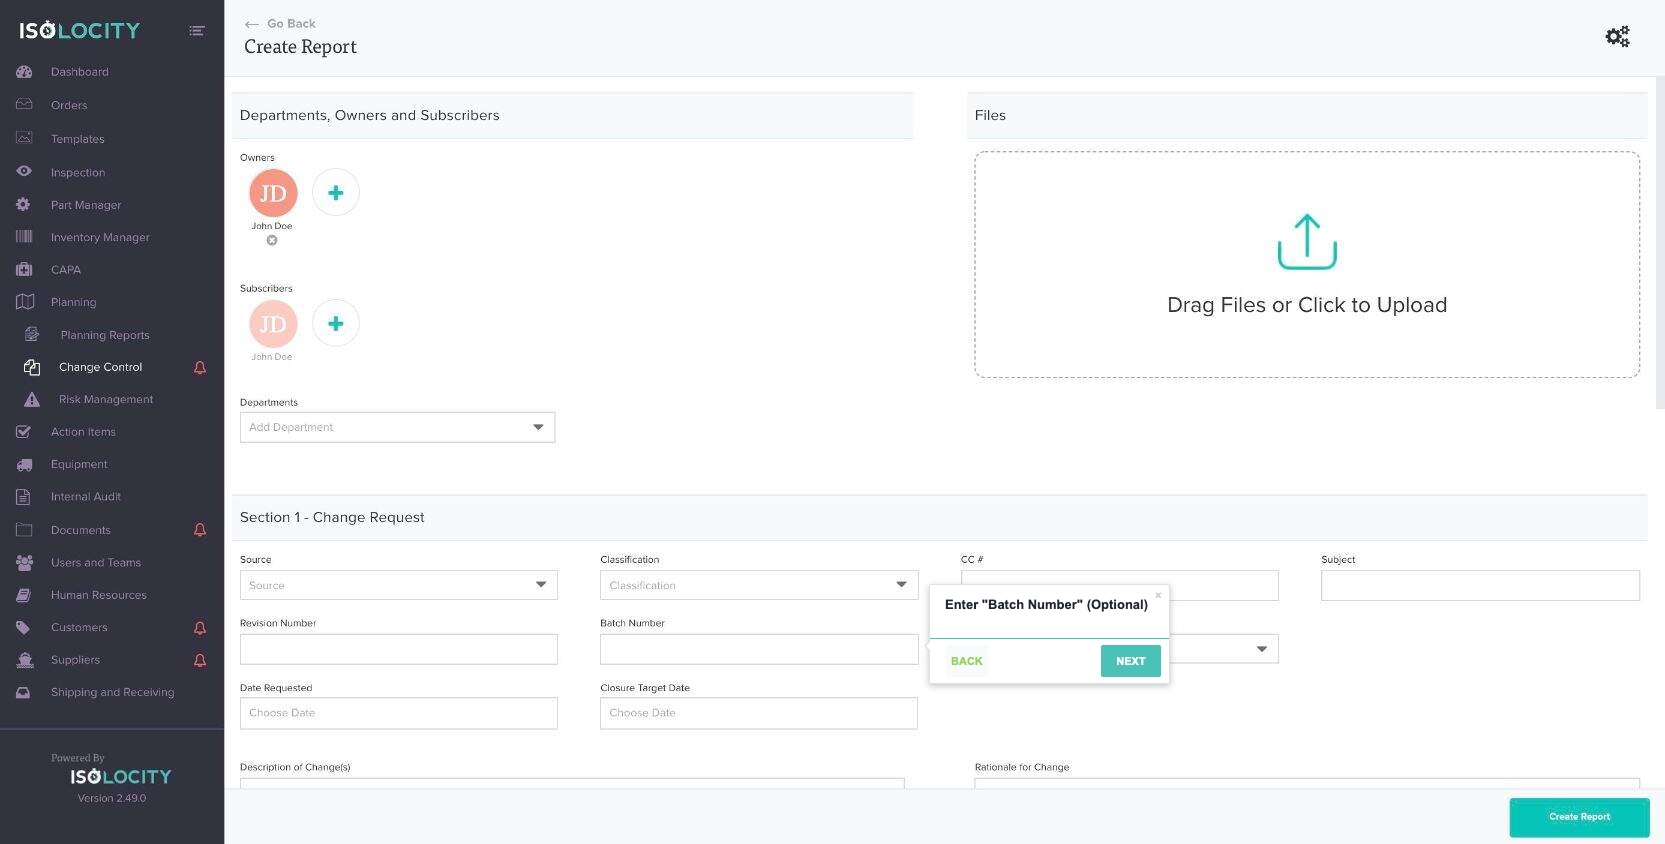
Title: Enter “Batch Number” (Optional)
Captured URL: https://app.isolocity.com/ccrs/new
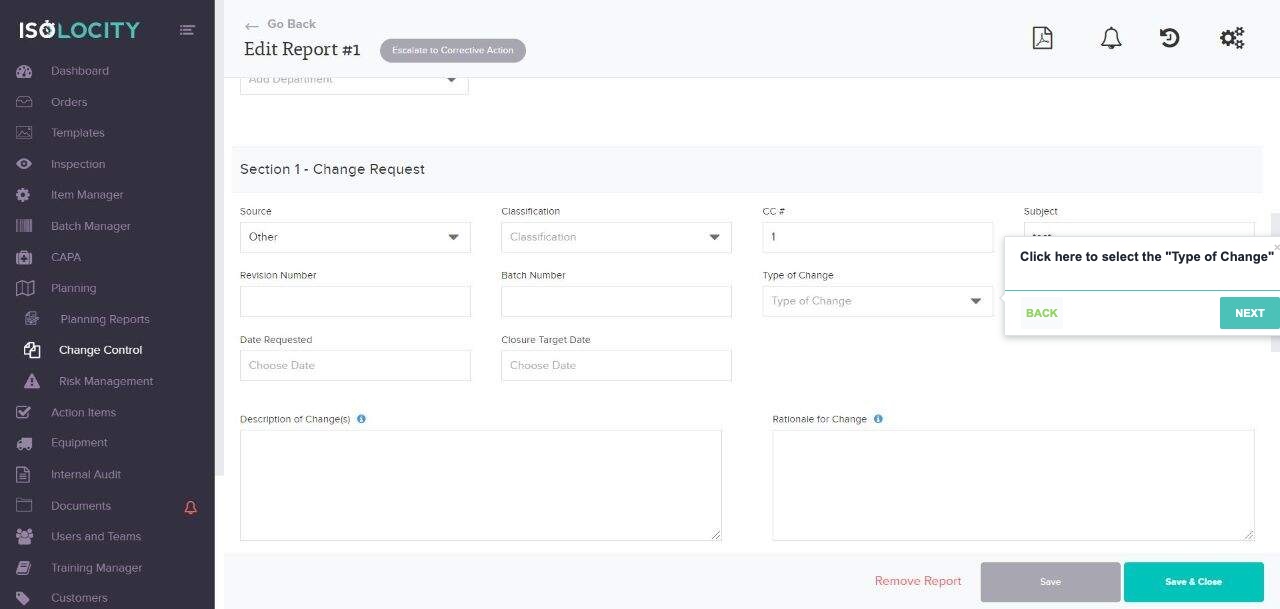
Step #16
Title: Click here to select the “Type of Change”
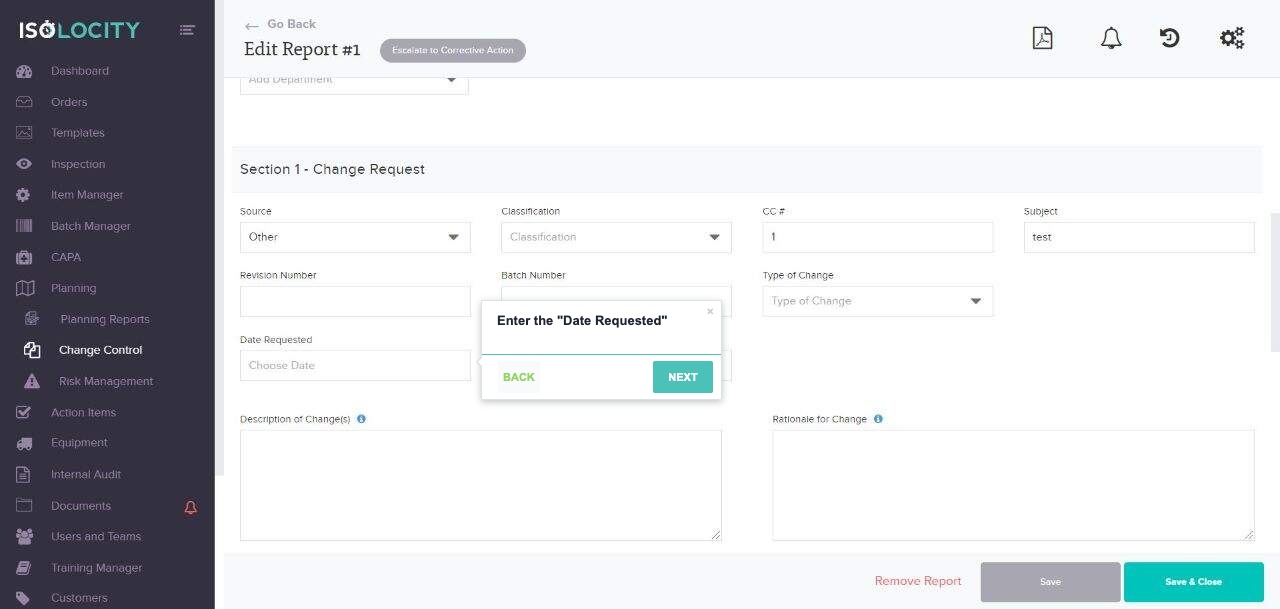
Step #17
Title: Enter the “Date Requested”
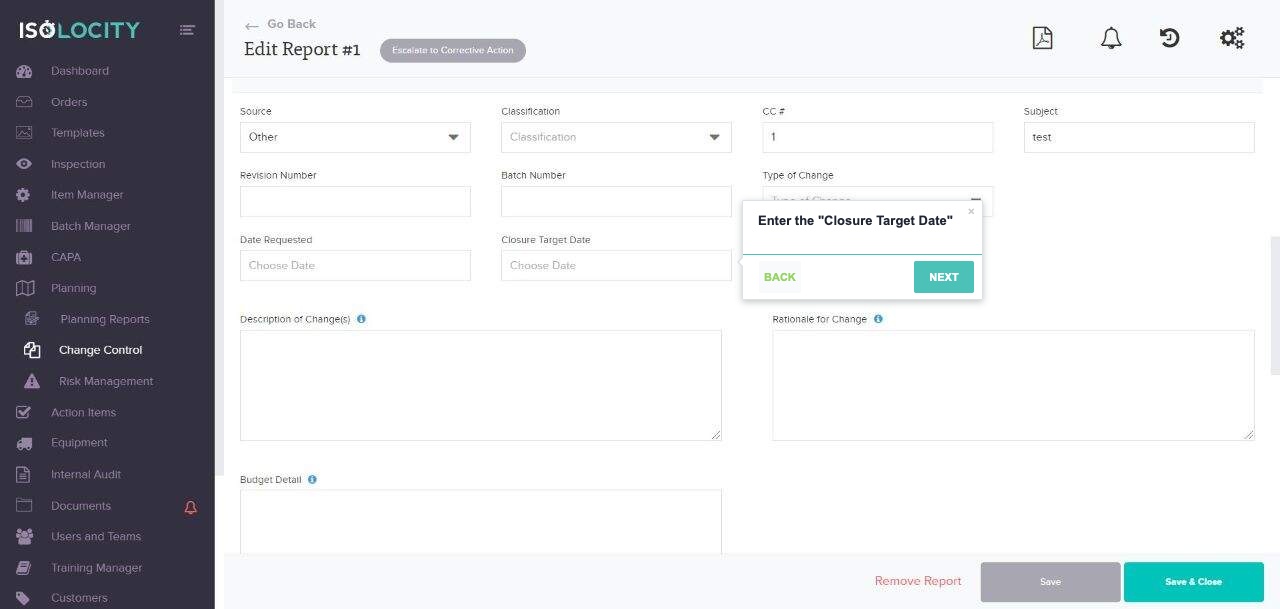
Step #18
Title: Enter the “Closure Target Date”
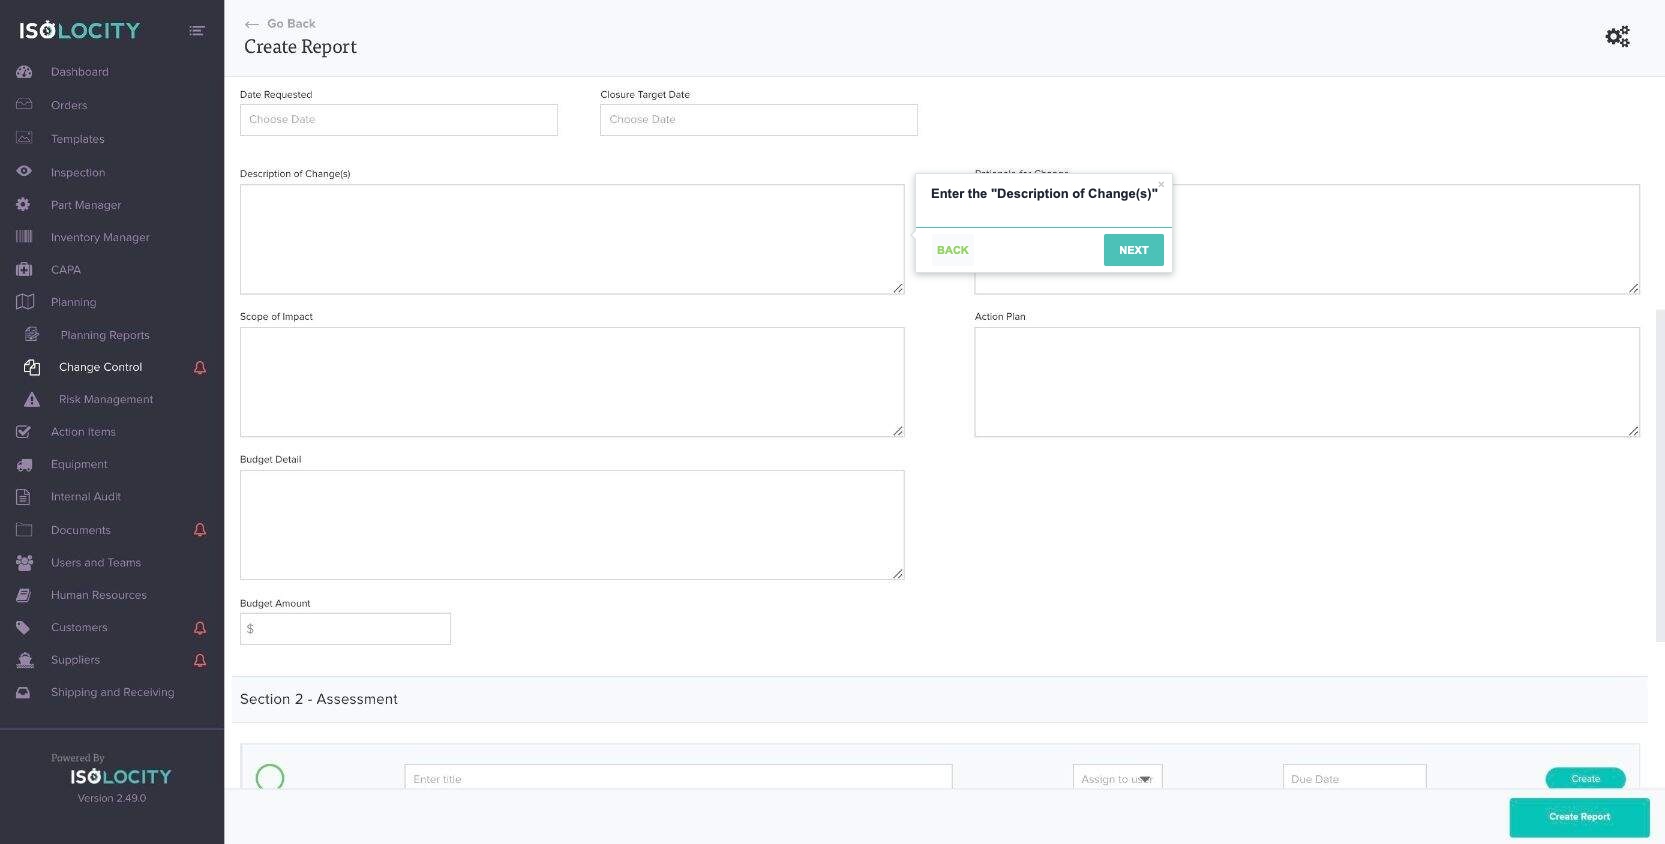
Step #19
Title: Enter the “Description of Change(s)”
Captured URL: https://app.isolocity.com/ccrs/new
Step #20
Title: Mouse over “Description of Change(s)” and click the pencil to edit its name (Optional).

Captured URL: https://app.isolocity.com/ccrs/new
Step #21
Title: Enter “Rationale for Change”.
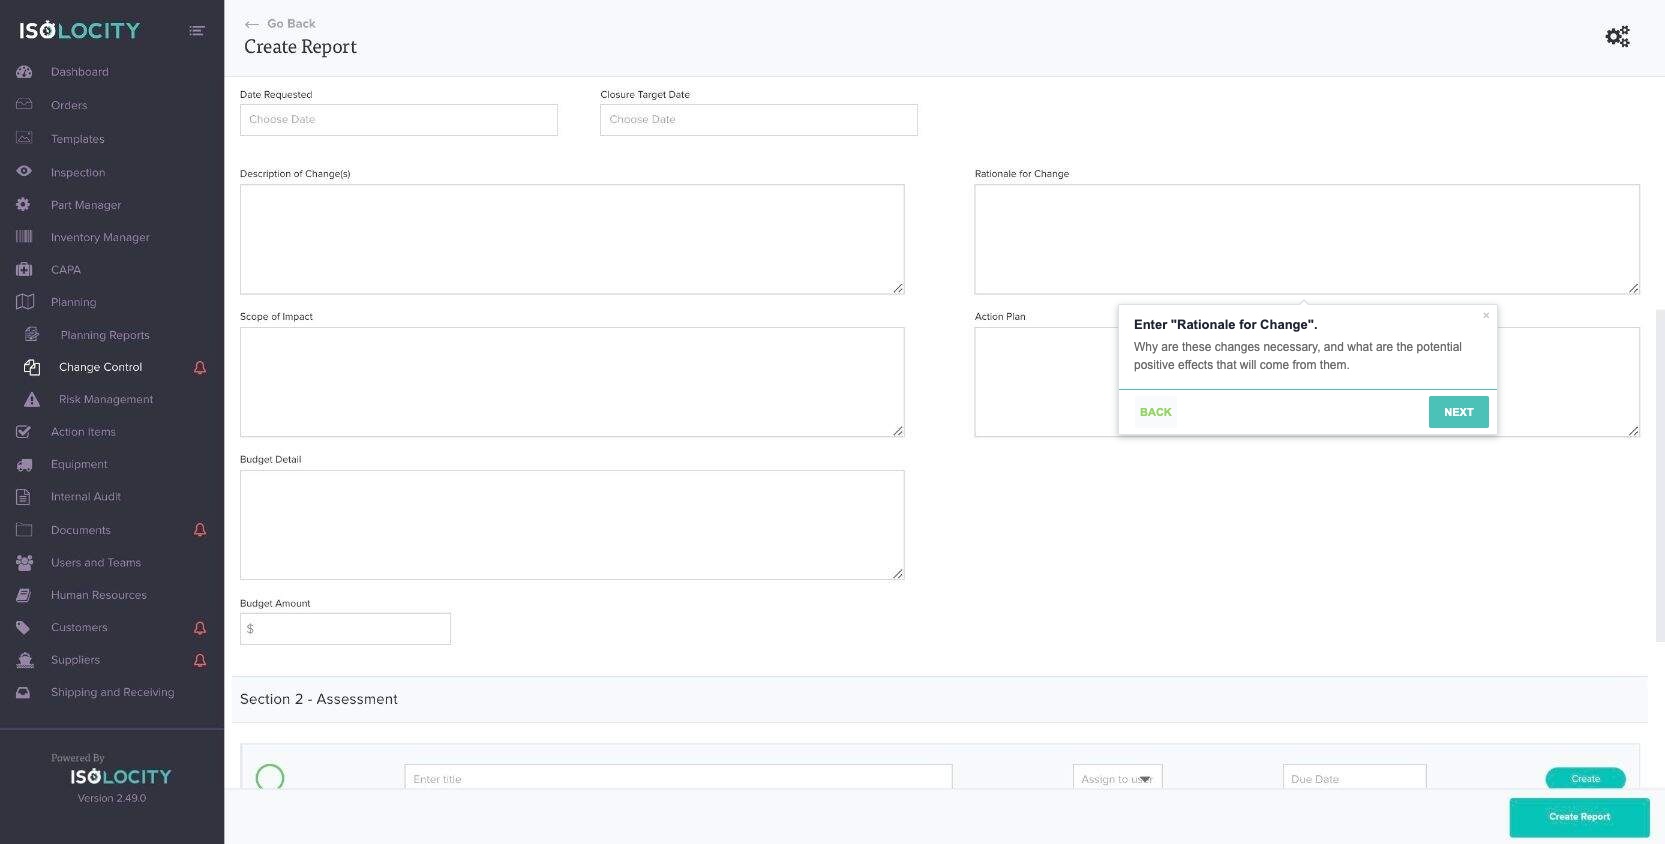
Text: Why are these changes necessary, and what are the potential positive effects that will come from them.
Captured URL: https://app.isolocity.com/ccrs/new
Step #22
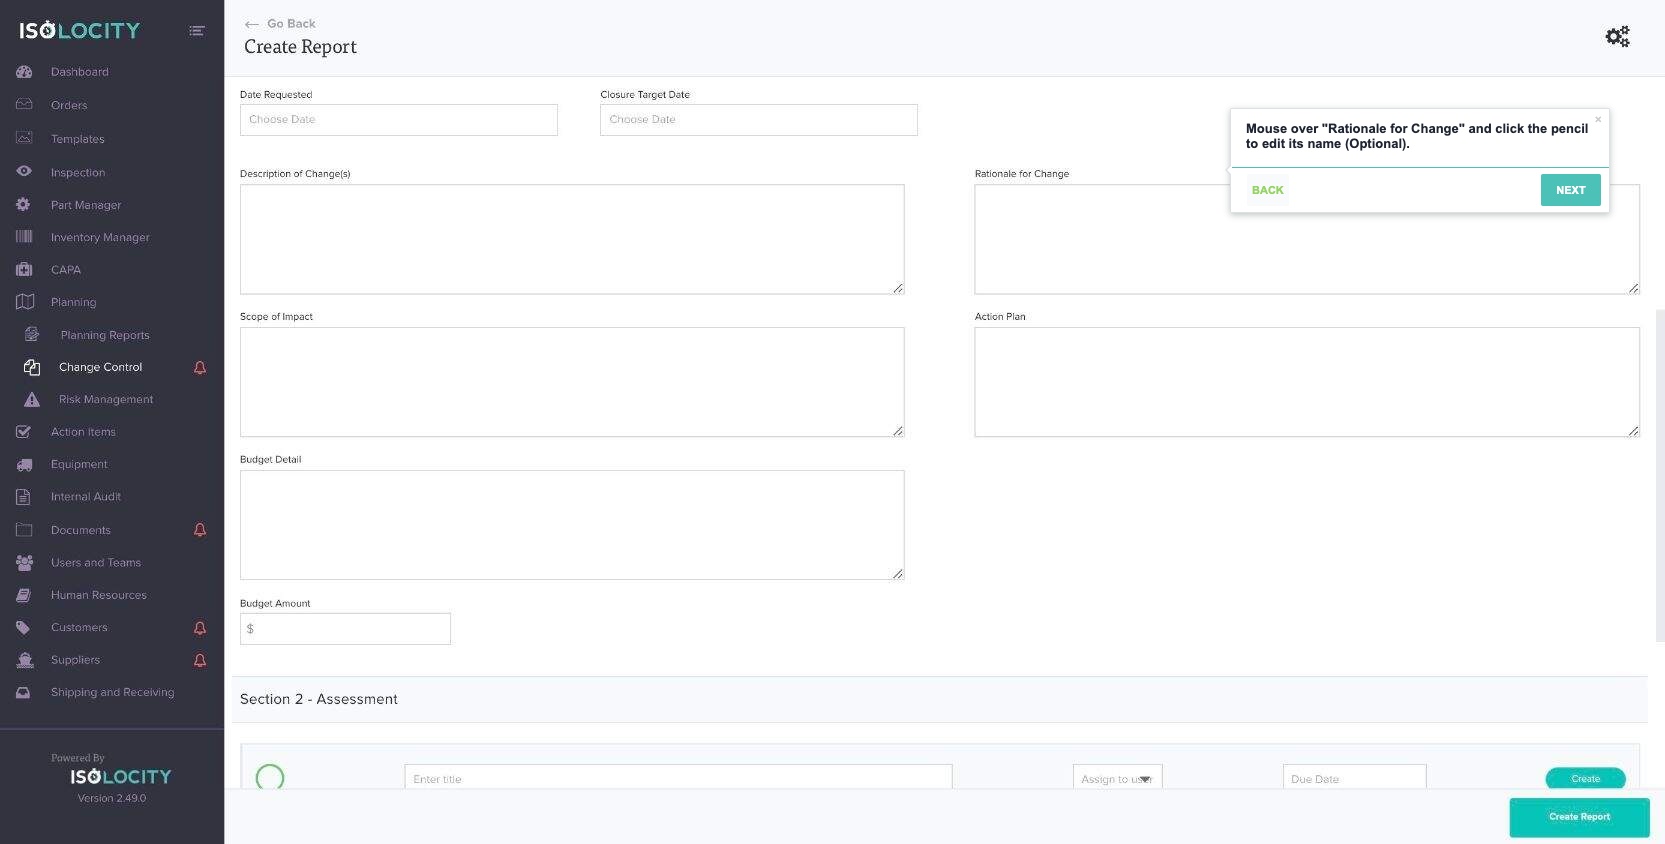
Title: Mouse over “Rationale for Change” and click the pencil to edit its name (Optional).
Captured URL: https://app.isolocity.com/ccrs/new
Step #23
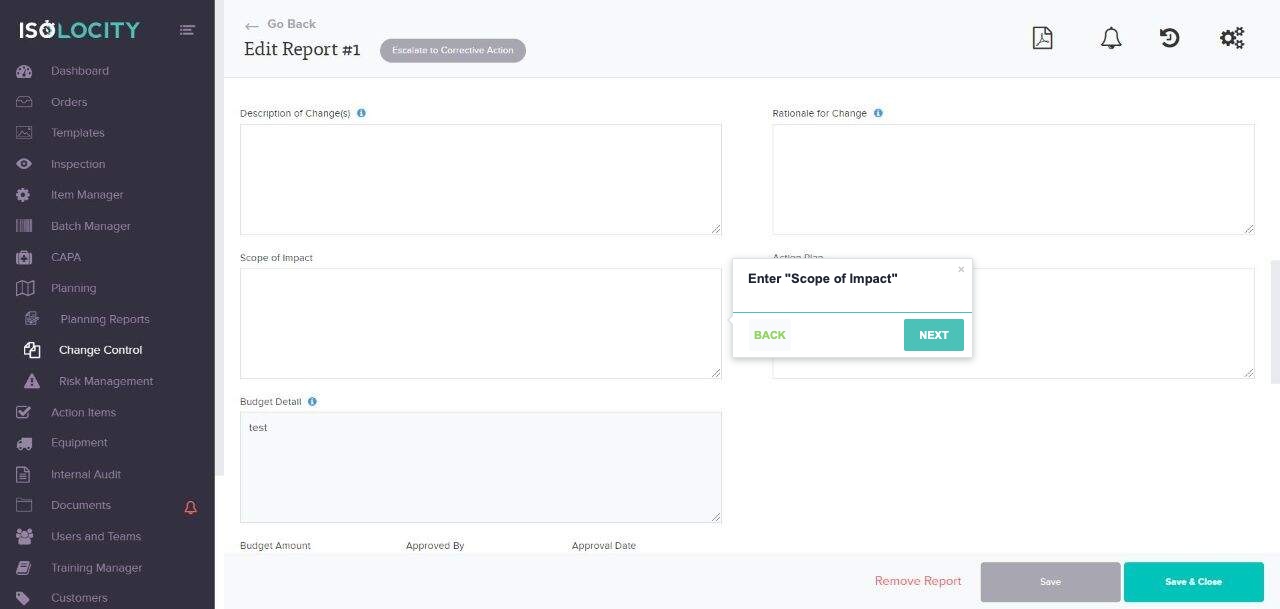
Title: Enter “Scope of Impact”
Step #24
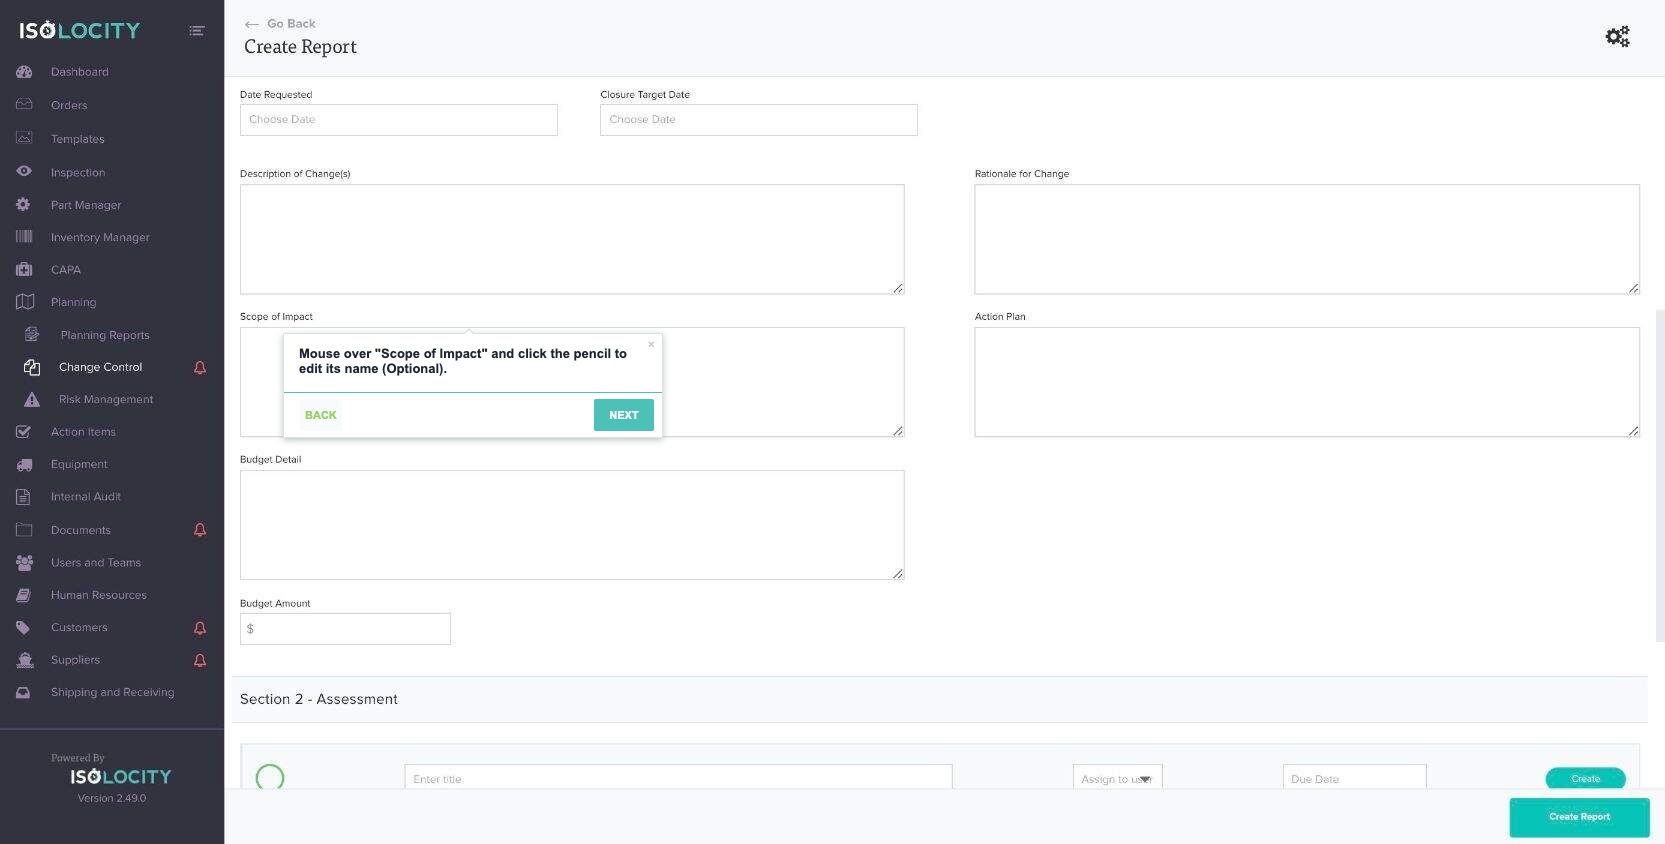
Title: Mouse over “Scope of Impact” and click the pencil to edit its name (Optional).
Captured URL: https://app.isolocity.com/ccrs/new
Step #25
Title: Enter “Action Plan”
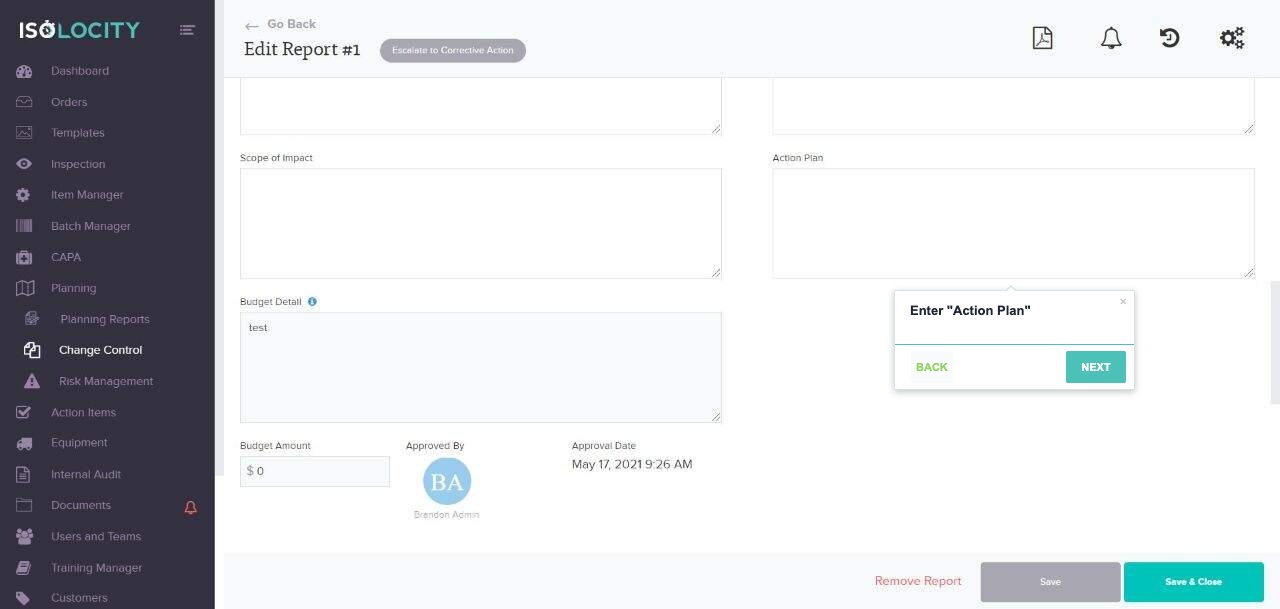
Step #26
Title: Mouse over “Action Plan” and click the pencil to edit its name (Optional).
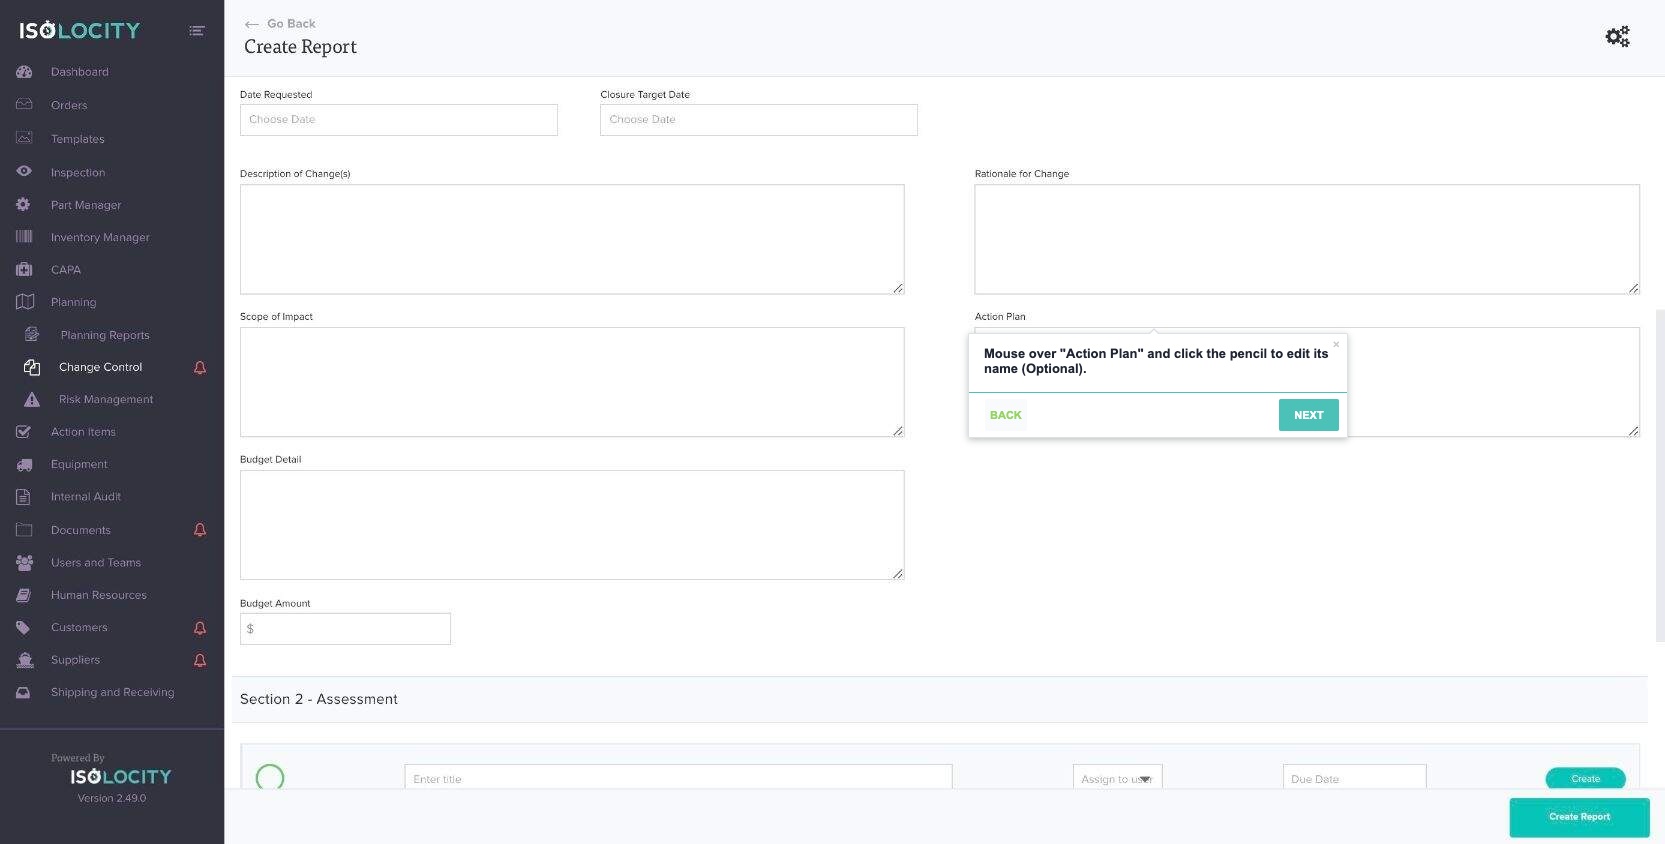
Captured URL: https://app.isolocity.com/ccrs/new
Step #27
Title: Enter Budget Detail

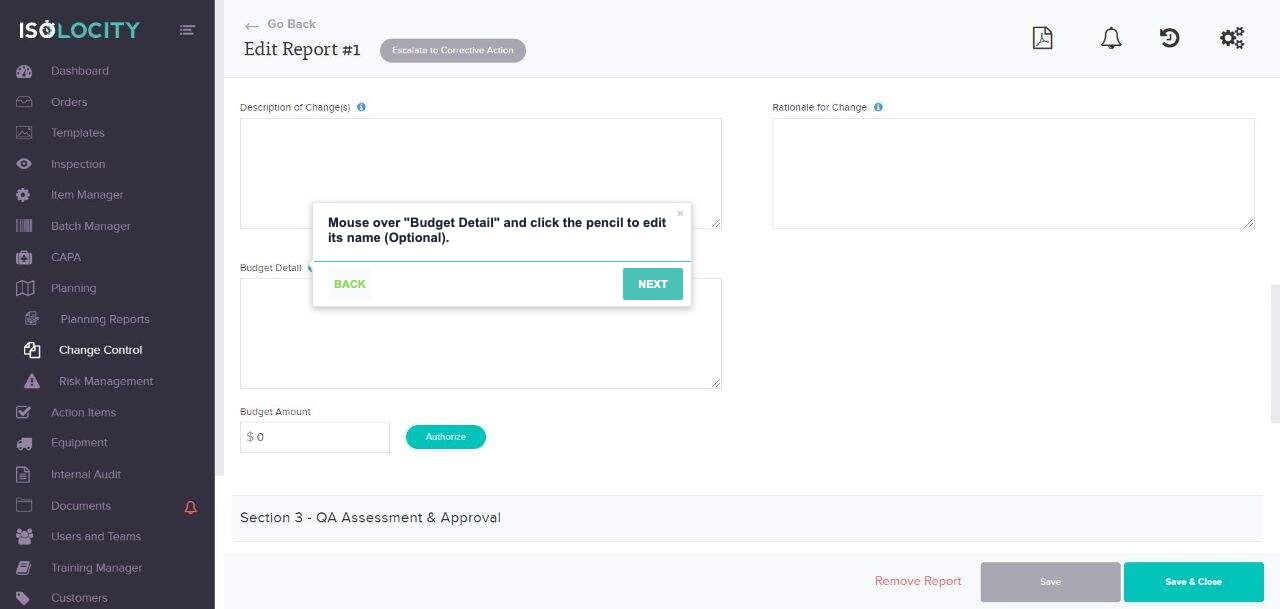
Step #28
Title: Mouse over “Budget Detail” and click the pencil to edit its name (Optional).
Step #29
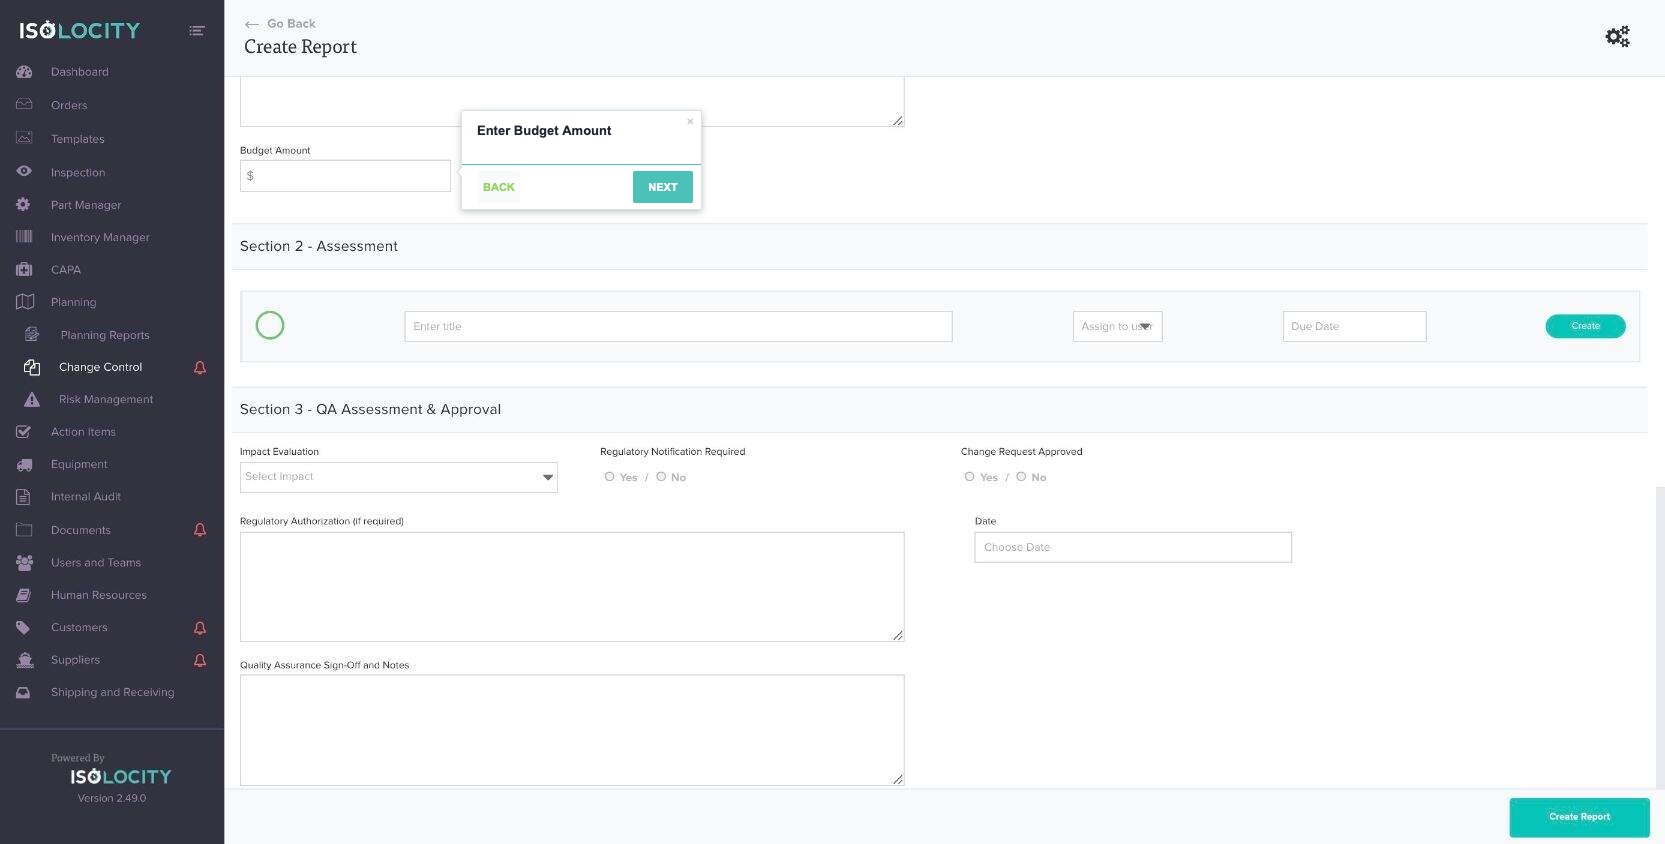
Title: Enter Budget Amount
Captured URL: https://app.isolocity.com/ccrs/new
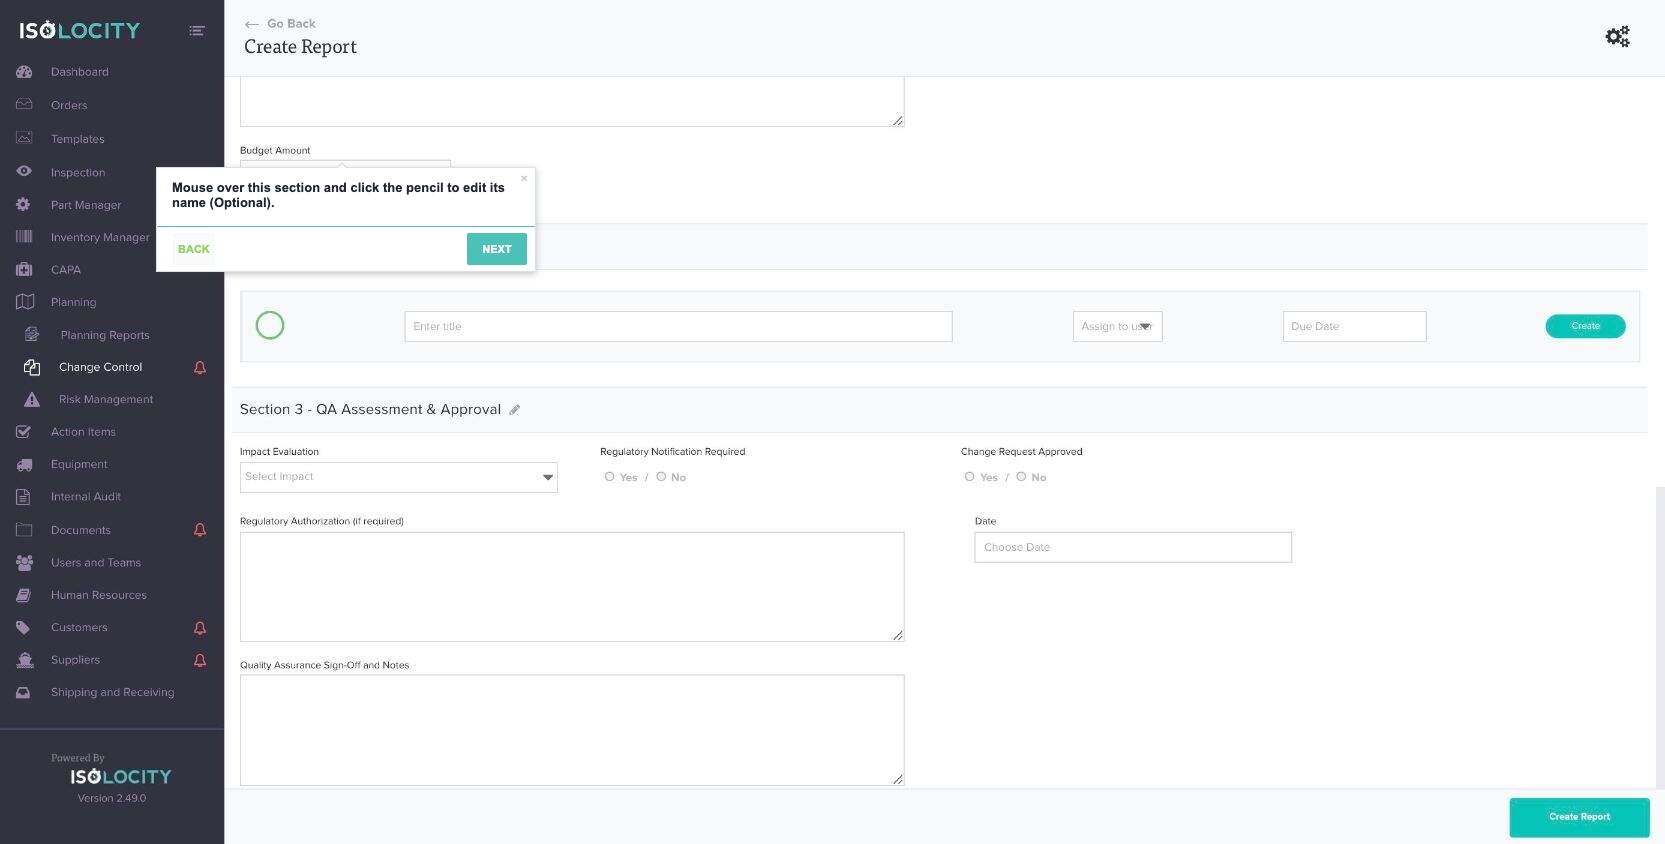
Step #30
Title: Mouse over this section and click the pencil to edit its name (Optional).
Captured URL: https://app.isolocity.com/ccrs/new
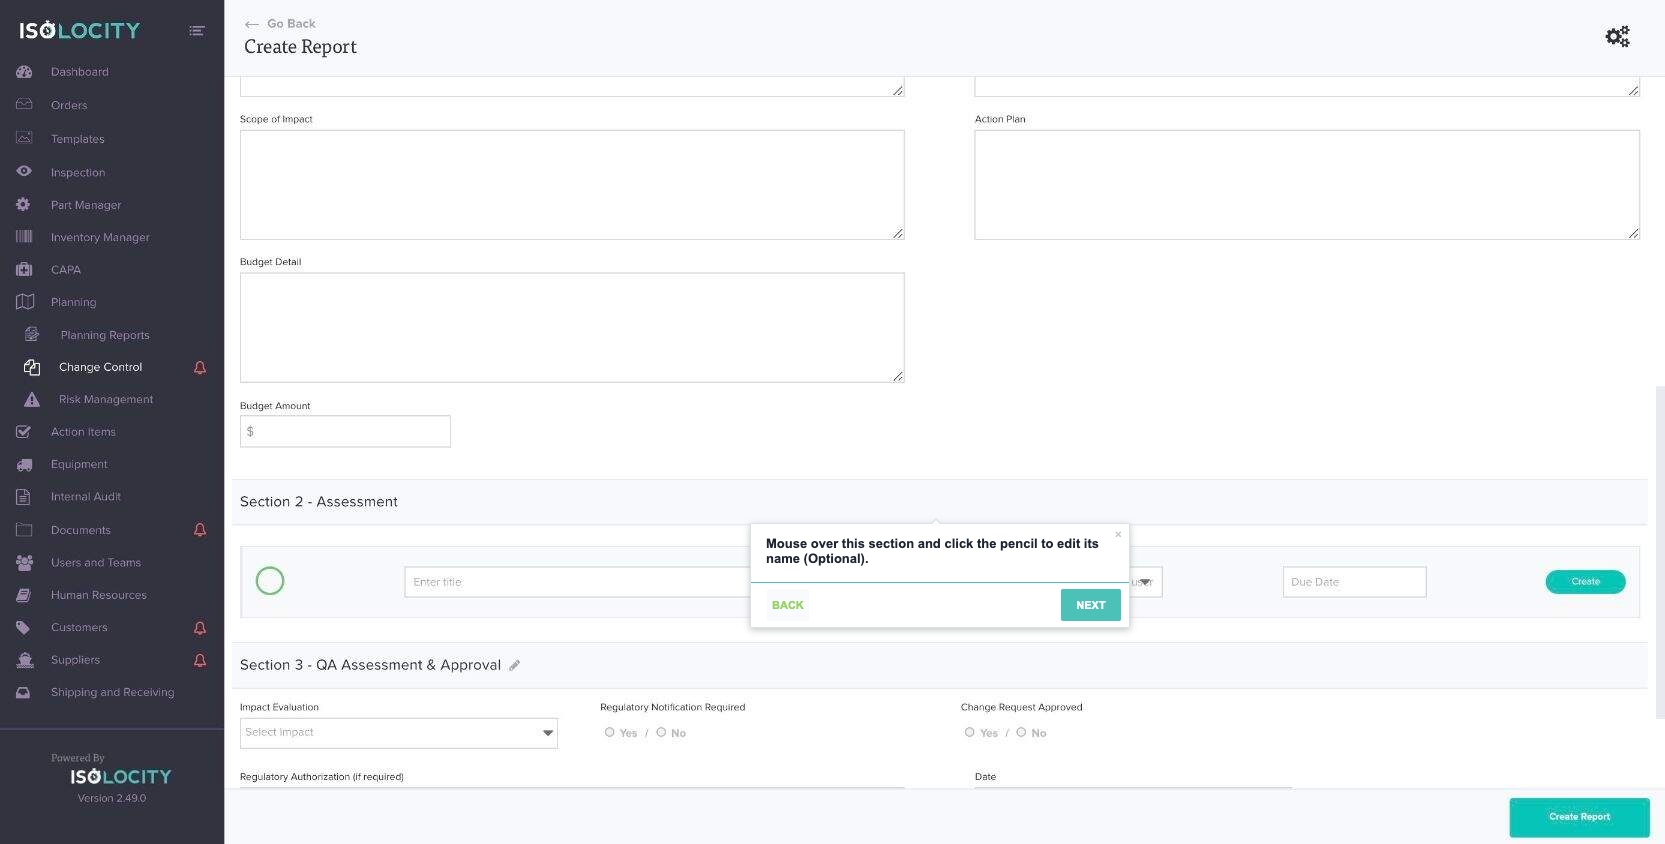
Step #31
Title: Mouse over this section and click the pencil to edit its name (Optional).
Captured URL: https://app.isolocity.com/ccrs/new
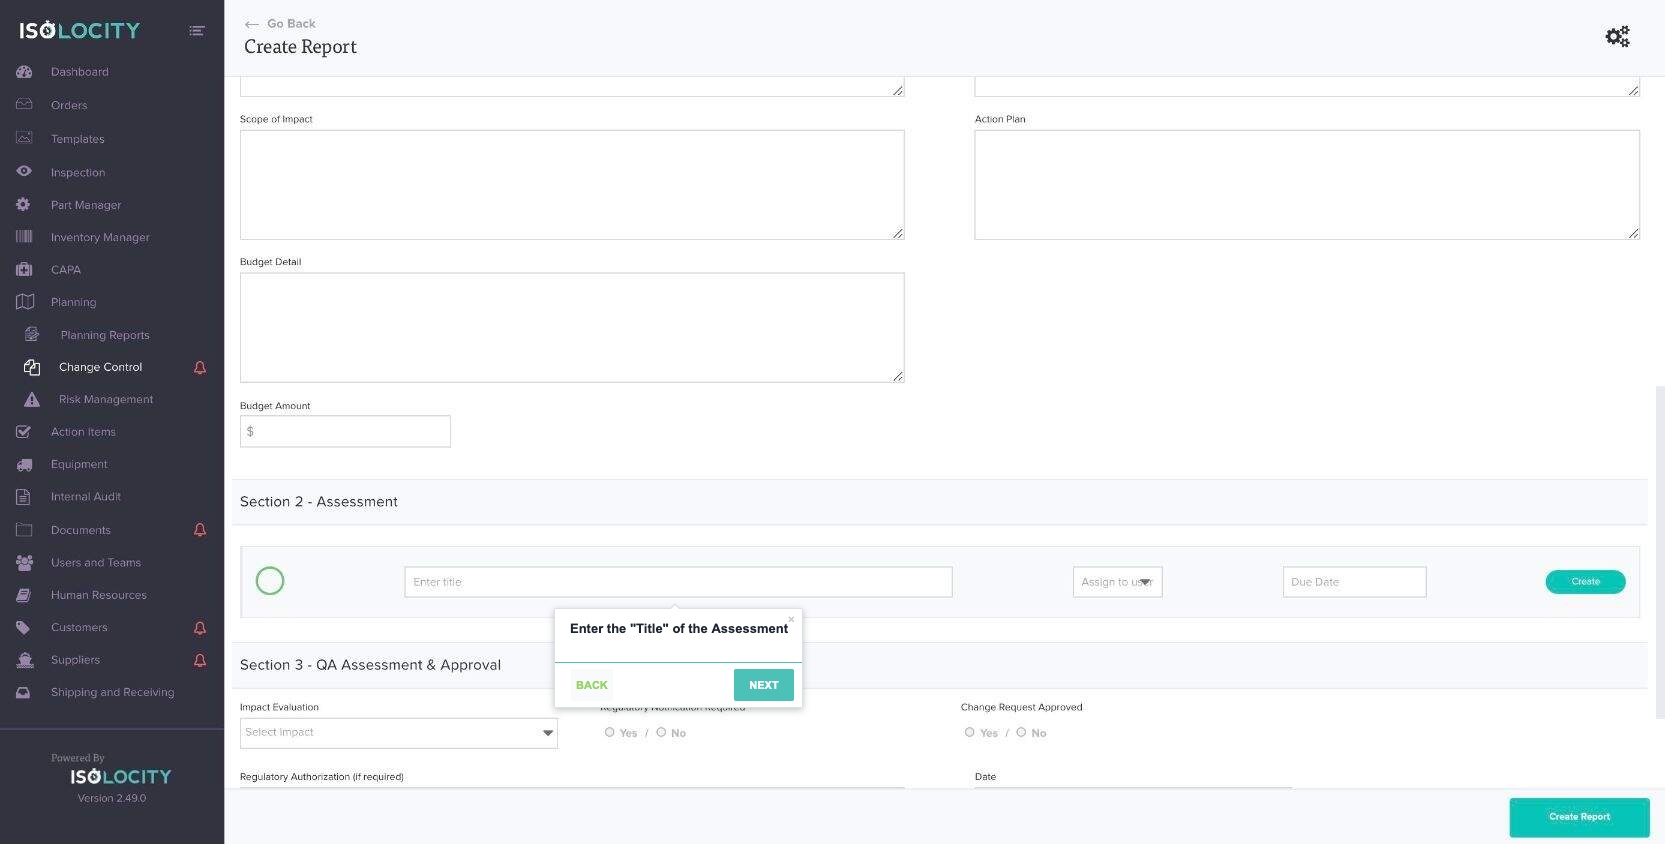
Step #32
Title: Enter the “Title” of the Assessment
Captured URL: https://app.isolocity.com/ccrs/new
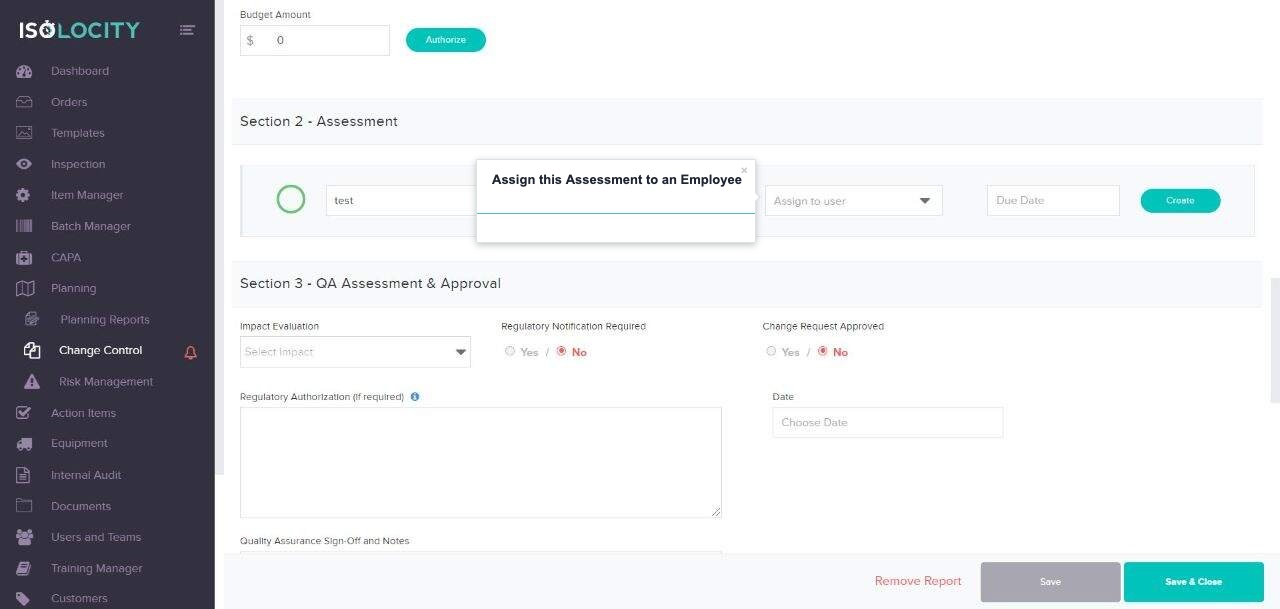
Step #33
Title: Assign this Assessment to an Employee
Step #34
Title: Enter the Due Date
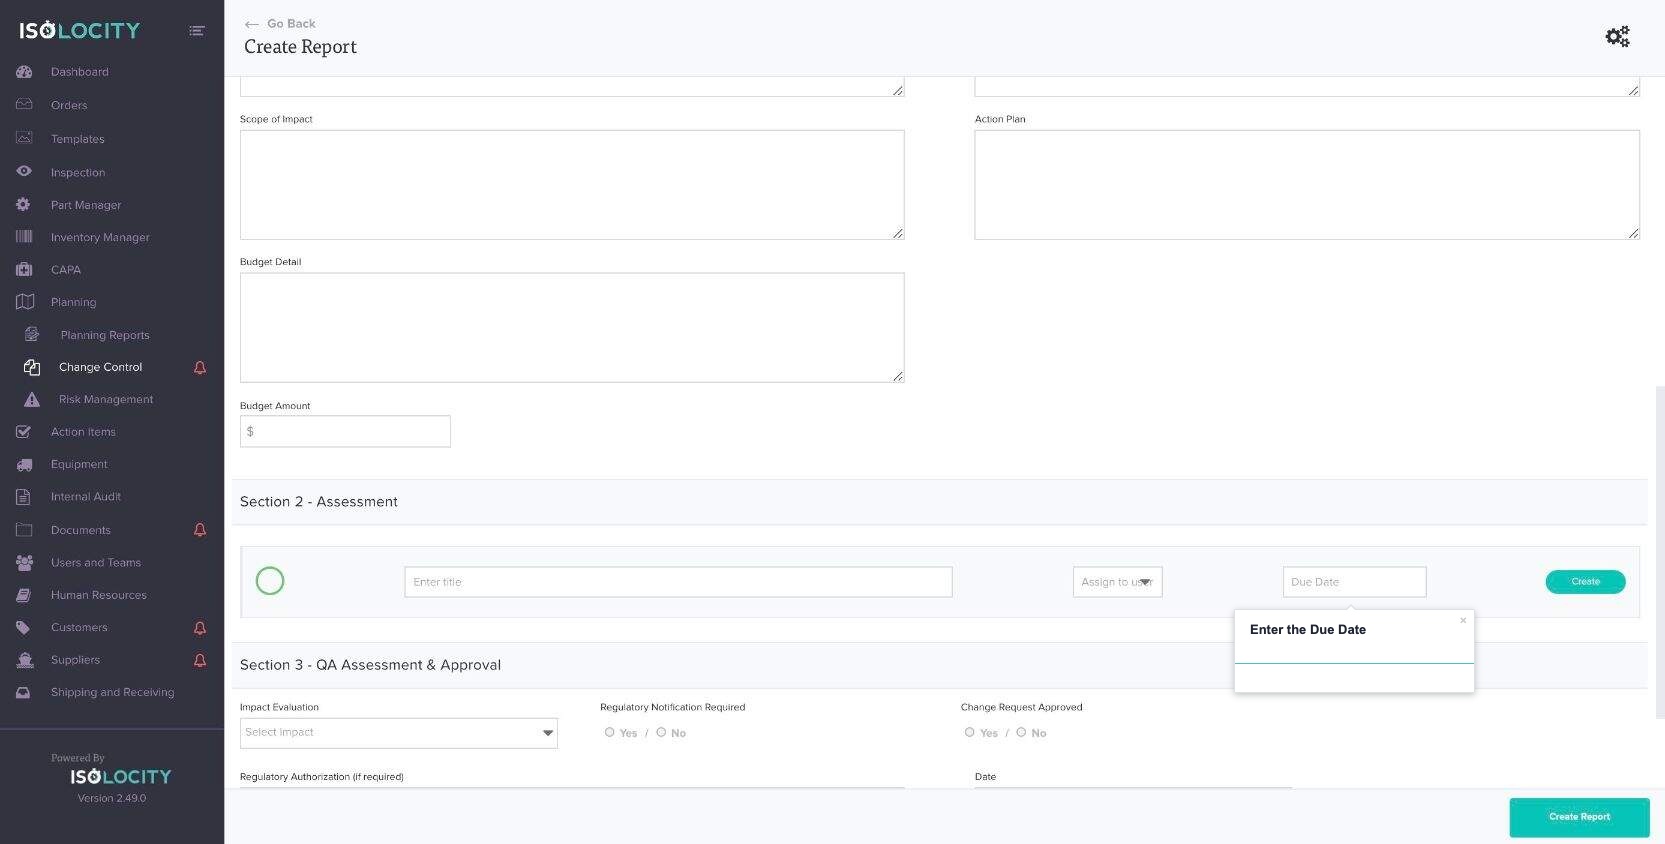
Captured URL: https://app.isolocity.com/ccrs/new
Step #35
Title: Click to Create Action Item
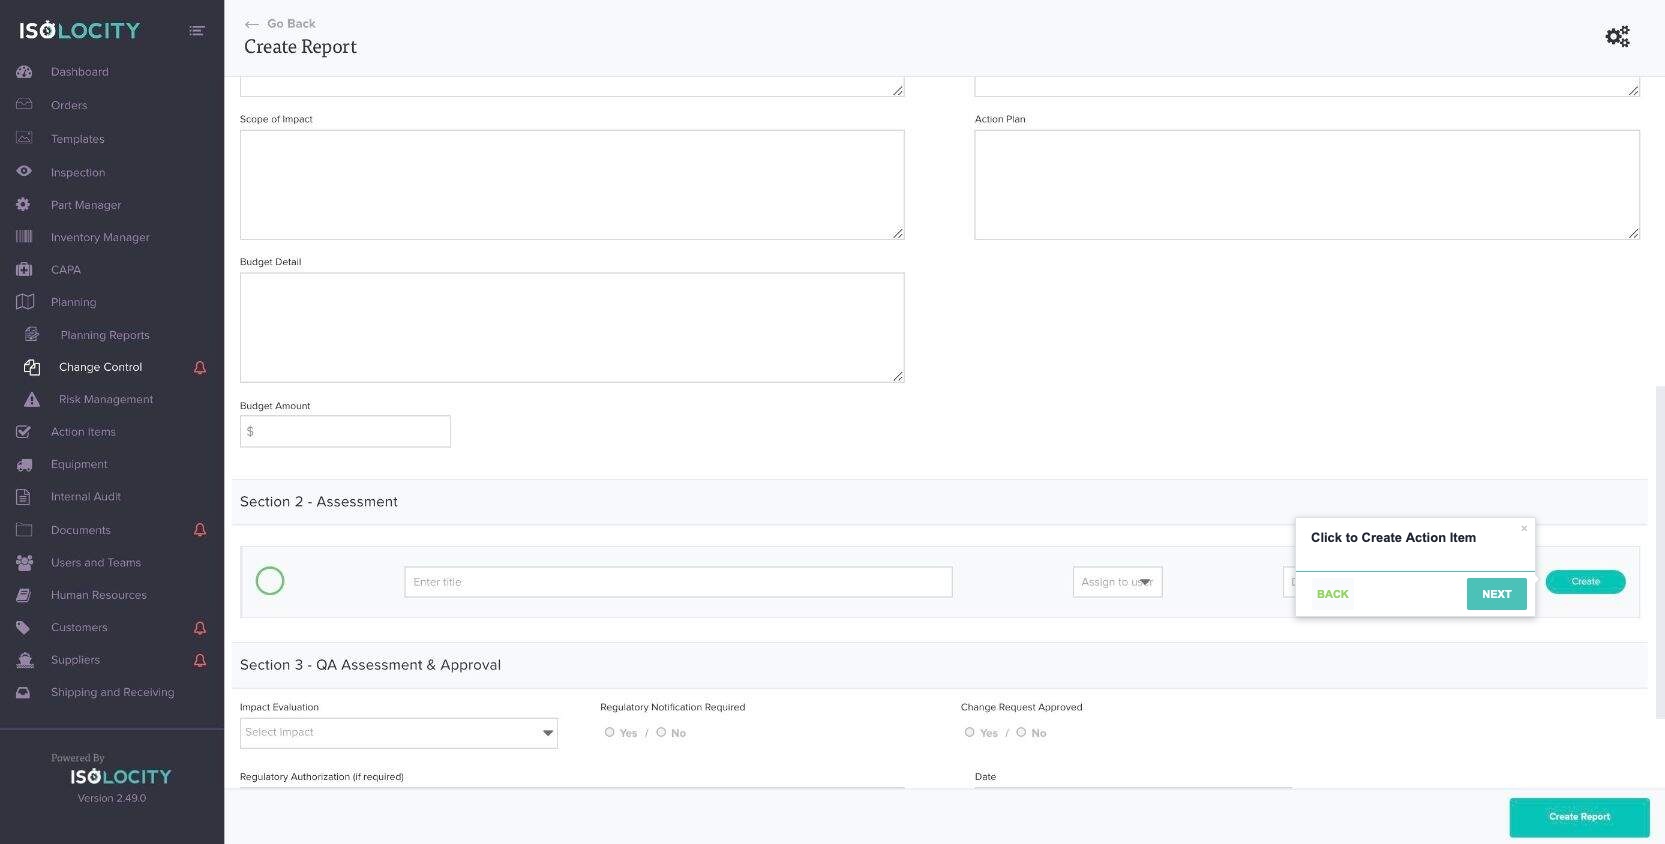
Captured URL: https://app.isolocity.com/ccrs/new
Step #36
Title: Select the amount of impact the change will have on the system.

Text: This step is recommended for the user evaluating the change proposed and whether it is viable for the system.
Captured URL: https://app.isolocity.com/ccrs/new
Step #37
Title: Is a “Regulatory Notification Required”?
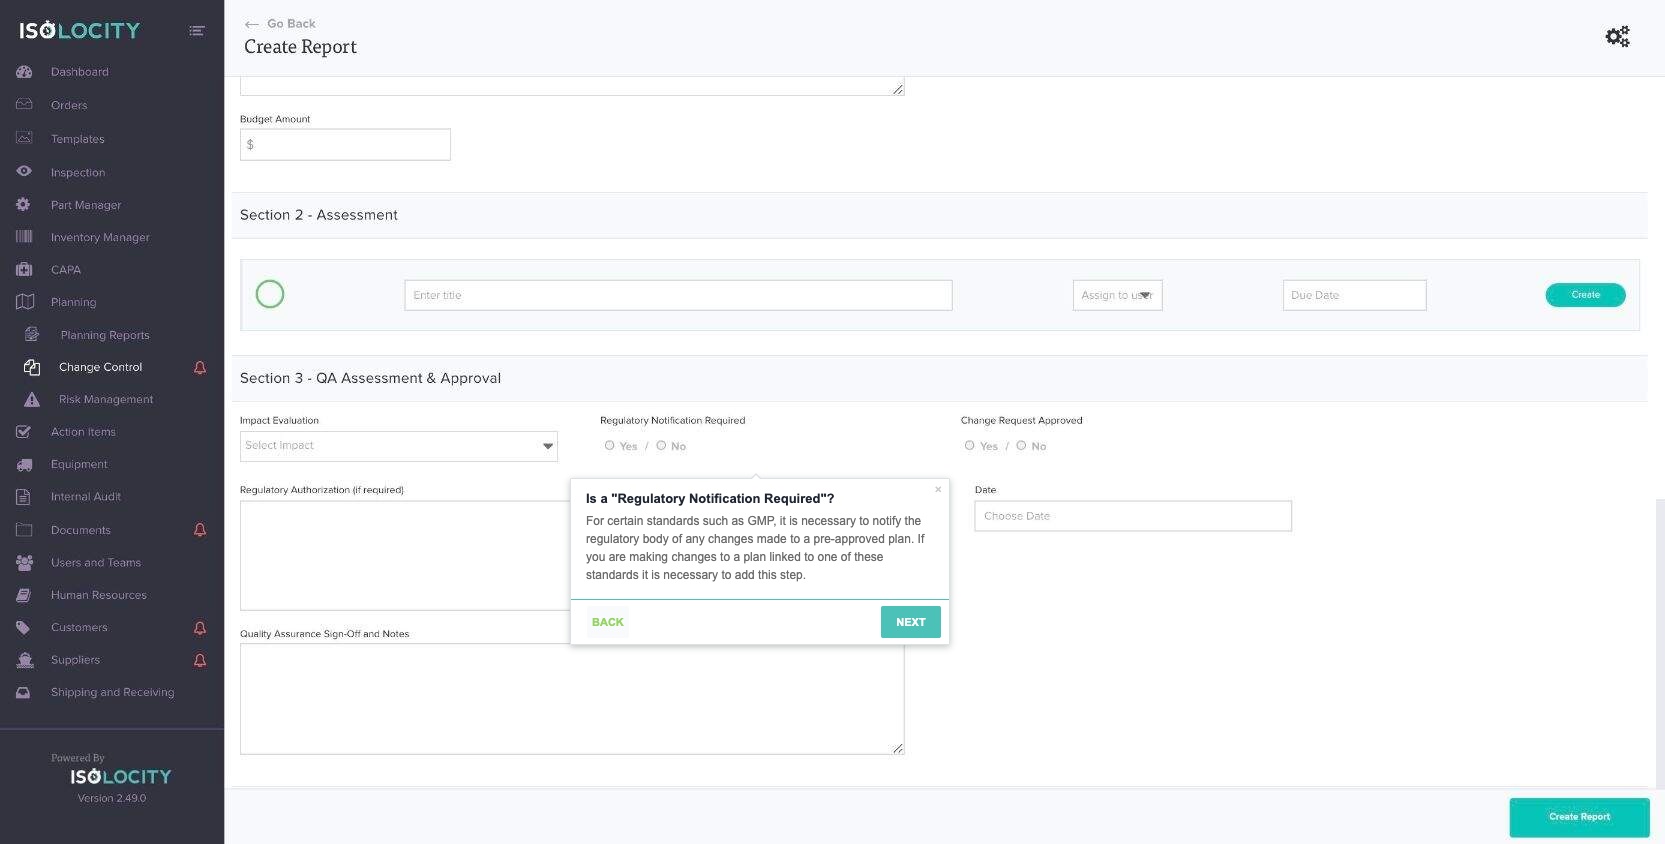
Text: For certain standards such as GMP, it is necessary to notify the regulatory body of any changes made to a pre-approved plan. If you are making changes to a plan linked to one of these standards it is necessary to add this step.
Captured URL: https://app.isolocity.com/ccrs/new
Step #38
Title: What “Regulatory Authorization” is needed, if any (Optional).
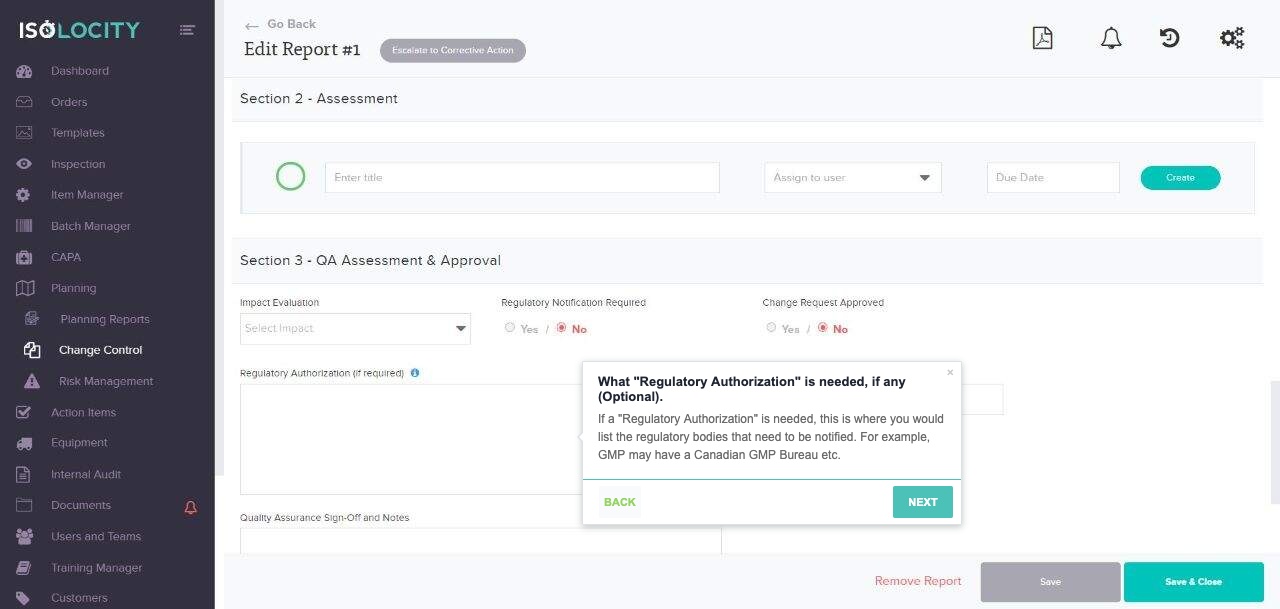
Text: If a “Regulatory Authorization” is needed, this is where you would list the regulatory bodies that need to be notified. For example, GMP may have a Canadian GMP Bureau etc.
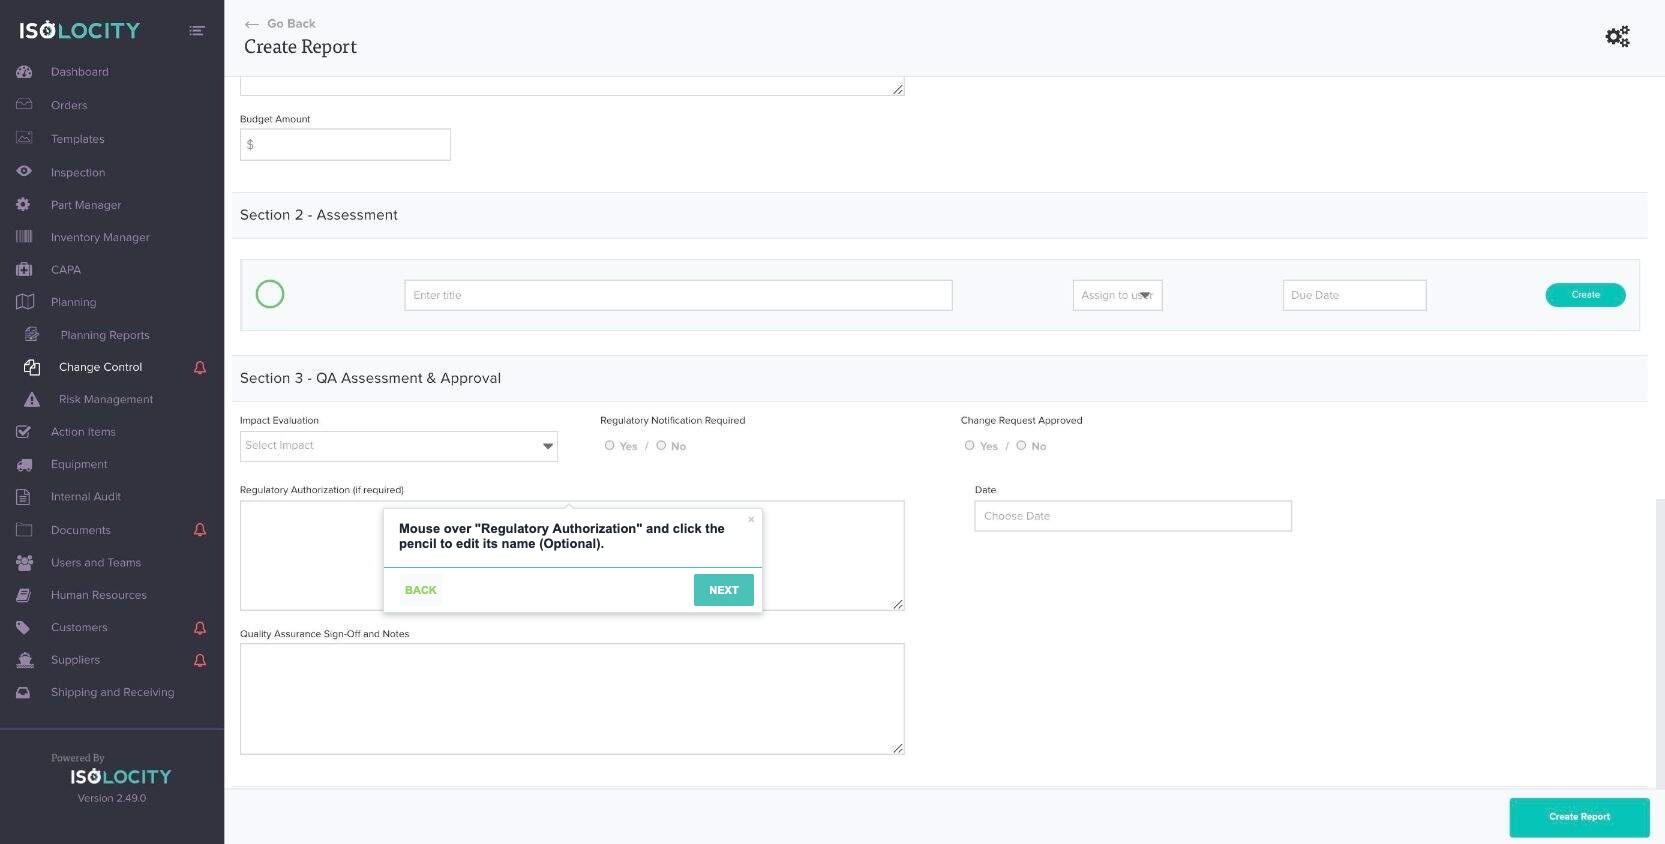
Step #39
Title: Mouse over “Regulatory Authorization” and click the pencil to edit its name (Optional).
Captured URL: https://app.isolocity.com/ccrs/new
Step #40
Title: Is this request approved (Optional)?
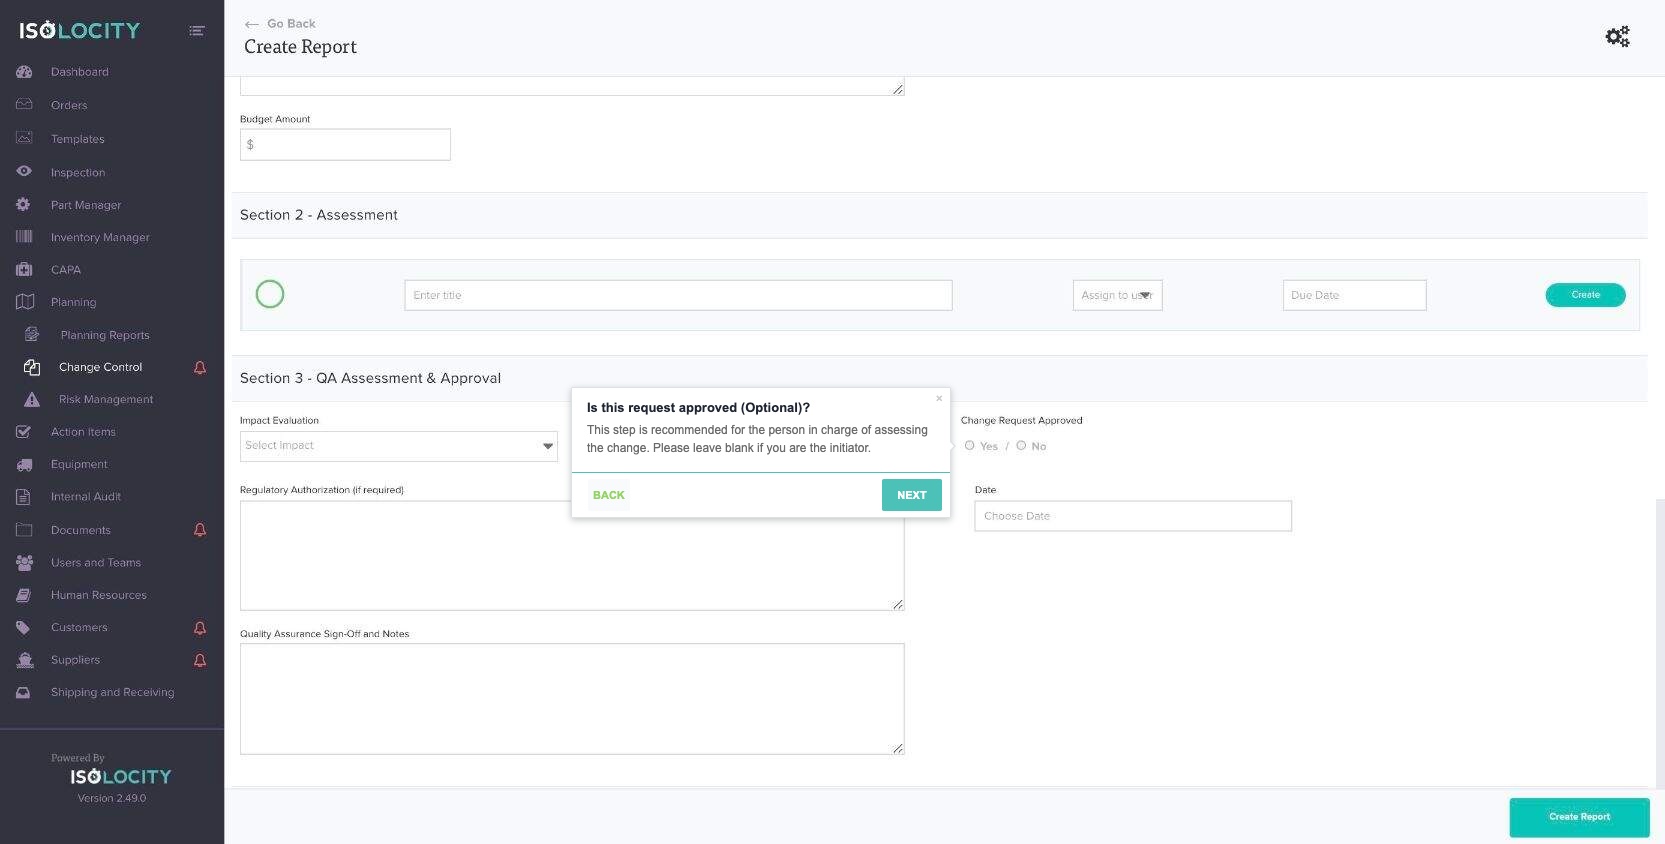
Text: This step is recommended for the person in charge of assessing the change. Please leave blank if you are the initiator.
Captured URL: https://app.isolocity.com/ccrs/new
Step #41
Title: Enter the date this change request is approved (Optional).
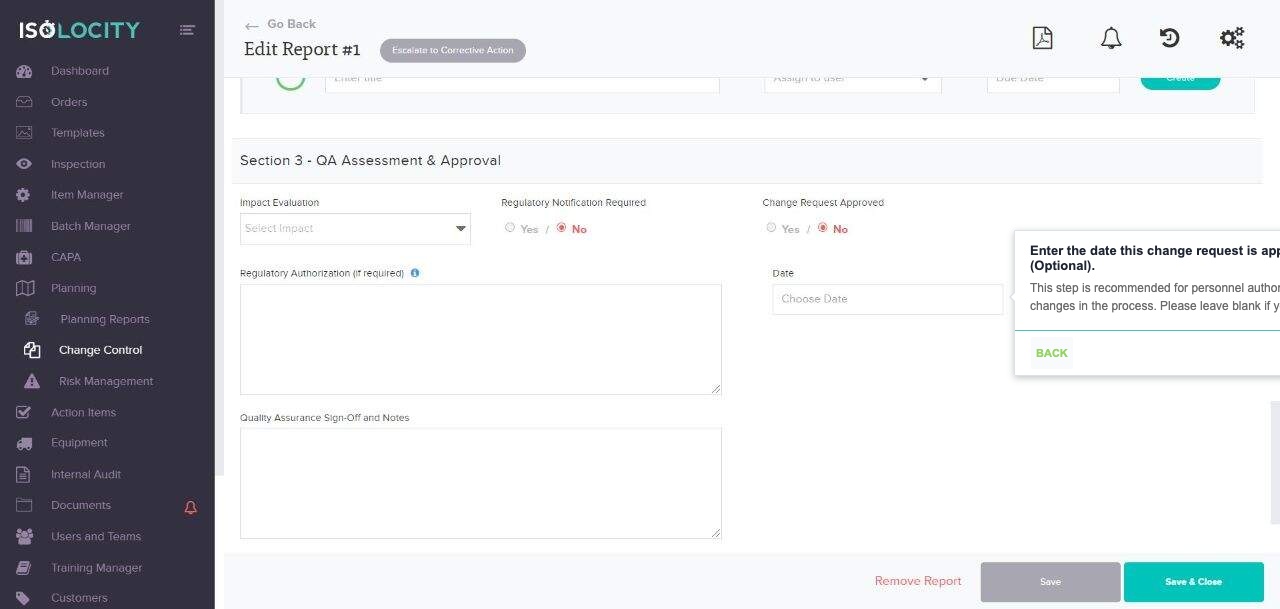
Text: This step is recommended for personnel authorized to approve changes in the process. Please leave blank if you are the initiator.
Step #42
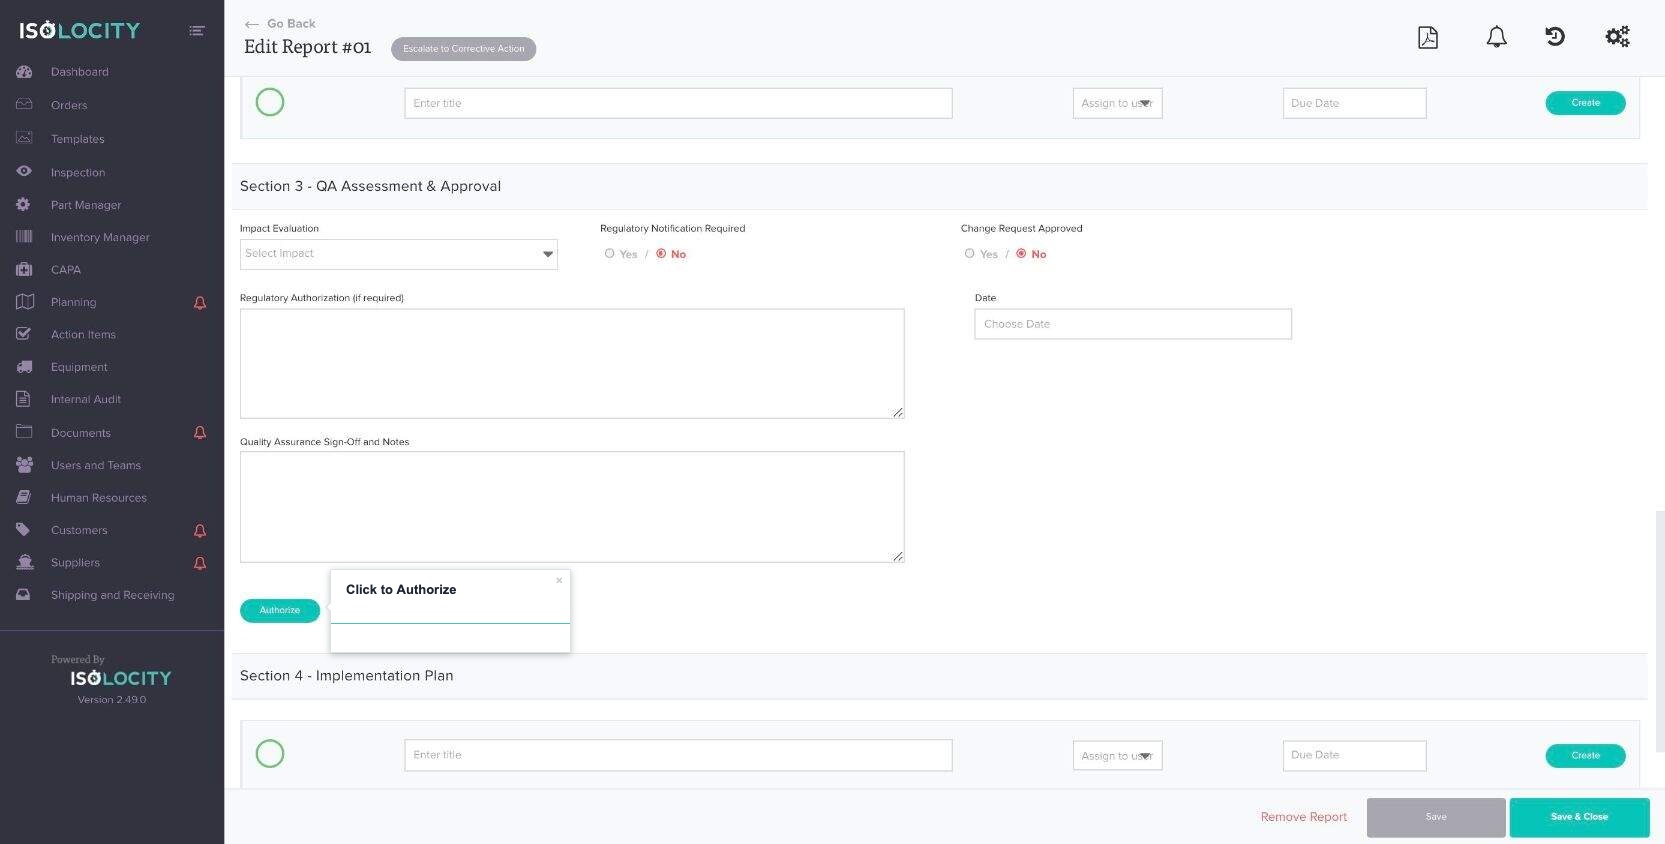
Title: Enter “Quality Assurance Sign-off and Notes”
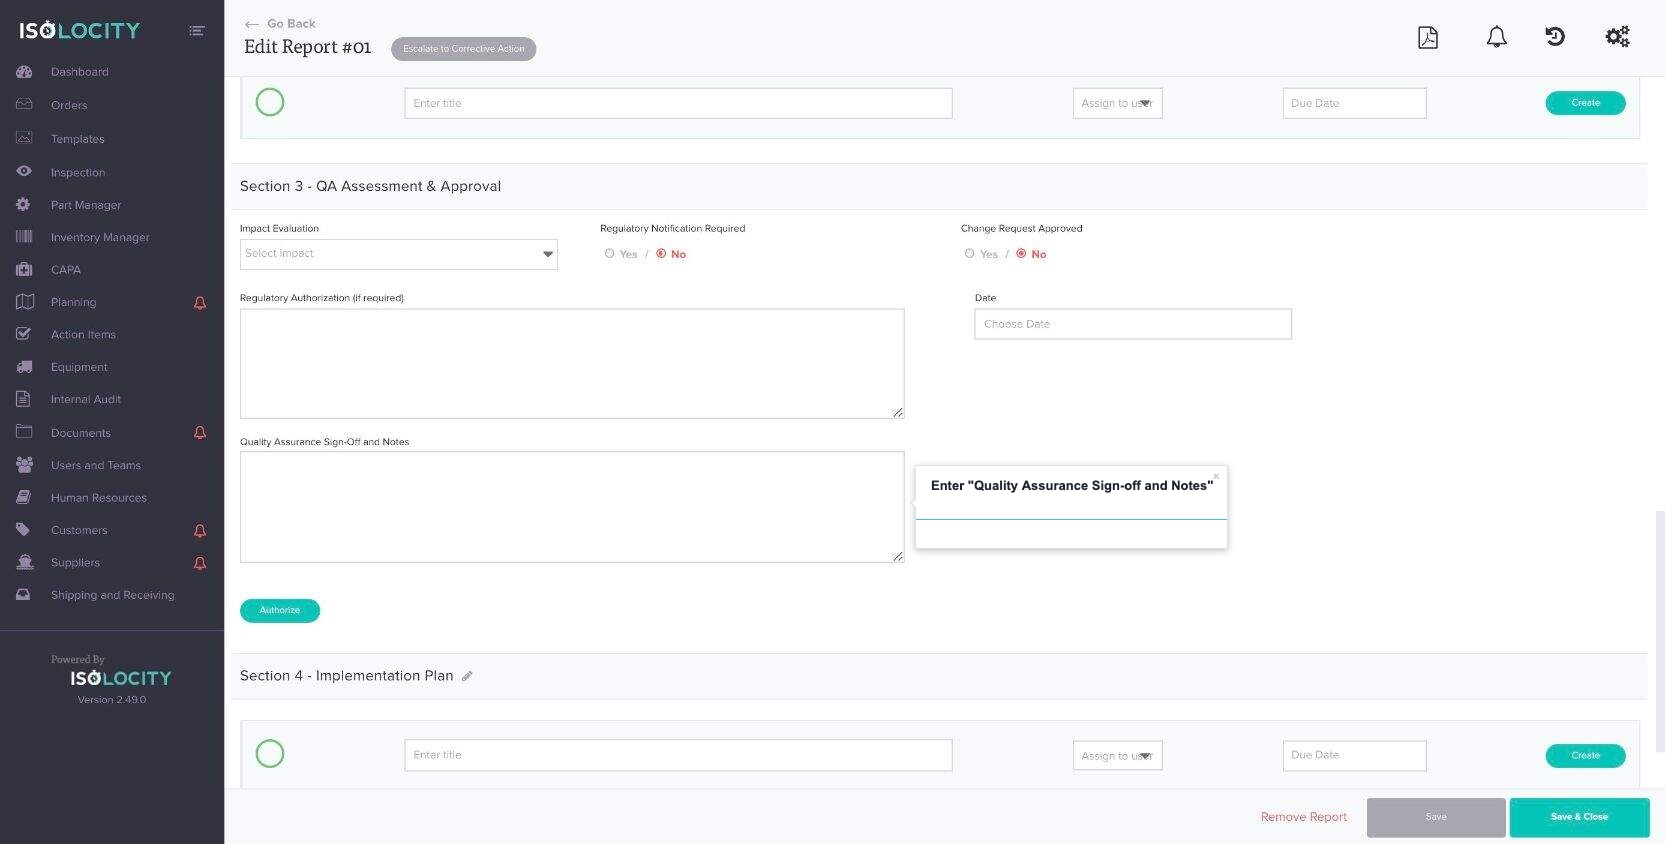
Step #43
Title: Click to Authorize
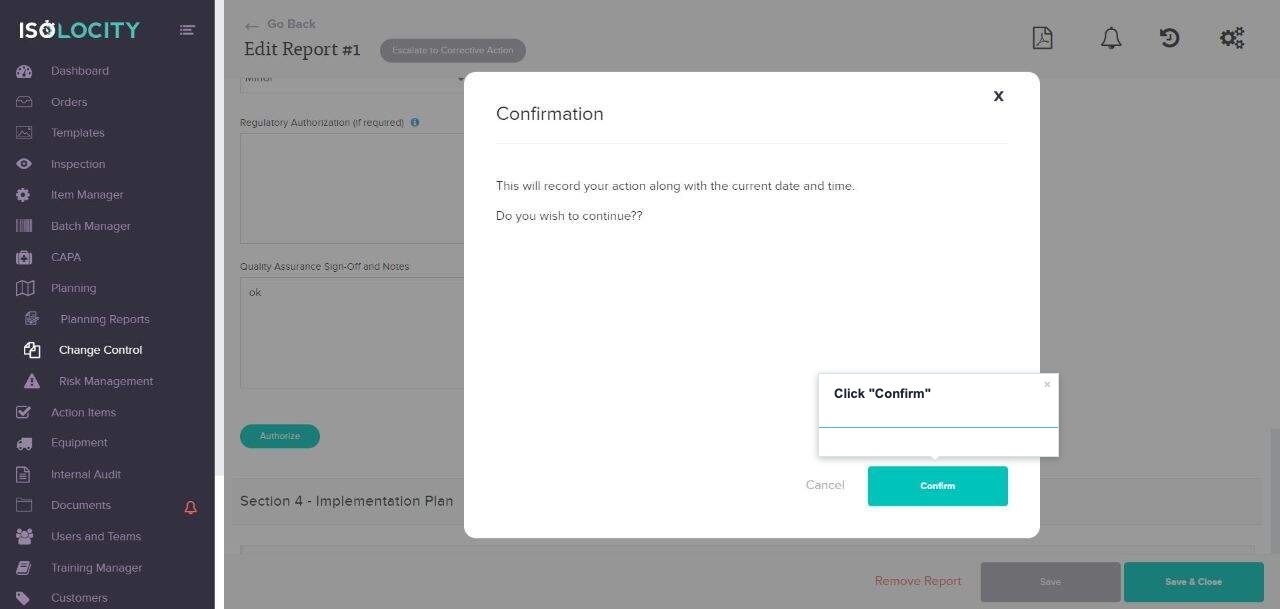
Step #44
Title: Click “Confirm”
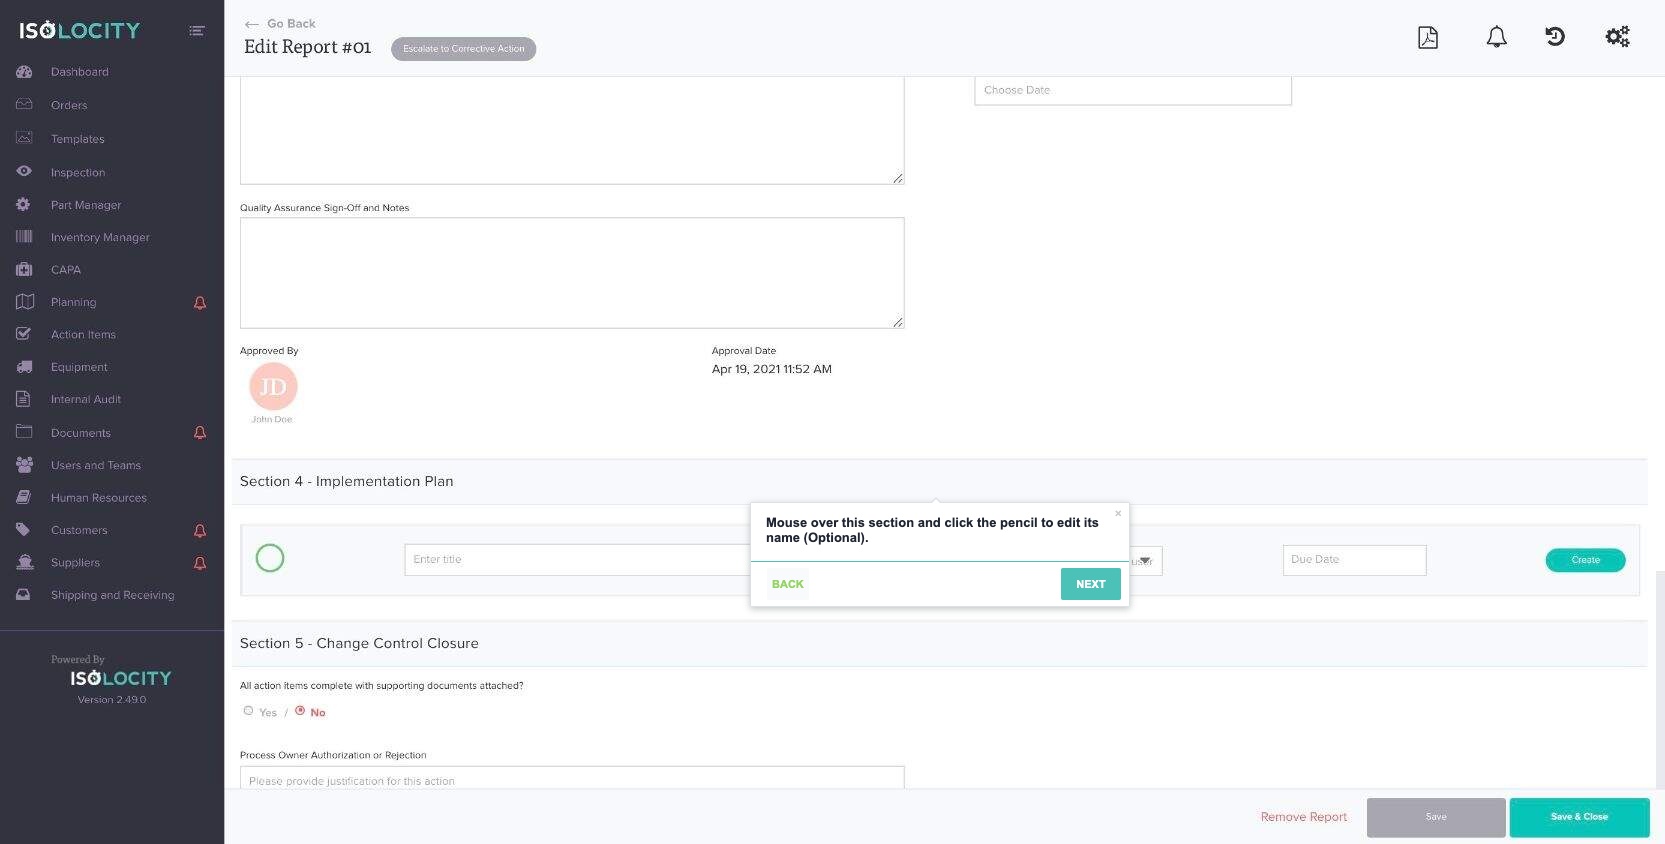
Step #45
Title: Mouse over this section and click the pencil to edit its name (Optional).
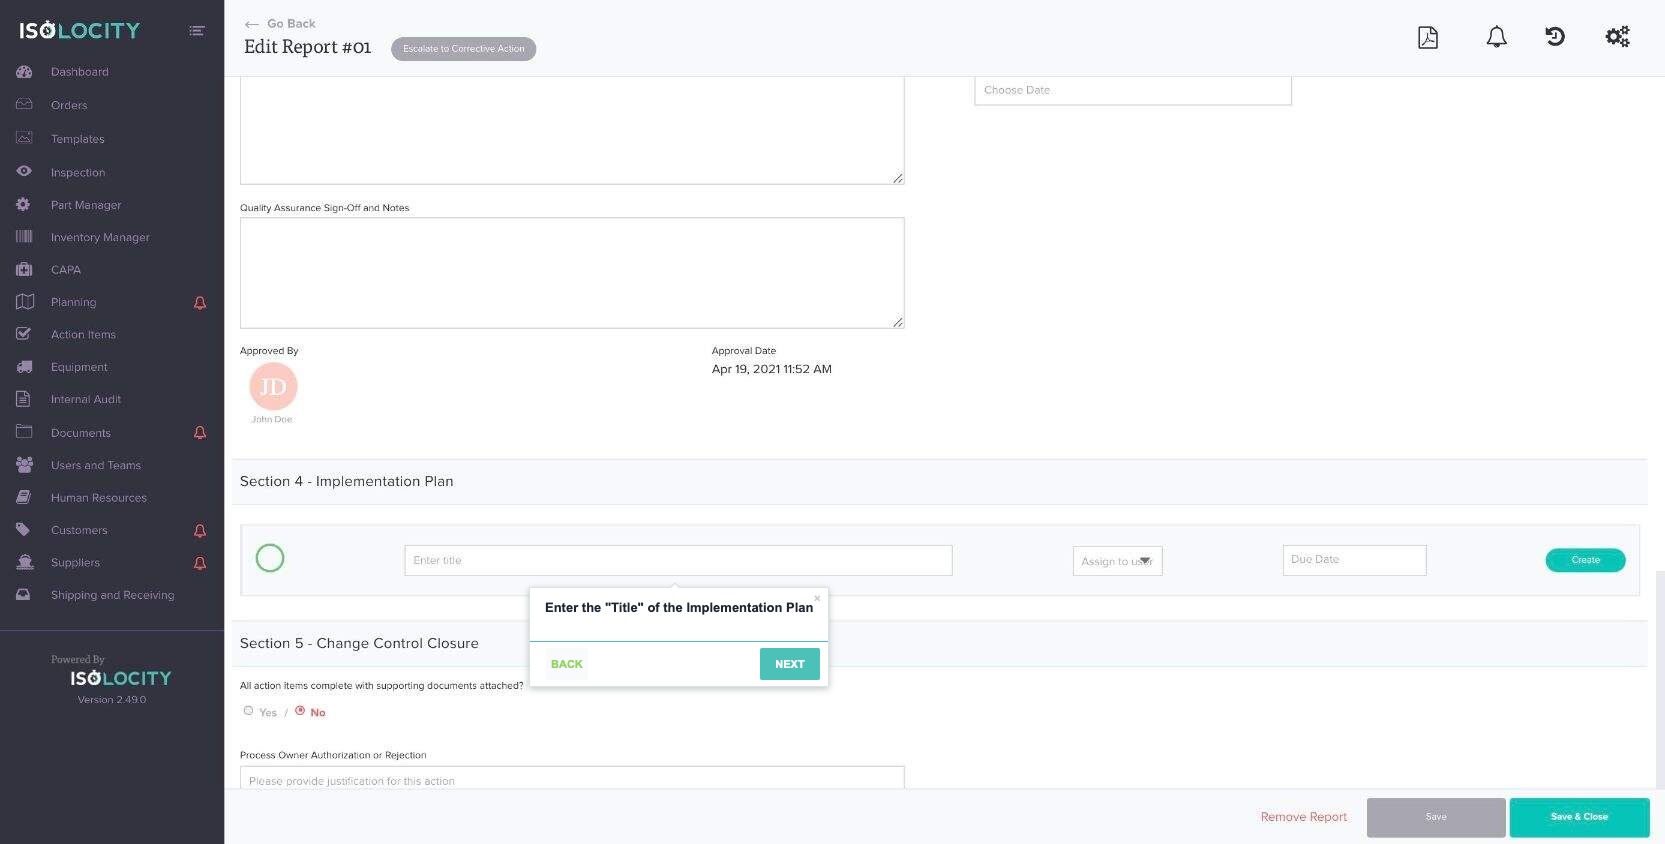
Step #46
Title: Enter the “Title” of the Implementation Plan
Step #47
Title: Assign this Implementation Plan to an Employee
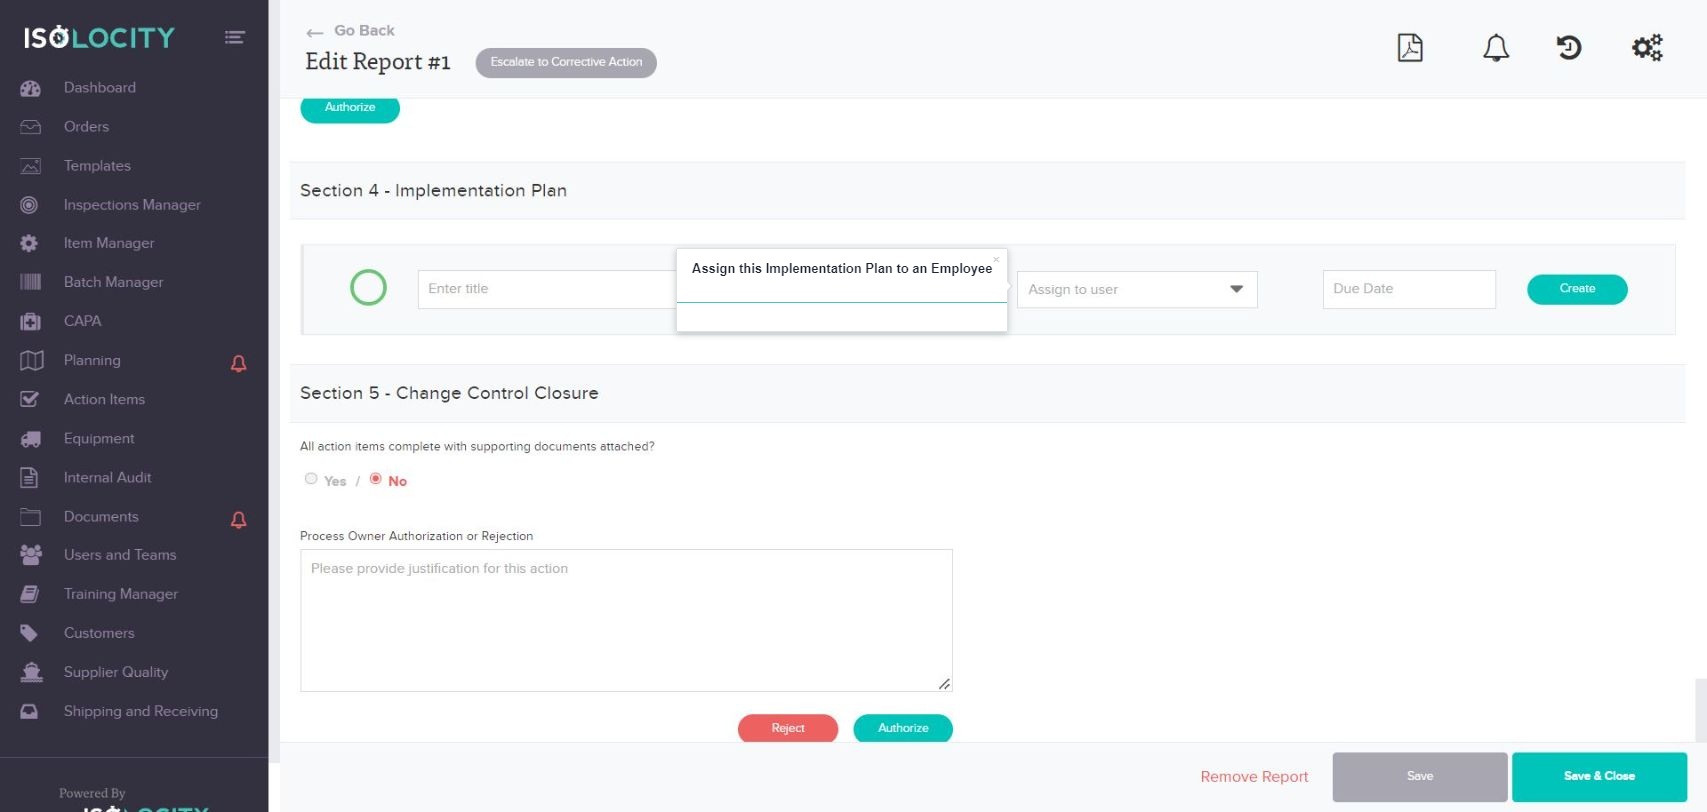
Step #48
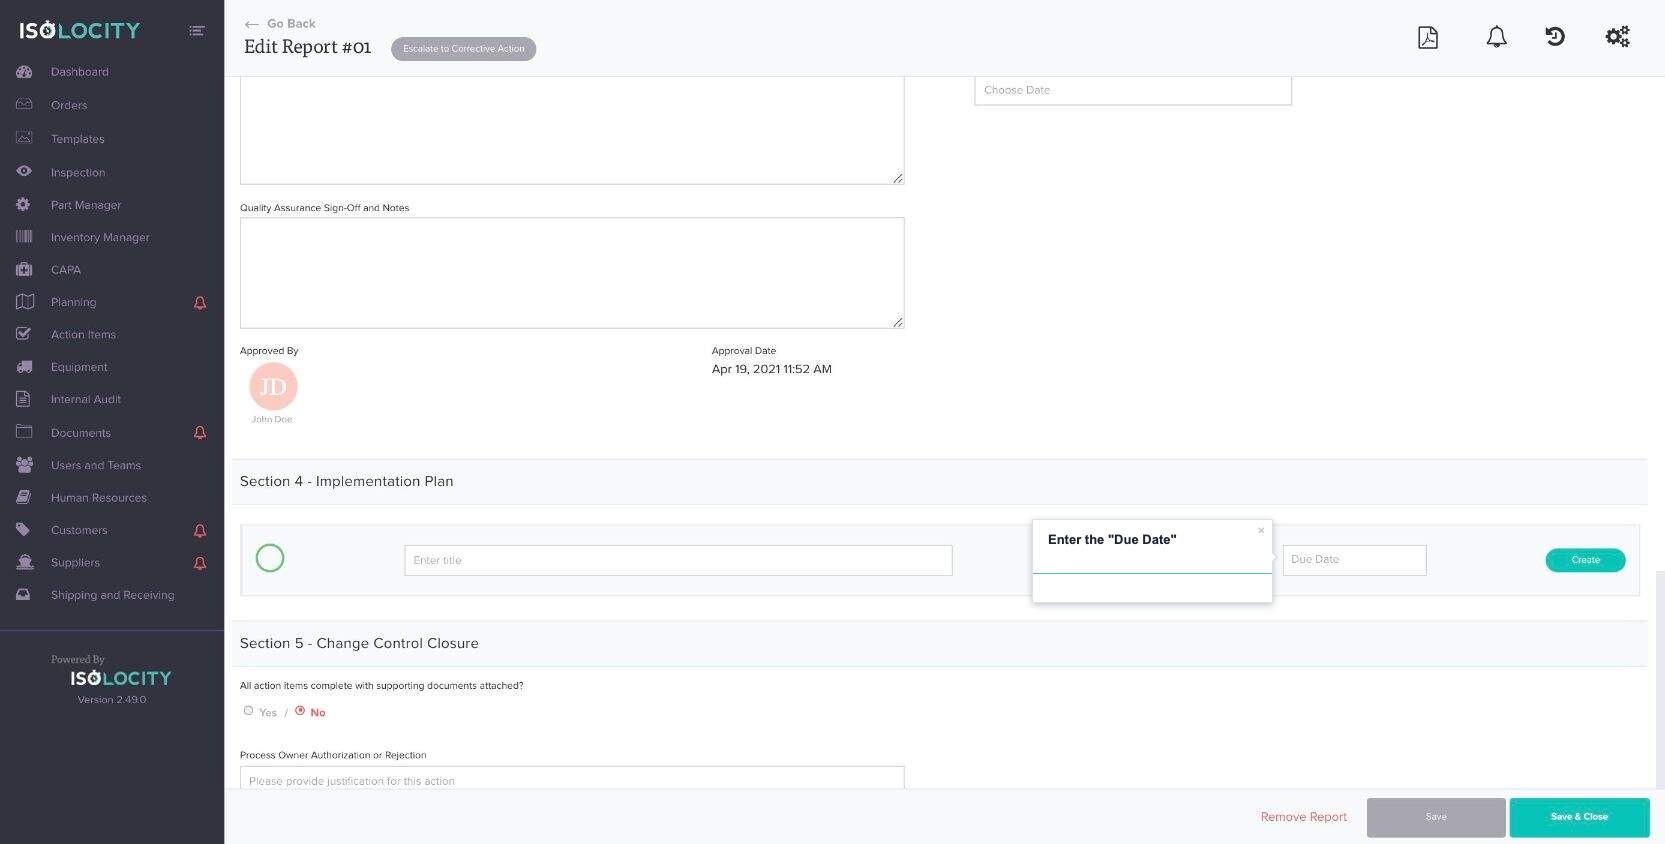
Title: Enter the “Due Date”
Step #49
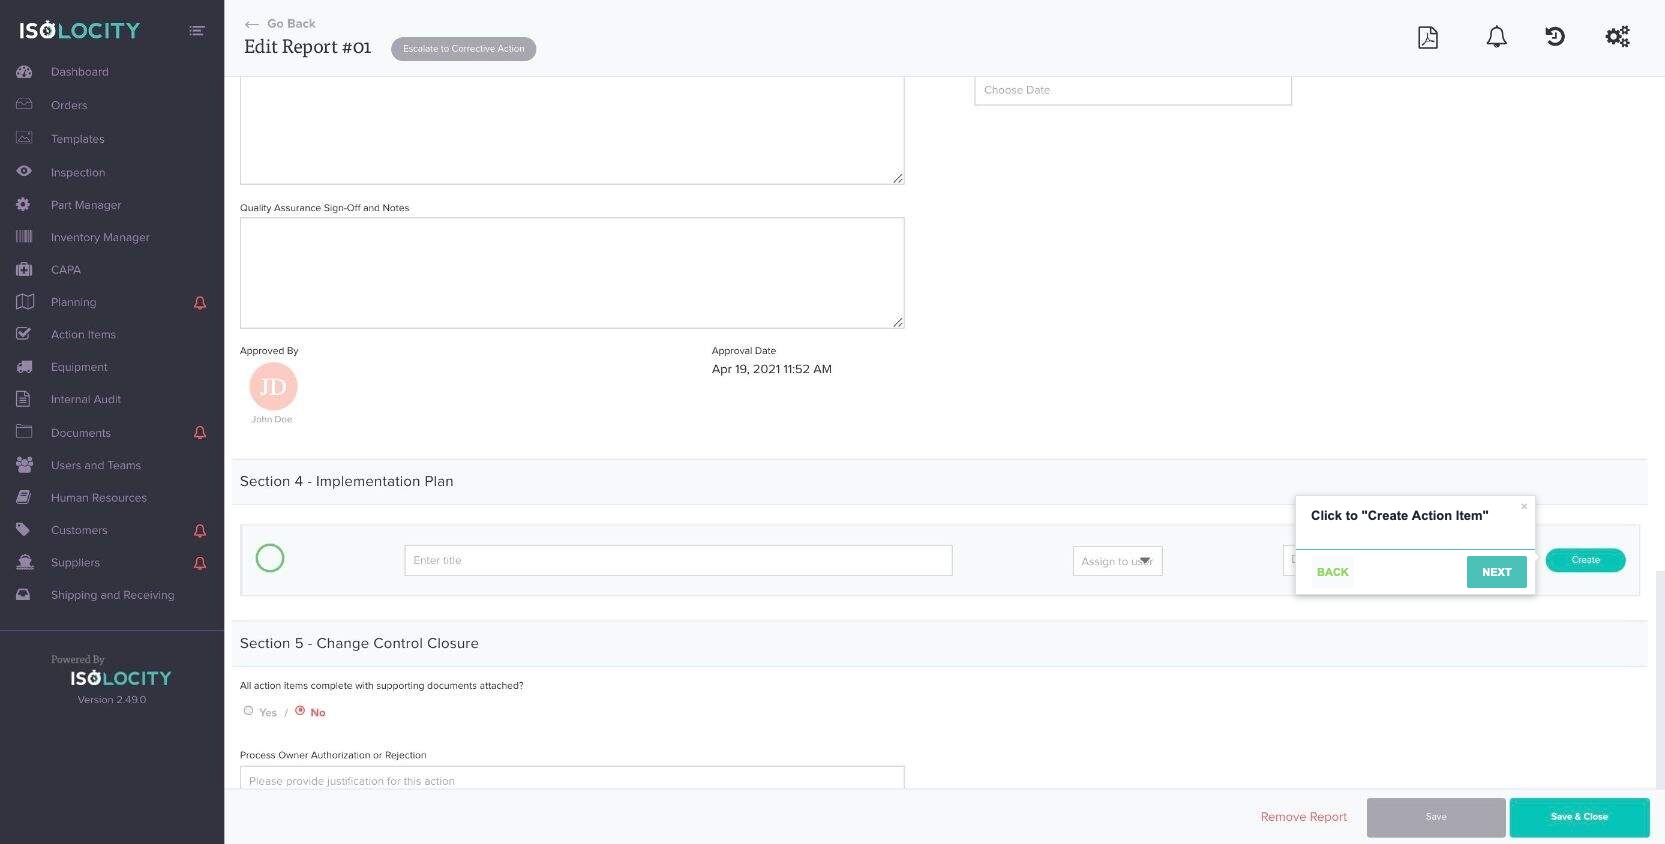
Title: Click to “Create Action Item”
Step #50
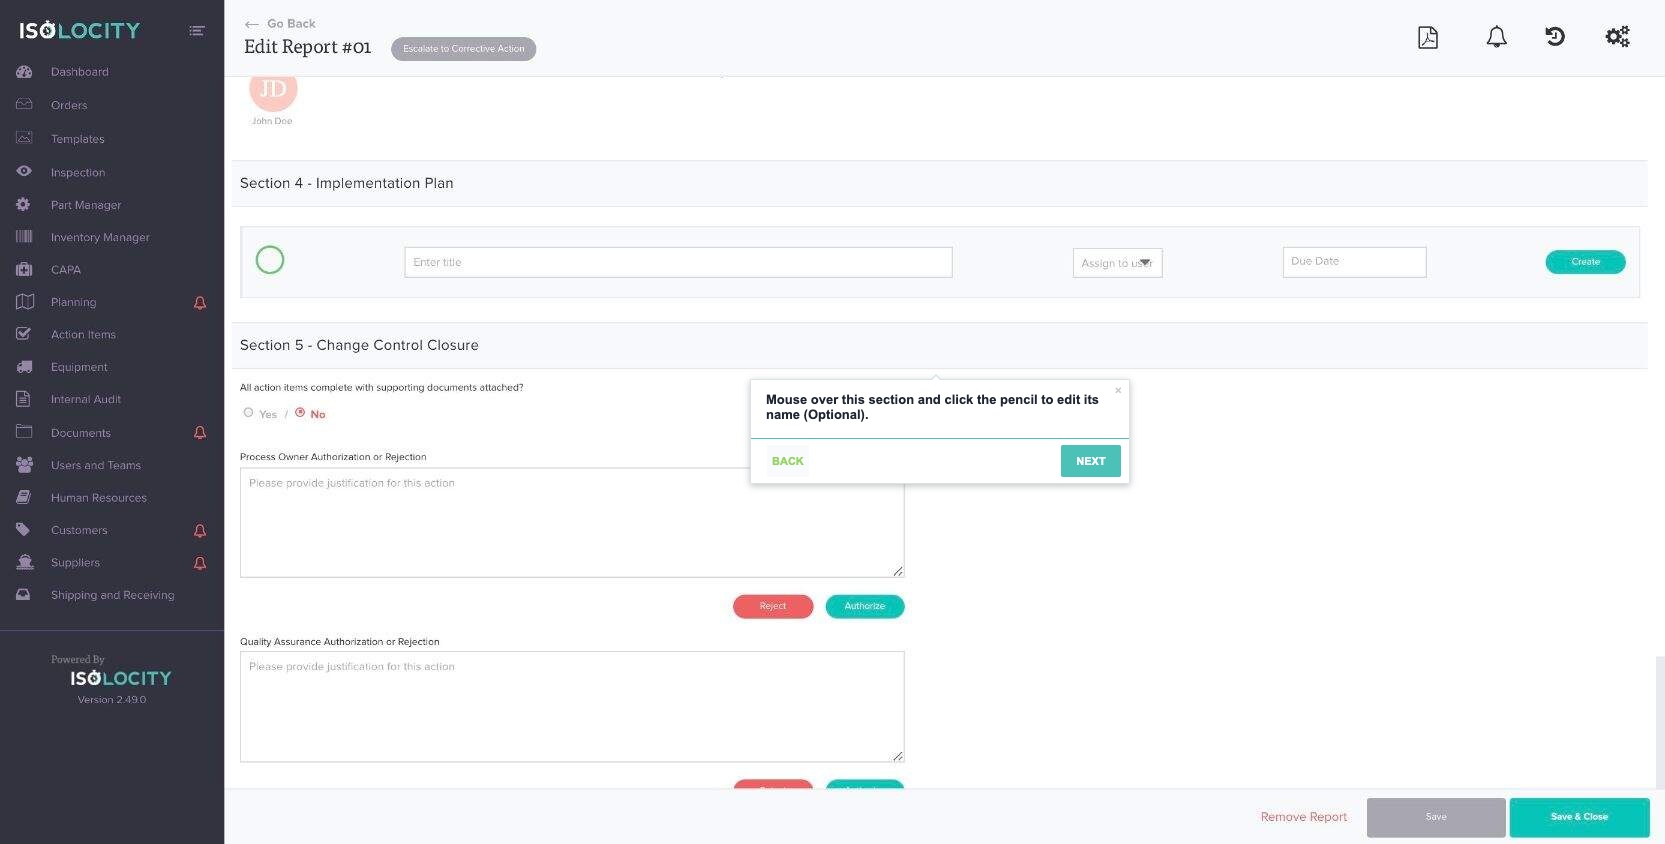
Title: Mouse over this section and click the pencil to edit its name (Optional).
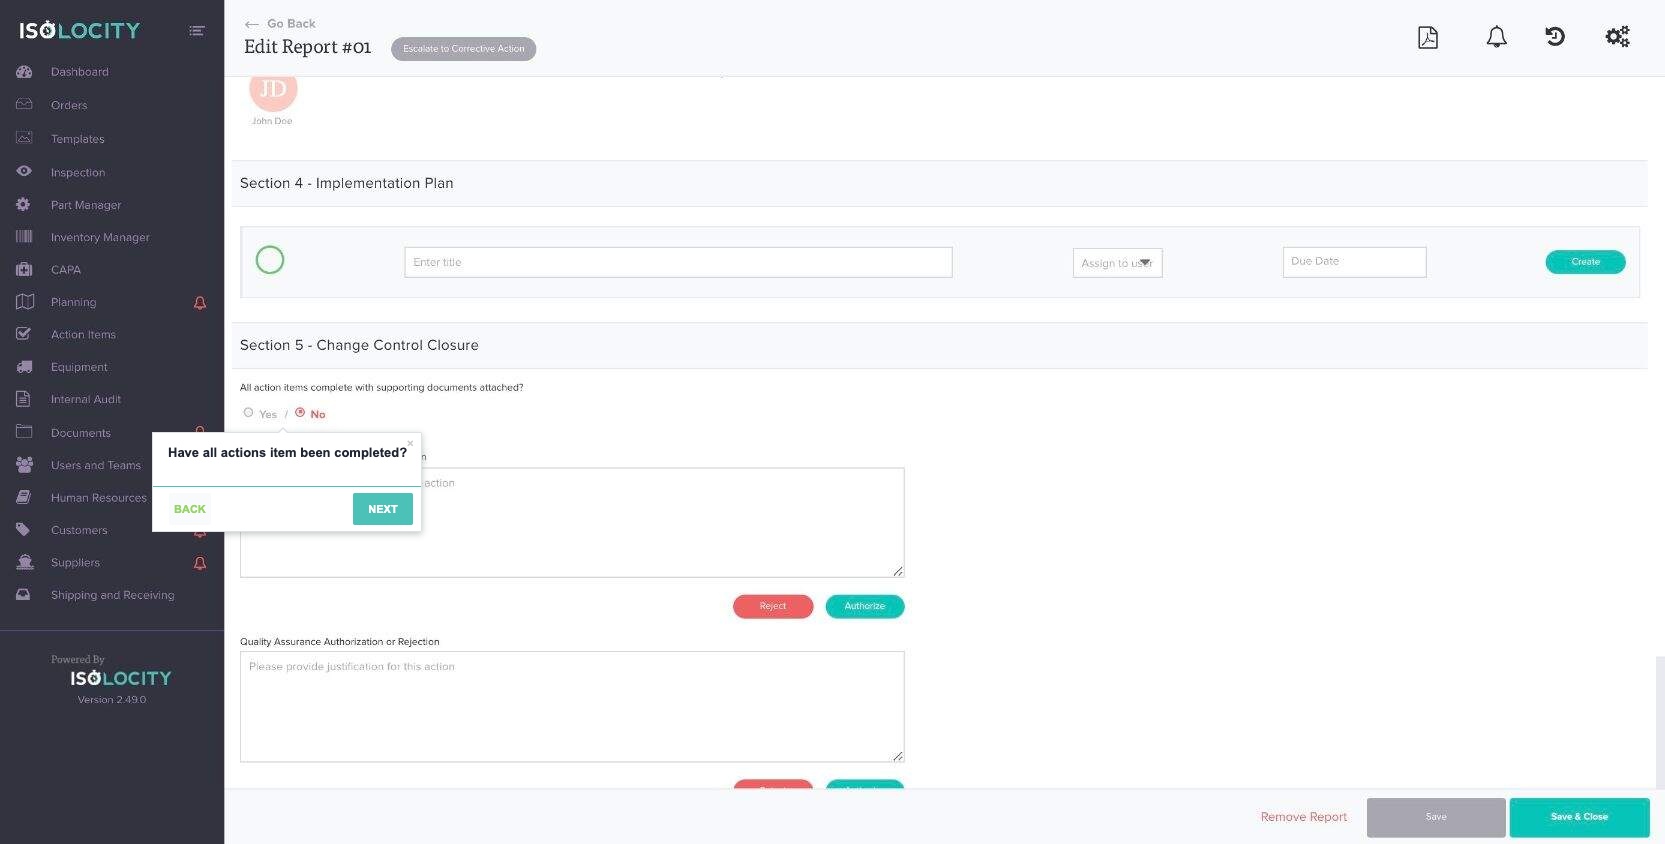
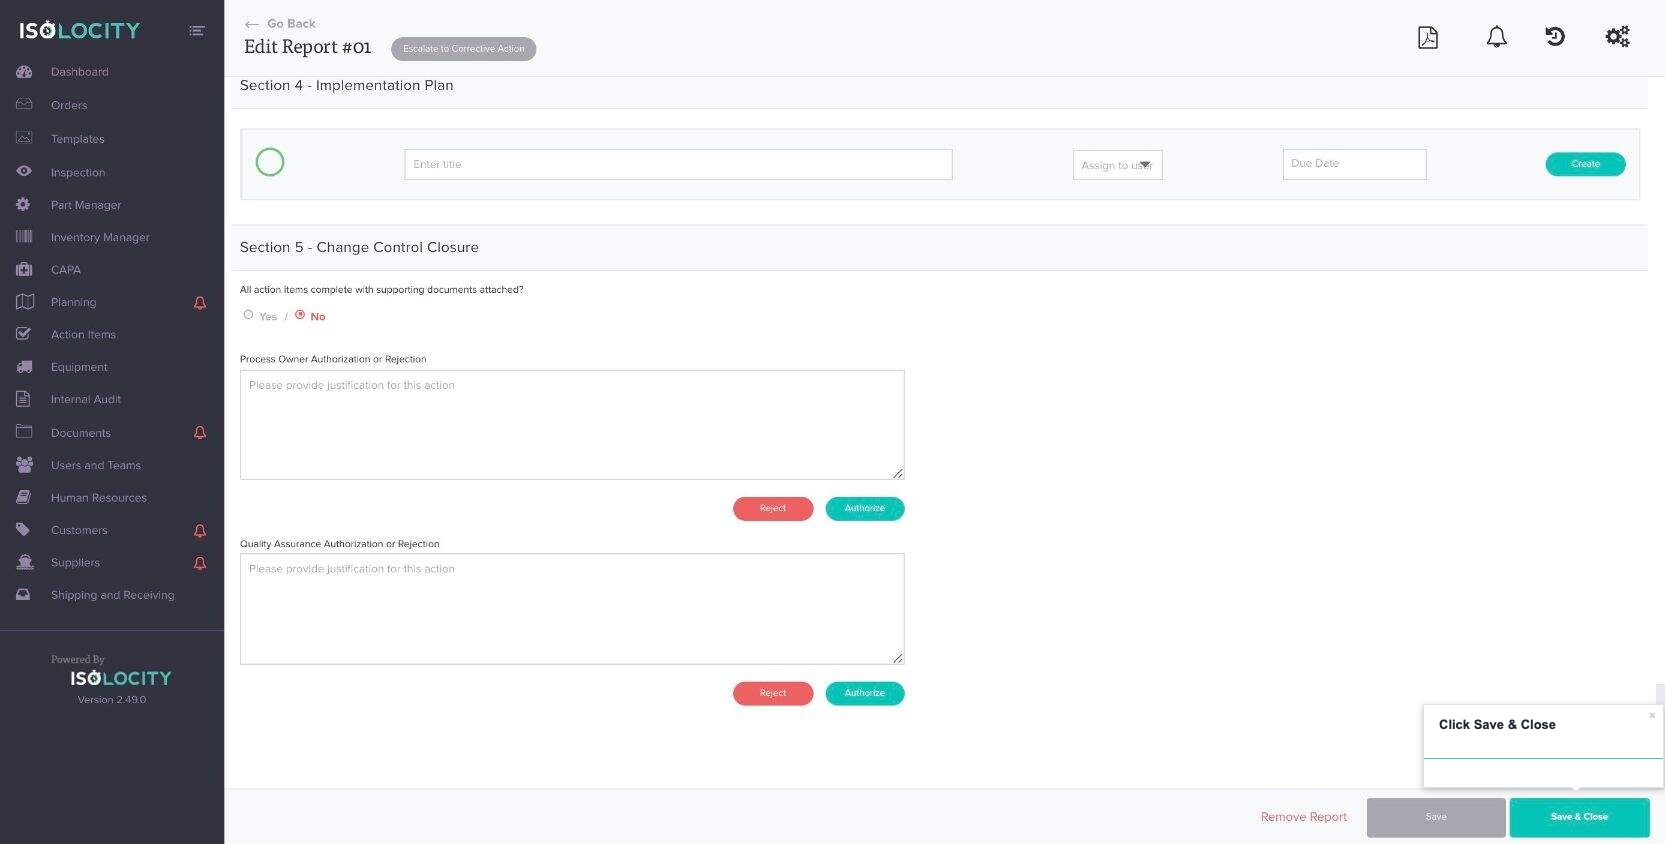
Step #51
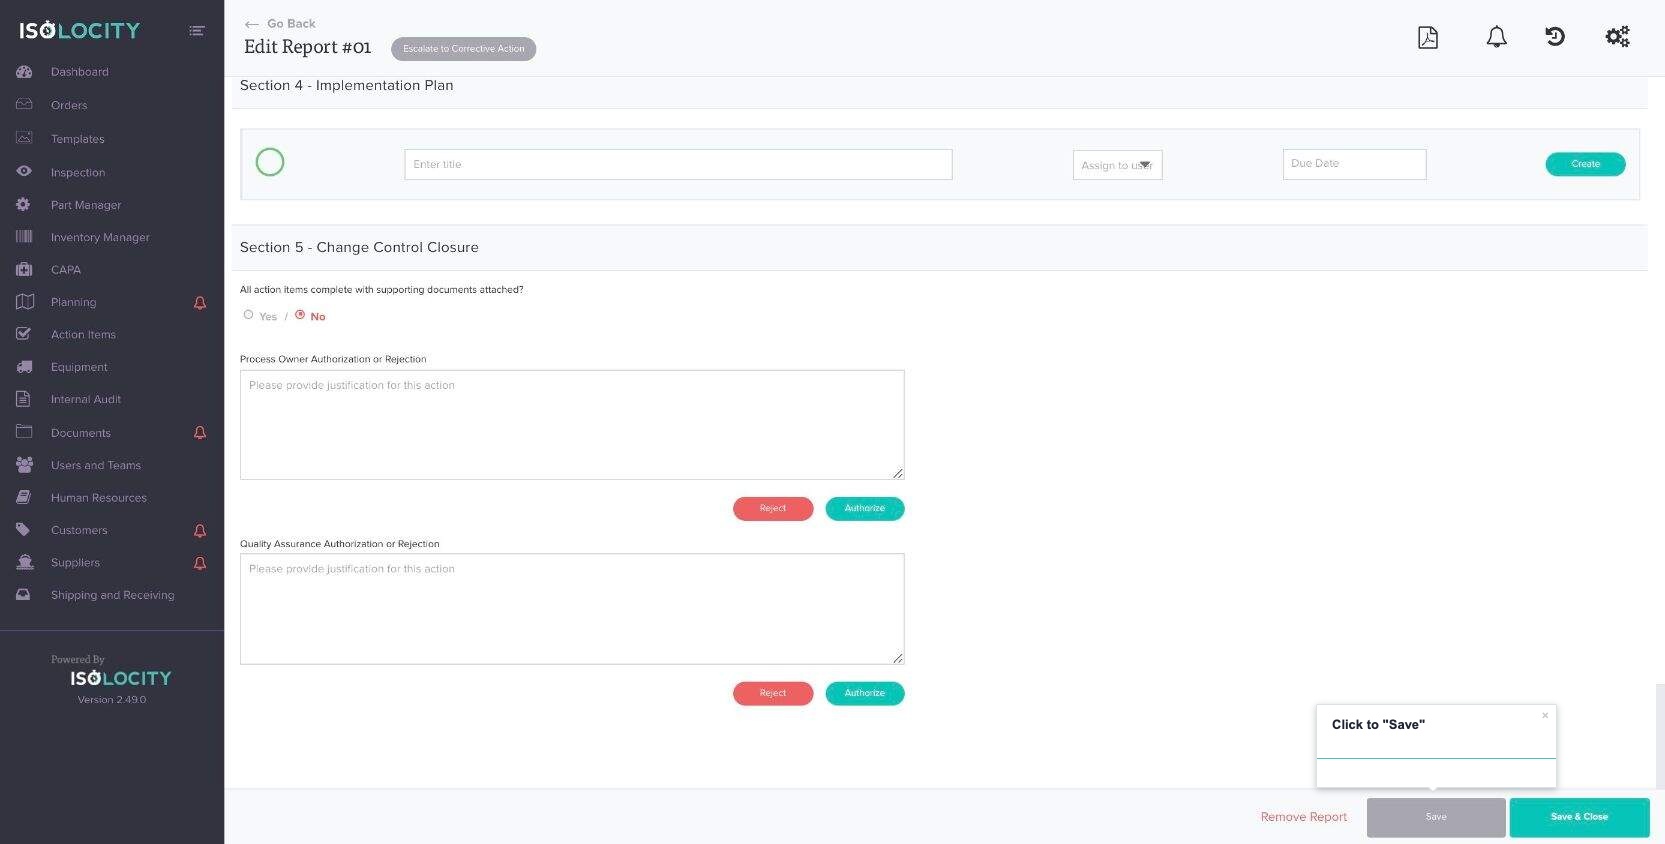
Title: Have all actions item been completed?
Step #52
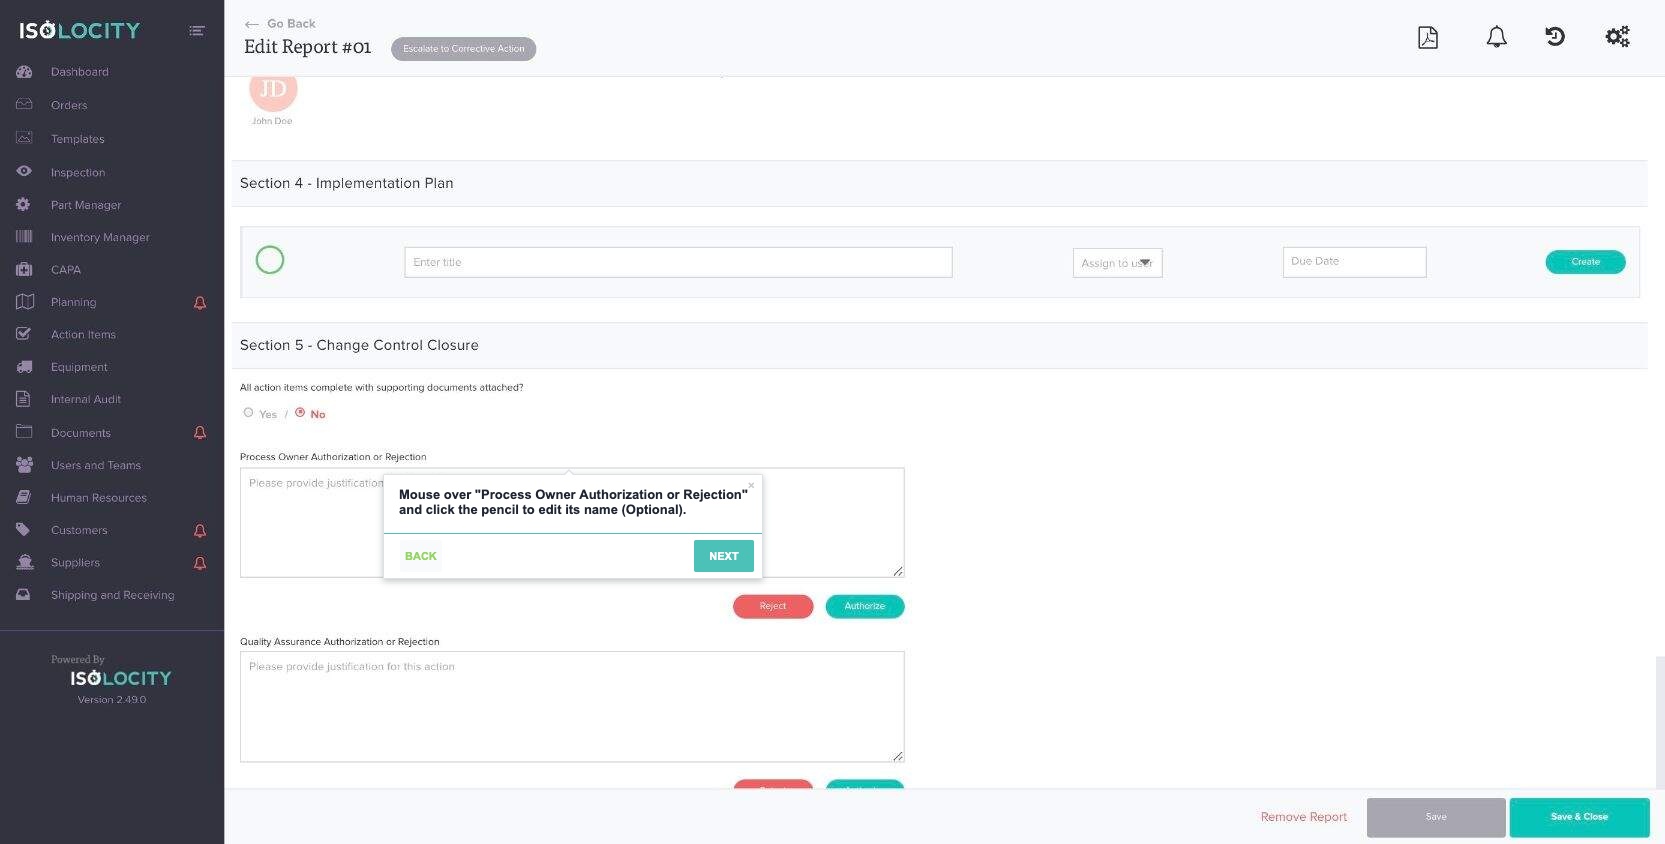
Title: Did the process owner authorize or reject this change control and why?

Step #53
Title: Mouse over “Process Owner Authorization or Rejection” and click the pencil to edit its name (Optional).
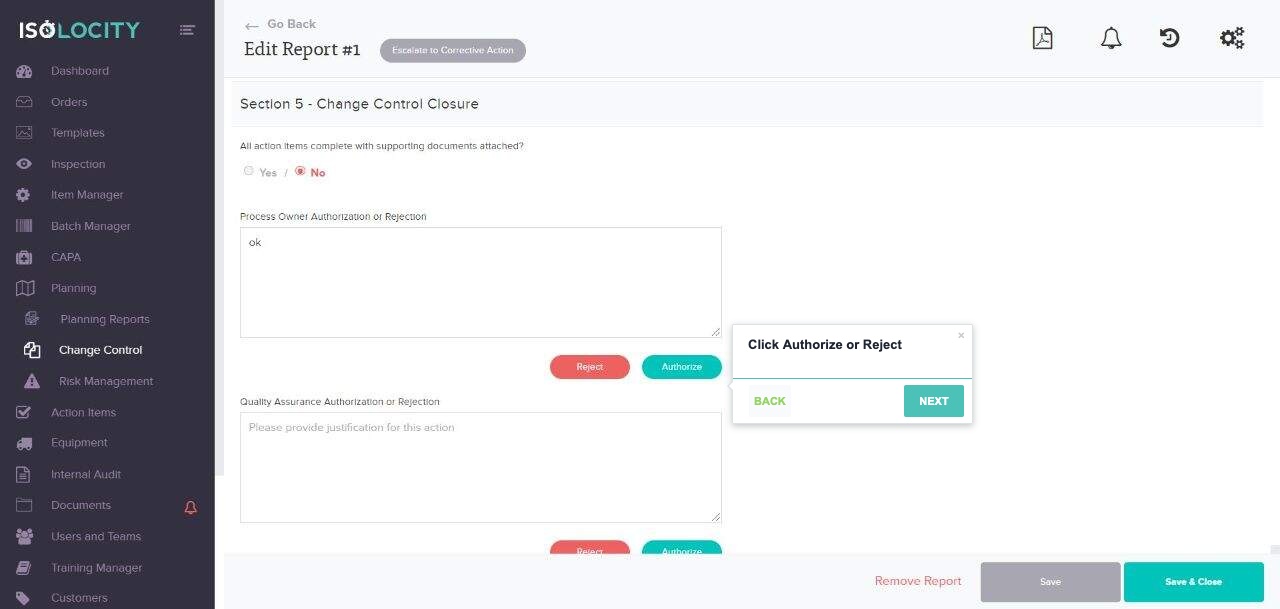
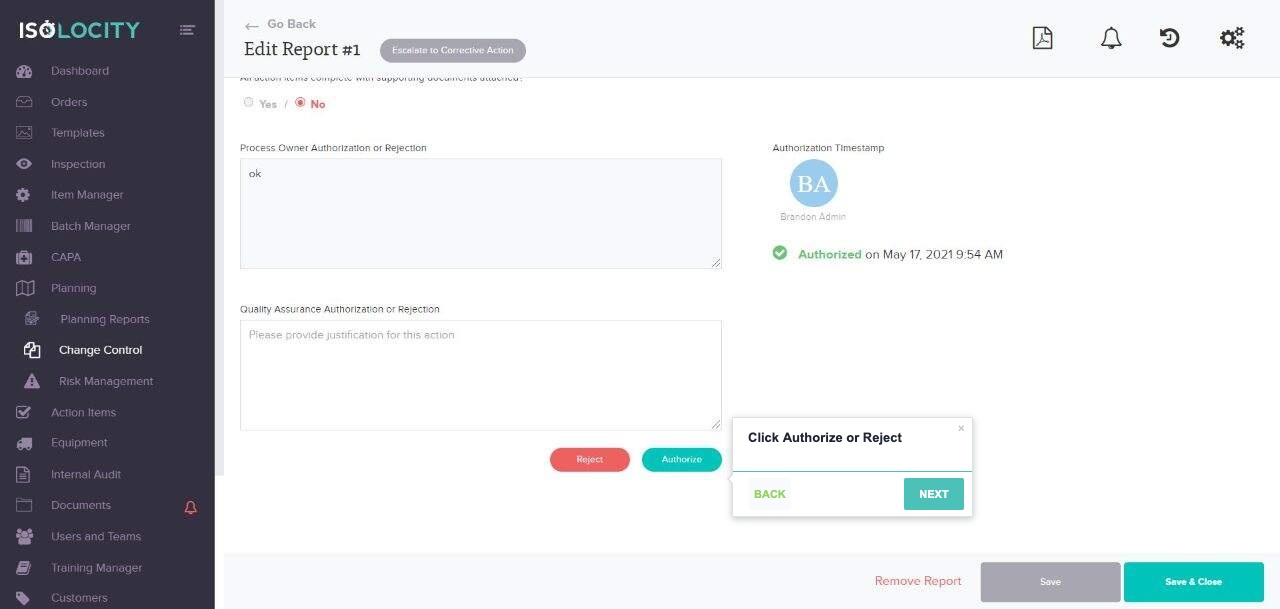
Step #54
Title: Click Authorize or Reject
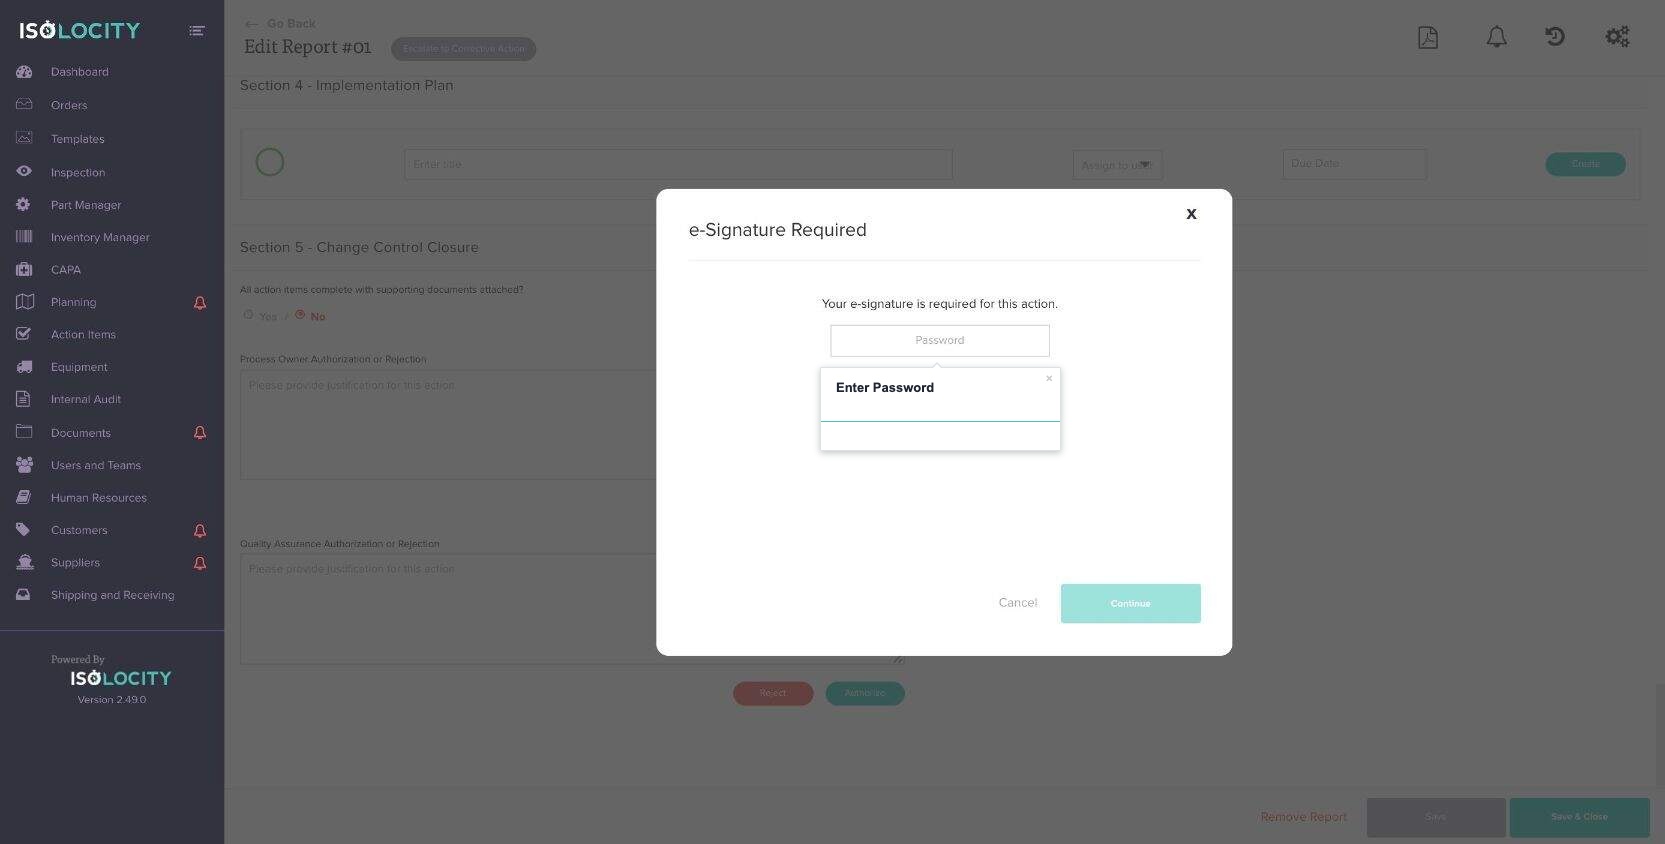
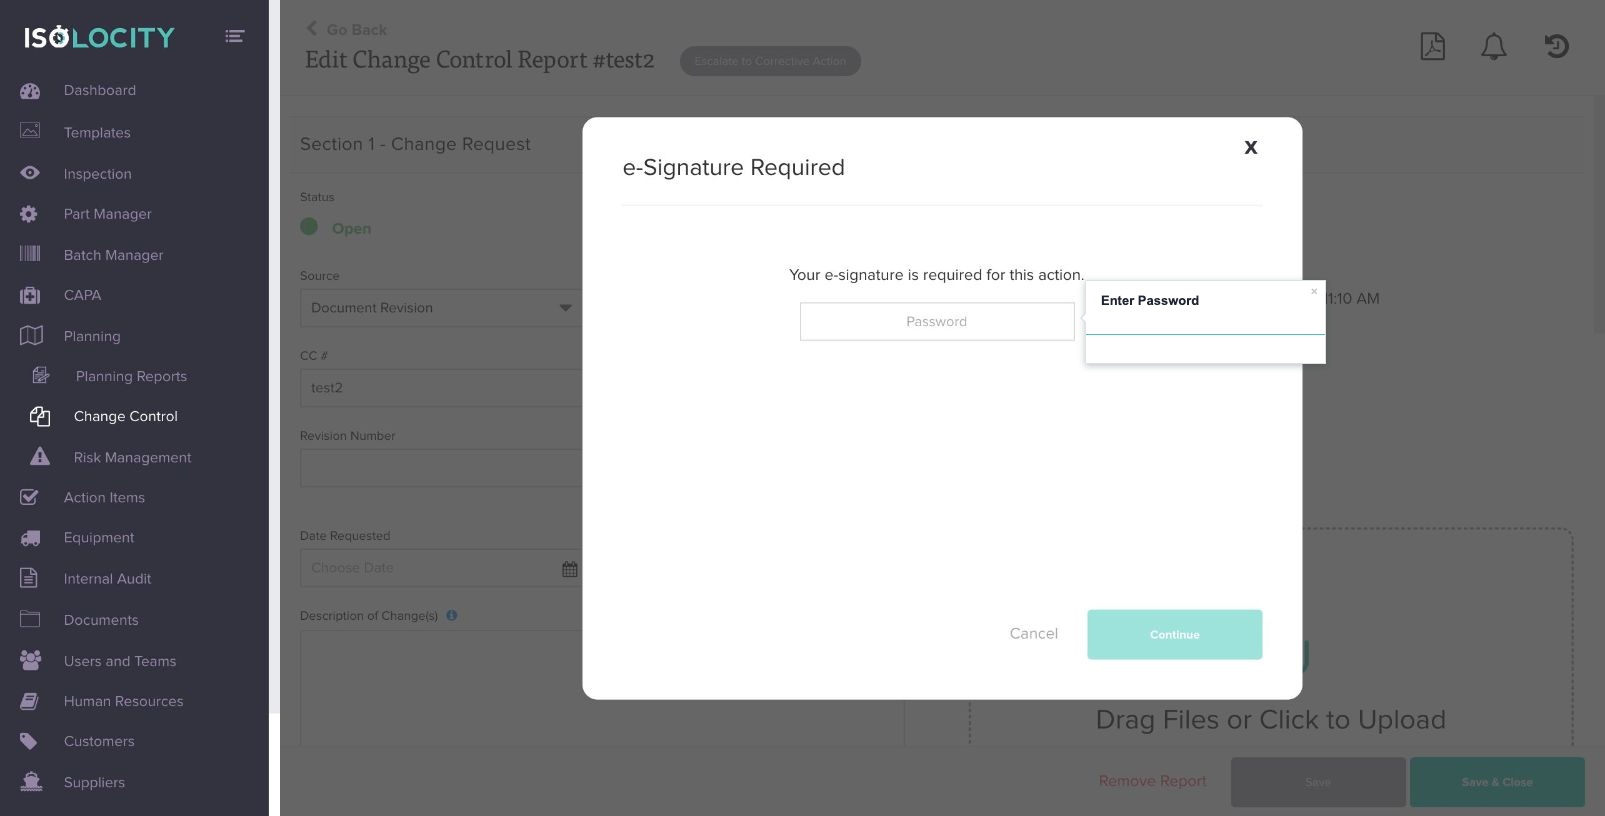
Step #55
Title: Enter Password
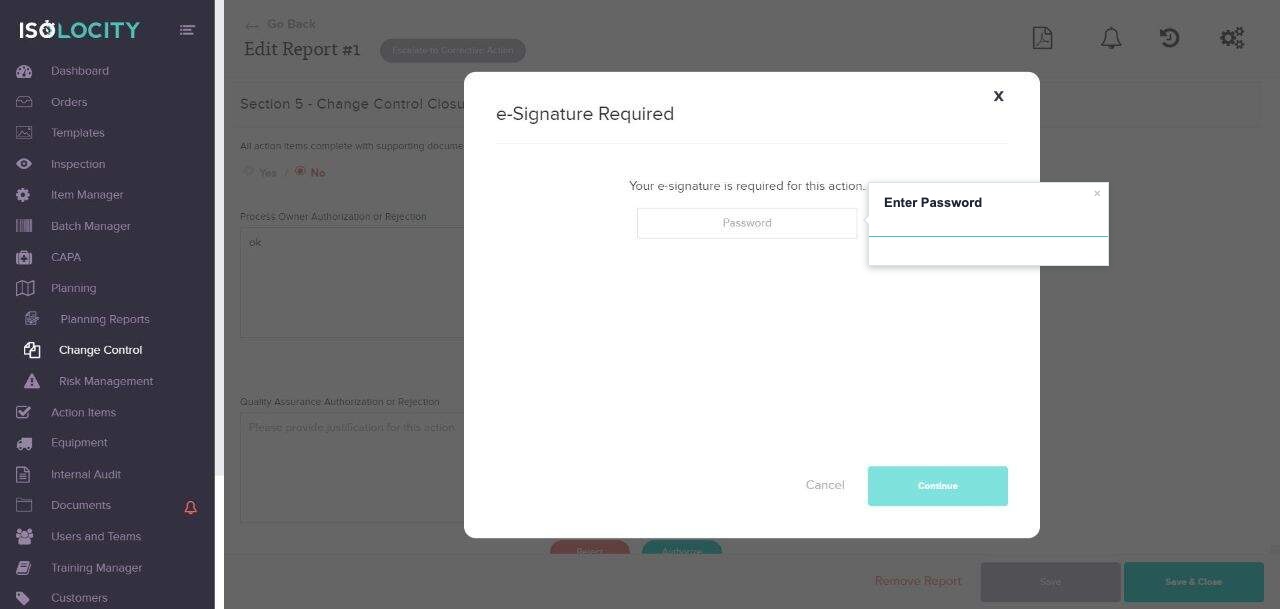
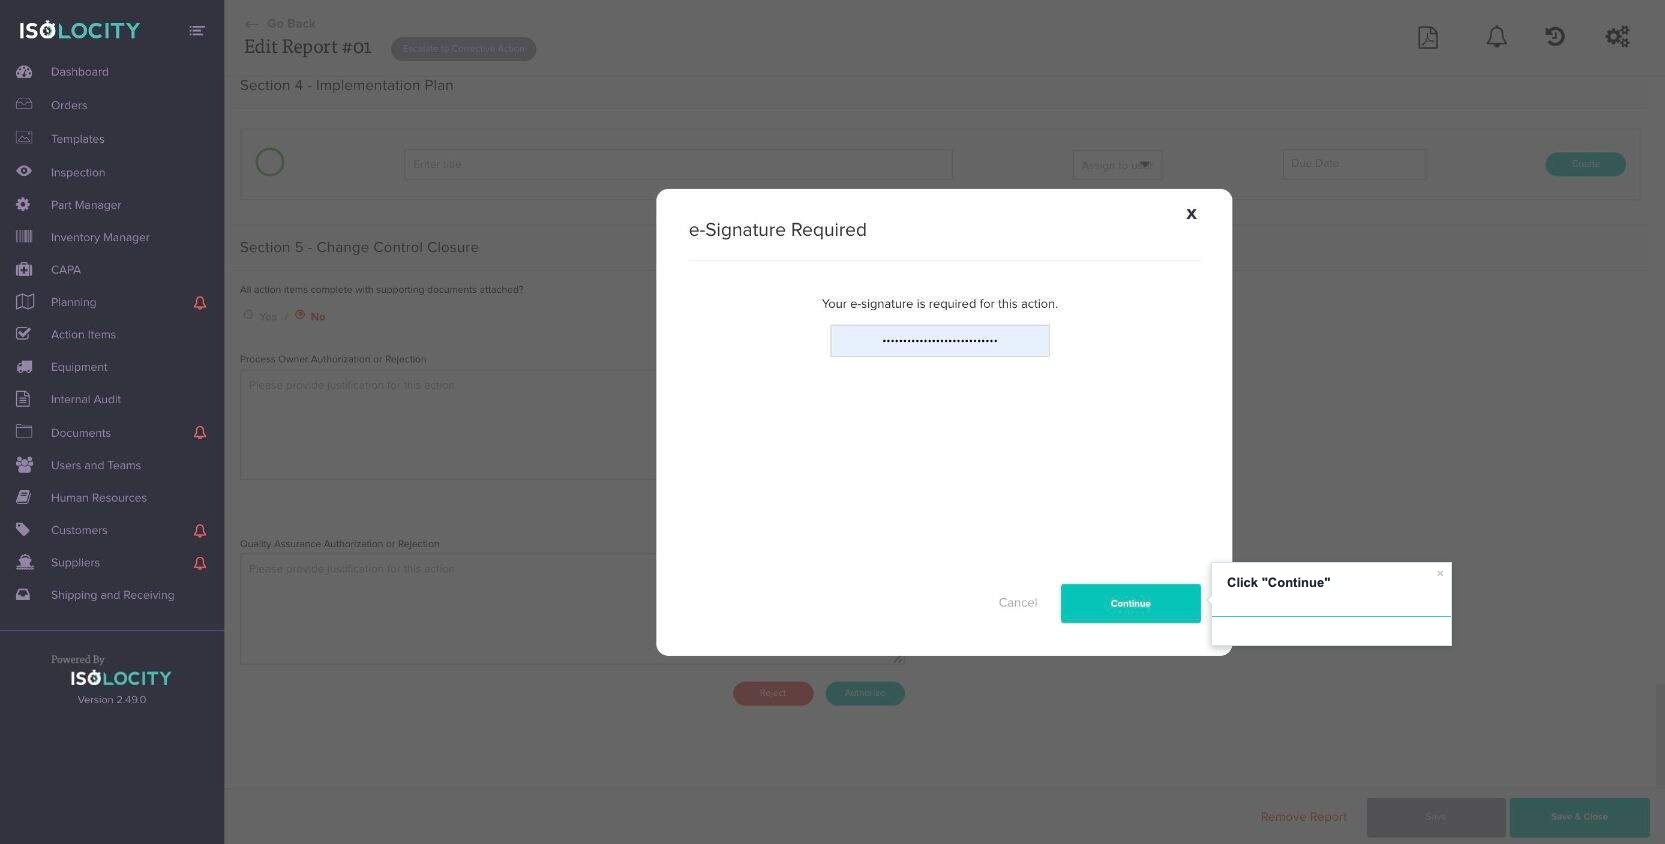
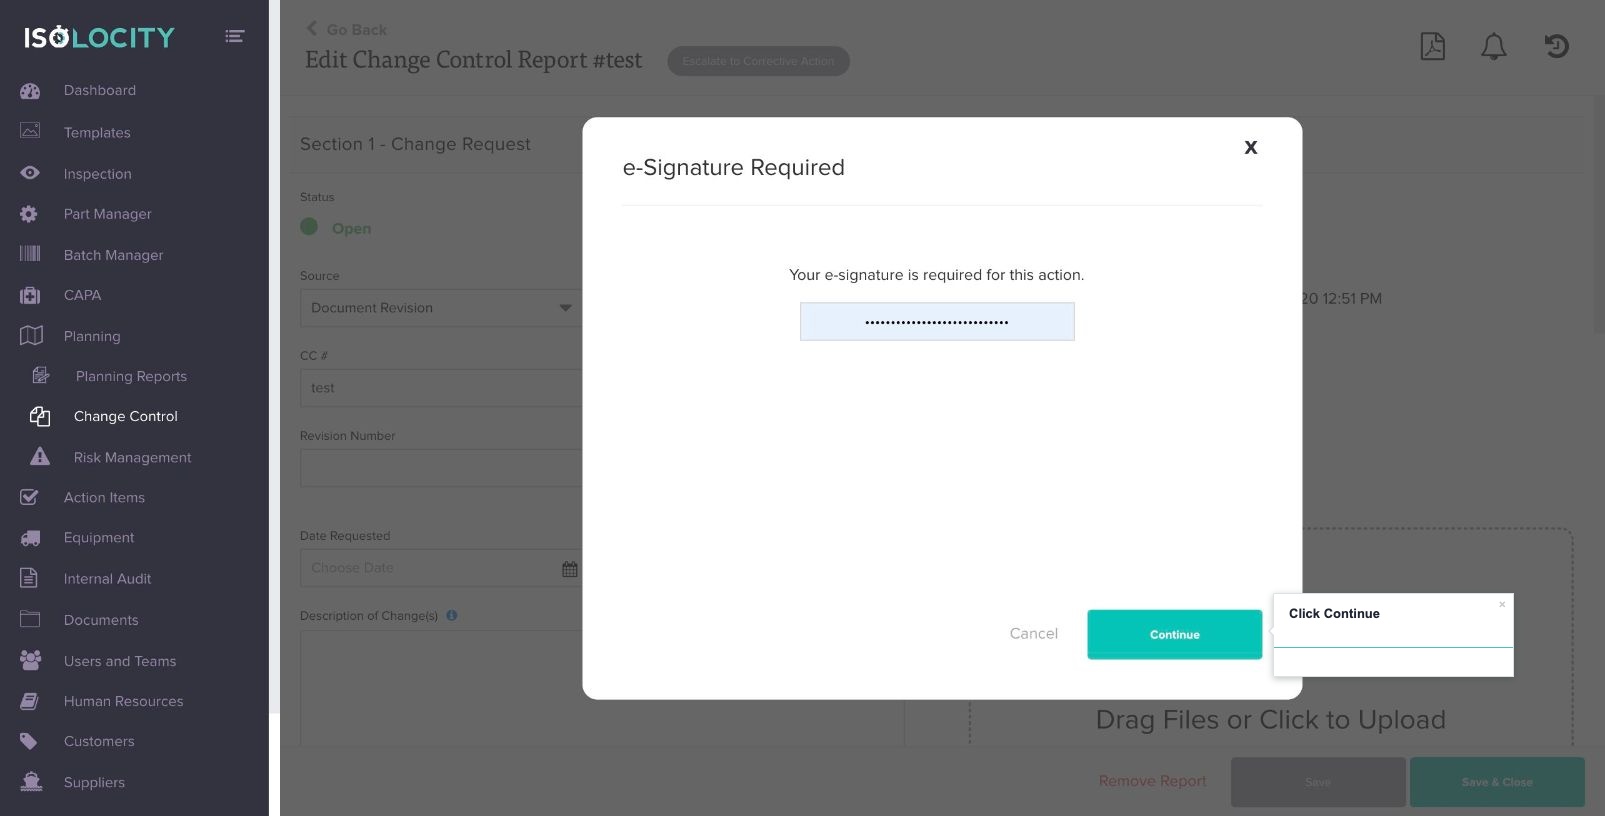
Step #56
Title: Click “Continue”
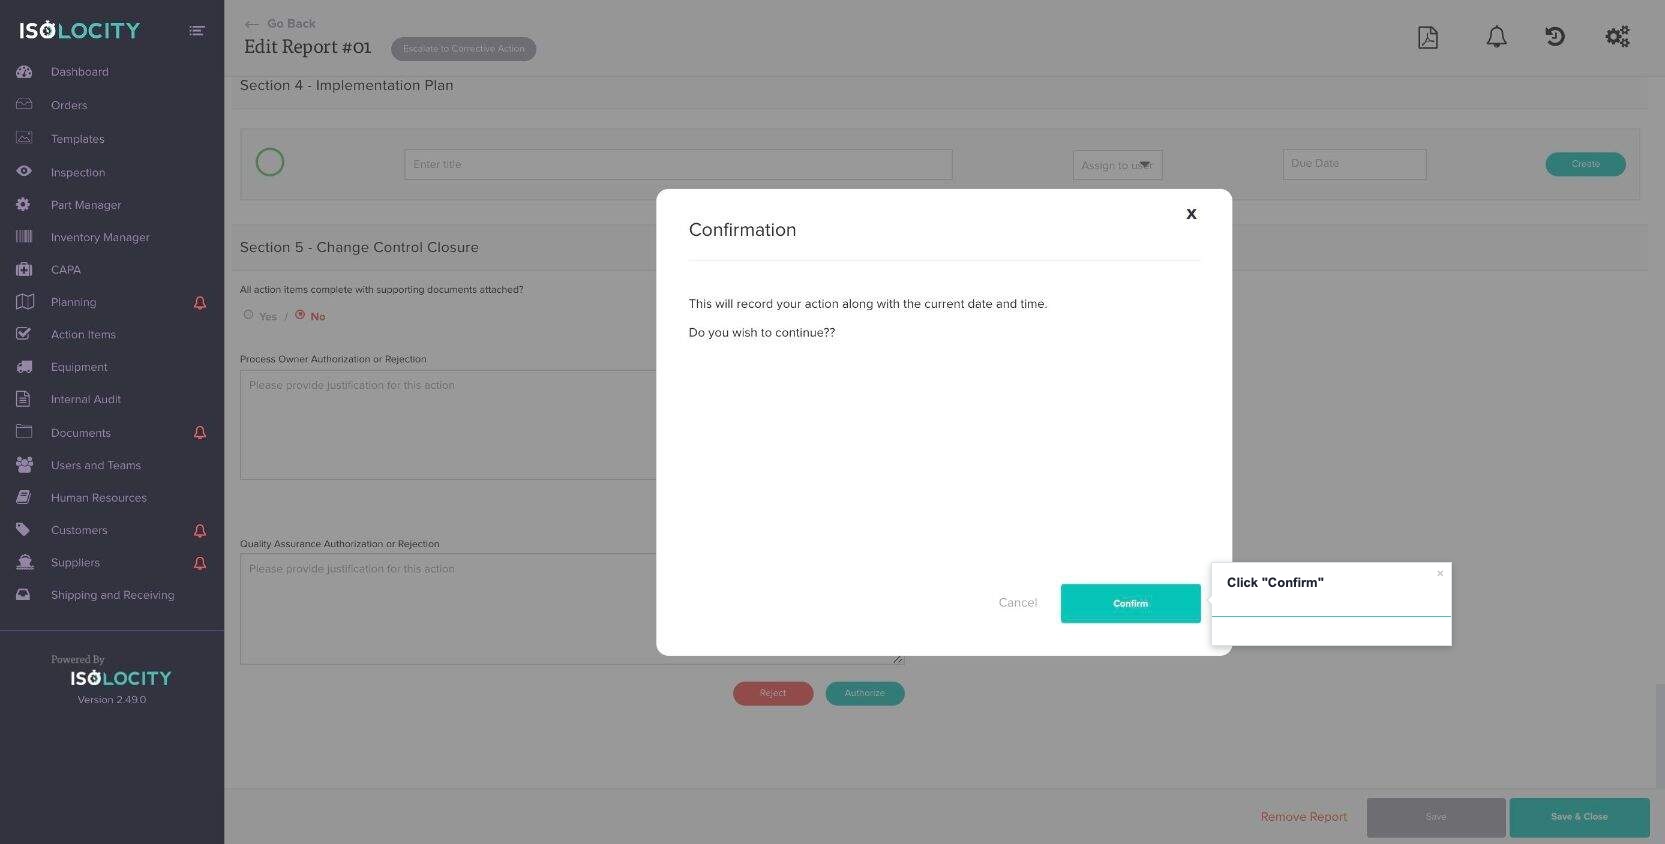
Step #57
Title: Click “Confirm”
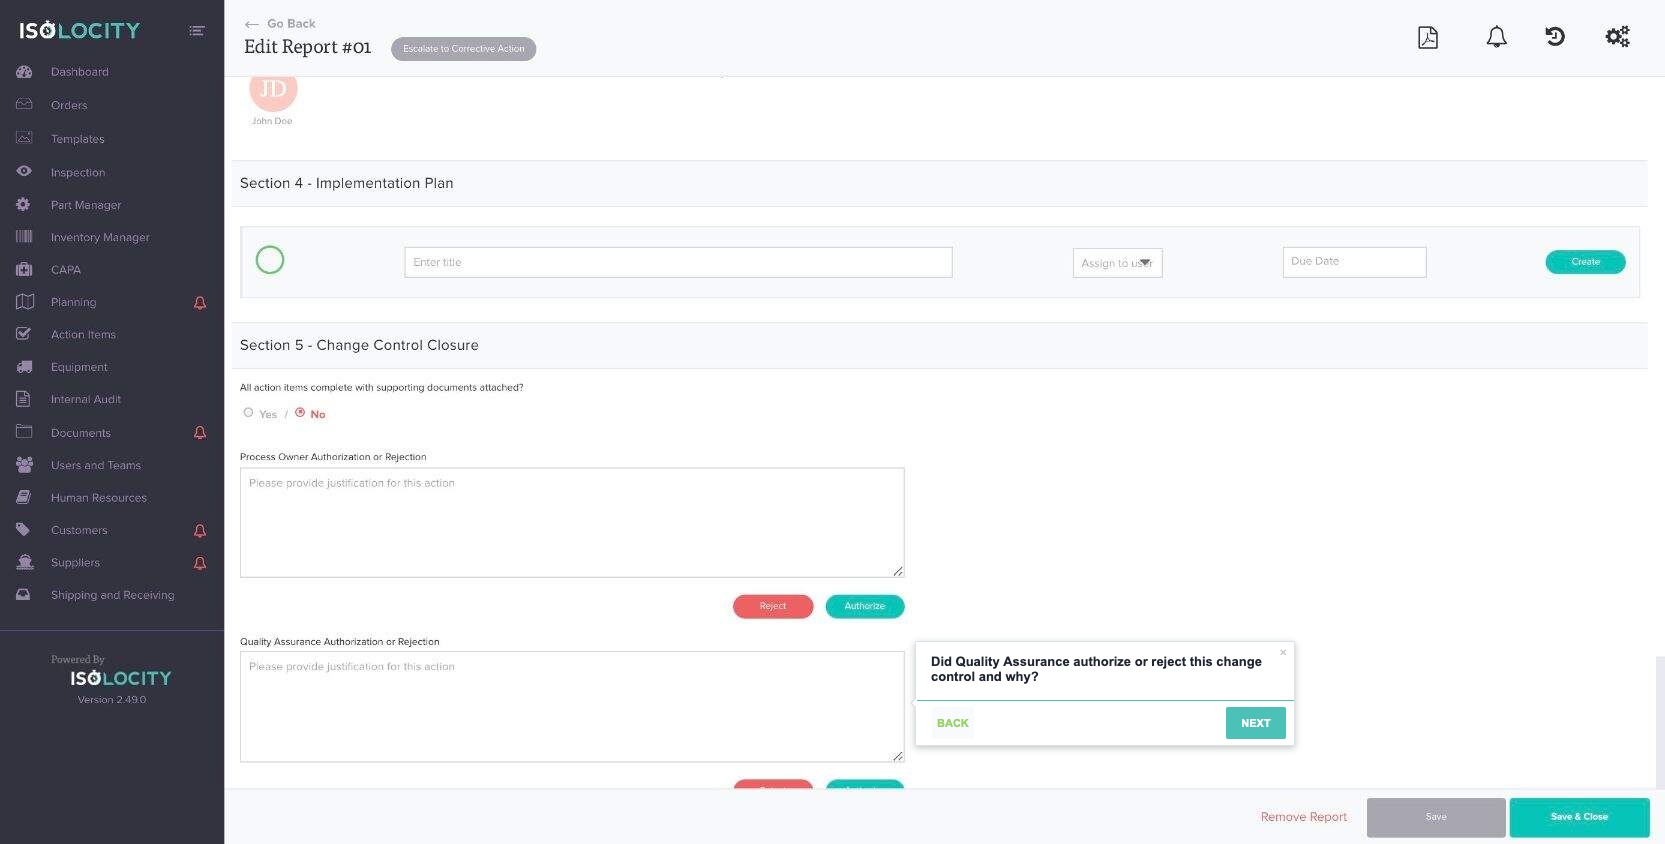
Step #58
Title: Did Quality Assurance authorize or reject this change control and why?
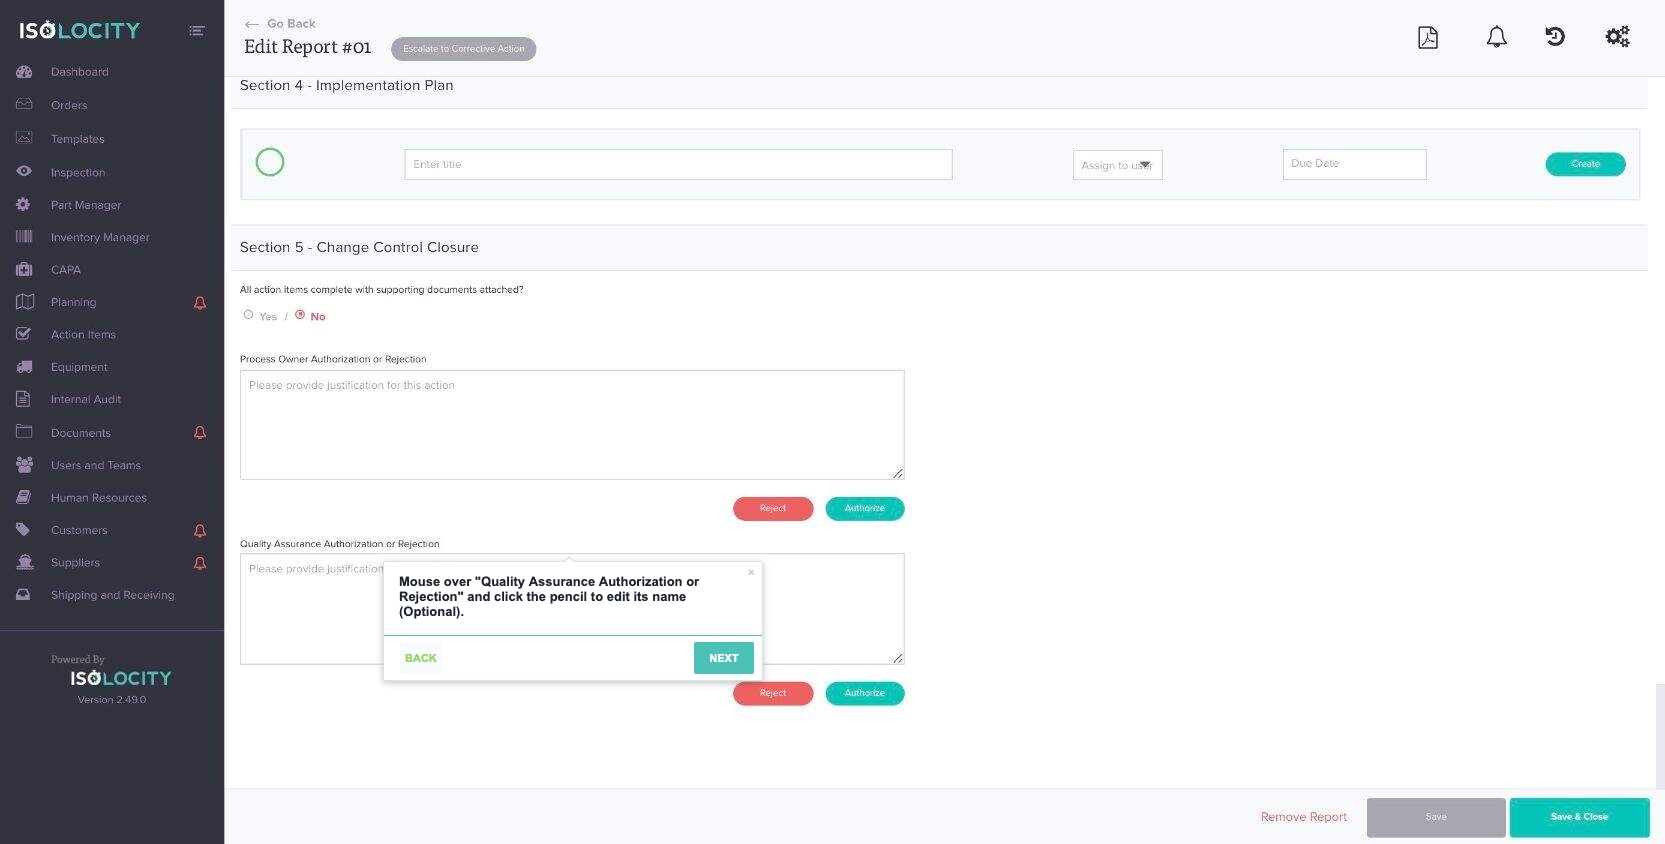
Step #59
Title: Mouse over “Quality Assurance Authorization or Rejection” and click the pencil to edit its name (Optional).
Step #60
Title: Click Authorize or Reject
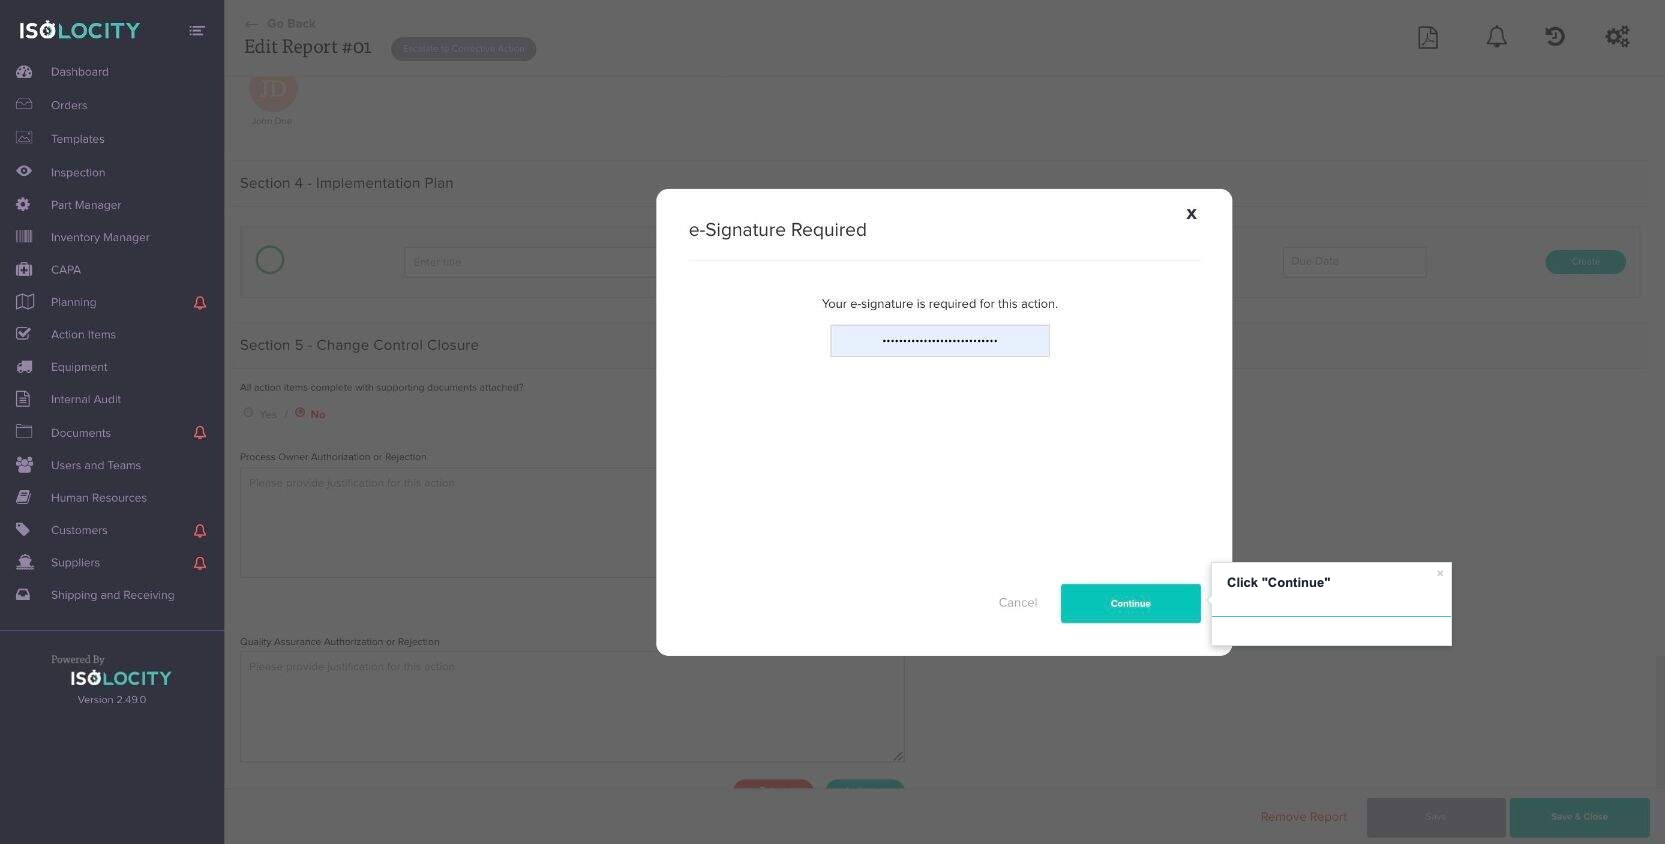
Step #61
Title: Enter Password
Step #62
Title: Click “Continue”
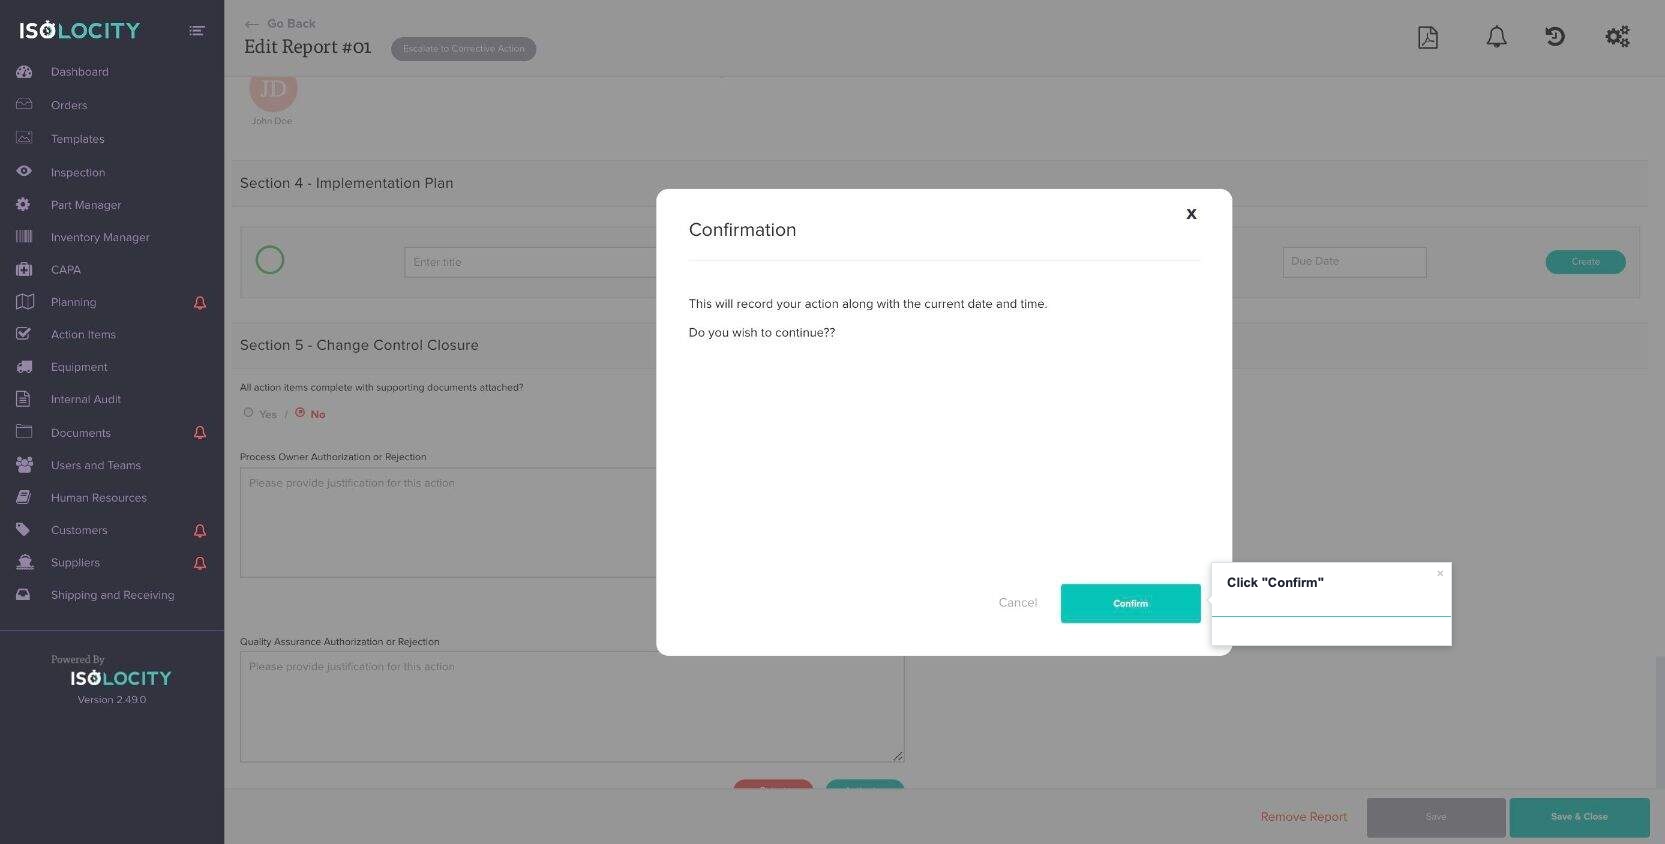
Step #63
Title: Click “Confirm”
Step #64
Title: Click to “Save”
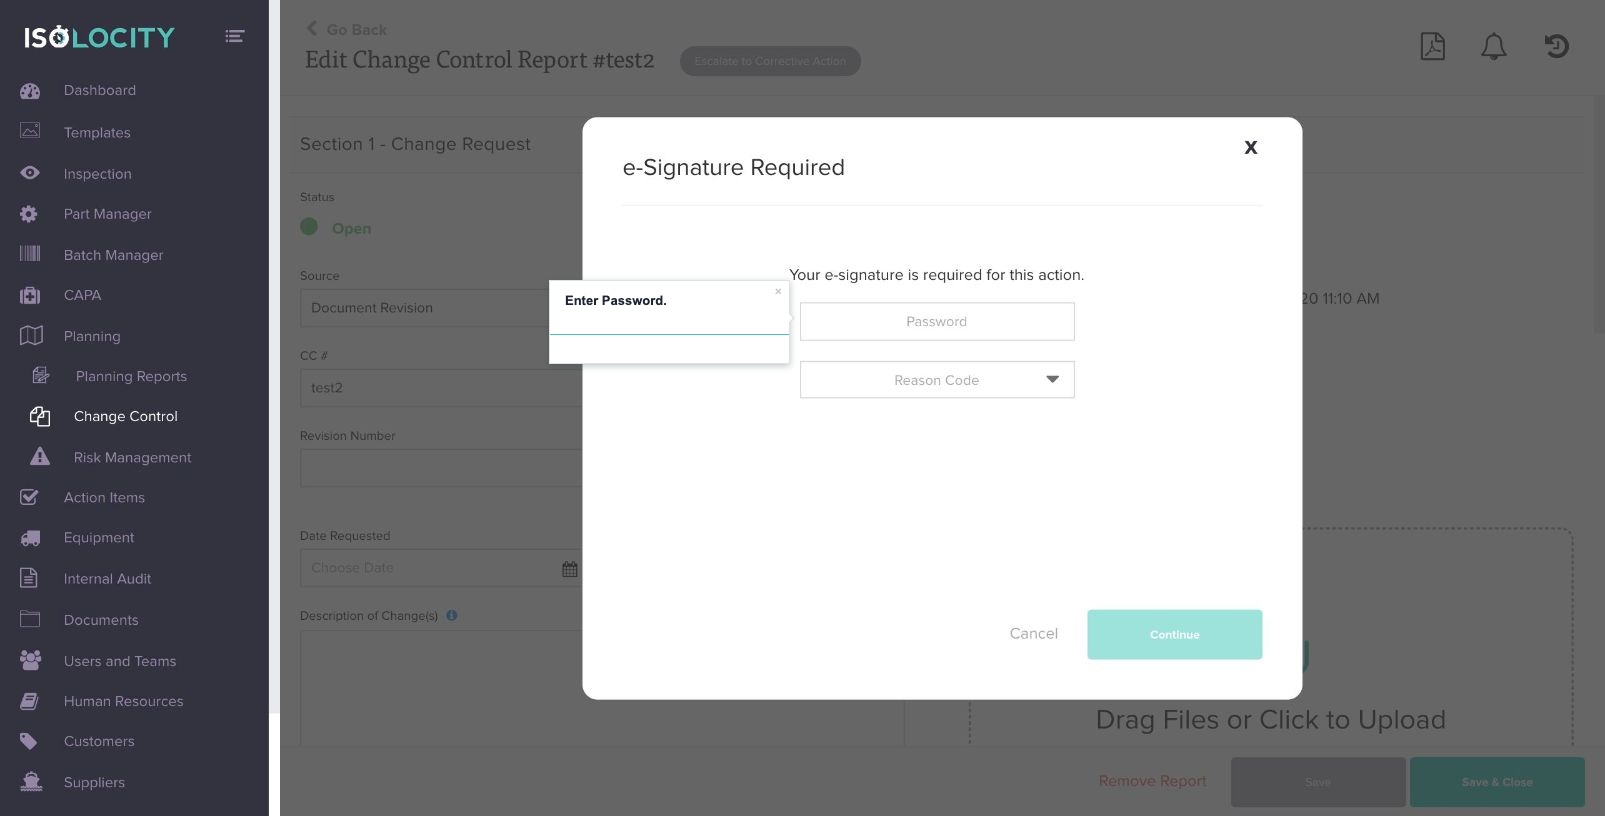
Step #65
Title: Enter Password.
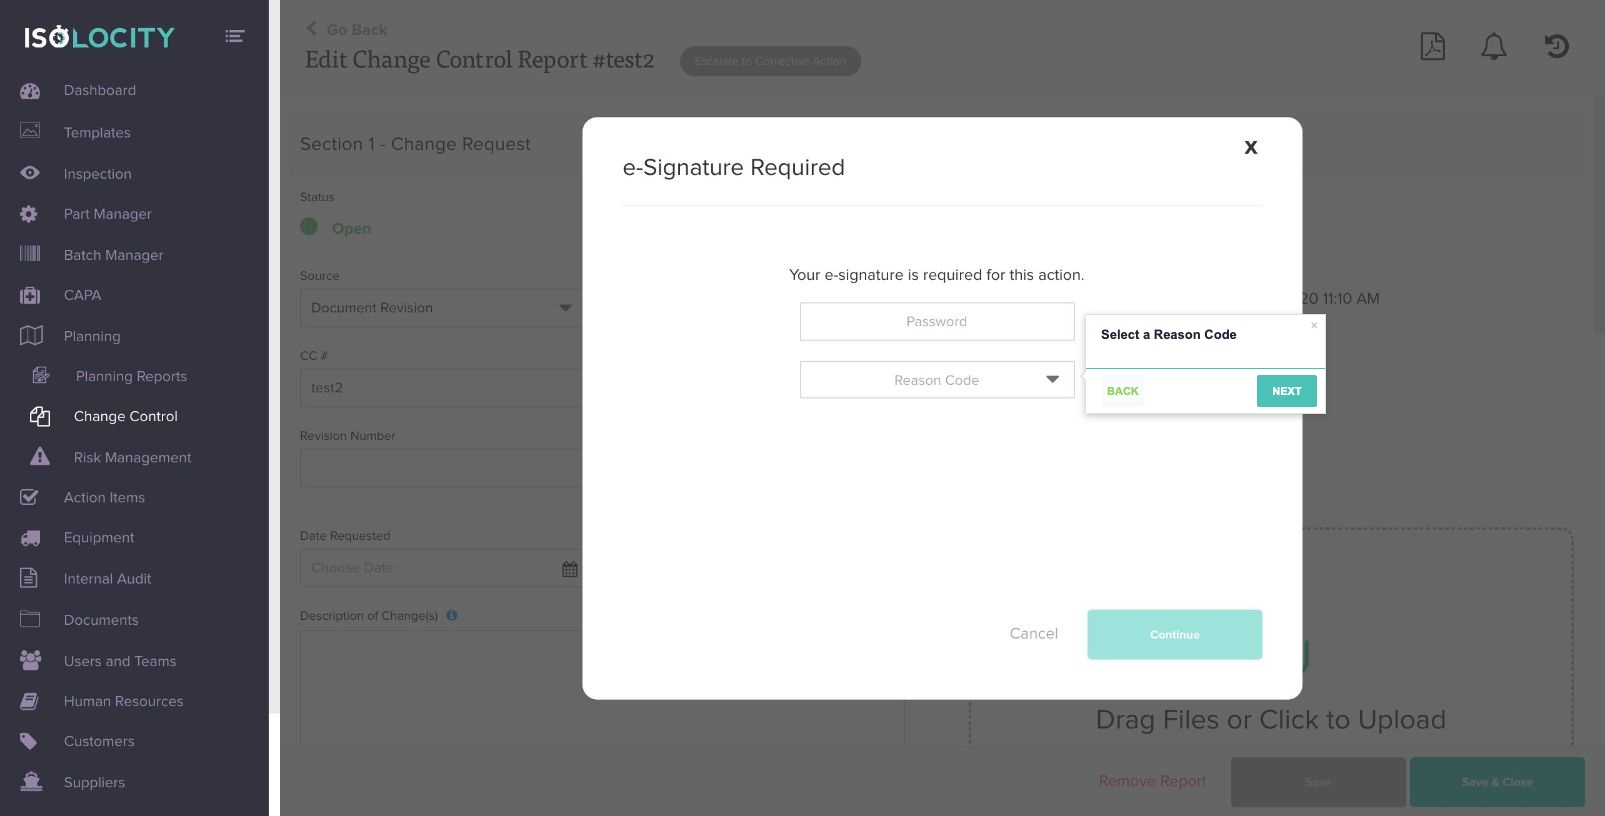
Step #66
Title: Select a Reason Code
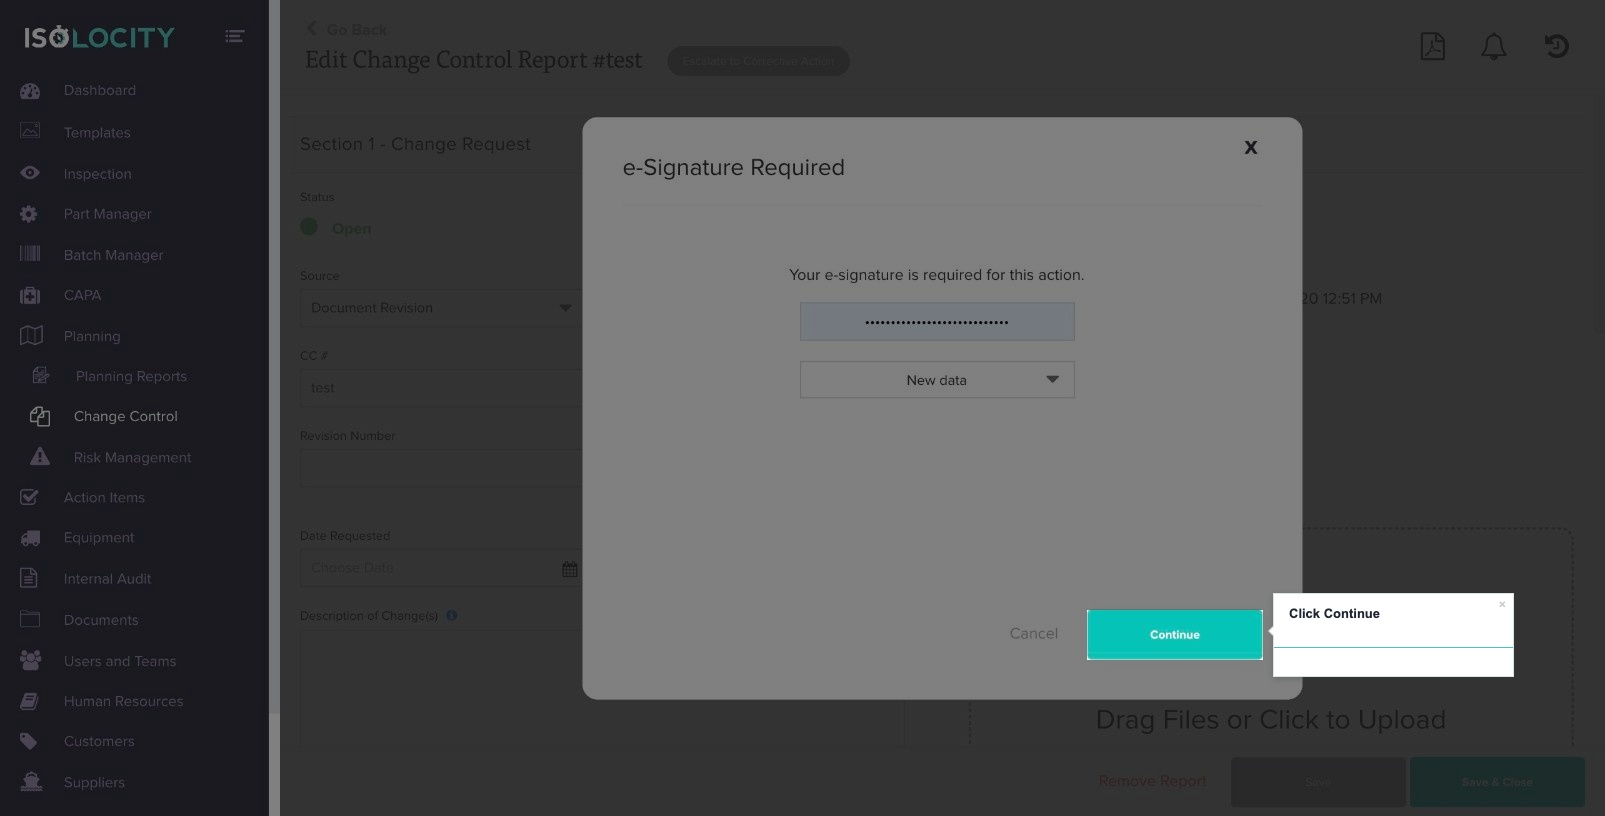
Step #67
Title: Click Continue
Step #68
Title: Click Save & Close
Step #69
Title: Enter Password
Step #70
Title: Click Continue
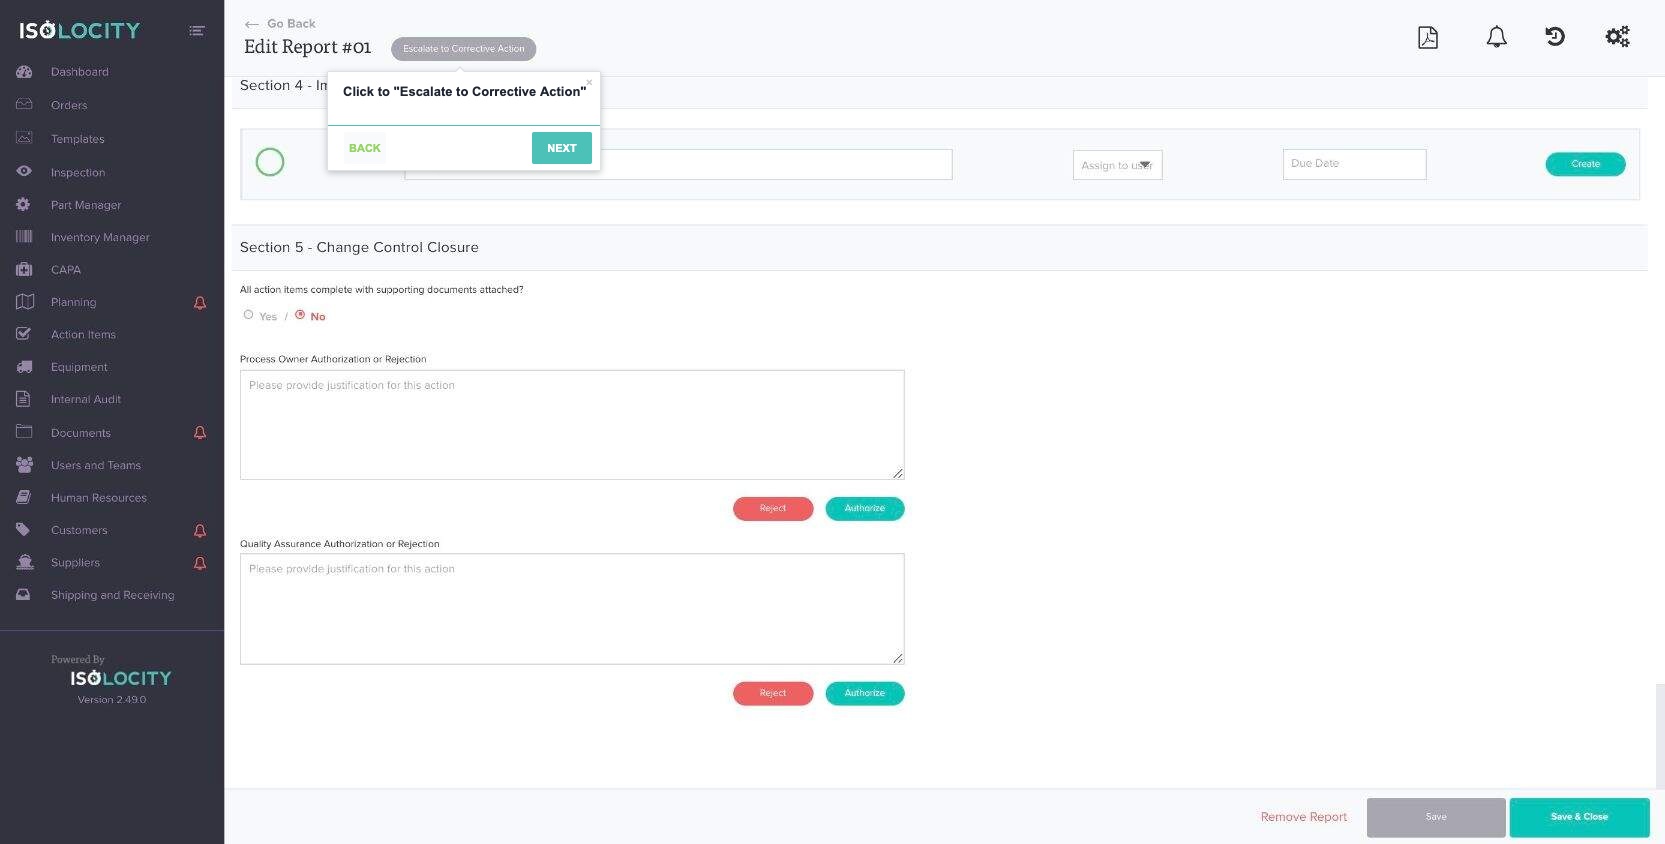
Step #71
Title: Click to “Escalate to Corrective Action”
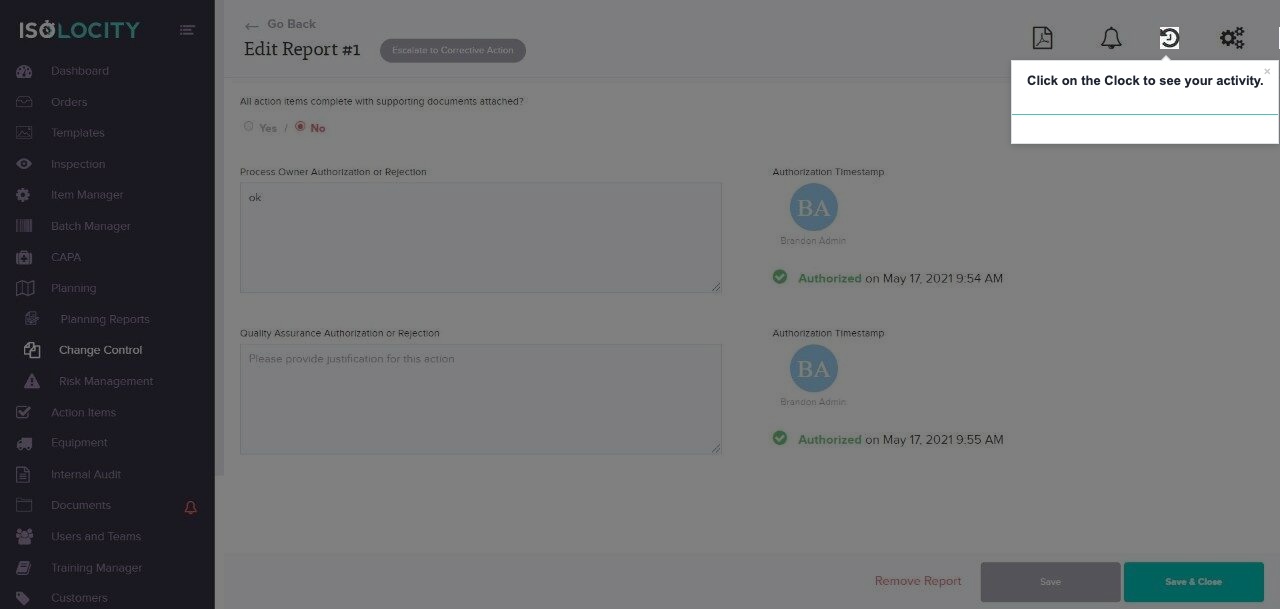
Step #72
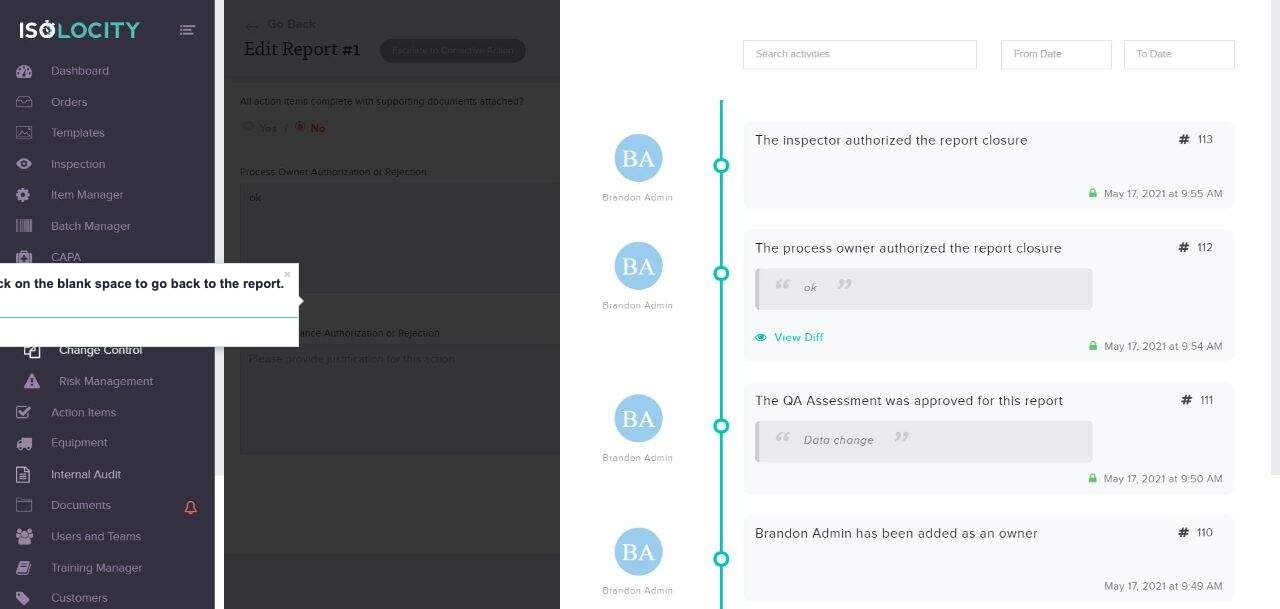
Title: Click on the Clock to see your activity.
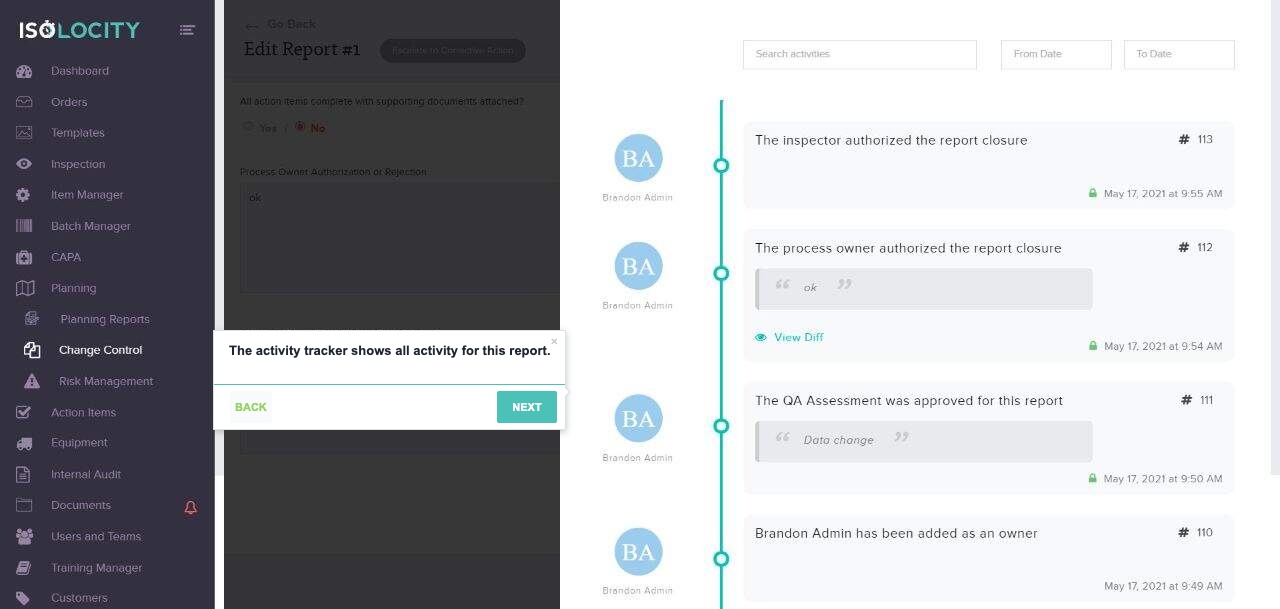
Step #73
Title: The activity tracker shows all activity for this report.
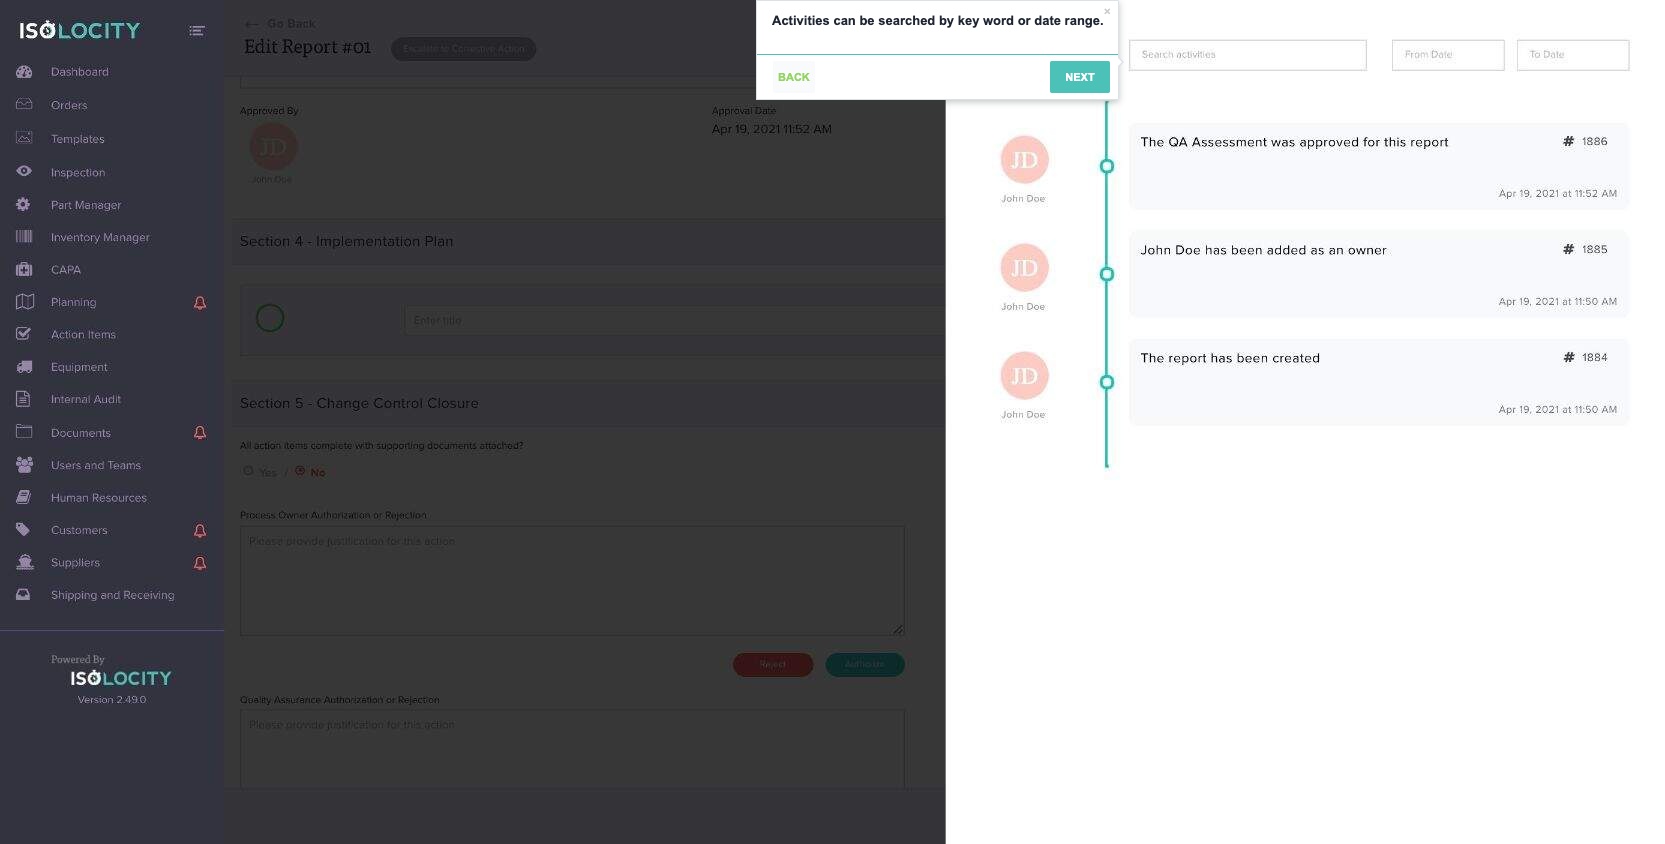
Step #74
Title: Activities can be searched by keyword or date range.
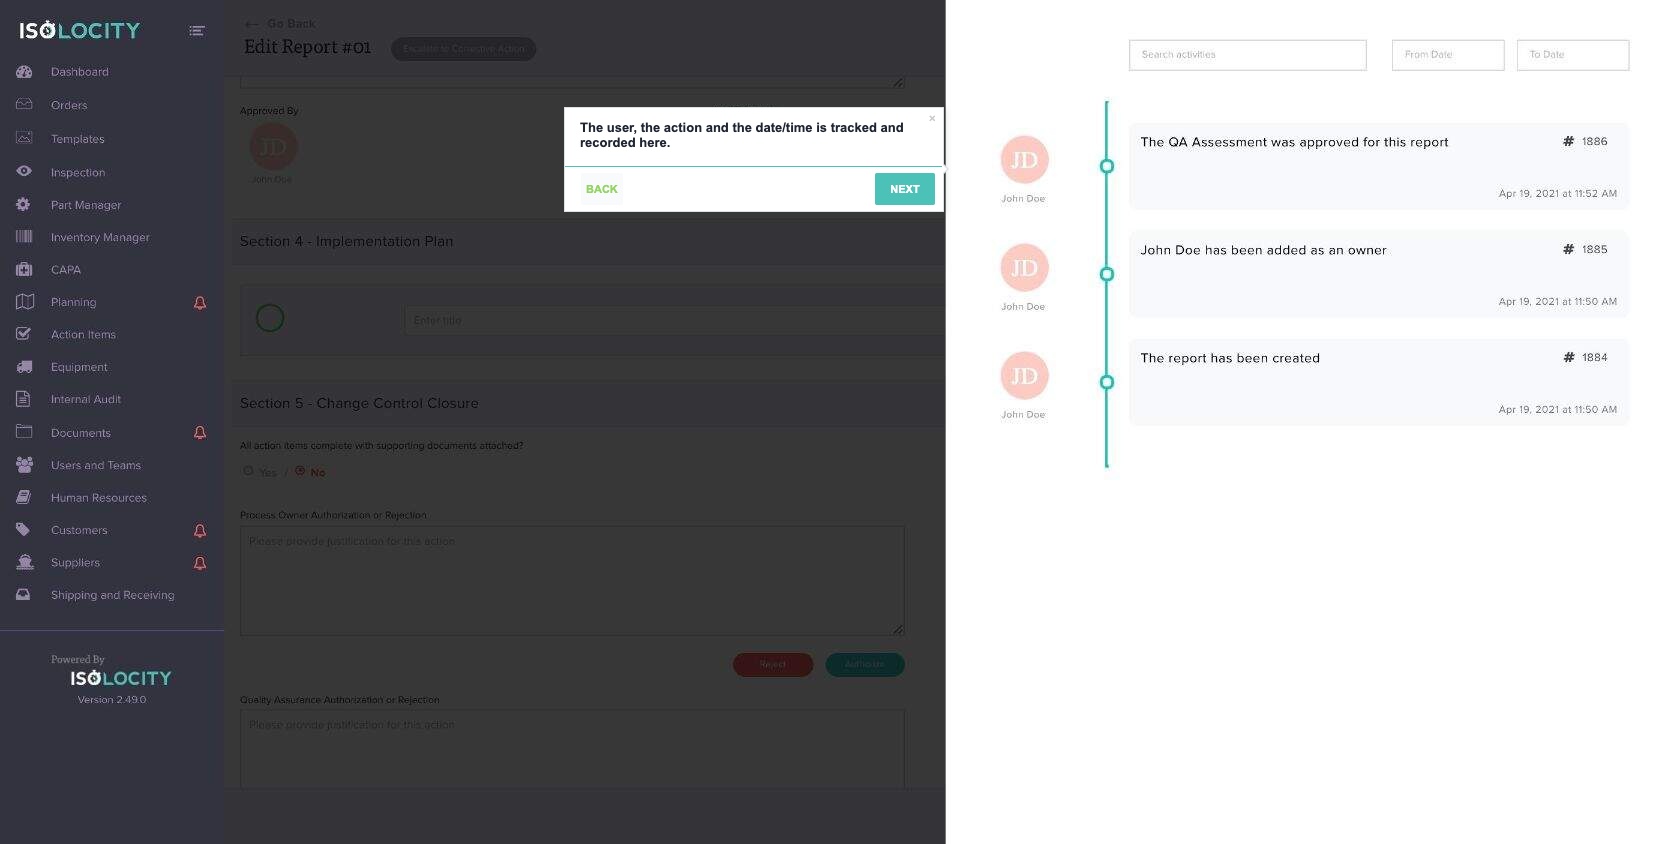
Step #75
Title: The user, the action and the date/time is tracked and recorded here.
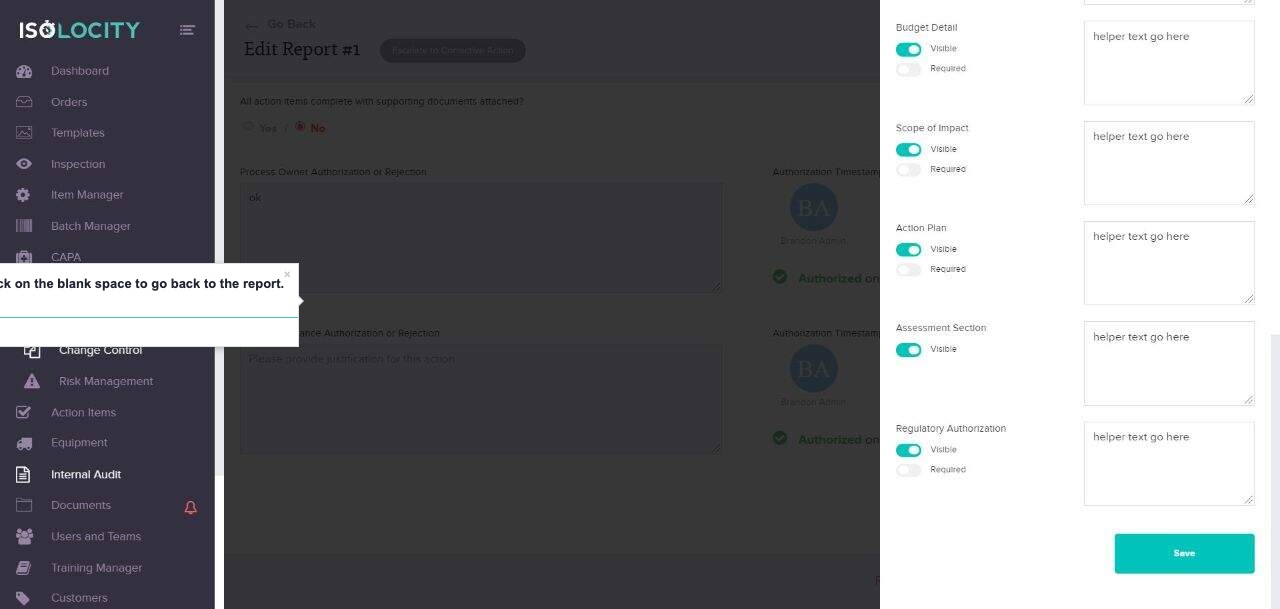
Step #76
Title: Click on the blank space to go back to the report.
Step #77
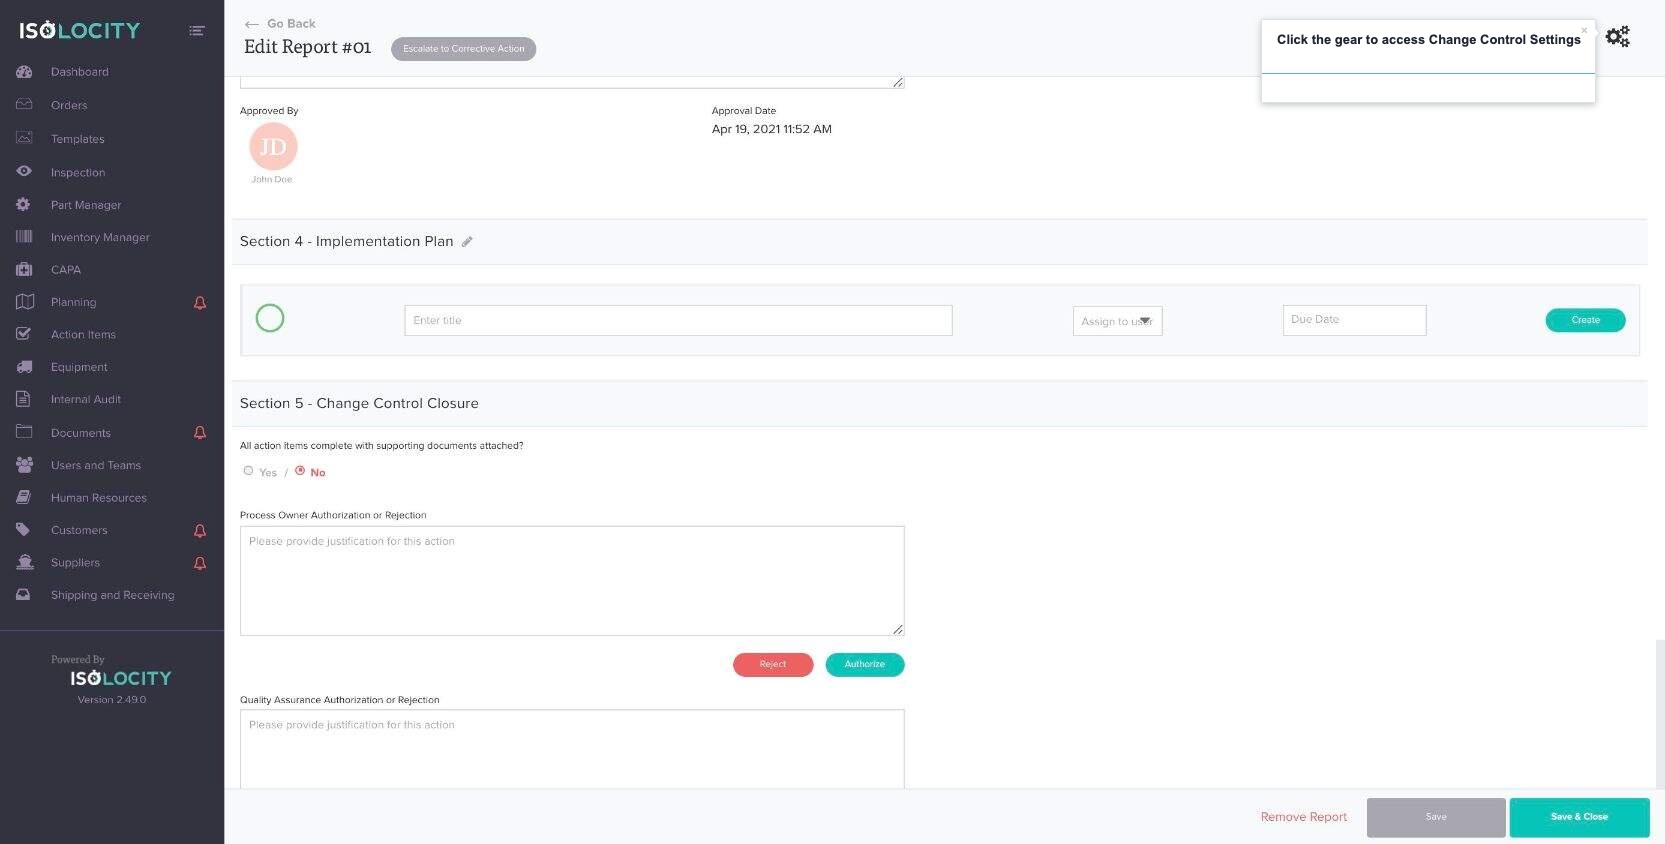
Title: Click the gear to access Change Control Settings
Step #78
Title: Enter “Form Name” (Optional).
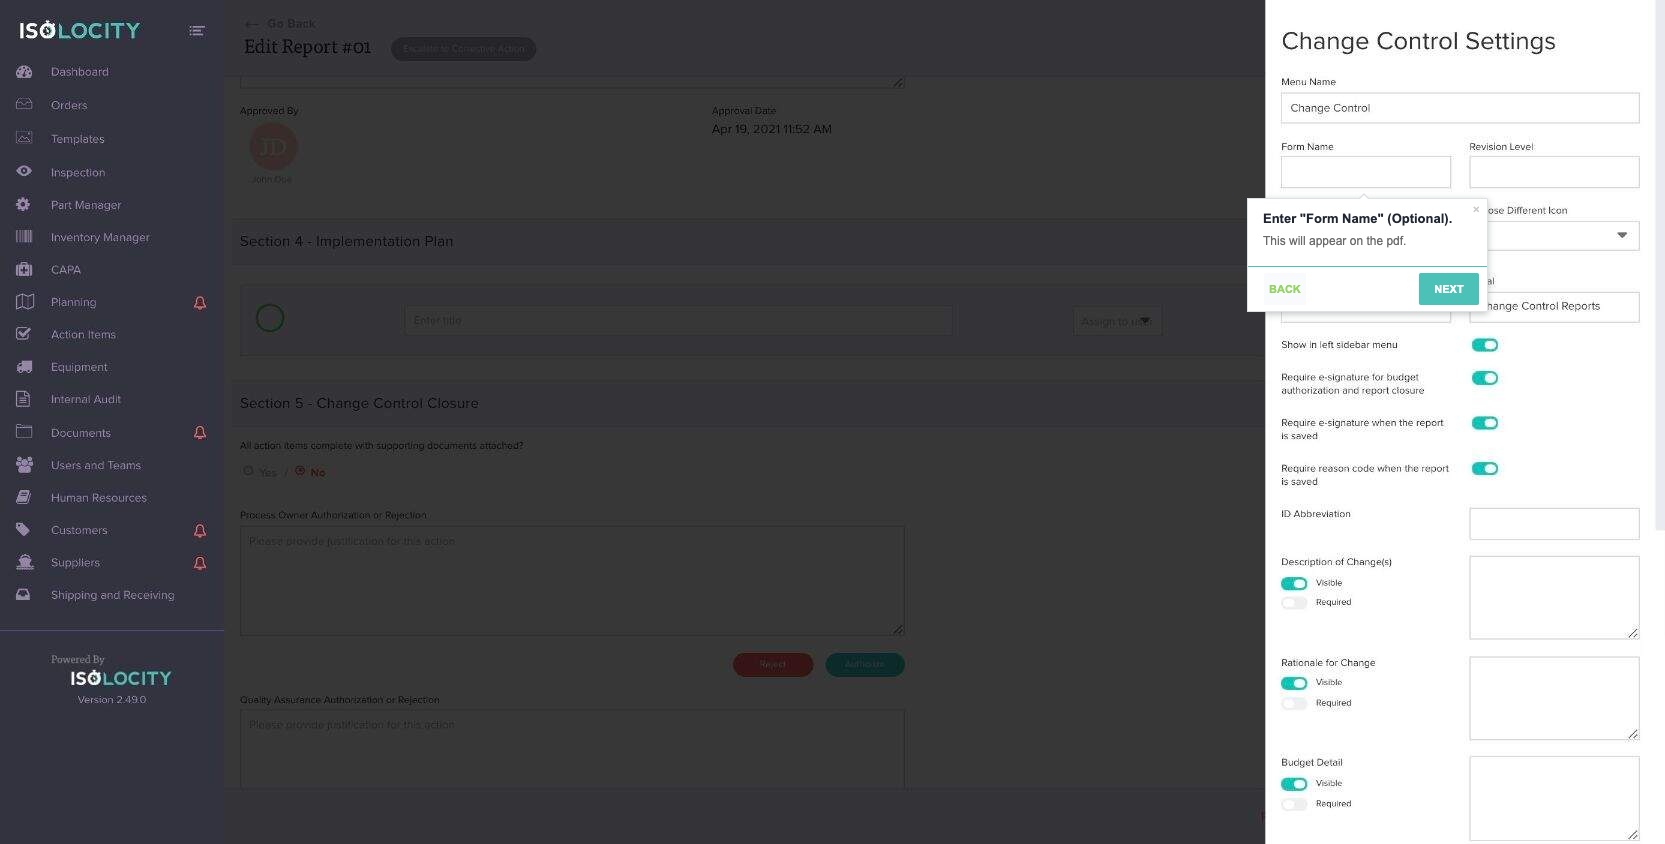
Text: This will appear on the pdf.
Step #79
Title: Enter “Revision Level” (Optional).
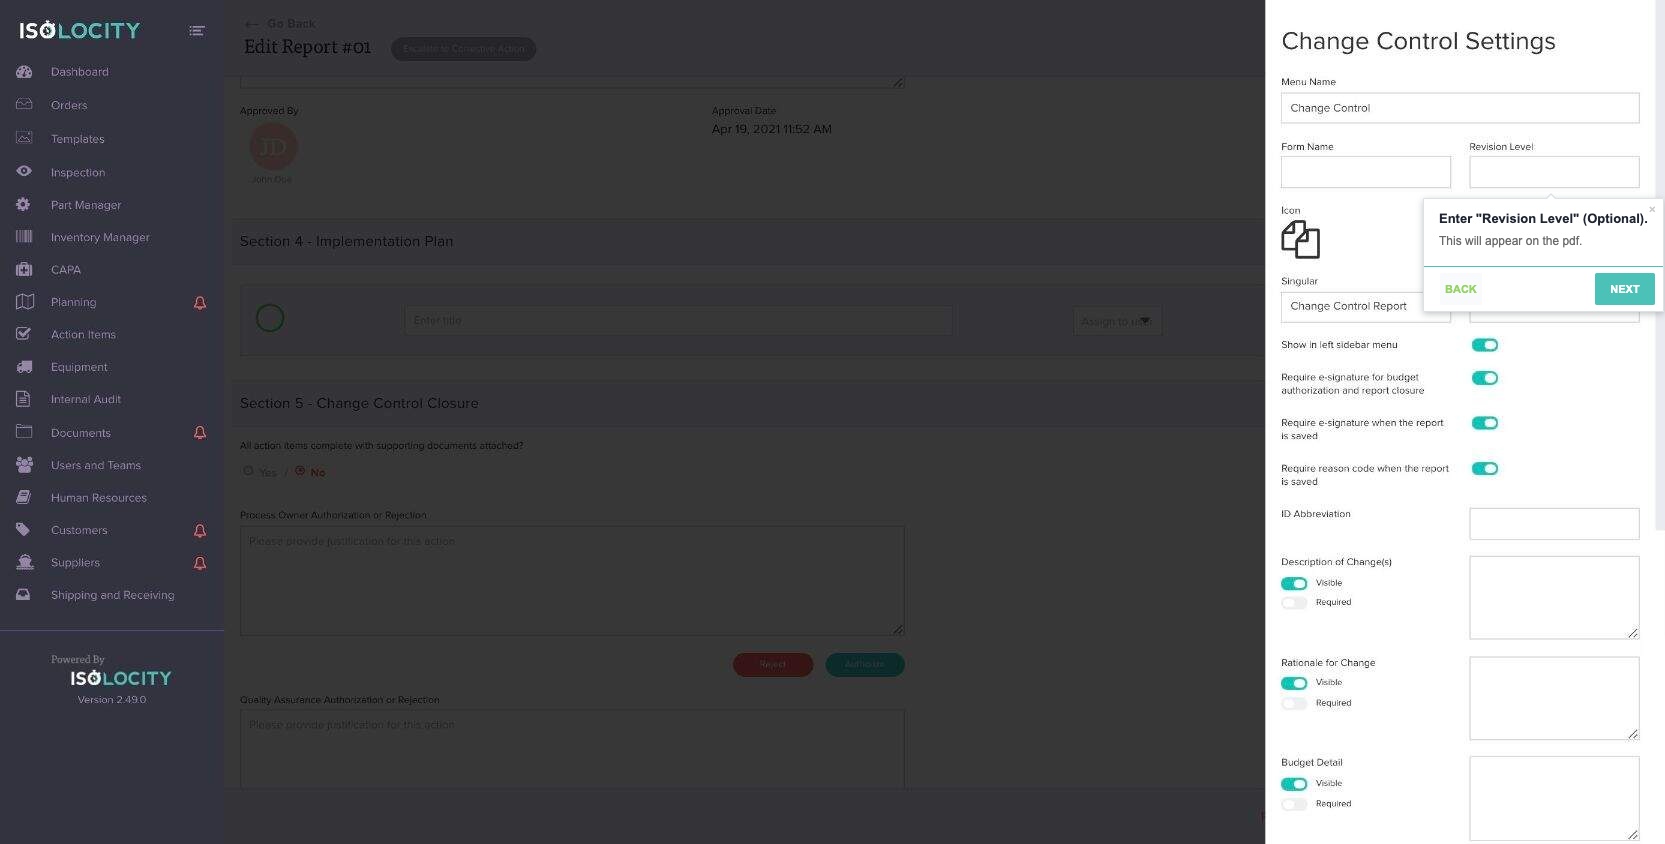
Text: This will appear on the pdf.
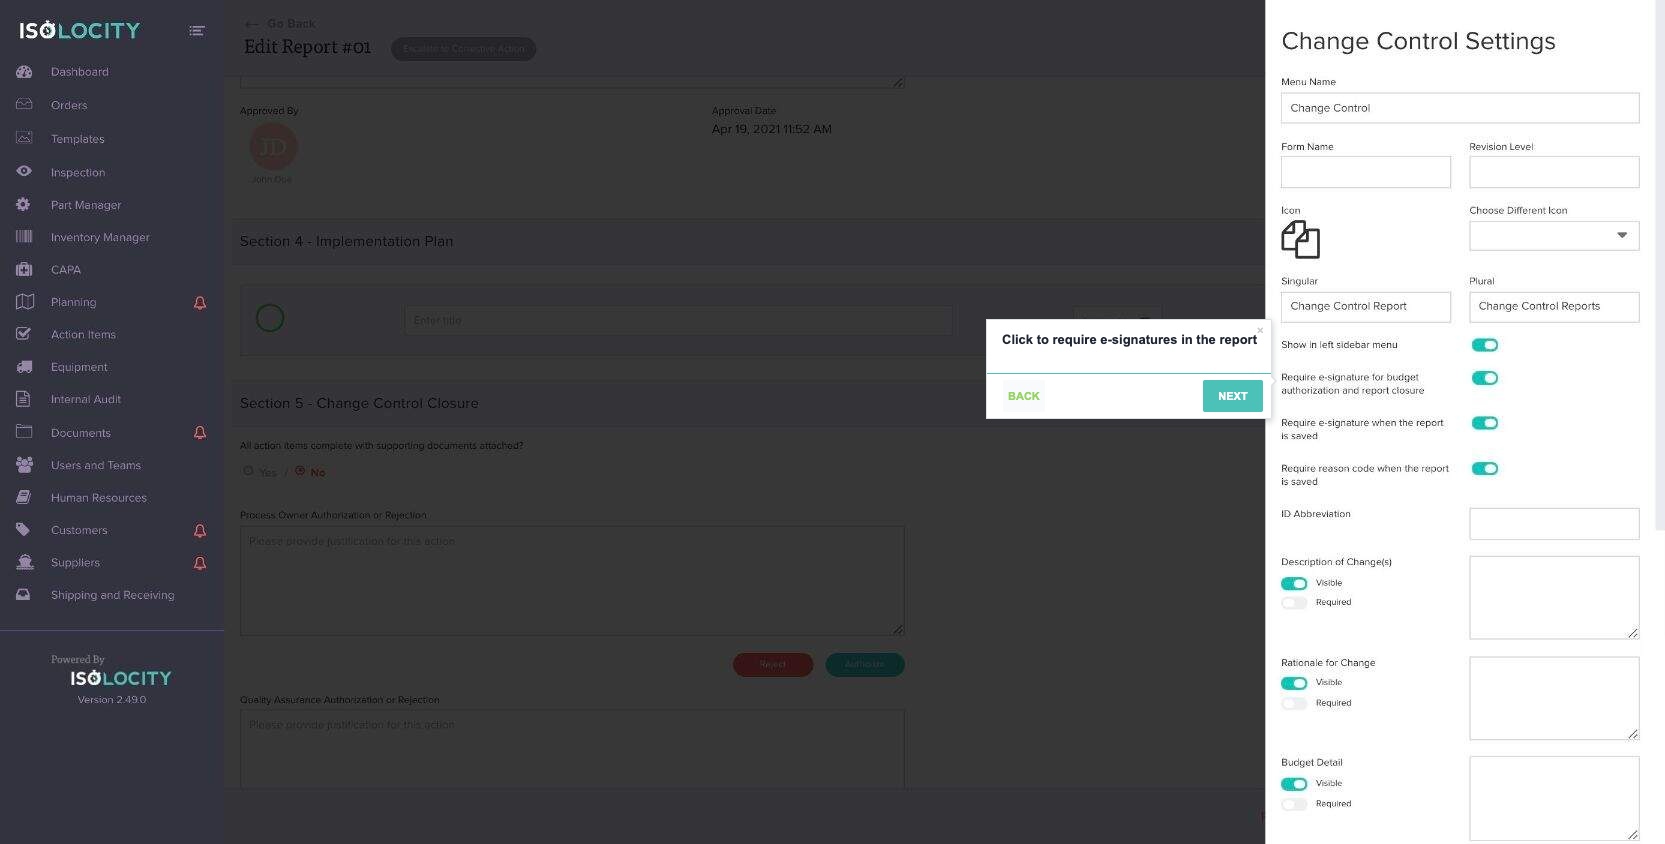
Step #80
Title: Click to require e-signatures in the report
Step #81
Title: Enter “ID Abbreviation”
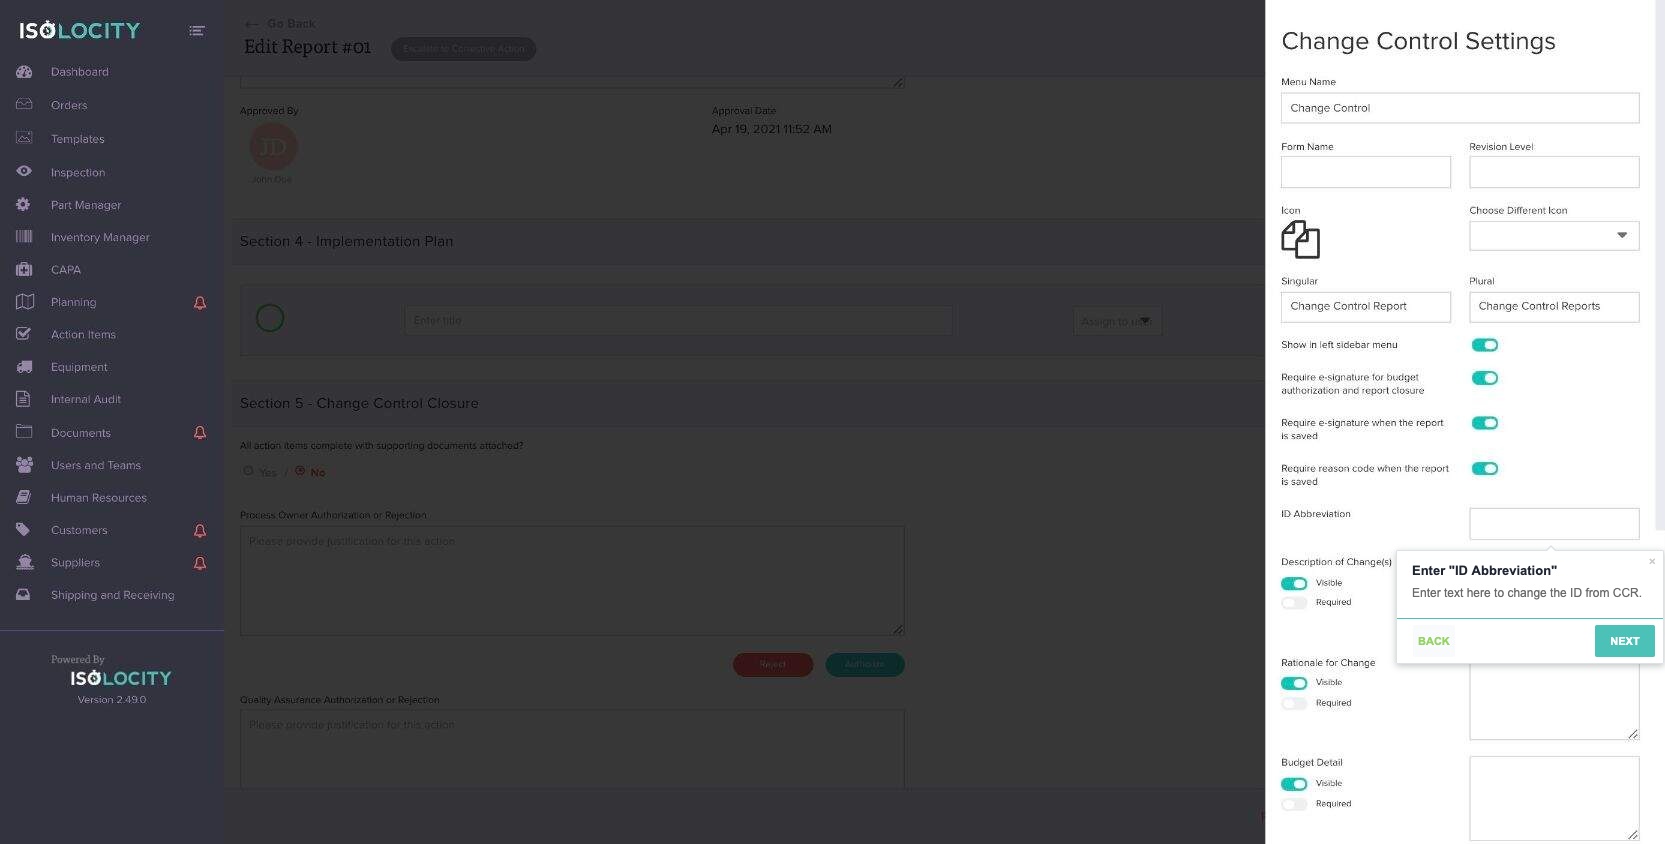
Text: Enter text here to change the ID from CCR.
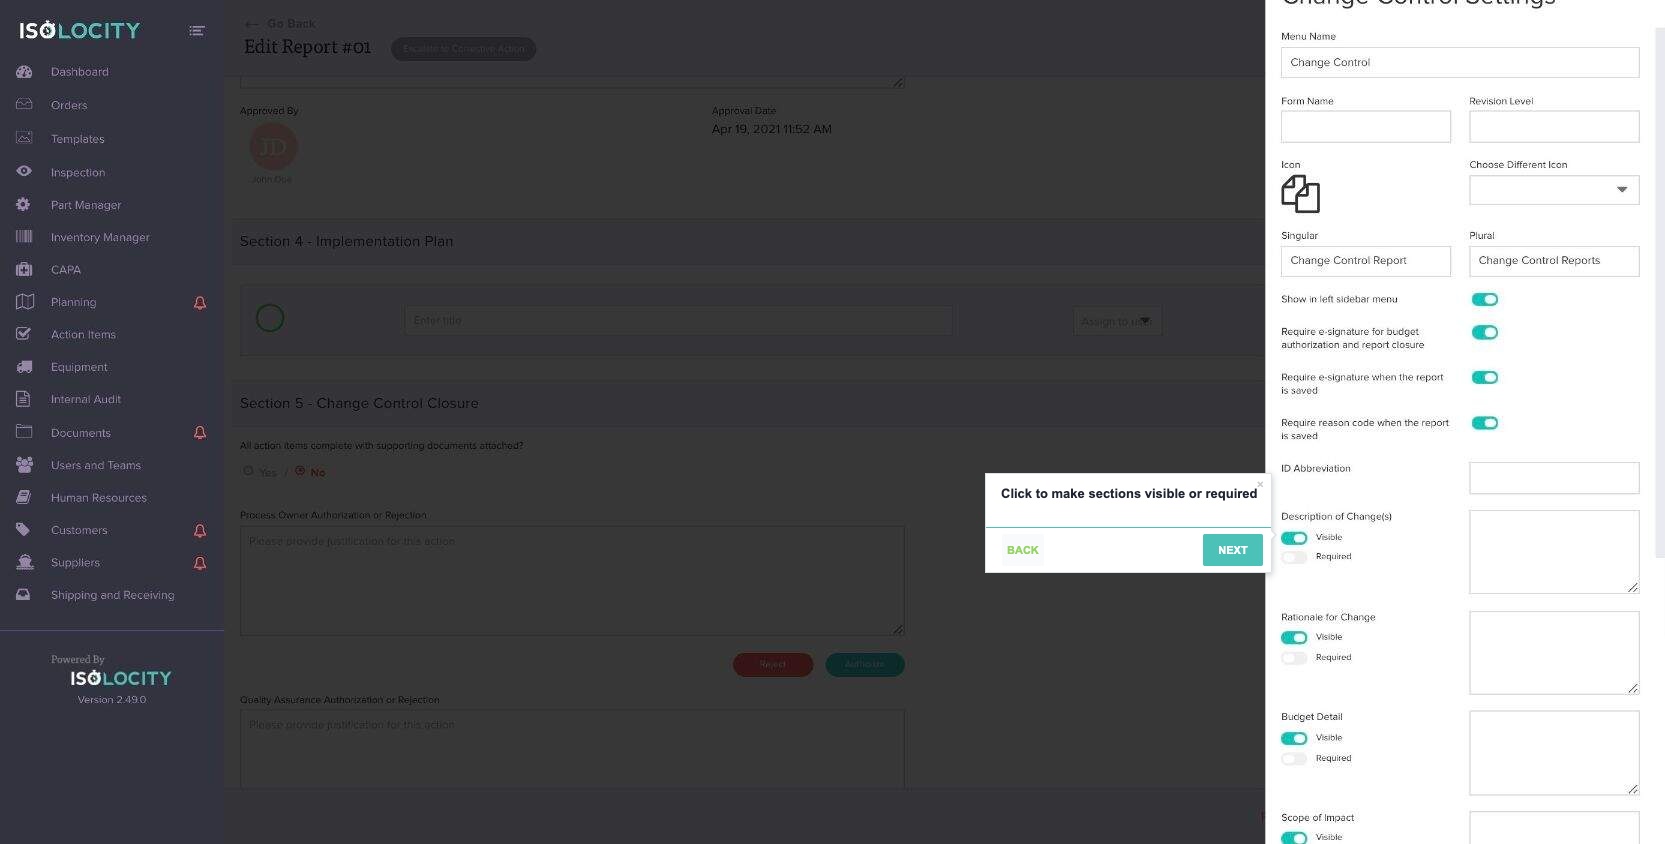
Step #82
Title: Click to make sections visible or required
Step #83
Title: Enter any helper text
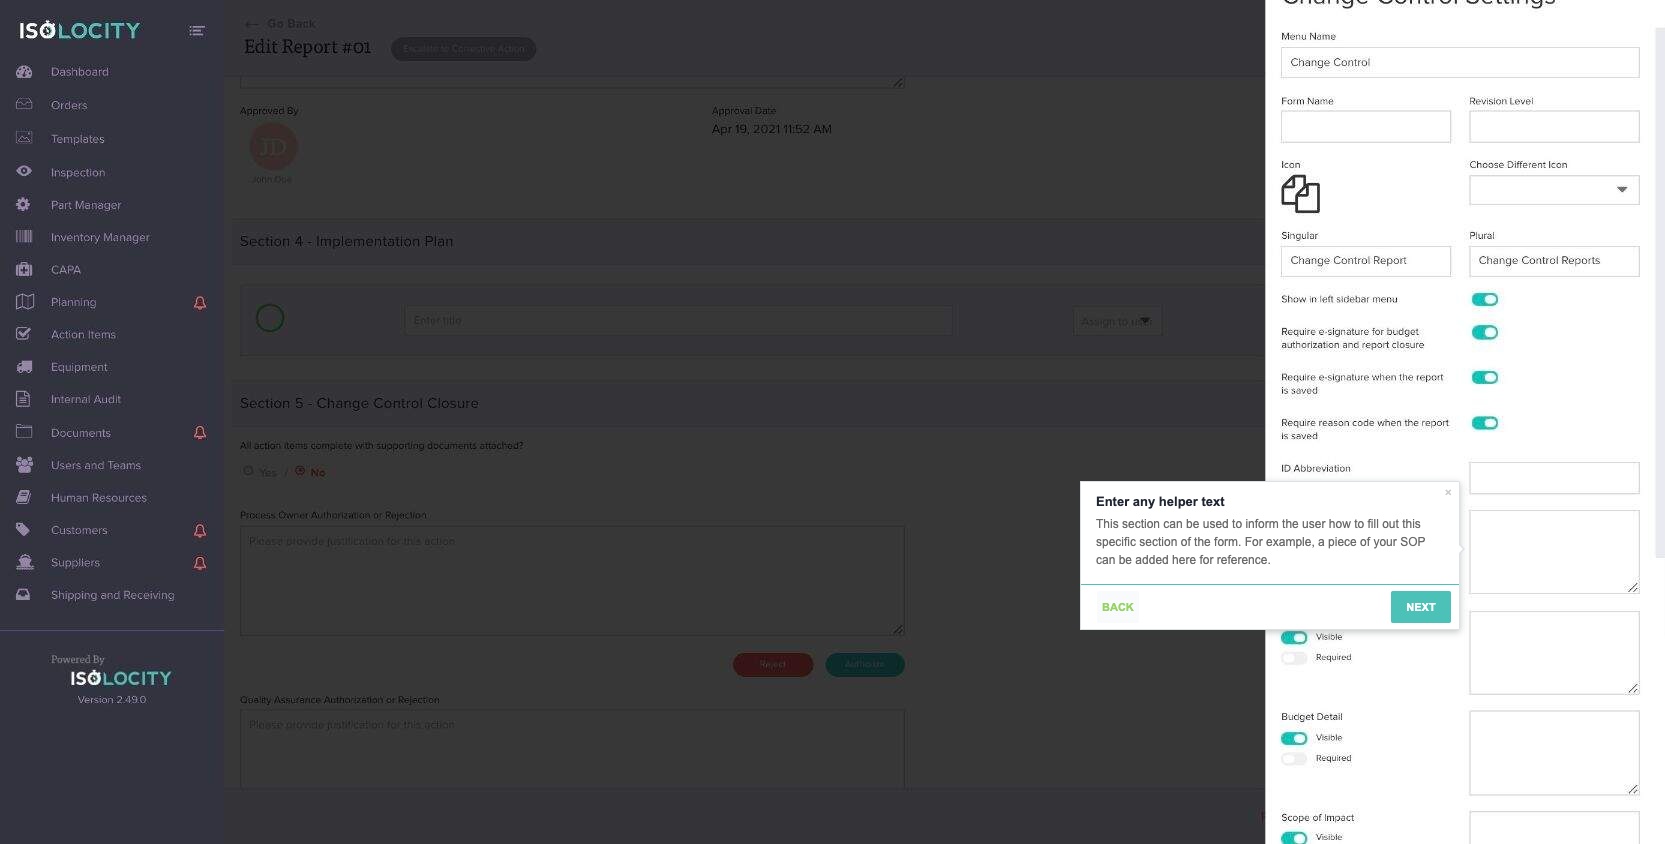
Text: This section can be used to inform the user how to fill out this specific section of the form. For example, a piece of your SOP can be added here for reference.
Step #84
Title: Click the toggle to turn on this setting
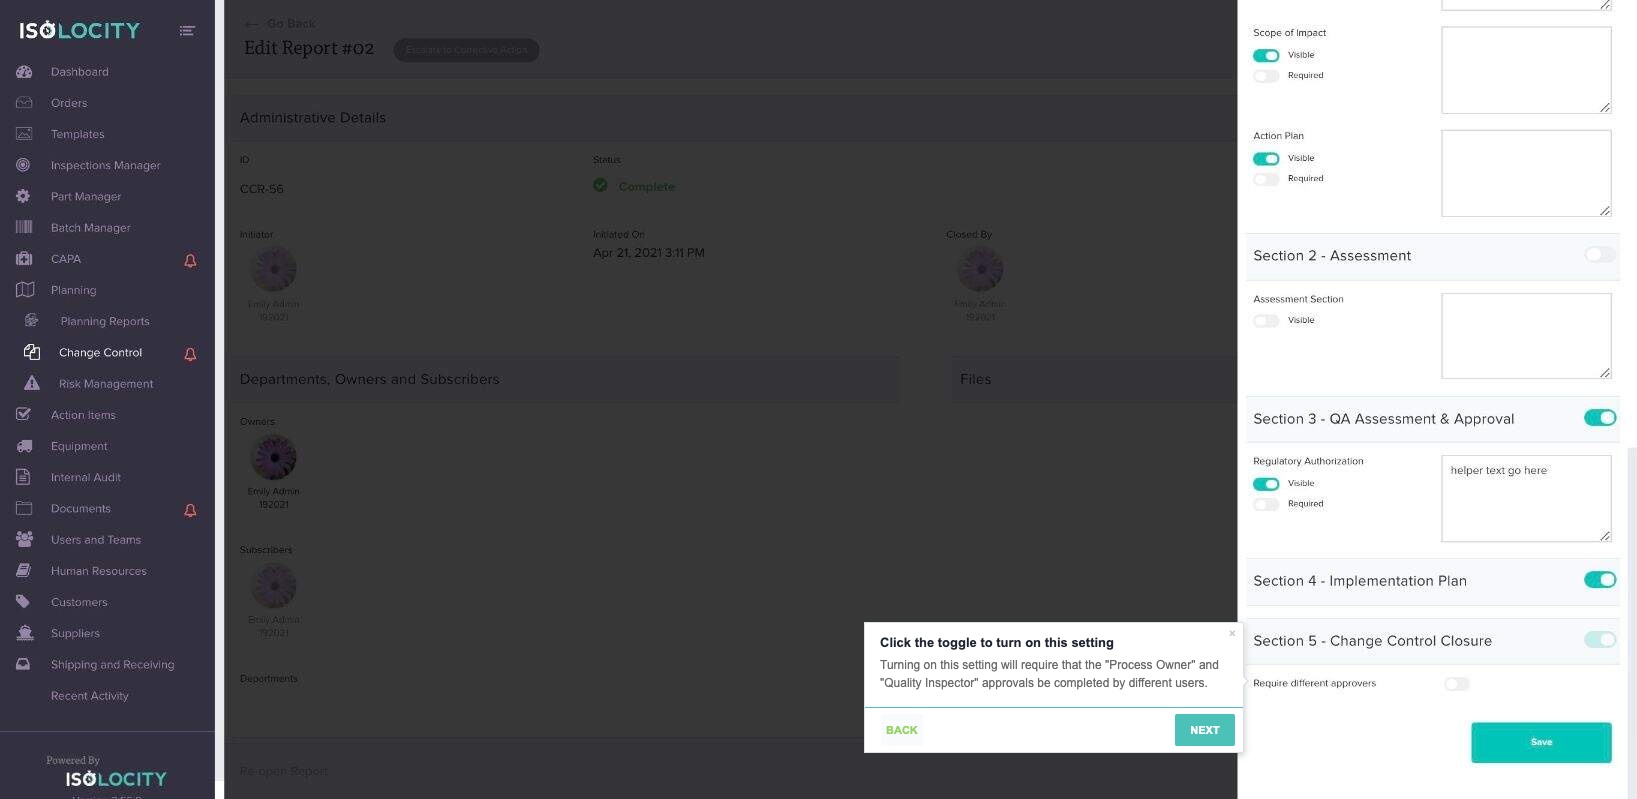
Text: Turning on this setting will require that the “Process Owner” and “Quality Inspector” approvals be completed by different users.
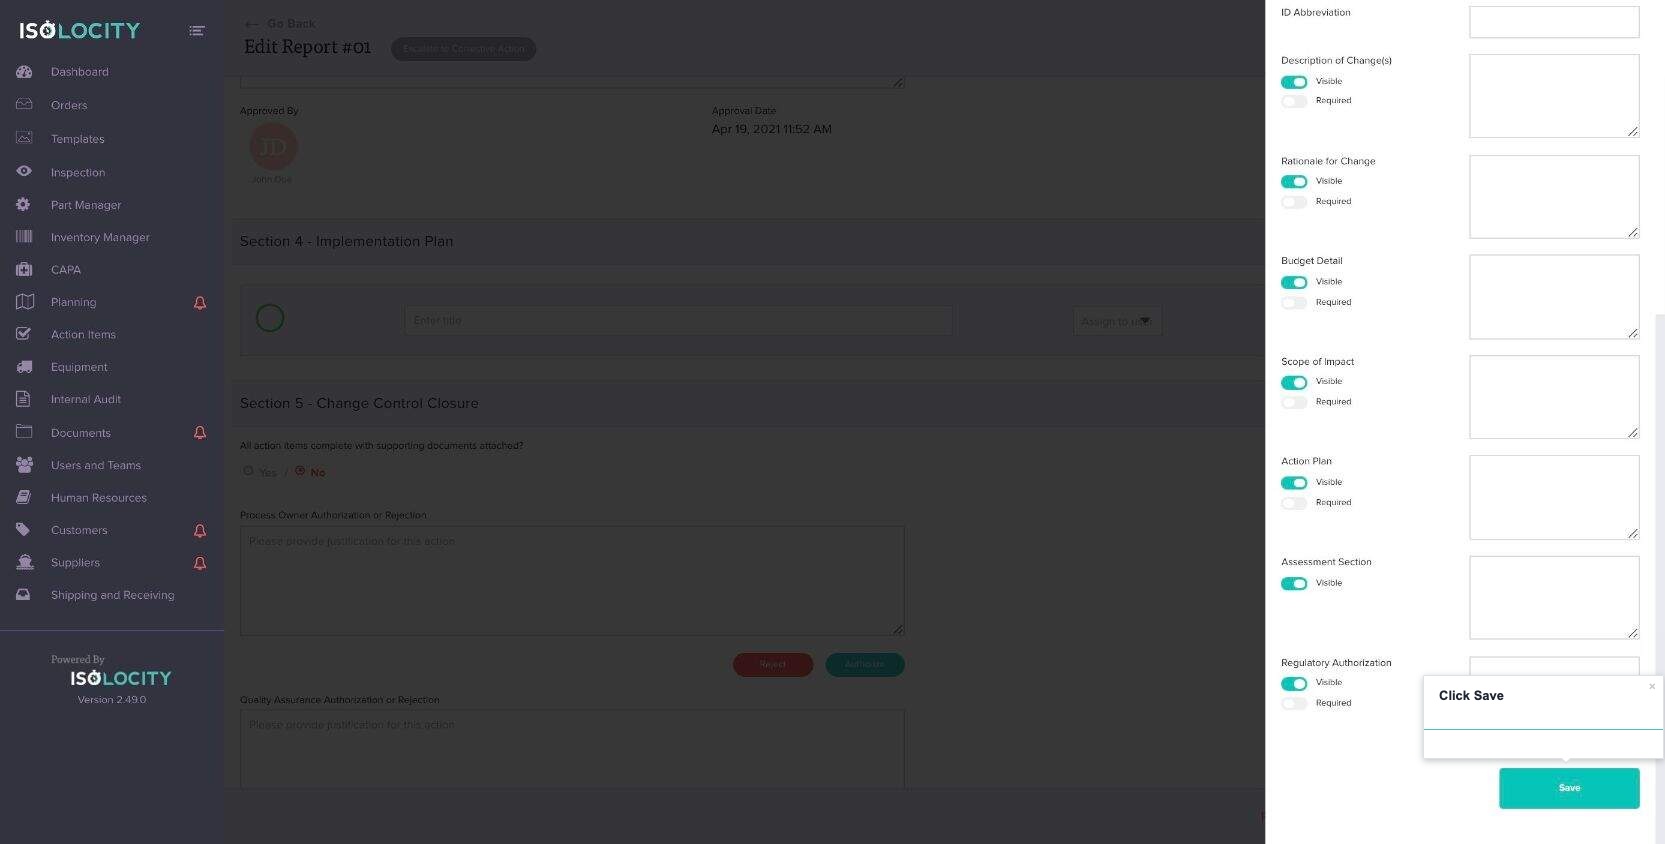
Step #85
Title: Click Save
Step #86
Title: Click on the blank space to go back to the report.
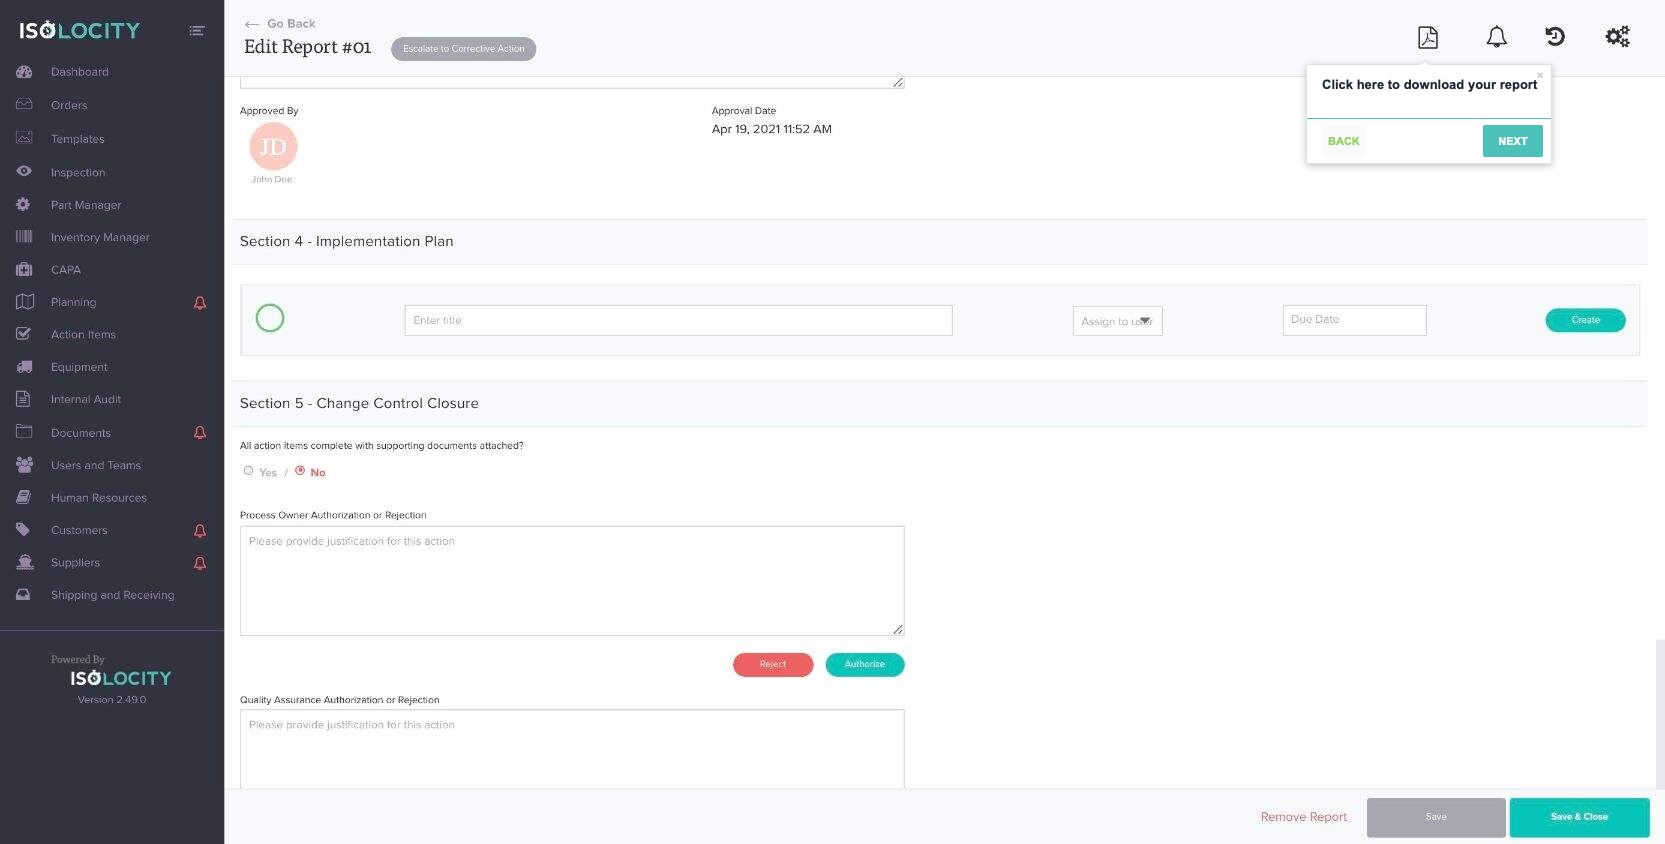
Step #87
Title: Click here to download your report