Adding A New Deviation Report
Step #1
Click here to access the “CAPA” sub-menu.

Step #2
Click here
Step #3
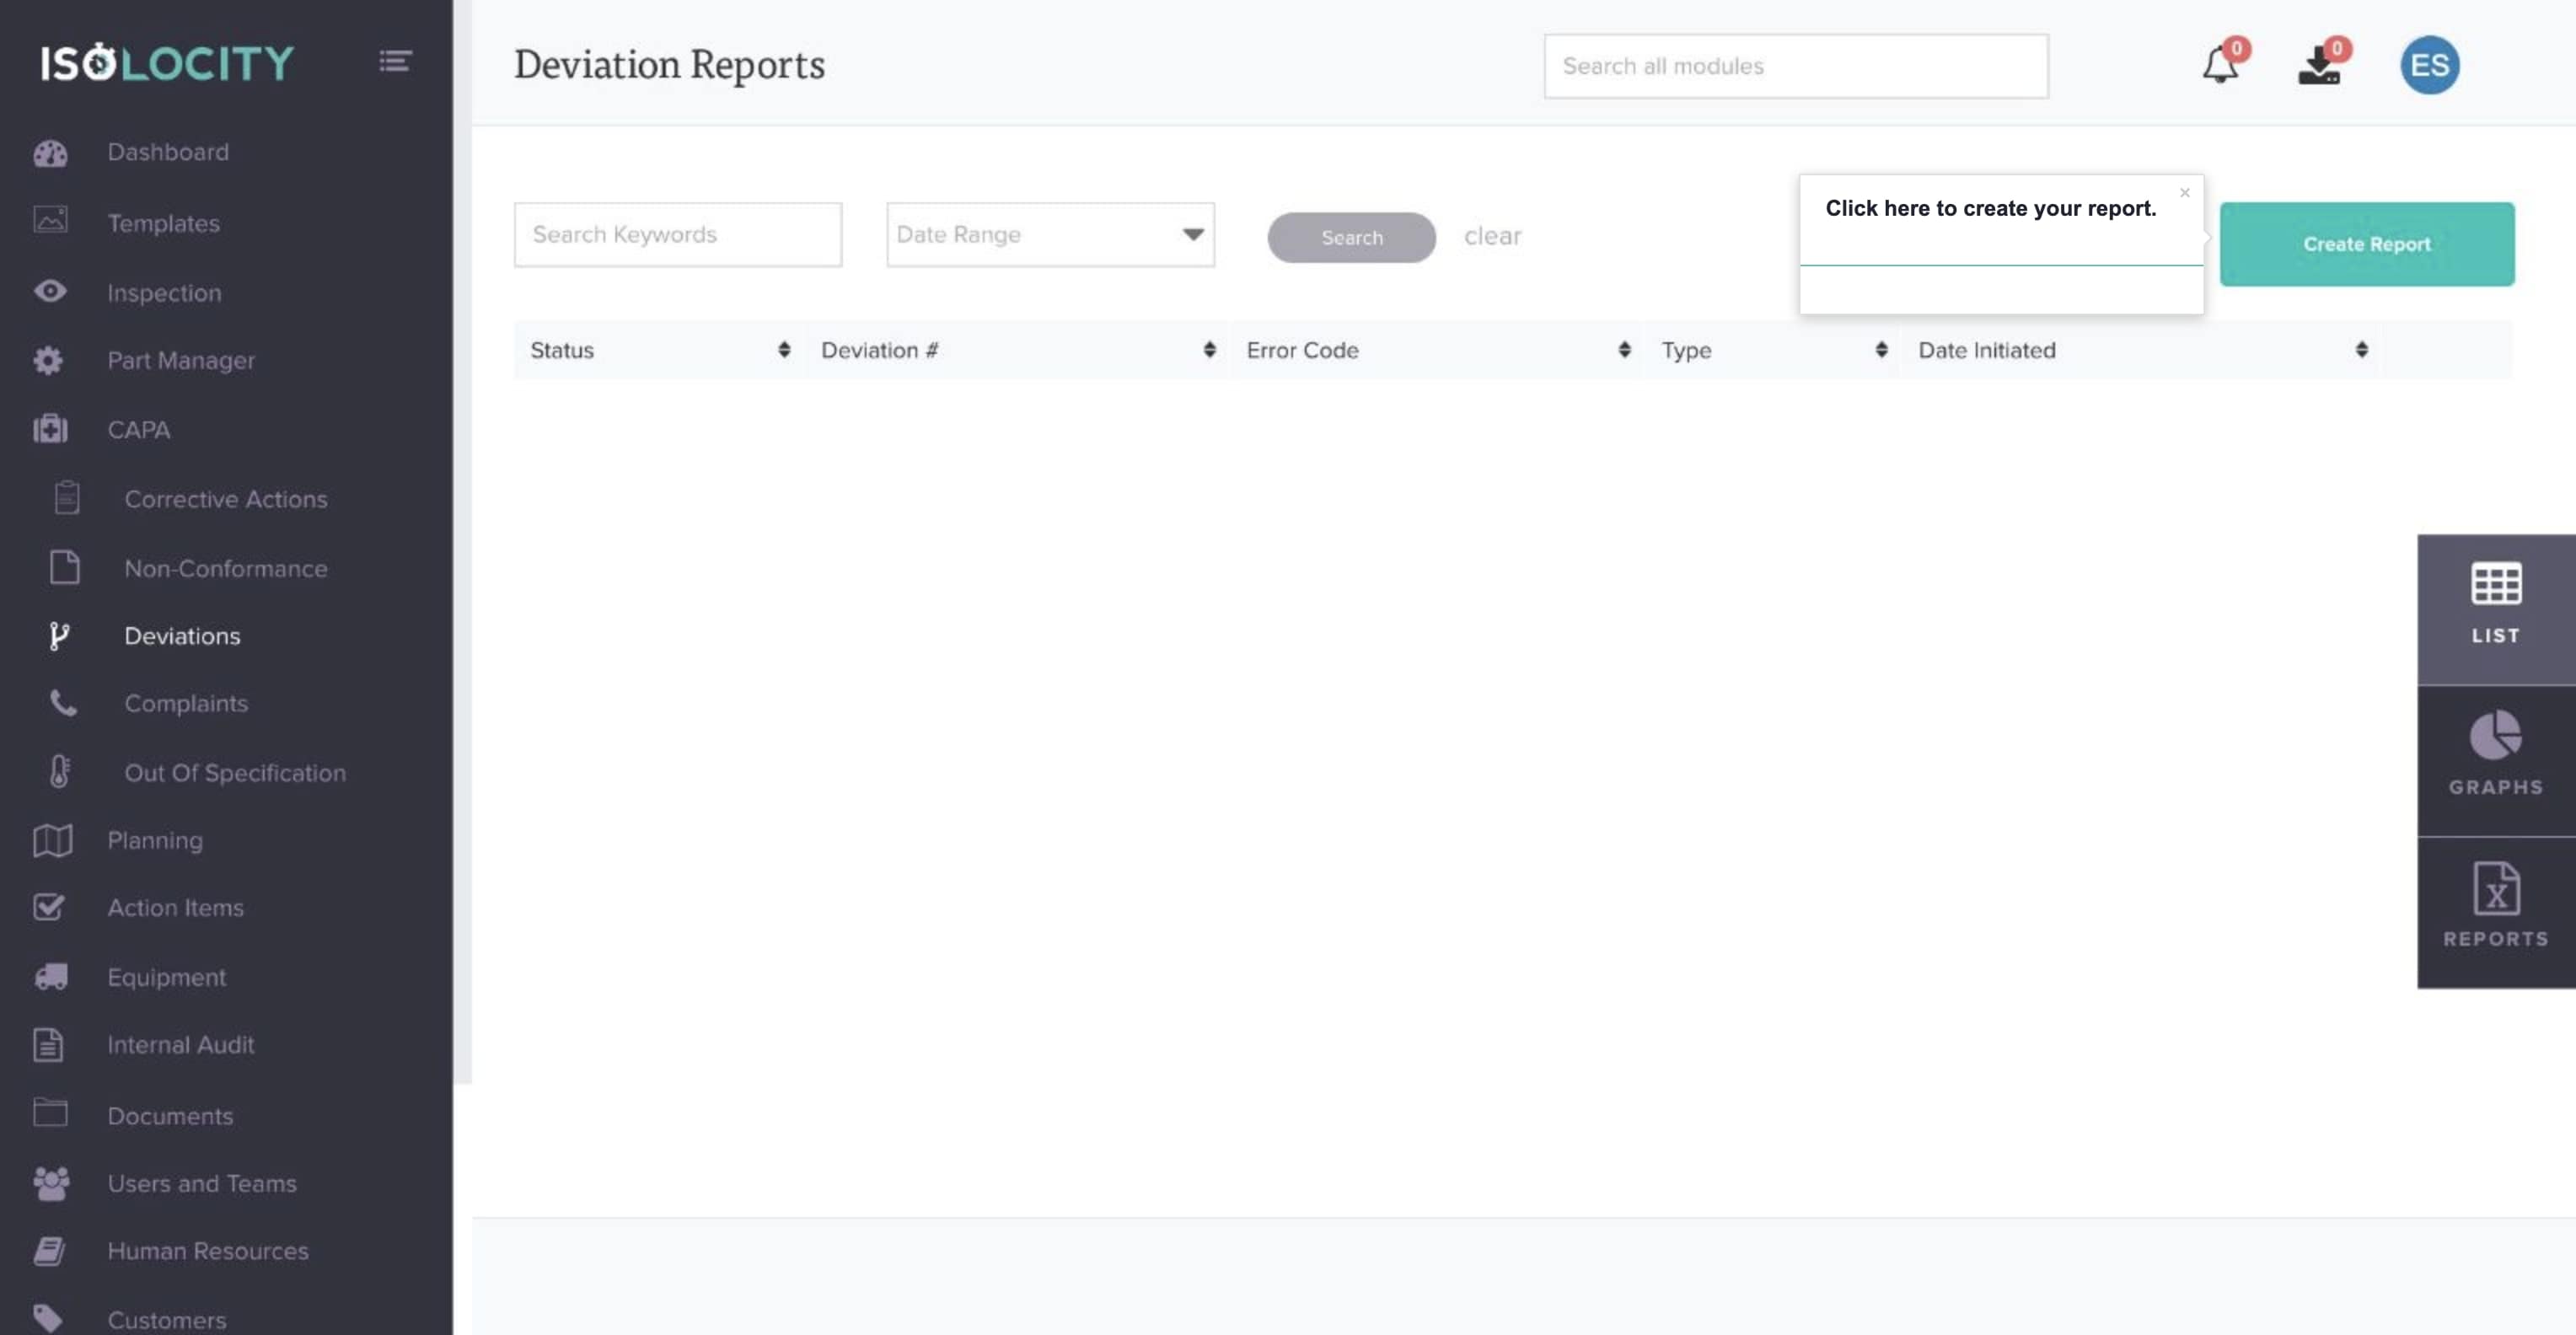
Click here to create your report.
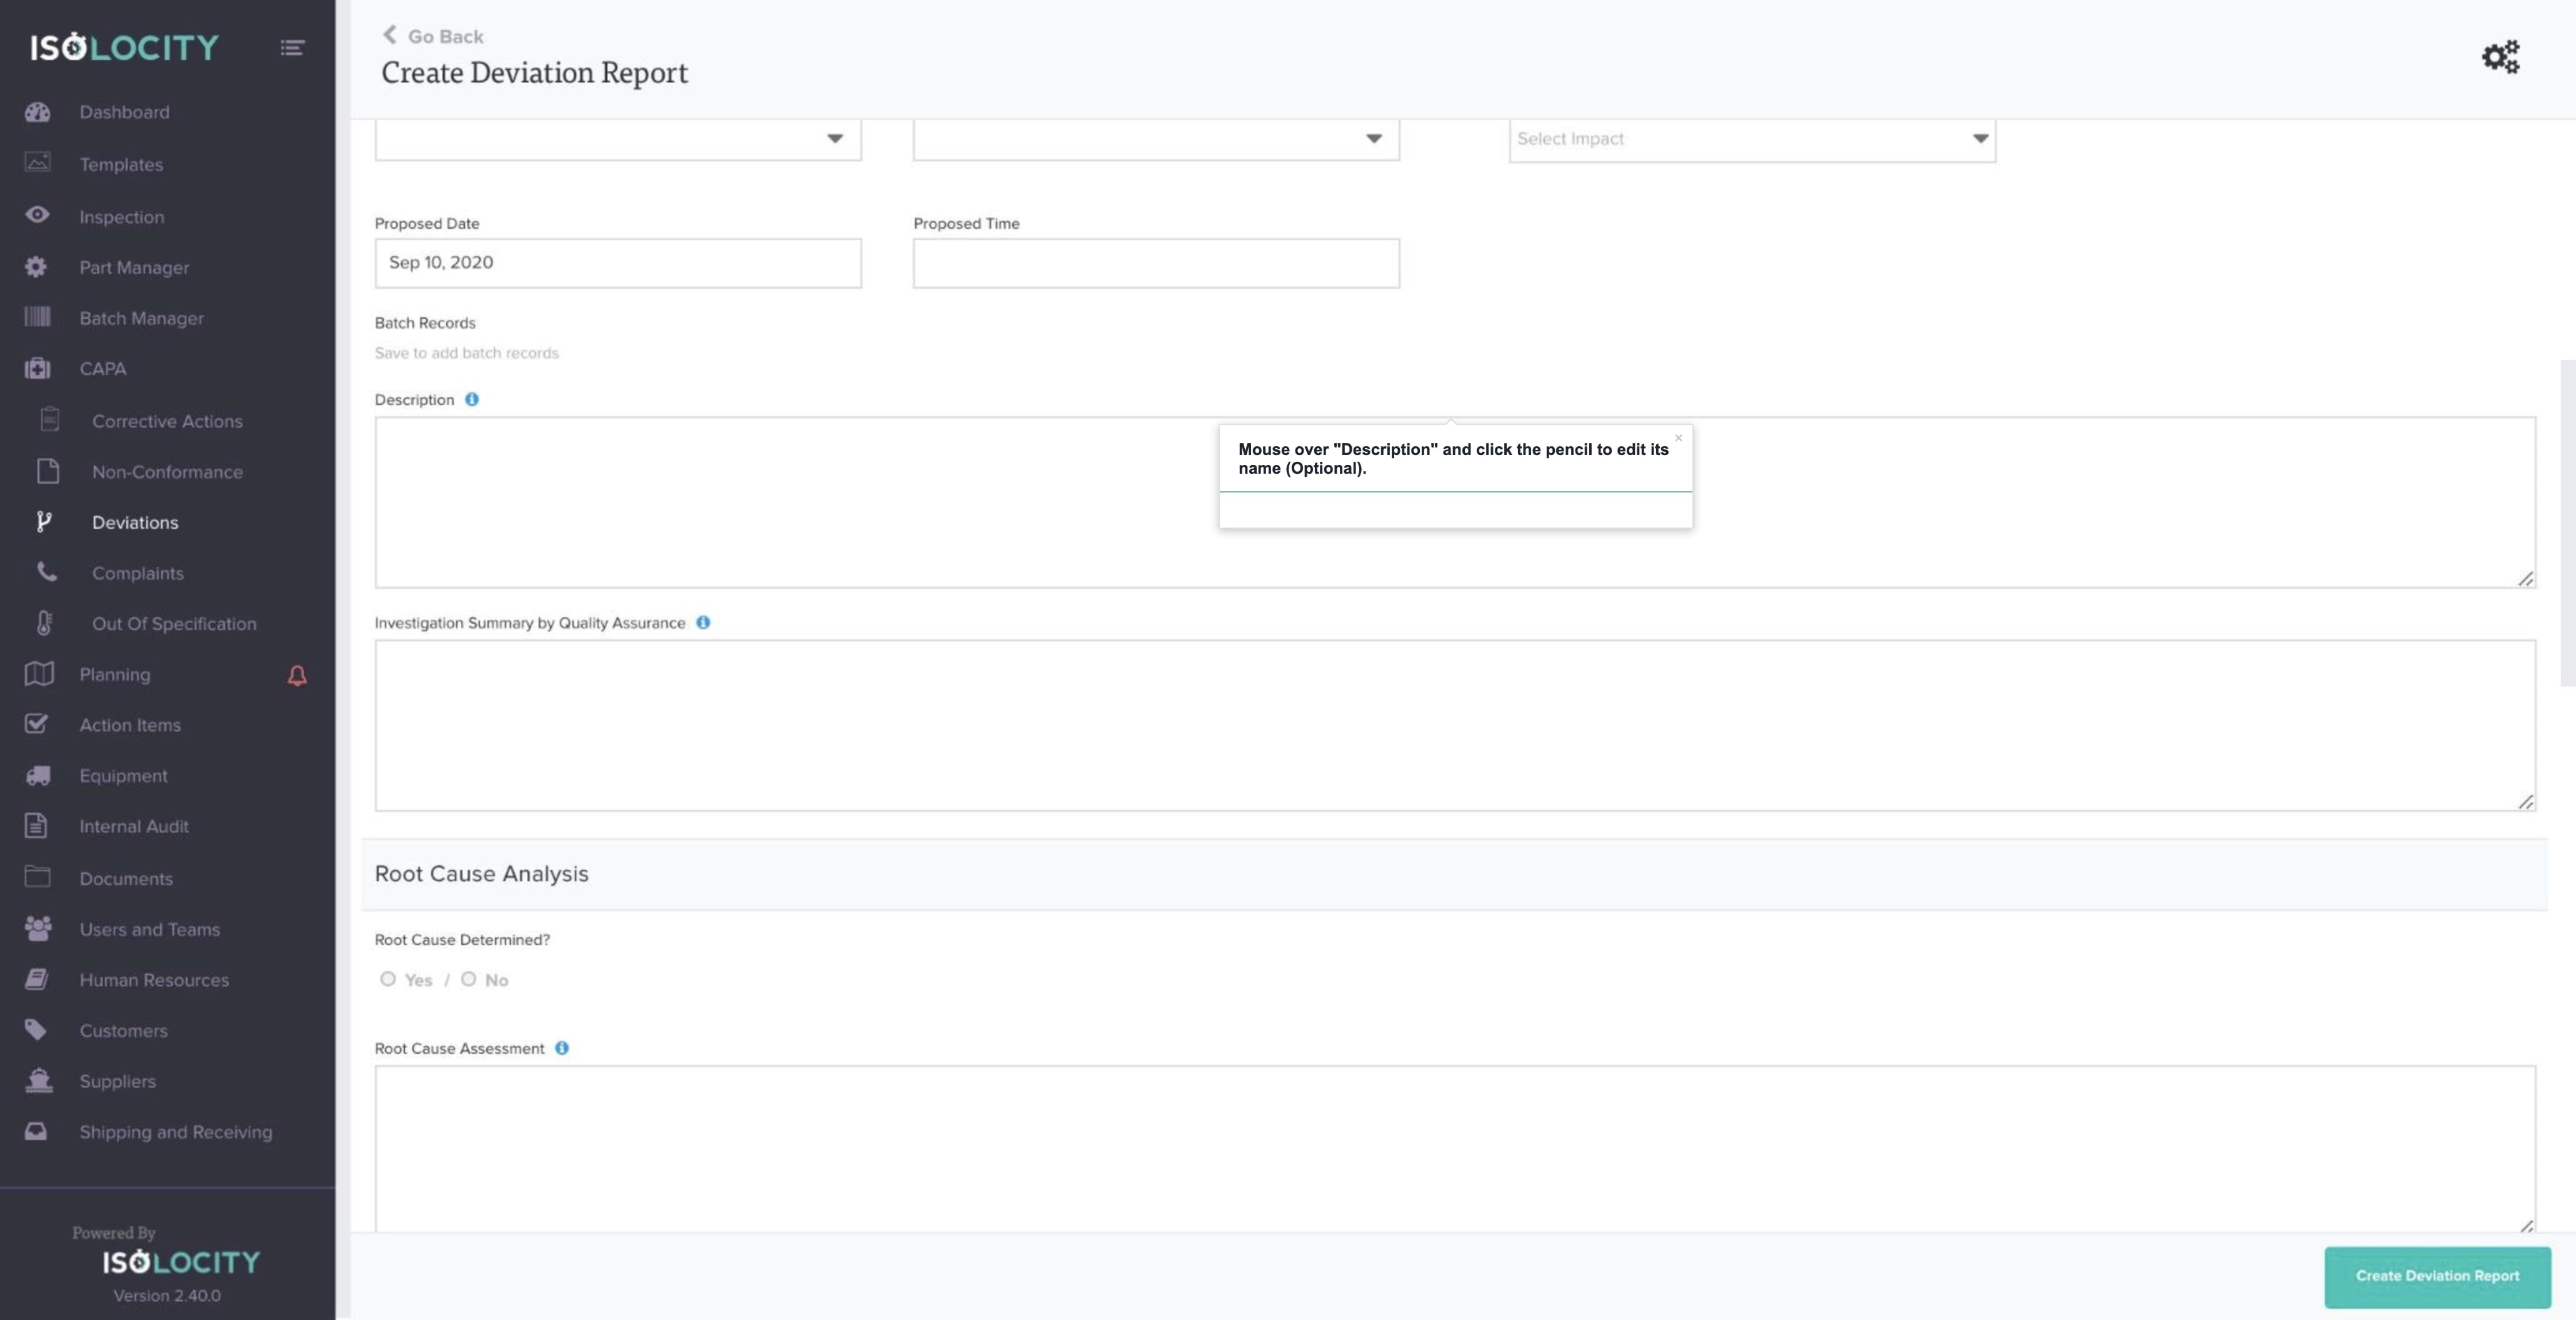
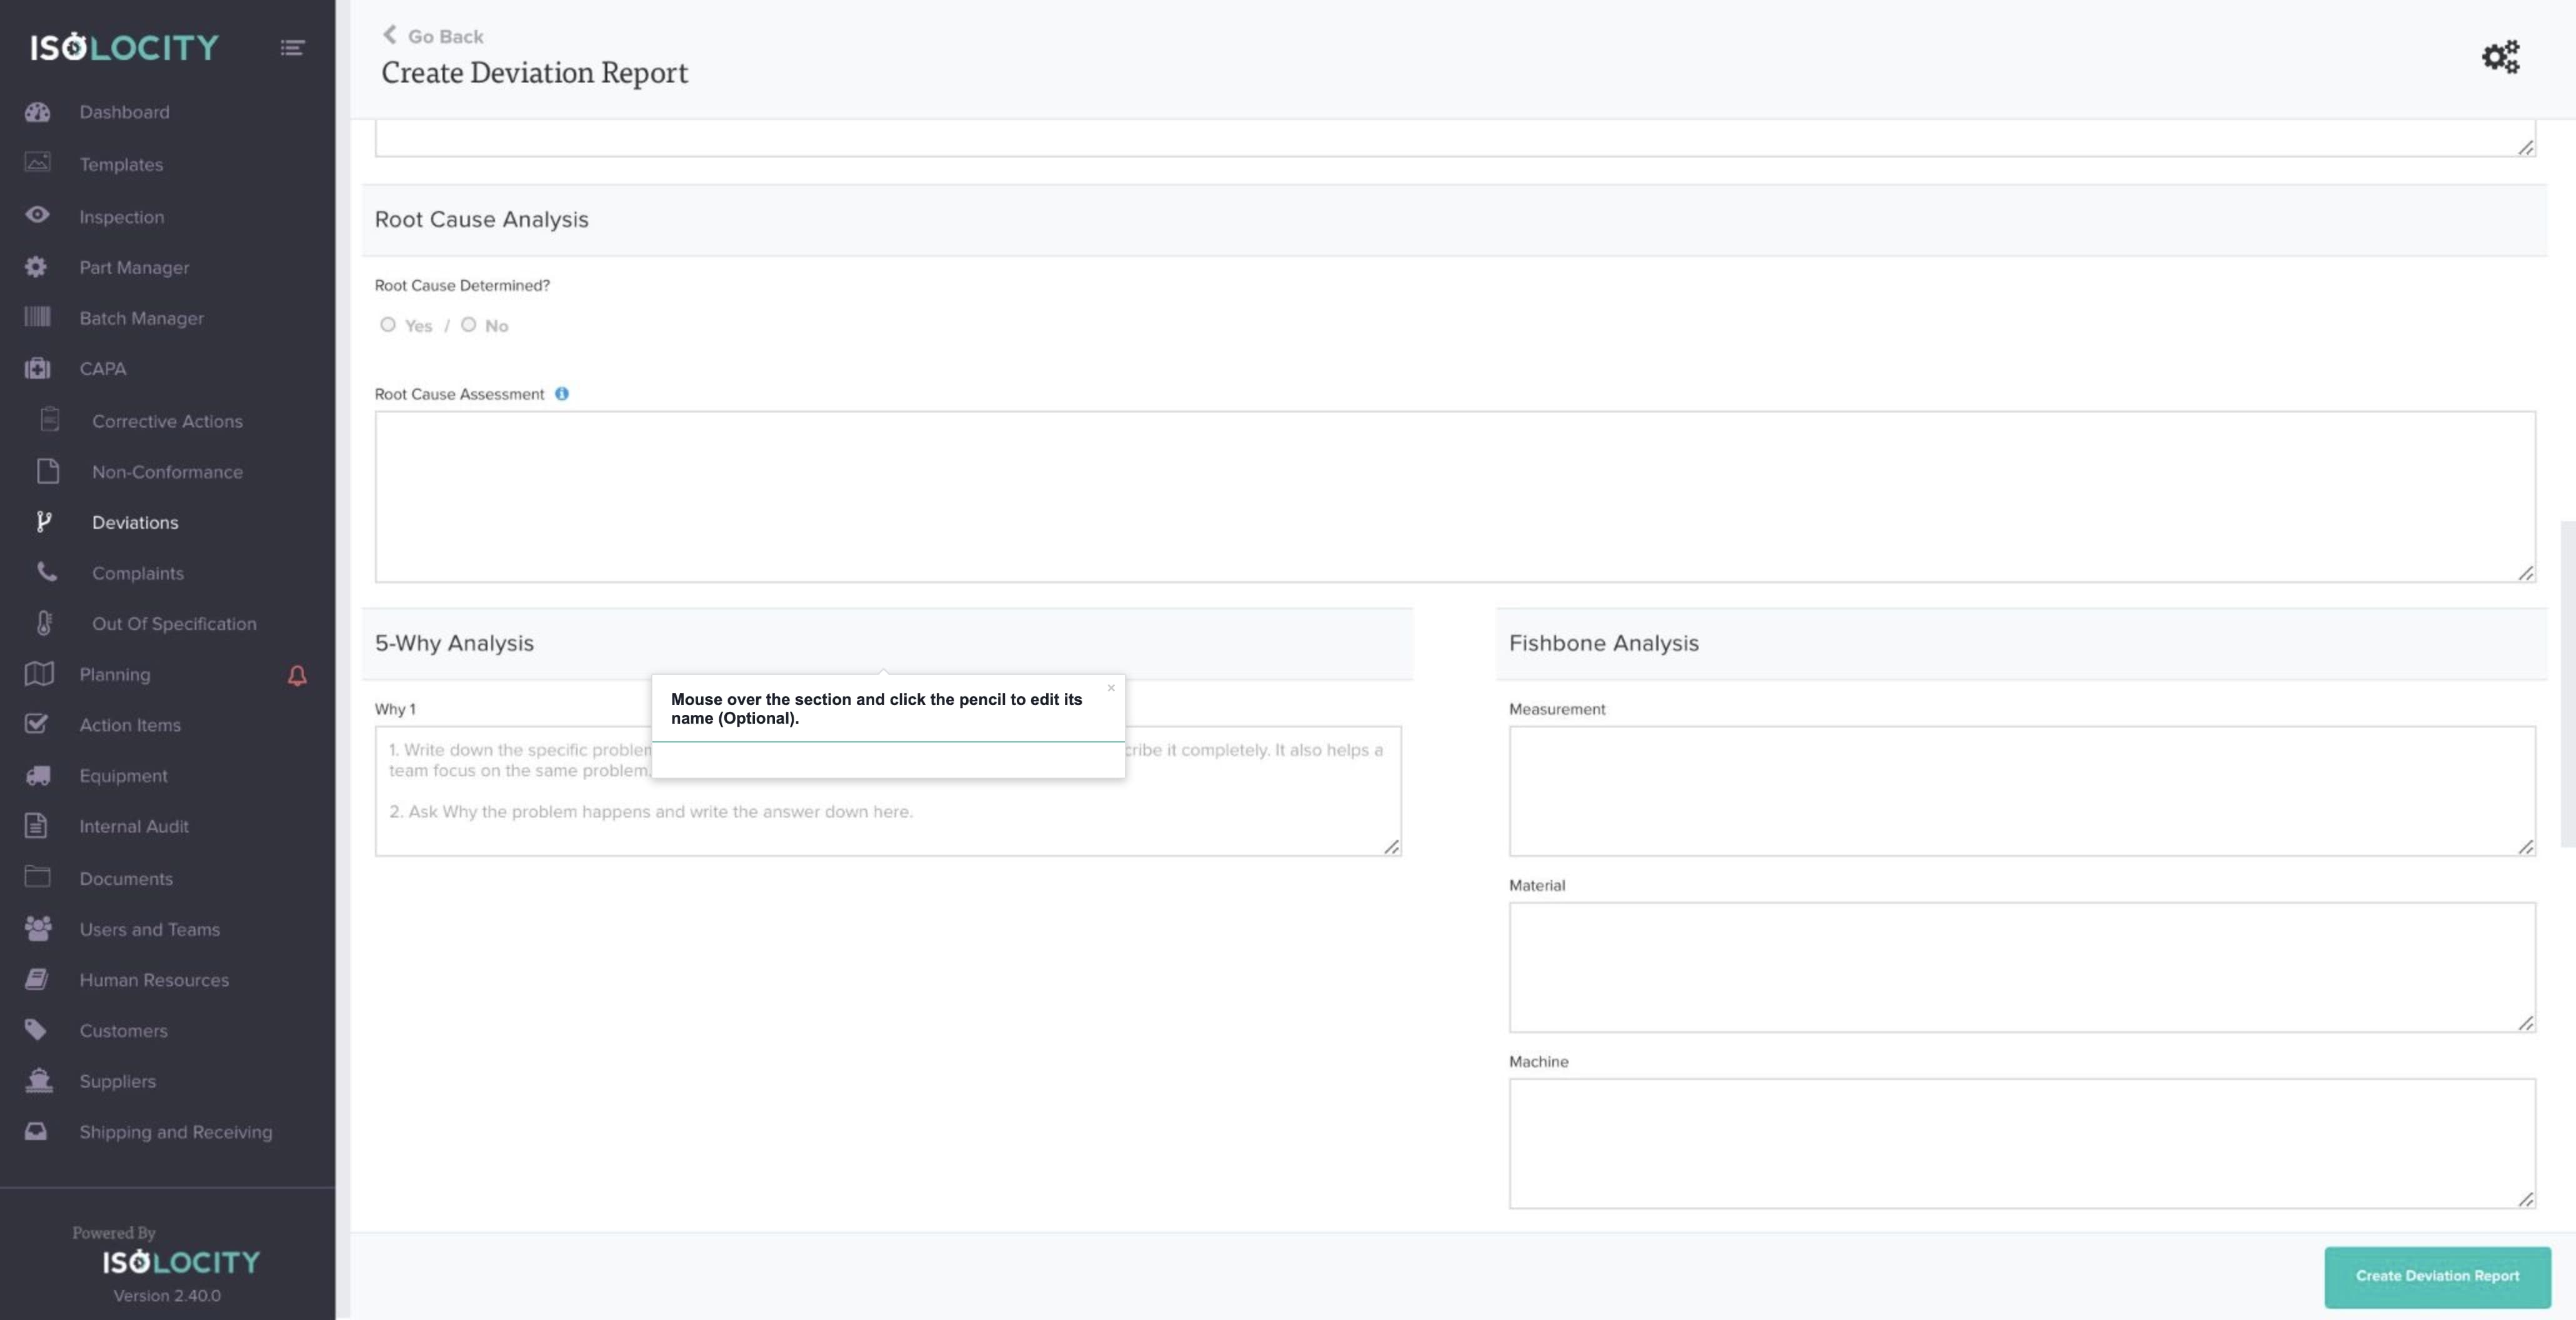
Step #4
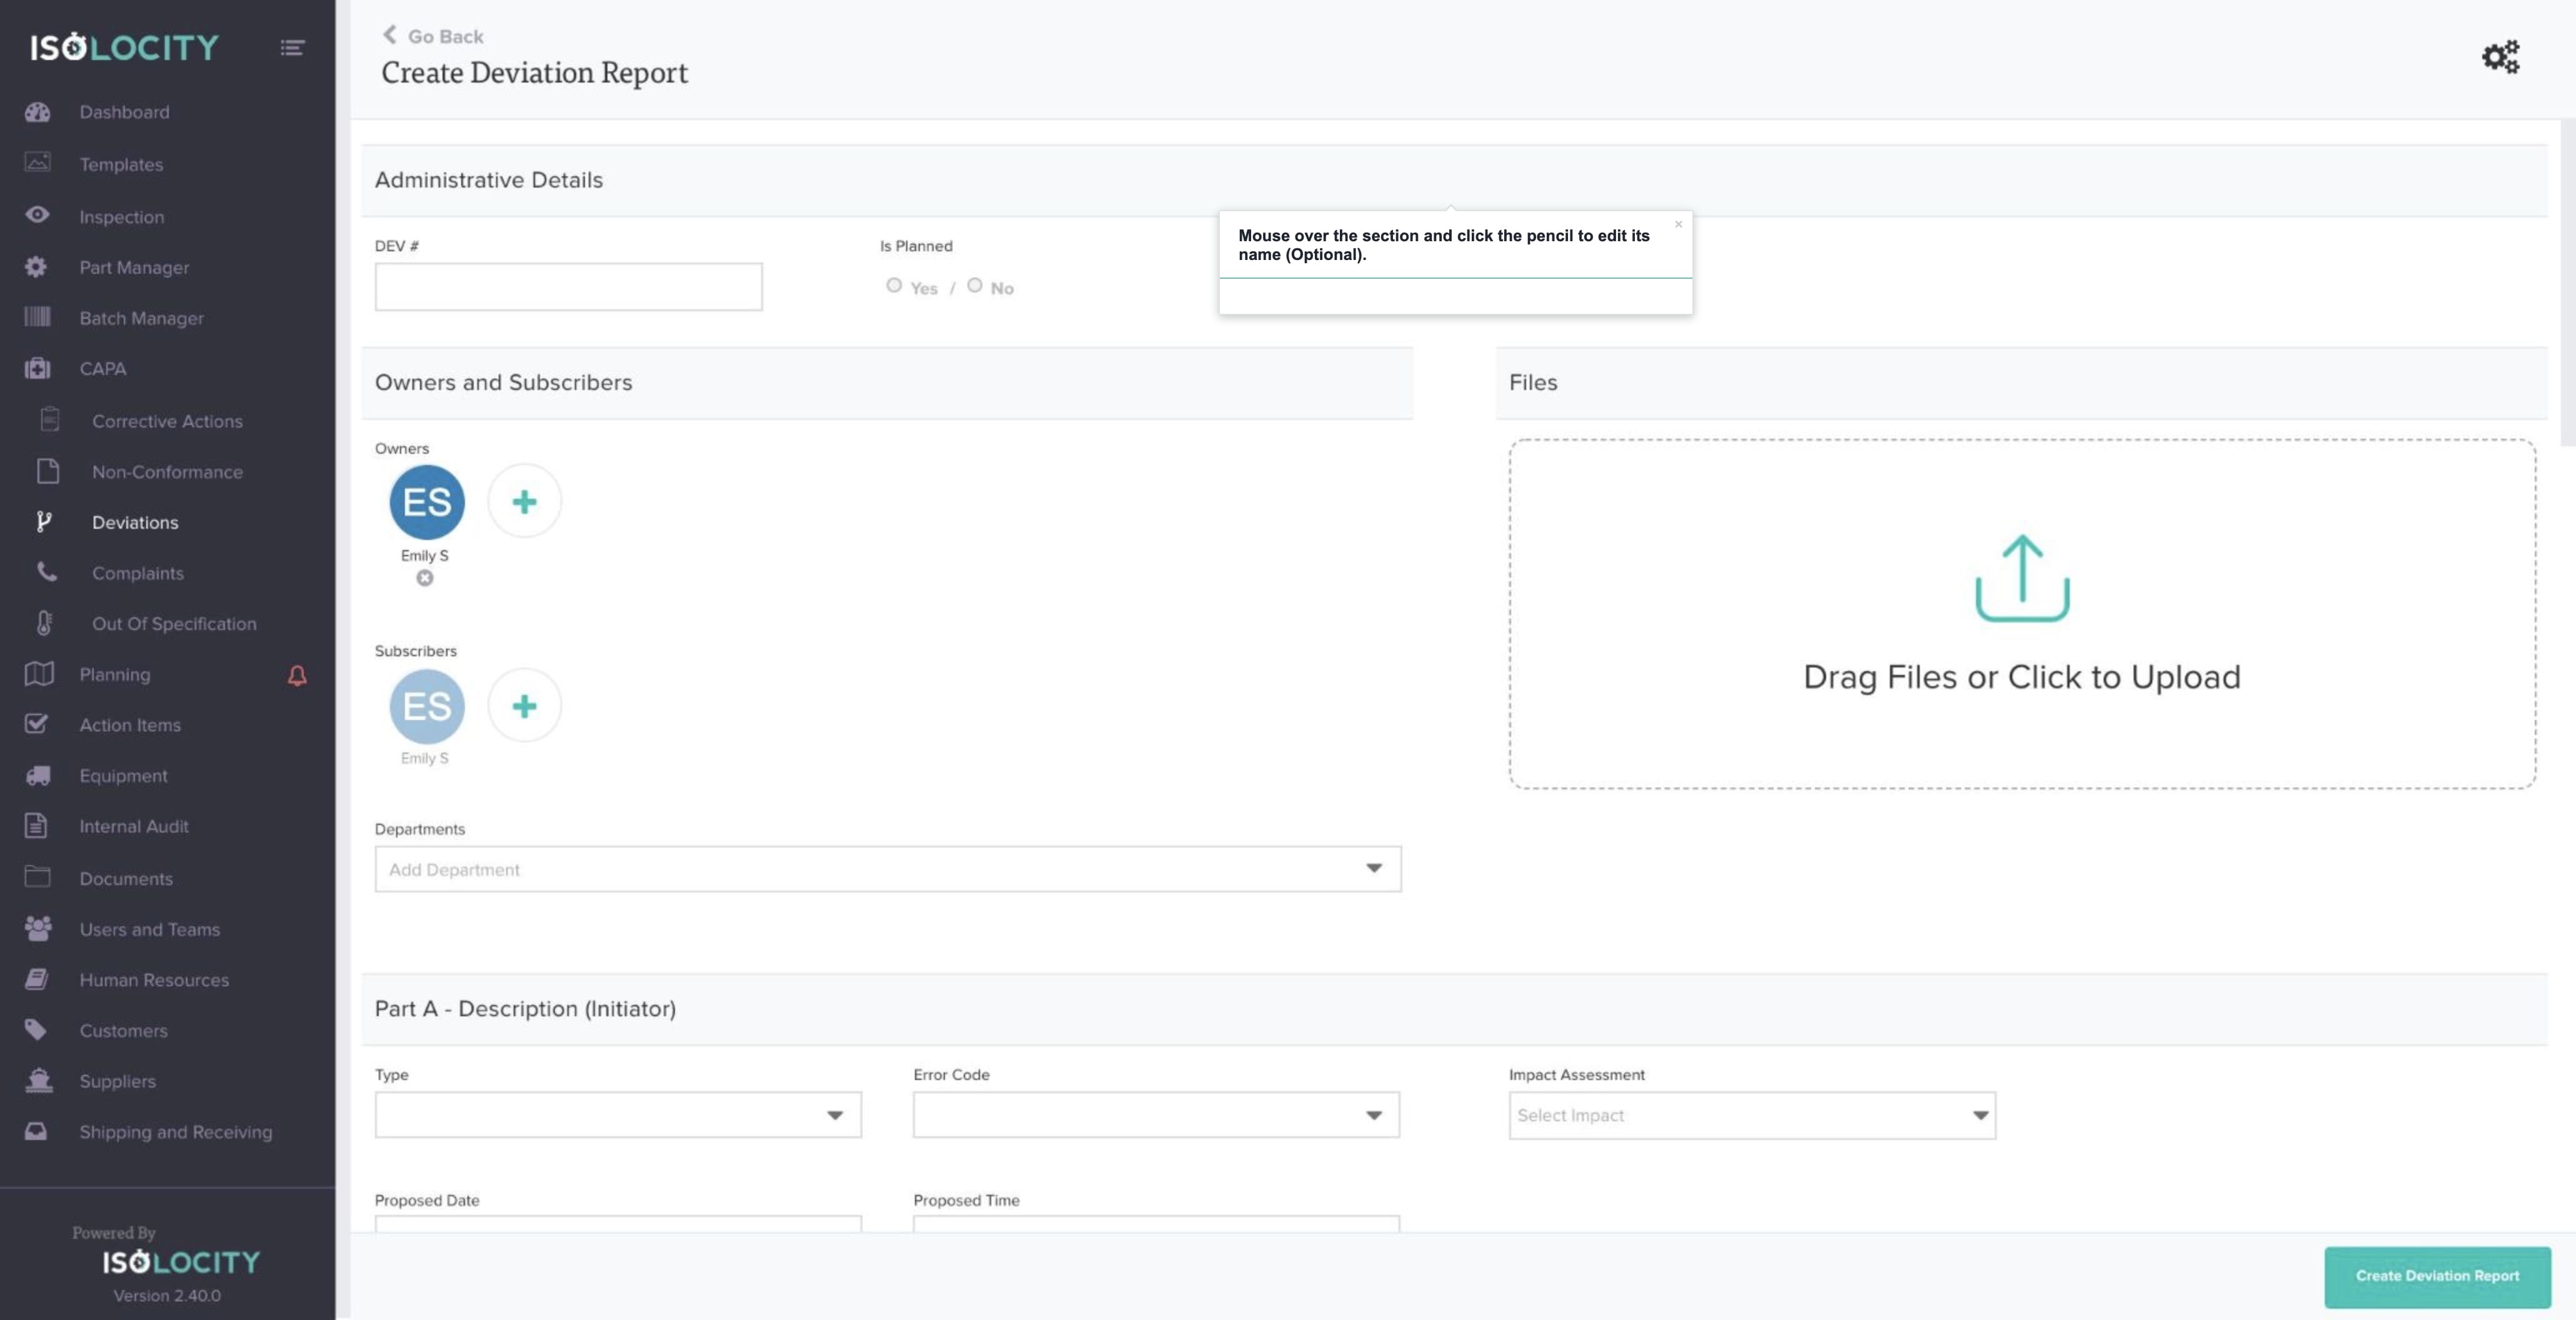
Mouse over the section and click the pencil to edit its name (Optional).
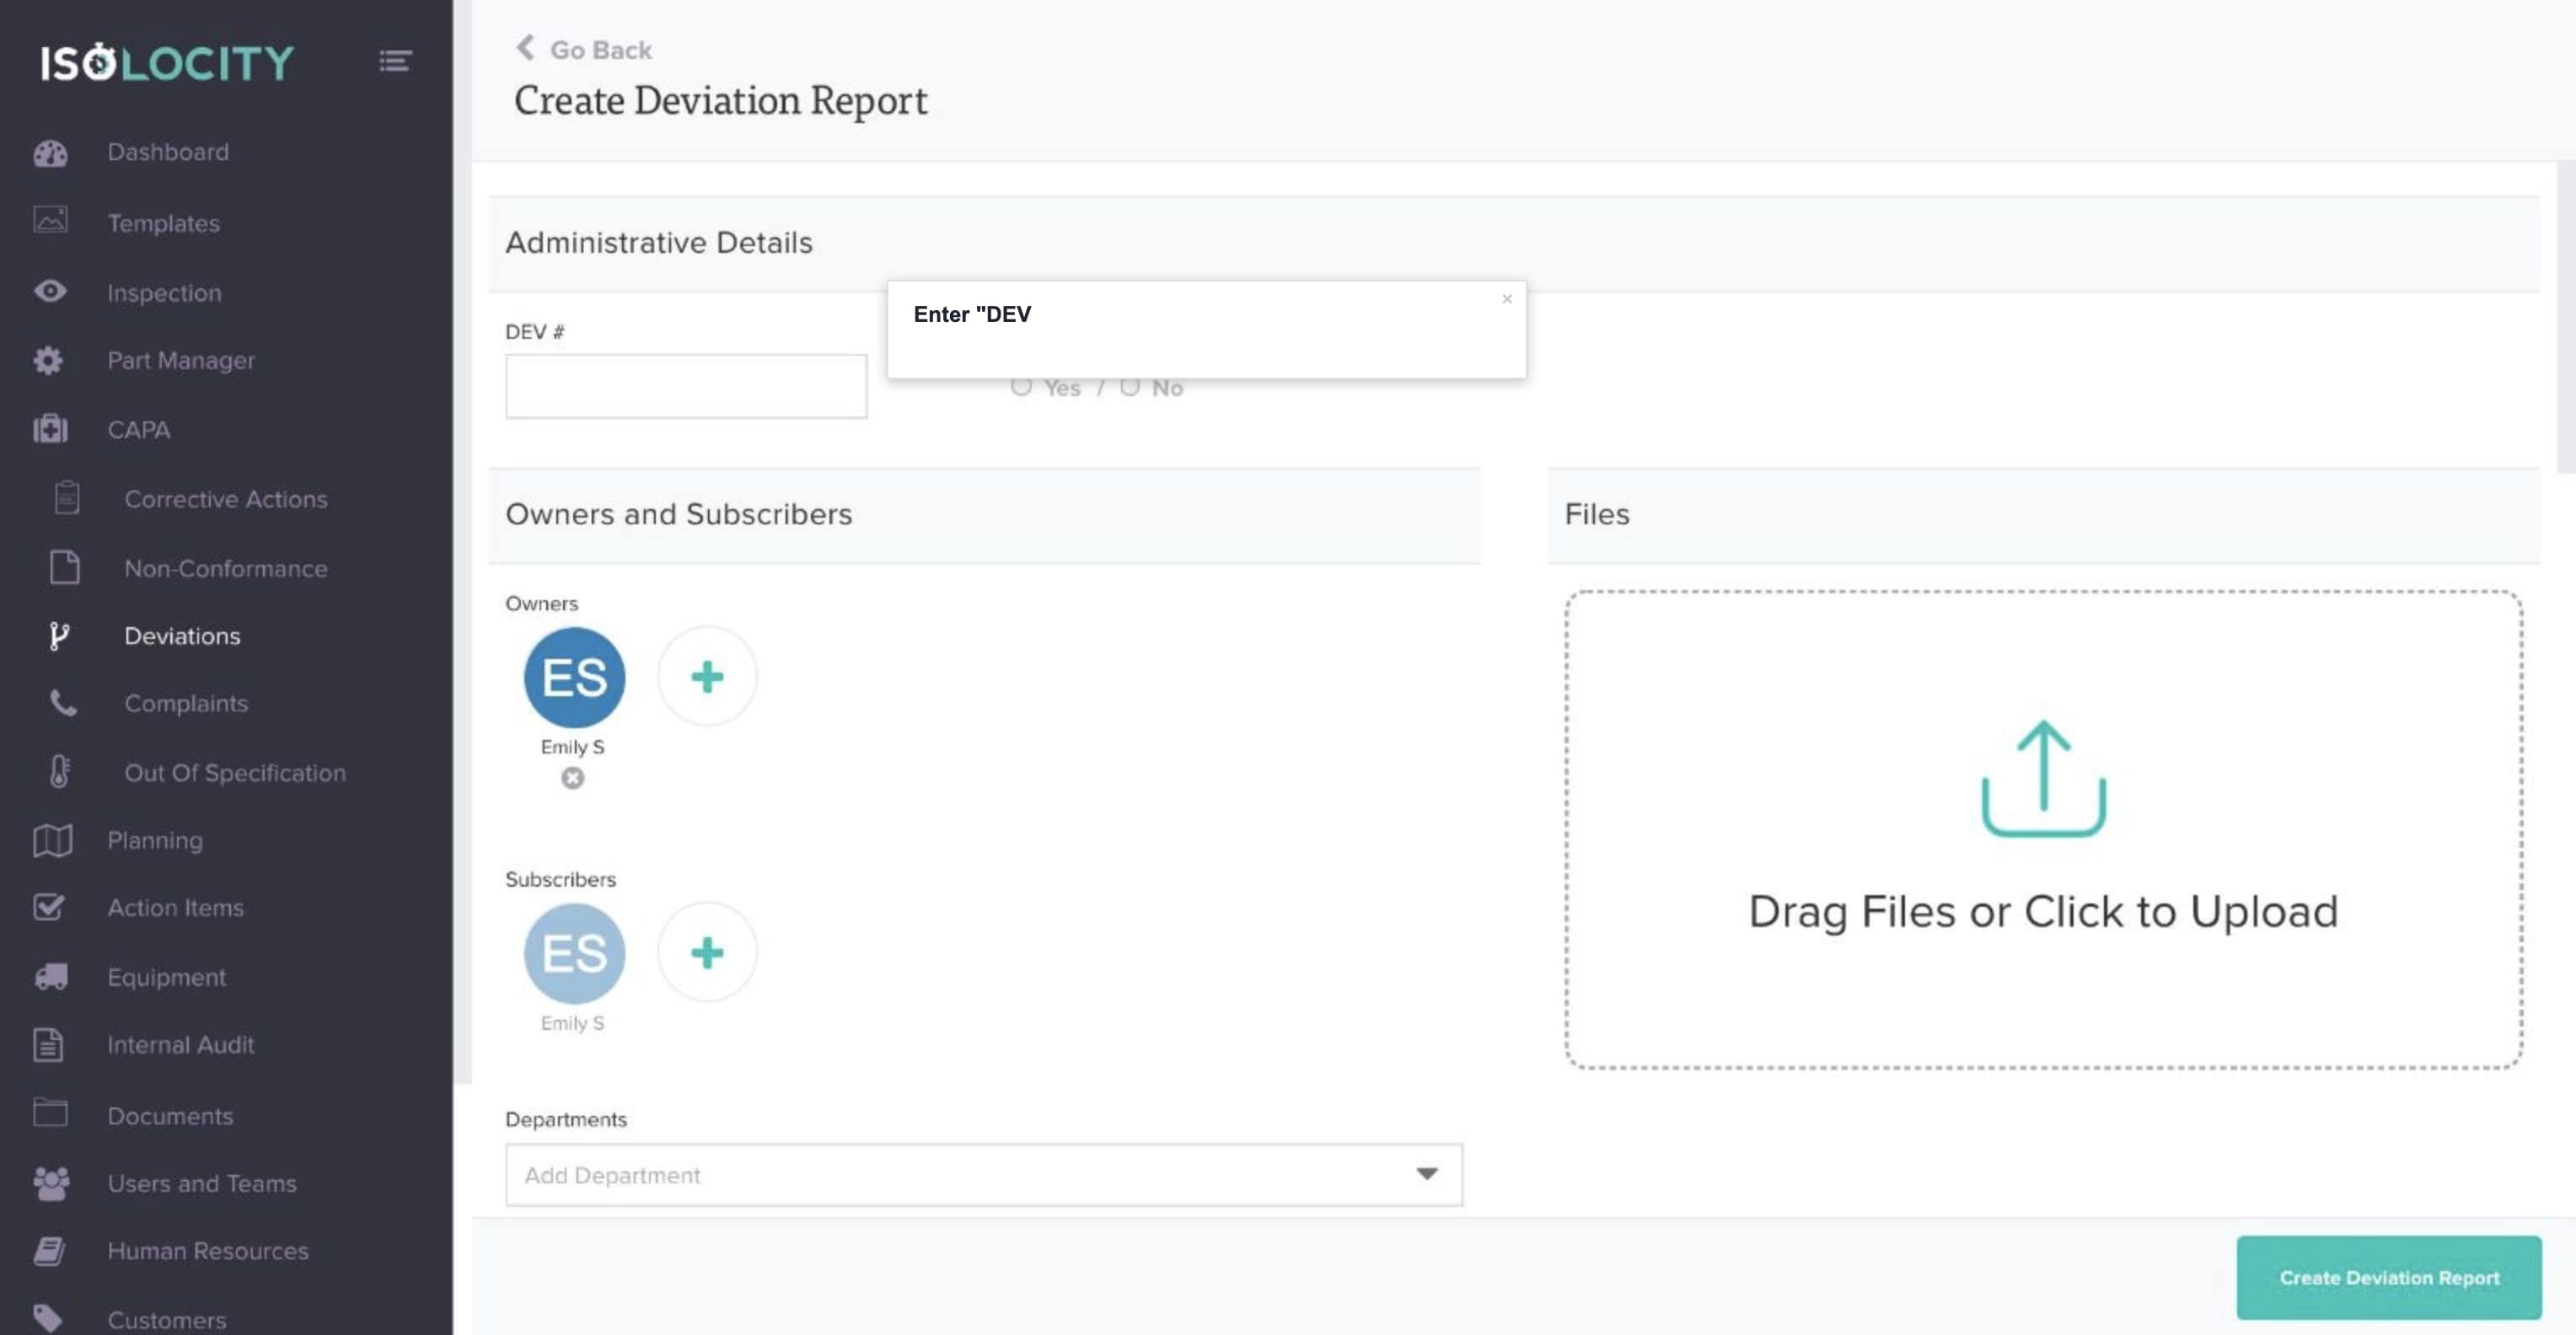
Step #5
Enter “DEV #”.
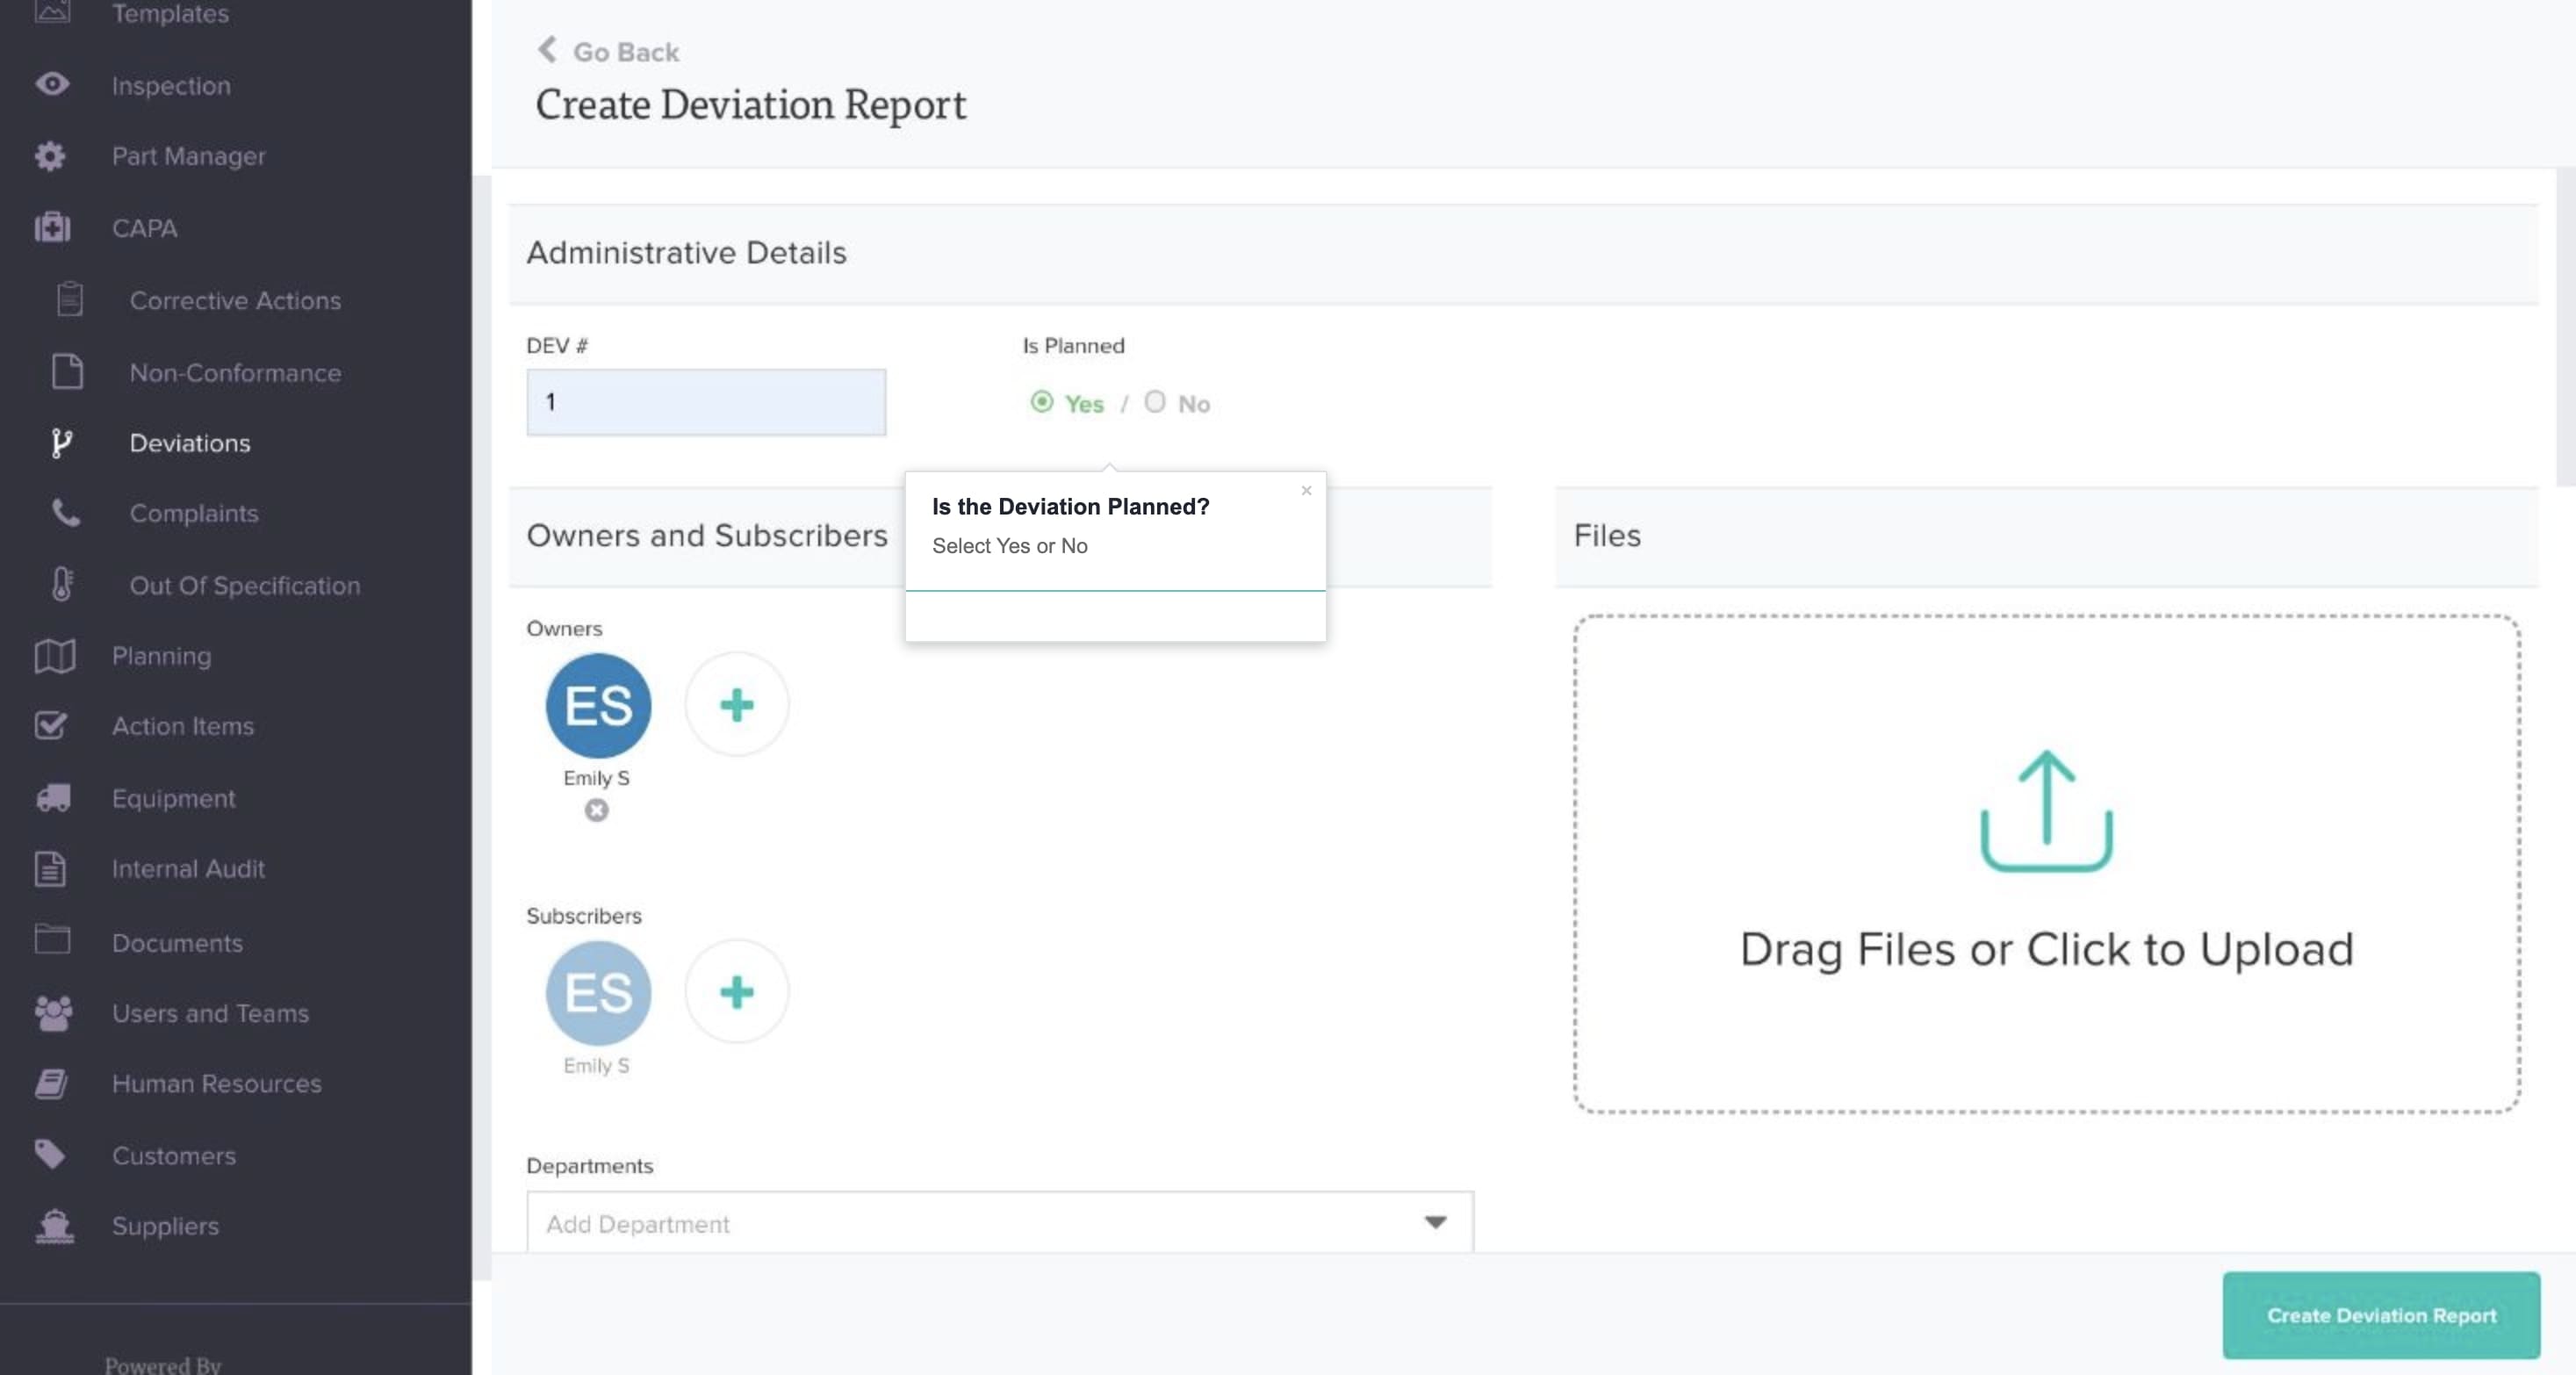
Step #6
Is the Deviation Planned?
Step #7
Mouse over the section and click the pencil to edit its name (Optional).
Step #8
Add an “Owner” (Optional).
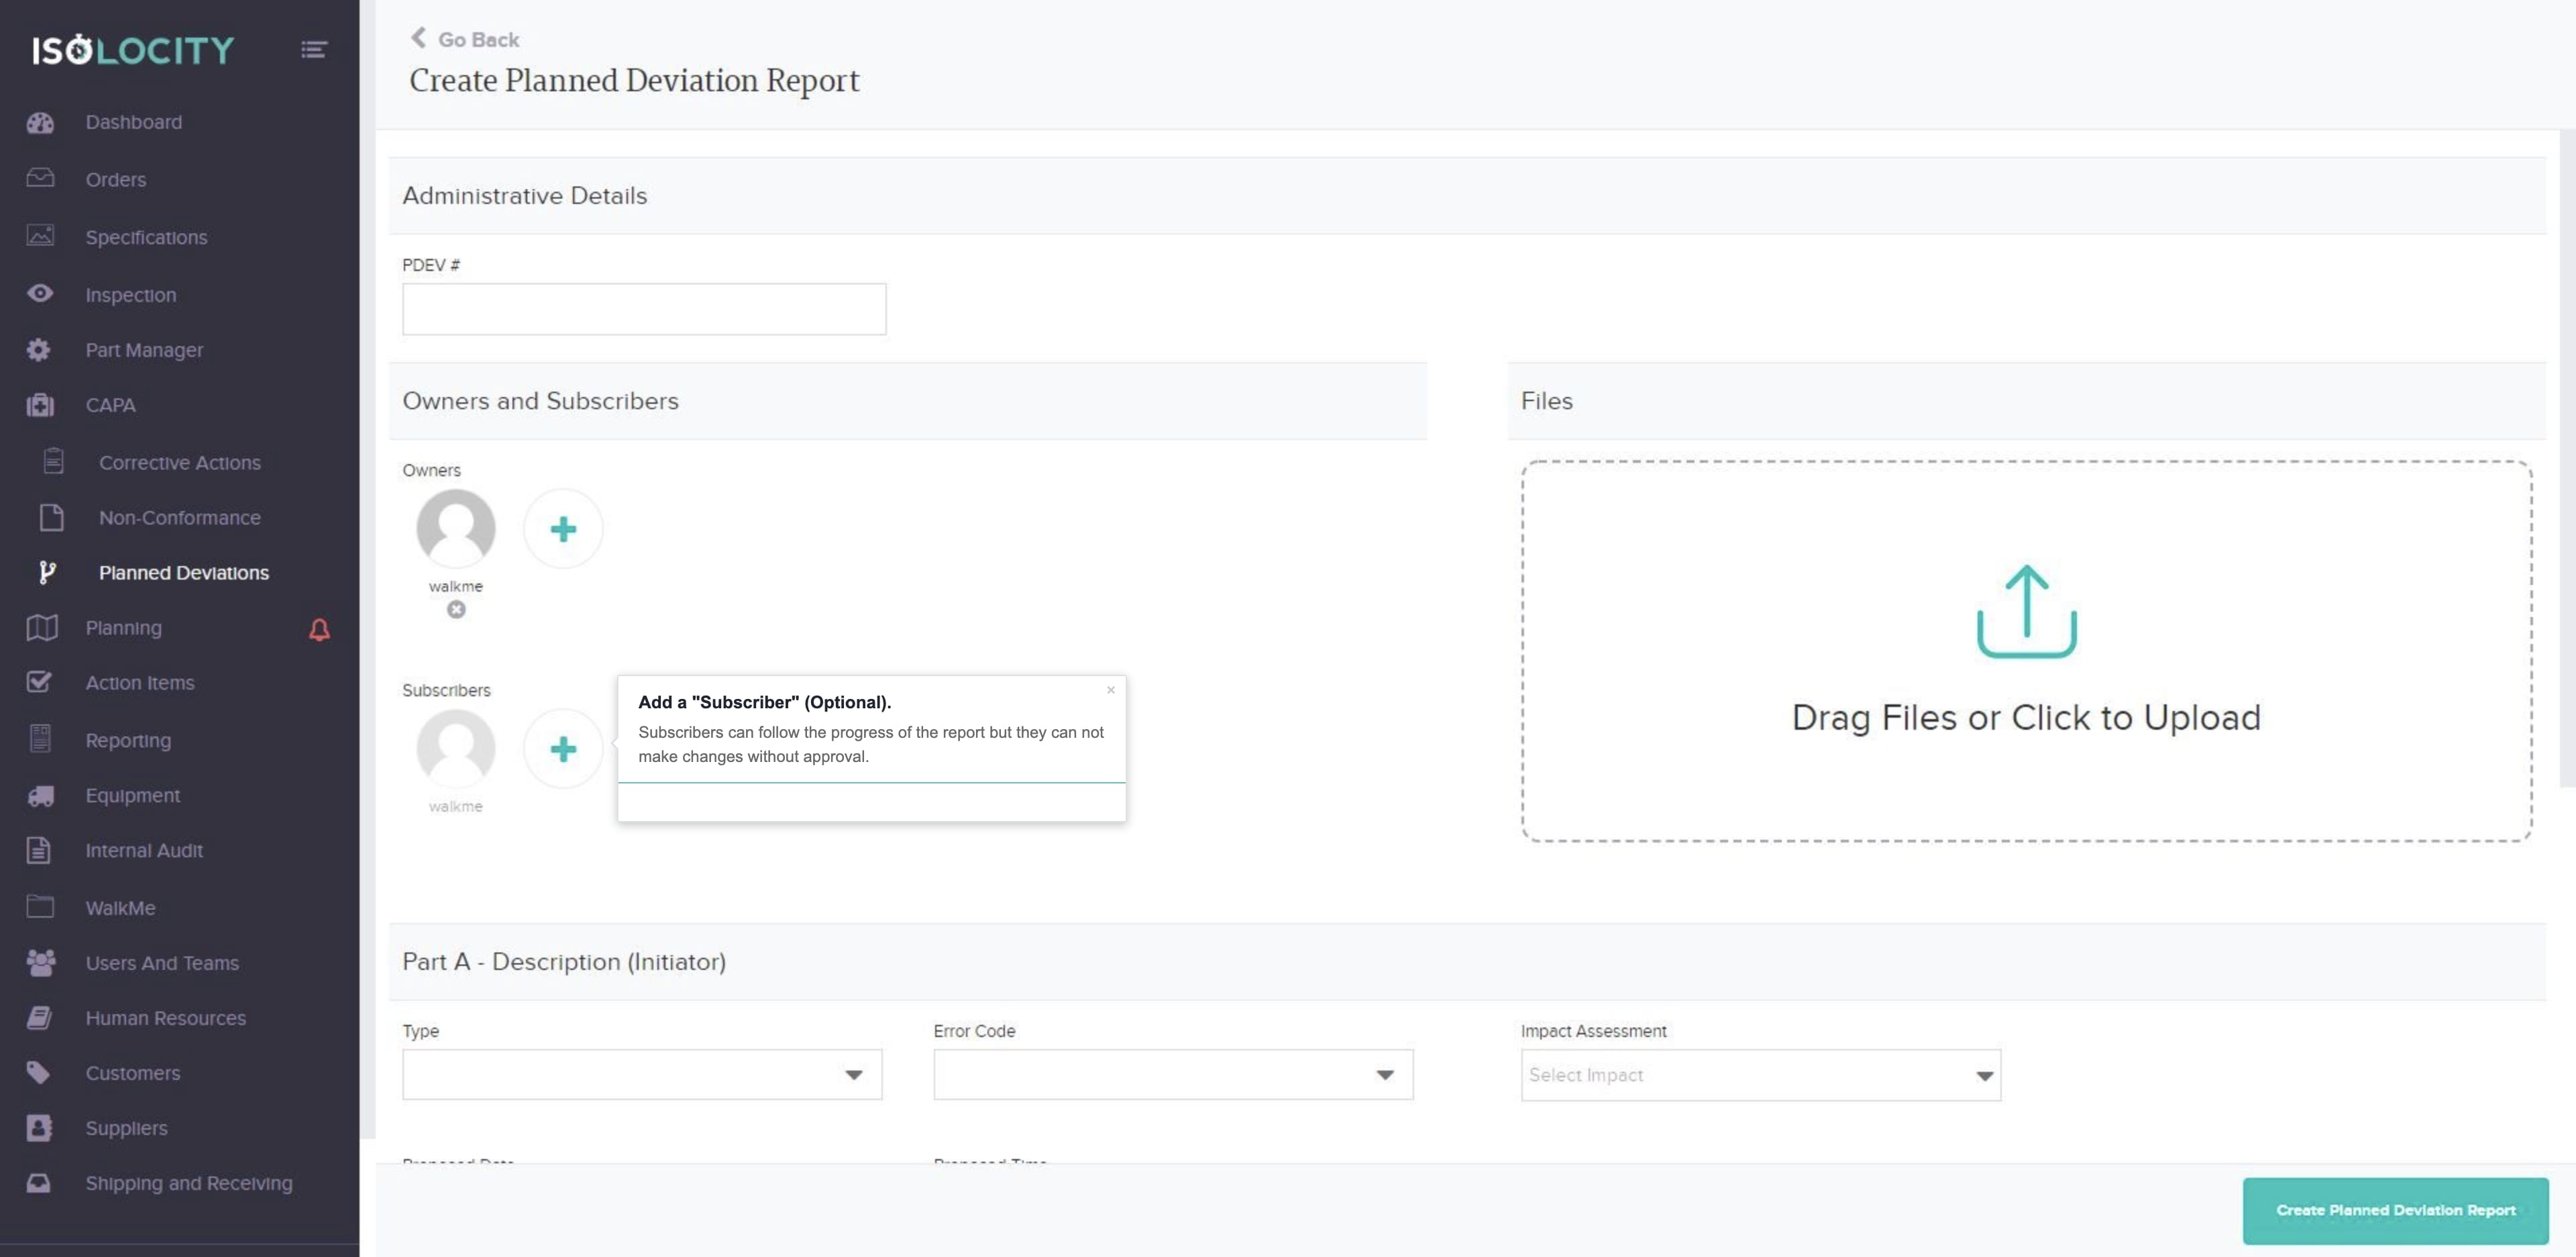
Step #9
Add a “Subscriber” (Optional).
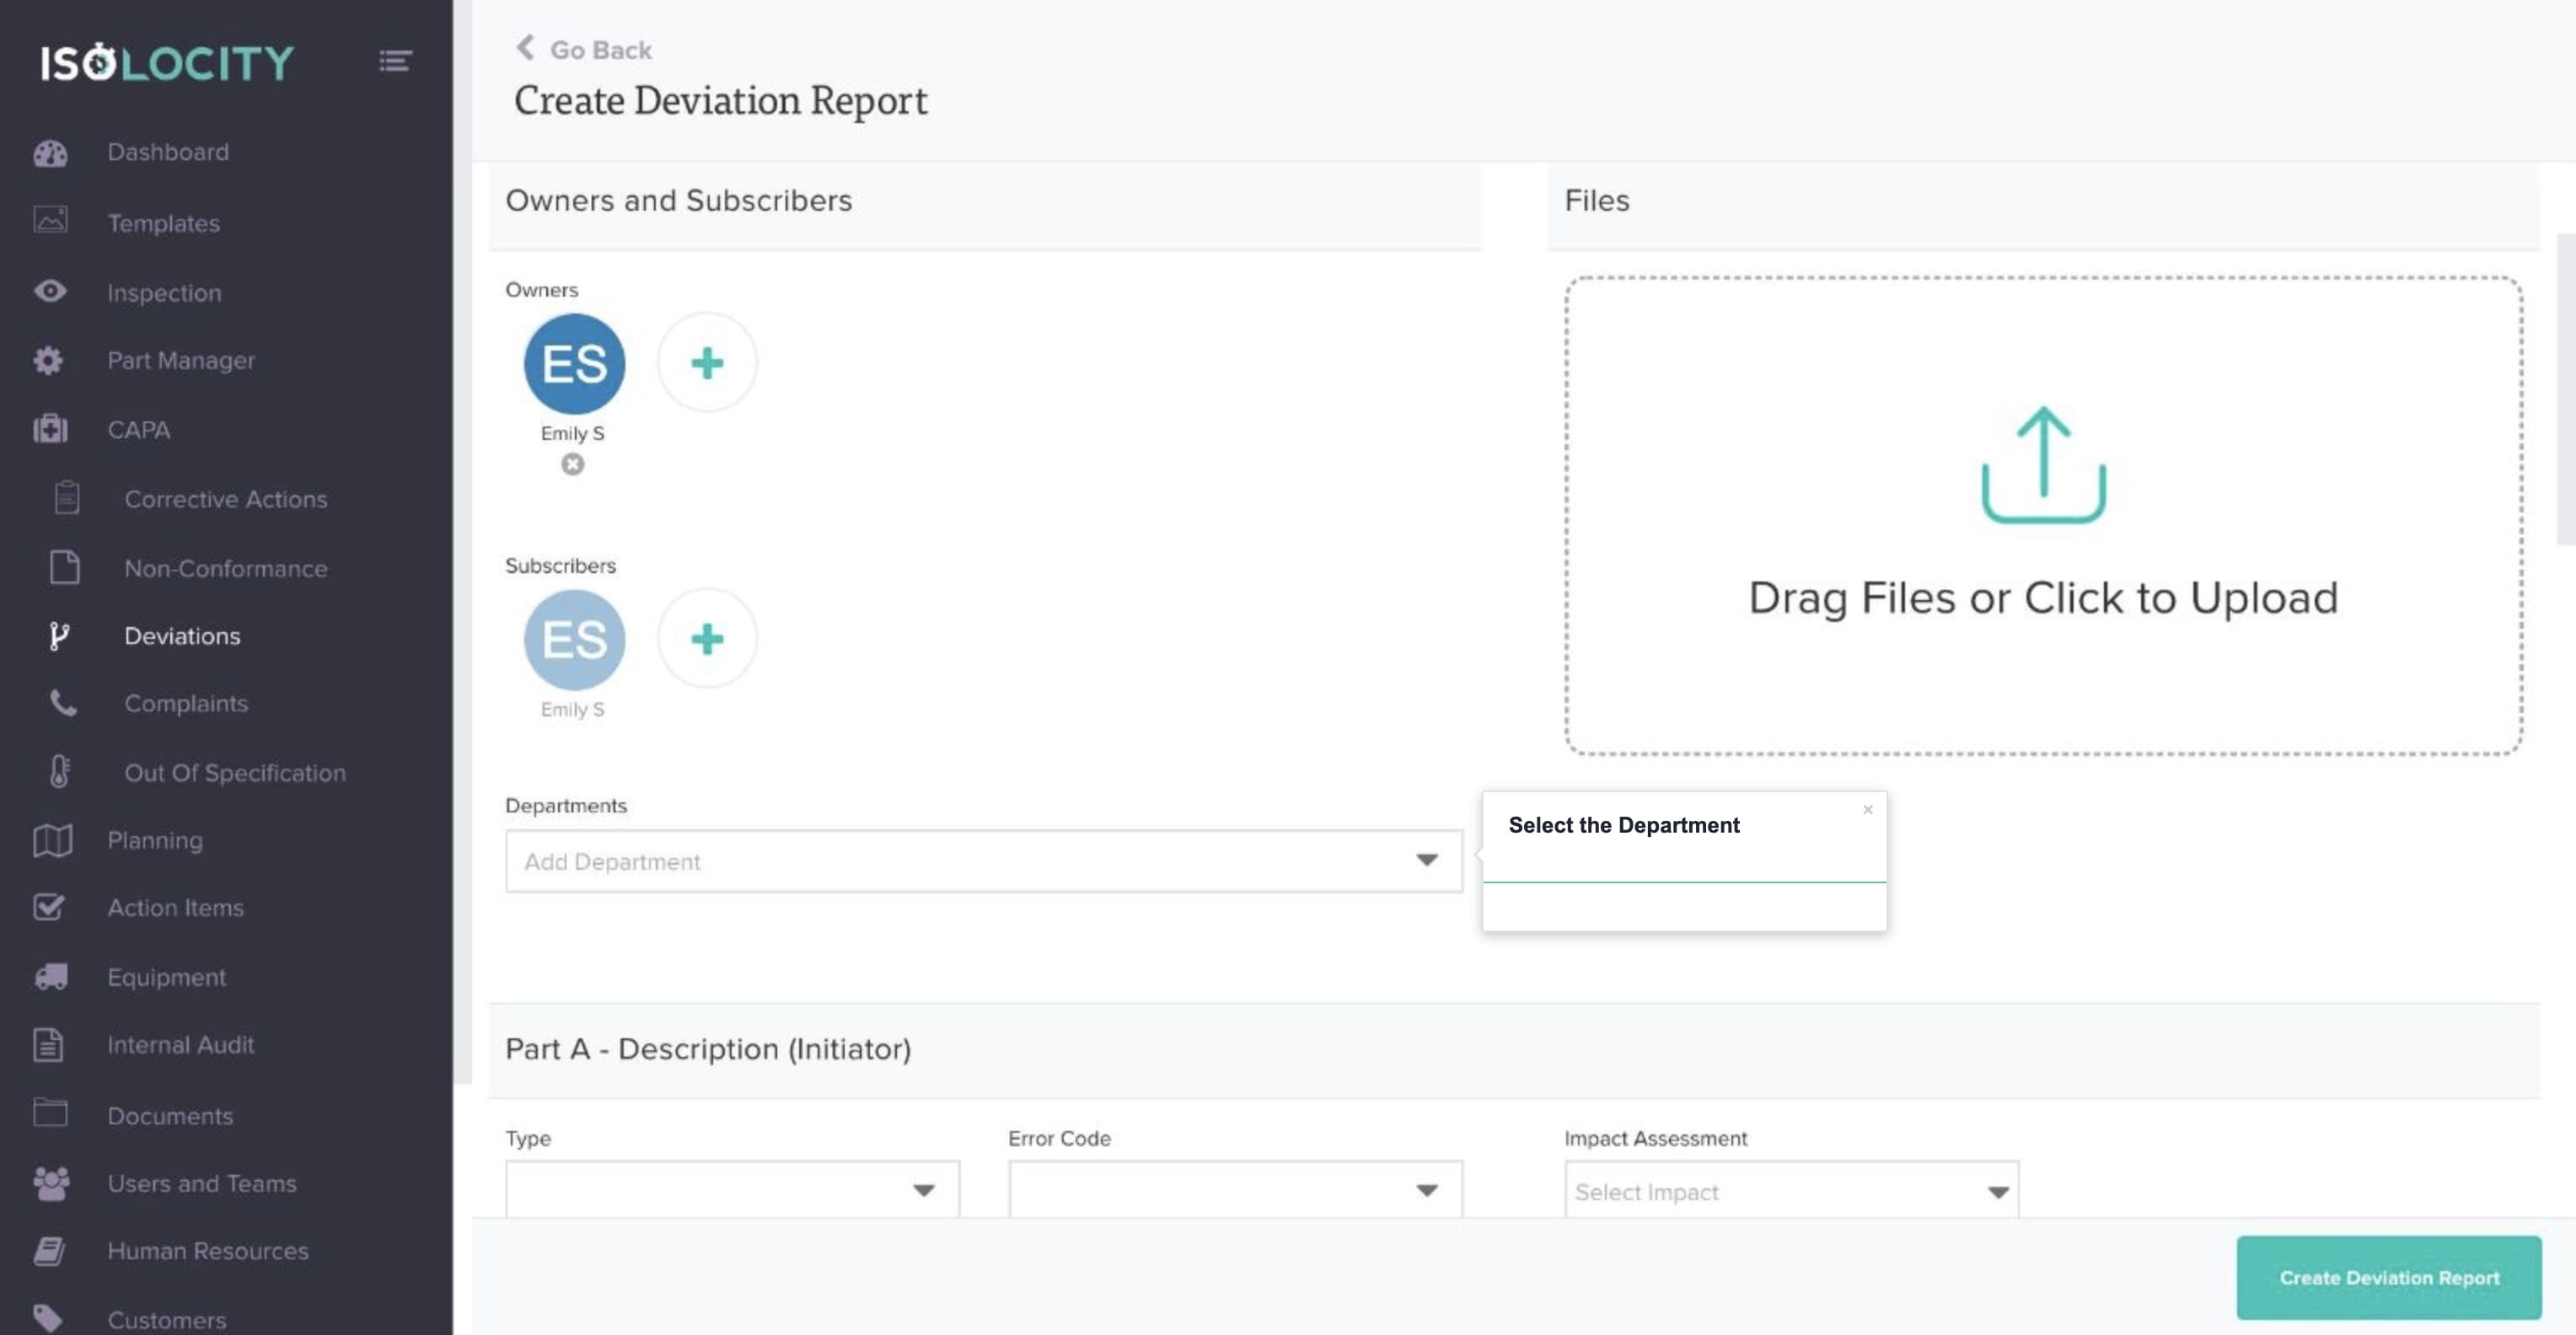
Step #10
Select the Department
Step #11
Mouse over the section and click the pencil to edit its name (Optional).
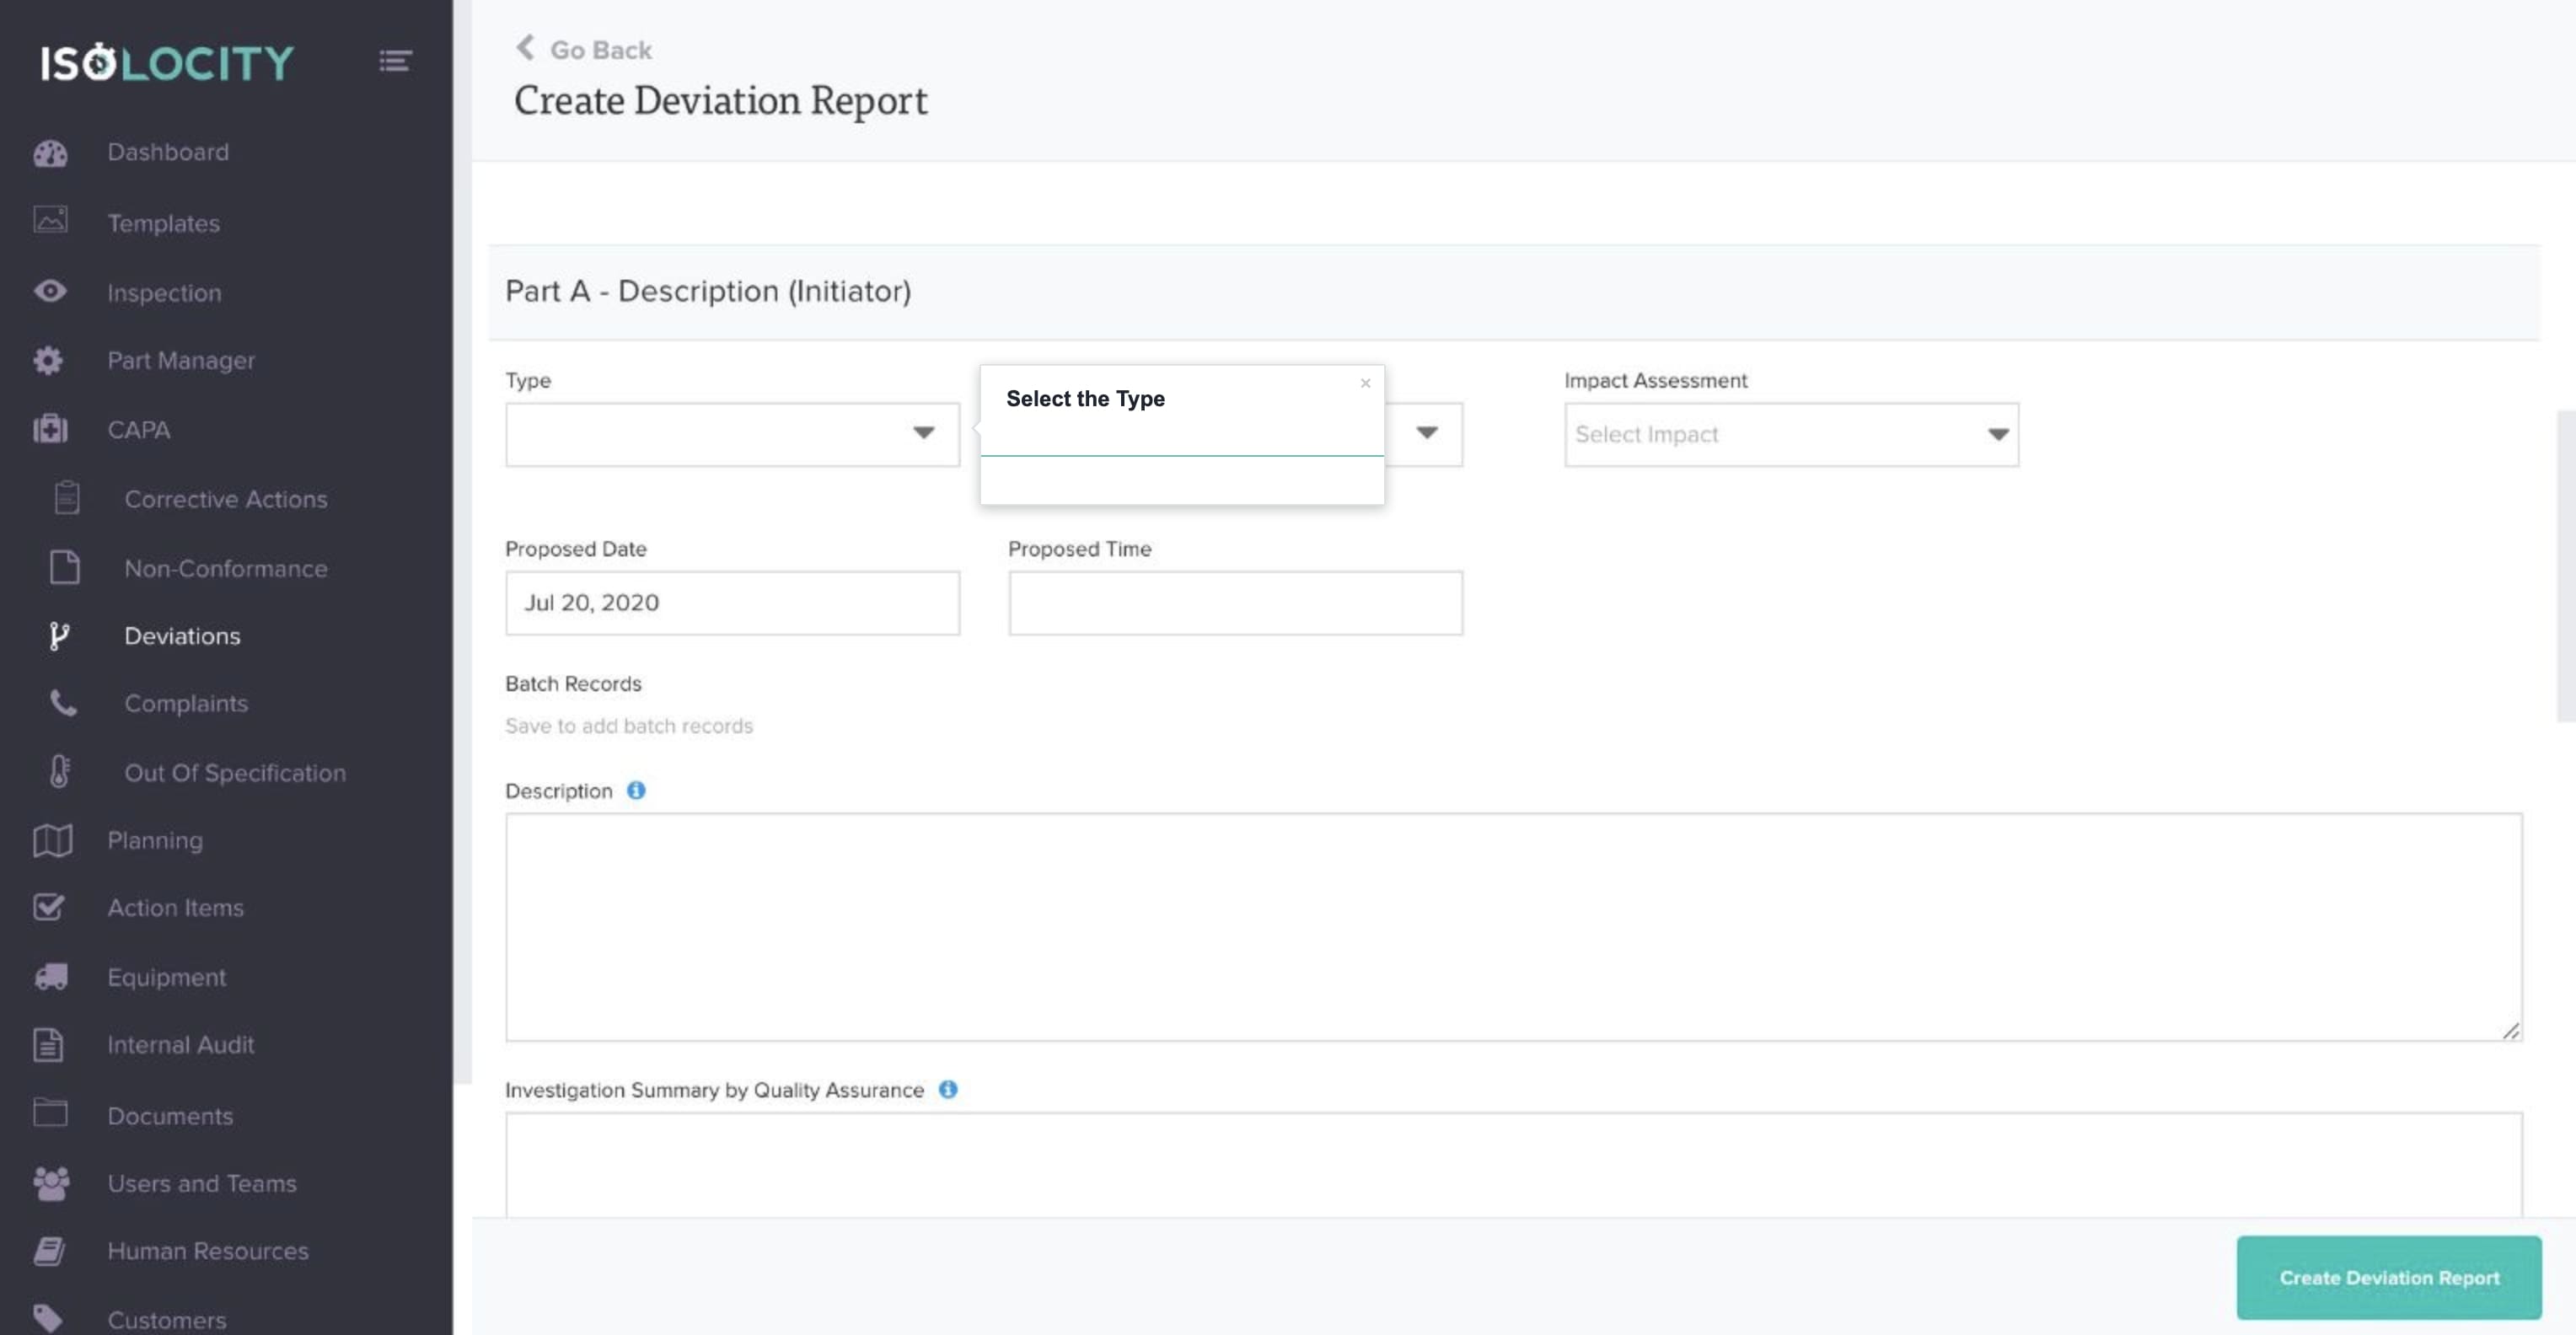
Step #12
Select the Type
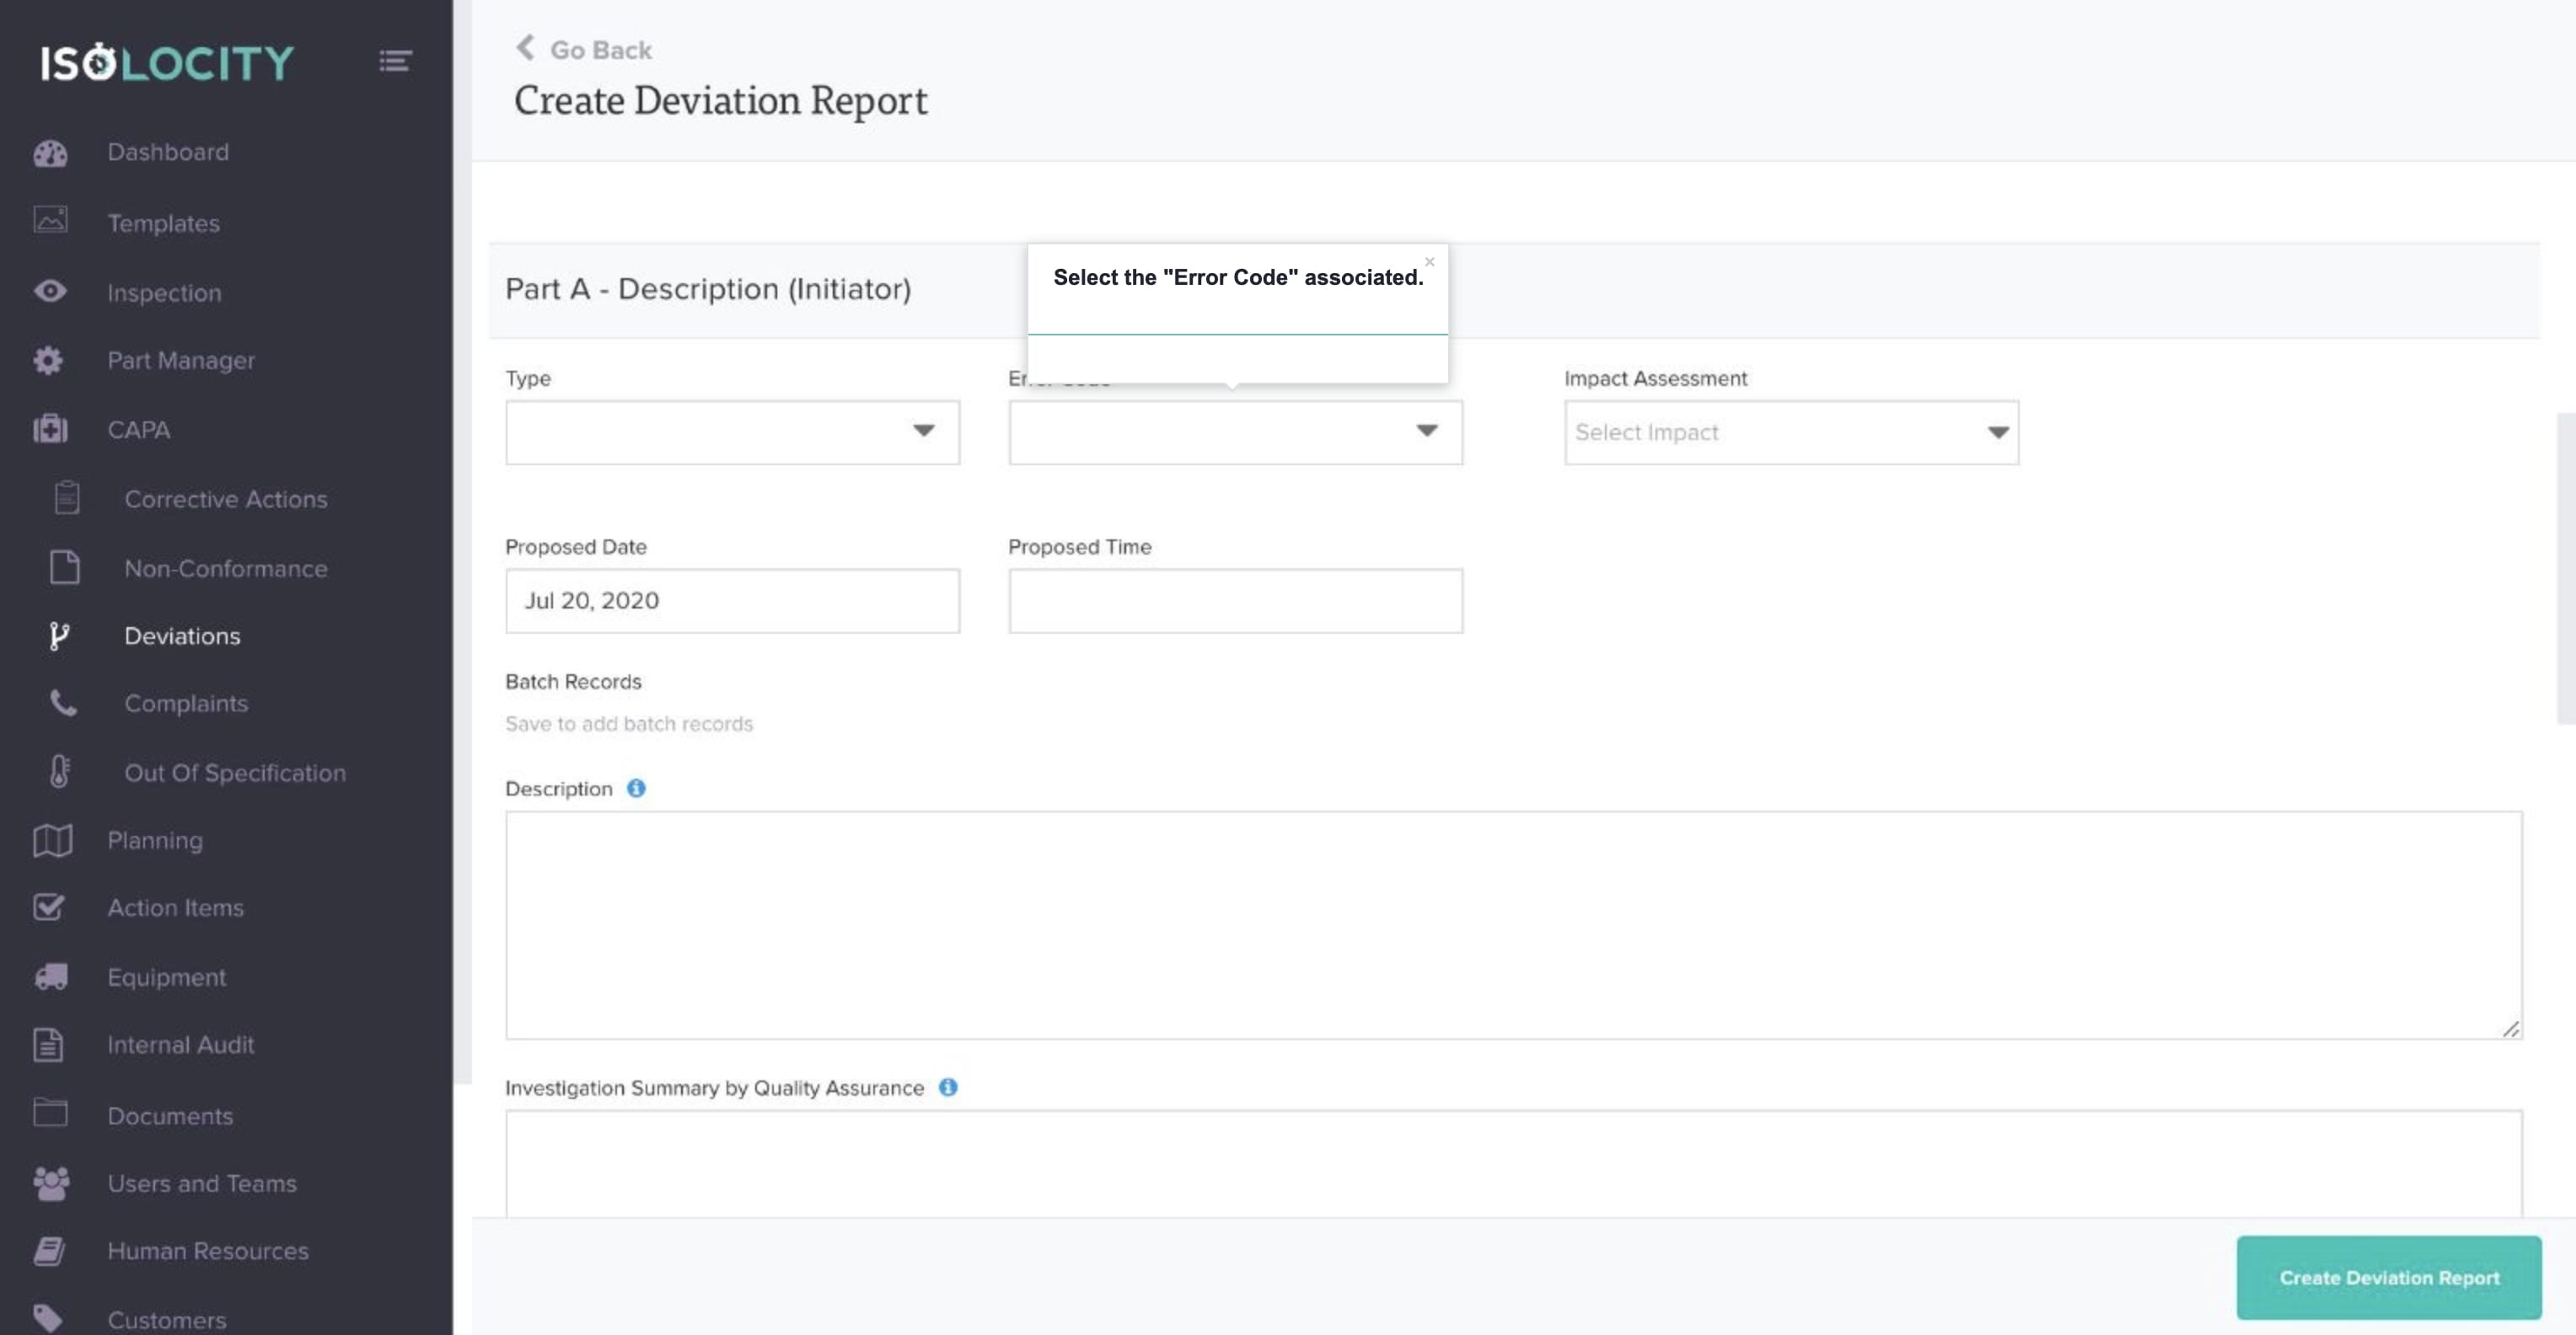
Step #13
Select the “Error Code” associated.
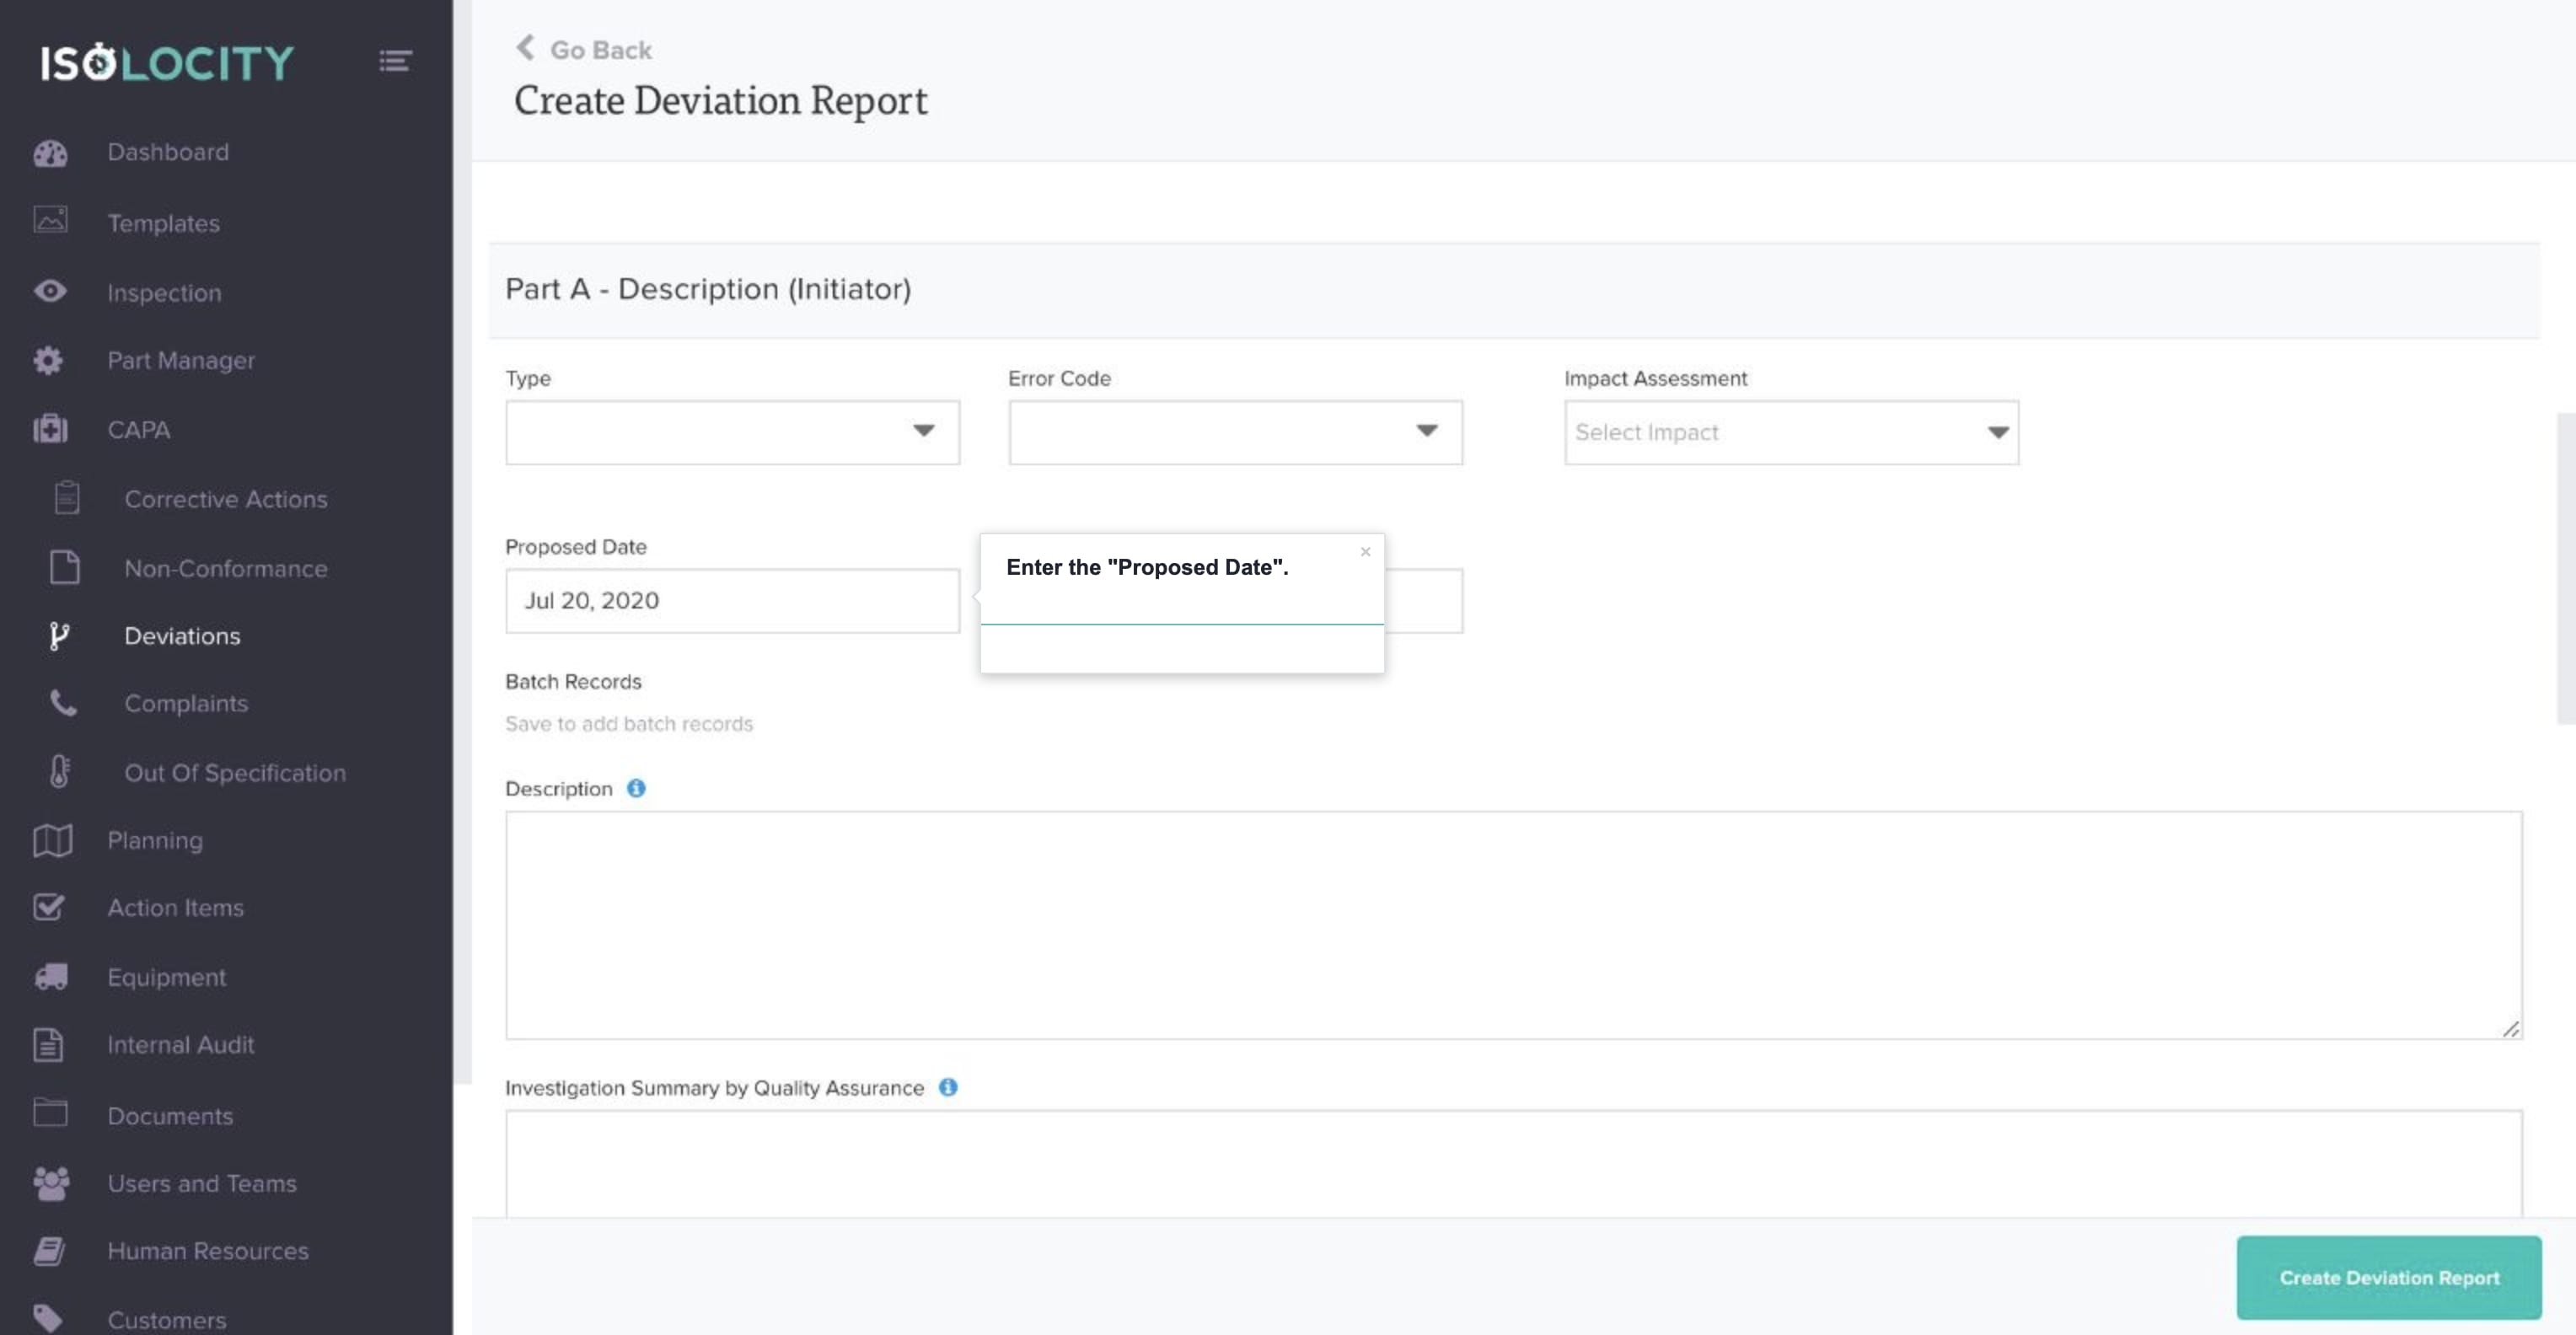
Step #14
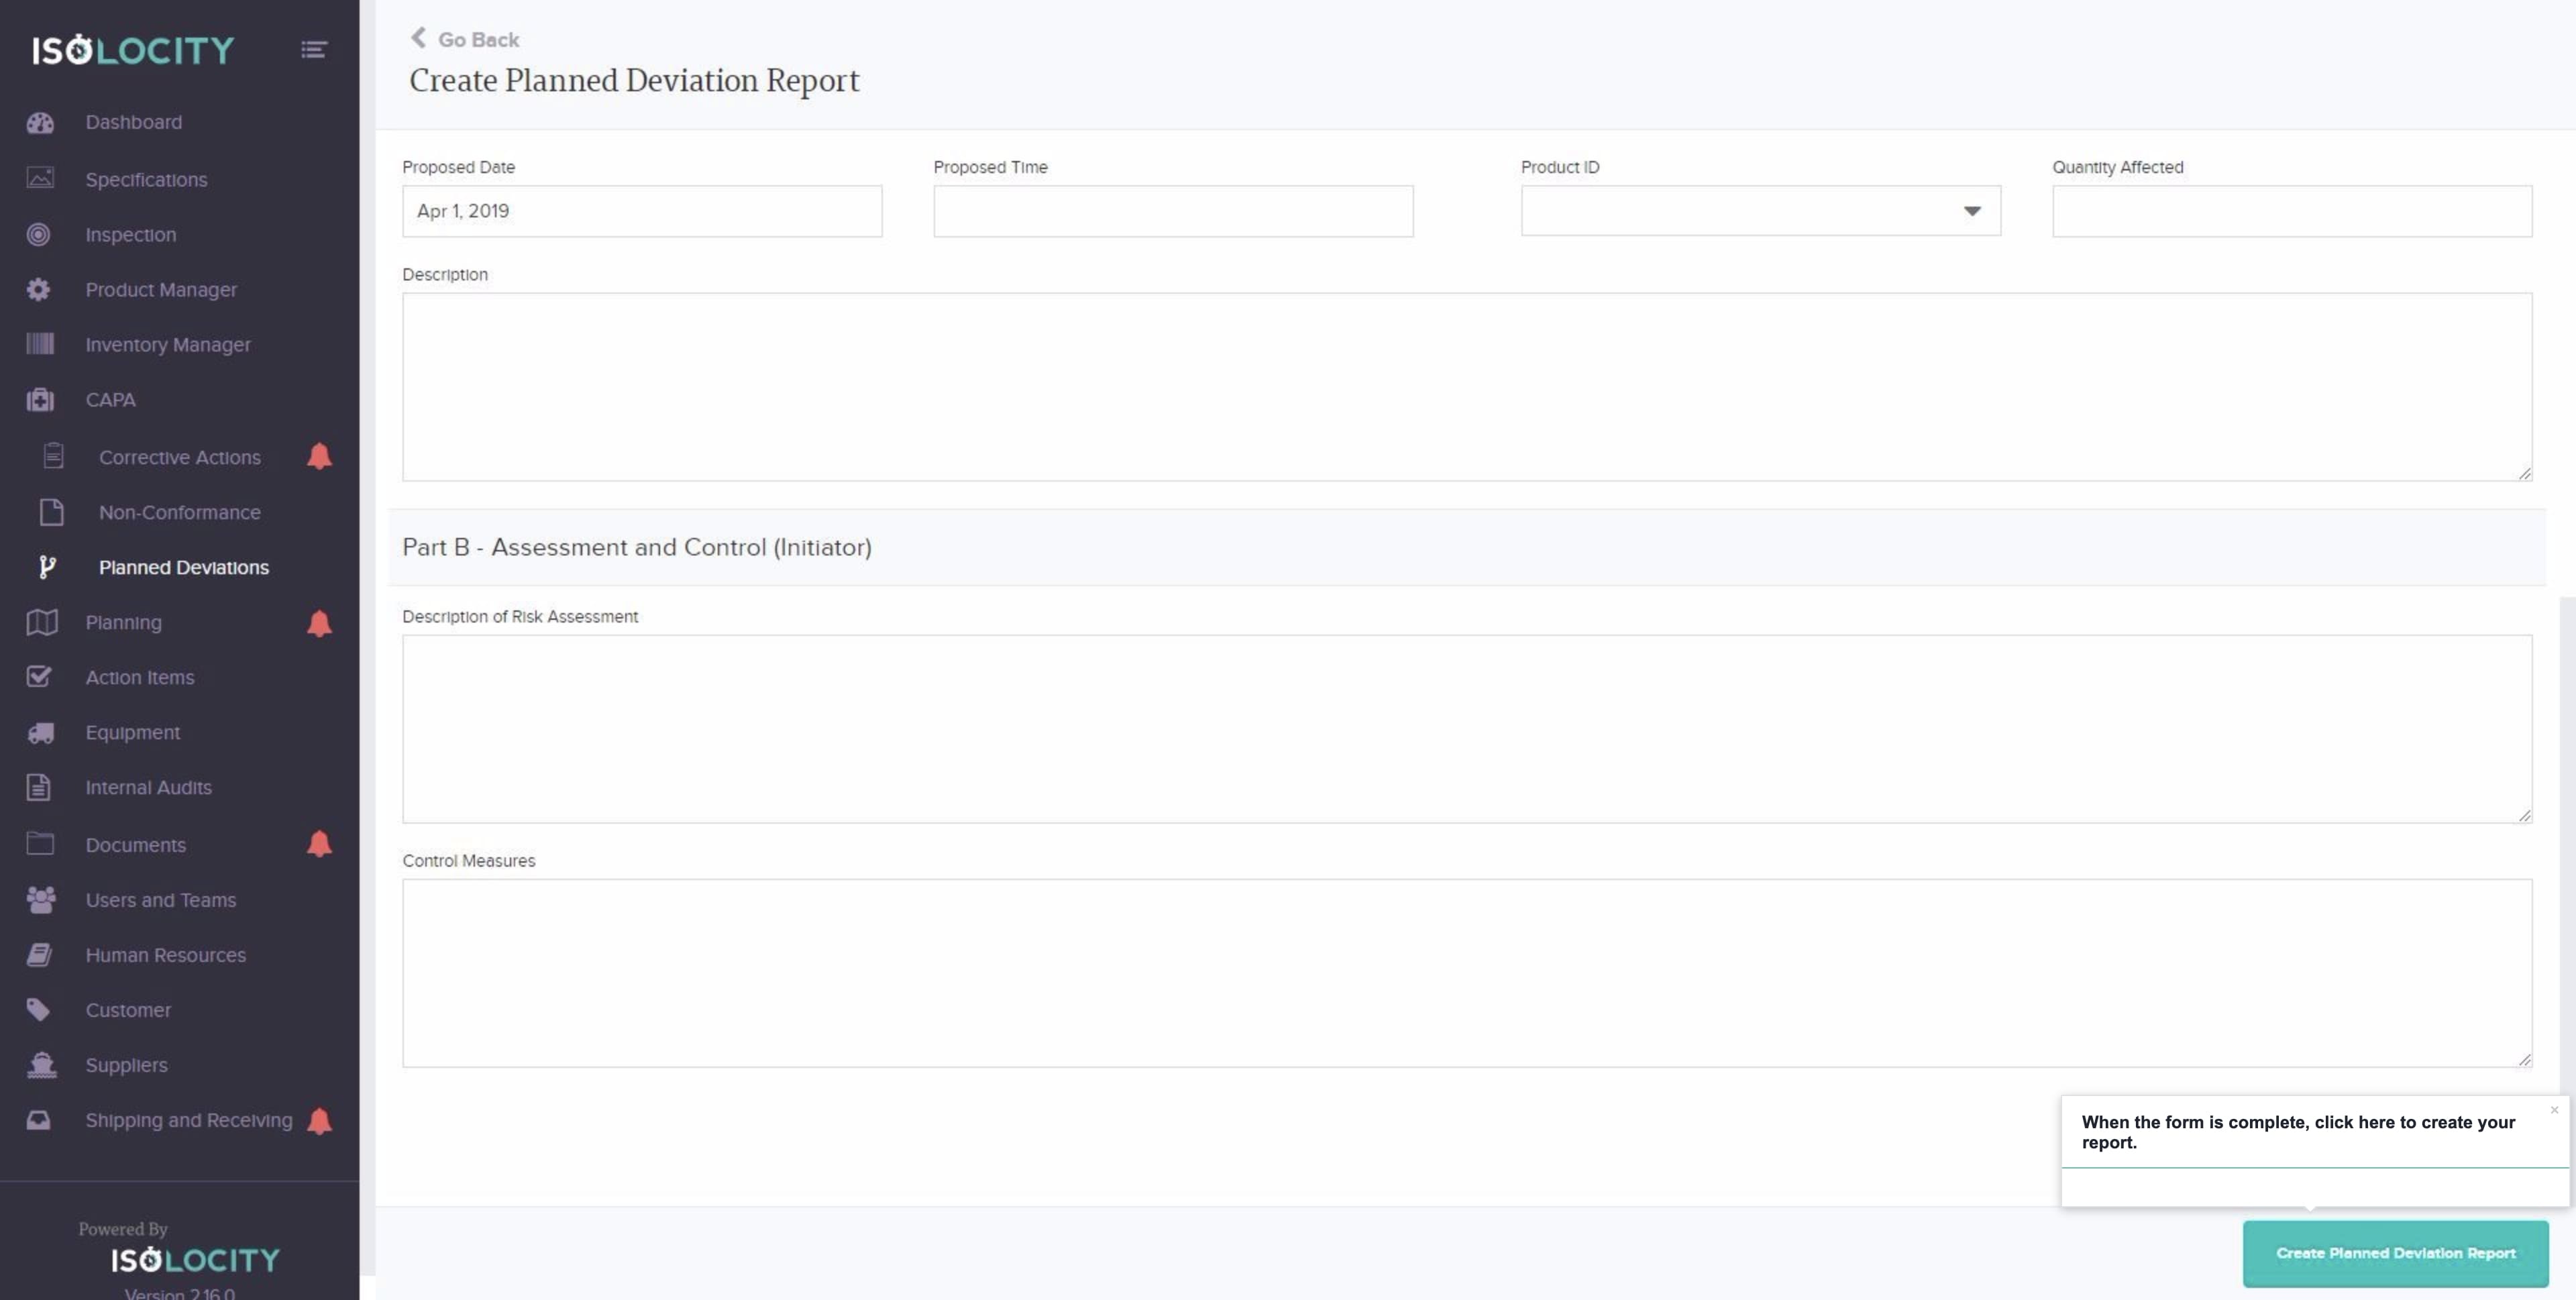
Enter the “Proposed Date”.
Step #15
Enter “Proposed Time”.

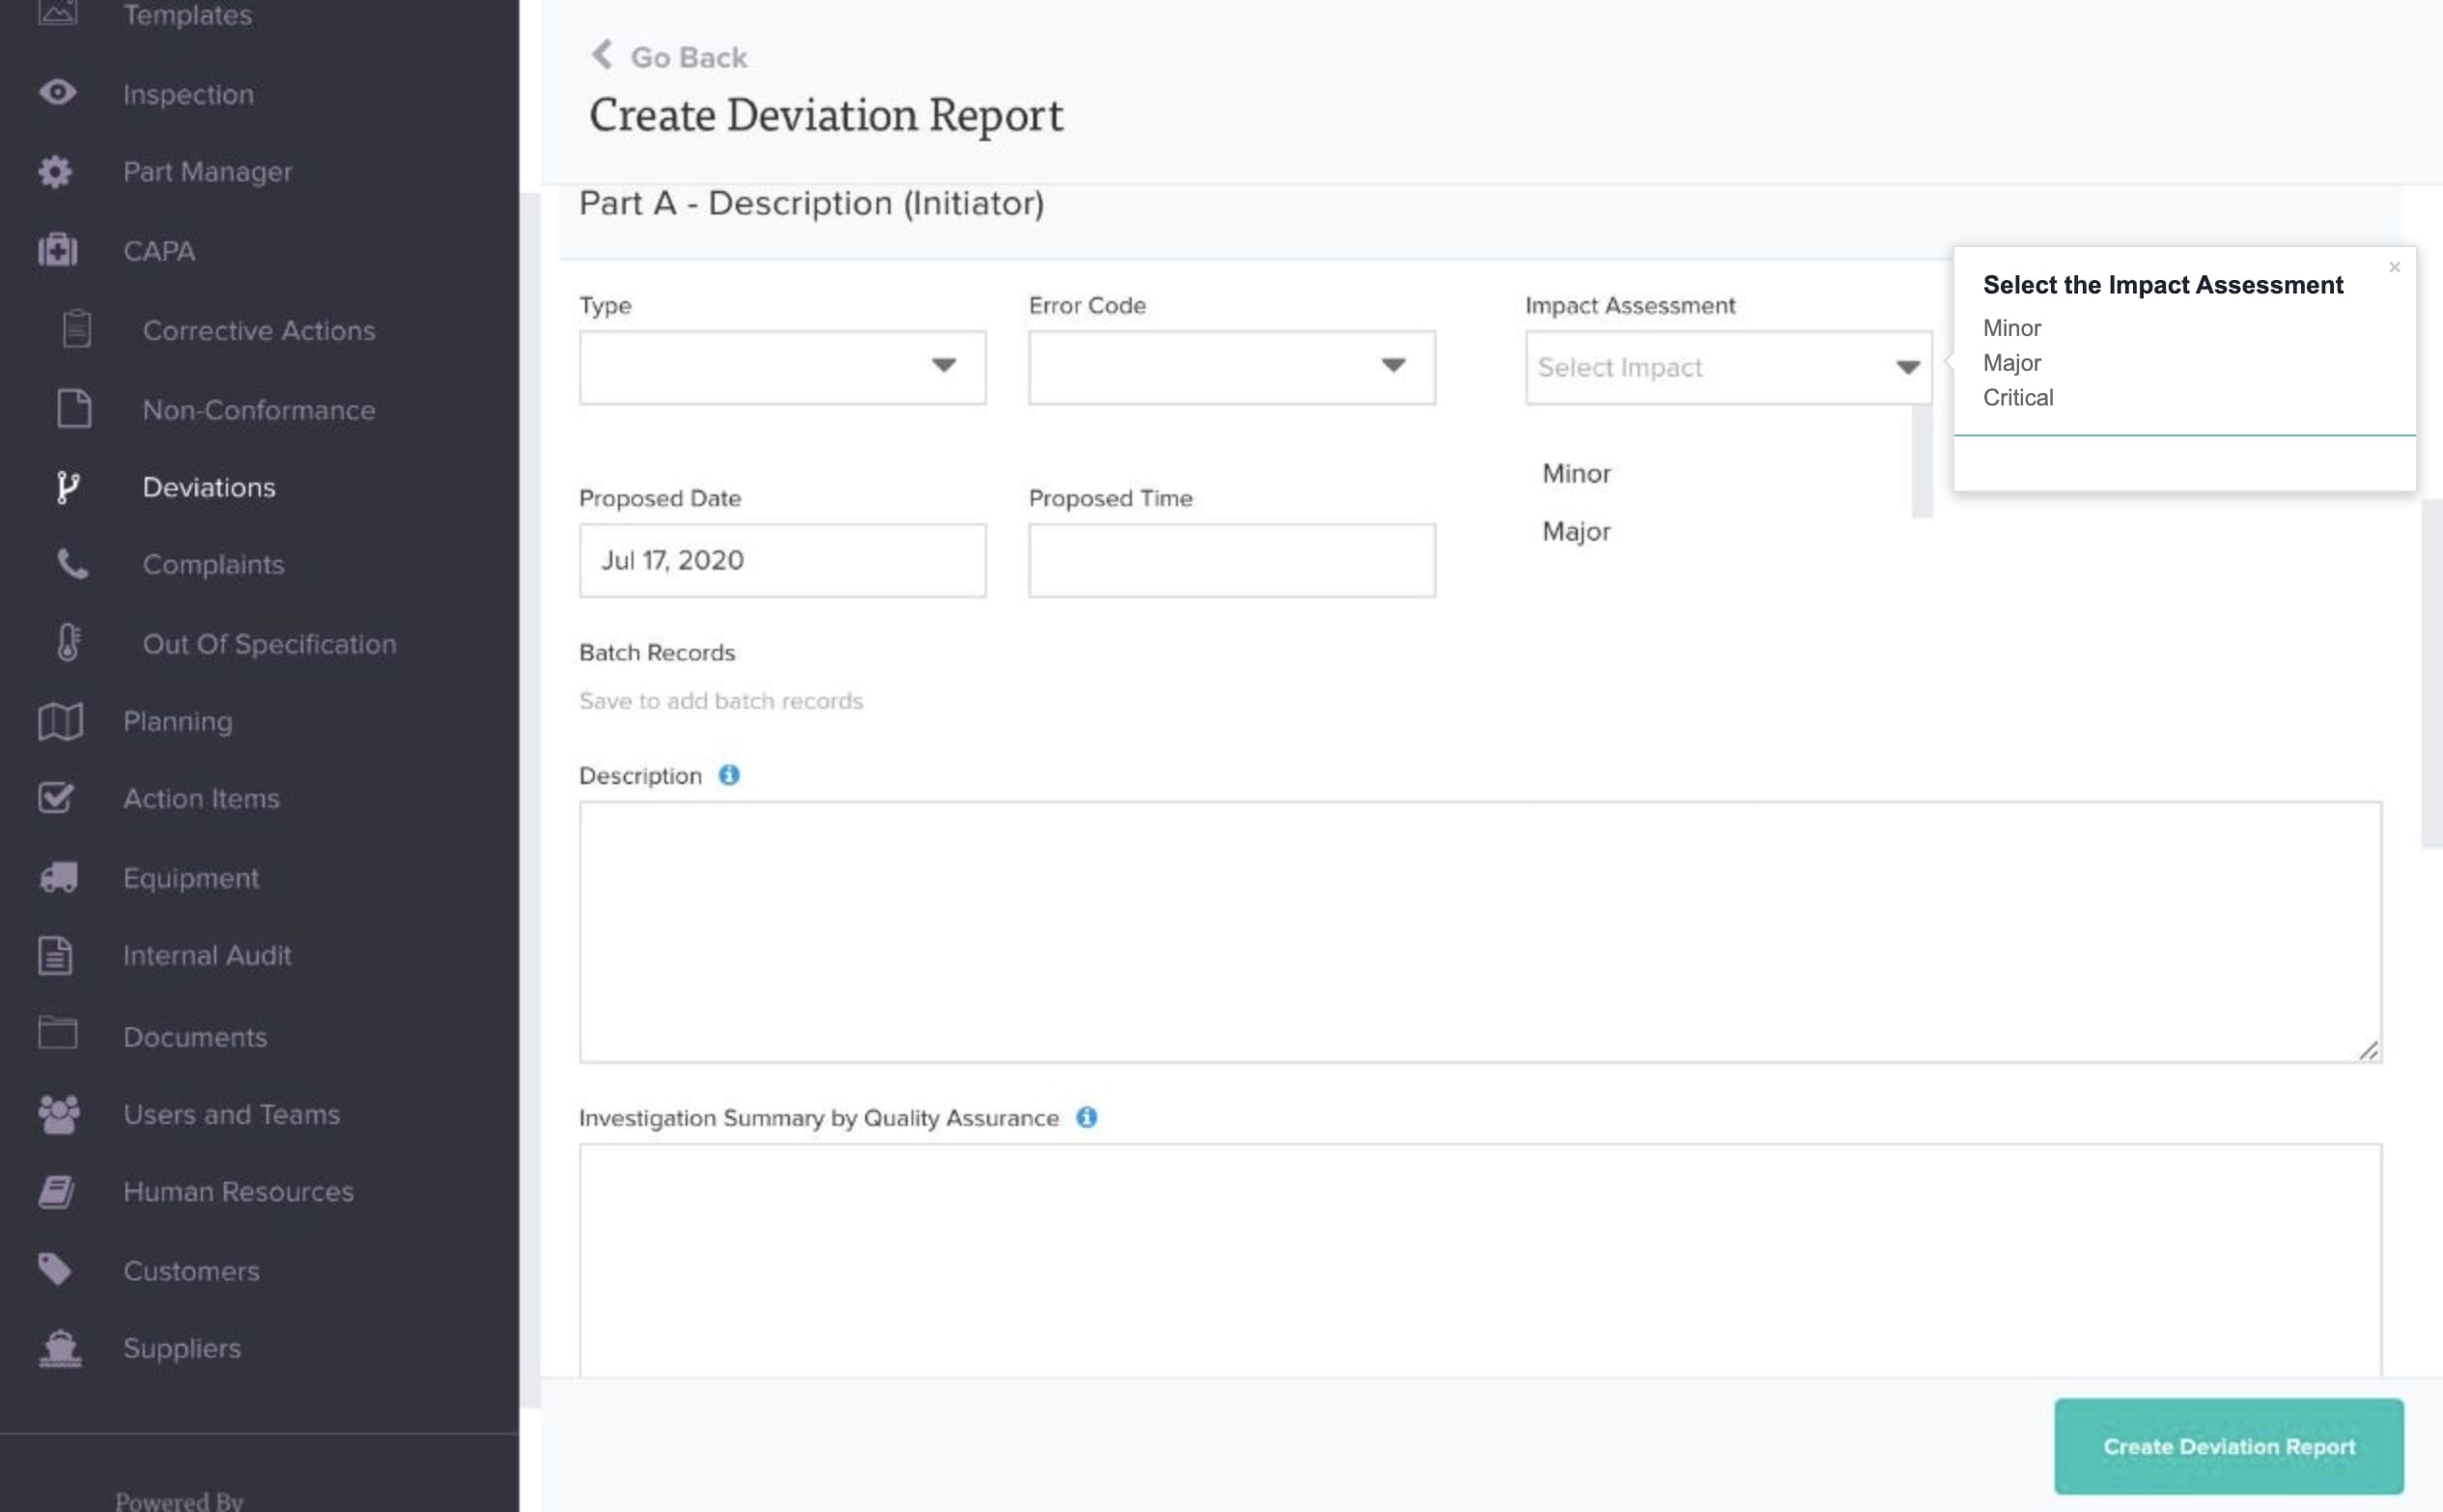
Step #16
Select the Impact Assessment
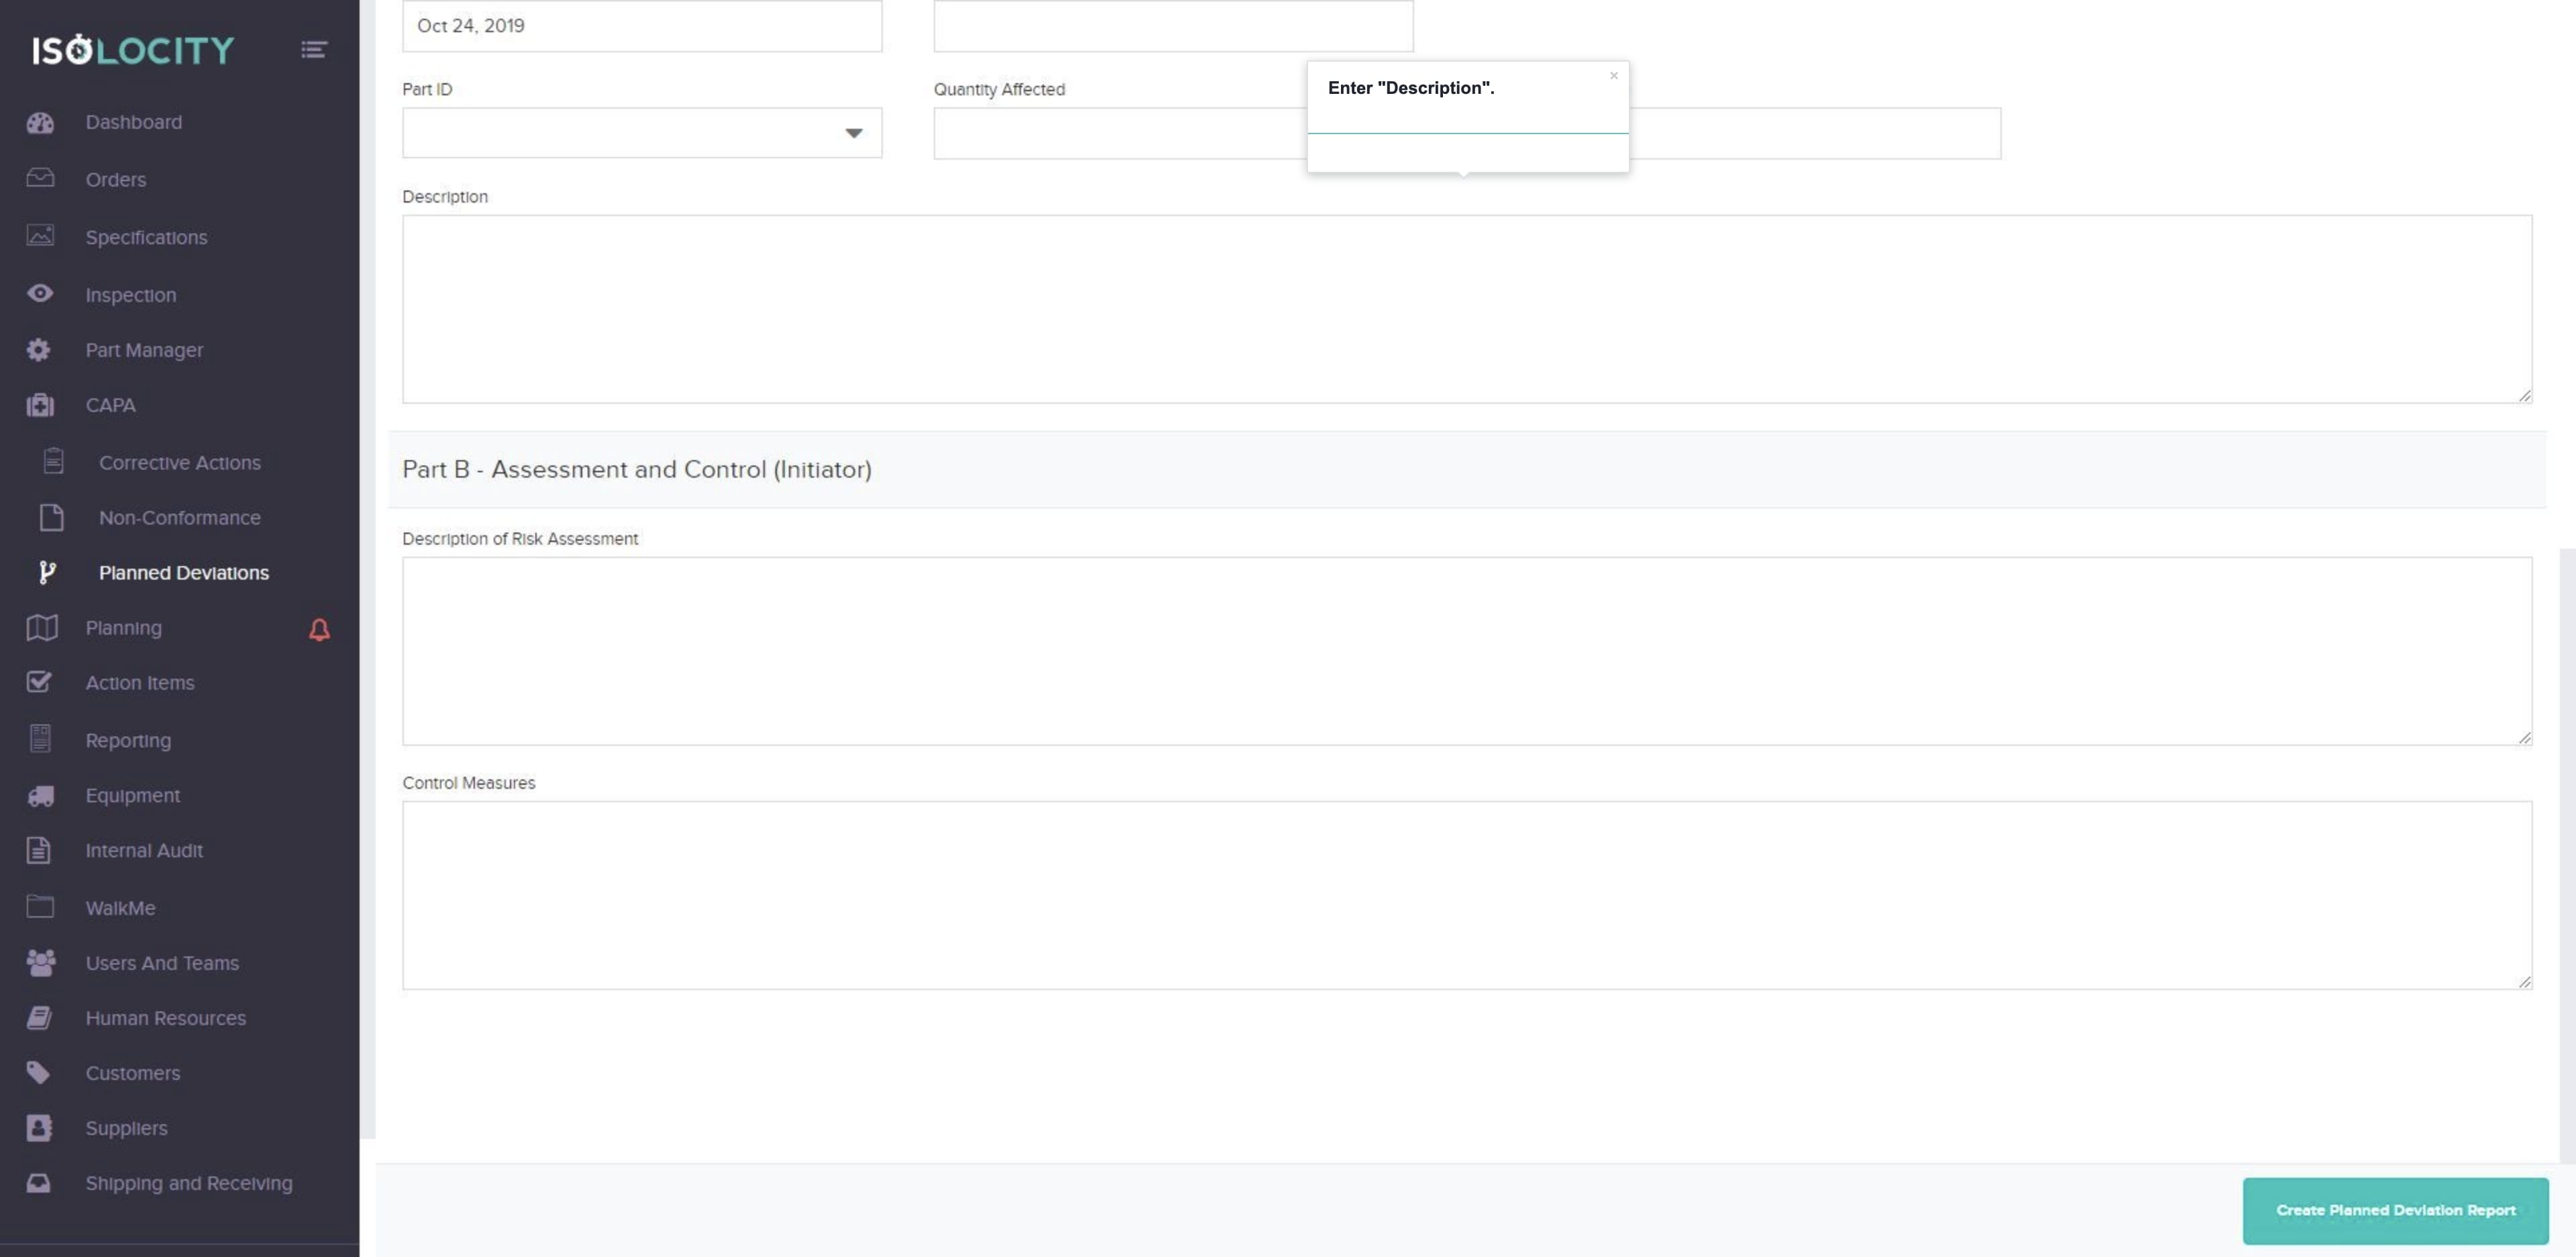
Step #17
Enter “Description”.
Step #18
Mouse over “Description” and click the pencil to edit its name (Optional).
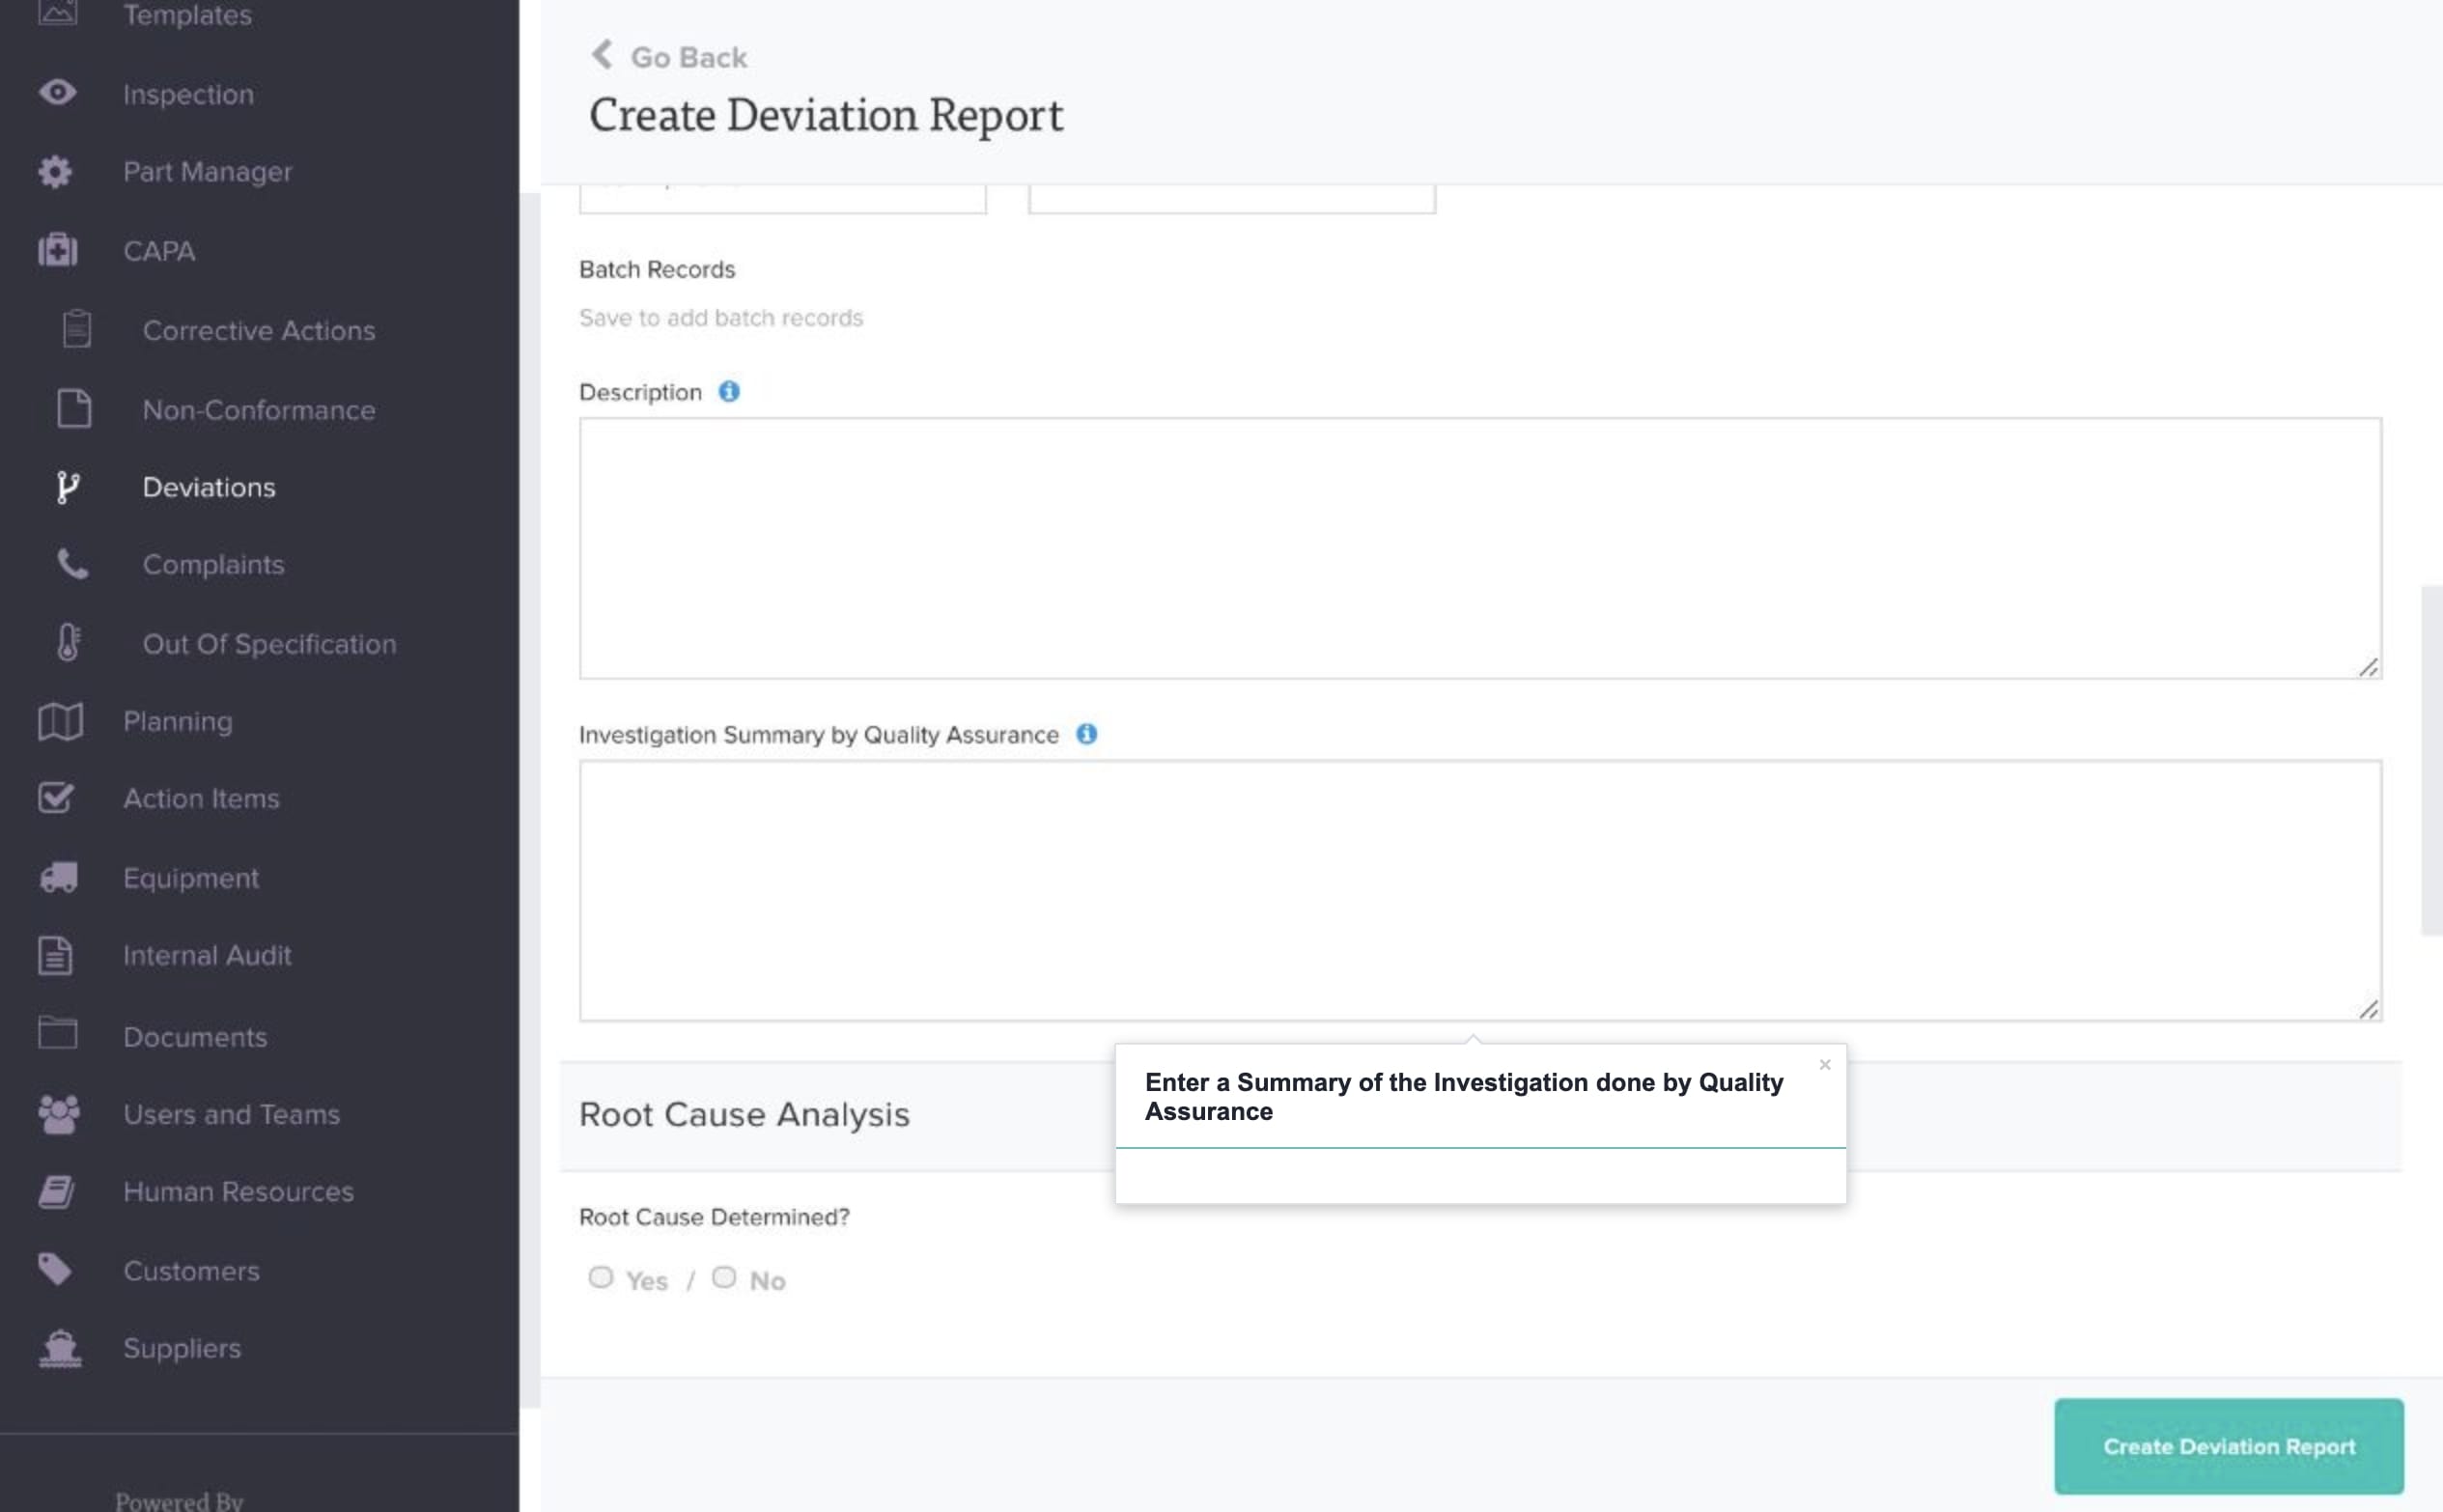
Step #19
Enter a Summary of the Investigation done by Quality Assurance
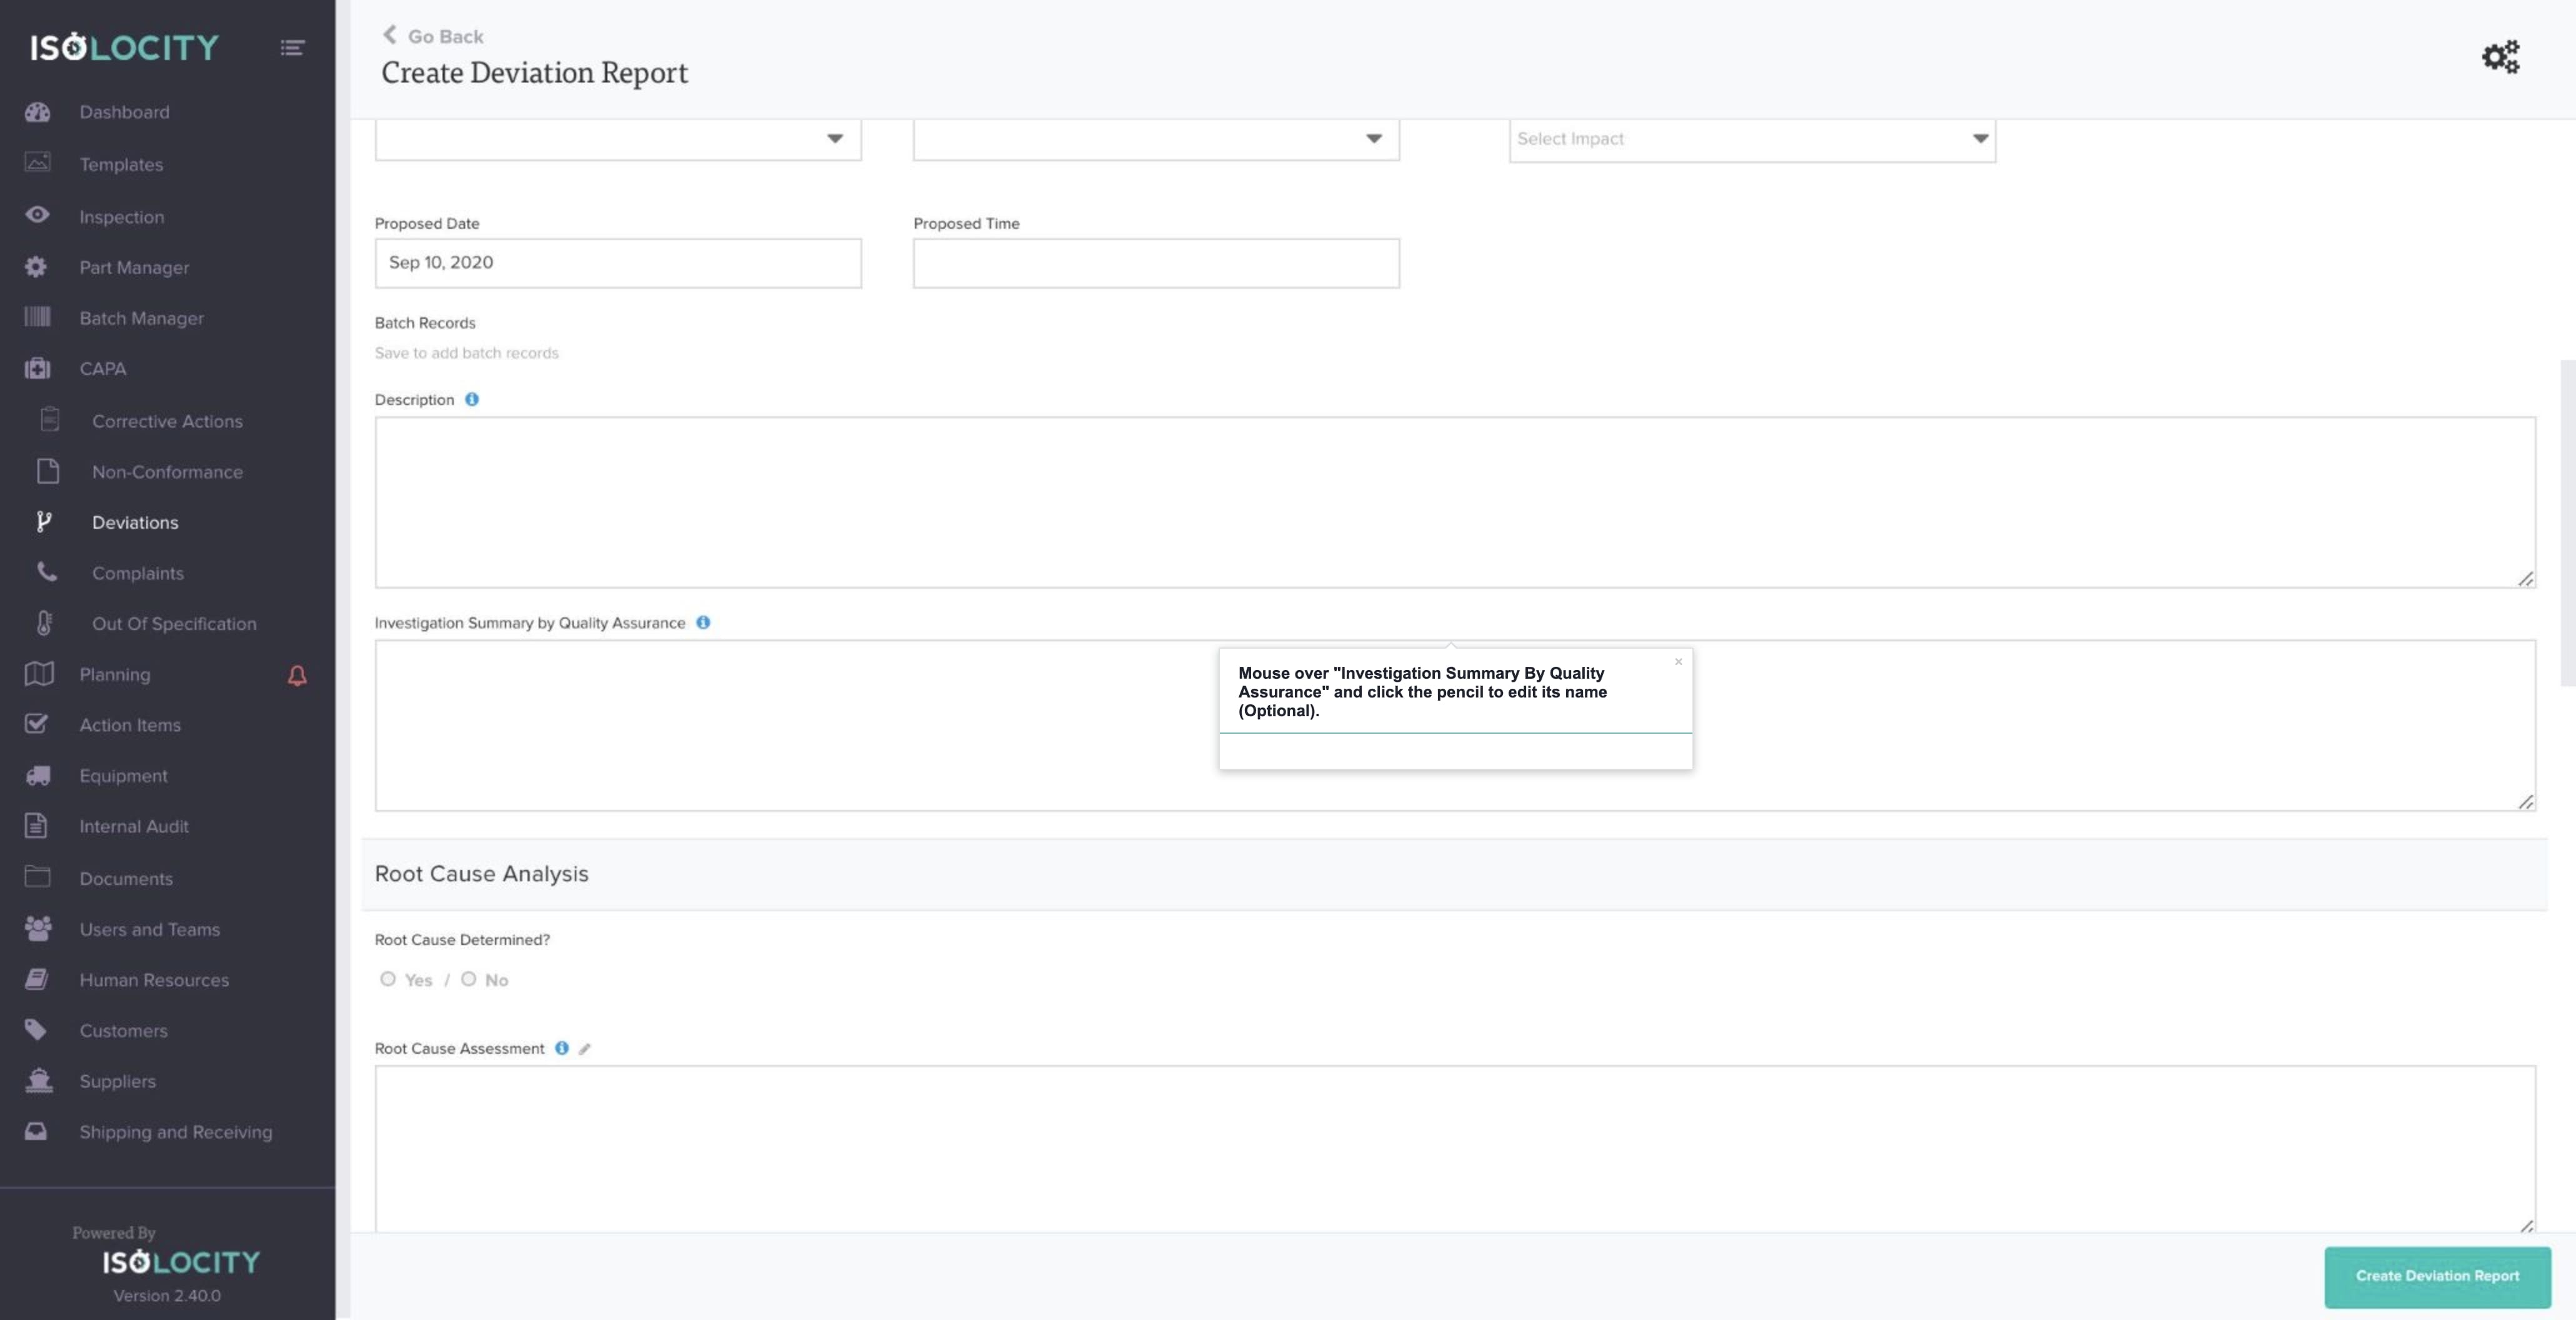
Step #20
Mouse over “Investigation Summary By Quality Assurance” and click the pencil to edit its name (Optional).
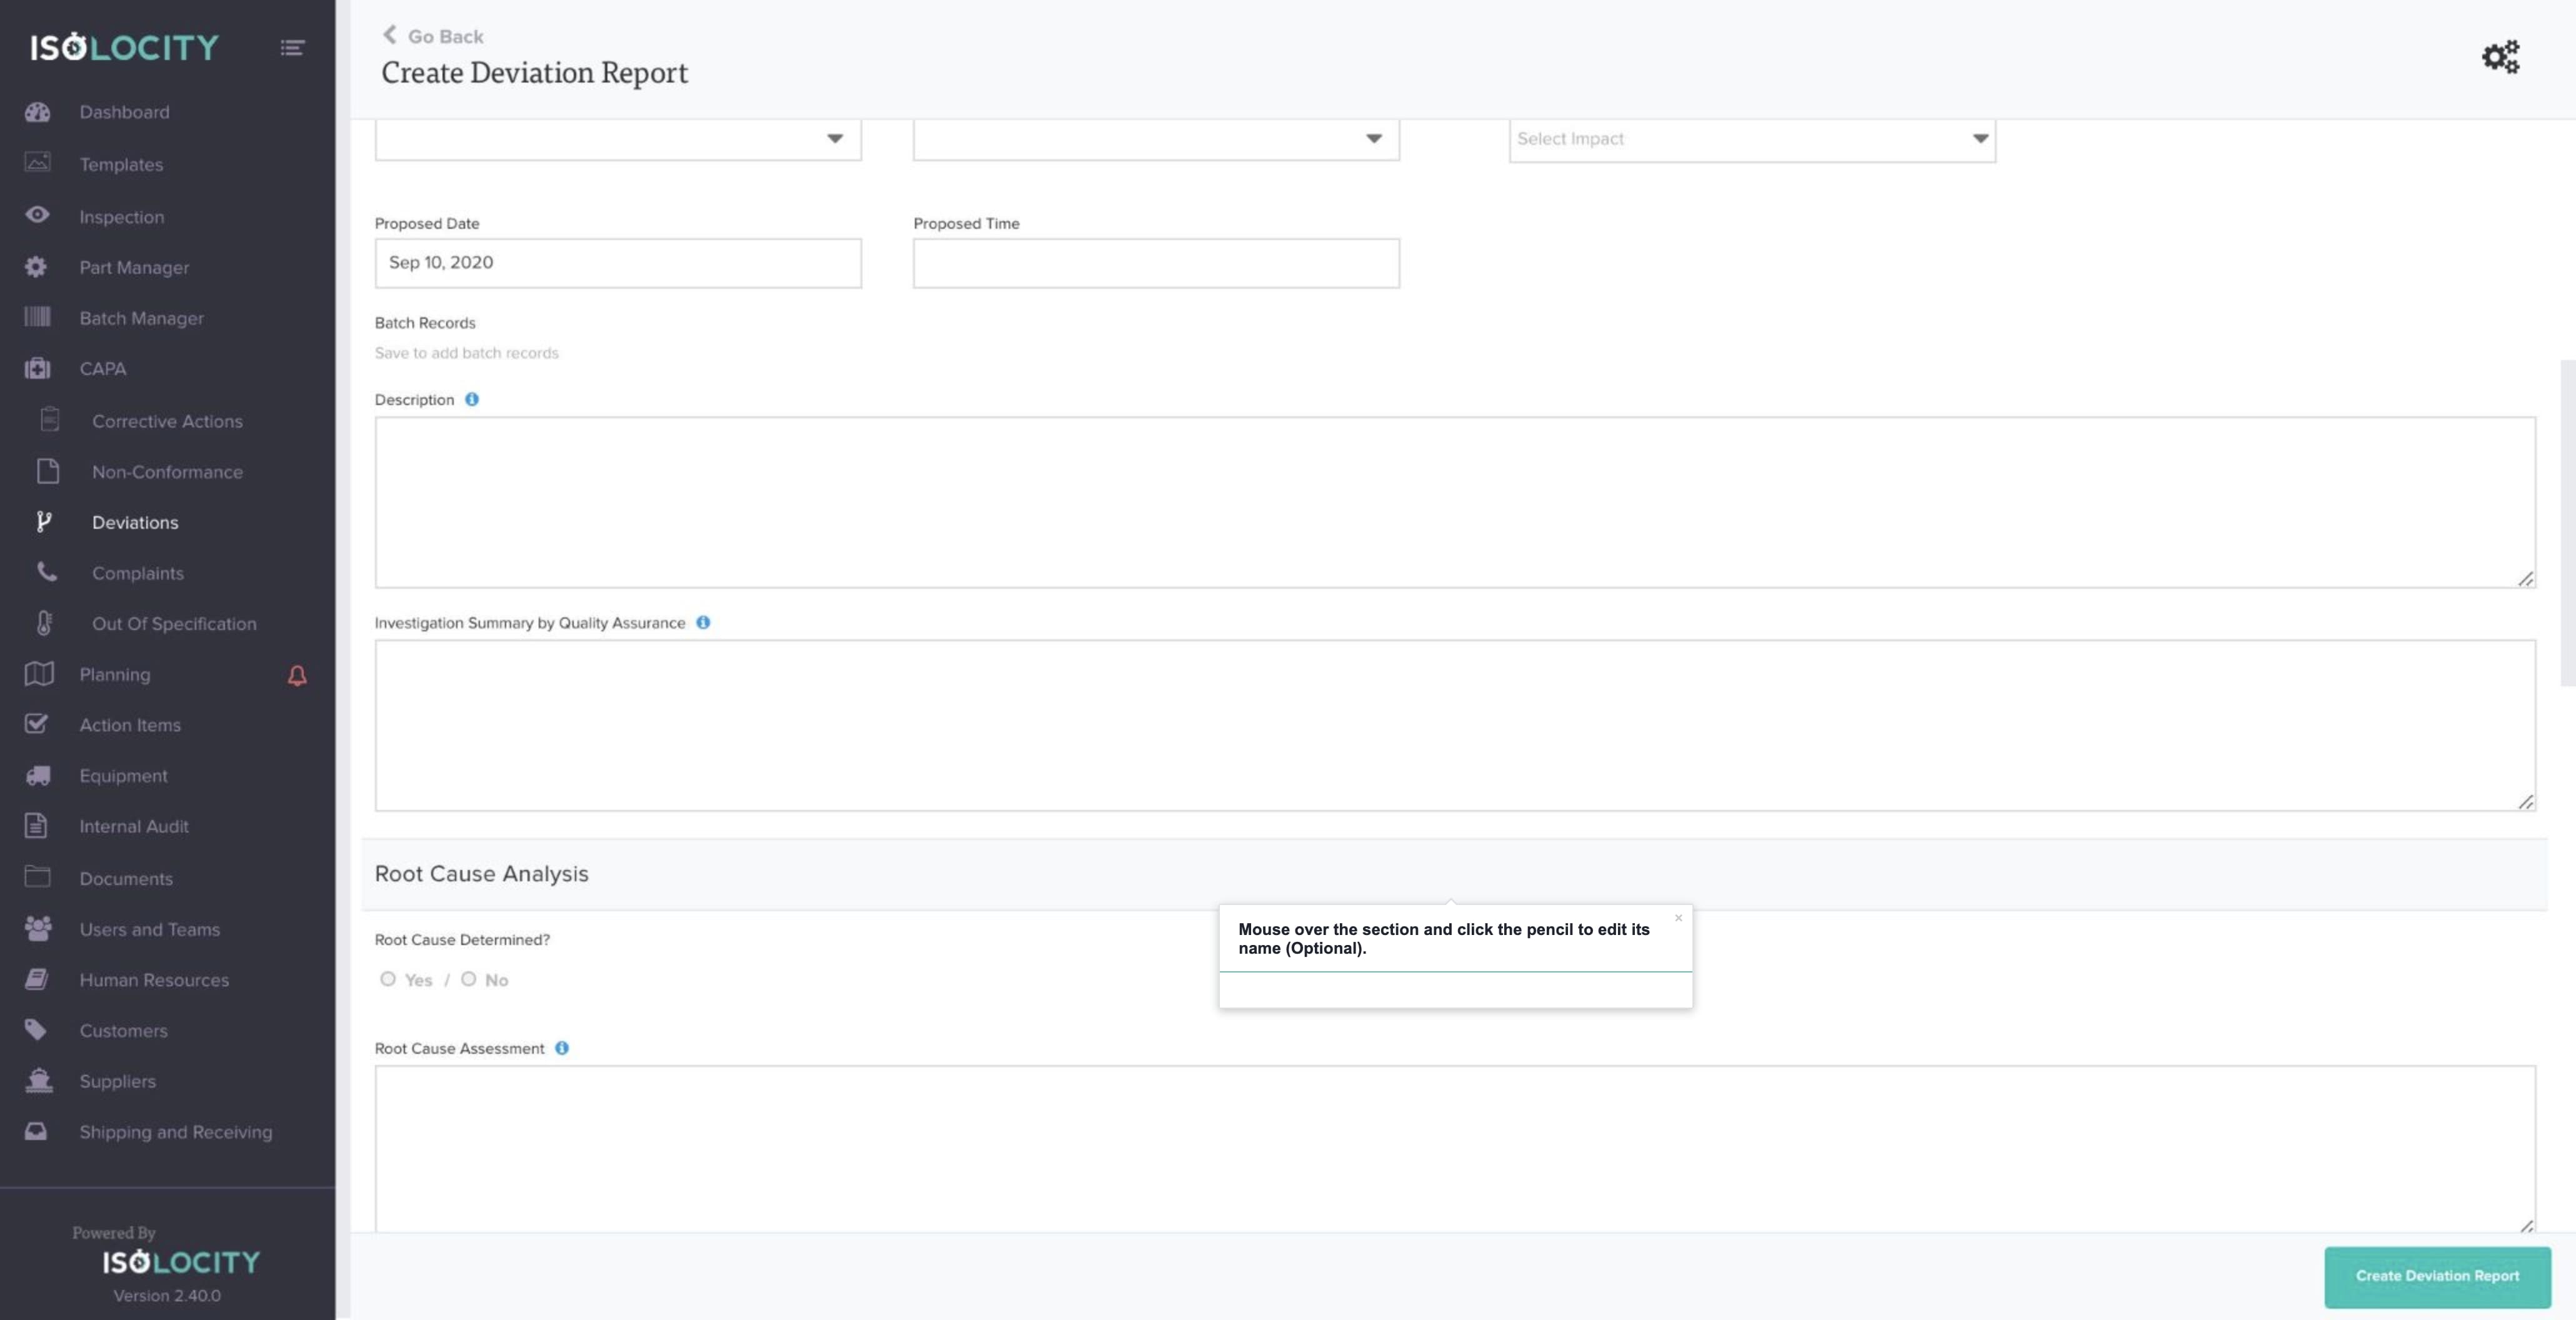
Step #21
Mouse over the section and click the pencil to edit its name (Optional).
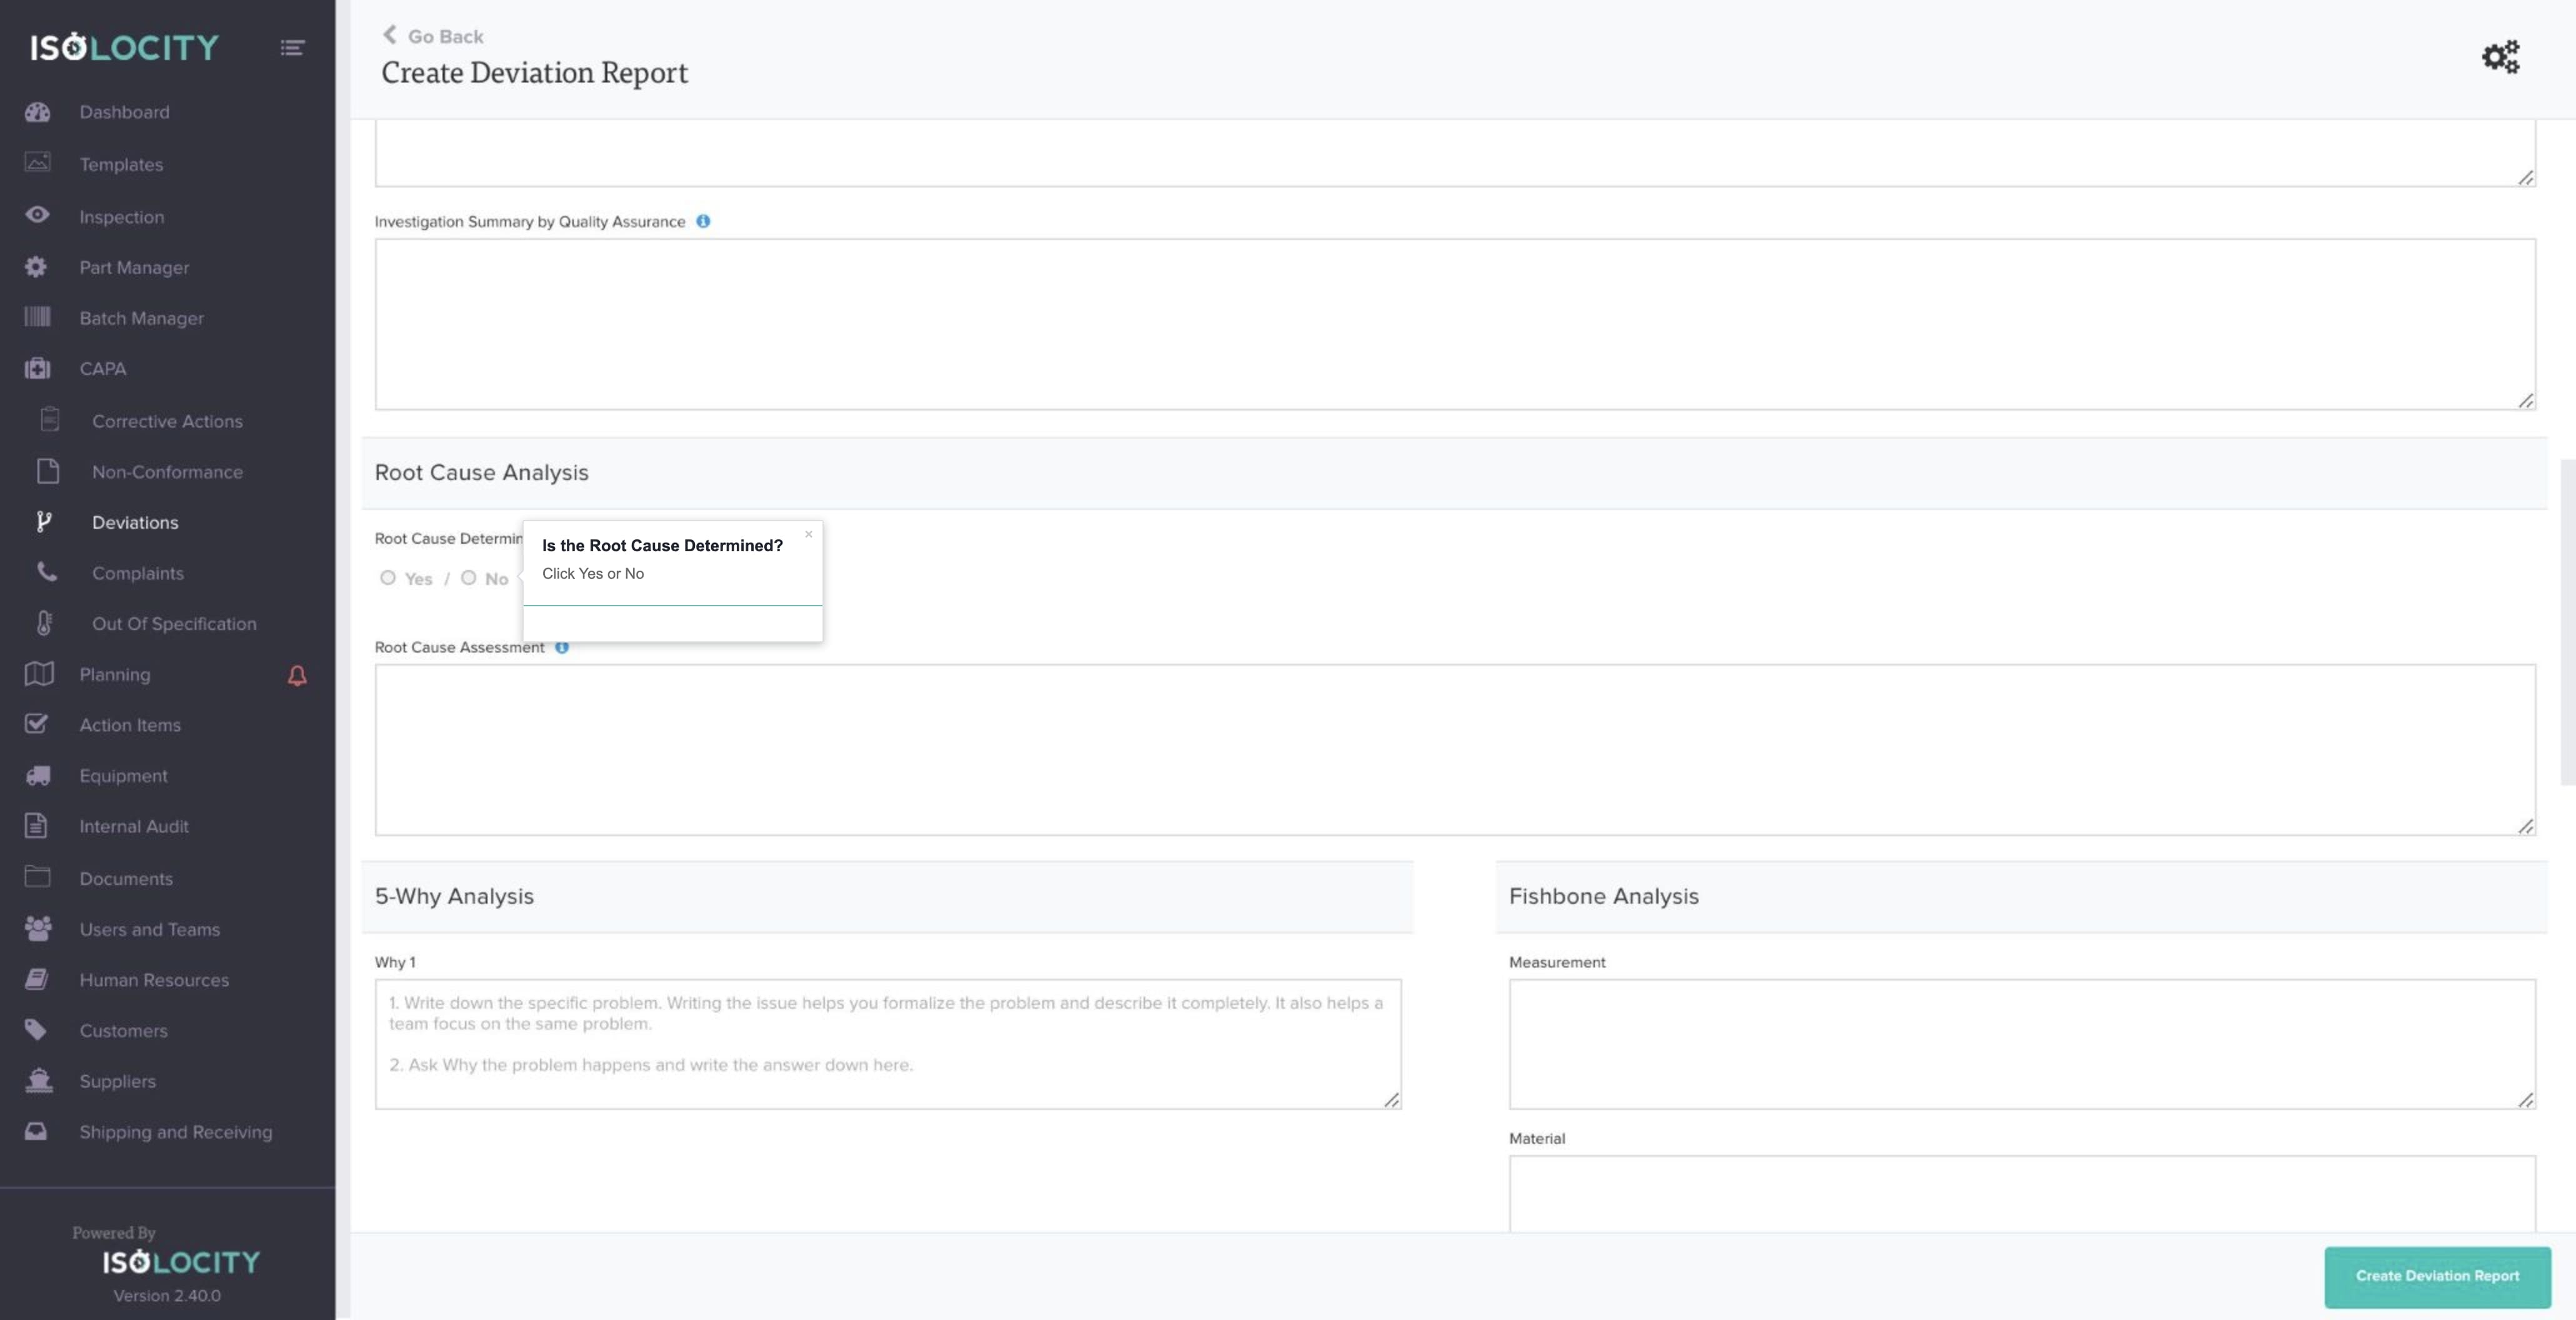
Step #22
Is the Root Cause Determined?
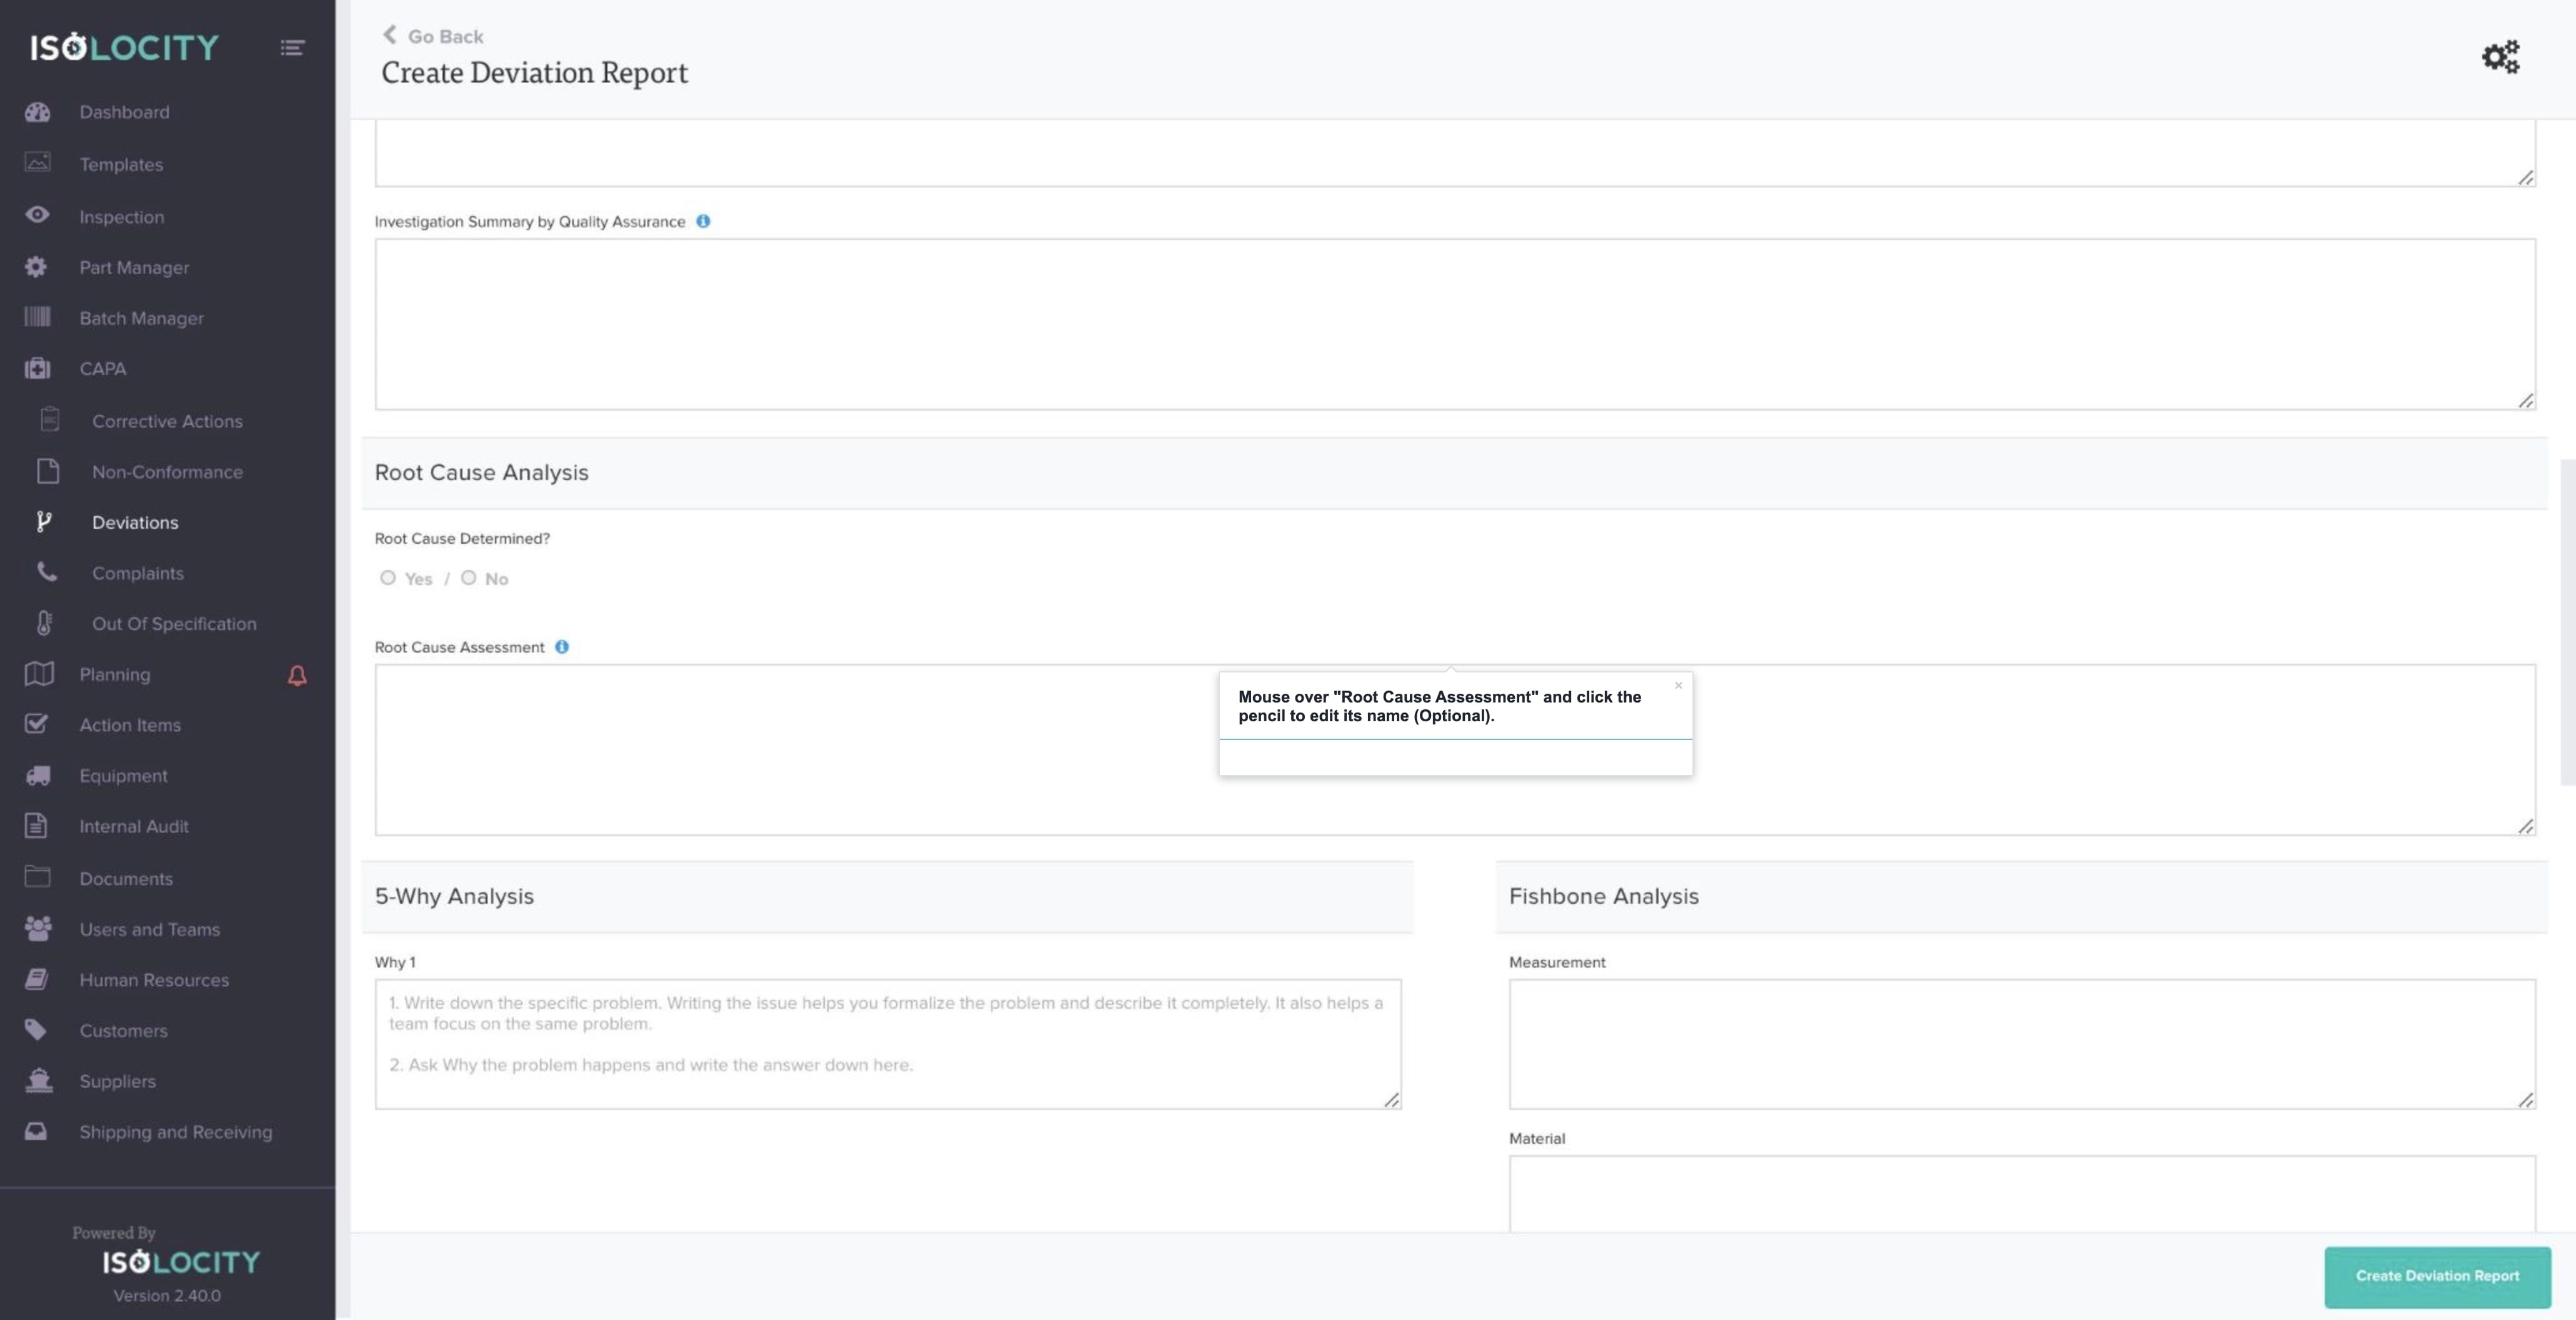
Step #23
Mouse over “Root Cause Assessment” and click the pencil to edit its name (Optional).
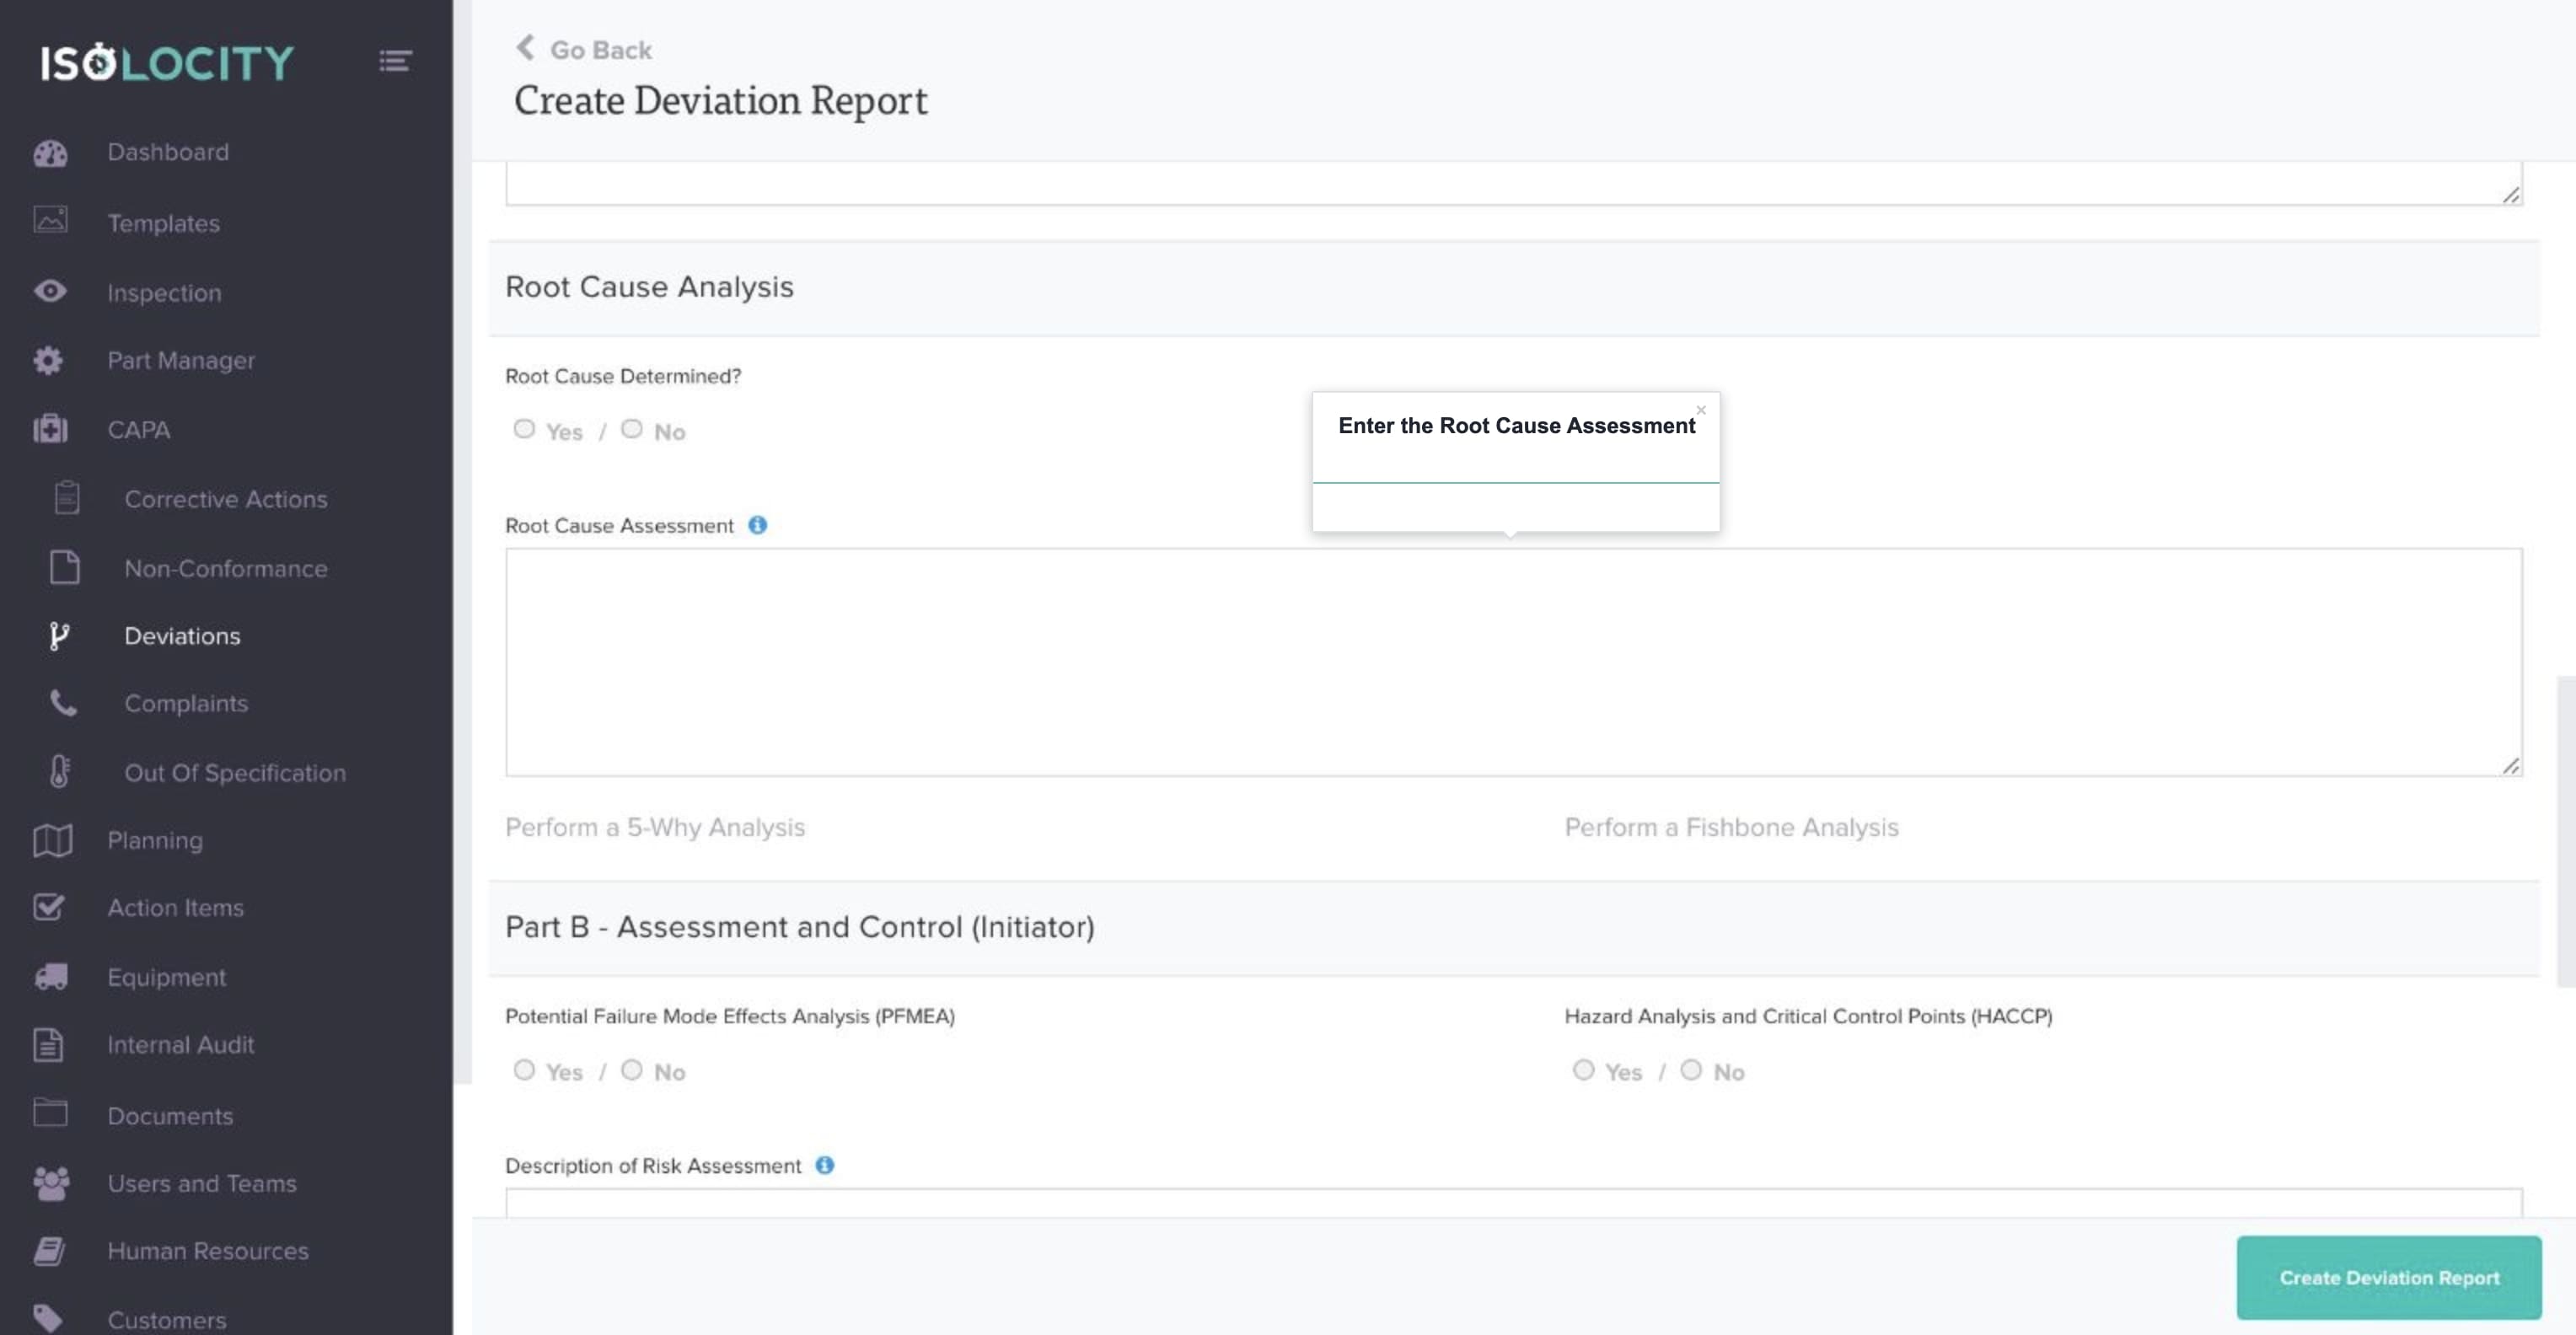
Step #24
Enter the Root Cause Assessment
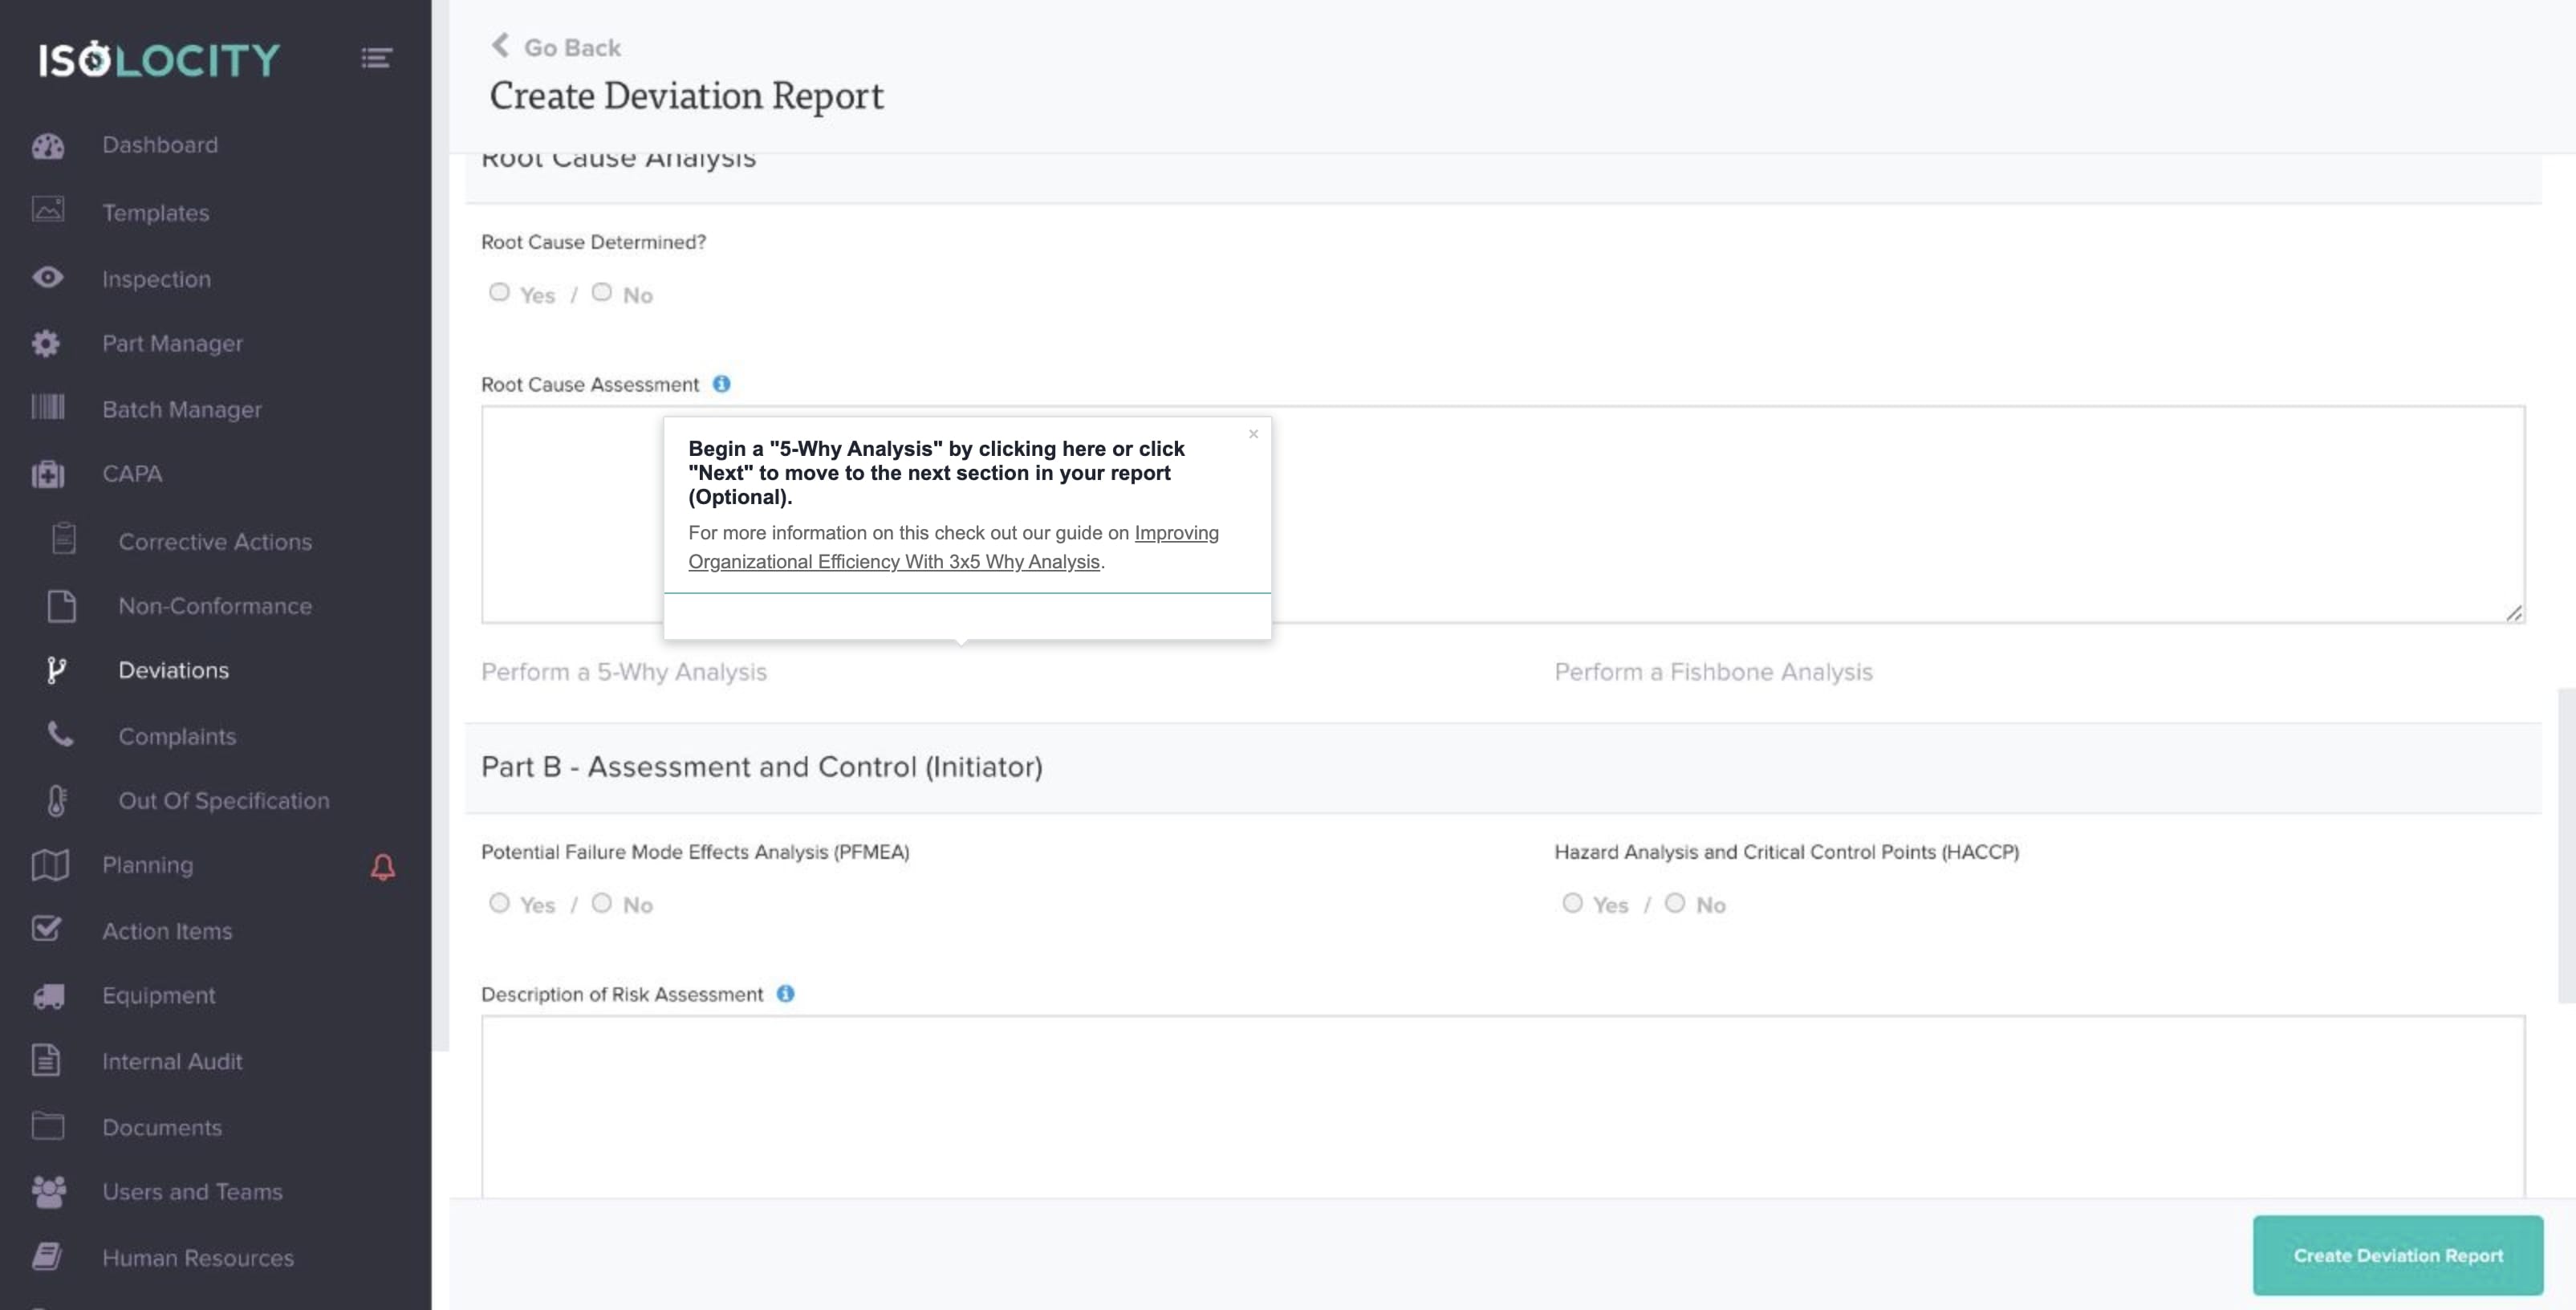
Step #25
Begin a “5-Why Analysis” by clicking here or click “Next” to move to the next section in your report (Optional).
Step #26
Mouse over the section and click the pencil to edit its name (Optional).
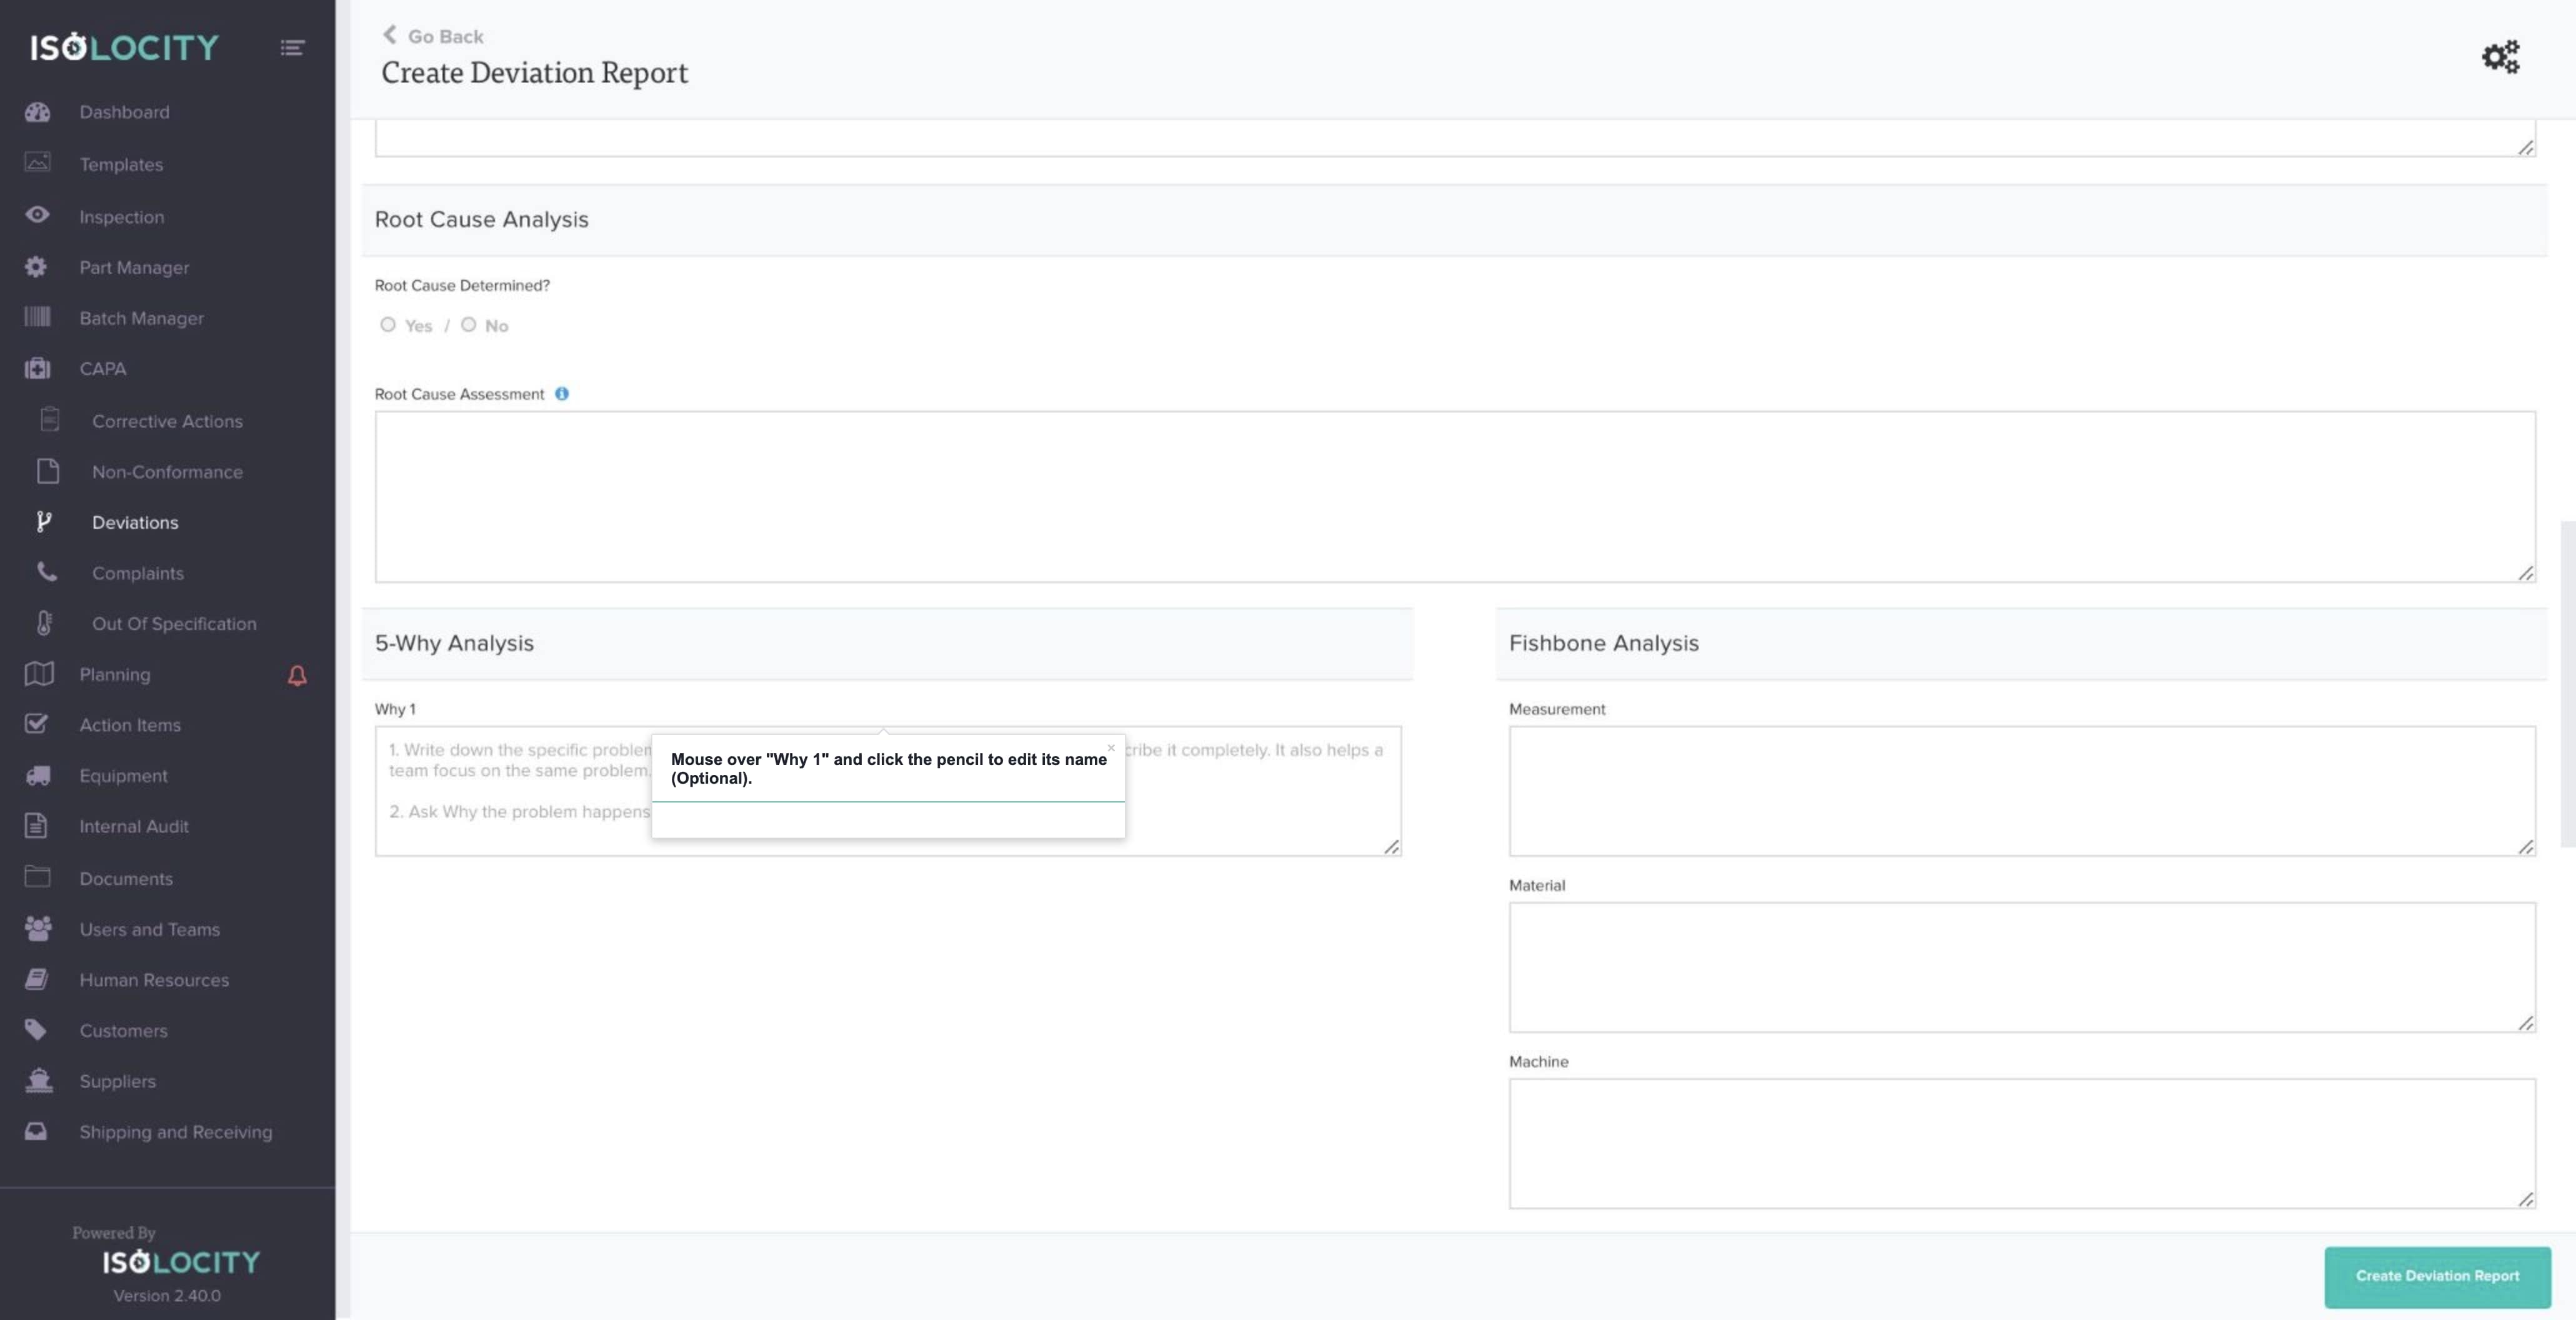
Step #27
Mouse over “Why 1” and click the pencil to edit its name (Optional).
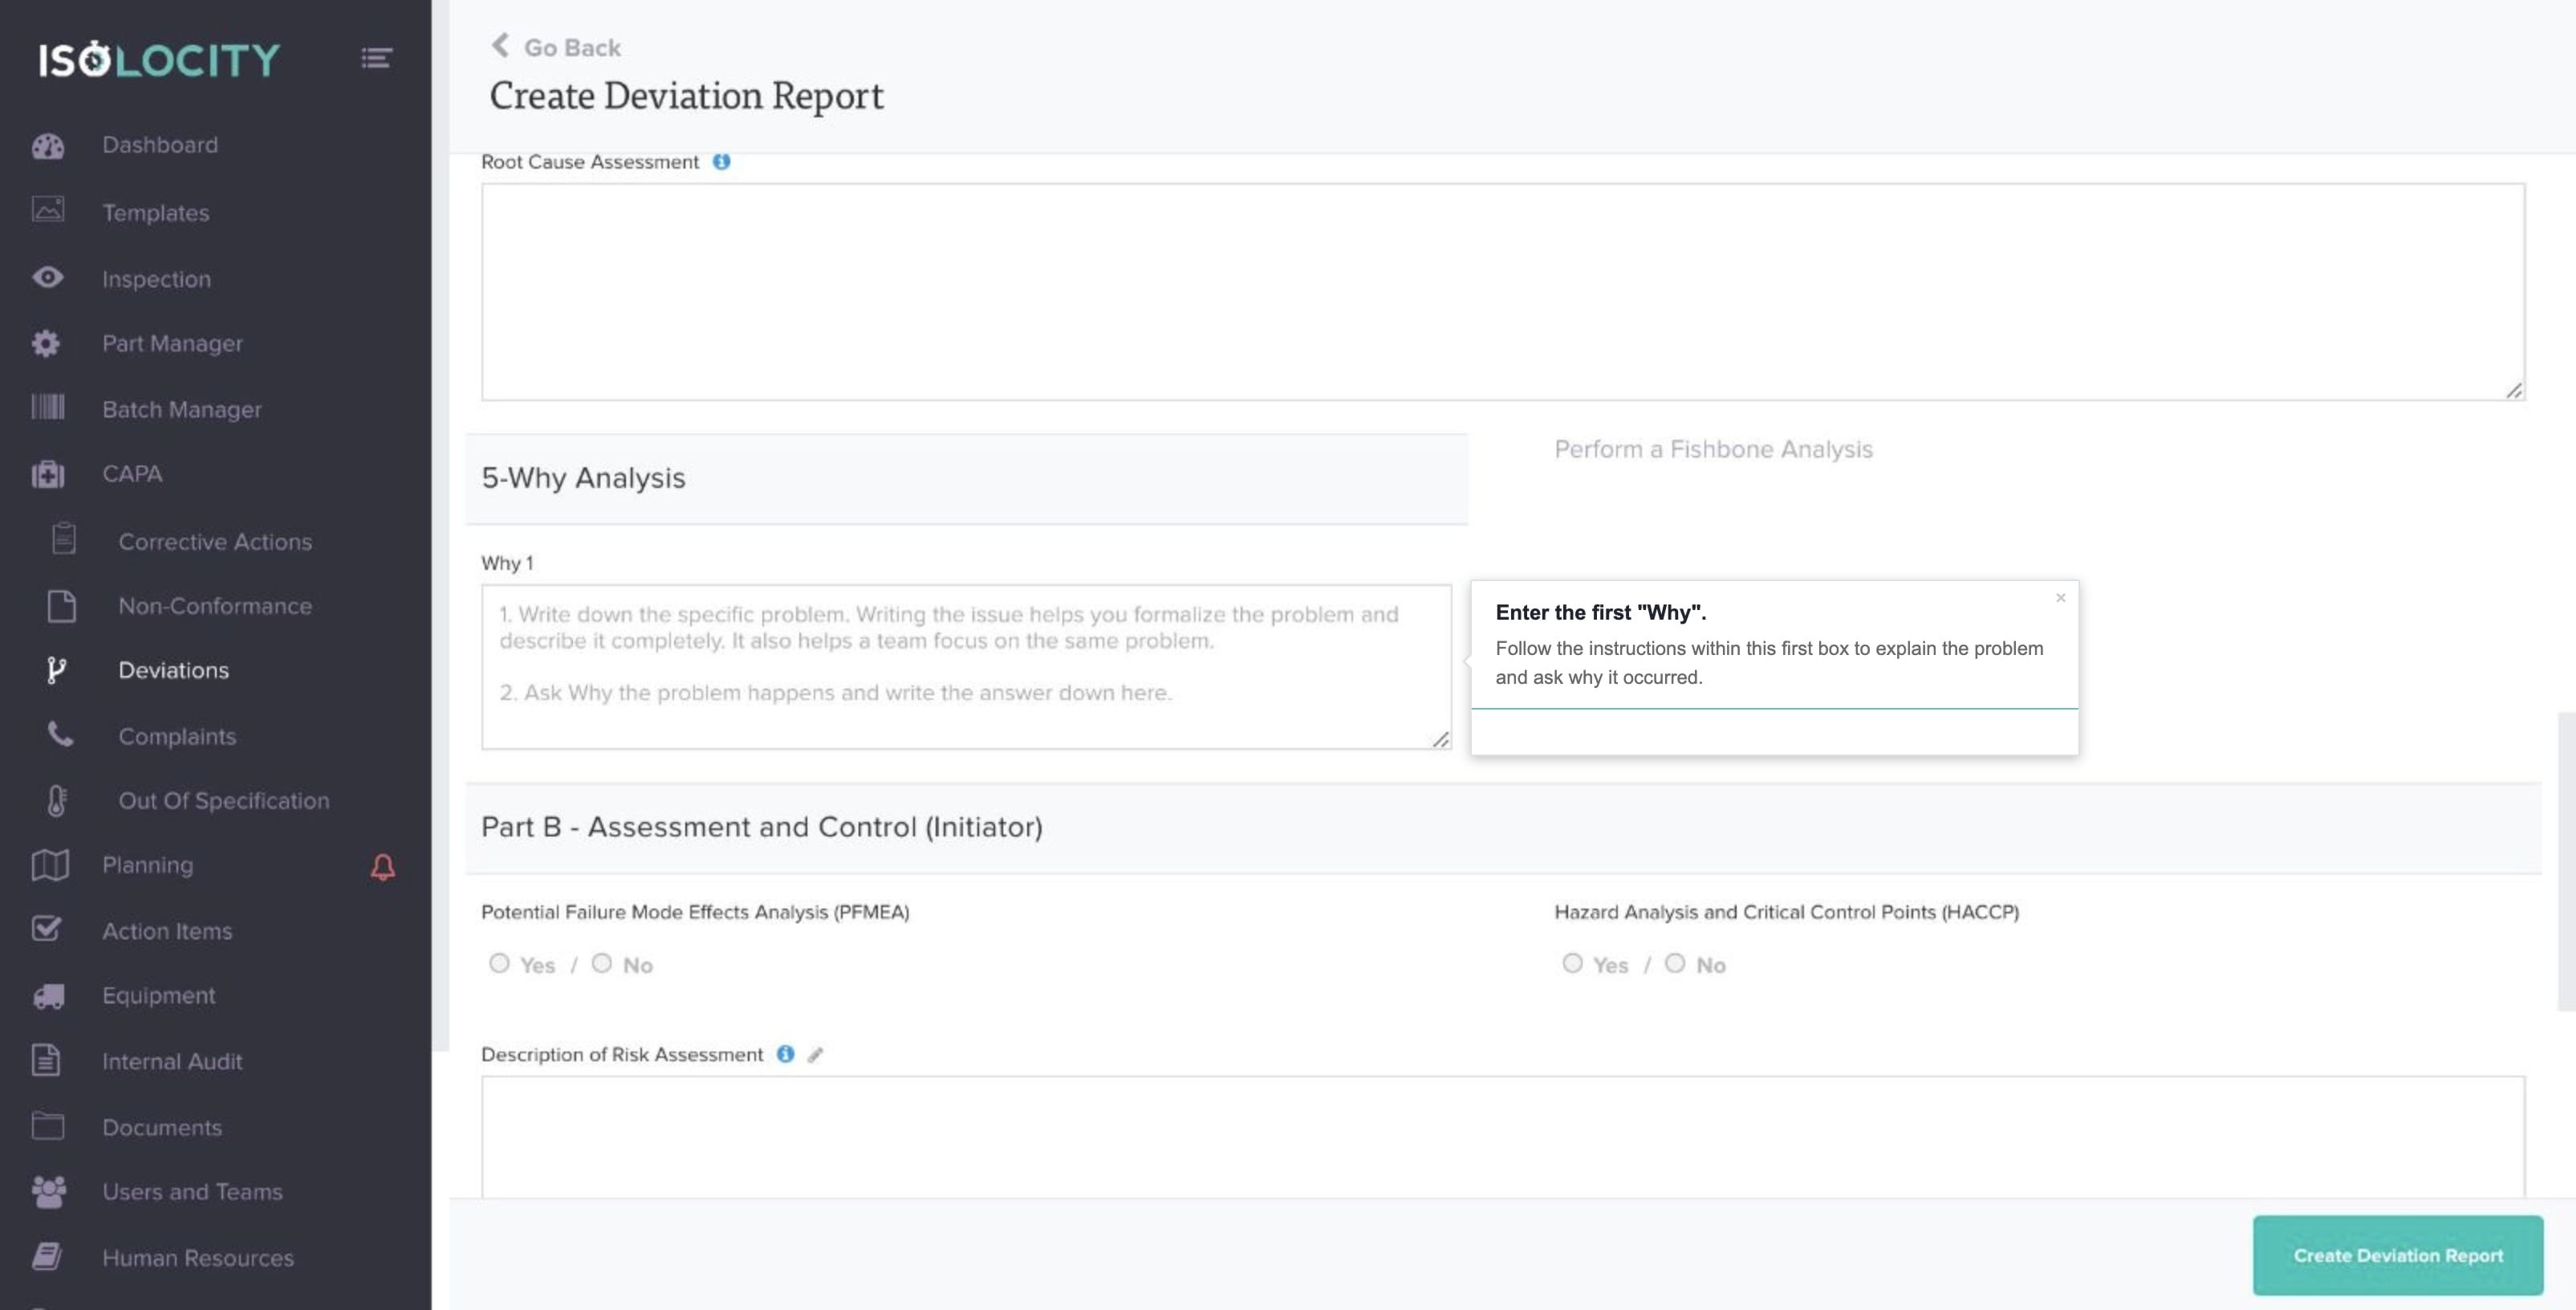
Step #28
Enter the first “Why”.
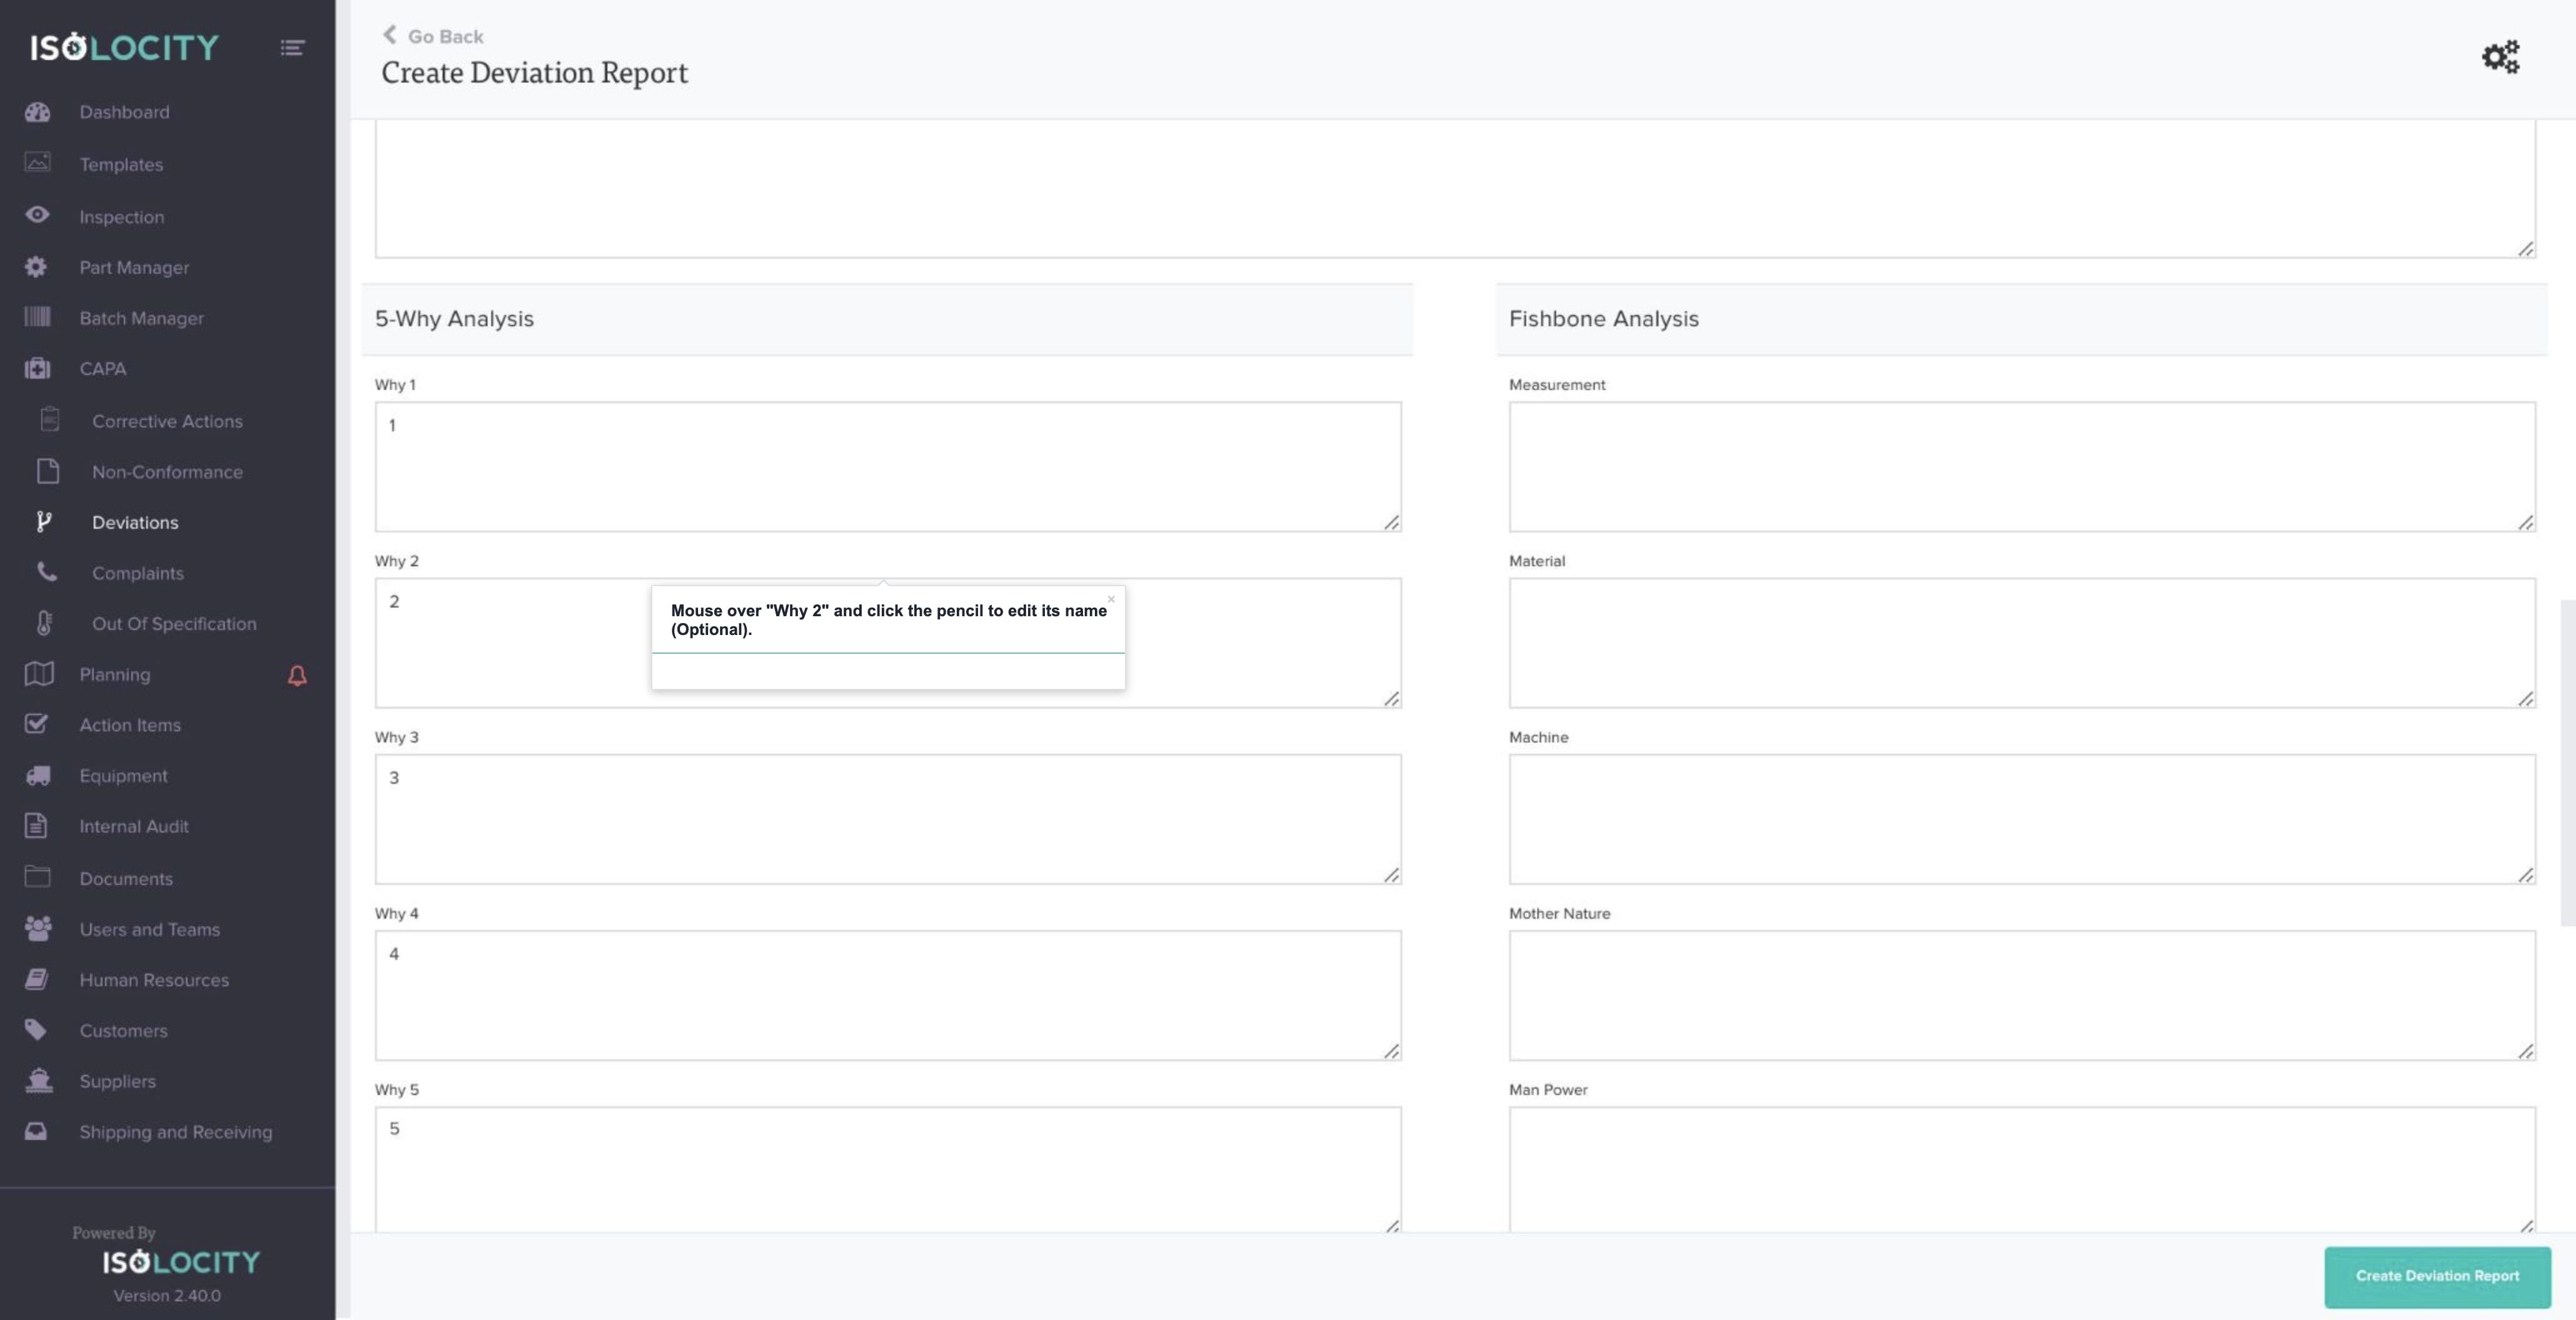
Step #29
Mouse over “Why 2” and click the pencil to edit its name (Optional).
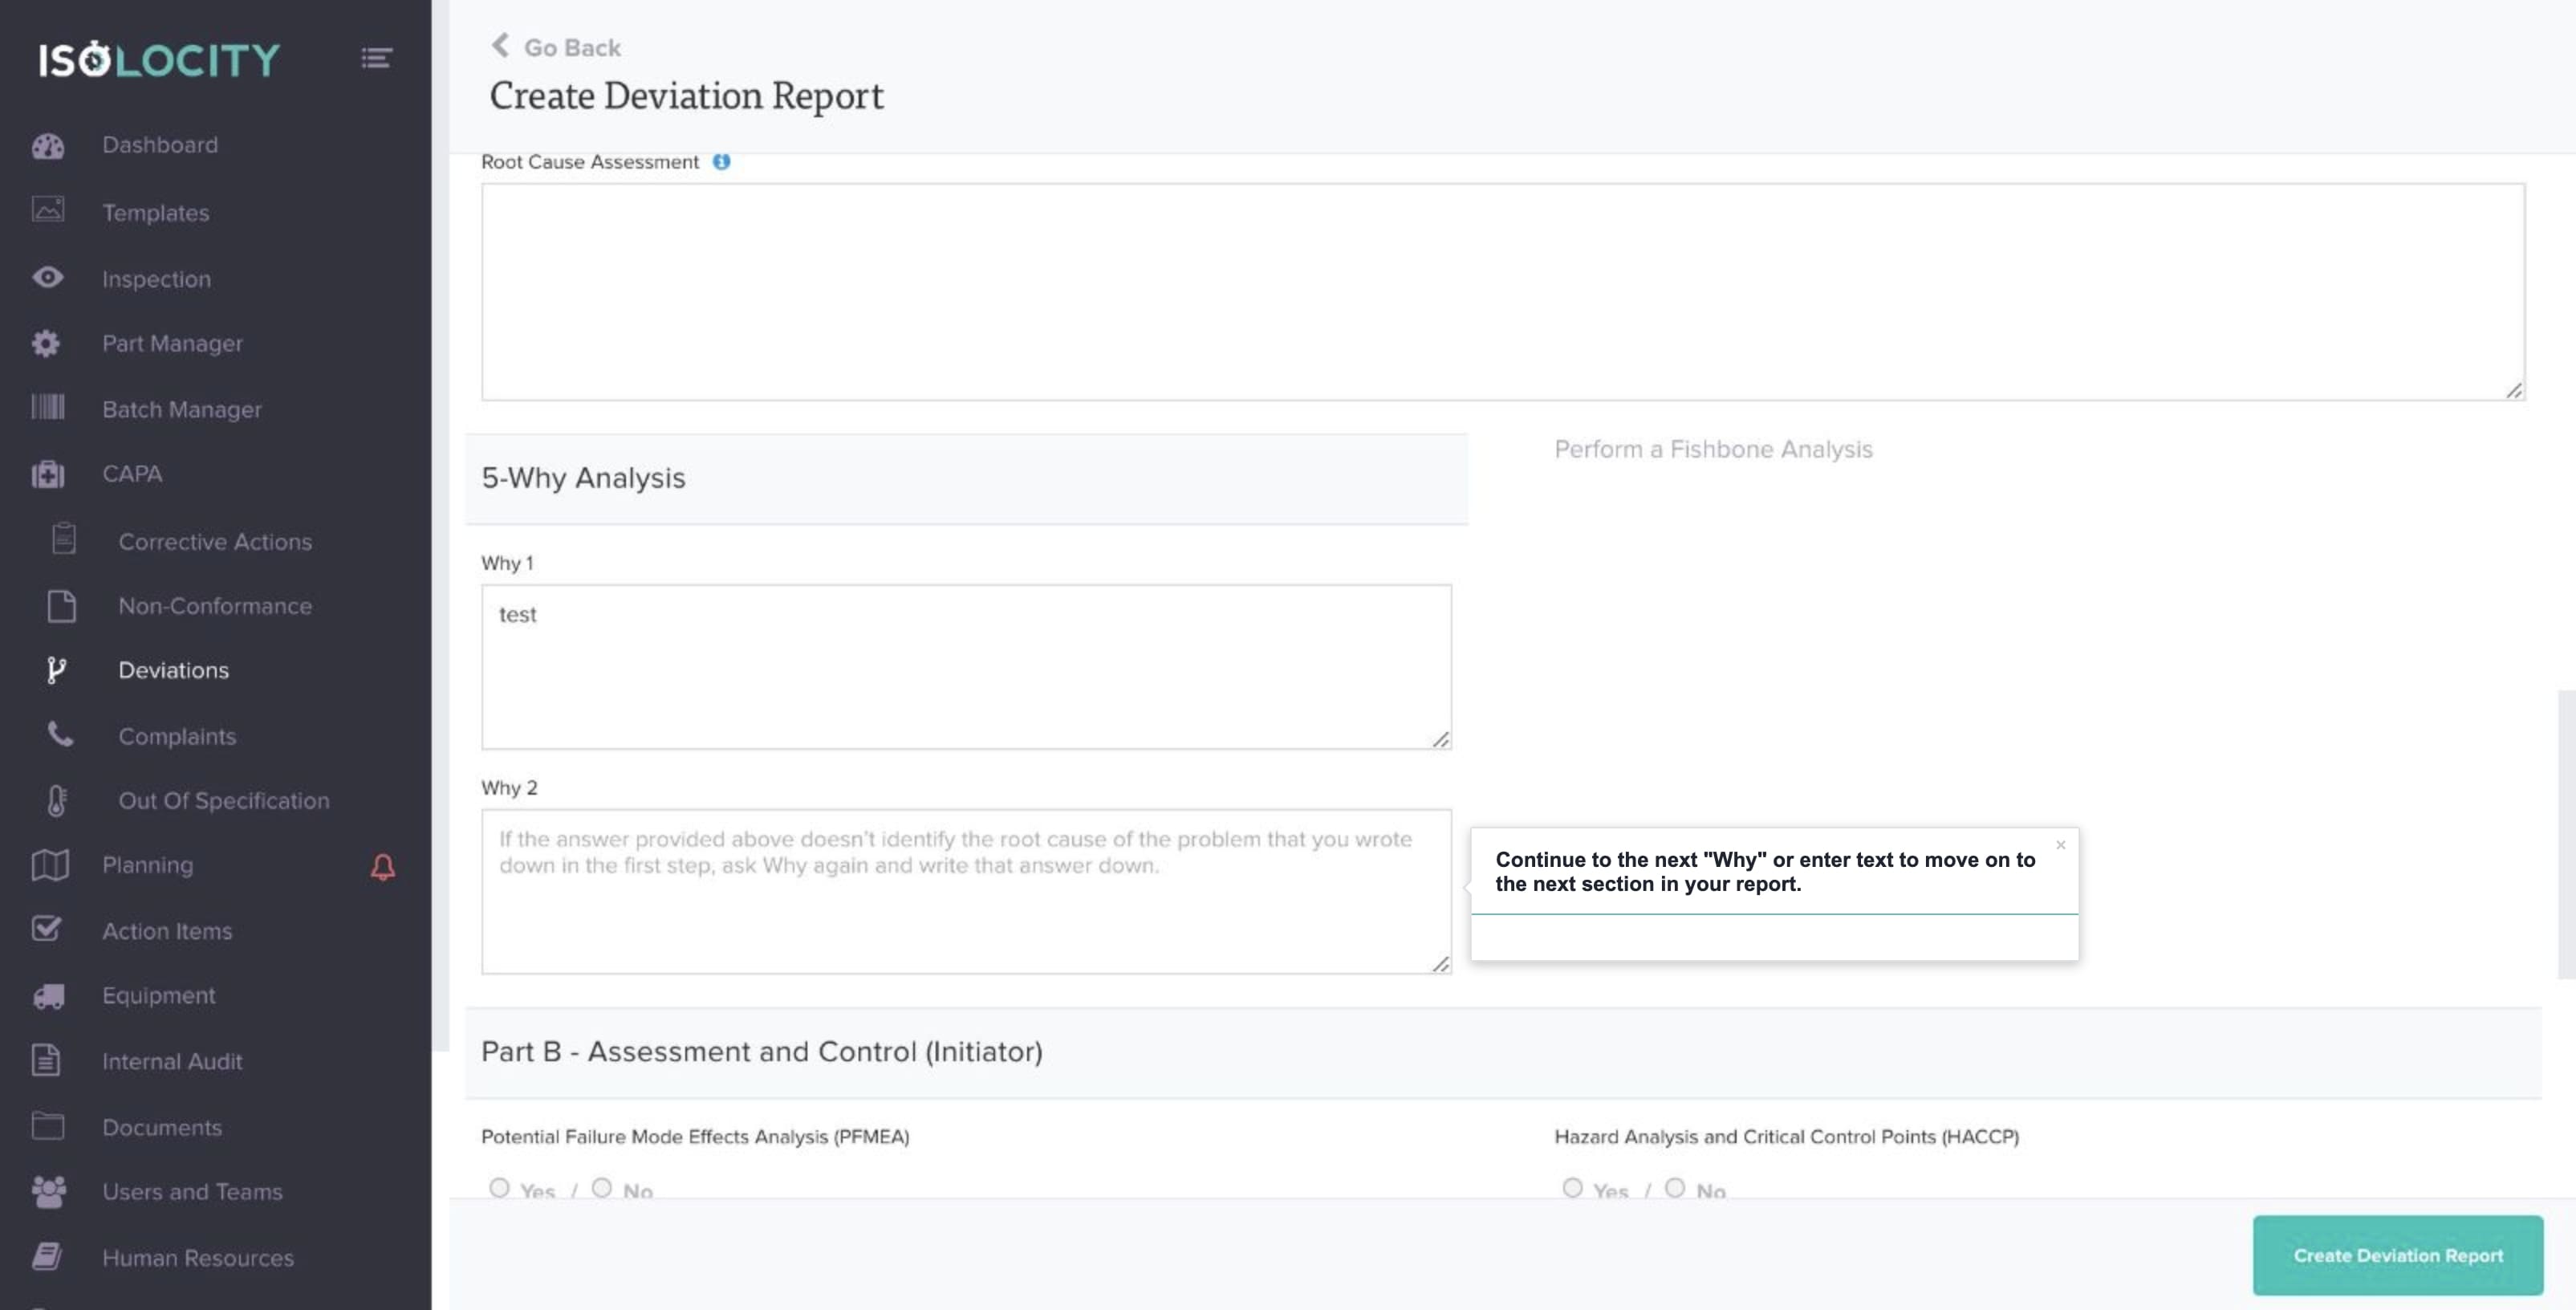
Step #30
Continue to the next “Why” or enter text to move on to the next section in your report.
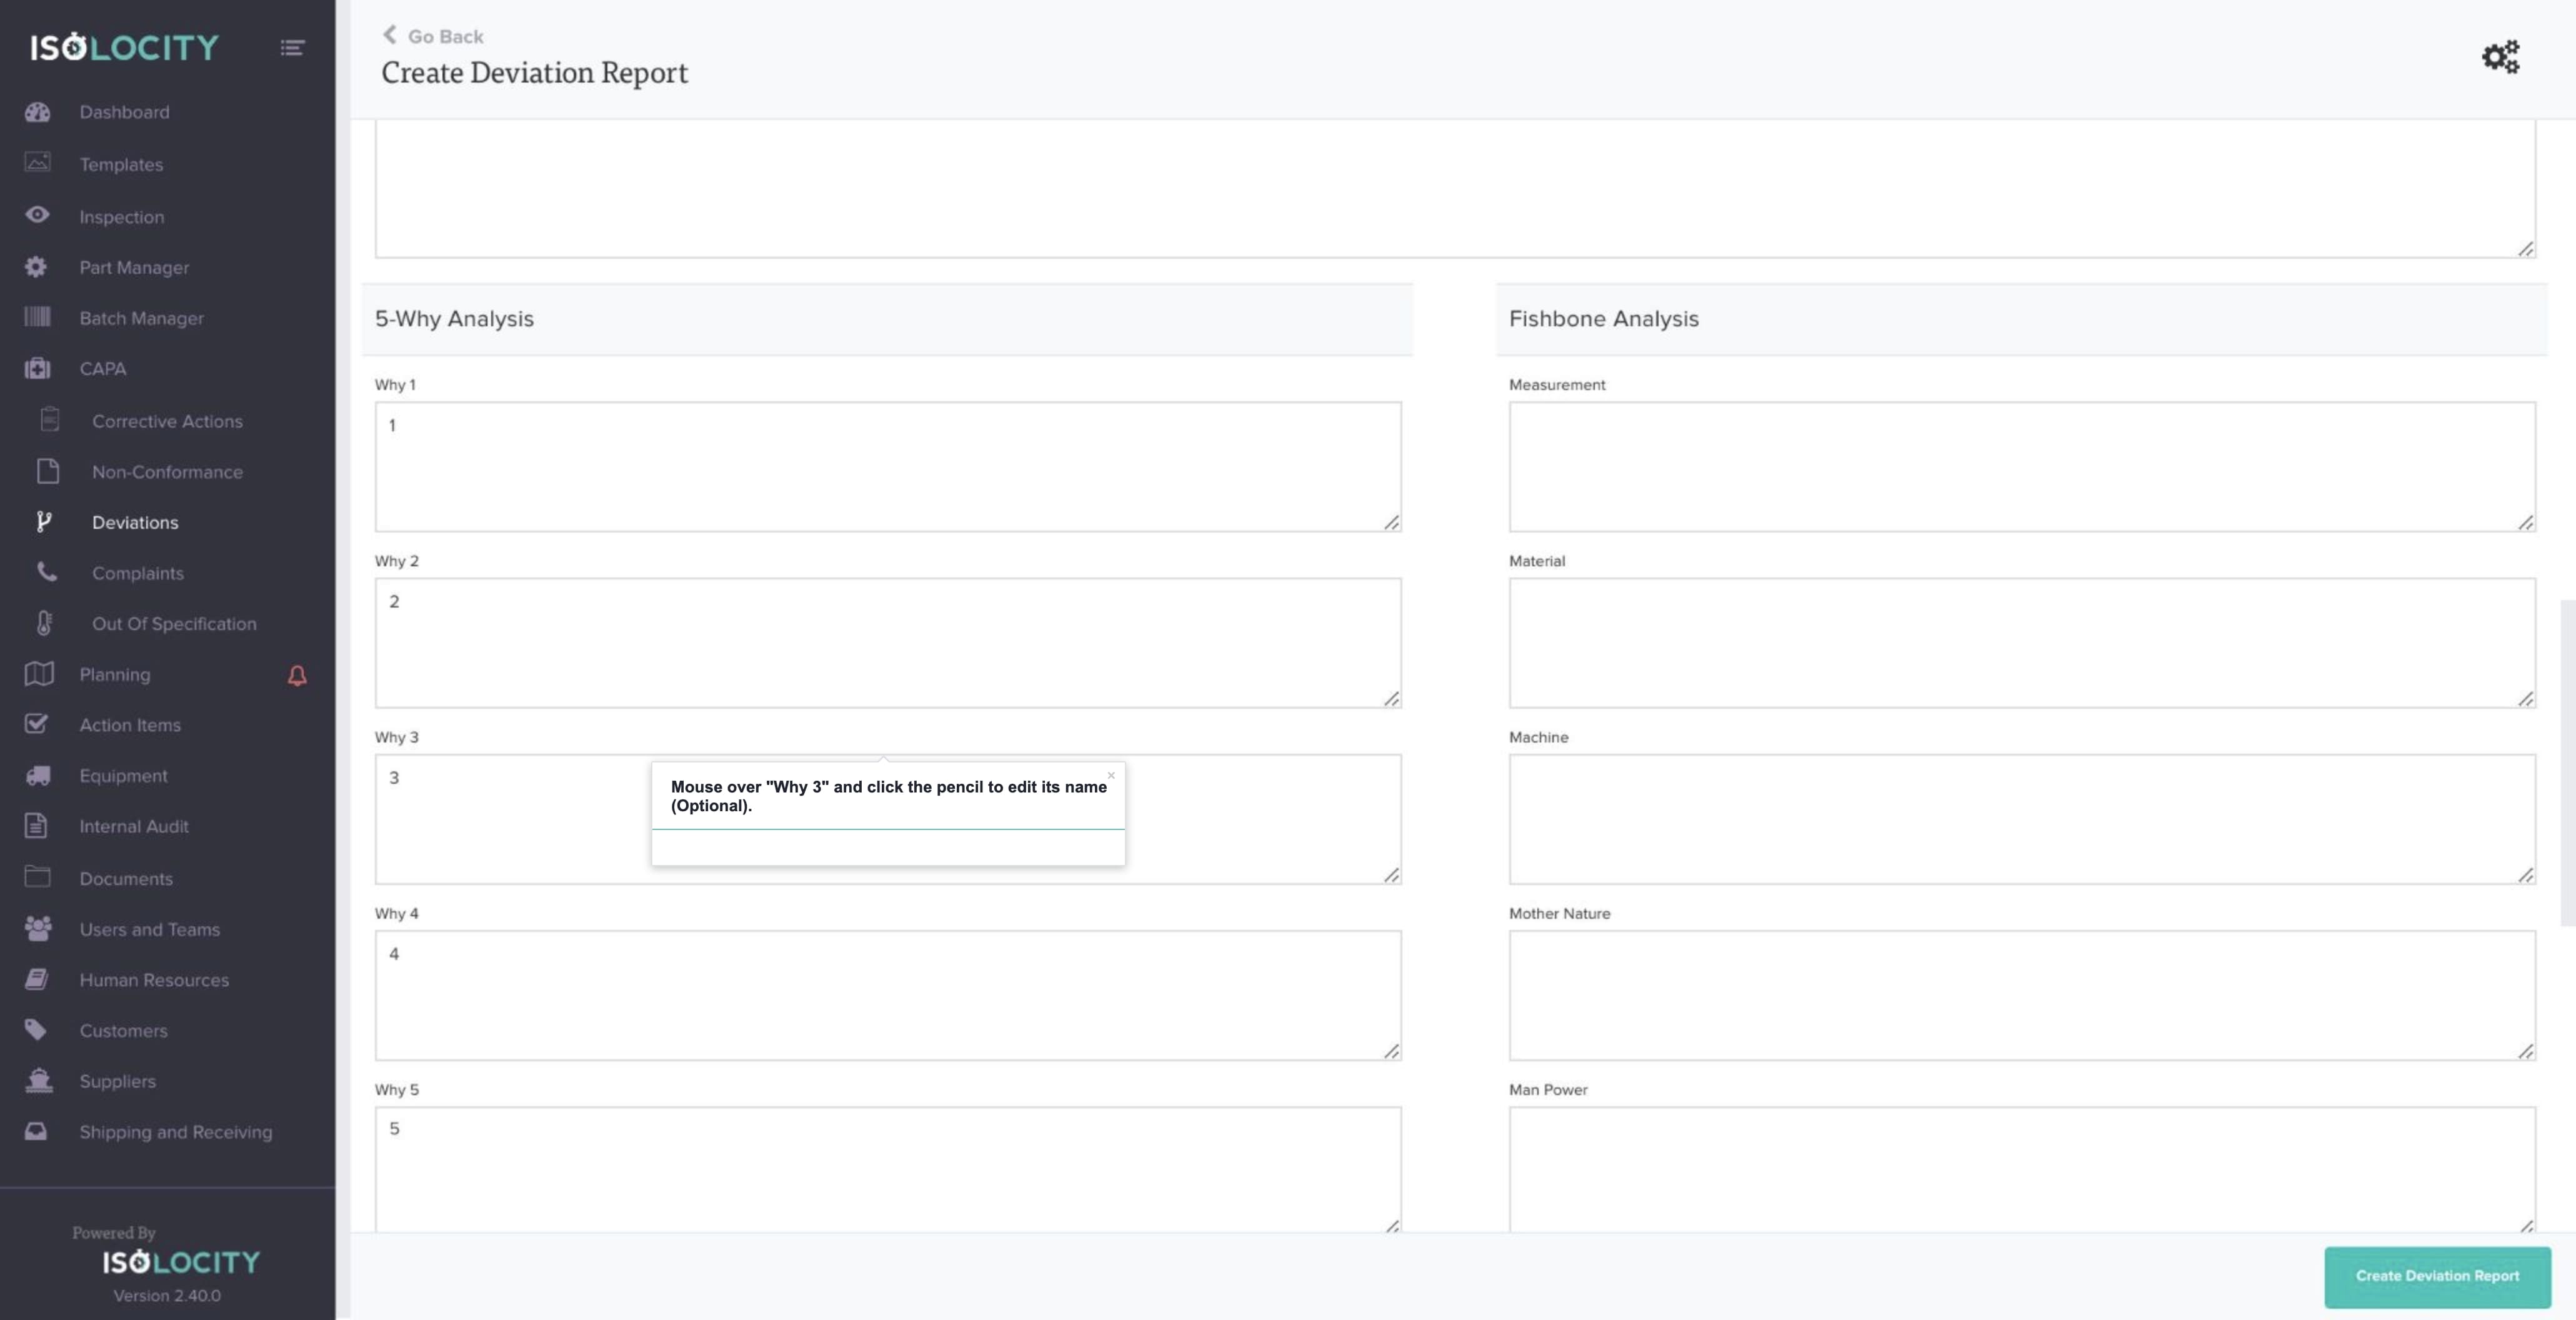
Step #31
Mouse over “Why 3” and click the pencil to edit its name (Optional).
Step #32
Continue to the next “Why” or click next to move on to the next section in your report.

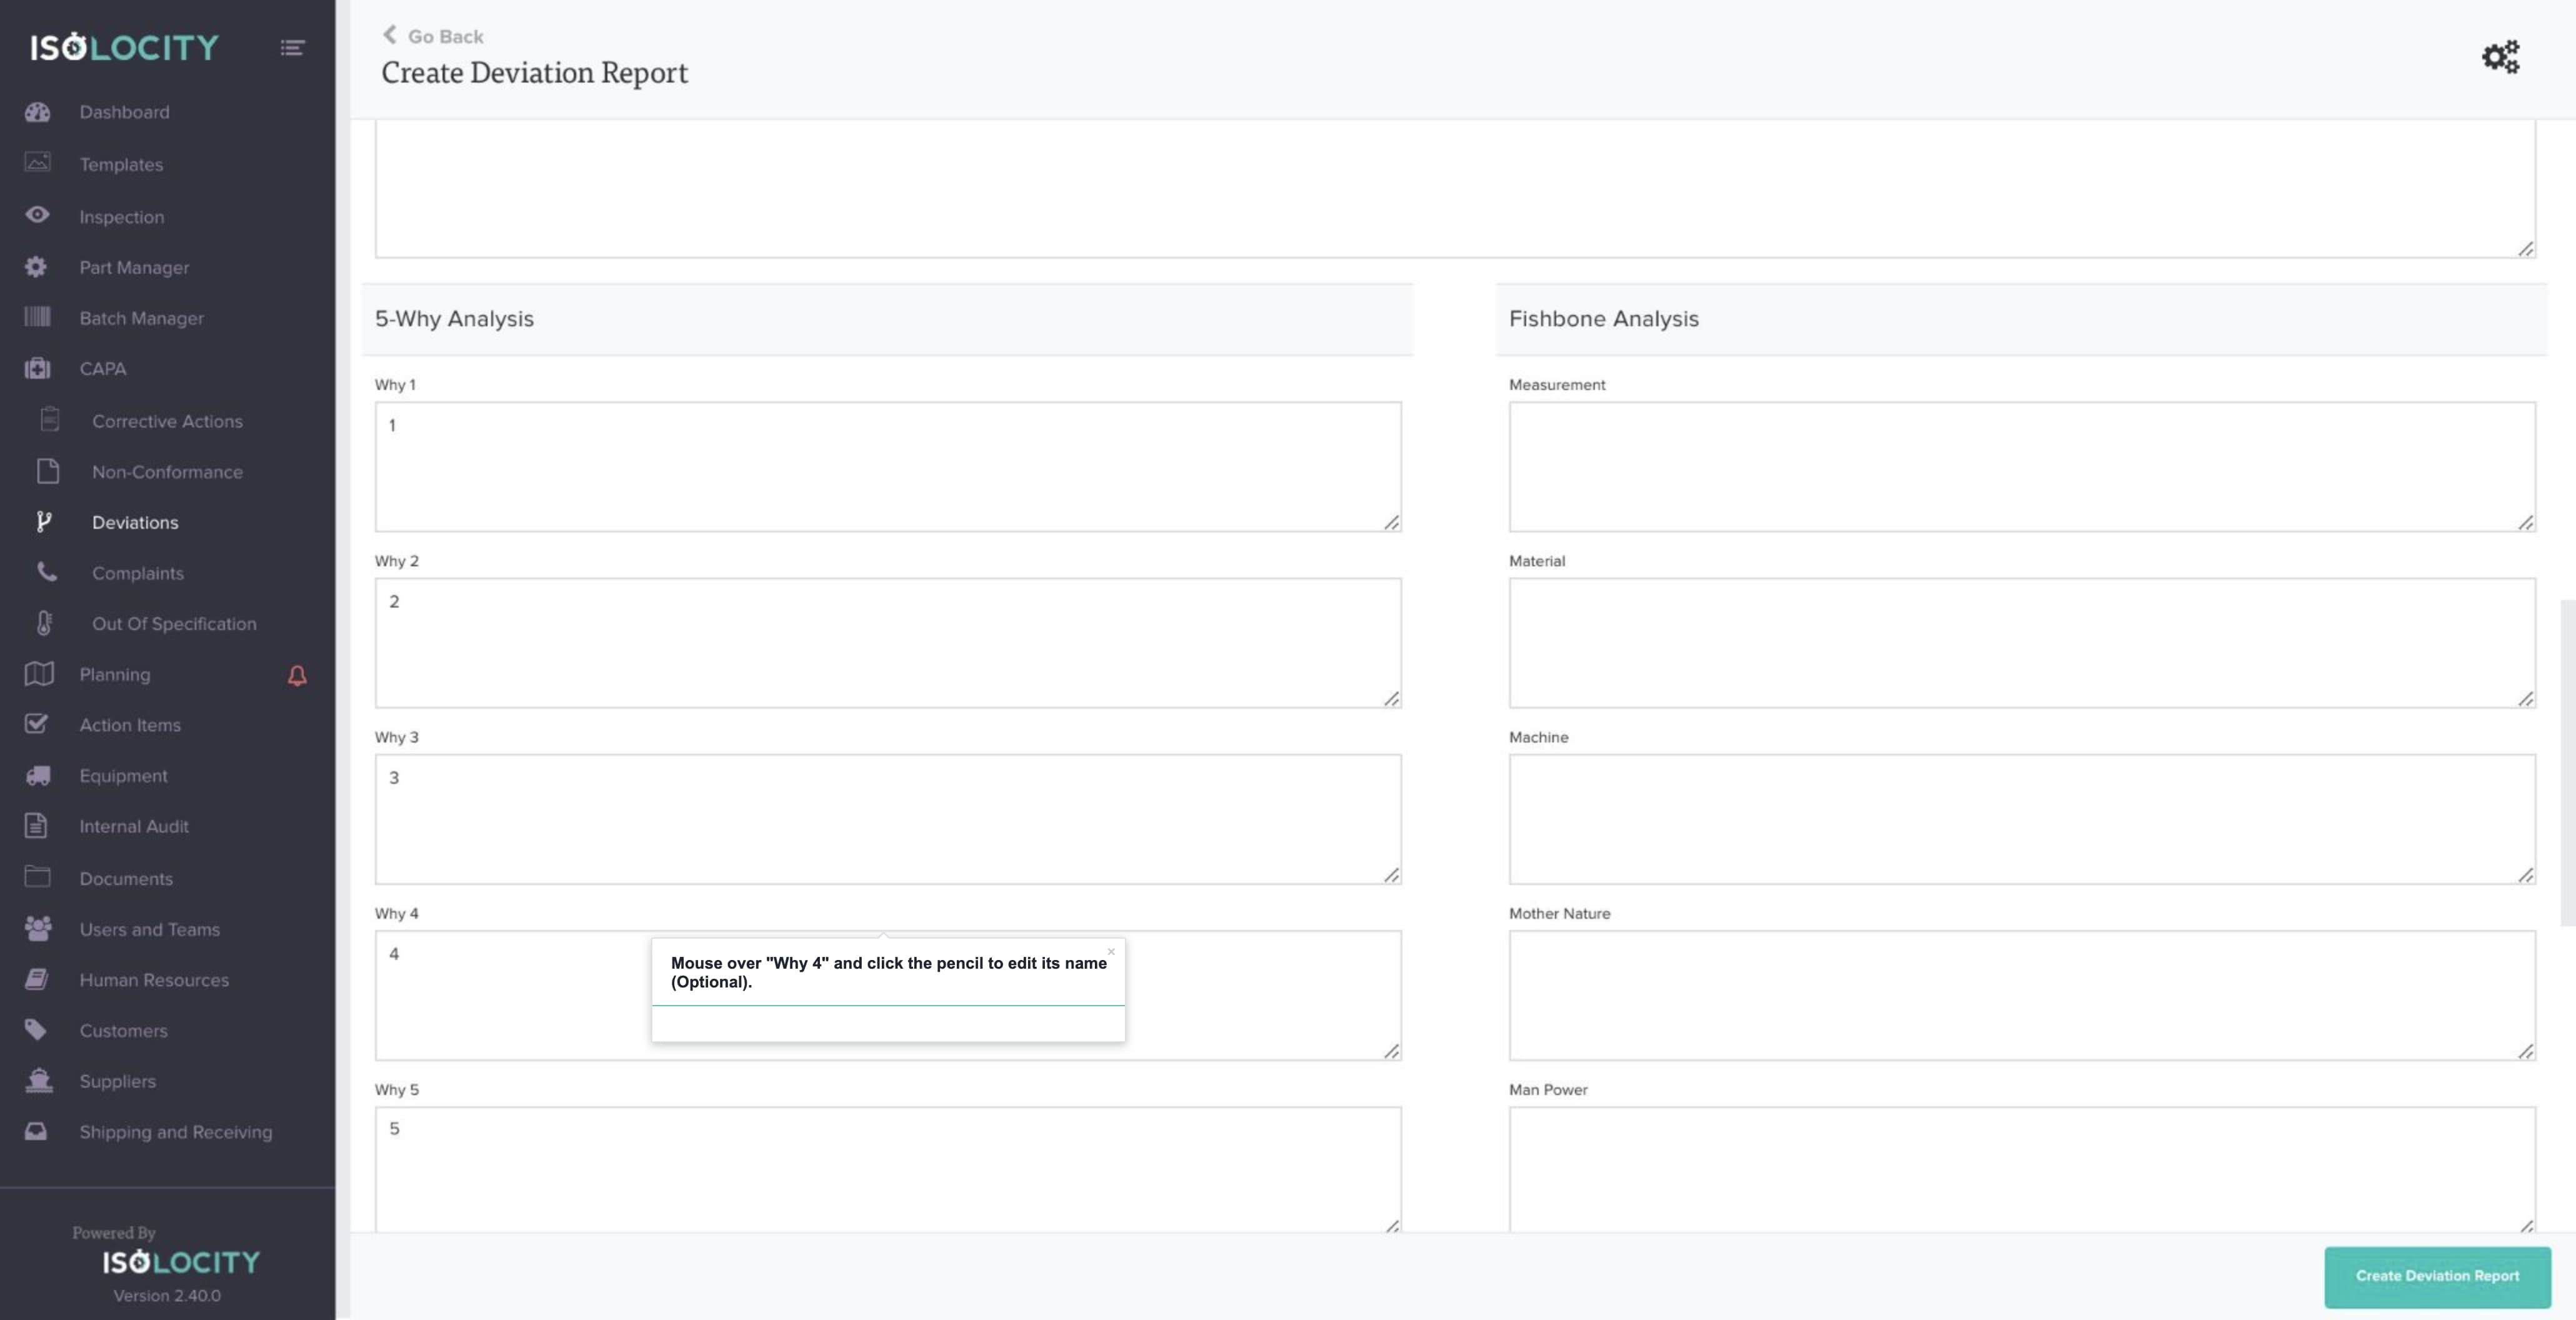
Step #33
Mouse over “Why 4” and click the pencil to edit its name (Optional).
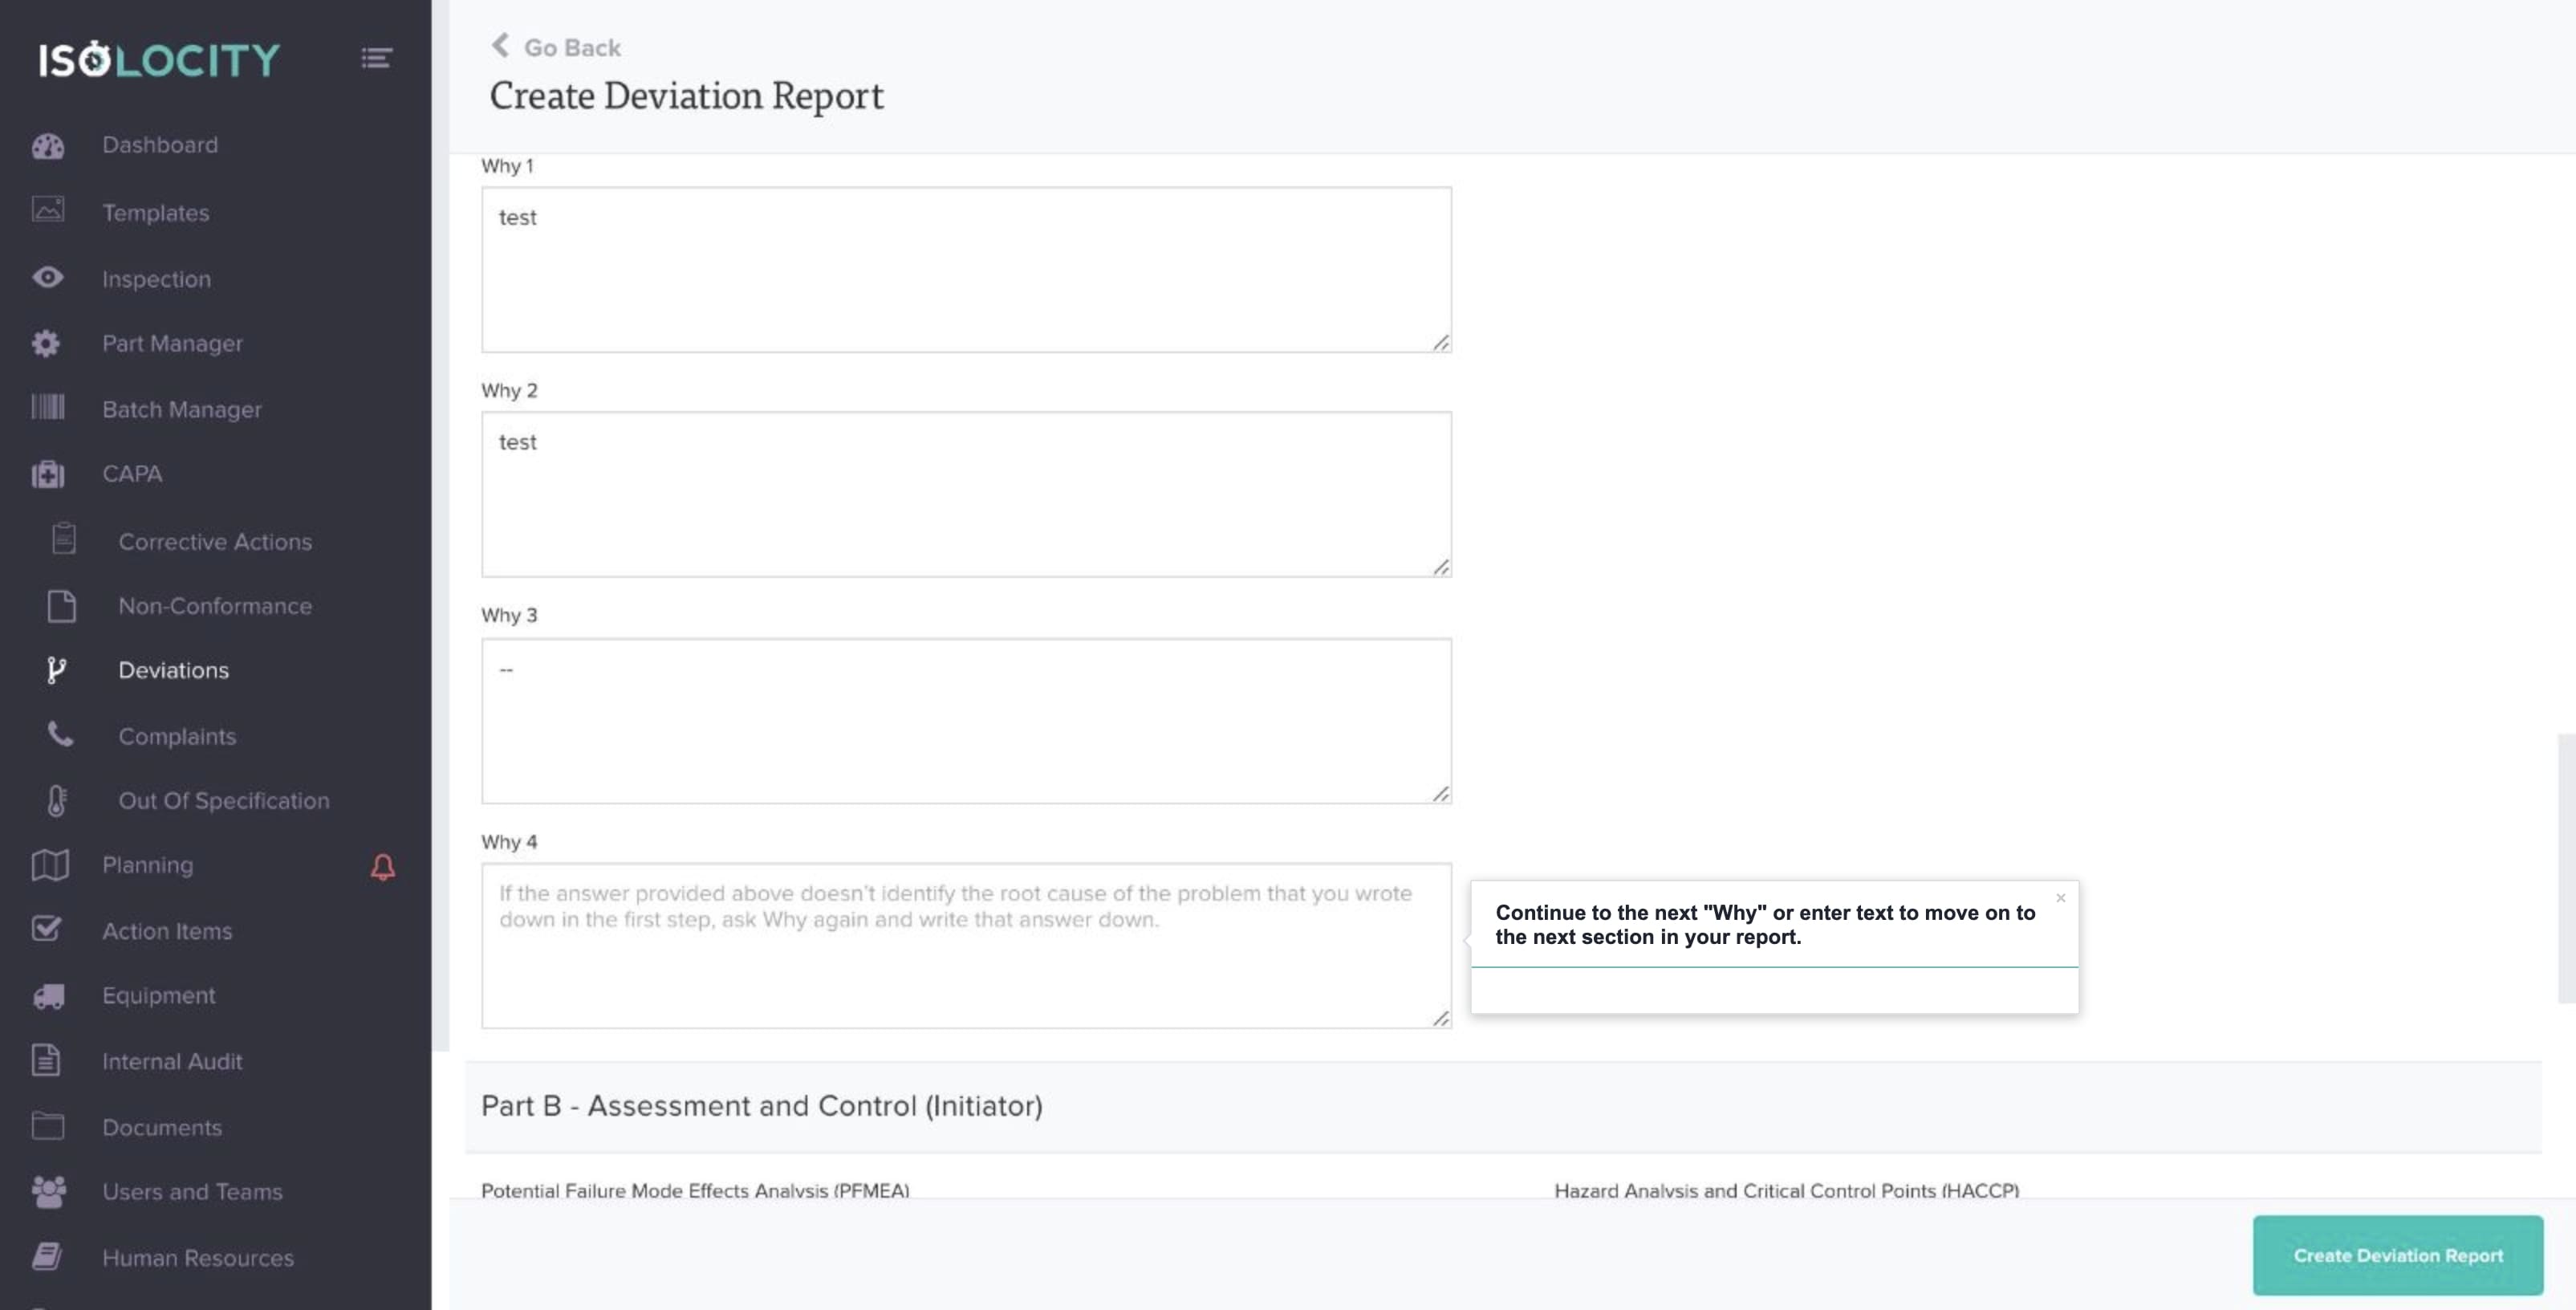
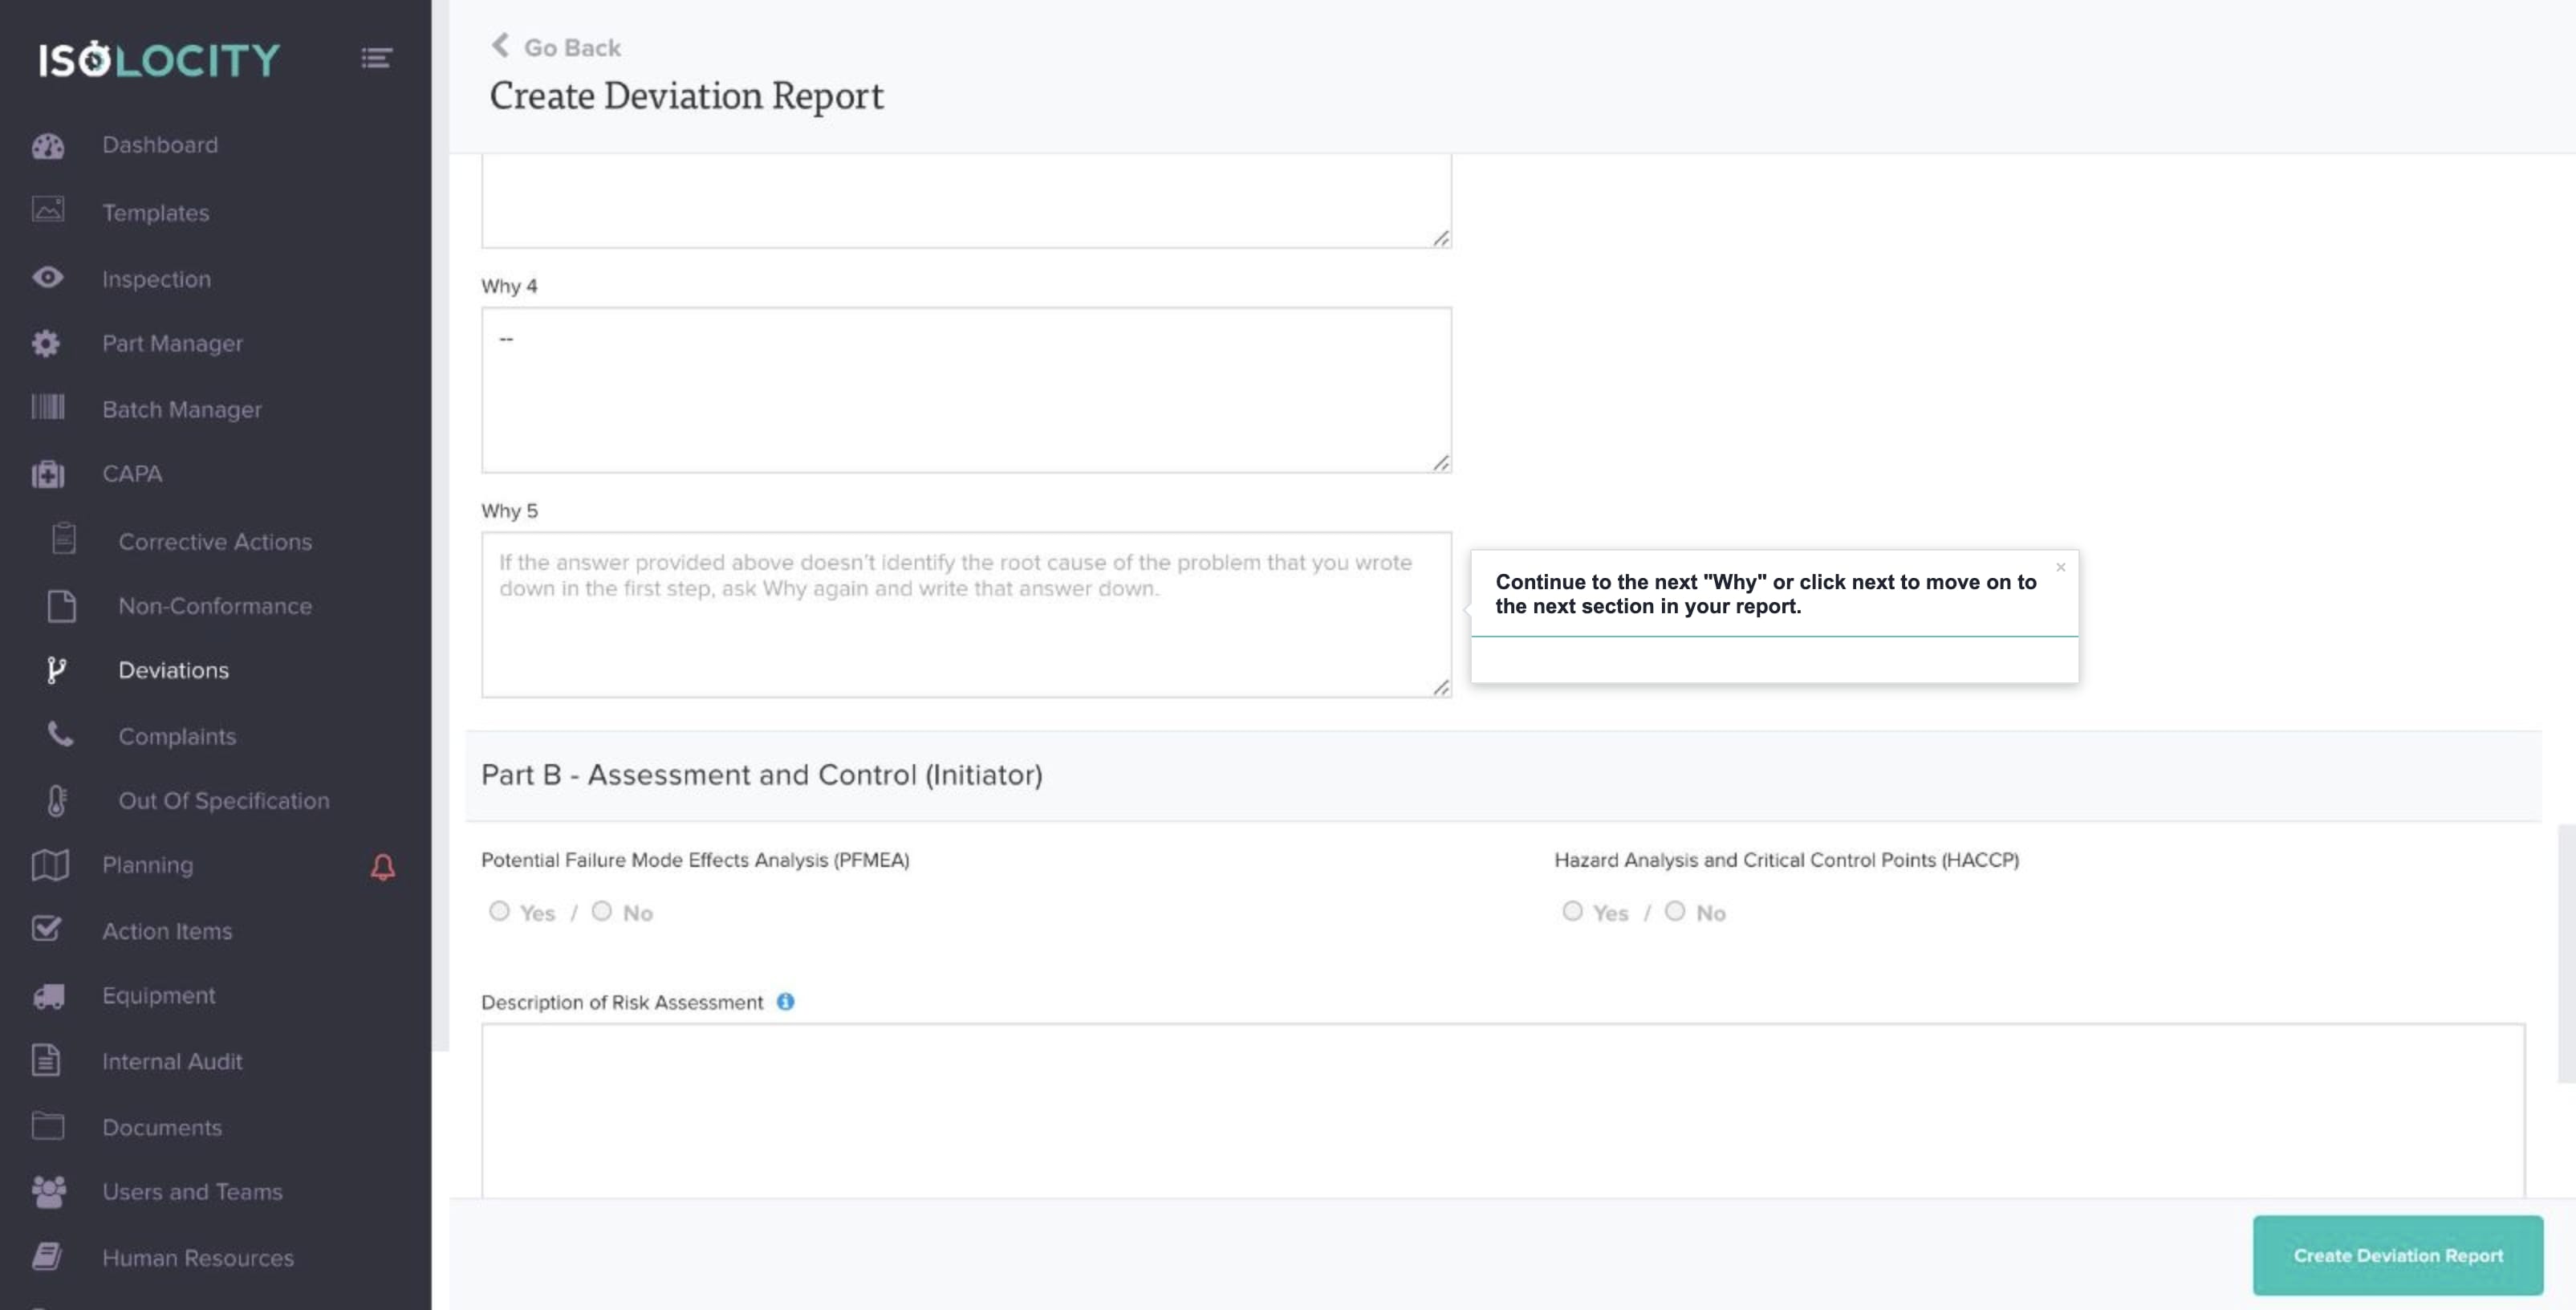
Step #34
Continue to the next “Why” or enter text to move on to the next section in your report.
Step #35
Mouse over “Why 5” and click the pencil to edit its name (Optional).
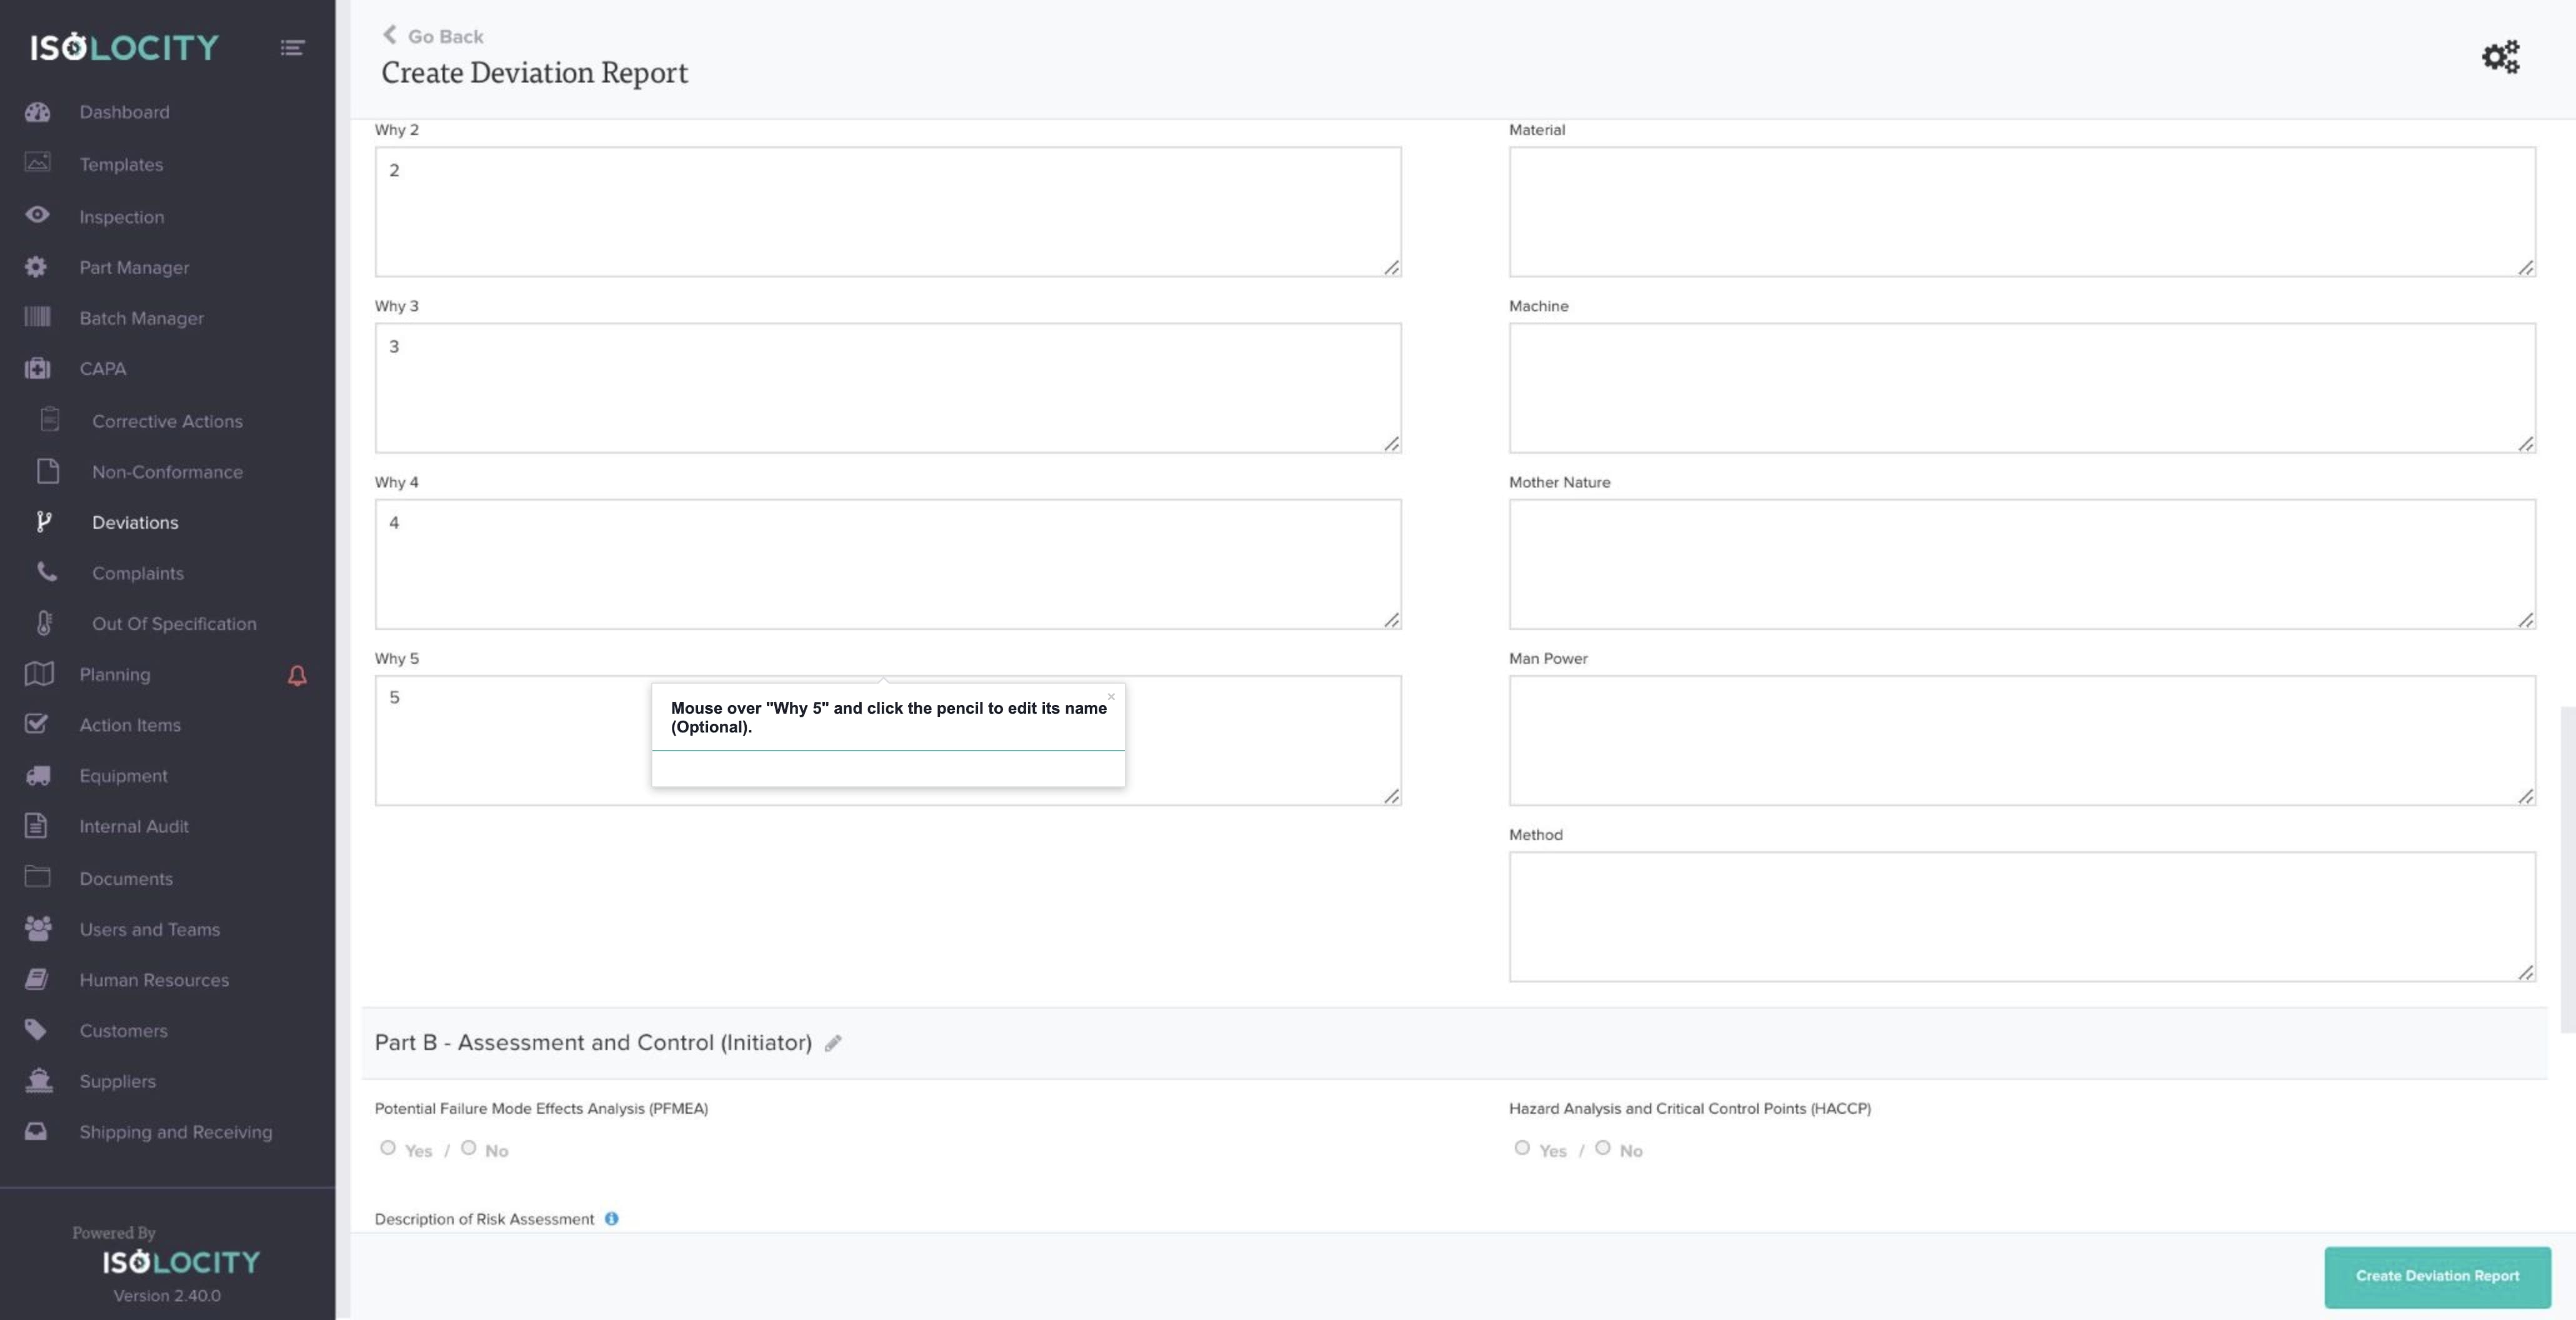
Step #36
Continue to the next “Why” or click next to move on to the next section in your report.
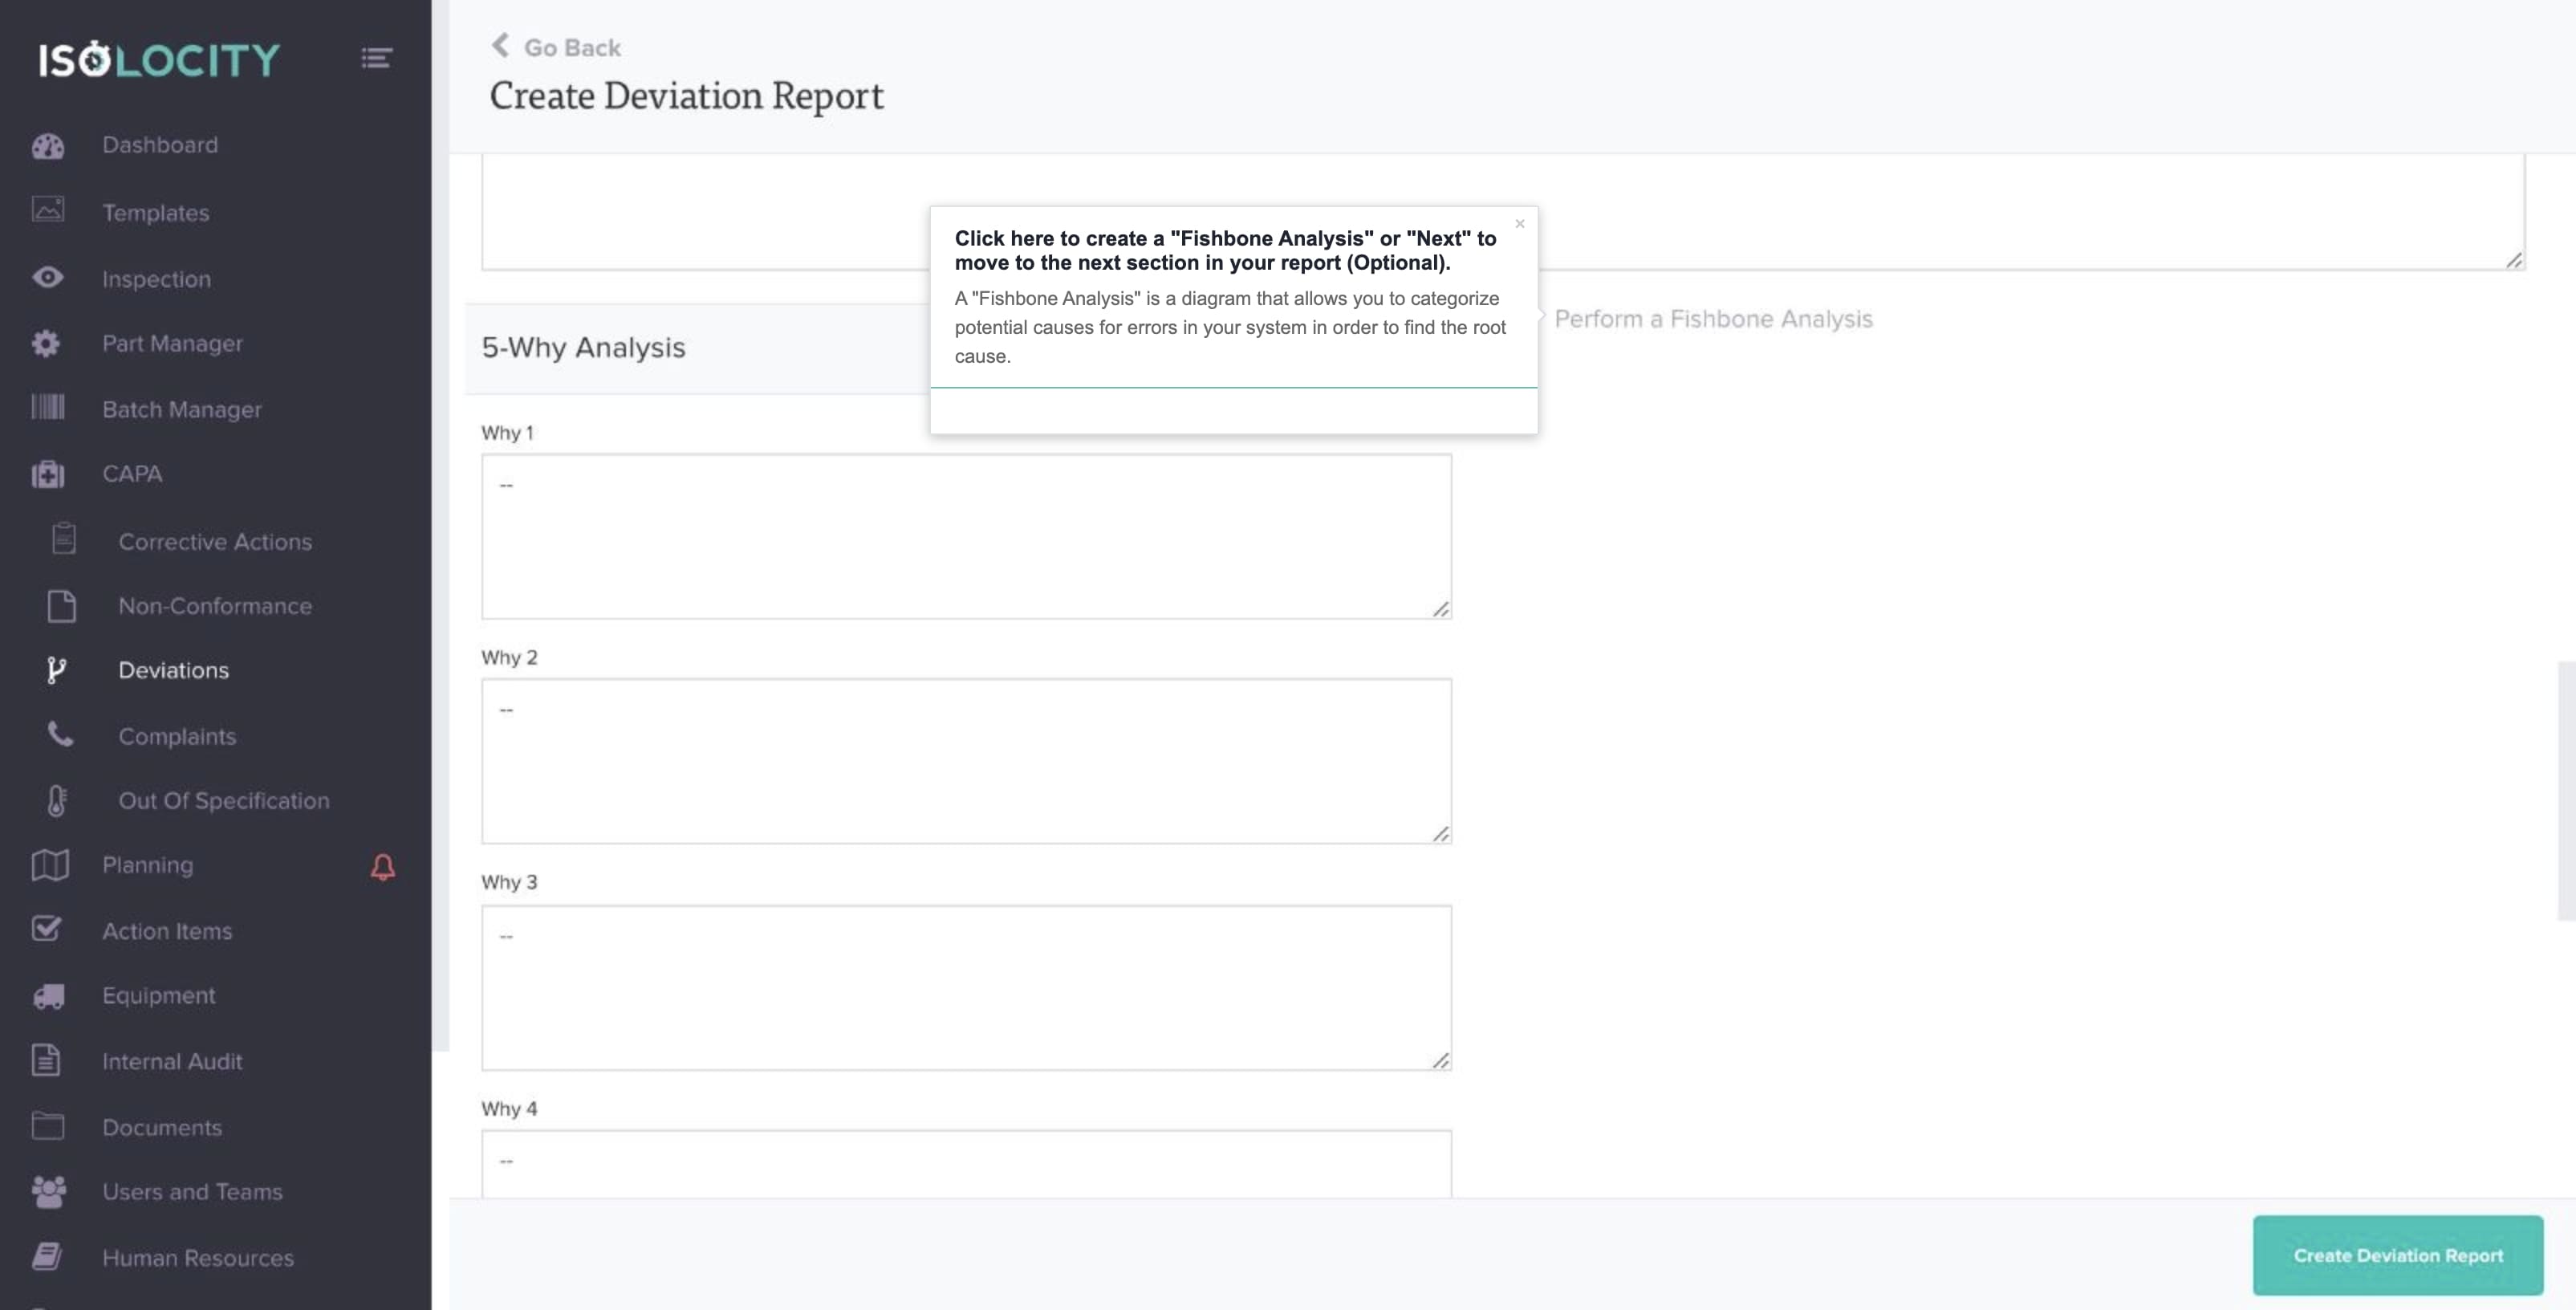
Step #37
Click here to create a “Fishbone Analysis” or “Next” to move to the next section in your report (Optional).
Step #38
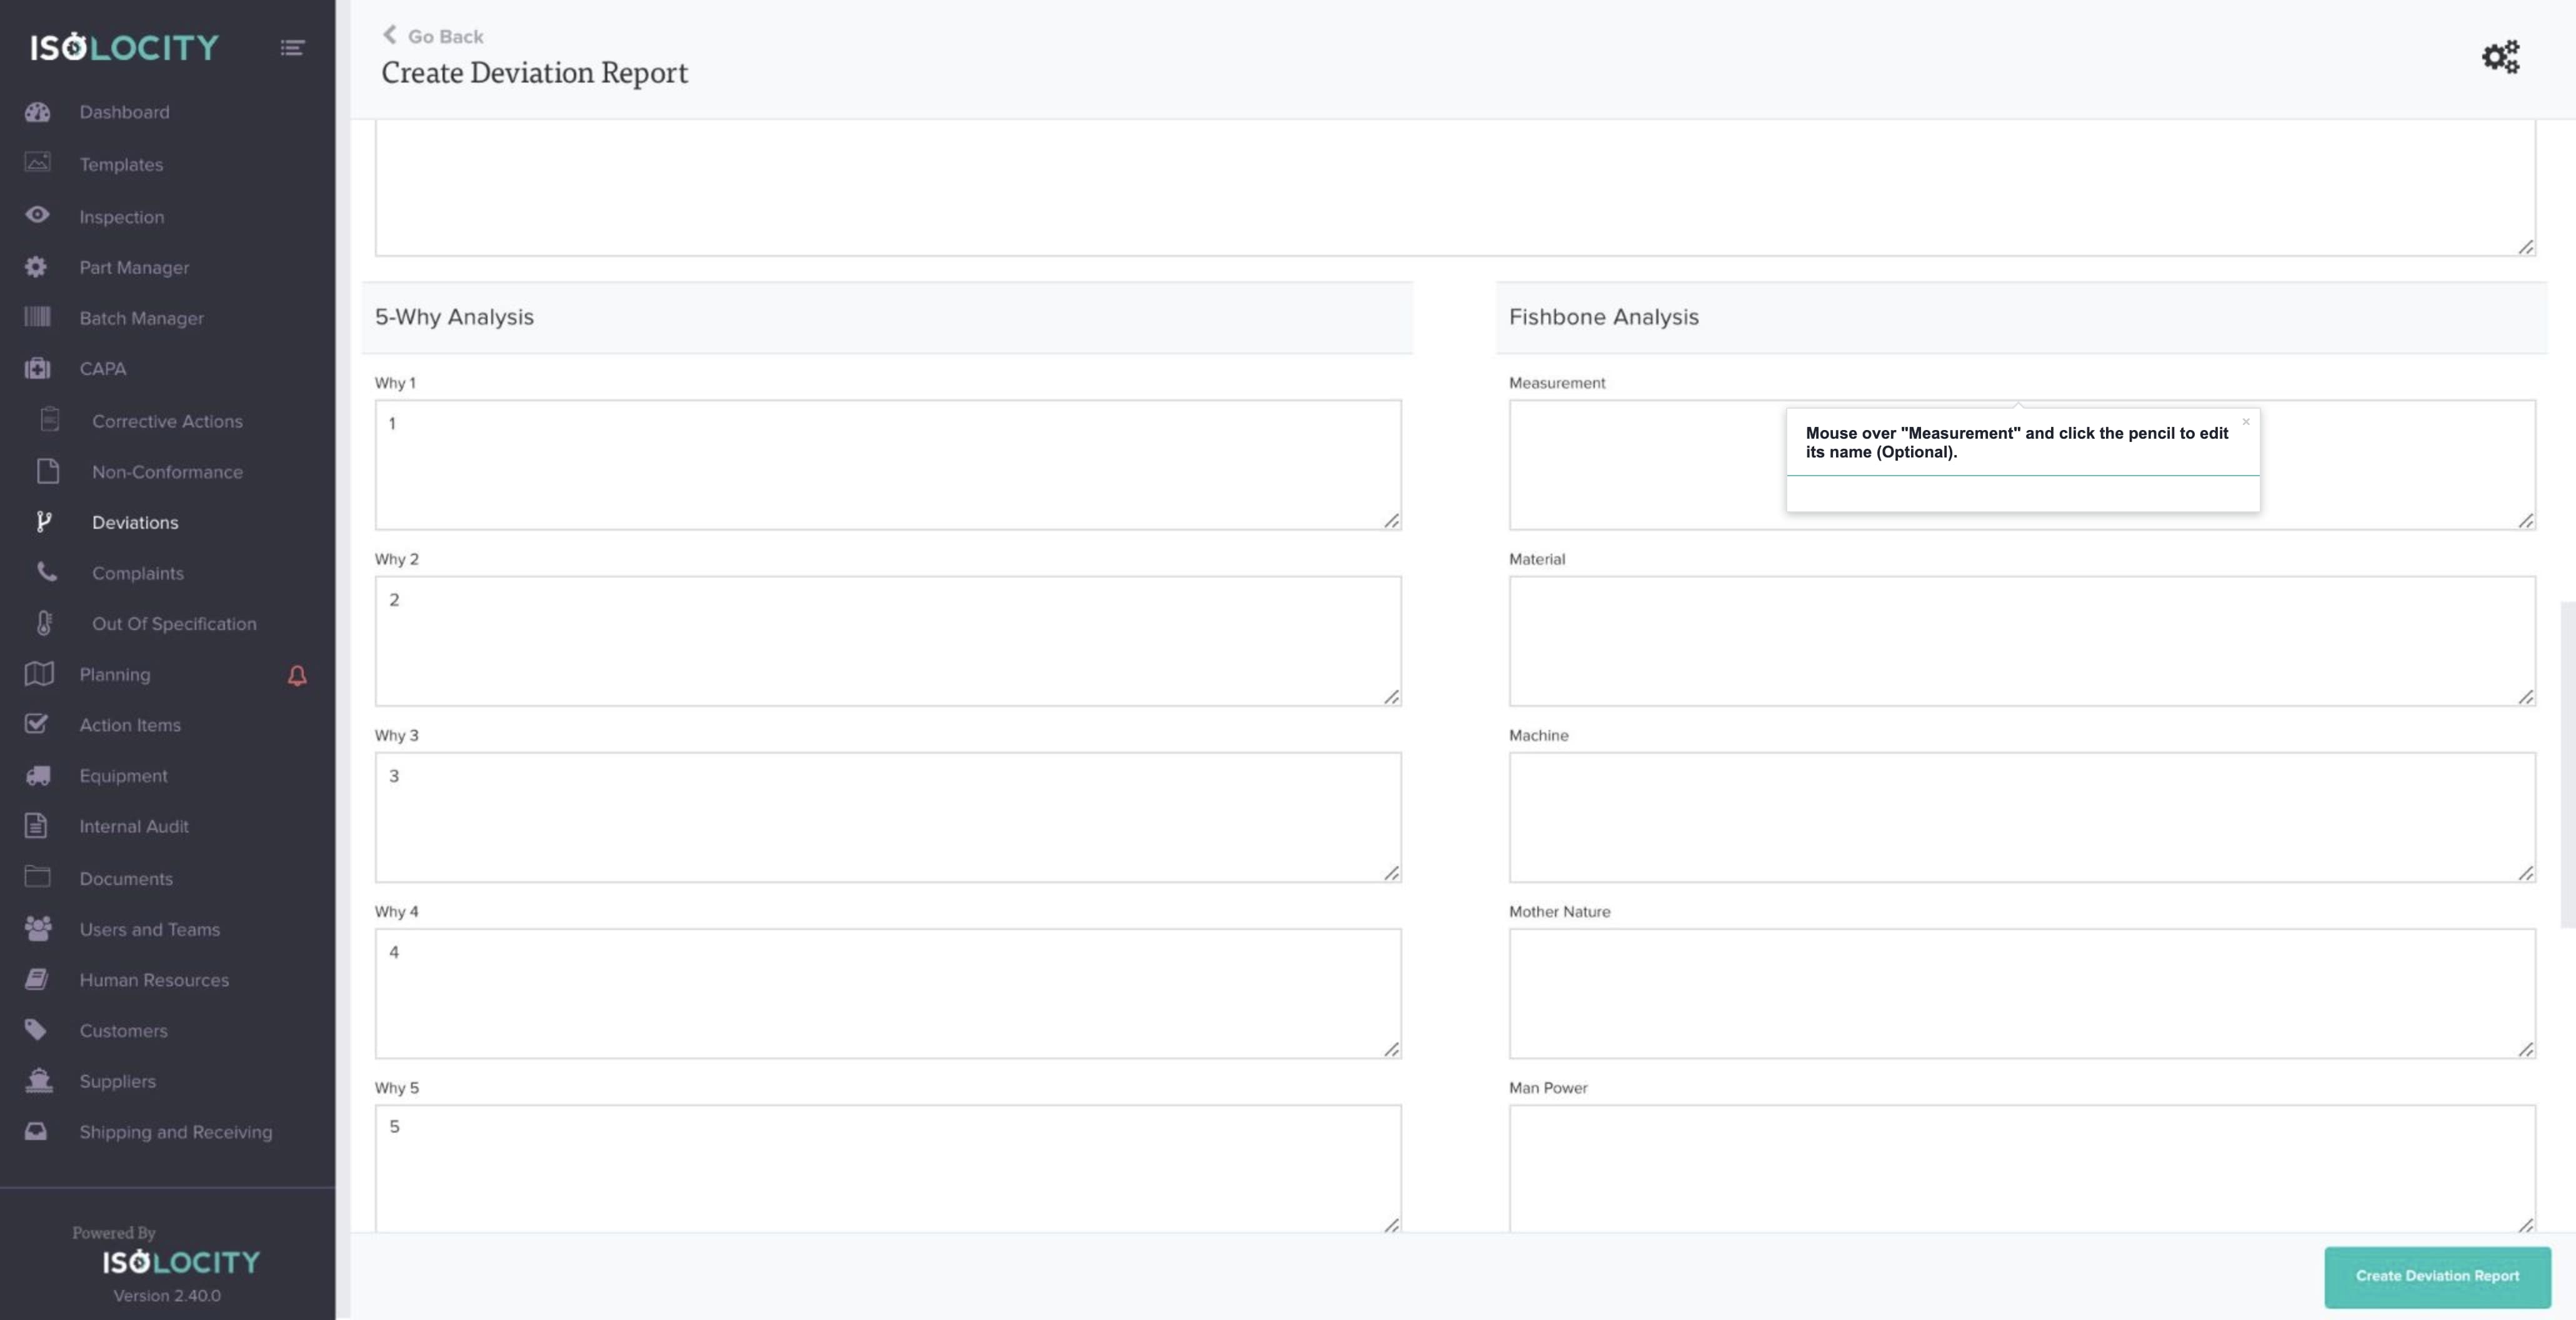
Mouse over the section and click the pencil to edit its name (Optional).
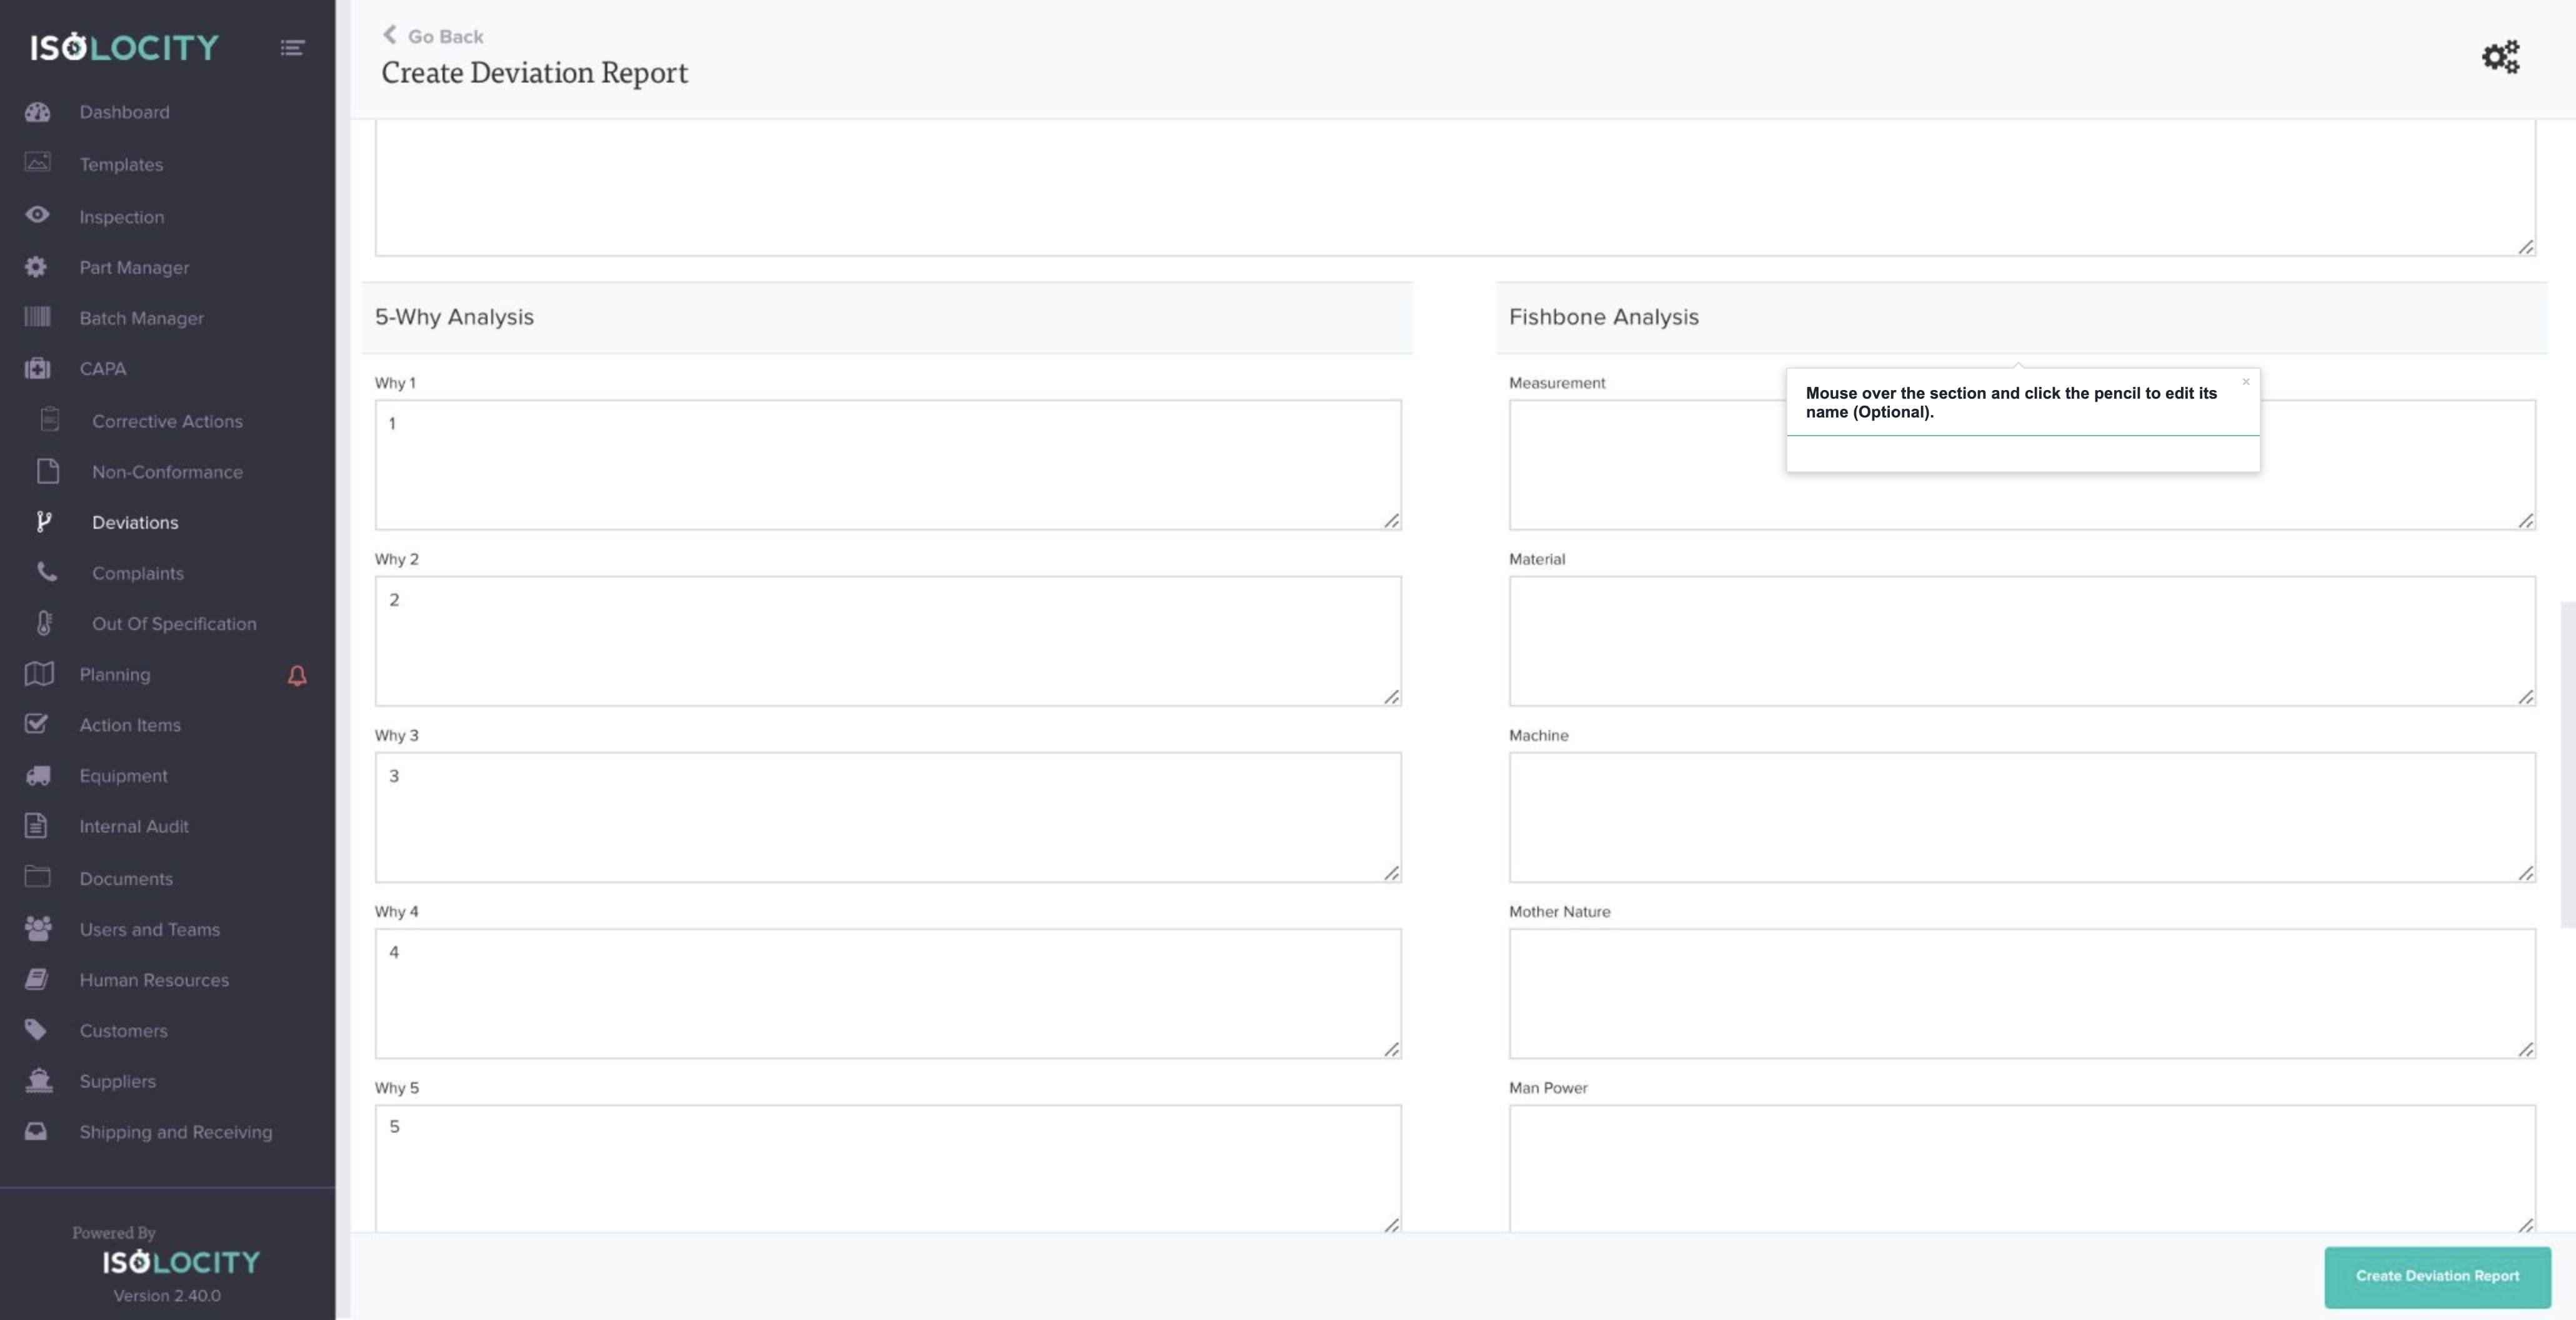
Step #39
Mouse over “Measurement” and click the pencil to edit its name (Optional).
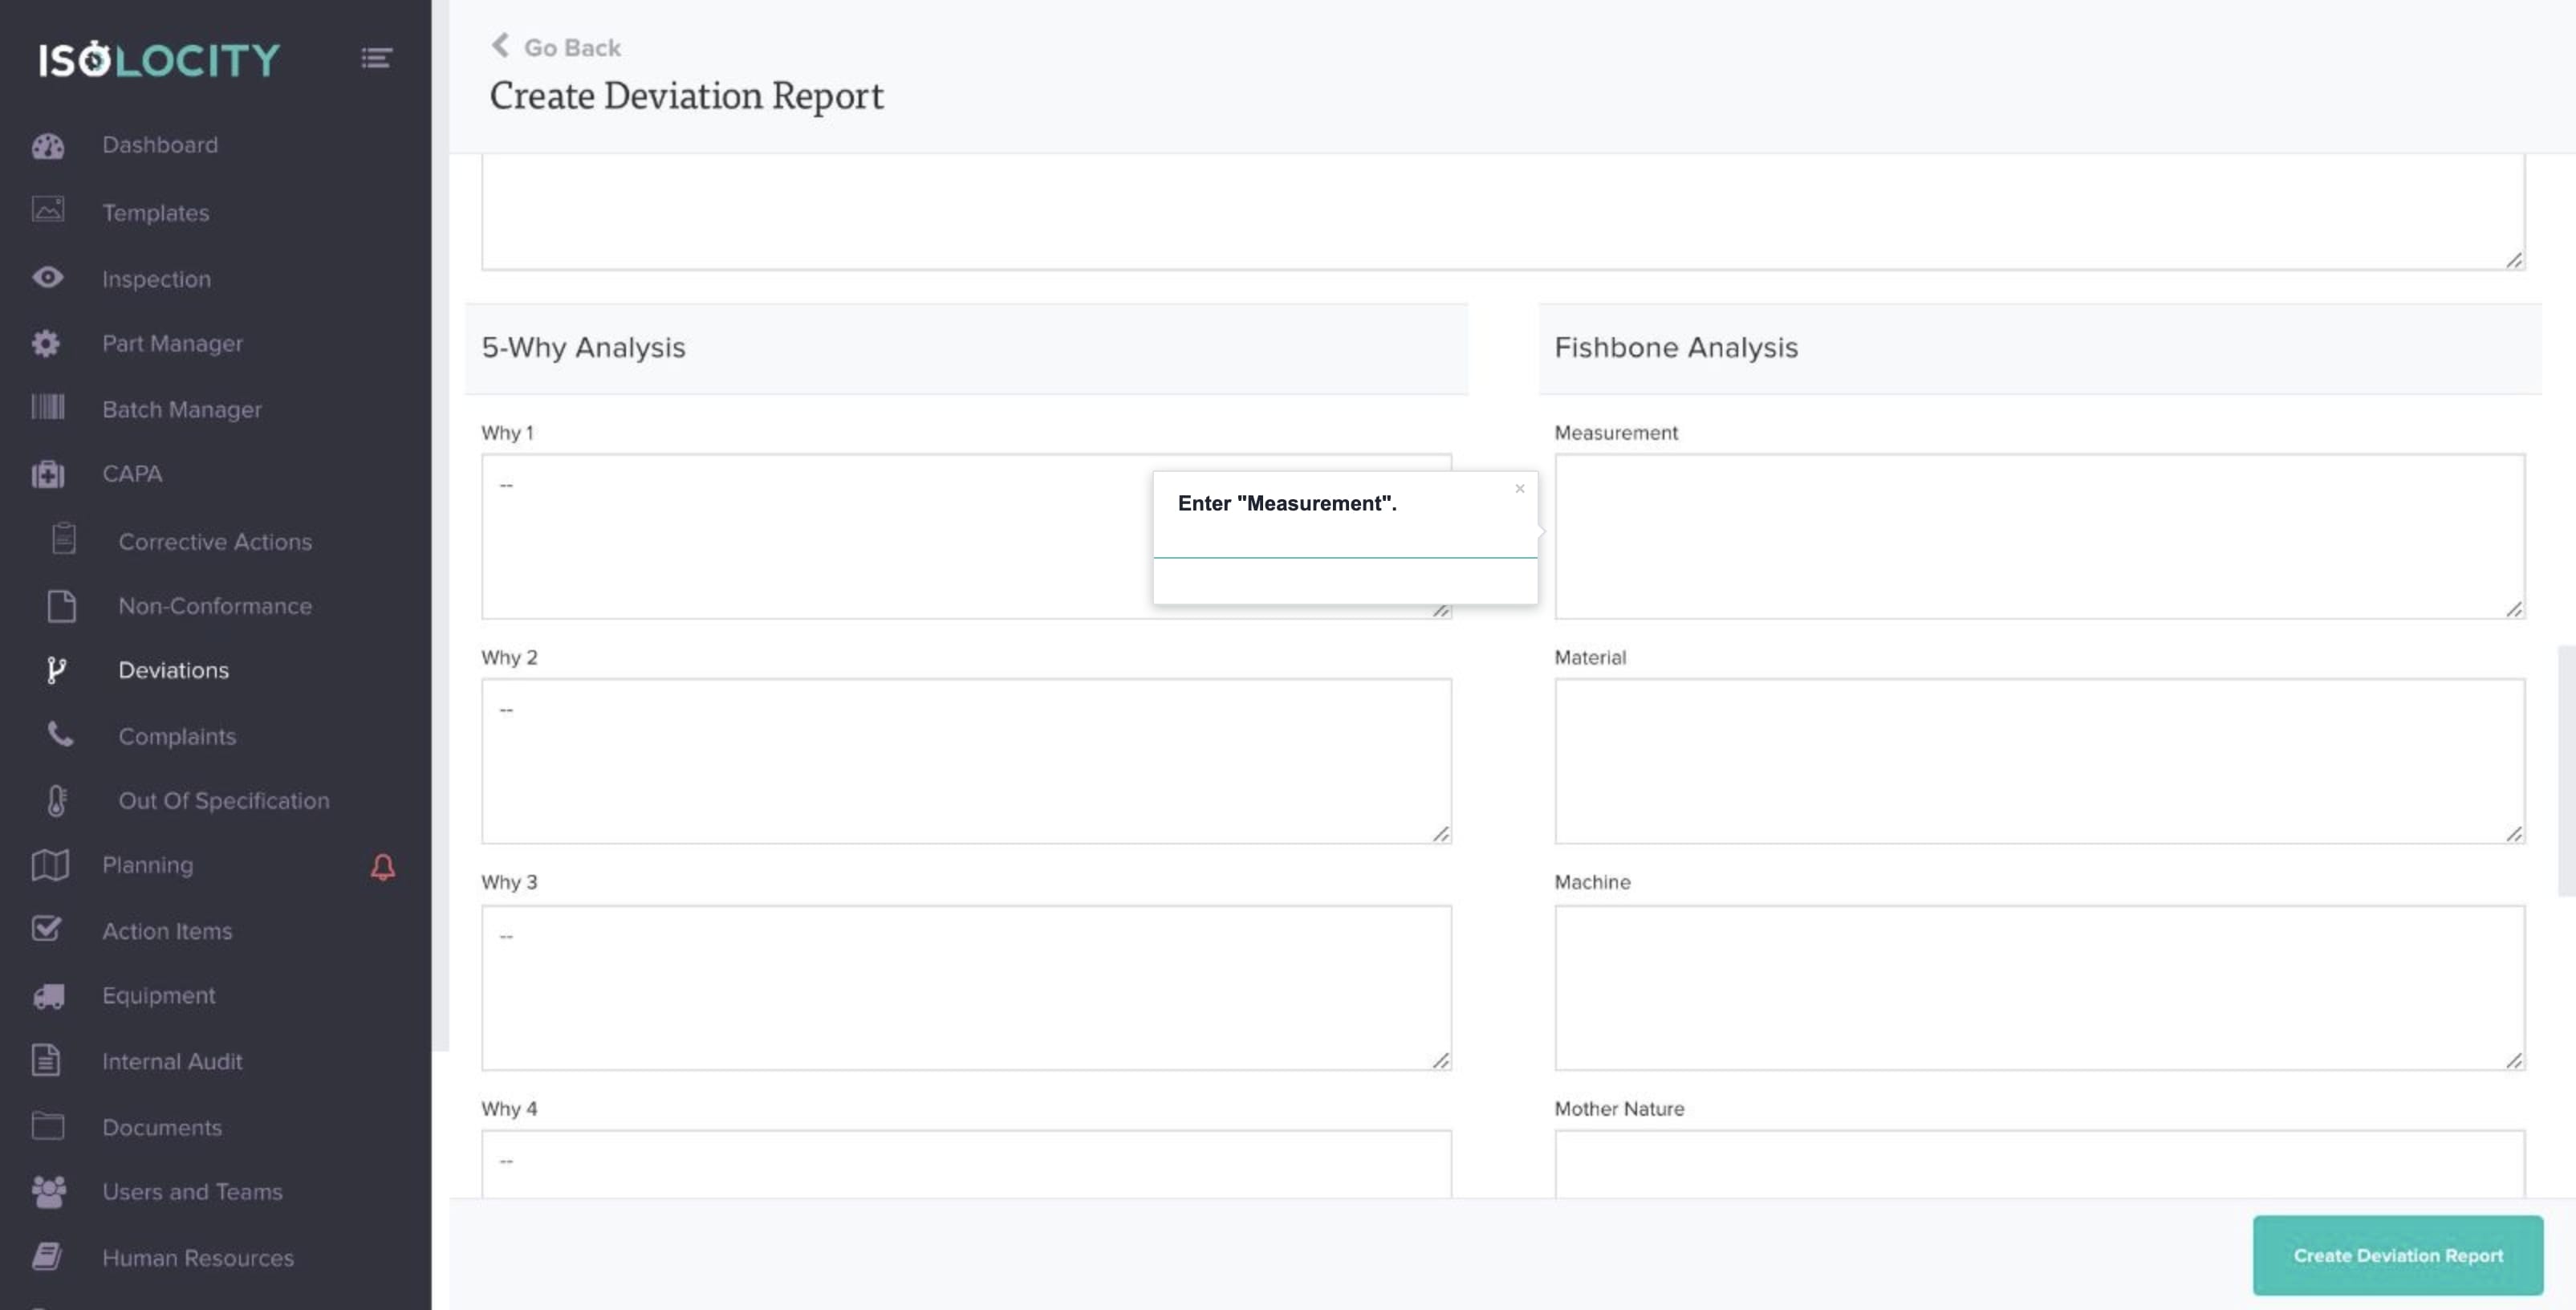
Step #40
Enter “Measurement”.
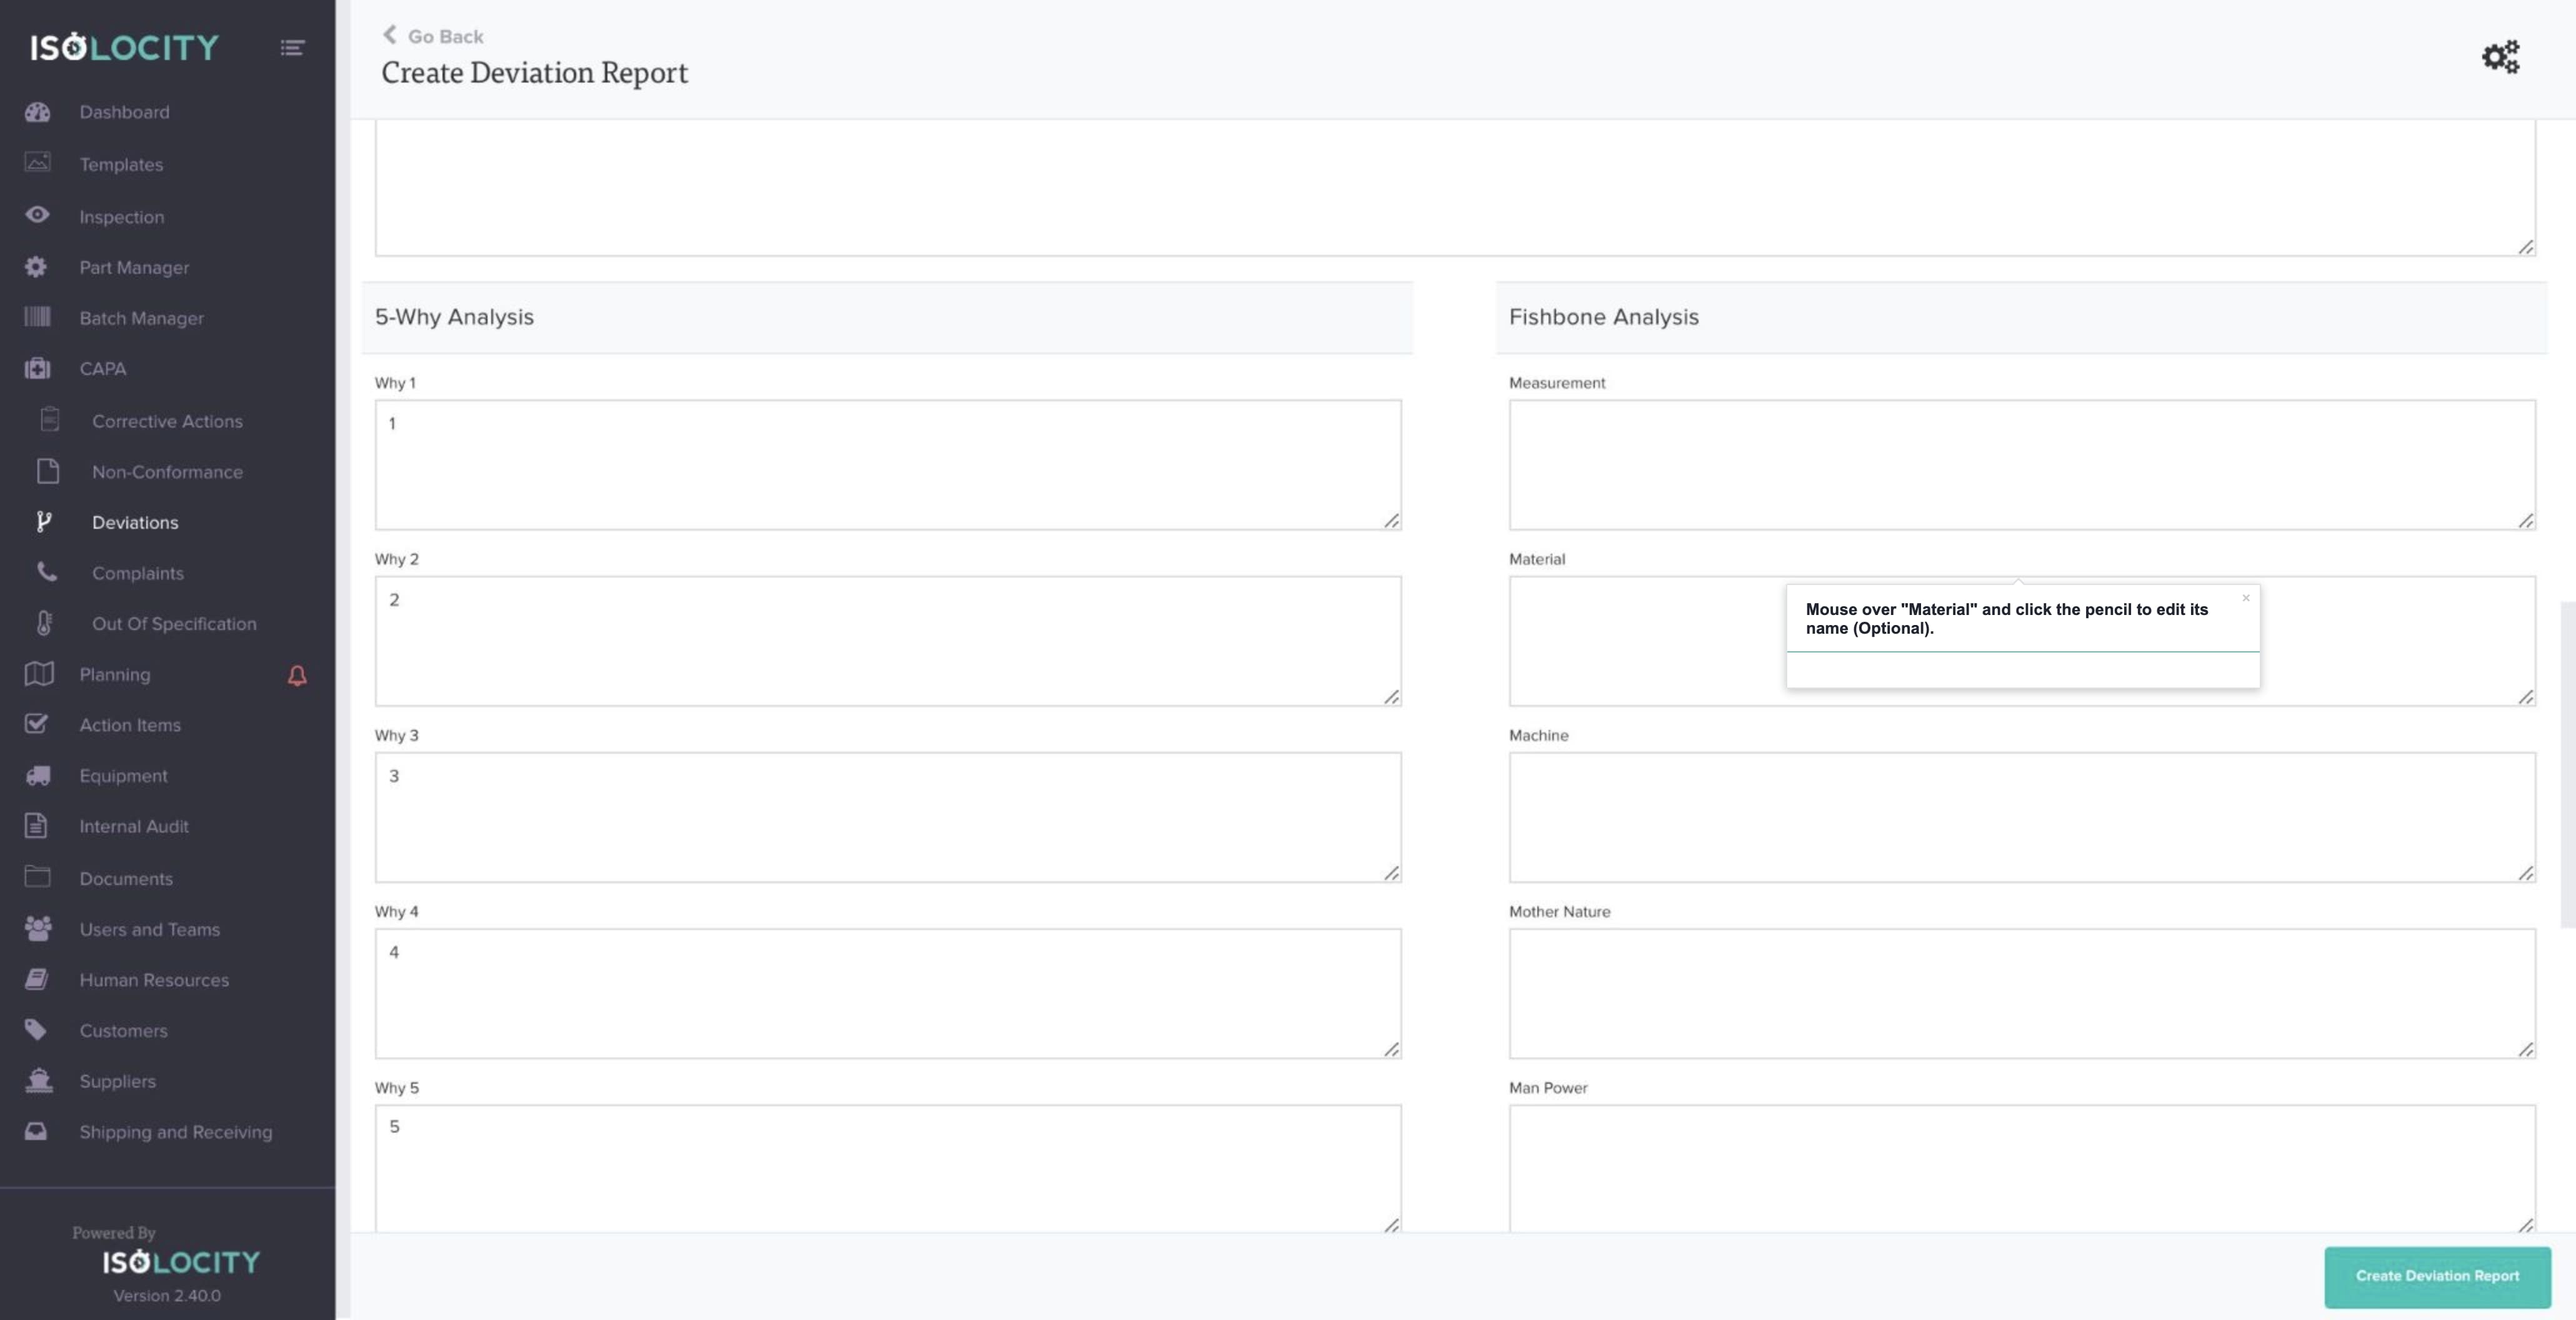
Step #41
Mouse over “Material” and click the pencil to edit its name (Optional).
Step #42
Enter “Material”.

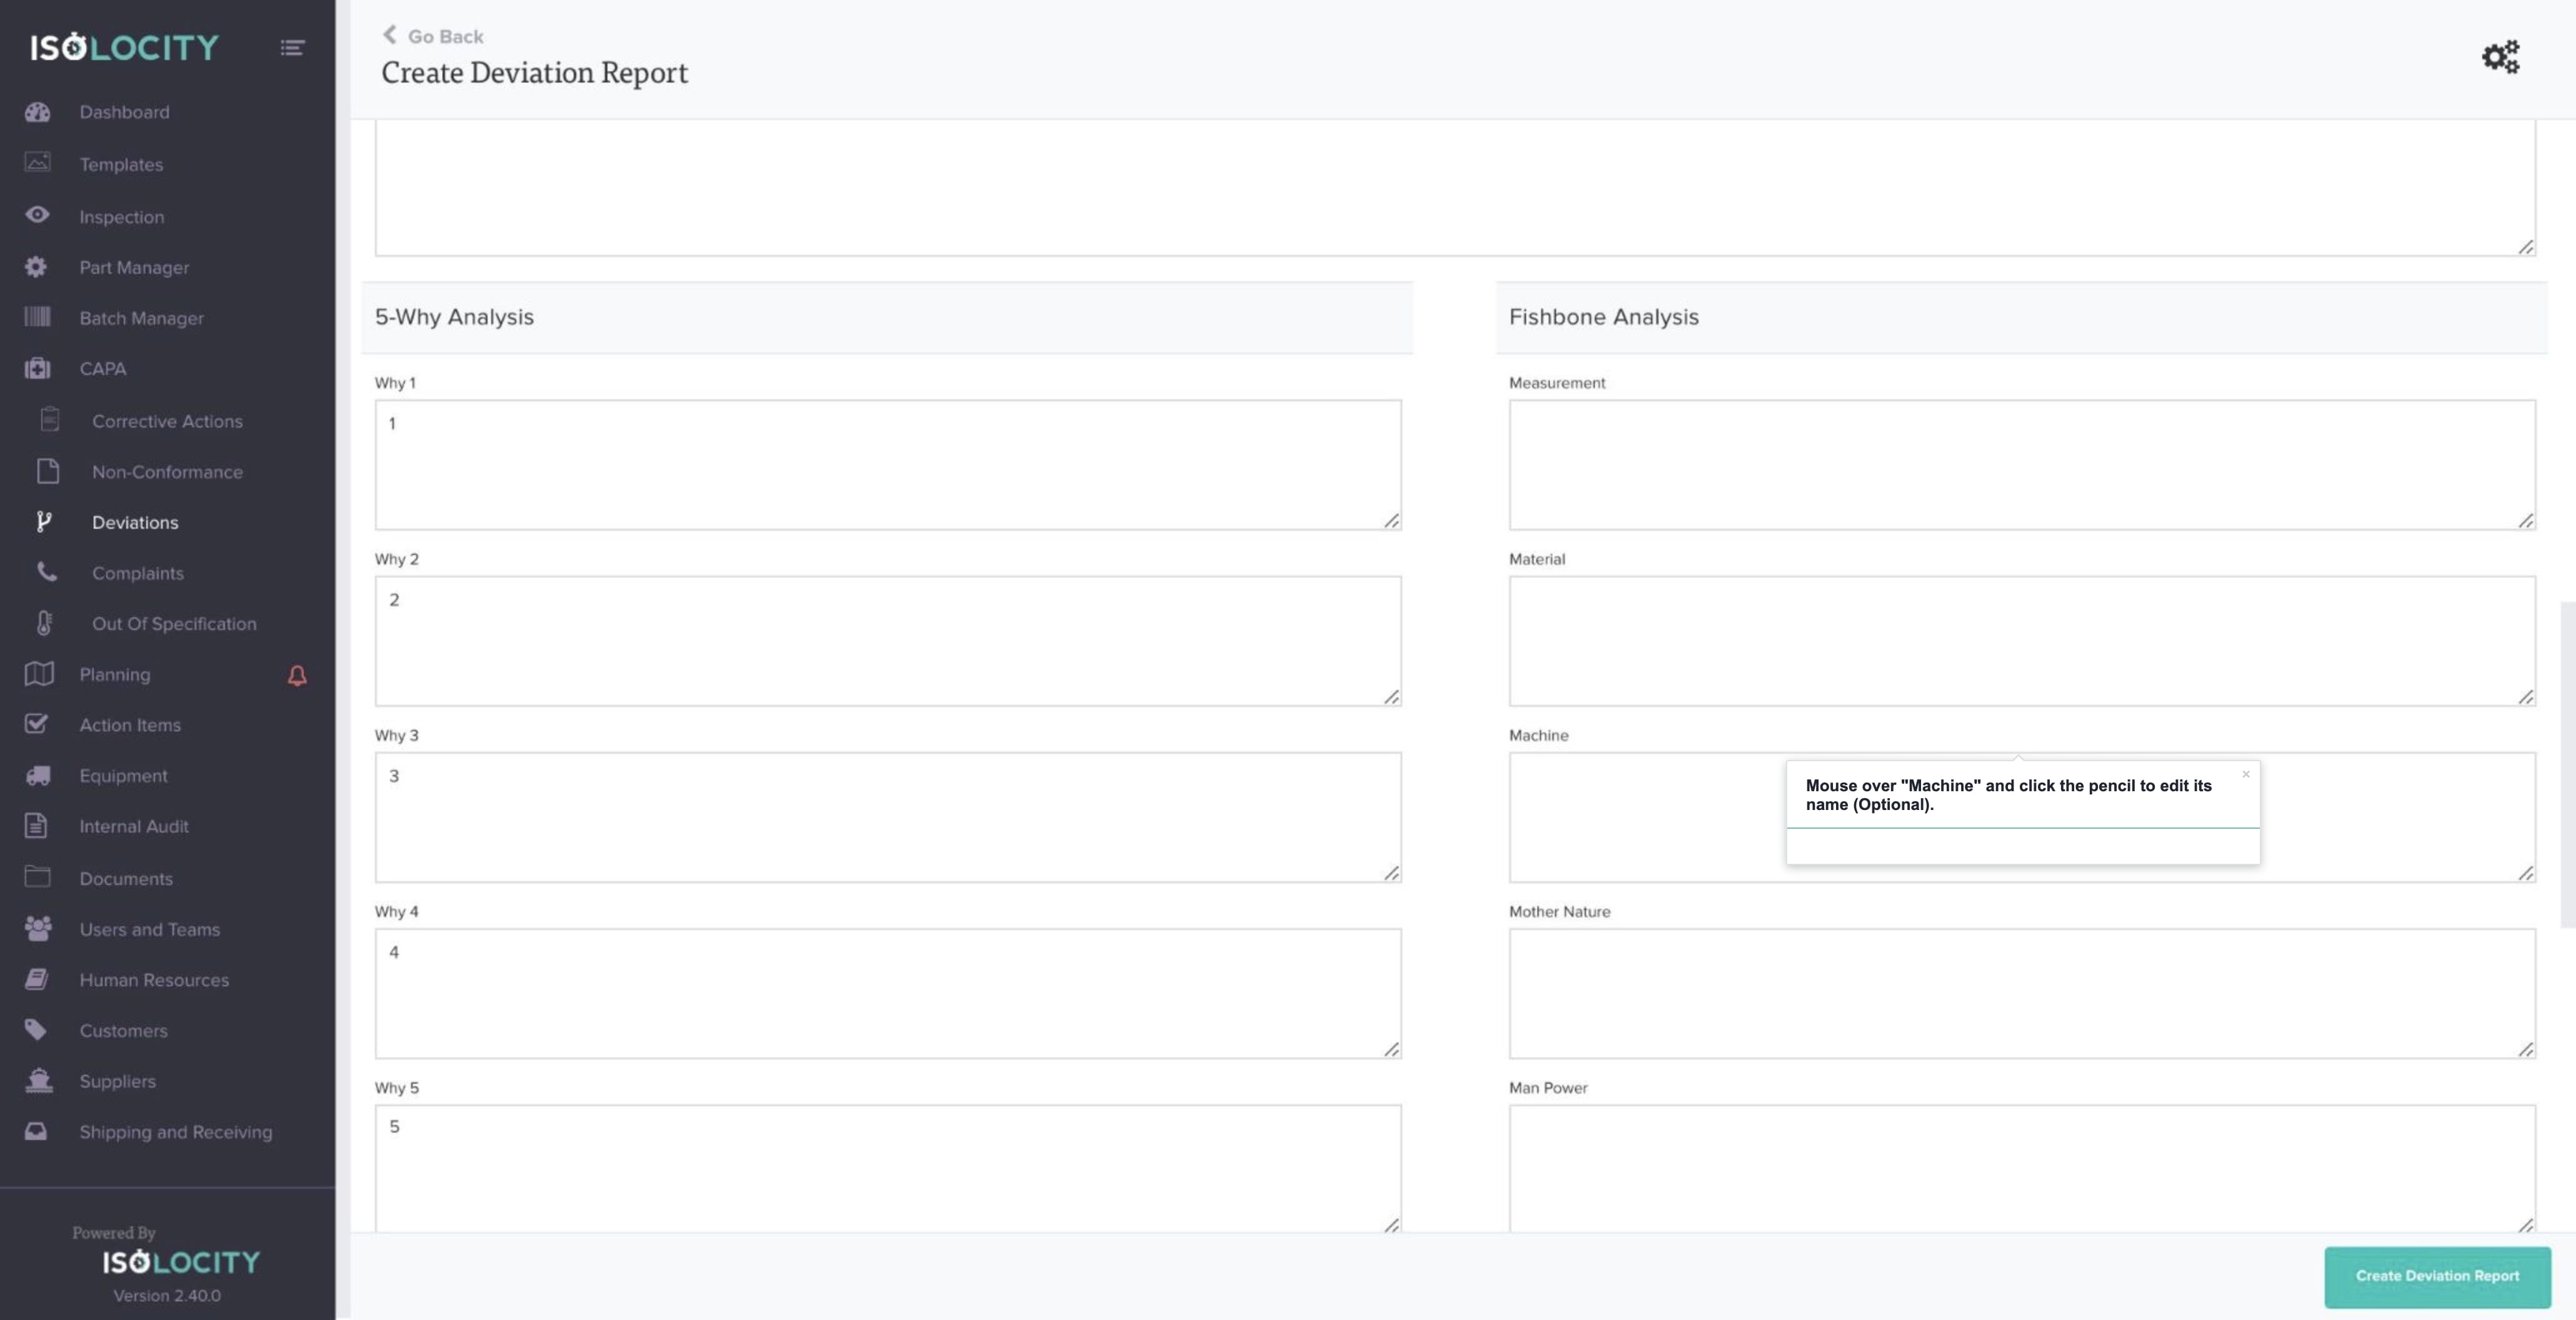
Step #43
Mouse over “Machine” and click the pencil to edit its name (Optional).
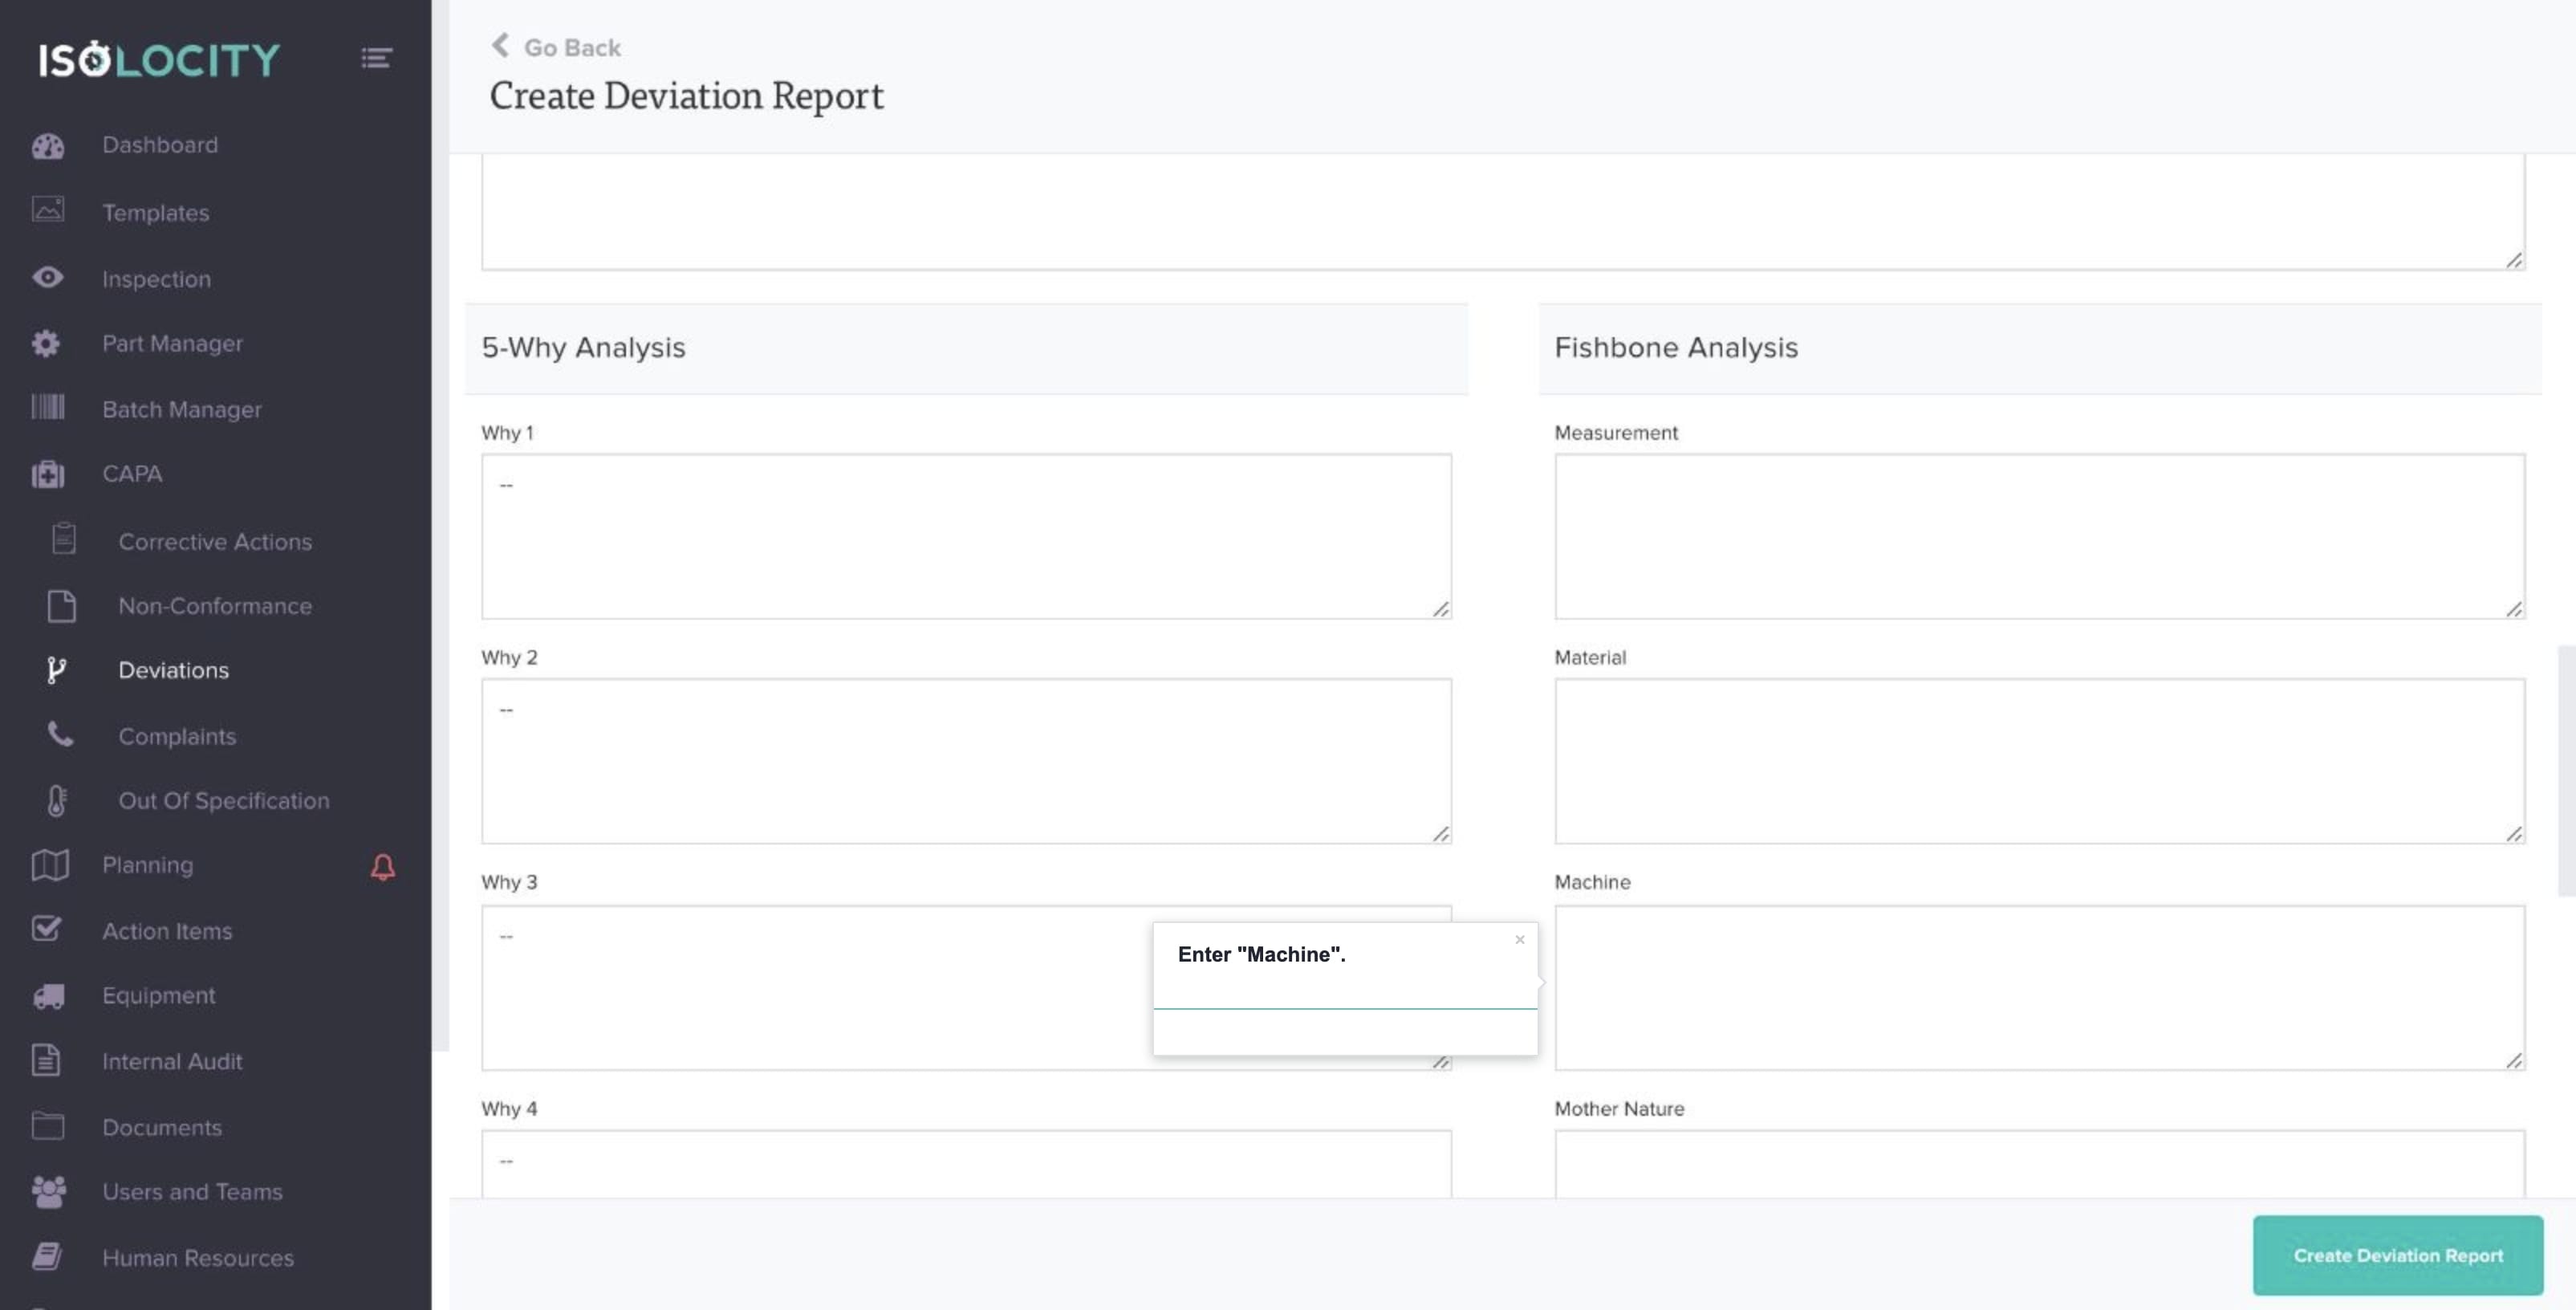
Step #44
Enter “Machine”.
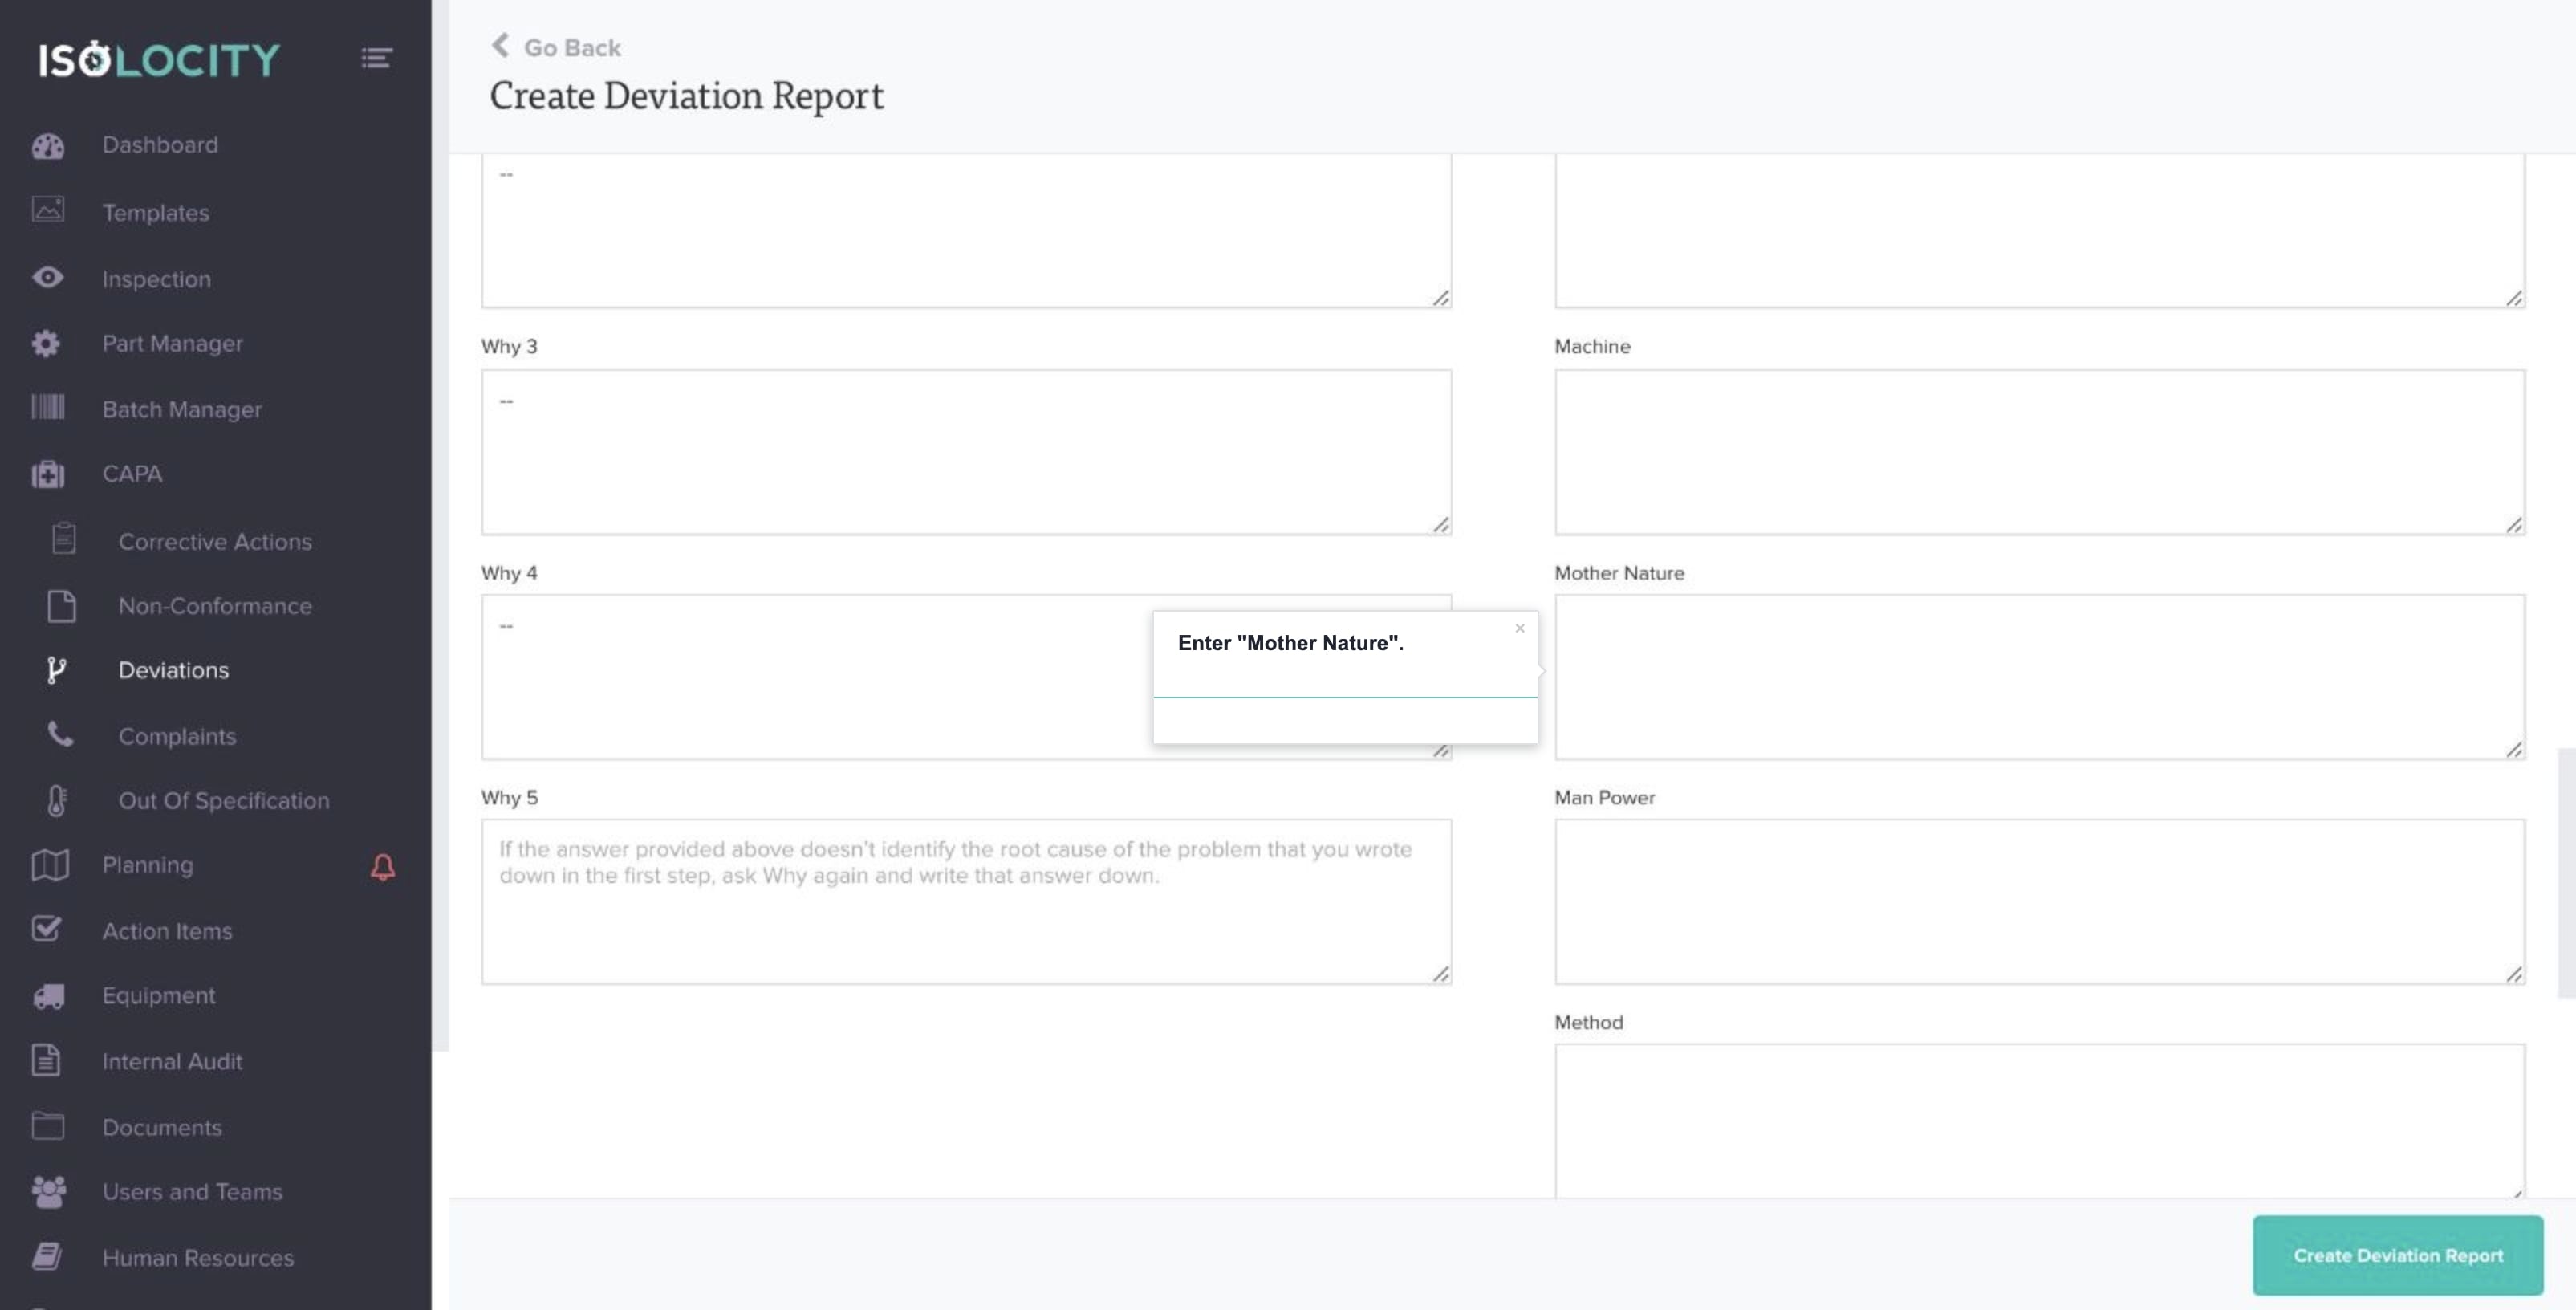
Step #45
Mouse over “Mother Nature” and click the pencil to edit its name (Optional).
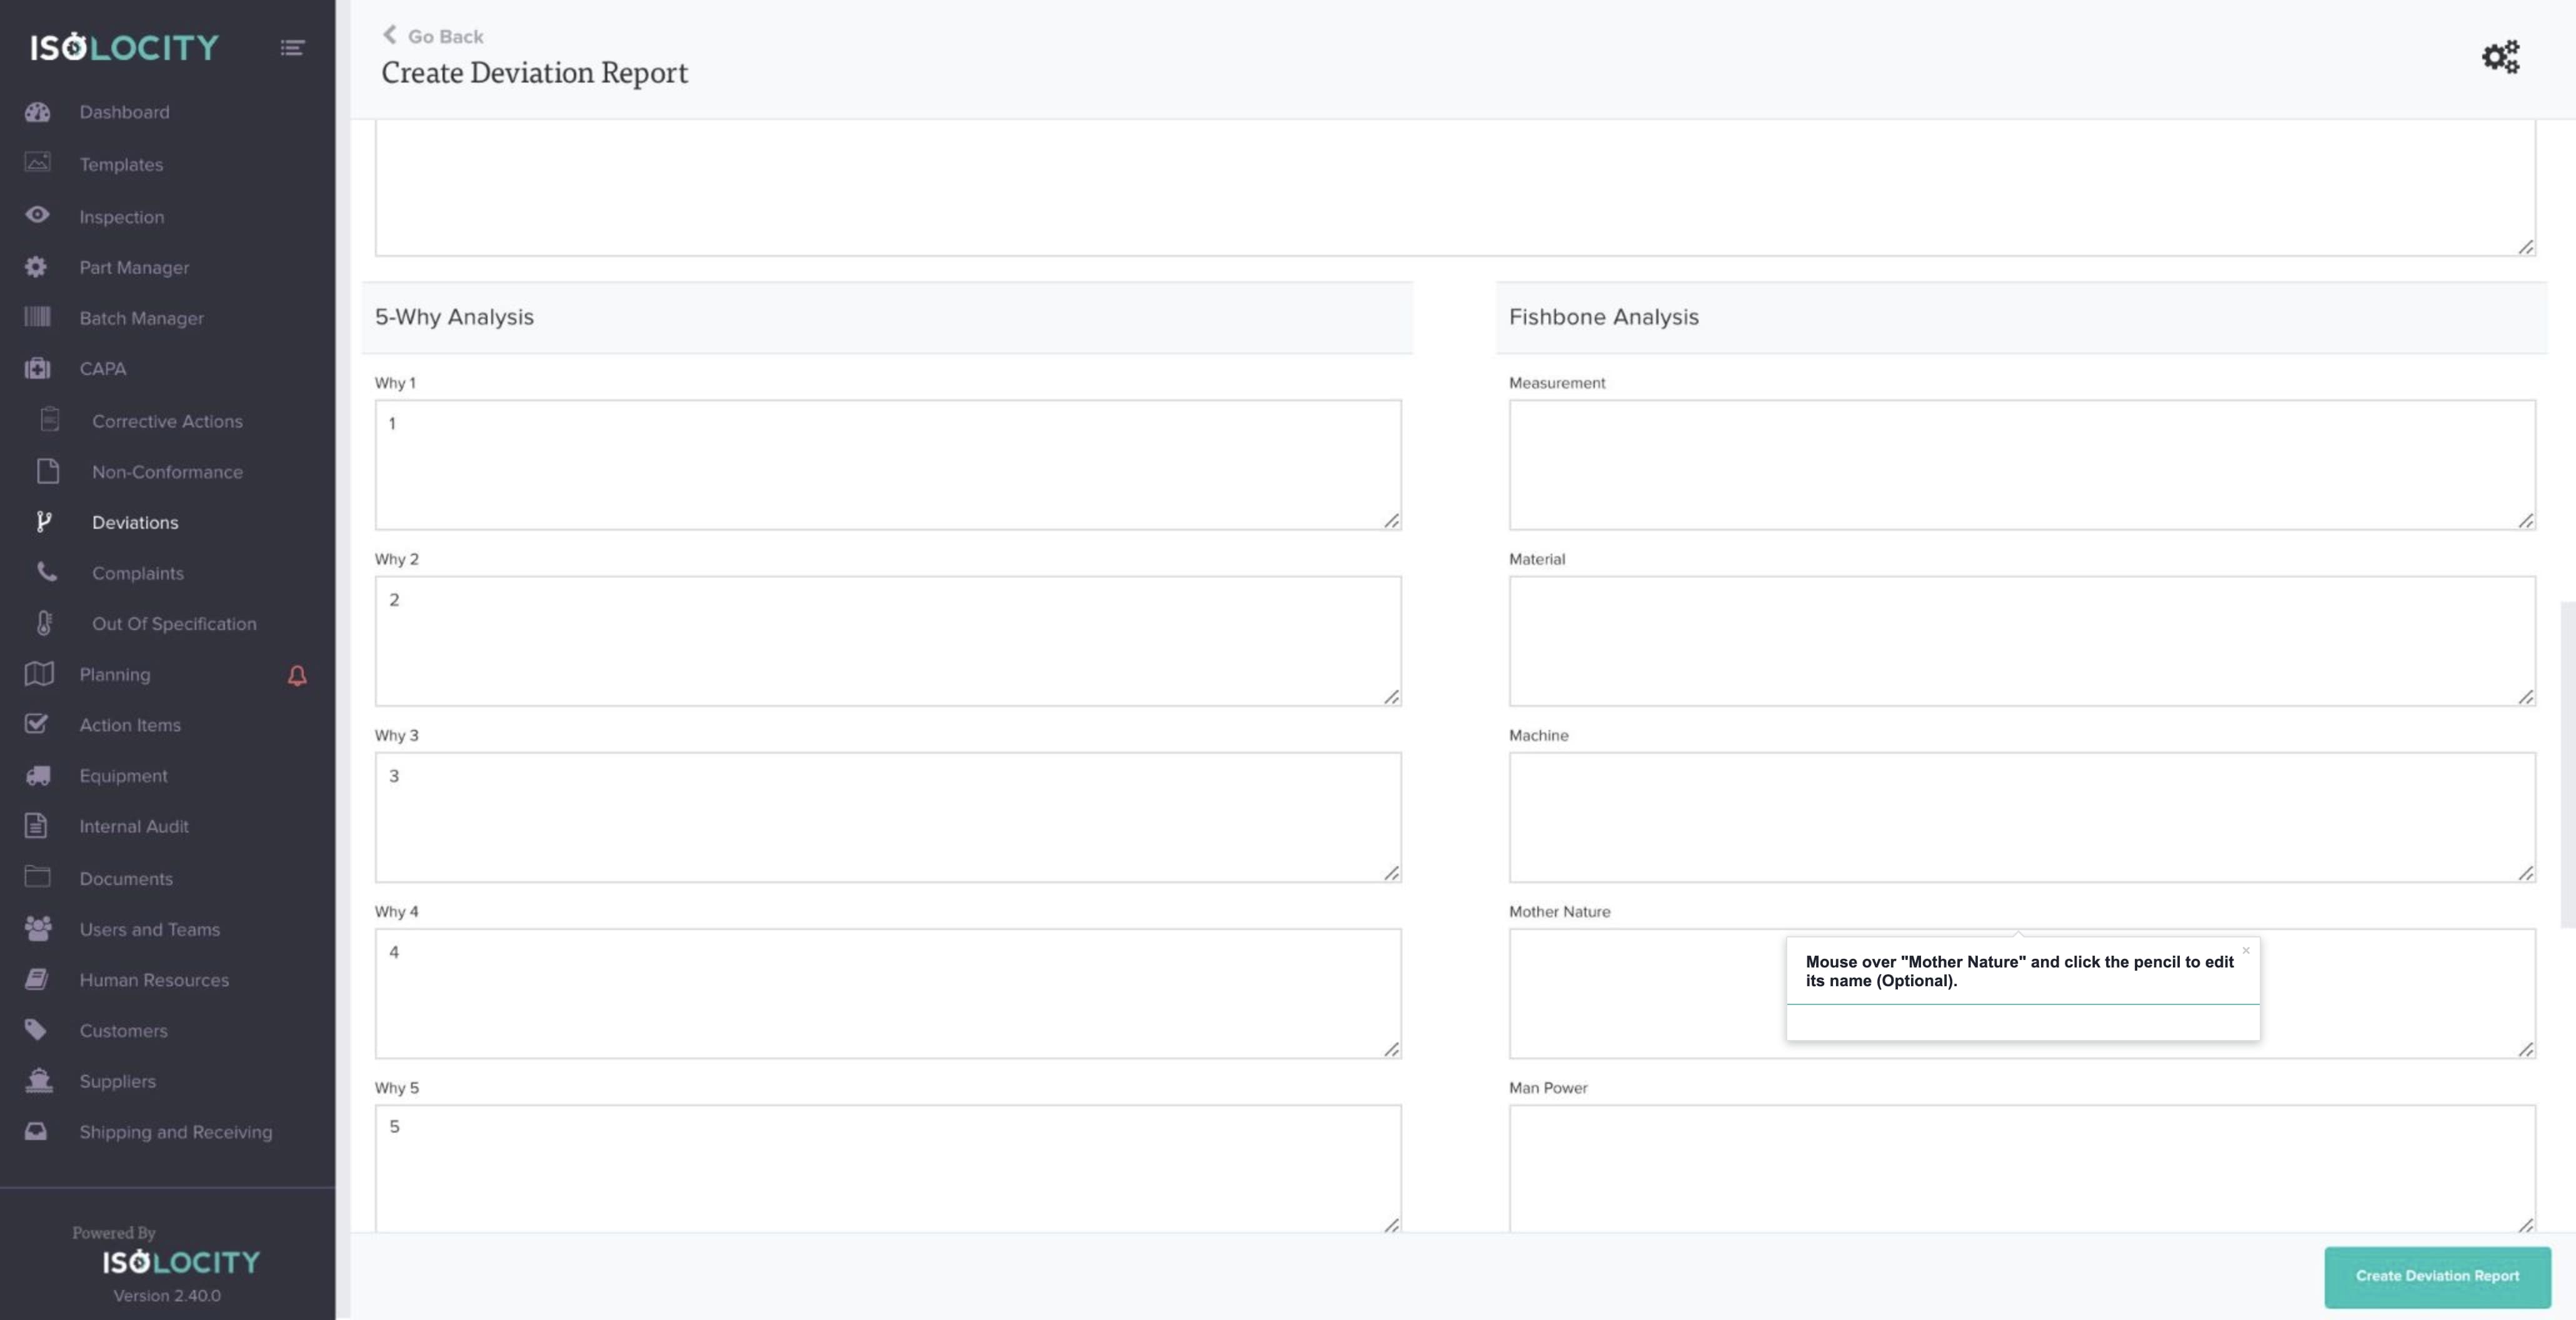
Step #46
Enter “Mother Nature”.
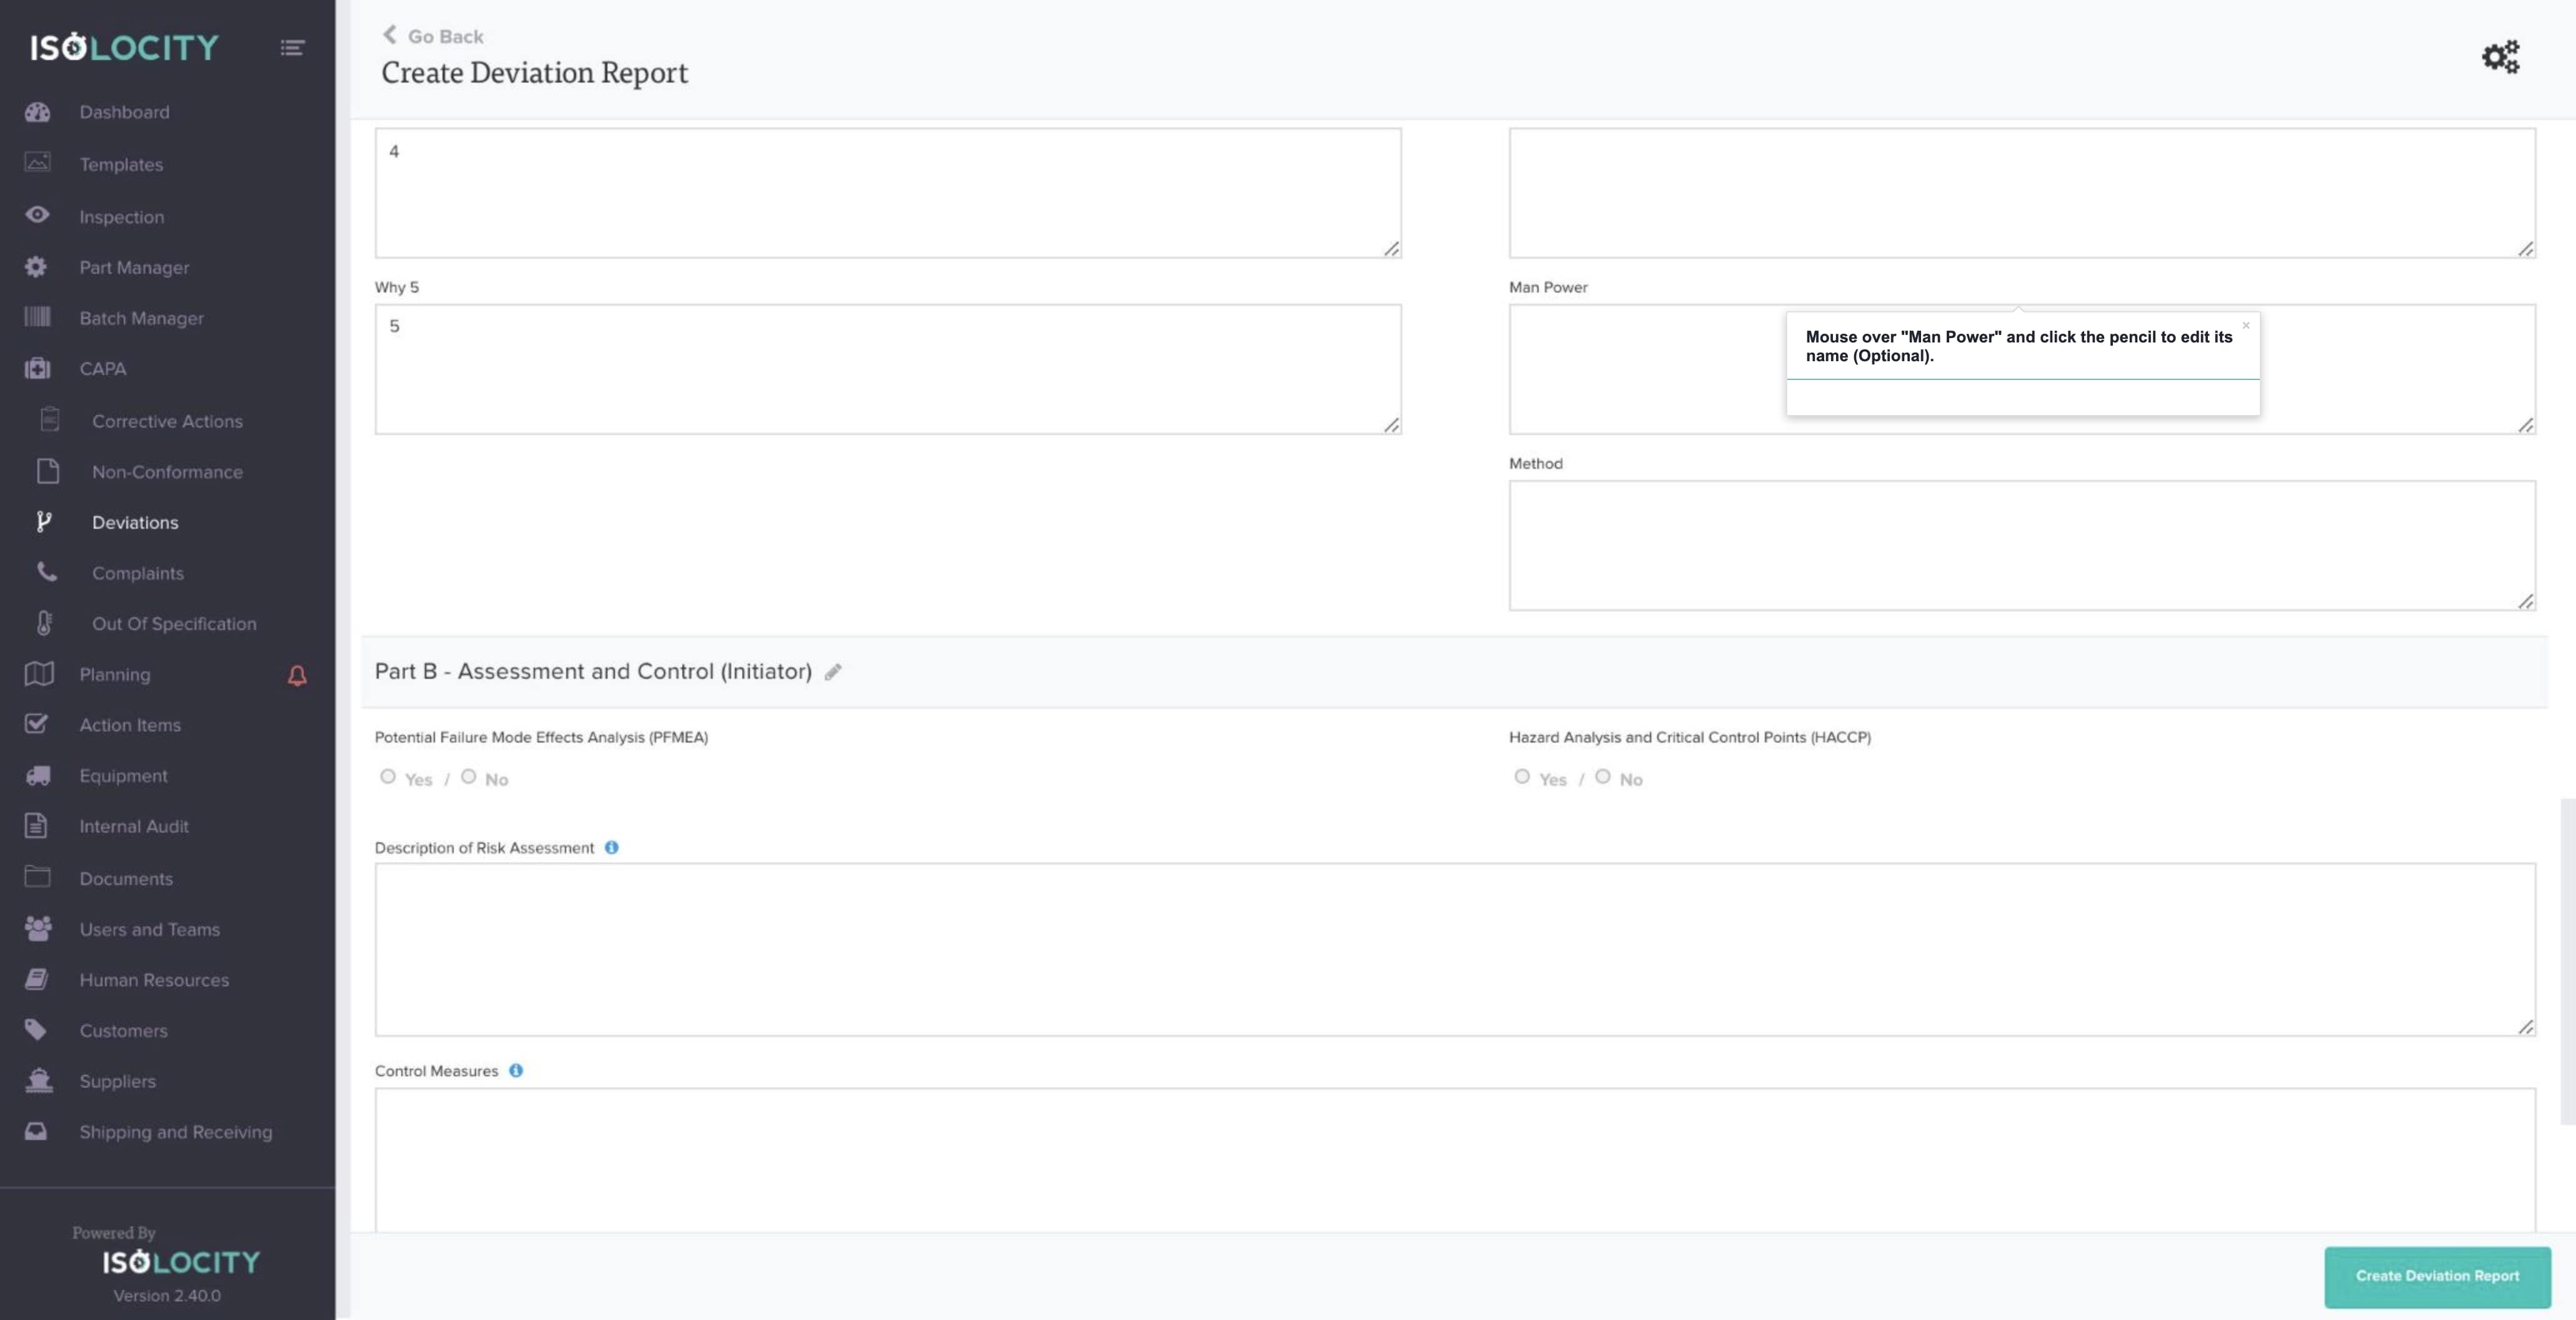
Step #47
Mouse over “Man Power” and click the pencil to edit its name (Optional).
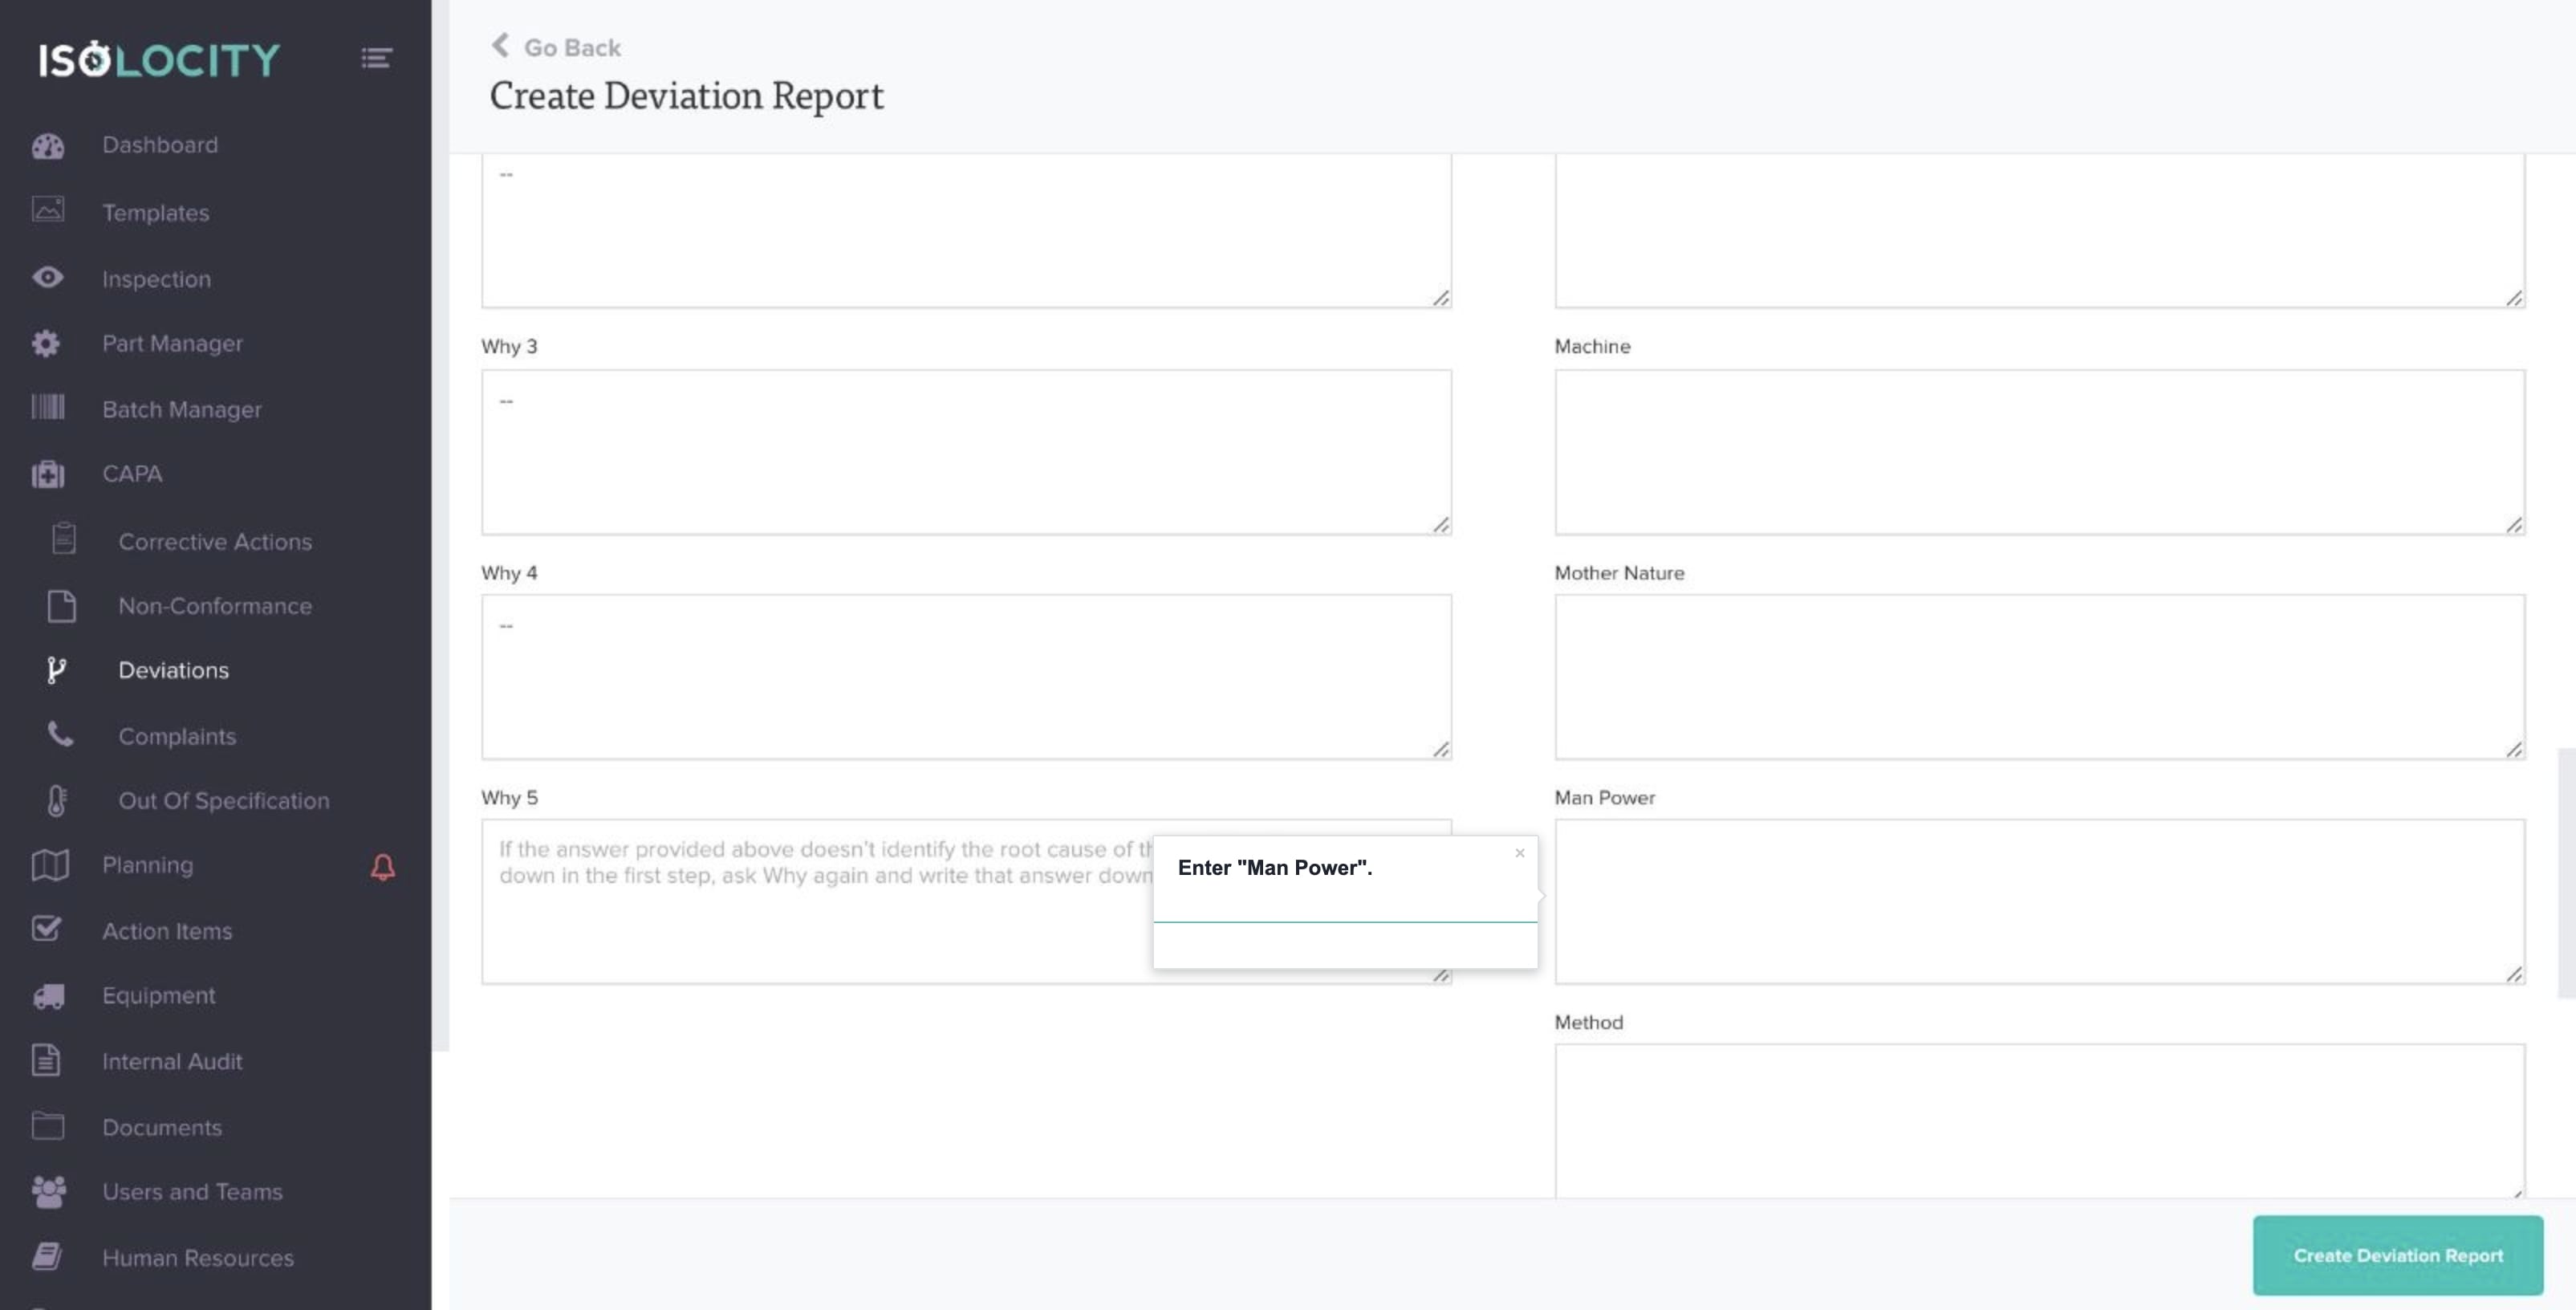
Step #48
Enter “Man Power”.
Step #49
Mouse over “Method” and click the pencil to edit its name (Optional).
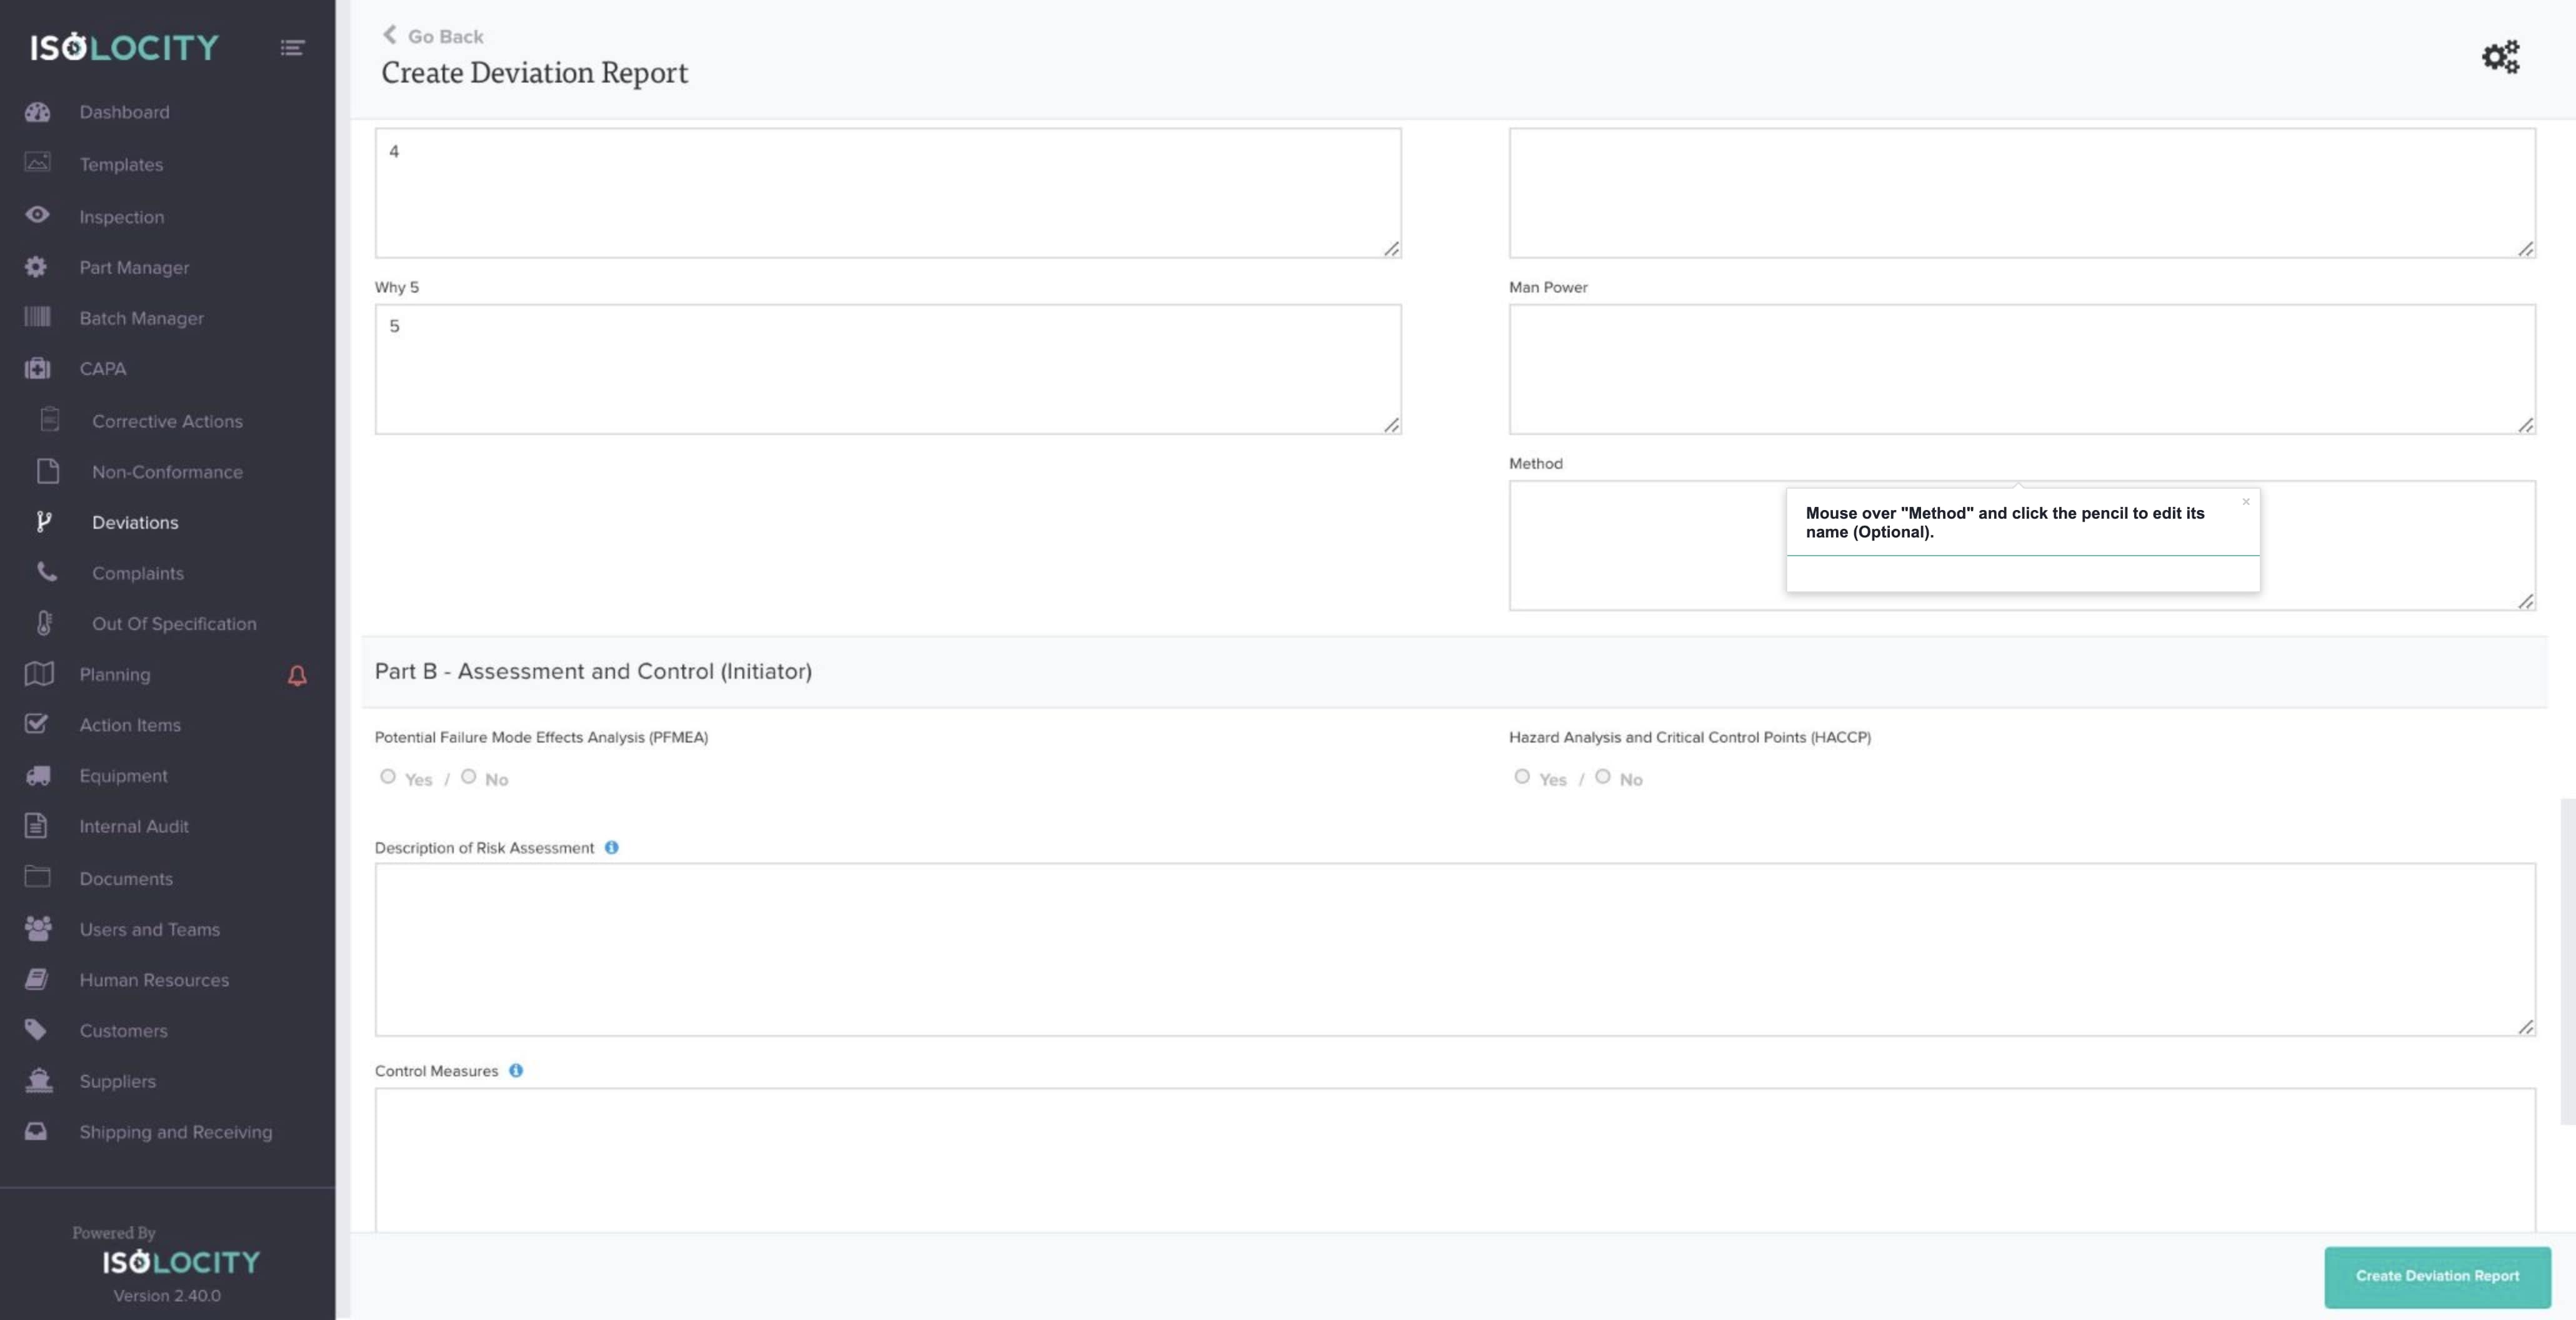
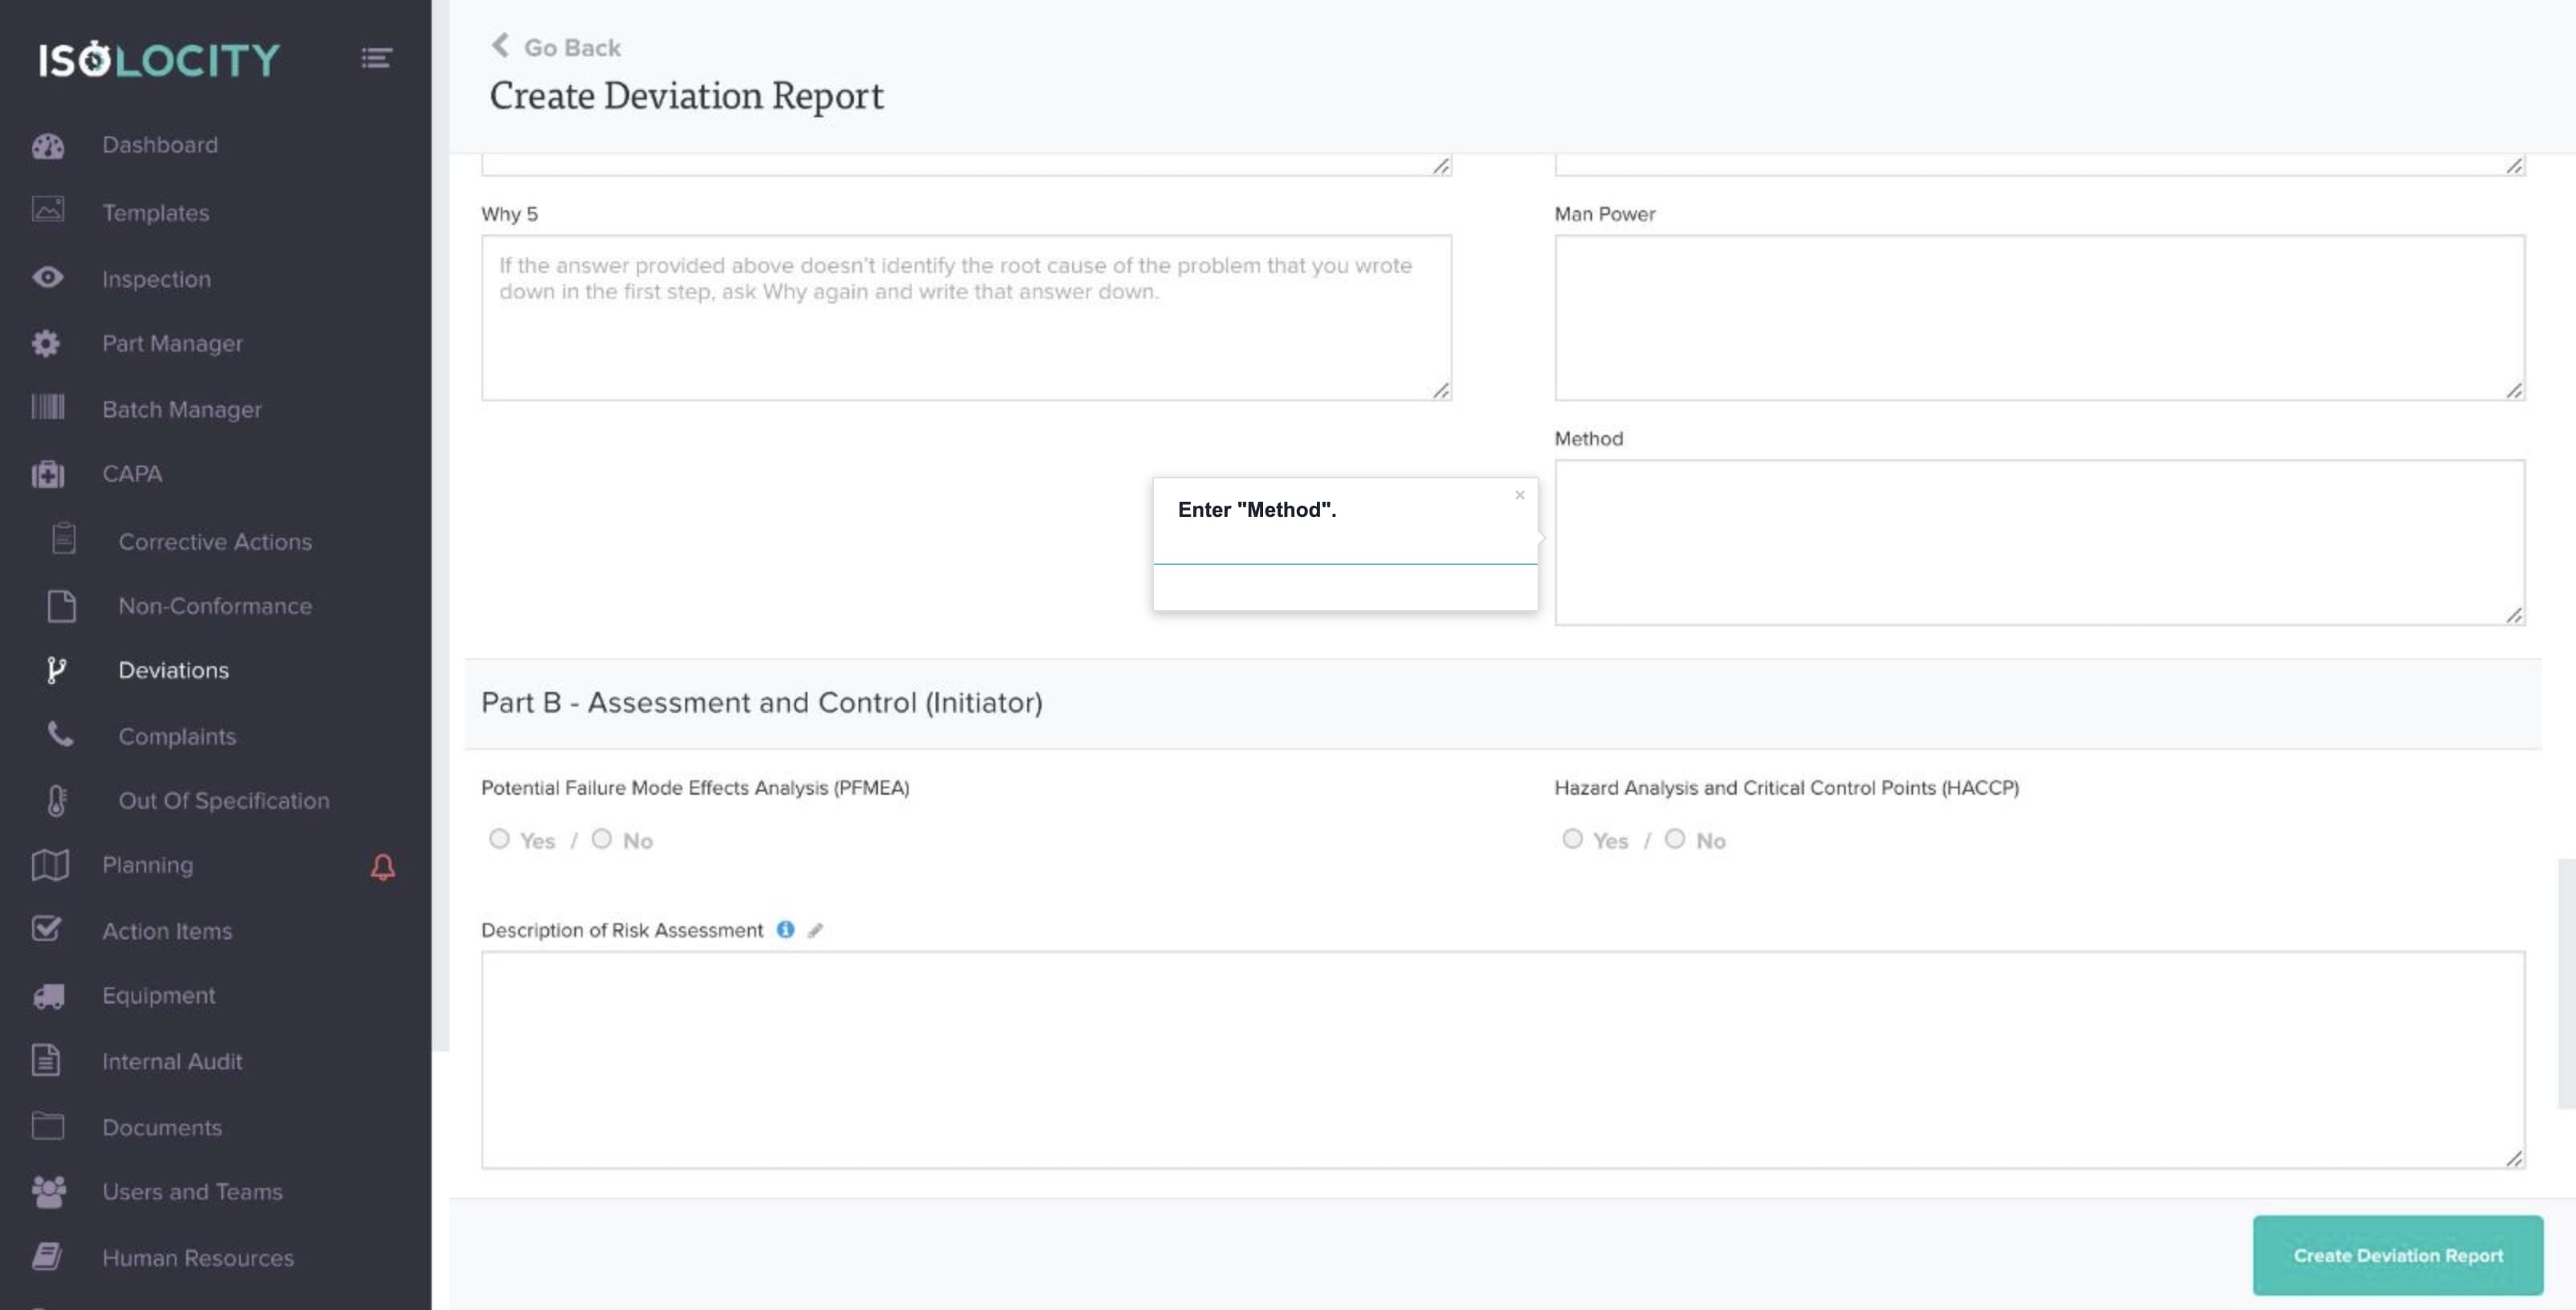
Step #50
Enter “Method”.
Step #51
Mouse over the section and click the pencil to edit its name (Optional).

Step #52
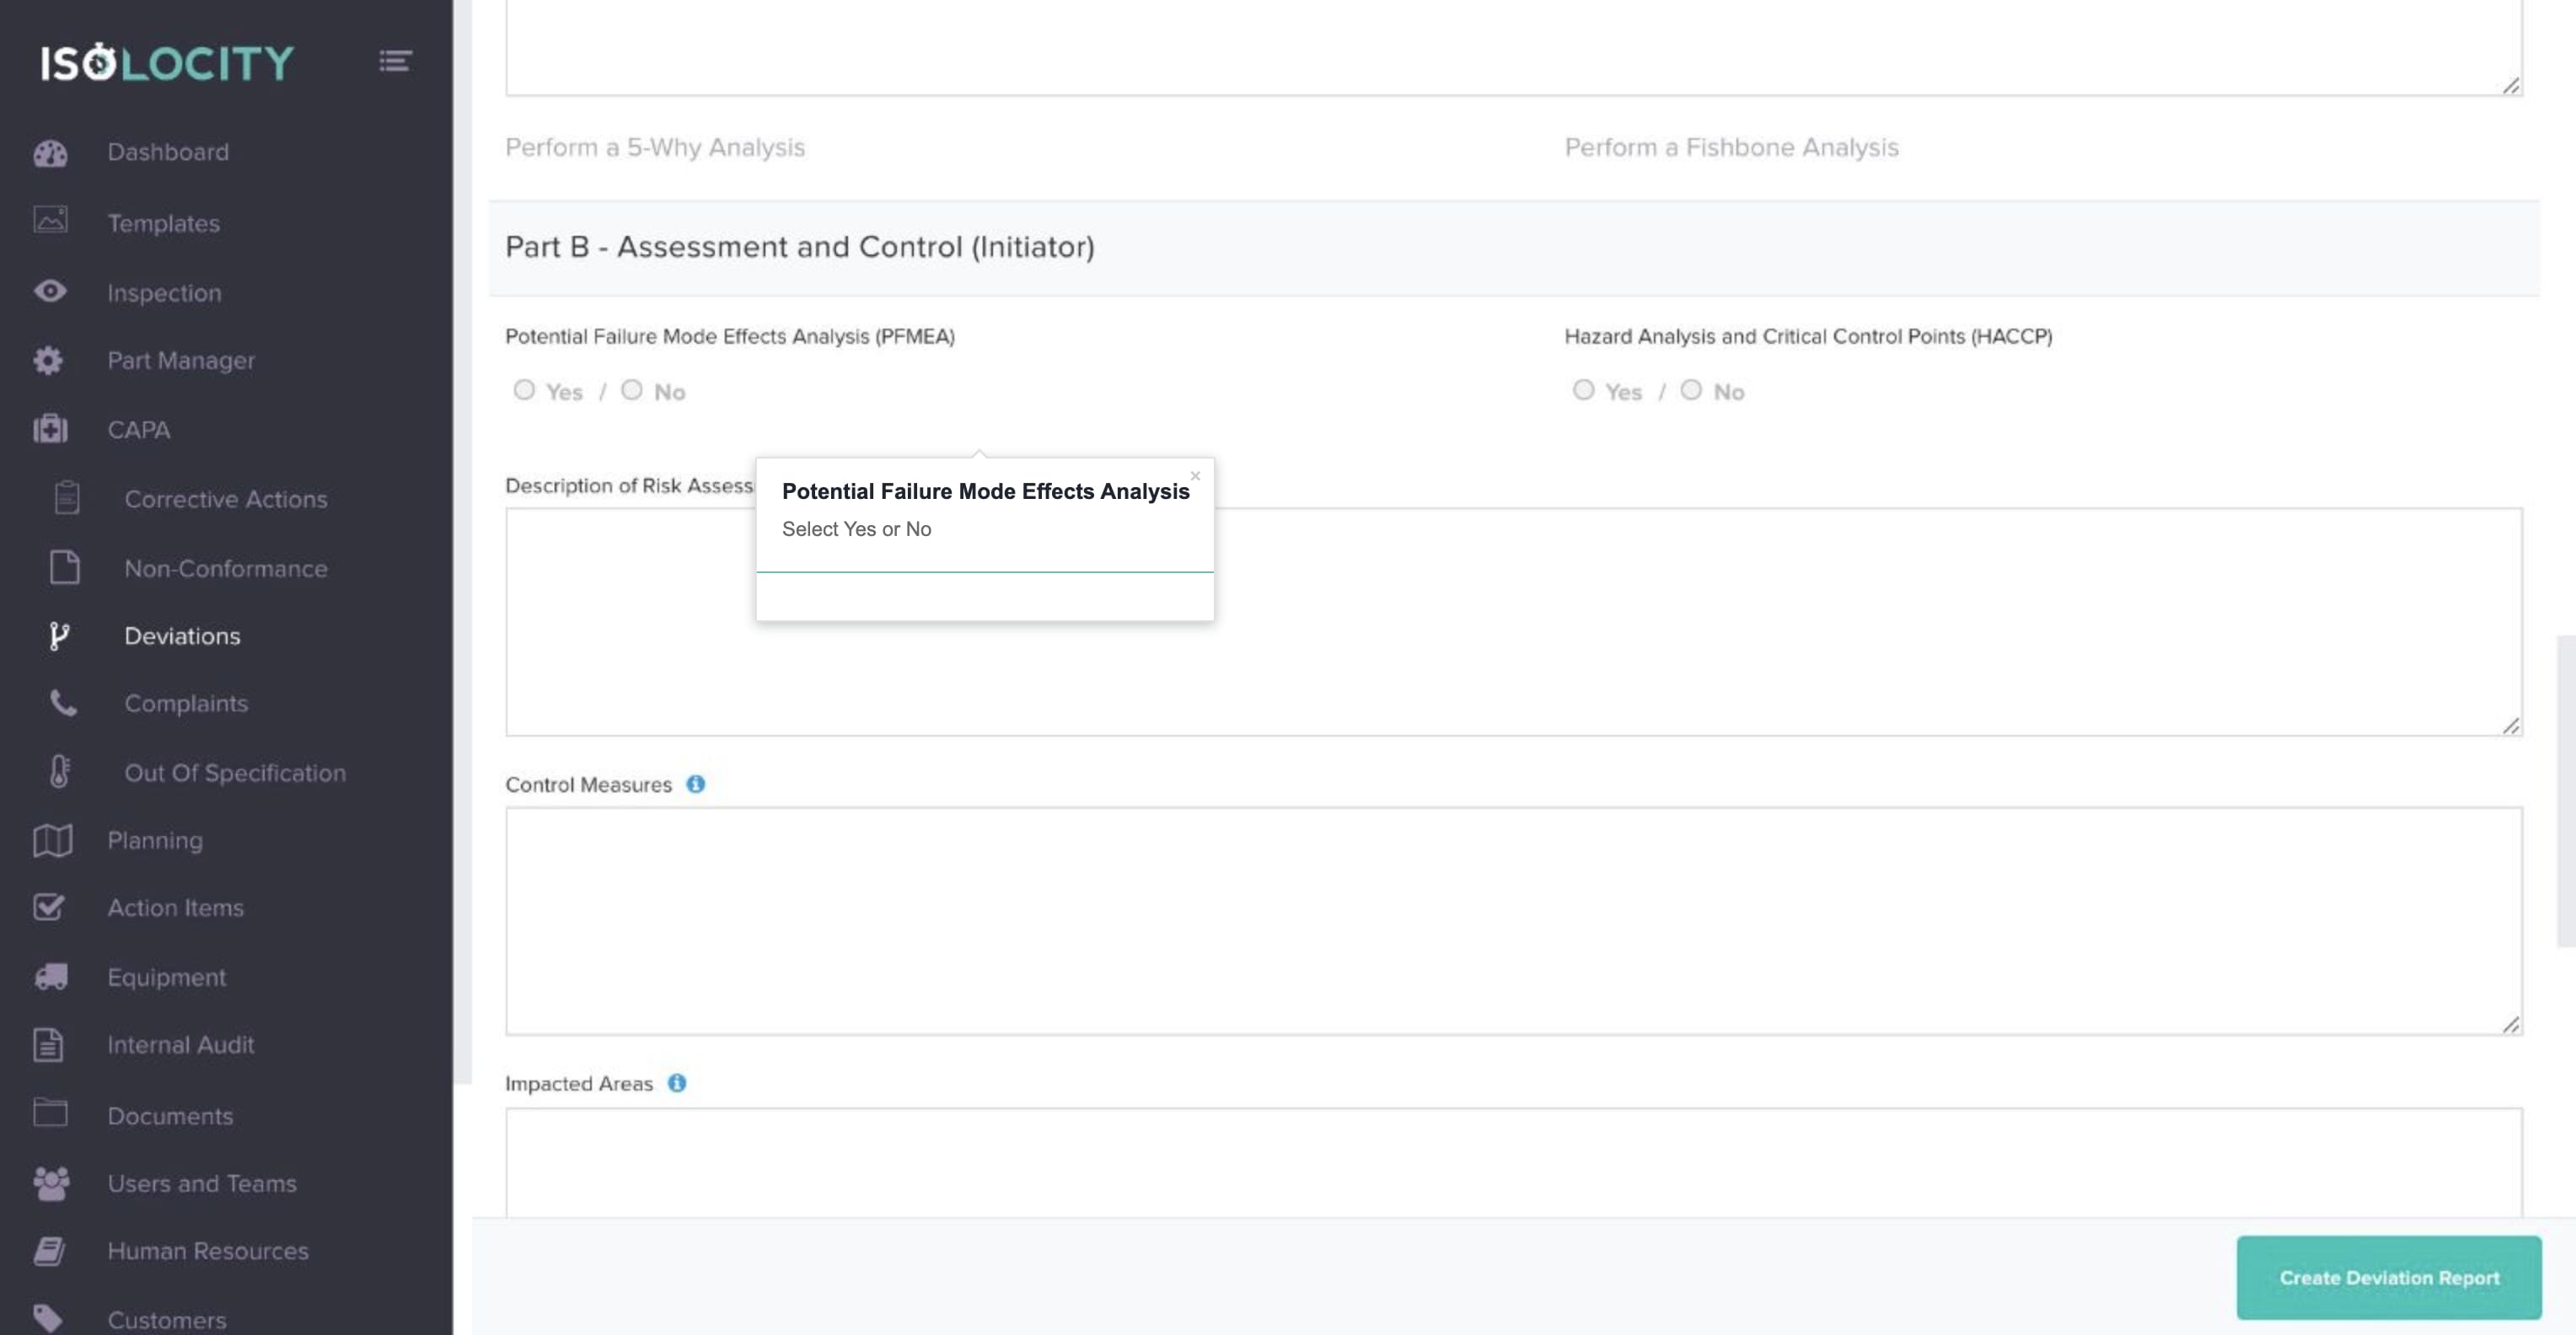
Potential Failure Mode Effects Analysis
Step #53
Hazard Analysis and Critical Control Points
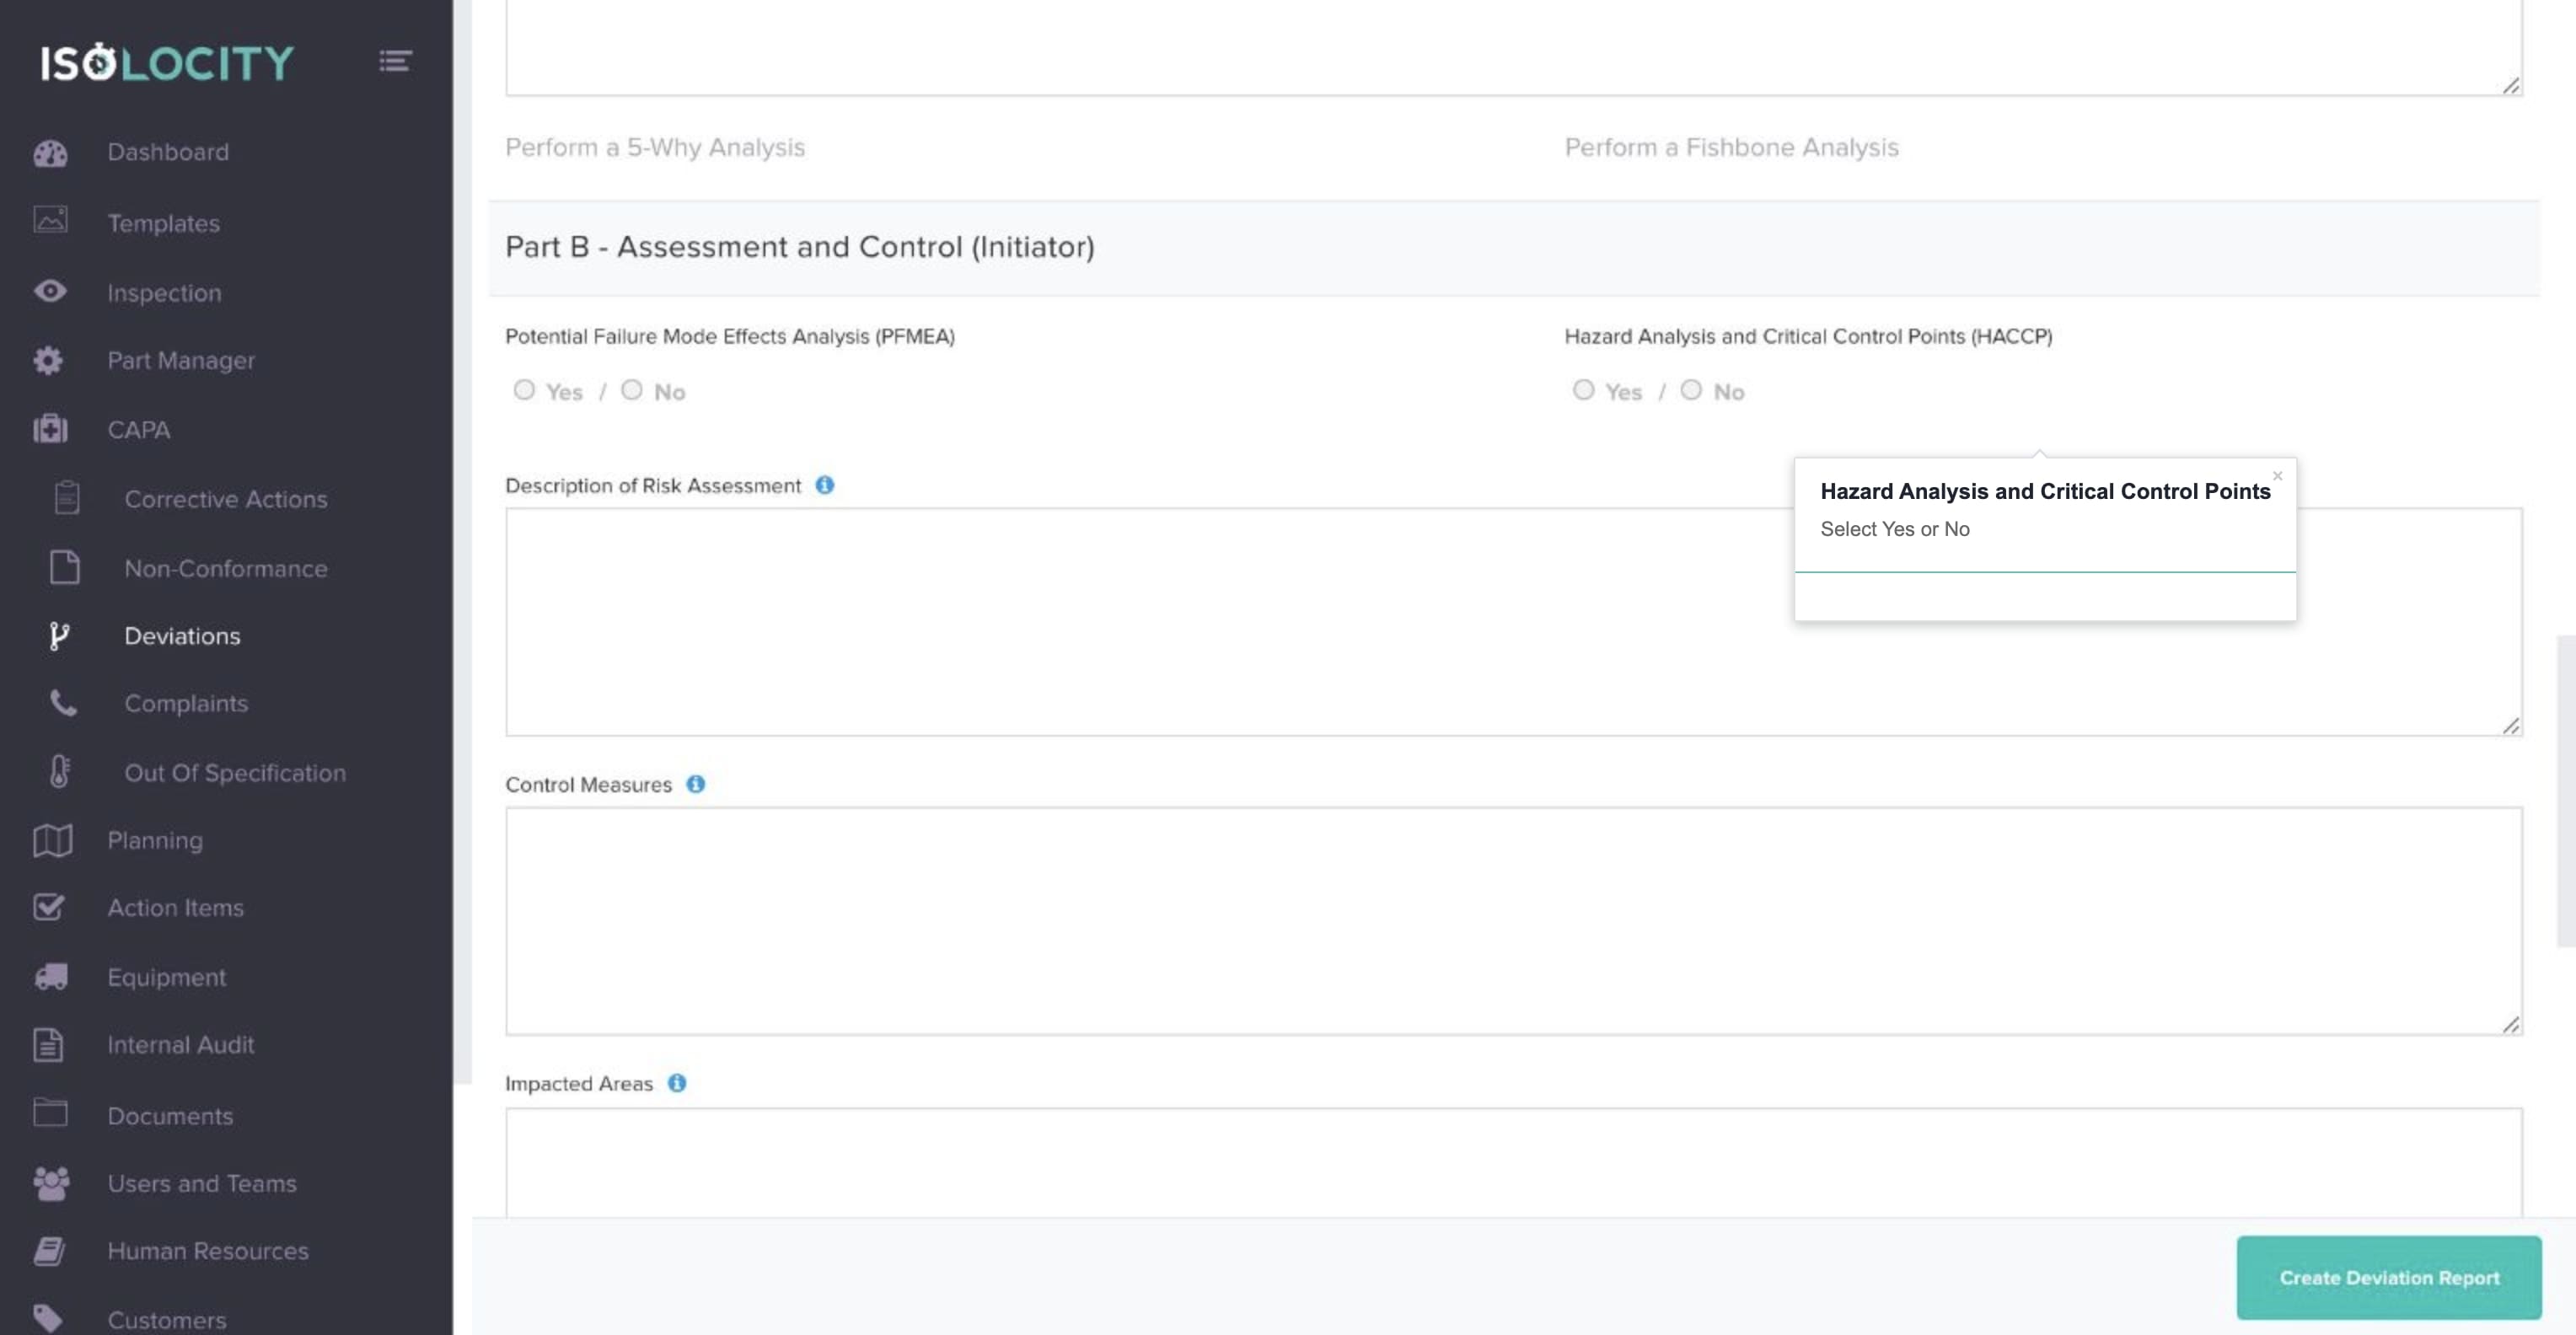
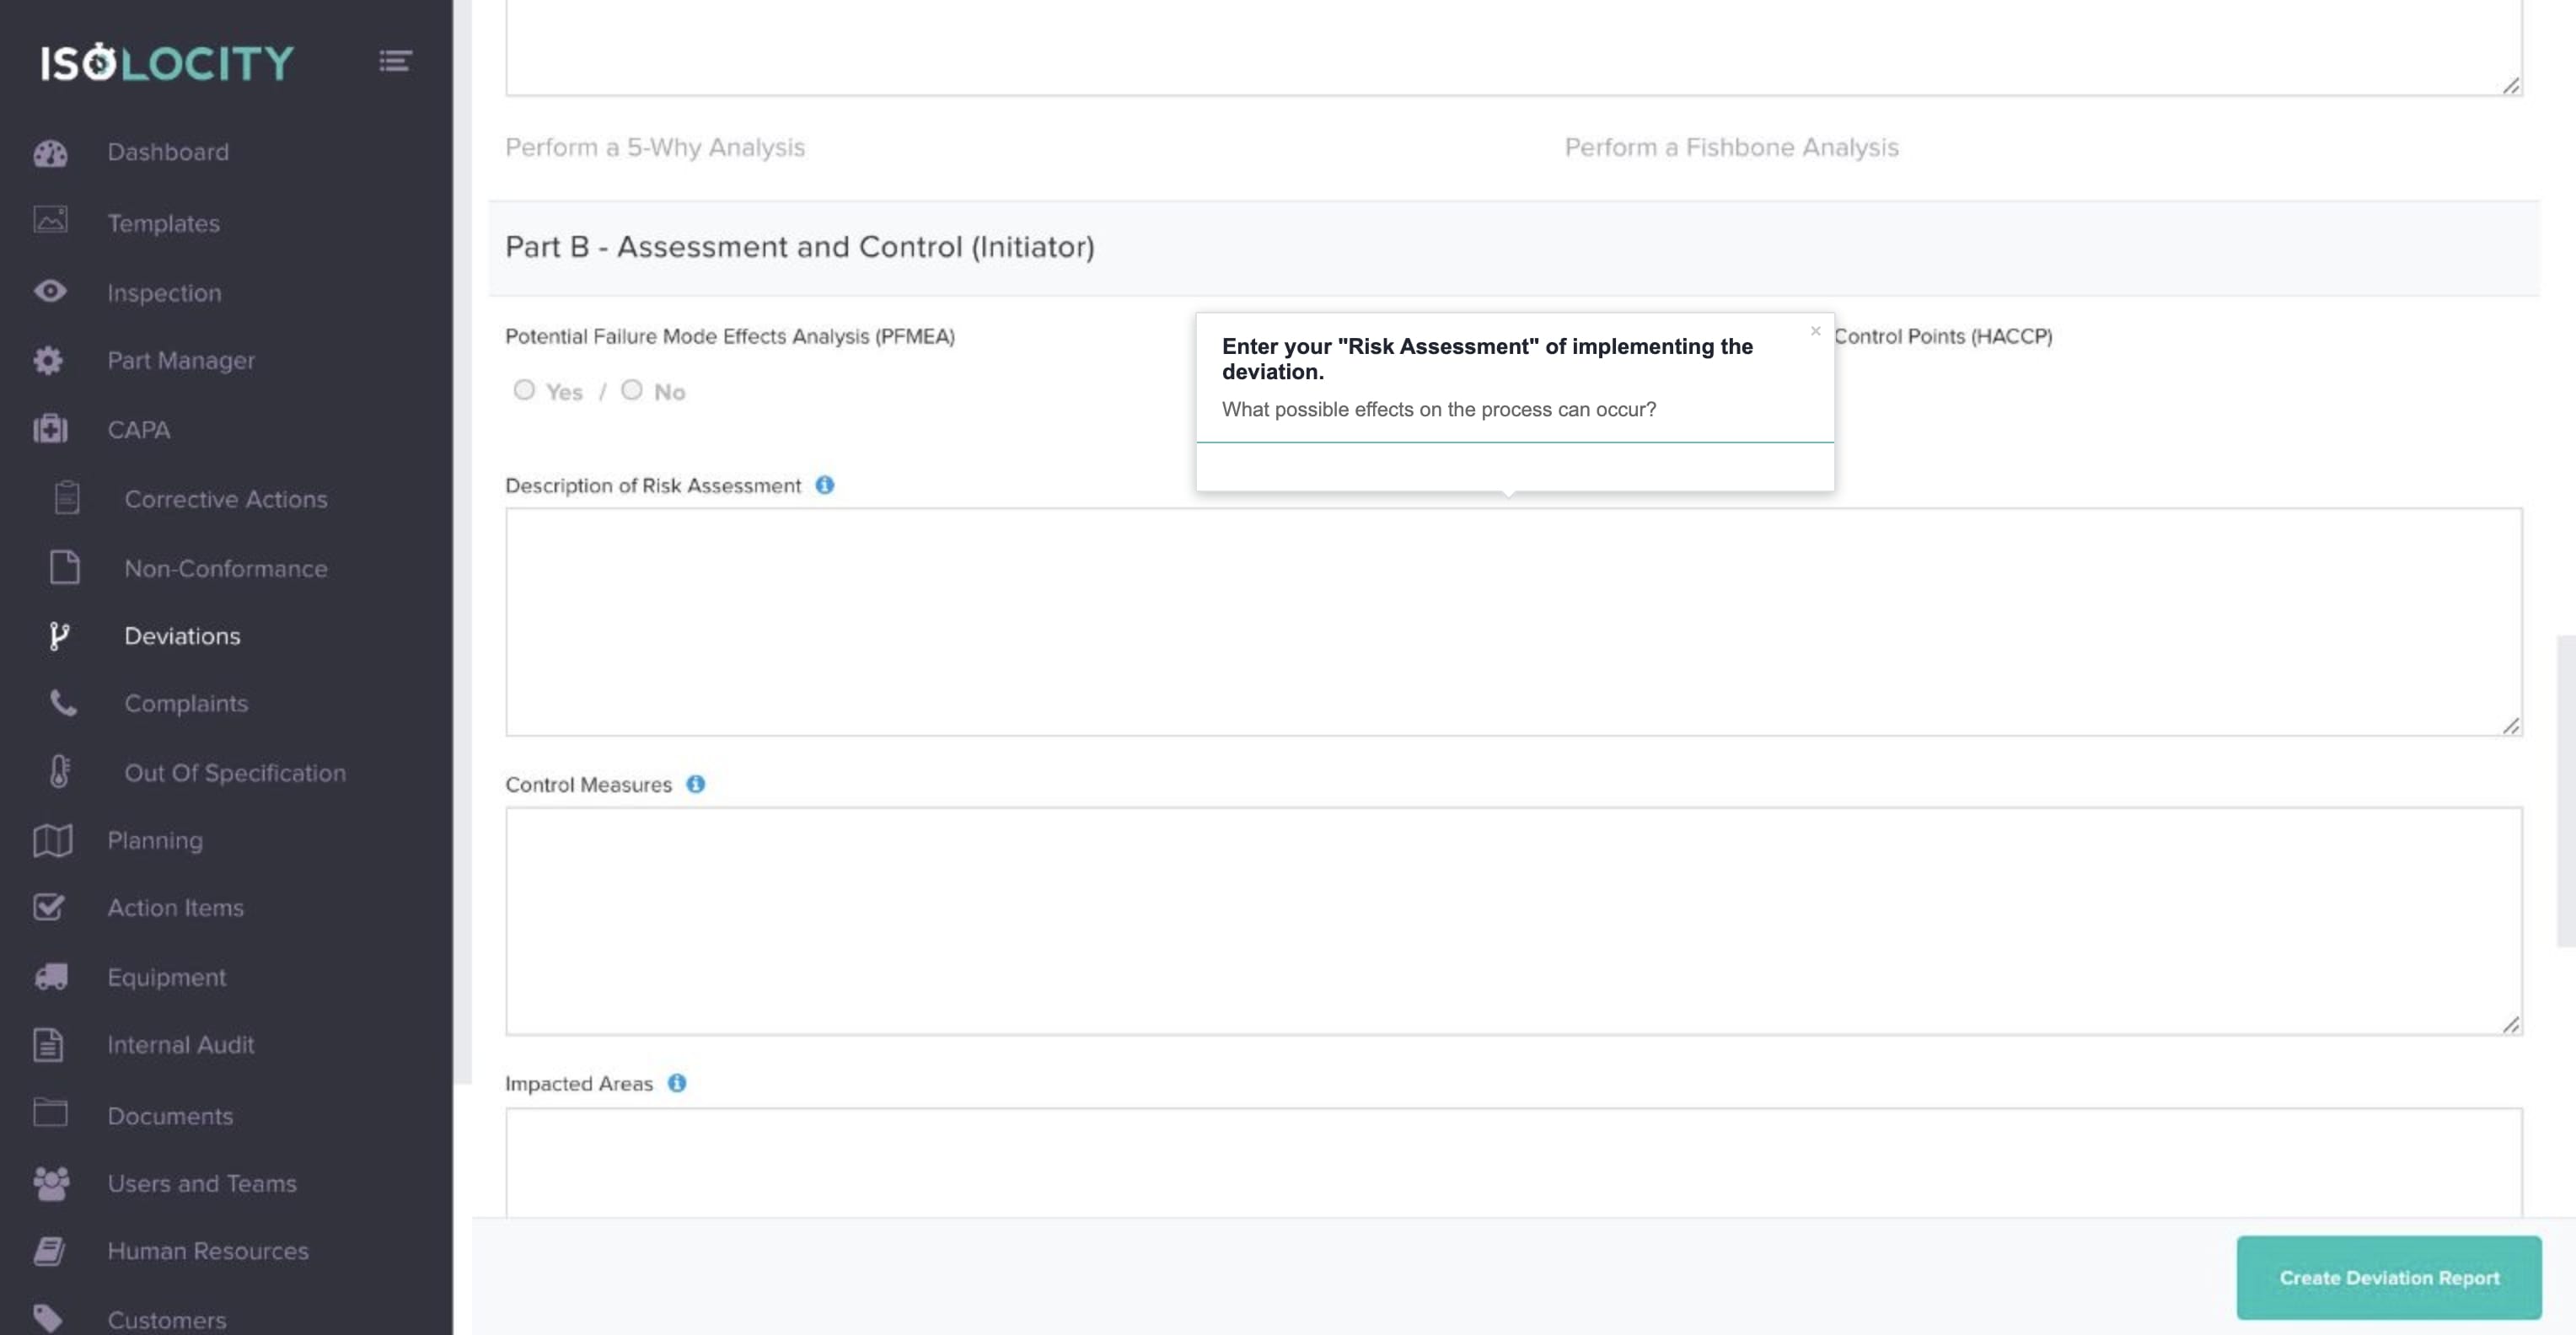
Step #54
Enter your “Risk Assessment” of implementing the deviation.
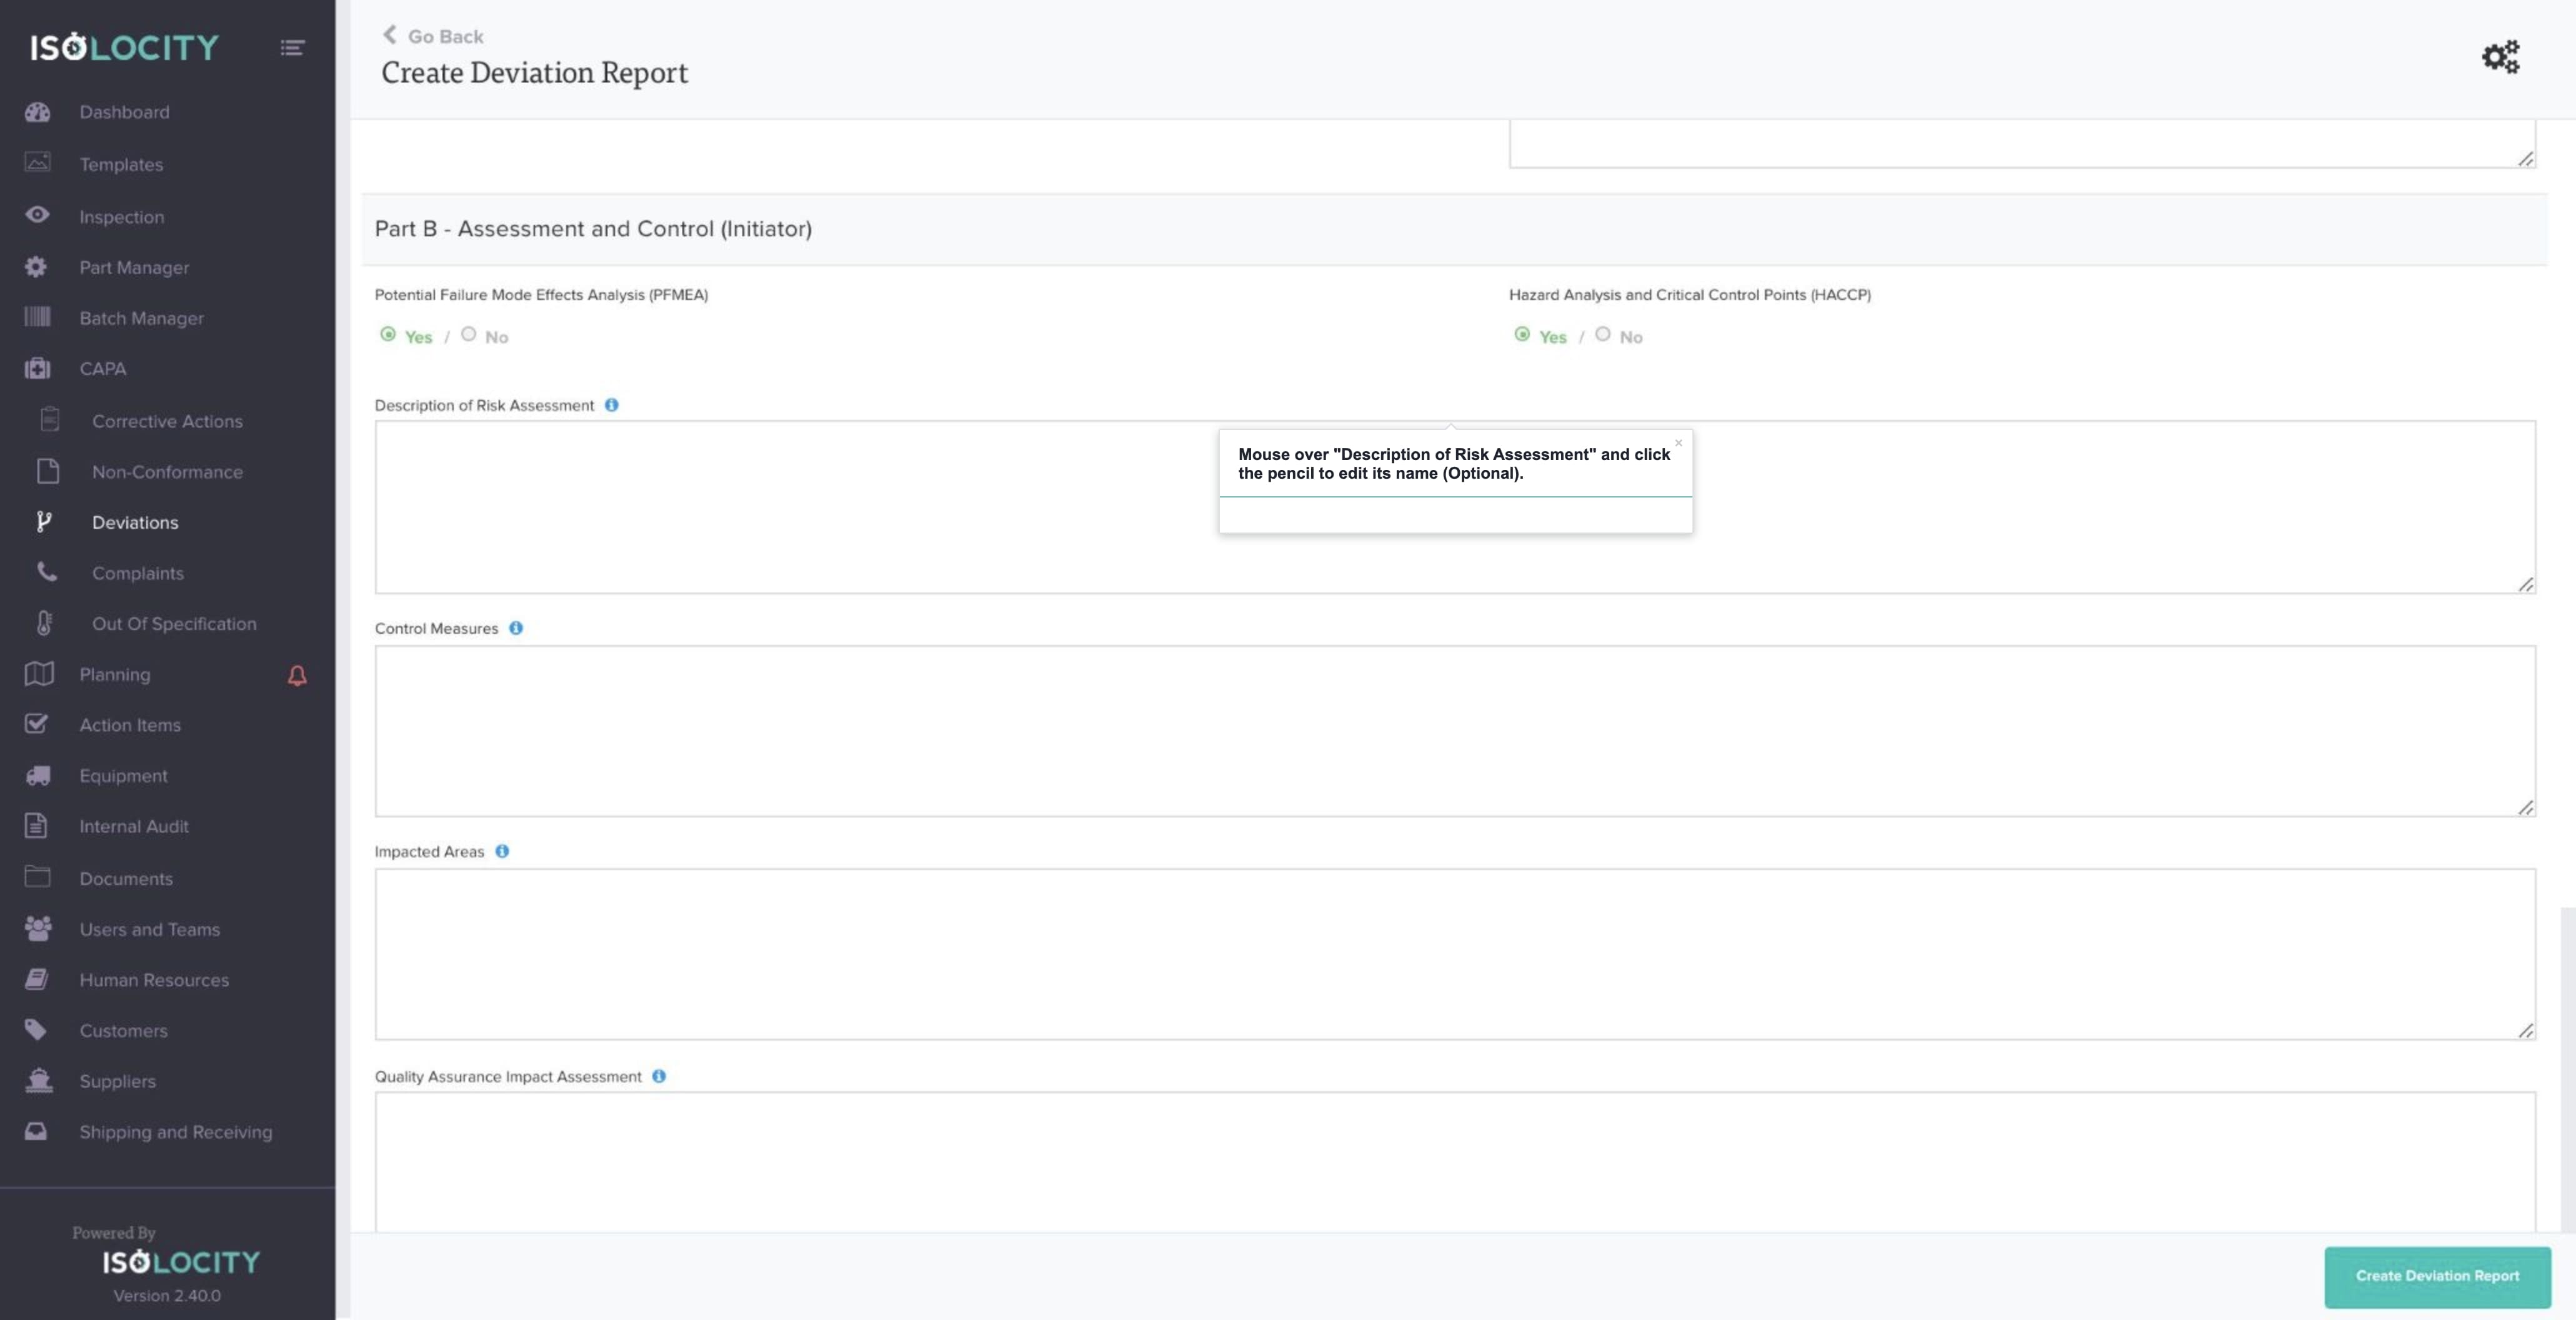
Step #55
Mouse over “Description of Risk Assessment” and click the pencil to edit its name (Optional).
Step #56
Enter “Control Measures”.
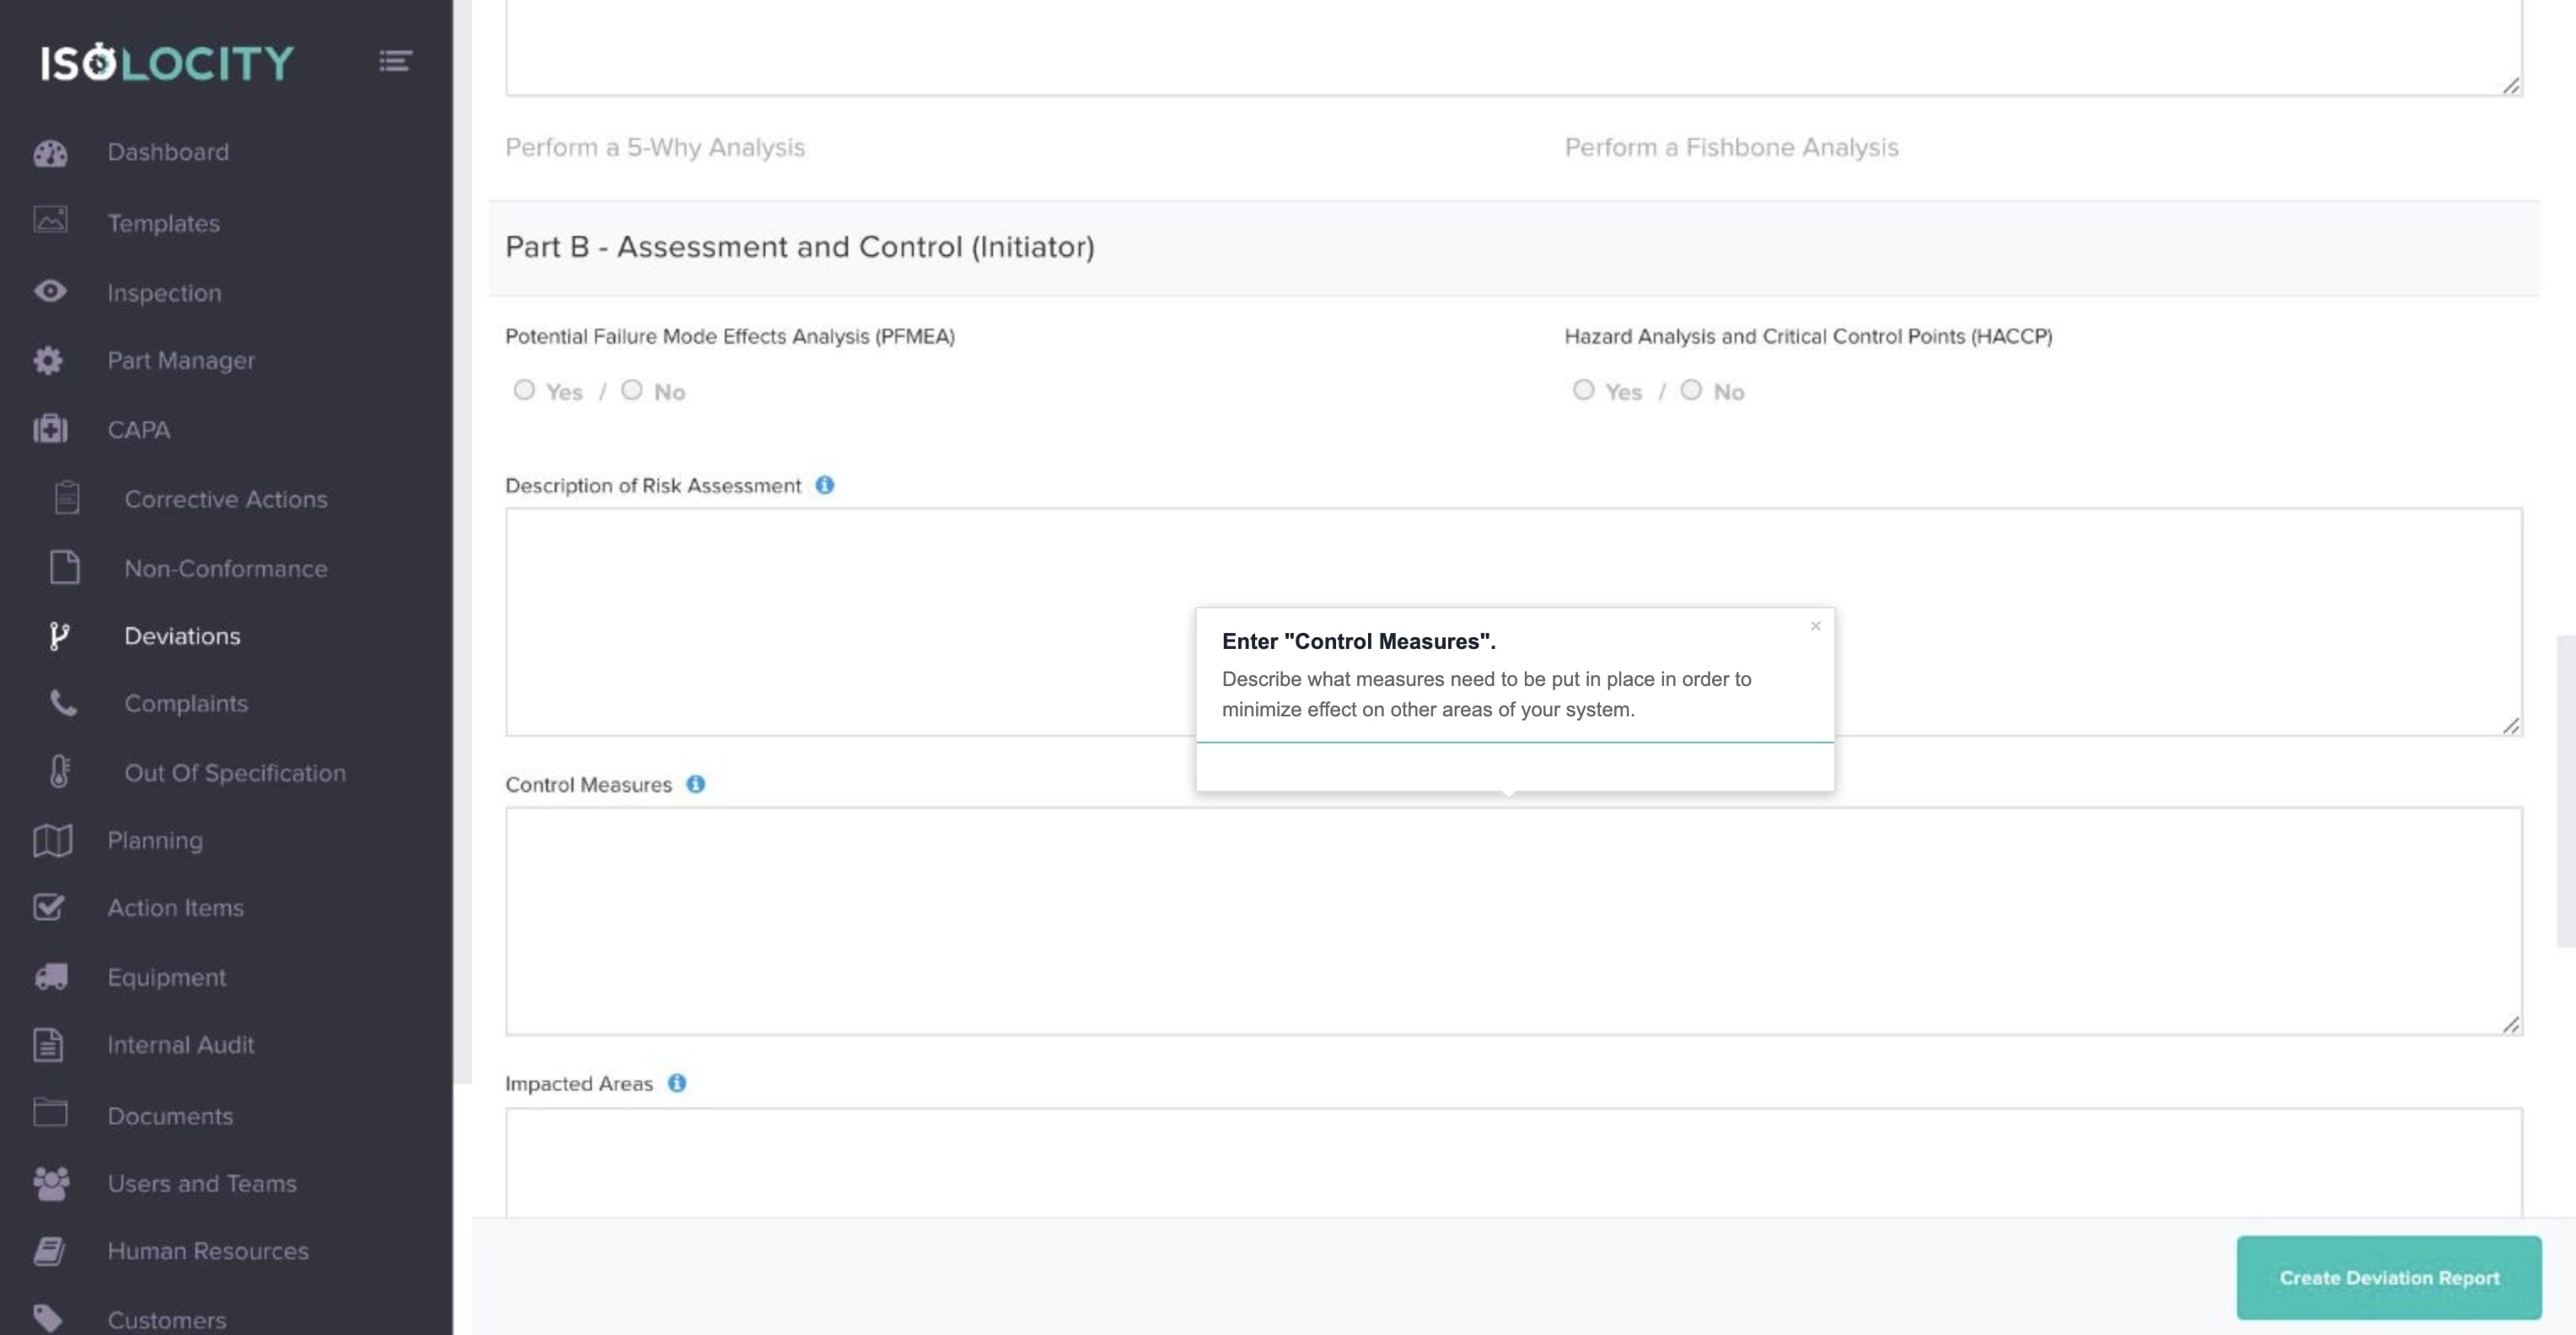
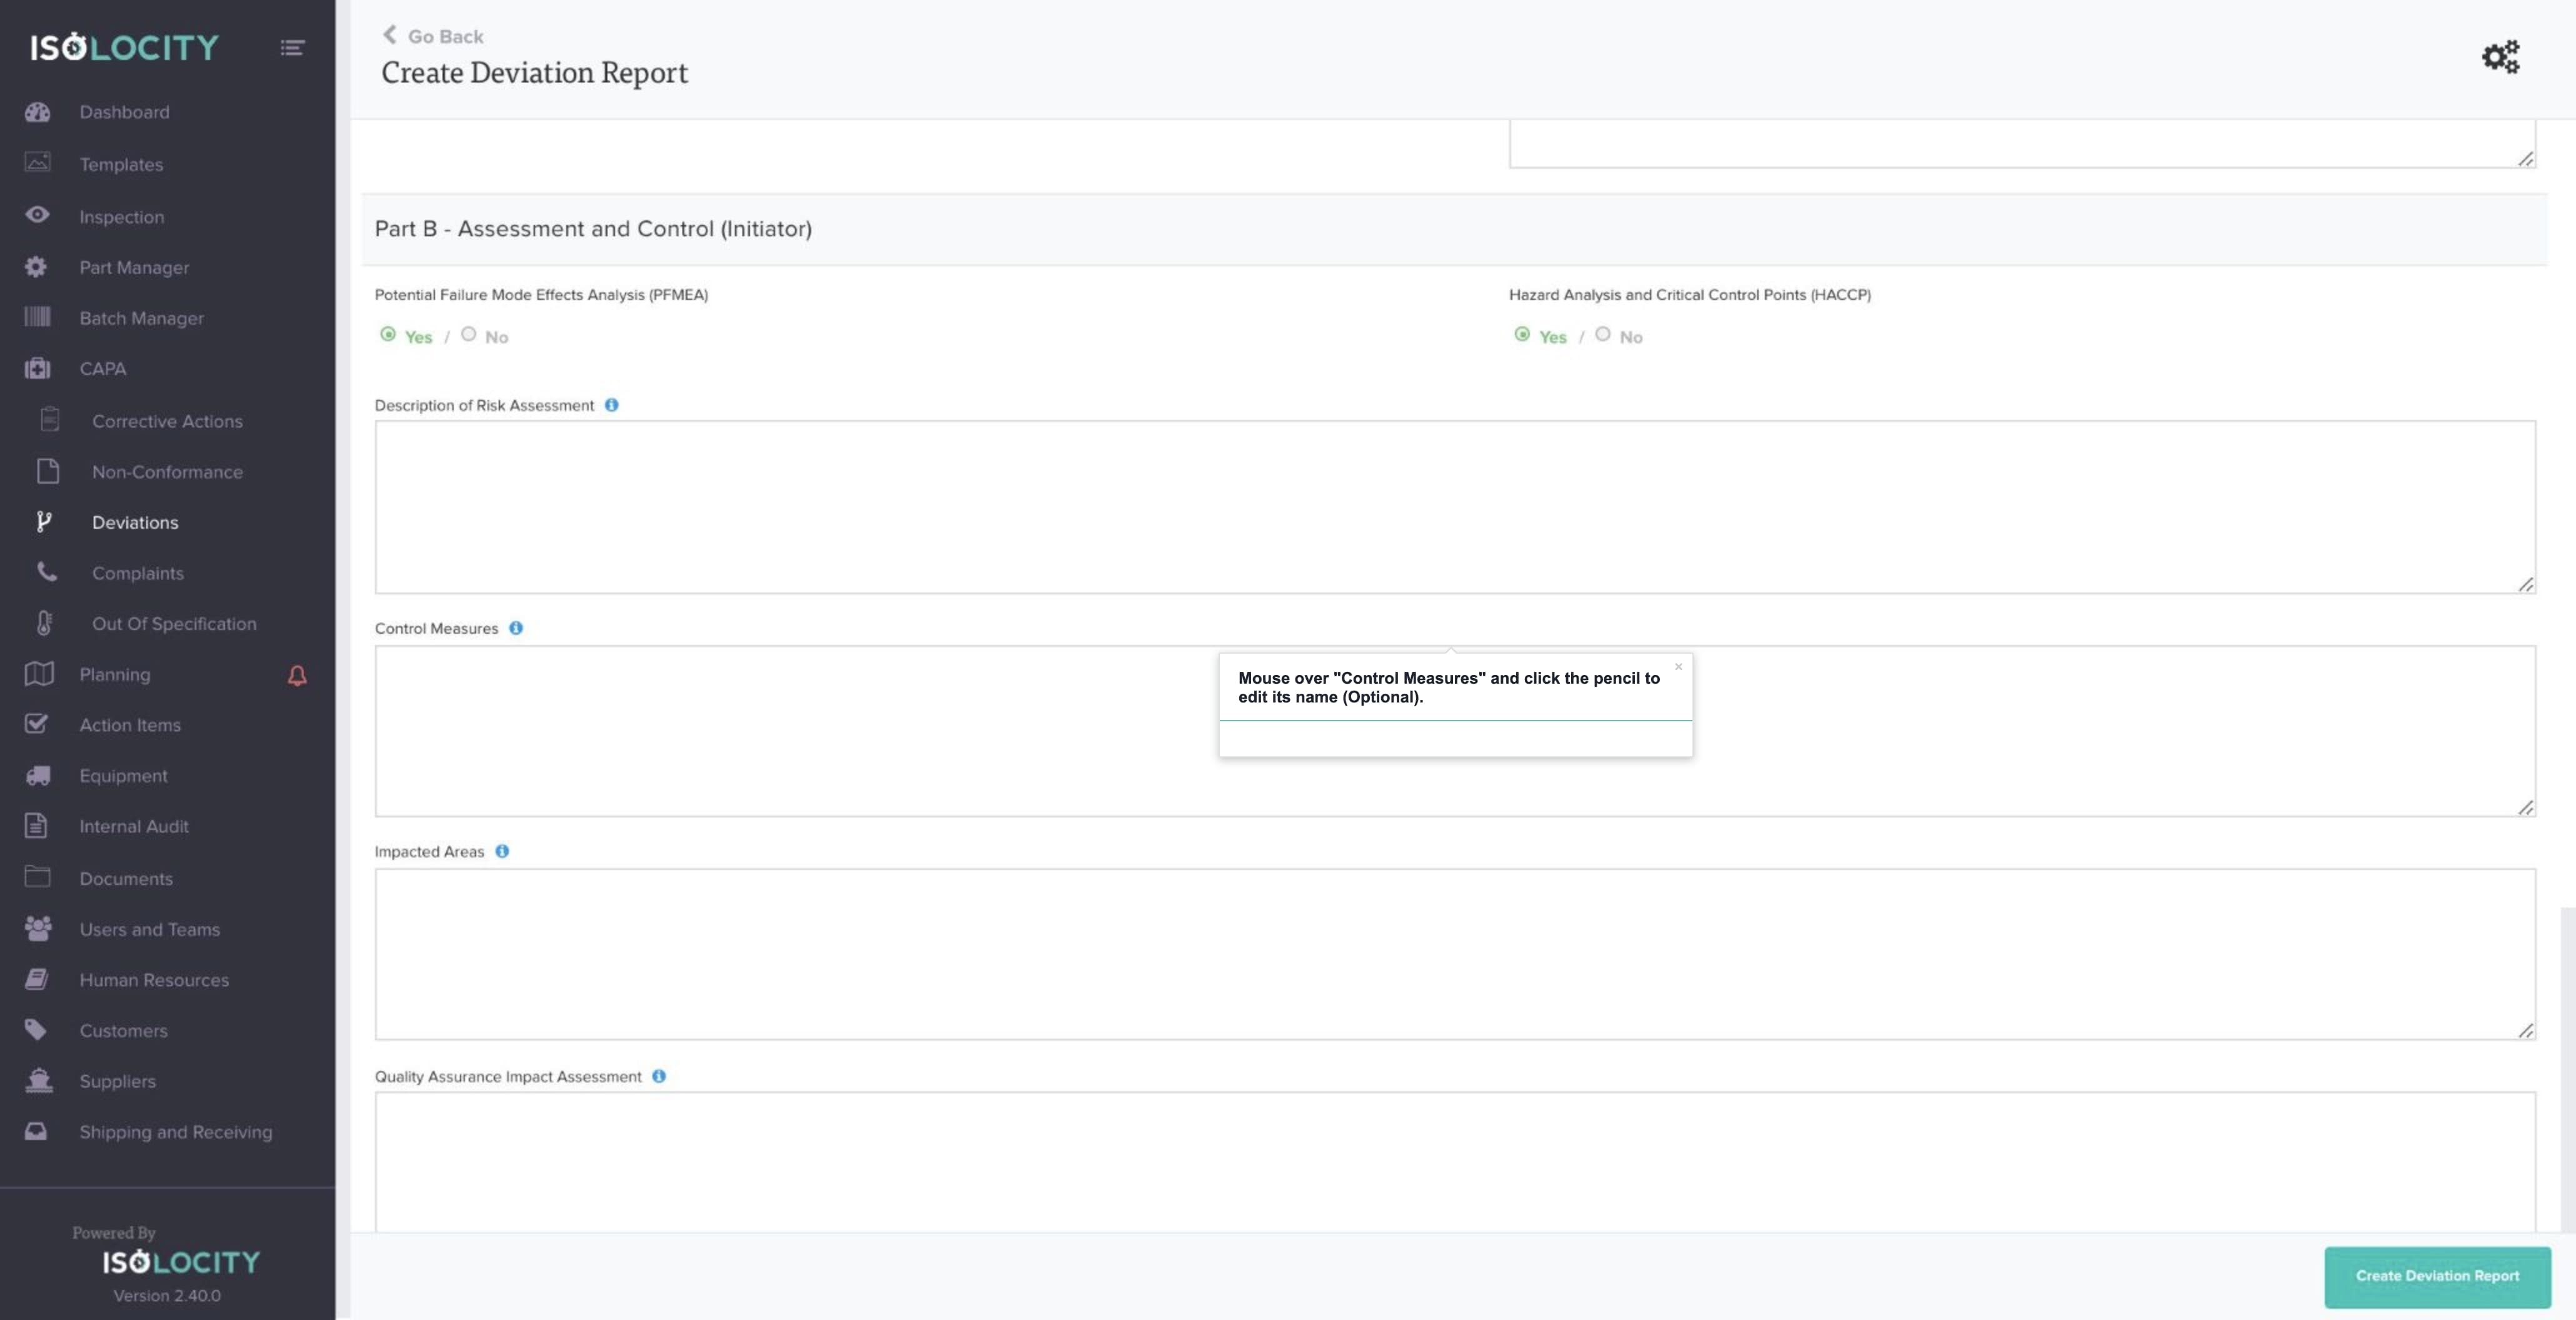
Step #57
Mouse over “Control Measures” and click the pencil to edit its name (Optional).
Step #58
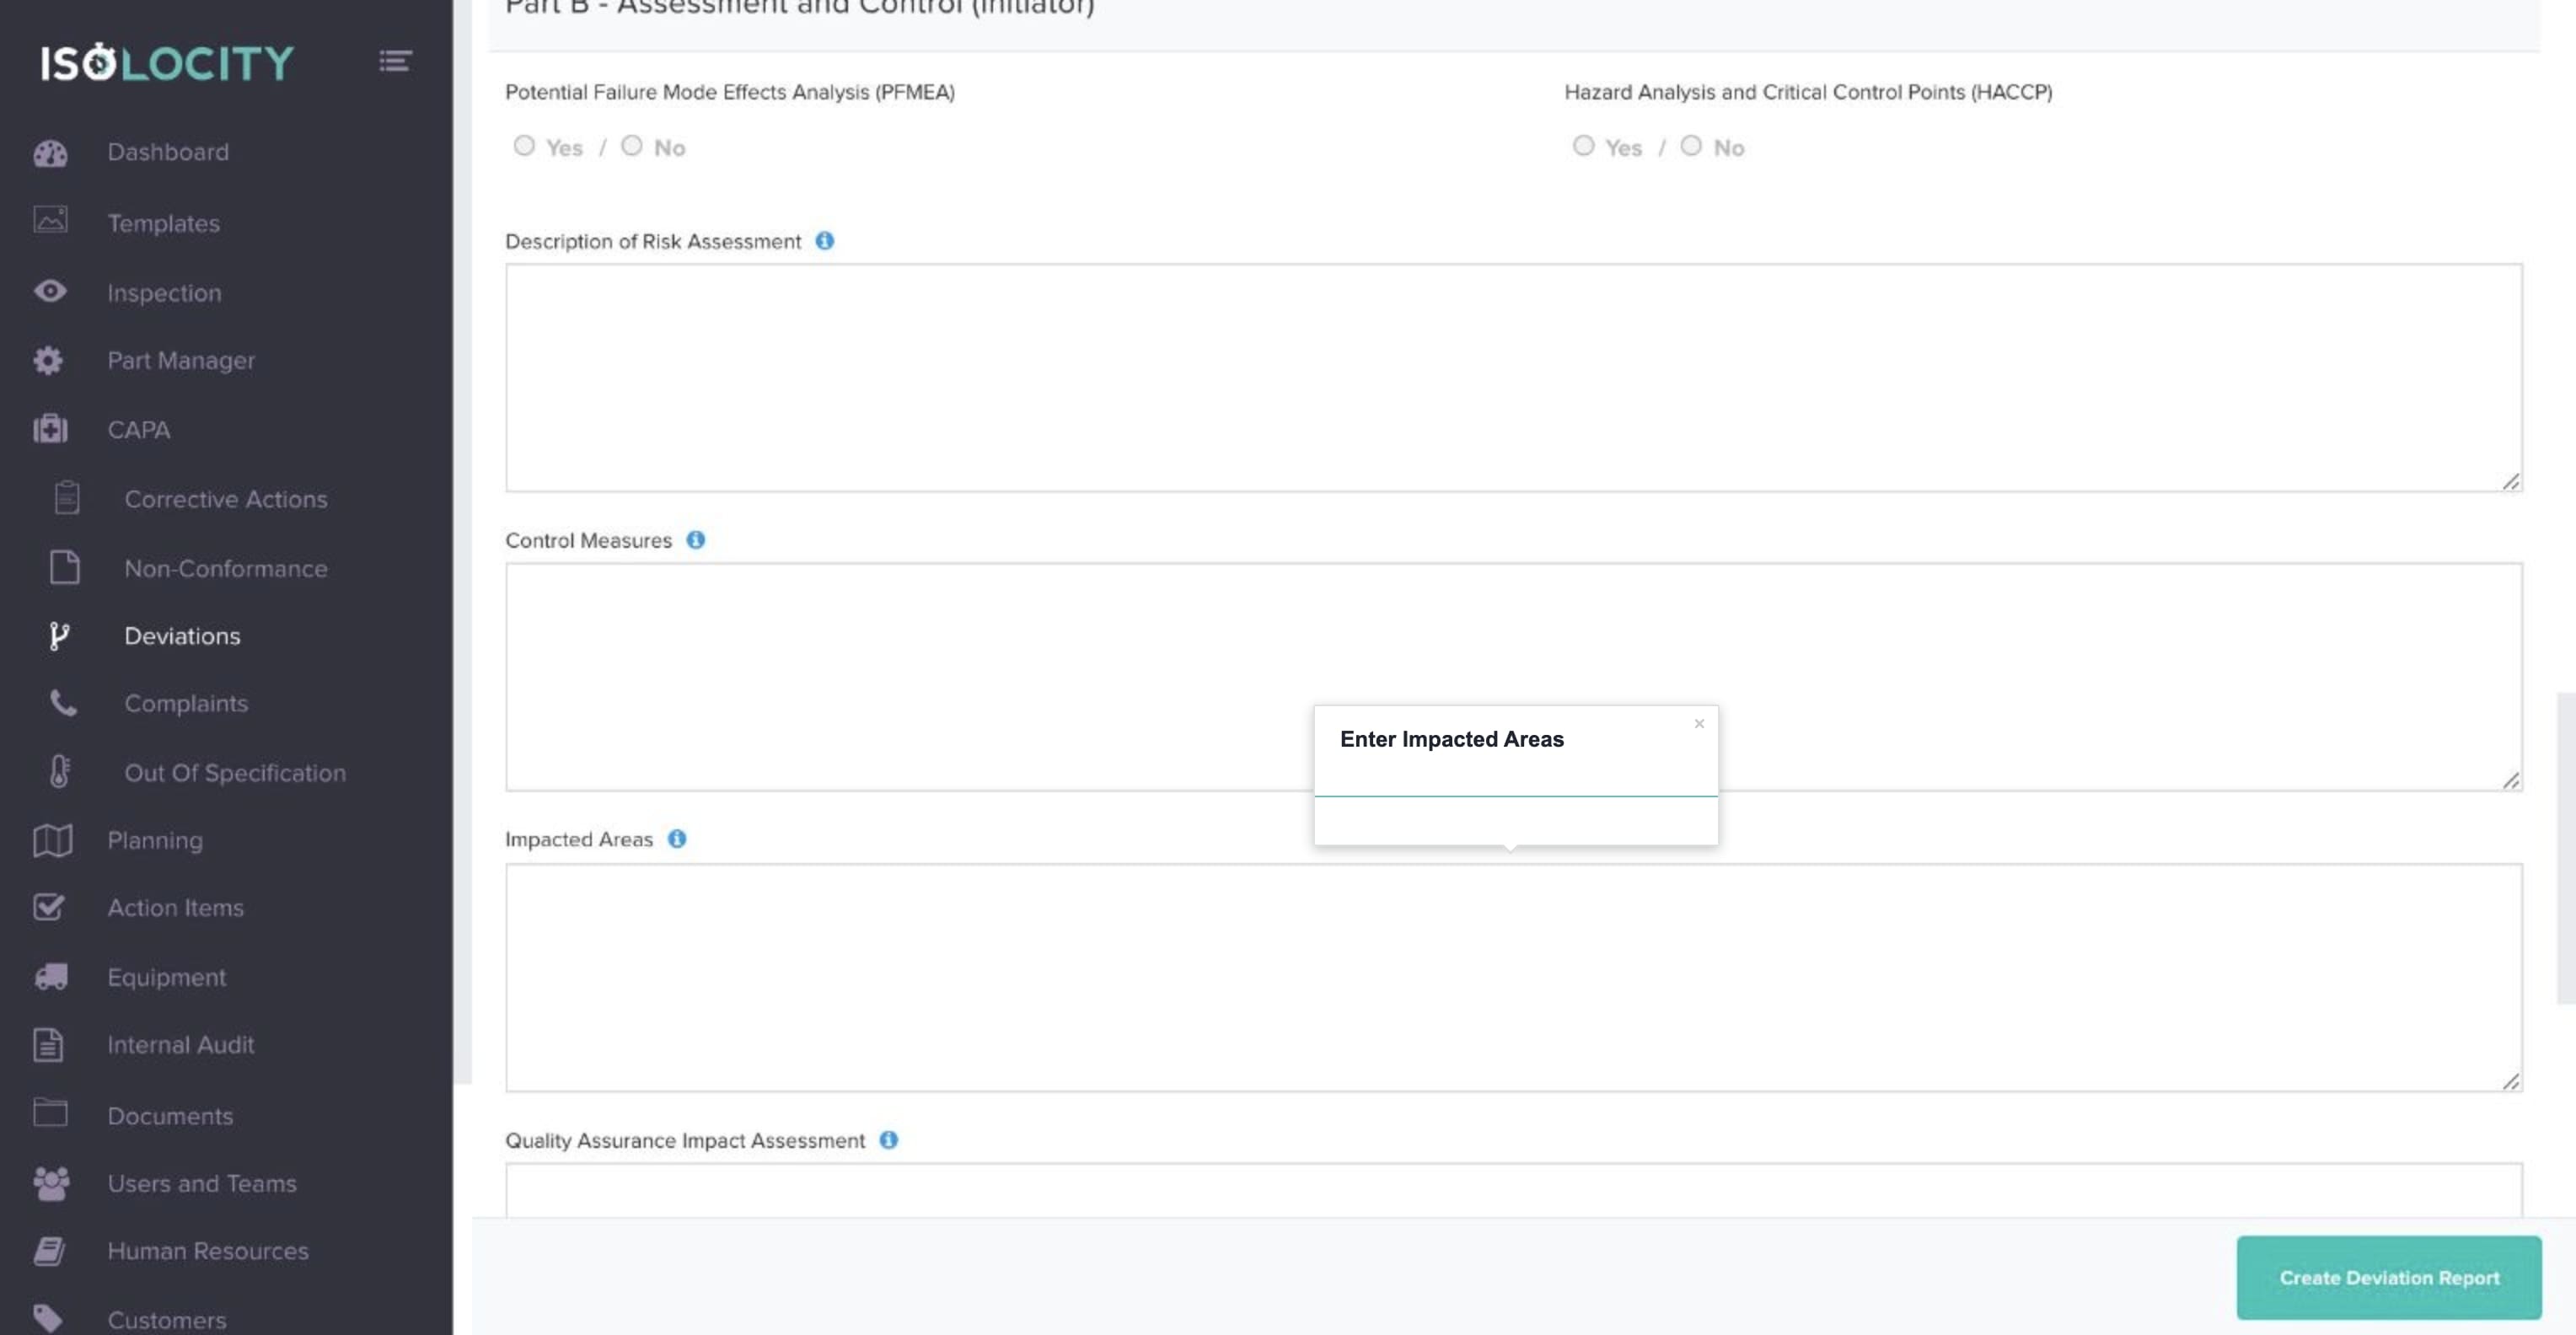
Enter Impacted Areas
Step #59
Mouse over “Impacted Areas” and click the pencil to edit its name (Optional).
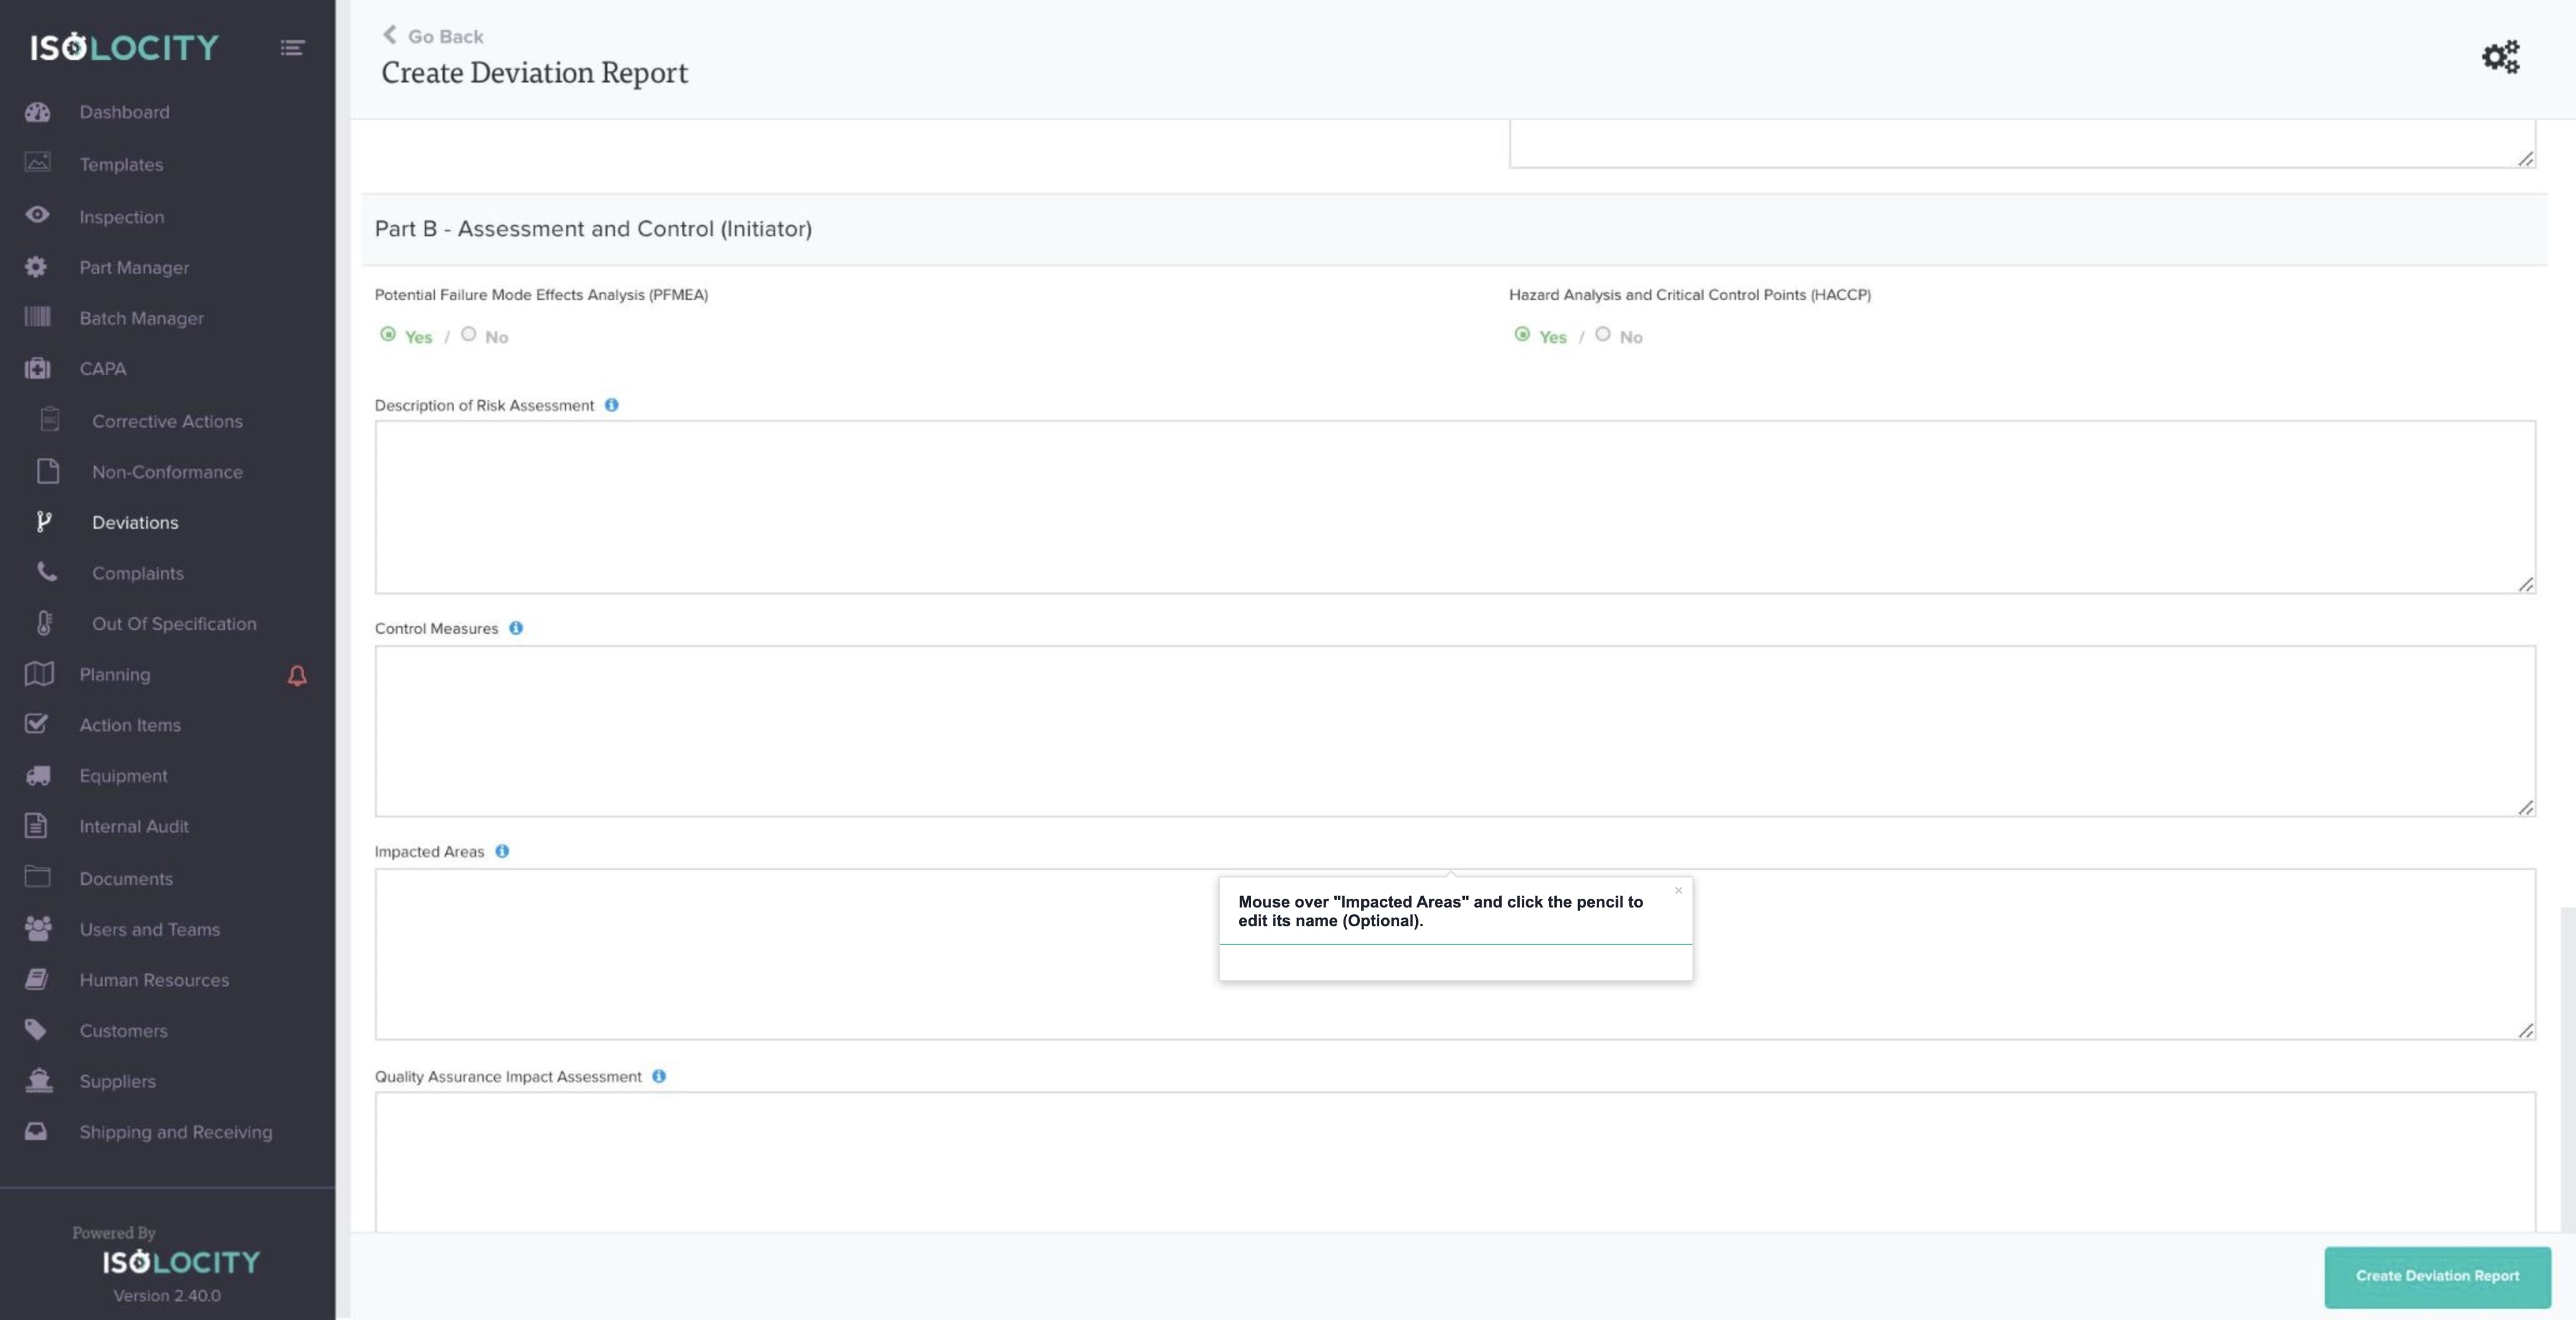
Step #60
Enter Quality Assurance Impact Assessment

Step #61
Mouse over “Quality Assurance Impact Assessment” and click the pencil to edit its name (Optional).
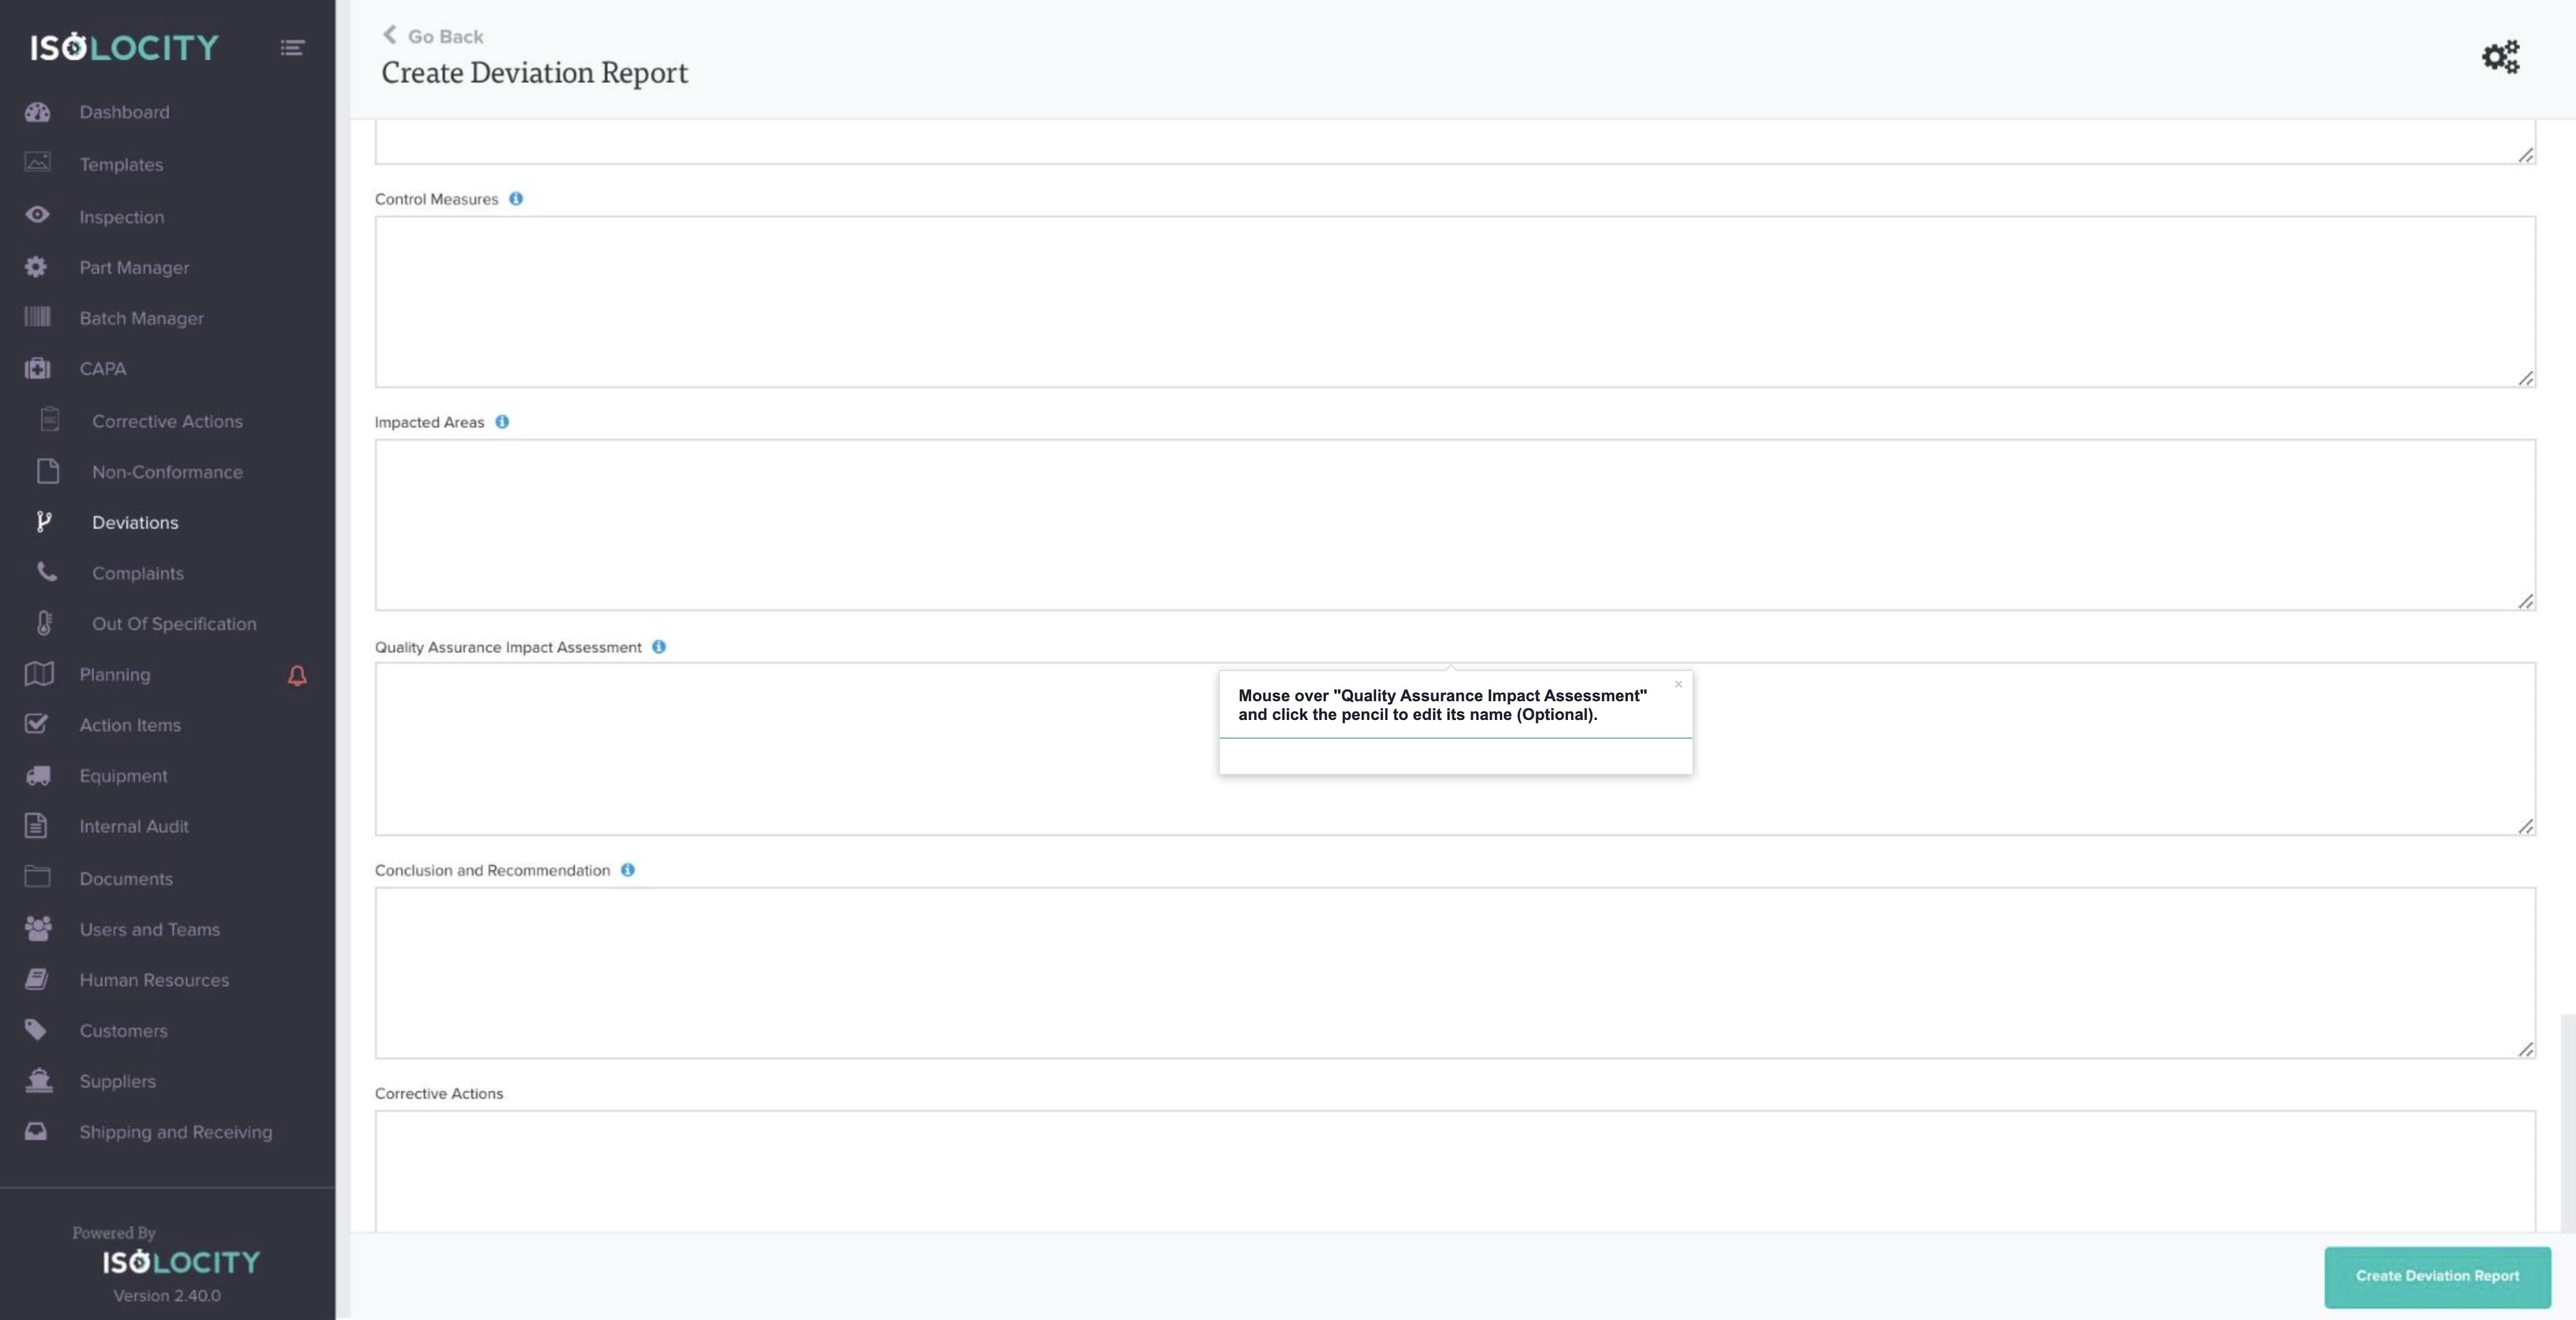
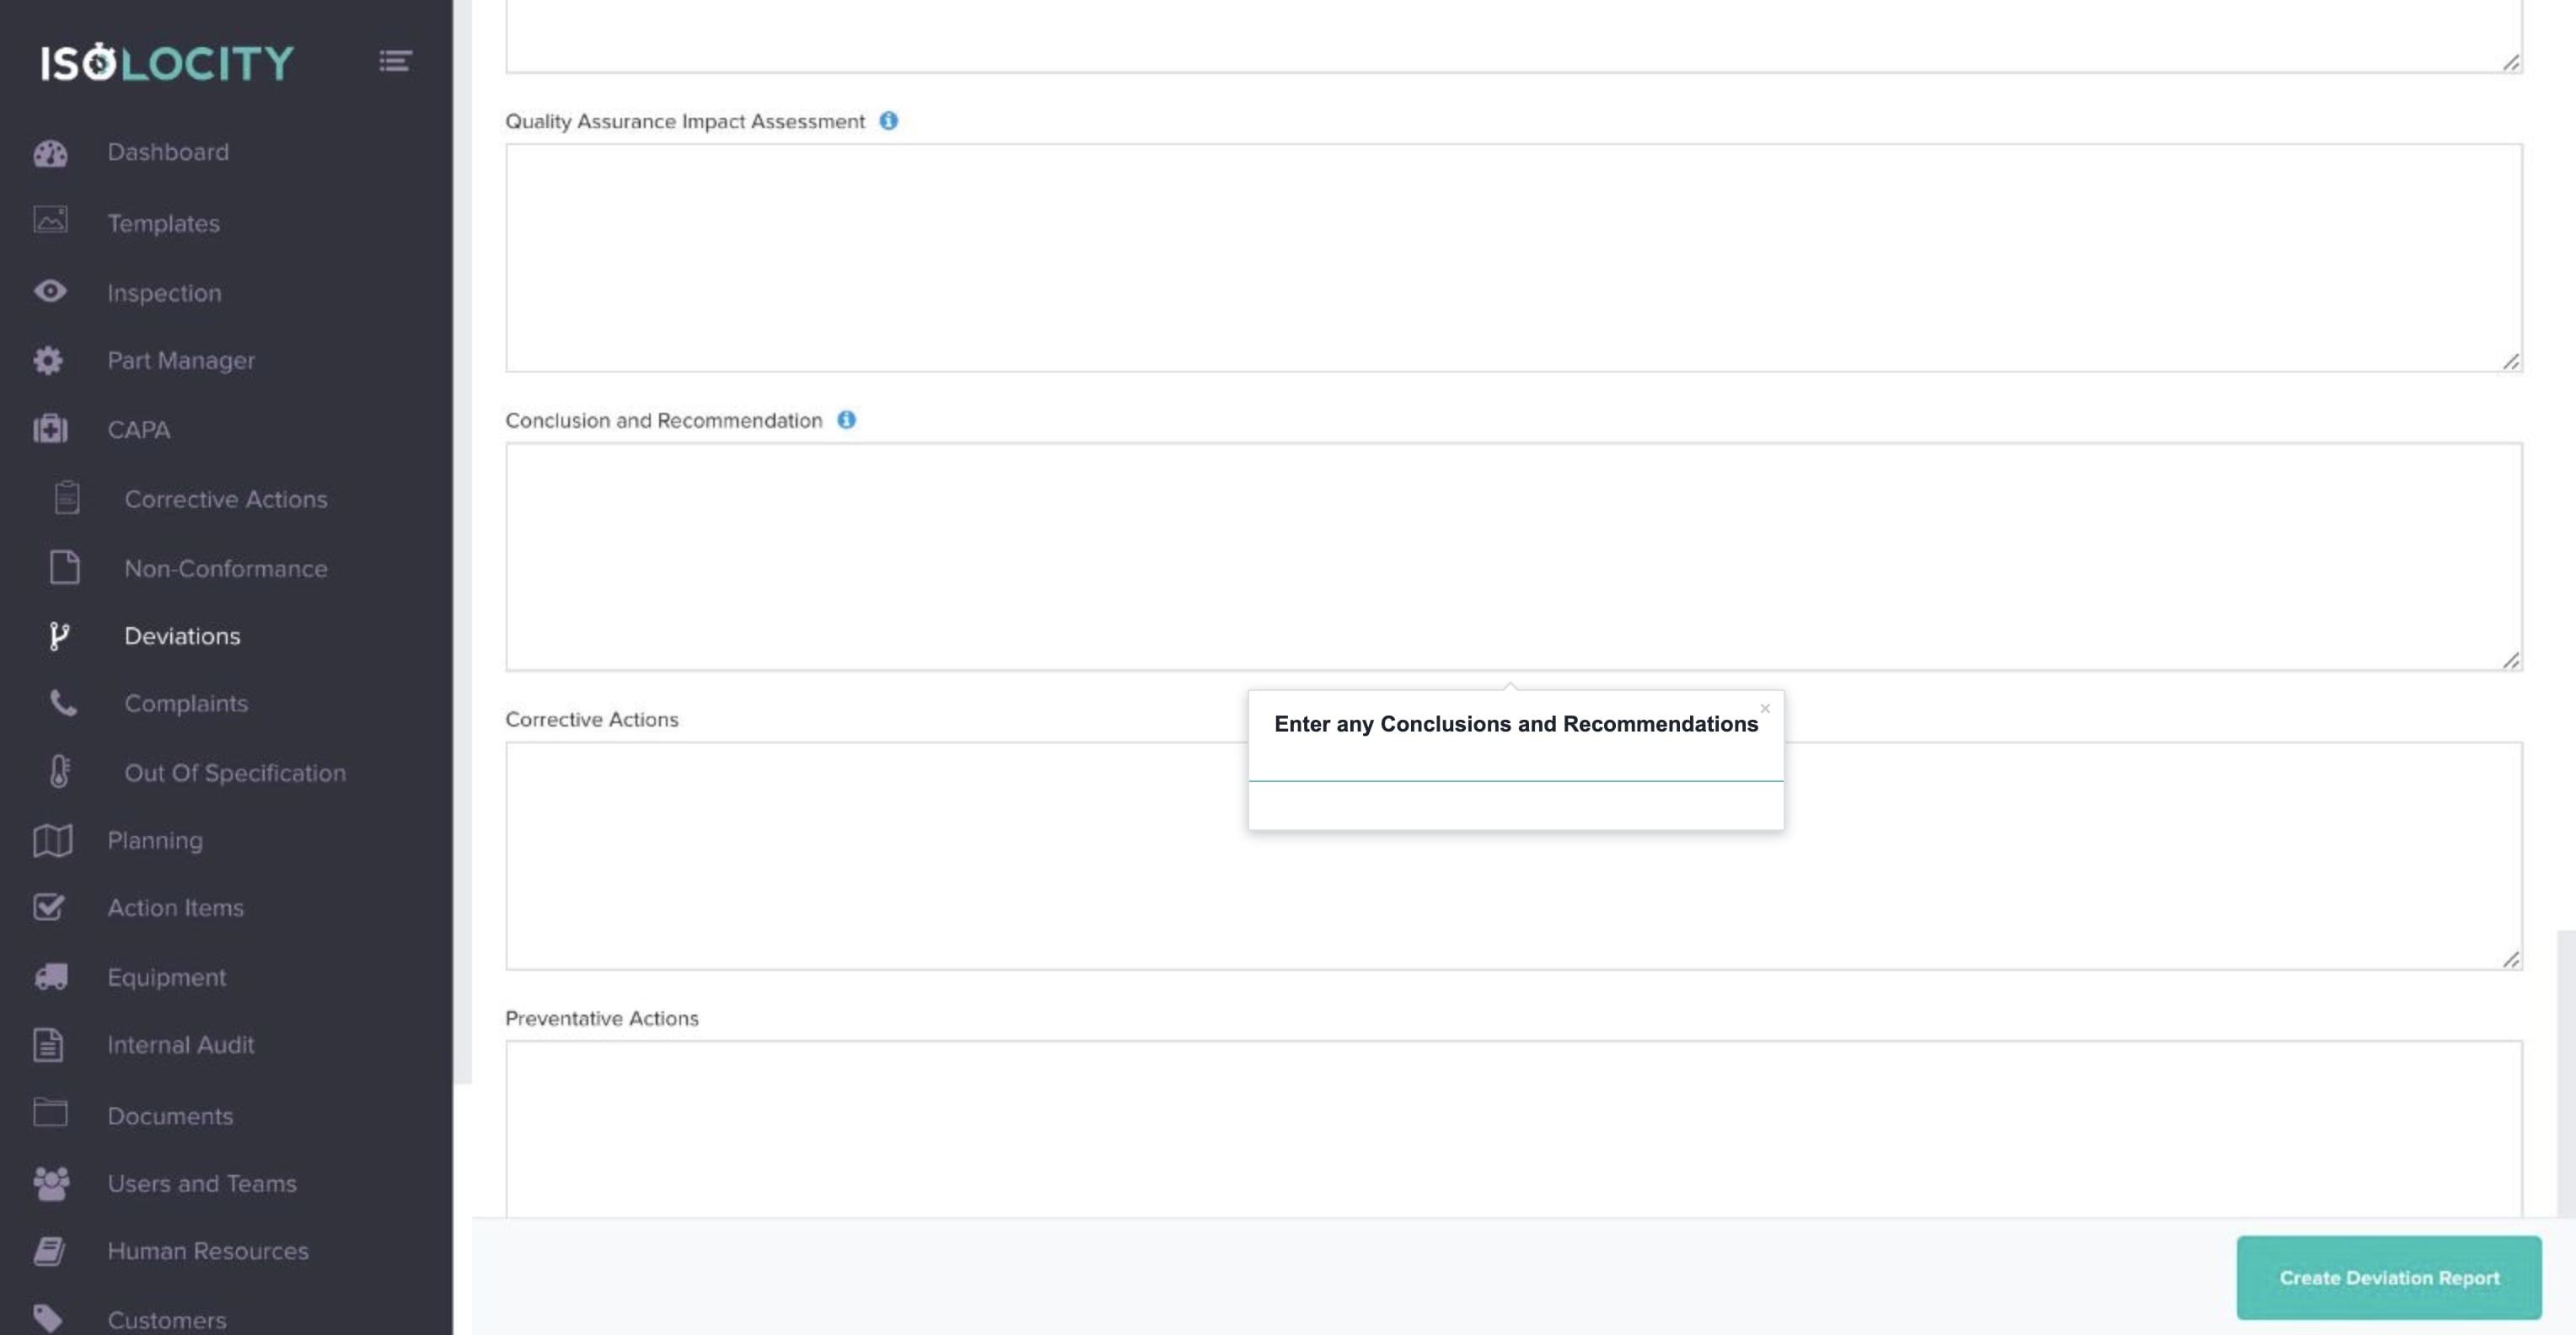
Step #62
Enter any Conclusions and Recommendations
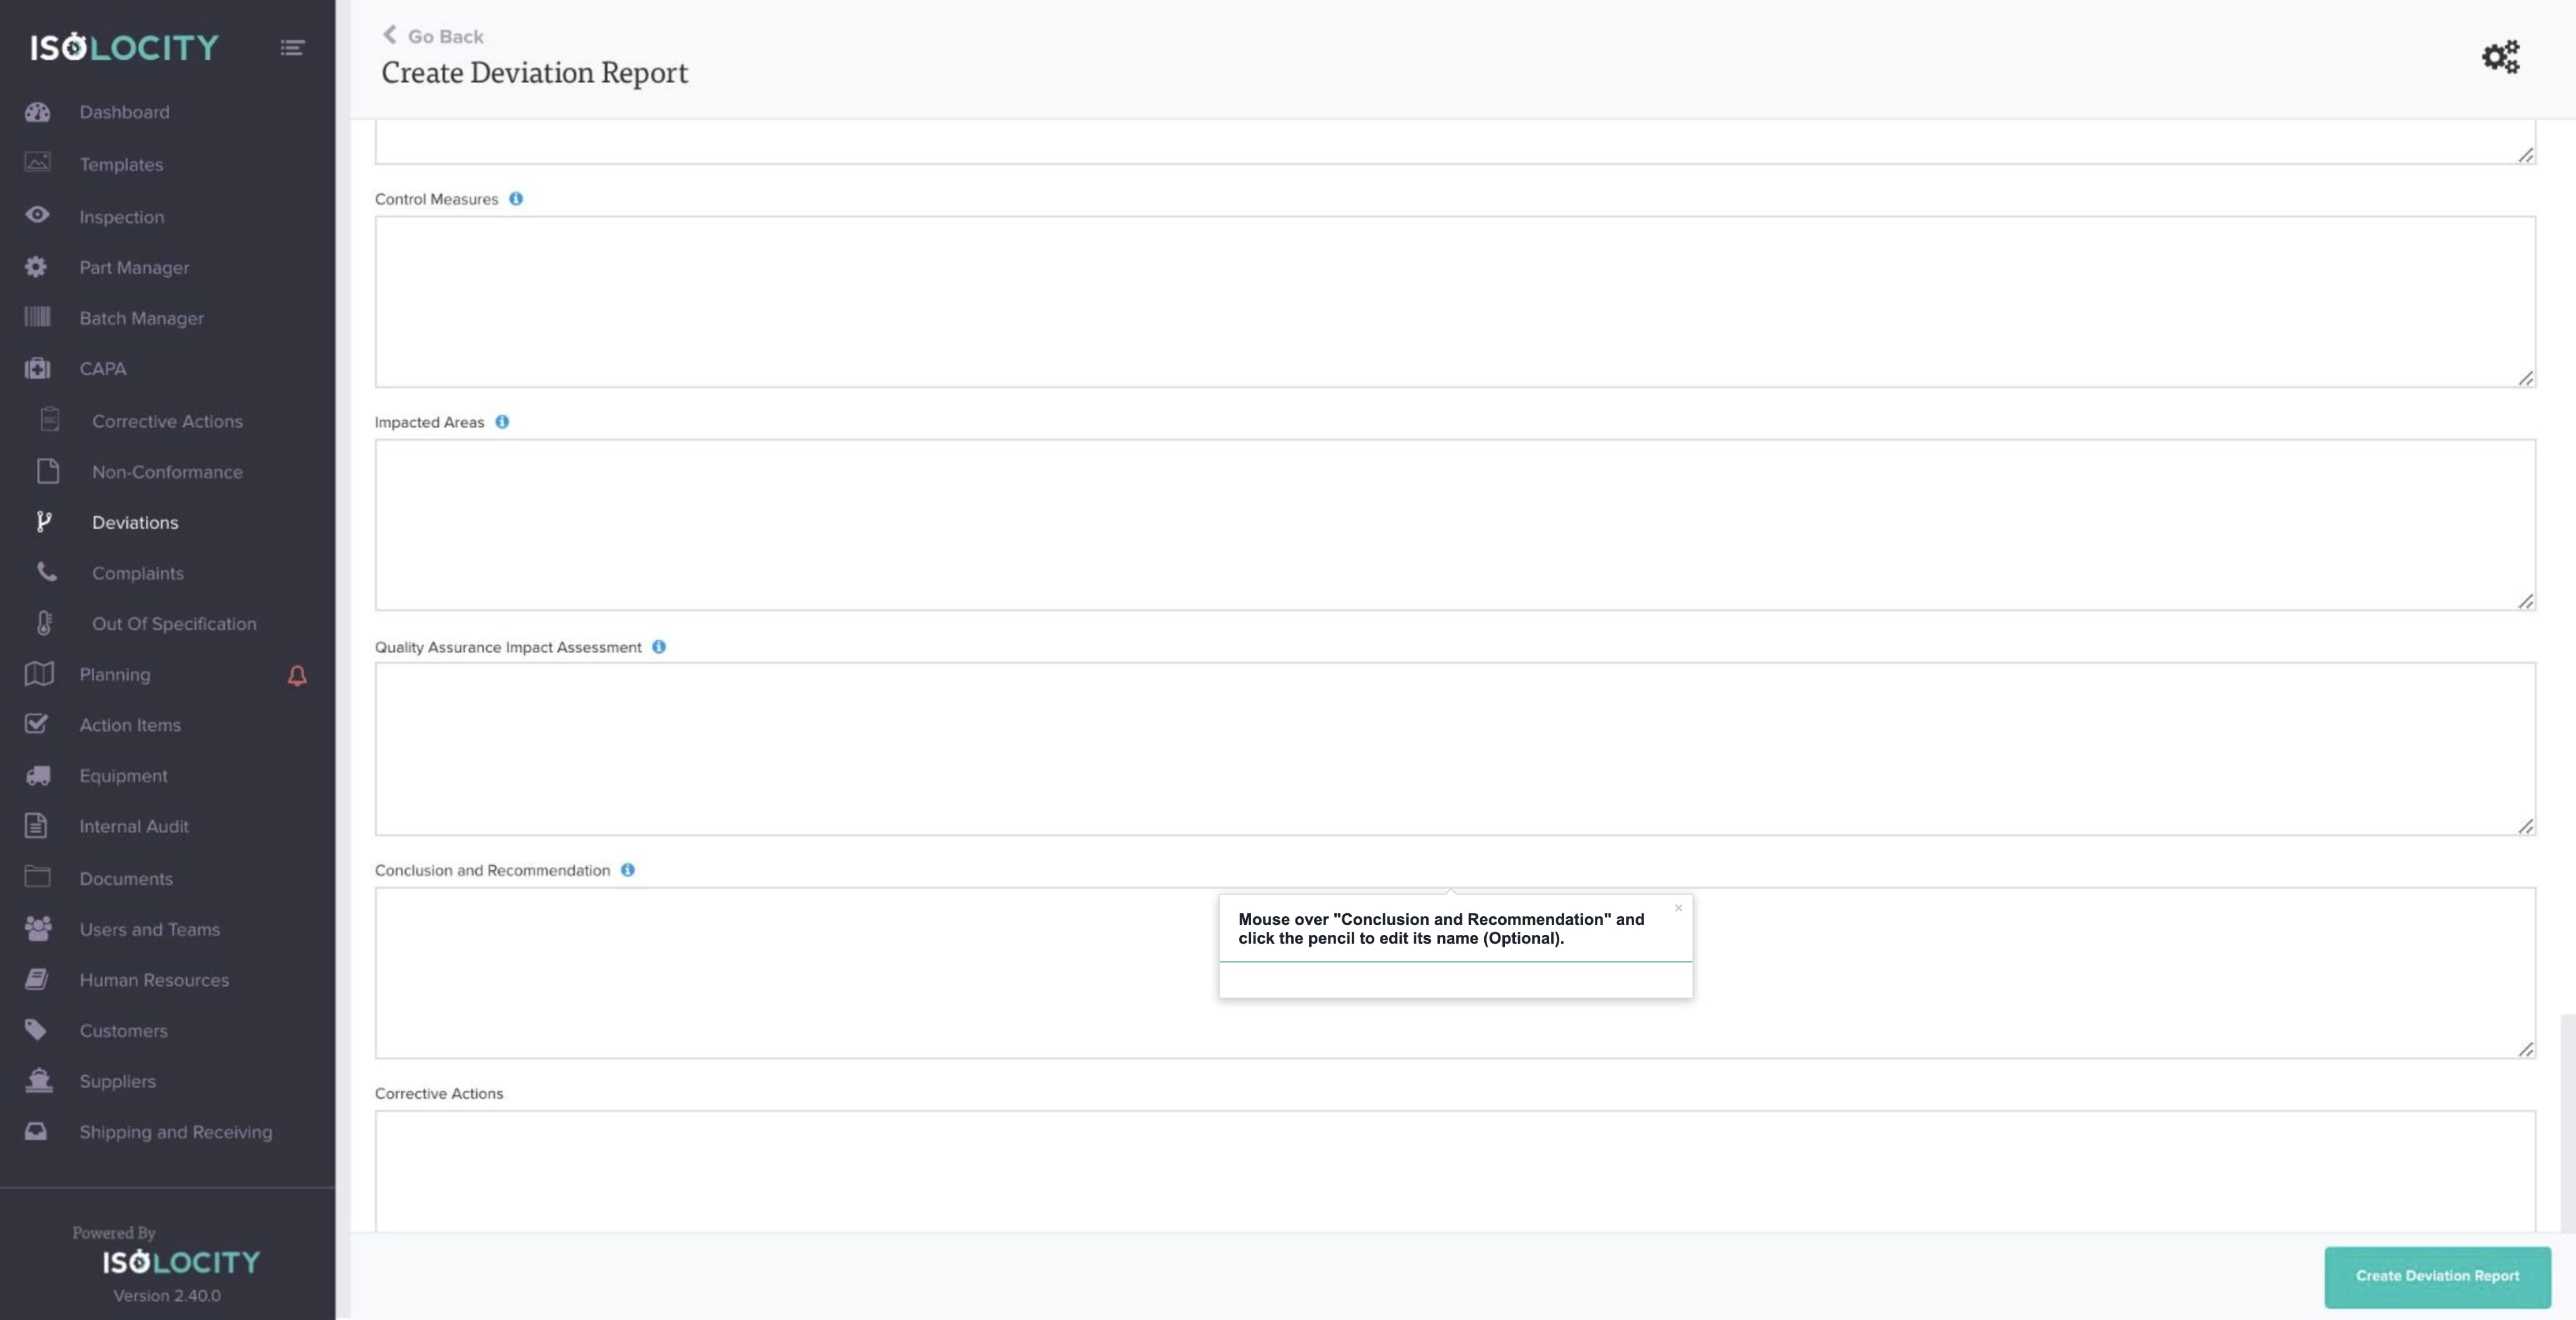
Step #63
Mouse over “Conclusion and Recommendation” and click the pencil to edit its name (Optional).
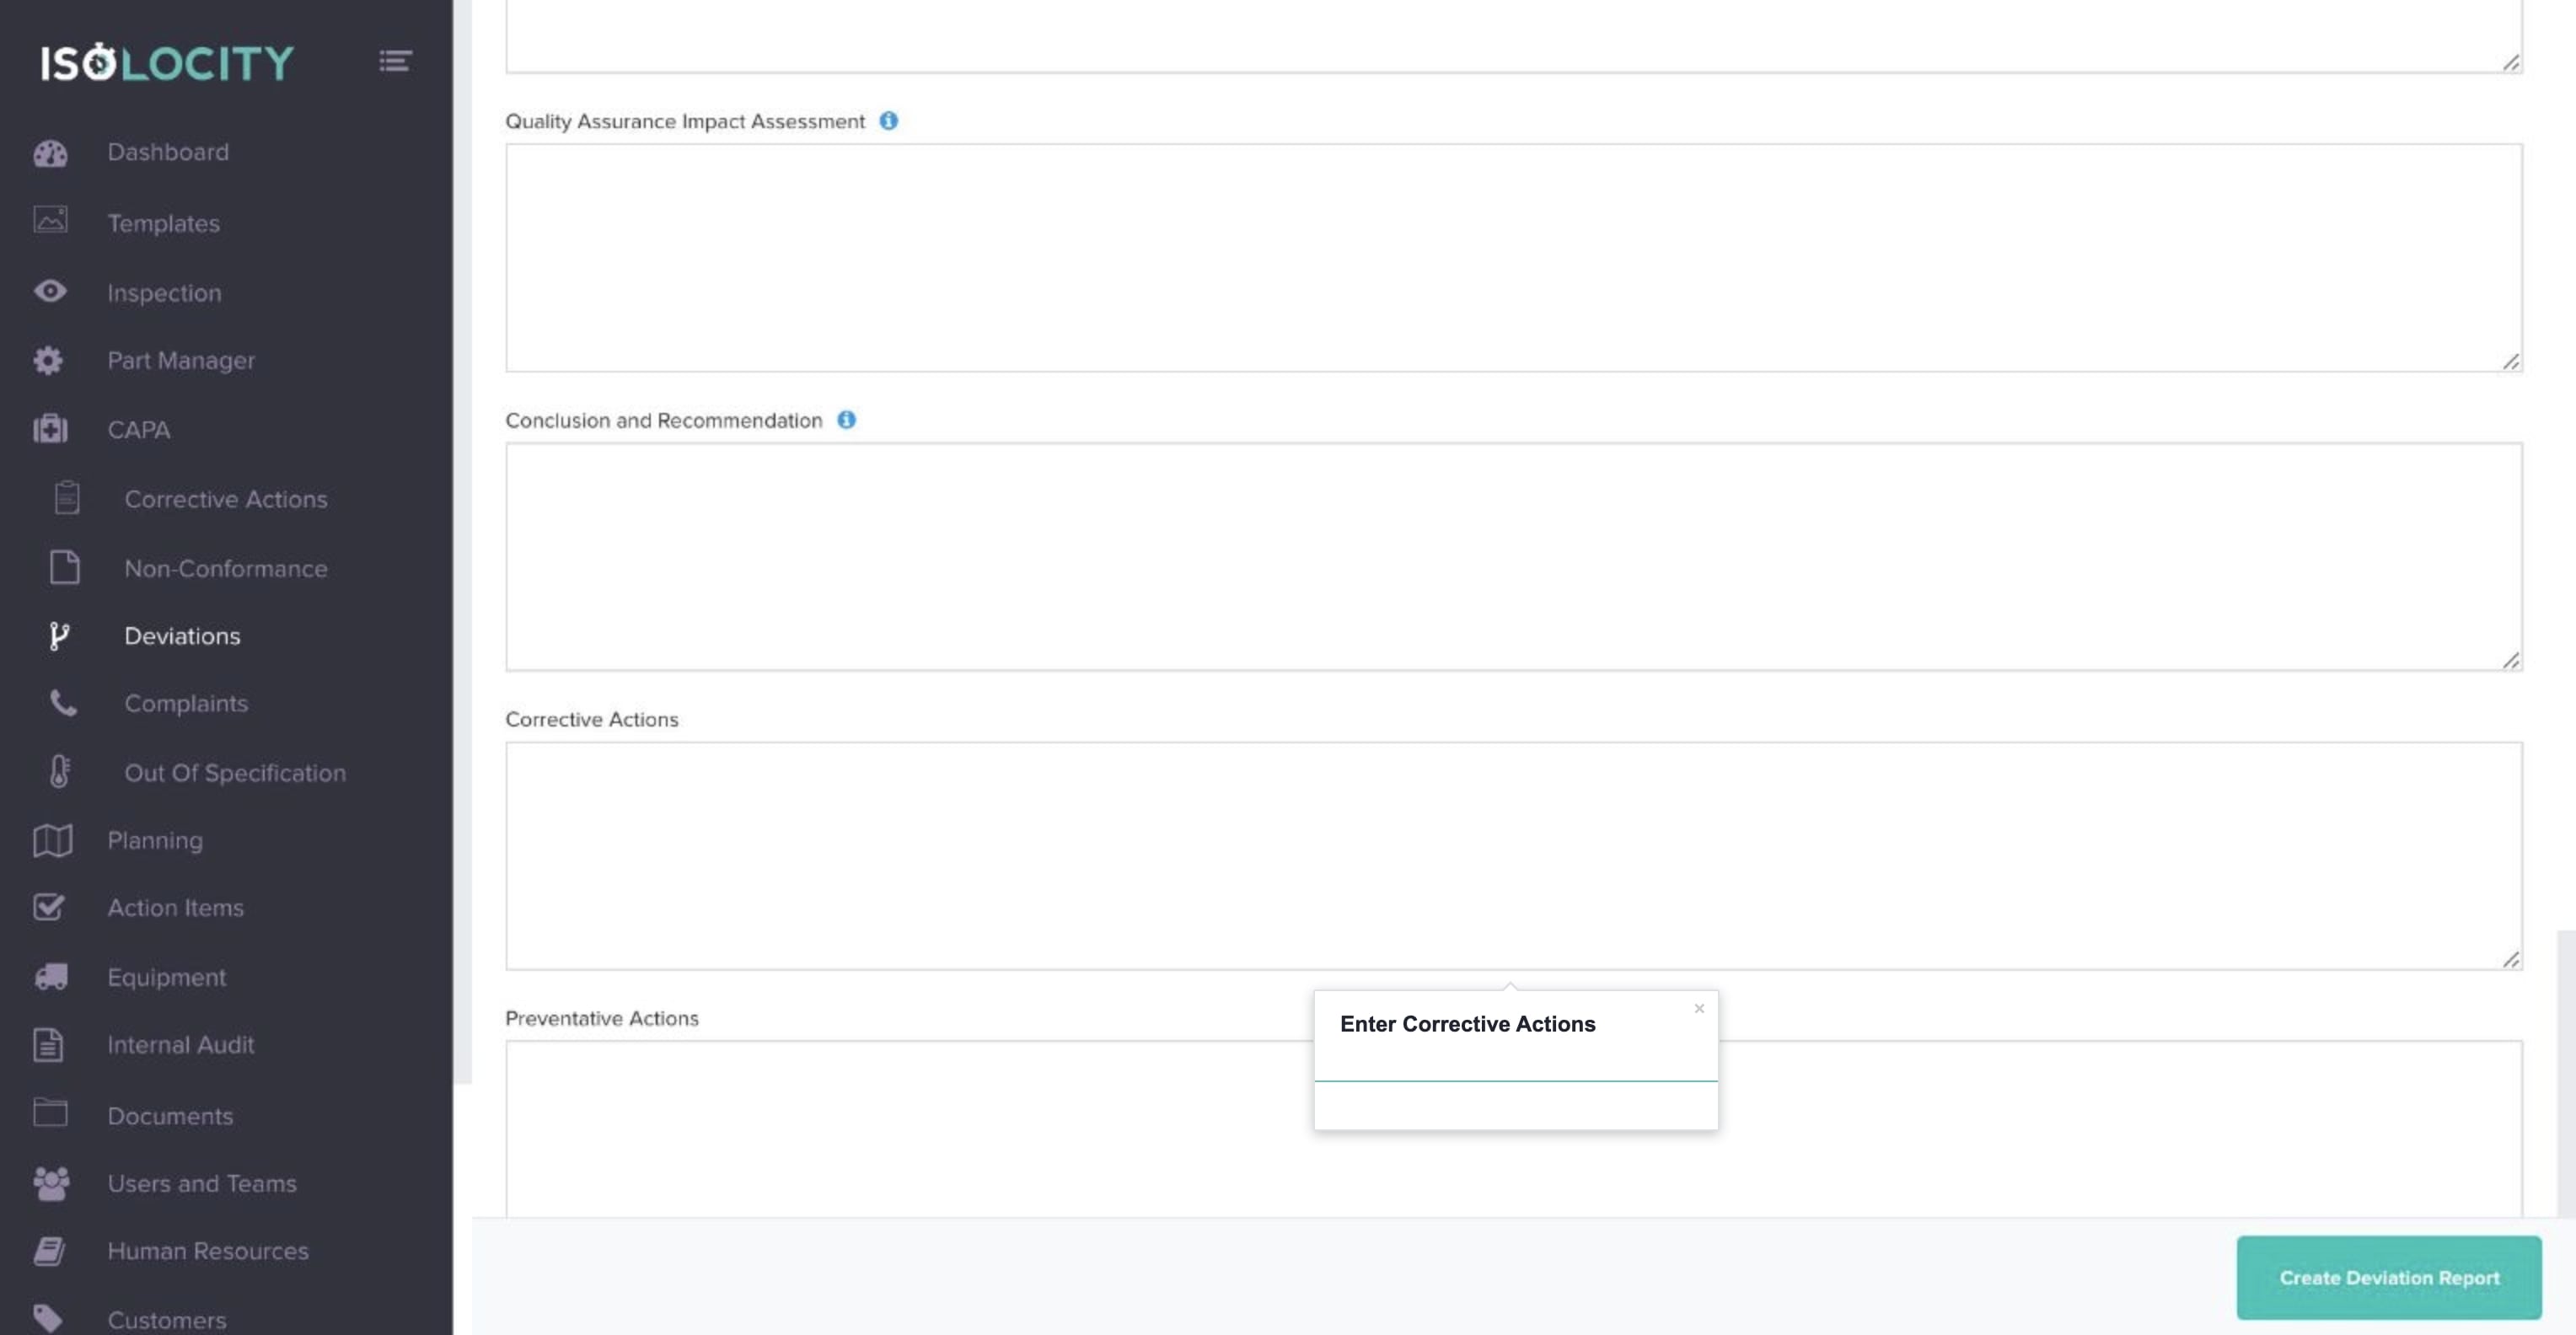
Step #64
Enter Corrective Actions
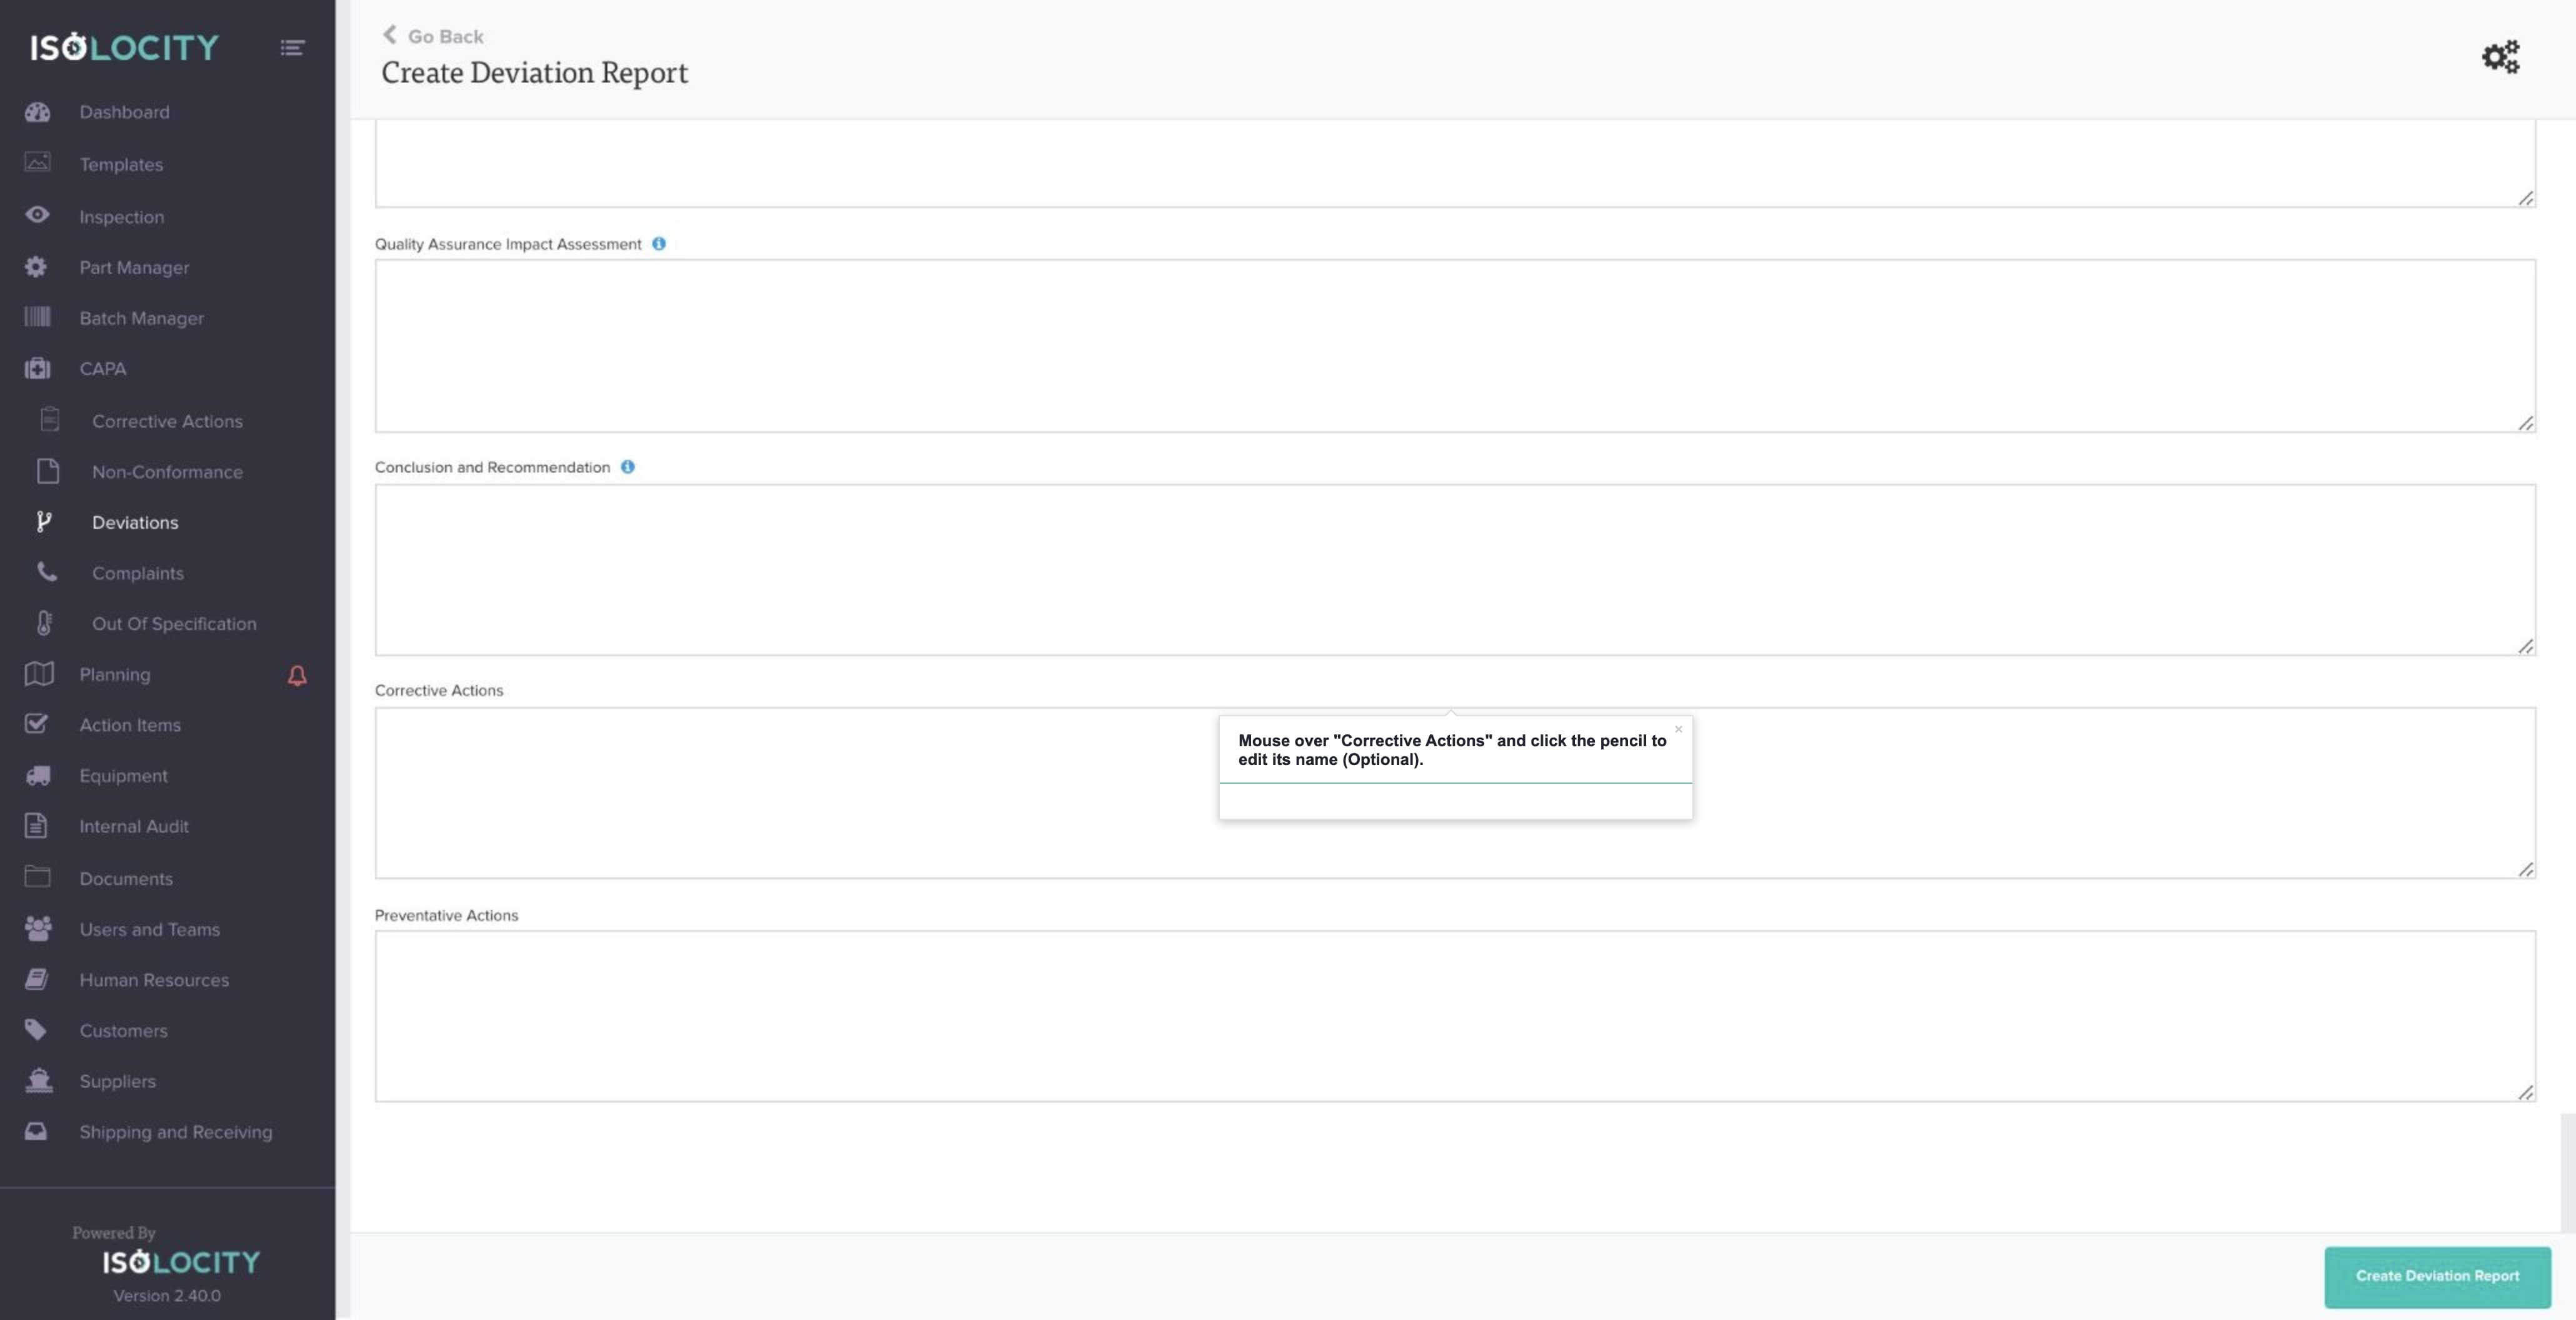
Step #65
Mouse over “Corrective Actions” and click the pencil to edit its name (Optional).
Step #66
Enter Preventative Actions
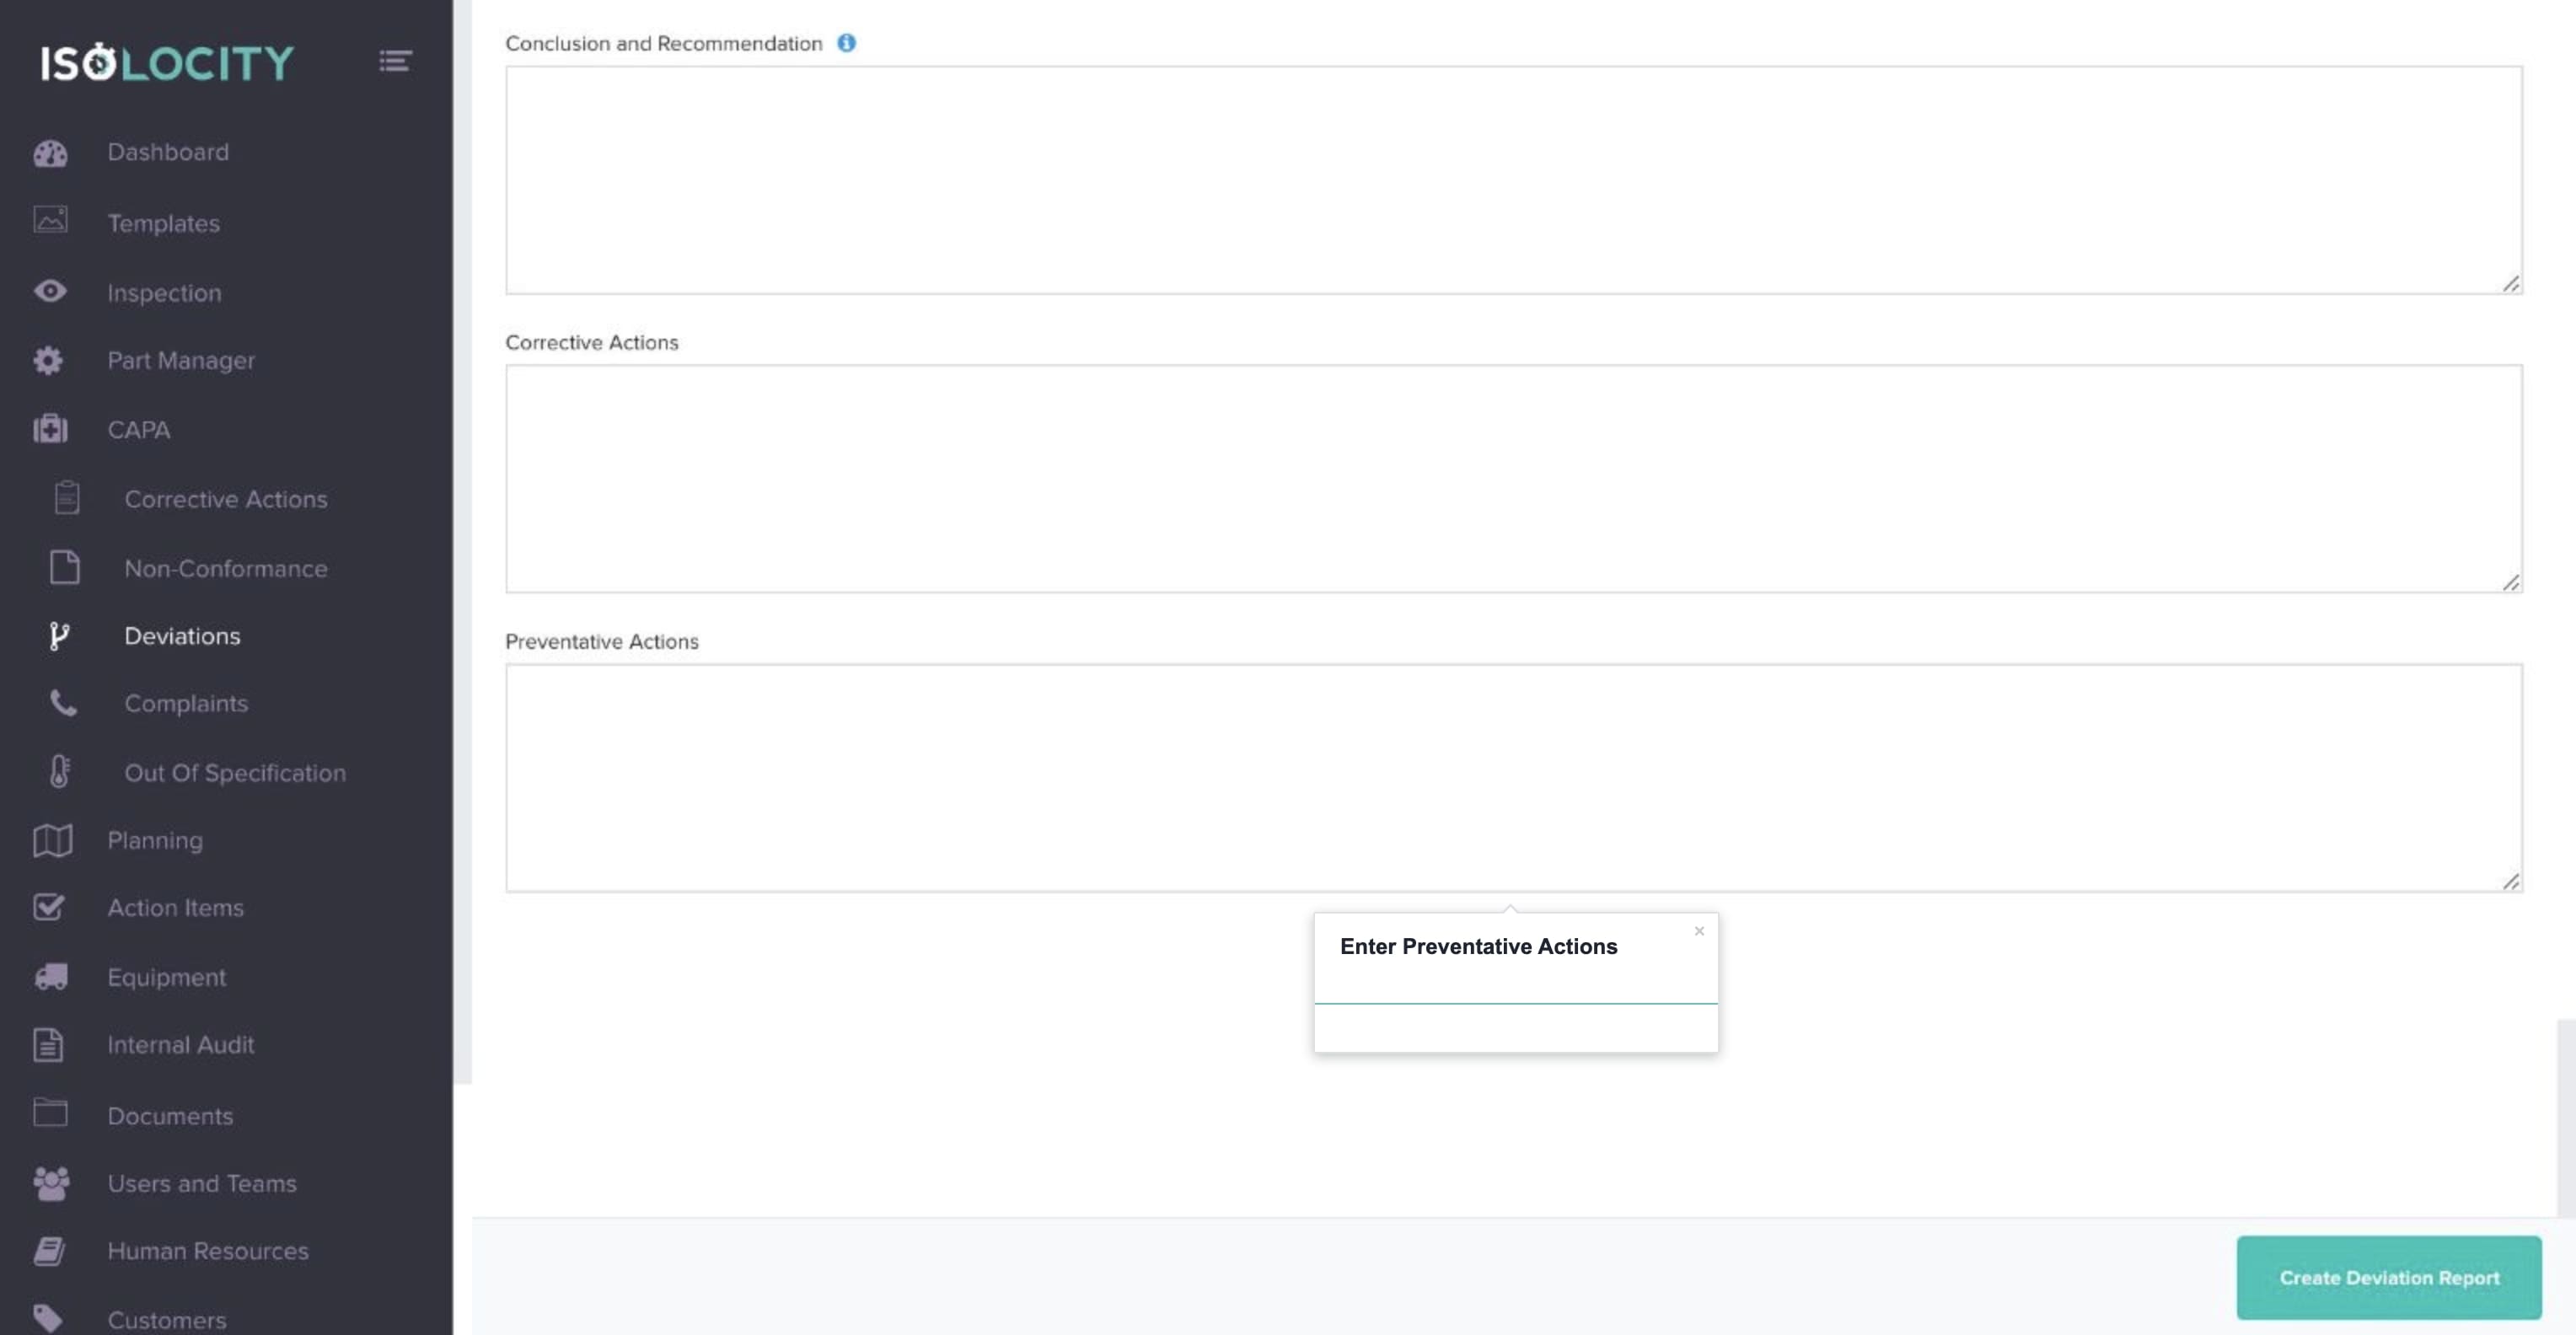
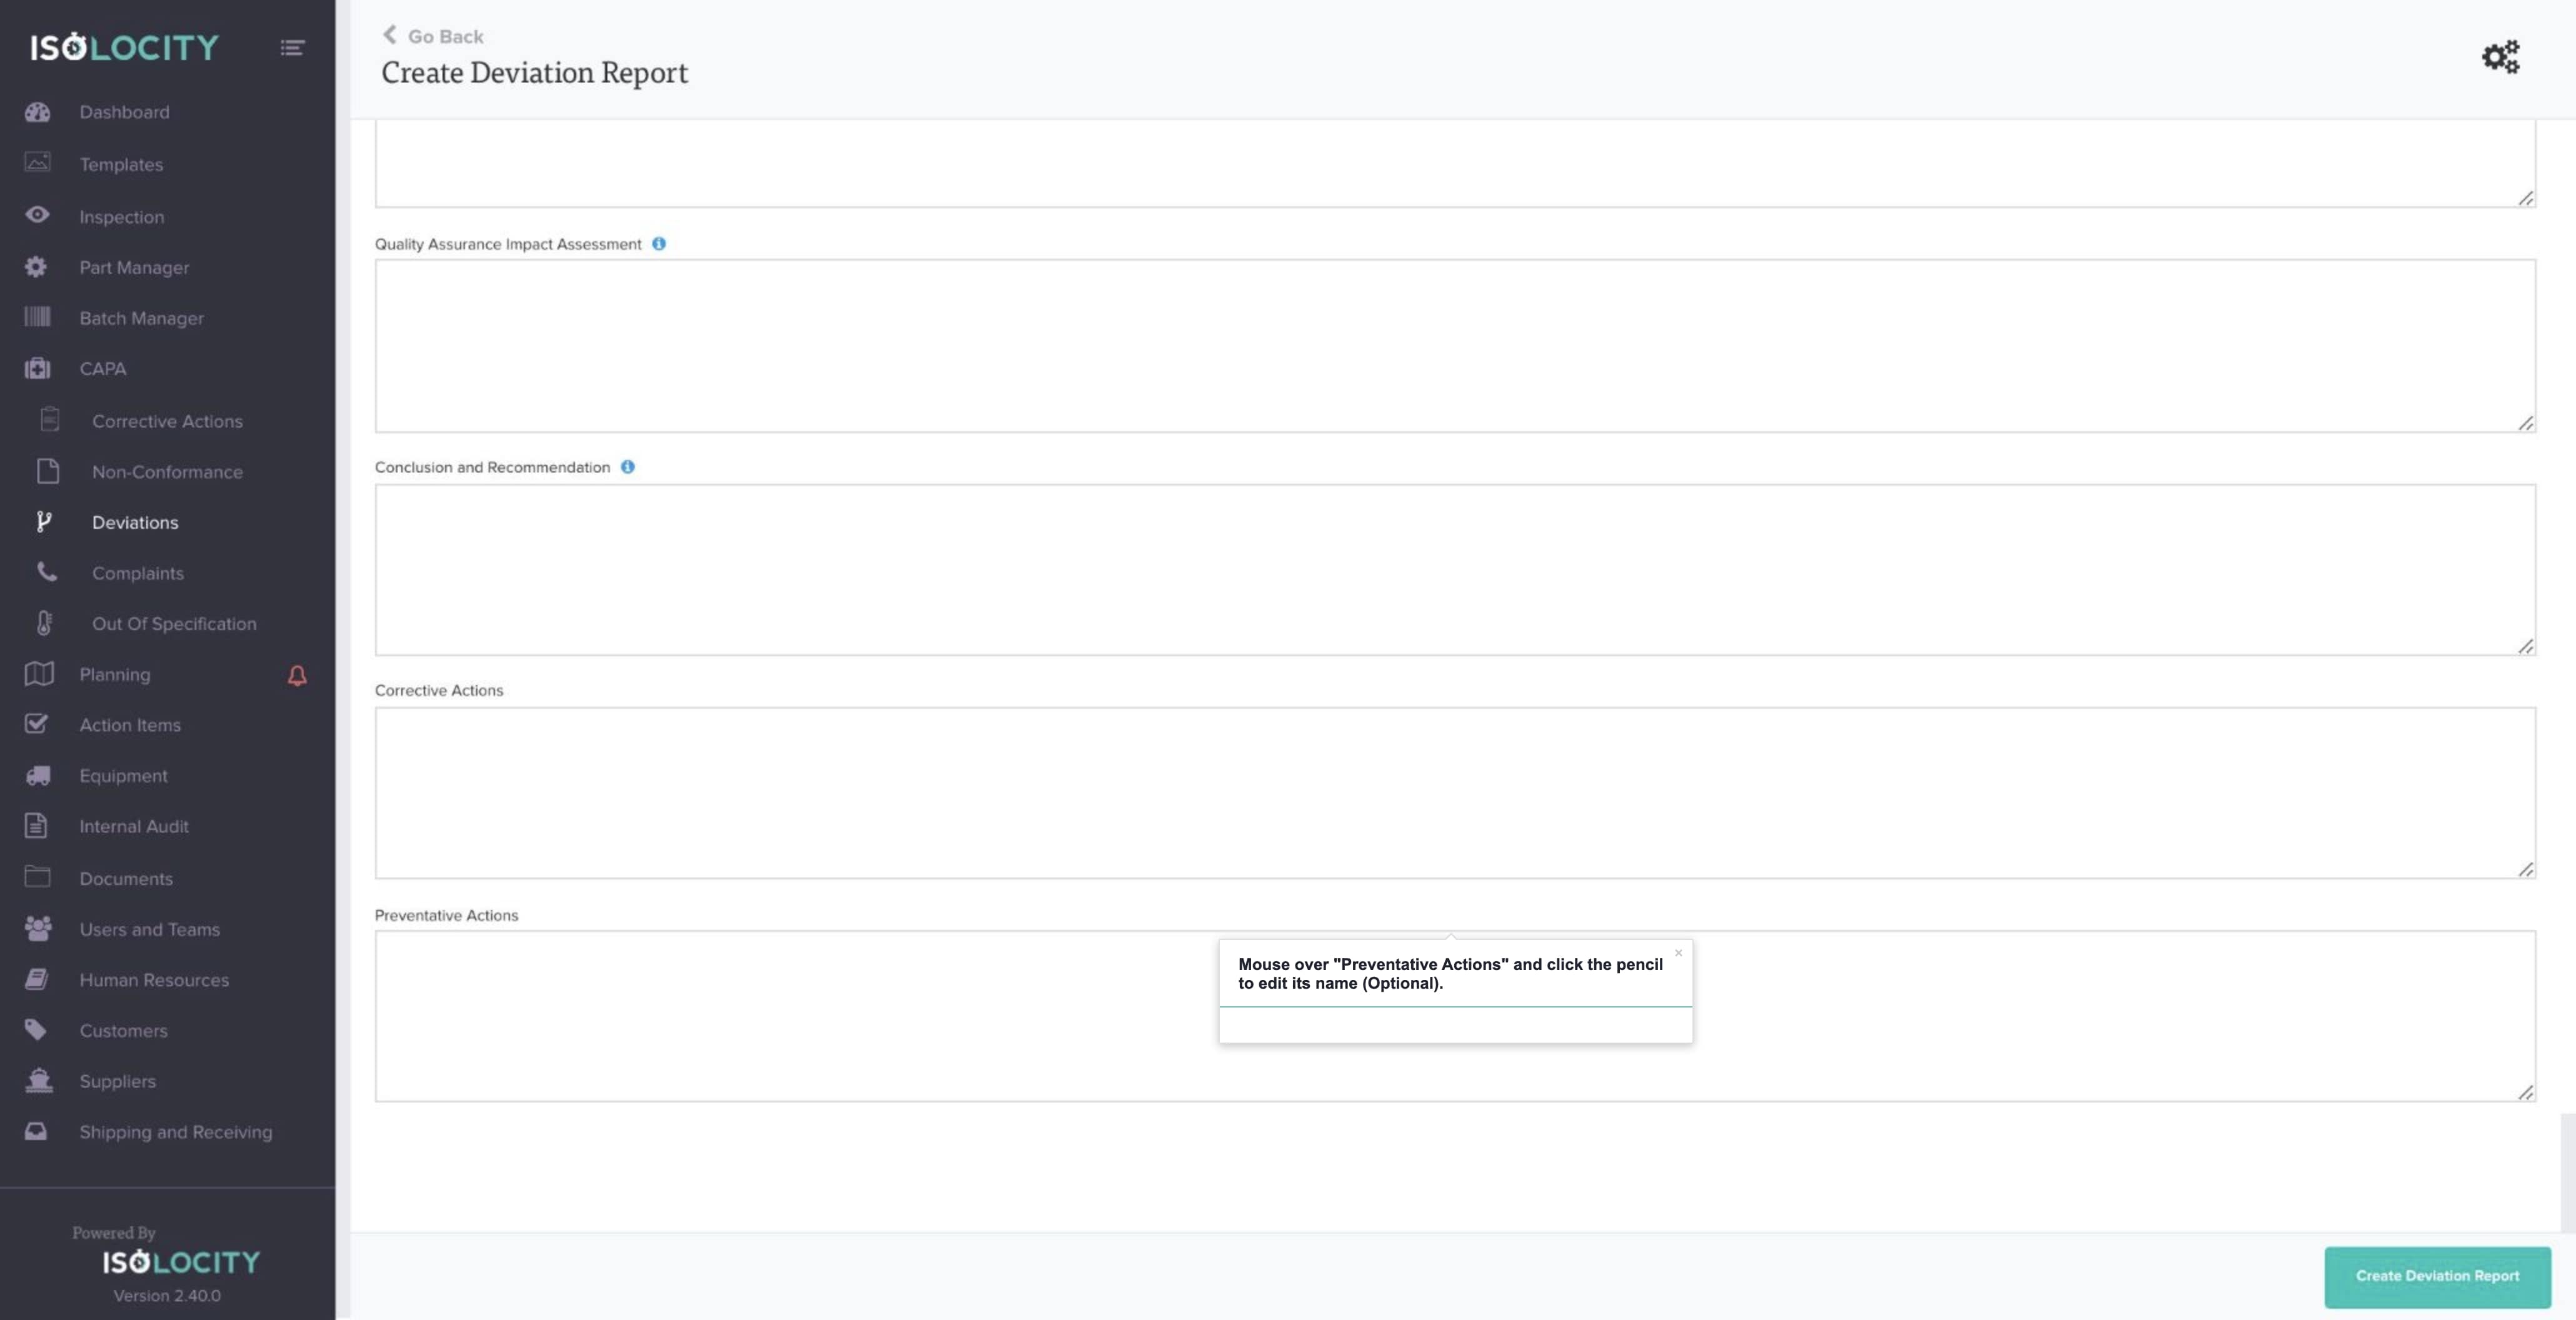
Step #67
Mouse over “Preventative Actions” and click the pencil to edit its name (Optional).
Step #68
Click here to create your report.

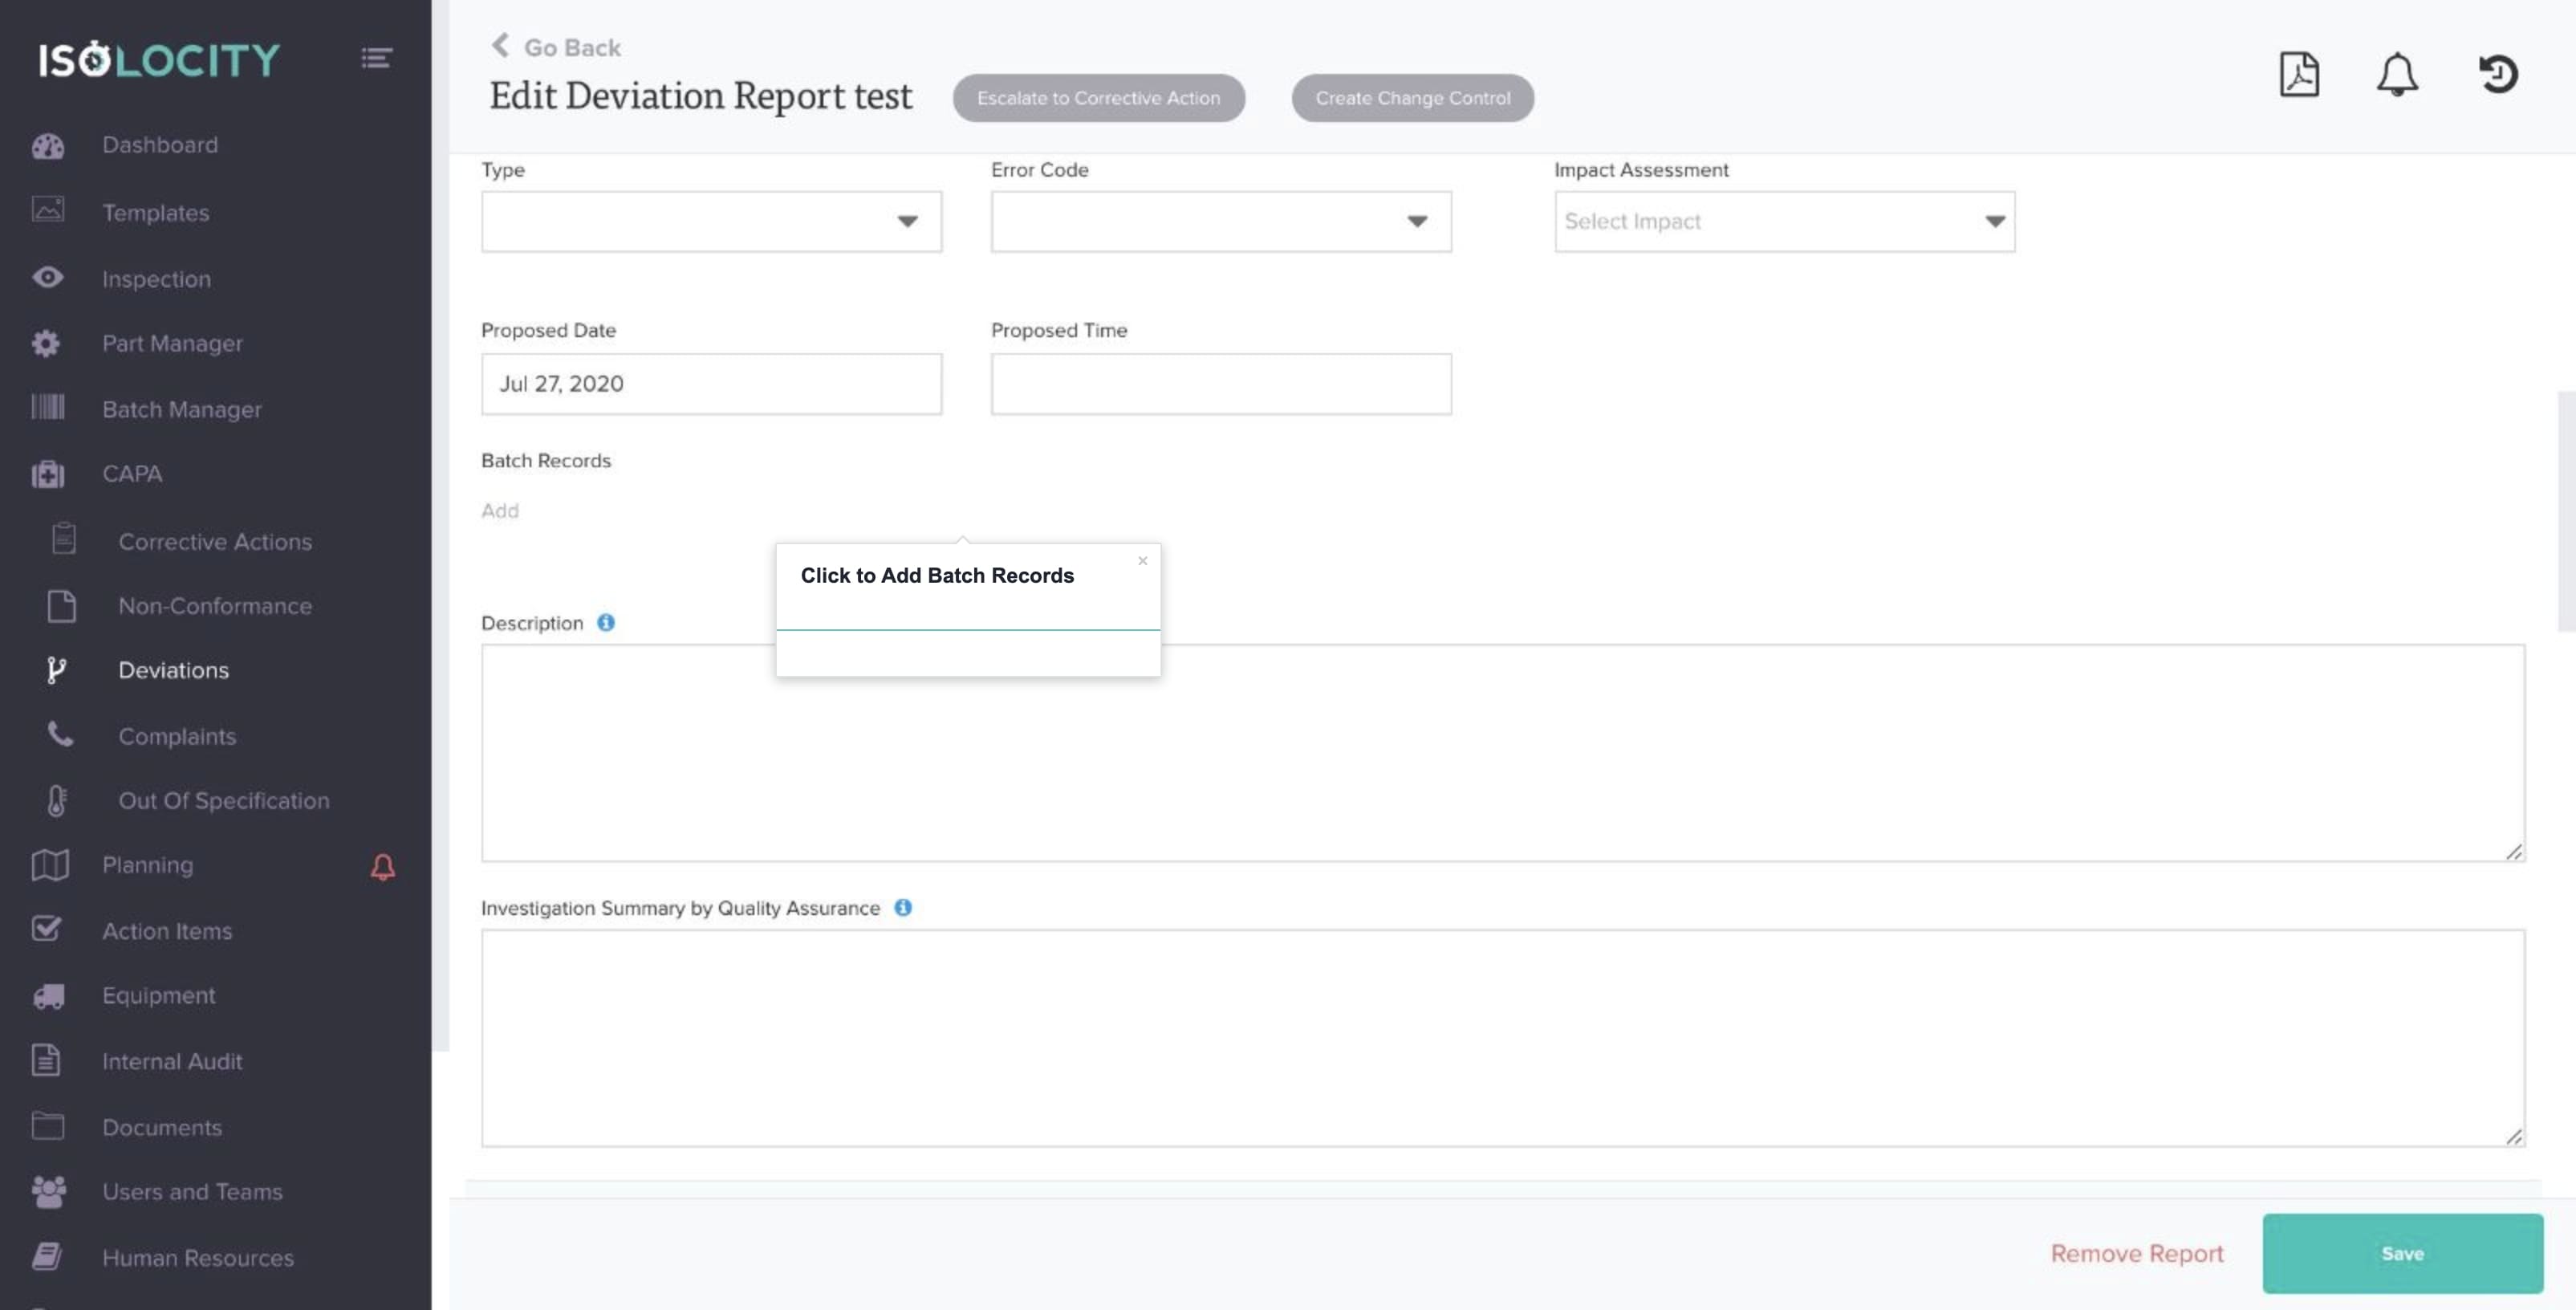
Step #69
Click to Add Batch Records
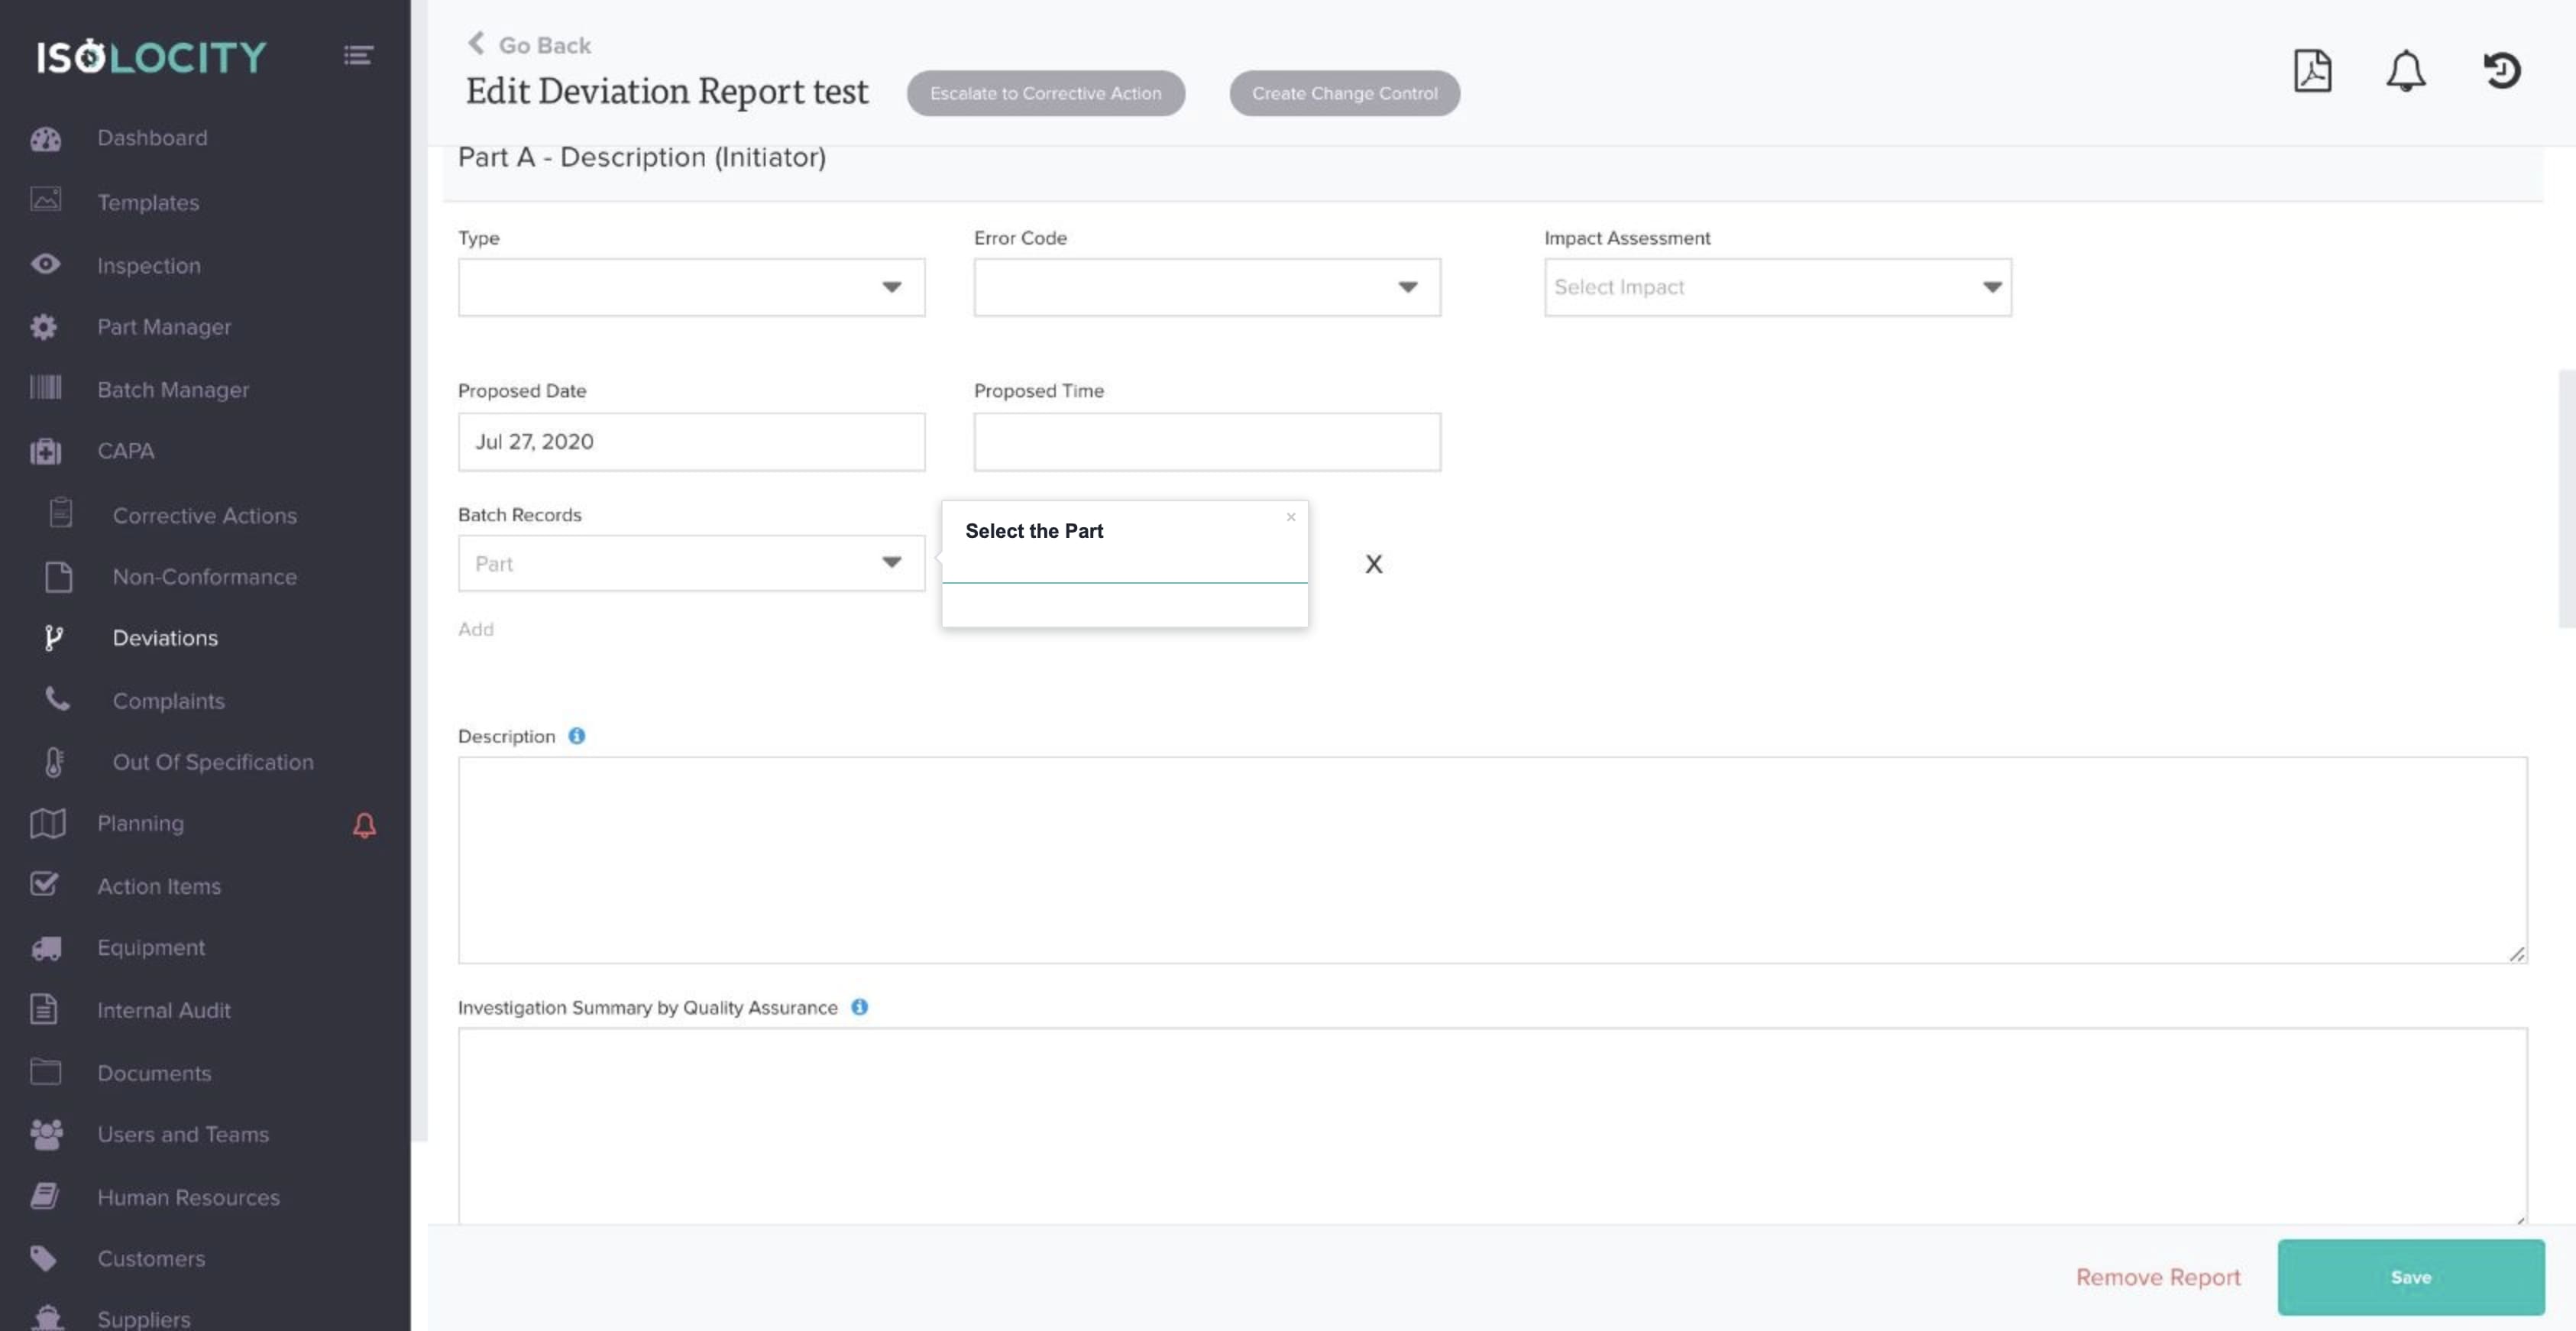
Step #70
Select the Part
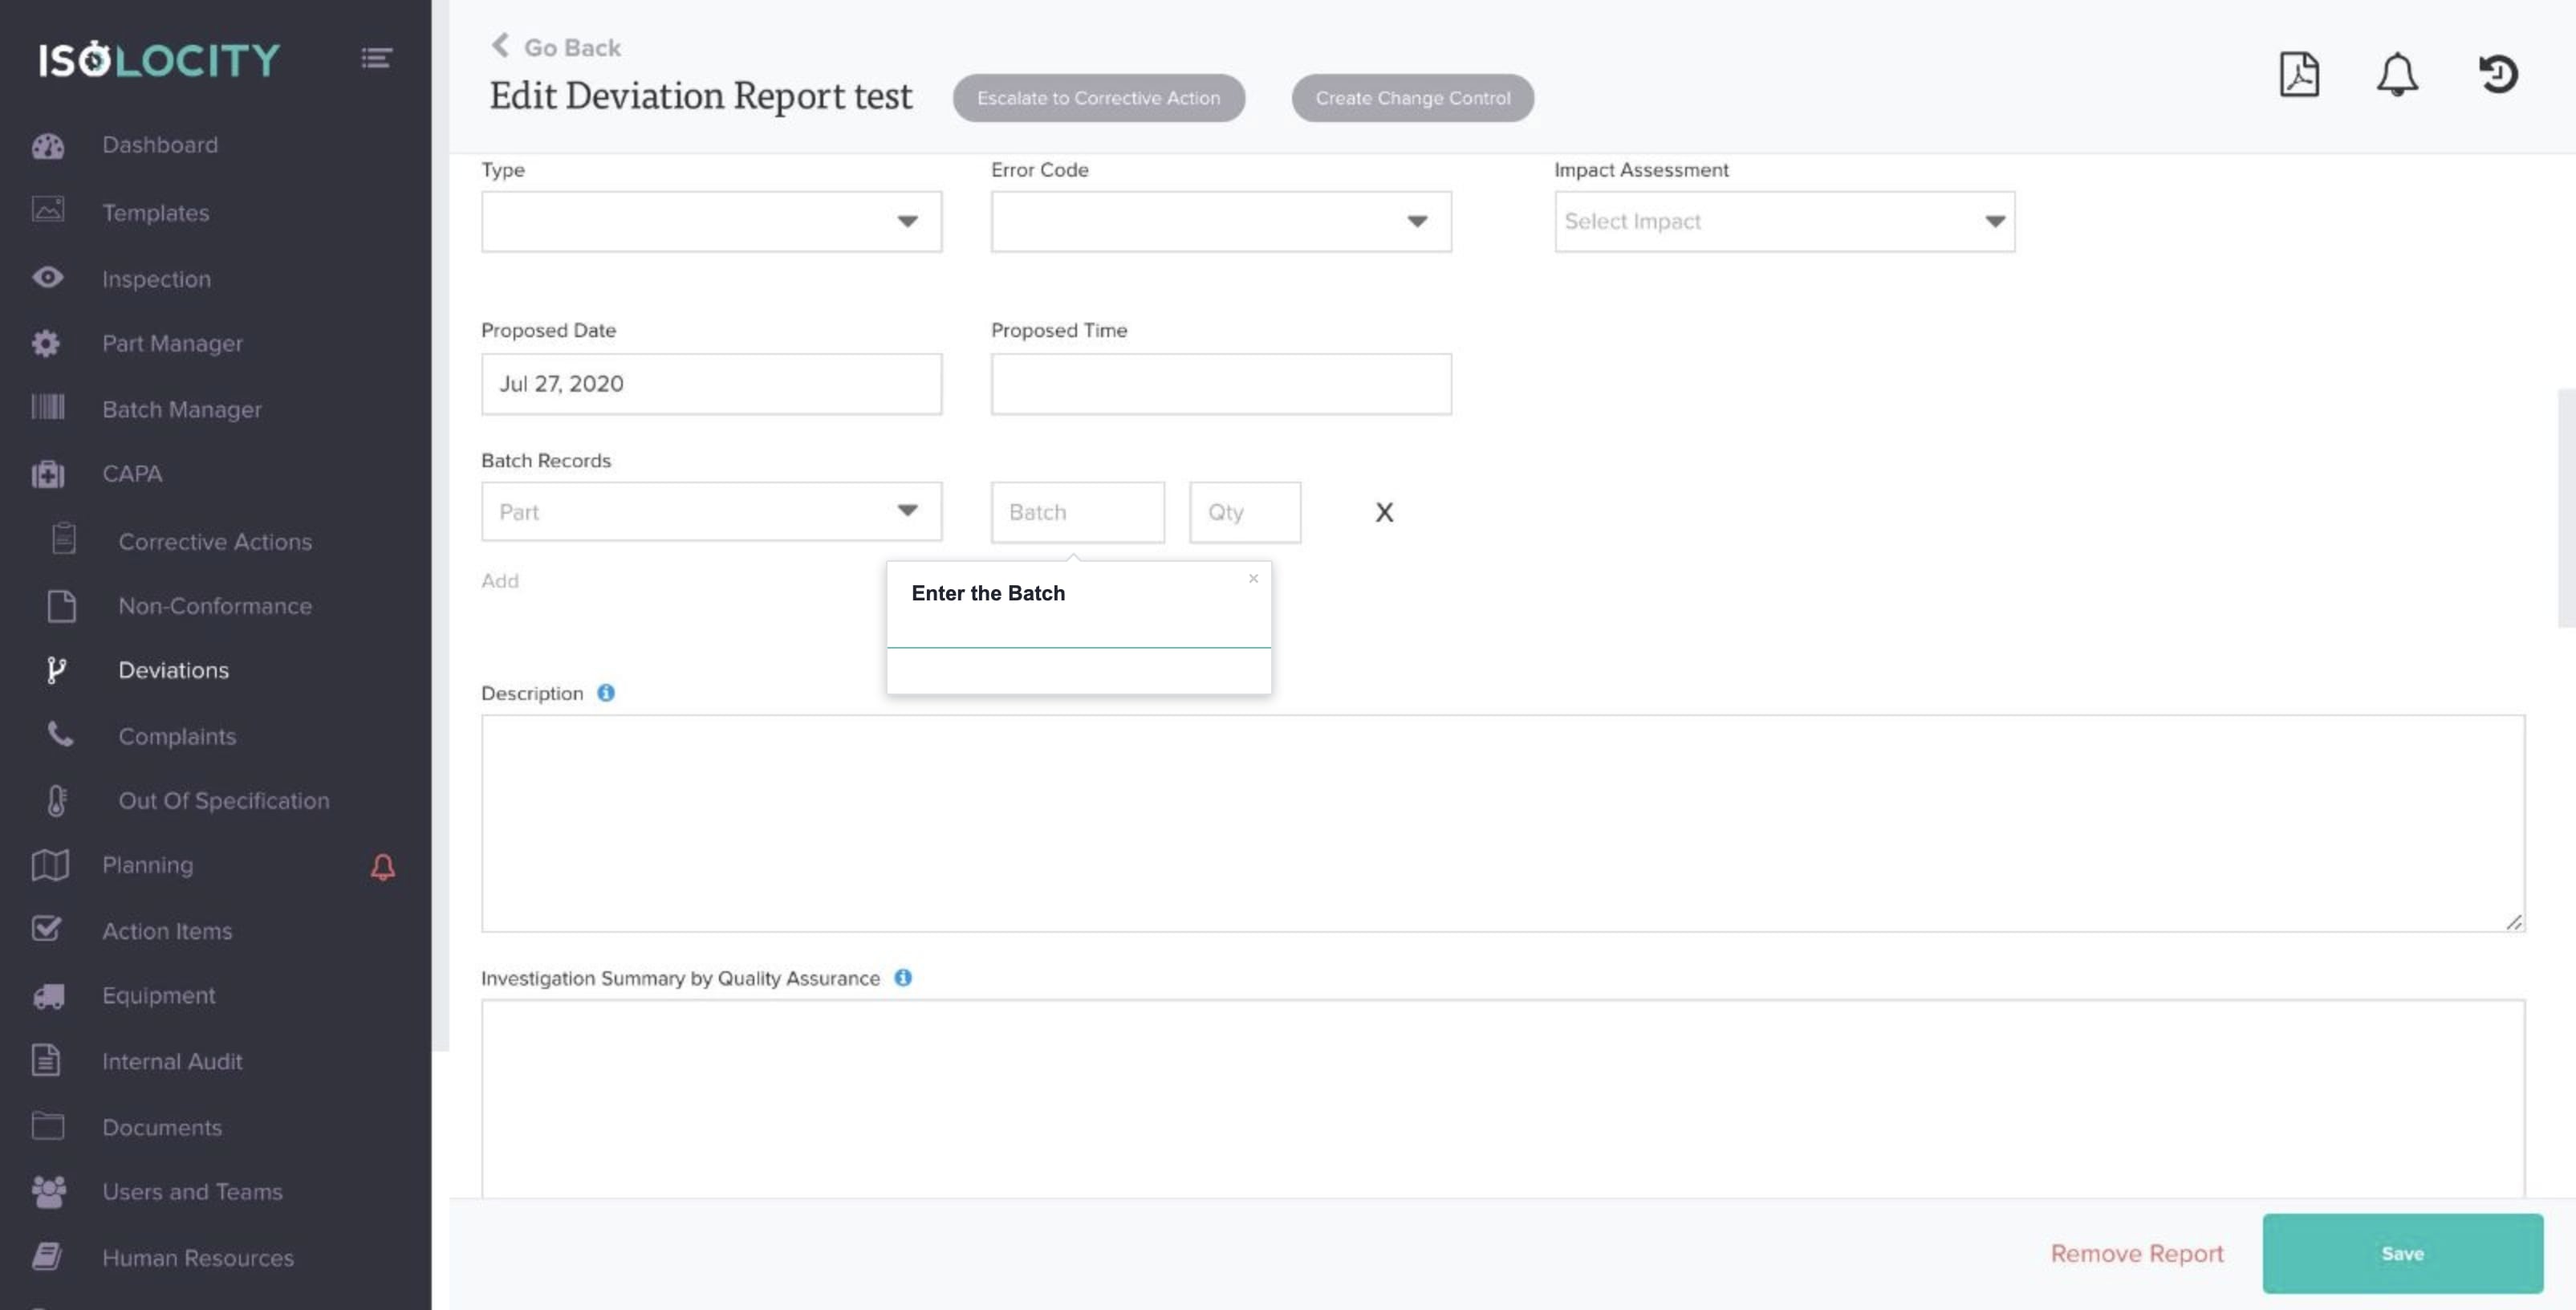
Step #71
Enter the Batch
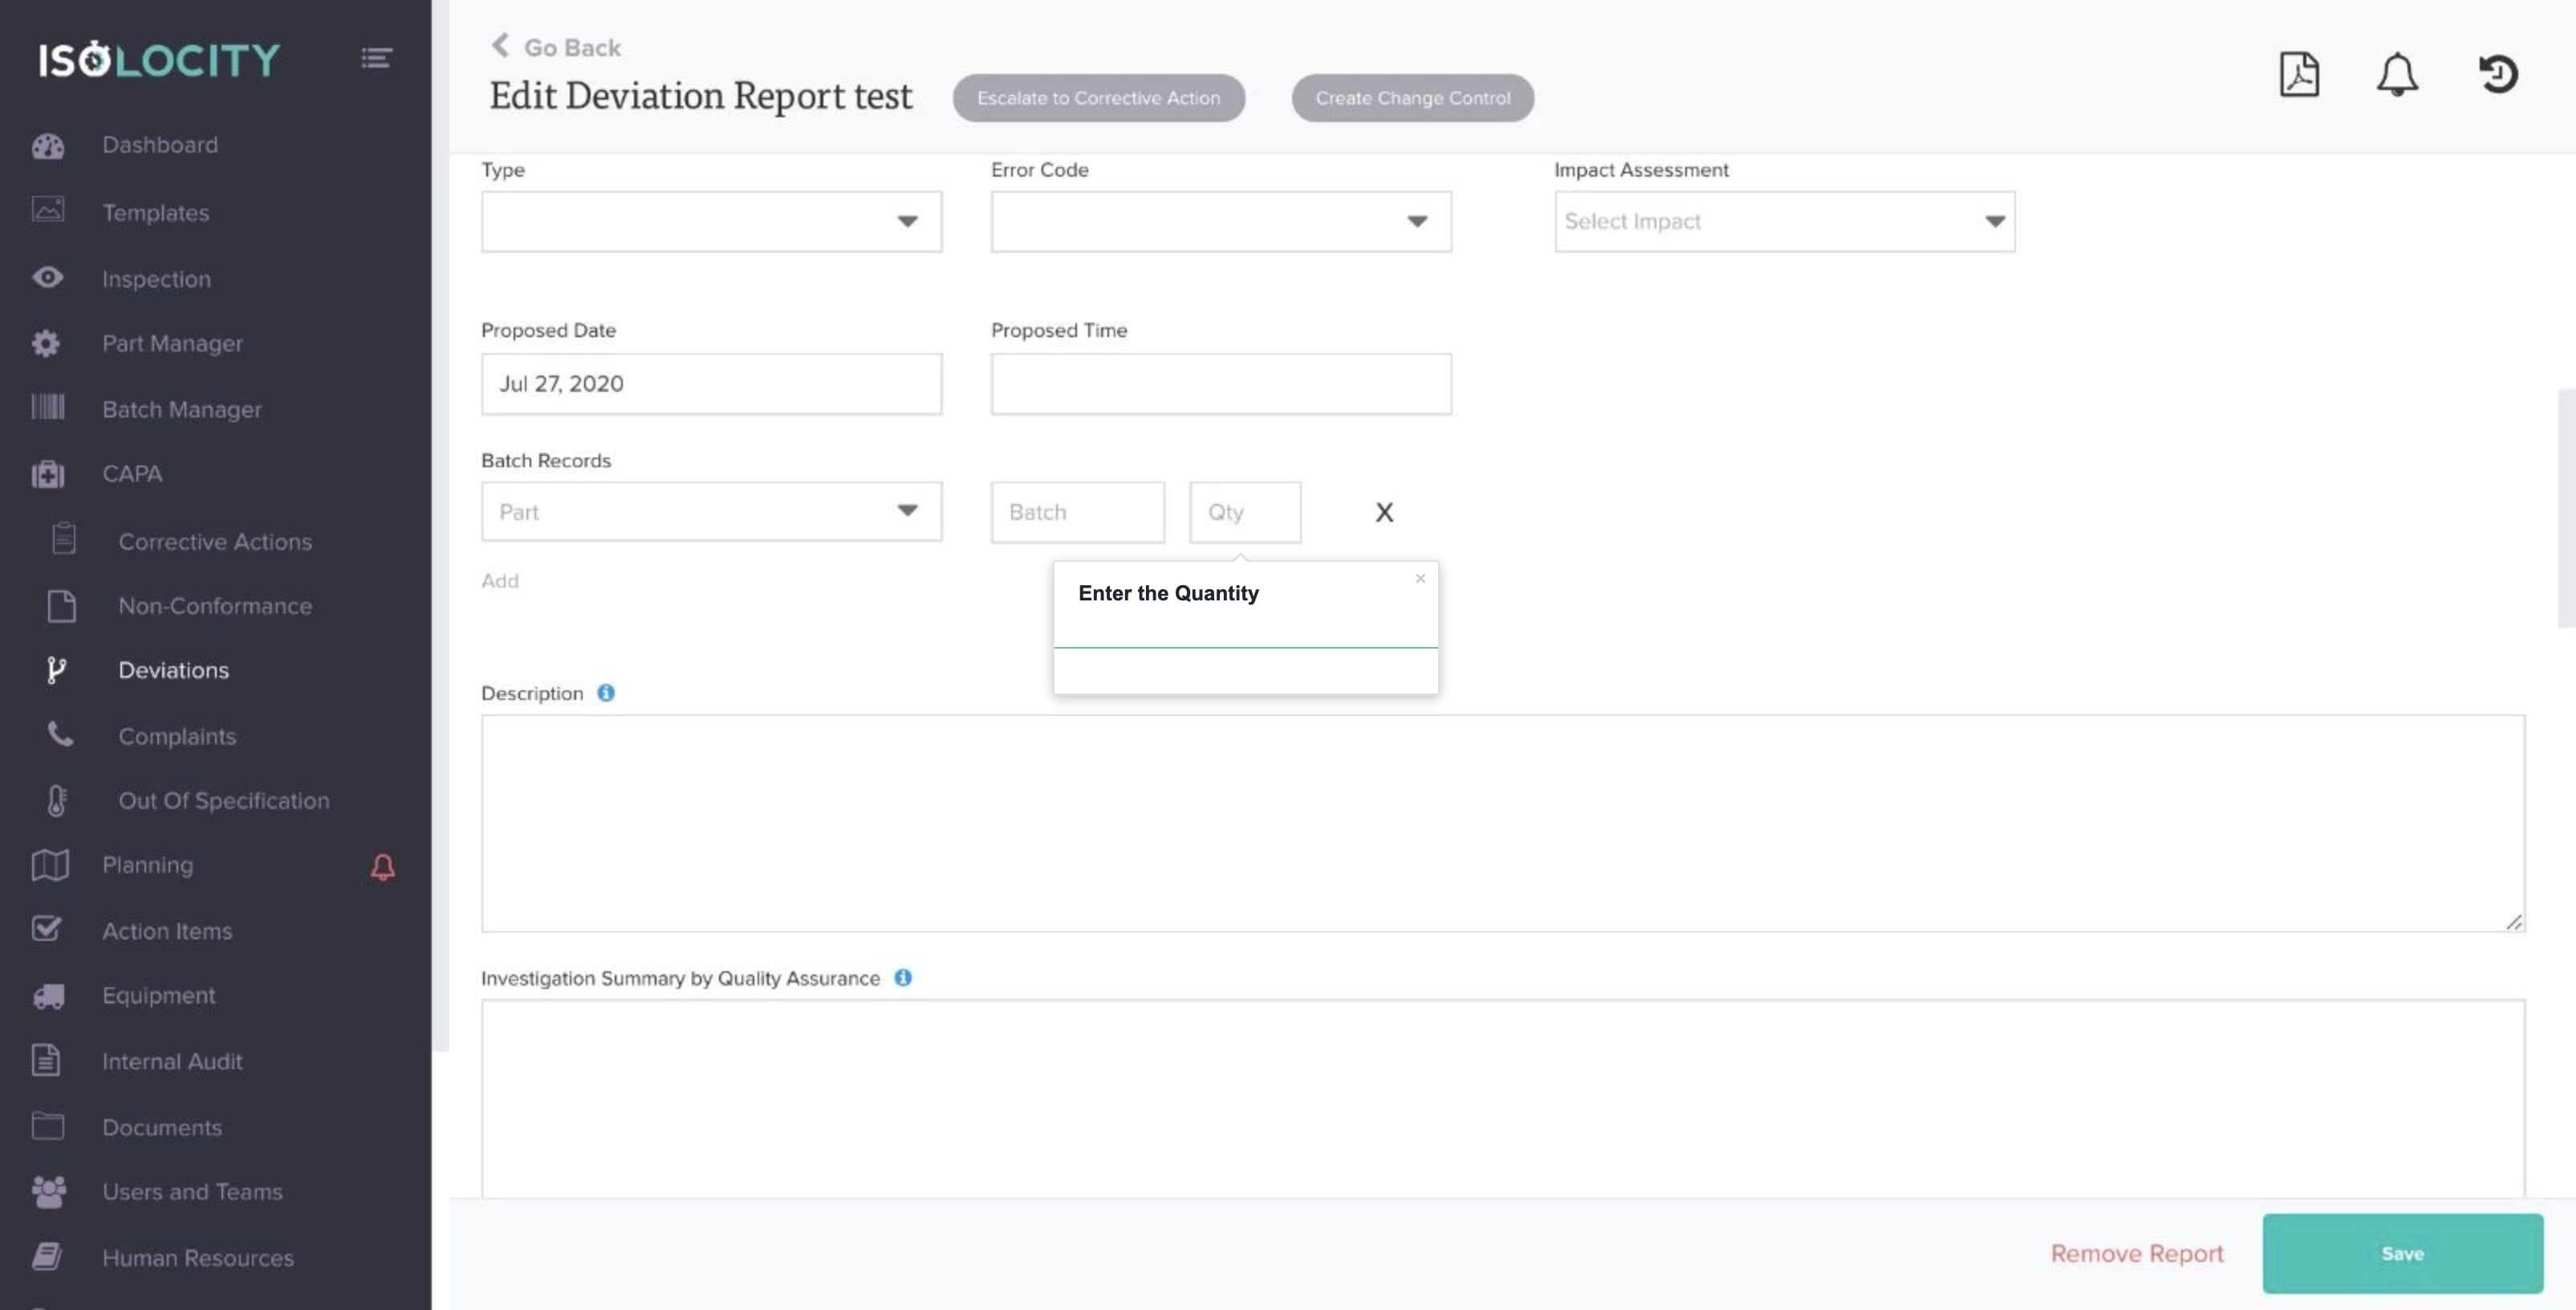
Step #72
Enter the Quantity
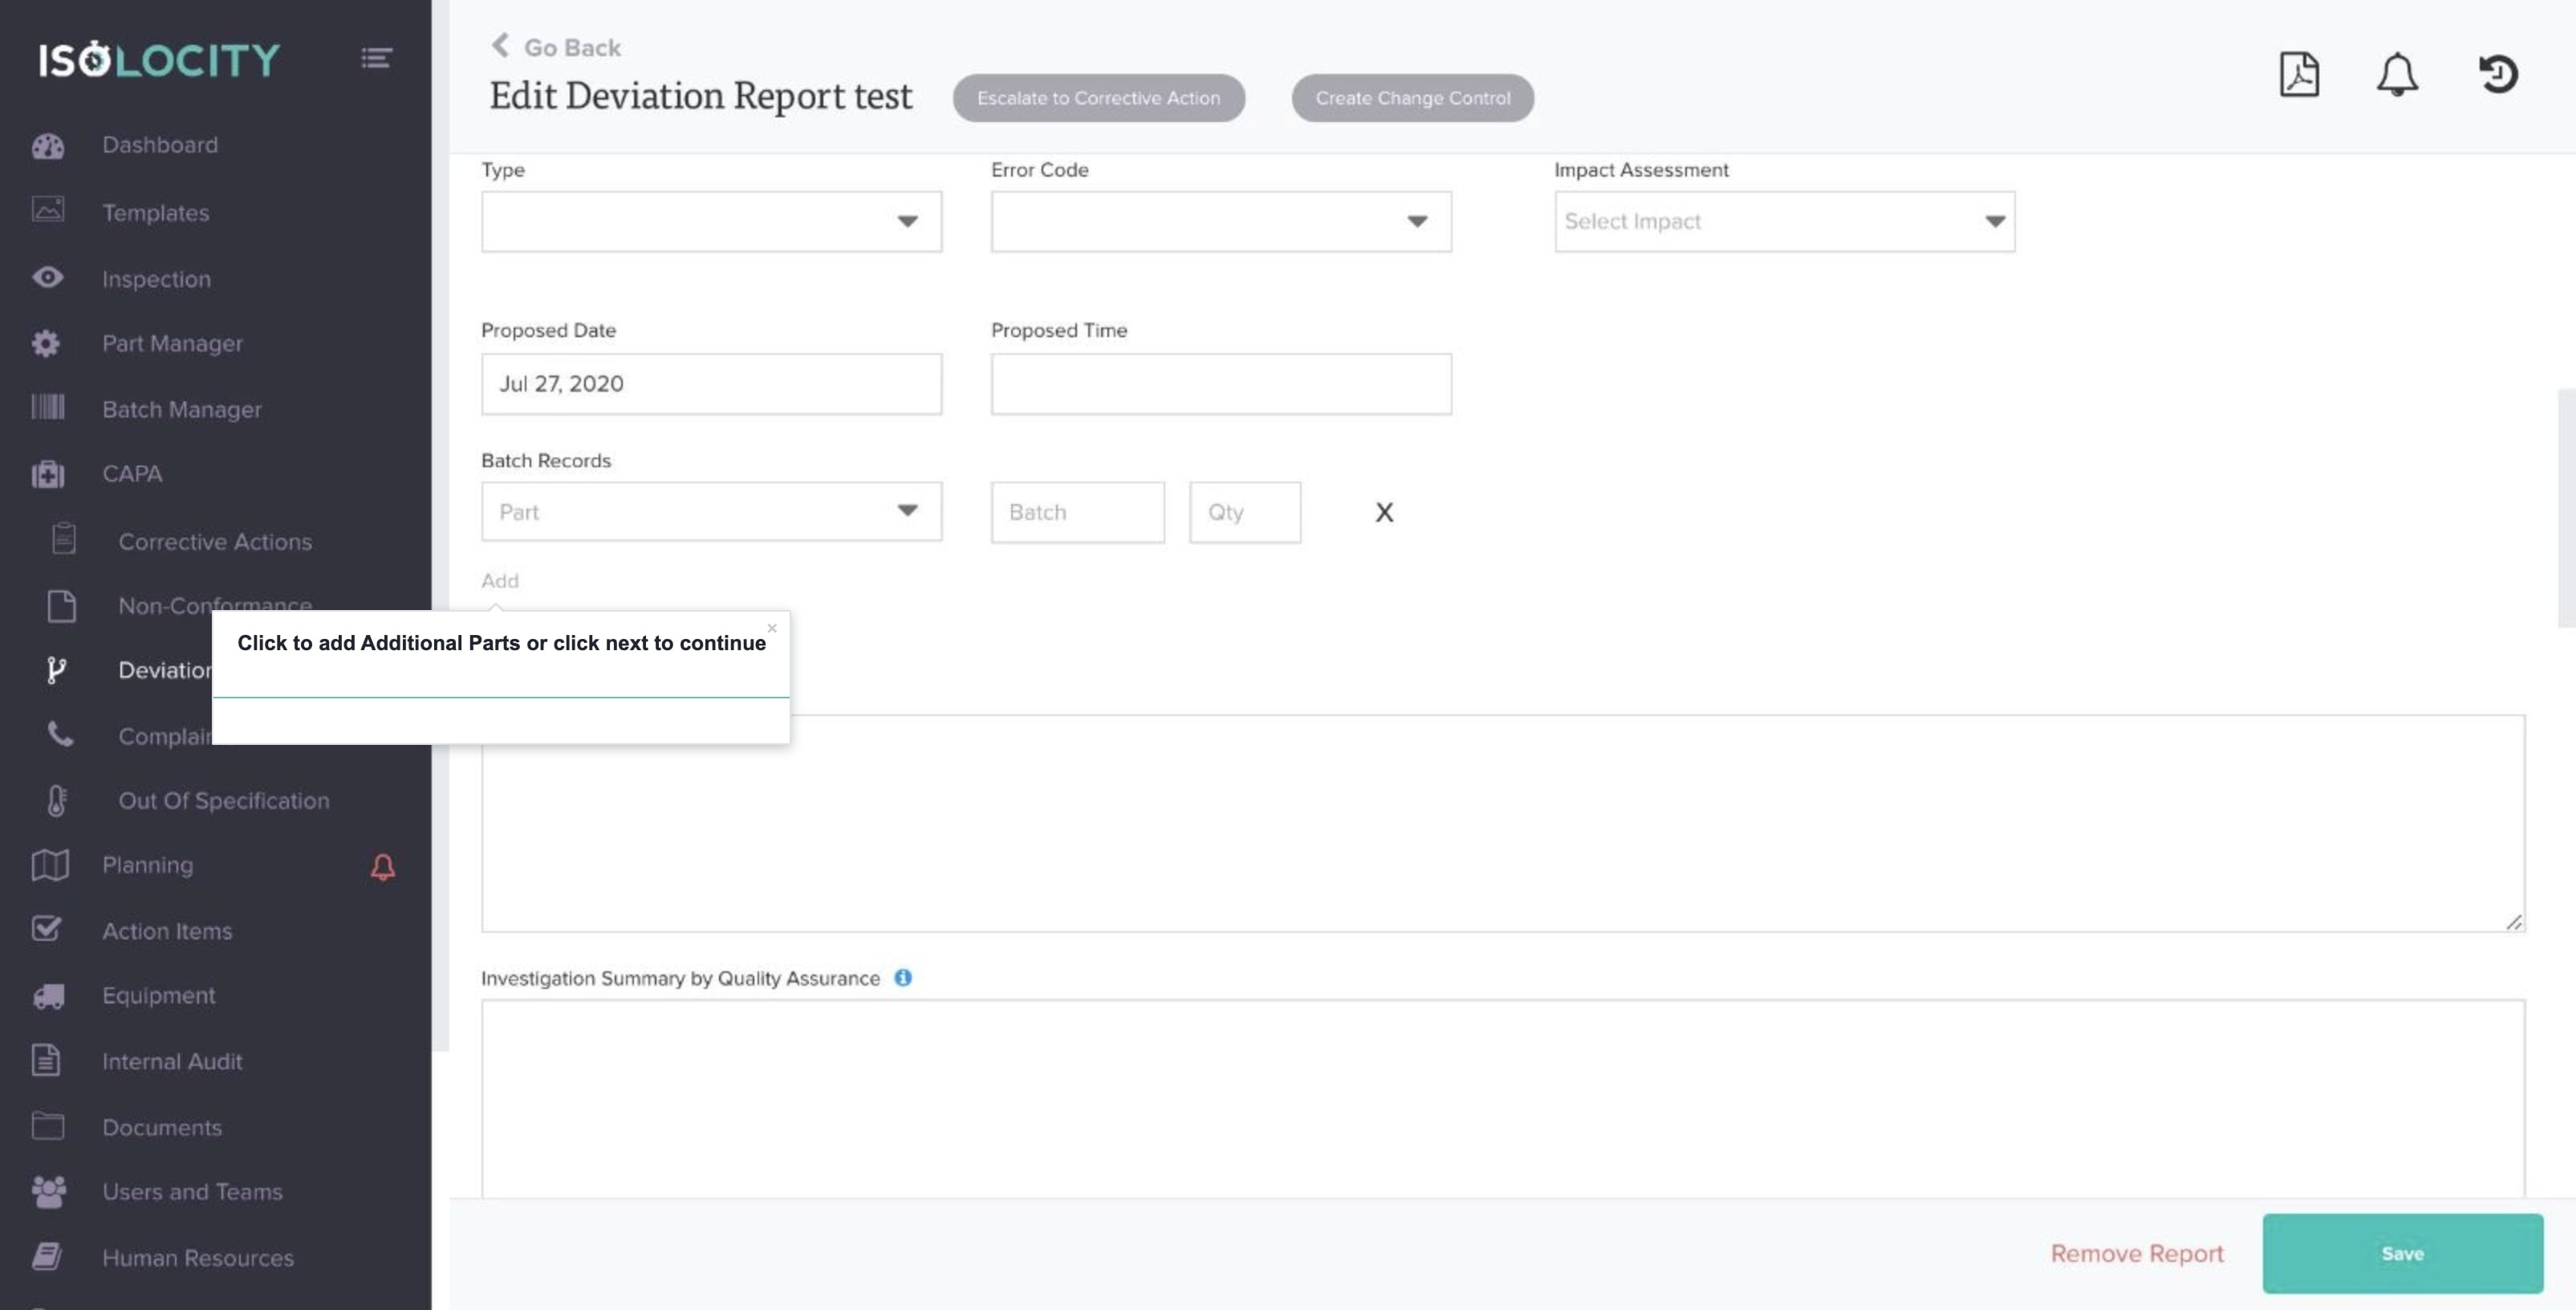
Step #73
Click to add Additional Parts or click next to continue
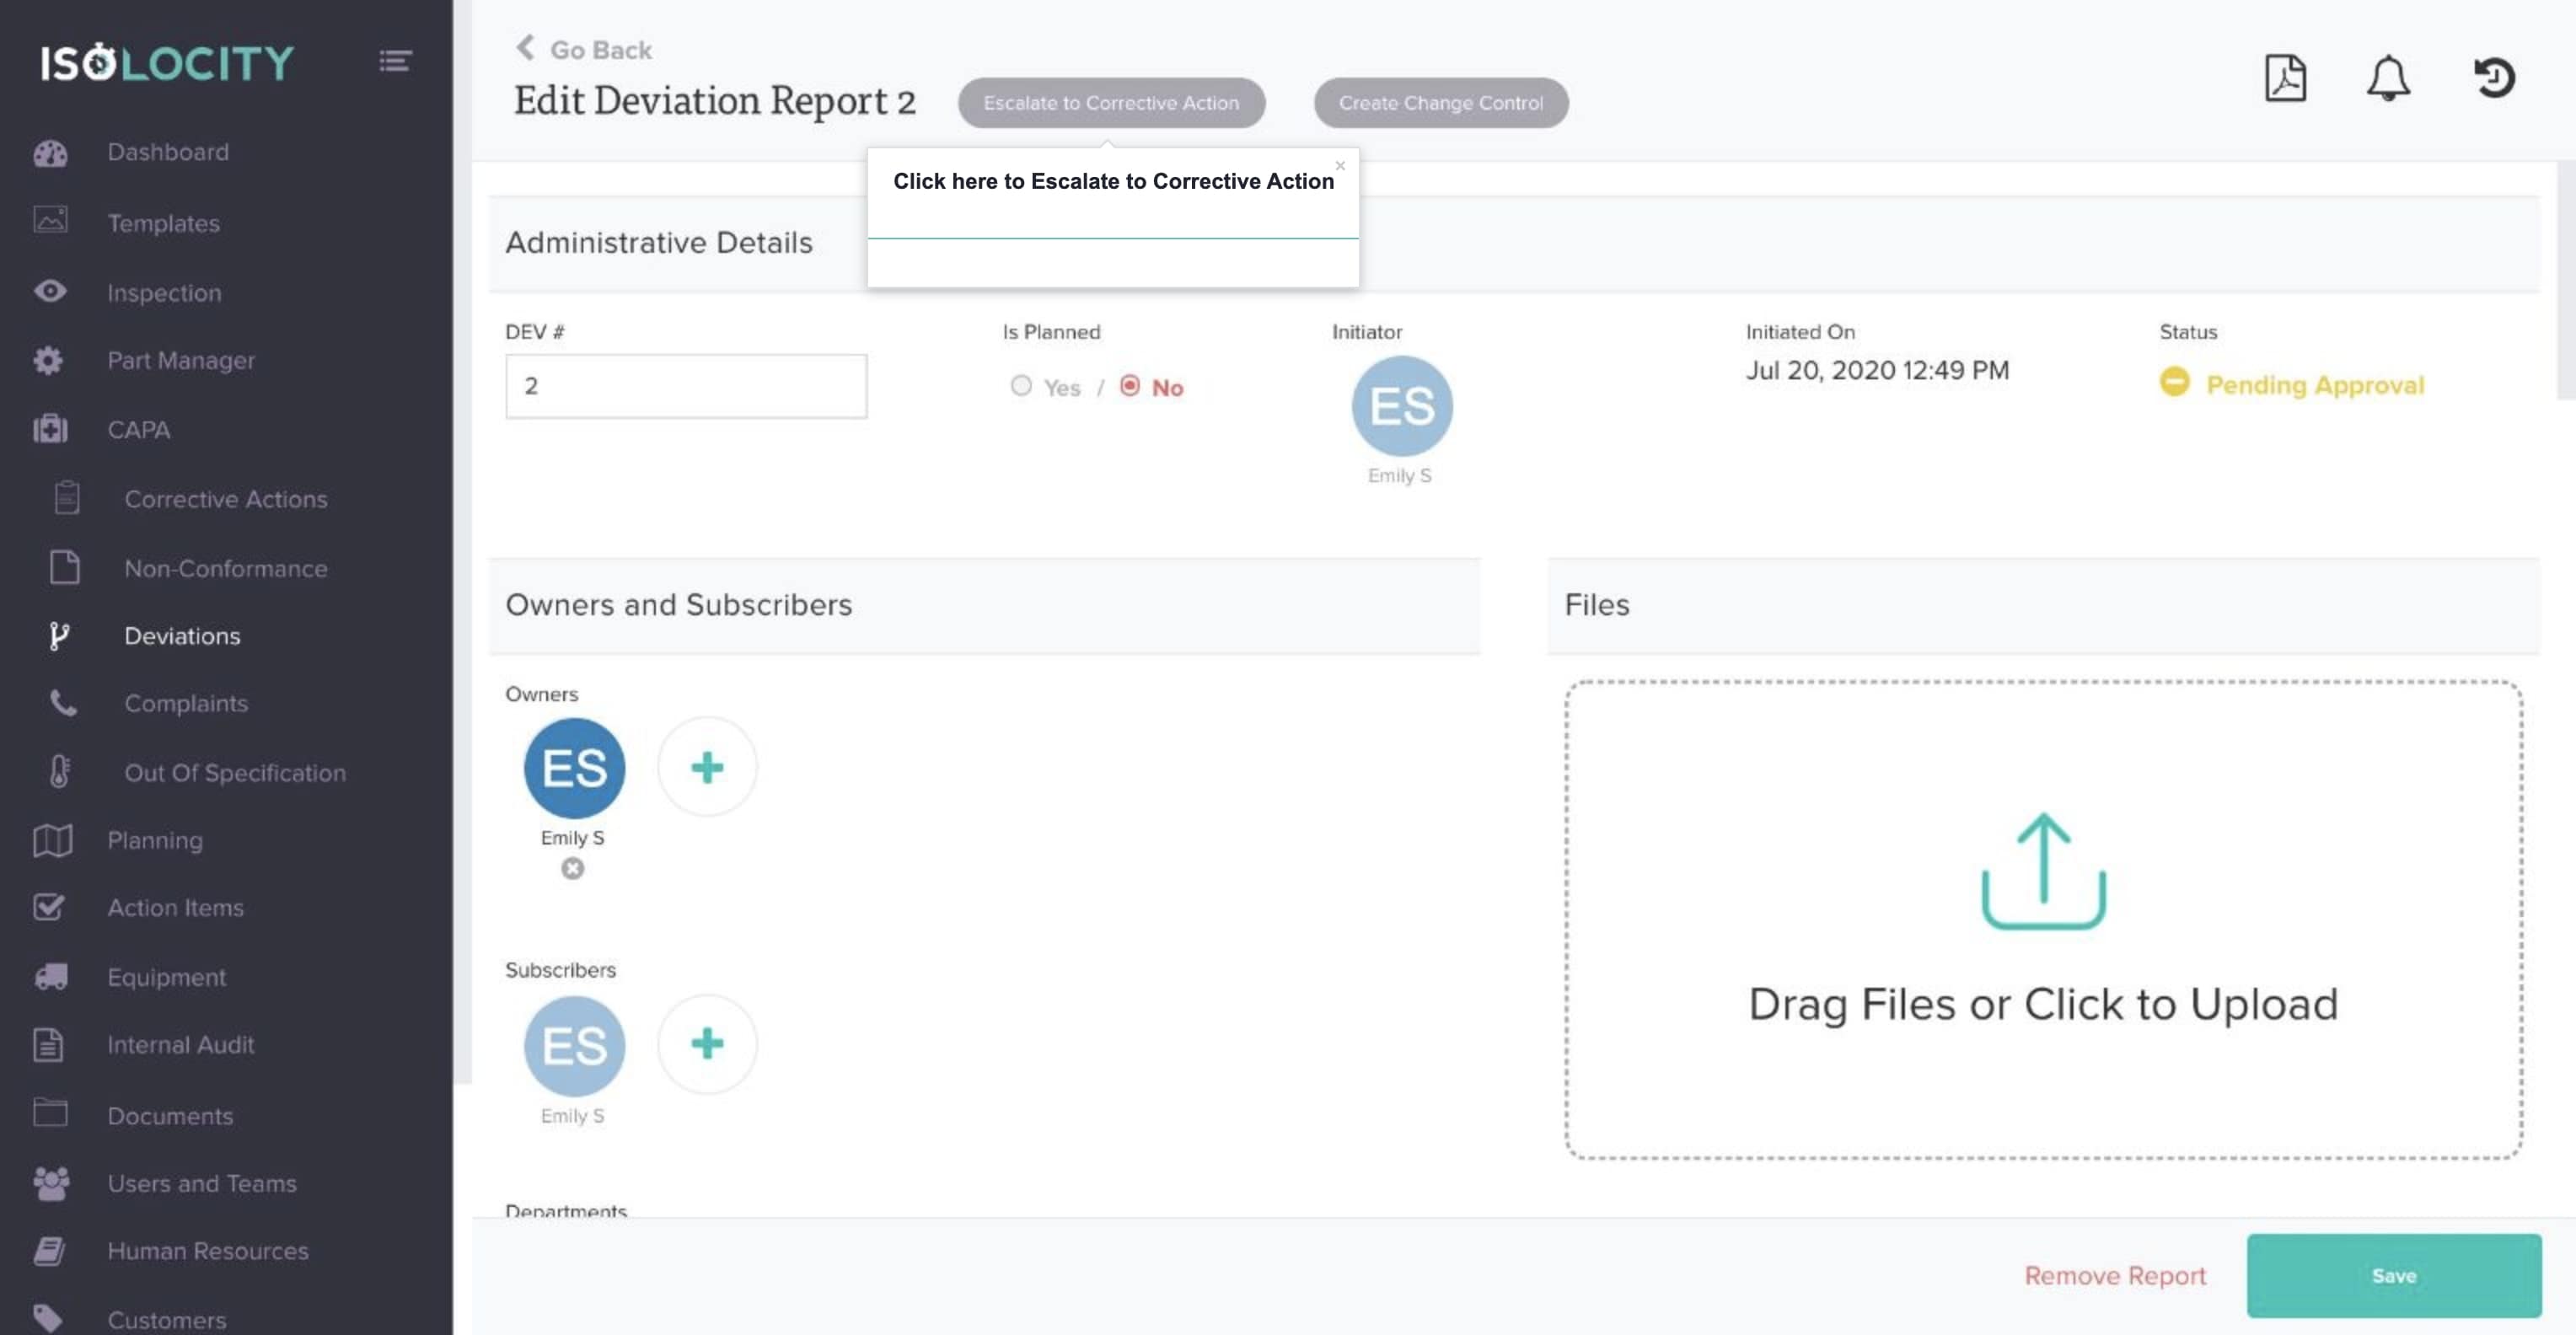
Step #74
Click here to Escalate to Corrective Action
Step #75
When the form is complete, click here to create your report.
Step #76
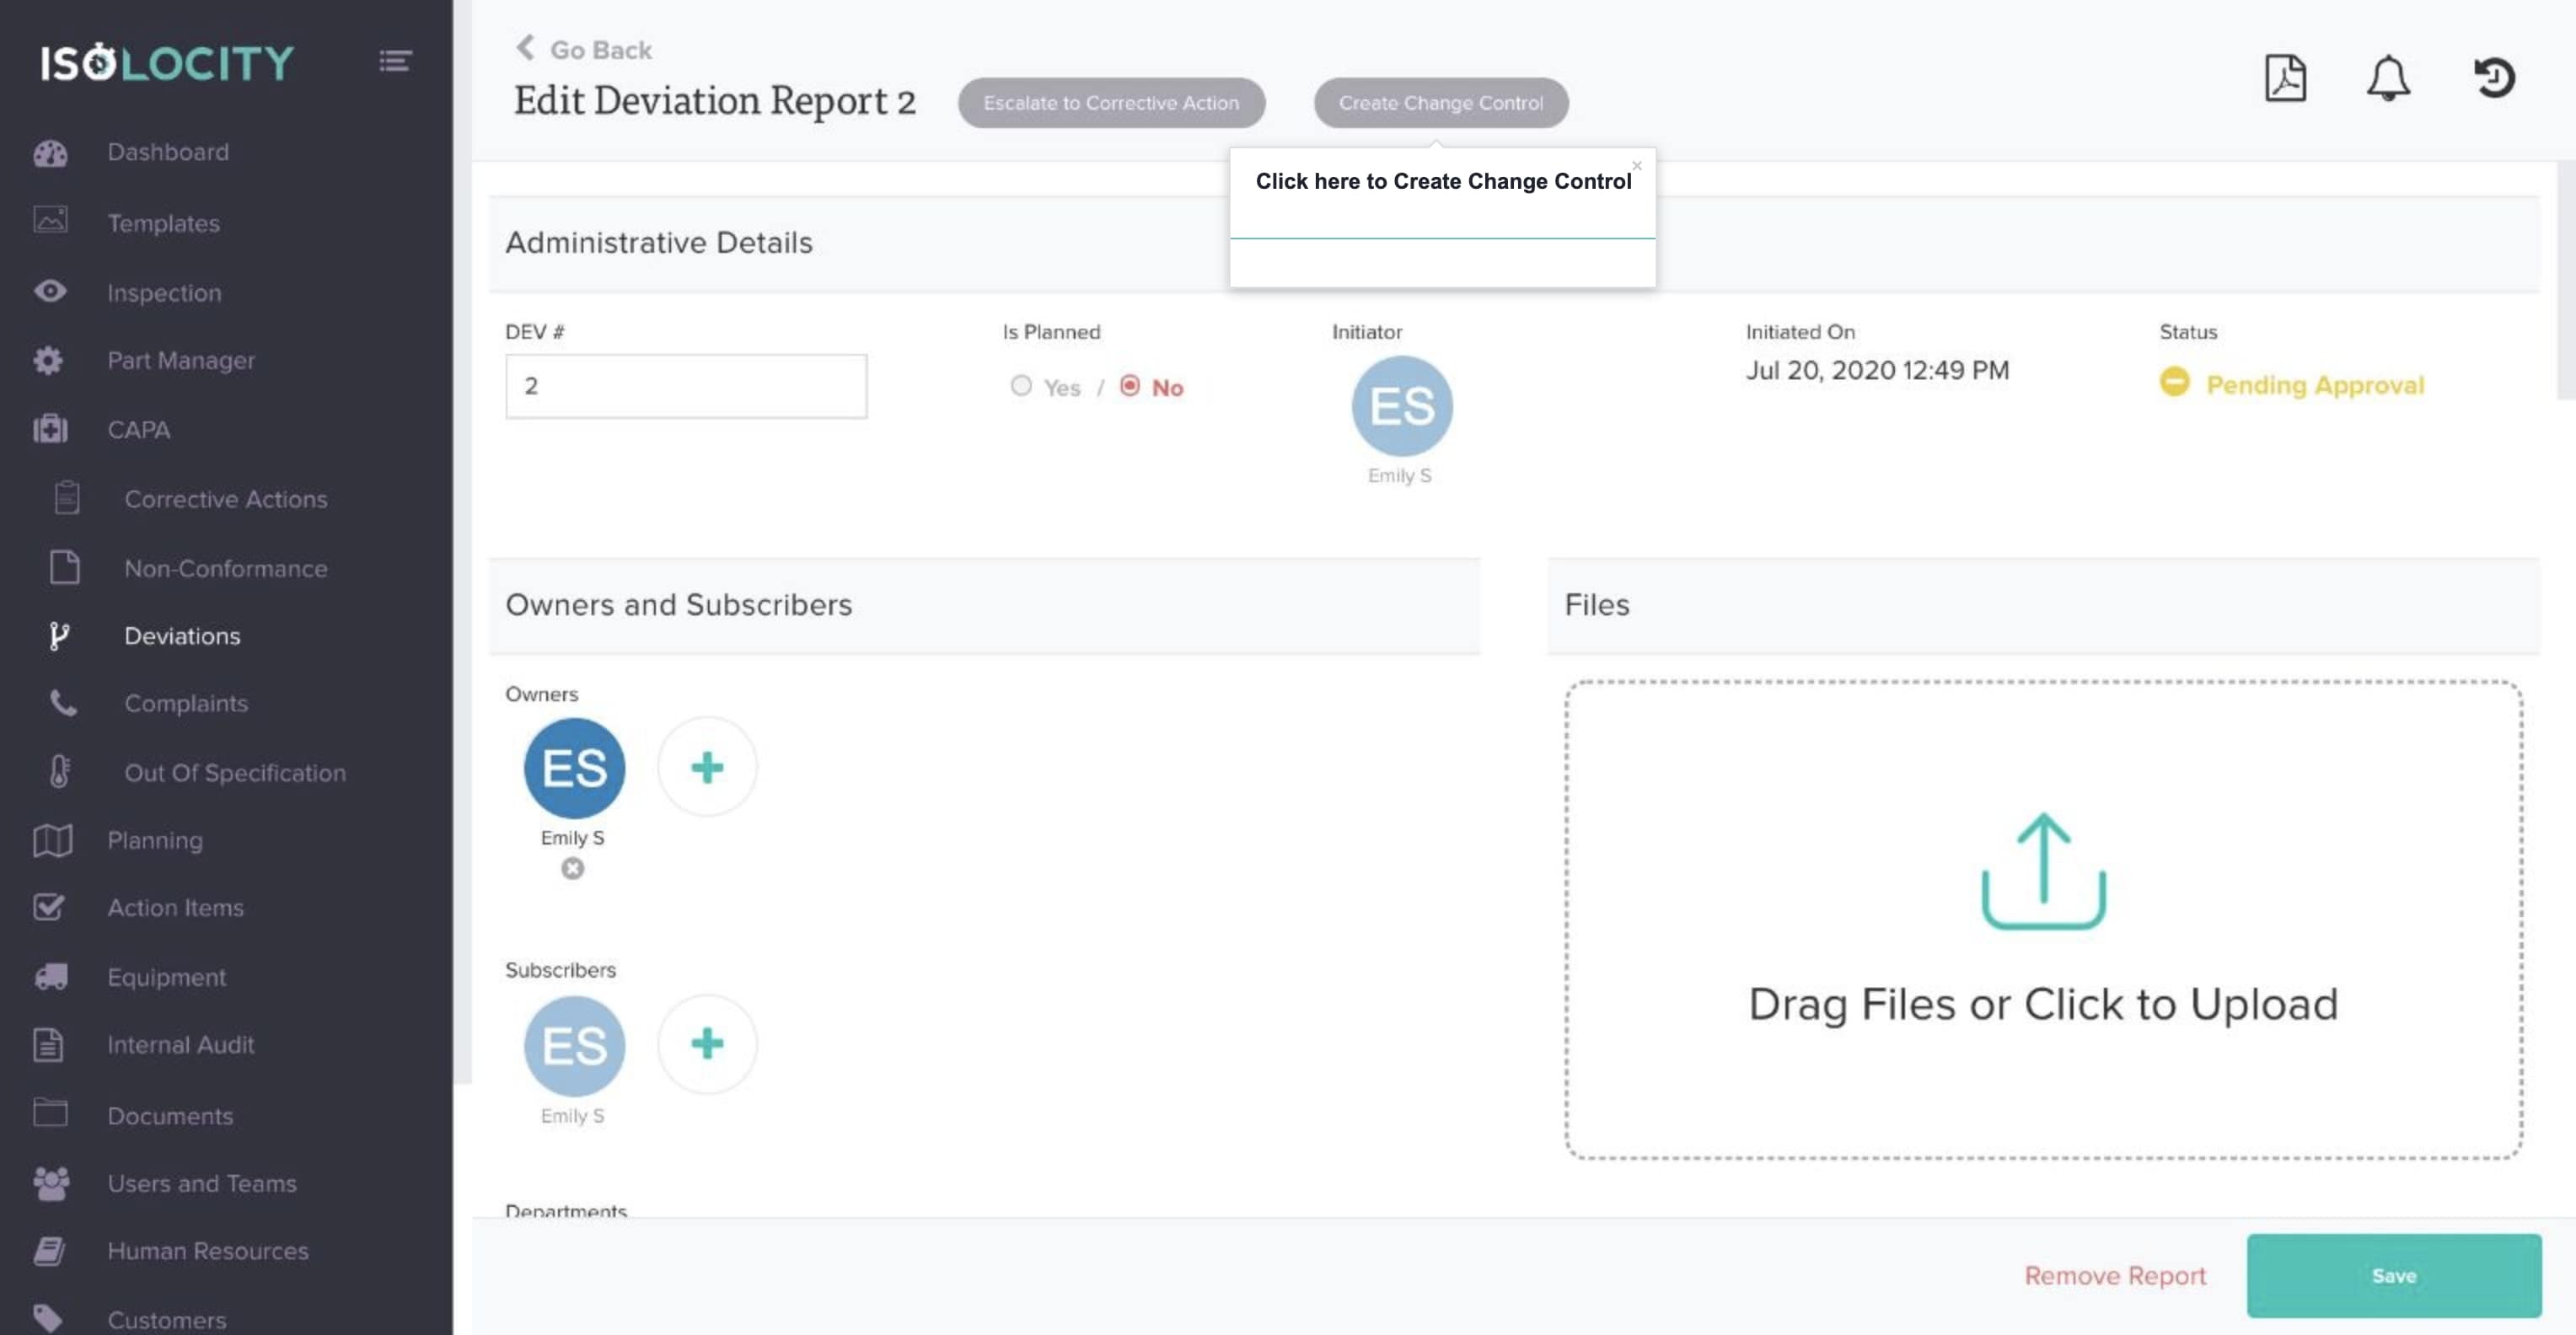
Click here to Create Change Control
Step #77
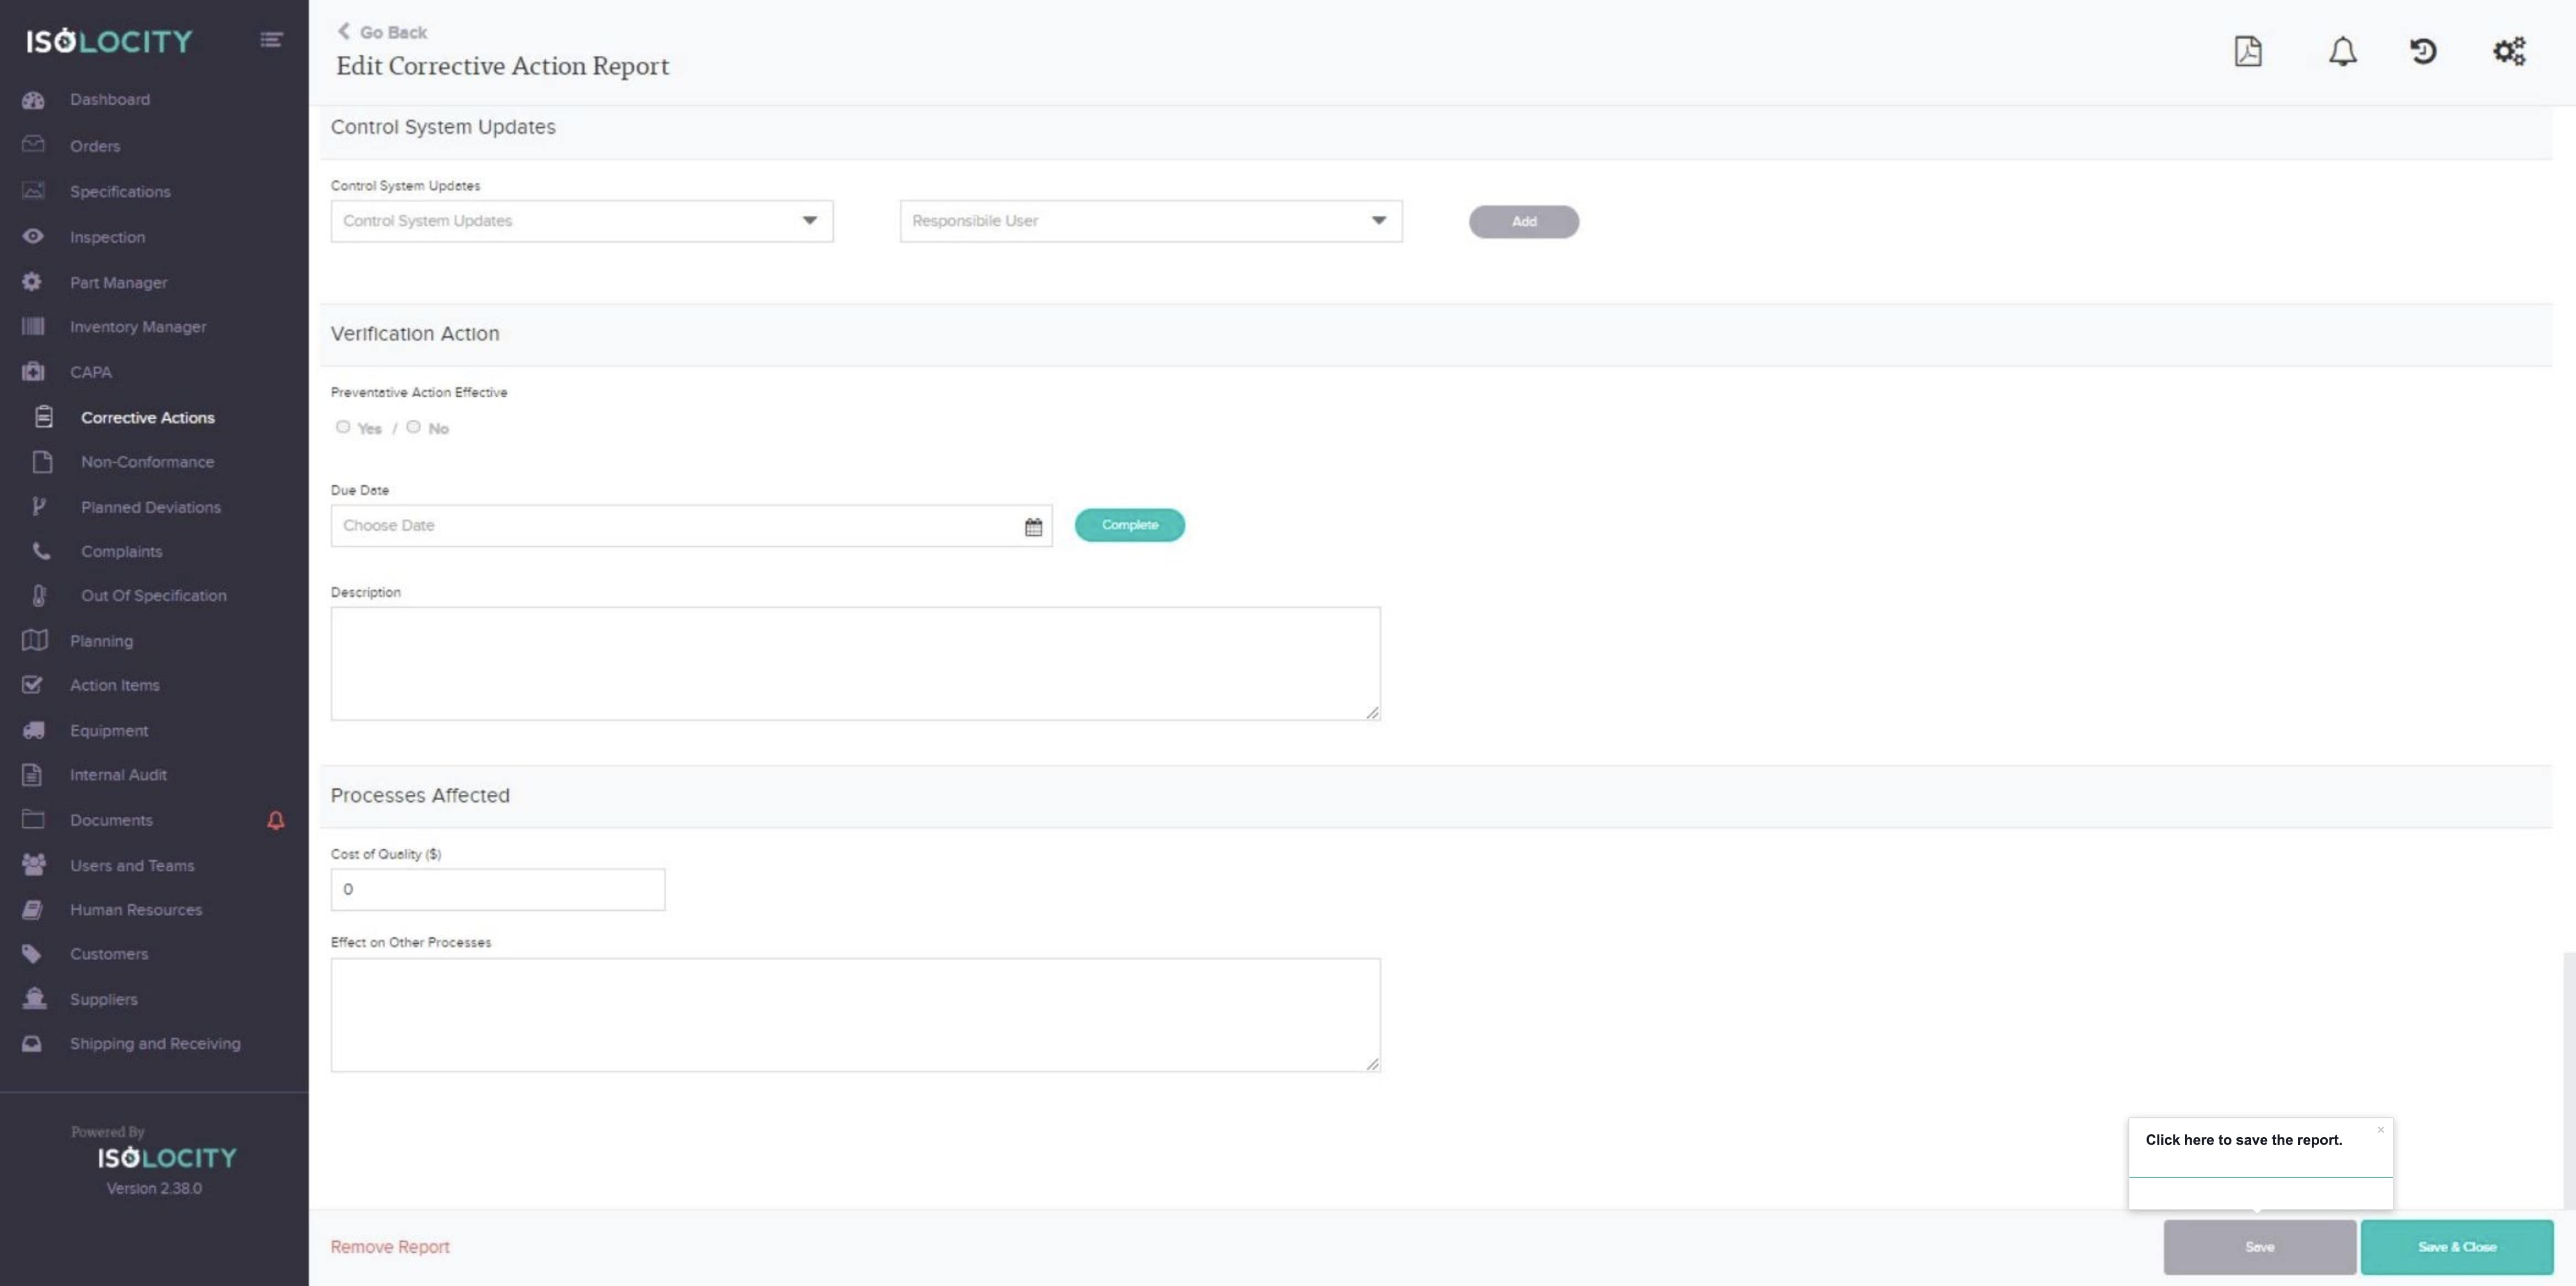
Click here to save the report.
Step #78
Click here to save the report.

Step #79
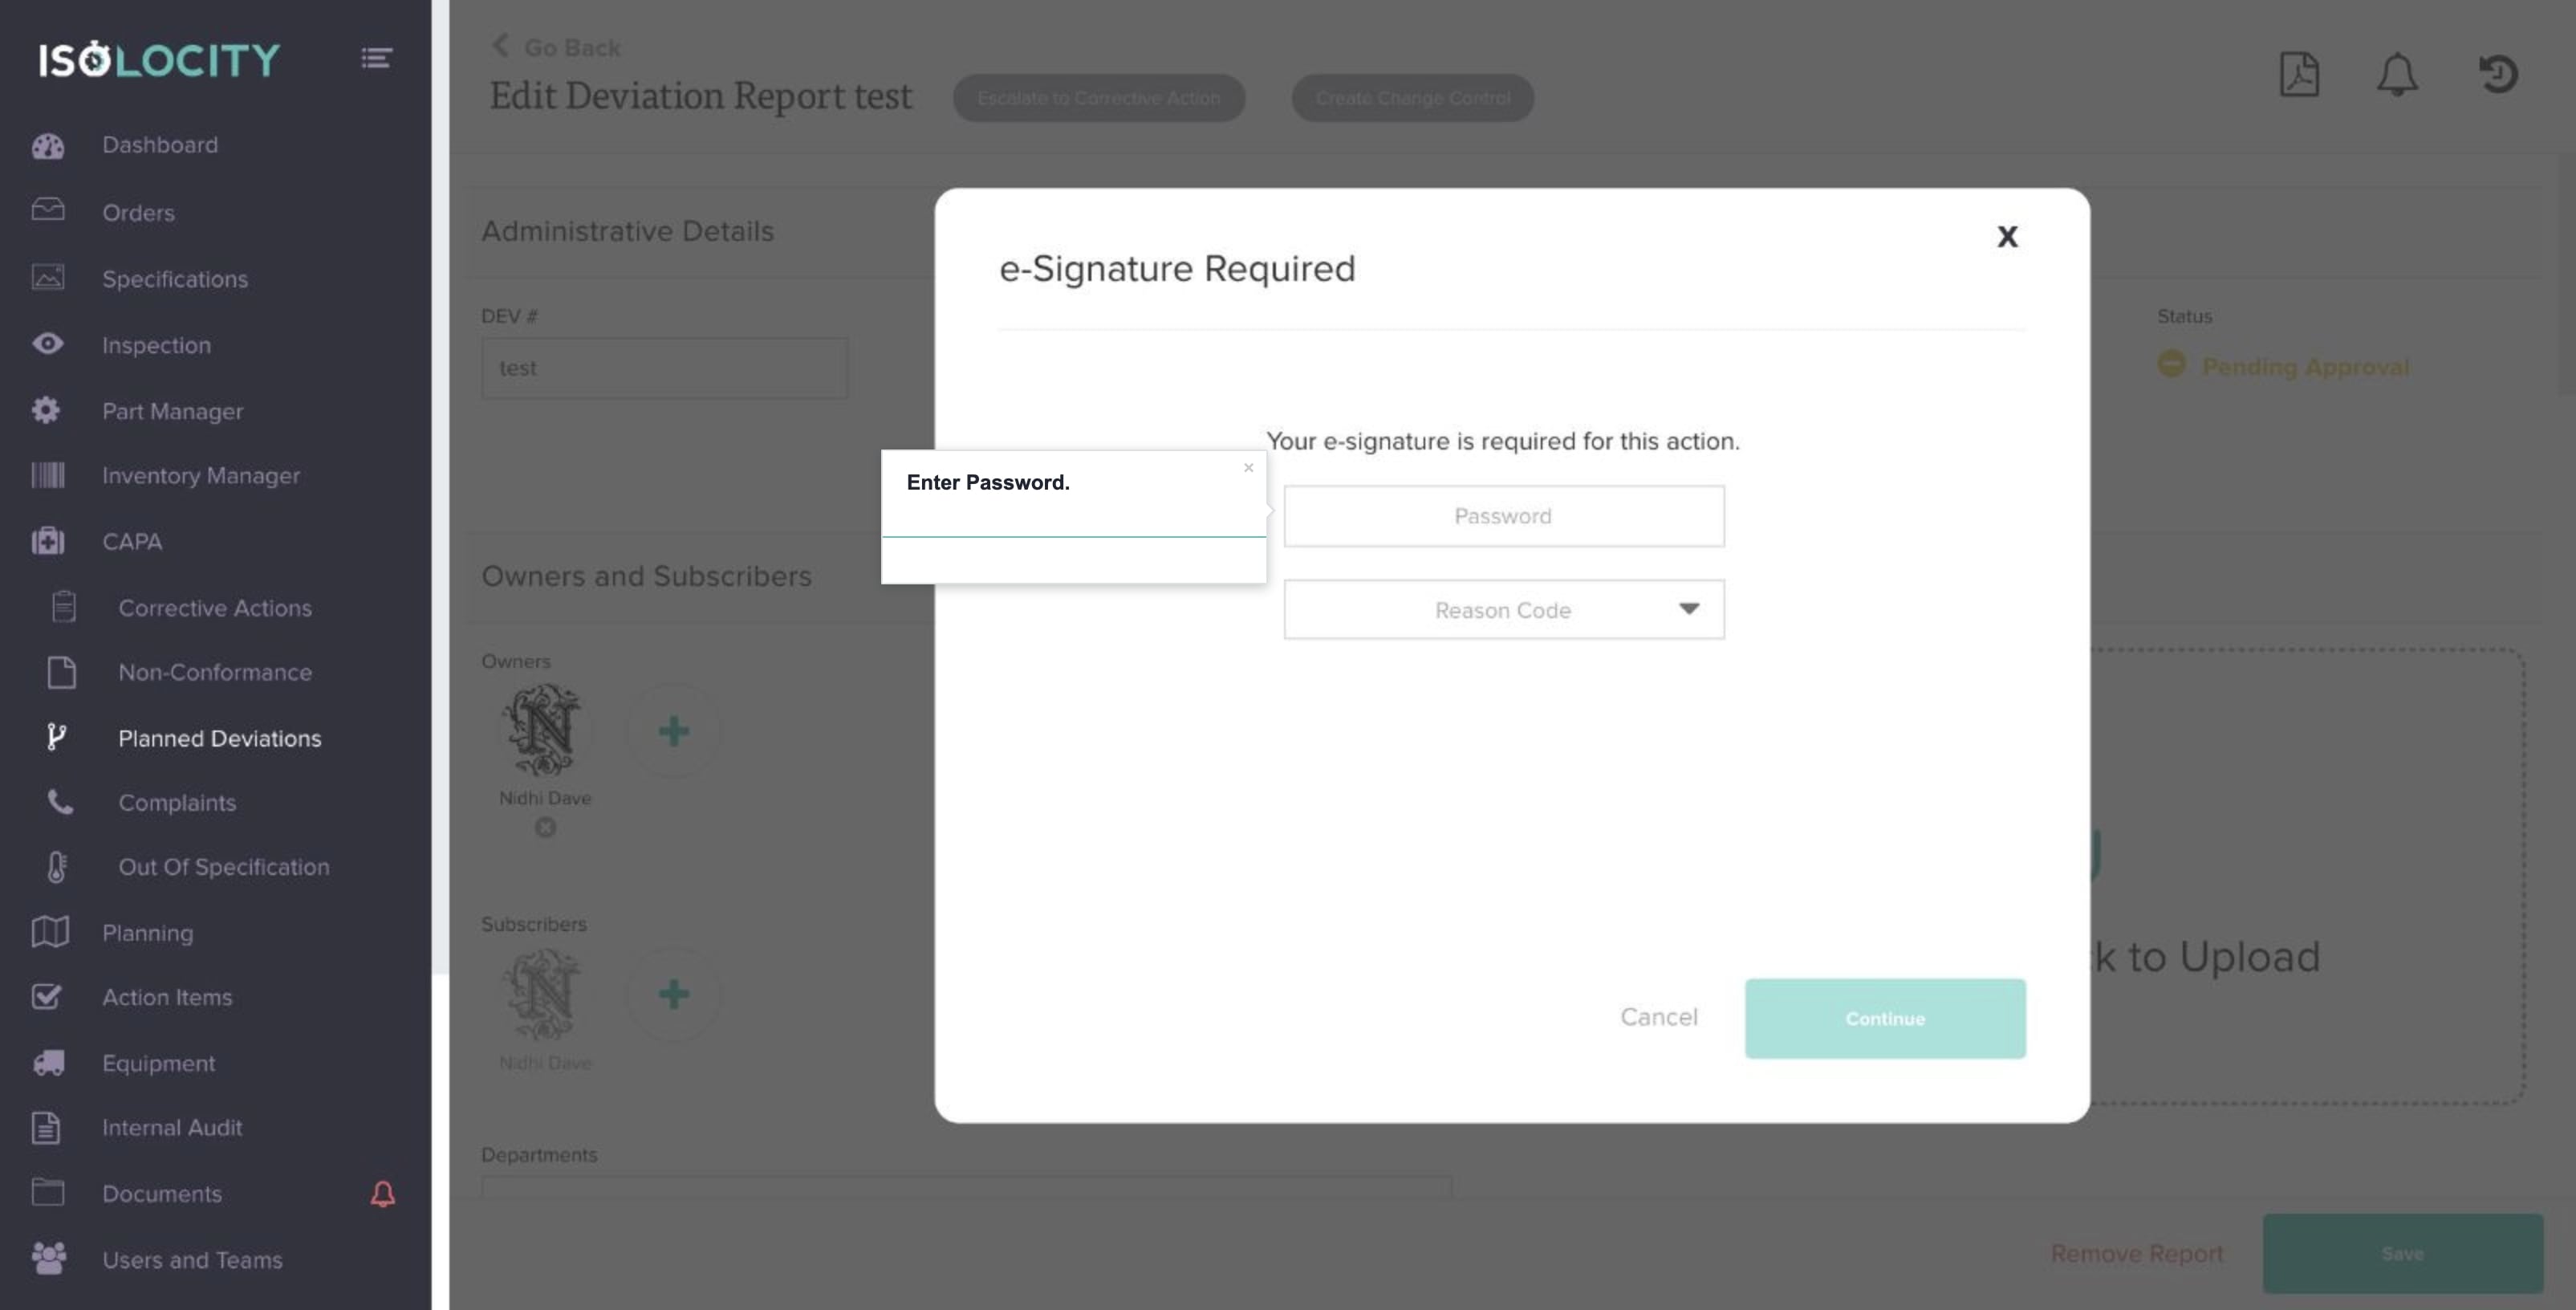
Enter Password.
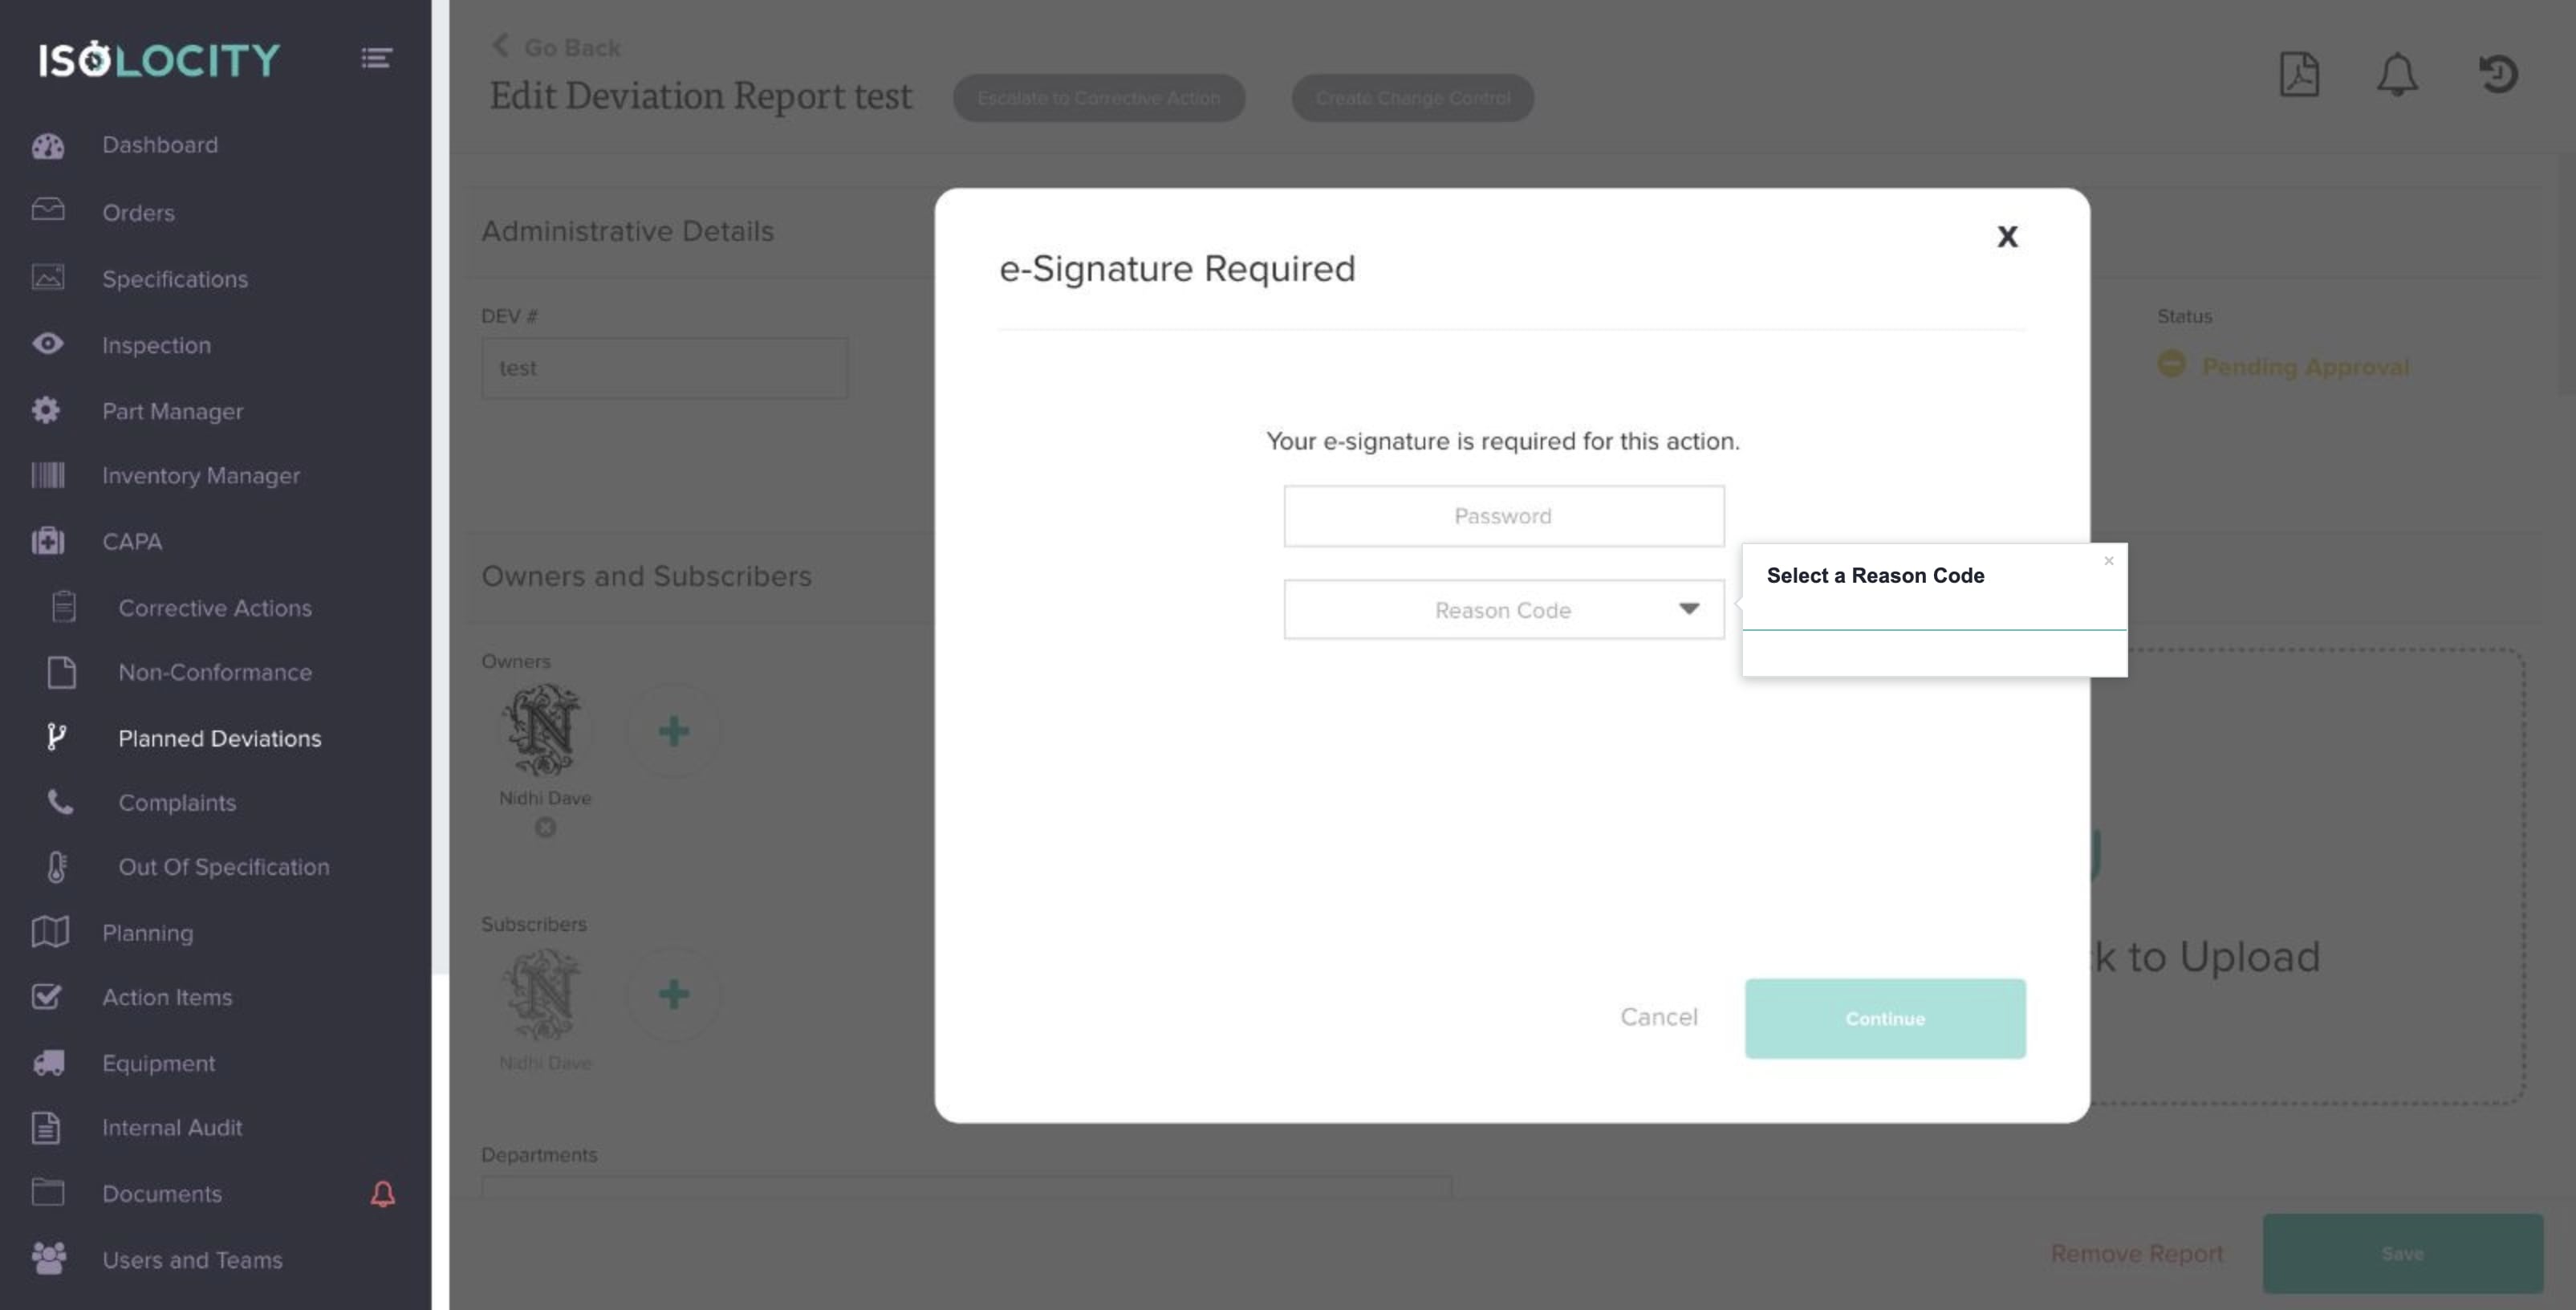
Step #80
Select a Reason Code
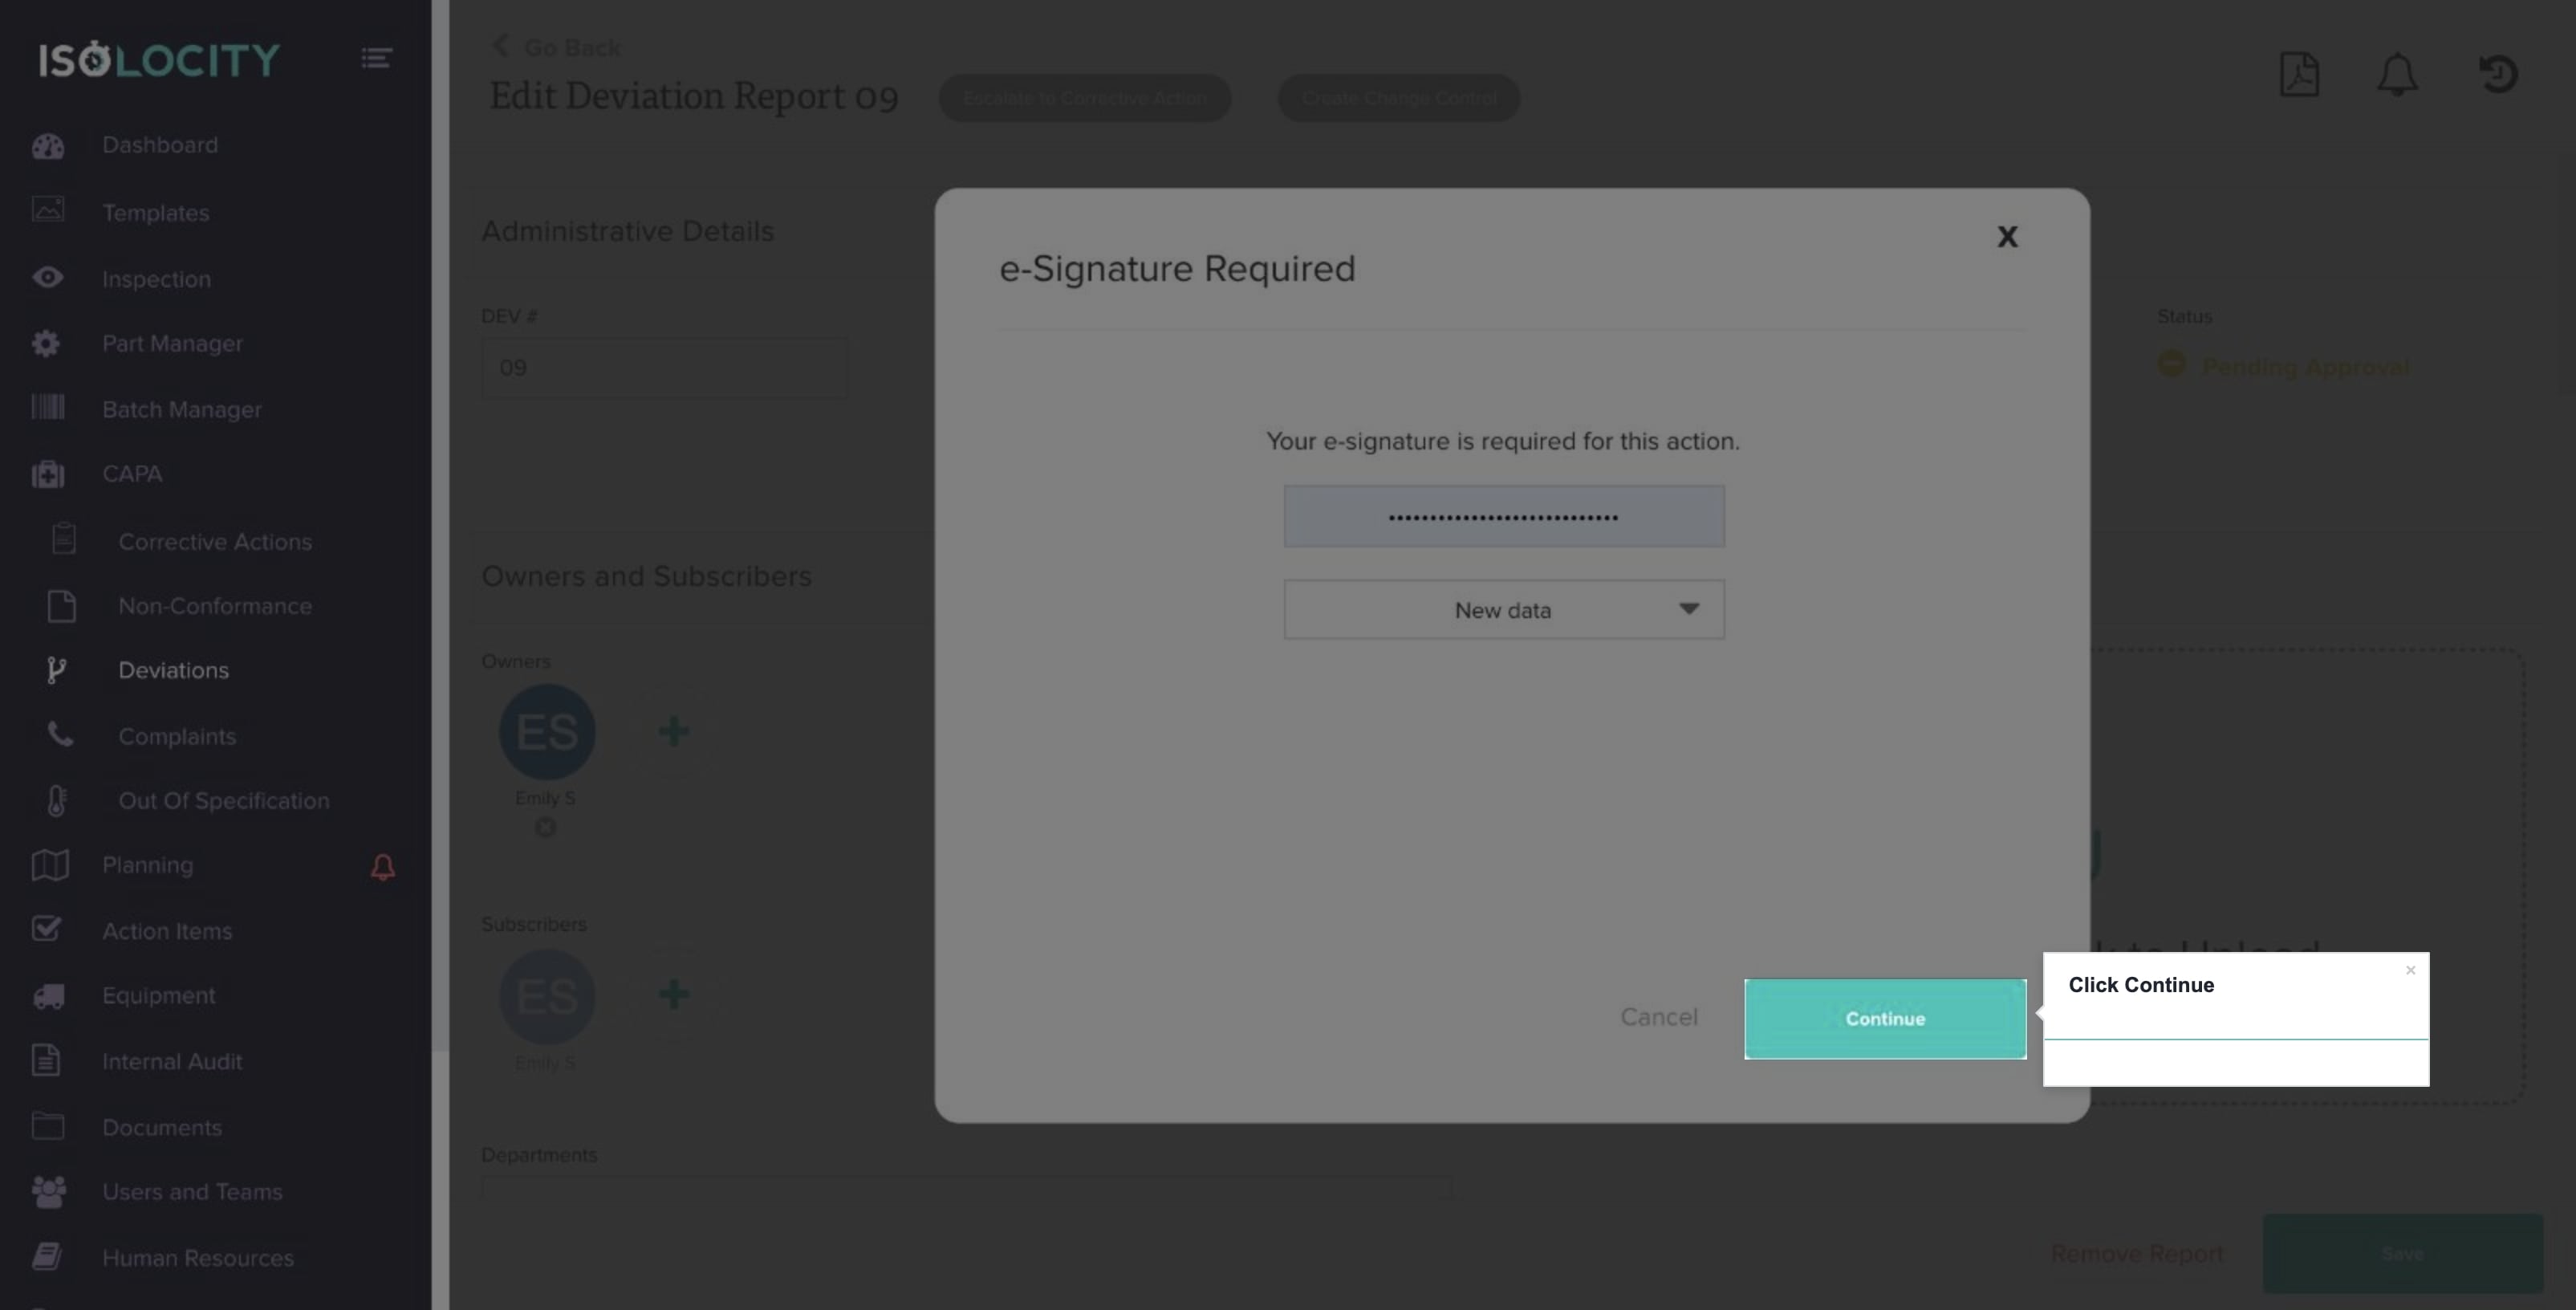
Step #81
Click Continue
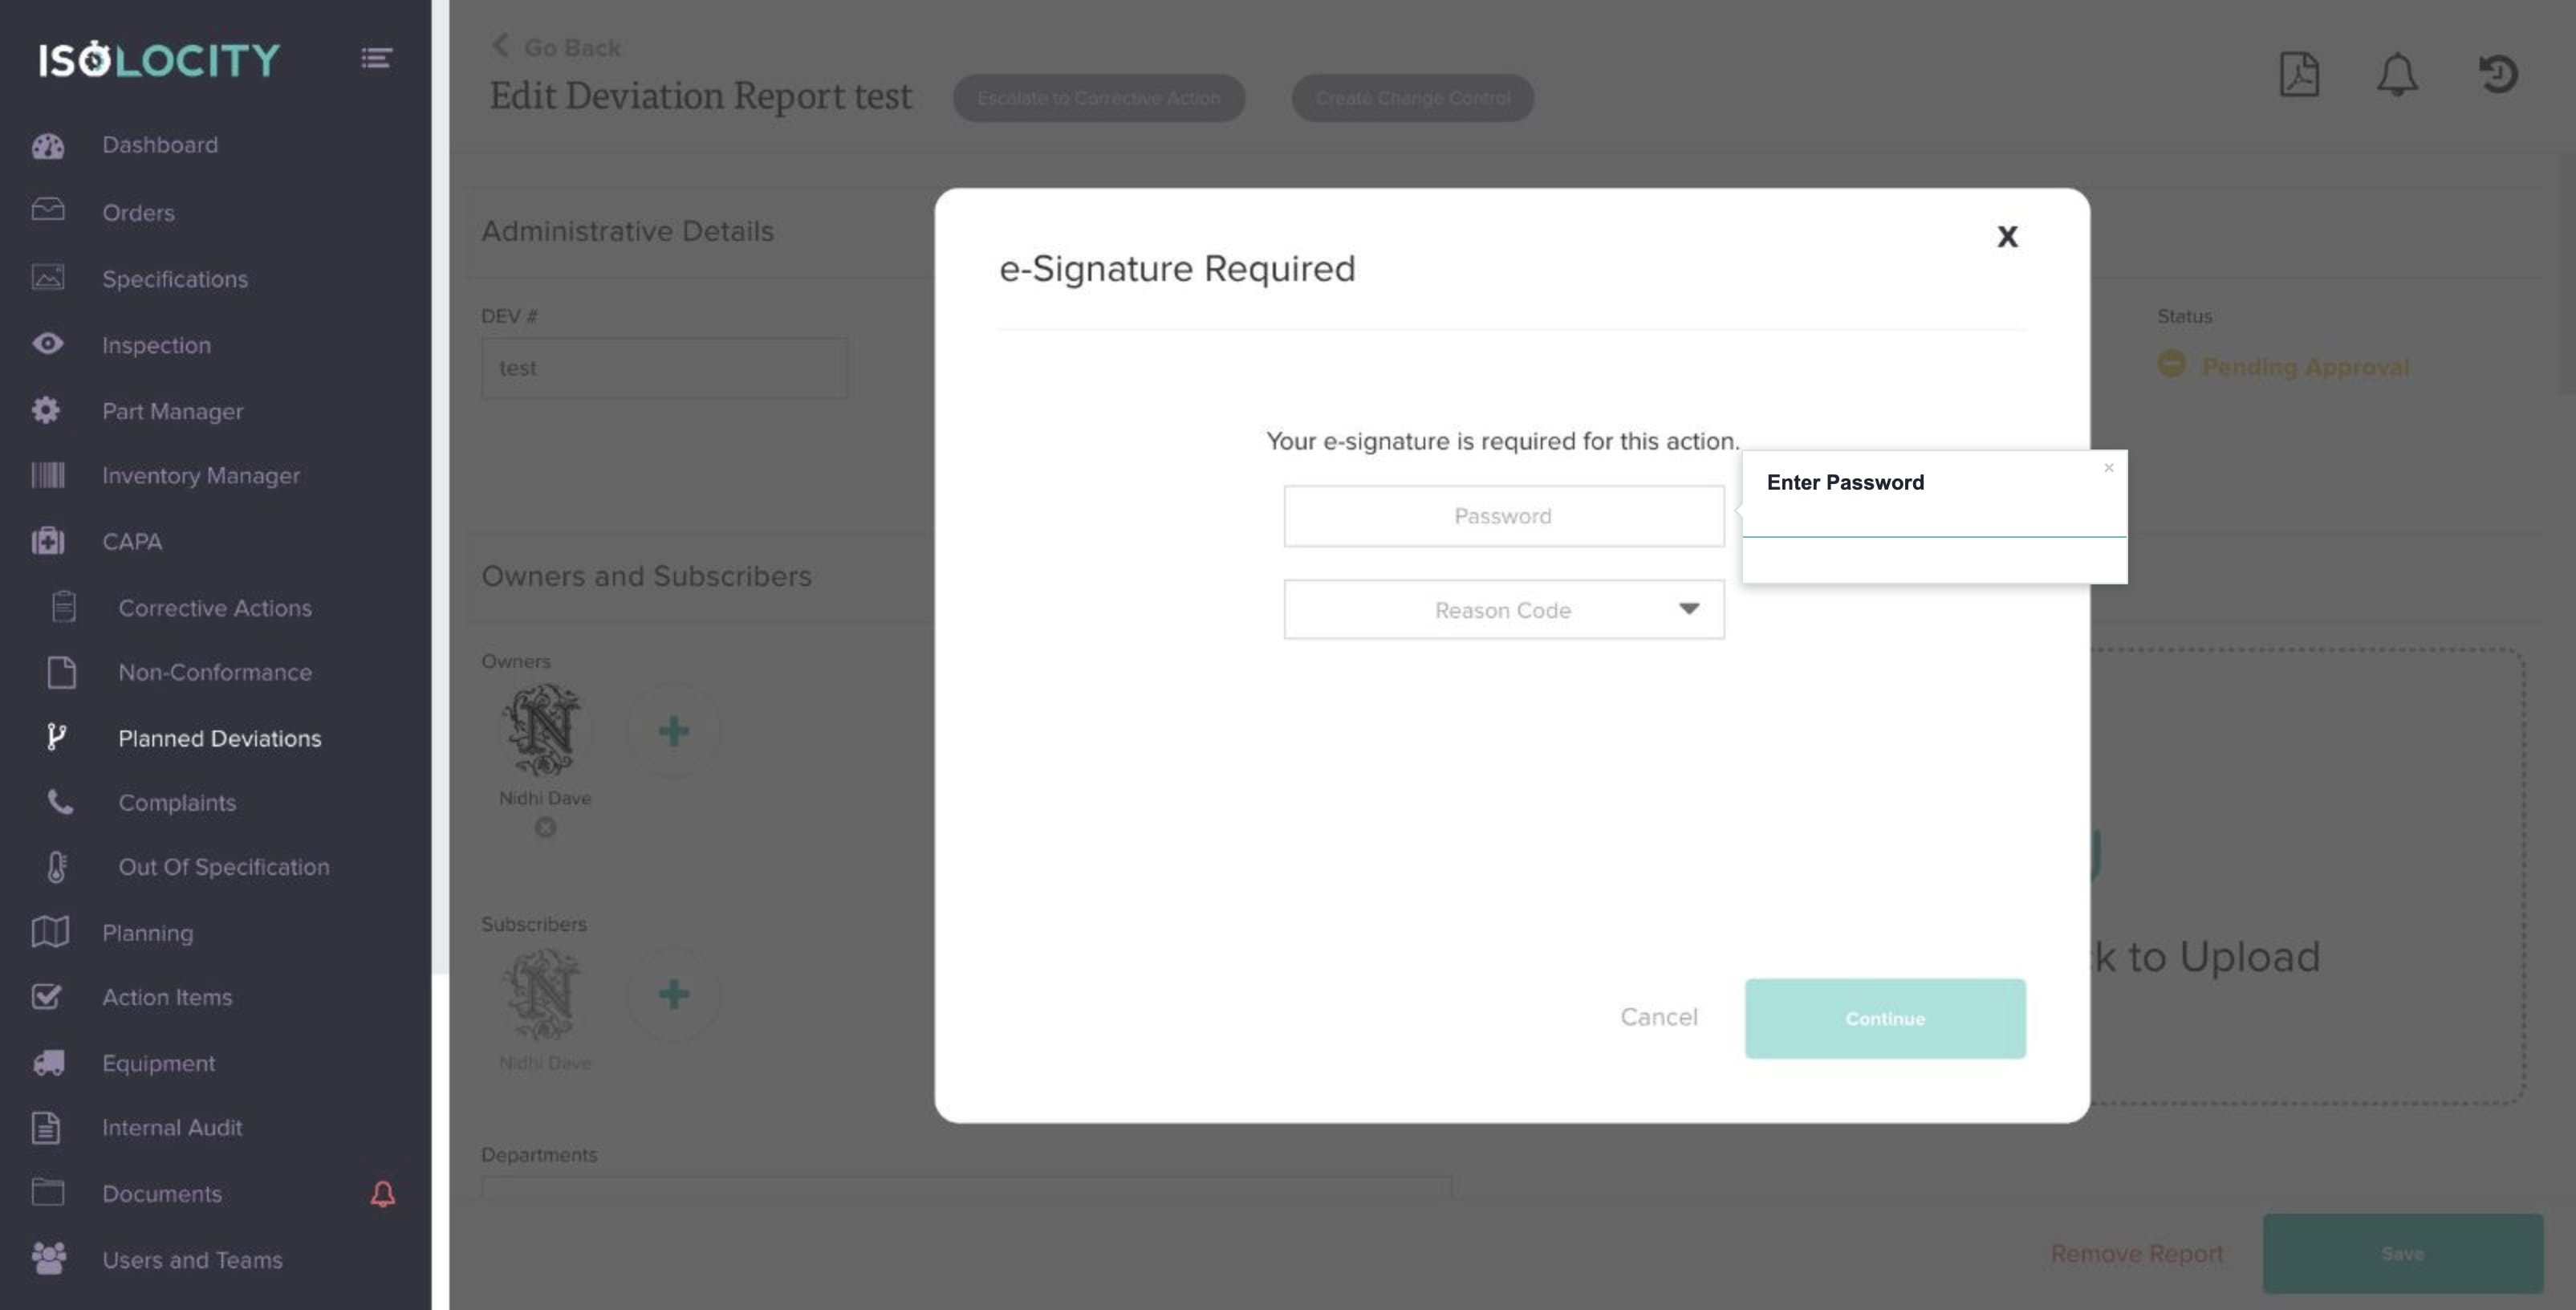
Step #82
Enter Password
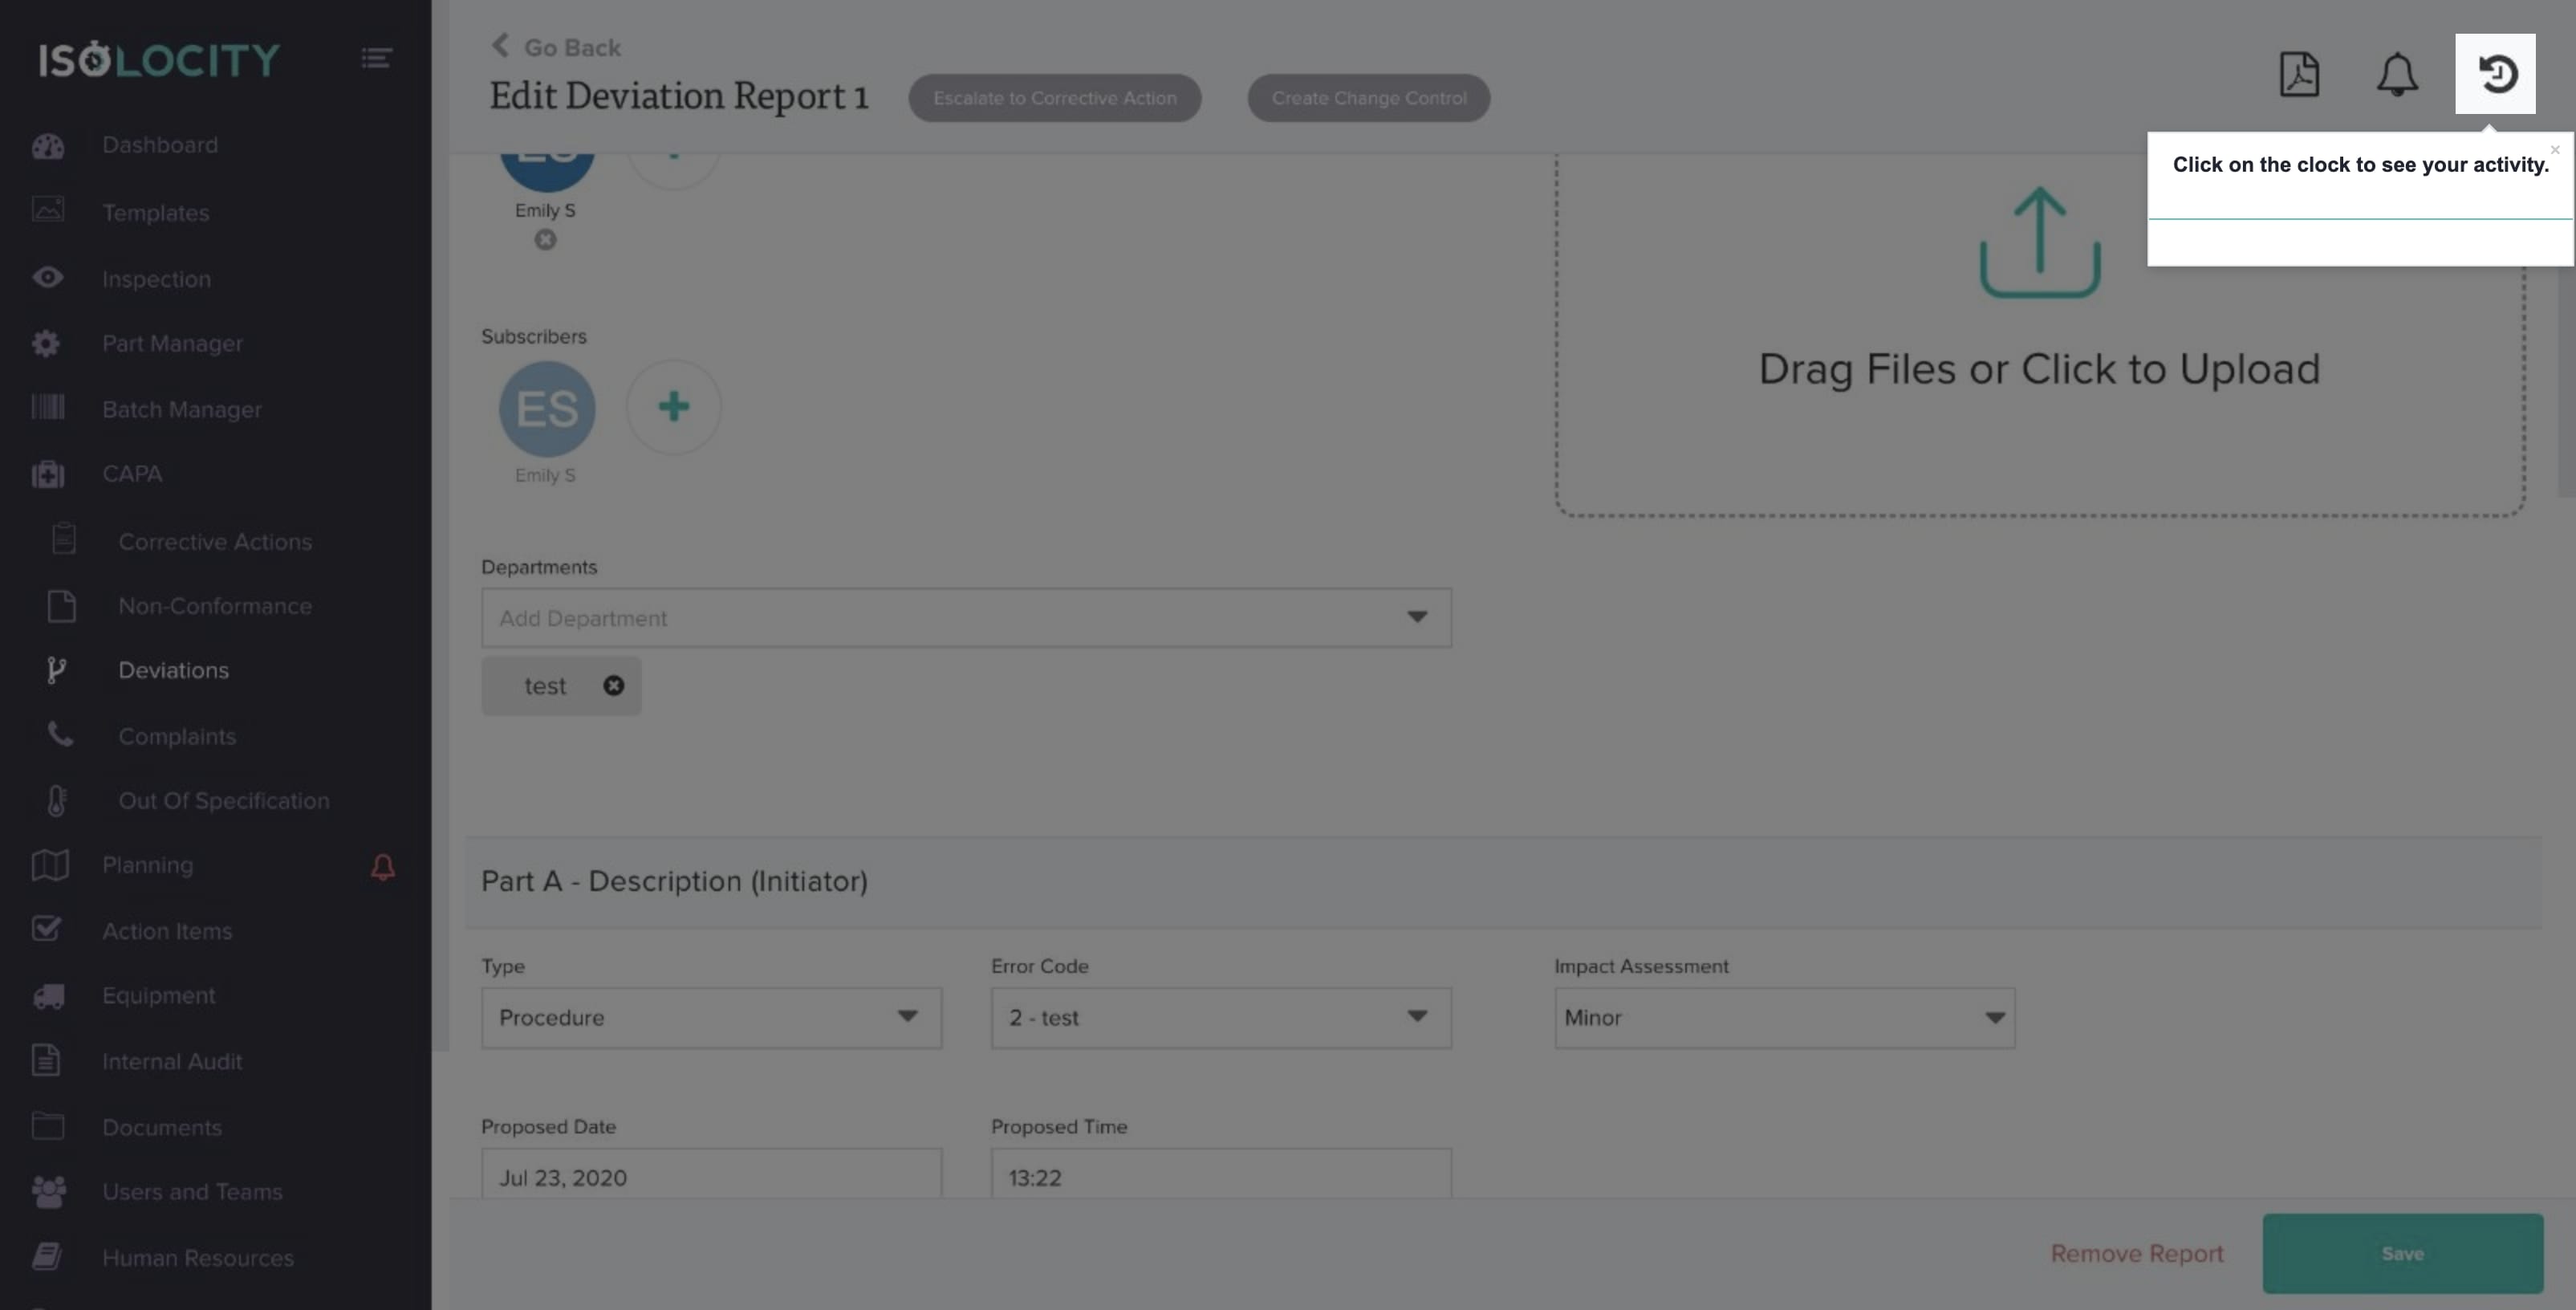
Step #83
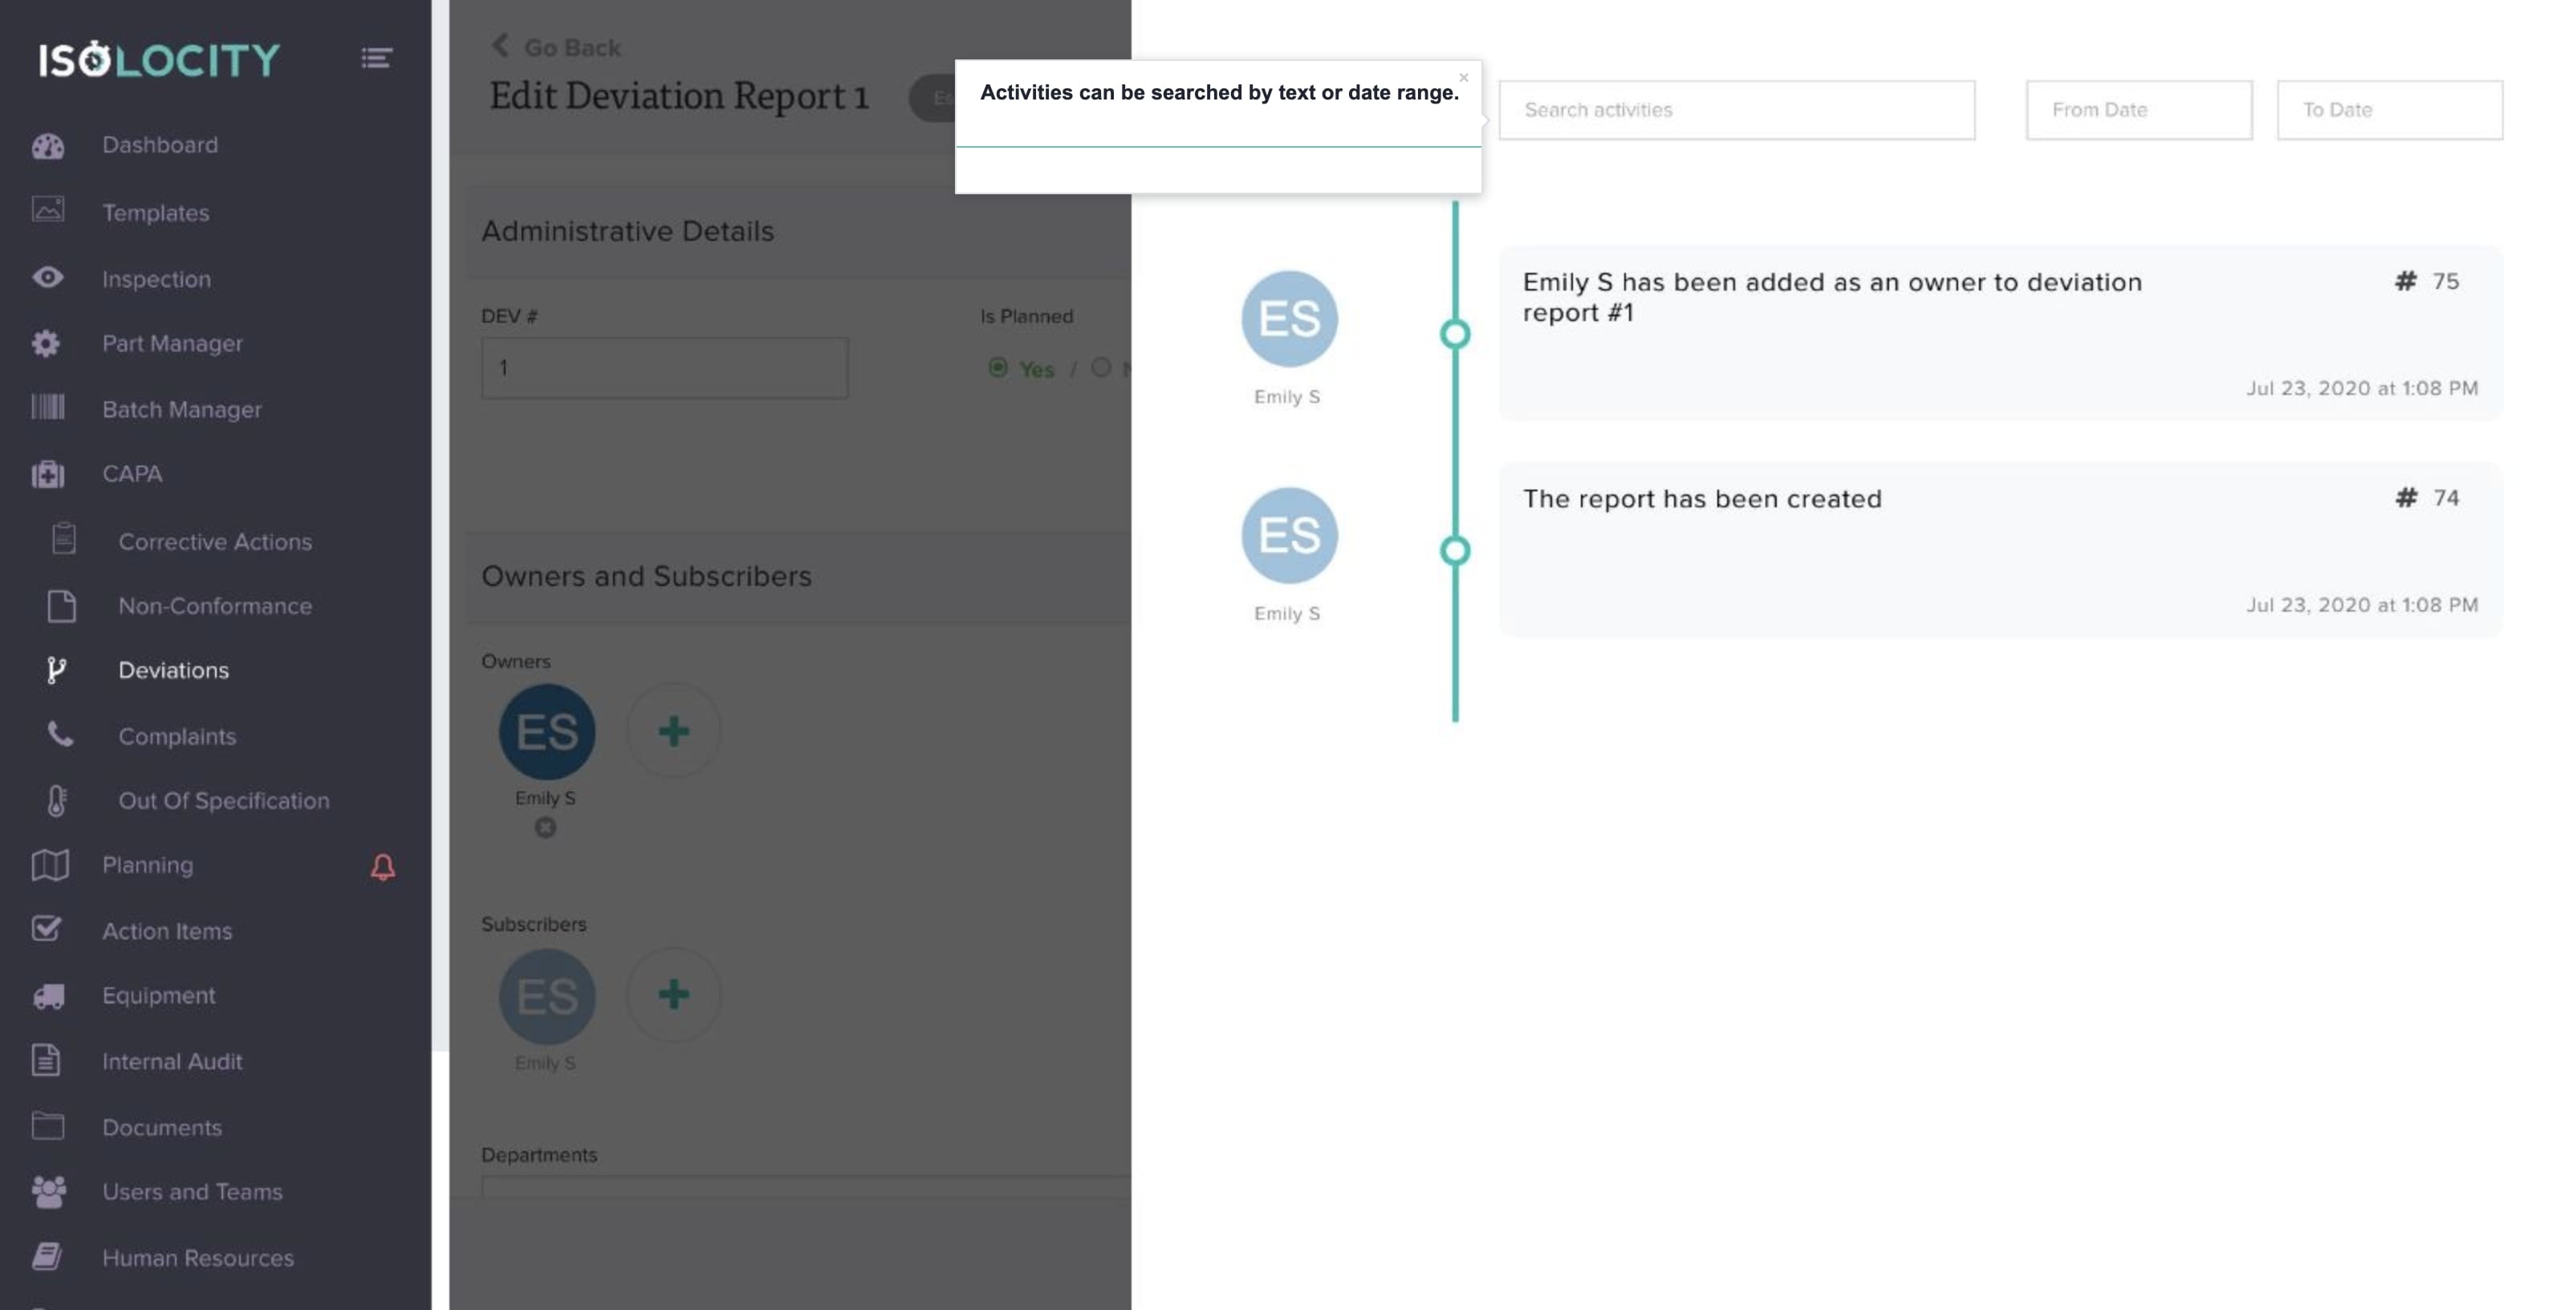
Click on the clock to see your activity.
Step #84
The activity tracker shows all activity for this report.
![]()
Step #85
The user, the action and the date/time is tracked and recorded here.

Step #86
Activities can be searched by text or date range.
Step #87
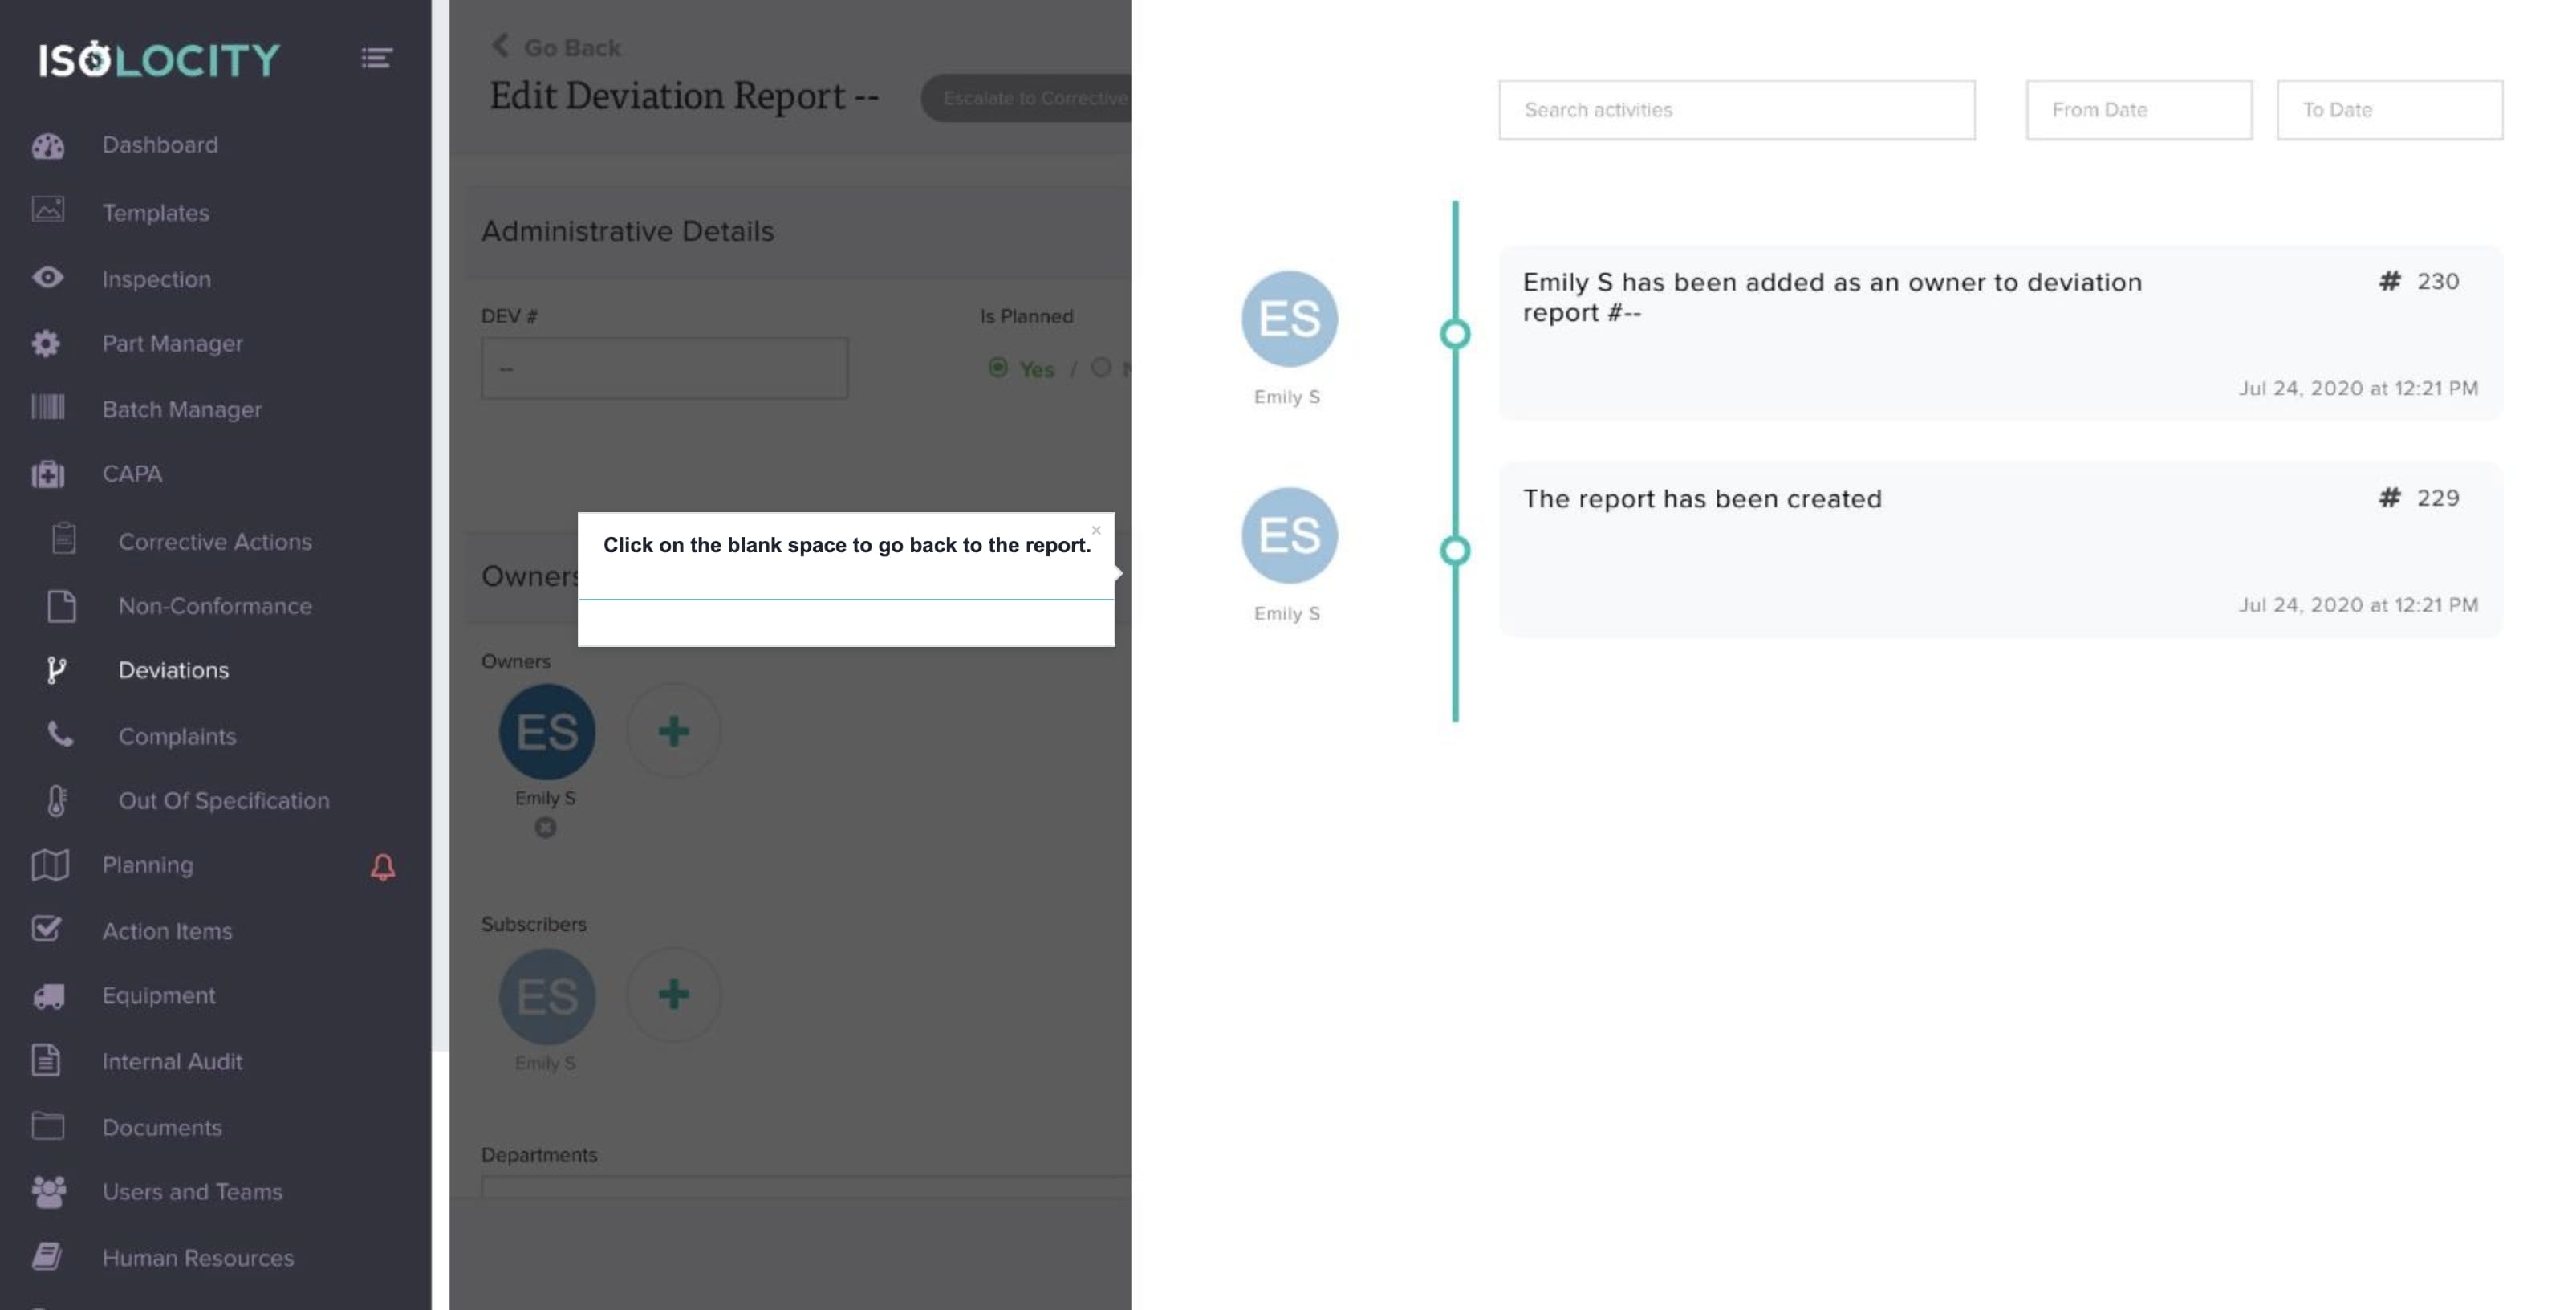
Click on the blank space to go back to the report.
Step #88
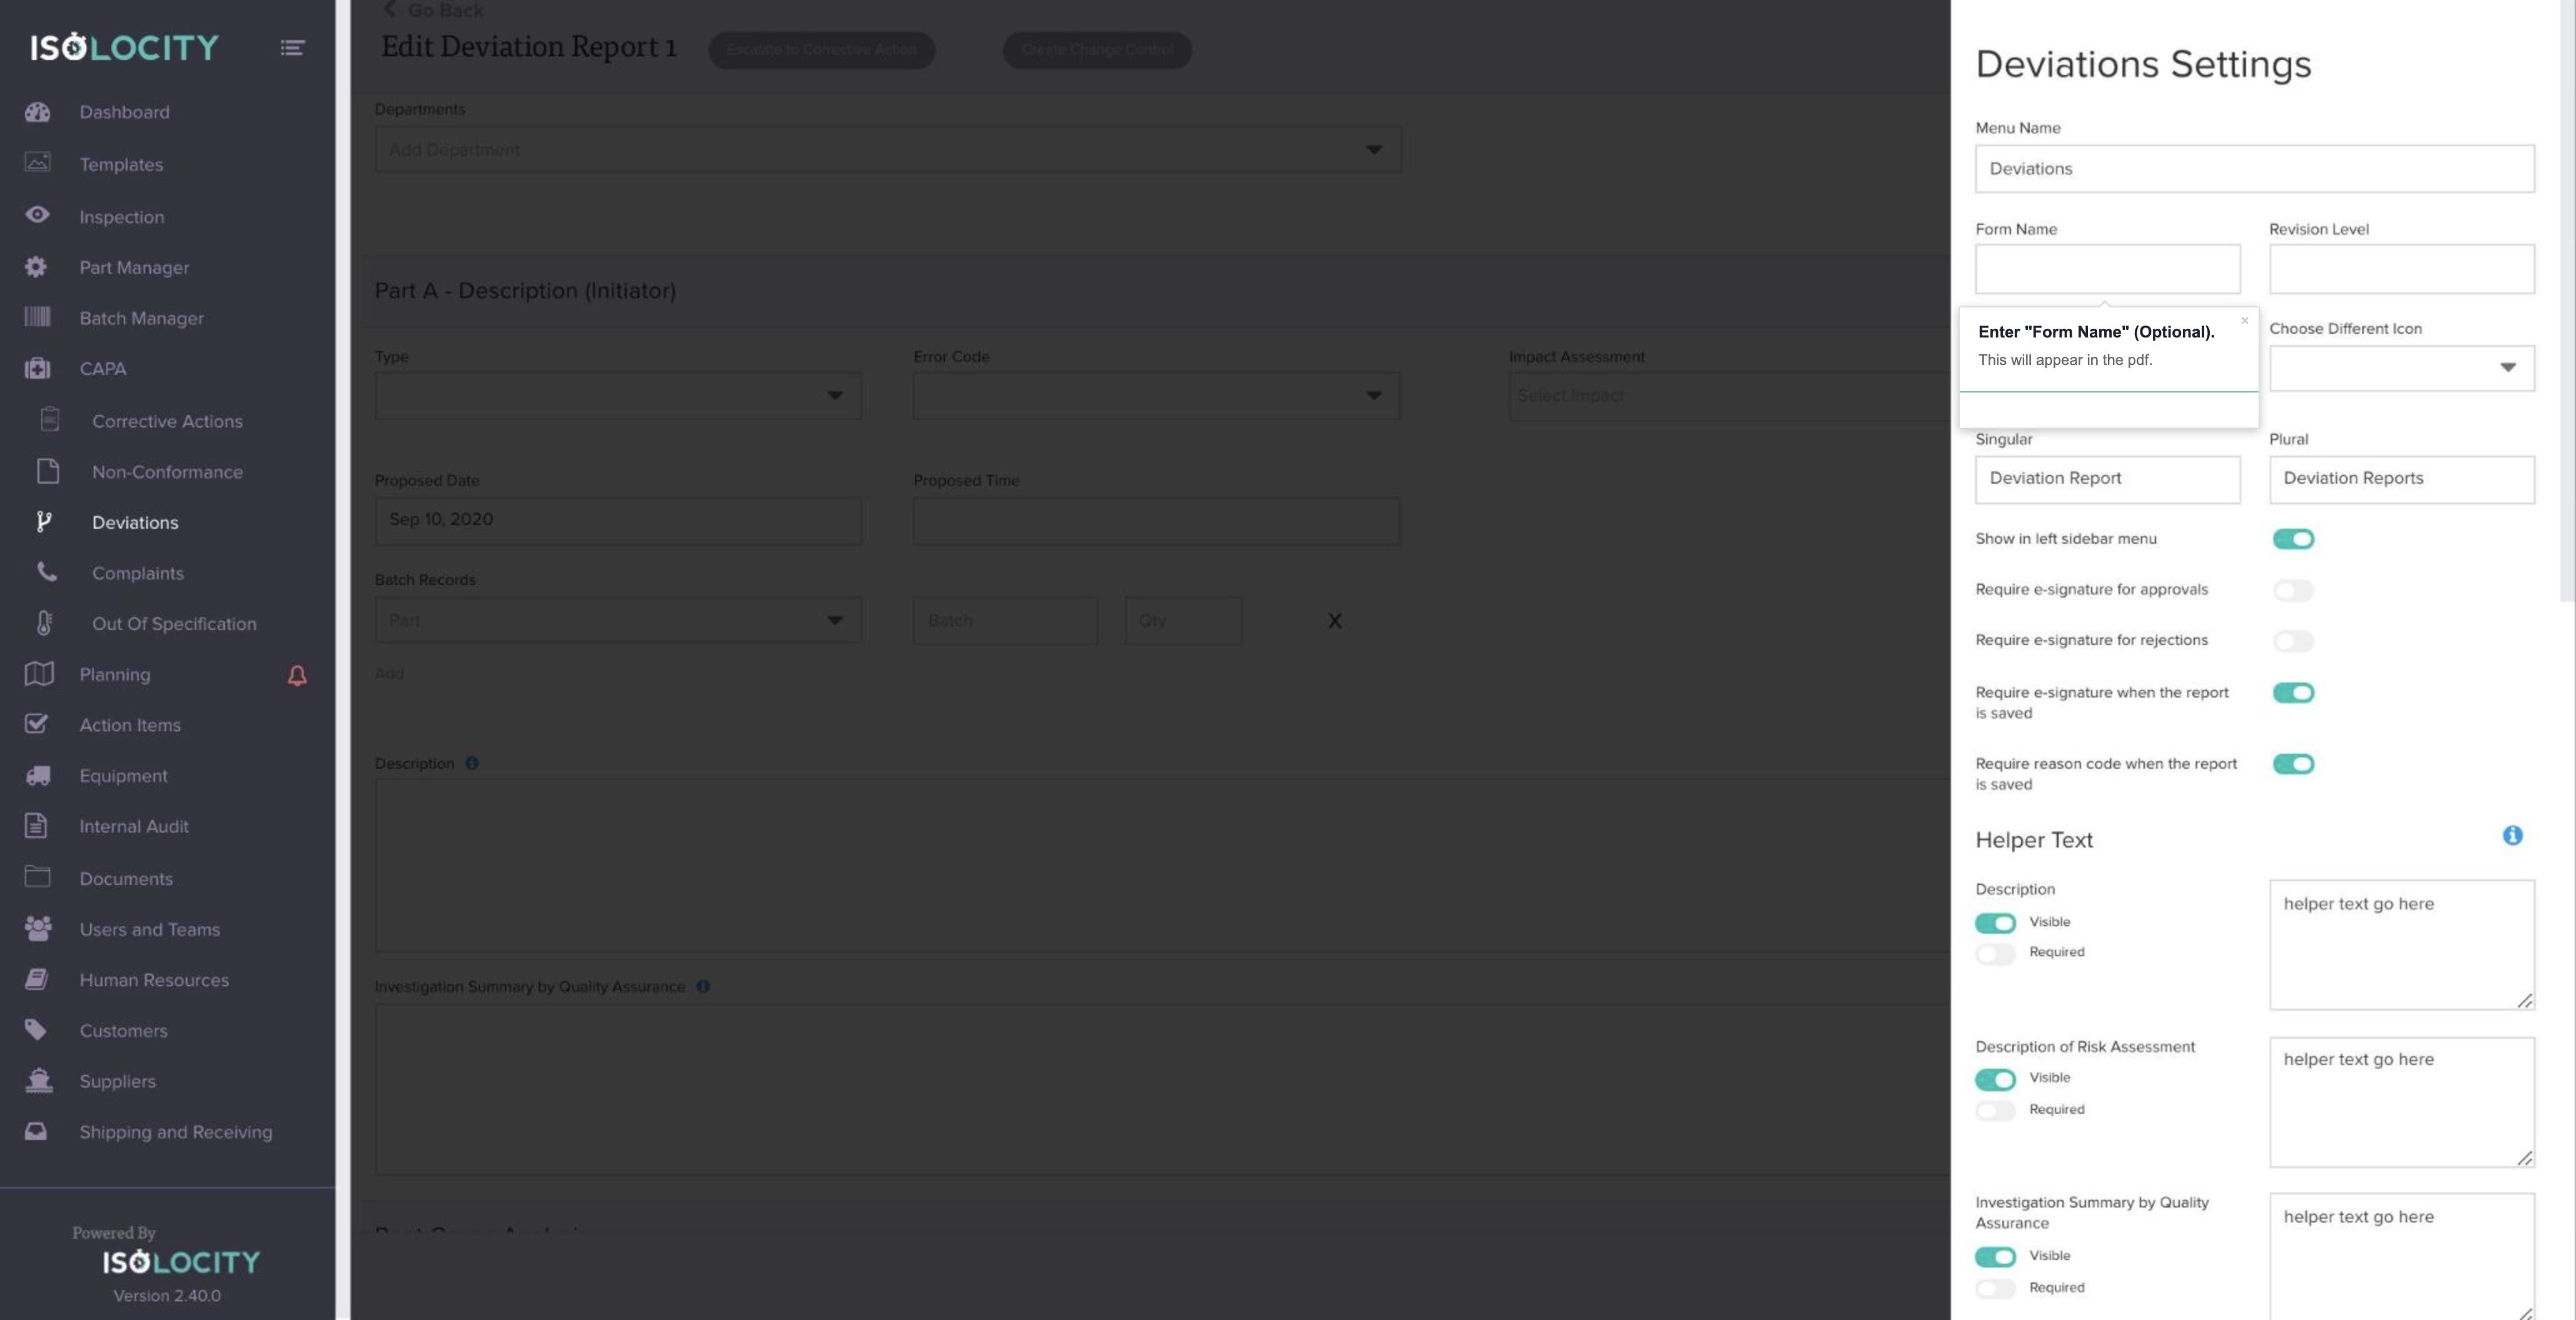
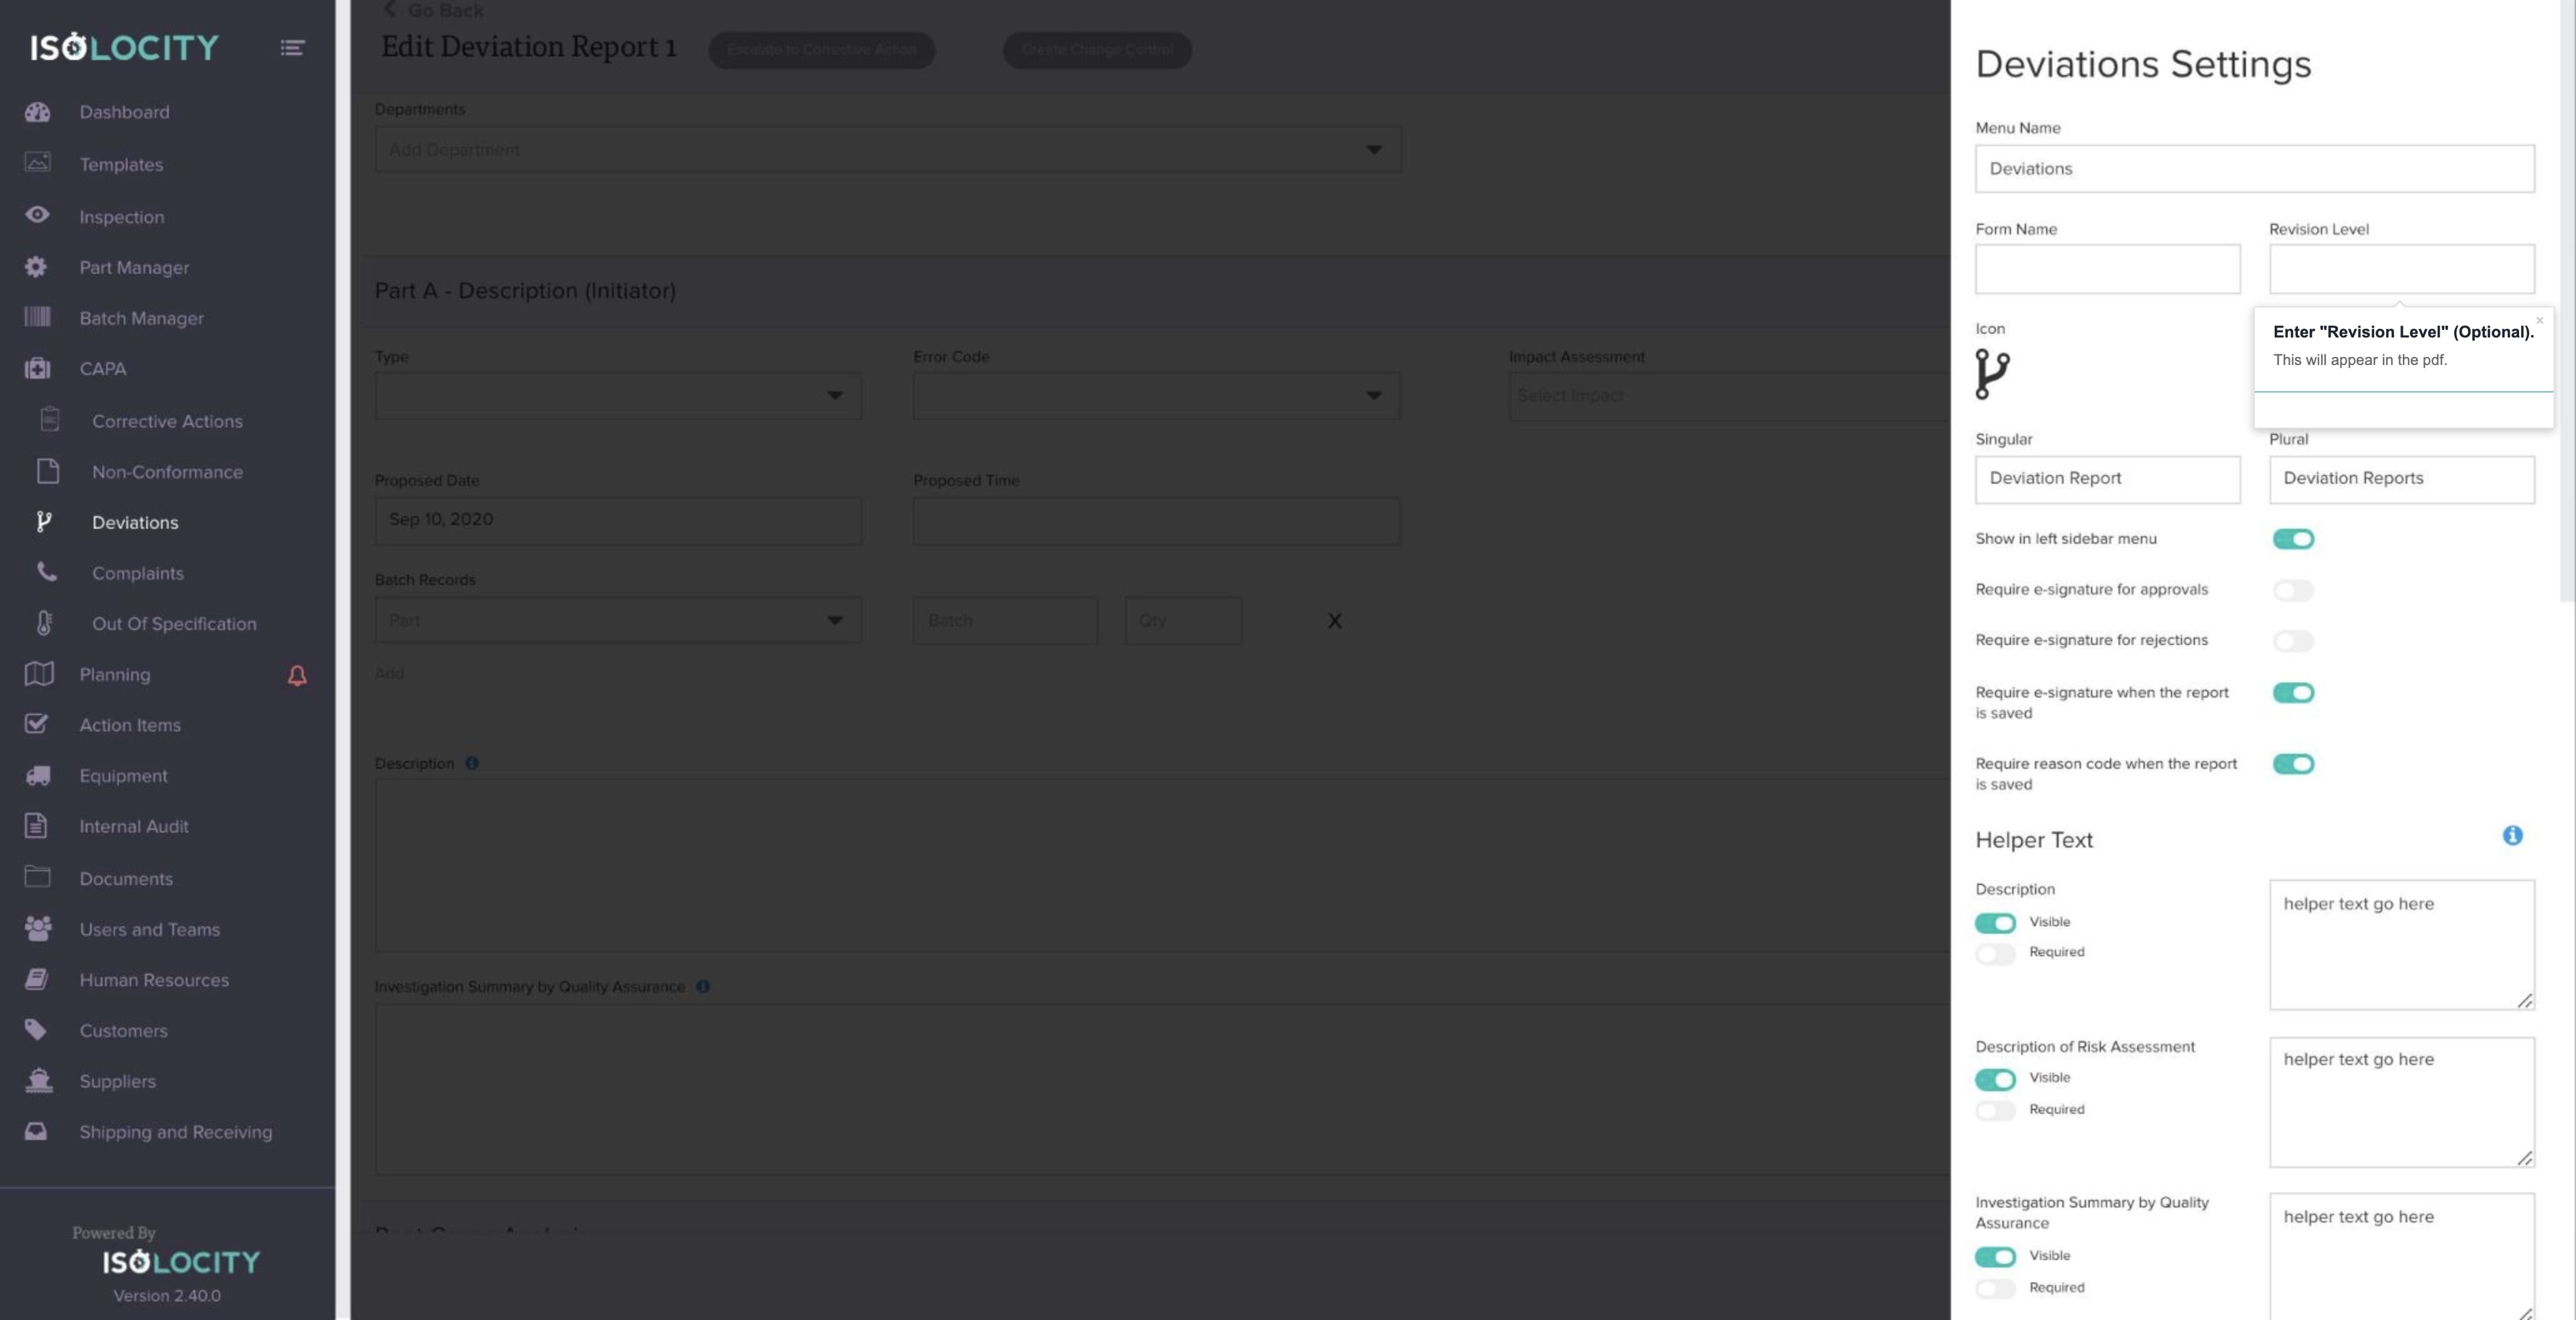
Click the gear to access Deviations settings
Step #89
Enter “Form Name” (Optional).
Step #90
Enter “Revision Level” (Optional).
Step #91
Click on the blank space to go back to the report.
![]()
Step #92
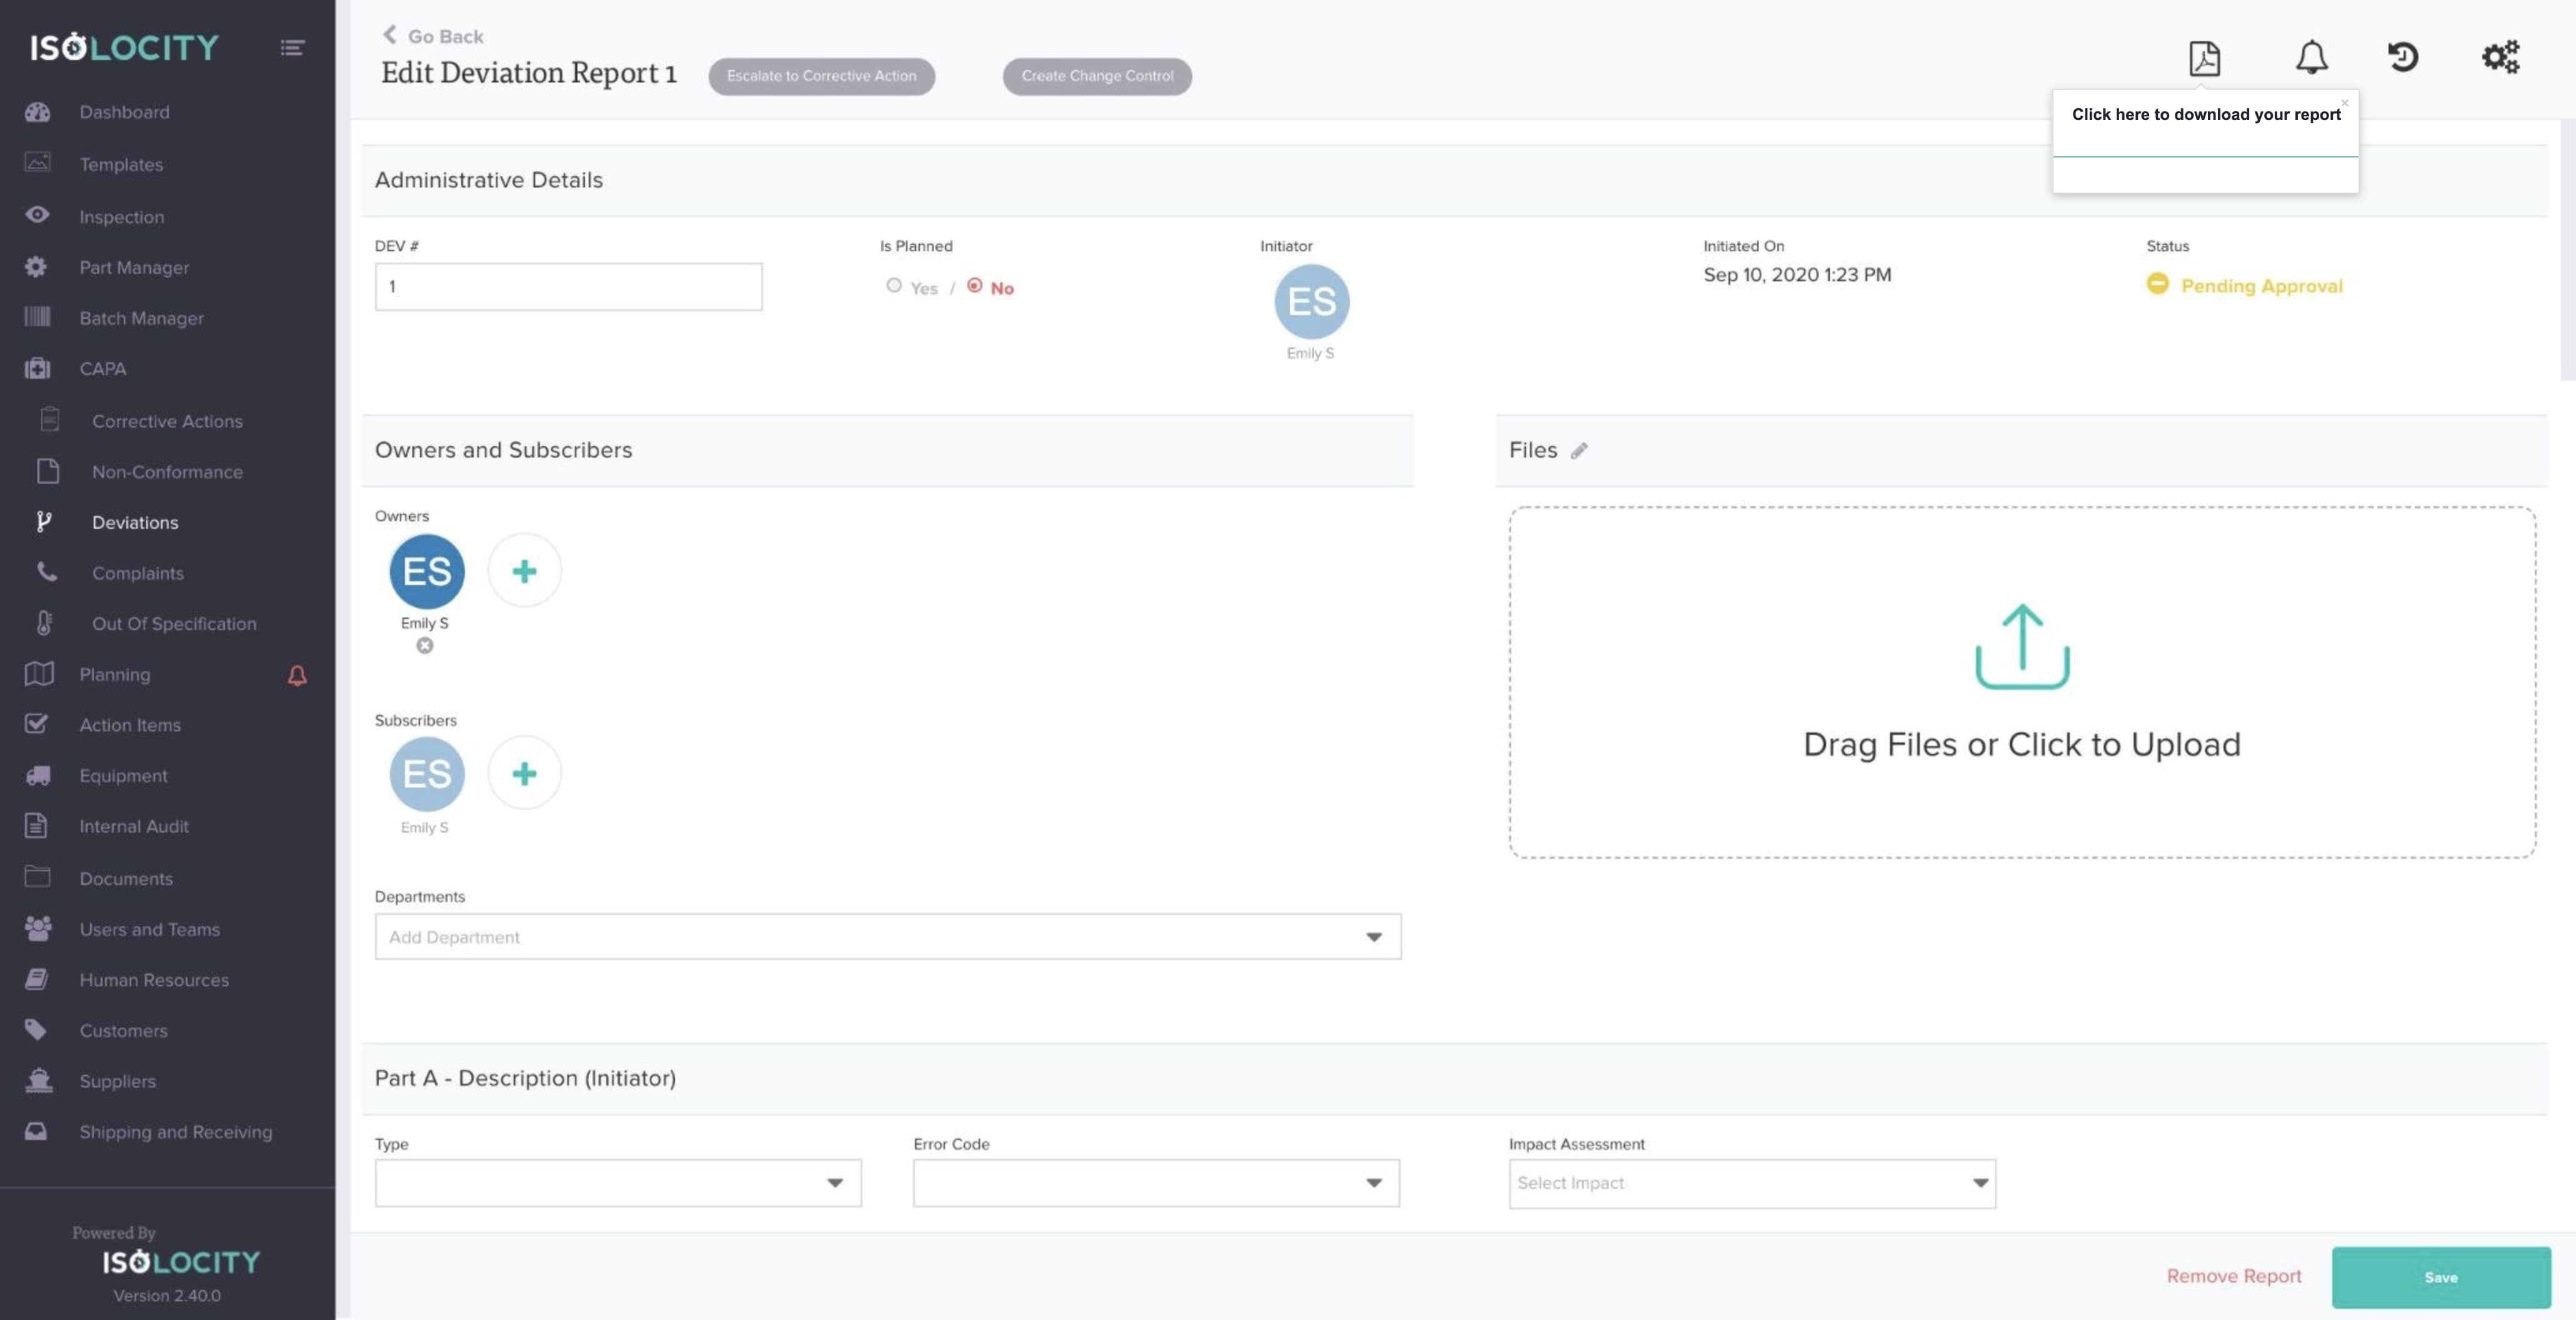
Click here to download your report