Adding A New Part or Product
Step #1
Title: Click here to add a new “Product”.
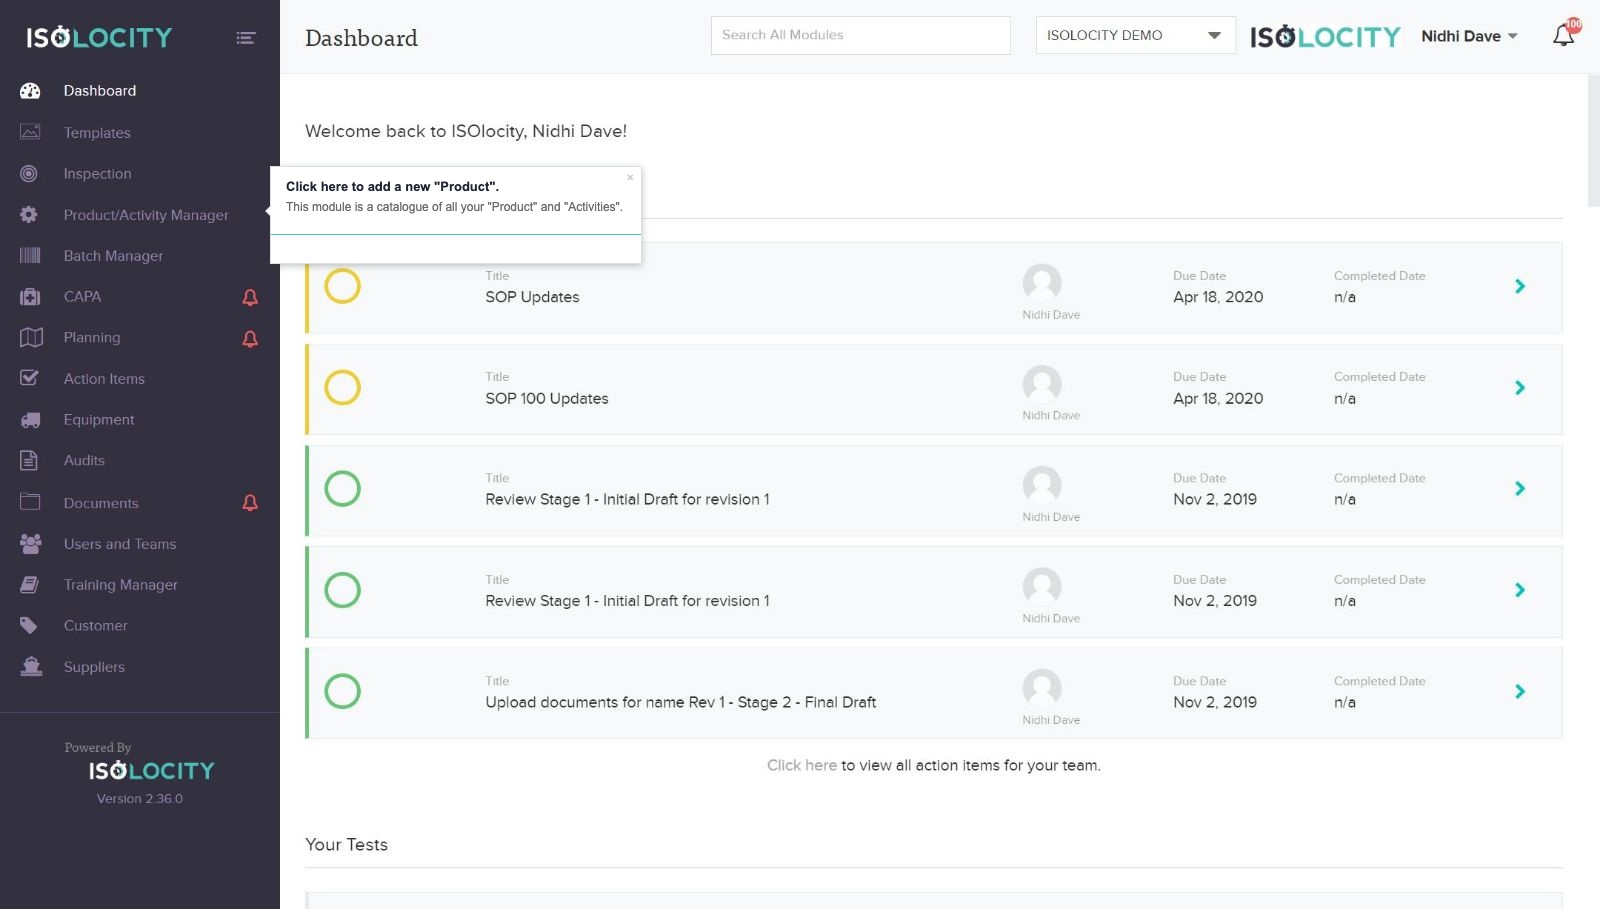
Text: This module is a catalogue of all your “Product” and “Activities”.
Captured URL: https://app.isolocity.com/
Step #2
Title: Click “Create Product”
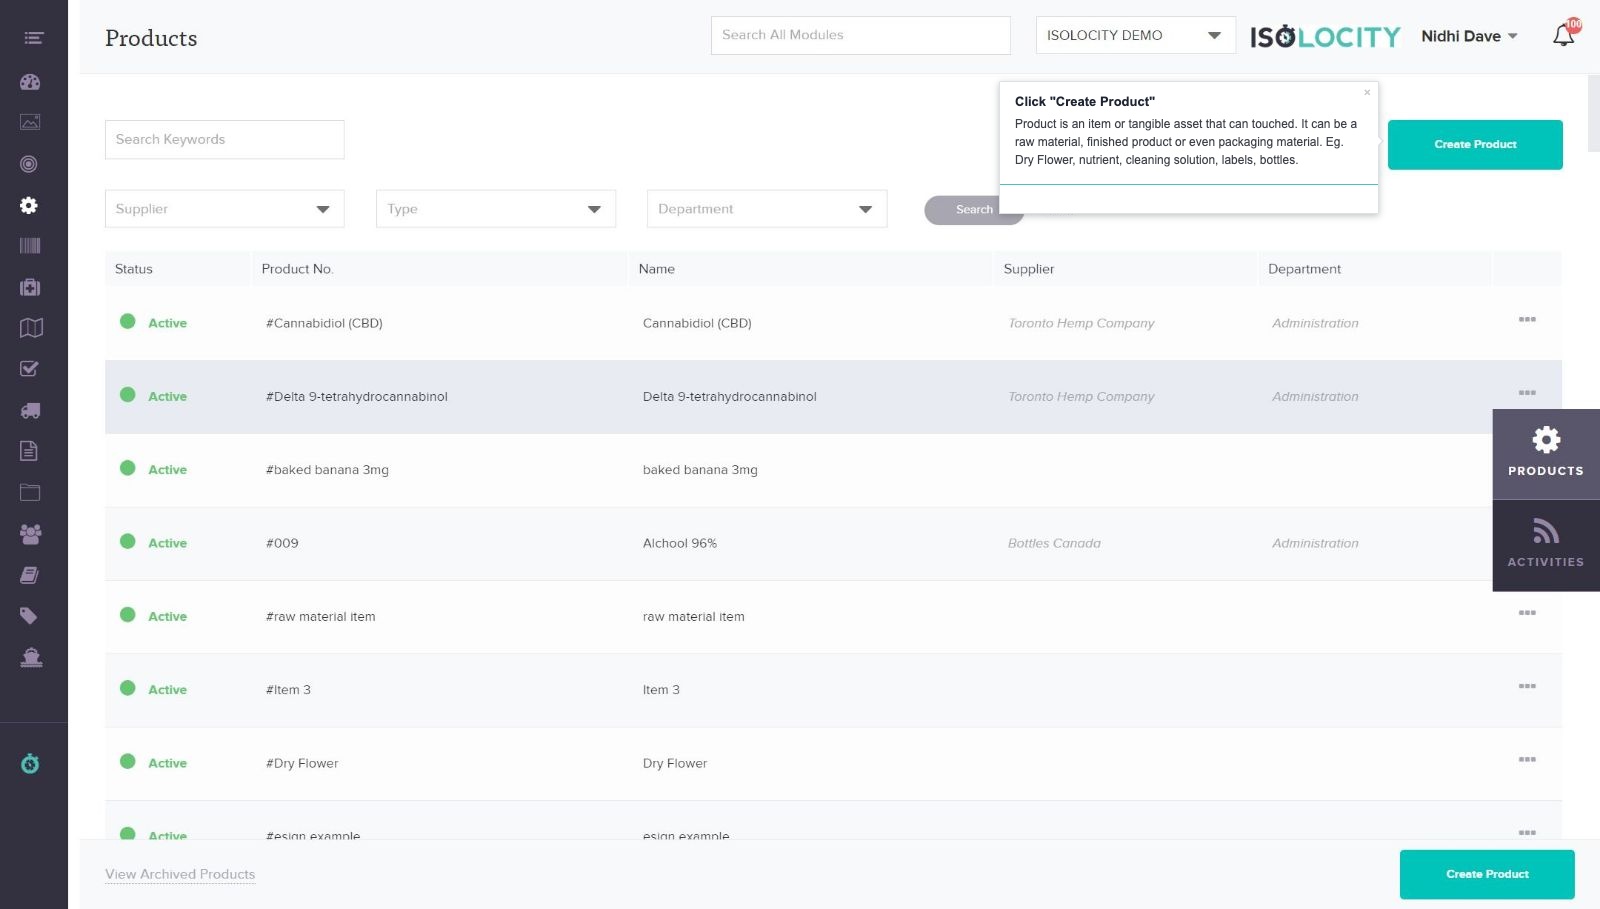
Text: Product is an item or tangible asset that can touched. It can be a raw material, finished product or even packaging material. Eg. Dry Flower, nutrient, cleaning solution, labels, bottles.
Captured URL: https://app.isolocity.com/parts
Step #3
Title: Select a “Status”.
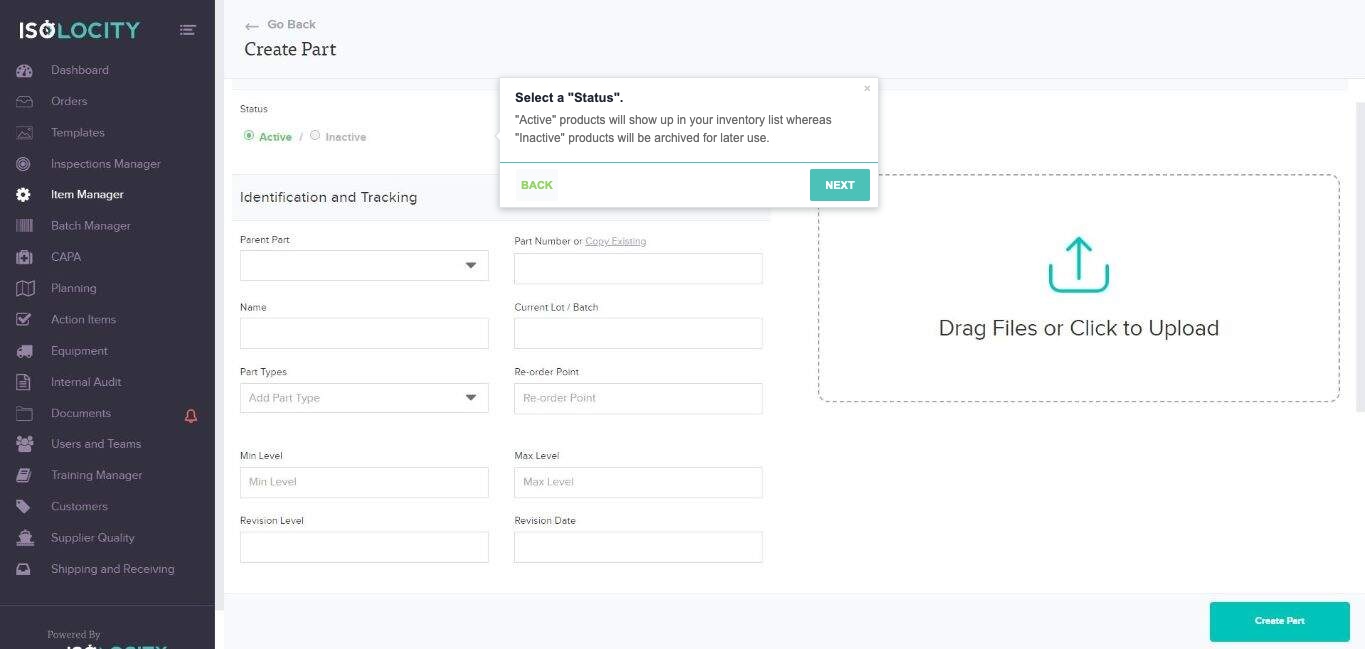
Text: “Active” products will show up in your inventory list whereas “Inactive” products will be archived for later use.
Captured URL: https://app.isolocity.com/parts/new
Step #4
Title: Select whether your product is a “Finished Product”.
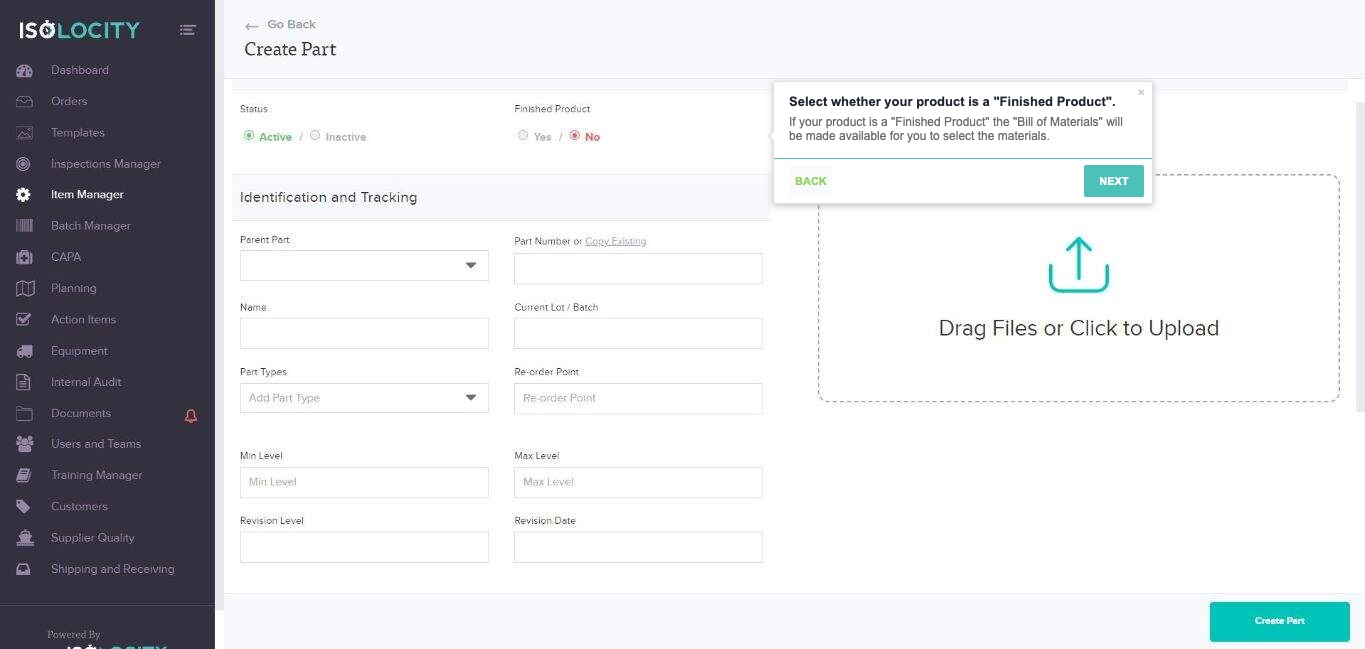
Text: If your product is a “Finished Product” the “Bill of Materials” will be made available for you to select the materials.
Captured URL: https://app.isolocity.com/parts/new
Step #5
Title: Click the arrow key to find a “Parent Product” (Optional).
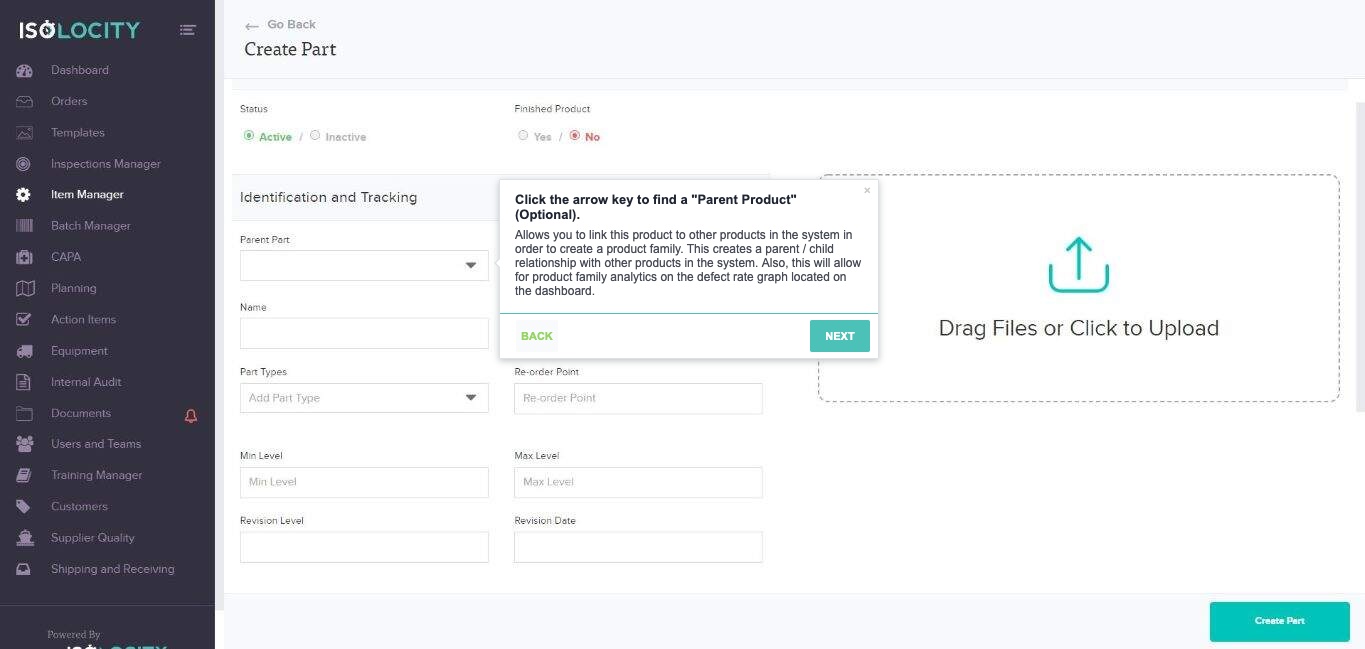
Text: Allows you to link this product to other products in the system in order to create a product family. This creates a parent / child relationship with other products in the system. Also, this will allow for product family analytics on the defect rate graph located on the dashboard.
Captured URL: https://app.isolocity.com/parts/new
Step #6
Title: Note:
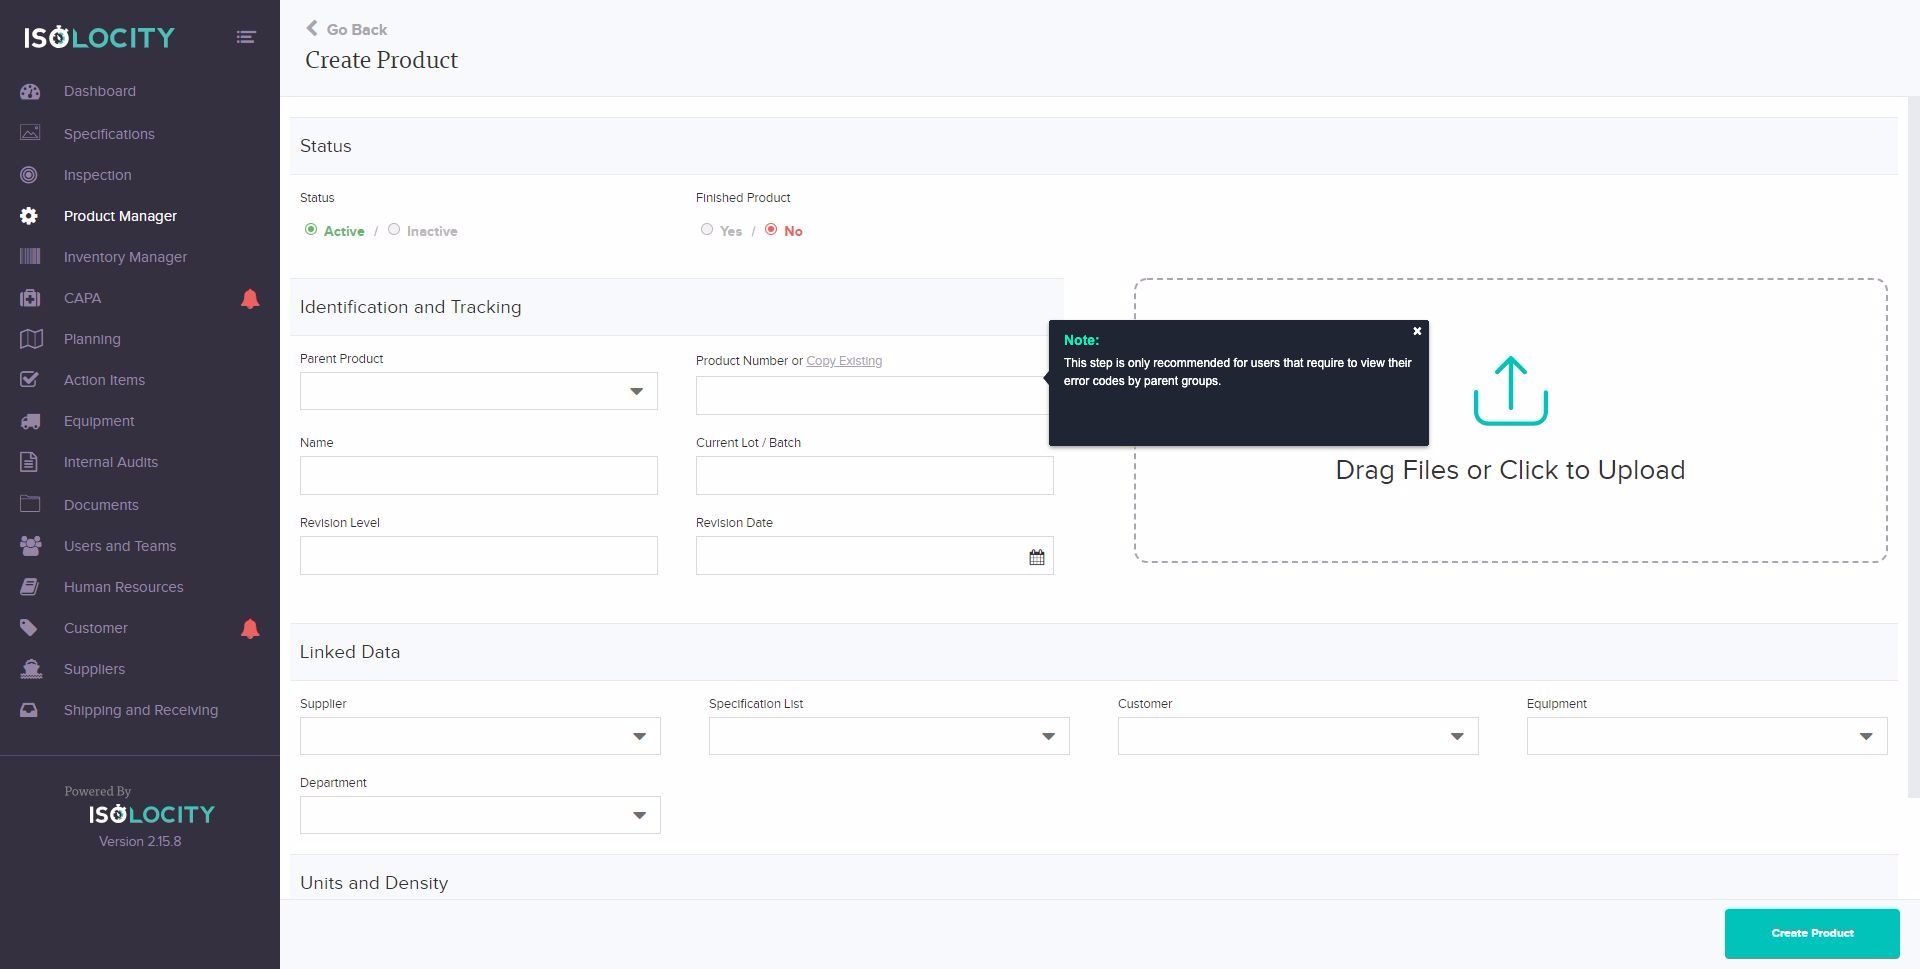
Text: This step is only recommended for users that require to view their error codes by parent groups.
Captured URL: https://app.isolocity.com/parts/new
Step #7
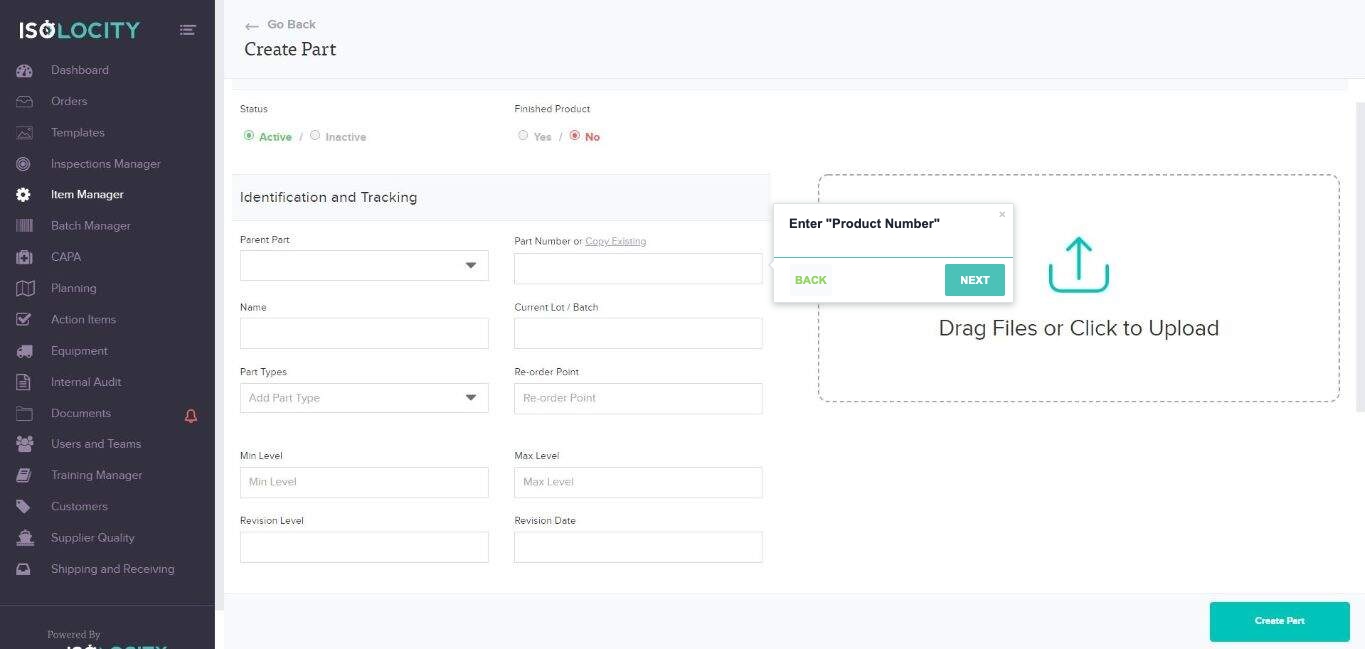
Title: Enter “Product Number”
Captured URL: https://app.isolocity.com/parts/new
Step #8
Title: Enter “Product Name”
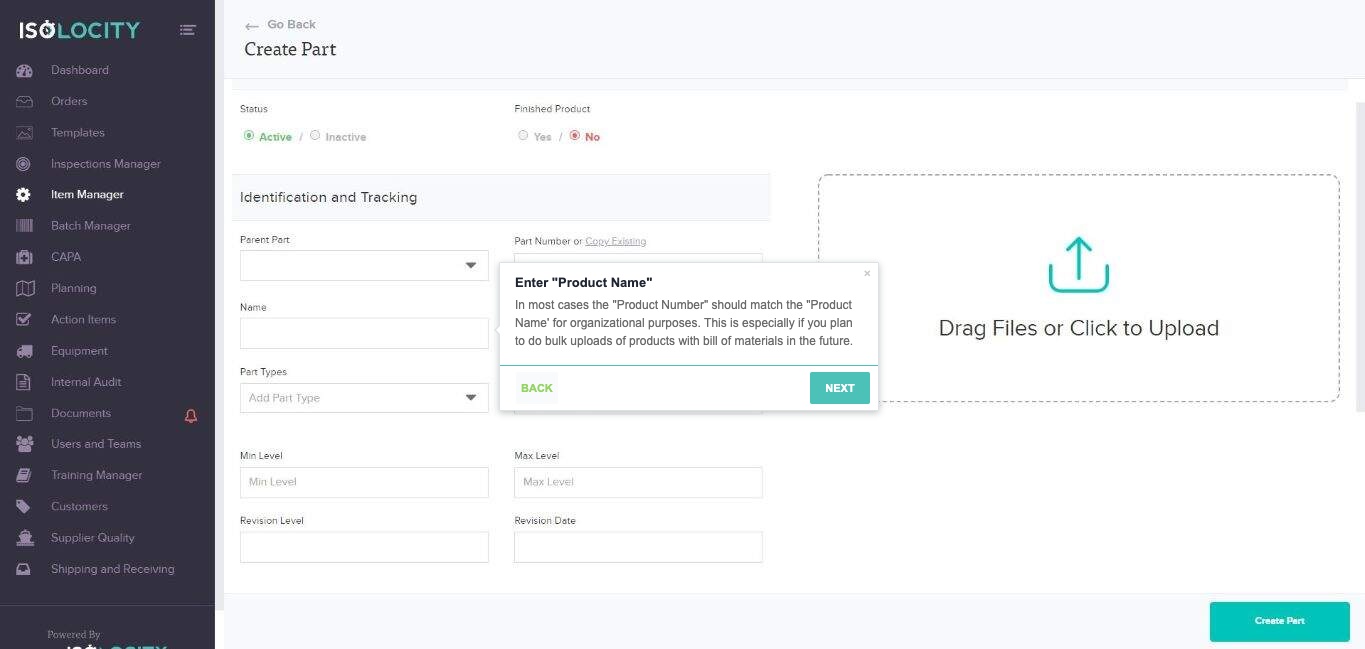
Text: In most cases the “Product Number” should match the “Product Name’ for organizational purposes. This is especially if you plan to do bulk uploads of products with bill of materials in the future.
Captured URL: https://app.isolocity.com/parts/new
Step #9
Title: Enter “Current Lot / Batch Number” (Optional)
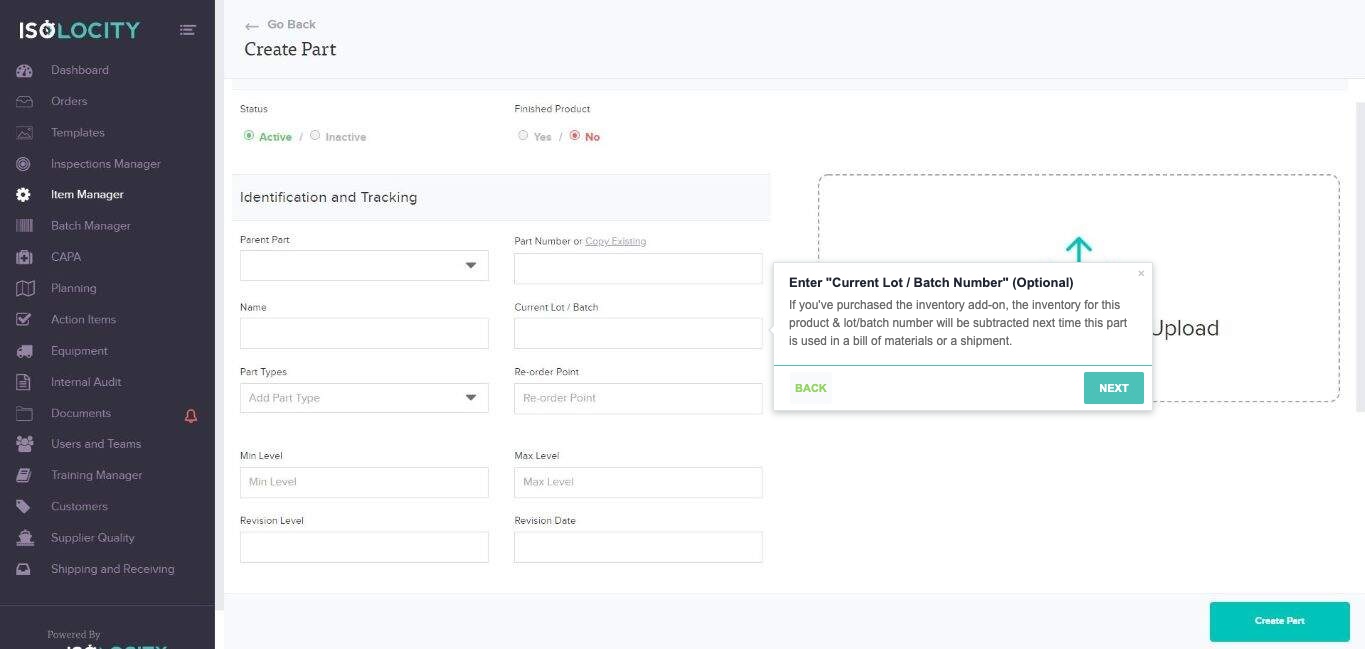
Text: If you’ve purchased the inventory add-on, the inventory for this product & lot/batch number will be subtracted next time this part is used in a bill of materials or a shipment.
Captured URL: https://app.isolocity.com/parts/new
Step #10
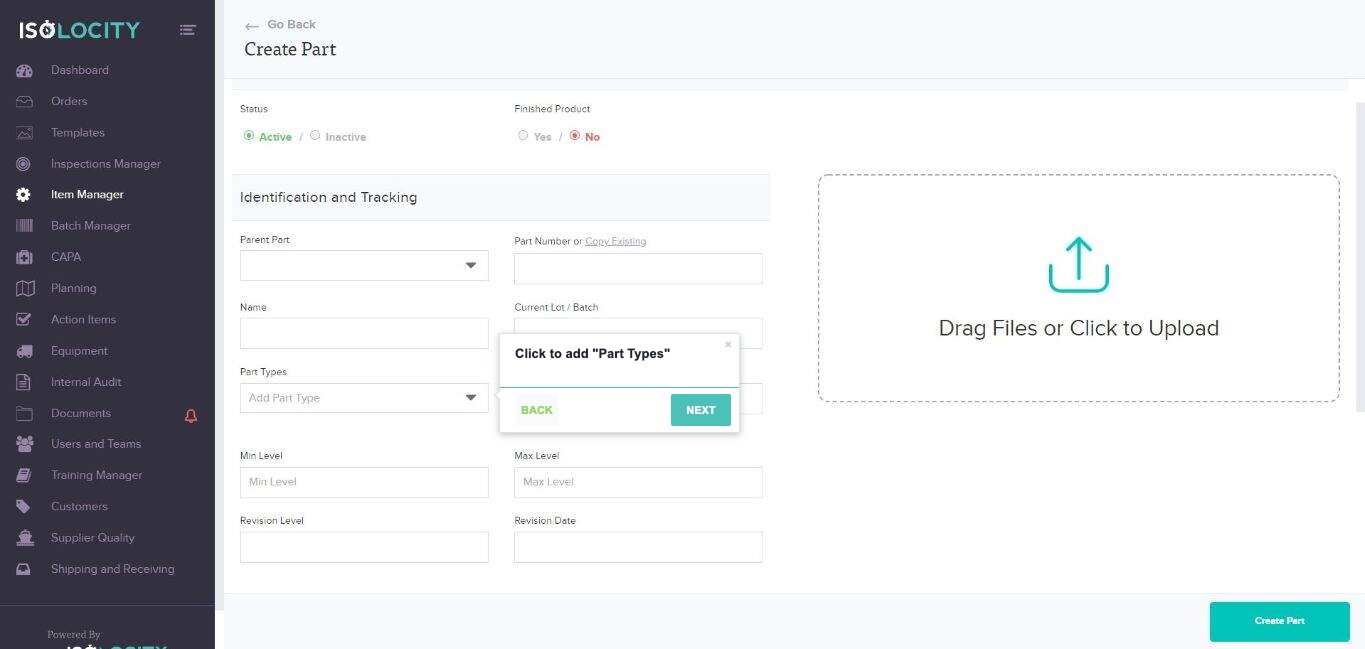
Title: Click to add “Part Types”
Captured URL: https://app.isolocity.com/parts/new
Step #11
Title: Enter Re-order Point
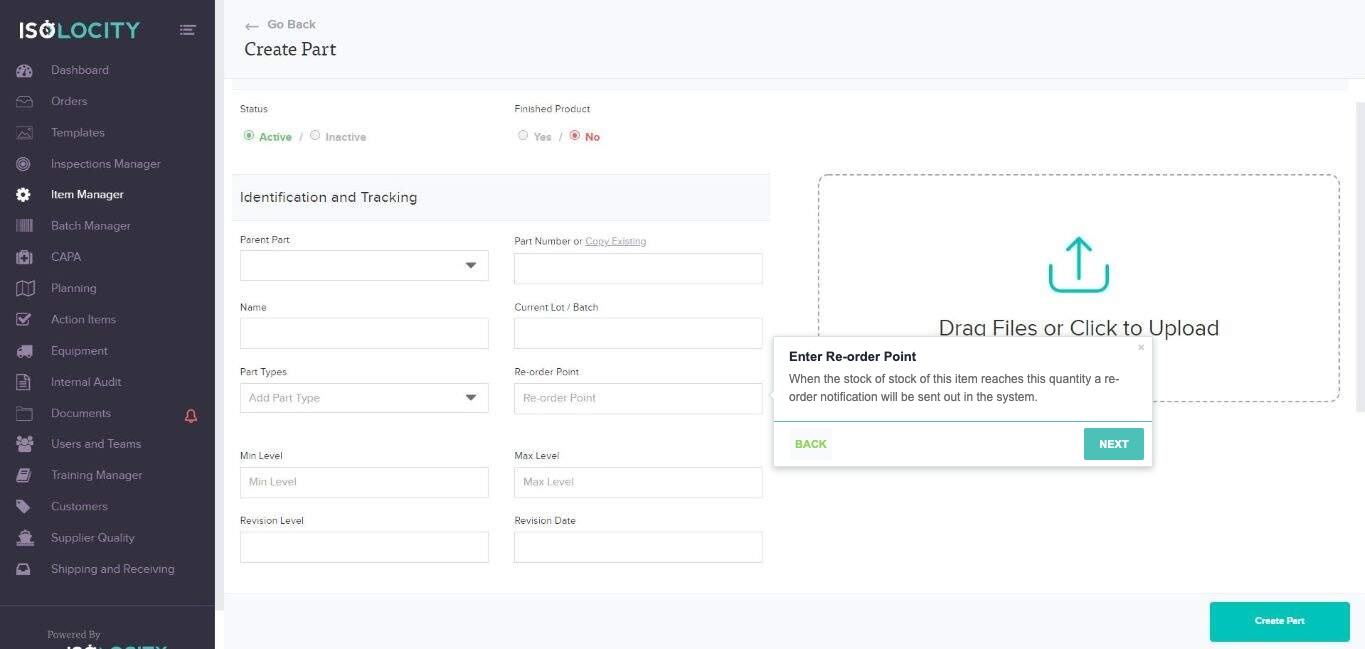
Text: When the stock of stock of this item reaches this quantity a re-order notification will be sent out in the system.
Captured URL: https://app.isolocity.com/parts/new
Step #12
Title: Enter Min Level
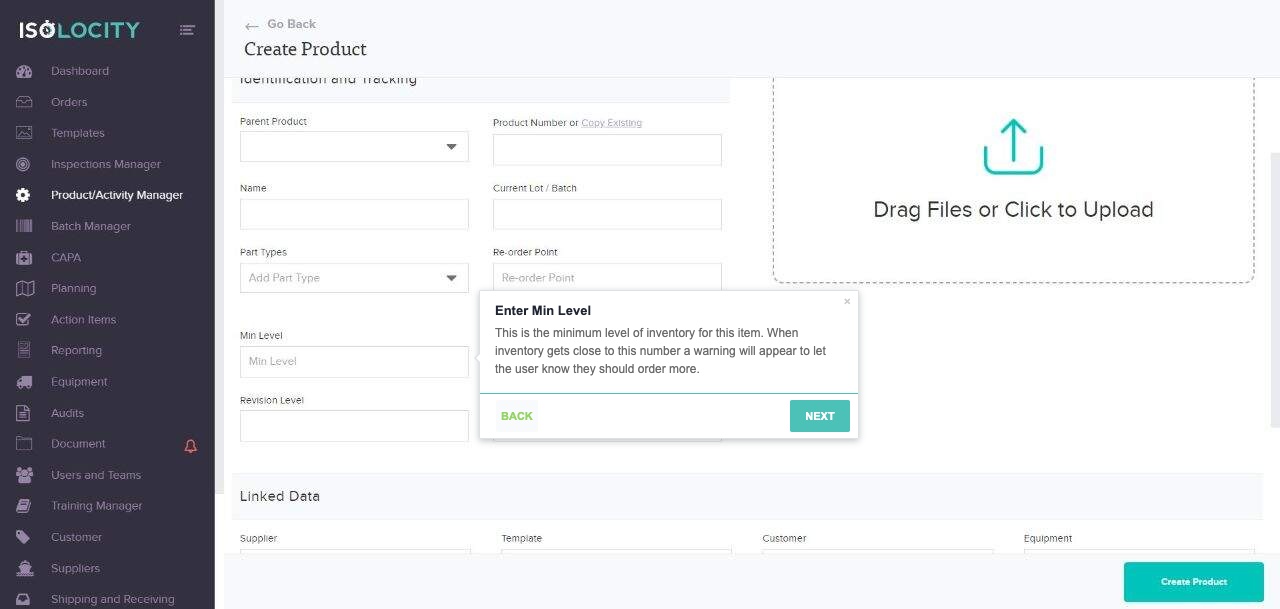
Text: This is the minimum level of inventory for this item. When inventory gets close to this number a warning will appear to let the user know they should order more.
Captured URL: https://app.isolocity.com/parts/new
Step #13
Title: Enter Max Level
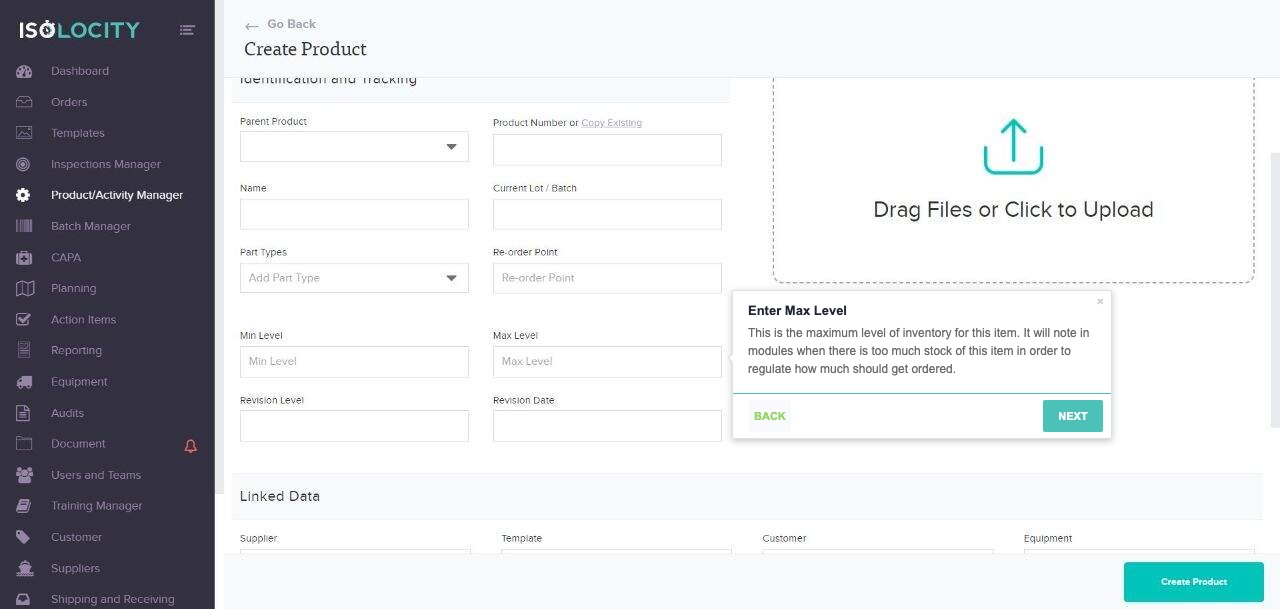
Text: This is the maximum level of inventory for this item. It will note in modules when there is too much stock of this item in order to regulate how much should get ordered.
Captured URL: https://app.isolocity.com/parts/new
Step #14
Title: Enter “Revision Level” (Optional)
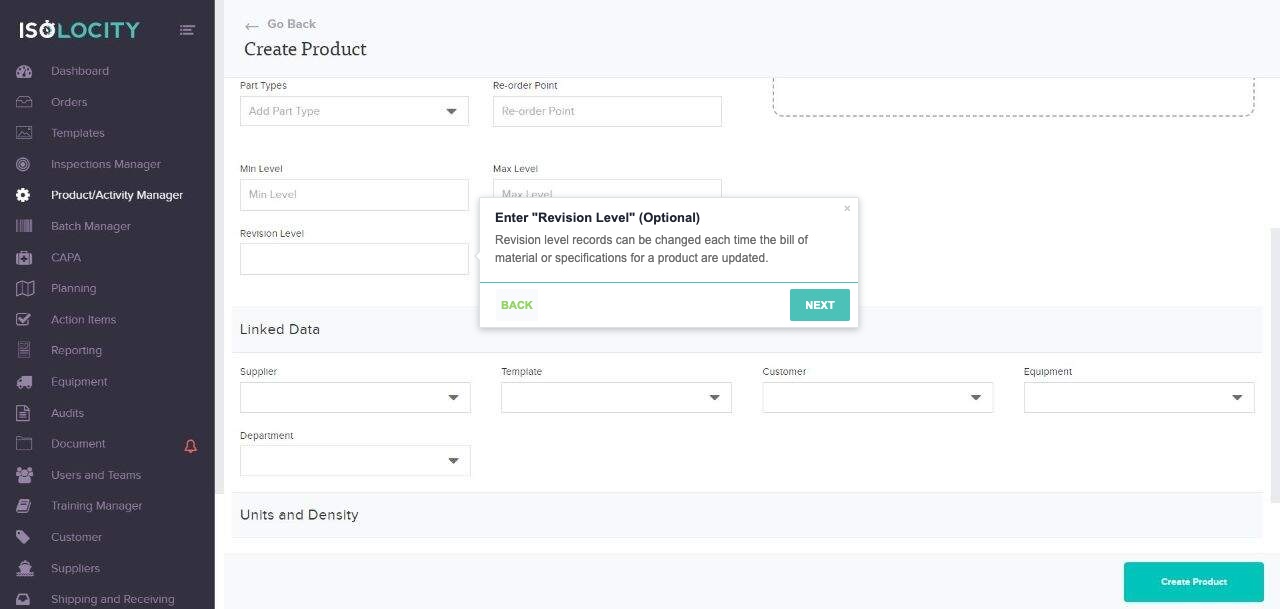
Text: Revision level records can be changed each time the bill of material or specifications for a product are updated.
Captured URL: https://app.isolocity.com/parts/new
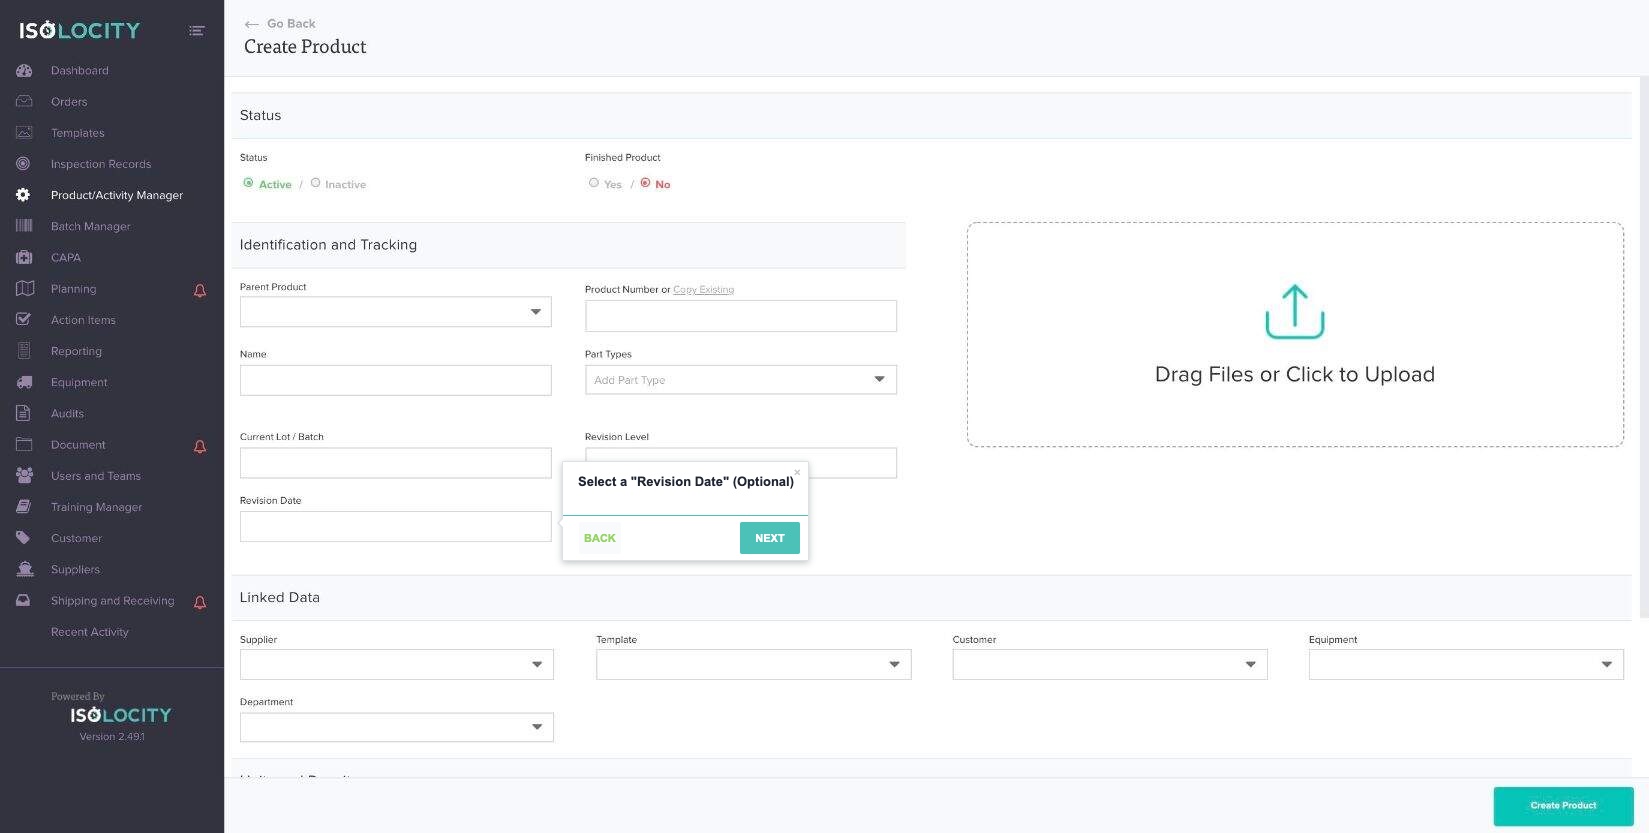
Step #15
Title: Select a “Revision Date” (Optional)
Captured URL: https://app.isolocity.com/parts/new
Step #16
Title: No Title
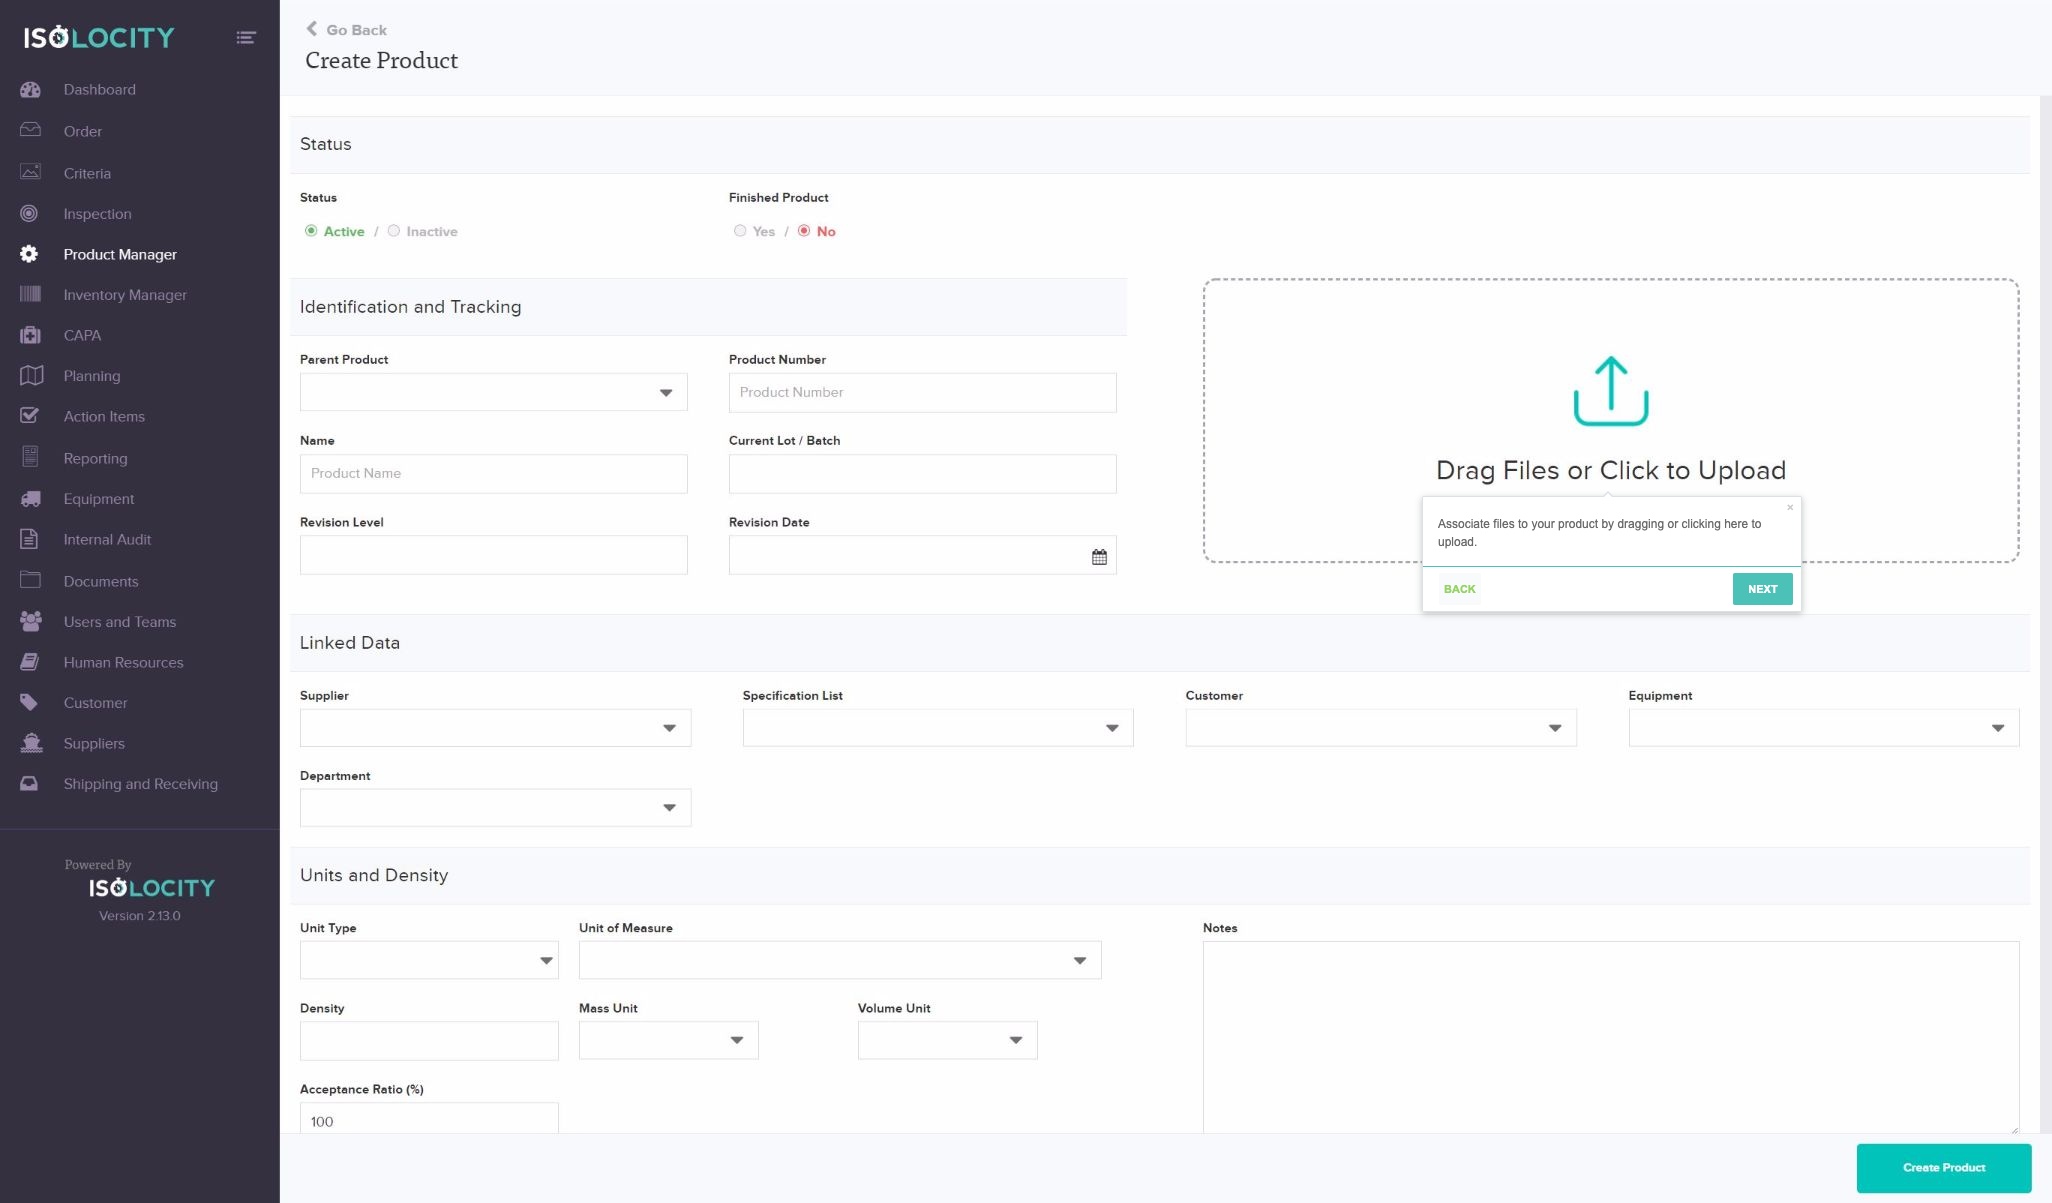
Text: Associate files to your product by dragging or clicking here to upload.
Captured URL: https://app.isolocity.com/parts/new
Step #17
Title: Choose a “Supplier” (Optional)
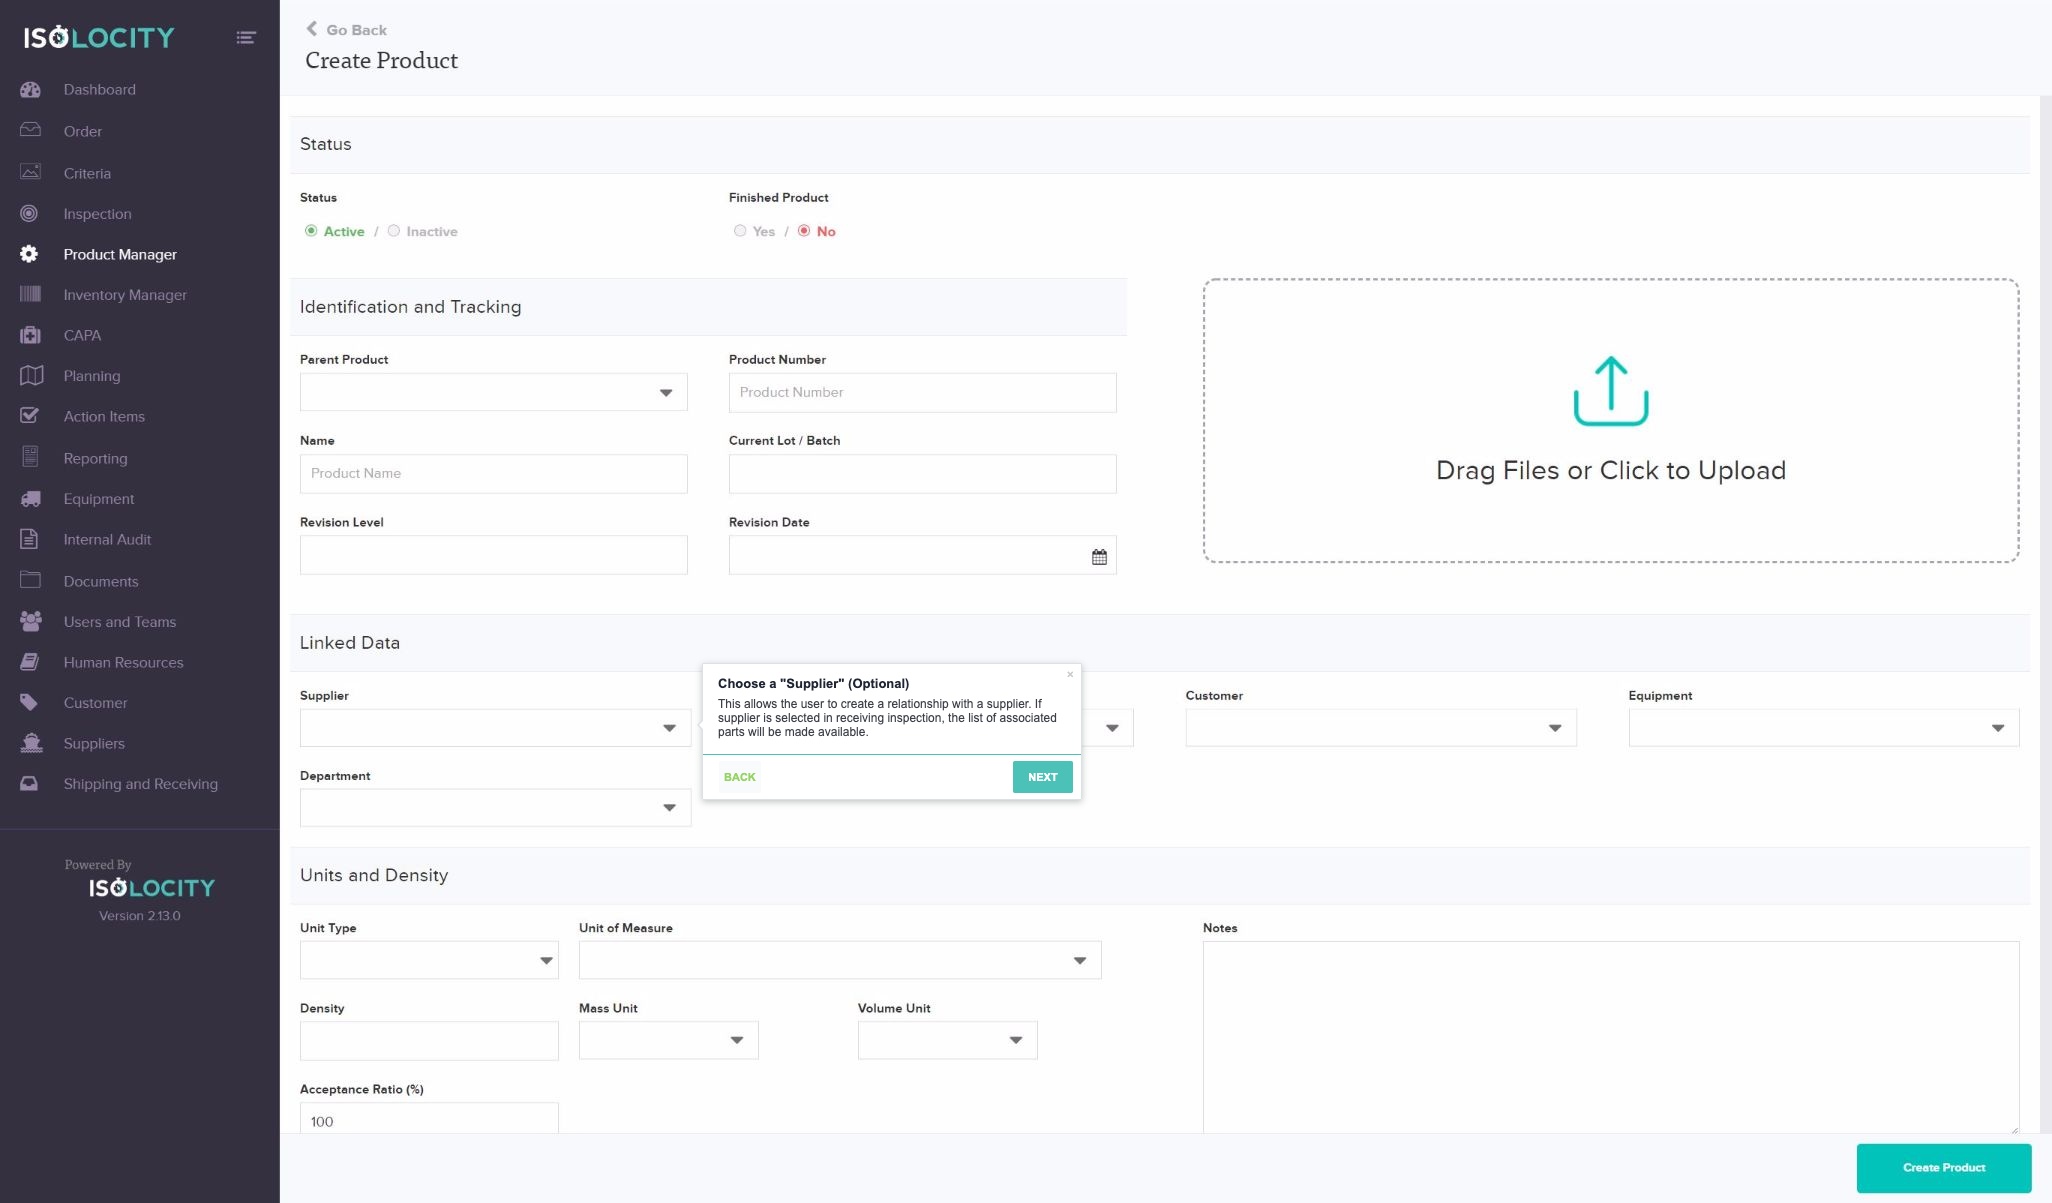
Text: This allows the user to create a relationship with a supplier. If supplier is selected in receiving inspection, the list of associated parts will be made available.
Captured URL: https://app.isolocity.com/parts/new
Step #18
Title: Link “Specifications” related to your product (Optional)
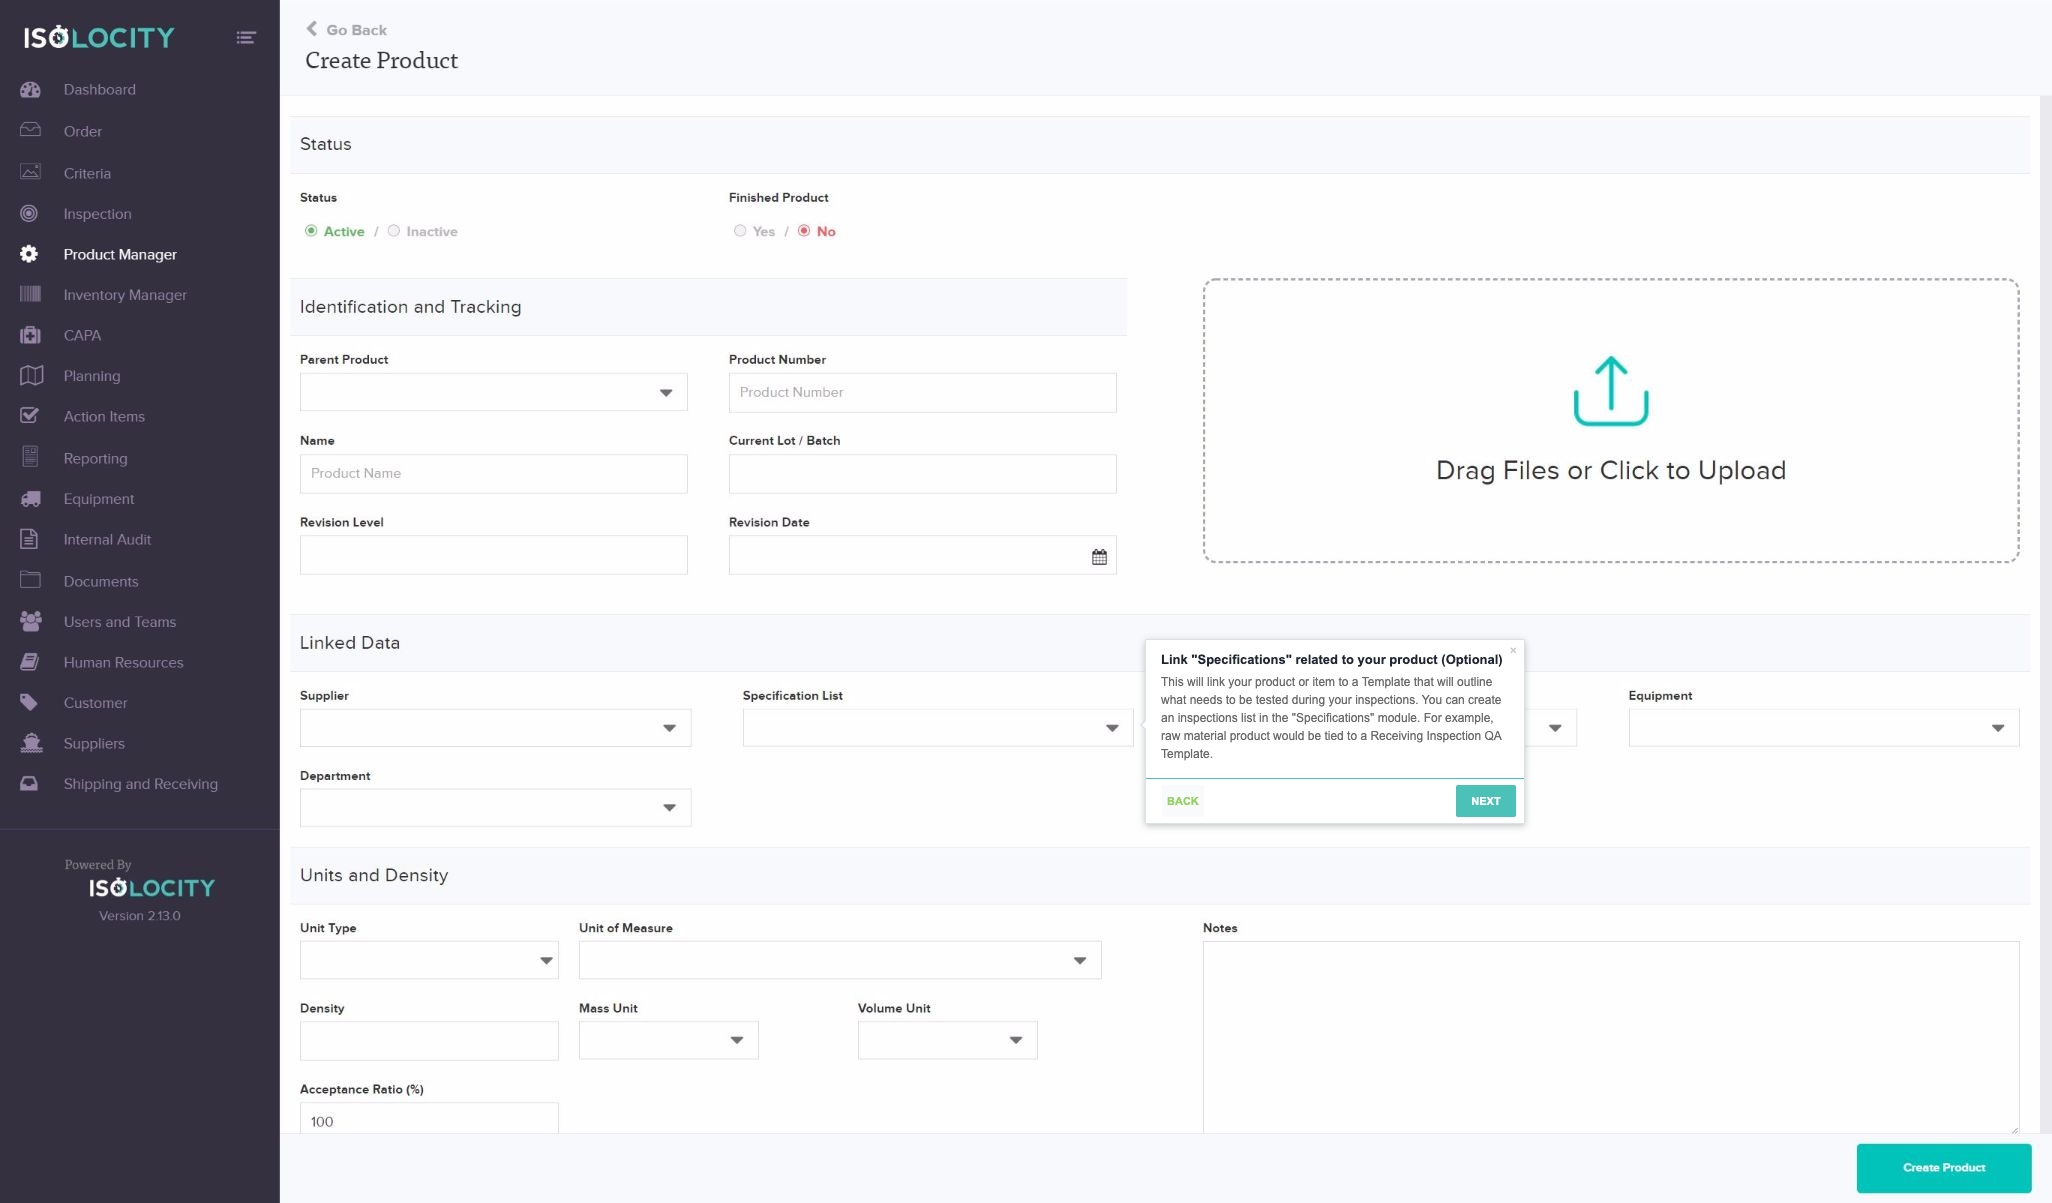
Text: This will link your product or item to a Template that will outline what needs to be tested during your inspections. You can create an inspections list in the “Specifications” module. For example, raw material product would be tied to a Receiving Inspection QA Template.
Captured URL: https://app.isolocity.com/parts/new
Step #19
Title: Link “Customer” (Optional)

Text: Associate customers of the product here. If it is a new customer you can add them to the list by clicking “Add New”. Please note, if you choose to navigate to “Add New” you will lose any unsaved changes. It is recommended to associate this data once your information has been saved.
Captured URL: https://app.isolocity.com/parts/new
Step #20
Title: Link “Equipment” (Optional)
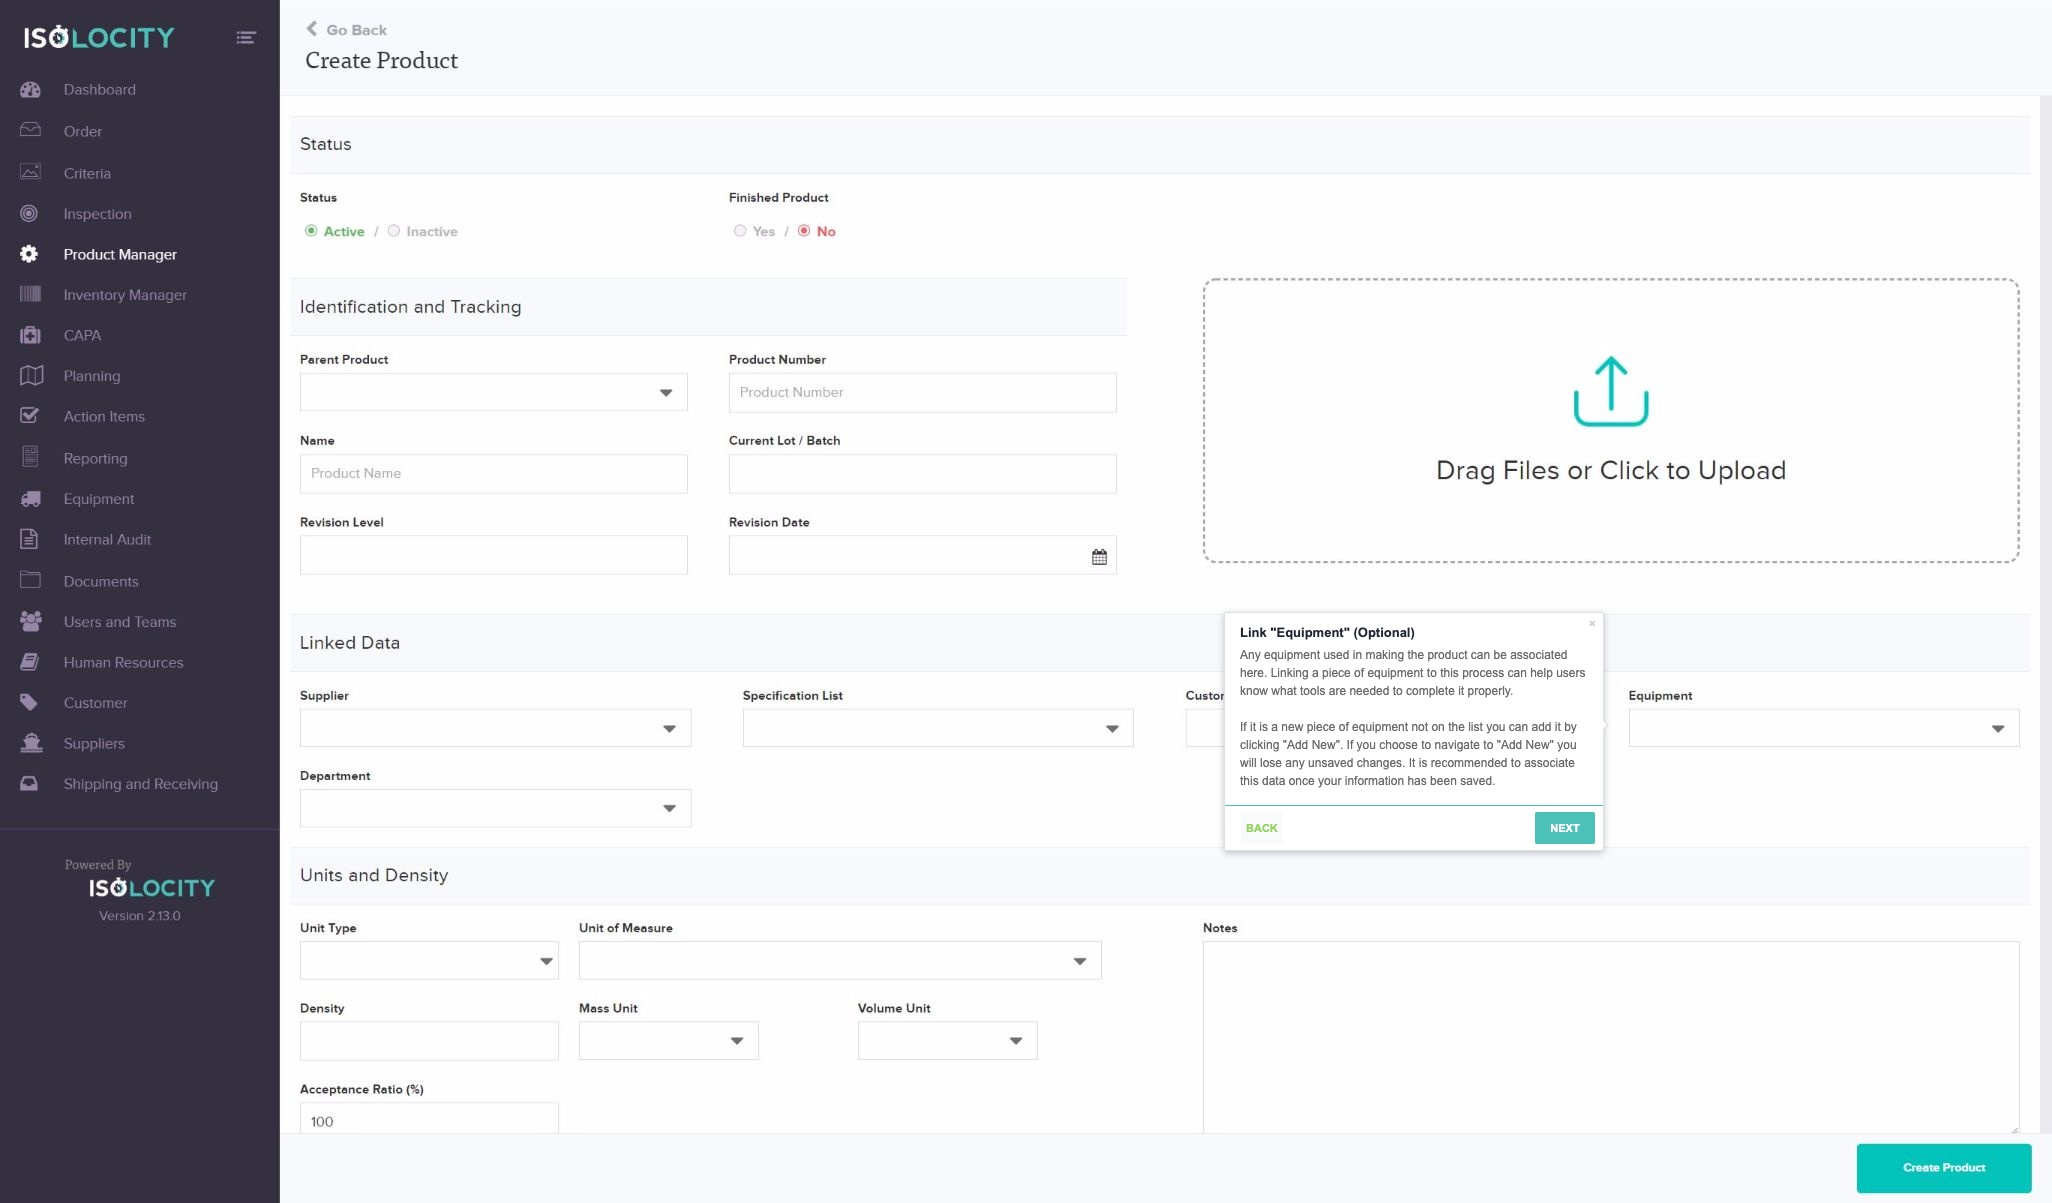
Text: Any equipment used in making the product can be associated here. Linking a piece of equipment to this process can help users know what tools are needed to complete it properly. If it is a new piece of equipment not on the list you can add it by clicking “Add New”. If you choose to navigate to “Add New” you will lose any unsaved changes. It is recommended to associate this data once your information has been saved.
Captured URL: https://app.isolocity.com/parts/new
Step #21
Title: Choose the “Department” (Optional)
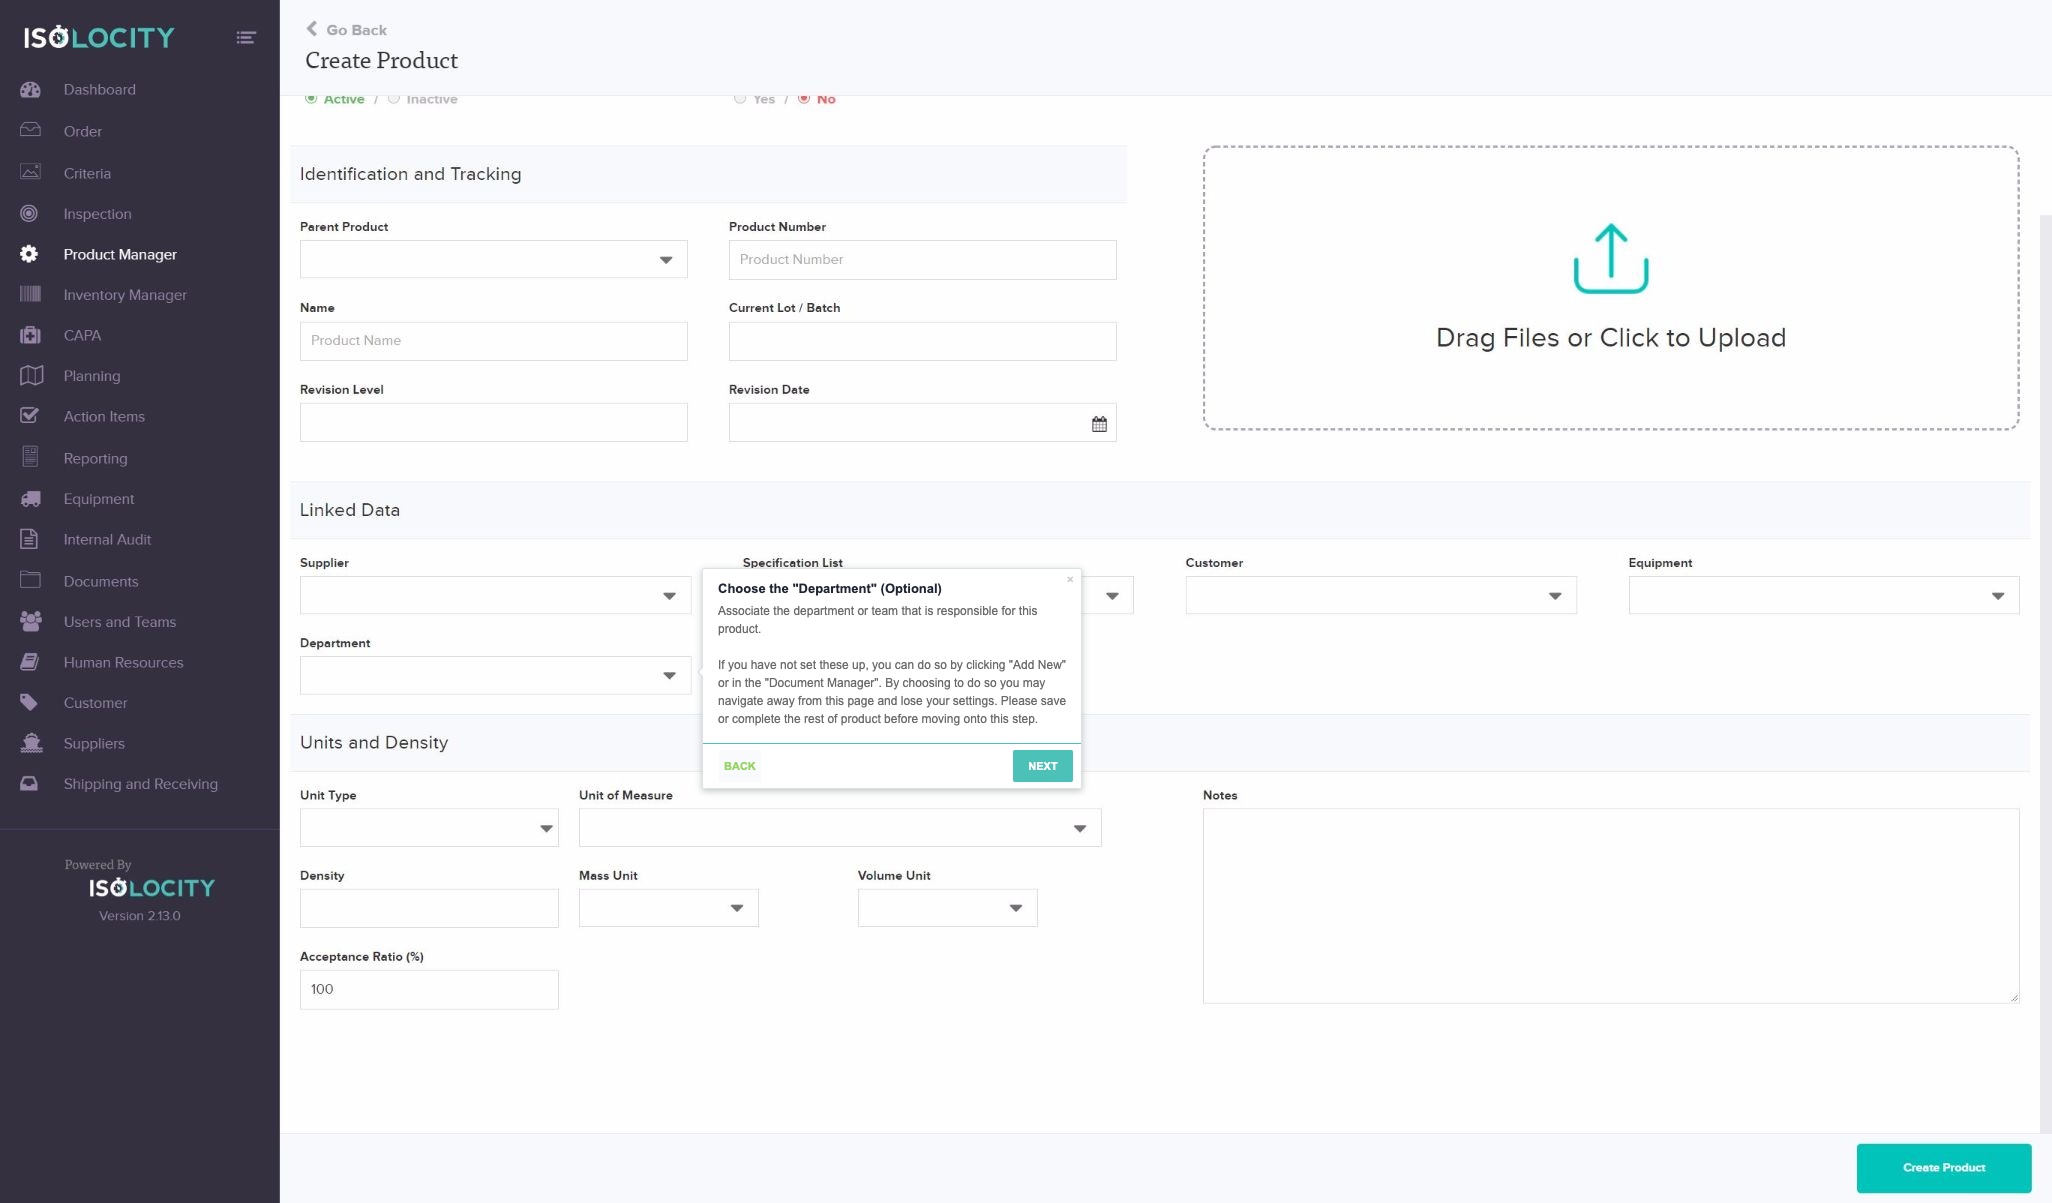
Text: Associate the department or team that is responsible for this product. If you have not set these up, you can do so by clicking “Add New” or in the “Document Manager”. By choosing to do so you may navigate away from this page and lose your settings. Please save or complete the rest of product before moving onto this step.
Captured URL: https://app.isolocity.com/parts/new
Step #22
Title: Choose the “Unit Type” (Optional)
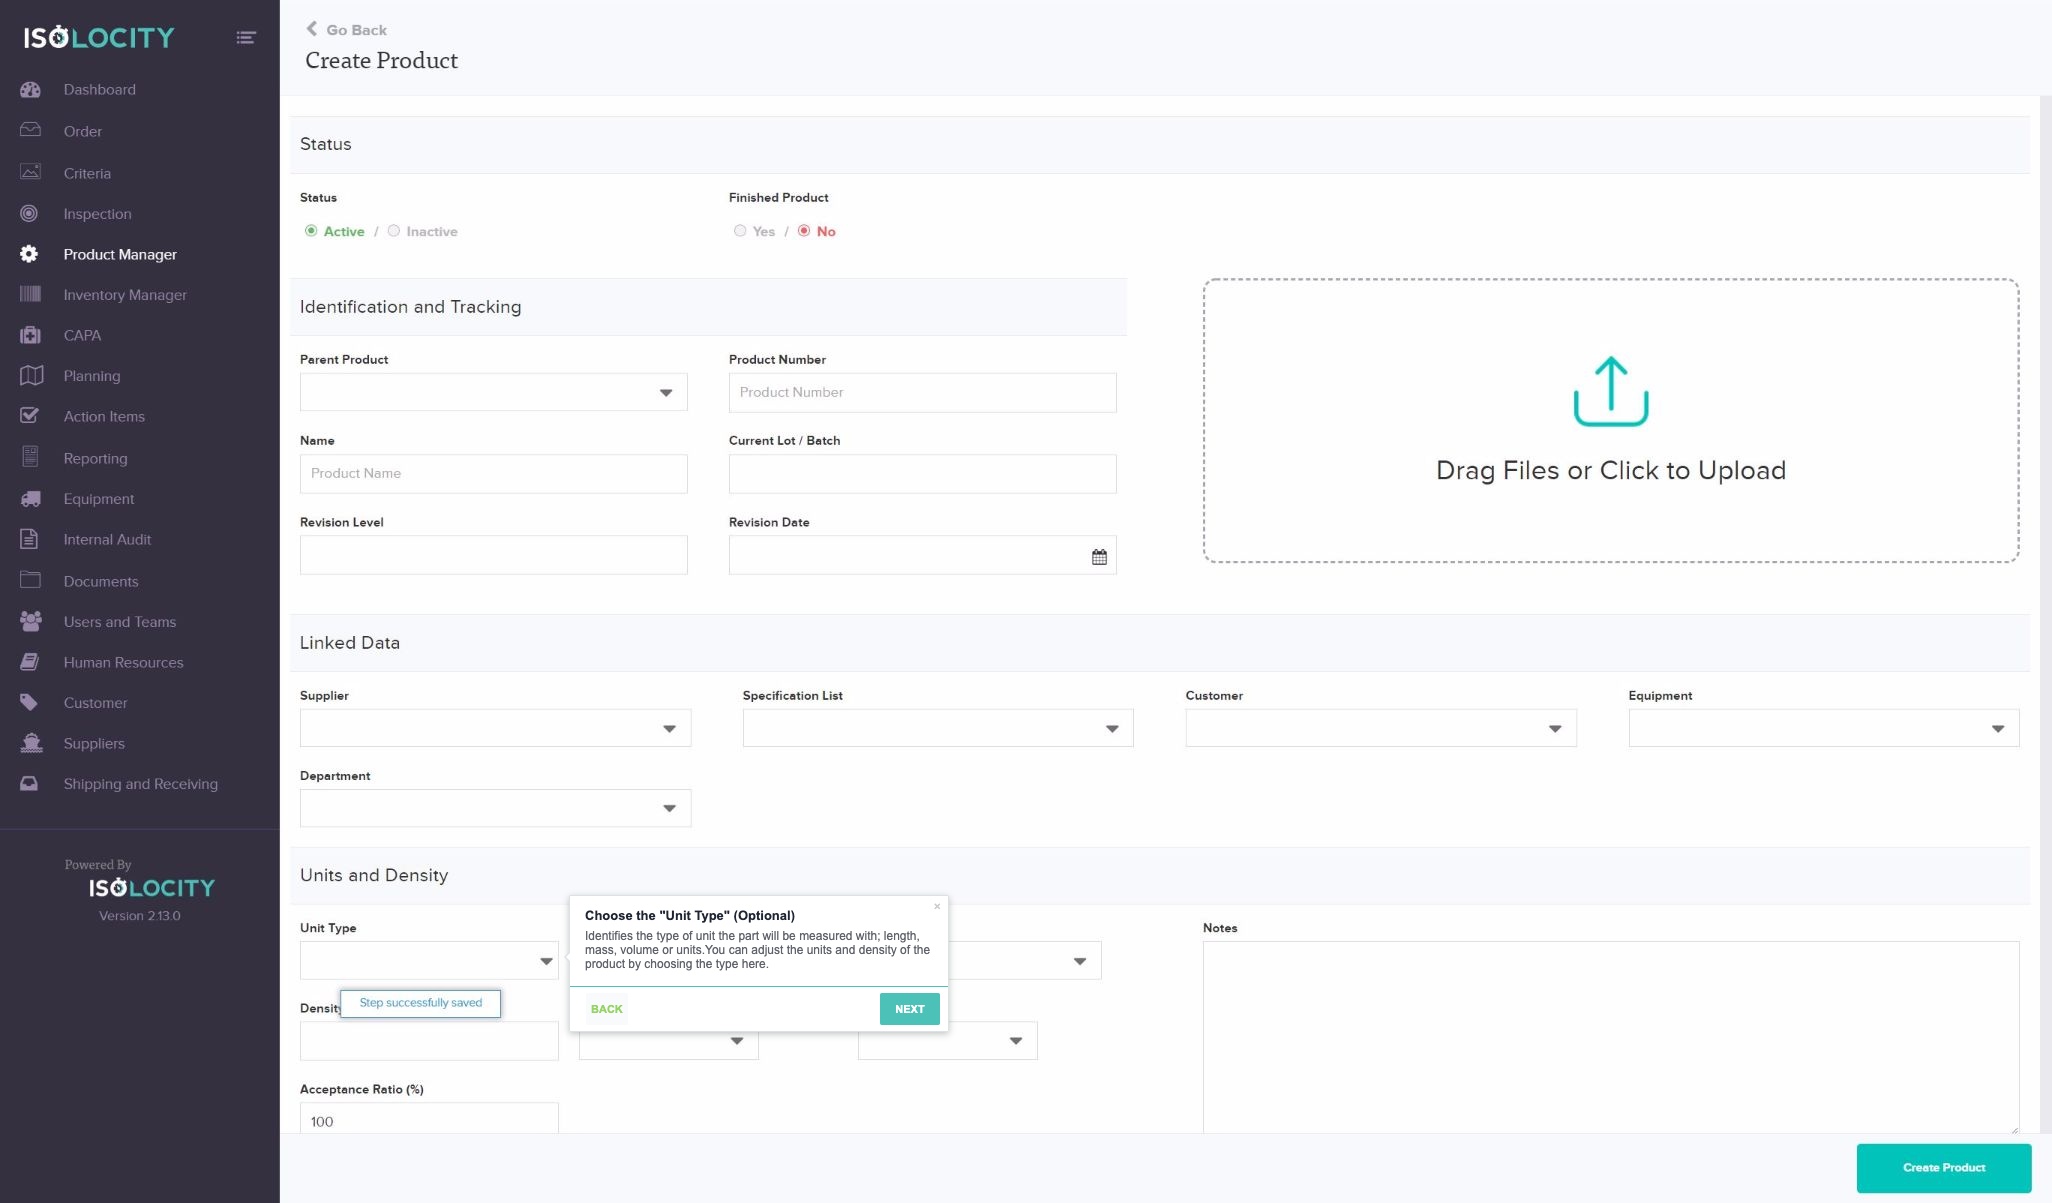
Text: Identifies the type of unit the part will be measured with; length, mass, volume or units.You can adjust the units and density of the product by choosing the type here.
Captured URL: https://app.isolocity.com/parts/new
Step #23
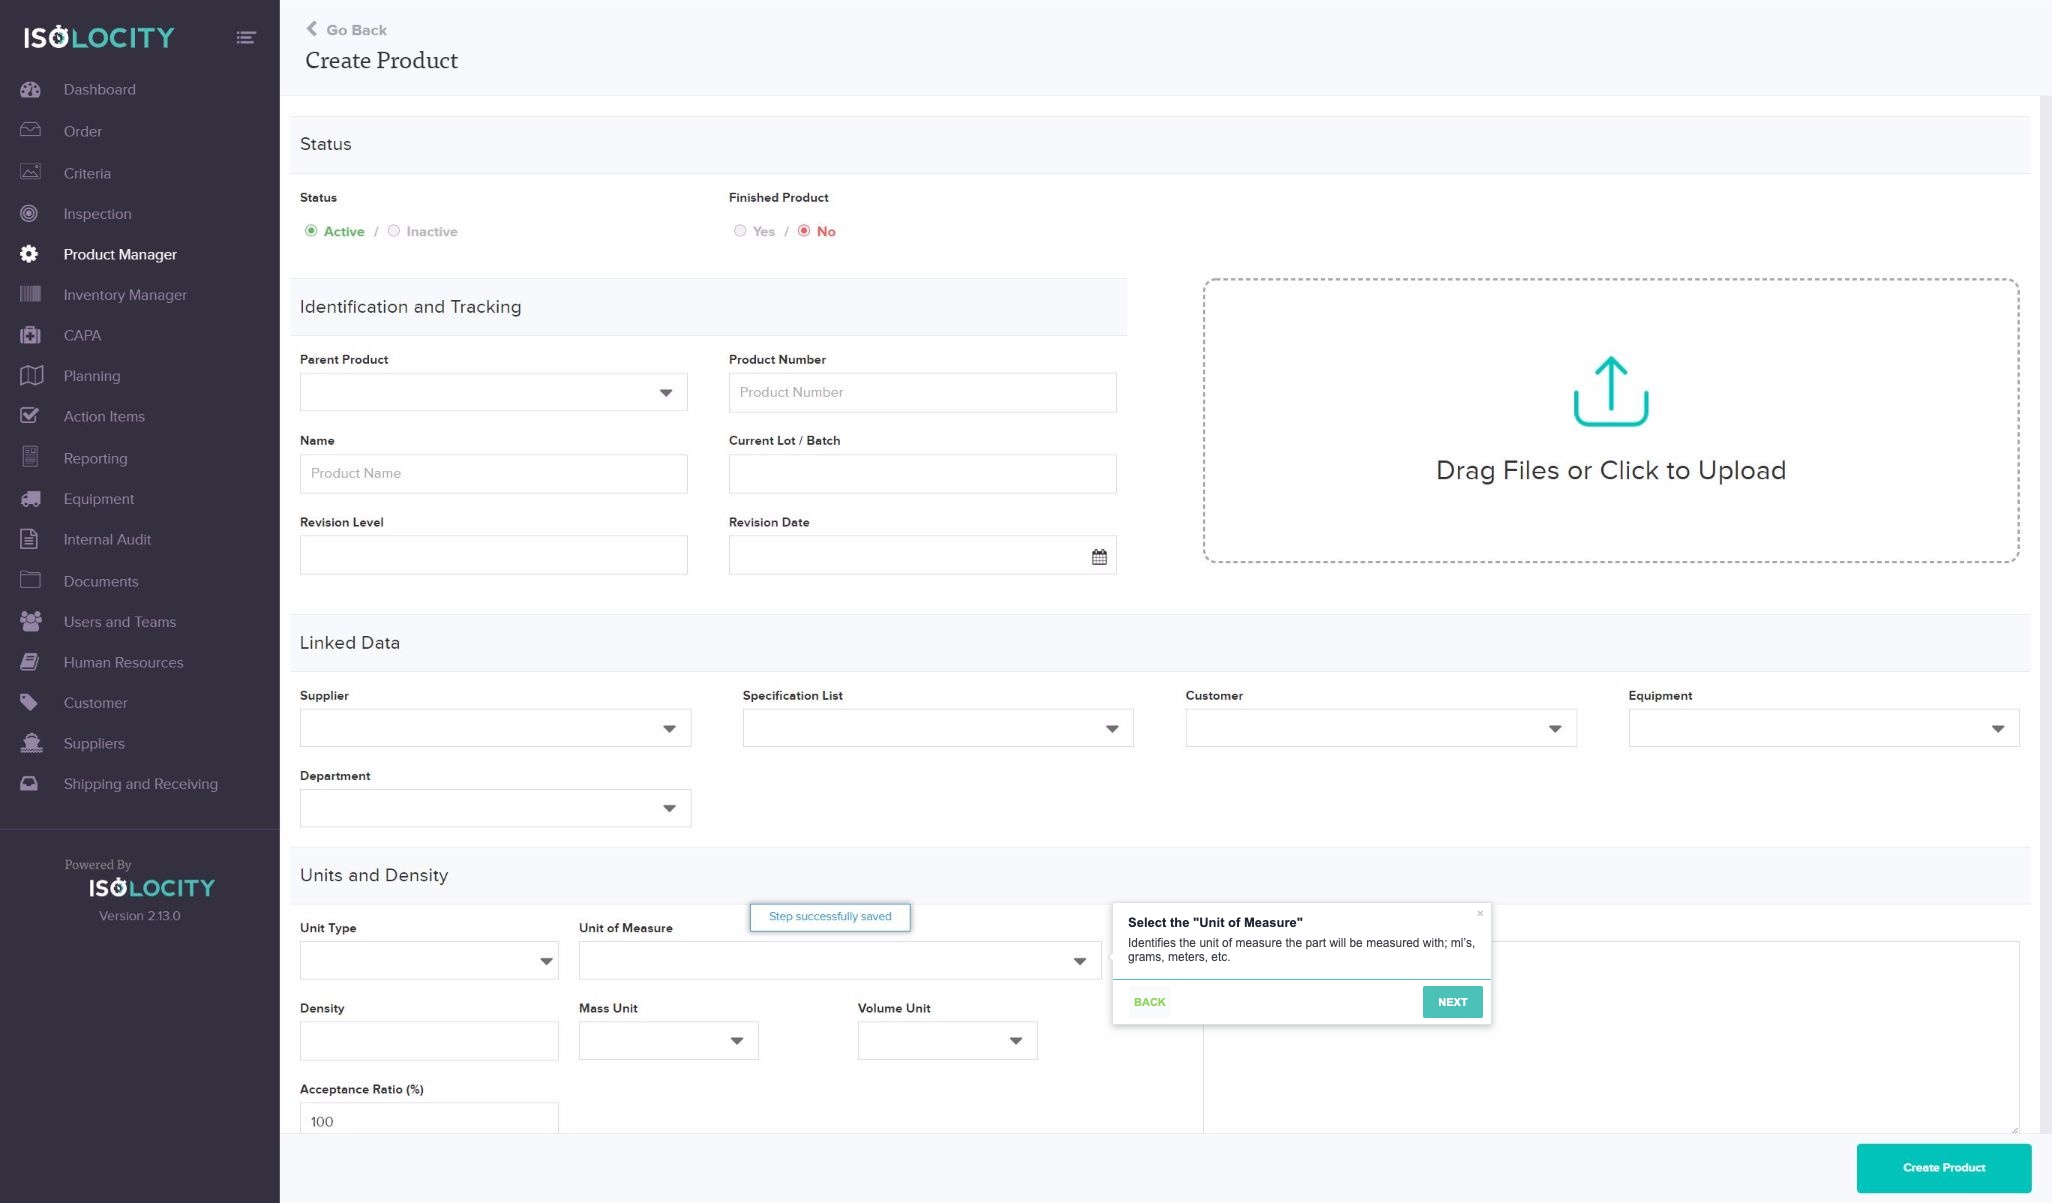
Title: Select the “Unit of Measure”
Step Type: Balloon
Text: [color=#3d4049]Identifies the unit of measure the part will be measured with; ml’s, grams, meters, etc.[/color]
Captured URL: https://app.isolocity.com/parts/new
Step #24
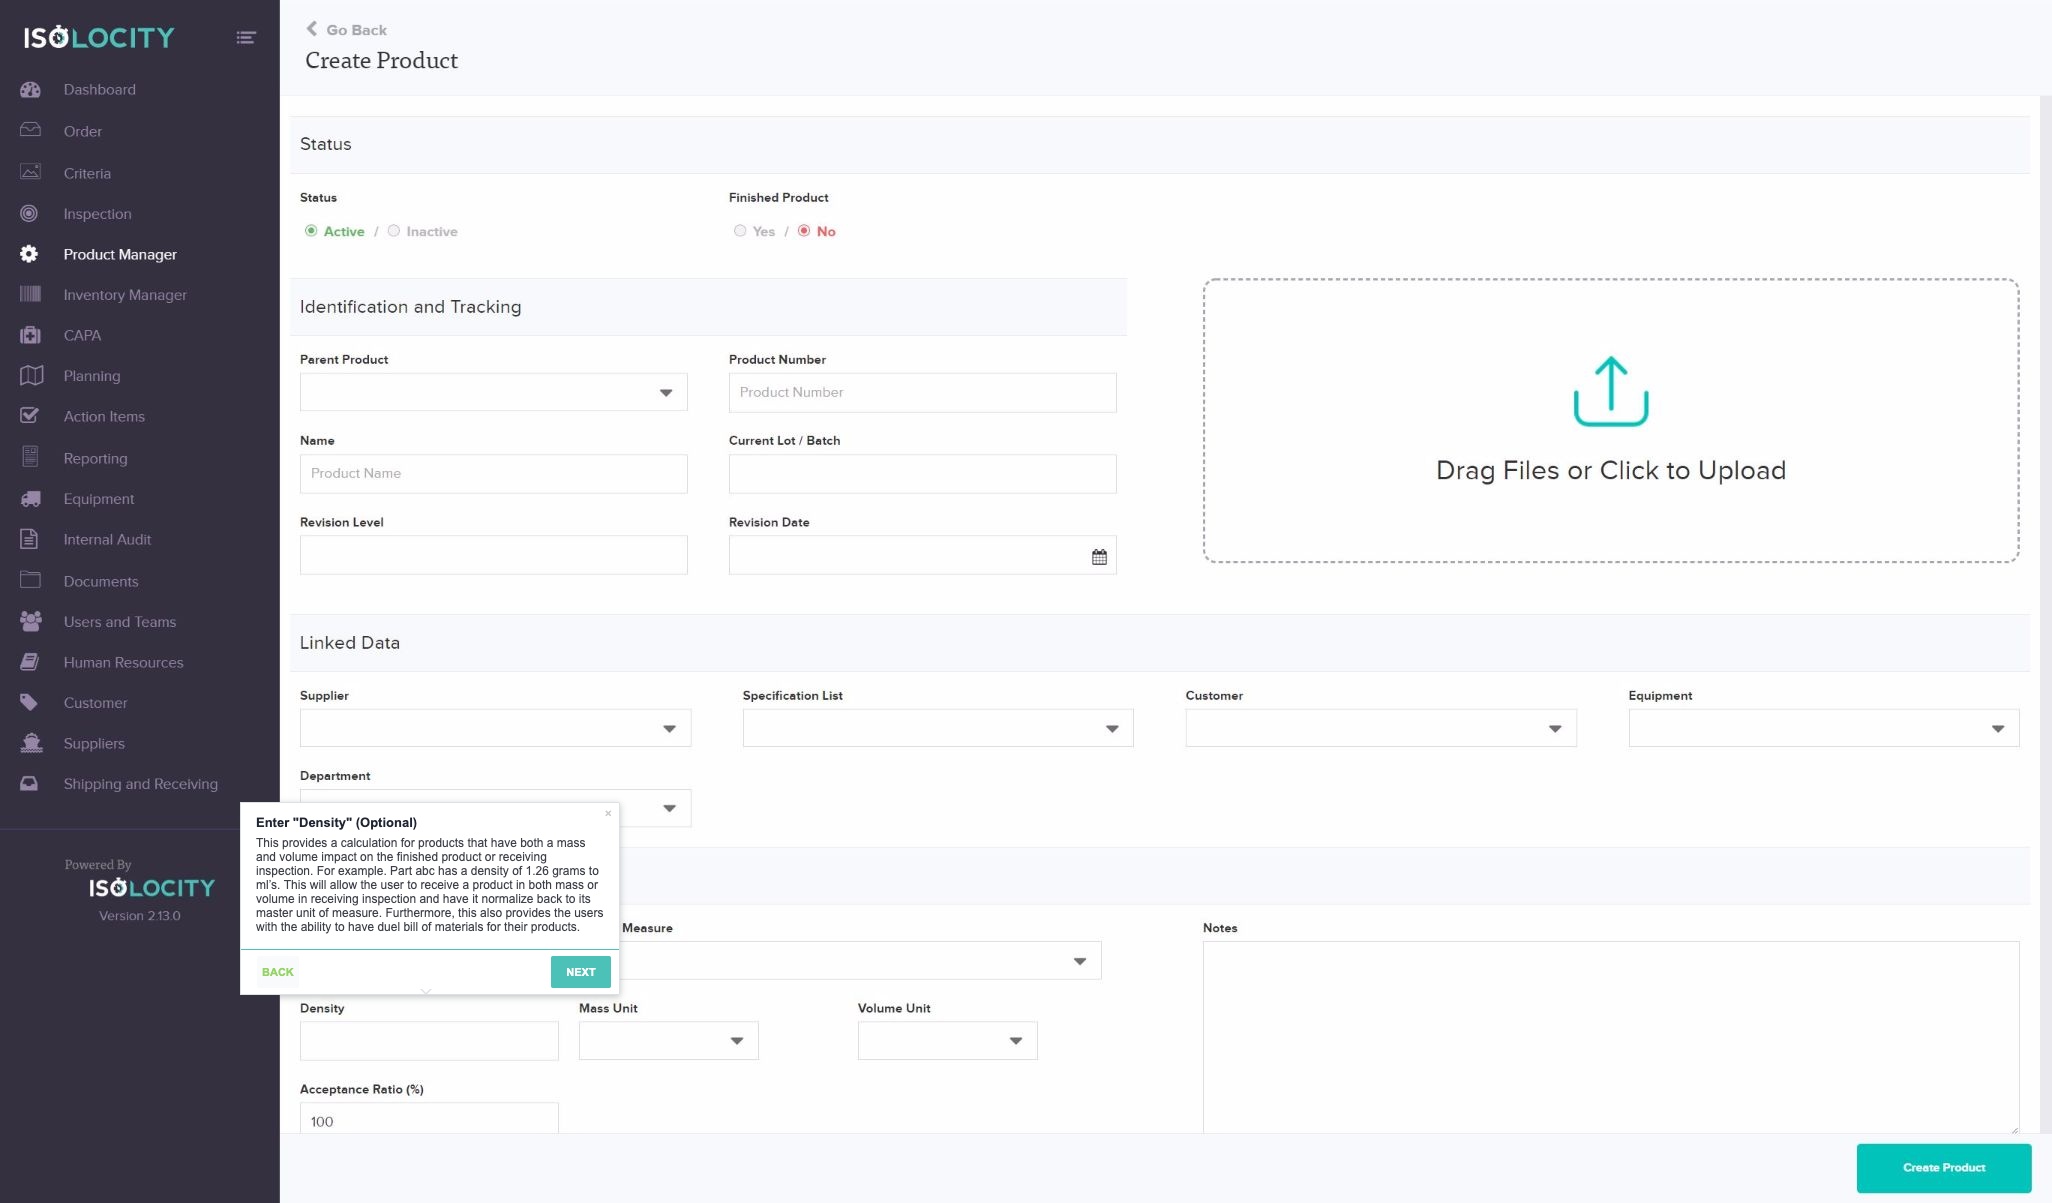
Title: Enter “Density” (Optional)
Step Type: Balloon
Text: This provides a calculation for products that have both a mass and volume impact on the finished product or receiving inspection. For example. Part abc has a density of 1.26 grams to ml’s. This will allow the user to receive a product in both mass or volume in receiving inspection and have it normalize back to its master unit of measure. Furthermore, this also provides the users with the ability to have duel bill of materials for their products.
Captured URL: https://app.isolocity.com/parts/new
Step #25
Title: Select the “Mass Unit” (Optional)
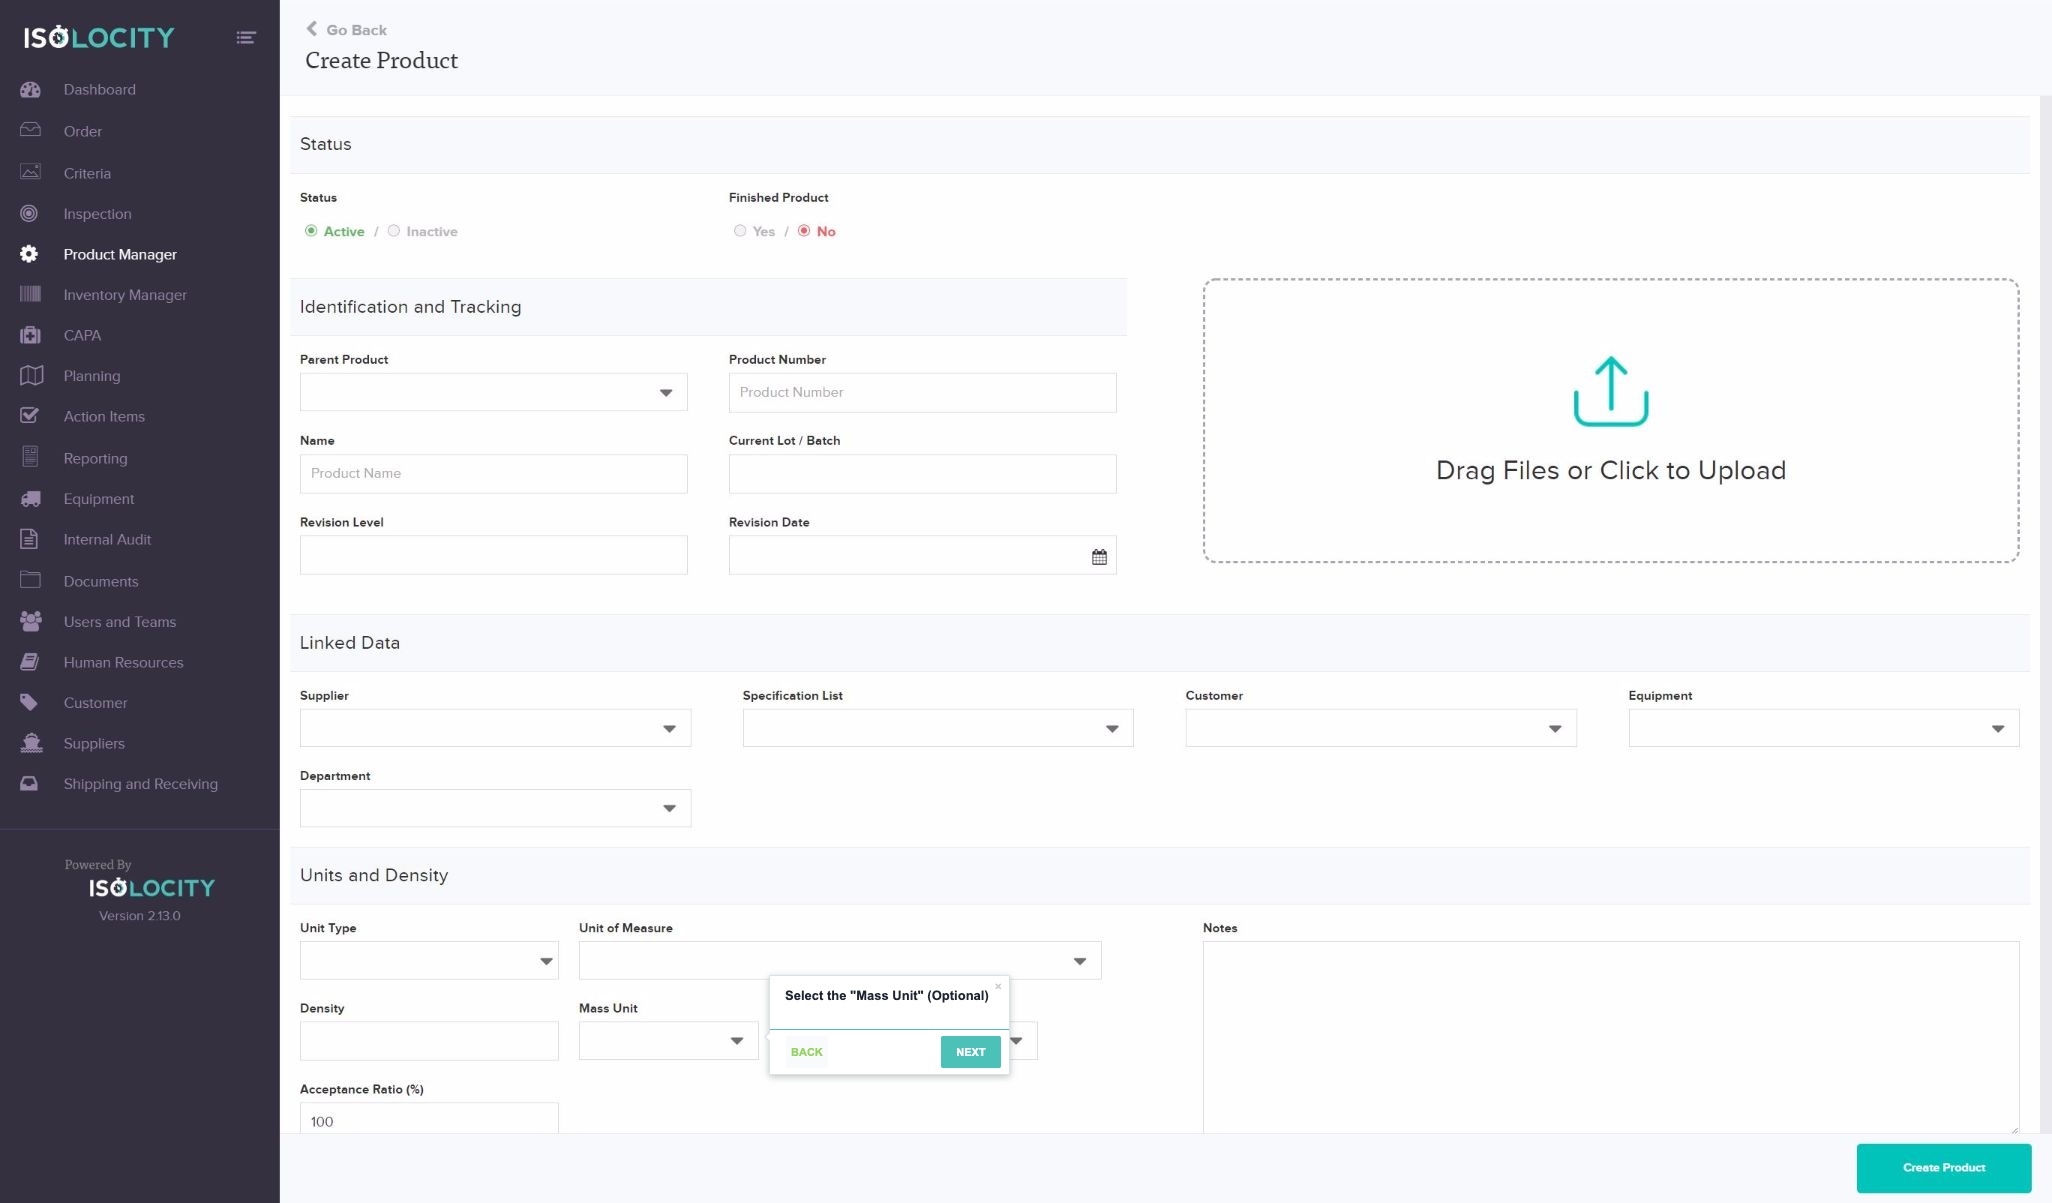
Captured URL: https://app.isolocity.com/parts/new
Step #26
Title: Select the “Volume Unit”
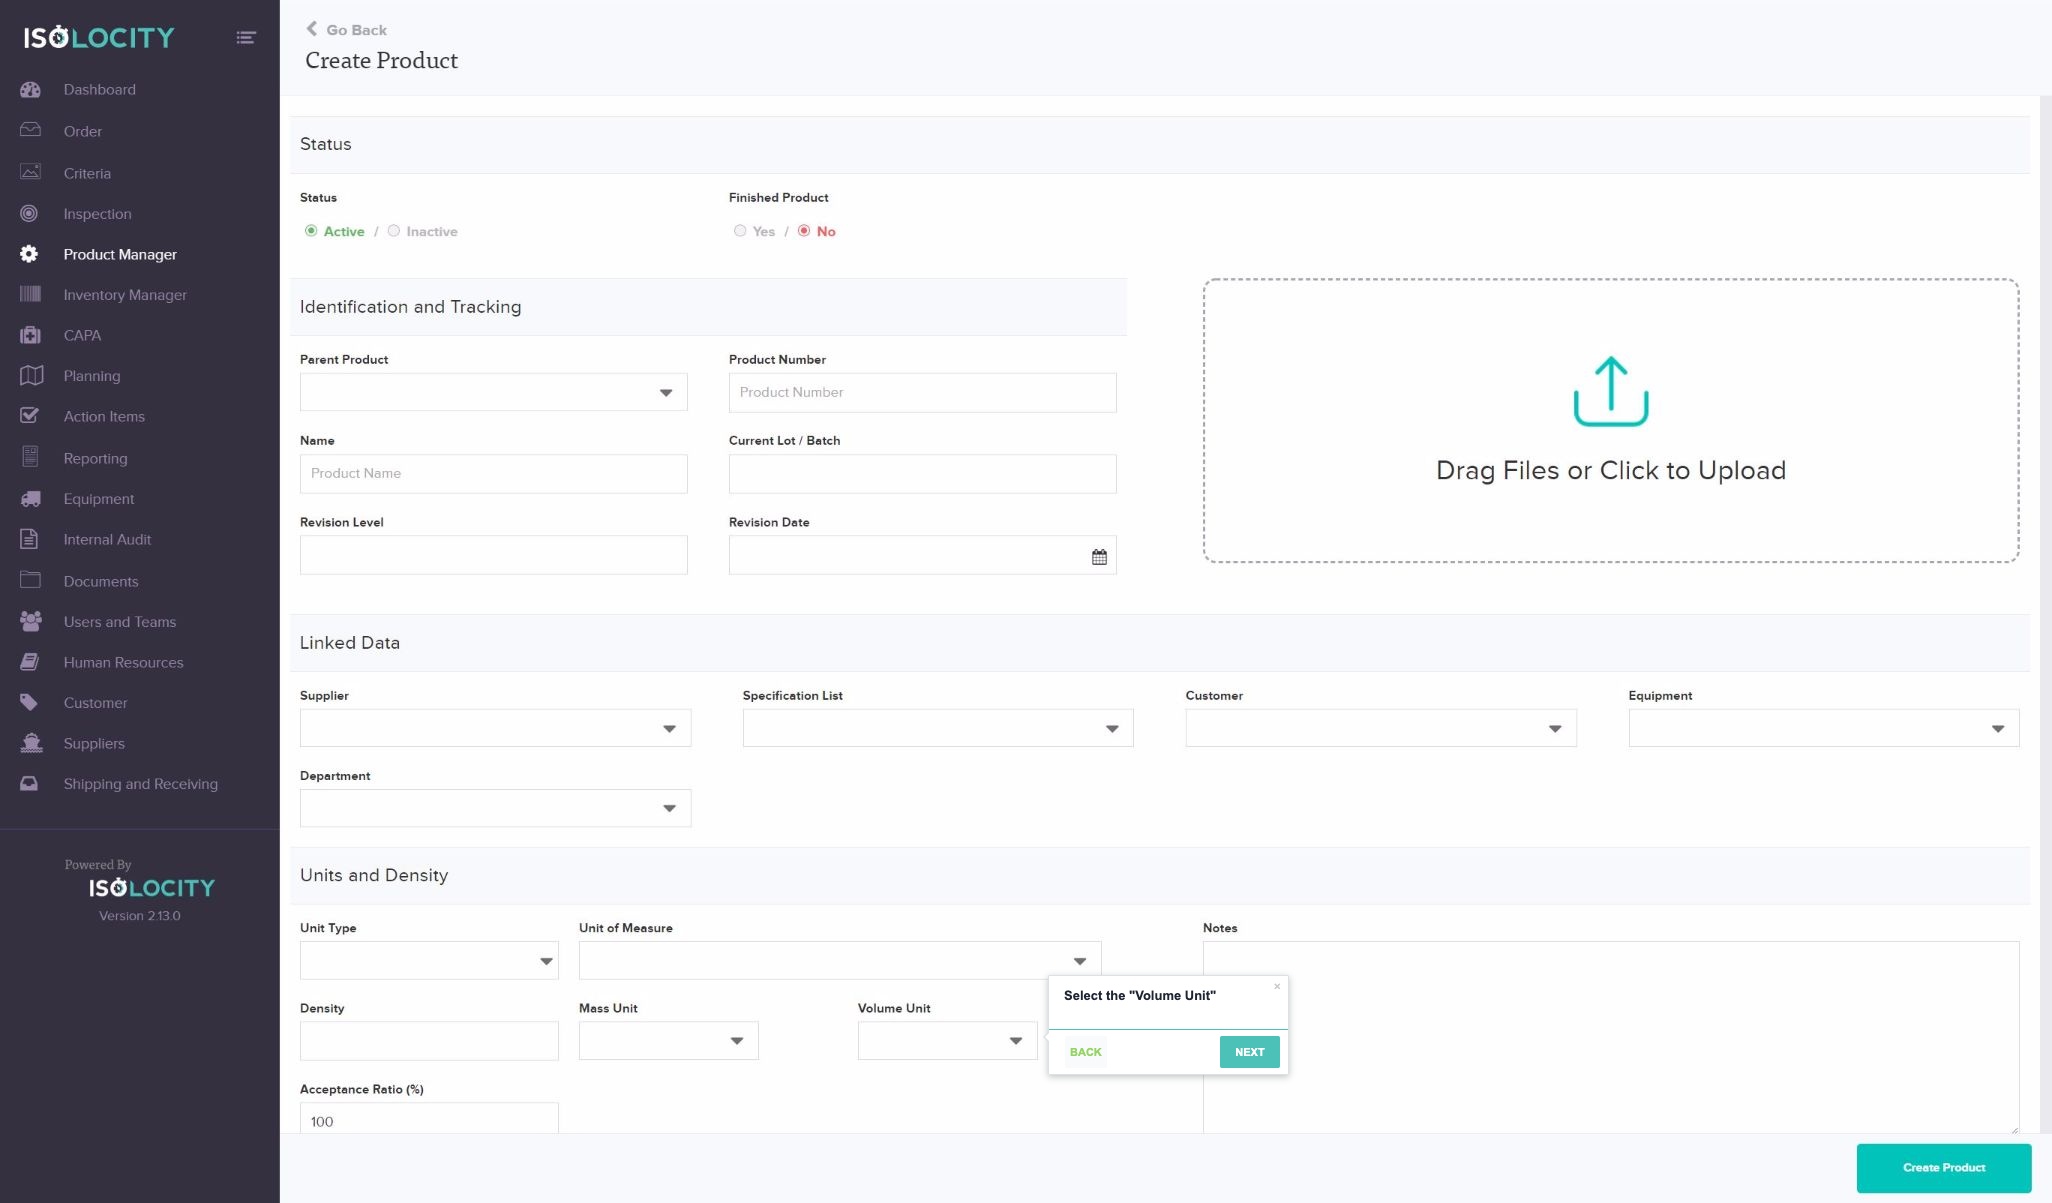
Captured URL: https://app.isolocity.com/parts/new
Step #27
Title: Enter “Acceptance Ratio (%)”
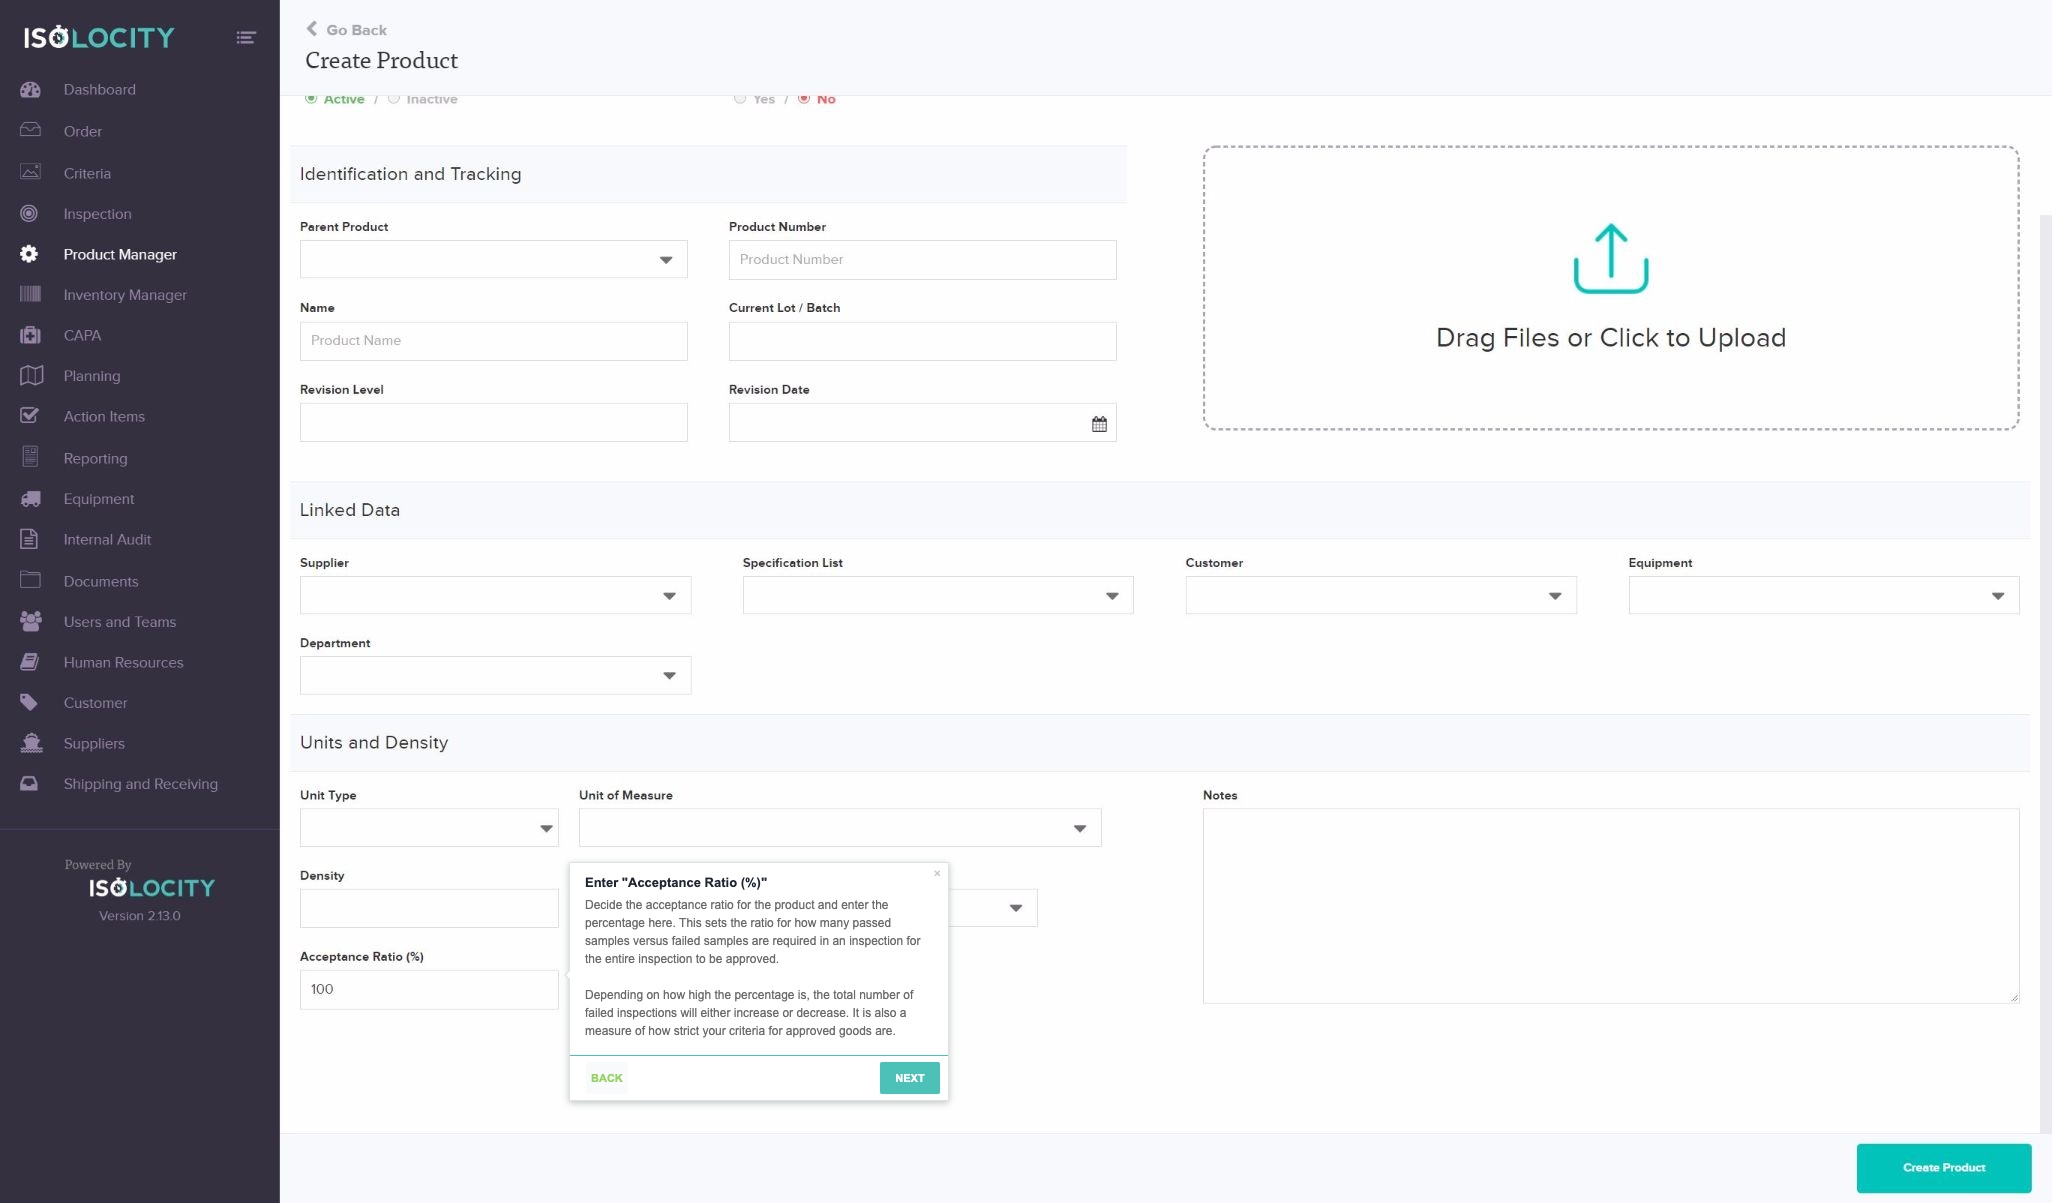
Text: Decide the acceptance ratio for the product and enter the percentage here. This sets the ratio for how many passed samples versus failed samples are required in an inspection for the entire inspection to be approved. Depending on how high the percentage is, the total number of failed inspections will either increase or decrease. It is also a measure of how strict your criteria for approved goods are.
Captured URL: https://app.isolocity.com/parts/new
Step #28
Title: Enter any “Notes” (Optional)
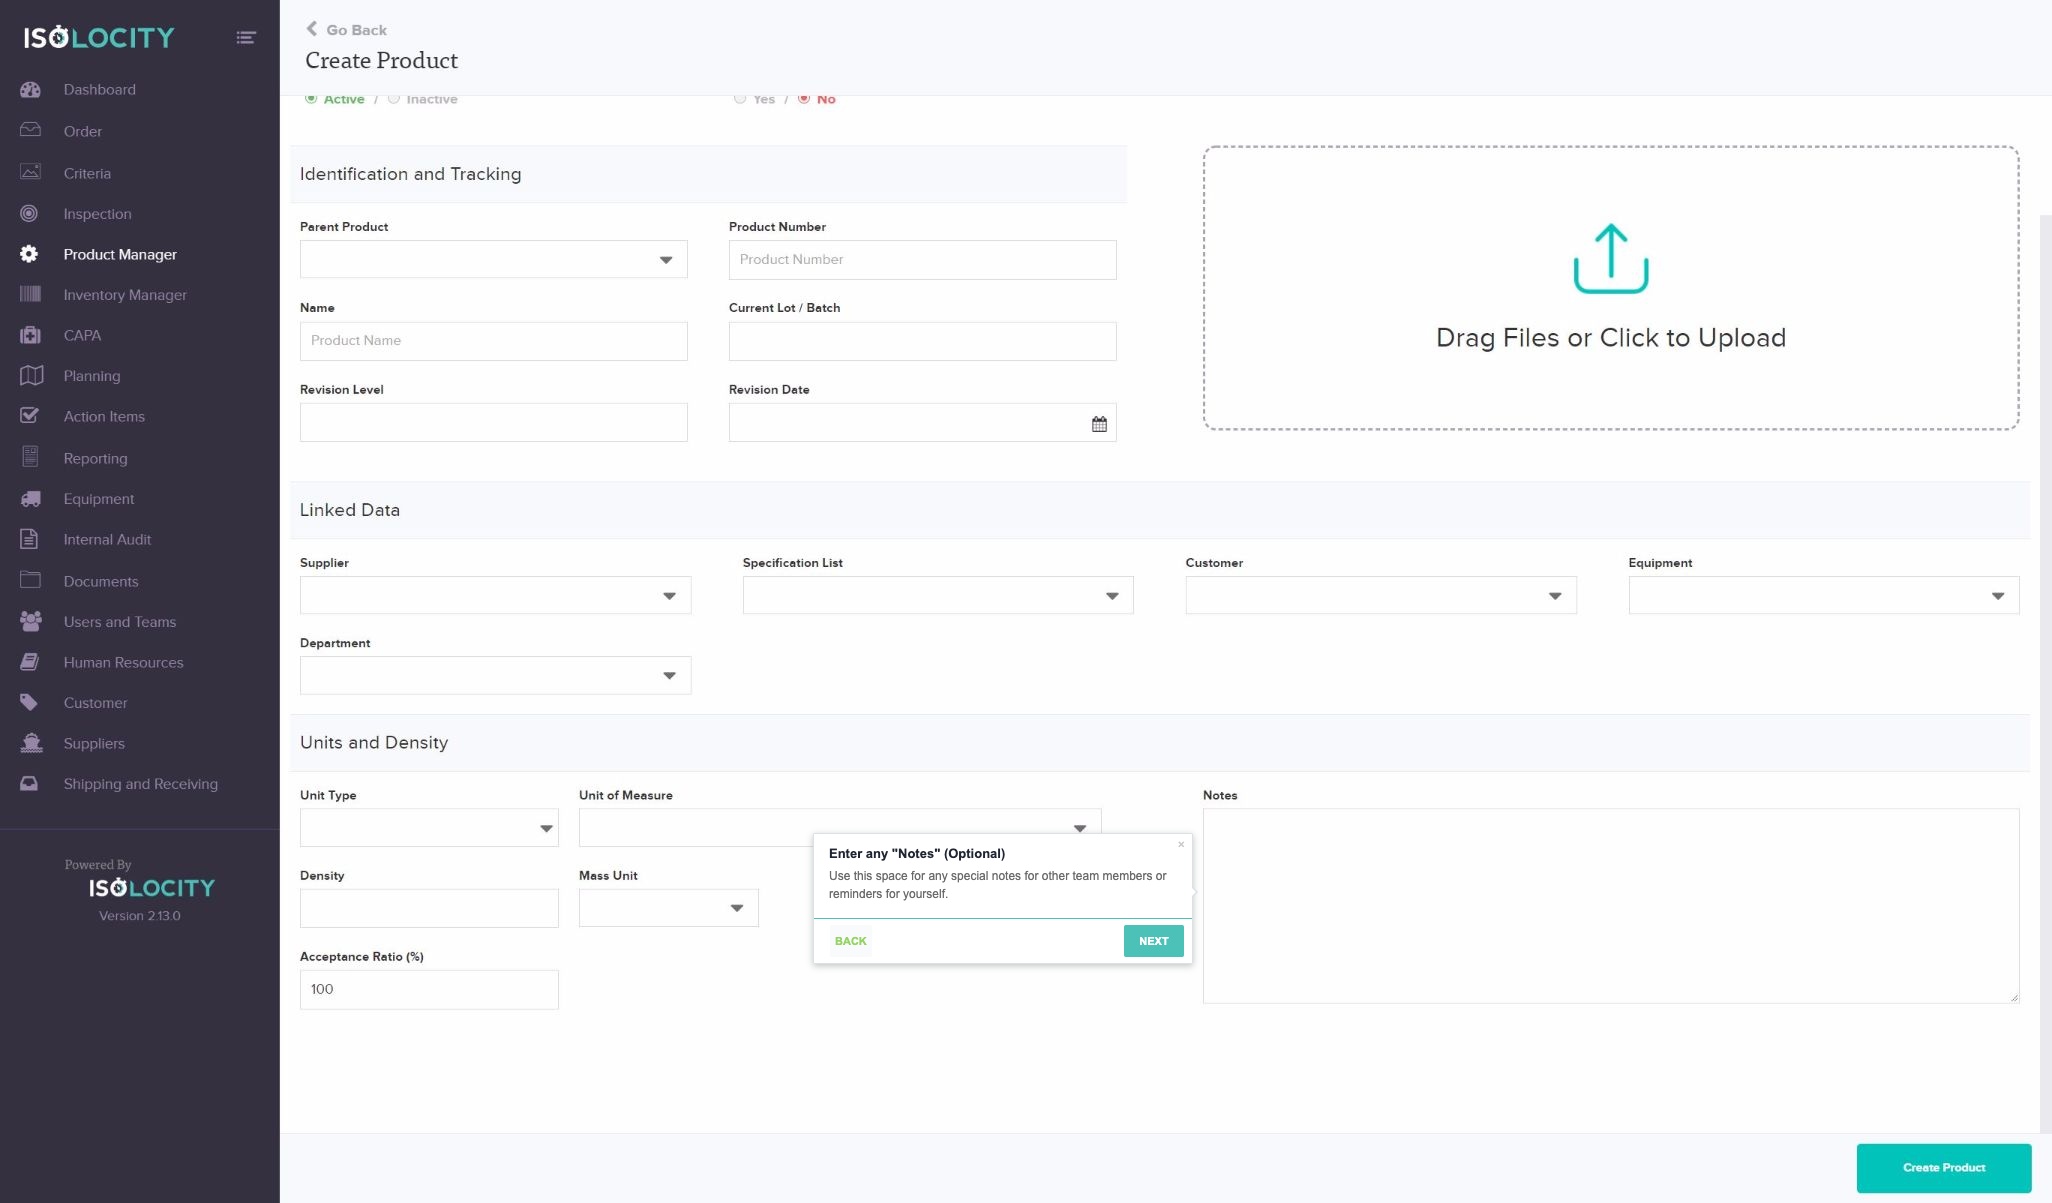
Text: Use this space for any special notes for other team members or reminders for yourself.
Captured URL: https://app.isolocity.com/parts/new
Step #29
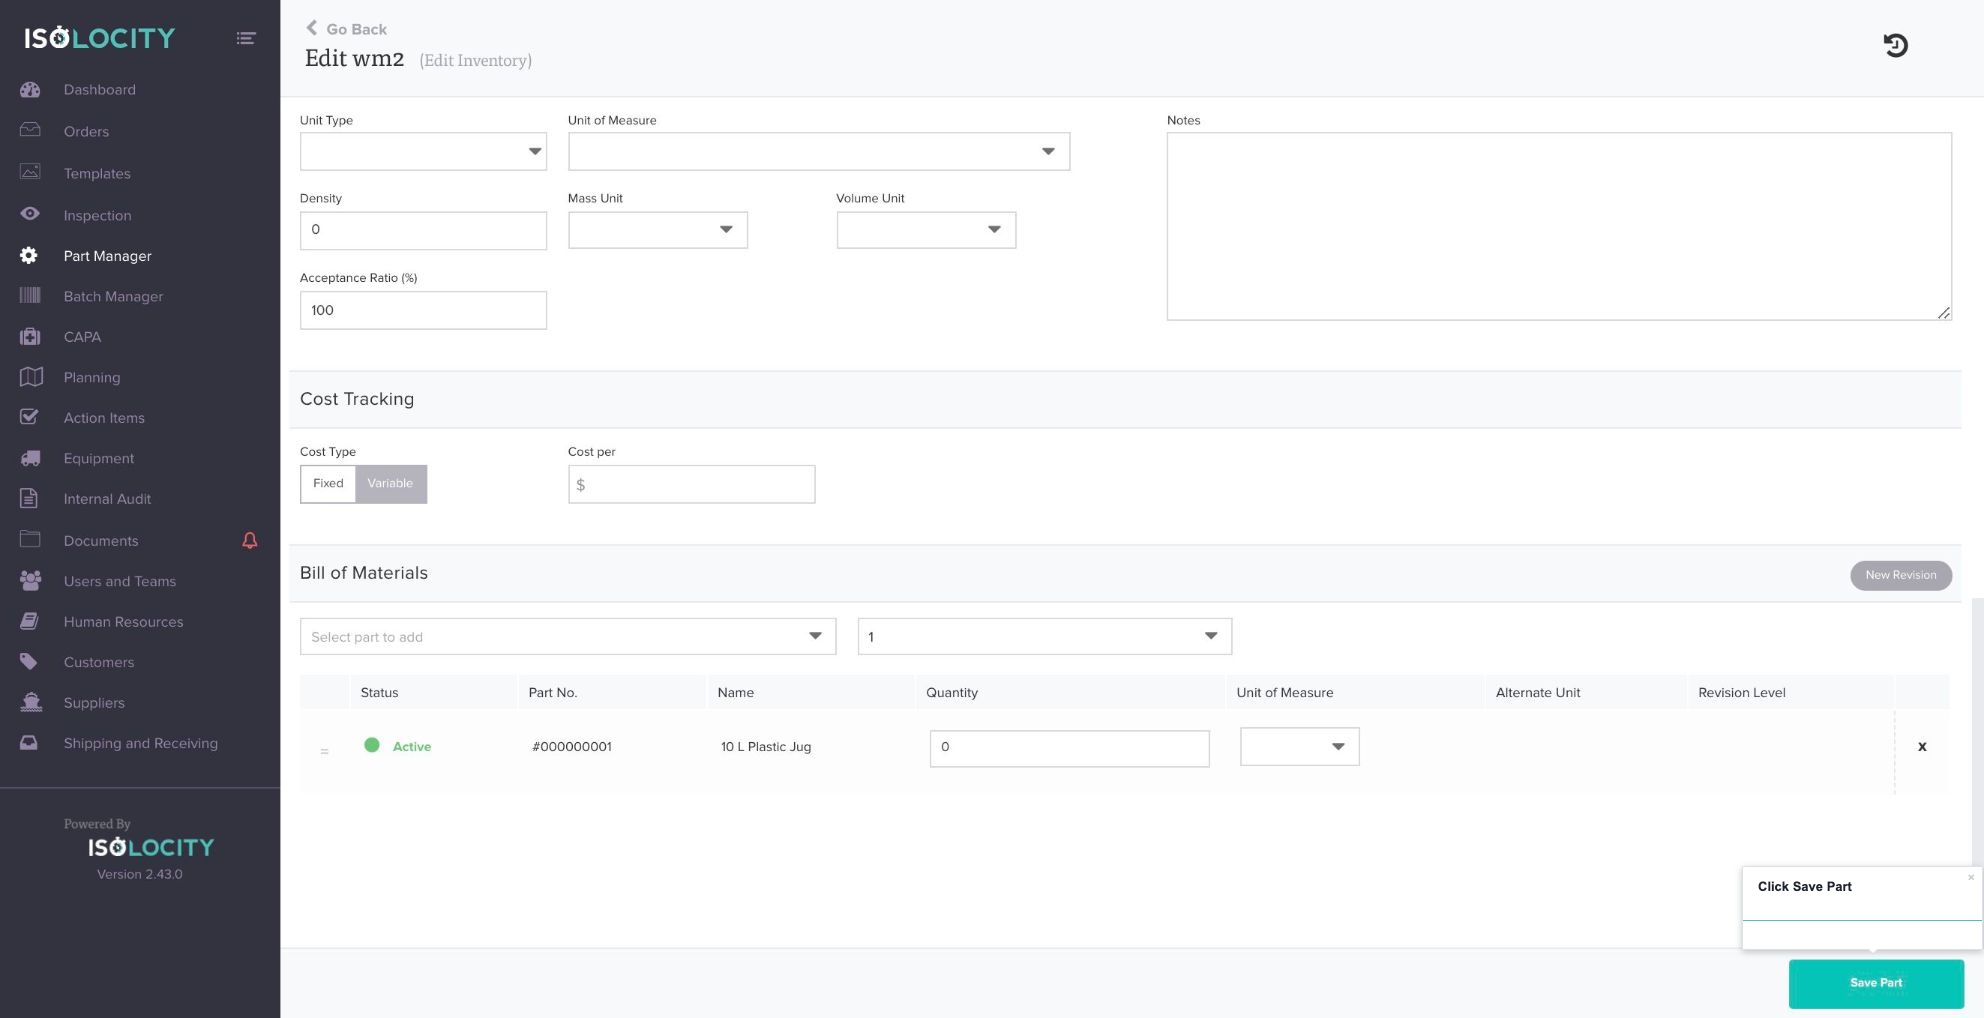
Title: Select a Fixed or Batch Based Cost Type.
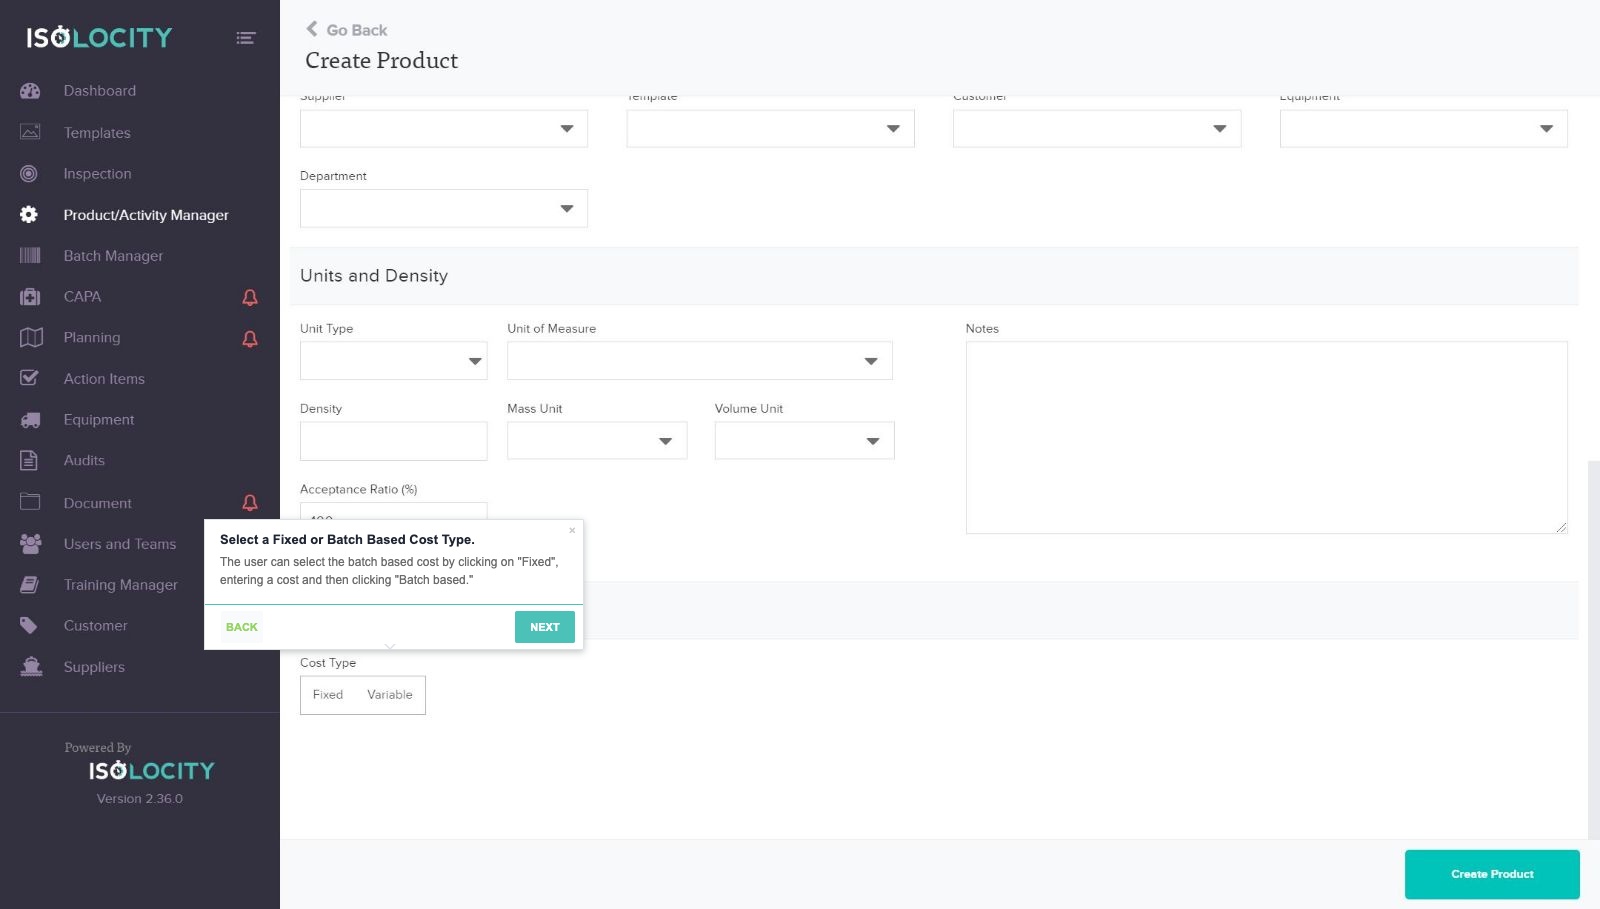
Text: The user can select the batch based cost by clicking on “Fixed”, entering a cost and then clicking “Batch based.”
Captured URL: https://app.isolocity.com/parts/new
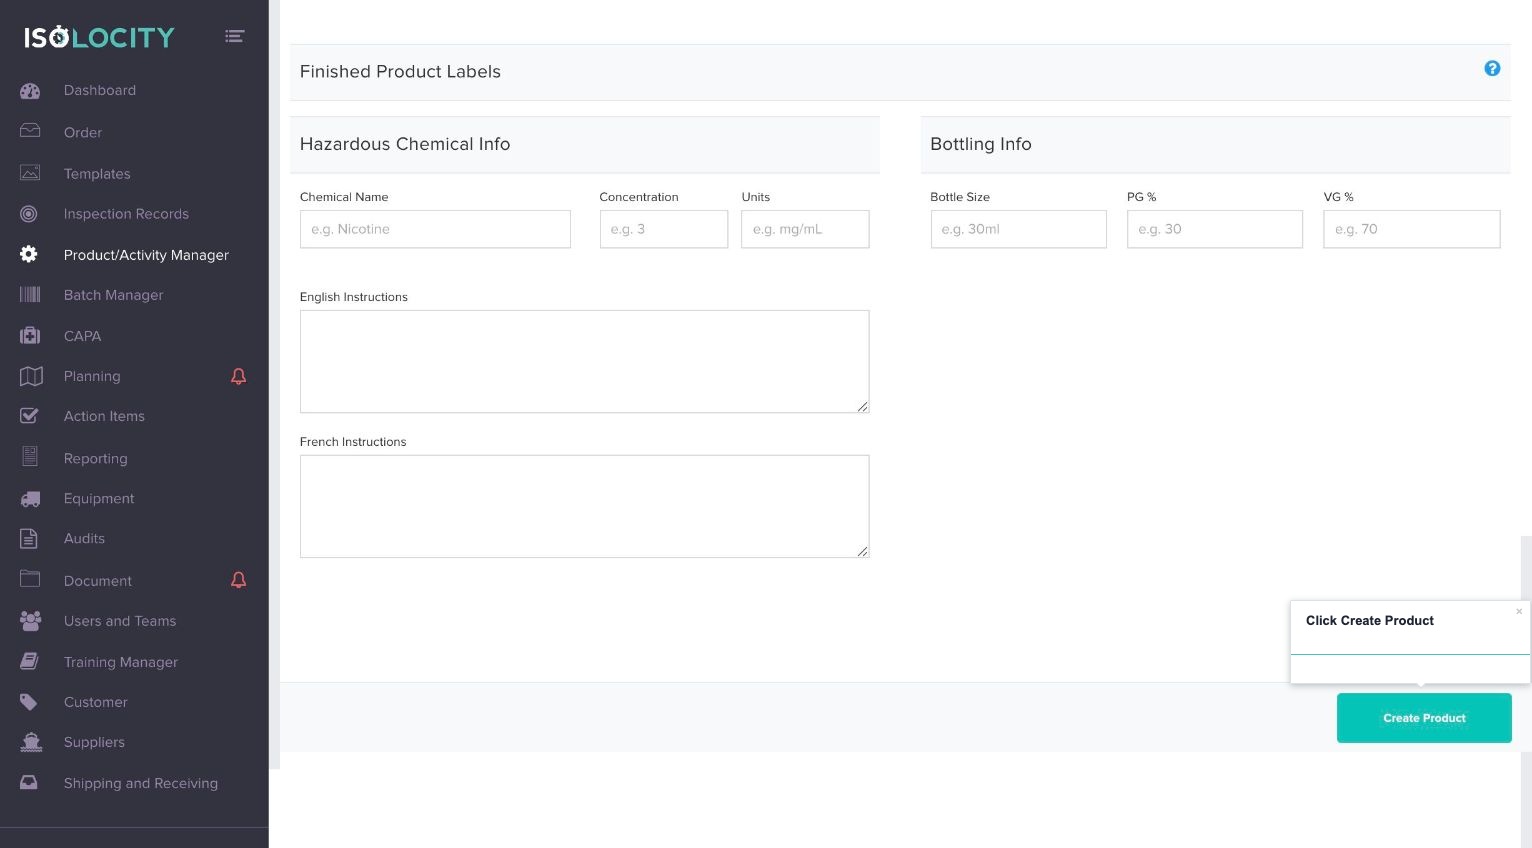
Step #30
Title: Click Create Product
Captured URL: https://app.isolocity.com/parts/new
Step #31
Title: Start typing to select the materials of your “Finished Product” and add them to the bill of materials. Once completed click “Next”.
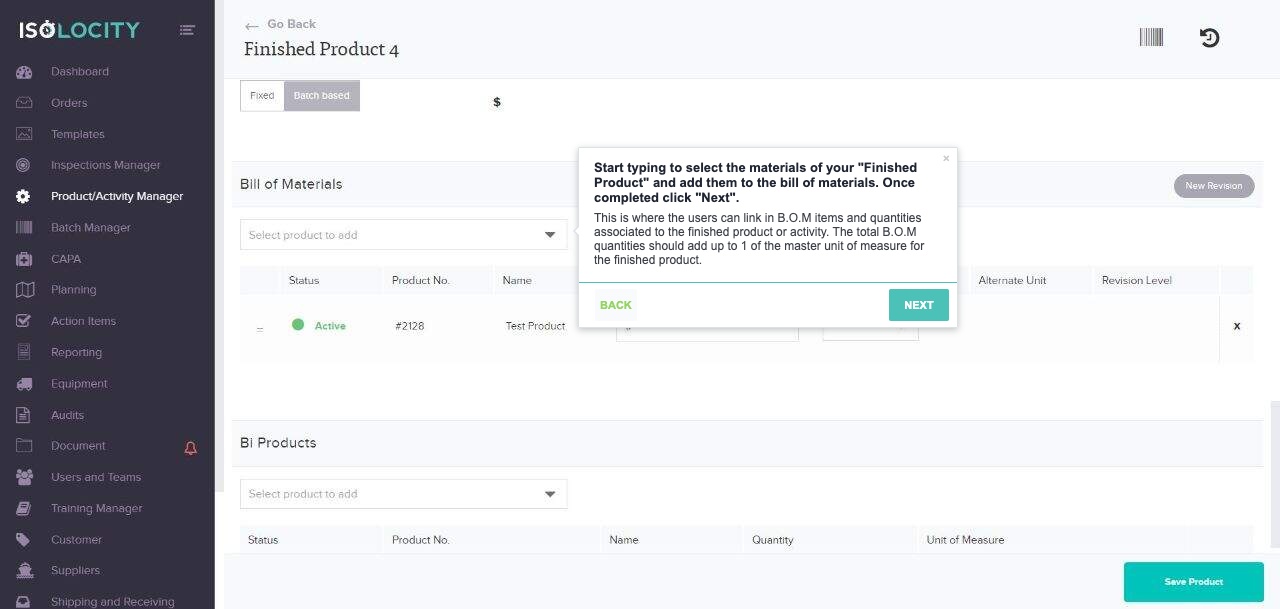
Text: This is where the users can link in B.O.M items and quantities associated to the finished product or activity. The total B.O.M quantities should add up to 1 of the master unit of measure for the finished product.
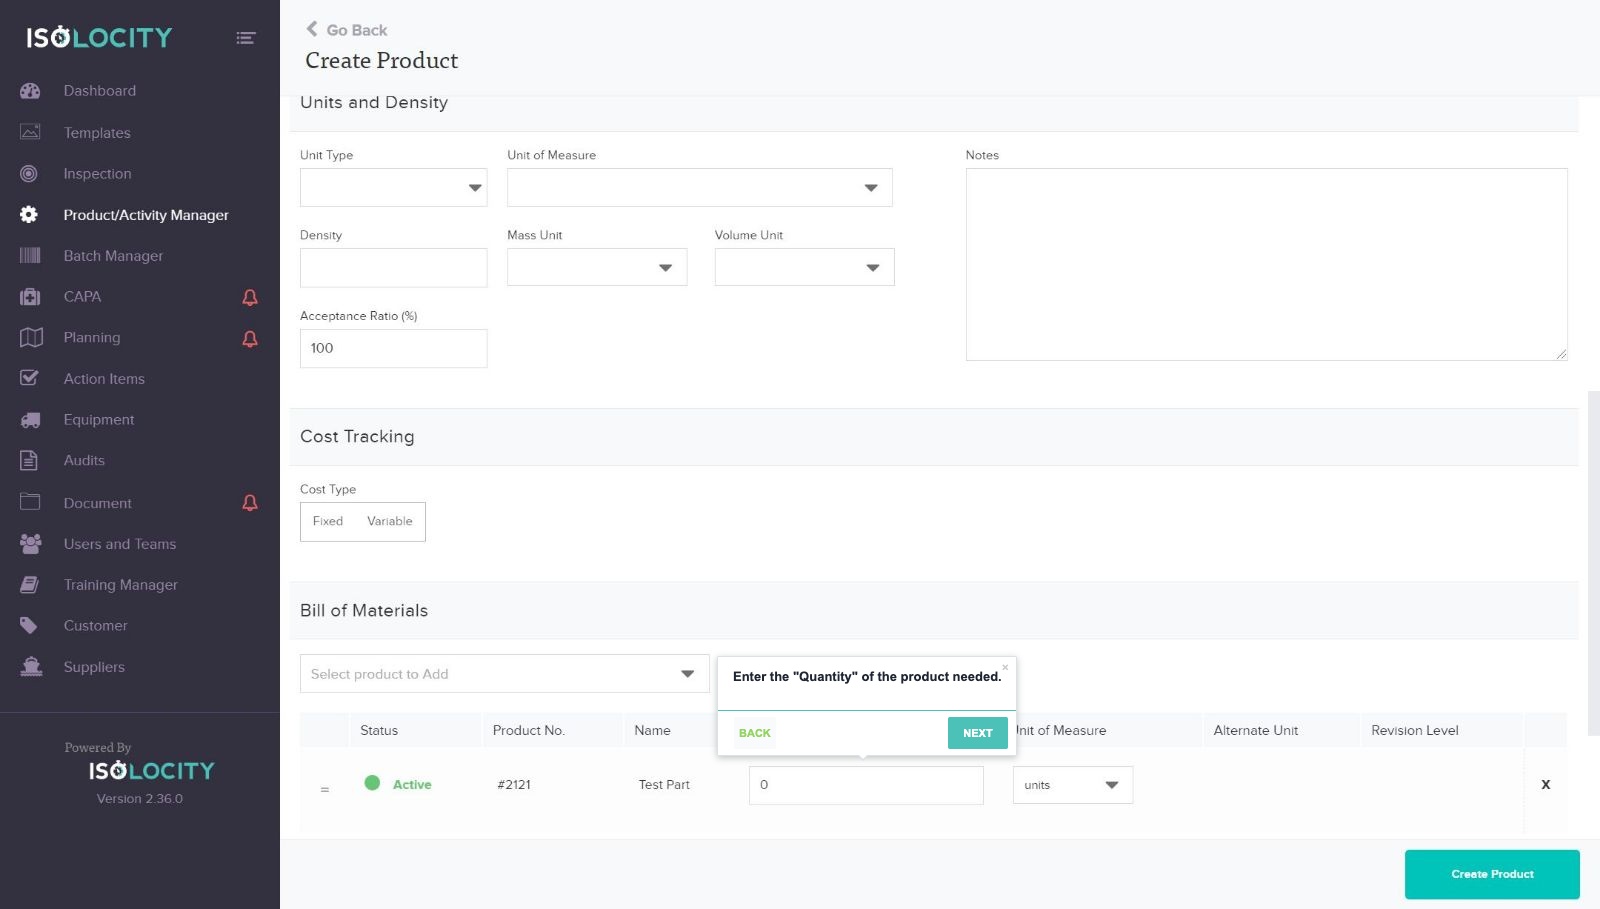
Step #32
Title: Enter the “Quantity” of the product needed.
Captured URL: https://app.isolocity.com/parts/new
Step #33
Title: Select the “Unit of Measure”.
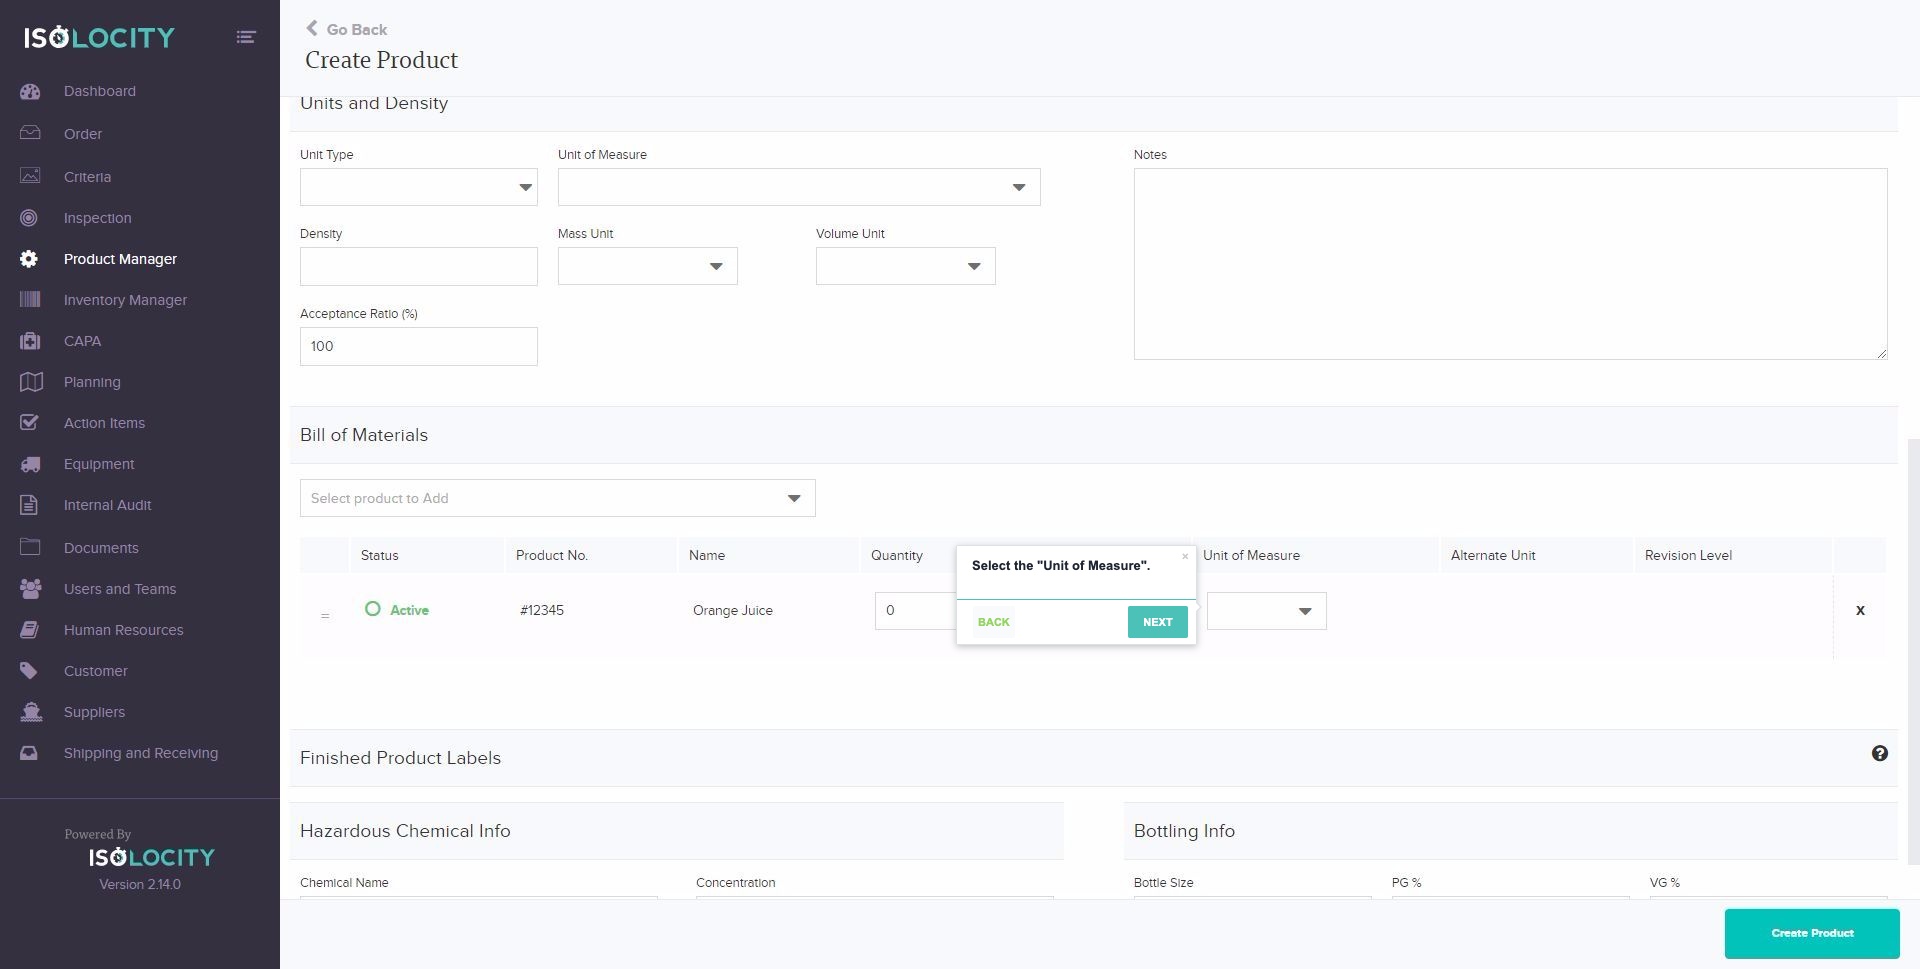
Captured URL: https://app.isolocity.com/parts/new
Step #34
Title: Click here to create a New Revision (Optional)
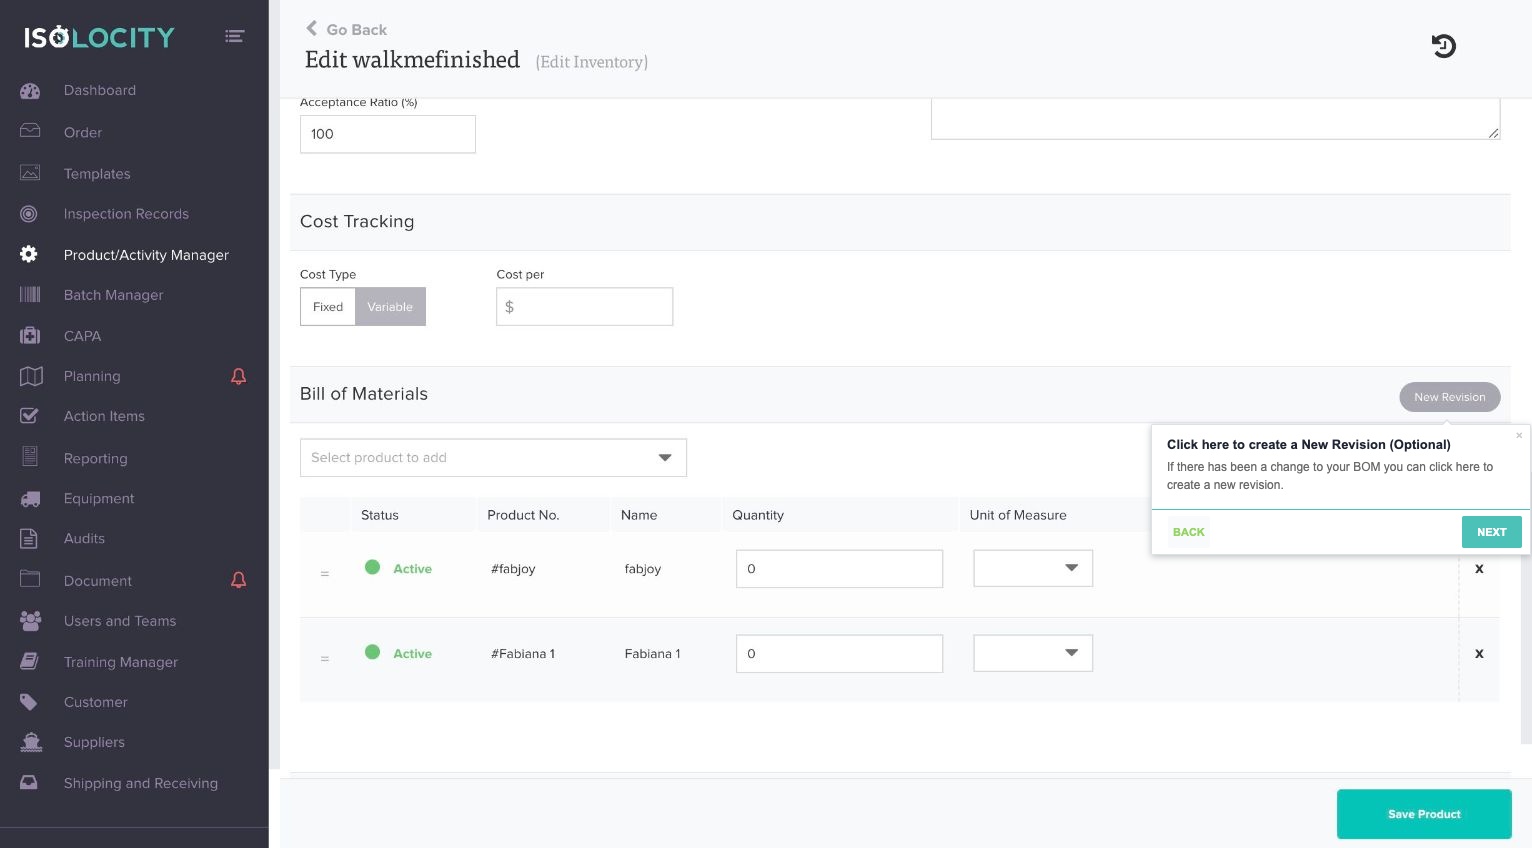
Text: If there has been a change to your BOM you can click here to create a new revision.
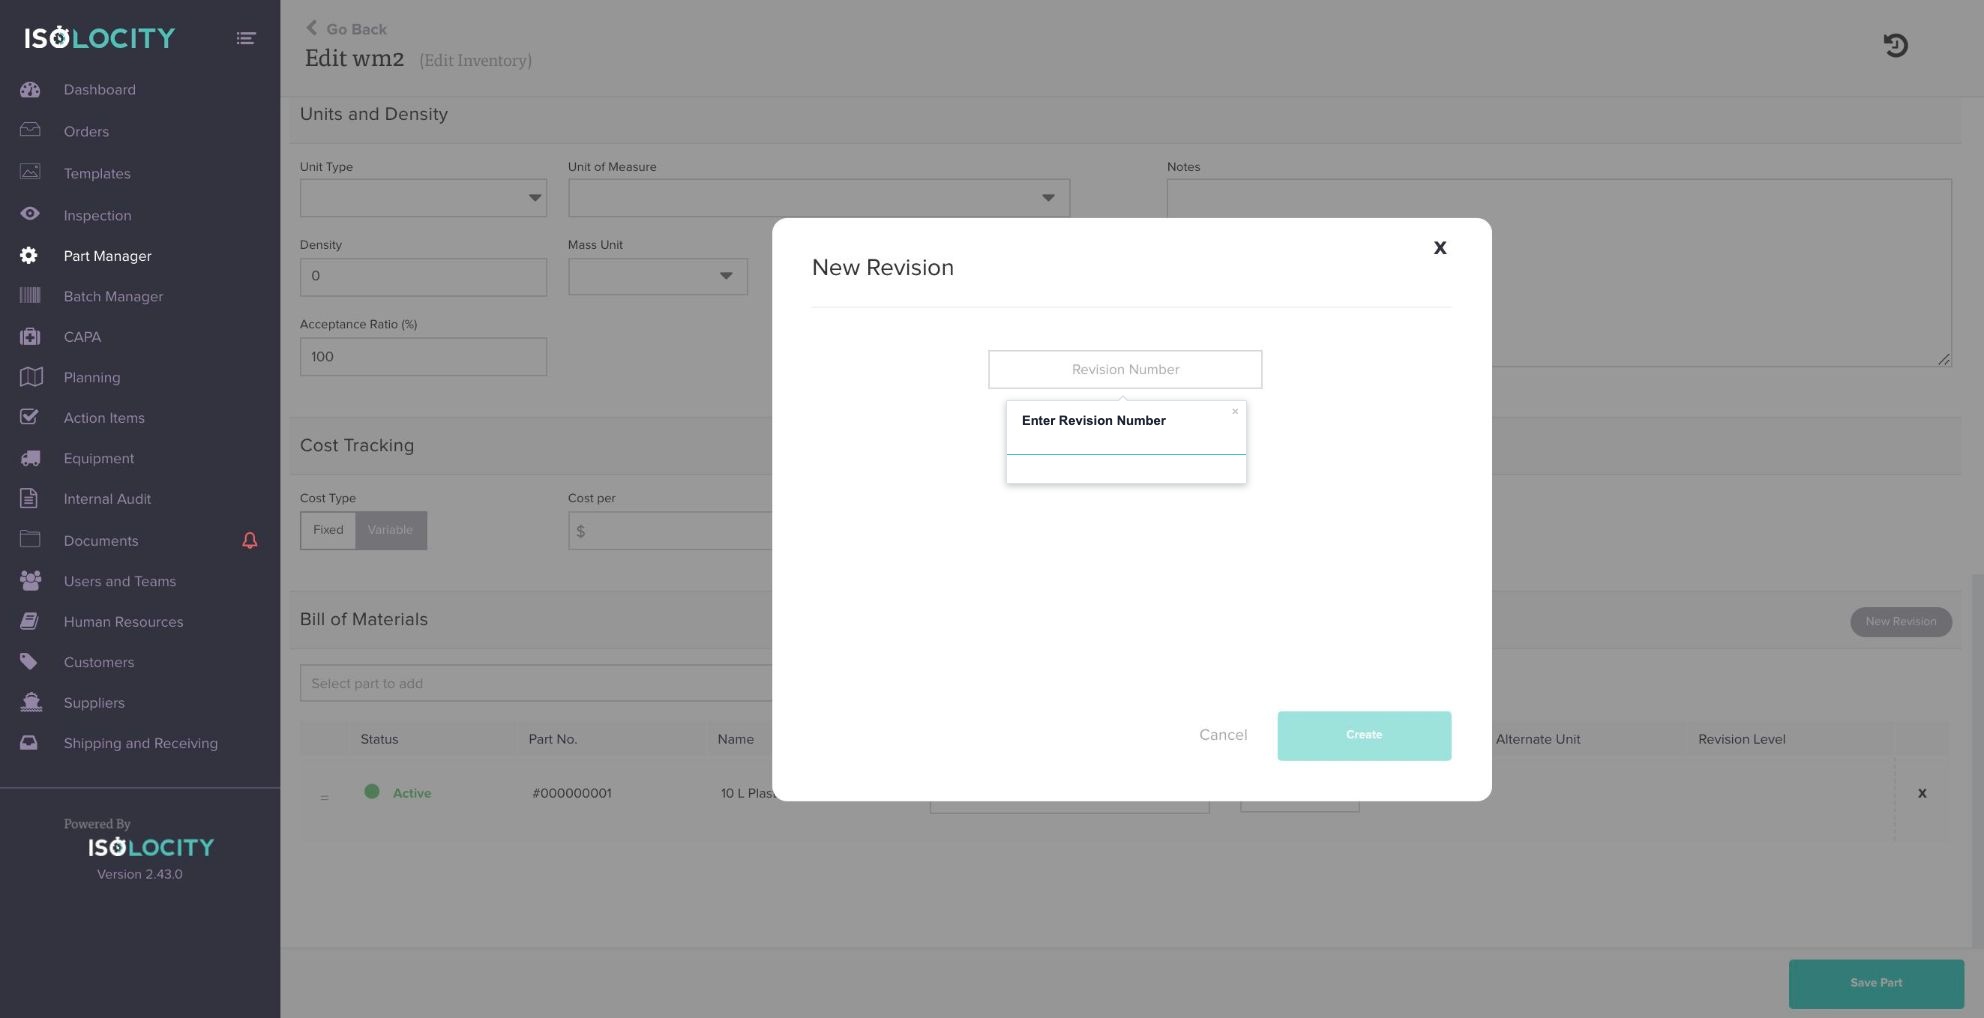
Step #35
Title: Enter Revision Number
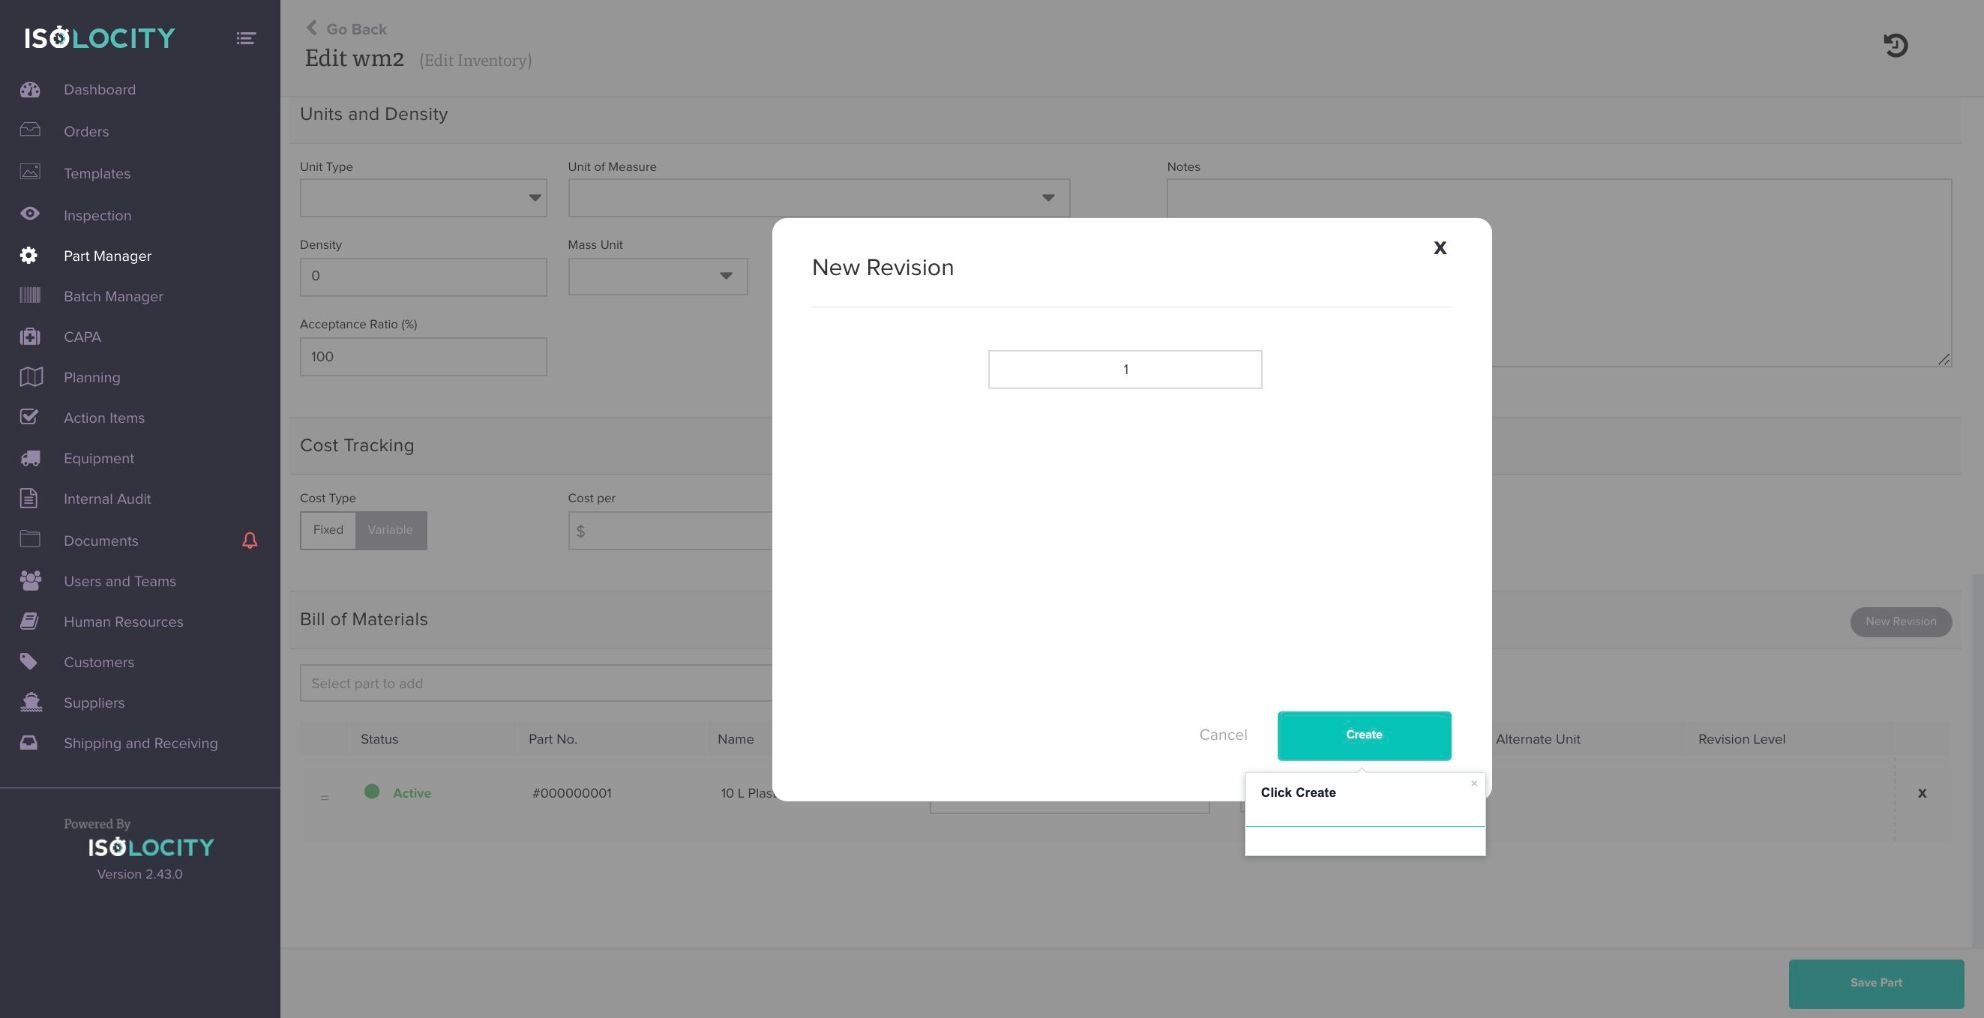
Step #36
Title: Click Create
Step #37
Title: Start typing to select the bi-products of the “Finished Product”
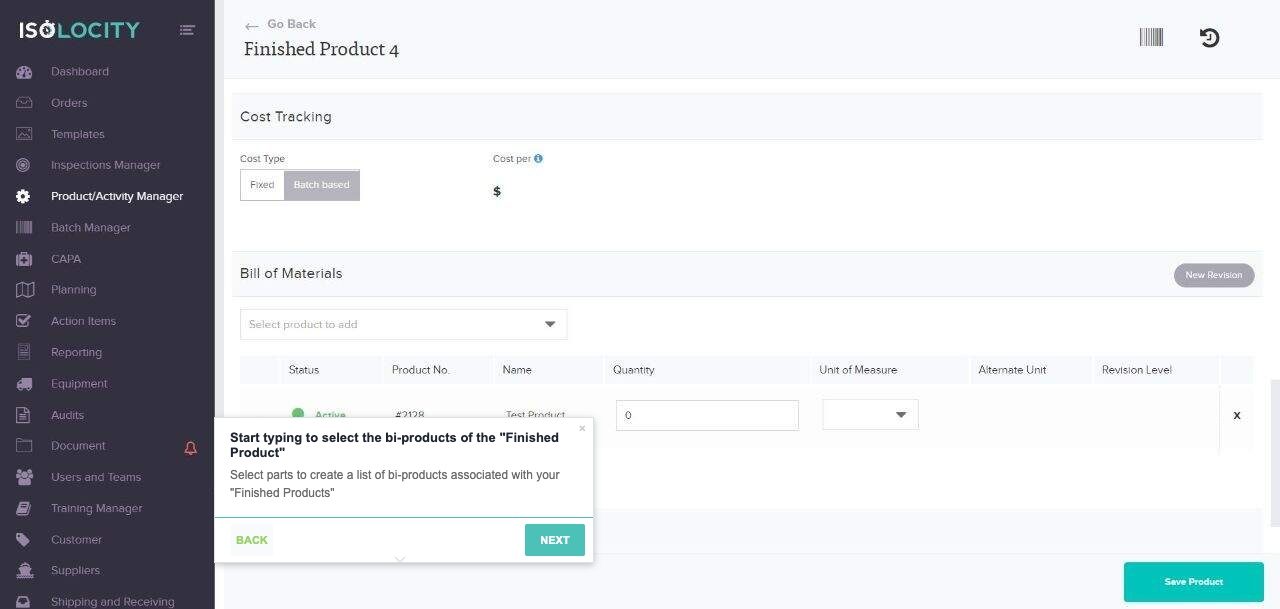
Text: Select parts to create a list of bi-products associated with your “Finished Products”
Step #38
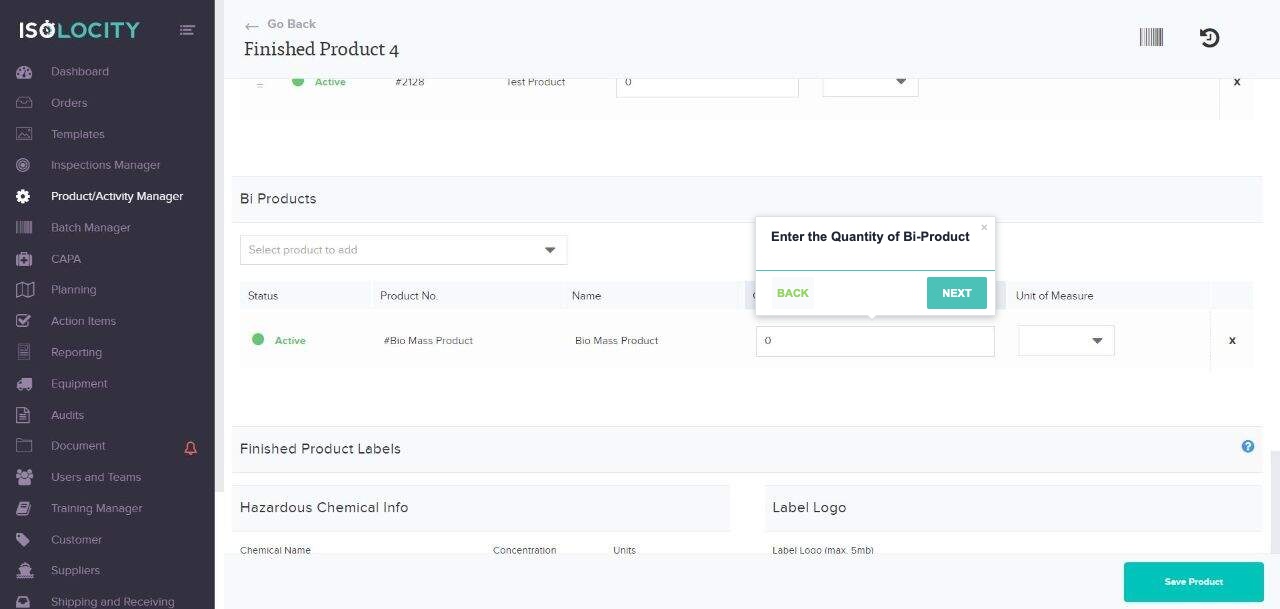
Title: Enter the Quantity of Bi-Product
Step #39
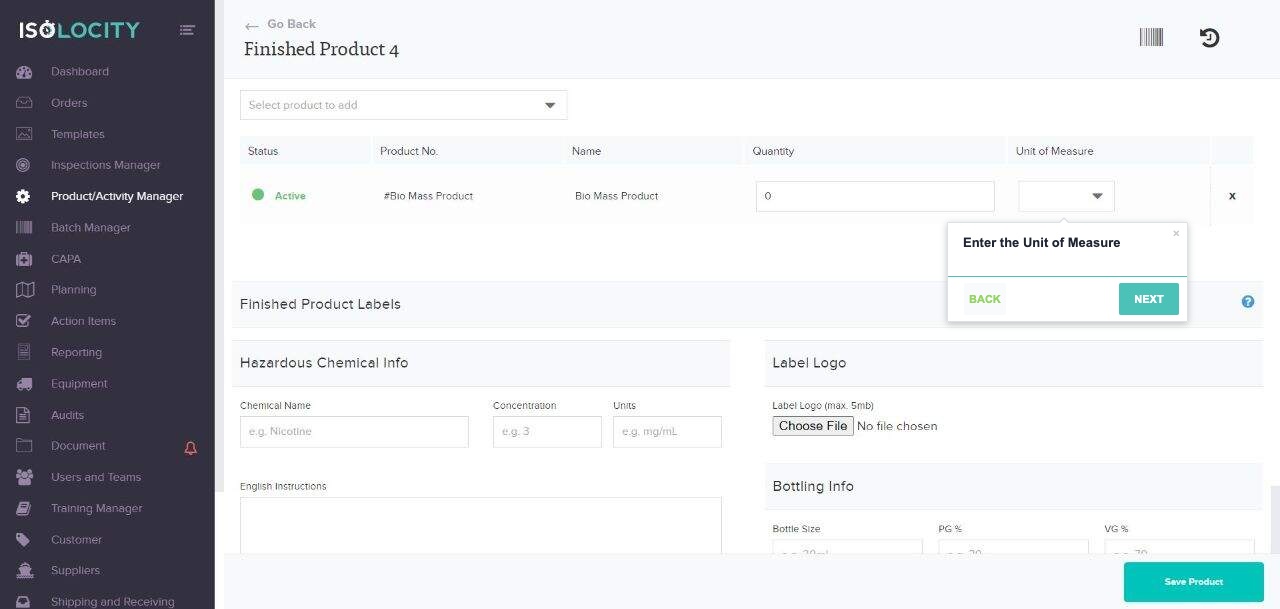
Title: Enter the Unit of Measure
Step #40
Title: Click Save Part
Step #41
Title: Click “Save Part”
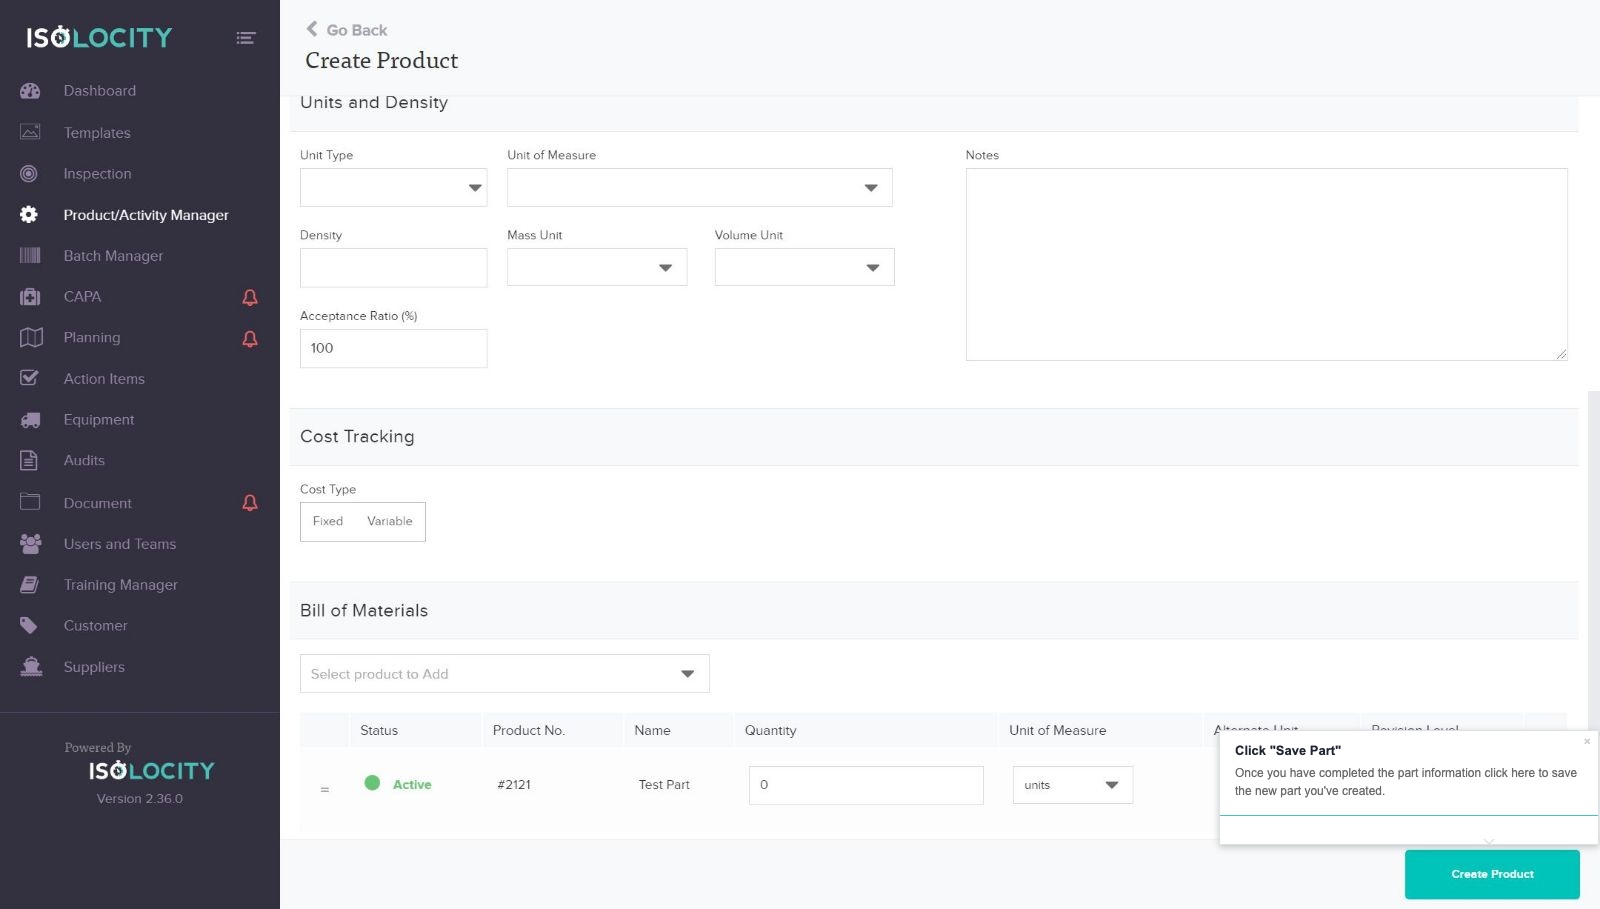
Text: Once you have completed the part information click here to save the new part you’ve created.
Captured URL: https://app.isolocity.com/parts/new
Step #42
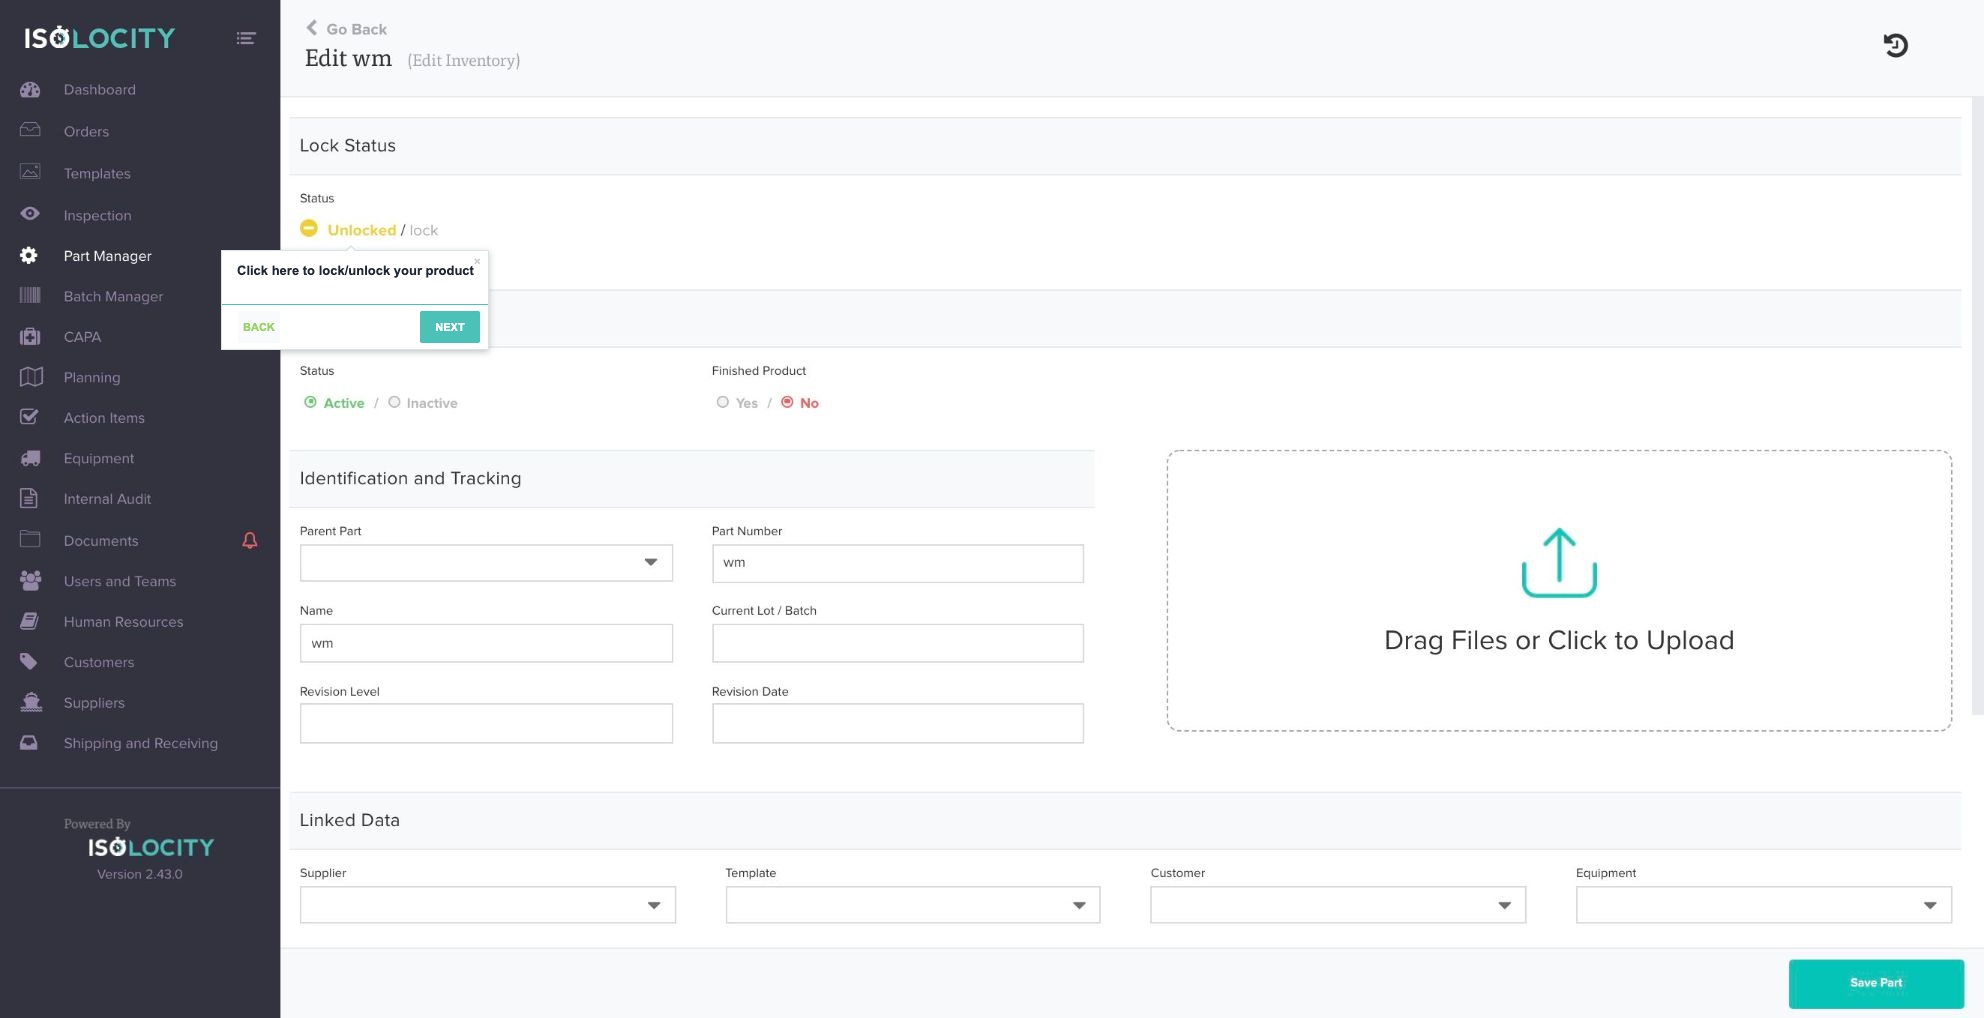
Title: Click here to lock/unlock your product
Step #43
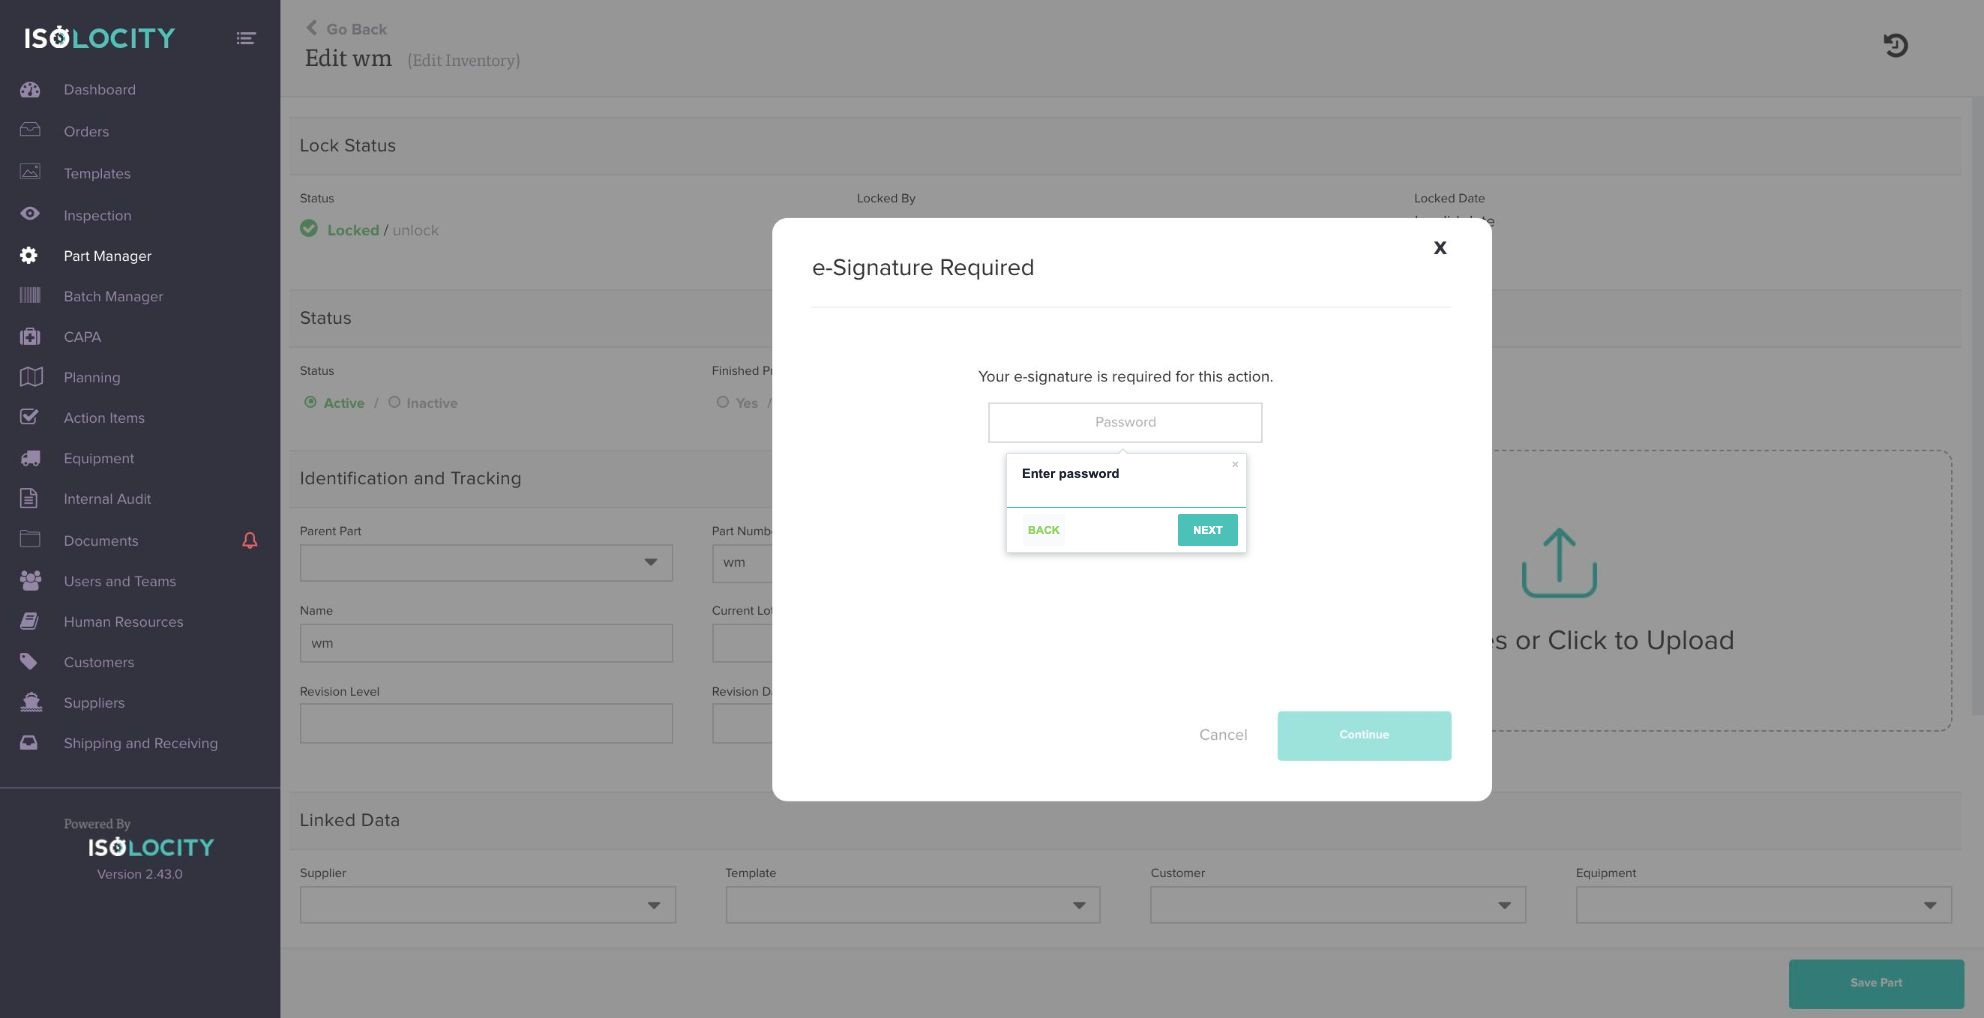
Title: Enter password
Step #44
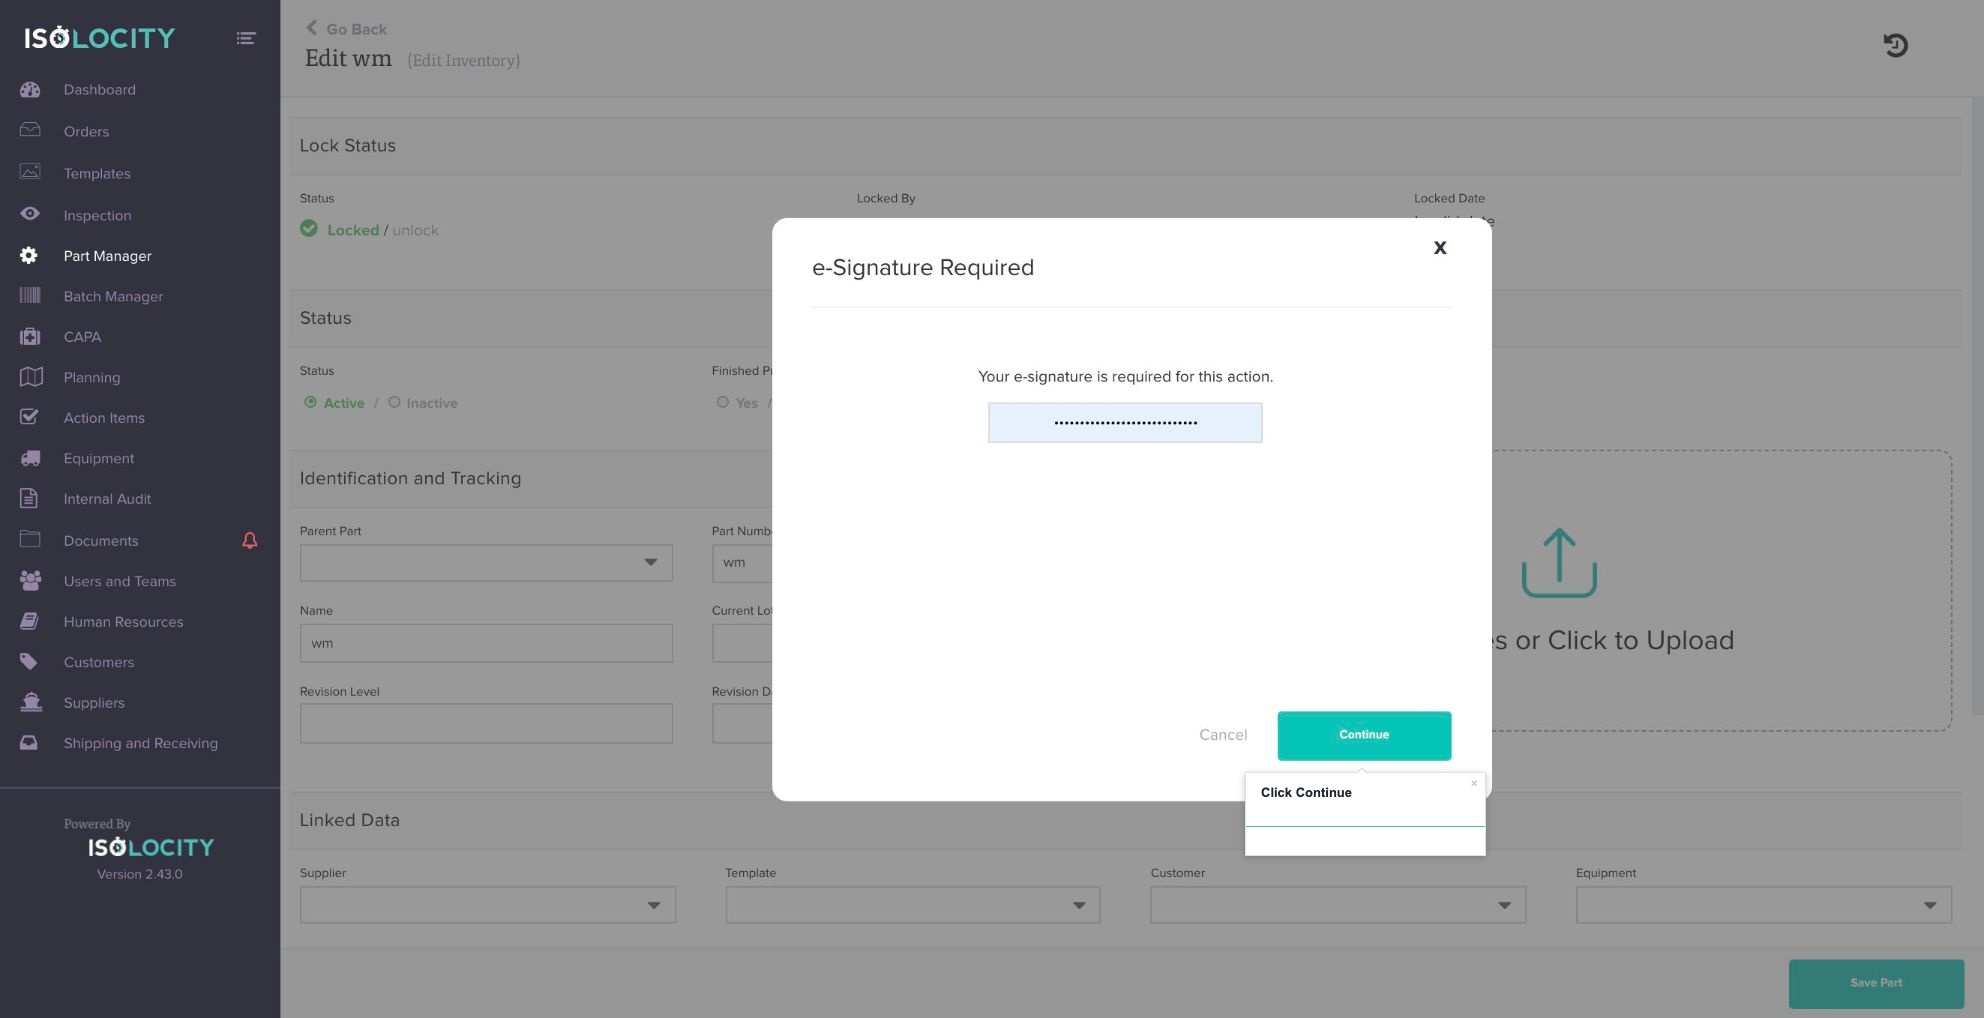
Title: Click Continue
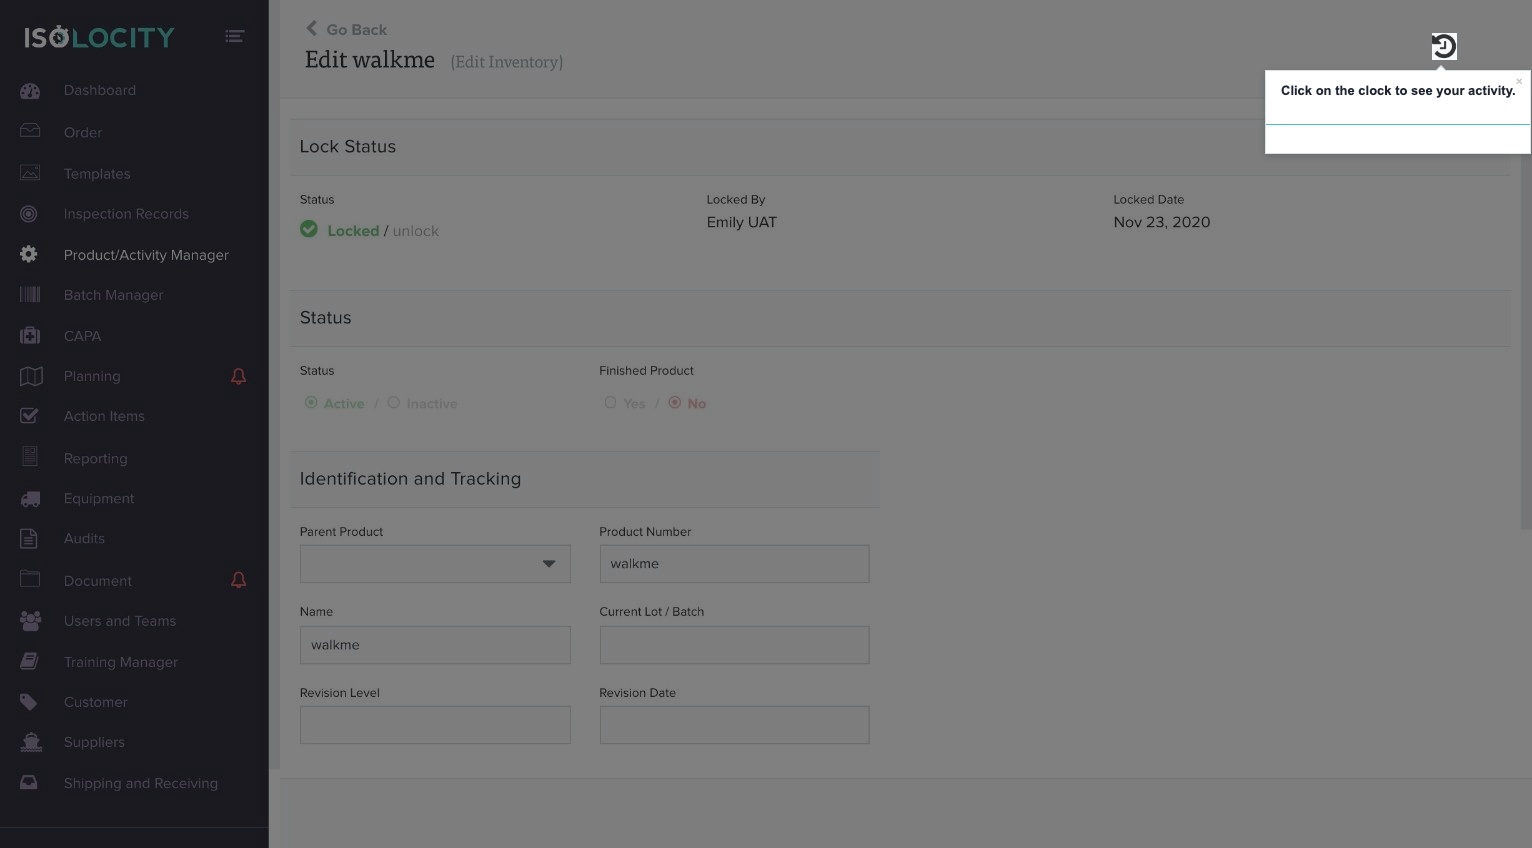
Step #45
Title: Click on the clock to see your activity.
Step #46
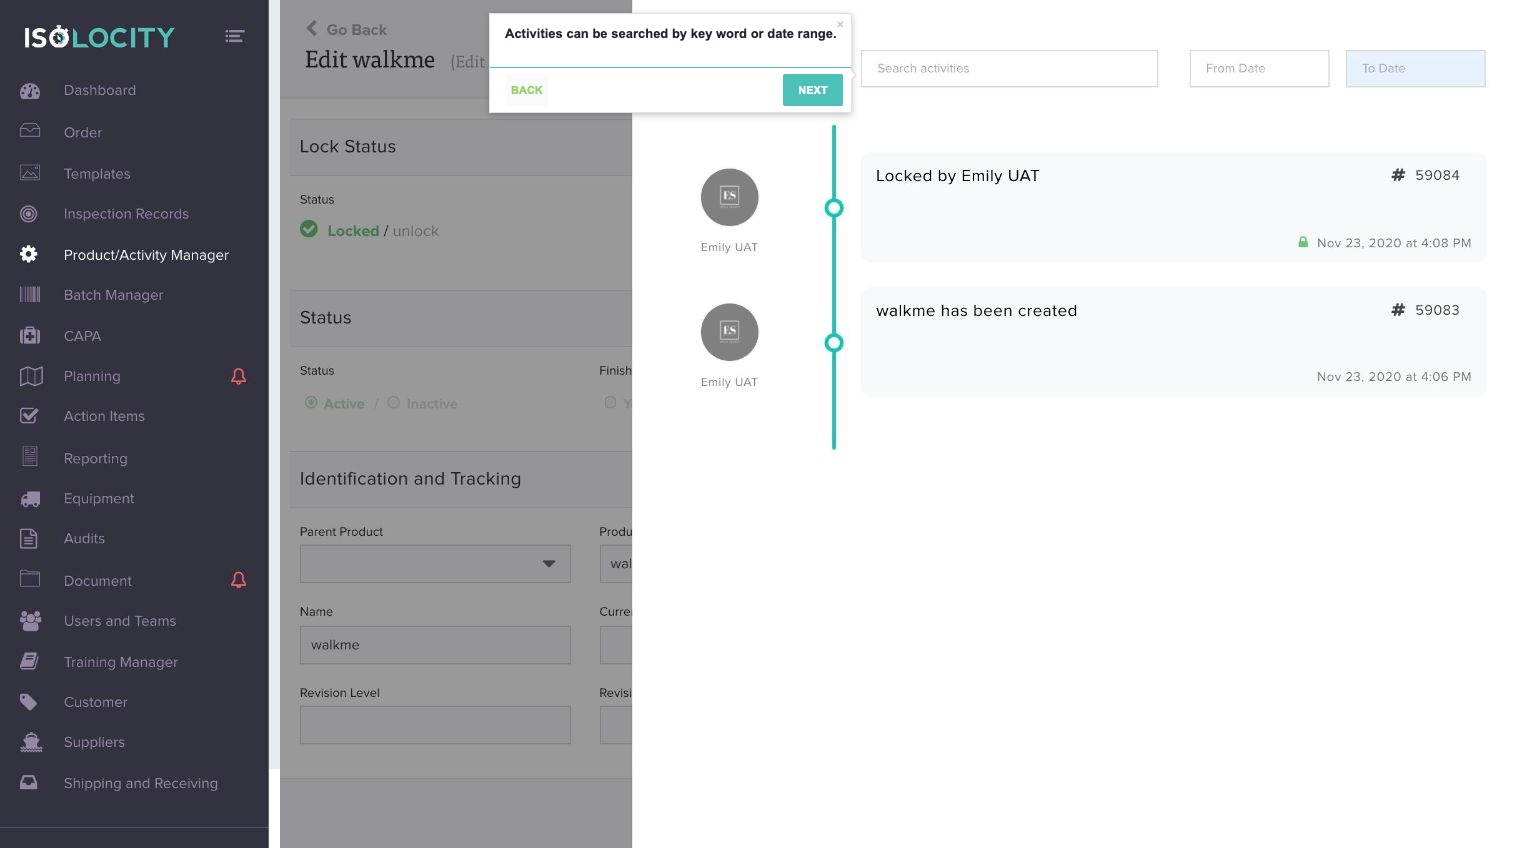
Title: The activity tracker shows all activity for this product.

Step #47
Title: Activities can be searched by keyword or date range.
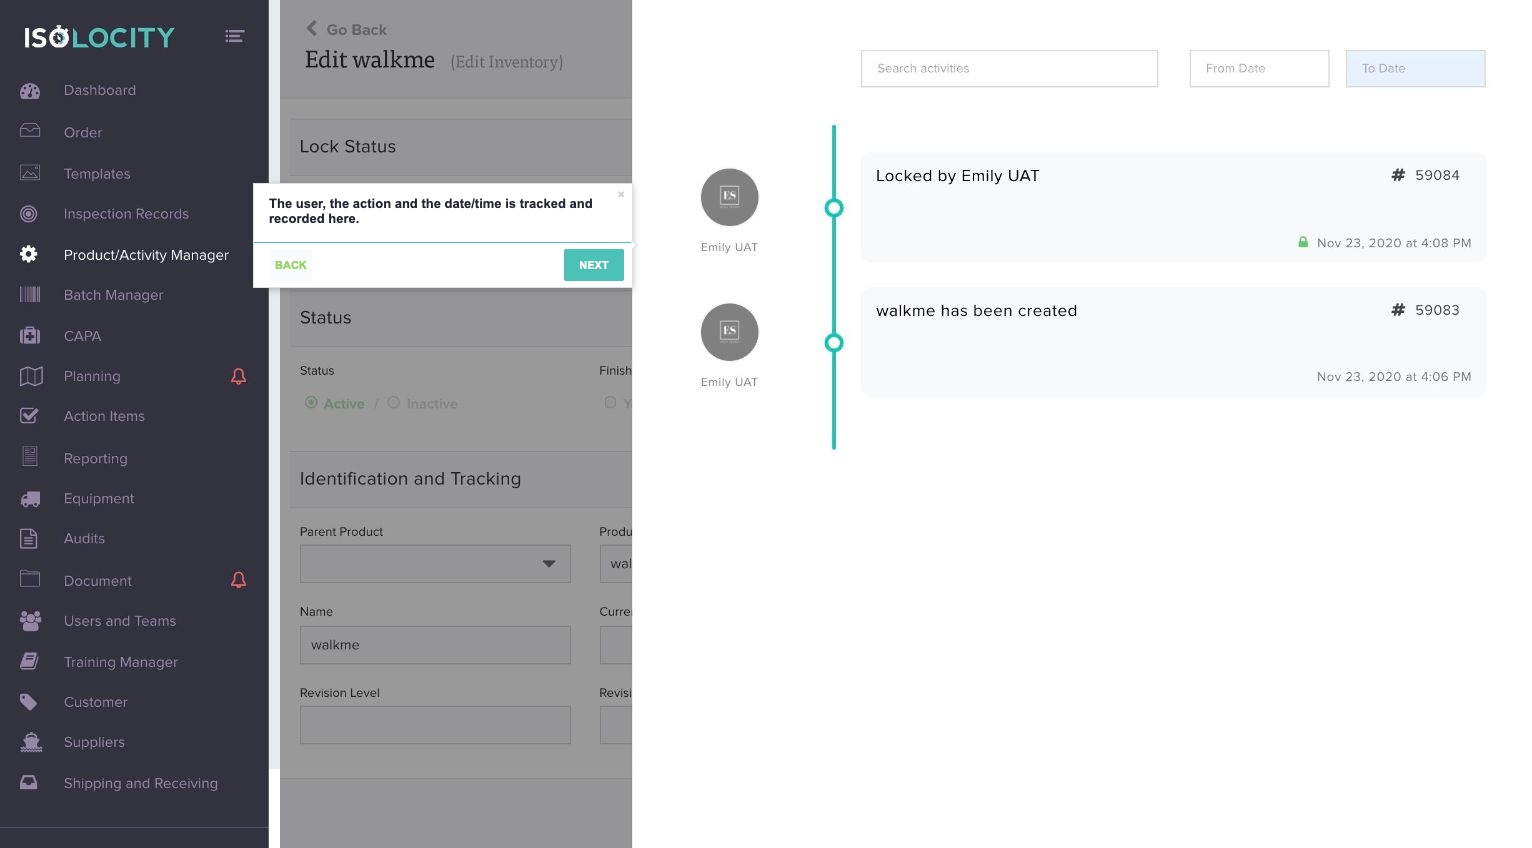
Step #48
Title: The user, the action and the date/time is tracked and recorded here.
Step #49
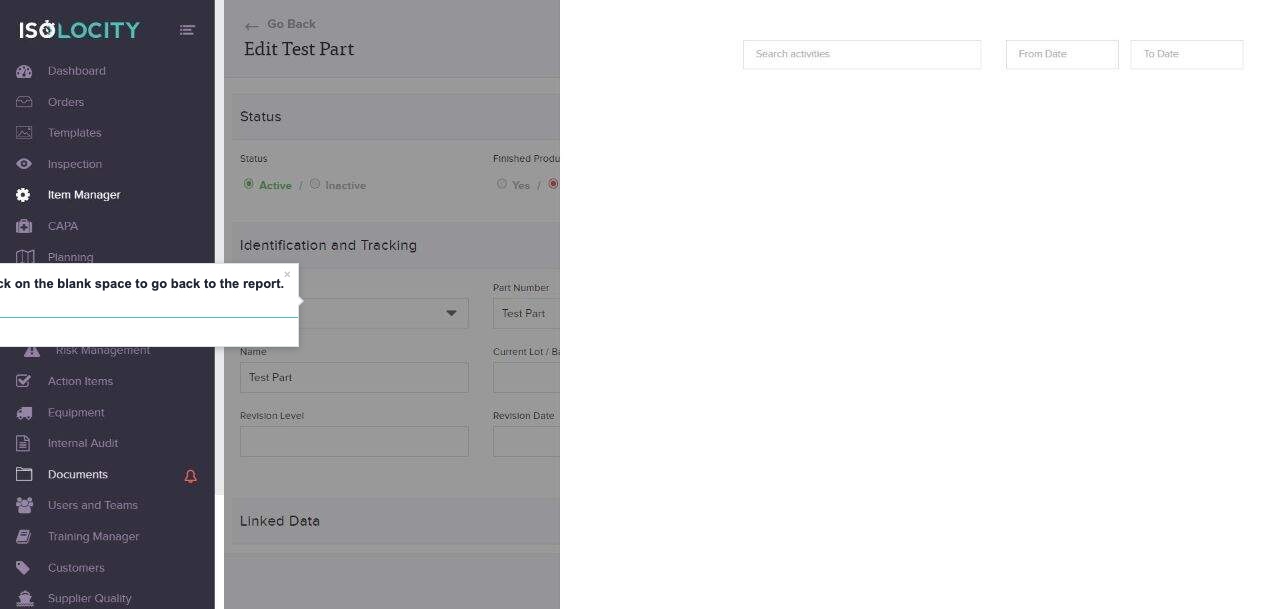
Title: Click on the blank space to go back to the report.