Organization Settings
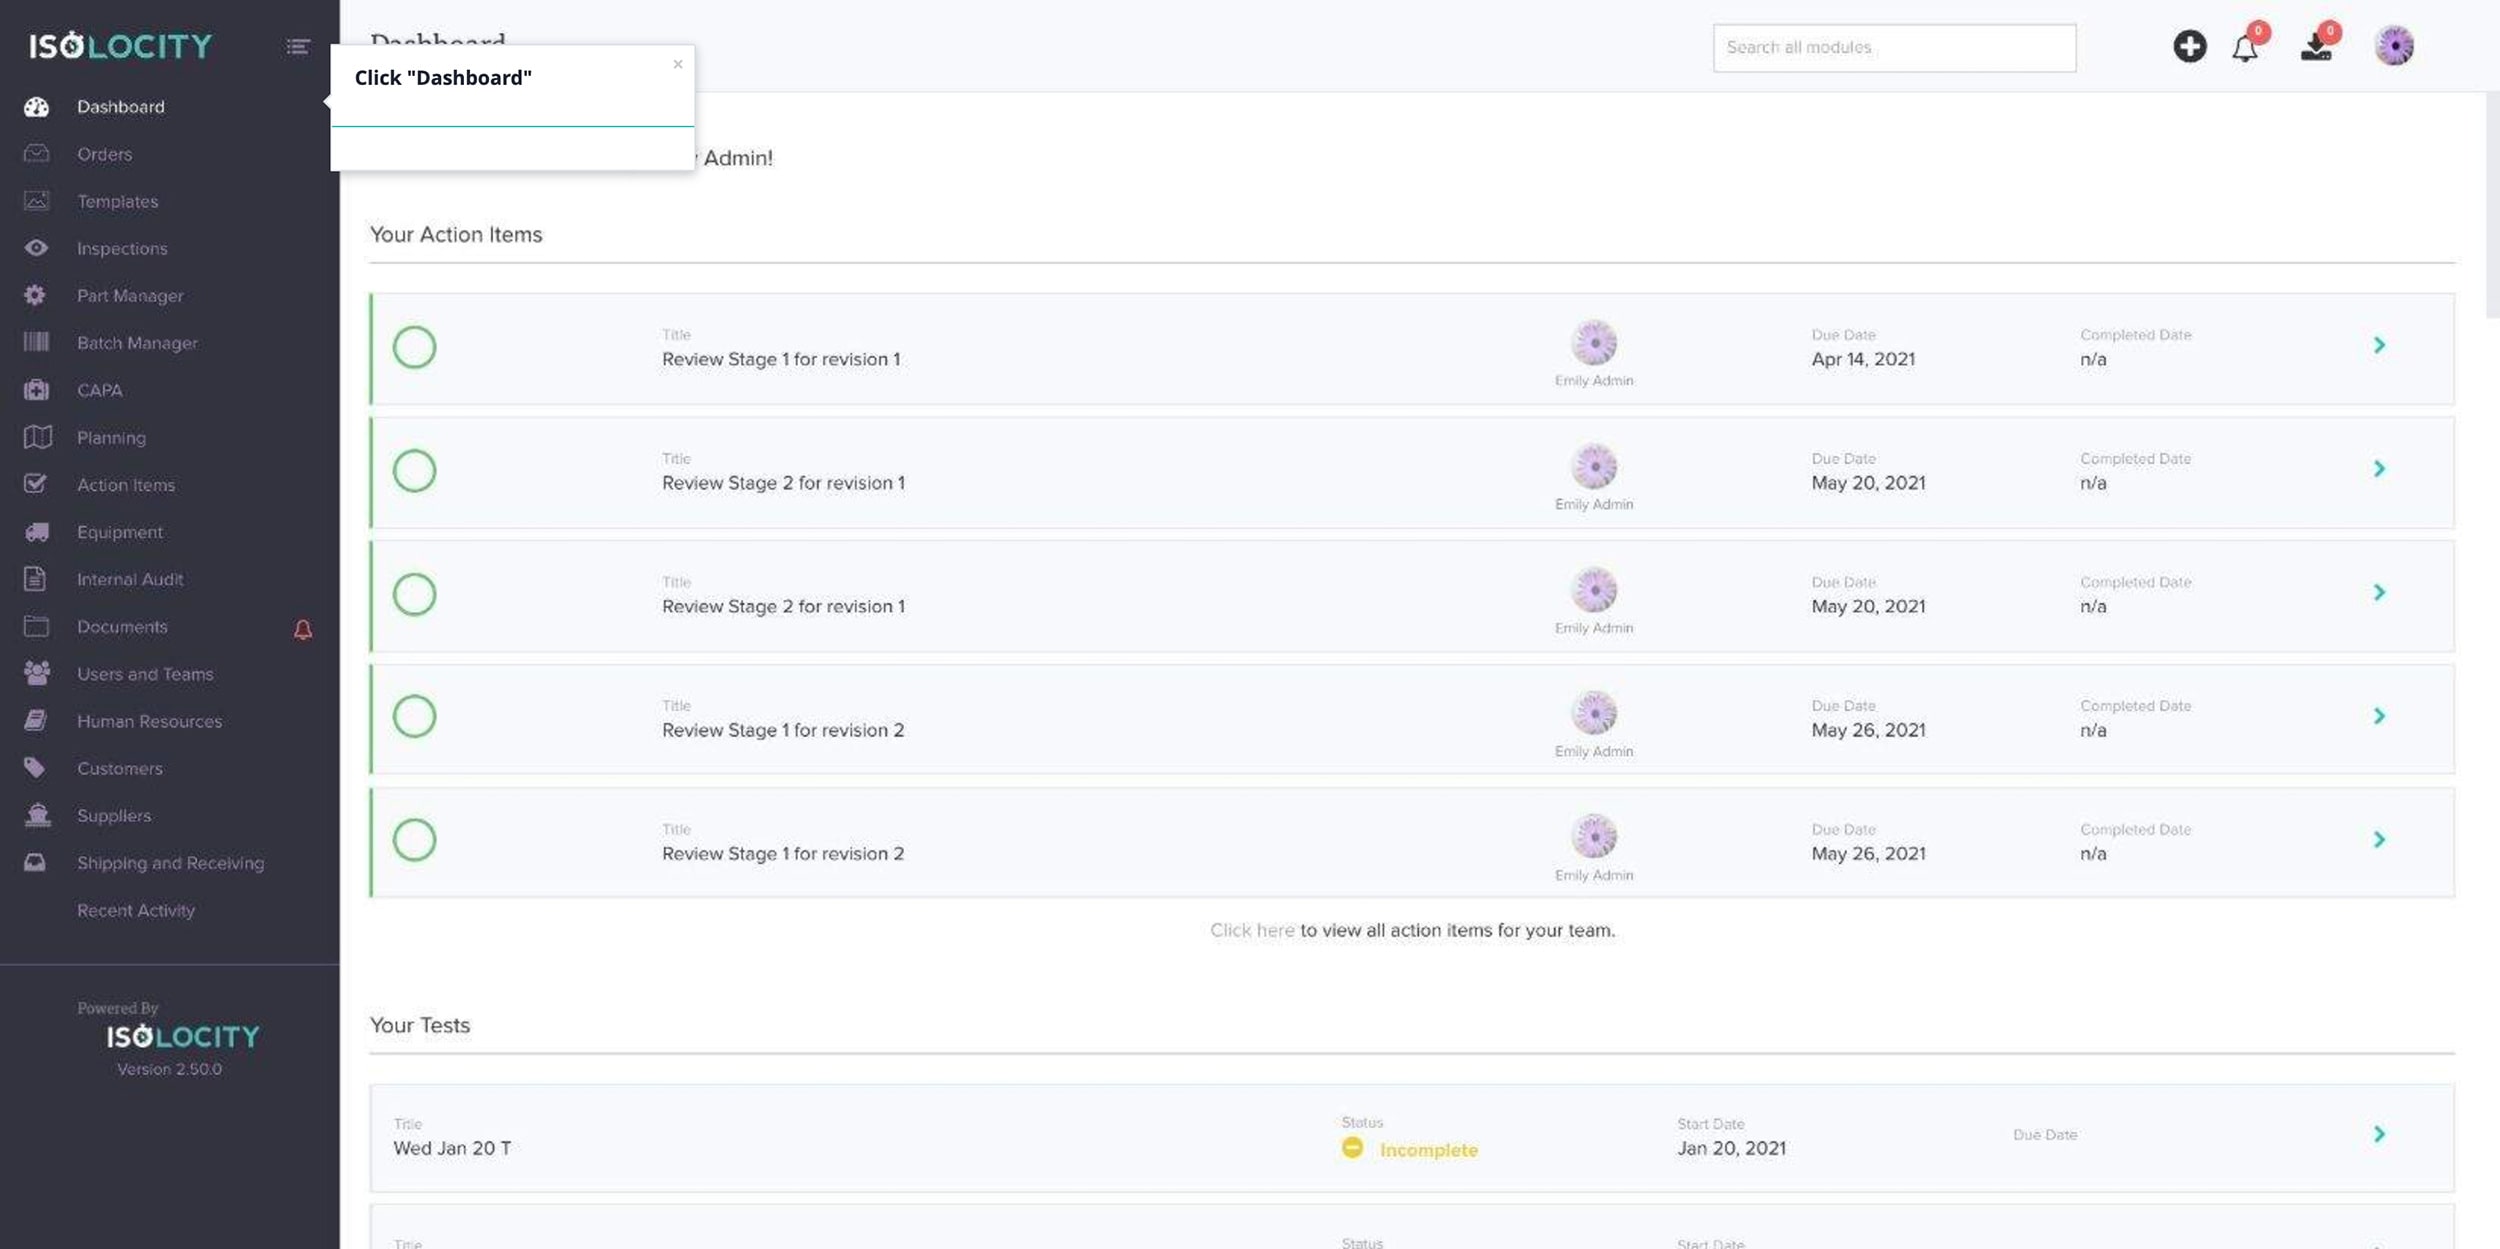
Step #1
Click “Dashboard”
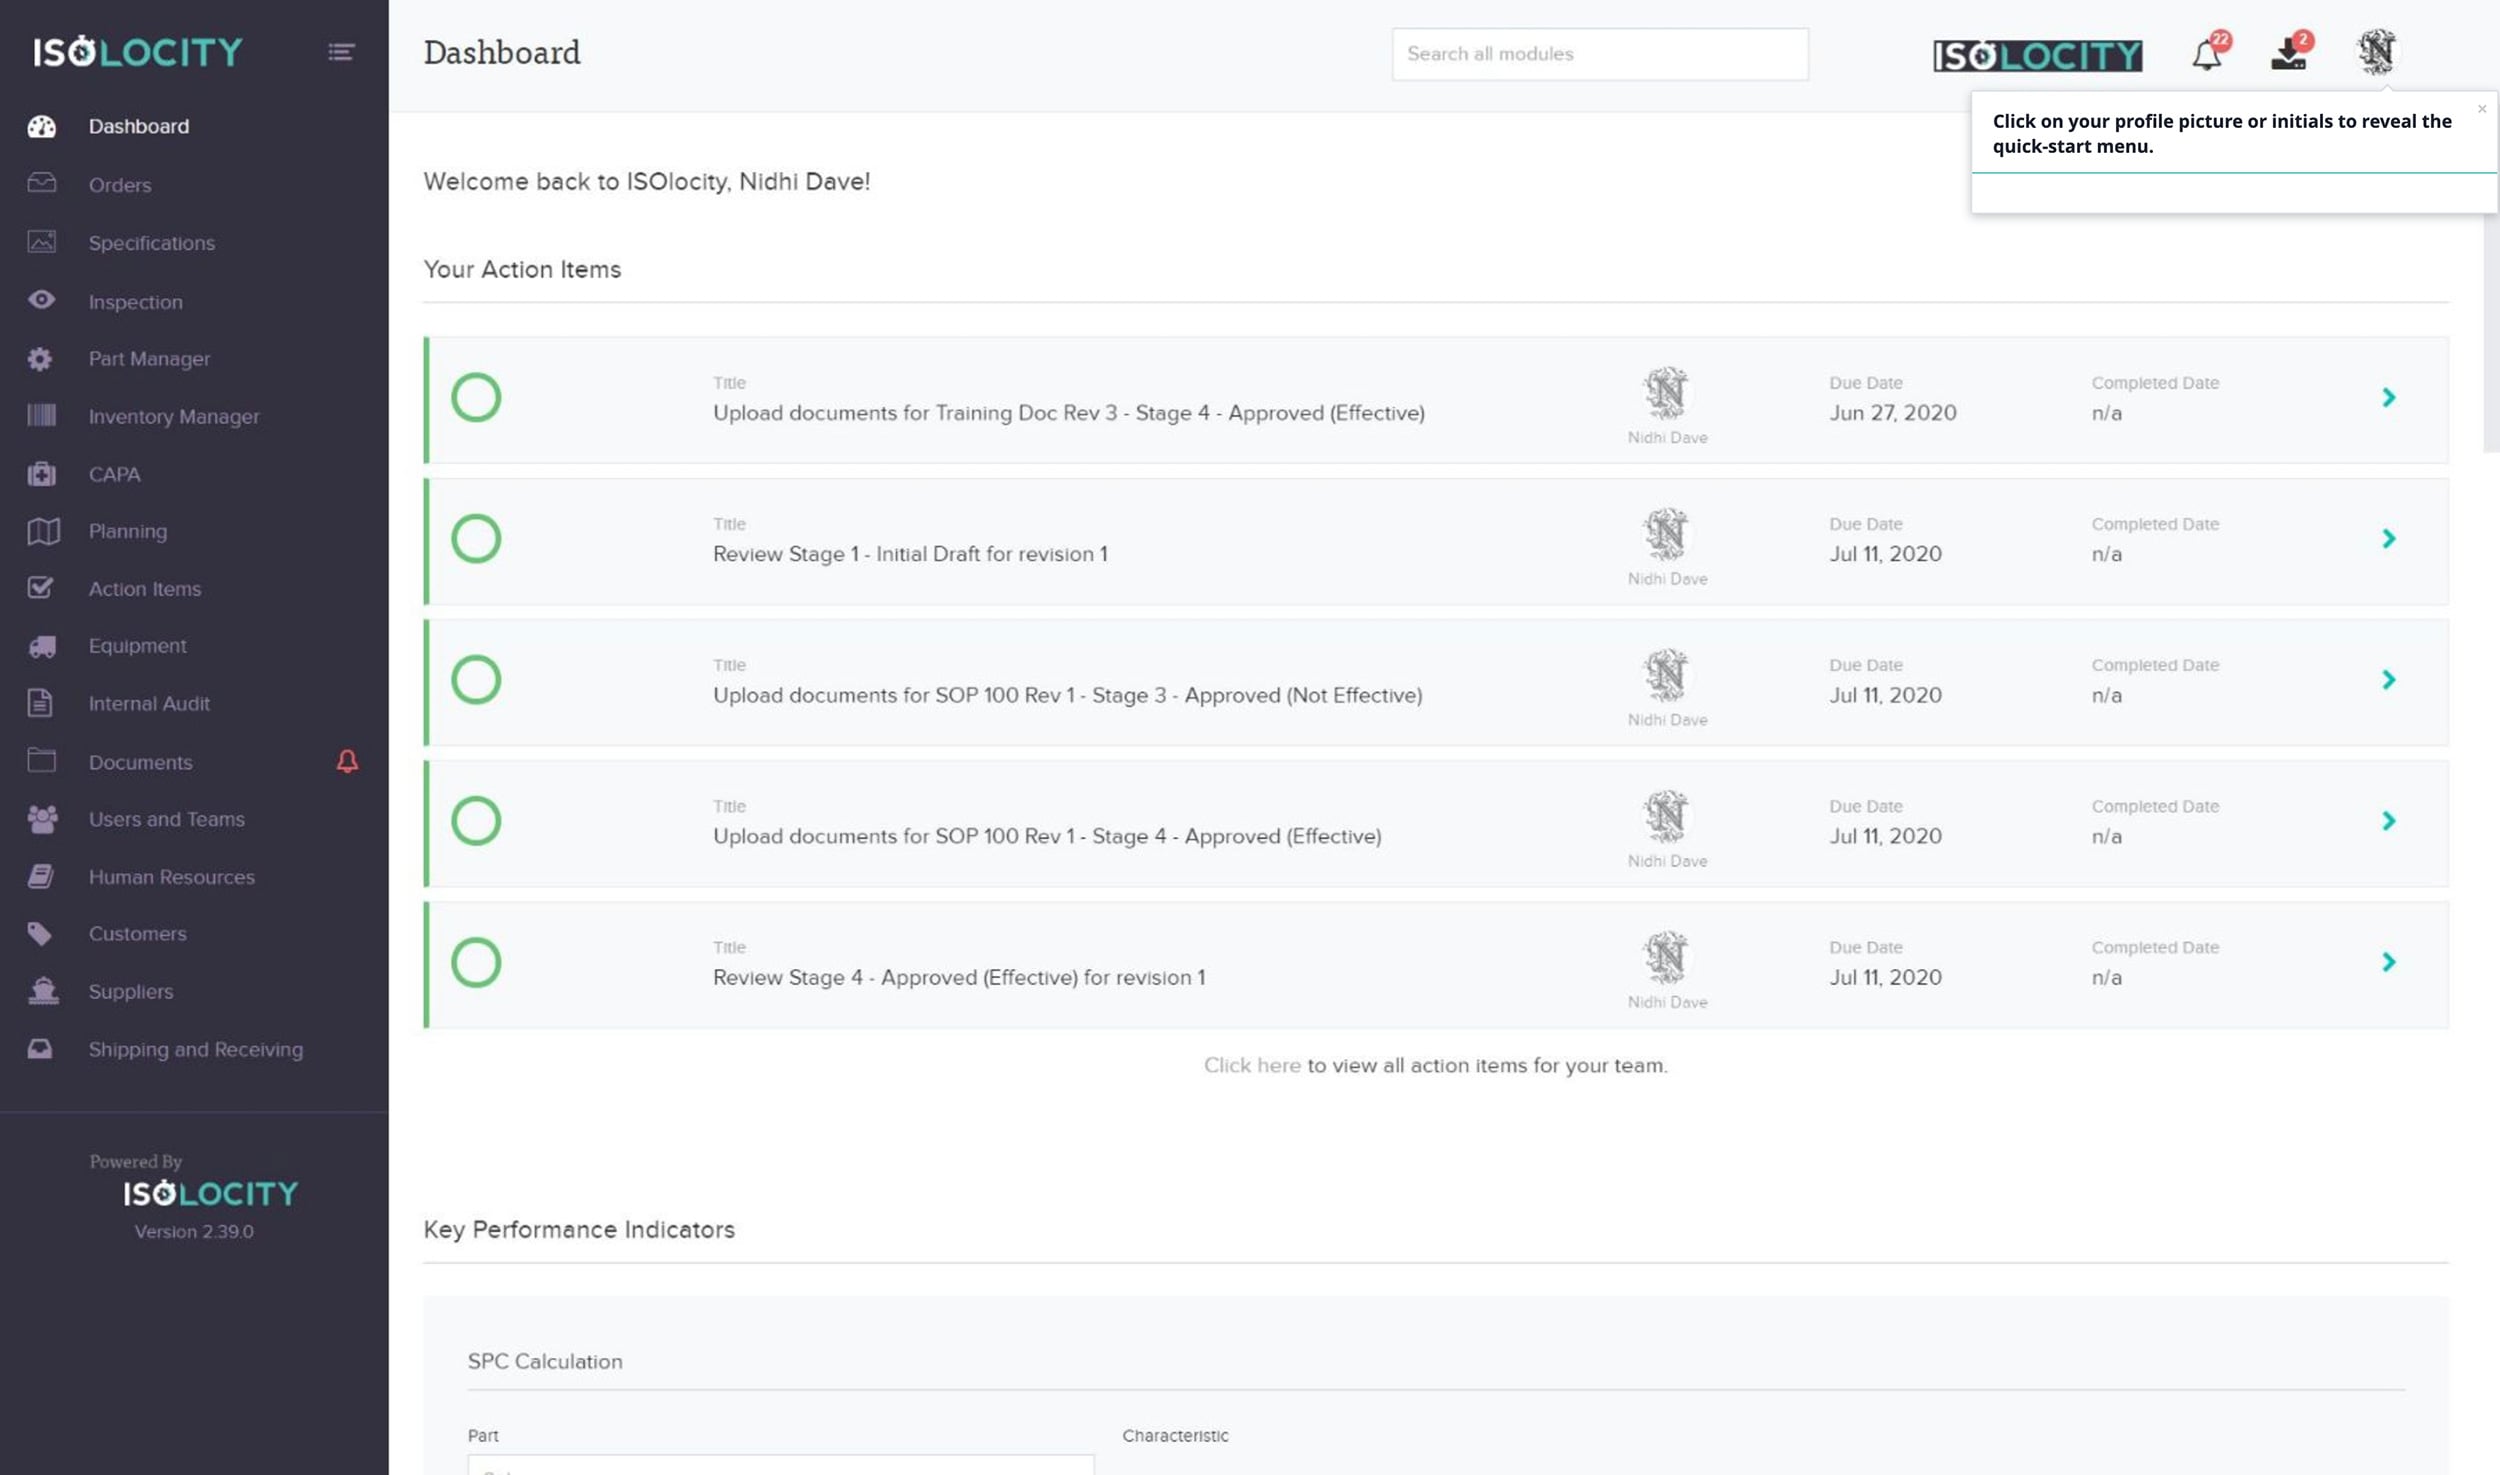
Step #2
Click on your profile picture or initials to reveal the quick-start menu.
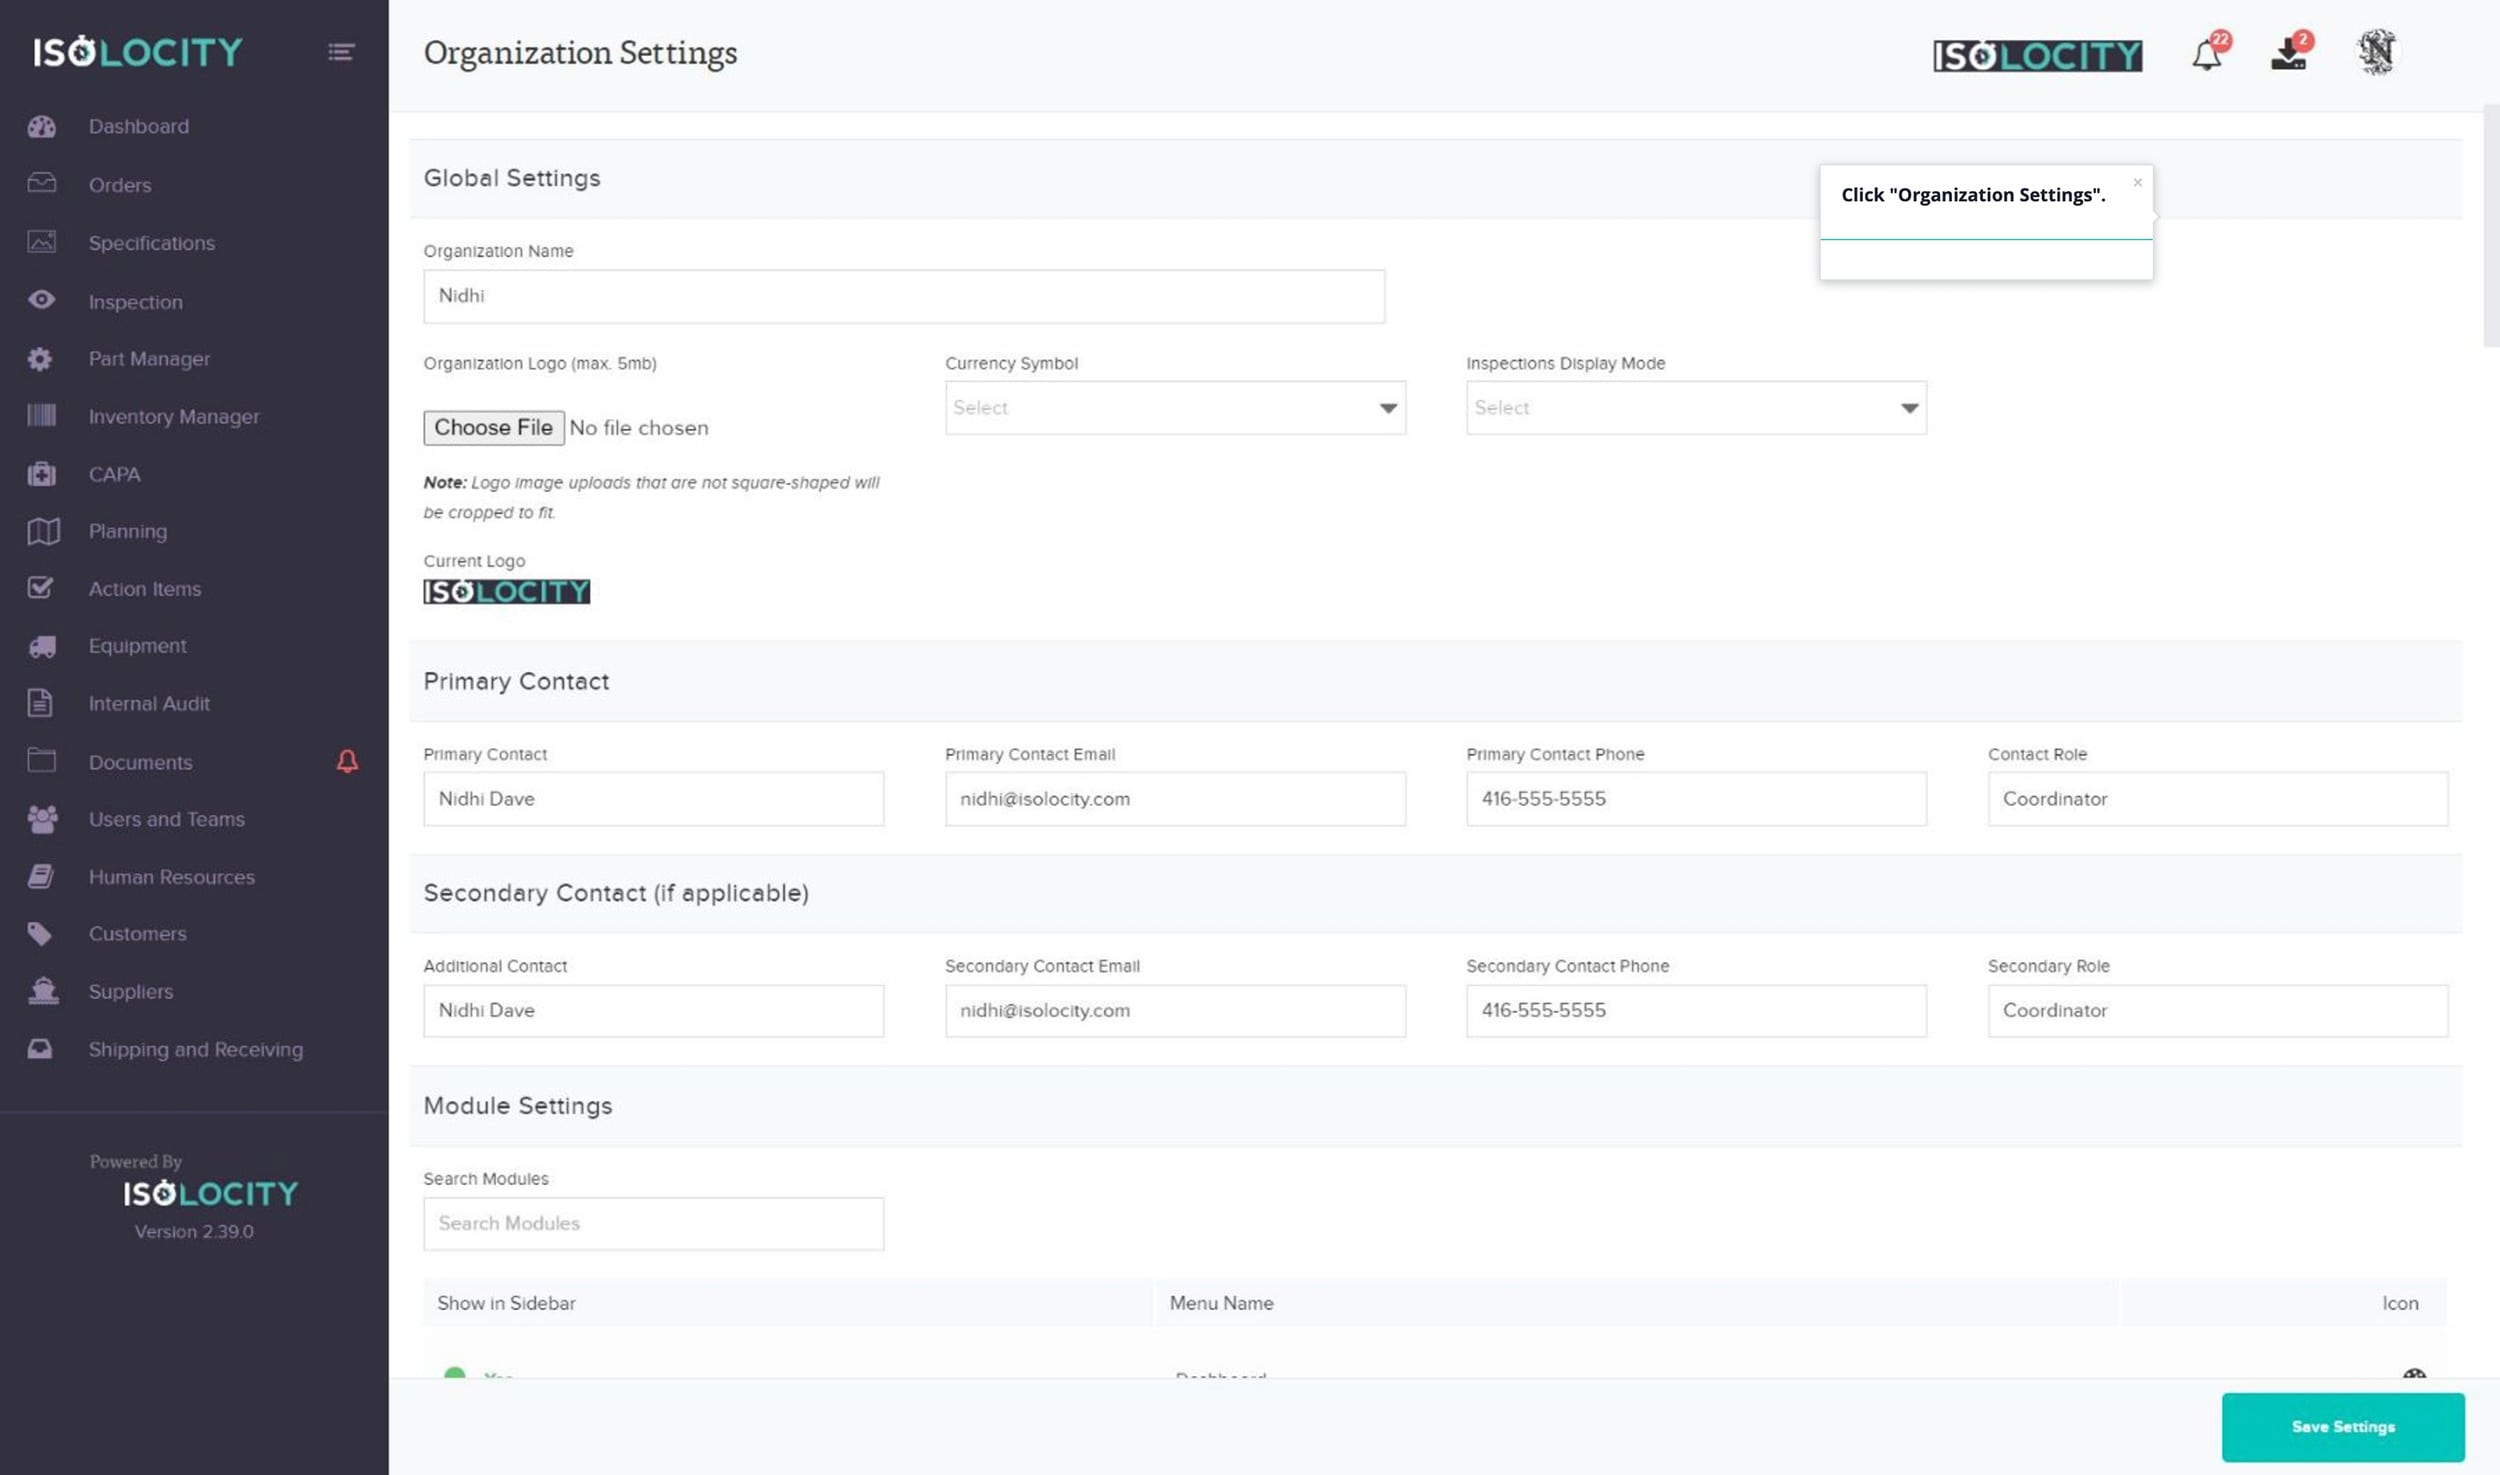
Step #3
Click “Organization Settings”.
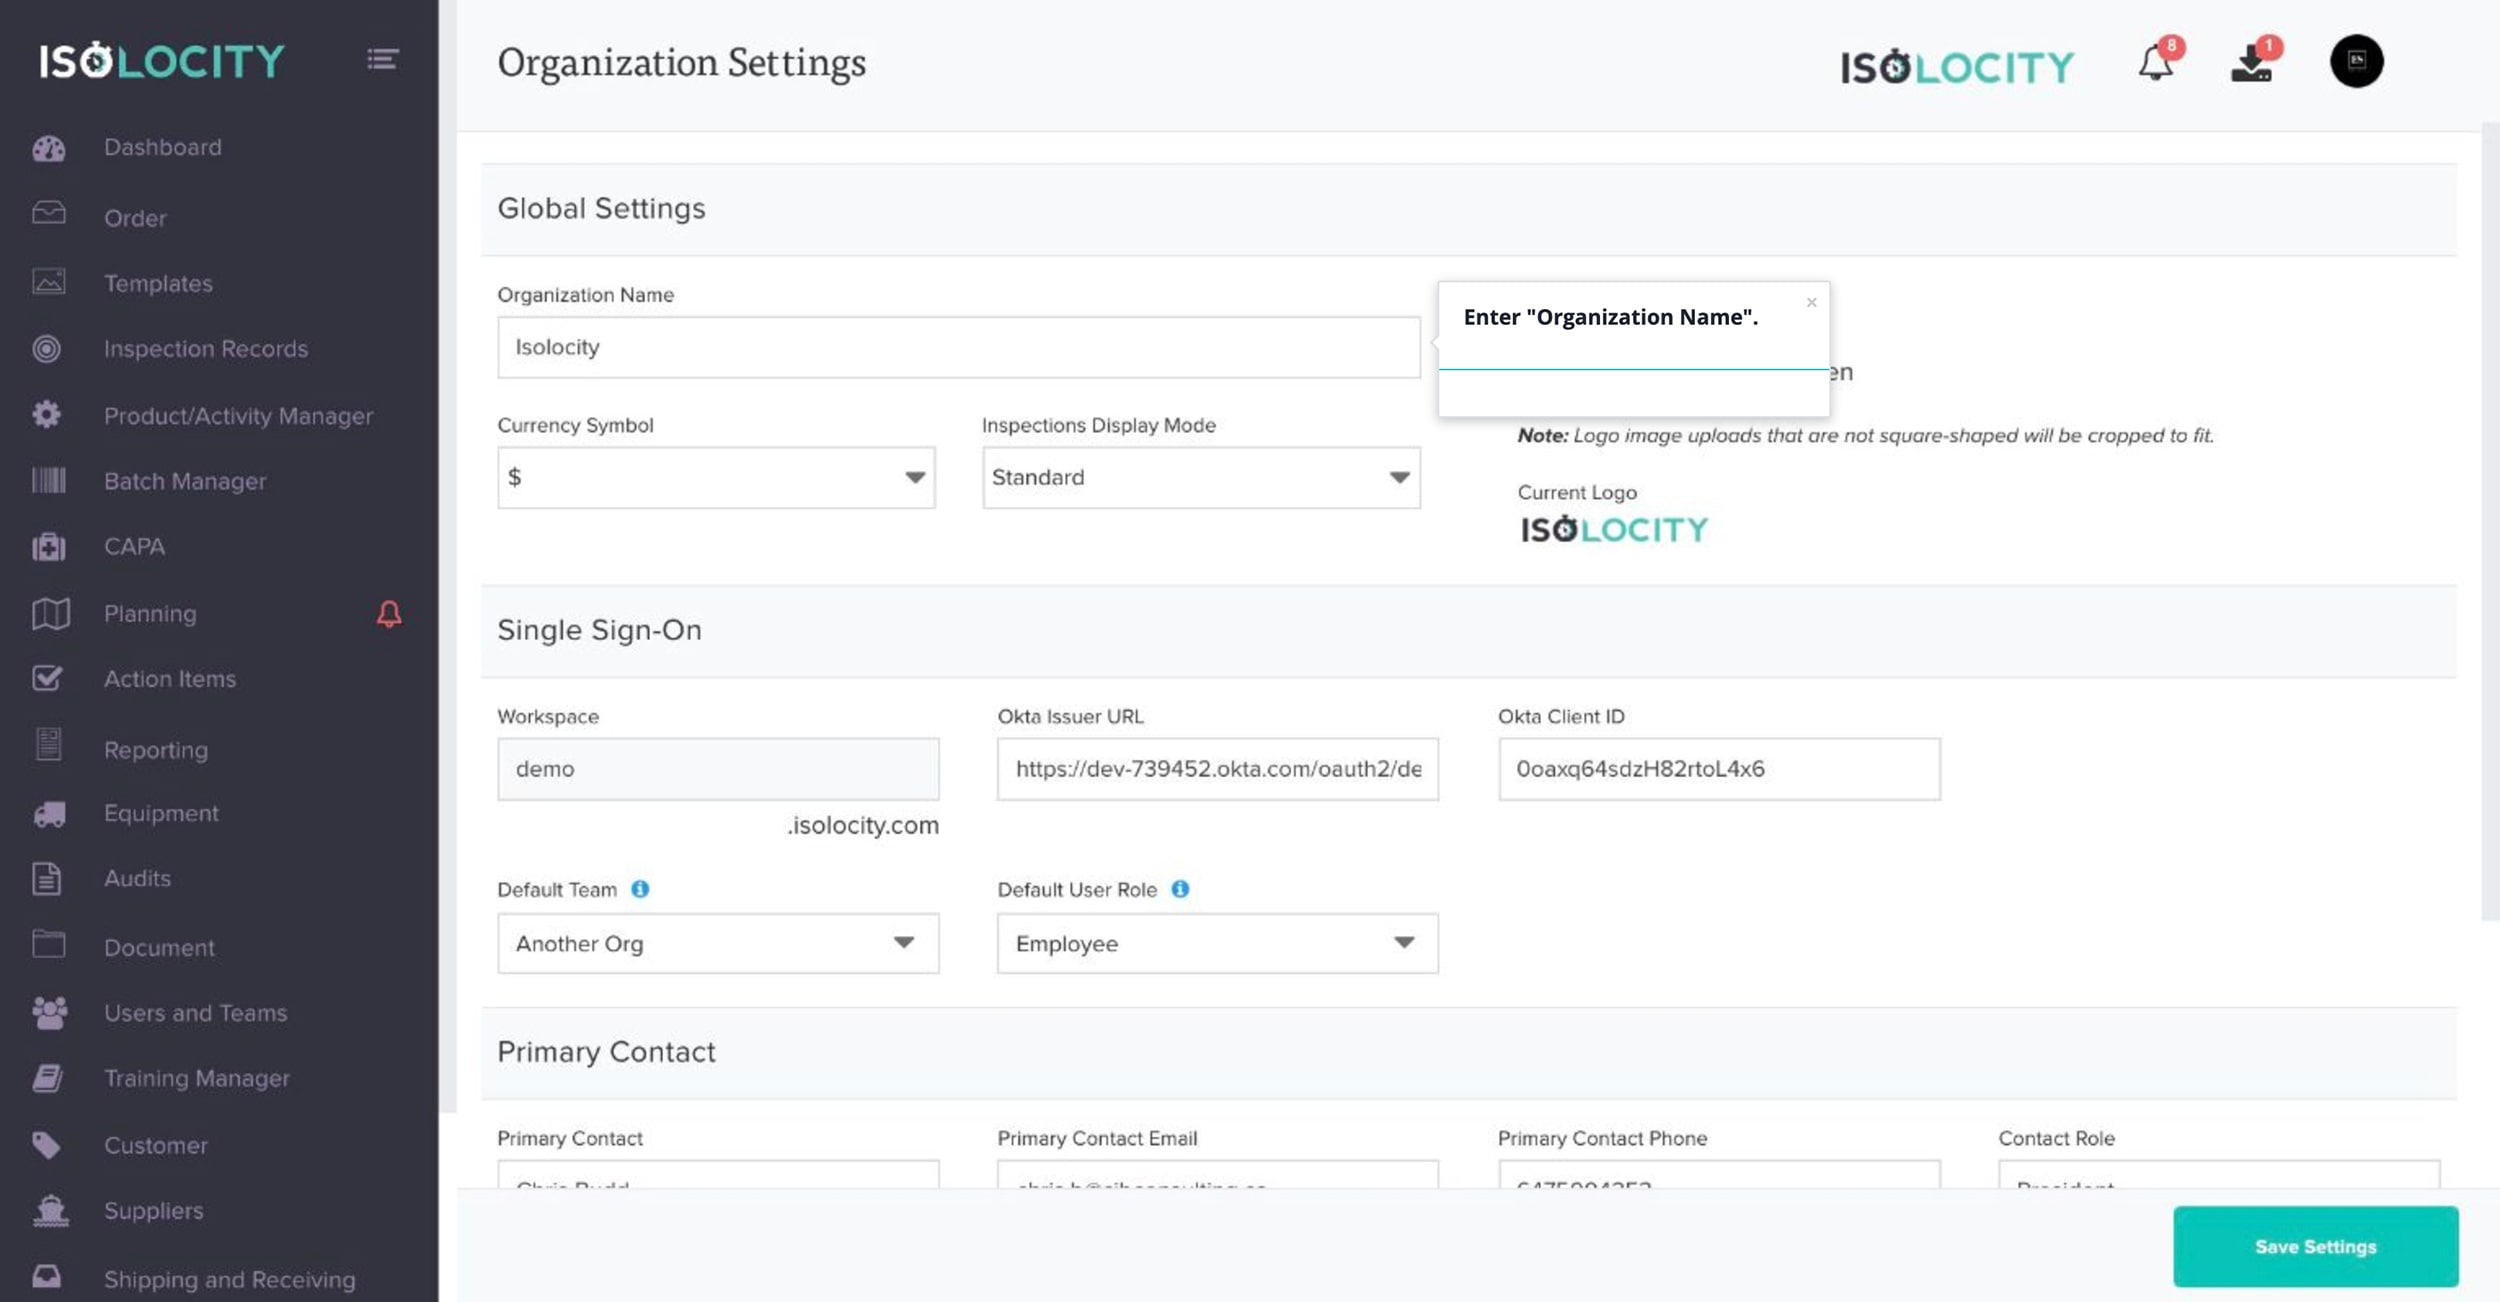
Step #4
Enter “Organization Name”.
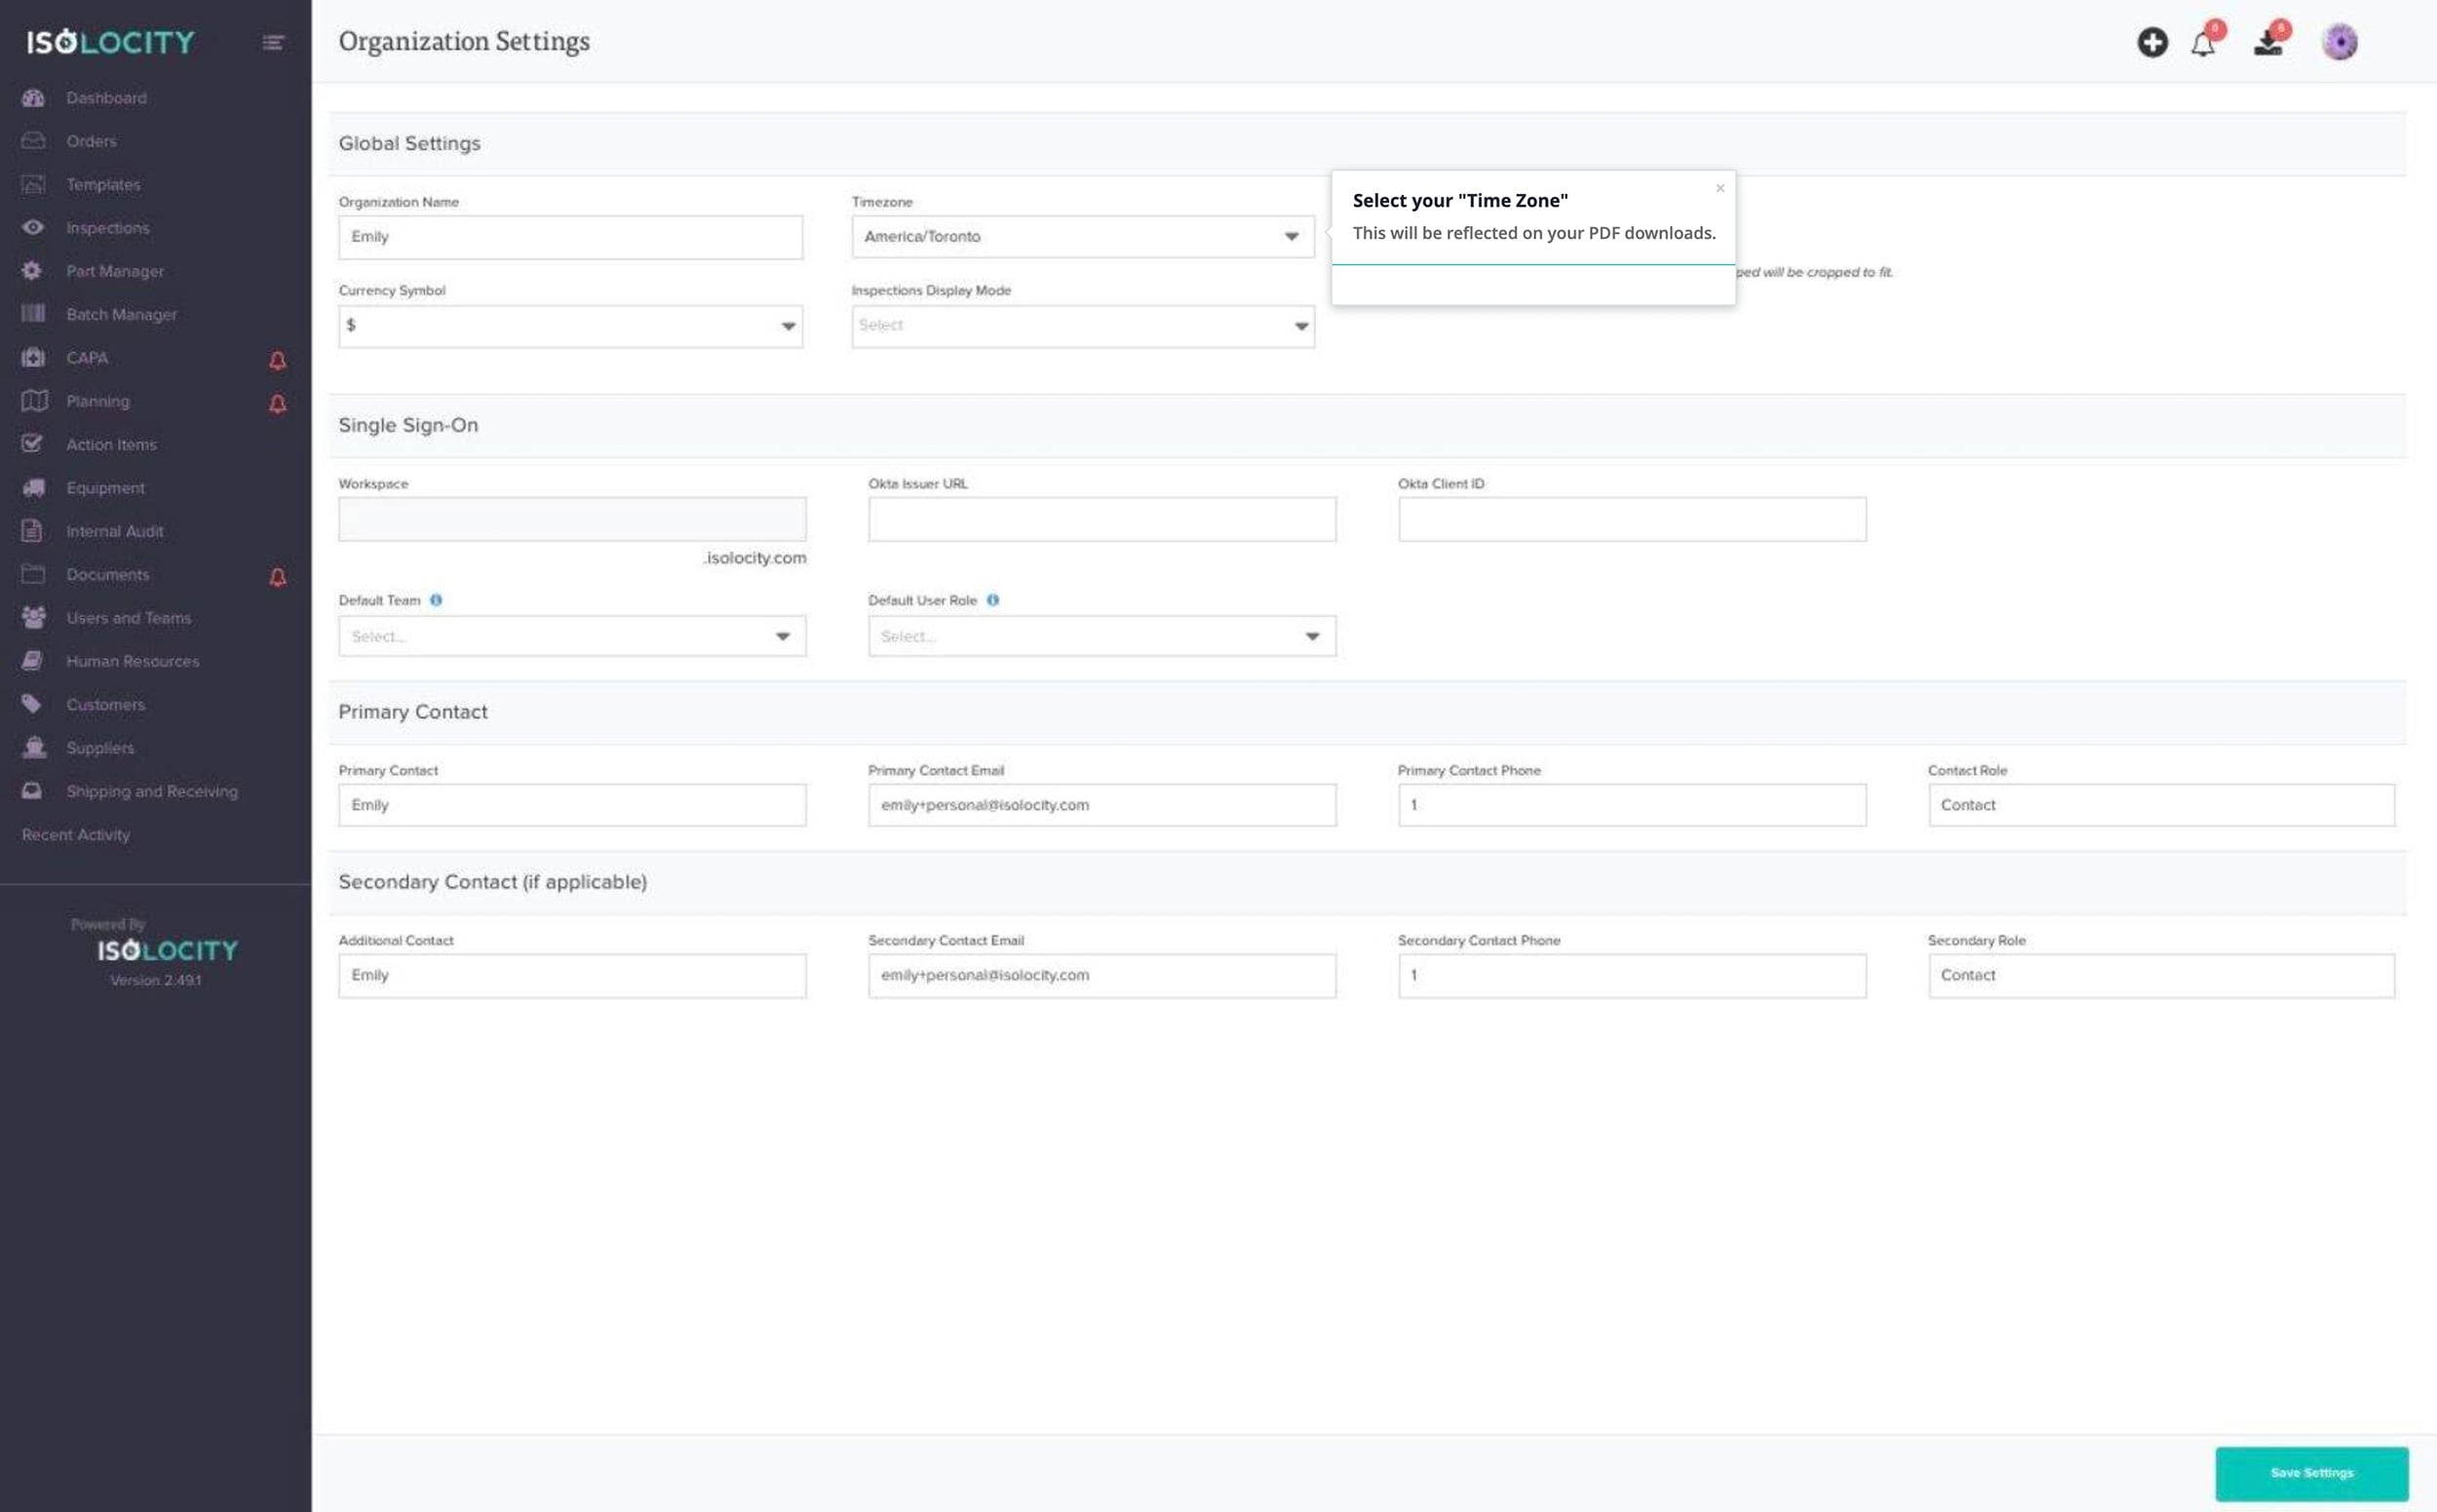
Step #5
Select your “Time Zone”
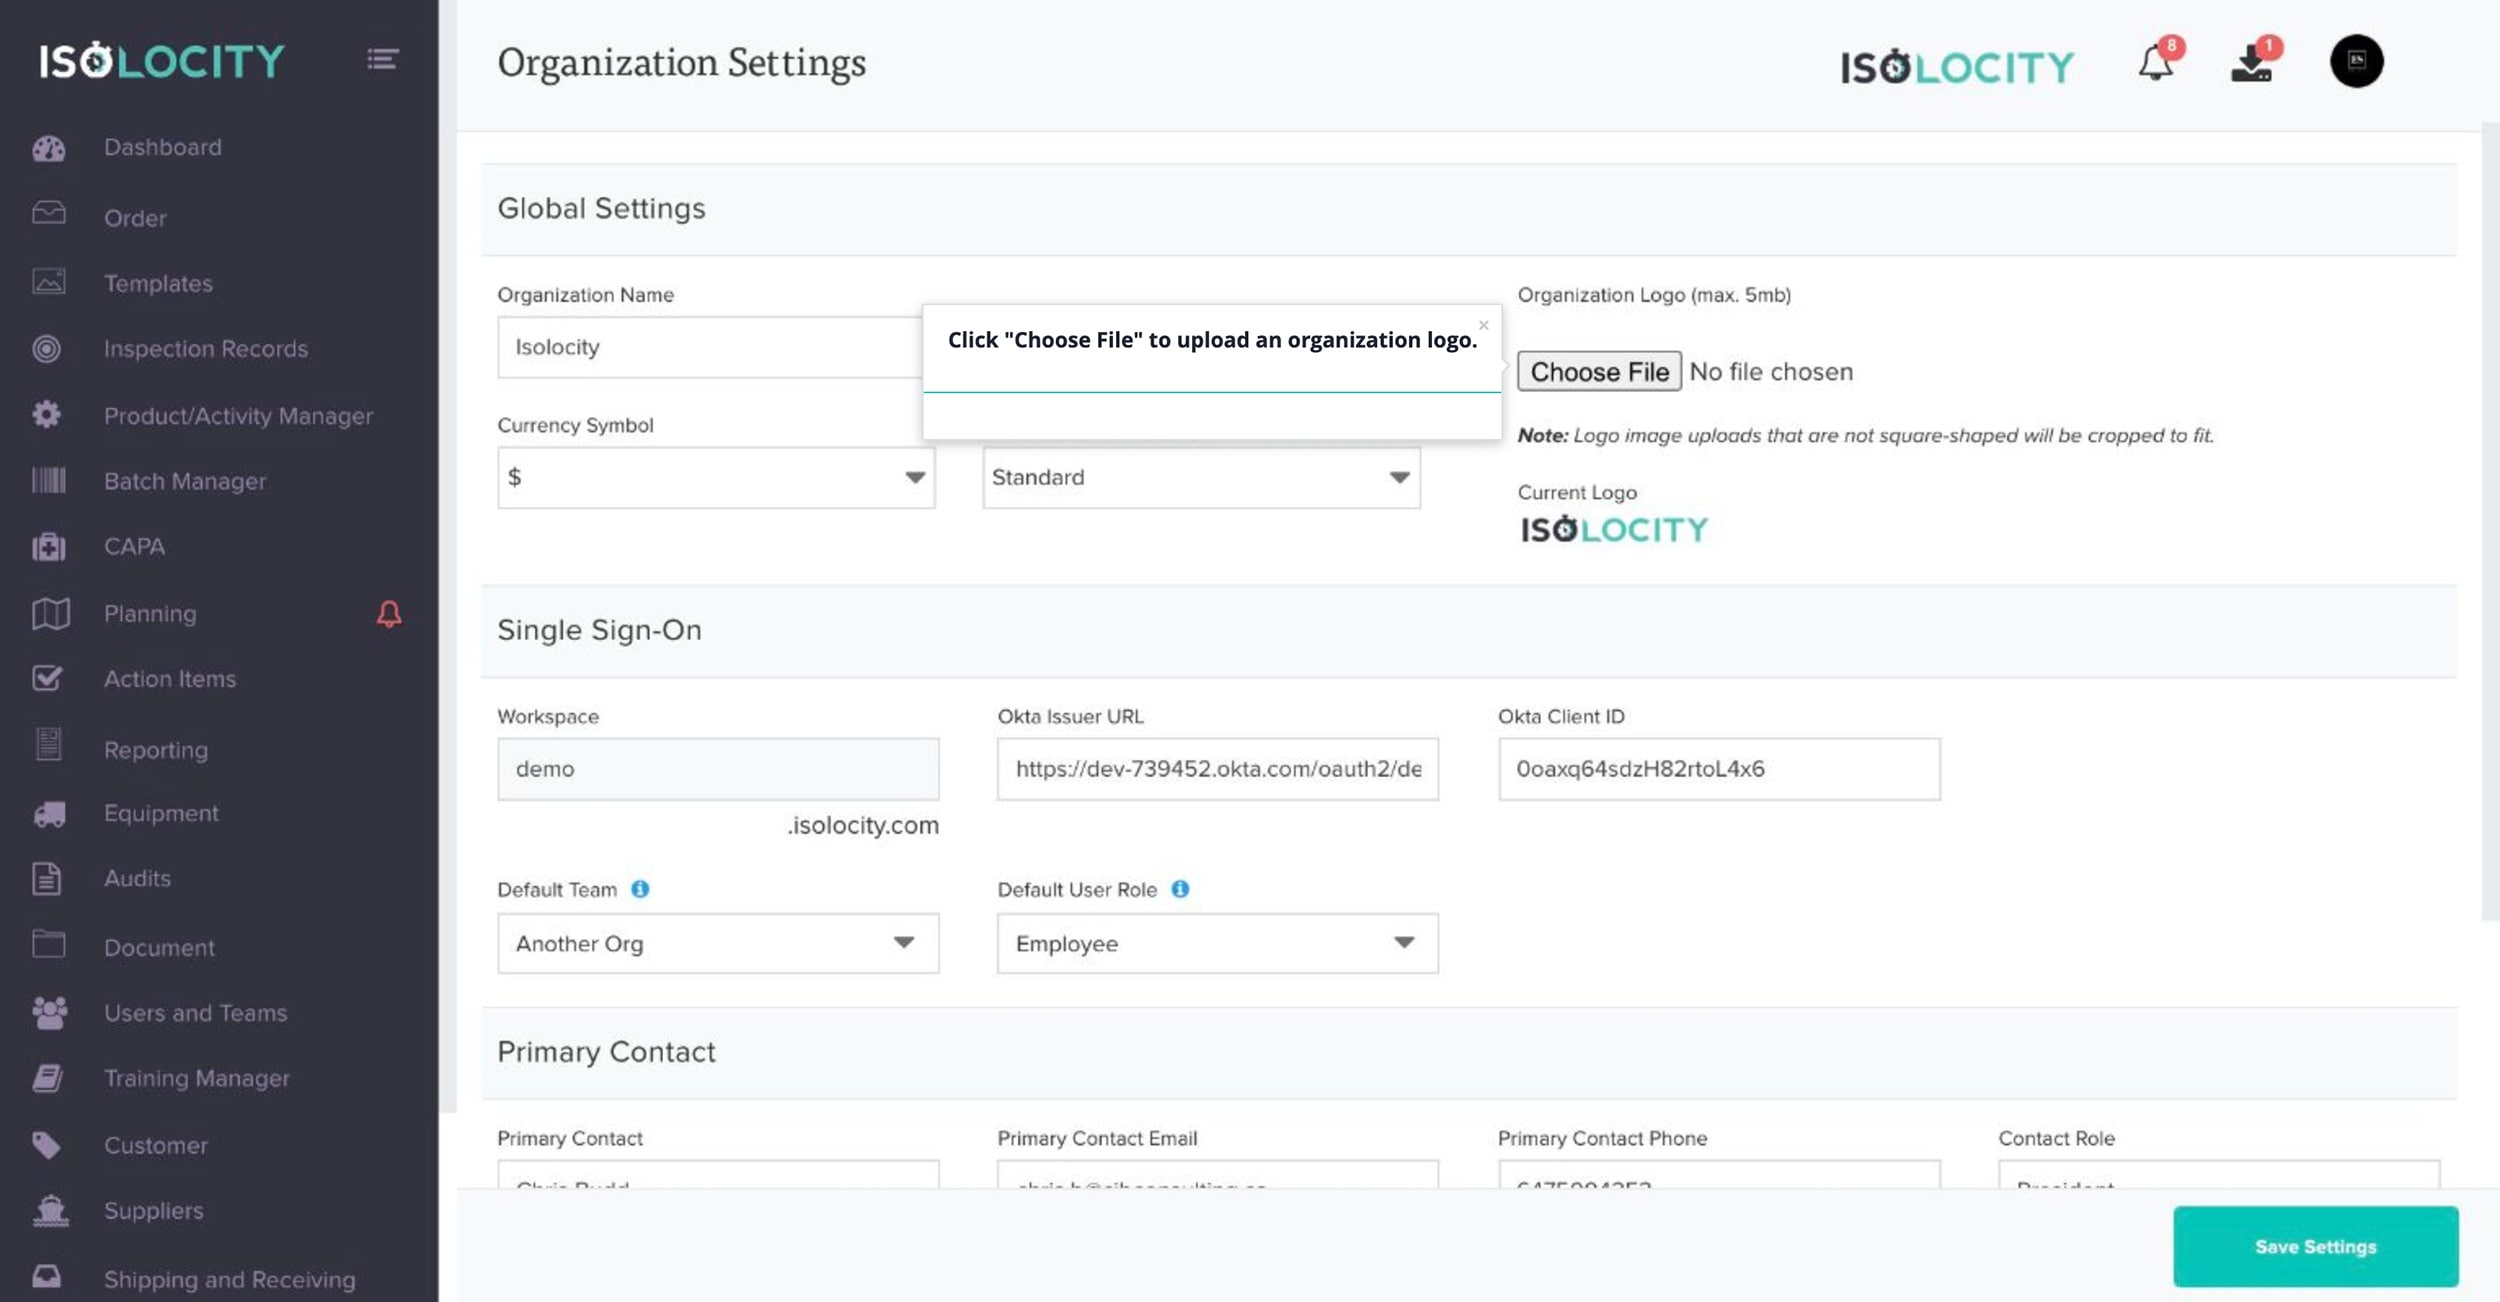
Step #6
Click “Choose File” to upload an organization logo.
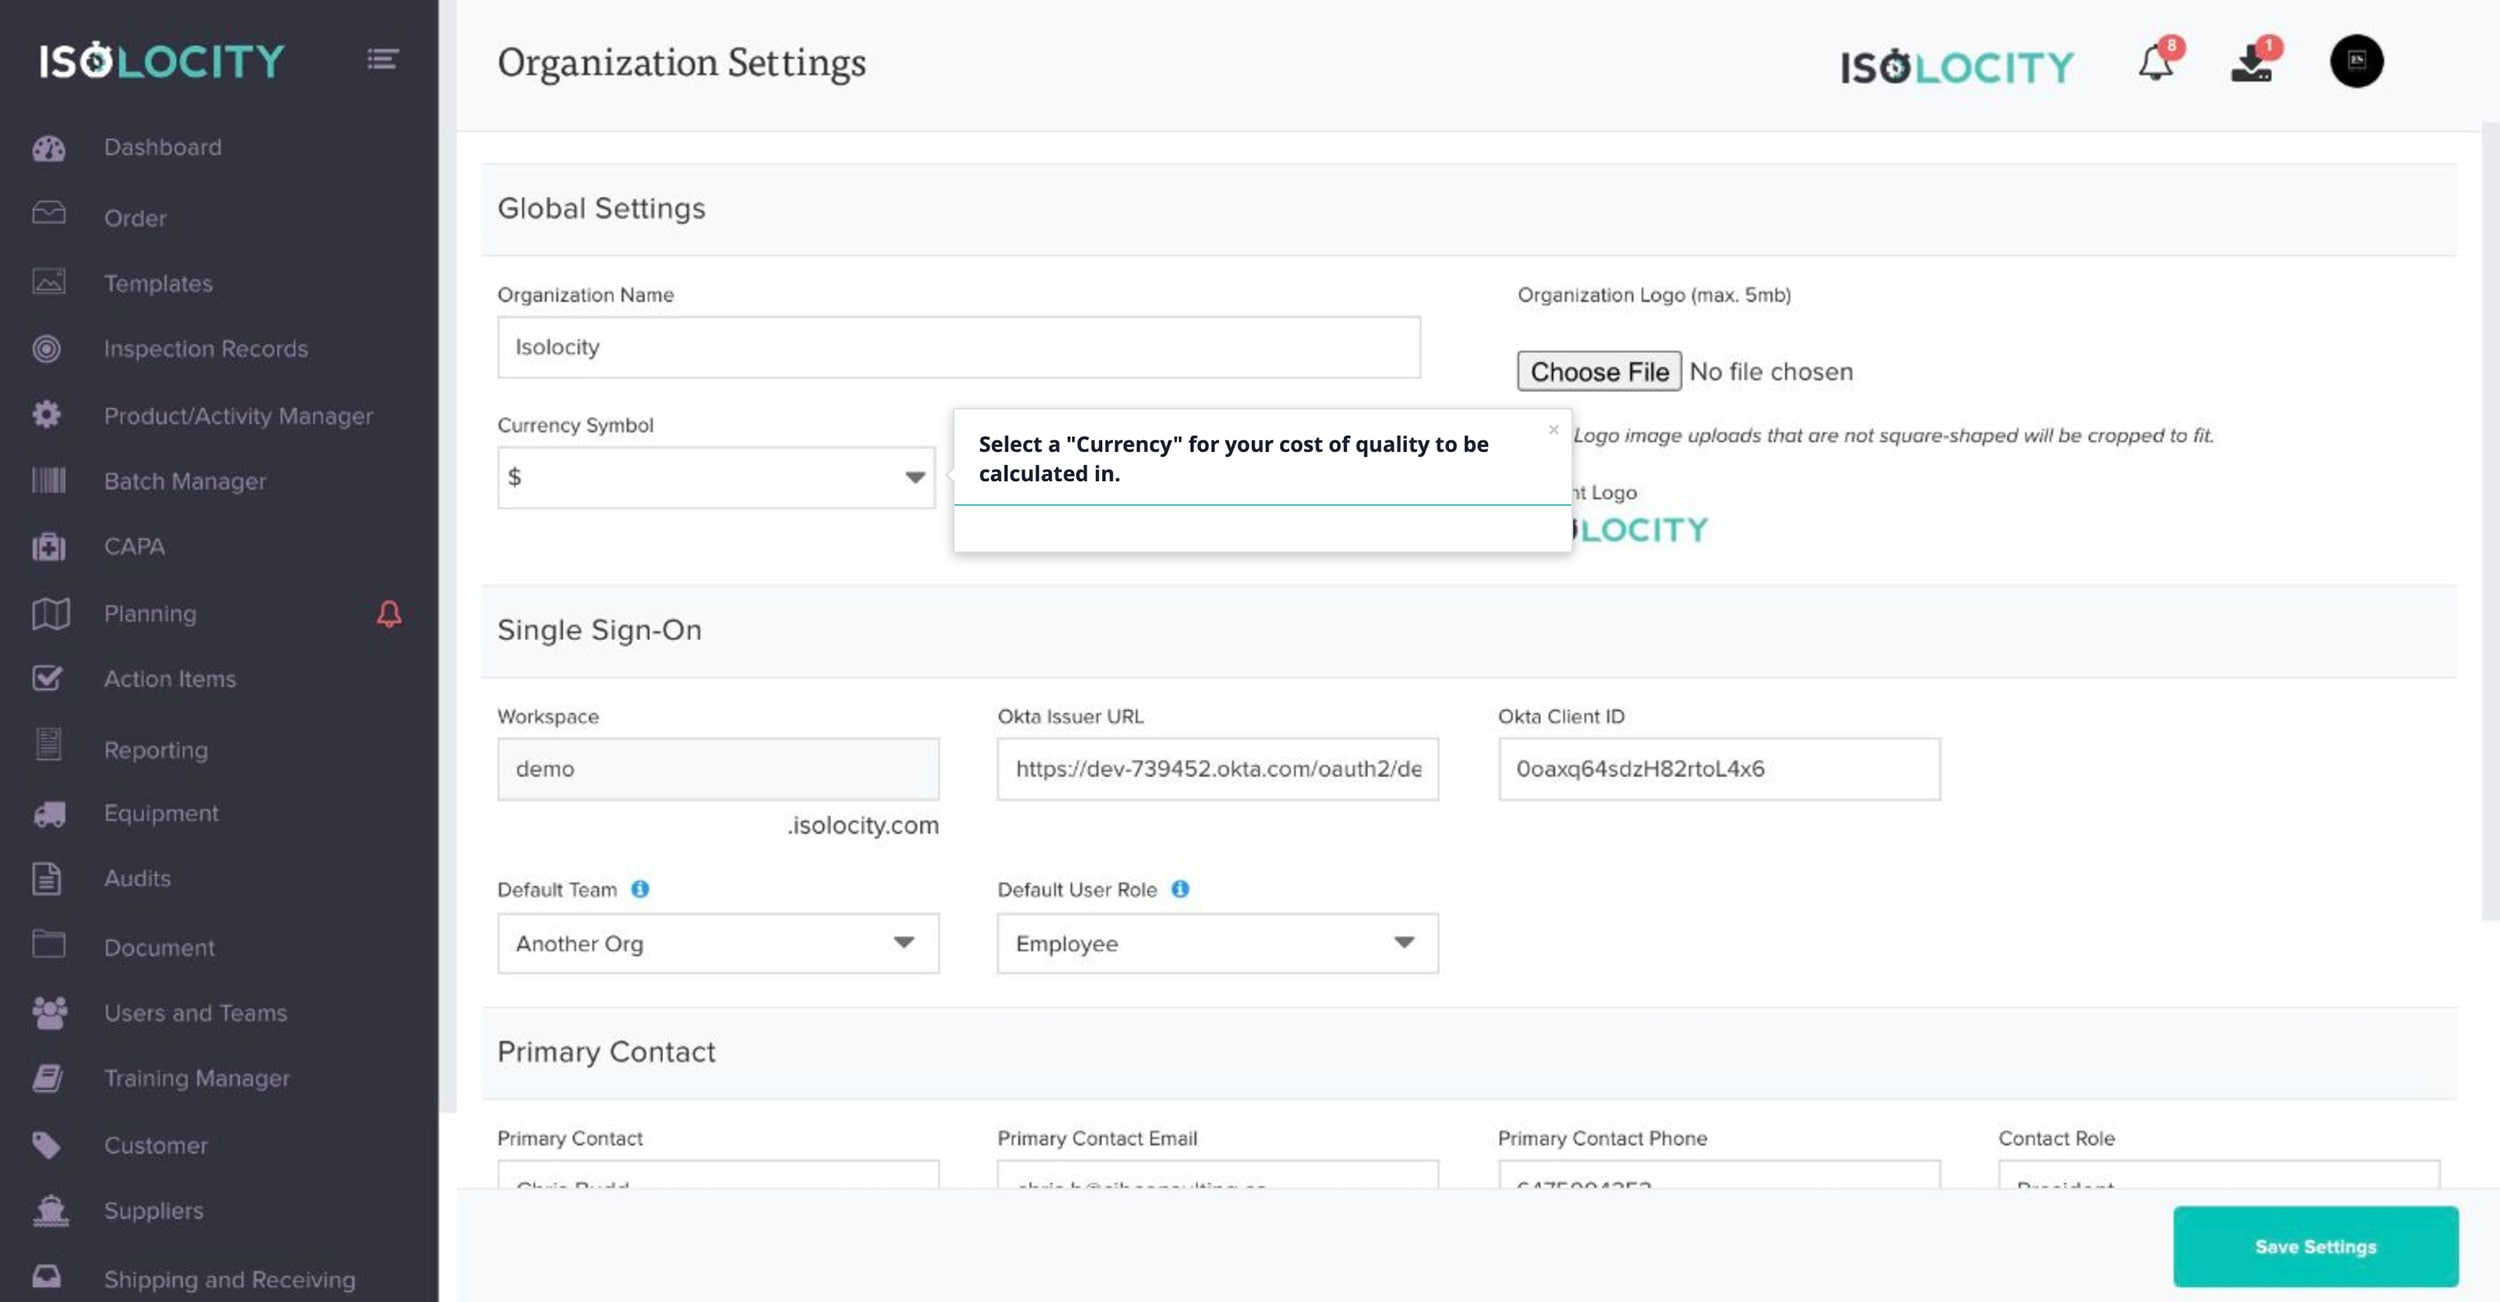
Step #7
Select a “Currency” for your cost of quality to be calculated in.
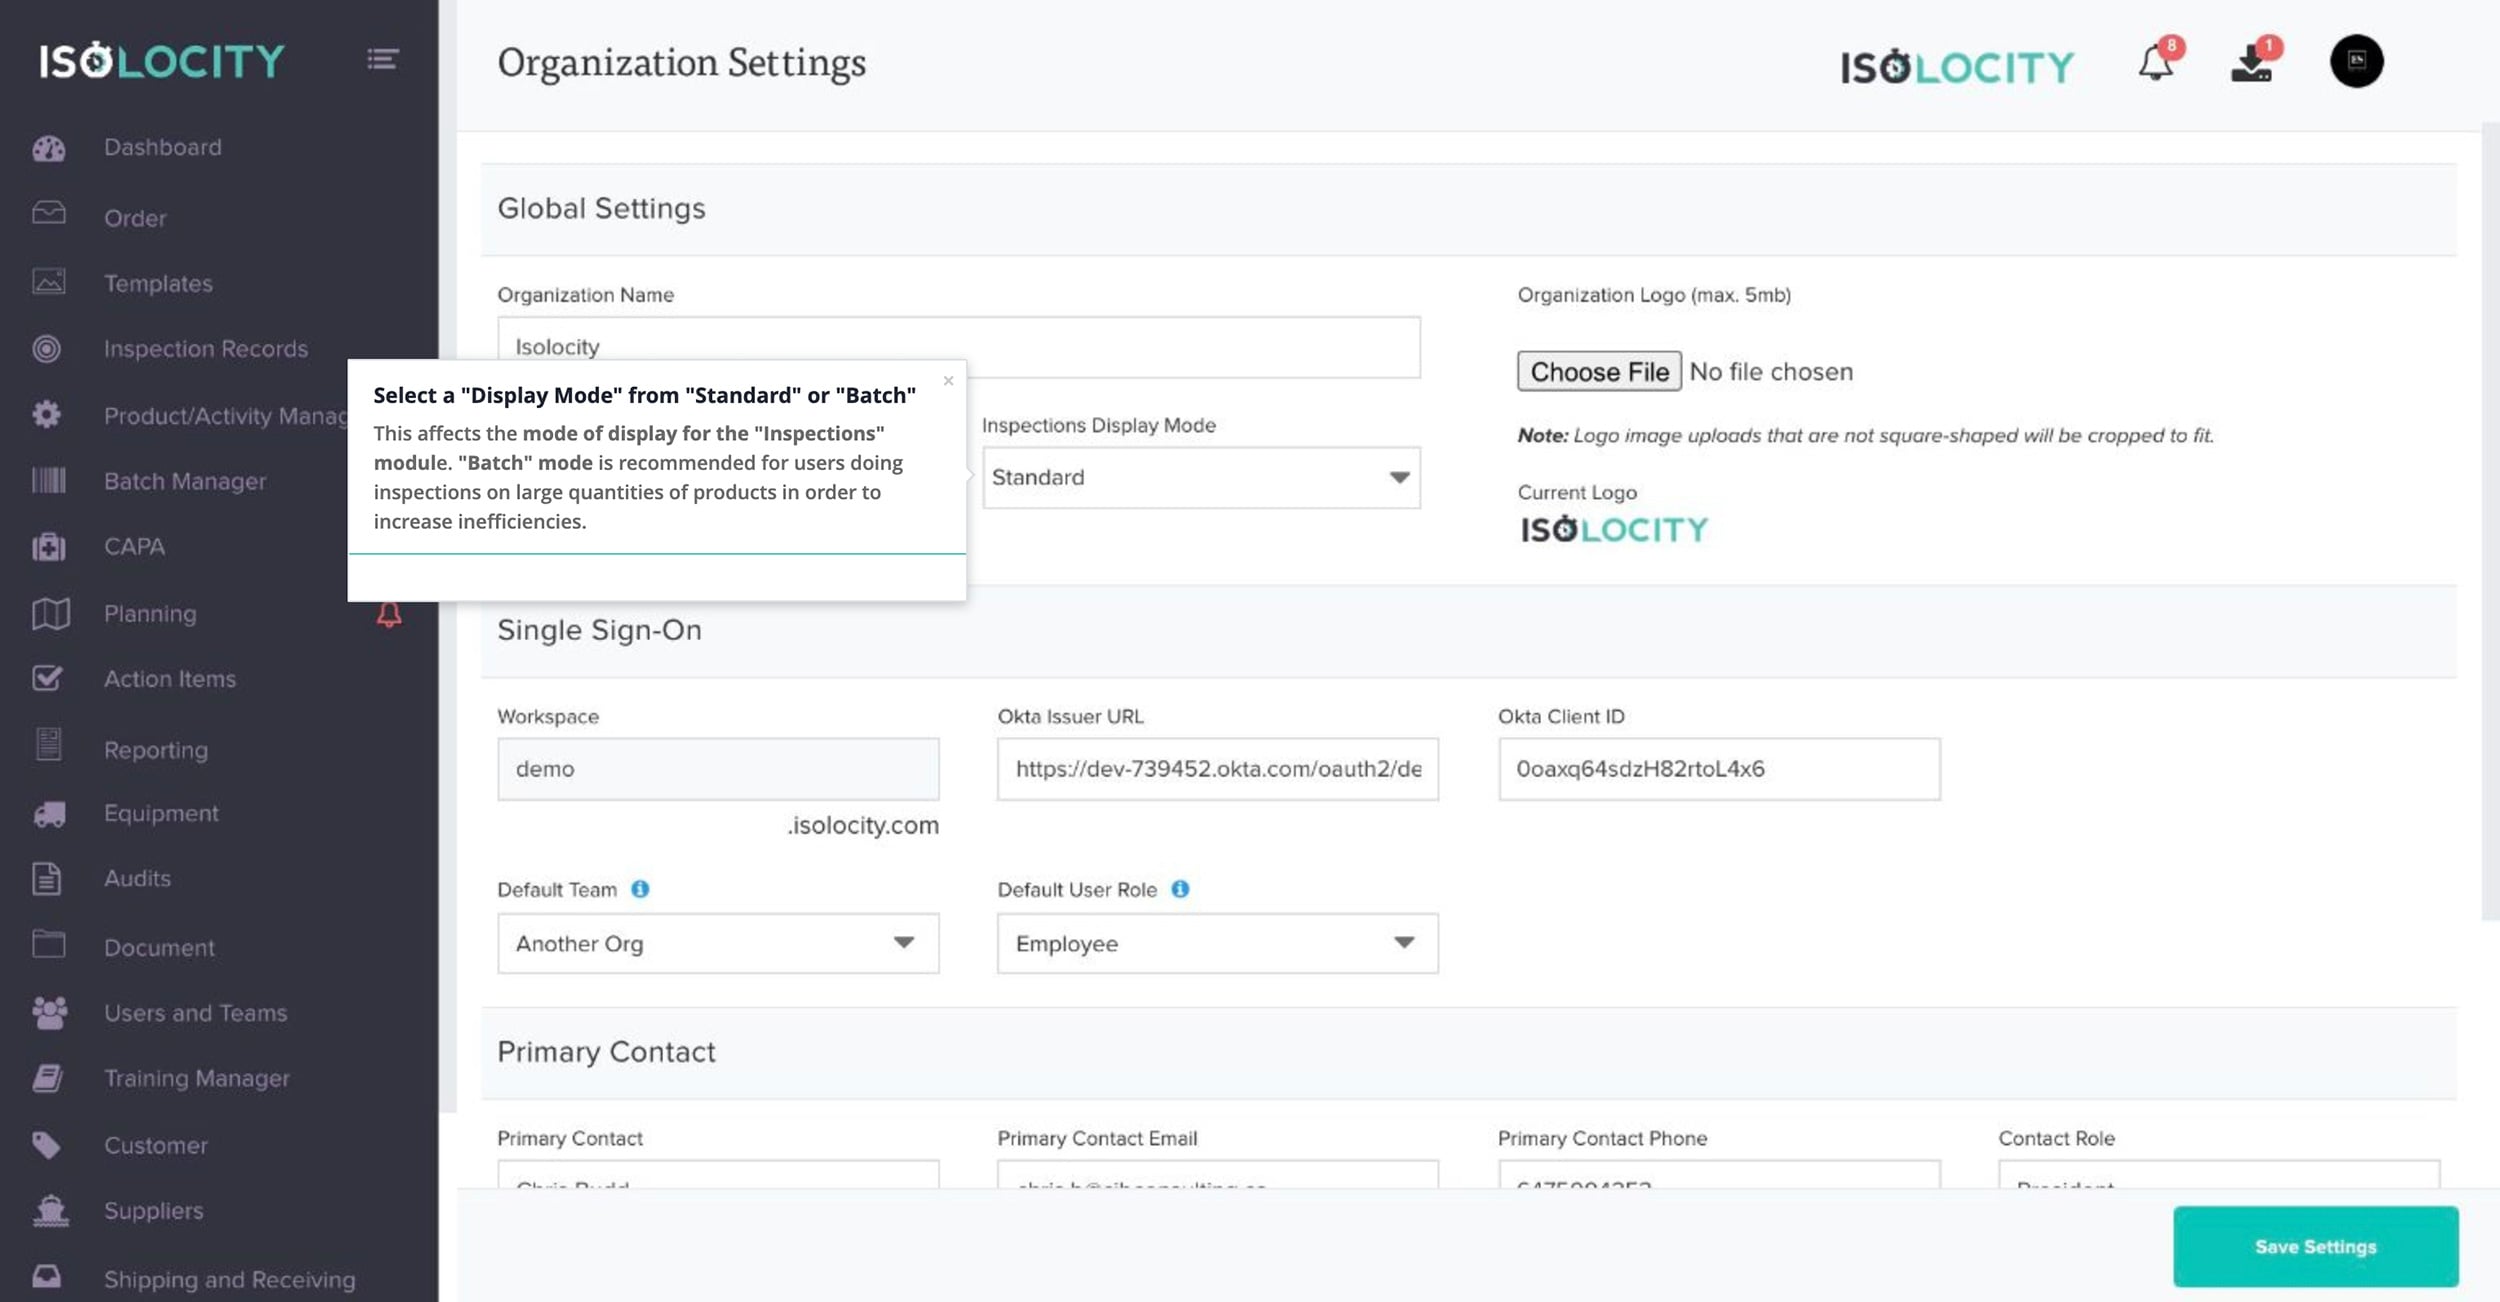
Step #7
Select a “Display Mode” from “Standard” or “Batch”
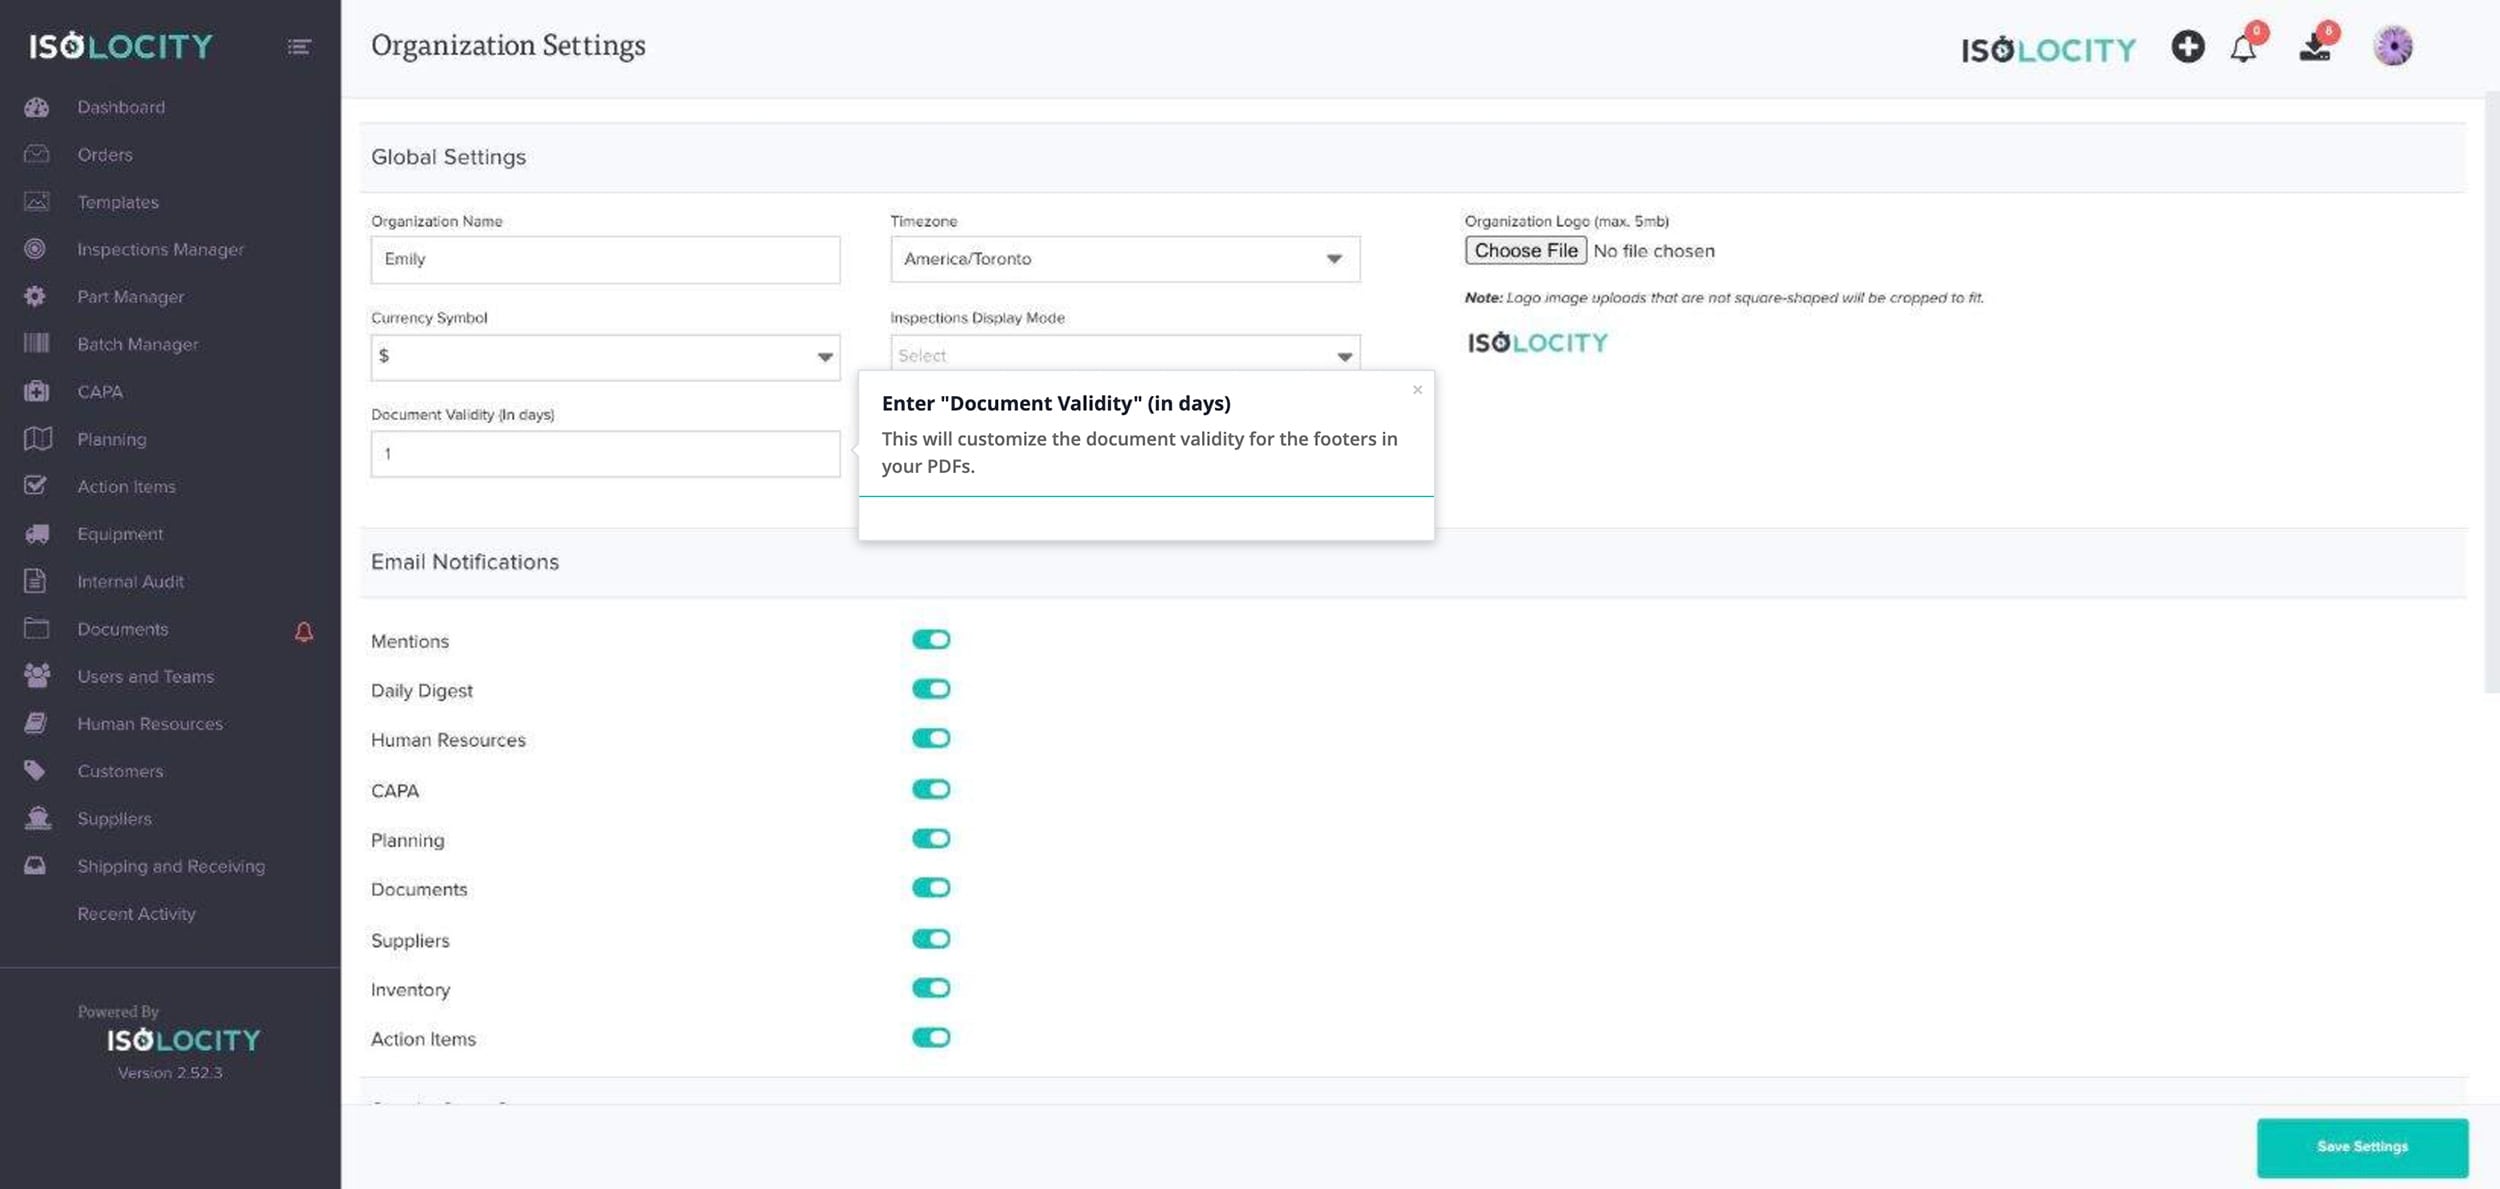
Step #9
Enter “Document Validity” (in days)
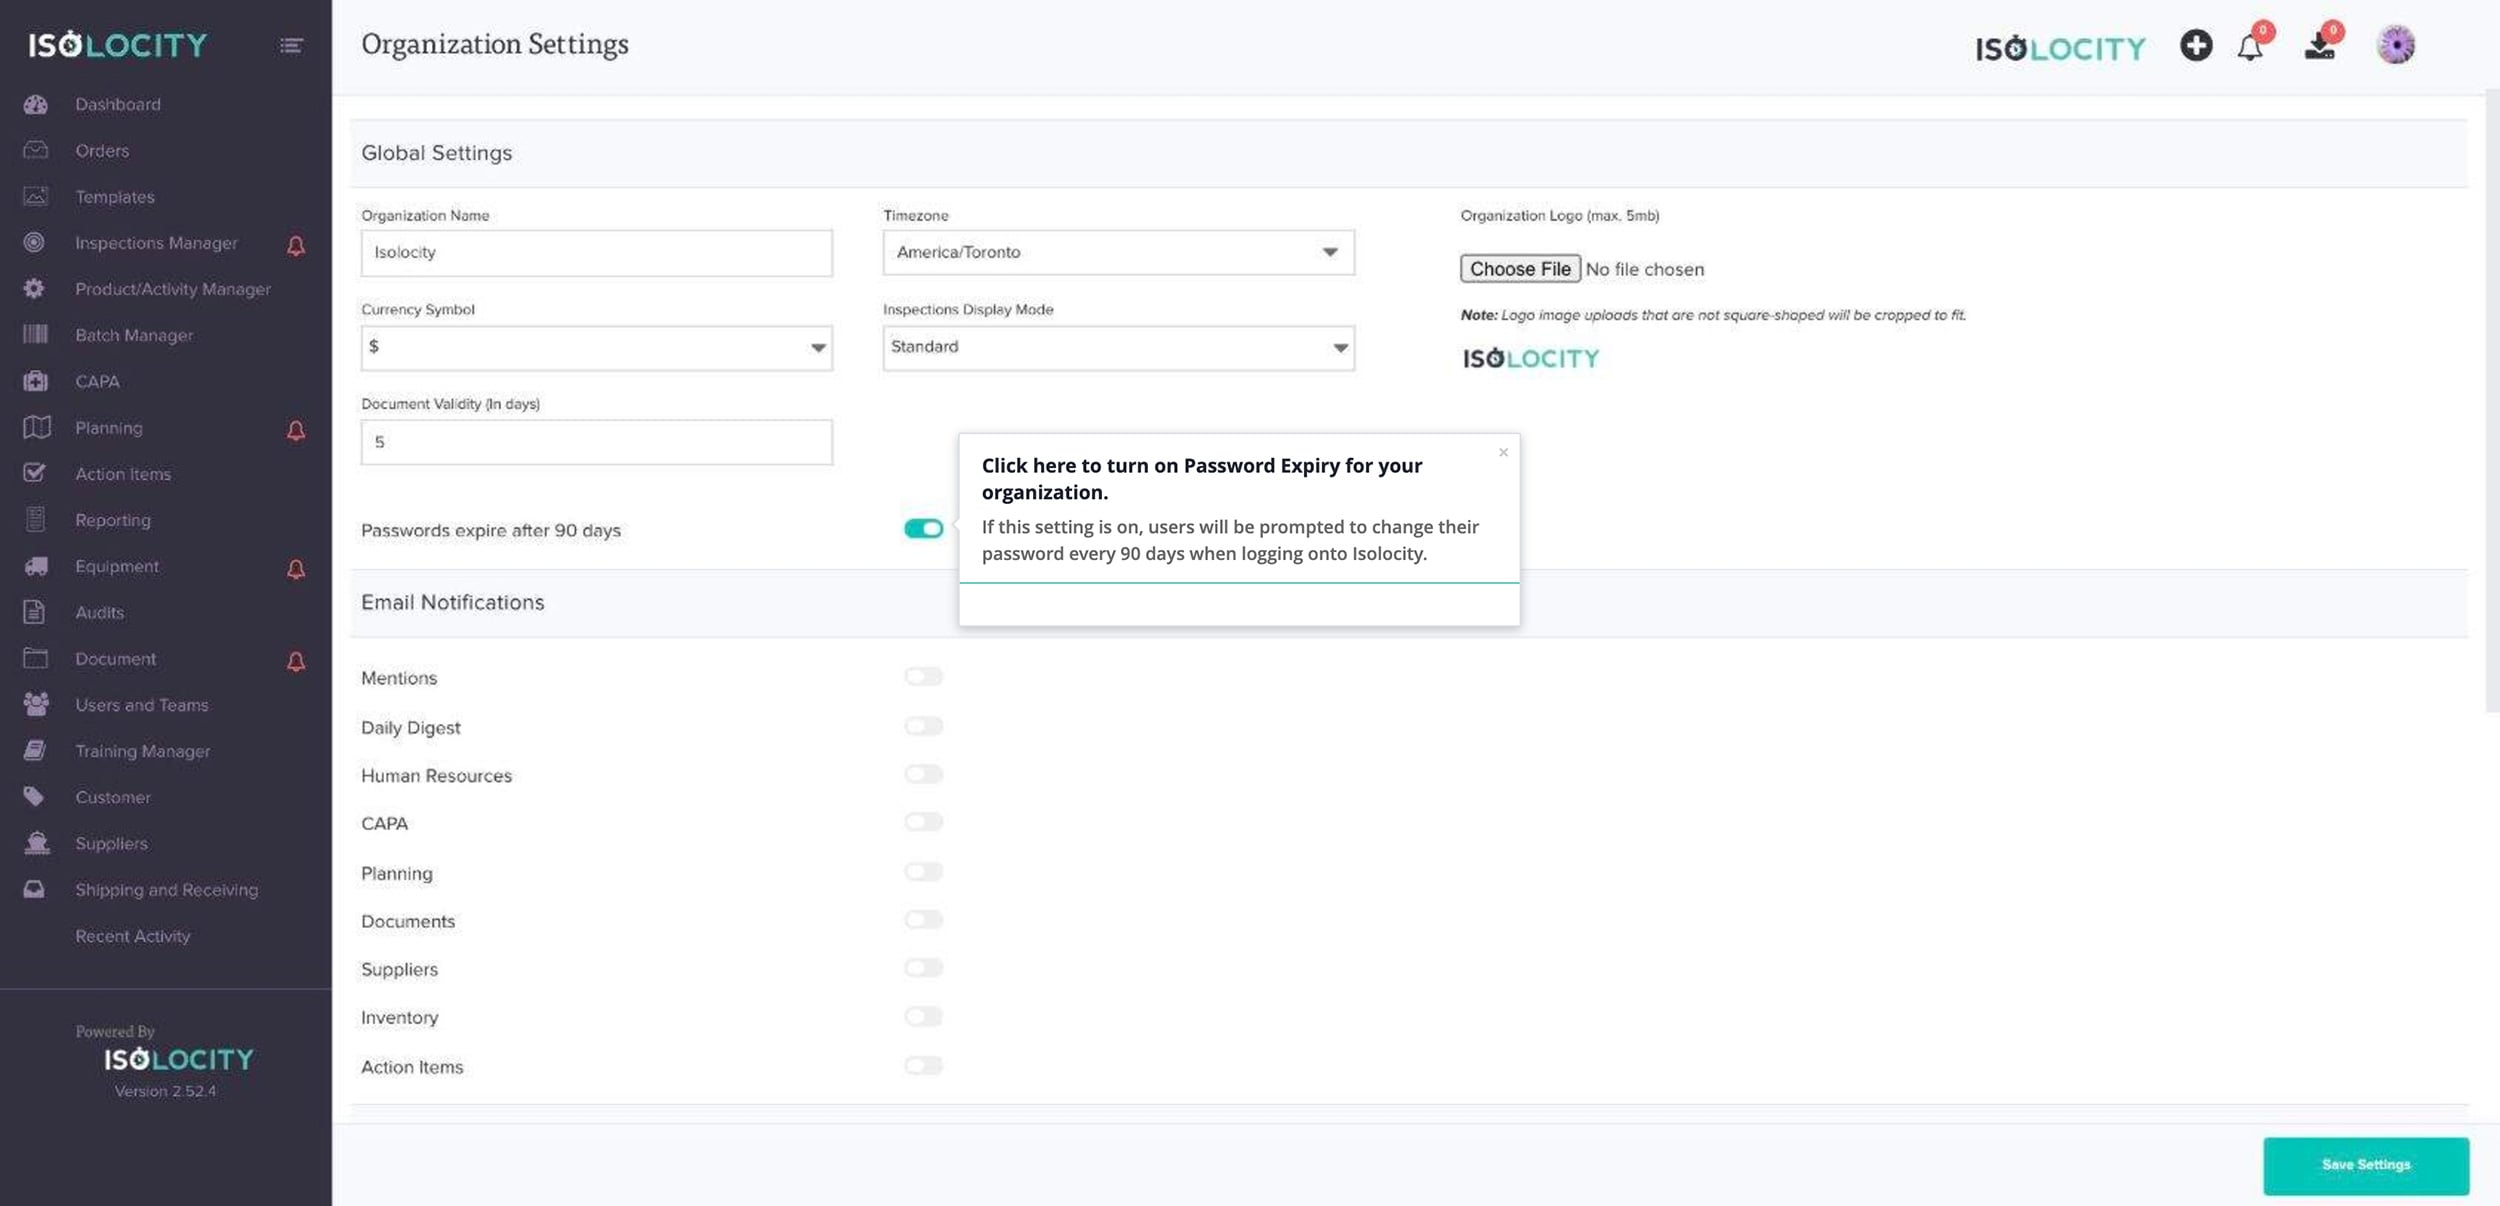
Step #10
Click here to turn on Password Expiry for your organization.
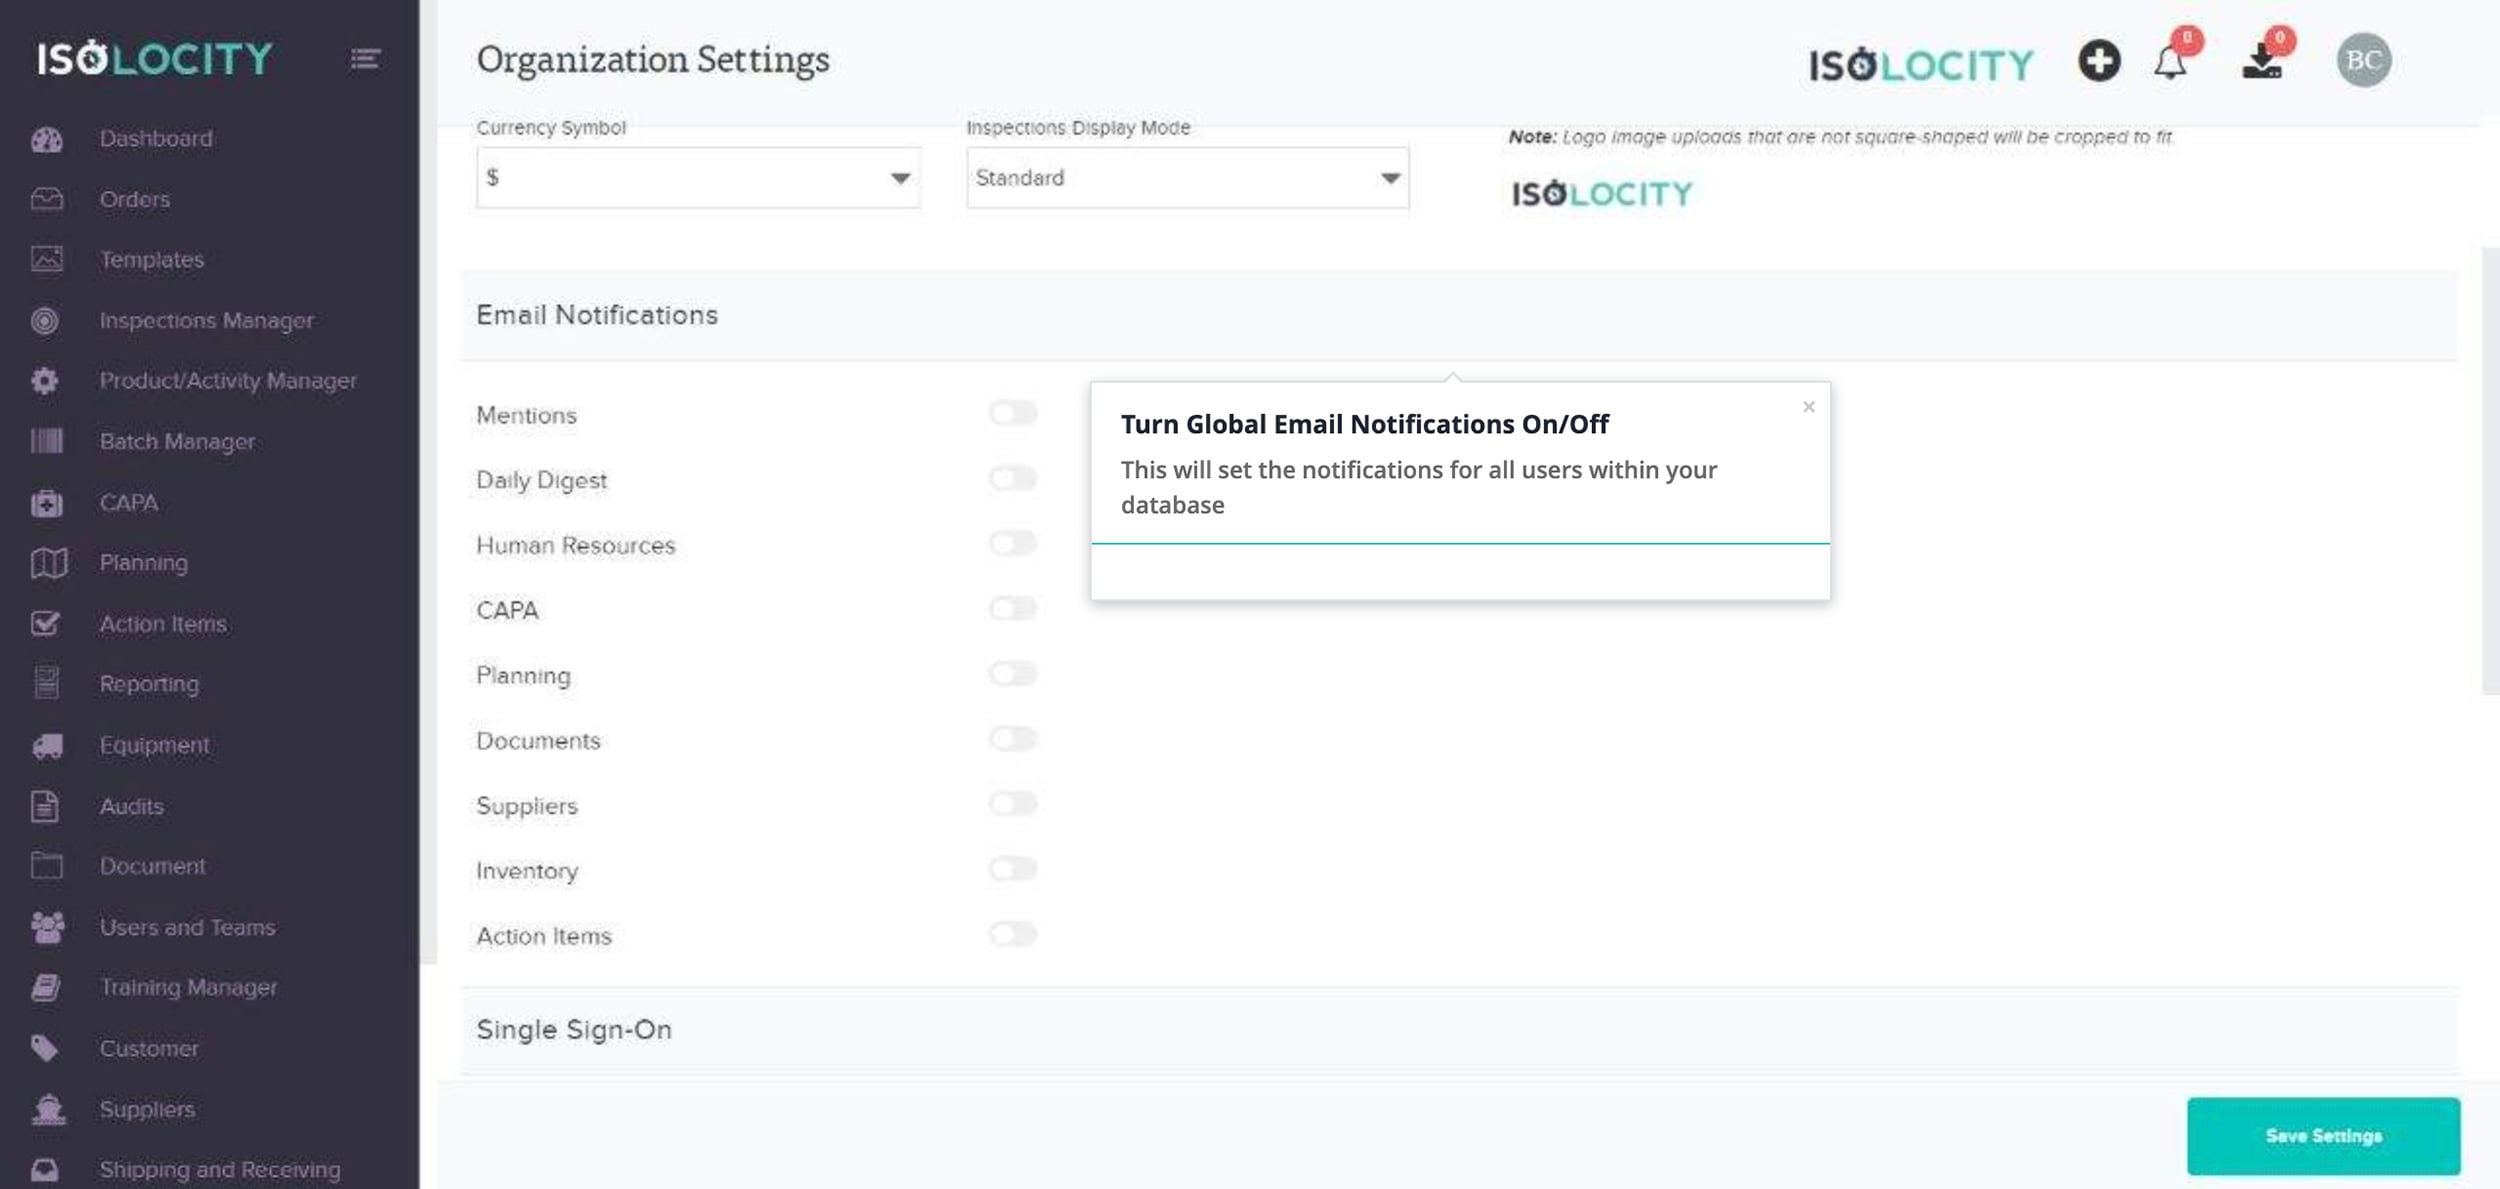
Step #11
Turn Global Email Notifications On/Off
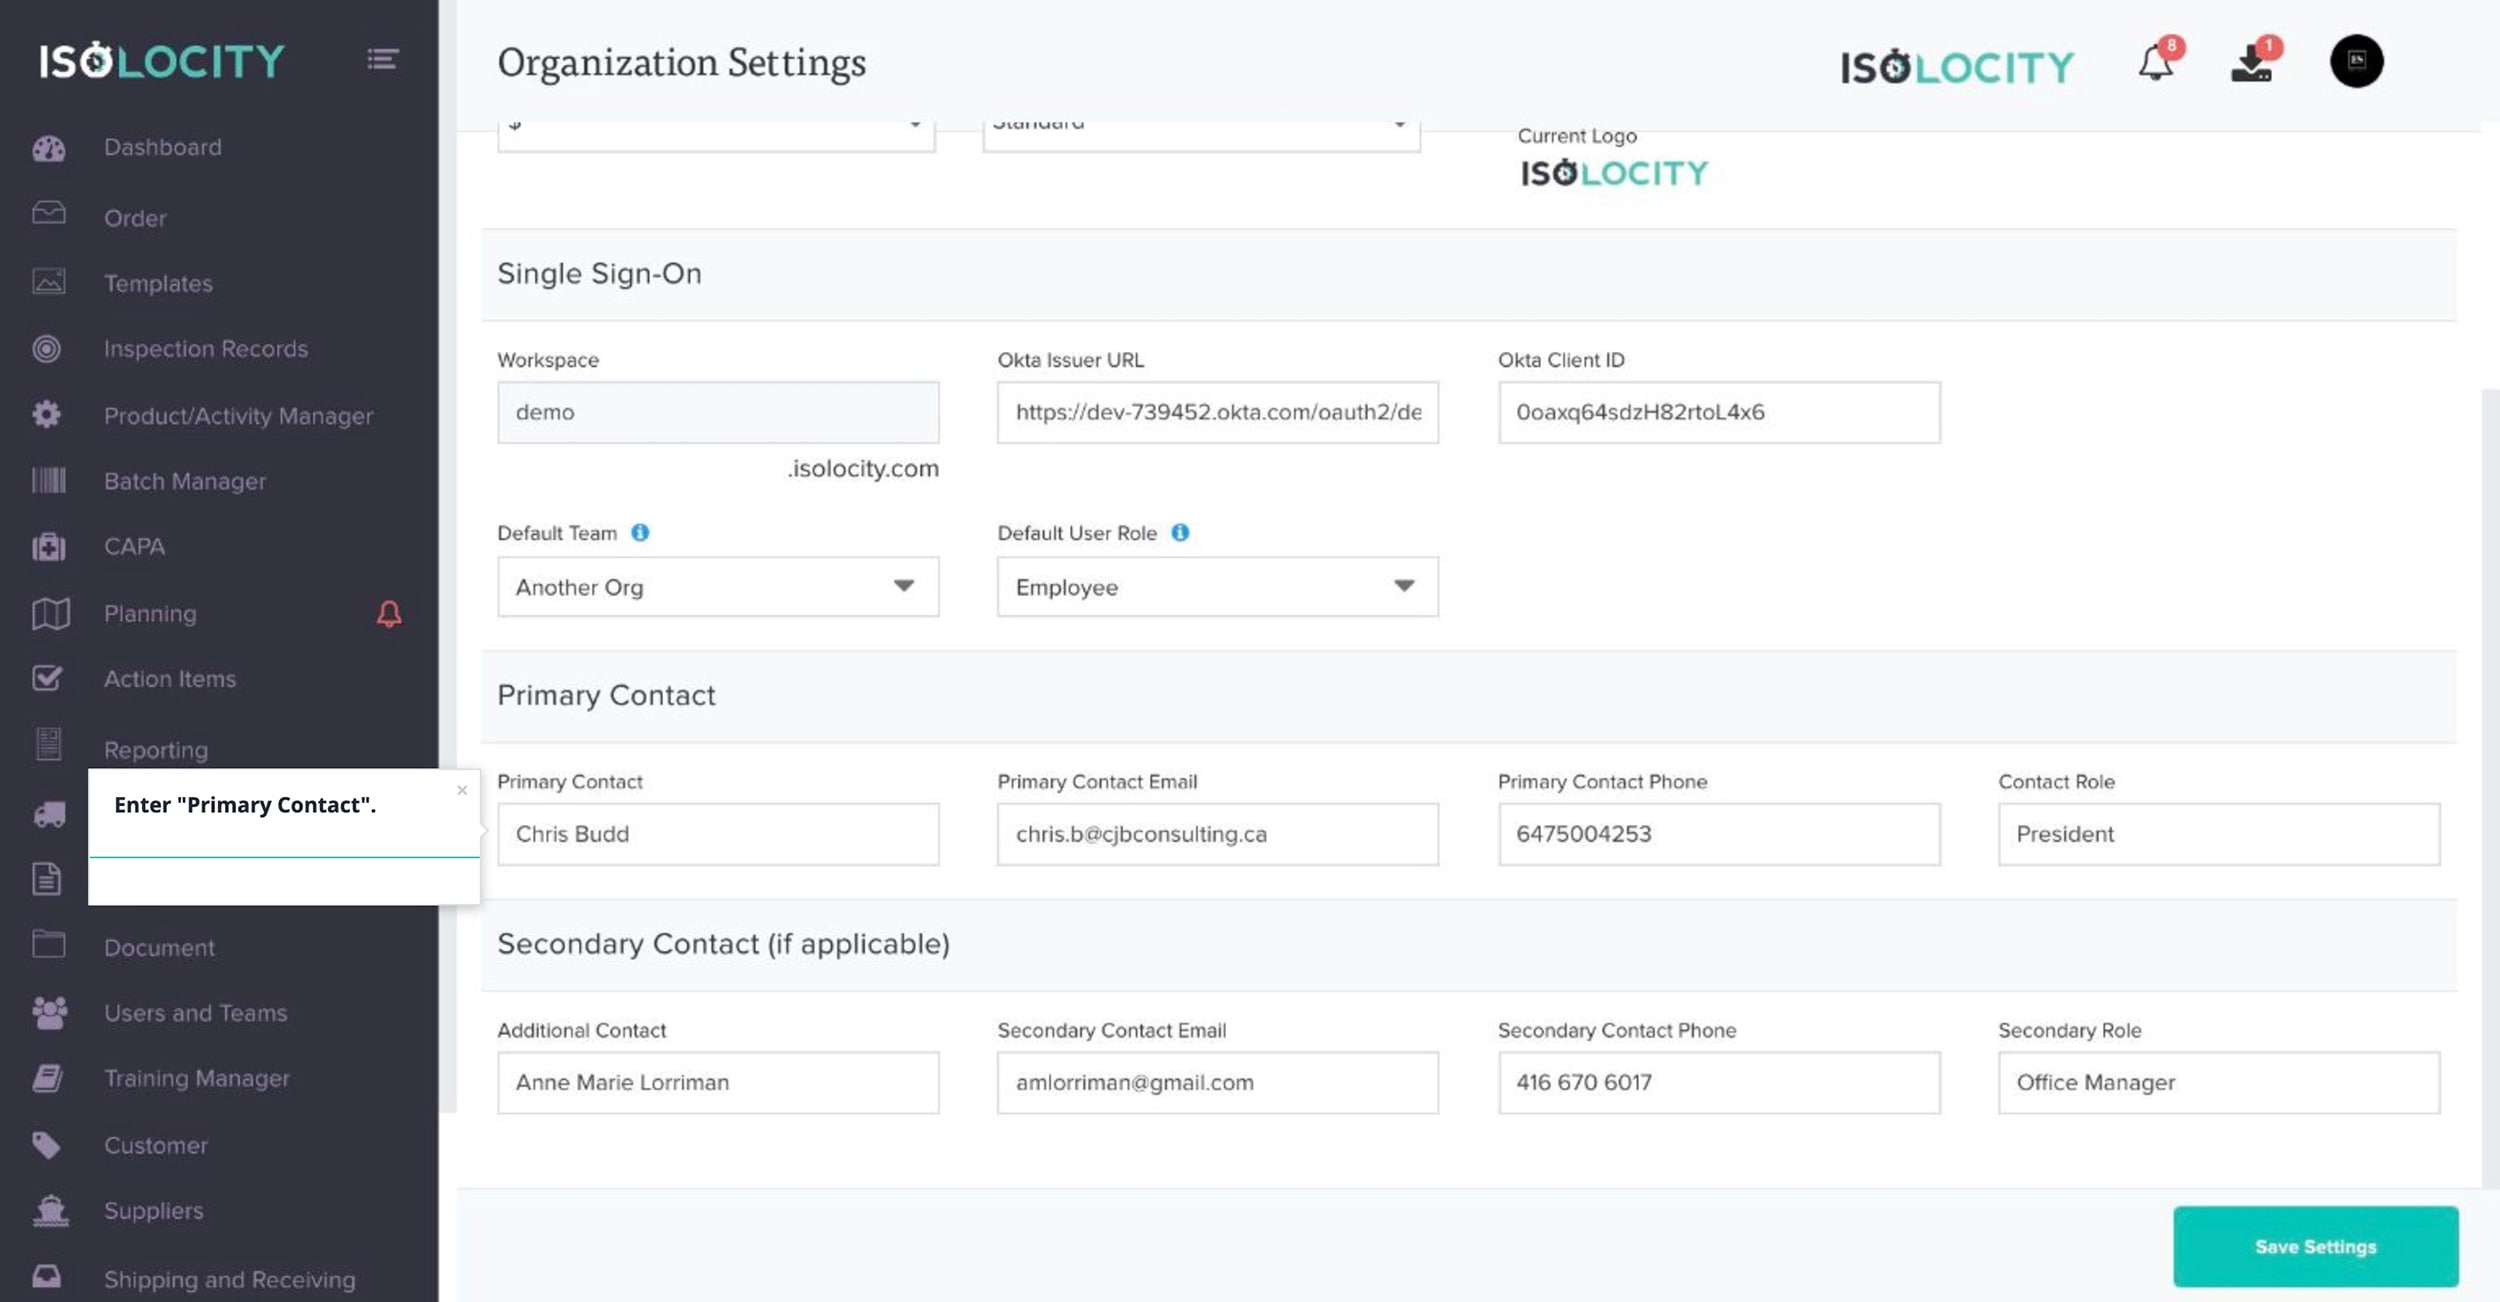
Step #12
Enter “Primary Contact”.
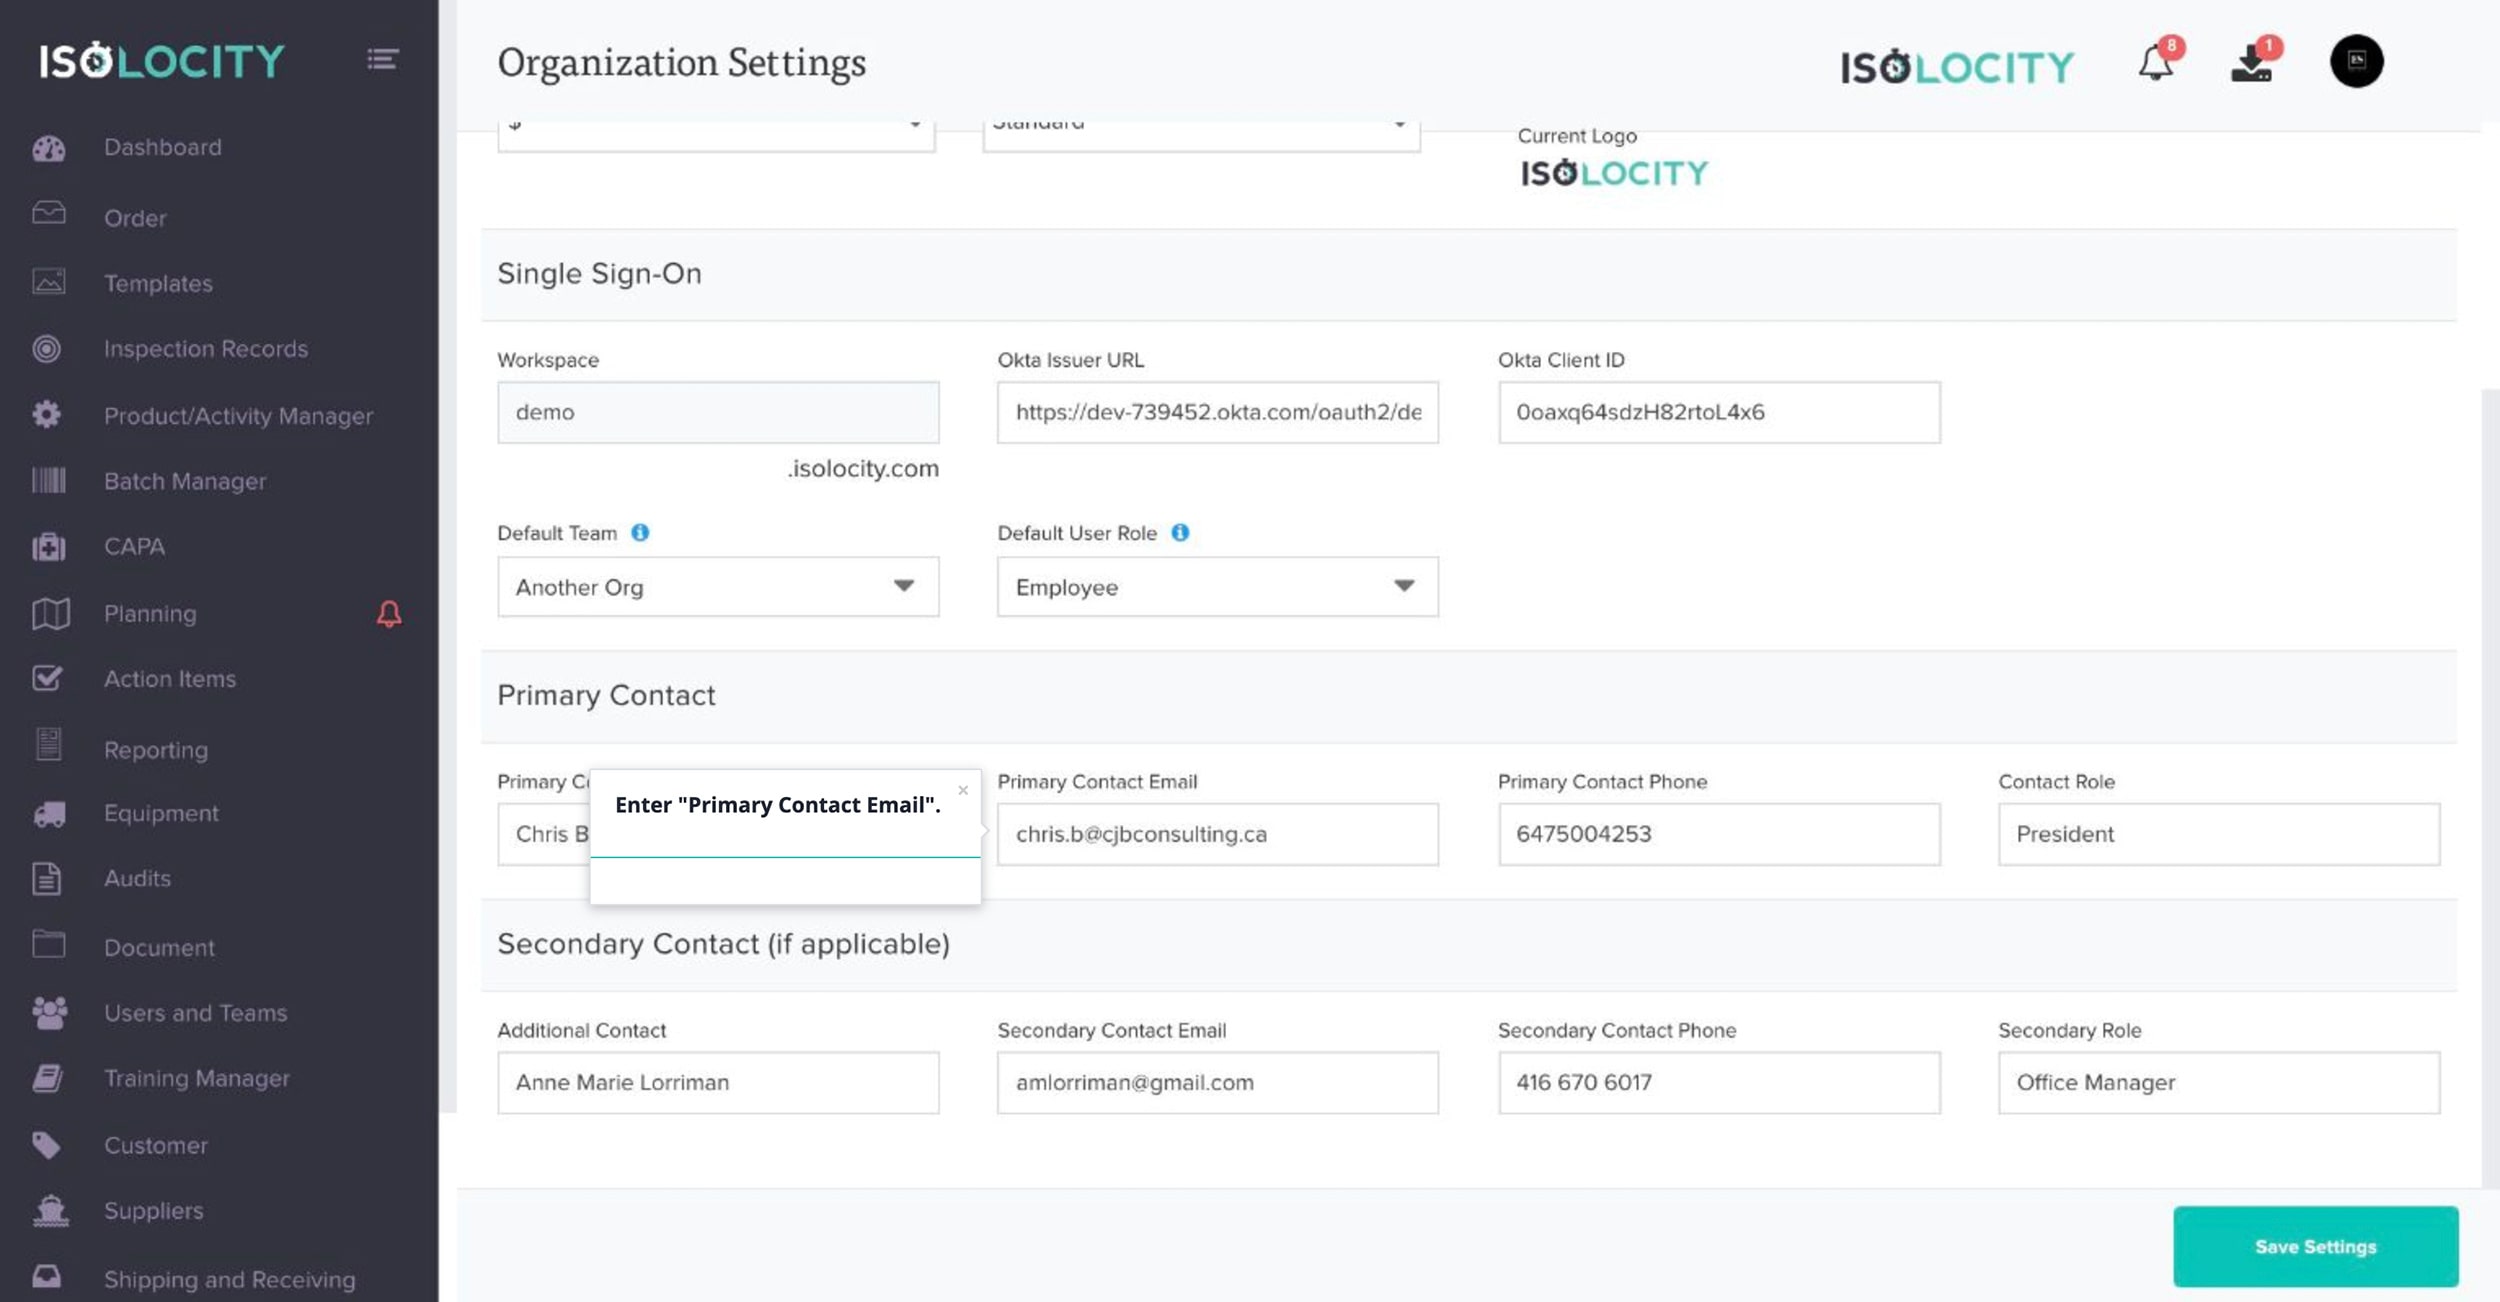
Step #13
Enter “Primary Contact Email”.
Step #14
Enter “Primary Contact Phone”.

Step #15
Enter “Contact Role”.

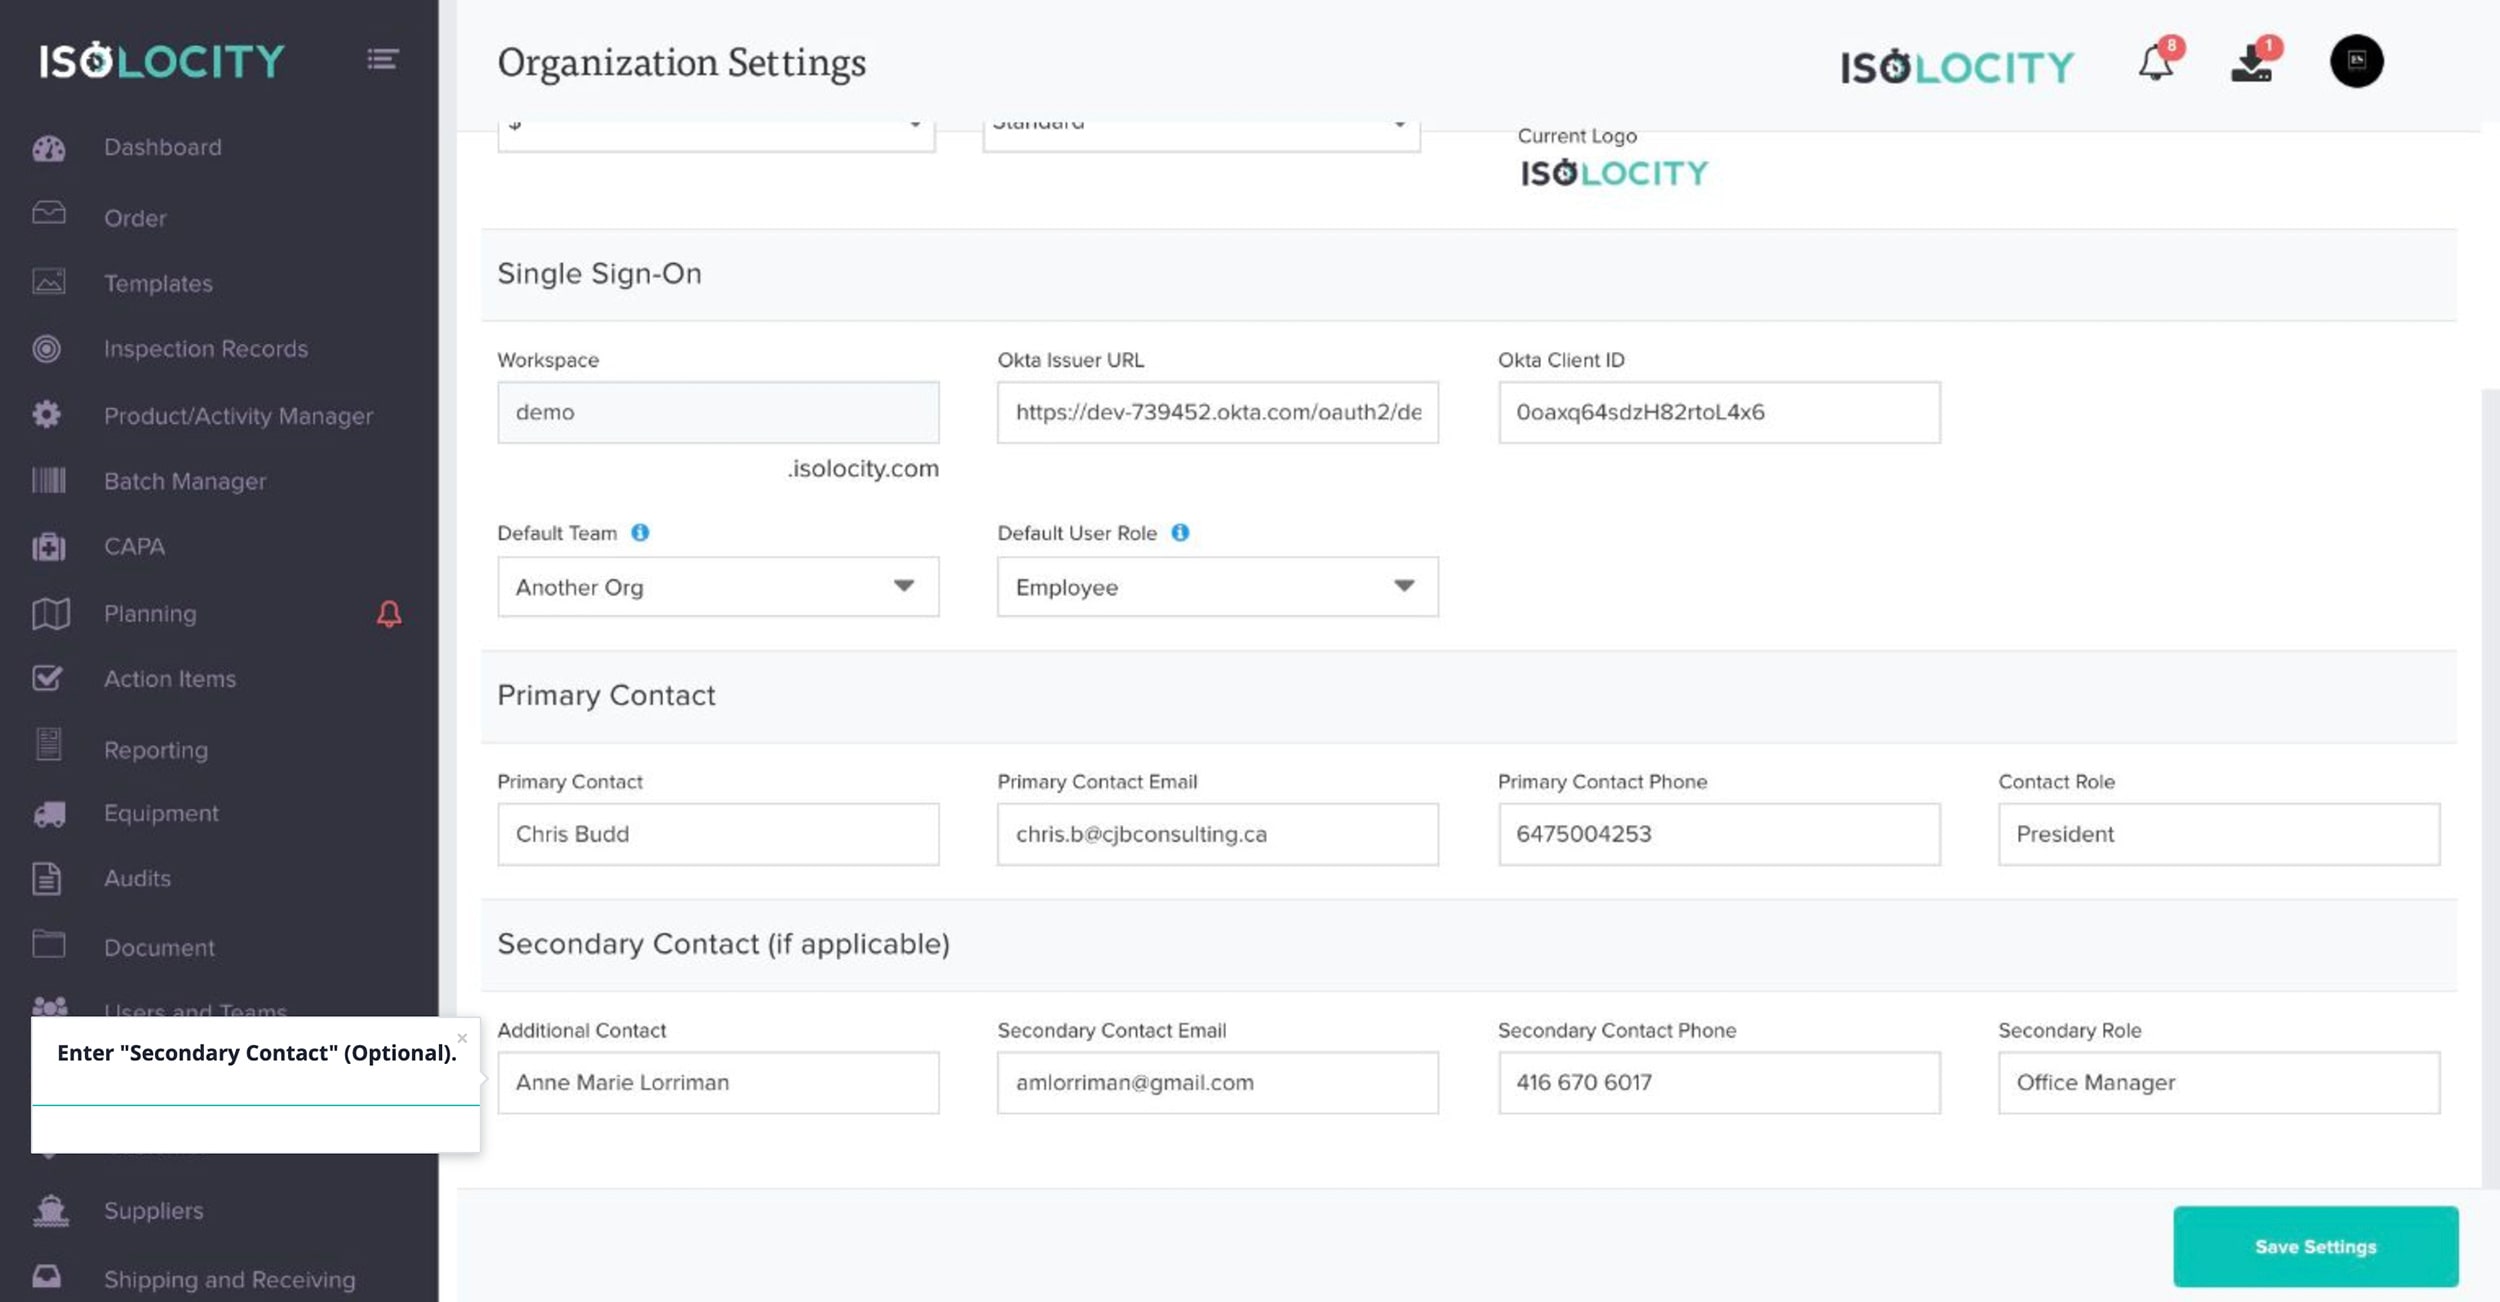
Step #16
Enter “Secondary Contact” (Optional).
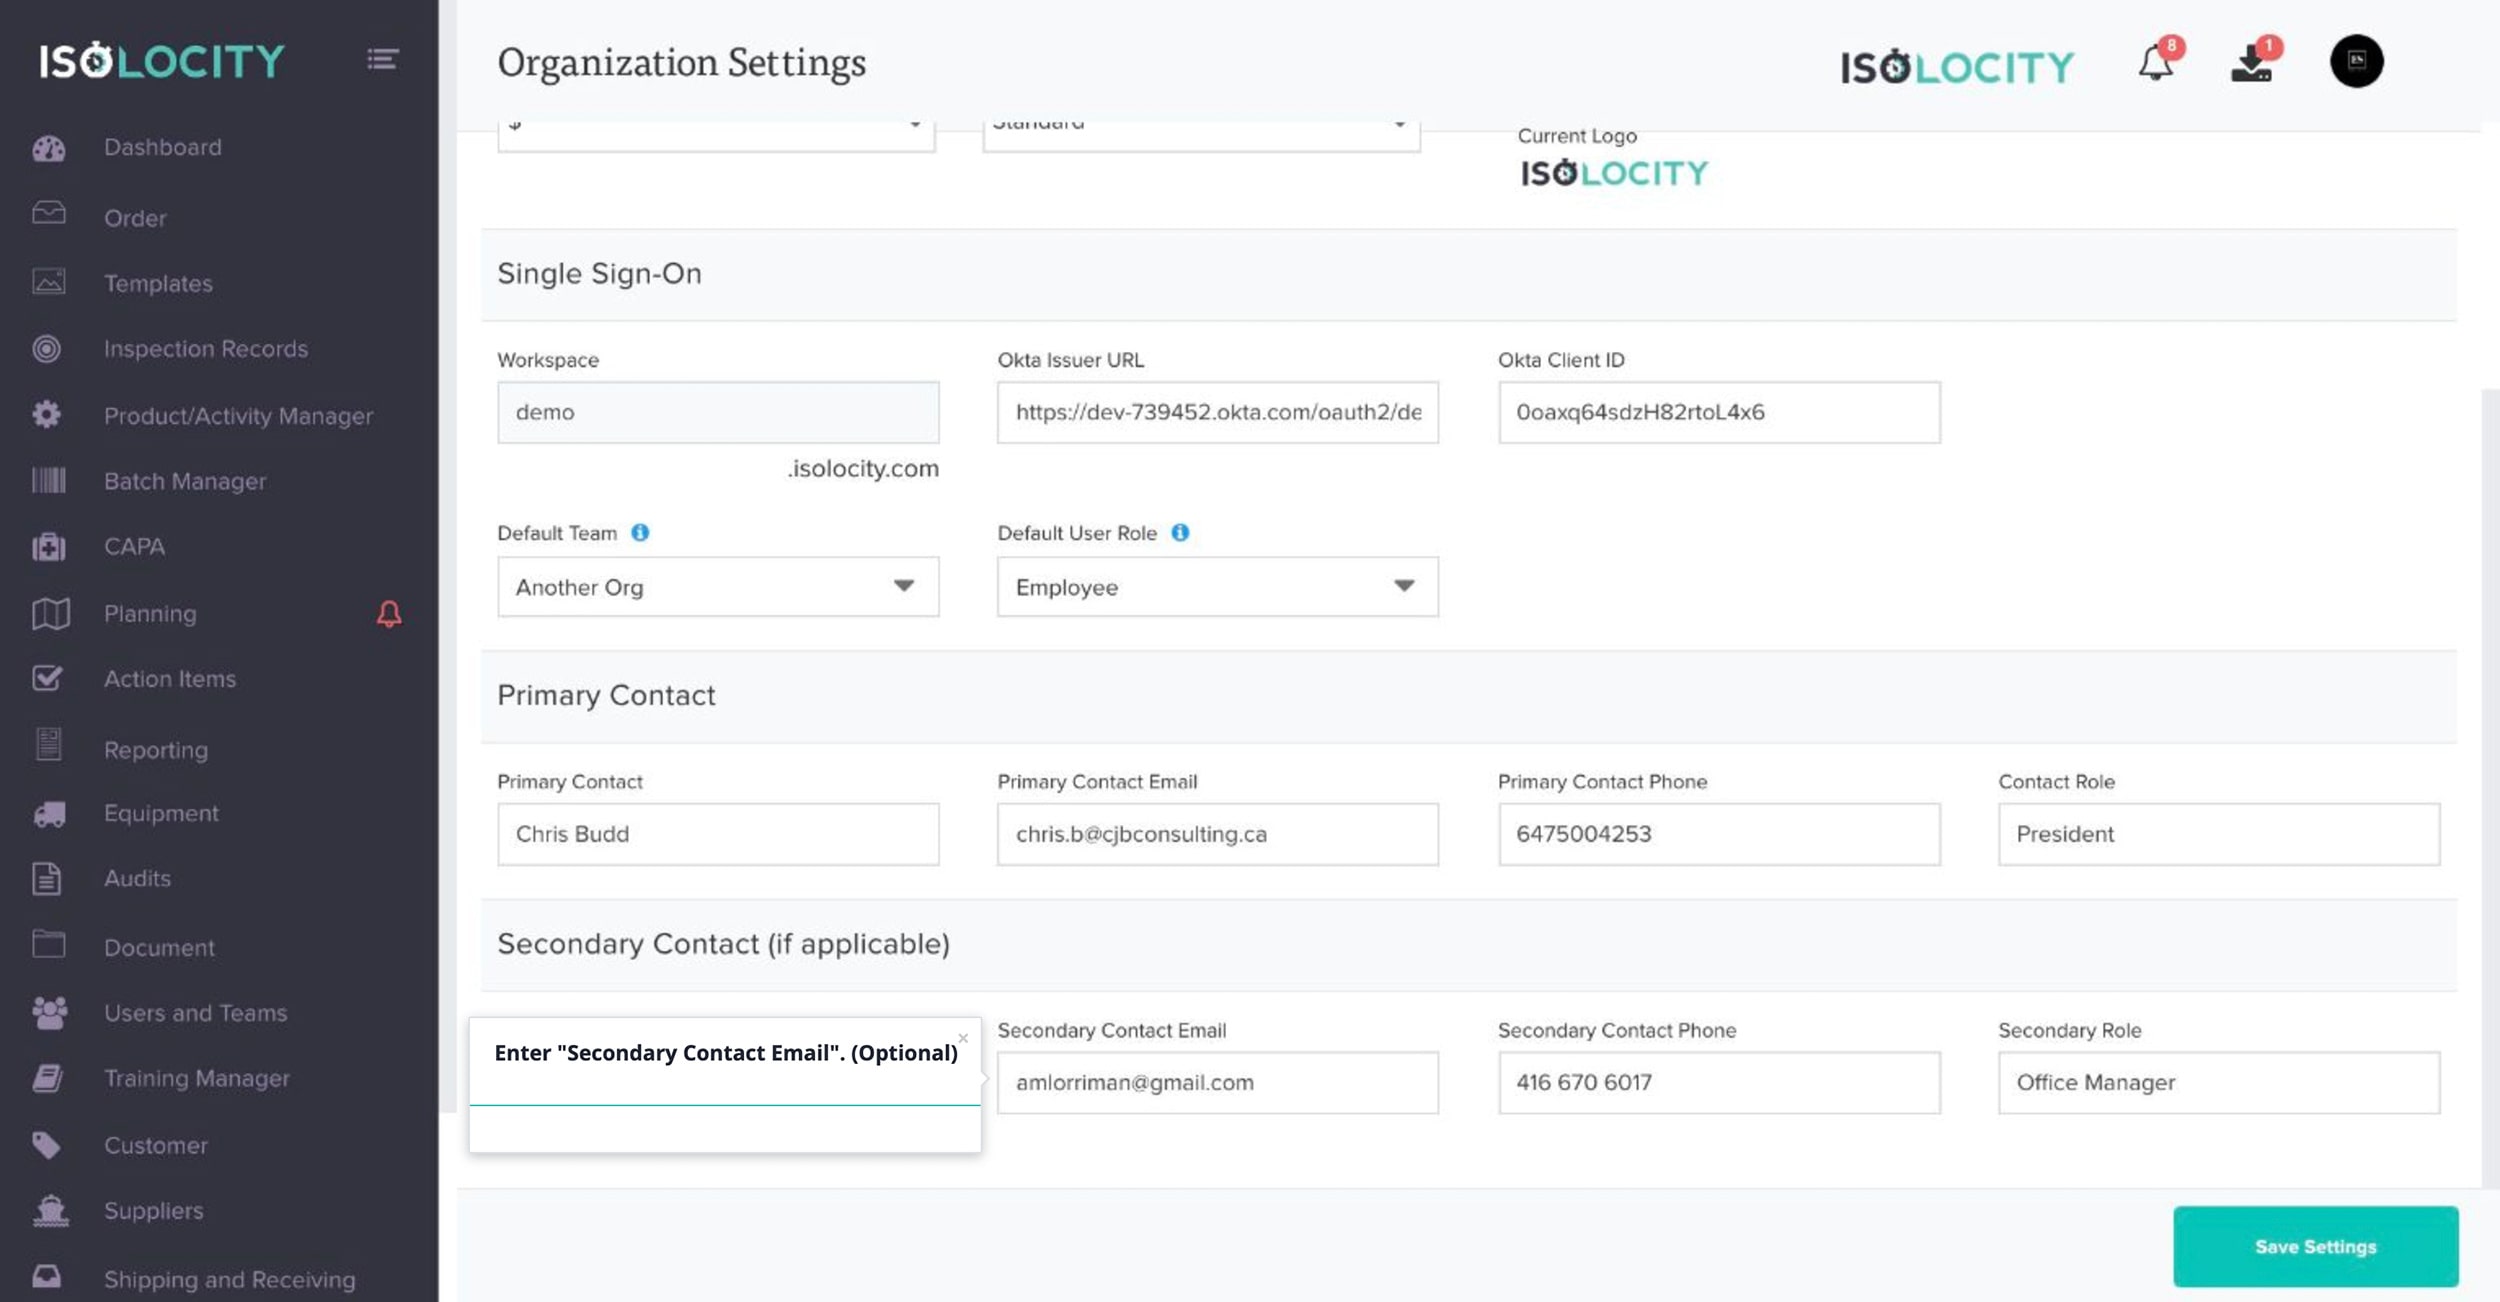
Step #17
Enter “Secondary Contact Email”. (Optional)
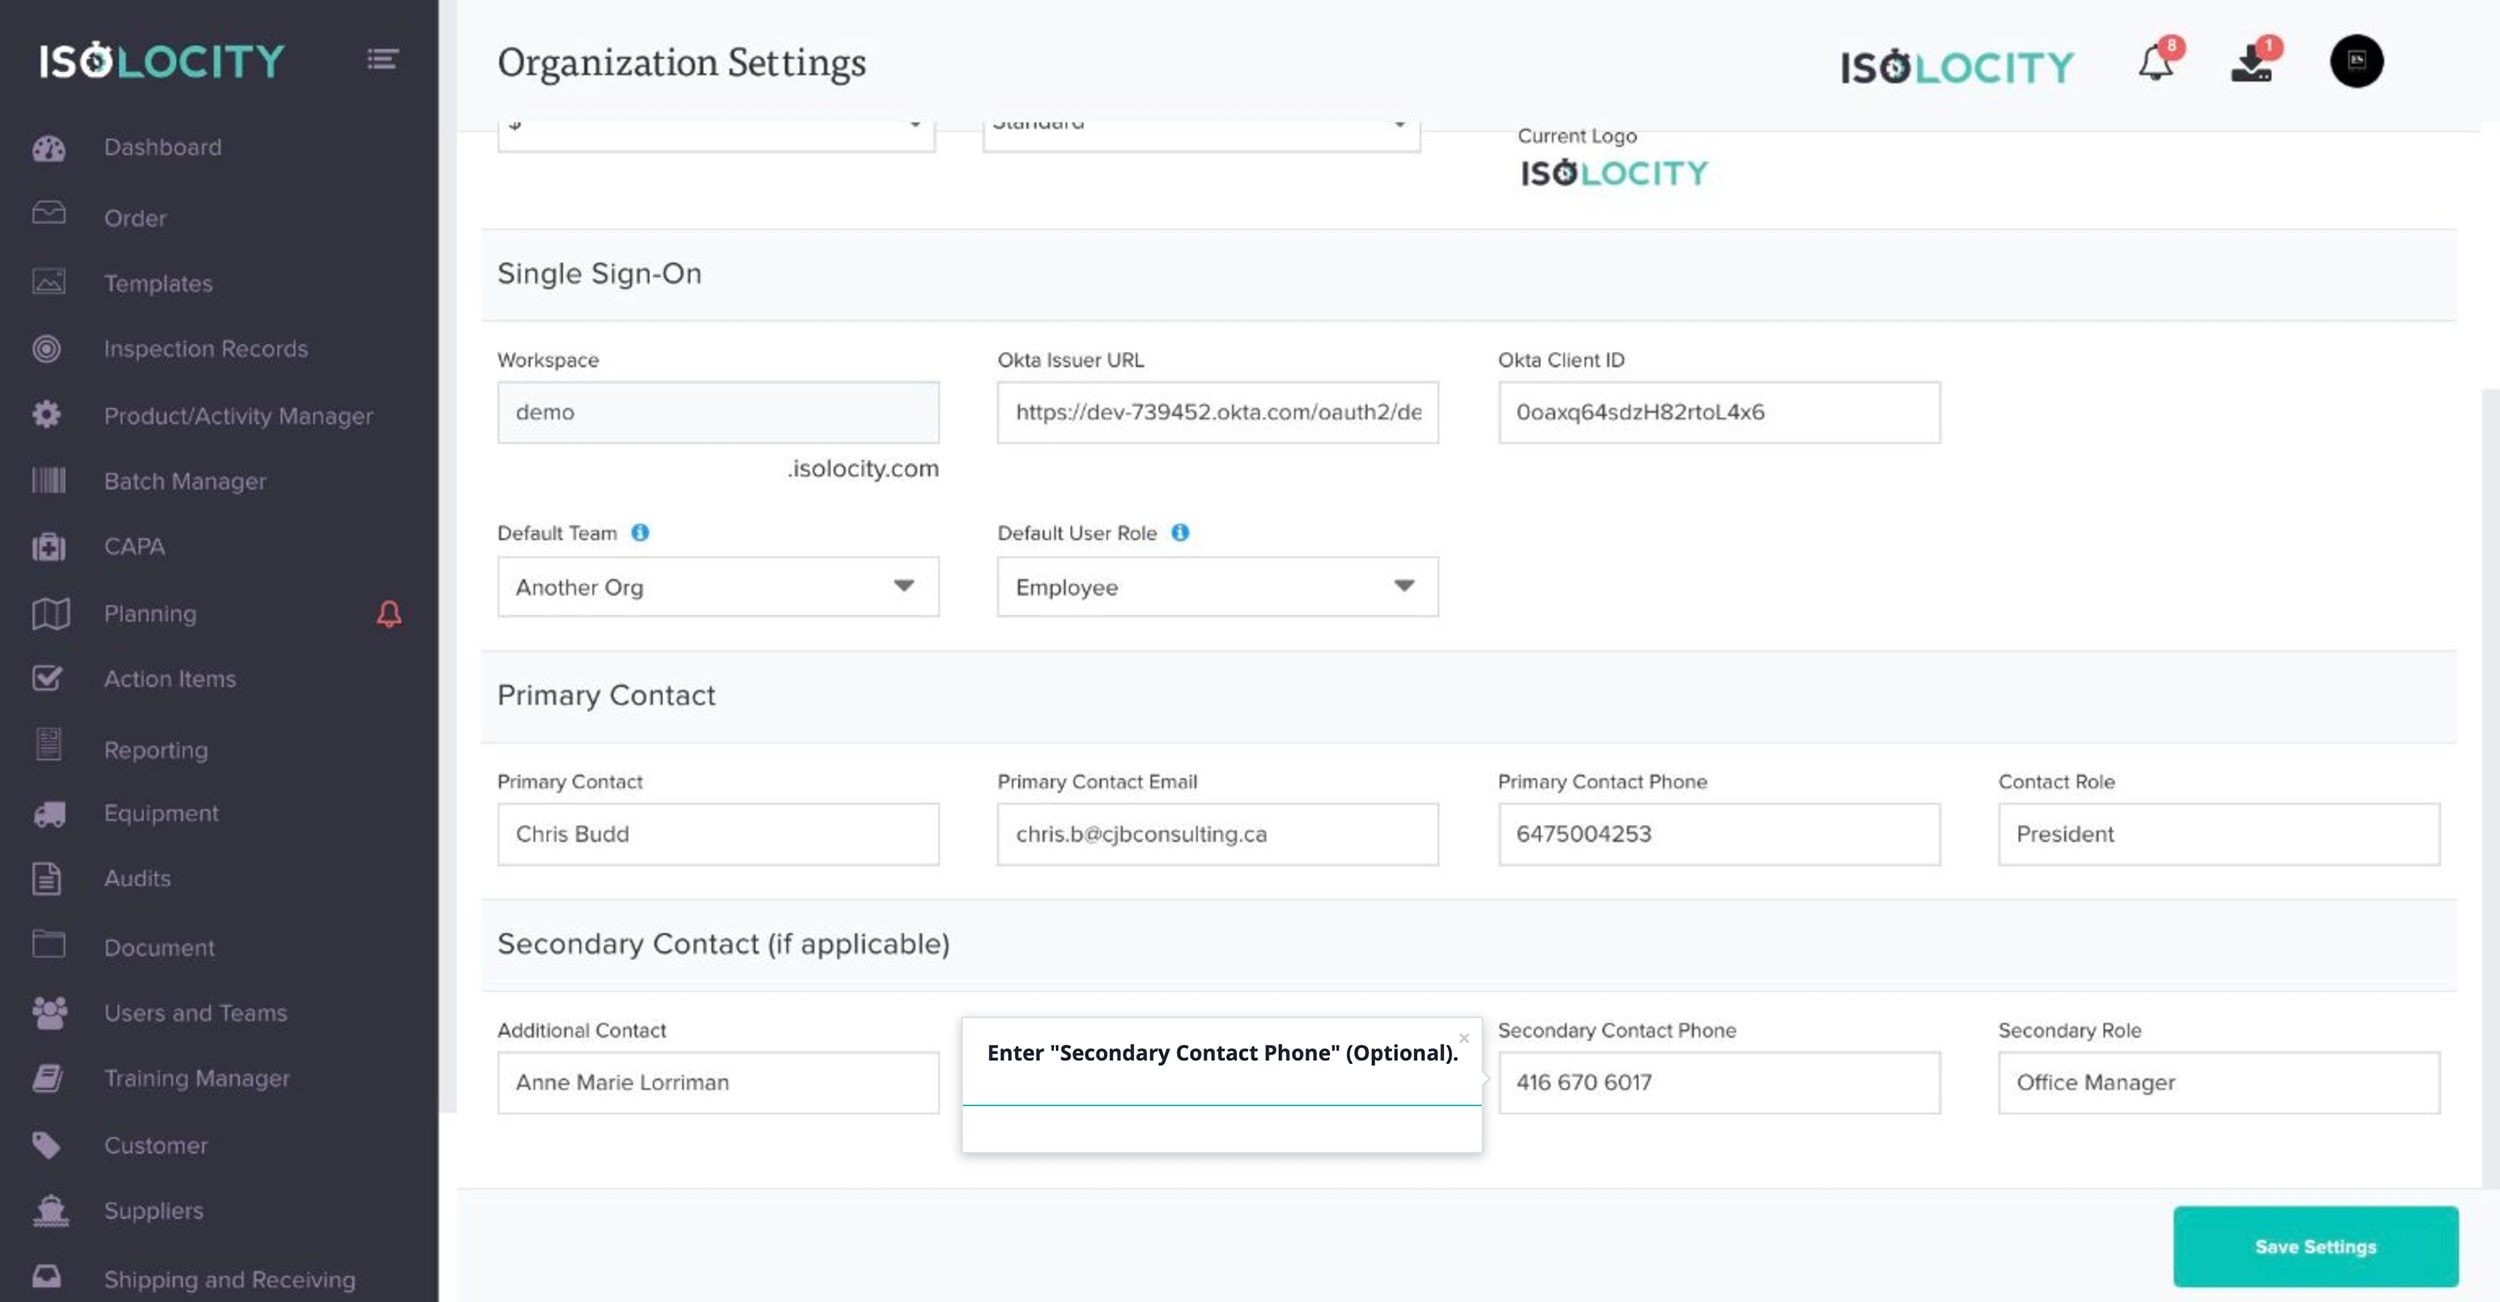
Step #18
Enter “Secondary Contact Phone” (Optional).
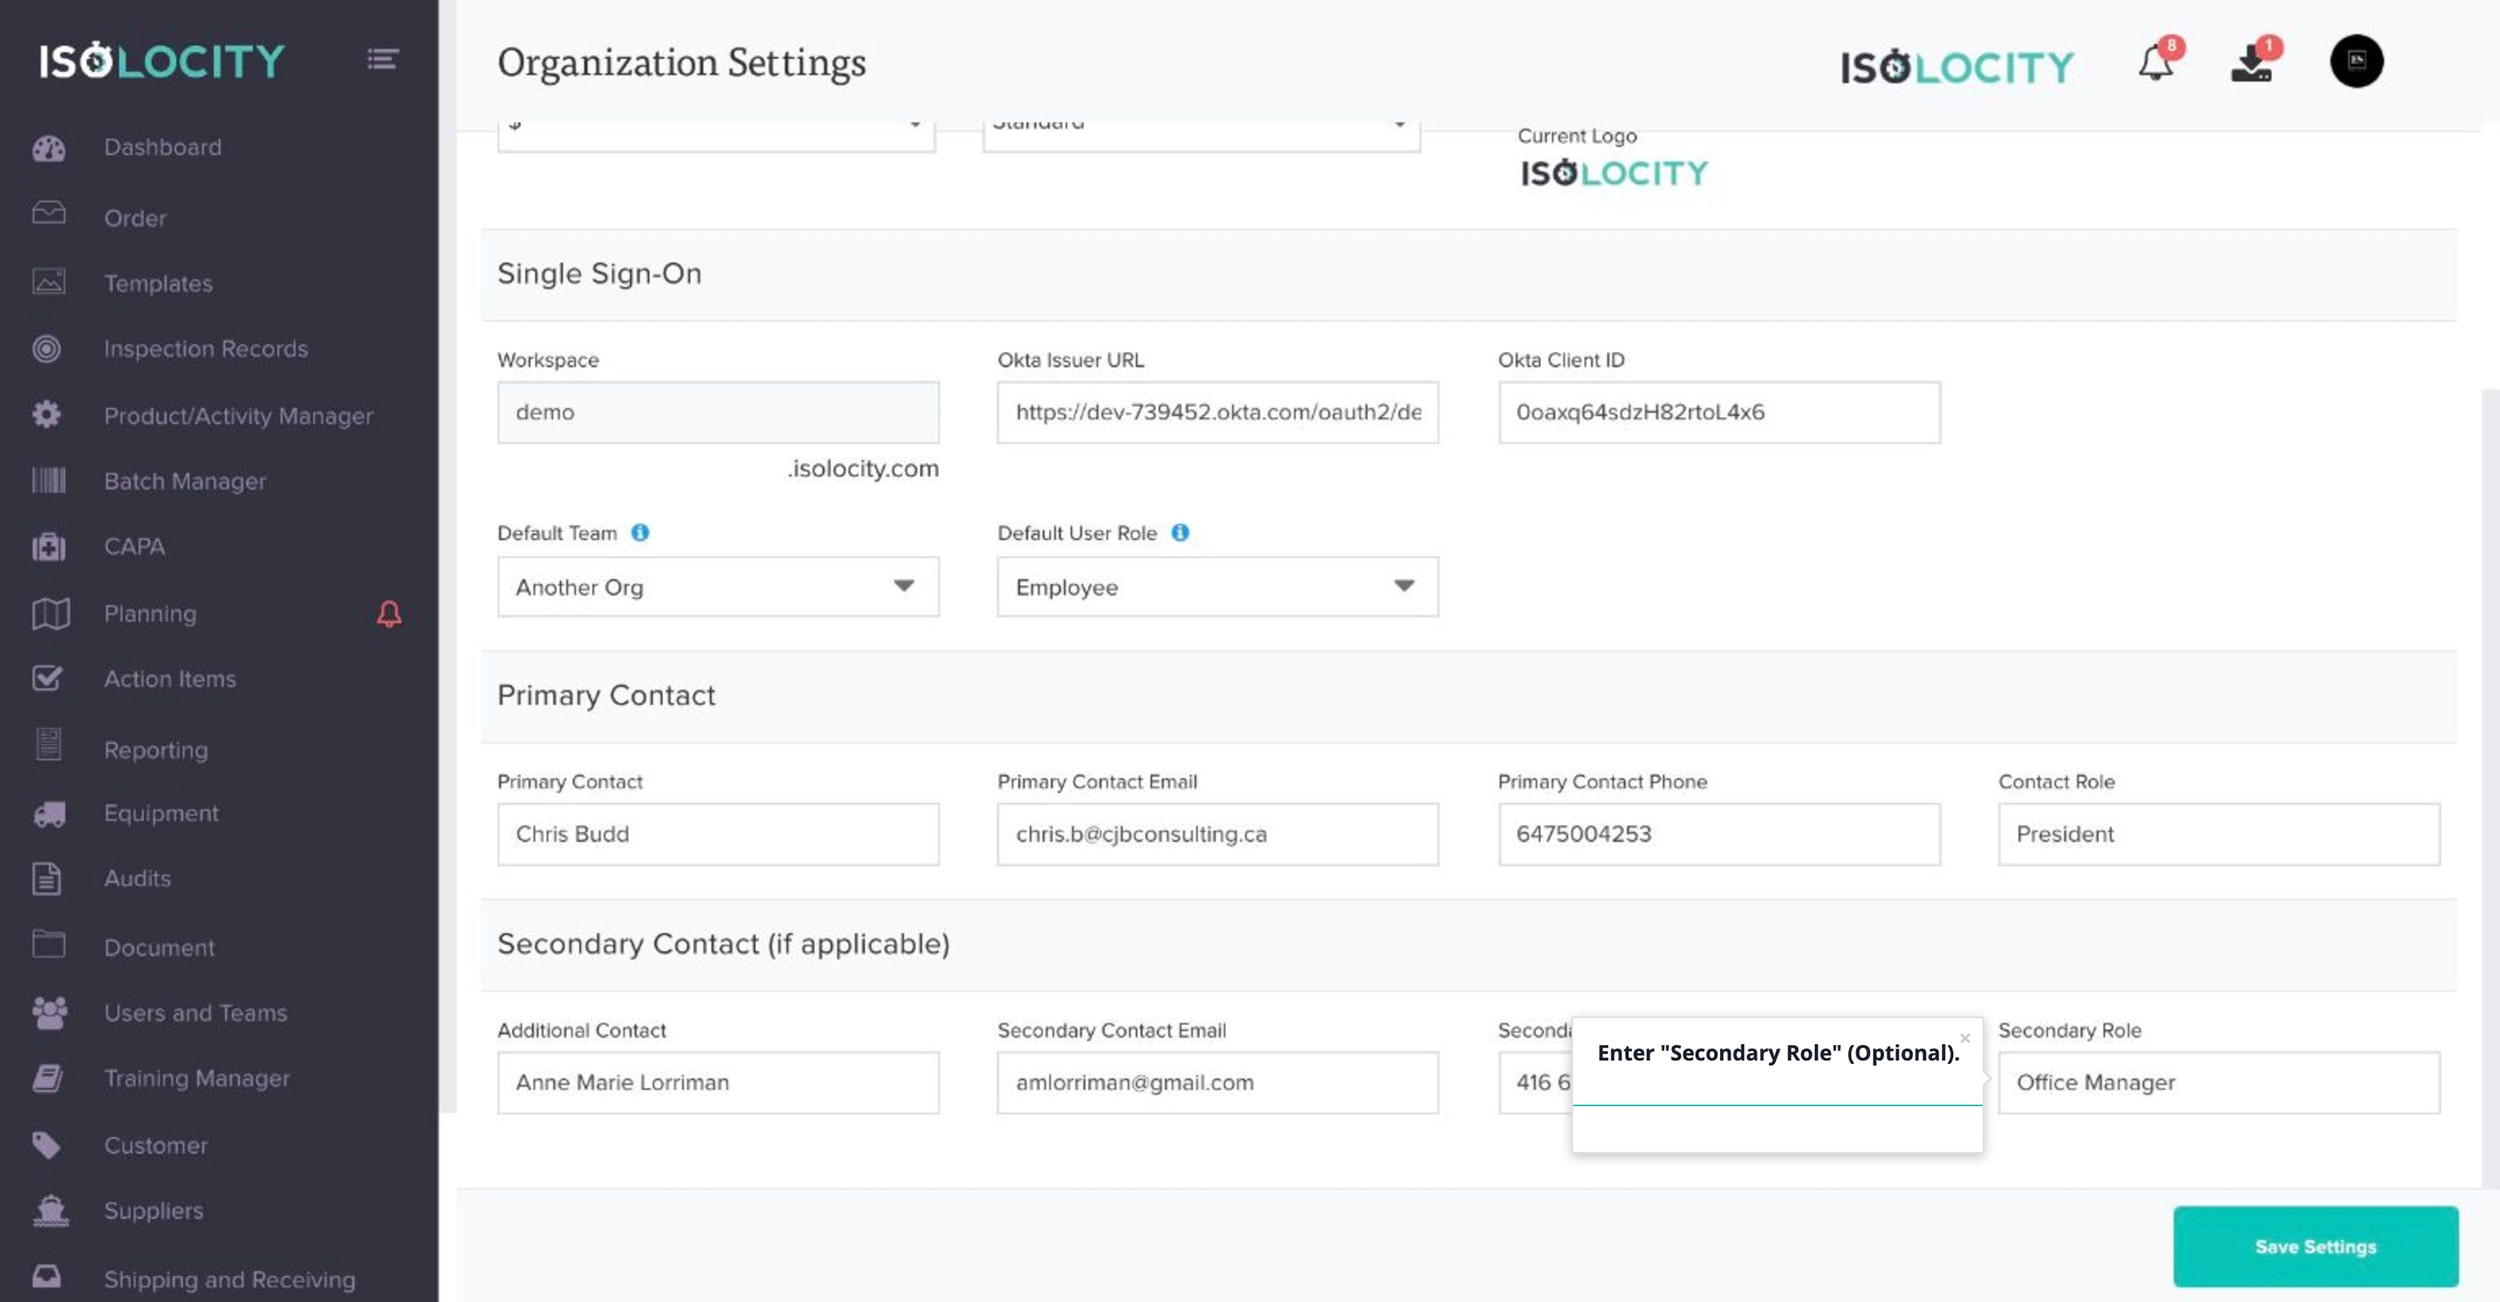
Step #19
Enter “Secondary Role” (Optional).
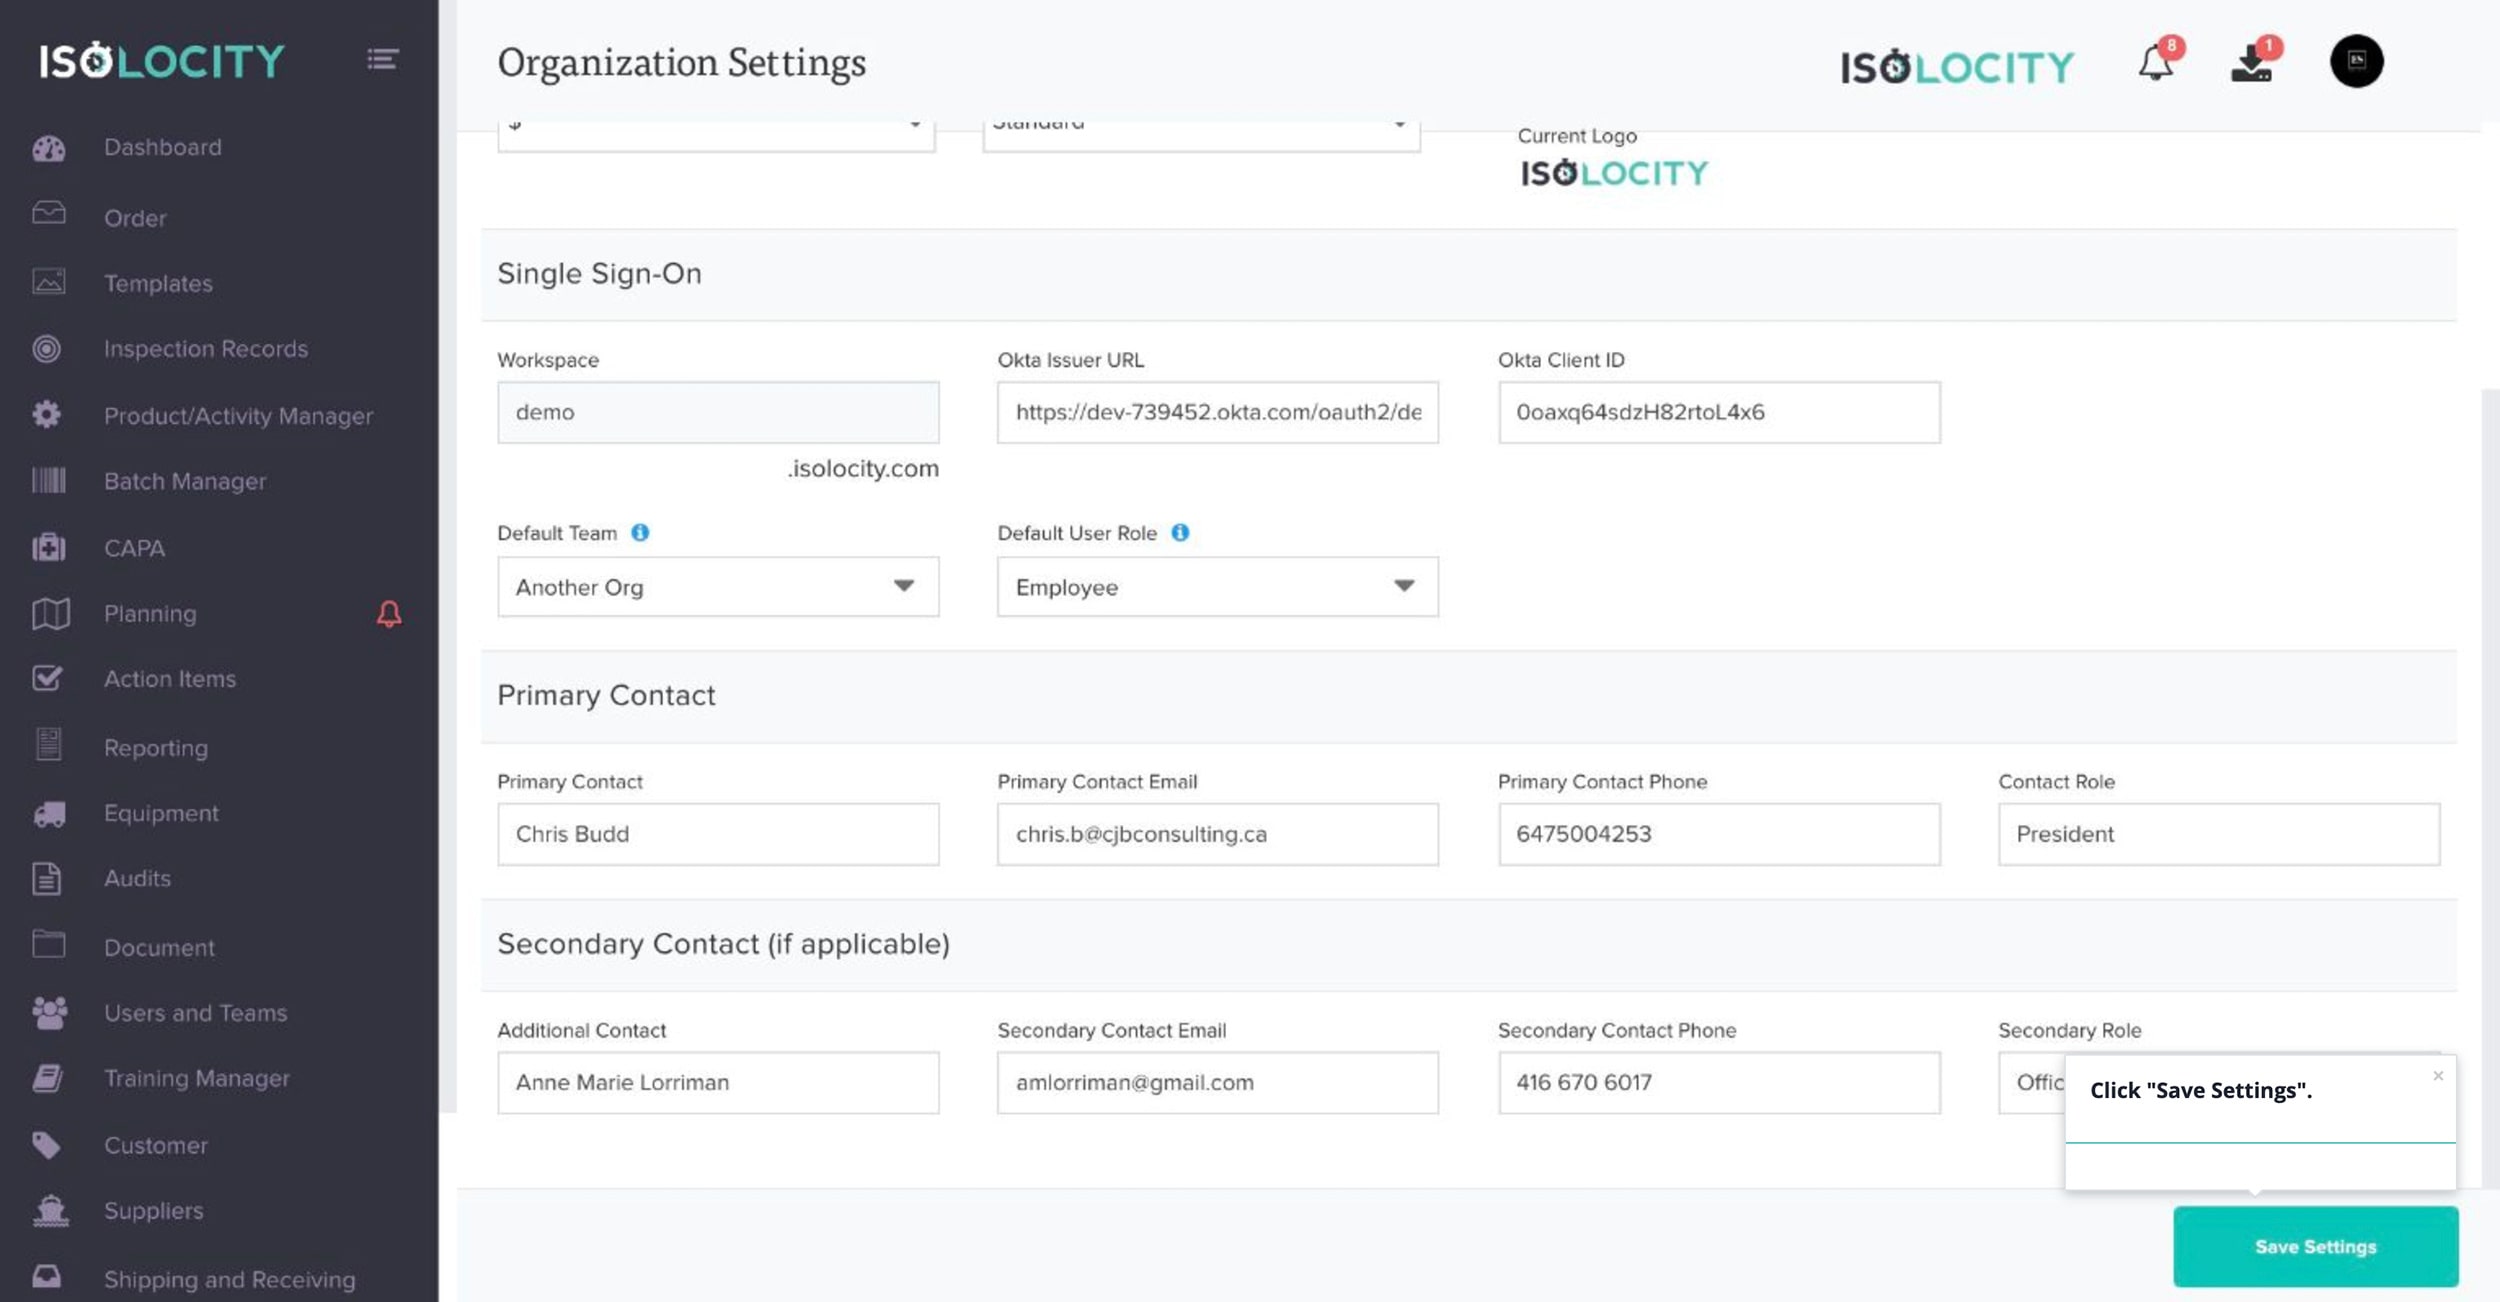
Step #20
Click “Save Settings”.